
Tales of Xillia 2 Guide 1 Game System Game System
Exploration
Using Maps
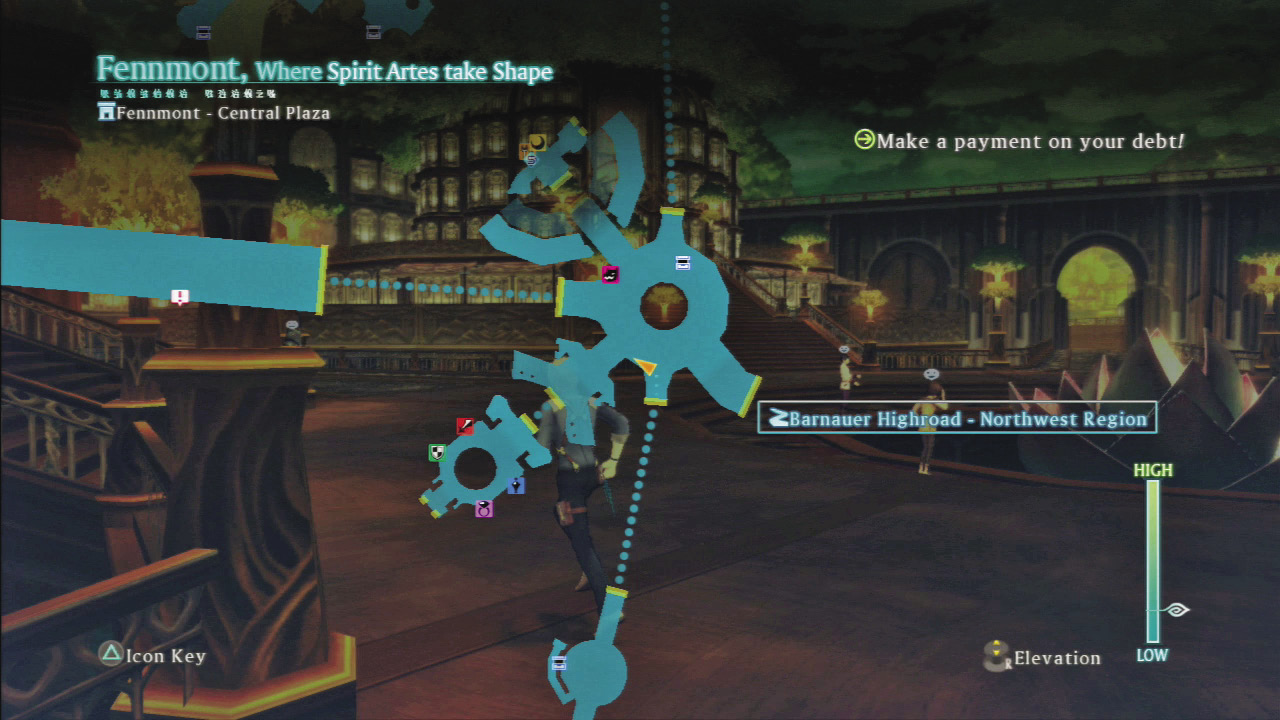
It’s easy to find your next objective in the game thanks to the obvious icon system that highlights major objectives in each Chapter and Episode. To the right are the icons you will find in the auto map that will make navigation a breeze.
The in-game maps are loaded with icons and they are reproduced in the guide along with several new ones. The icons represent everything including treasures, shops, search areas, and even quest locations. On the next page is a list of all the icons used in the guide, which will become very familiar throughout your adventure.
Map Icons
|
|
Main Story Event Location |
|
|
Character Event Location |
|
|
Job Event |
|
|
Save Point |
|
|
Treasure Box |
|
|
Loot Bag |
|
|
Gathering Point |
|
|
Elemental Ore |
|
|
Kitty Discovered |
|
|
Job Board |
|
|
Inn |
|
|
Item Shop |
|
|
Weapon Shop |
|
|
Armor Shop |
|
|
Accessory Shop |
|
|
Food Vendor |
|
|
General Store |
|
|
These purple numbers indicate key locations on the maps. |
|
|
|
|
|
Time-limited event quests |
|
|
Indicates areas where you can change elevation |
|
|
Treasure or Hidden Items |
|
|
Elite Monster location |


Collect Items As You Explore
Pick up items on the field as you explore. There are four types. All random treasures respawn when you leave the area (by going to a non-adjacent area with a different name).
All random items are generated based on item tables that are specific to each game area.
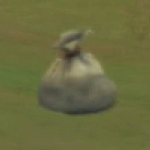
Random Treasure in Loot Bag: Contains random recovery items, gald, food, or materials. Note that while these appear in the same places, as shown on the maps, it is random if they appear or not.
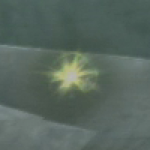
Random Item Gathering Point: Contains random materials only. Very common.
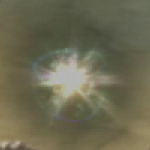
Random Treasure in Elemental Ore: Random amount of elemental ore.
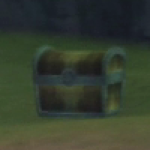
Treasure Chest: Preset item. Can only be collected once.