
Tales of Xillia 2 Guide 5 Side Quest Side Quests
Coliseum
Challenging the Coliseum
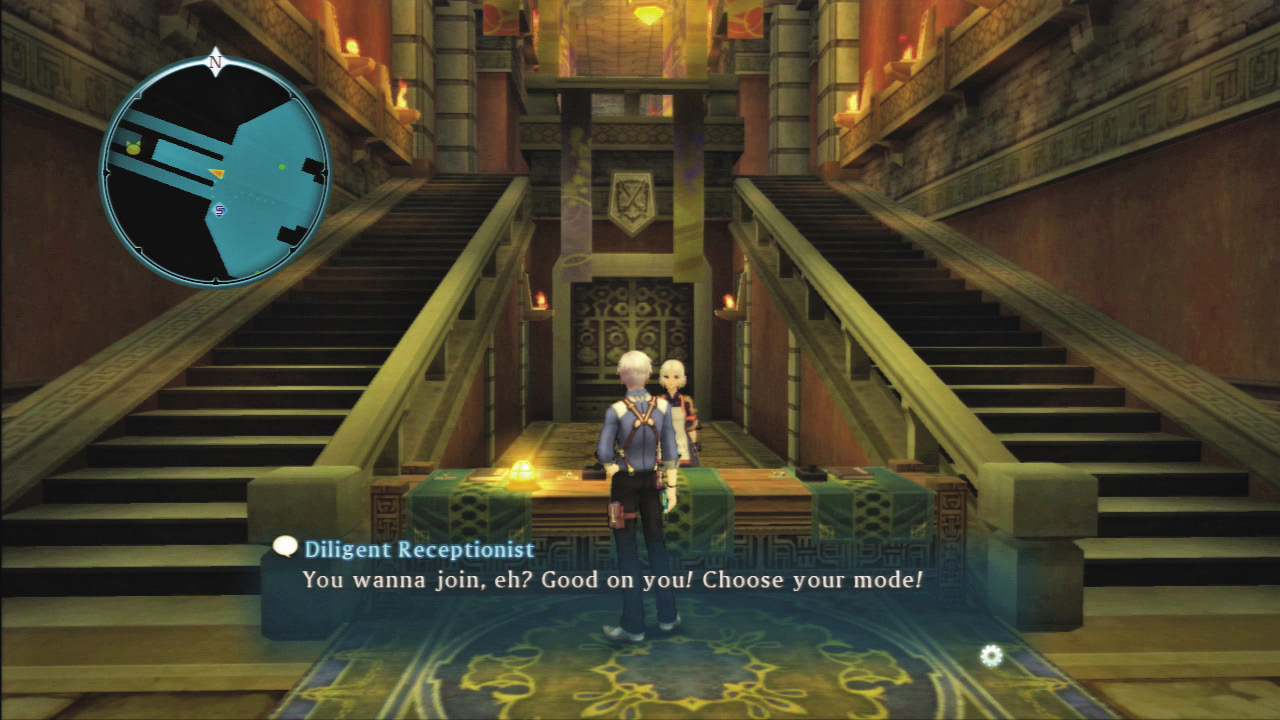
Once you gain access to Xian Du at the end of Chapter 8, you’ll be free to challenge its Coliseum. If you can claim victory in the tournaments held there, you can earn large amounts of gald and precious items that are not available anywhere else in the game. You will have to pay some gald as an entry fee, but you won’t end up at a Game Over screen if you lose, and there are no restrictions on the items you can bring. If you’d like to test your strength, there’s little down side to giving it a try.
Coliseum Properties
- The Coliseum offers both a Tag Mode and a Party Mode.
- Each mode features a Novice, Advanced and Elite Rank with corresponding prizes.
- All HP and TP are restored at the start and end of battle.
- The game will not end if you fall in the Coliseum.
- There are no restrictions on item use.
Two Modes and Three Ranks
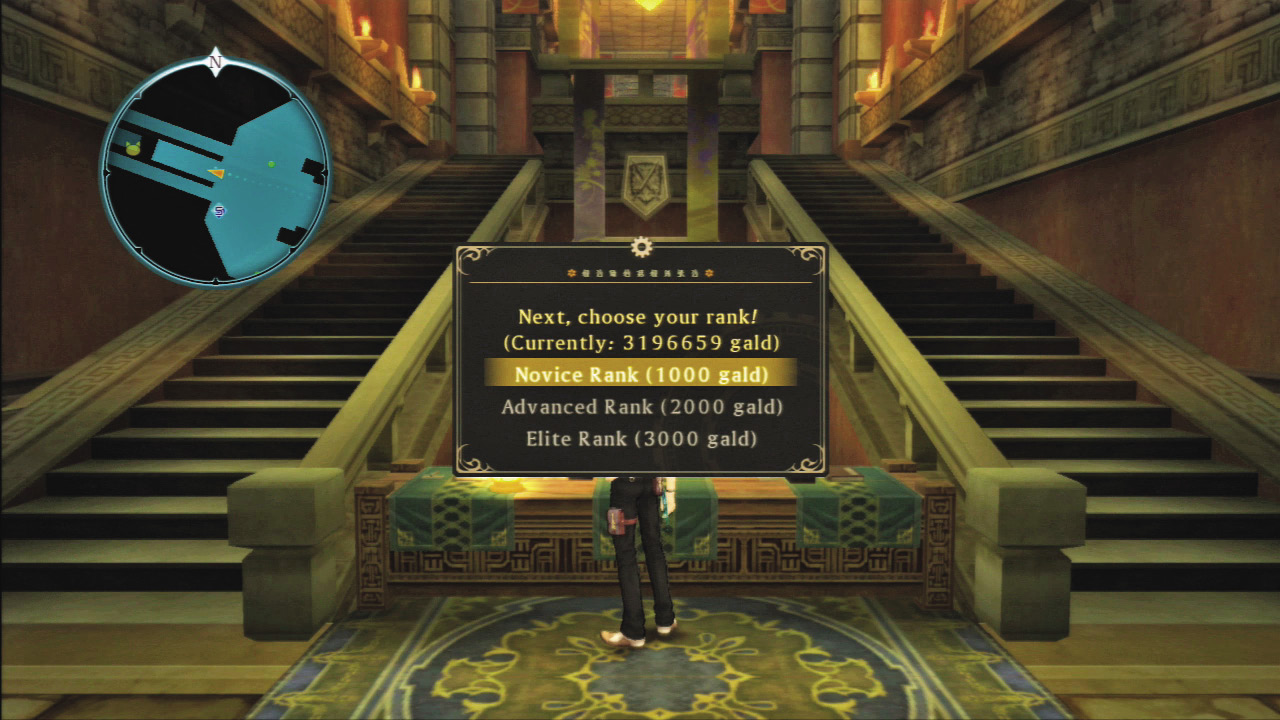
The Coliseum offers a Tag Mode, in which you fight with two characters, and a Party Mode for teams of four. Each of the two modes has three difficulty ranks. At first, you’ll only have access to the Beginner Rank of Tag Mode, but if you can beat that, and have defeated certain enemies, new options will become available to you.
Properties of Each Mode
Tag Mode
You select a party of two characters with which to do battle. The boss you face at the end of Elite Mode is determined based on your initially selected character.
Party Mode
You select a party of four with which to do battle. Your foes are mostly Elite Monsters and the challenge level is high. Also, when certain conditions are met, additional bosses appear.
Entry Fees and How to Unlock Each Rank
| Mode | Rank | Entry Fee | Availability |
|---|---|---|---|
| Tag | Novice | 1000 gald | Initially available |
| Tag | Advanced | 2000 gald | After completing Chapter 12/After completing the Novice Rank of Tag Mode at least three times |
| Tag | Elite* | 3000 gald | After completing the game/After completing the Advanced Rank of Tag Mode at least three times |
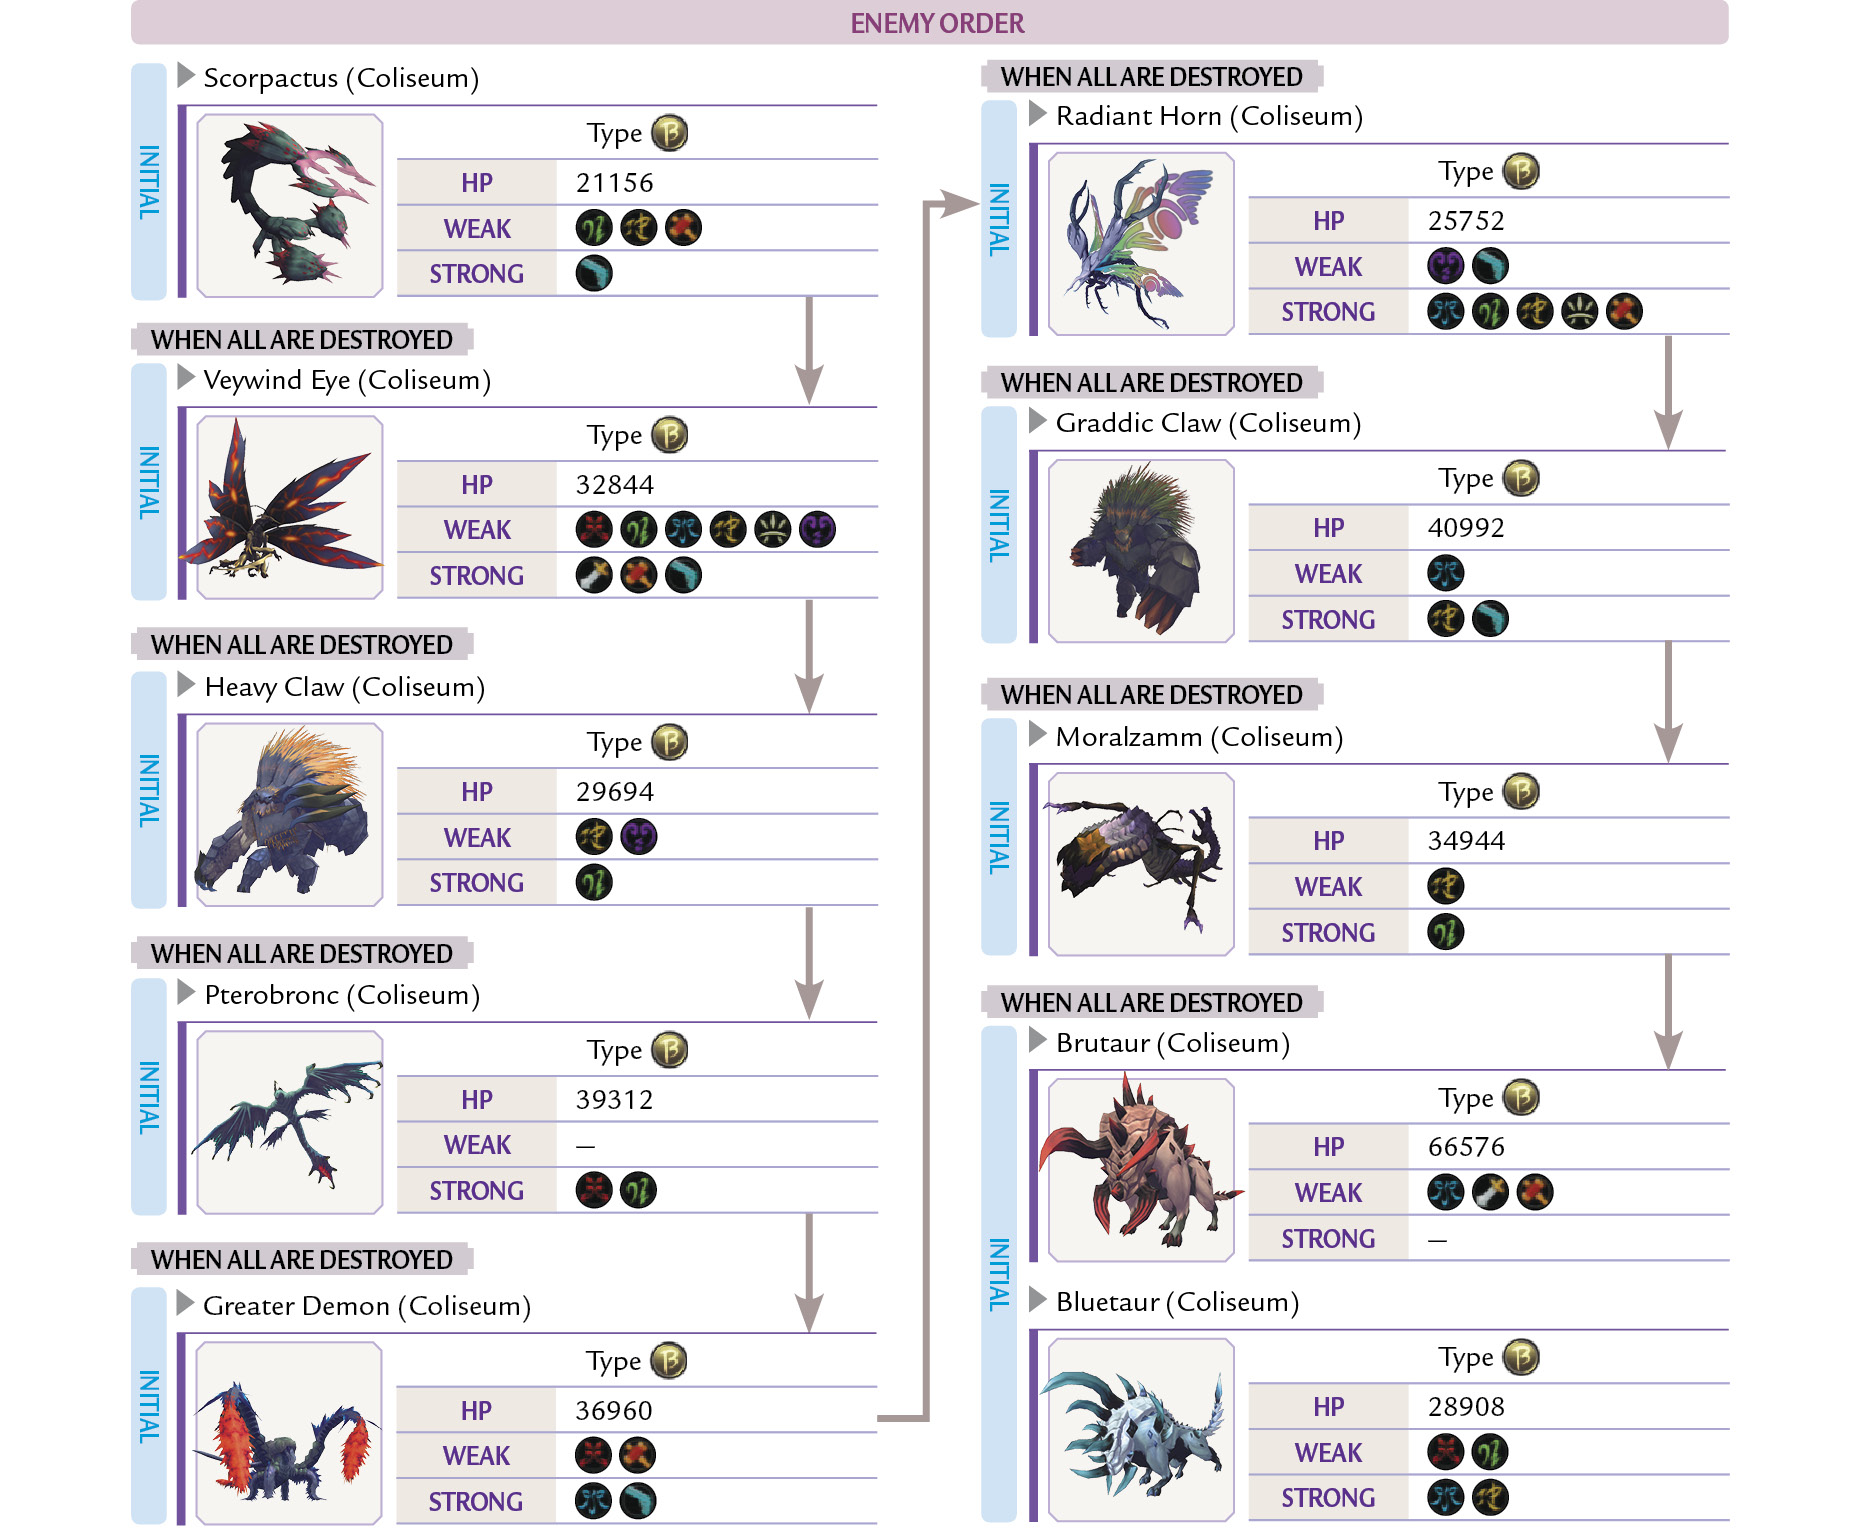
| Party | Novice | 10000 gald | After completing the Novice Rank of Tag Mode at least one time/After defeating the following enemies: Scorpactus, Veywind Eye, Heavy Claw, Greater Demon, Radiant Horn, Graddic Claw, Moralzamm, Bluetaur |
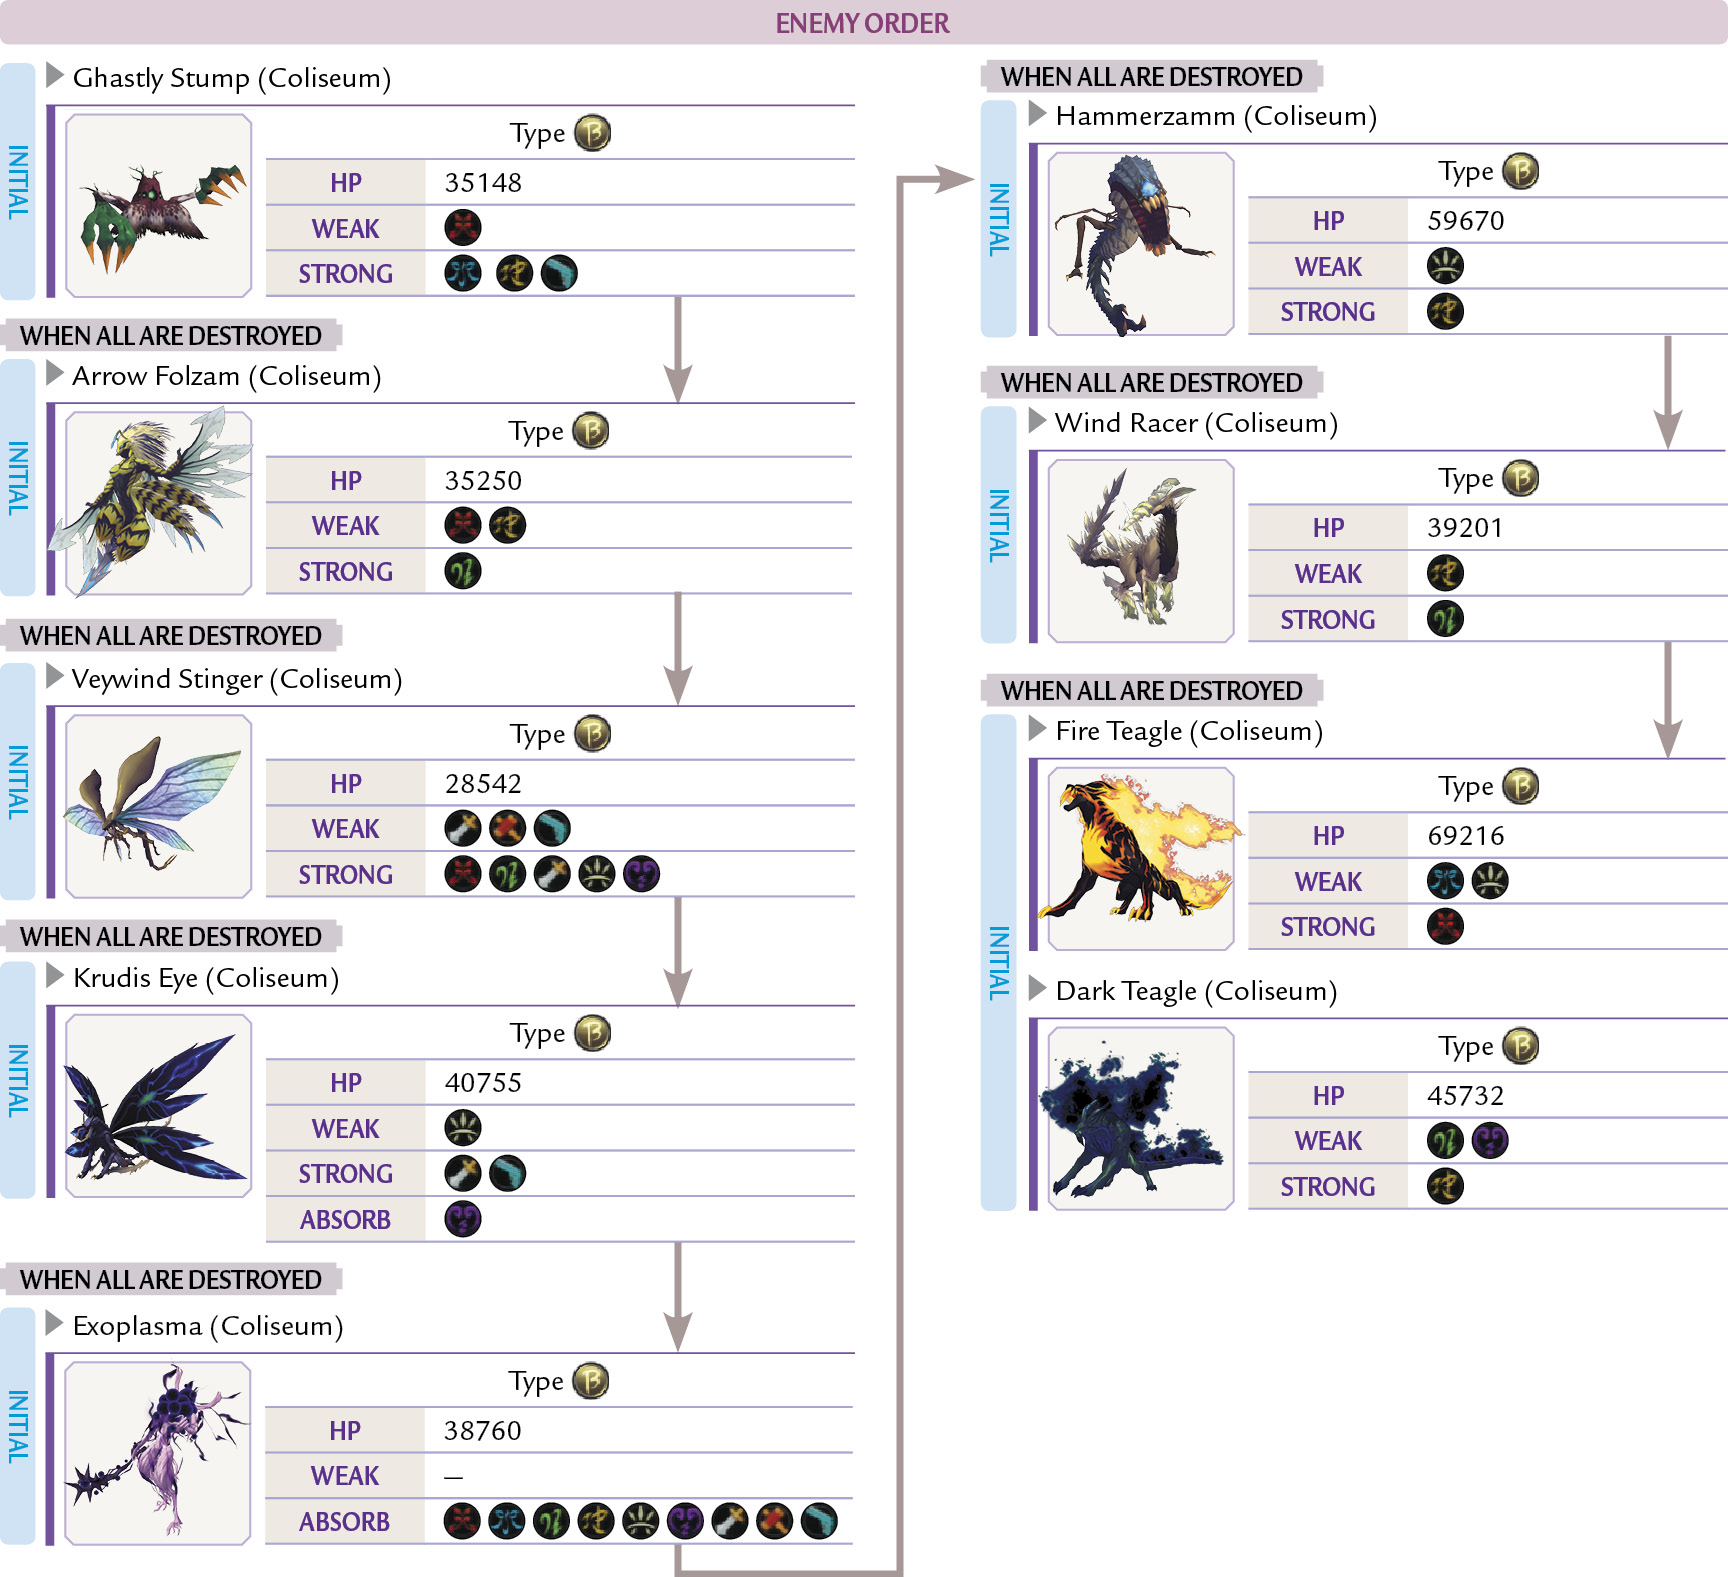
| Party | Advanced | 20000 gald | After completing Chapter 12/After unlocking the Novice Rank of Party Mode/After defeating the following enemies: Ghastly Stump, Arrow Folzam, Veywind Stinger, Krudis Eye, Exoplasma, Hammerzamm, Wind Racer, Dark Teagle |
| Party | Elite | 30000 gald | After completing the game/After unlocking the Advanced Rank of Party Mode/After defeating the following enemies: Fortune Stepper, Hydro Blade, Goddess Touch, Vampiric Plant, Cthulhu Demon, Snow Cougar, Magma Dragon |
Fulfill the Conditions to Make Additional EX Rank Bosses Appear
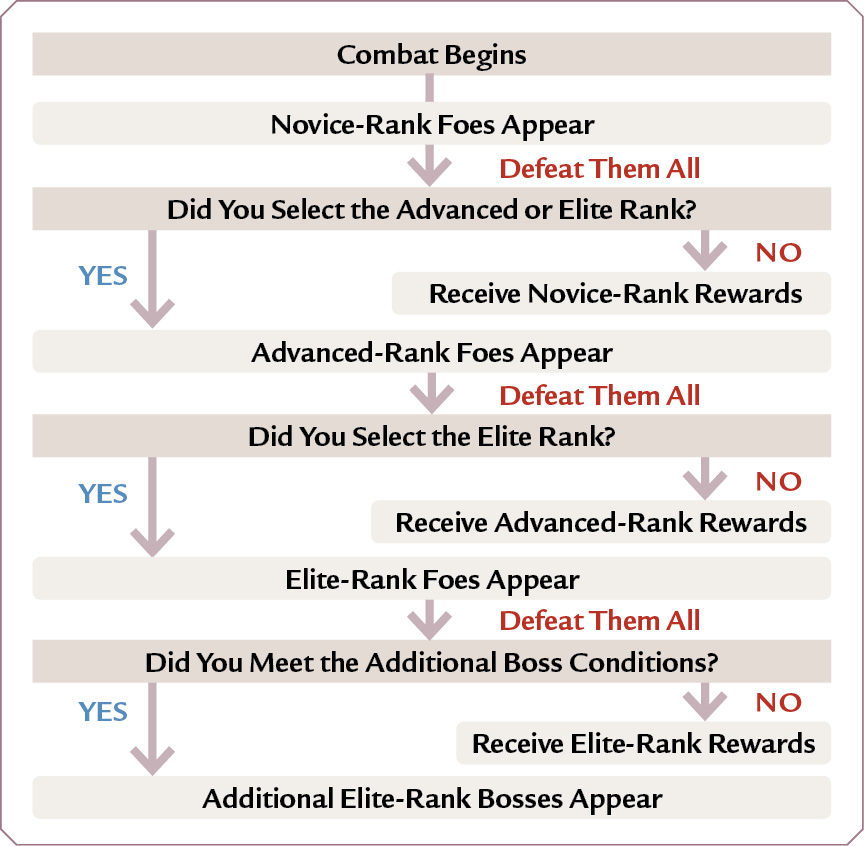
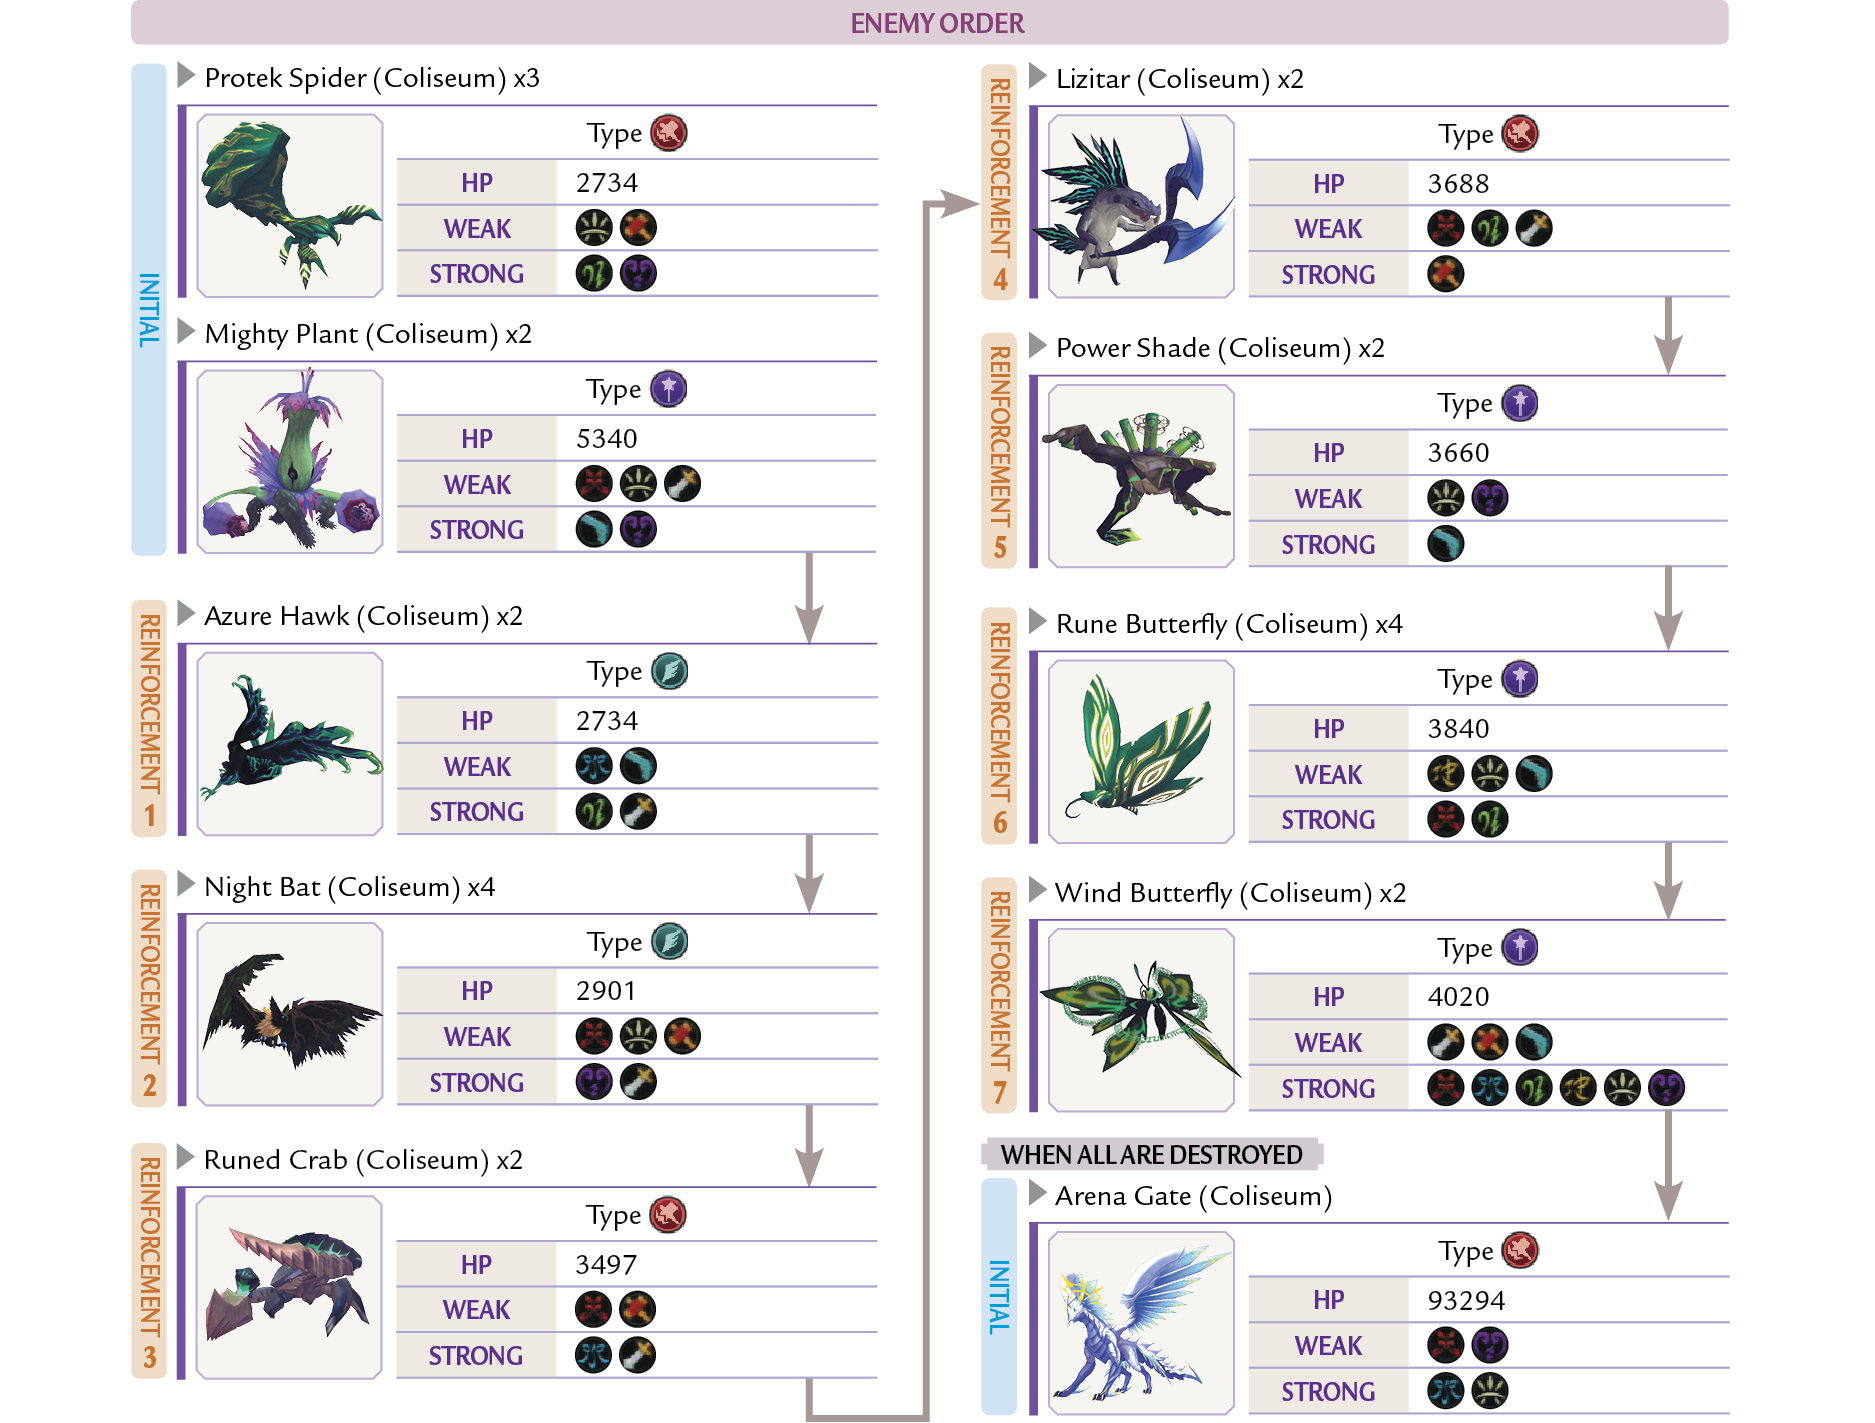
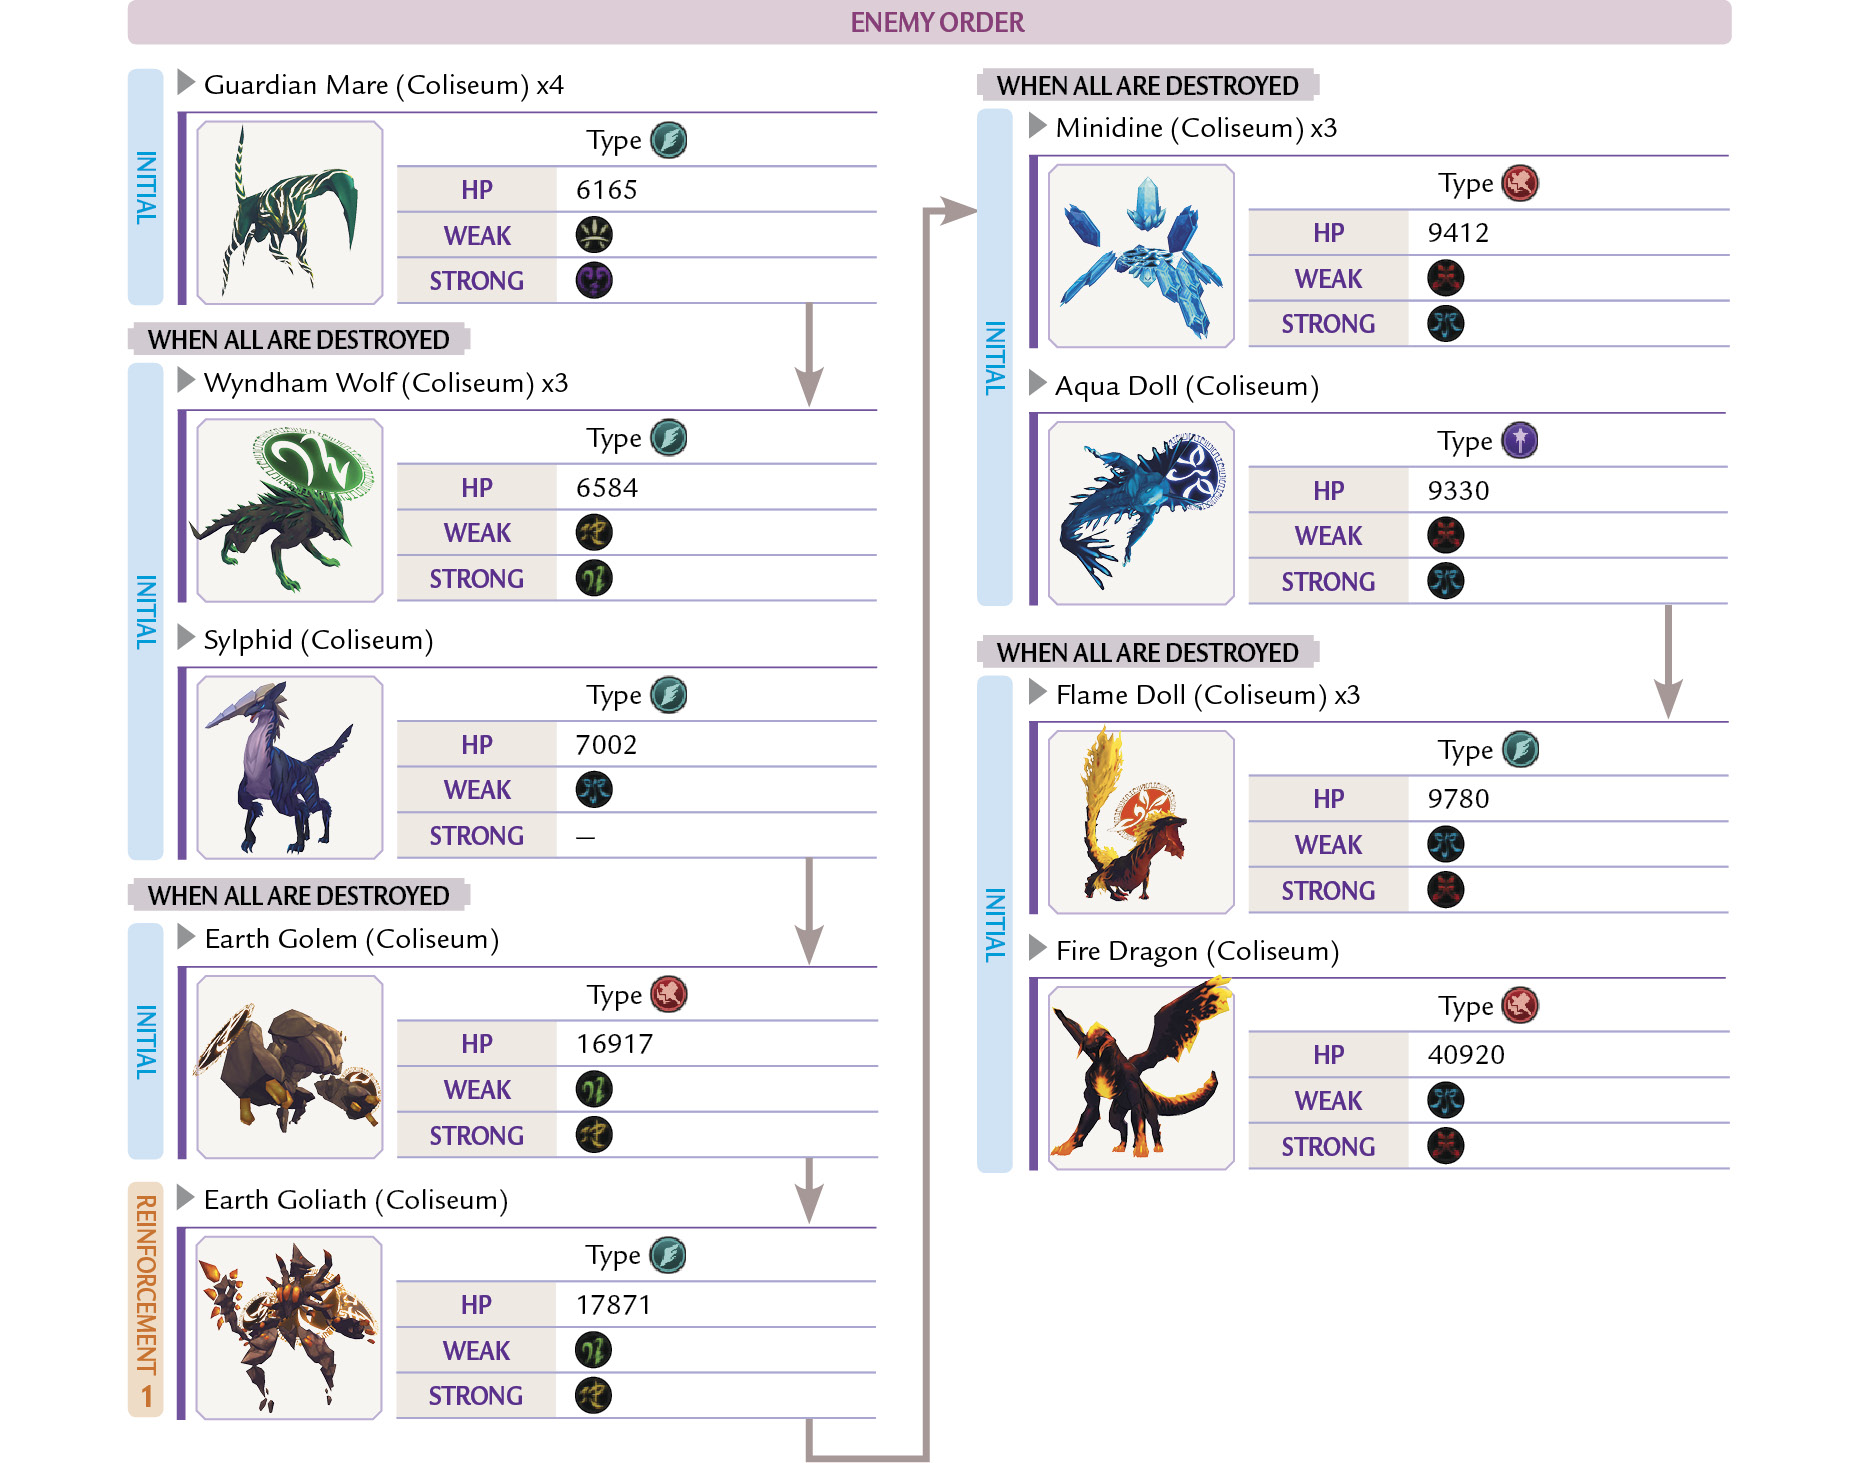
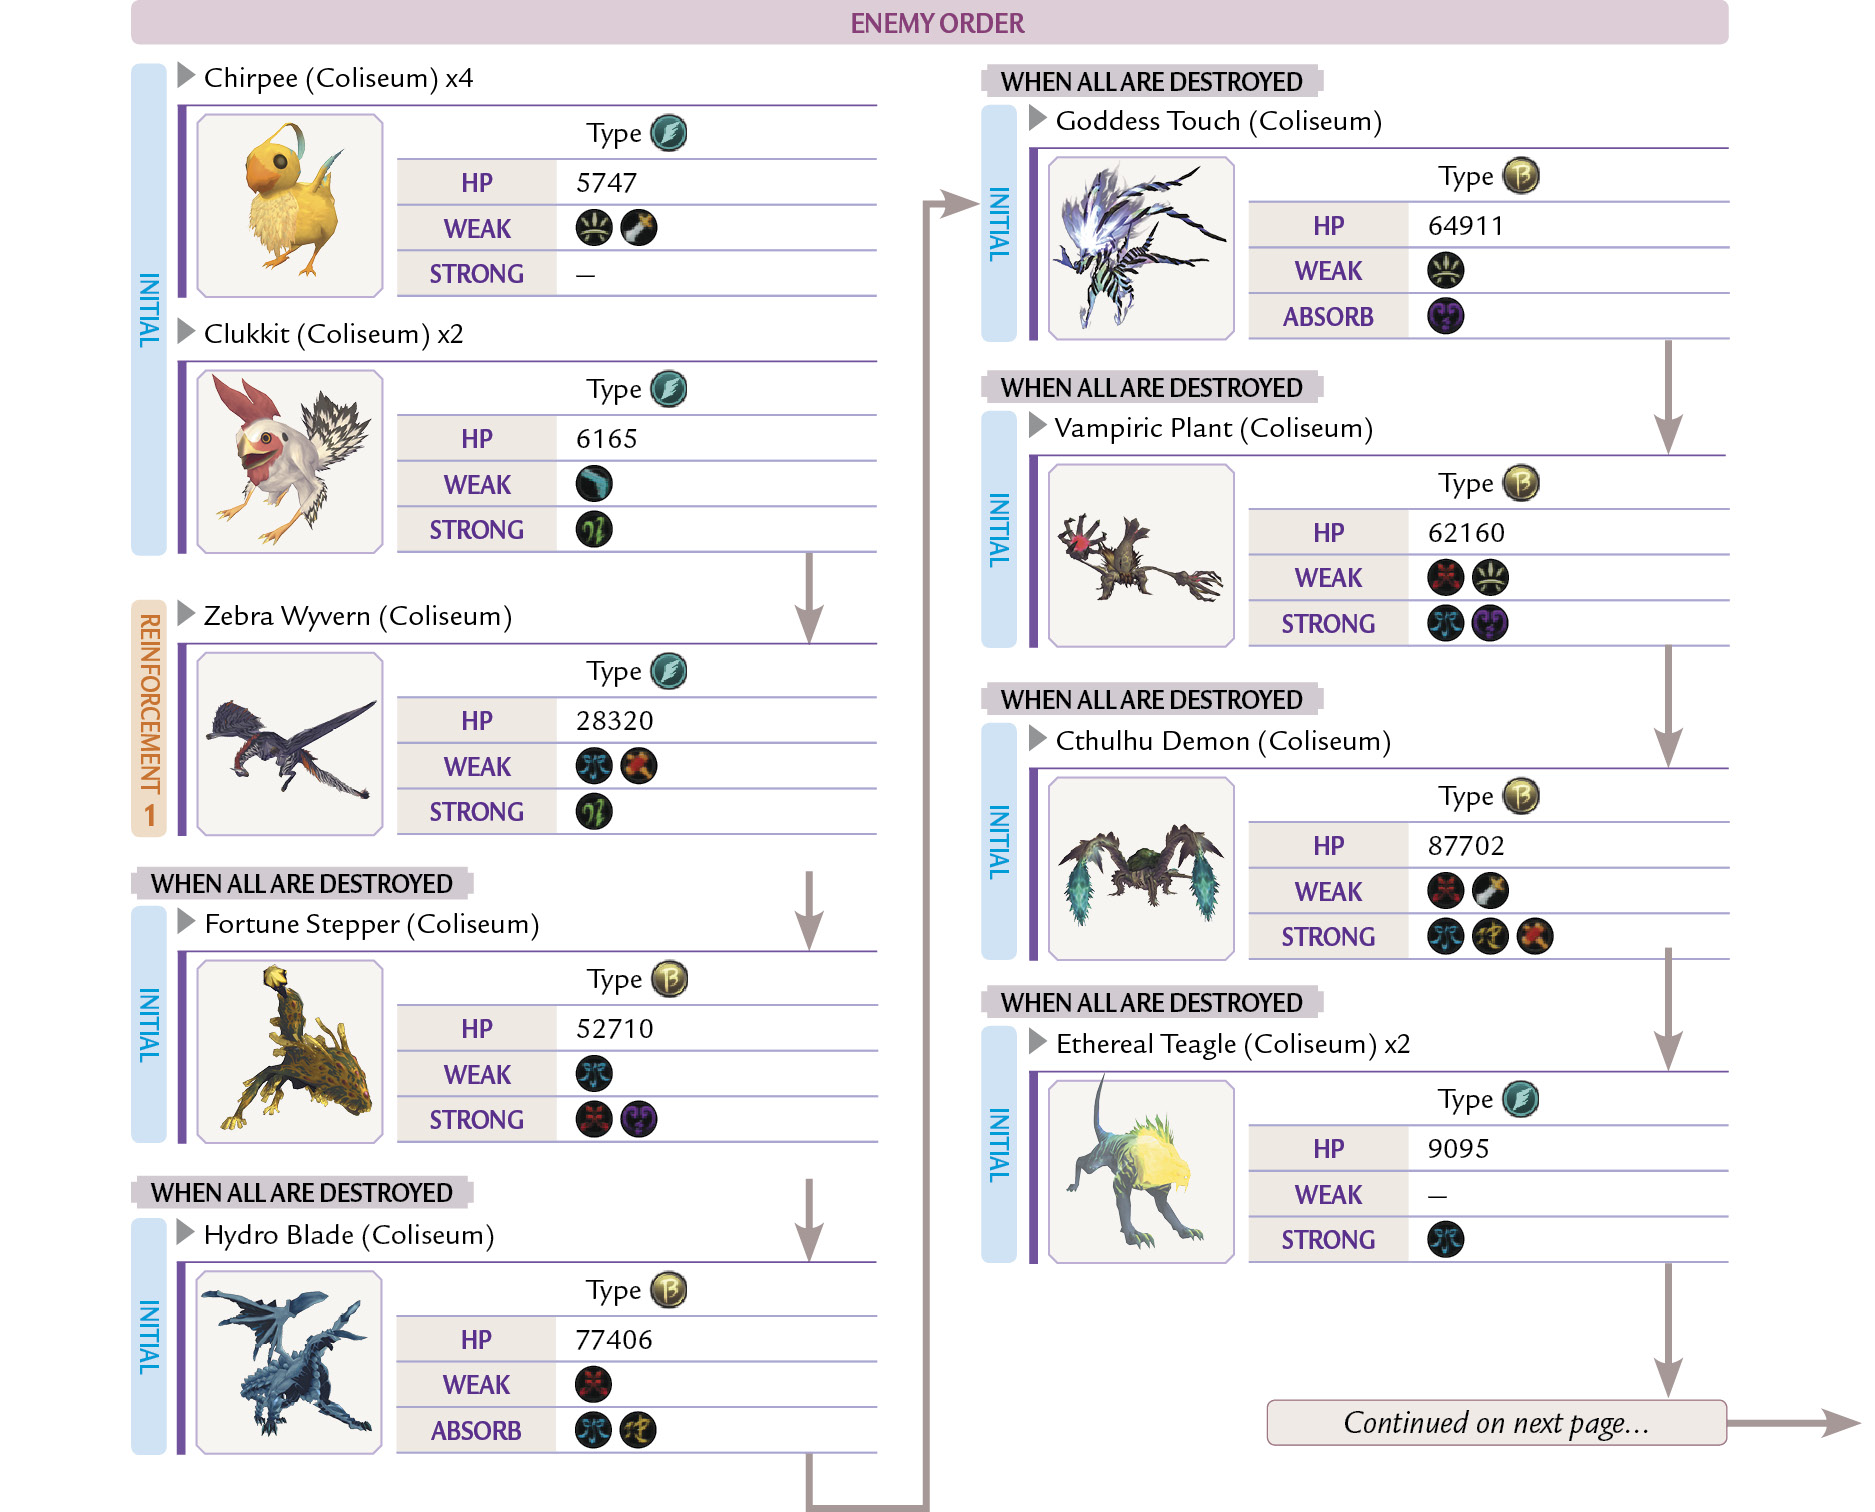
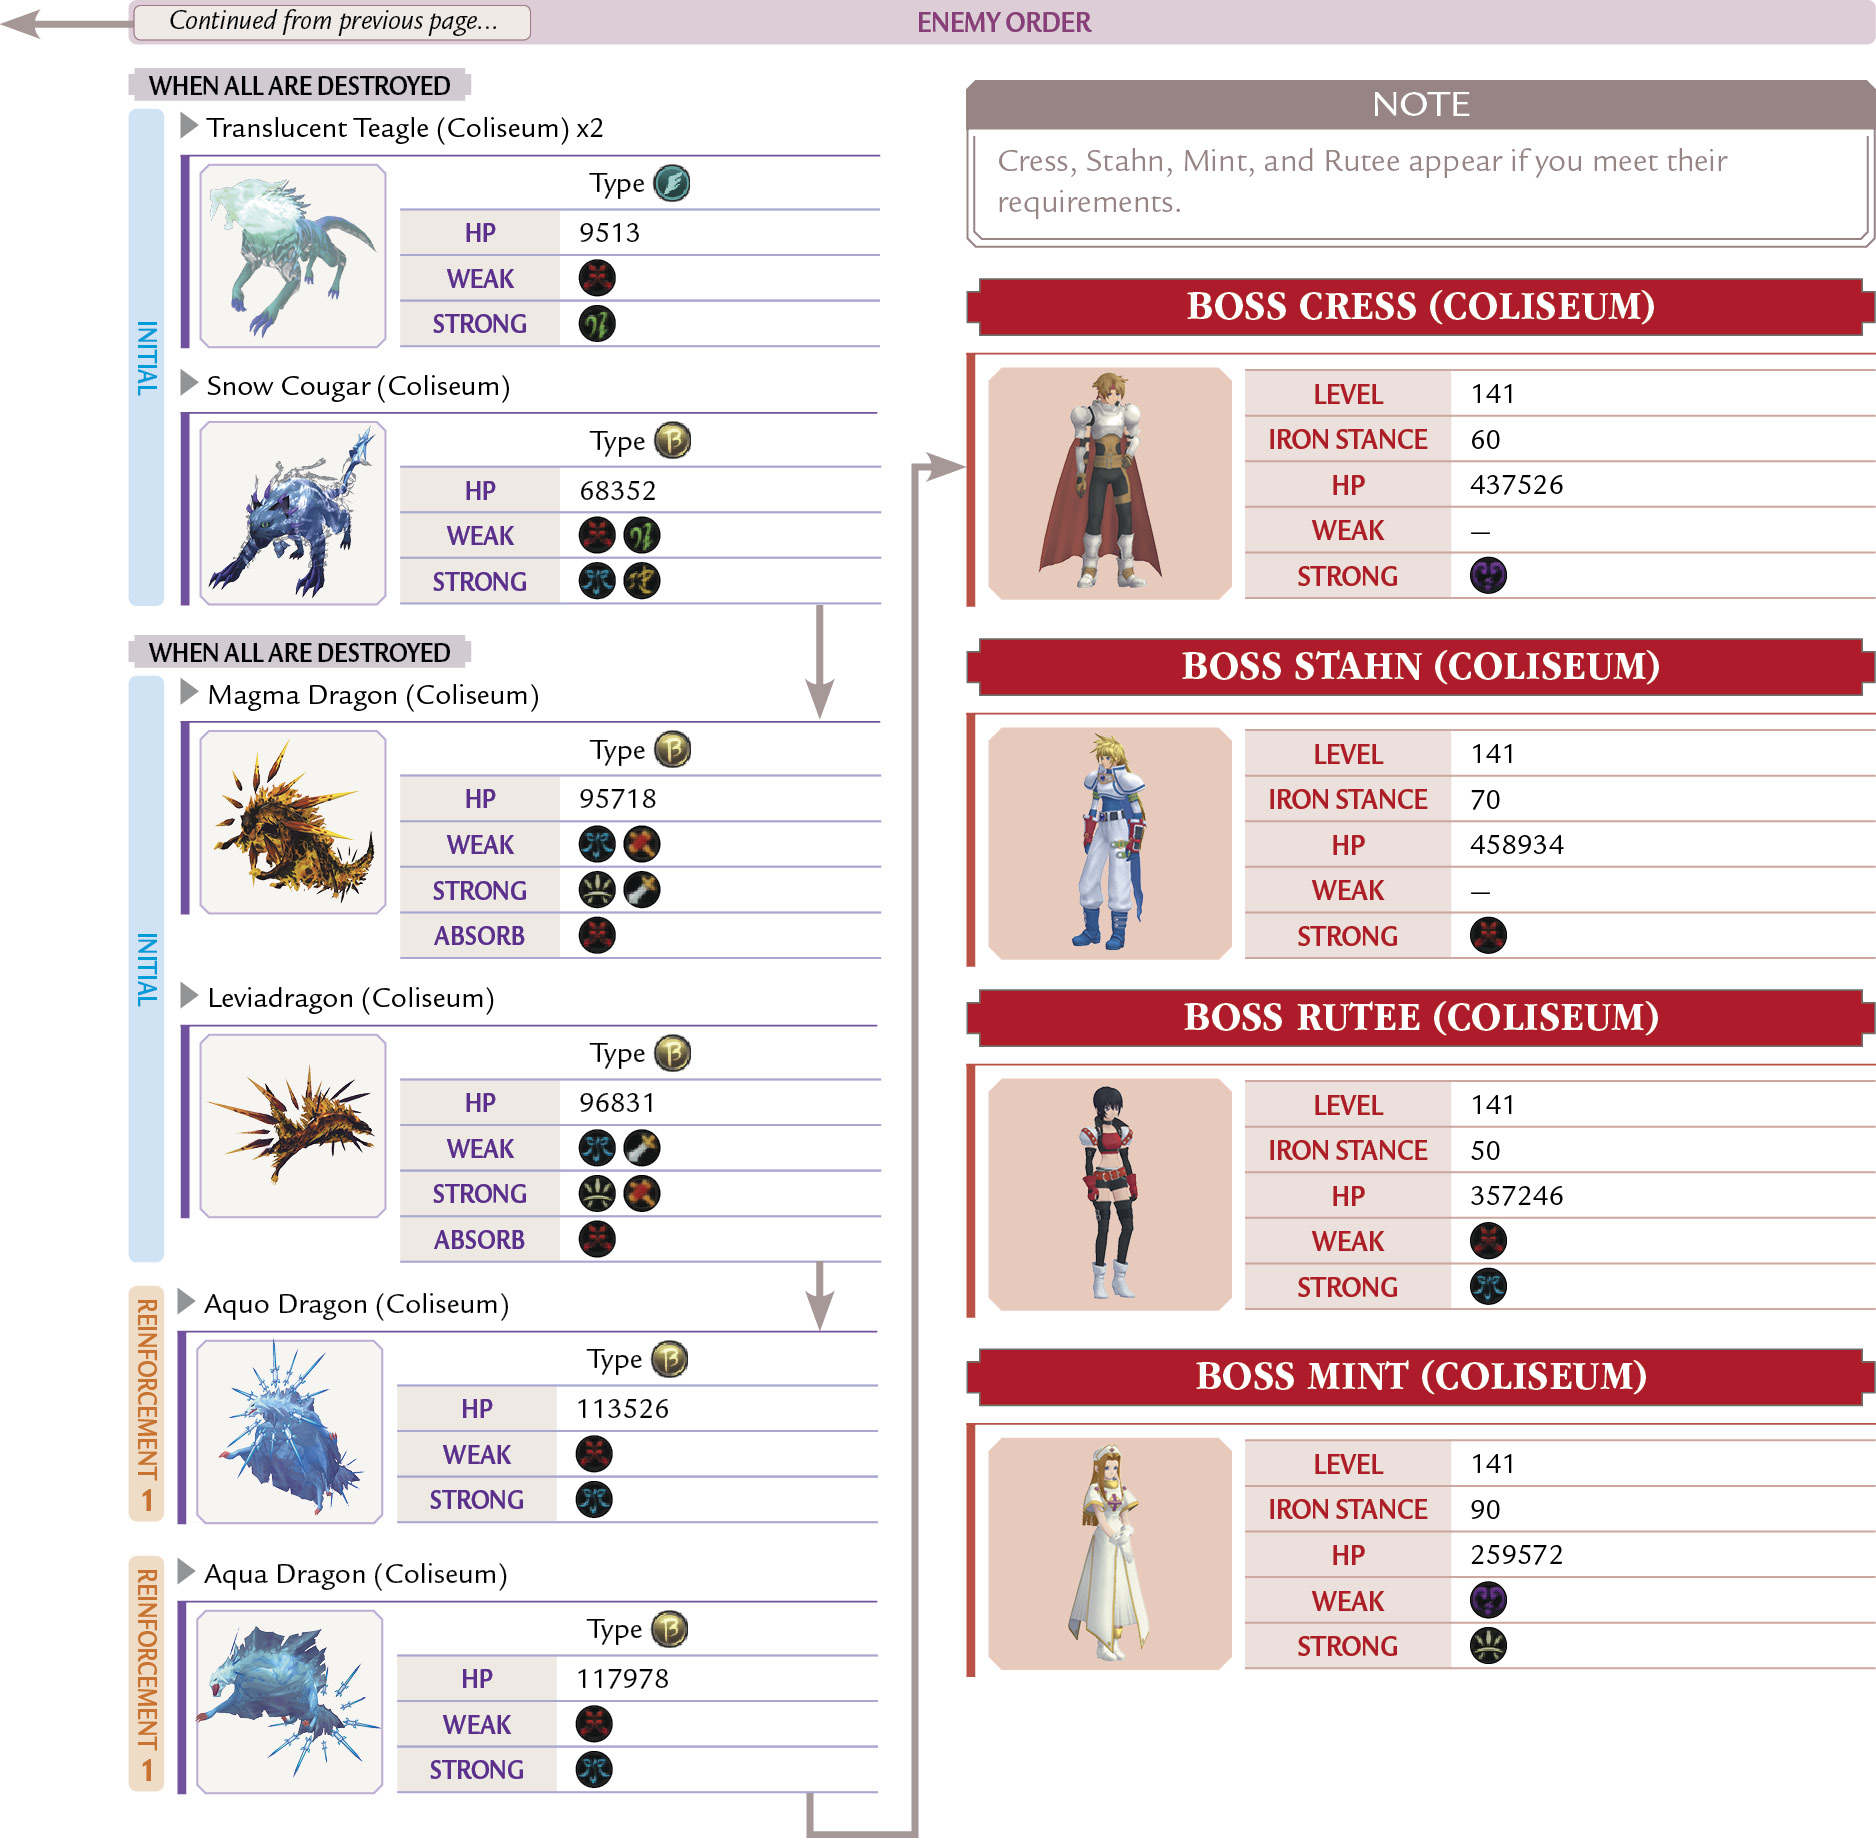
As you can see in the flowchart shown here, you’ll always battle your way up from the lower ranks. But if you meet other conditions mentioned here, new bosses like Bisley, Stahn, and Cress will appear after you defeat all of the Elite Rank enemies. In terms of power, these bosses are in a whole other league than the standard arena foes. You’ll want to save as many items as you can and brace yourself for the great challenge they present.
Flow of Combat in the Coliseum
Additional Boss Appearance Conditions
| Mode | Boss | Condition |
|---|---|---|
| Tag | Bisley | Selected Ludger as first character/Completed all pre-Bisley challenges in under 6 minutes |
| Tag | Cress | Selected Jude or Leia as first character/Defeated Stahn’s Shadow and Cress’s Shadow in Illusionary Darkness |
| Tag | Stahn | Selected Alvin or Gaius as first character/Defeated Stahn’s Shadow and Cress’s Shadow in Illusionary Darkness |
| Tag | Mint | Selected Elize or Rowen as first character/Completed Side Quest 30 |
| Tag | Rutee | Selected Milla or Muzét as first character/Completed Side Quest 31 |
| Party | Cress, Stahn, Mint, and Rutee | Defeated Stahn’s Shadow and Cress’s Shadow in Illusionary Darkness/Completed Side Quest 30/Completed Side Quest 31 |
Receive a Wealth of Items for Victory
Completing any mode of the Coliseum will earn you gald and various items. In Tag Mode, the items you receive vary based on the characters you select, so you’ll want to challenge it multiple times with different members. In the Elite Rank of the Tag Mode, everyone except Ludger receives Devil’s Arms that grow in power as you use them to defeat enemies. These have the potential to be the strongest weapons of all the ones available in the game, so you’ll definitely want to get your hands on them.
Coliseum Prizes
| Mode | Condition | Novice | Advanced | Elite |
|---|---|---|---|---|
| Tag | Clear with Ludger | — | Sealed Vesperia | Euphrosyne, the Graceful |
| Tag | Clear with Jude | Red Saffron x9 | Sealed Hearts | Folzex, the Grudge-Bearer |
| Tag | Clear with Milla | Red Chamomile x9 | Sealed Destiny | Dranduo, the Howling Beast |
| Tag | Clear with Alvin | Red Lavender x9 | Sealed Legendia | Vicehein, the Howler |
| Tag | Clear with Elize | Red Savory x4 | Sealed Abyss | Tregatoria, the Bellowing Demon |
| Tag | Clear with Rowen | Red Basil x9 | Sealed Destiny 2 | Melandetra, the Deathbringer |
| Tag | Clear with Leia | Red Jasmine x9 | Sealed Fandom | Padvent, the Incantor |
| Tag | Clear with Gaius | Red Verbena x9 | Sealed Abyss Beta | Soul’s Requiem |
| Tag | Clear with Muzét | Red Sage x4 | Sealed New World | Clasp of Deliverance |
| Tag | Clear with a character the second time | — | — | 50000 gald |
| Party | — | Alexandrite | Demon Seal | 100000 gald |
| Either | Fail | Ice Pop | Ice Pop | Ice Pop |
Tag Mode Strategy
When challenging Tag Mode, it’s important that your combatants have clear and complementary roles. For example, if one is a powerful fighter like Gaius or Ludger, you’ll want to pair them with an artes-based healer like Leia or Elize. Item-based healing is also essential, so make sure to check your Auto-Items settings.
The enemies appear in one of two patterns: new ones join as old ones are defeated, or a new batch appears when the first batch is completely wiped out.
Key Strategy Points
- Use one member as a healer.
- Set your Auto-Heal settings to perpetually keep the party at high HP and TP levels.
- Eat something before you begin.
- Conserve your TP for bosses and powerful monsters.
Novice Rank
Twin Fighters Can Fly at Novice Rank
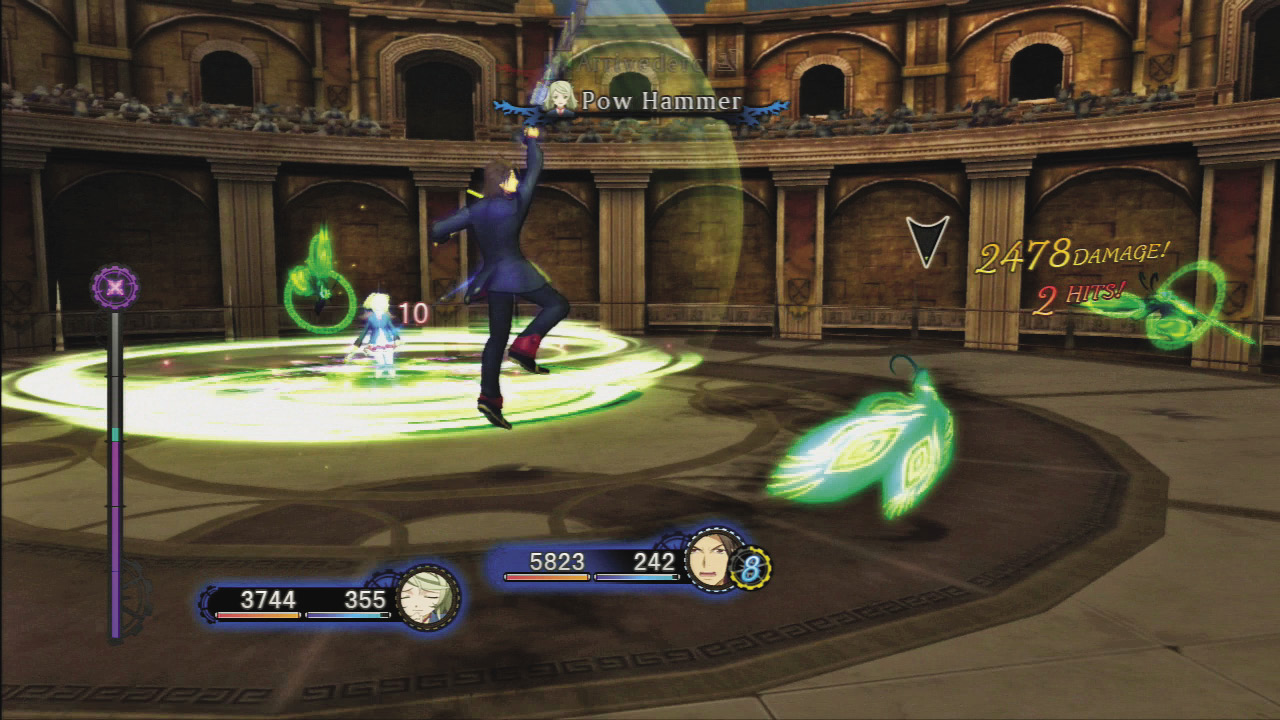
You’ll face enemies with minimal amounts of HP in the beginning of this rank, so have both characters focus on culling their numbers. The Rune Butterflies and Wind Butterflies can cast wide-area artes like Arrivederci, so make sure you keep your HP up when battling them. To make sure they can’t continuously cast their artes, be diligent about changing targets to assess the threat level of each enemy on the battlefield. When an enemy begins casting an arte, make sure you don’t miss the opportunity to cancel its spell with a flurry of attacks. Also be diligent about refilling your HP so you’re never in a situation where a character is only one hit away from being KO’d.
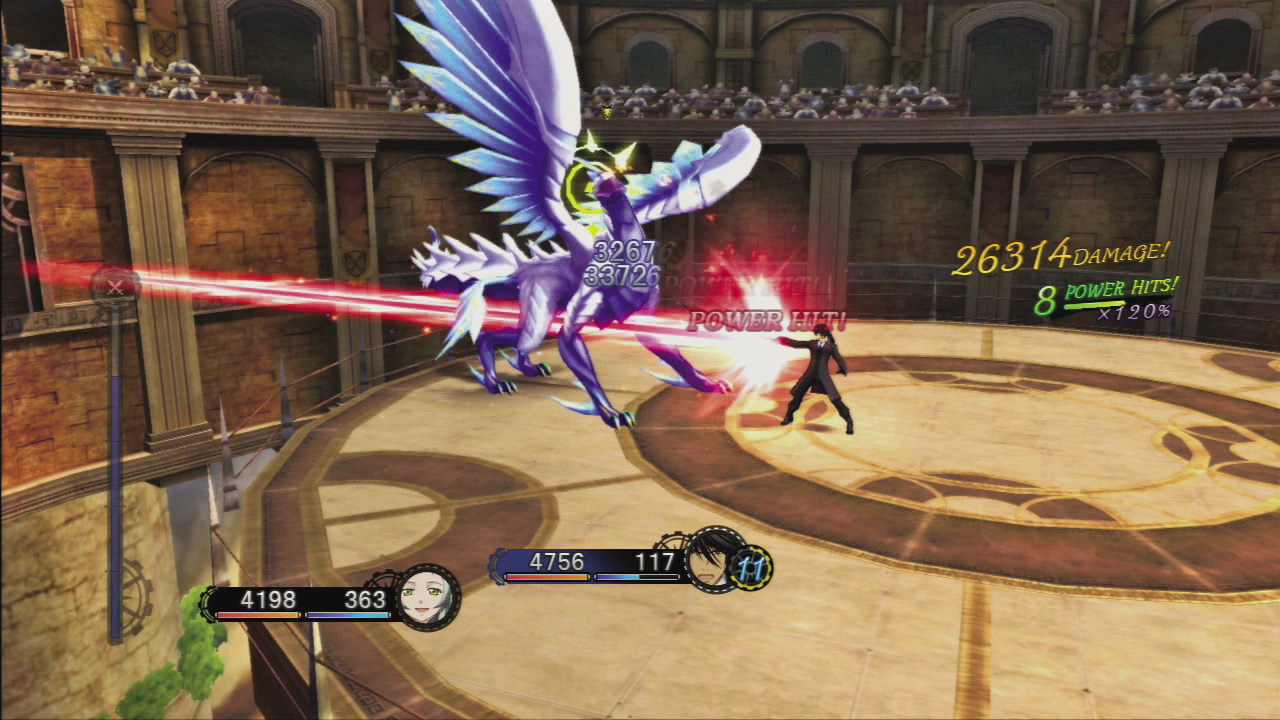
The Arena Gate that is your final foe is as powerful as it is sluggish. Focus on guarding and evading to build up your chromatus gauge, and then use your transformation to slay it, attacking primarily with the knockdown-inflicting Hexentia arte. When using other characters, exploit its weakness to Fire- or Dark-type damage to gain Power Hits.
Advanced Rank
Evade Judgment’s Launching Attack
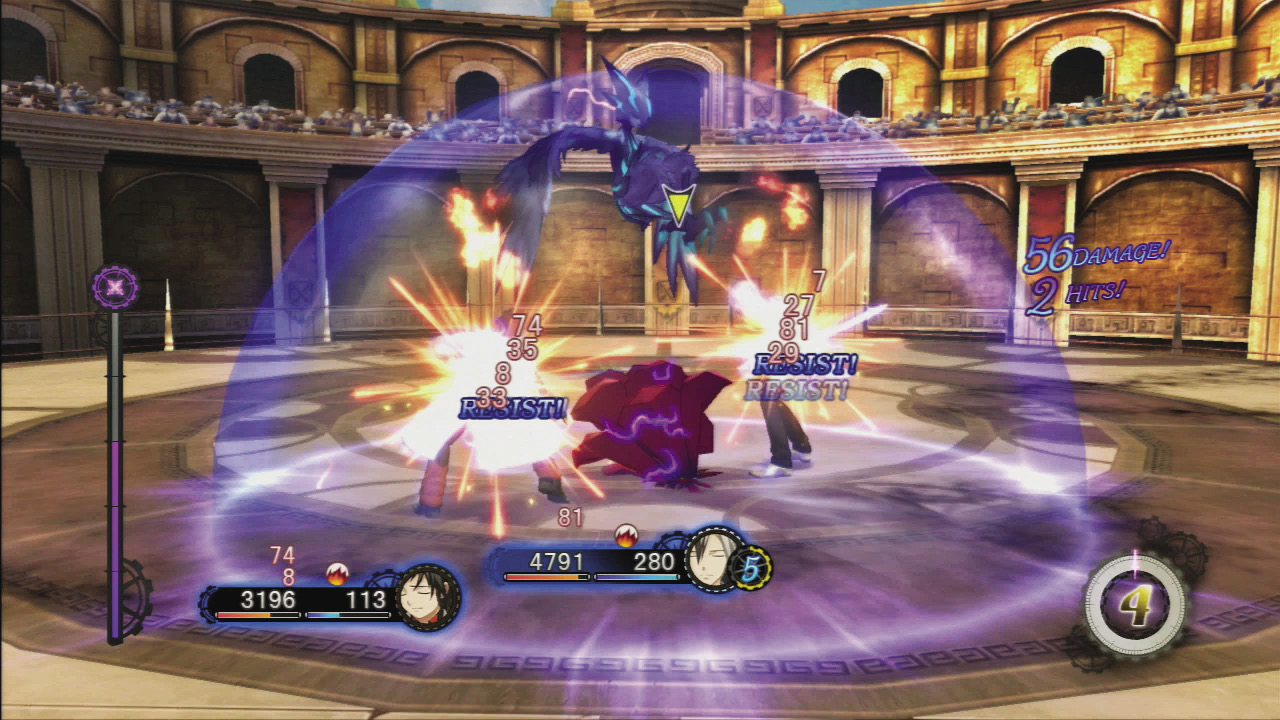
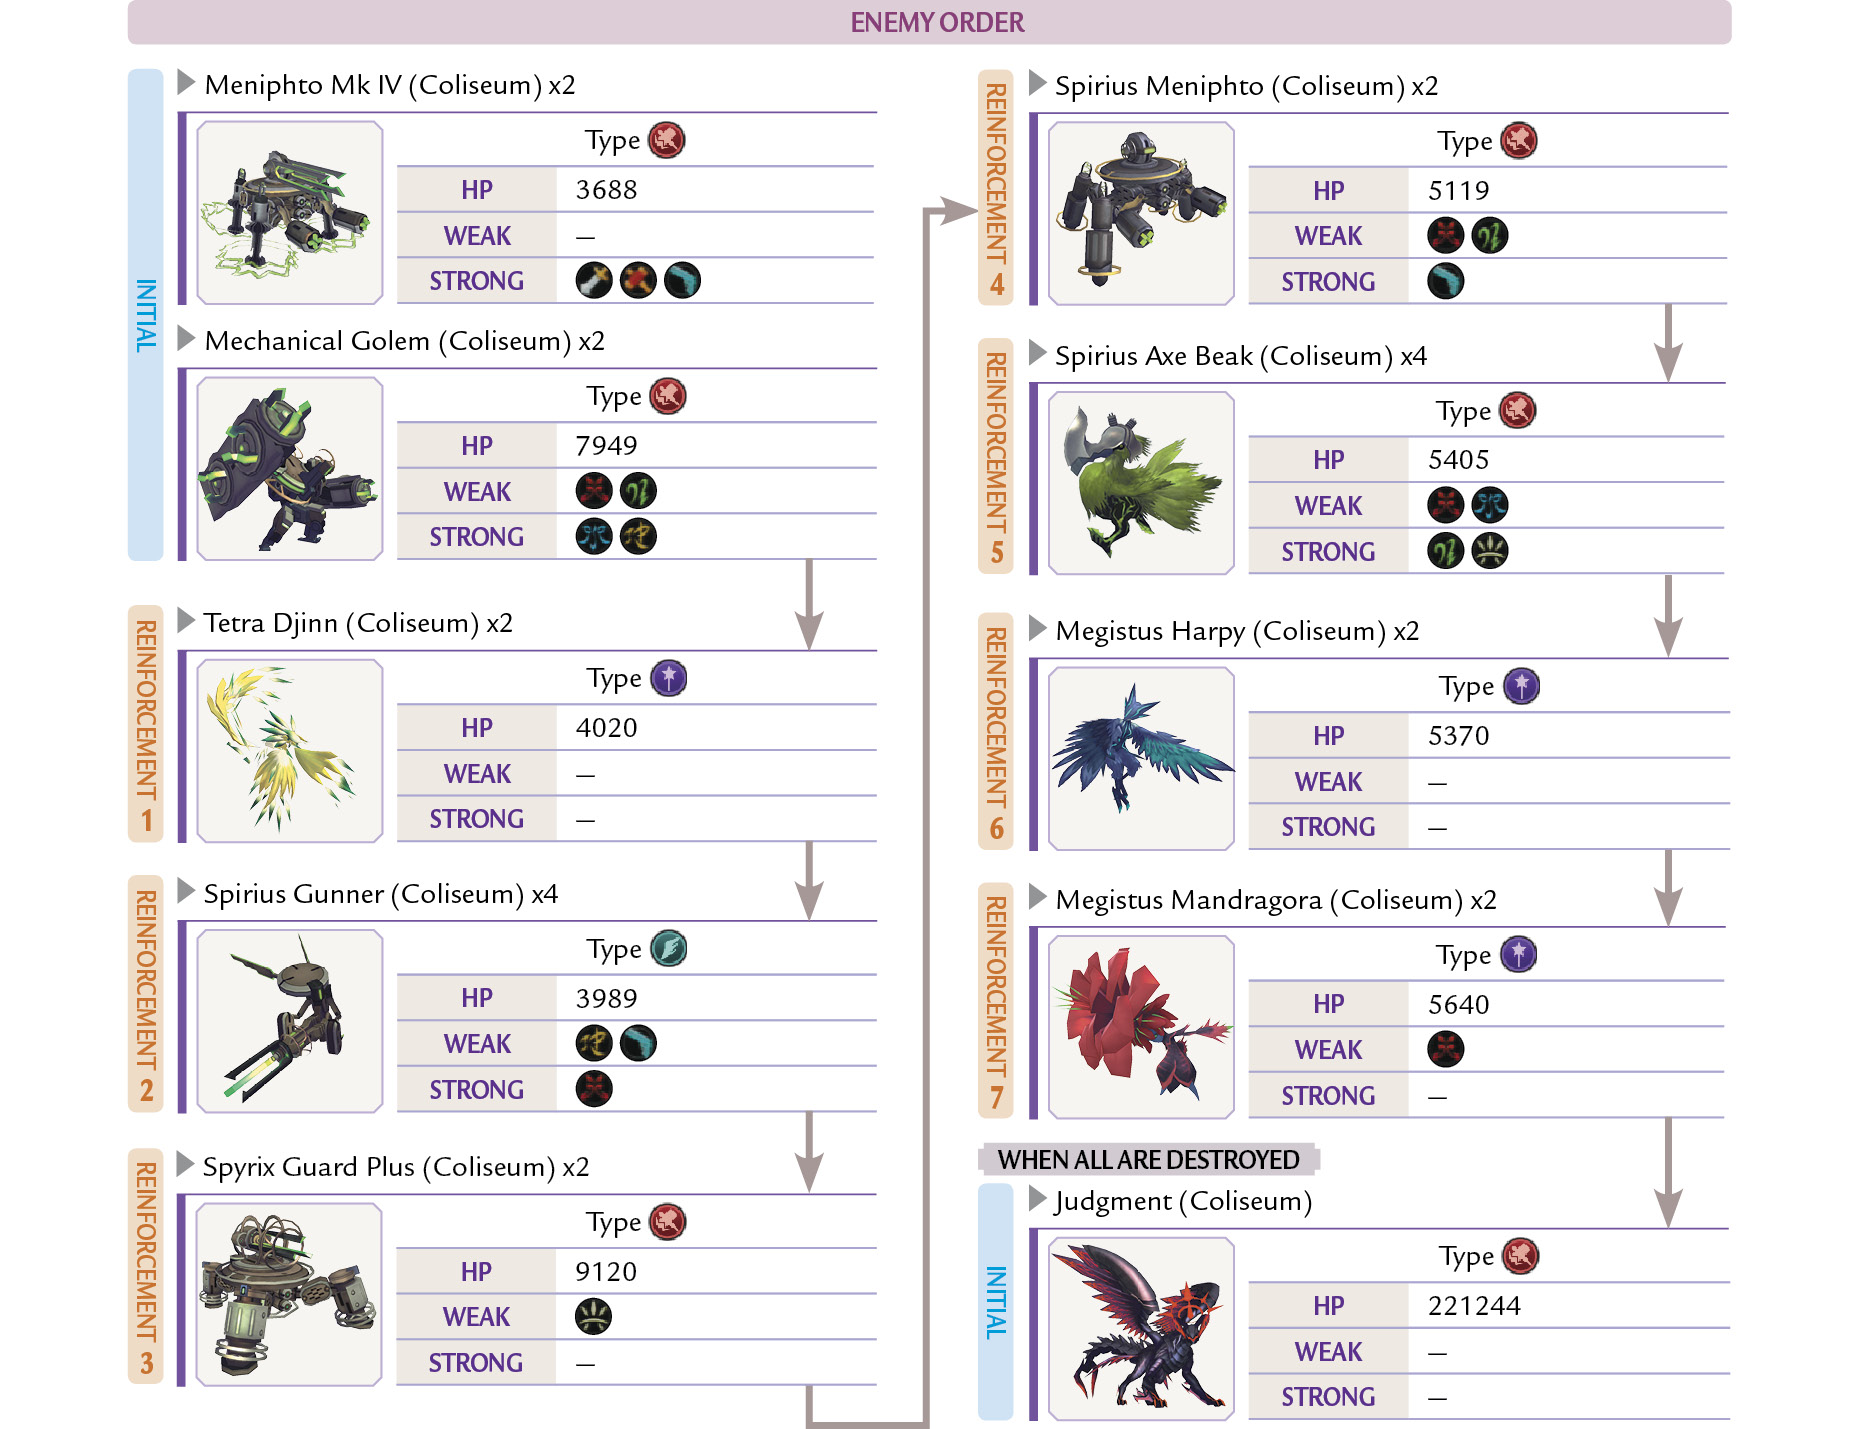
Many Advanced-Rank enemies are weak to fire, so it’s a good idea to prepare yourself with Fire-type weapons and artes. The most dangerous foe in this batch is the Megistus Mandragora, which not only uses attacks with wide areas of effect, but is also capable of summoning additional comrades. You can’t allow it to increase the enemy’s already significant numerical advantage, so always destroy it as soon as it appears. You’ll face as many as five foes at once in this rank, so use free run to keep from being surrounded. Also, use your linked artes as soon as you refill your linked artes gauge.
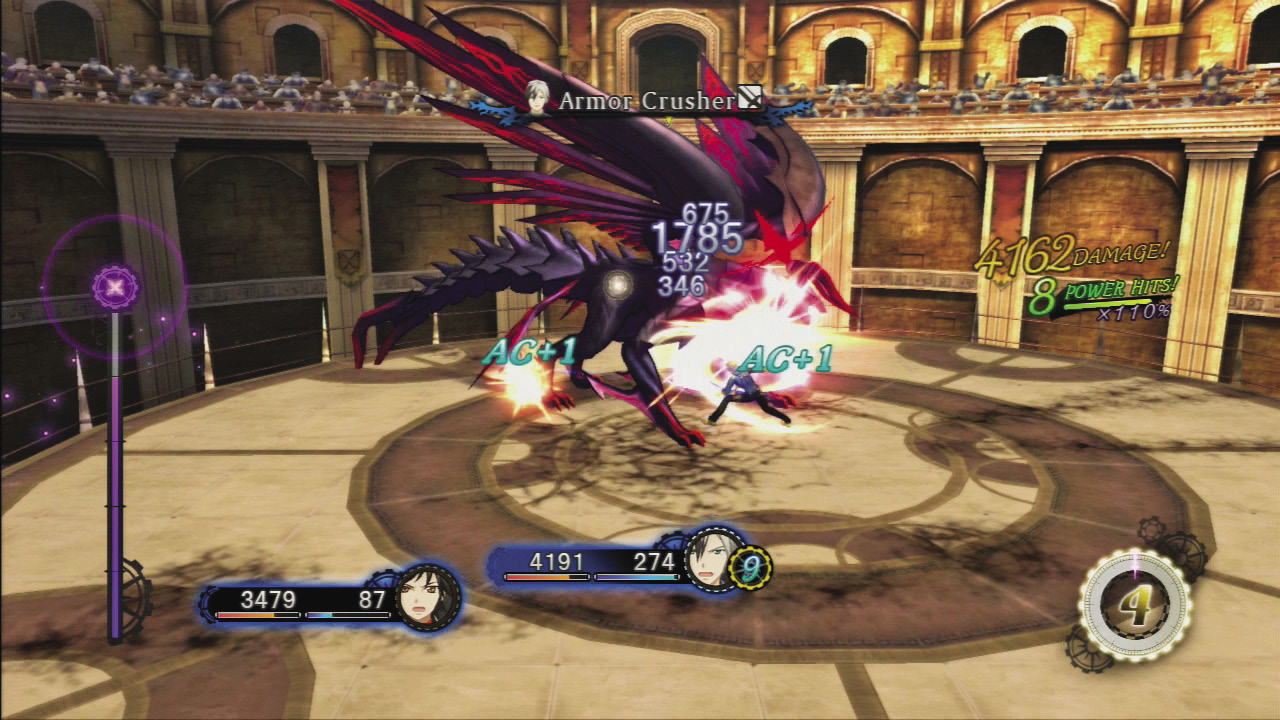
The final enemy is Judgment, who can burrow underground and lunge back to the surface to deal significant amounts of damage. However, it takes a while between when it burrows and when it emerges again, giving you plenty of time to guard. Since Judgment has no damage-type weakness, use the Power Charge 2 skill to fuel weakness-exploiting combos. You can also transform and take it out in one fell swoop with your Chromatus form.
Enemies to Watch Out For
Tetra Djinn
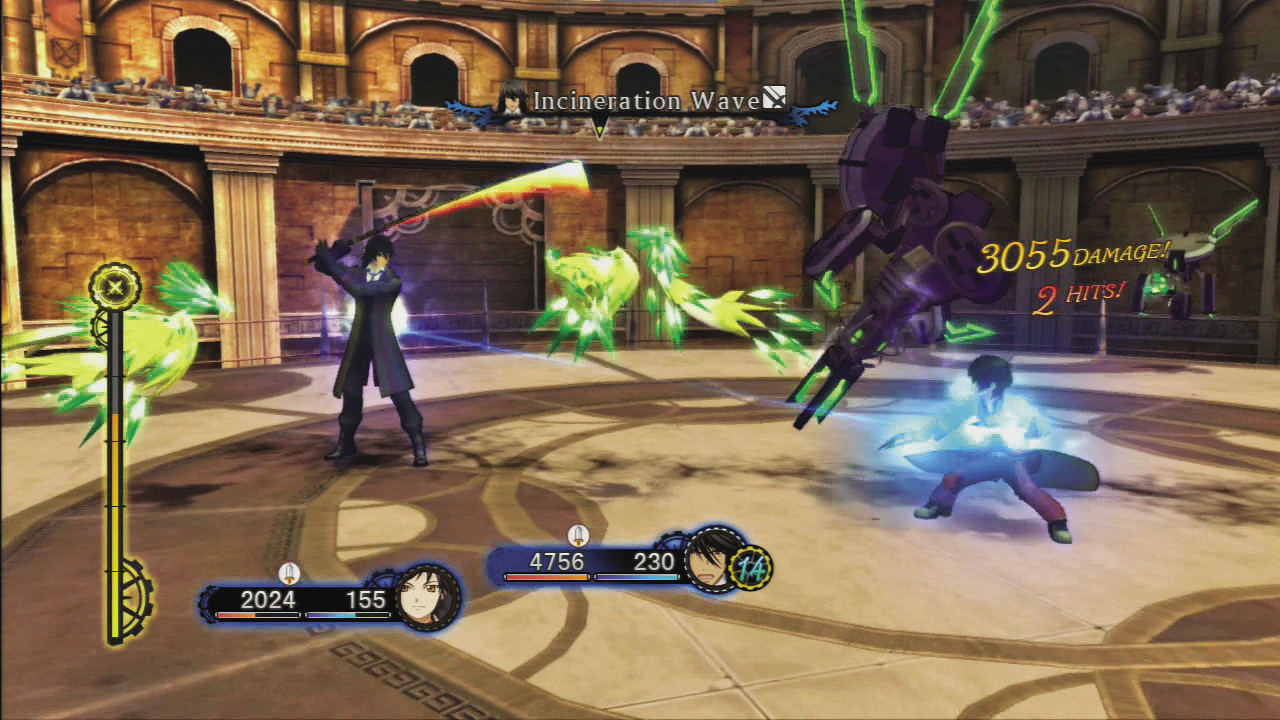
This foe continuously casts artes like Blue Sphere and Flame Ring. Rush up to it as soon as you see it begin casting an arte and hit it with a barrage of attacks to try to interrupt the casting.
Spyrix Guard Plus
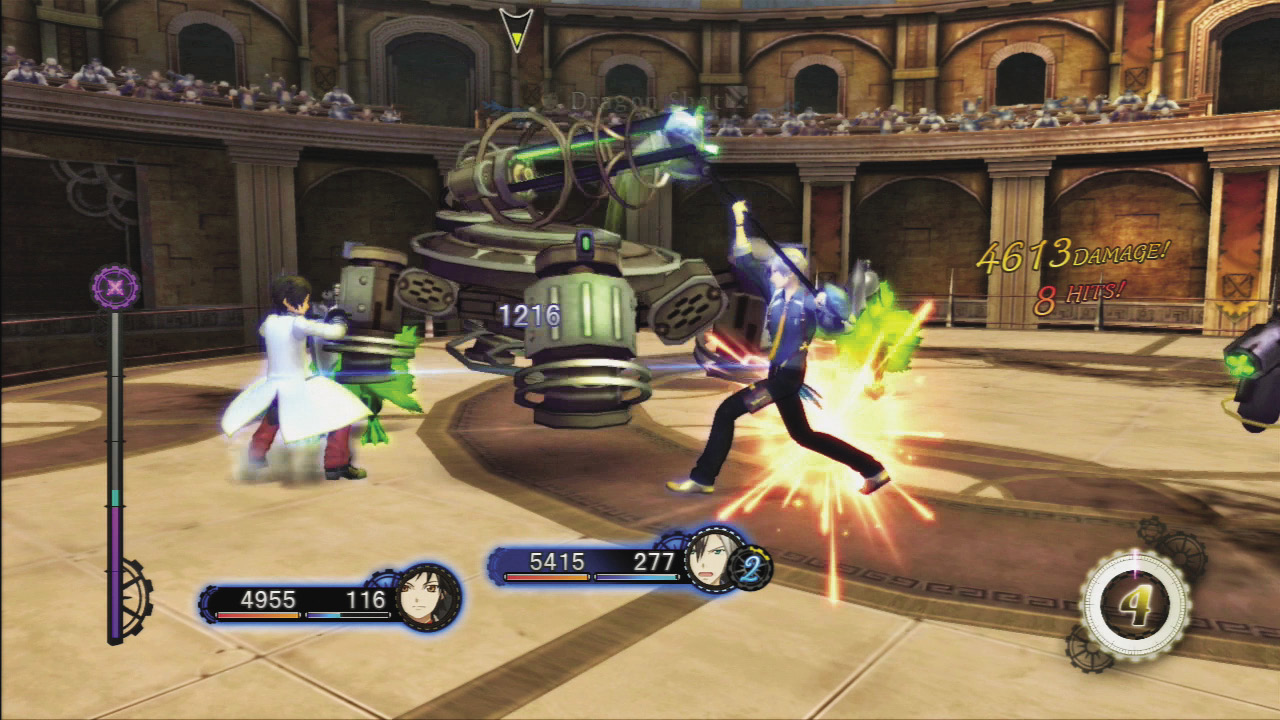
This foe attacks with a variety of beam attacks, some of which fire straight ahead, and some of which fire as the foe spins in an arc. If you spend too much time fighting it, it will heal itself, so have the party concentrate their attacks to eliminate it quickly.
Megistus Mandragora
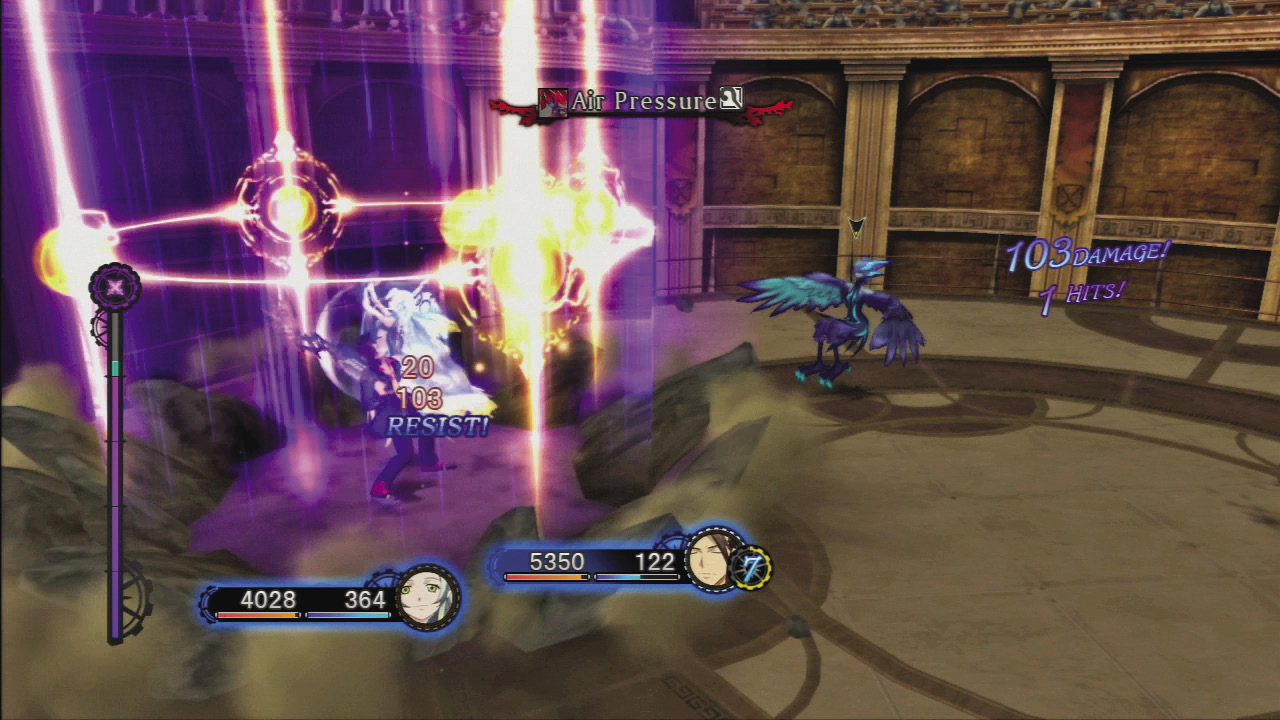
This foe uses Air Pressure to Petrify its targets, and Binding Light Circle to inflict Paralysis and Burn. Both have wide areas of effect, so attack relentlessly when it begins casting an arte in an attempt to cancel it.
Elite Rank
Save Your Items for the Boss
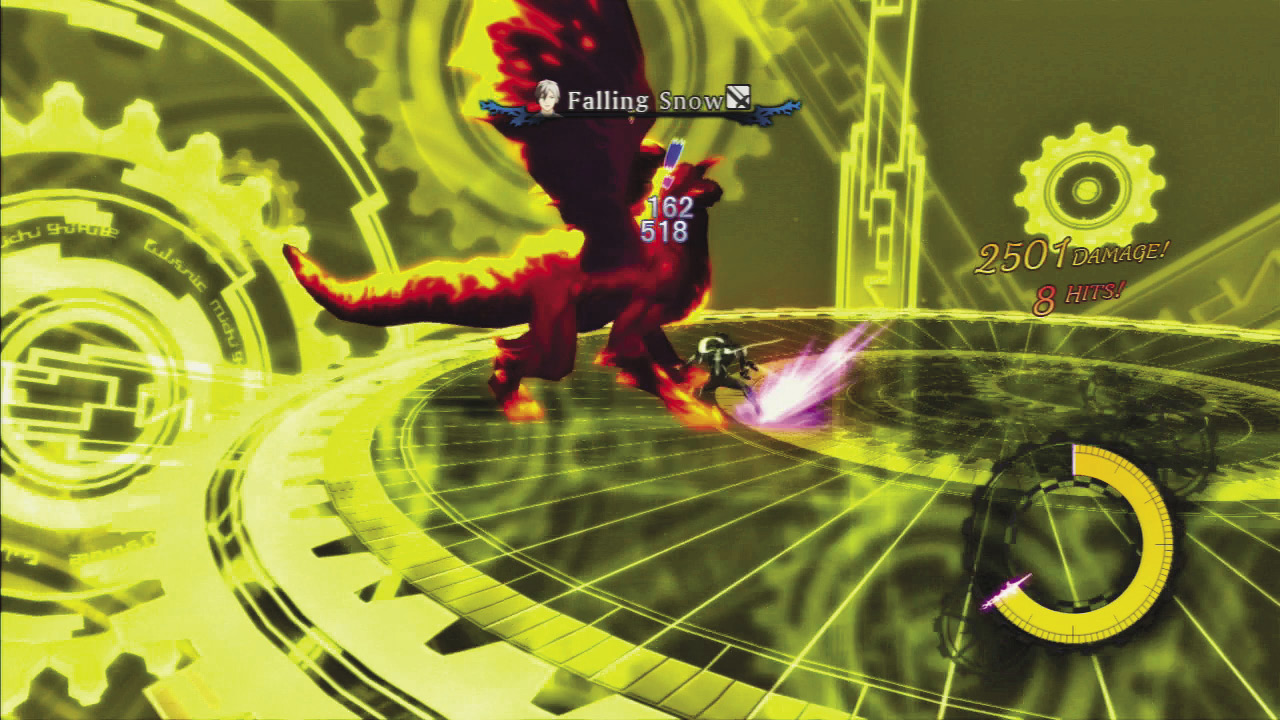
After you defeat the Fire Dragon and three Flame Dolls in the Elite Rank, the boss will appear. To defeat it, you’ll want to have an average character level of around 120; if you try to challenge the Elite Rank right after completing the main storyline, you won’t have much hope of victory. You’ll need to level up and learn the game’s best artes and skills first. Even then, the boss takes a little planning. Until you reach it, you should turn all your Auto-Items settings to off to conserve as many recovery items as possible. At the end of the battle with a Fire Dragon, make sure to finish it with a completely full Linked Artes Gauge.
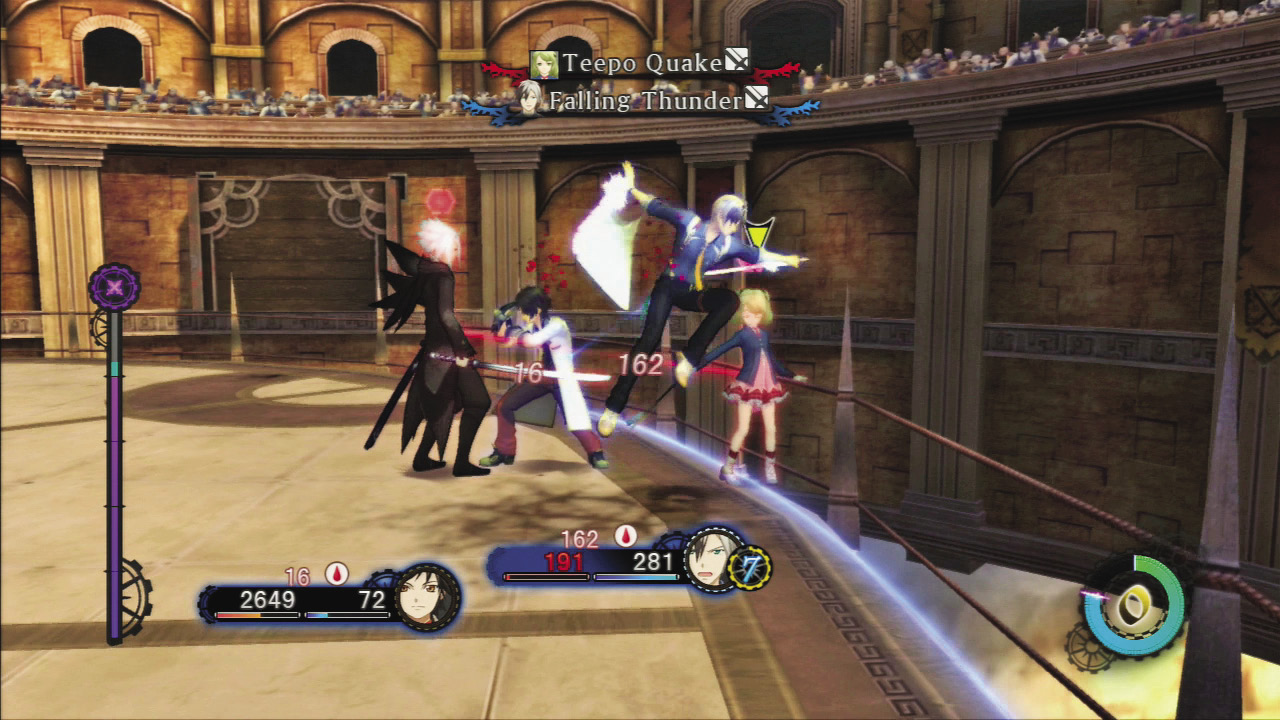
Eventually the boss will be joined by one of the party members you didn’t select as a second boss (the choice is random). Whoever it is, team up and pick them off first.
Enemies to Watch Out For
Earth Golem
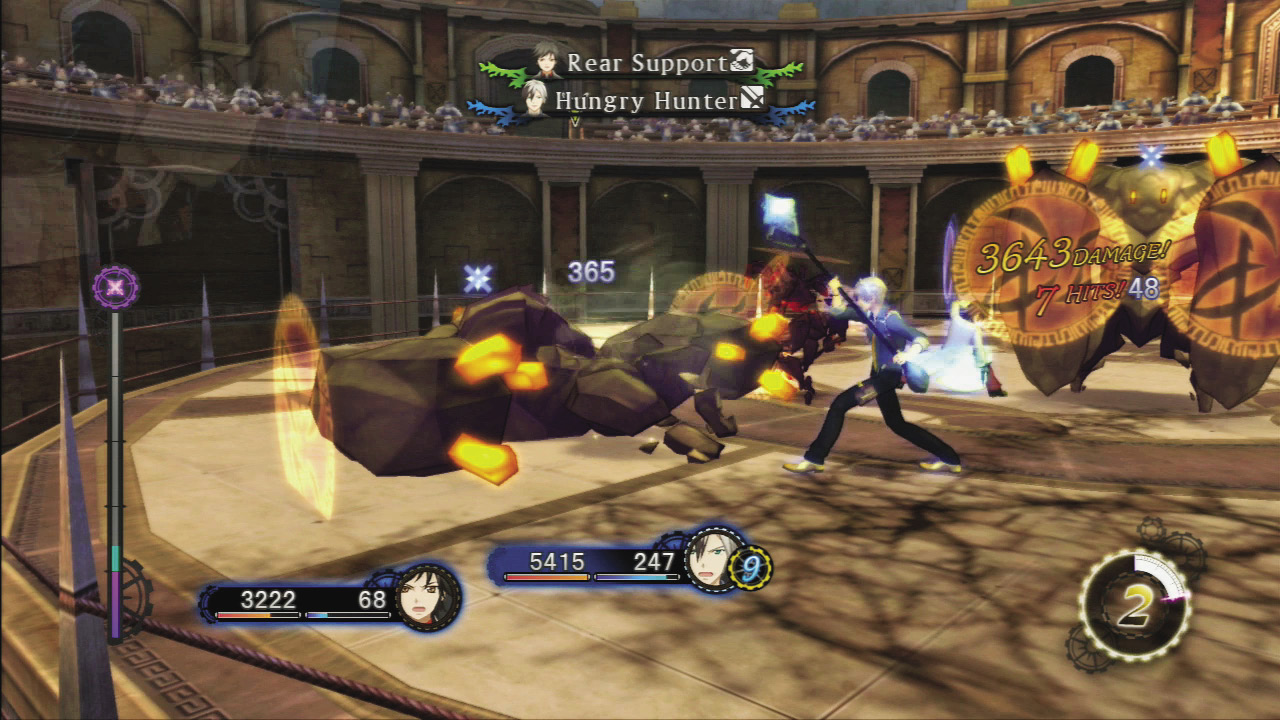
Three of these foes appear at once, and since their attacks have a wide range, you’ll want to free run away and target whichever one is farthest from his friends. Use Wind-type artes to start a weakness-exploiting combo.
Aqua Doll
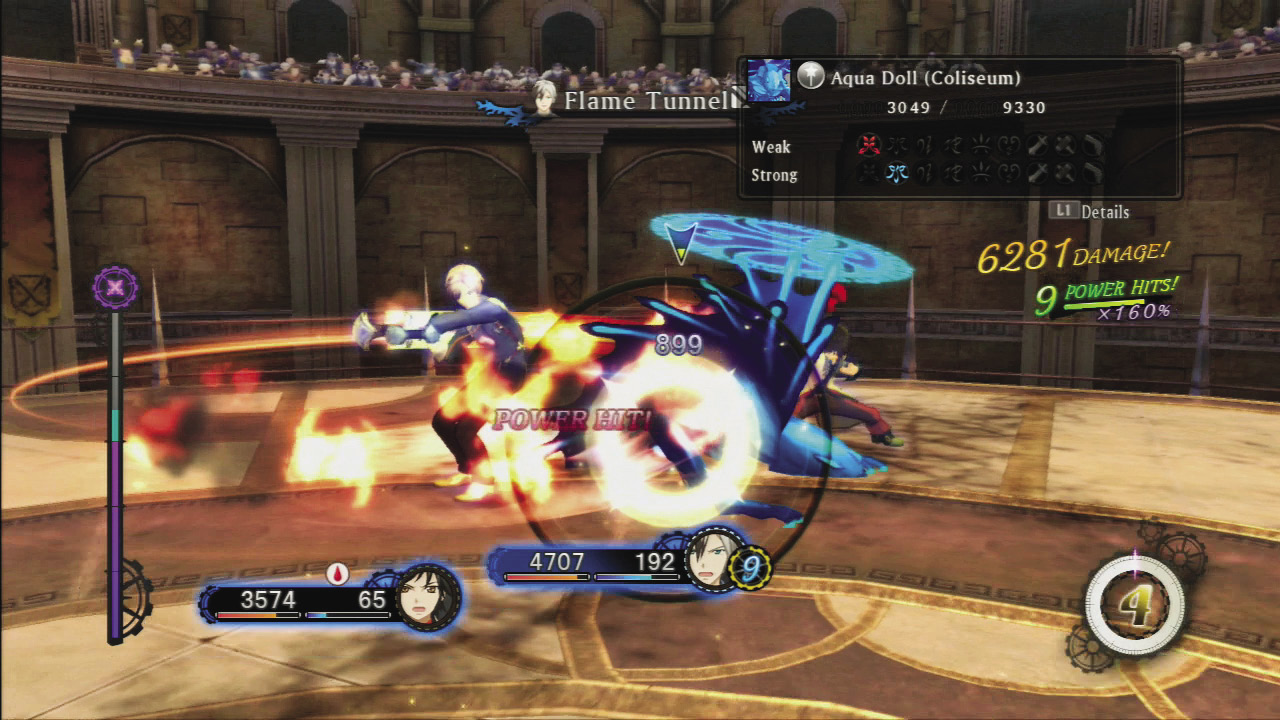
Along with the Minidines, these foes use Water-type attacks that have a strong possibility of inflicting the Skillseal ailment. Protect yourself by equipping a Tech Charm and kill them with Fire damage.
Fire Dragon
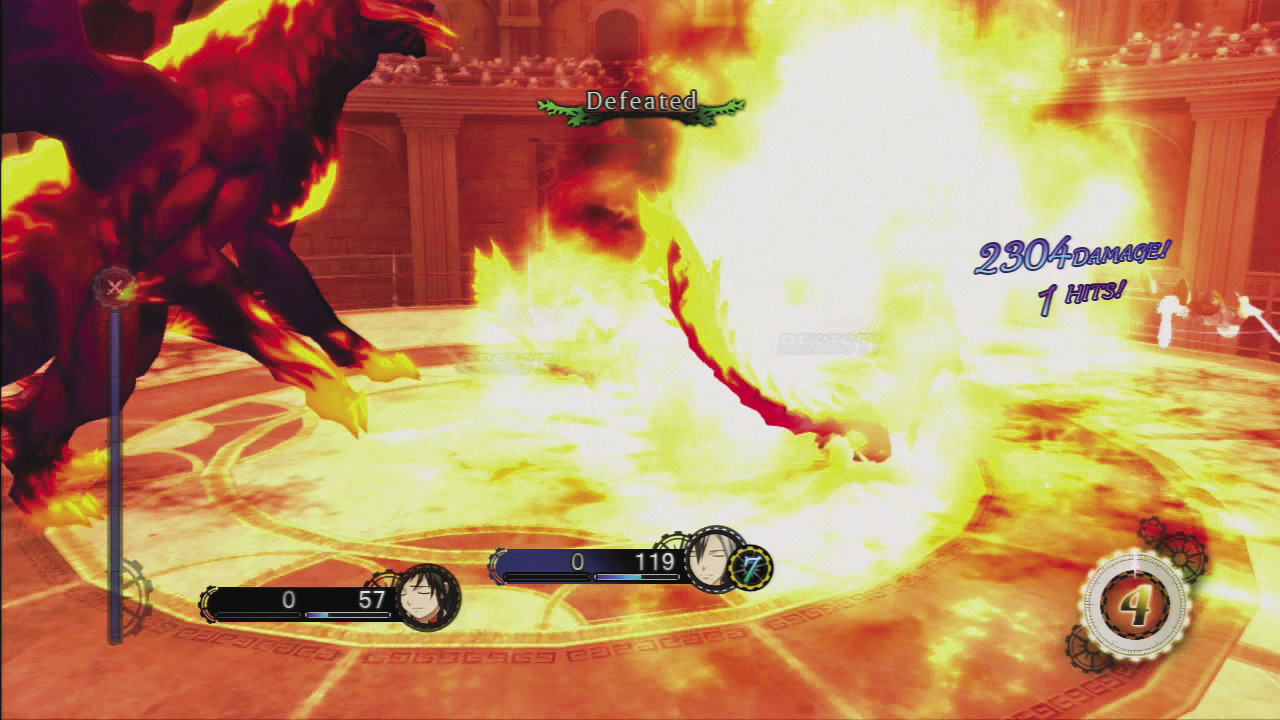
When the Fire Dragon flies high in the air, you know it’s about to fire off a powerful fireball. The fireball detonates with a wide explosion when it hits the ground, so begin running far away as soon as you see the dragon take to the skies.
Elite-Rank Boss Tactics (First Selected Character: Ludger)
Avoid Wingul’s Quick Strikes with Free Run
Boss 1: Wingul (Coliseum)
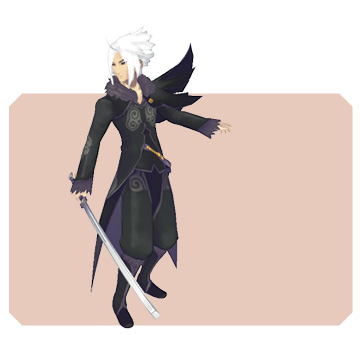
| Level | 116 |
|---|---|
| Iron Stance | 40 |
| HP | 234843 |
| Weak | — |
| Strong |
|

| Drop | Fruit n’ Cheese (Large) (30%) / Silver Dice (10%) |
|---|---|
| Steal | — |
Wingul is an Elite at close-range combat, traversing the battlefield at high speeds and then striking with artes like Kamikaze at close range. The basic strategy here is to use free run to avoid his attacks and guard when he does catch you at close range. When he begins casting a Fire-type spell, that’s your tip off he’s about to use Flame Ring; move far away, as you’ll take big damage if he catches you with it. Wingul uses Rising Phoenix to leap into the air and lunge at a target. Begin guarding as soon as you see him start to jump. If you hope to battle Bisley, you’ll need to finish your Coliseum run—including Wingul—in under six minutes. Fight at full throttle, using items to keep your TP full.
Strikes with Mystic Artes After a Short Interval
Boss 2: Bisley (Coliseum)
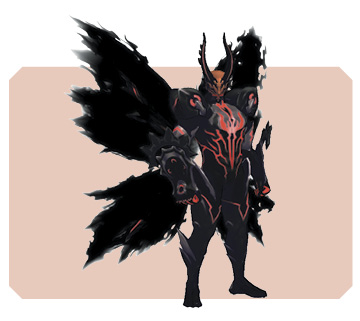
| Level | 121 |
|---|---|
| Iron Stance | 100 |
| HP | 699432 |
| Weak | — |
| Strong | — |
| Drop | Alexandrite (7%) / Blue Sephira (7%) |
|---|---|
| Steal | — |
Bisley enters the Over Limit state after only a short time on the battlefield, and begins using arcane artes like Beast Fury. To head off his mystic arte, use free run to avoid his attacks. Bisley also makes heavy use of the bludgeoning Death’s Head arte, which can shatter guards with relative ease and leave you vulnerable to large amounts of damage. Protect yourself by equipping accessories like Frailty Charm and Laurel Crown. Many of Bisley’s attacks have long wind-ups. Evade his attacks and strike from behind after he misses. The Earth-type Mega Strike arte can petrify its targets. Use an item to remedy the ailment immediately.
Attacks to Watch Out For
Demon Burst
A long-range Fire-type attack that can be executed quickly and is easily chained into other artes. It’s reason enough never to stand in front of Bisley.
Raging Beast
An attack that can shatter guards with a single hit. He often follows up with the Lord of Destruction arcane arte, so make sure not to let him connect with it during Over Limit.
Elite-Rank Boss Tactics (First Selected Character: Jude or Leia)
Evade Nachtigal’s Far-Reaching Lance
Boss 1: Nachtigal (Coliseum)
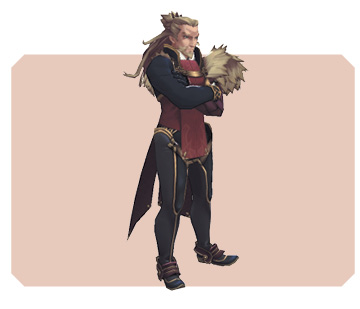
| Level | 116 |
|---|---|
| Iron Stance | 100 |
| HP | 271572 |
| Weak |
|
| Strong |   |

| Drop | Croquette Bun (Large) (30%) |
|---|---|
| Steal | — |
Nachtigal’s power and reach are both astounding, and he can KO characters with a single hit from artes like Massacre Arc. Try to avoid melee combat and use free run to maintain a position a moderate distance away from your foe. Then, when his attacks miss, you’ll have an opportunity to retaliate. Try to position yourself beside or behind Nachtigal to avoid Massacre Arc, which is both devastatingly powerful and unblockable. If you take a direct hit from Massacre Arc, you’ll be knocked against the ground for additional damage. The total amount of damage can end up being more than 5000 points! Nachtigal’s weakness is to Water-type damage. Use Jude’s Aqua Sweep to launch weakness-exploiting combos for heavy damage.
Exploit the Opening After Sword Rain: Alpha
Boss 2: Cress (Coliseum)
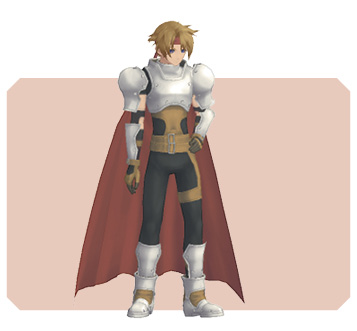
| Level | 141 |
|---|---|
| Iron Stance | 60 |
| HP | 437526 |
| Weak | — |
| Strong |
|

| Drop | Accel (7%) |
|---|---|
| Steal | — |
Cress’s greatest strength is his nimble movement. He strikes with continuous uses of quick artes like Swallow Dance and Tiger Blade that offer few openings for counterattacks. Your best option is provided by Cress’s Sword Rain: Alpha arte, in which he performs a series of ten thrusts that leaves him facing the same direction for a significant amount of time. If you can evade the first attack and circle behind him, you’ll find a wide opening with which to counterattack. Sword Rain: Alpha doesn’t have that long of a range, so it’s easy to evade if you’re fighting from a distance away. The power of Cress’s Phoenix Dance kick combo is astonishing. Make sure you guard in time!
Elite-Rank Boss Tactics (First Selected Character: Alvin or Gaius)
Beware the Wide Reach of Devil’s Maw
Boss 1: Jiao (Coliseum)
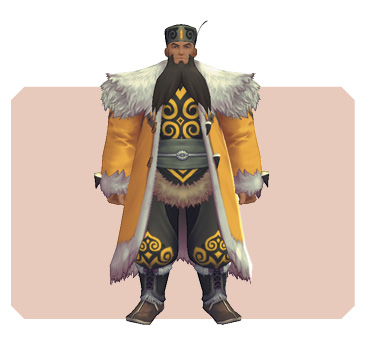
| Level | 116 |
|---|---|
| Iron Stance | 40 |
| HP | 282702 |
| Weak |
|
| Strong |
|


| Drop | Croquette Bun (Large) (30%) |
|---|---|
| Steal | — |
Jiao’s attacks are powerful but he moves slowly, and many of his artes only hit the area directly in front of himself, making them easy to evade. One very significant exception is the Devil’s Maw arte, which deals Earth-type damage over a wide area. This arte is powerful and can also Petrify its targets. When you see Jiao lift the hammer over his head, use free run to get as far away as you can. Jiao’s artes leave him wide open for counterattacks. Use free run to circle around him and strike his weakness with artes like Gaius’s Swallow Fury. Jiao’s artes mostly deal Strike damage, giving them a chance to inflict the Weakness ailment. Cure it with an item or free run around the battlefield until it fades.
Ready Anti-Bleeding and Burning Countermeasures
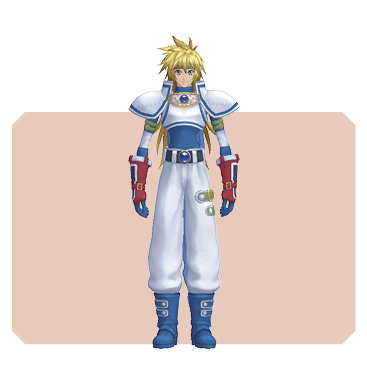
Boss 2: Stahn (Coliseum)
| Level | 141 |
|---|---|
| Iron Stance | 70 |
| HP | 458934 |
| Weak | — |
| Strong |
|

| Drop | Red Cape (20%) |
|---|---|
| Steal | — |
The intervals between Stahn’s attacks are so brief that they leave no apparent openings for counterattacks. The best strategy is simply to accept that one character is going to take a beating and have that character’s partner focus solely on healing. Note that most of Stahn’s artes deal Fire- or Slash-type damage, so there’s a good chance they’ll inflict Bleeding or Burn ailments. Left unchecked, these will take a major toll on your HP, so equip your designated attacker with accessories that will help head them off. Stahn frequently launches his foes into the air with normal attacks in order to set up his combo follow-ups. Your designated healer should have their HP Levels Strategy set to Be Careful so that they’ll keep their distance from Stahn.
Elite-Rank Boss Tactics (First Selected Character: Elize or Rowen)
Use Celsius’s Limited Range to Your Advantage
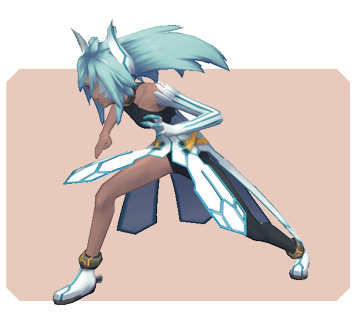
Boss 1: Celsius (Coliseum)
| Level | 116 |
|---|---|
| Iron Stance | 40 |
| HP | 247086 |
| Weak |
|
| Strong |    |

| Drop | Fruit n’ Cheese (Large) (30%) / Silver Dice (10%) |
|---|---|
| Steal | — |
Artes like Celsius’s Frost Spears and Cold Prison deal both Water- and Earth-type damage, potentially inflicting both Petrify and Skillseal at the same time. Since petrification is the more dire threat, arrange your accessories to protect against that. Fortunately, many of Celsius’s artes have very limited ranges, and can be evaded simply by using free run to move a short distance. After a successful evasion, begin your counterattack! Frost Spears drop icicles along a straight line. You only need to make a small perpendicular movement to get out of their path. They may not be the most powerful choices, but use Fire-type artes as the core of your offense to target Celsius’s weakness.
Destroy the Two Unicorns First
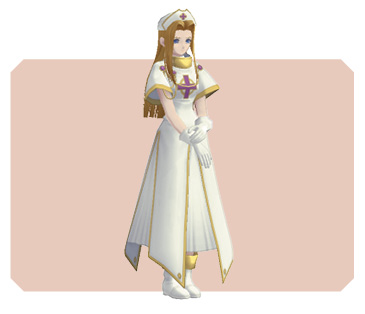
Boss 2: Mint (Coliseum)
| Level | 141 |
|---|---|
| Iron Stance | 90 |
| HP | 259572 |
| Weak |
|
| Strong |
|


| Drop | Omega Elixir (7%) |
|---|---|
| Steal | — |
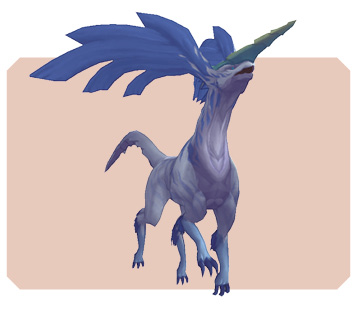
Boss 2: Unicorn (Coliseum) x2
| Level | 111 |
|---|---|
| Iron Stance | 0 |
| HP | 99324 |
| Weak | — |
| Strong |   |
| Drop | Hair of the Sacred Beast (10%) |
|---|---|
| Steal | — |
First, seize the numerical advantage by defeating the two unicorns. But you’ll need to do it quickly, or Mint will erase your efforts with powerful healing artes like Nurse and Revitalize. To finish the unicorns off quickly, use linked artes chains or mystic artes to deal massive amounts of damage. Once Mint is alone, gang up and attack her relentlessly to prevent her from casting any additional recovery artes. But be forewarned: her Angel’s Cry skill will revive her a single time before she falls for good. Focus on dealing large amounts of damage to the unicorns at the start of the battle. Sometimes Mint will stun you with counterattacks from the Pow Hammer skill.
Elite-Rank Boss Tactics (First Selected Character: Milla or Muzét)
Boost Your Fire Resistance
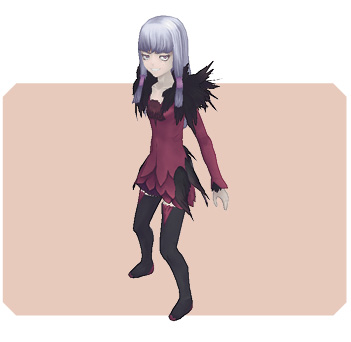
Boss 1: Agria (Coliseum)
| Level | 116 |
|---|---|
| Iron Stance | 100 |
| HP | 217035 |
| Weak |
|
| Strong |
|


| Drop | Peach Pie (Large) (30%) / Silver Dice (10%) |
|---|---|
| Steal | — |
Agria uses a number of Fire-type artes, such as Flame Drill and Flame Ring. If you can boost your resistance to Fire by using Garnet or Flame Cape accessories, you’ll be able to significantly reduce her damage output. Additionally, Agria moves slowly and leaves wide openings for counterattacks. Just nail her with a Water-type arte whenever she begins casting something. Agria frequently uses the unblockable Flame Drill arte, so instead of guarding, circle behind her for a counterattack. The massive ball of flame generated by Sunburst is powerful and covers the entire battlefield. Protect yourself with the Magic Guard skill.
Catch Rutee When She Lands From a Snipe Roar
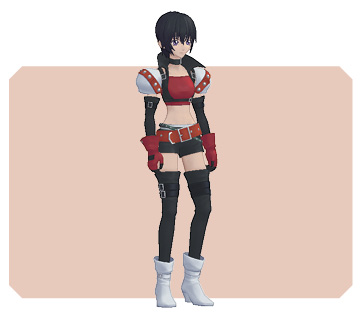
Boss 2: Rutee (Coliseum)
| Level | 141 |
|---|---|
| Iron Stance | 50 |
| HP | 357246 |
| Weak |
|
| Strong |
|


| Drop | Gold Dice (7%) / Hunter’s Monocle (10%) |
|---|---|
| Steal | — |
The short sword Rutee wields doesn’t provide much reach. If you’re careful to keep her a few steps away, you should be able to easily avoid her attacks and artes with free run. One of her favorite artes is Snipe Roar, in which she moves in a zigzag pattern while launching her foes skyward. If you successfully evade it, only Rutee will end up leaping into the air, and you’ll have a big window of opportunity to attack when she lands. Rush over there and unload with your best combos! If you avoid standing in front of Rutee, Snipe Roar should be easy to dodge. Make sure to block the battlefield-spanning Tidal Wave arte with the Magic Guard skill.
EX Rank Random Character Bosses
Shift Tactics as Ludger Shifts Weapons
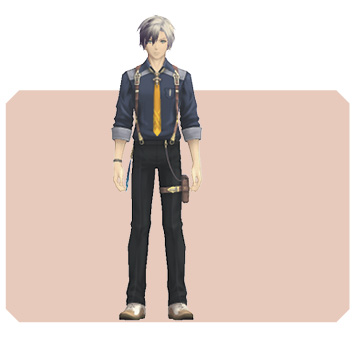
BOSS LUDGER (COLISEUM)
| Level | 111 |
|---|---|
| Iron Stance | 0 |
| HP | 240300 |
| Weak | — |
| Strong | — |
| Drop | Catnip (30%) / Tomato Omelette (Large) |
|---|---|
| Steal | — |
When using dual swords, Ludger moves quickly and leaves few openings for counterattacks. Guard instead of attempting in vain to evade him. When he’s using the sledgehammer, his swings are wider but slower, providing opportunities to circle behind him with free run. When using dual pistols, Ludger fires in straight lines at long distance. Move to the sides to evade the attacks as you rush in to retaliate. Ludger usually fires a volley of shots when using his dual pistols, which keeps him glued to one spot—a perfect opportunity to attack.
Exploit the Few Openings Jude Provides
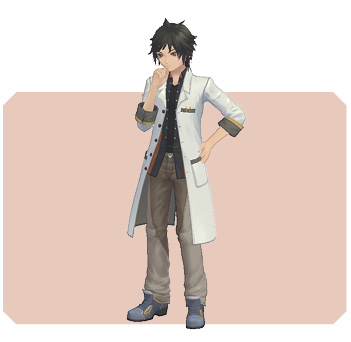
Boss Jude (Coliseum)
| Level | 111 |
|---|---|
| Iron Stance | 40 |
| HP | 215736 |
| Weak | — |
| Strong |
|


| Drop | Blue Saffron (4%) / Elixir (50%) |
|---|---|
| Steal | — |
Jude moves and attacks quickly, providing few openings for you to launch a counteroffensive. The interval between his attacks is so brief that you have virtually no chance of sneaking in attacks between his strikes. Your best openings will come at the moment when he lands from an aerial attack, or when he’s casting Steel. Until one of these opportunities presents itself, guard religiously.
Eliminate Milla Quickly to Head Off Healing Artes
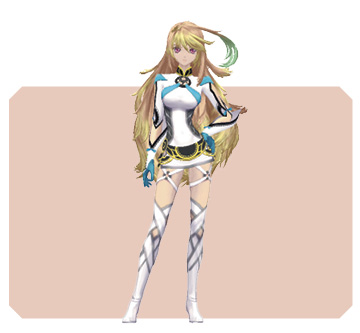
Boss Milla (Coliseum)
| Level | 111 |
|---|---|
| Iron Stance | 40 |
| HP | 212532 |
| Weak | — |
| Strong |
|

| Drop | Blue Jasmine (4%) / All-Divide (50%) |
|---|---|
| Steal | — |
Milla is a balanced fighter who attacks with a diverse assortment of artes like Fireball, Rock Trine, and Binding Sphere. Your best openings to attack come when she’s casting spirit artes, so quickly move in and strike. Milla is also capable of casting Undine to heal both herself and the other boss, which can drag out an already tough fight. So use linked and mystic artes to take her out as quickly as possible.
Target Alvin After His Attacks
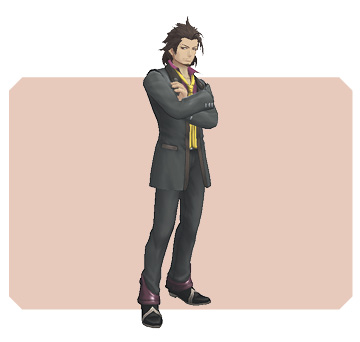
Boss Alvin (Coliseum)
| Level | 111 |
|---|---|
| Iron Stance | 100 |
| HP | 240300 |
| Weak | — |
| Strong |
|

| Drop | Blue Sage (4%) / Elixir (50%) |
|---|---|
| Steal | — |
The Coliseum version of Alvin uses the Charged Blow arte to charge as he’s attacking. That makes his next arte more powerful, but opens up a window of vulnerability after the arte is used. Since Alvin won’t be able to make another attack immediately, use the opportunity to concentrate your attacks on Alvin and deal as much damage as you can. Alvin has a lot of HP and can drag this fight out for a while, so keep your HP and TP up and relentlessly attack Alvin when his own HP gets low, so that he can’t heal himself with his Guardian Field arte.
Protect Yourself from the Dark Artes
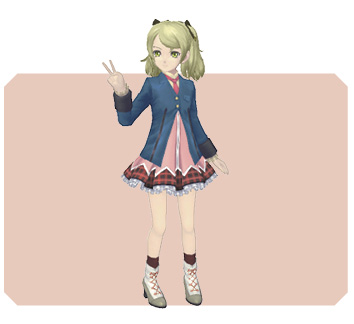
Boss Elize (Coliseum)
| Level | 111 |
|---|---|
| Iron Stance | 100 |
| HP | 208260 |
| Weak | — |
| Strong |
|

| Drop | Blue Savory (4%) / Specific Plus (50%) |
|---|---|
| Steal | — |
Instead of focusing on healing, the Coliseum version of Elize is a relentless caster of Dark-type attack artes like Negative Gate and Dark Visitor. These artes have wide areas of effect, but you should be able to get out of their path with free run. Dark-type artes can also sap your HP by inflicting Poison, so it’s not a bad idea to equip anti-poison accessories like Poison Charms. If you don’t have those handy, heal the ailment immediately with Panacea Bottles.
Aim for Rowen’s Post-Attack Openings
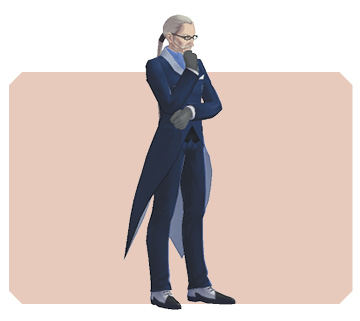
Boss Rowen (Coliseum)
| Level | 111 |
|---|---|
| Iron Stance | 100 |
| HP | 205056 |
| Weak | — |
| Strong |
|


| Drop | Blue Chamomile (4%) / Hourglass (50%) |
|---|---|
| Steal | — |
Rowen has access to artes with a wide variety of damage types. The most dangerous is perhaps the Confusion-inflicting Shimmering Toll, since a party of two can quickly be wiped out when one member turns on the other. Equip a Laurel Crown or Muddle Charm to protect your combatants. Rowen can also cast Healing Etude to heal large amounts of HP, dragging out the battle. Use concentrated attacks to head this off. Rowen has an Iron Stance that makes interrupting his spell casting very difficult; you’re better off aiming for the opening after he casts an arte and before he begins casting the next.
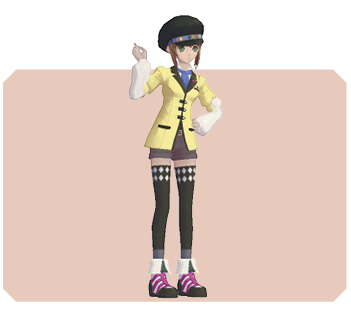
Strike at Leia When She Returns to Earth
Boss Leia (Coliseum)
| Level | 111 |
|---|---|
| Iron Stance | 40 |
| HP | 214668 |
| Weak | — |
| Strong |   |
| Drop | Blue Verbena (4%) / Elixir (50%) |
|---|---|
| Steal | — |
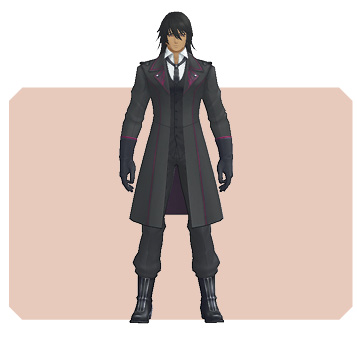
Don’t Miss Gaius’s Numerous Post-Attack Openings
Boss Gaius (Coliseum)
| Level | 111 |
|---|---|
| Iron Stance | 100 |
| HP | 258456 |
| Weak | — |
| Strong |
|


| Drop | Blue Lavender (4%) / Hourglass (50%) |
|---|---|
| Steal | — |
Gaius primarily fights with artes that have wide areas of effect, like the shockwave-emitting Exalted Divide and the spirit blade-spawning Dragon’s Maw. Even his normal attacks have a long range that makes them difficult to continuously evade. However, many of Gaius’s artes, including Dragon Swarm and Incineration Wave, do leave his back exposed and open to counterattack. It’s best to fight him from afar, but when you see an opening, move in and circle behind him to exploit it.
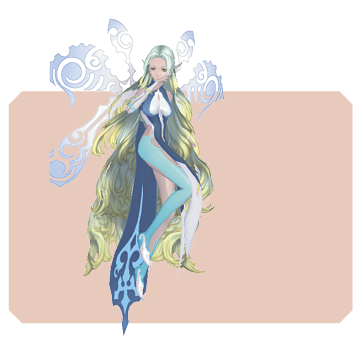
Fend Off Petrification with Accessories
Boss Muzét (Coliseum)
| Level | 111 |
|---|---|
| Iron Stance | 40 |
| HP | 228552 |
| Weak | — |
| Strong |  |
| Drop | Blue Basil (4%) / All-Divide (50%) |
|---|---|
| Steal | — |
Muzét can use artes of any elemental damage type except for Light. The deadliest are Earth-type artes like Roche Waltz and Air Pressure, which can petrify their targets, leaving them vulnerable to potentially deadly attacks from the other boss. Use accessories like Stone Charms to head this dangerous ailment off. To defeat Muzét, focus your attacks on when she’s casting artes, but if you aren’t able to begin attacking as soon as the casting process begins, focus on blocking or evading the arte and wait for a safer opportunity.
Party Mode Strategies
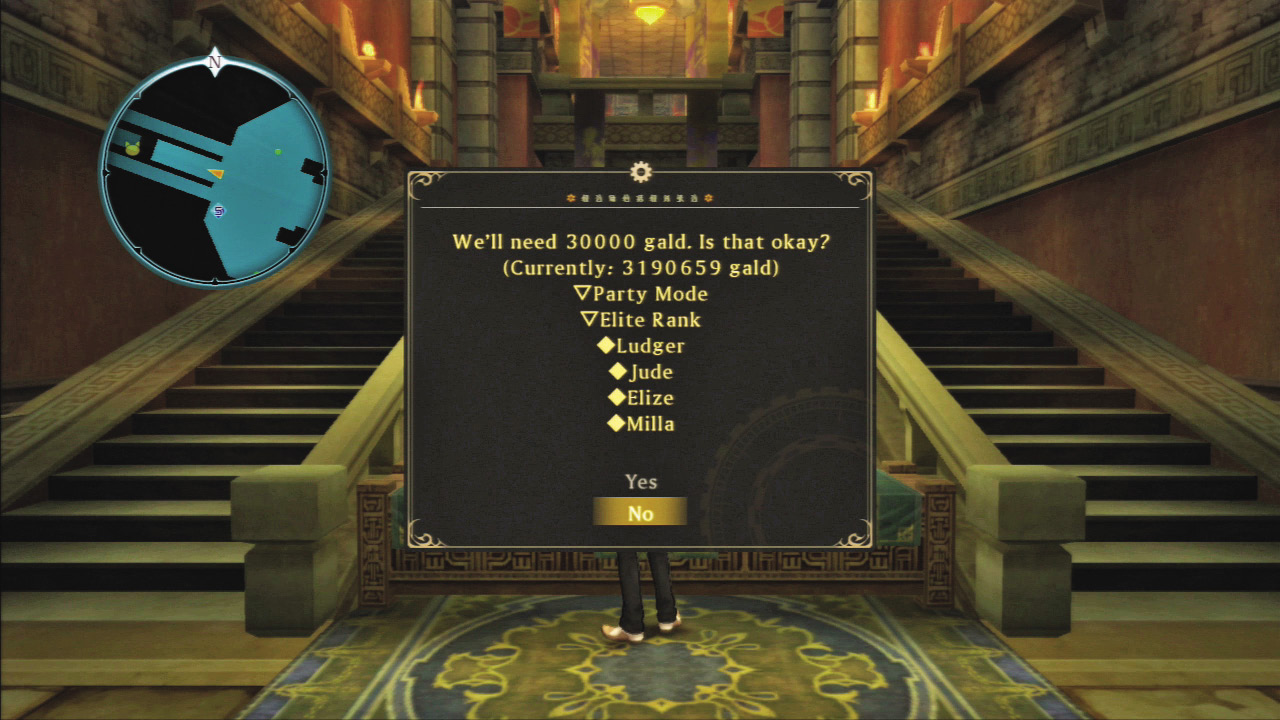
In Party Mode, you fight with a normal four-character party. Unlike Tag Mode, the characters you select won’t affect the enemies you’ll face or the rewards you’ll receive, so you’re free to pick your strongest party. But don’t expect this mode to be easier than Tag Mode was; you’ll be facing mostly Elite Monsters, so it won’t be a walk in the park. Make sure you have Ludger in your party, and use your linked mystic artes and the mystic arte of your transformation to maximum effect.
Key Points
- Aim to deal big damage with Ludger’s transformation form and linked mystic artes.
- Use the strategies outlined in the Elite Monsters section of this book to deal with those foes.
- Use Ludger’s Reconnaissance skill to find enemy weak points.
- Bring a wide variety of weapons that deal elemental damage and accessories that protect against ailments that you can use when necessary.
Novice Rank
Change Accessories Regularly
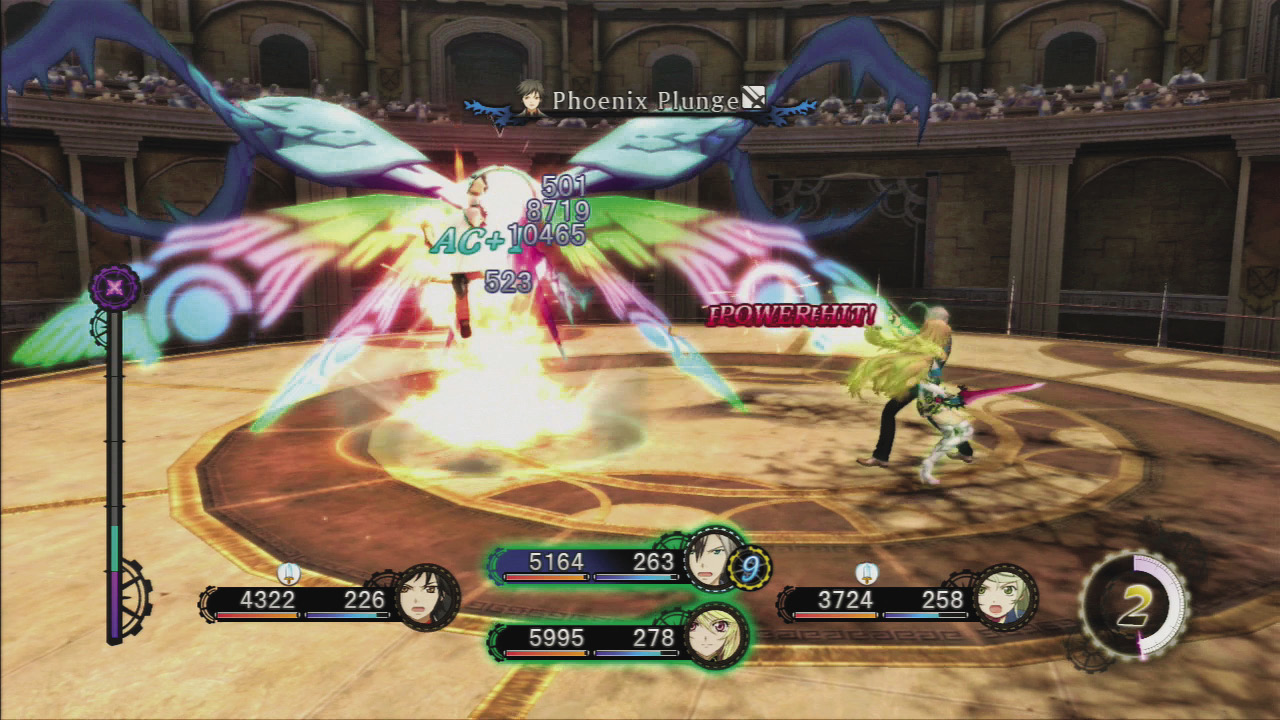
Among the deadliest foes in this rank are Radiant Horns, which can inflict Confusion with their Light-type attacks, and the Moralzamm, which can Petrify with its Earth-type attacks. When these foes appear, equip your Muddle and Stone Wards, respectively, to defend against these potentially disastrous ailments. When the Moralzamm burrows underground, start guarding to protect yourself.
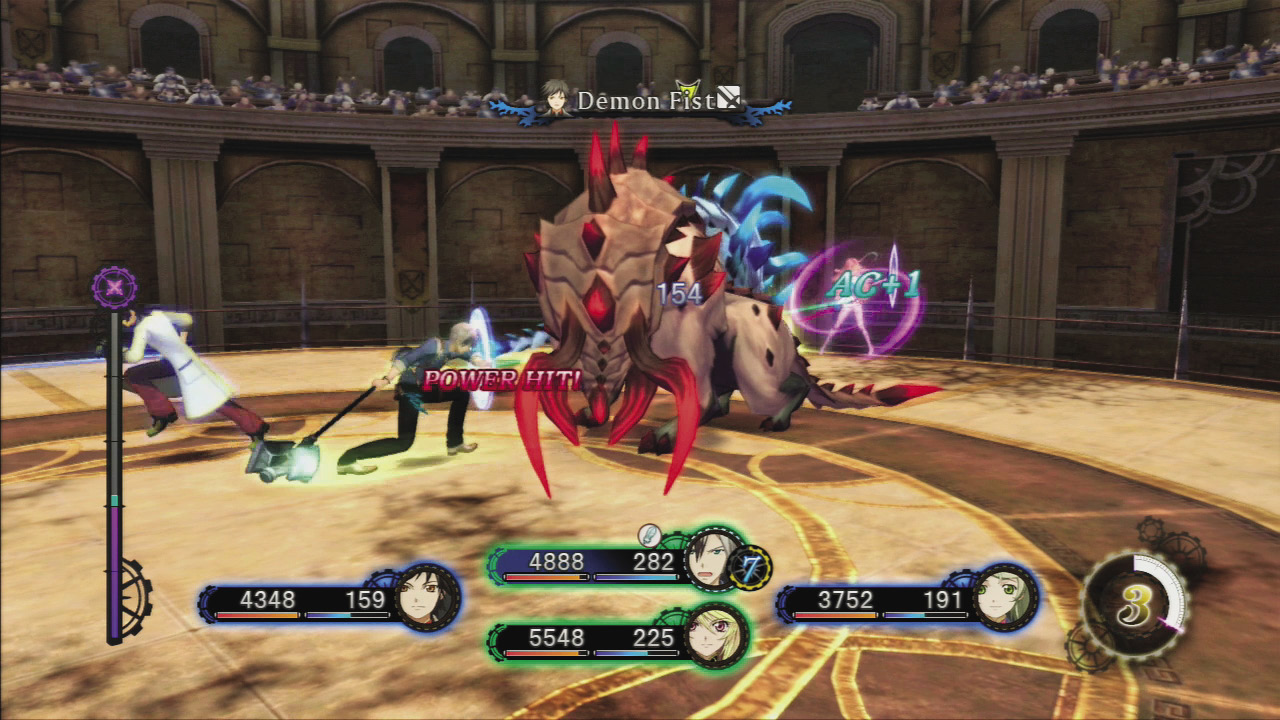
This rank ends with a battle against a Brutaur and a Bluetaur at the same time. Try to reach this point with a full Linked Artes Gauge and use it to quickly eliminate the Bluetaur (who has less HP) with a linked artes chain. When the Brutaur charges, dodge to the sides and circle behind it to counterattack.
Advanced Rank
Use Your Transformation to Defeat the Exoplasma
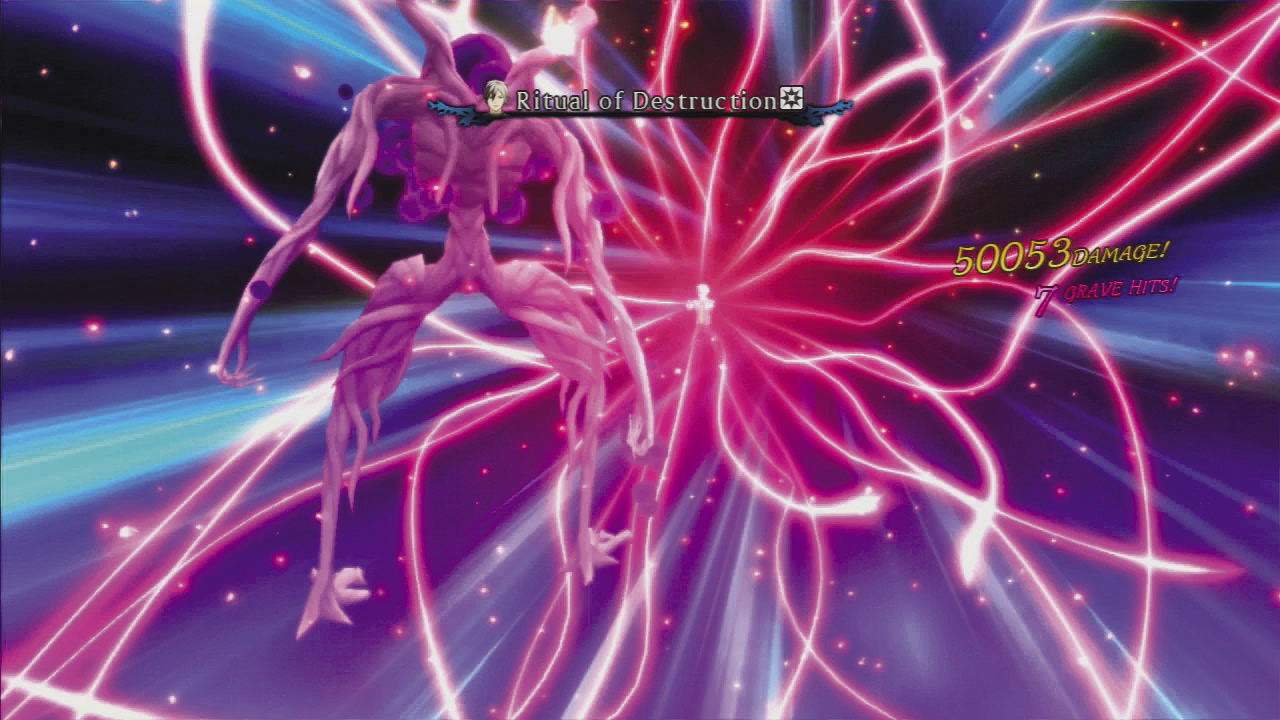
In the Advanced Rank, you’ll face many foes who have weak points. Hitting a weak point is a guaranteed stun, so it makes launching combos a lot easier. Ludger’s Reconnaissance skill can show you exactly where the weak points are. Among the powerful foes here, the Exoplasma—which can absorb all damage types and divide itself—stands out as the most dangerous. However, when it divides itself, the HP of its original form becomes 1, so you can defeat it easily by having Ludger transform to attack it with type-less damage. Another option is to use Power Charge to give the boss a weakness and then wipe it out with a mystic arte.
Enemies to Watch Out For
Veywind Stinger
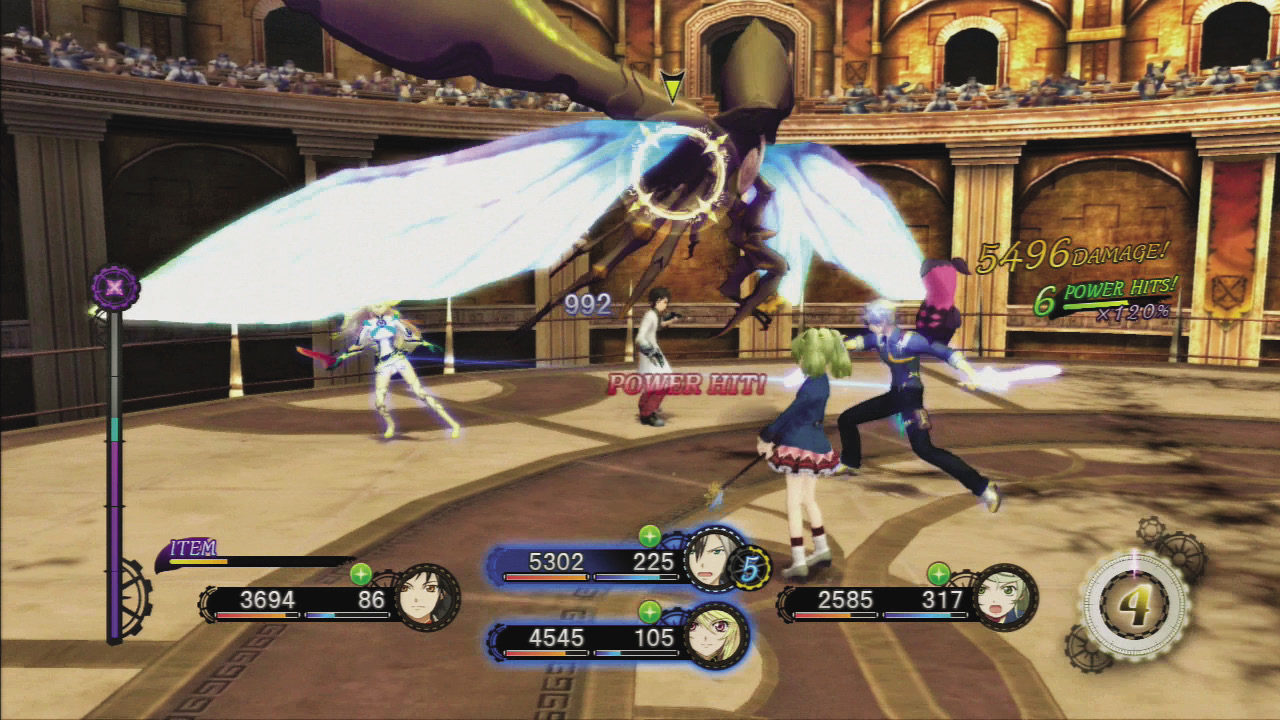
The Veywind Stinger frequently leaps high into the air, making it hard to hit with continuous attacks. Attack it in mid-air with Ludger’s dual pistols, and ready combos or other powerful attacks for when it lands again.
Hammerzamm
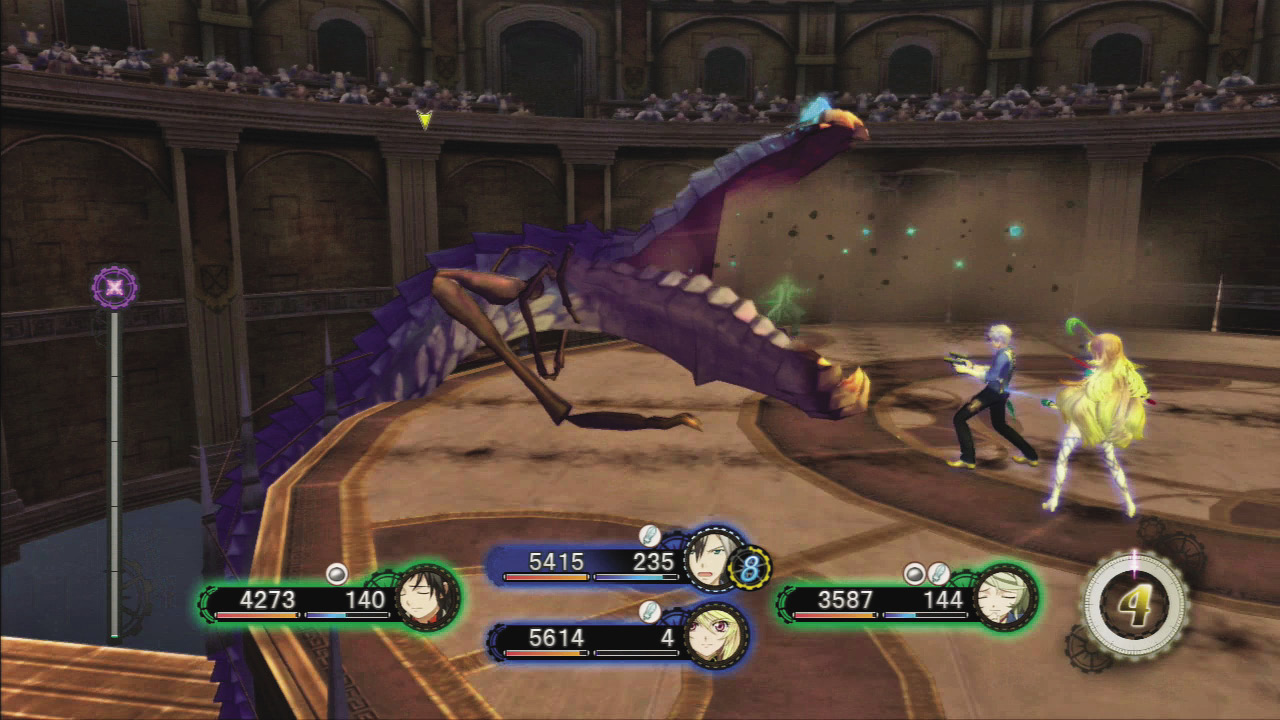
This boss’s weak point is in its mouth, which it usually holds too high to reach. Strike it when it roars after using Round Claw to get a special knockdown.
Dark Teagle
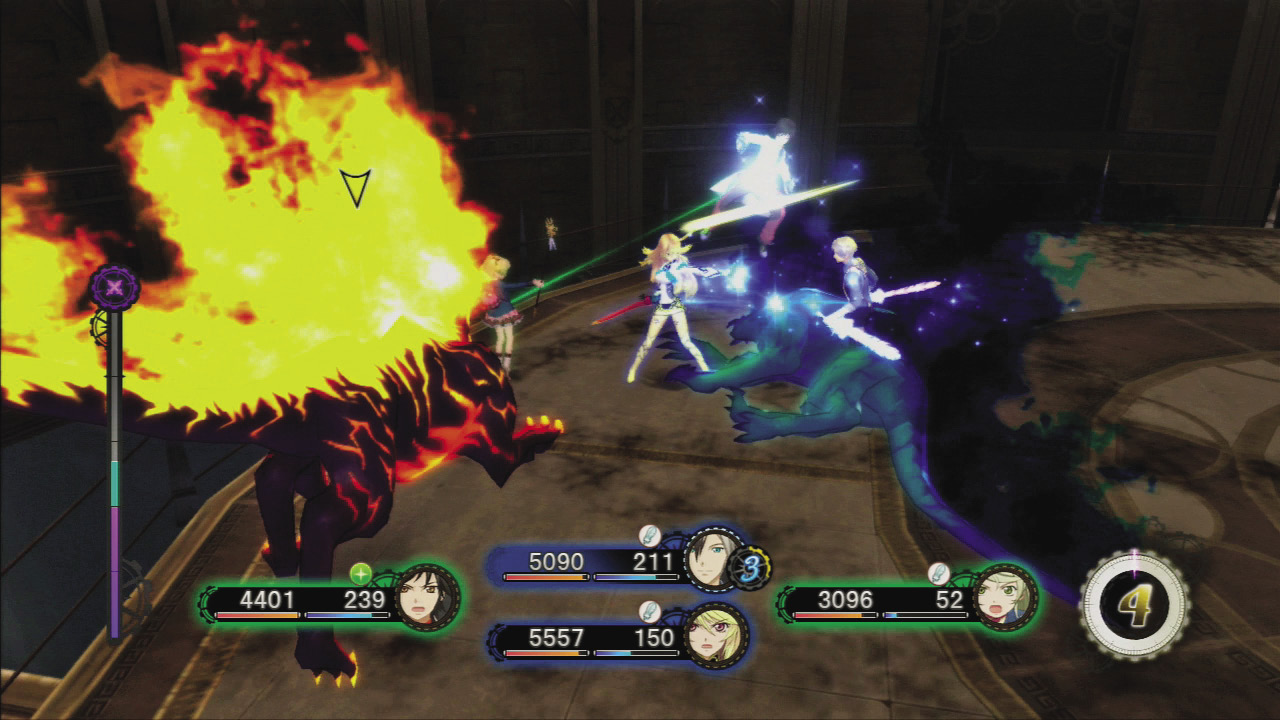
This monster appears alongside the Fire Teagle. After it uses its Impact ability to attack from mid-air, it’ll be momentarily frozen in place, giving you an opportunity to counterattack. The Fire Teagle’s Tailspin is extremely powerful, so battle it at long range.
Elite Rank
Make Sure You’re Well Prepared for the Boss
The Elite Rank features fifteen different foes, so you’ll be in for a long battle. Try to avoid using any items until you face the Magma Dragon—that’s where things get really tough. Typically, your Coliseum run will end after you defeat the Aqua Dragon, but if you meet the conditions, Cress, Stahn, Mint, and Rutee will appear as a new final boss. The challenge level of this battle is through the roof, so if you hope to give them a good fight, you’ll want your party members to be around level 160 and equipped with powerful accessories, as well as the Devil’s Arms weapons that can be won in Tag Mode.
Enemies to Watch Out For
Vampiric Plant
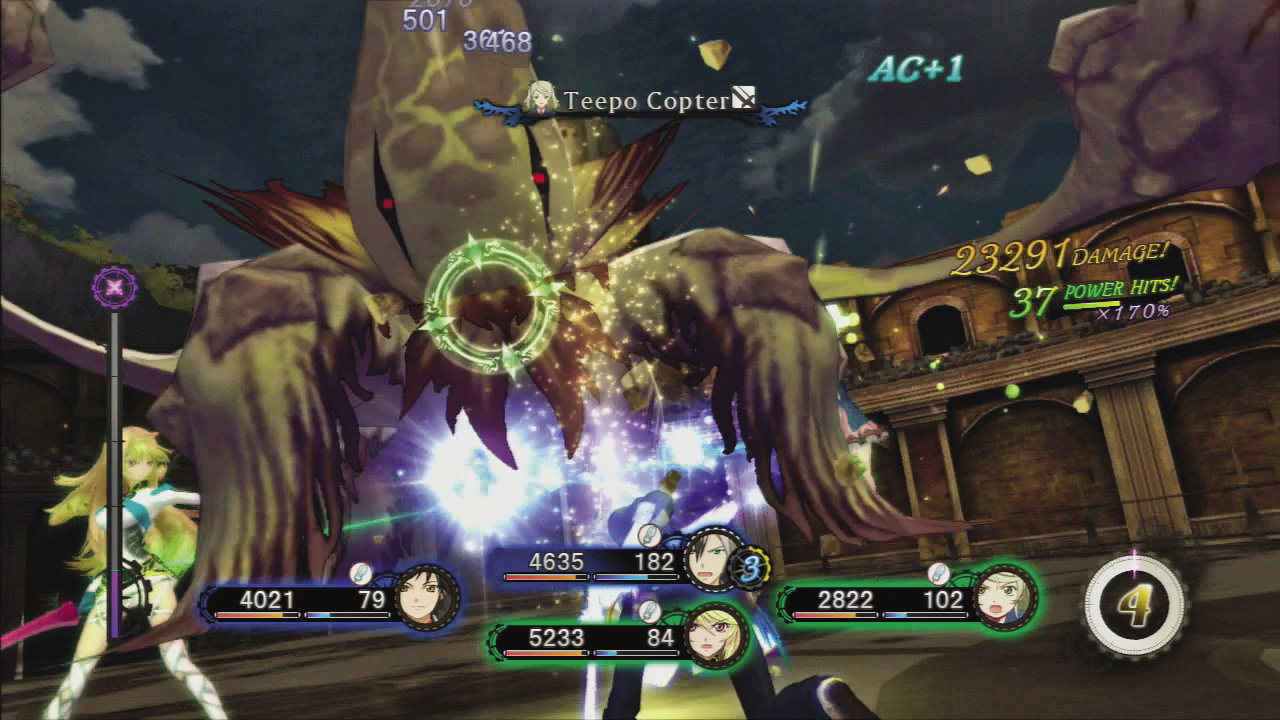
When you stand in front of this foe, he can perform a damaging attack in which he grabs and ingests you. This attack can’t be guarded, so try to position yourself beside or behind him as much as possible.
Cthulhu Demon
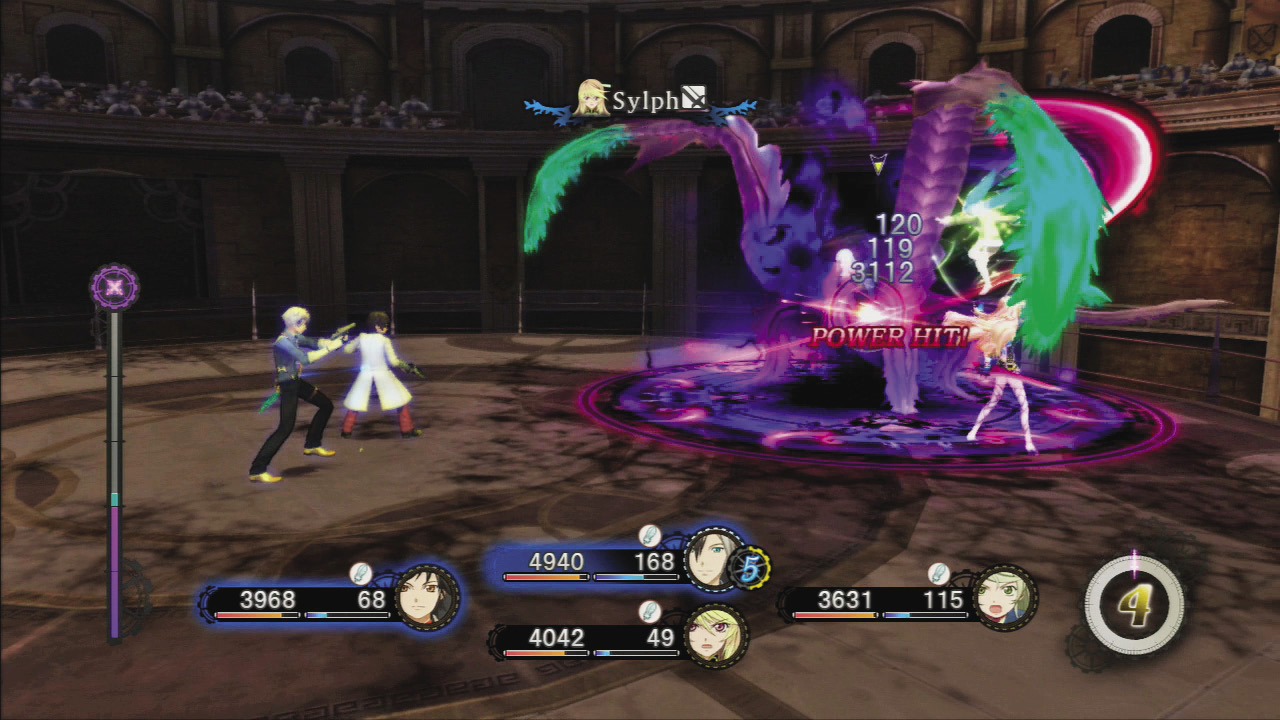
This boss vents poison gas whenever he’s knocked down, so either equip a Poison Ward or target its weakness to Fire-type damage from afar.
Magma Dragon
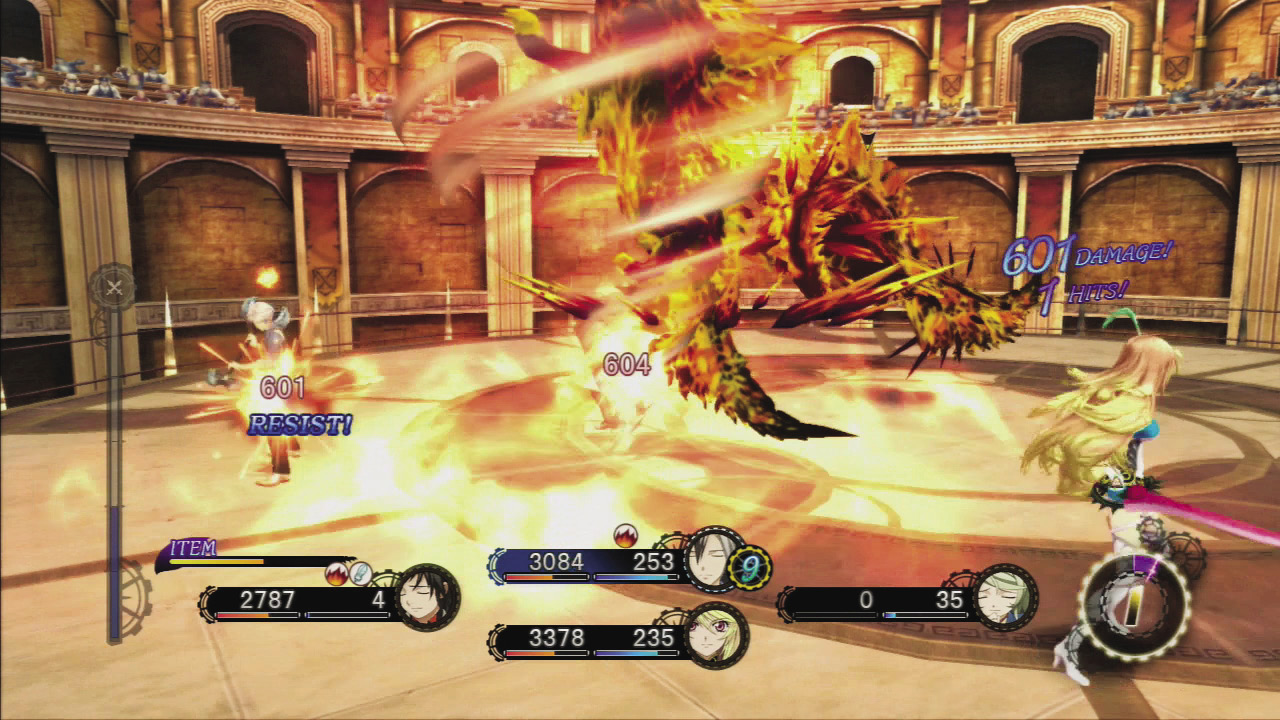
The Magma Dragon’s Blaze Fever has a wide area of attack and the last hit is not guardable, so avoid it entirely by using free run to run away. Attack the four dragons with the elements that they’re vulnerable to.
Battle All Four Guest Characters at Once
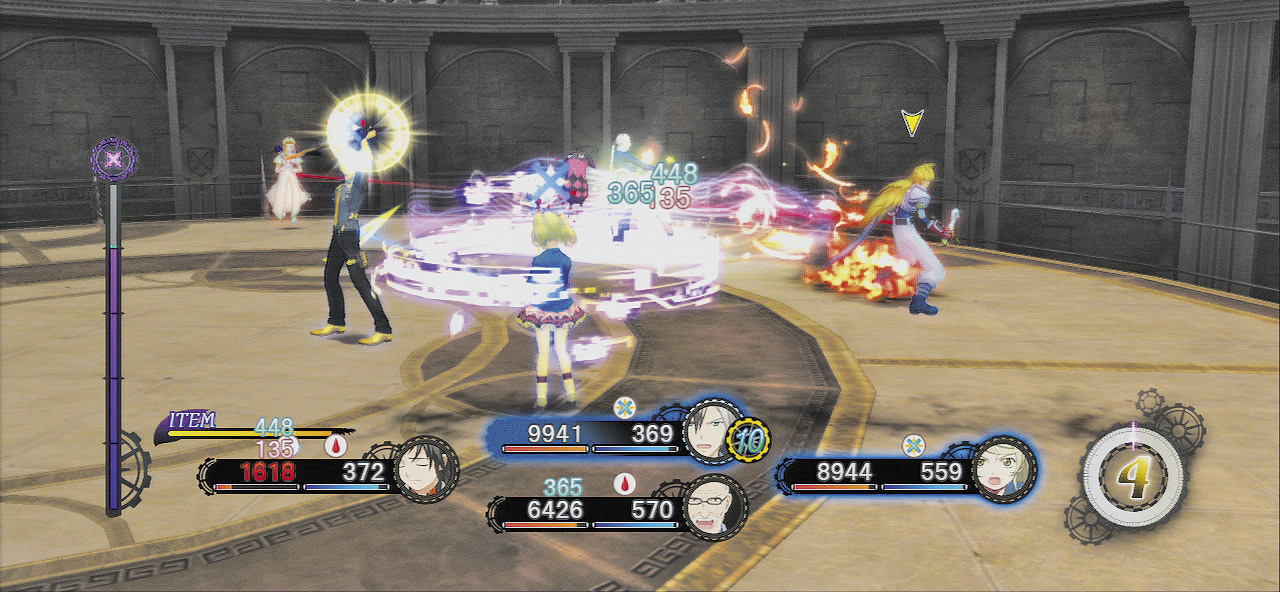
If Stahn or Cress decide to start targeting Elize, she’ll be knocked out rapidly, so have fifteen Reverse Dolls stocked to keep her (or whoever your designated healer is) alive. You’ll also want to activate the Impregnable Guard skill to keep them from breaking your guard.
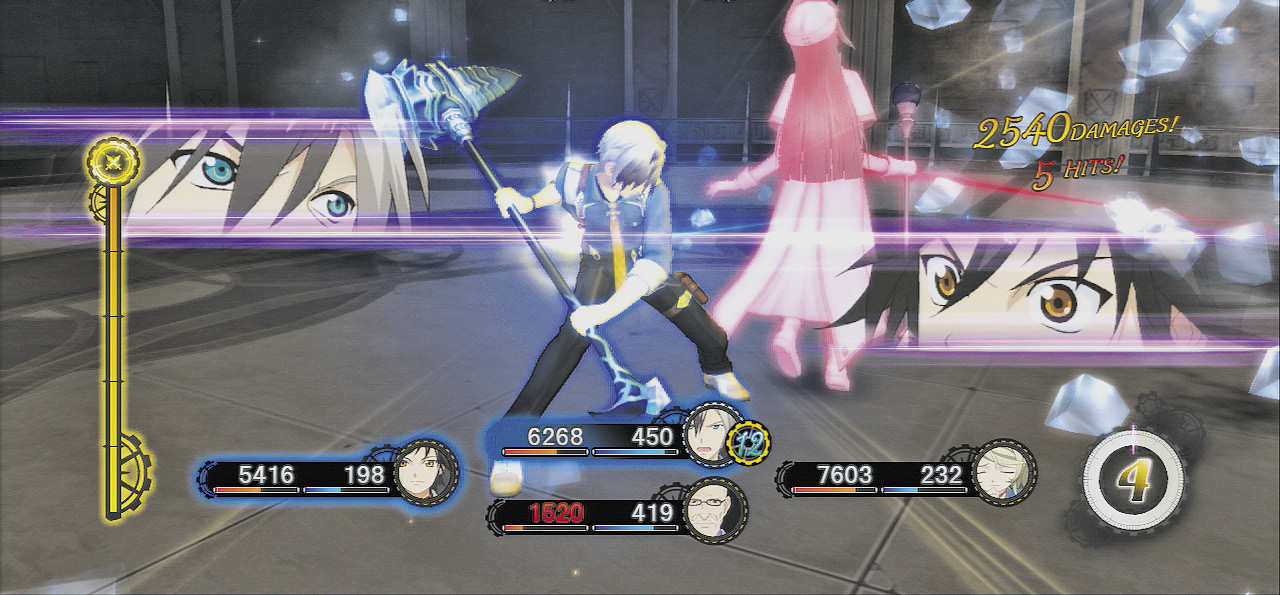
Of the four, your first target should be Mint, who’s capable of healing her whole party with artes like Nurse. Mint is weak to Dark, so you can equip a Dark-type weapon like Atlas (Darkness) to attack with weakness-exploiting combos, or transform and finish her off with a mystic arte. But the first time you defeat her, the Angel’s Cry skill will trigger and revive her at 30% of her Max HP. Be ready to quickly finish her off a second time. Make sure the rest of your attackers are using the Focus Attacks Target Strategy so they’ll help you out.
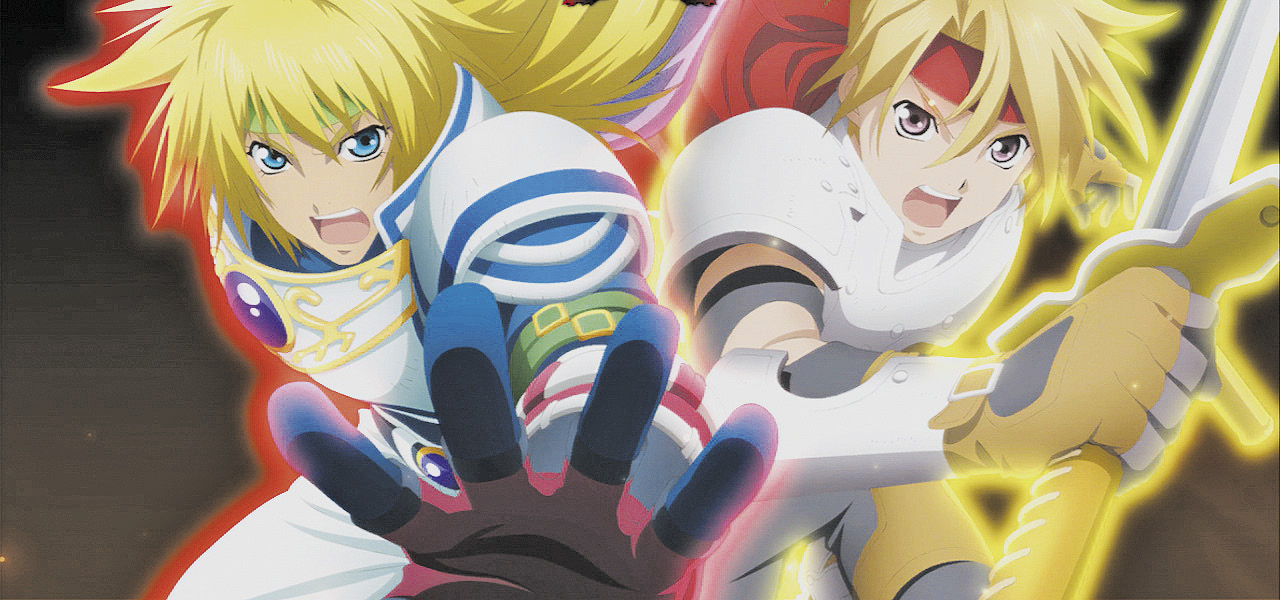
With Mint down, immediately switch your target to Rutee, who can use Resurrection to revive fallen enemies. Switch to a Fire-type weapon like Atlas (Fire) to trigger continuous weakness-exploiting combos, so that she never has a chance to cast an arte. If your foes are able to use a linked mystic arte against you, it will be lights out! Make sure they never have the chance. When it’s down to just Cress and Stahn, guard against their aggressive attacks while focusing your whole party’s attacks on whoever has the least HP.