
Tales of Xillia 2 Guide 3 Walkthrough Walkthrough
CHAPTER 10: Distant Thunder 3
Dungeon
Epsilla Ruins (Fractured)
|
Required Teammates |
|
|
Inn Price |
— |
|
Elemental ore |
14–45 |
|
Enemies Level |
45–49 |
|
Cats |
— |
 Ludger
  Milla
Milla  Leia
Leia  Elize
Elize
Skits
| Start Time | Type | Name | Location | Condition | Choices | Required Members |
|---|---|---|---|---|---|---|
| Epsilla Ruins (Fractured) |
Main |
The Structure of the Fractured Dimension | Anywhere |
— |
L1: None R1: Elize +250, Elle +250 |  |
Enemies
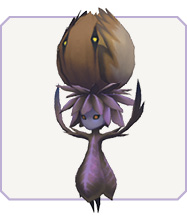
Nocturnal Mandragora
|
Type |
|
|
HP |
4740 |
|
Weak |
  |
|
Strong |
 |

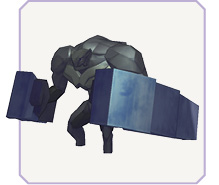
Ruin Guardian
|
Type |
|
|
HP |
10048 |
|
Weak |
 |
|
Strong |
 |

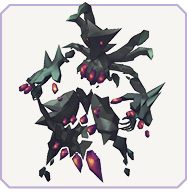
Wandering Skeleton
|
Type |
|
|
HP |
25050 |
|
Weak |
— |
|
Strong |
         |

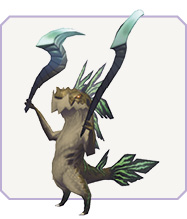
Ruin Merfish
|
Type |
|
|
HP |
5024 |
|
Weak |
  |
|
Strong |
 |

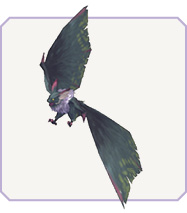
Ruin Bat
|
Type |
|
|
HP |
4408 |
|
Weak |
  |
|
Strong |
 |

Epsilla Ruins Fractured
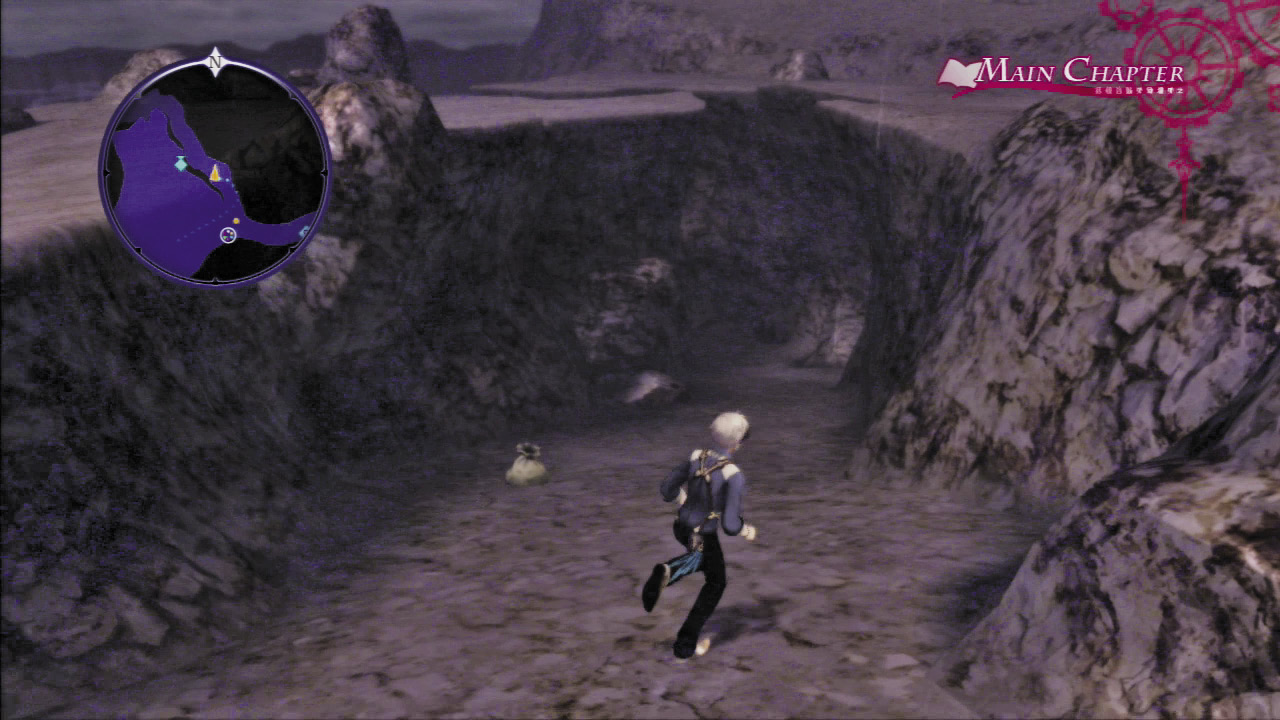
 Run down the long ramp into the ruins to escape the storm.
I’m not a ‘fraidy cat, y’know.
|
Was Rollo with us when we entered the rift?
|
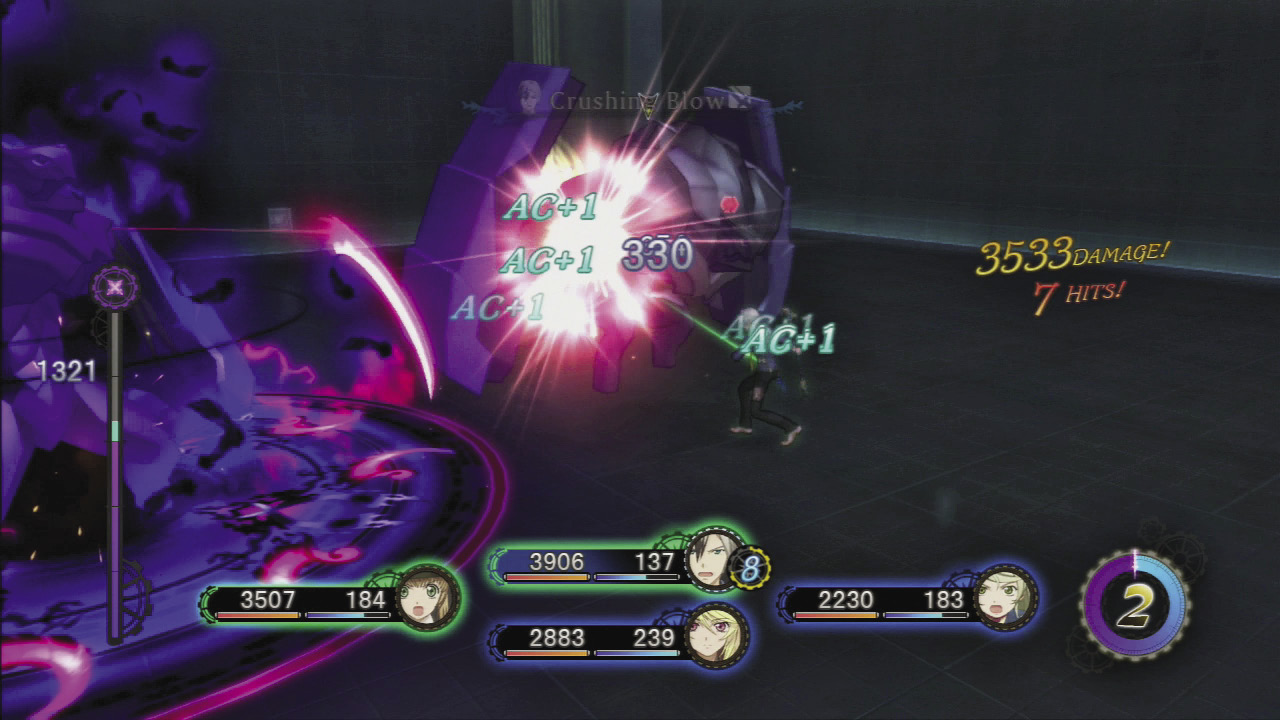
The Ruin Guardian is the most significant threat when strolling through the catacombs. Like most power-type foes, they are great at defending. Also it has a lot of HP and incredible range with those massive arms. Similar to other hulking enemies, you should not fight them head-on. Instead circle around to attack their weak back. Use a Light-type weapon or artes to prey on its weakness, but avoid using any type of Earth weapons or artes as all foes in the ruins resist that damage type.
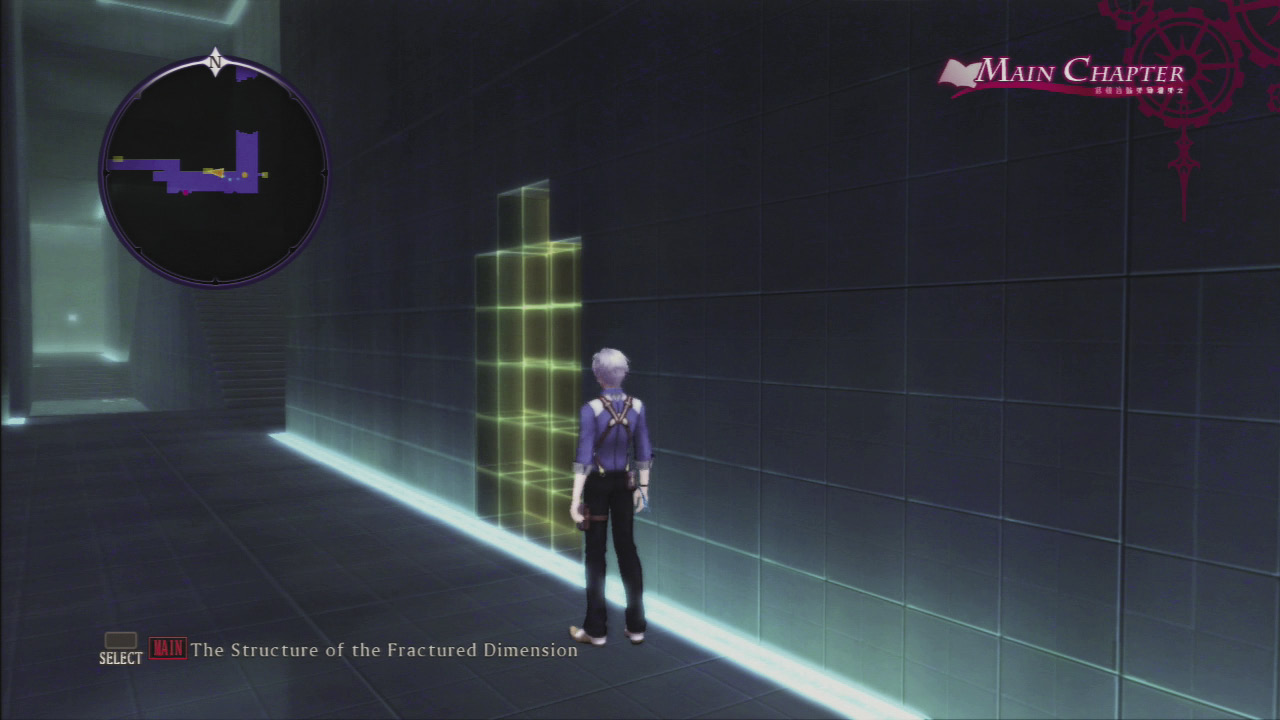
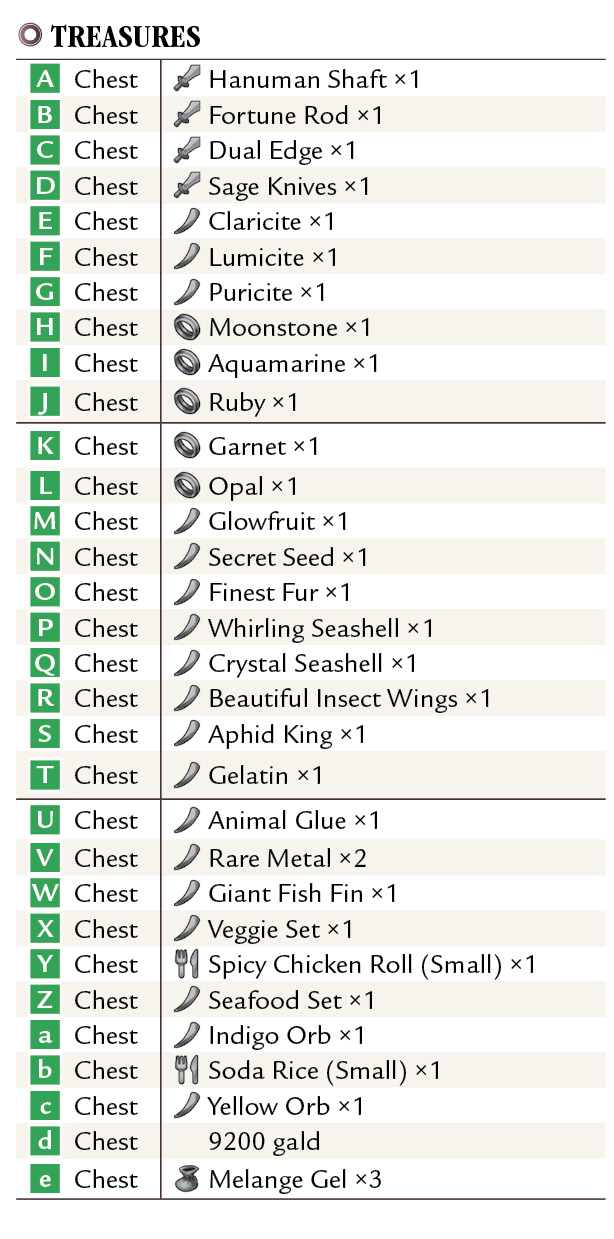
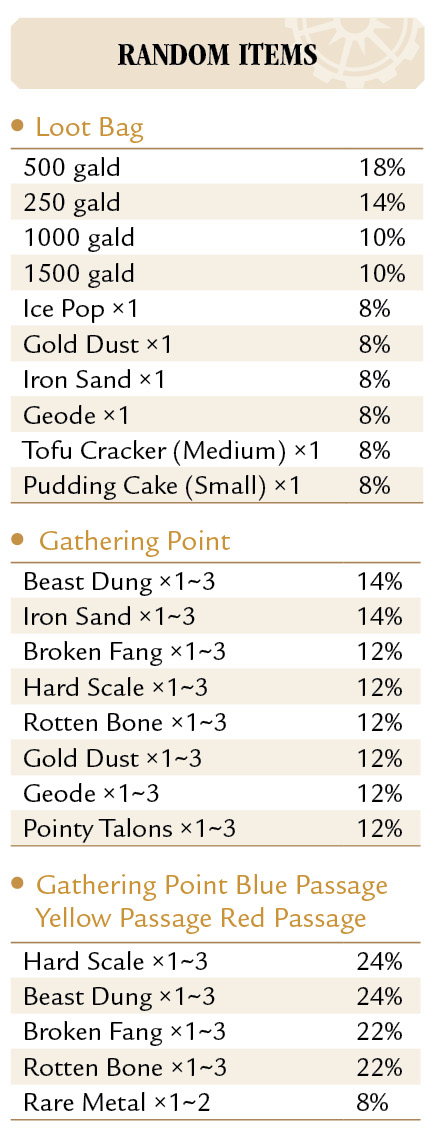
The ruins are filled with rooms that have high-tech doors that don’t appear until you approach them. The doors are invisible and blend perfectly into the tall walls that make up the square hallways. Always follow the inside walls to locate the emerging doorways and check the cube-shaped glowing objects that act as a sort of digital-looking treasure chest.
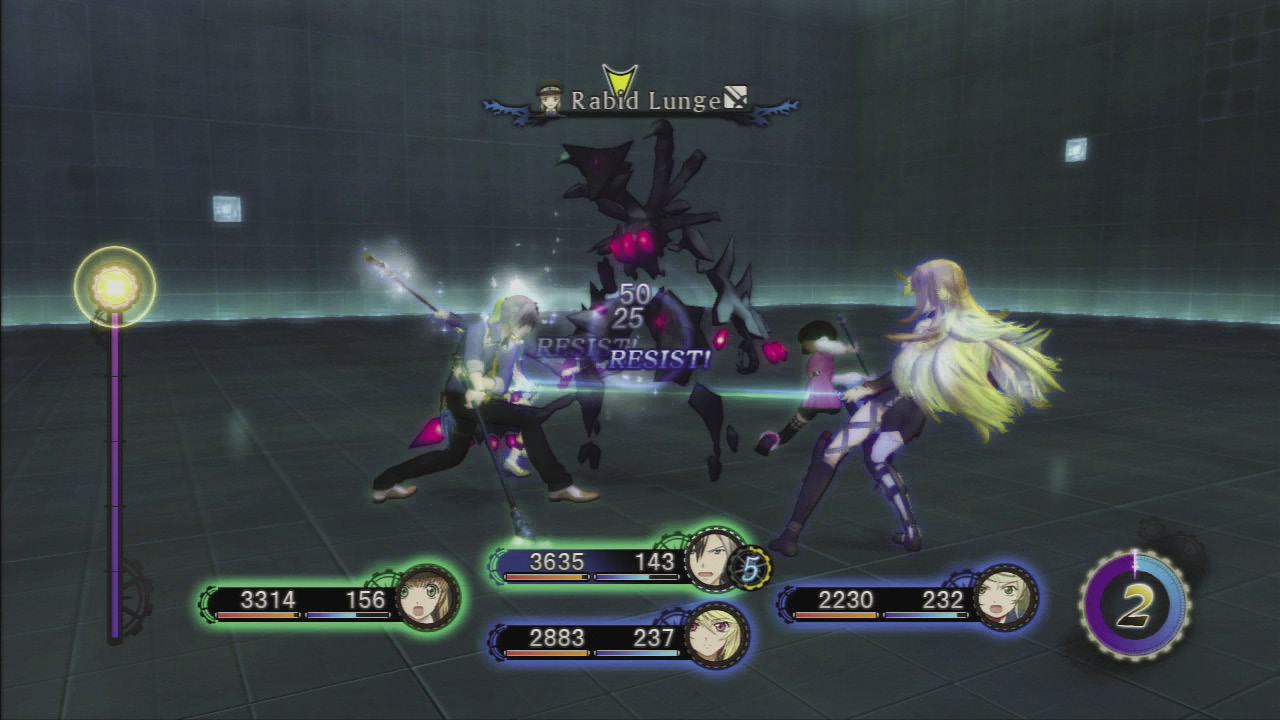
 There is a very unique creature in this area—the Wandering Skeleton is not a typical enemy. This foe has no weakness and is strong against all attack types. It would make sense to avoid this creature, but you have no choice and must defeat it to get the valuable Energy Unit it carries. Essentially, these are guardians of this complex and they hold the “keys” to access other sections. So how do you beat a foe that is resistant to all attack types? You build up the chromatus gauge and transform, because in that mode attacks have no specific damage type.
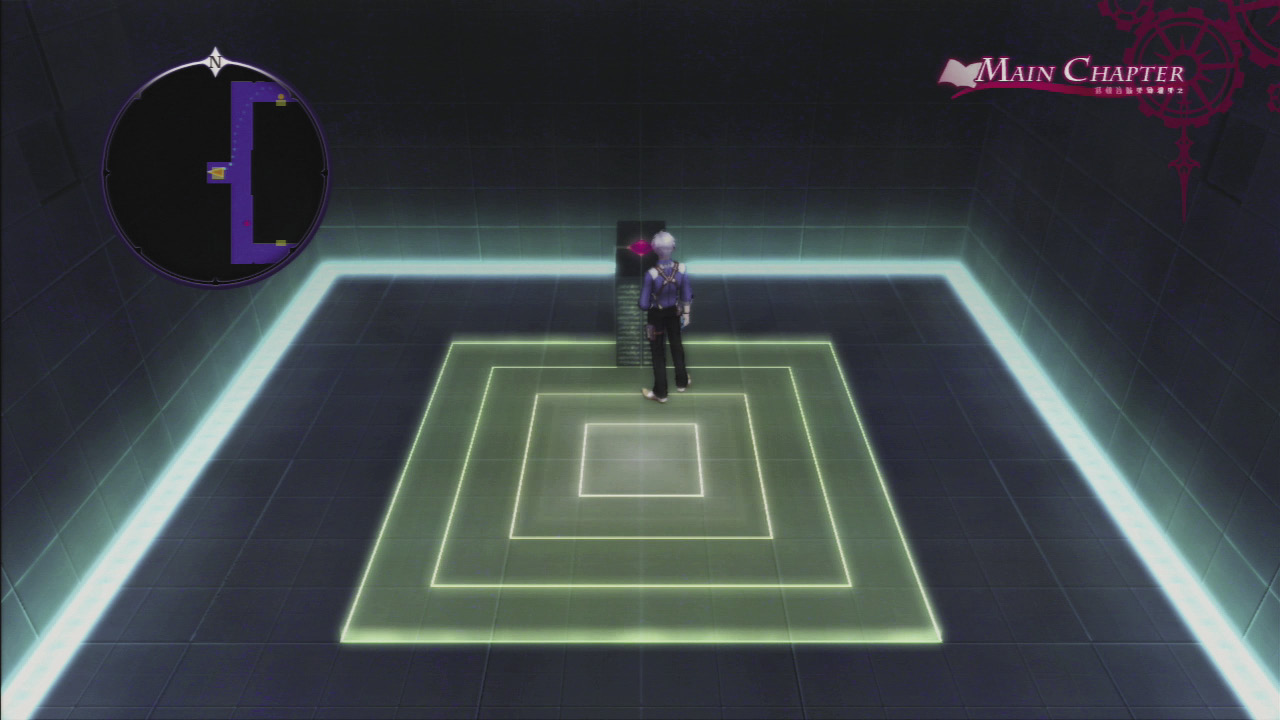

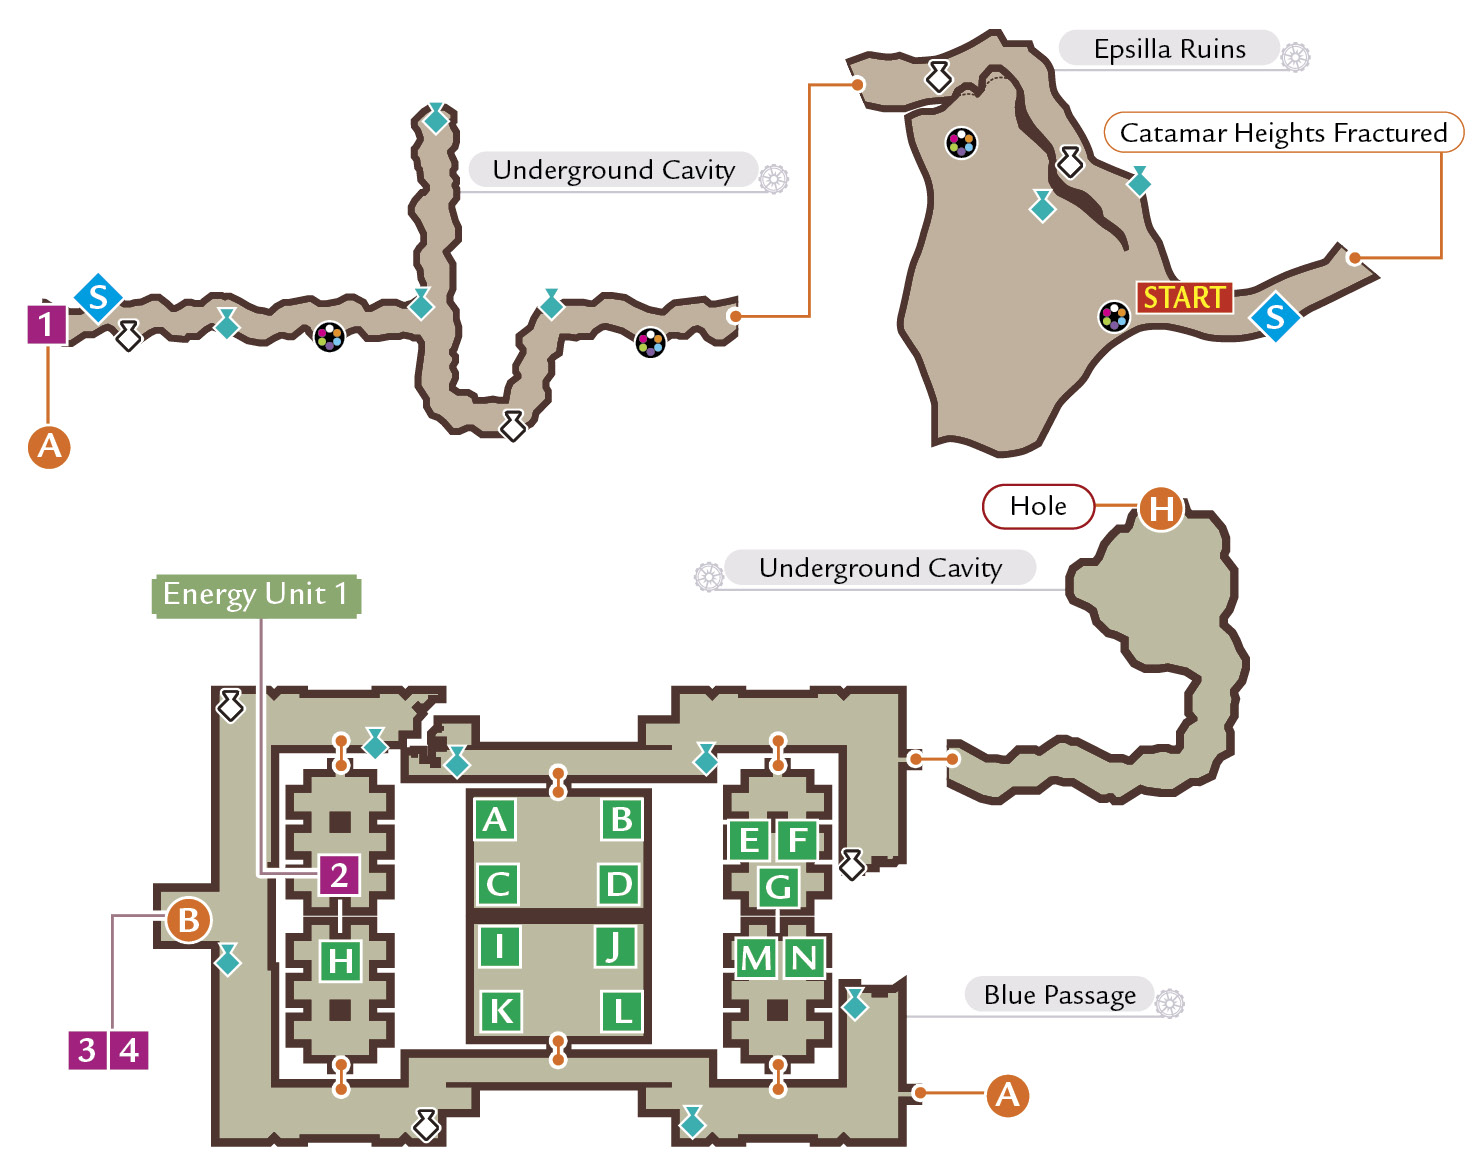
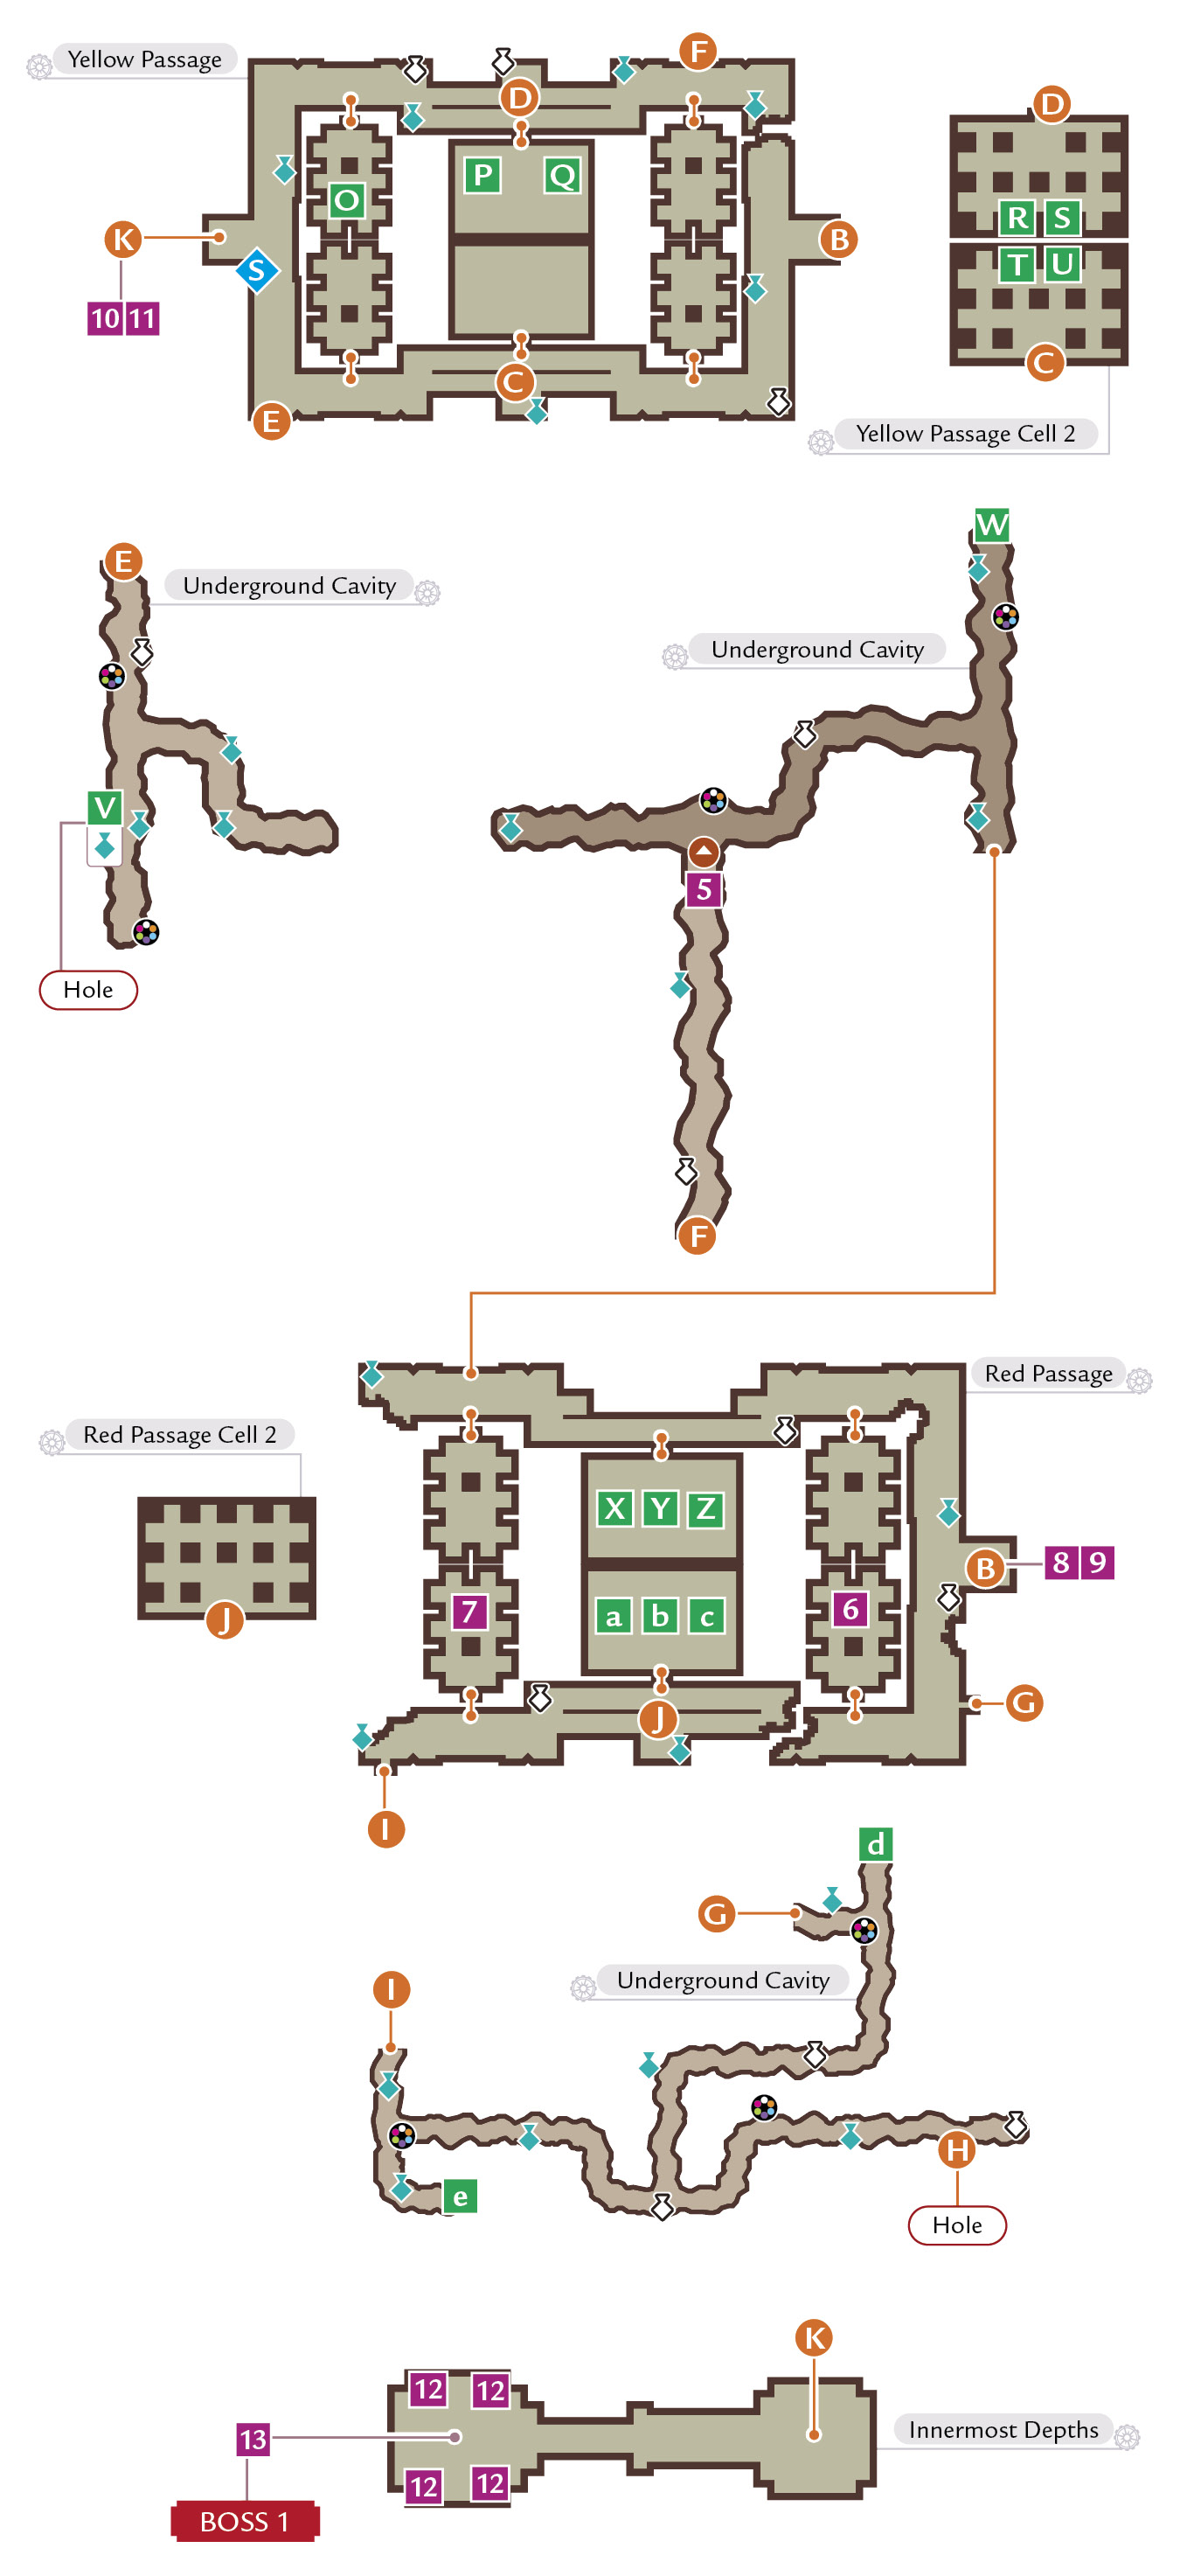
 The ruins are actually a high-tech spyrite complex, and the only way to navigate this complex is using Energy Units as keys to operate transfer gates. These teleporting gates will take you to another section of the ruins. Pay close attention to the color of the light in each section as the halls all look the same. Use the device to go to the 2nd East Gate, which warps you to the Yellow Passage.
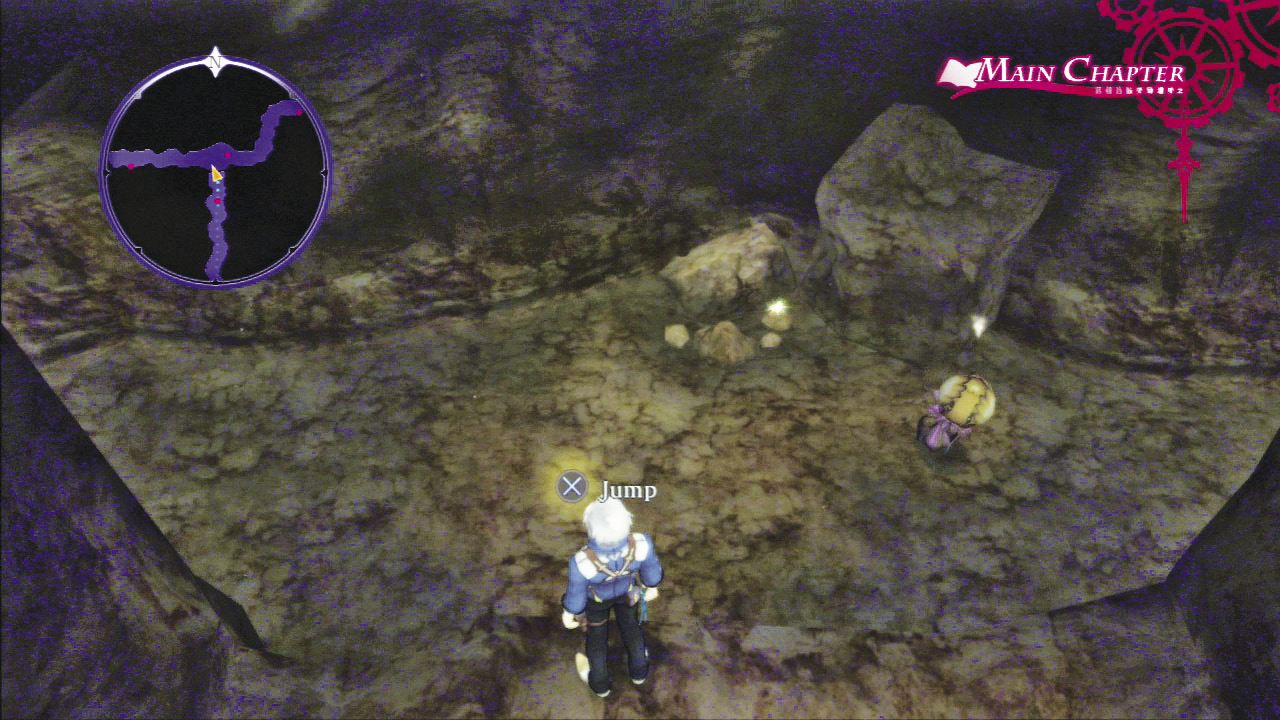
Run to the west and enter Underground Cavity 3 to grab some Rare Metal, then continue around the perimeter of the Yellow Passage to the northern exit (F).
 Enter the hole in the wall to venture into Underground Cavity 4. Jump down from the upper ledge to reach the lower level and reenter the ruins to go into the Red Passage.
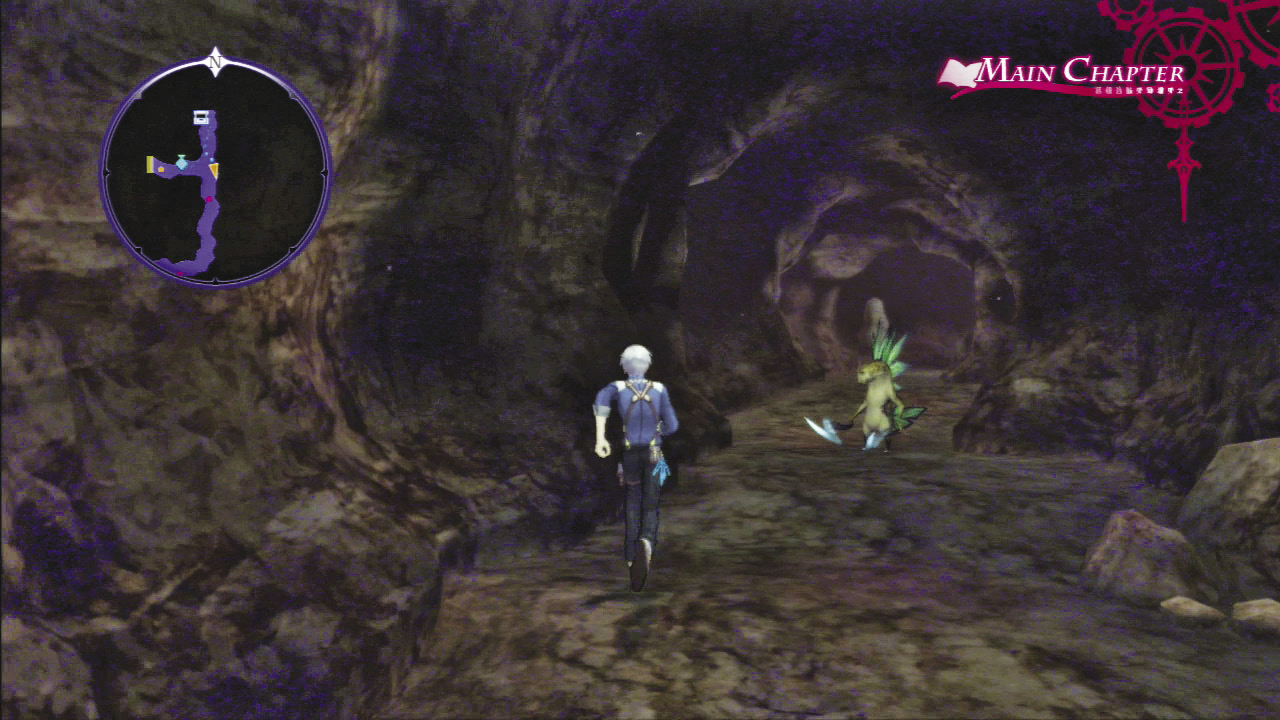
 Grab the treasures to the east and head to the southern corner to find another Wandering Skeleton in the large room in the corner. Defeat the gate keeper and go through the broken wall at point G to enter the Underground Cavity 5. The caverns are very narrow and it is hard to avoid combat, so collect the few treasures and sprint to the western exit at point I.

 There is not much to do in this small section of the Red Passage except deal with another Wandering Skeleton. Transform to wipe out the skeleton or use a Mystic Arte to deal massive damage.

 Now that you have both Energy Units from the Red Passage, go to the transfer gate at point B and teleport to the 2nd East Gate to go to the Yellow Passage (B).
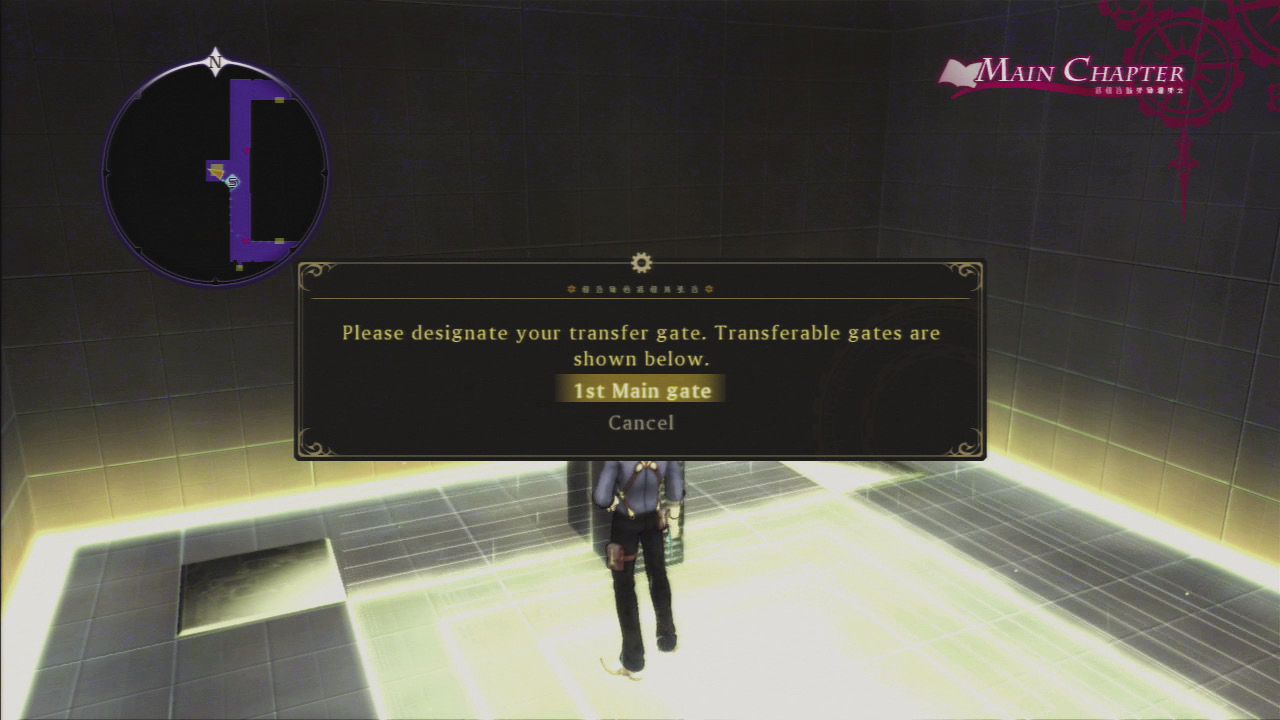

 Circle around the lower perimeter of the Yellow Passage to get to the transfer gate and finally warp to the 1st Main Gate (K).
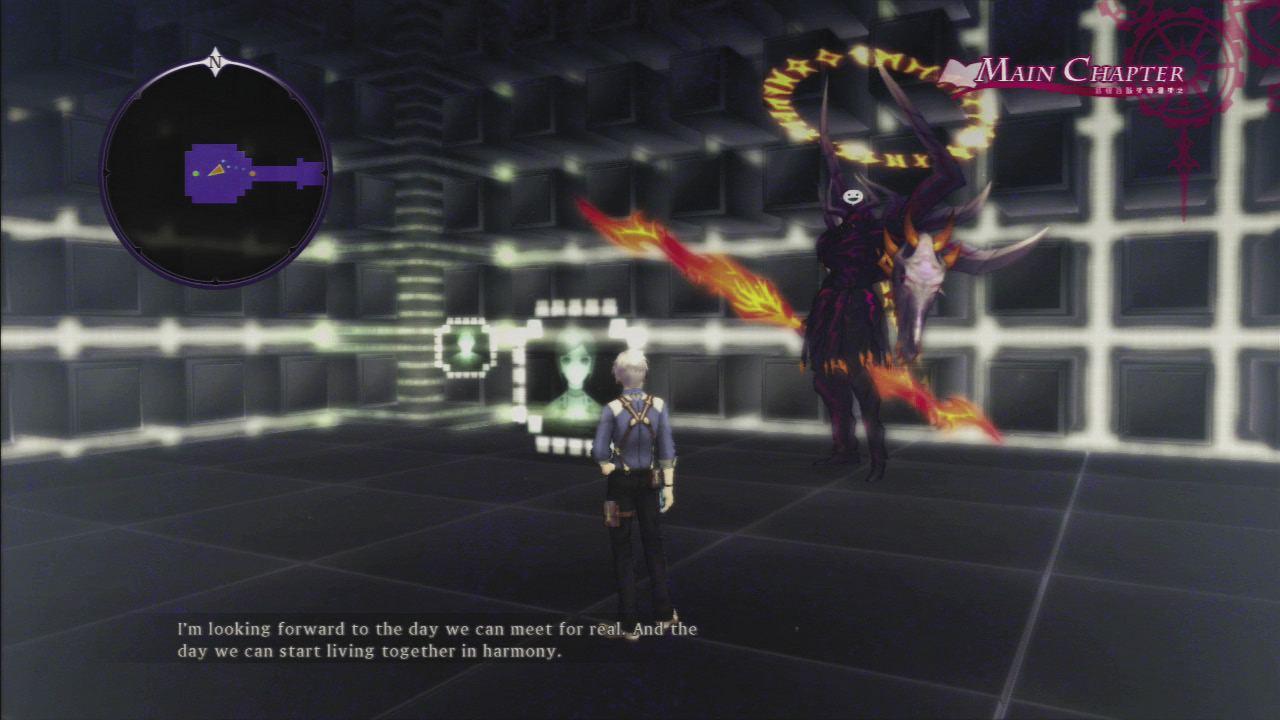
 Take the time to check the holographic portraits and listen to their messages before you engage Odin.
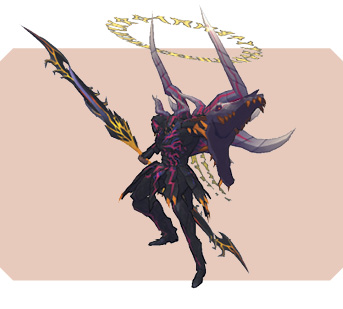
Boss Odin (Catalyst)
|
Level |
46–50 |
|
Iron Stance |
80 |
|
HP |
164220–176460 |
|
Weak |
 |
|
Strong |
     |
|
Drop |
Stone Ward (100%)/Ultimate Fertile Soil (100%) |
|
Steal |
All-Divide (5%) |
Understand the Boss’s Attack Range
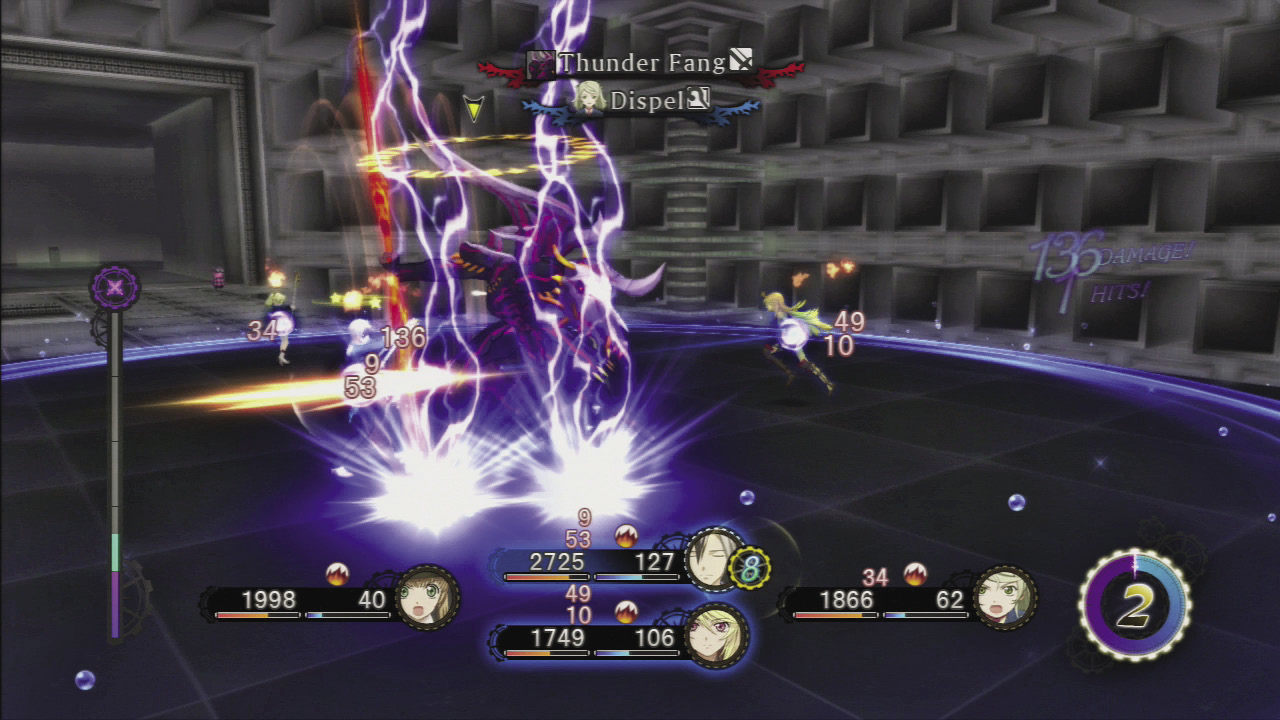
 Odin uses artes like Cage of Radiance to attack the area around himself and ones like Thunder Fang to lunge forward at high speed. Thunder Fang is a forward lunge that has a long but very narrow range. As soon as you see the name of the arte appear, perform a side-step to step out of its path.
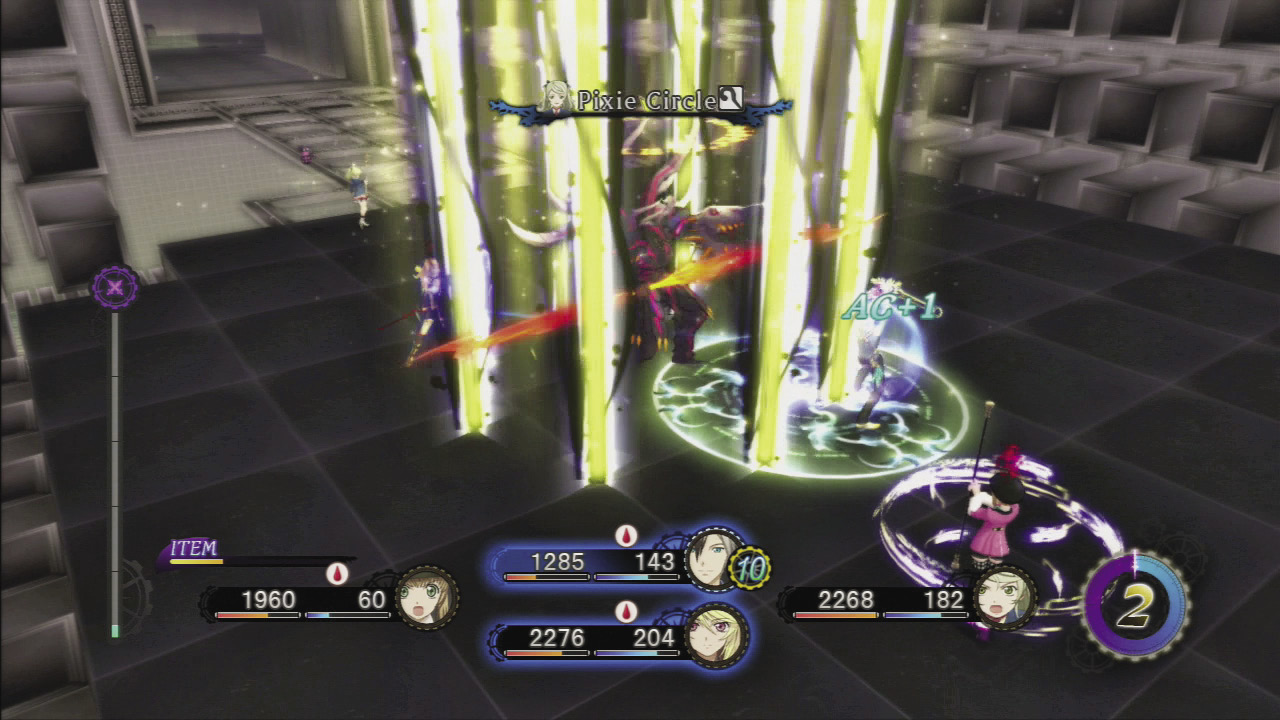
Cage of Radiance sends a rain of light falling around the caster. It has the ability to knock party members down, which makes it particularly dangerous. So as soon as he holds his lance level to the ground, immediately begin blocking. Also, it may inflict the Confusion status, so set everyone to automatically use Panacea Bottles in the Auto-Items screen.
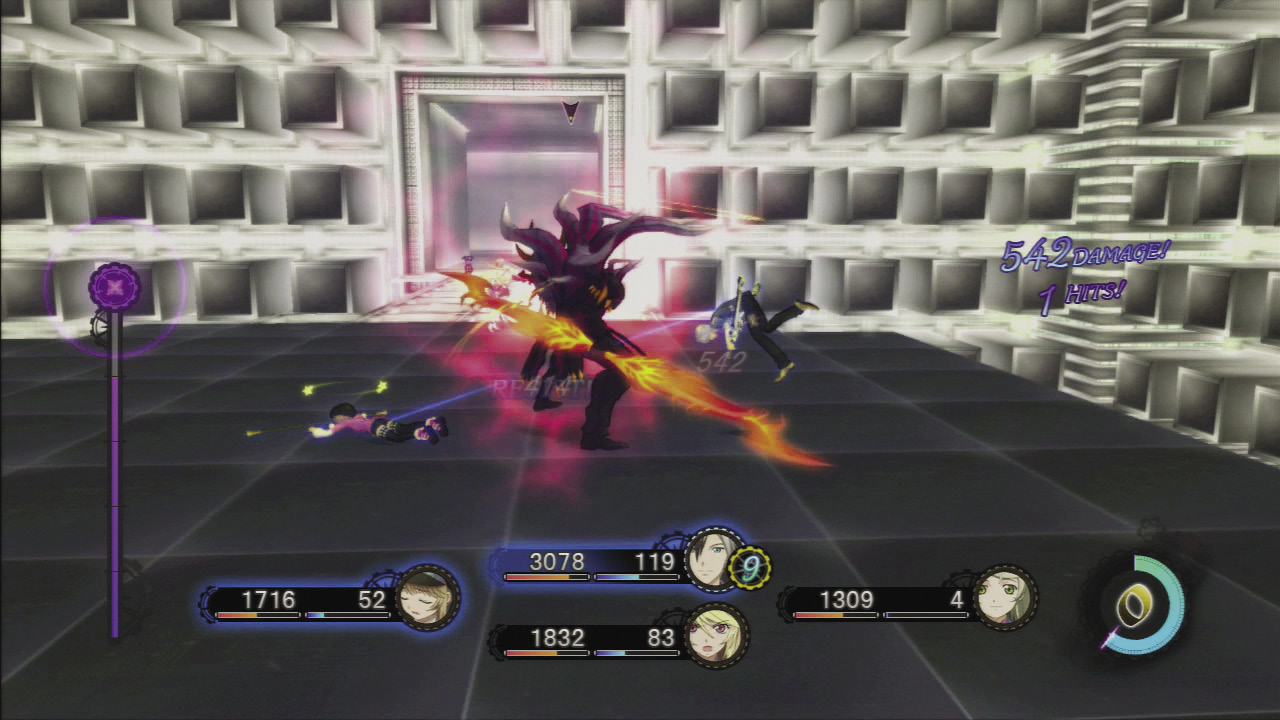
As Odin’s HP gets low, he acquires a resistance to all attack types and has a red aura. At this point the boss will be very aggressive. You might want to guard a lot more until the aura disappears from his body. Otherwise, transform and try to finish him off.
Odin’s other attacks are also powerful, but if you’re able to take him from behind, he won’t be able to deal too much damage to you. Also, make sure to use light-type weapons and artes to exploit his weakness.
What’re you doing?
|
|
Bonus Scene: Elize (requires completion of Elize Episode 2) |
You two really are like family, huh?
|
Debt Repayment Interval 10-11
|
Payment required |
200000 gald |
Character Episodes

Jude 3 |
|
| Location | Xian Du |
|---|---|
| Reward | Xillia Outfit 2,affinity +500 |

Muzét 1 |
|
| Location | Fennmont |
|---|---|
| Reward | Muzét color variation costume, Spirit Radio, affinity +500 |
 Event Quest
|
|||||
| Client | Party | Item | Location | Description | Reward |
|---|---|---|---|---|---|
| History Buff | Ludger, Jude, Alvin, Muzét | Find the Dissertation! | Orda Palace—Archives 2 | A book in Orda Palace dissects the info found in the Book of the Six. Bring it to my friend. | 8200 gald, 2624 Points, Skill Tome: “True Awakening” LU |
|
|||||
| Client | Party | Item | Location | Description | Reward |
| Rideaux | Ludger, Jude | Code-J Data 2 | Spirius Corp.—Entrance | A trader in Xian Du now possesses the Code-J Data. Retrieve it and bring it back to Spirius Corp. | 7600 gald, 2432 Points |
 Dissertation of the Six
 Traces of Kinship: Part 2*
 Item Delivery Quests
| Quest Name | Required Title | Item | Location | Rewards |
|---|---|---|---|---|
| Kitty Sightings 23 |
— |
Cannon’s collar | Barnauer Highroad | 800 gald, 500 Points, Gummy Fishies |
| Kitty Sightings 24 |
— |
Wily’s collar | Fennmont | 800 gald, 500 Points, Gummy Fishies |
| Kitty Sightings 25 |
— |
Noel’s collar | Fezebel Marsh | 800 gald, 500 Points, Kitty Krisps |
| Kitty Sightings 26 |
— |
Nanaly’s collar | Laforte Research Center | 800 gald, 500 Points, Gummy Fishies |
| Kitty Sightings 27 |
— |
Carolina’s collar | Arklund Quag | 800 gald, 500 Points, Gummy Fishies |
| Hassle at the Tatalian Abyss 3** | Silver Token | Pink Emerald ×5 | Tatalian Abyss | 8600 gald, 1677 Points |
| Burned Out | Silver Badge | Mysterious Bead | Xailen Woods | 800 gald, 100 Points, Silver Dice |
| Got Any Good Weapons? |
— |
Obsidian | Laforte Research Center | 800 gald, 100 Points, Mega Tornado |
 Monster Hunting Quests
| Quest Name | Required Title | Target | Location | Rewards |
|---|---|---|---|---|
| The Veywind Eye Strikes Back!*** | Silver Badge | Veywind Stinger, Veywind Eye | Torbalan Highroad | 60000 gald, 15000 Points, Horns |
| Trouble in the Area | Silver Badge | Rashugal Battlecorps Deserter | Barnauer Highroad | 800 gald, 100 Points, Striped Hat |
 Elite Monster info
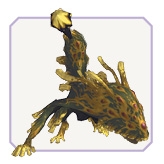
Croak of Doom: Fortune Stepper! |
||
| Client | Location | Rewards |
|---|---|---|
| Spirius Corp. | Tatalian Abyss | 60000 gald, 18000 Points |
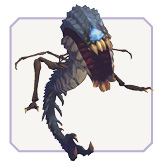
Ravenous Insect: Hammerzamm! |
||
| Client | Location | Rewards |
|---|---|---|
| Hammer Smith | Felgana Mine | 60000 gald, 18000 Points |
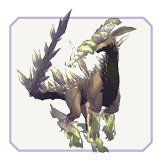
Speed Demon: Wind Racer! |
||
| Client | Location | Rewards |
|---|---|---|
| Spirius Corp. | Catamar Heights | 60000 gald, 18000 Points |
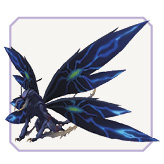
Giant Insect: Krudis Eye! |
||
| Client | Location | Rewards |
|---|---|---|
| Researcher | Barnauer Highroad | 50000 gald, 15000 Points |
Skits
| Start Time | Type | Name | Location | Condition | Choices | Required Members |
|---|---|---|---|---|---|---|
| Debt Repayment Interval |
Main |
Call from Nova (10) | Anywhere |
— |
— |
|
| Debt Repayment Interval |
Etc. |
Vera’s Broken Heart | Anywhere | Before debt repayment | L1: Elize +250, Leia +250 R1:None |
|
| Debt Repayment Interval |
Etc. |
Serve the Servants | Anywhere | Before debt repayment | L1: None R1: Muzét +250 |
|
| Debt Repayment Interval |
Main |
Call from Vera (5) | Anywhere | After debt repayment |
— |
|
| Debt Repayment Interval |
Etc. |
Nova’s Secret | Anywhere | After Debt Repayment | L1: Rowen +250 R1: Alvin +250 |
|
| Debt Repayment Interval |
Etc. |
Who’s Mabo Curry? | Anywhere | After debt repayment Mabo Curry is in effect | L1: Rowen +250 R1: Elle +250 |
|






*: Occurs after completing Traces of Kinship: Part 1.
**: Occurs after completing Hassle at the Tatalian Abyss 2.
***: After defeating Veywind Eye.
Debt Repayment Interval 10-11
Town
Fennmont
|
Required Teammates |
— |
|
Inn Price |
300 gald |
|
Elemental Ore |
— |
|
Enemies Level |
— |
|
Cats |
Kahmari, Wily, Suzuki |

Fennmont
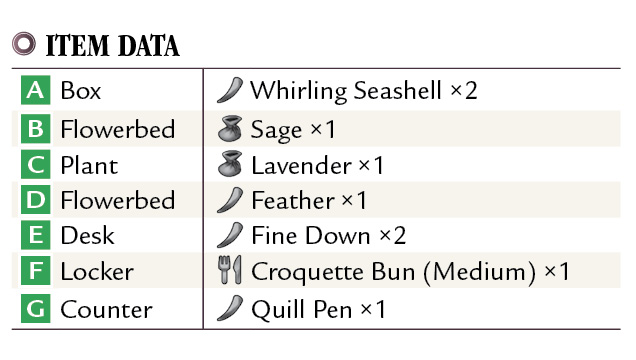
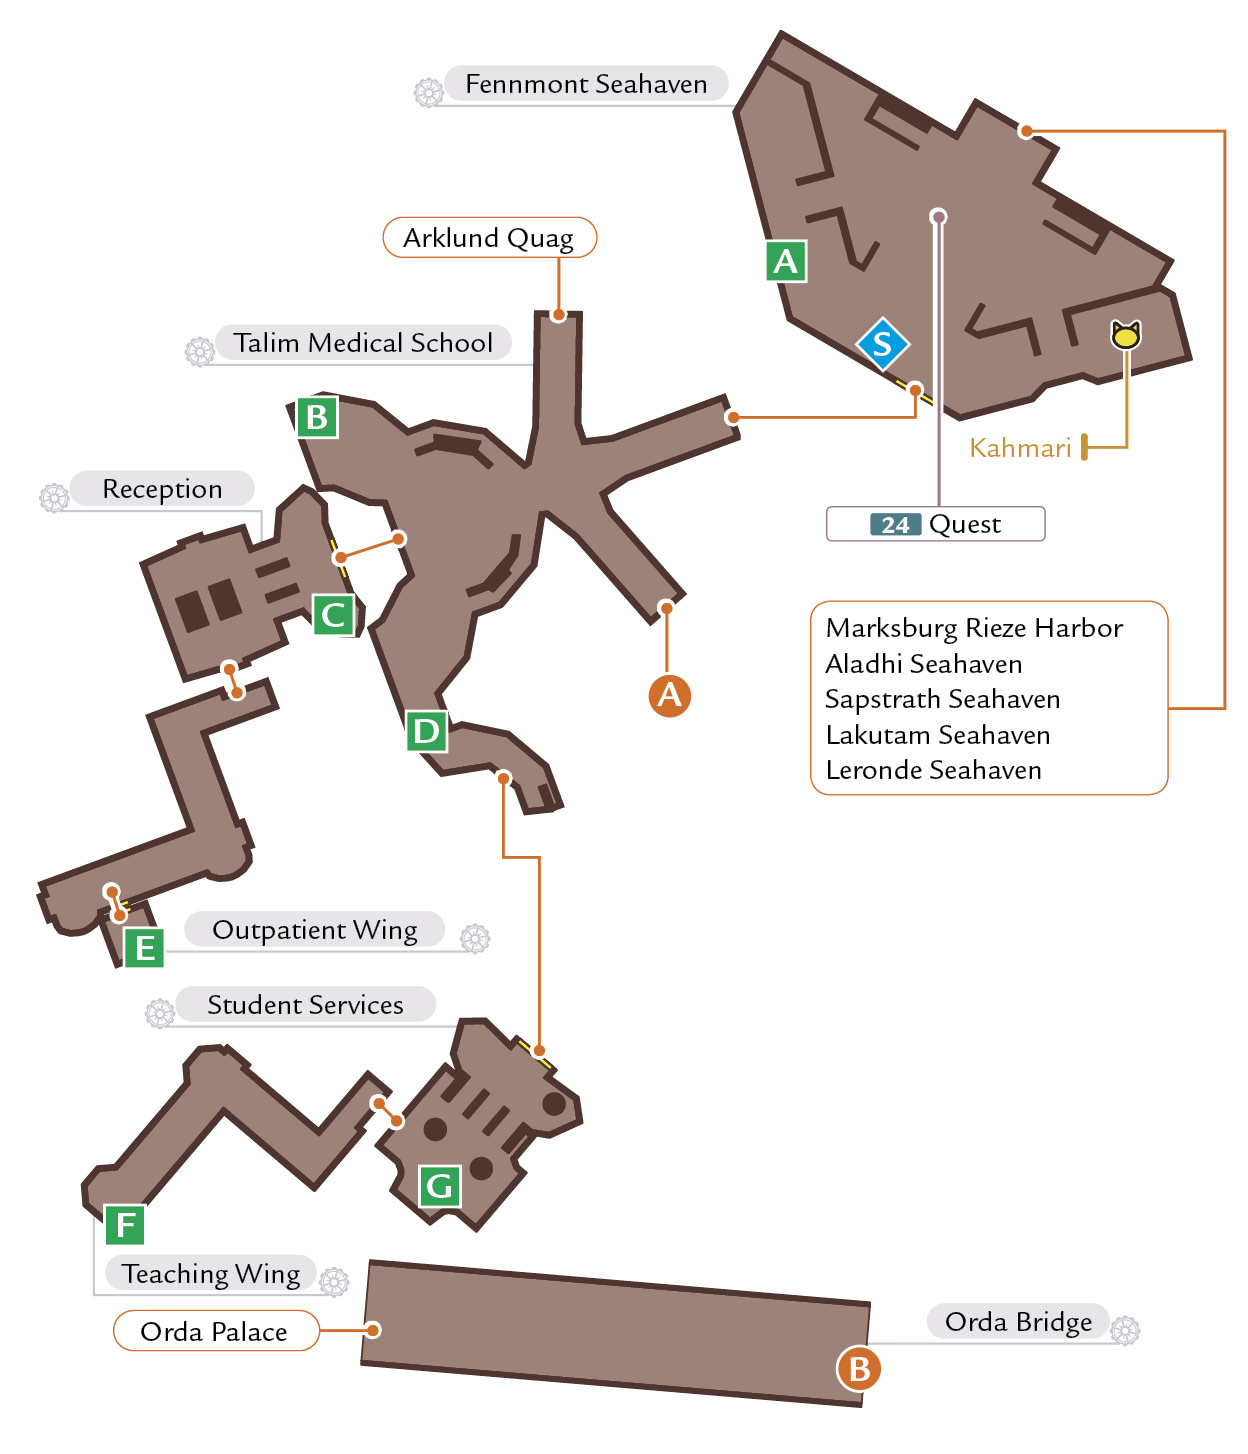
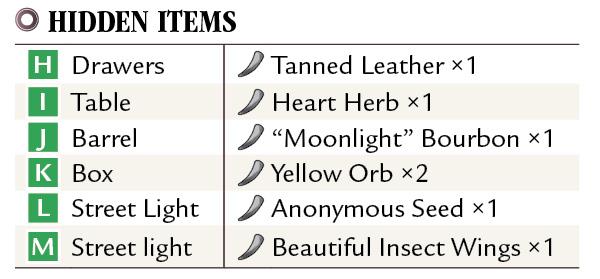
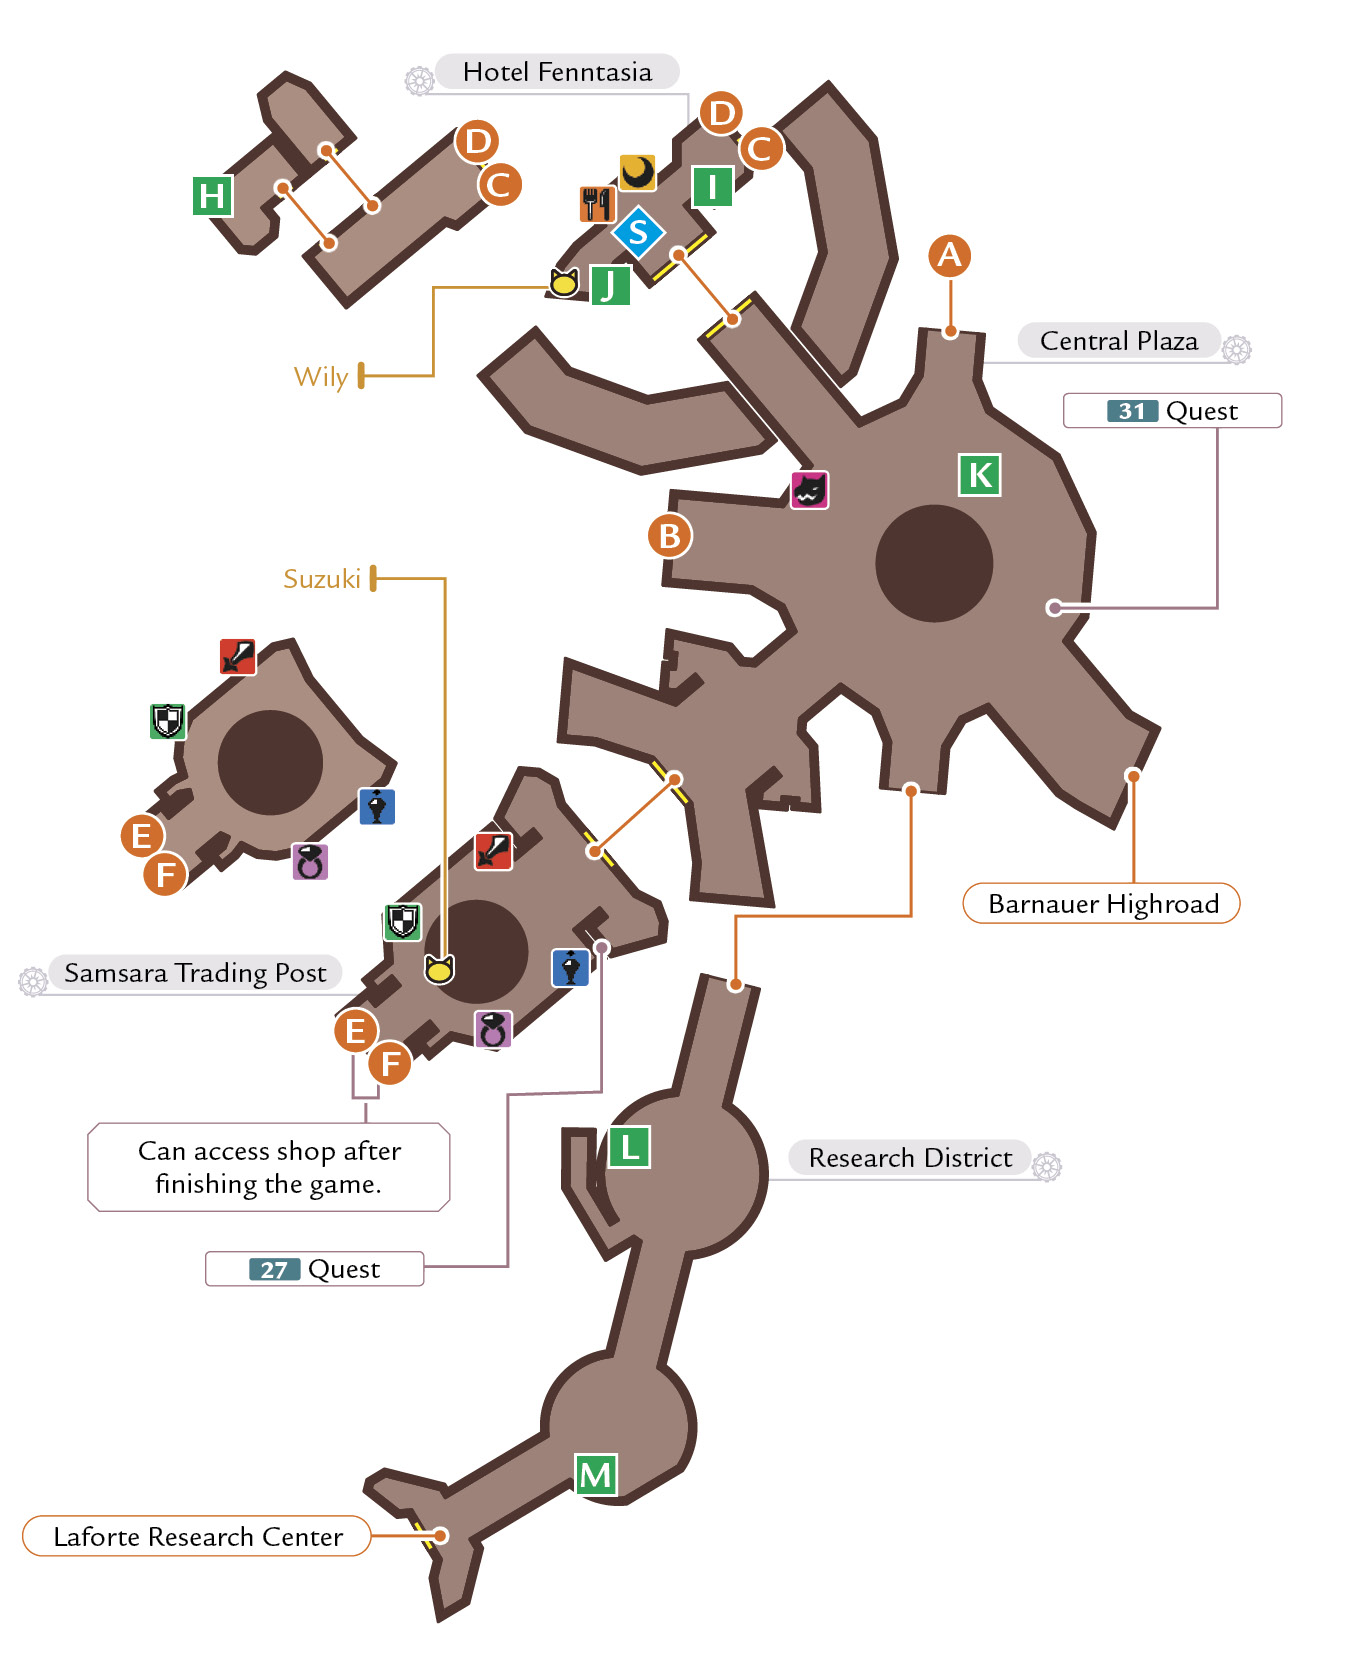
Powerful Weapons Are Available, but They Don’t Come Cheap
A number of new weapons and armors become available for your companions, including Jude’s Insect Maw and Alvin’s Heavy Anchor. Additionally, you can now Custom Order new items, including weapons with elemental properties. Make sure to check out the selection available for both. Of particular note is Prometheus (Wind), which is an inherently powerful weapon in addition to its Wind-element damage type. Gather the materials and order one if you can.
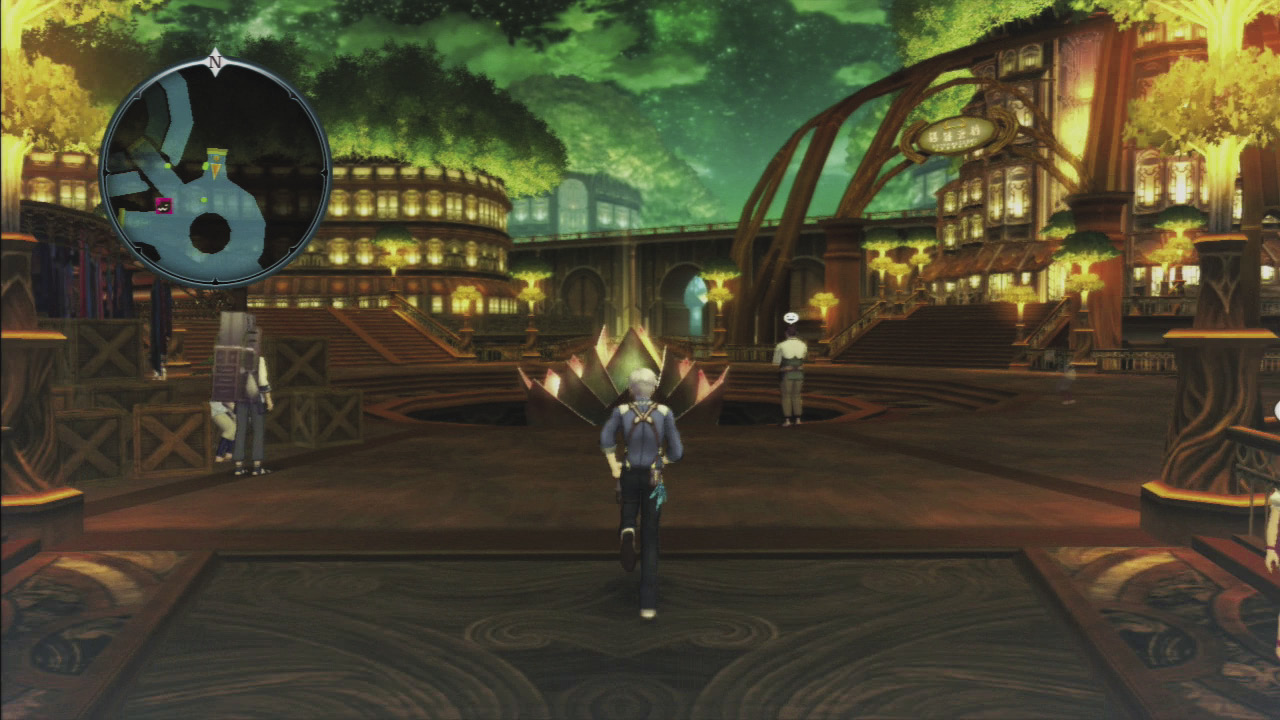
When you arrive at the port, don’t be overzealous to explore Fennmont and miss Fishy in the corner.
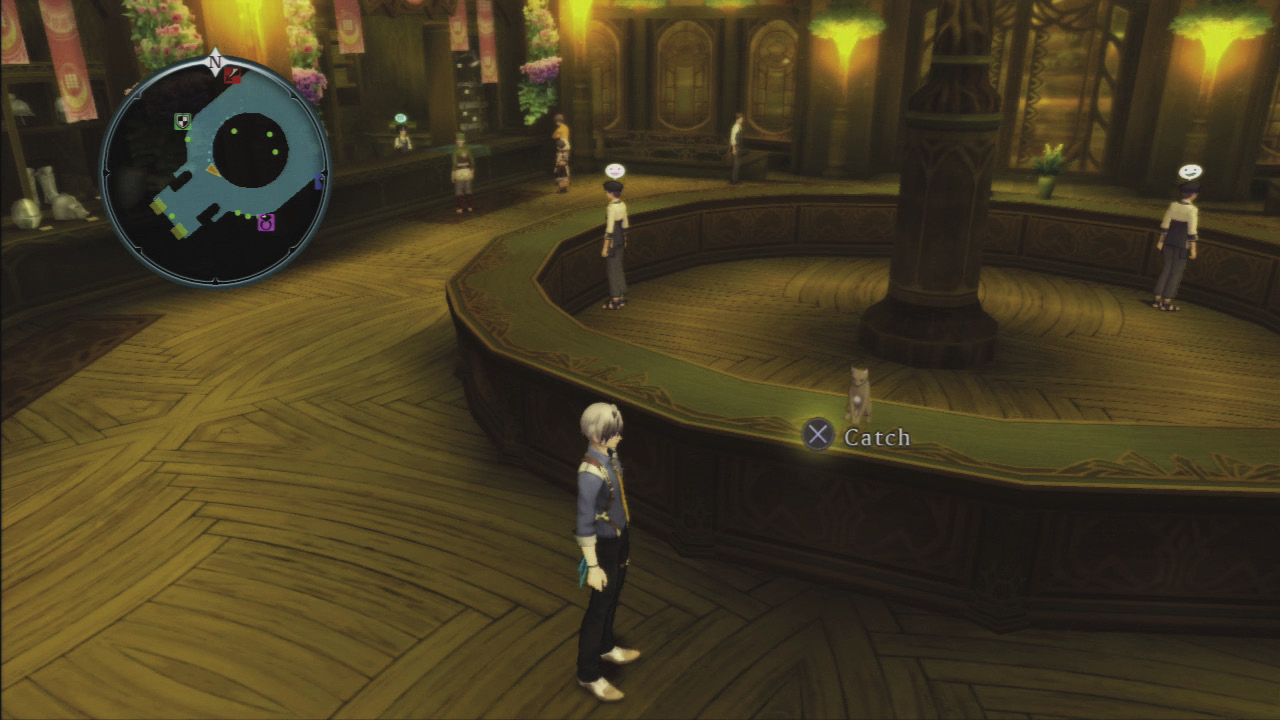
Check the large ring-shaped counter on the first floor of Samsara Trading to find Suzuki.
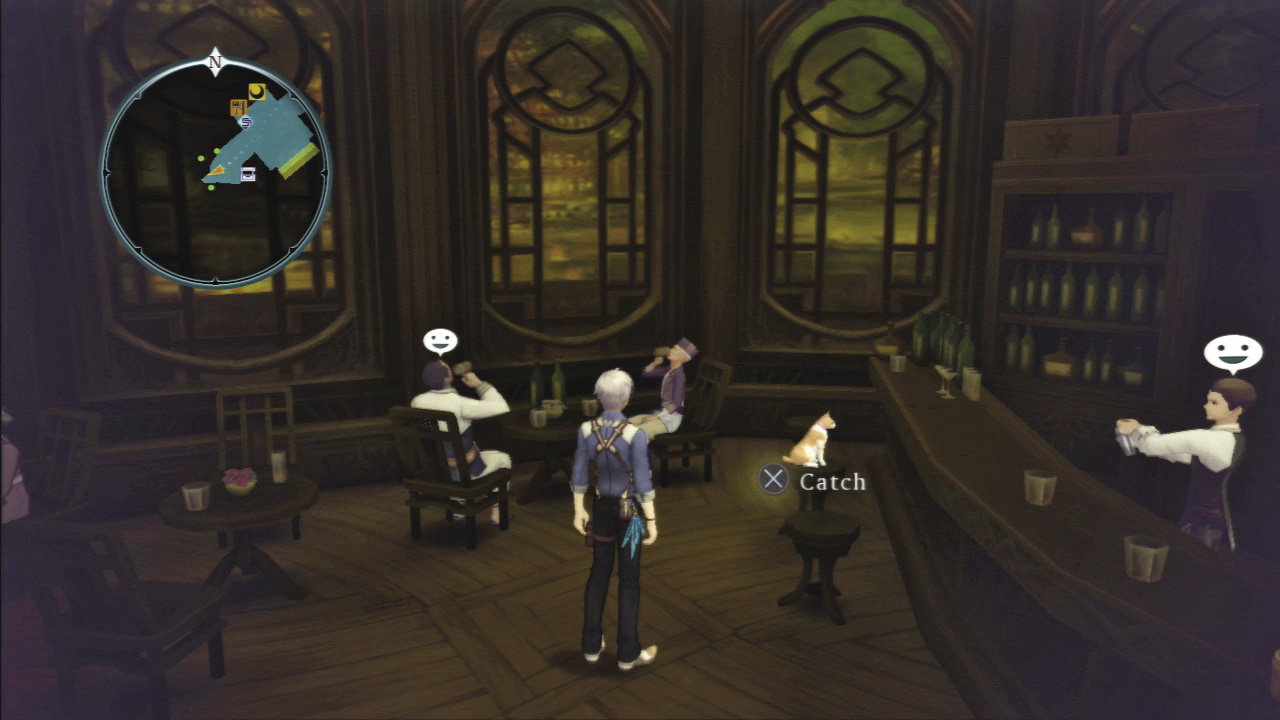
Perched on a stool at the bar in Hotel Fenntasia, you can find Wily and its Item Quest collar.
Debt Repayment Interval 10-11
Town
Orda Palace
|
Required Teammates |
— |
|
Inn Price |
— |
|
Elemental Ore |
— |
|
Enemies Level |
— |
|
Cats |
Keele |

Orda Palace
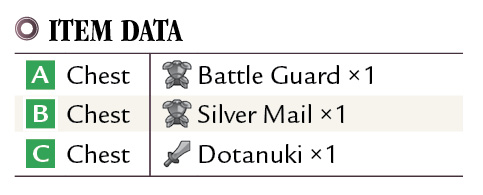
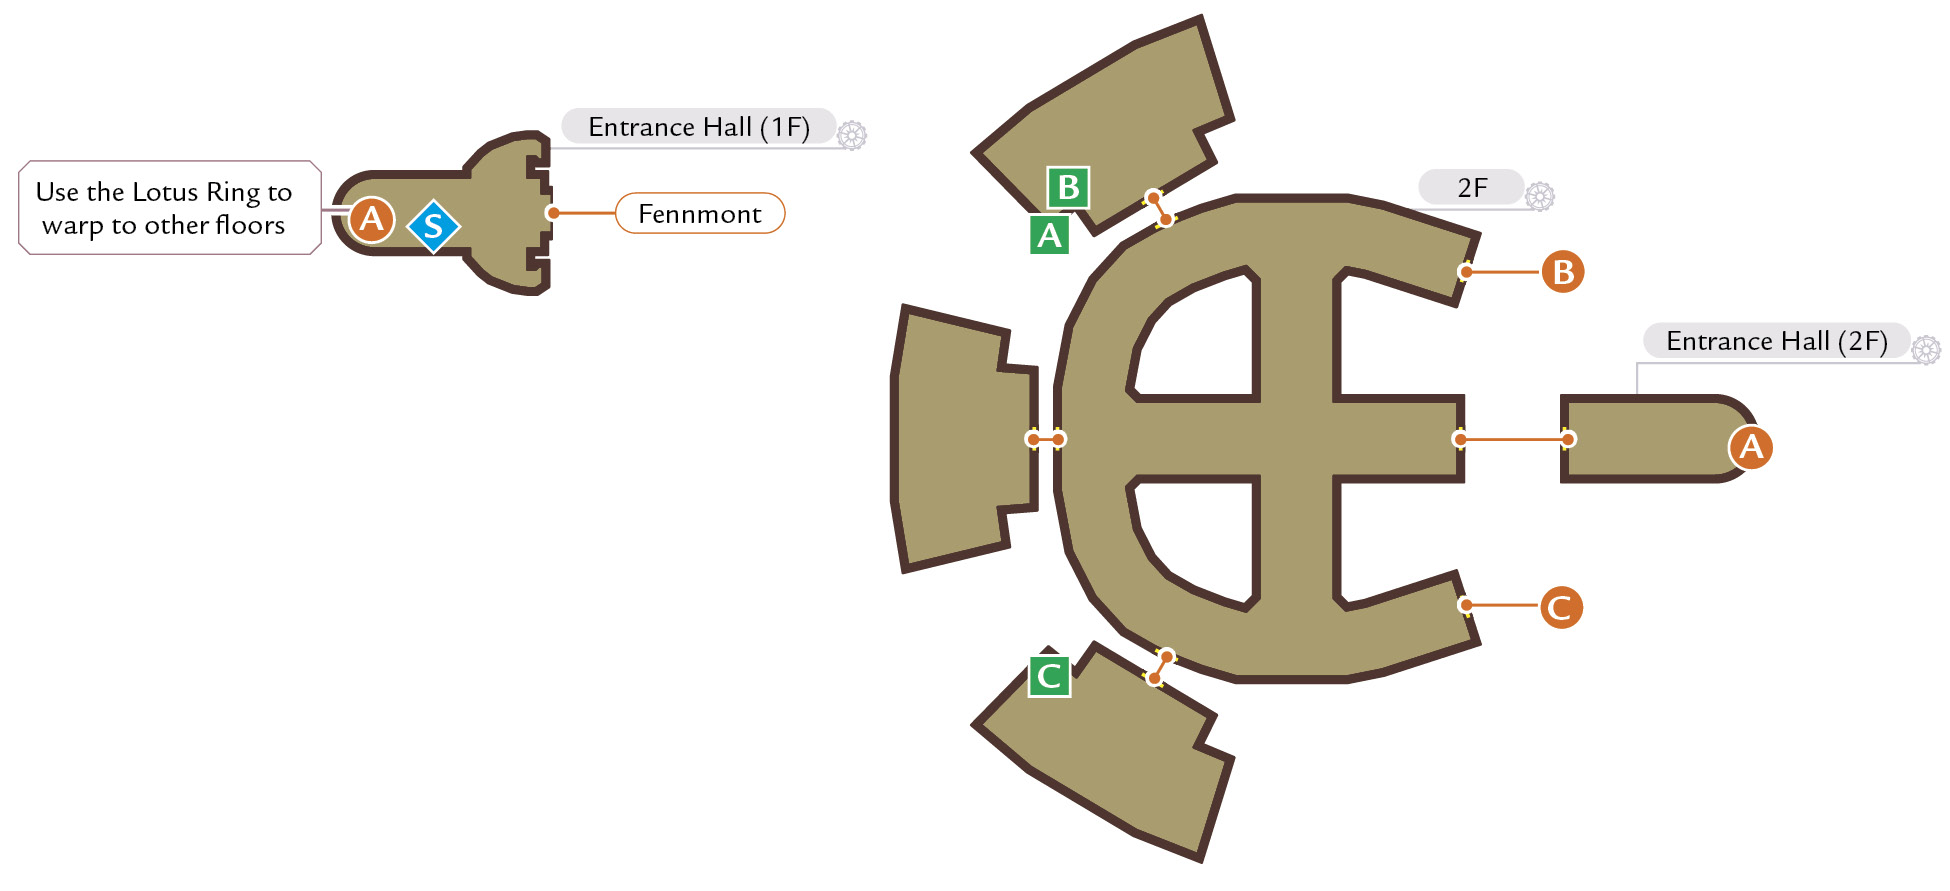
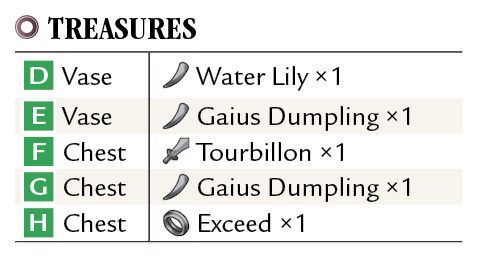
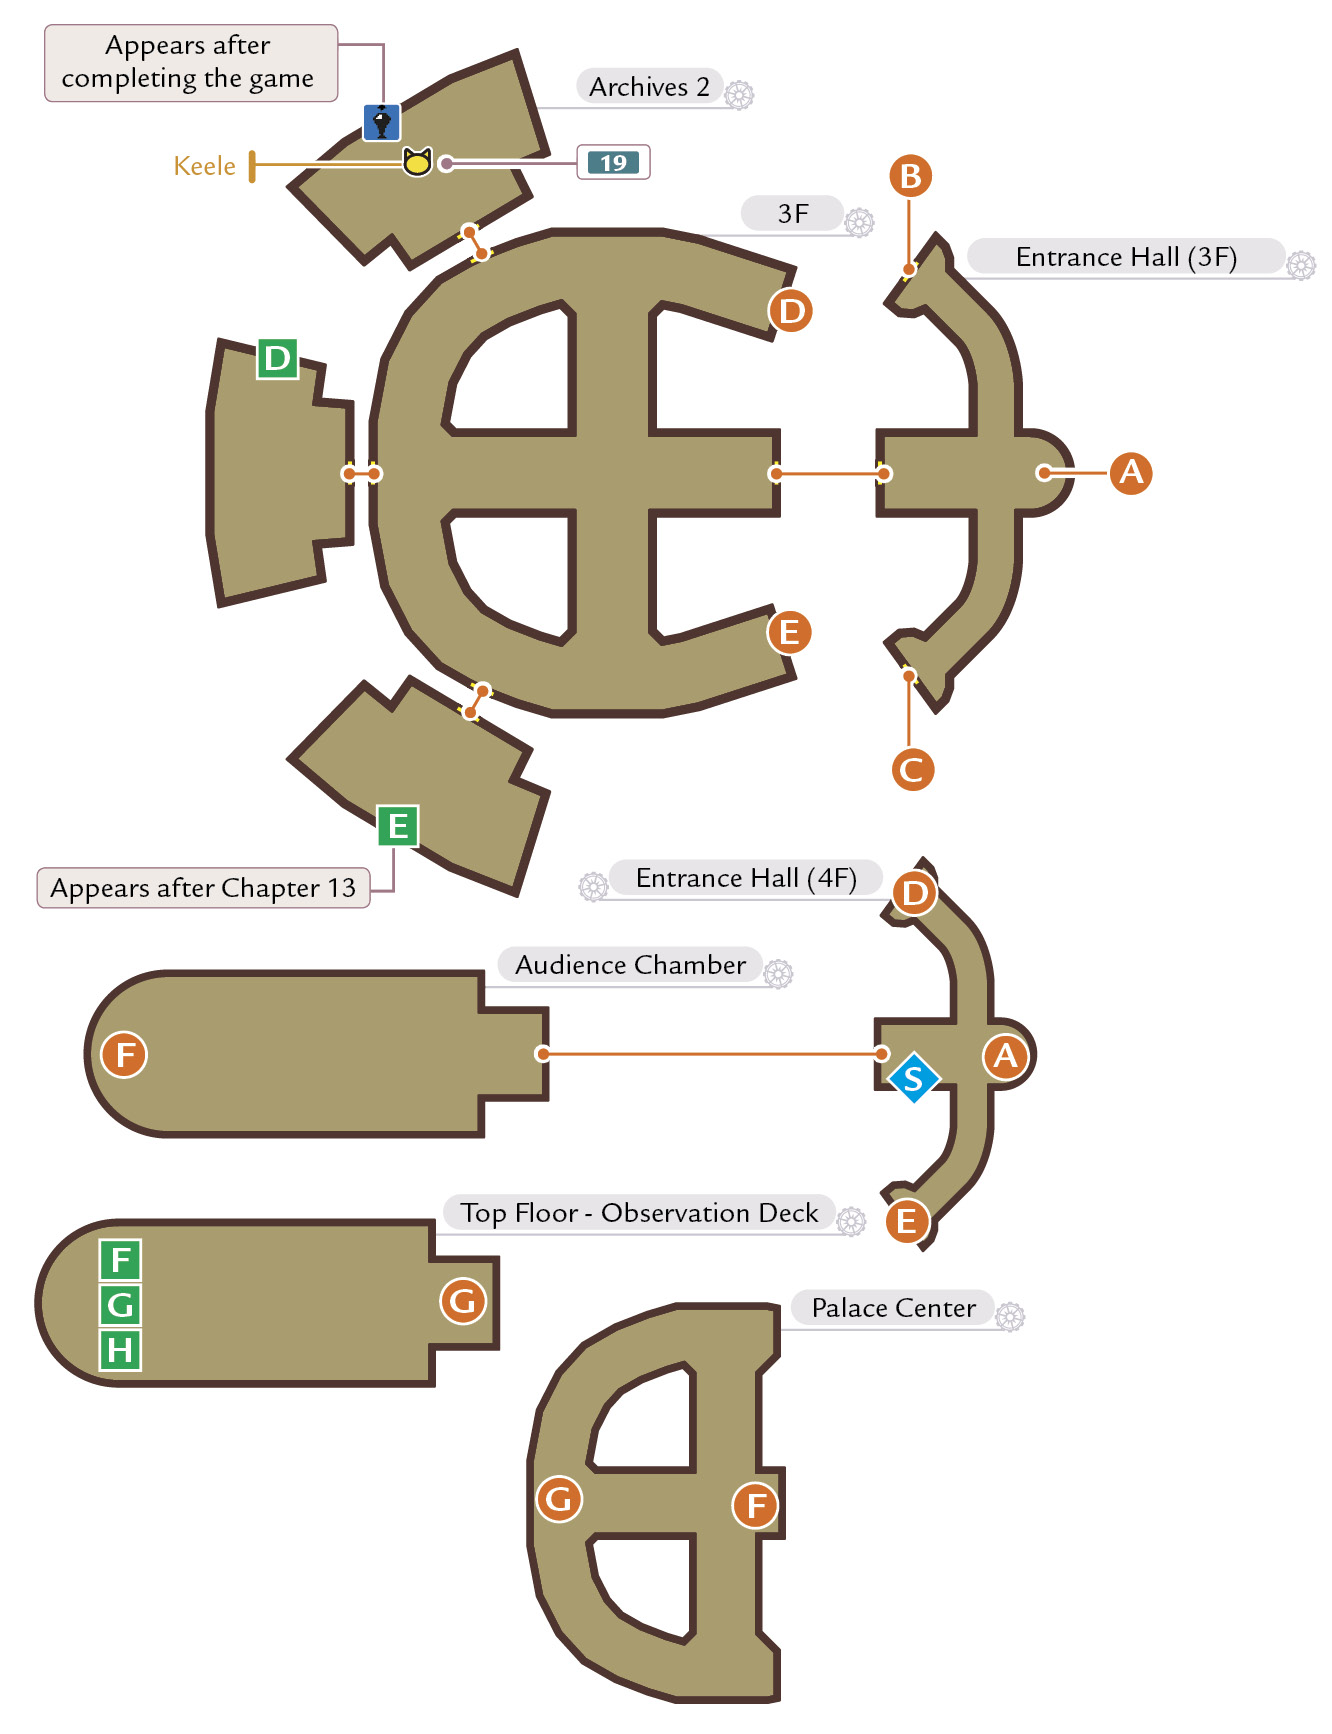
Search the Palace for Items
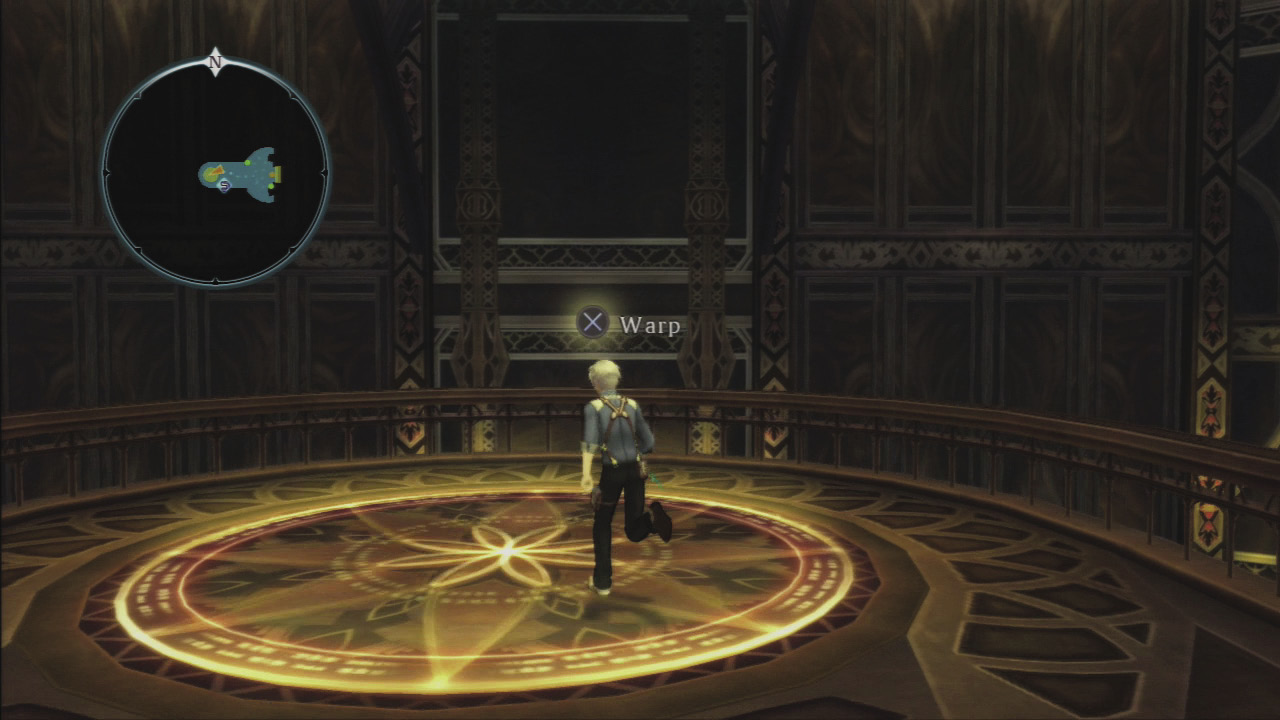
Use the large circular floor panel called a Lotus Ring to warp from floor to floor. Go to the second floor to collect armor and a sword, then return to the Lotus Ring to warp to the third floor.
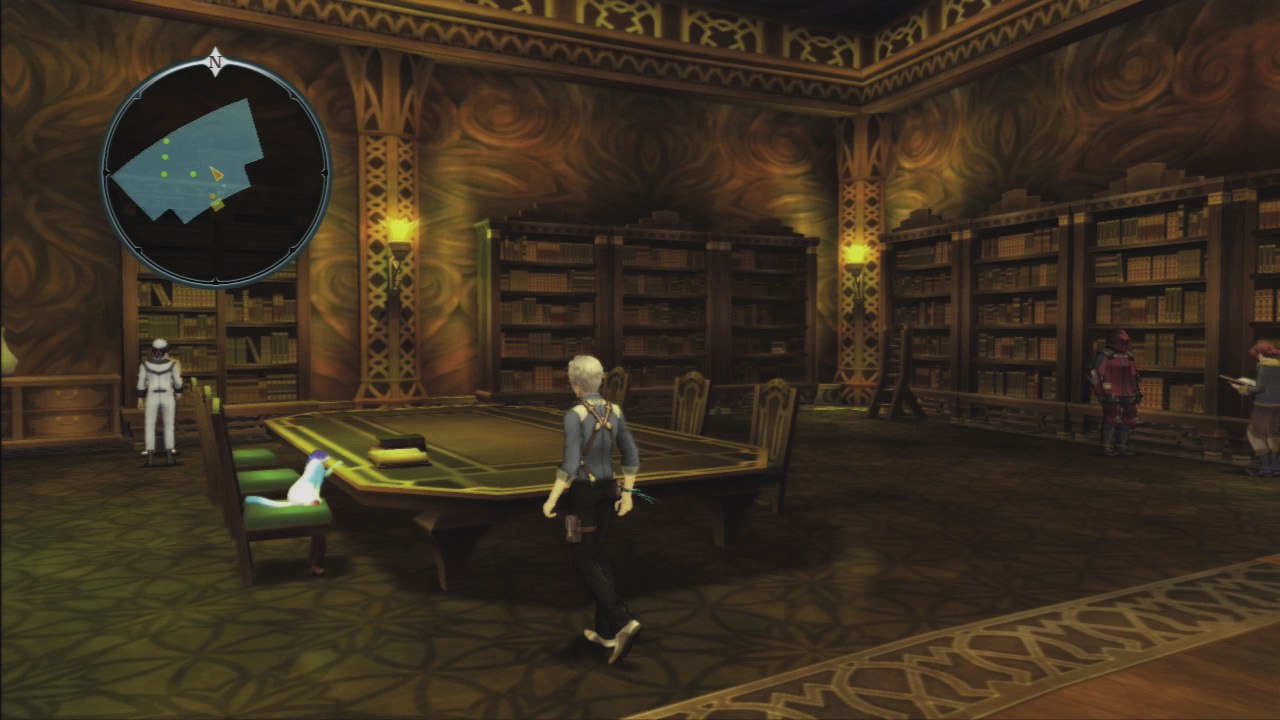
On the third floor, go to the Archives 2 room in the northwest corner. Keele the cat is siting on a chair and is hard to miss due to its blue-and-white coloring. Notice that the cat is pawing at a book on the table. This book is the one you need to complete Event Quest 19.
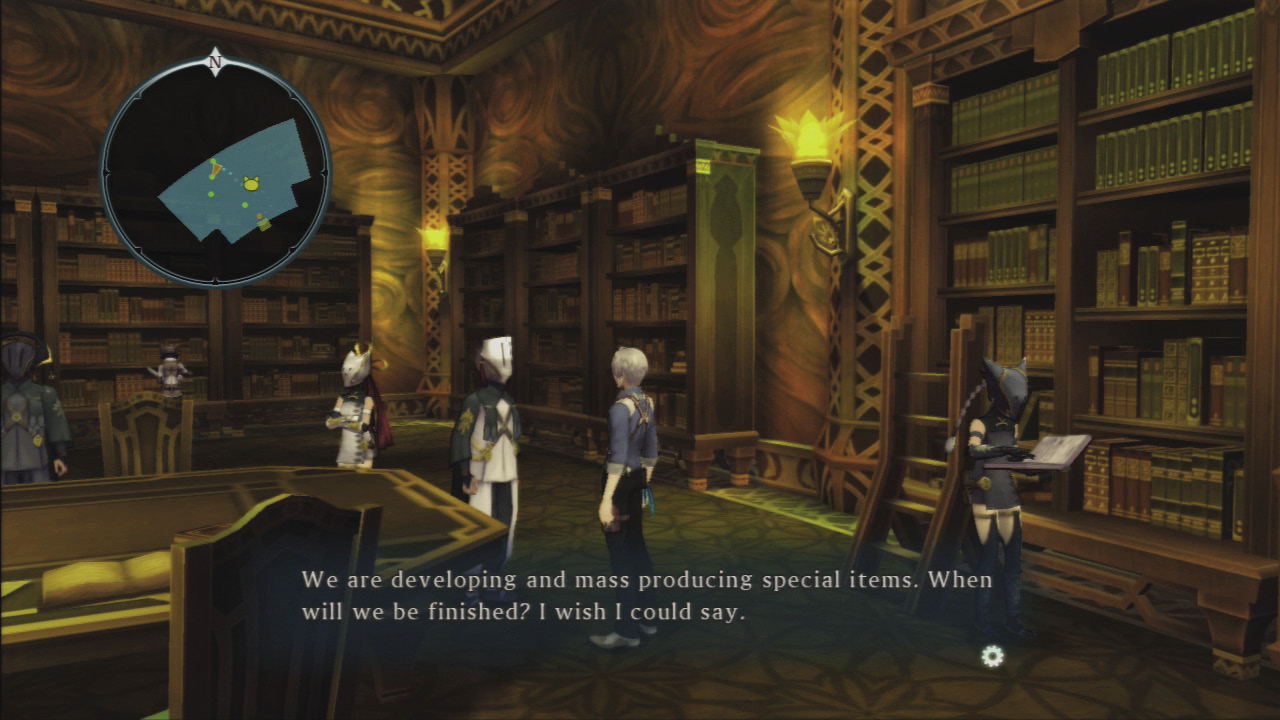
There are also two people to speak with in the Archives room that make references to coming back later. Return to this room when you complete the game. Check out the other floors if you wish, but make sure to go to the Top Floor—Observation Deck to find several items.
Debt Repayment Interval 10-11
Town
Laforte Research Center
|
Required Teammates |
— |
|
Inn Price |
— |
|
Elemental Ore |
— |
|
Enemies Level |
— |
|
Cats |
Nanaly |

Laforte Research Center
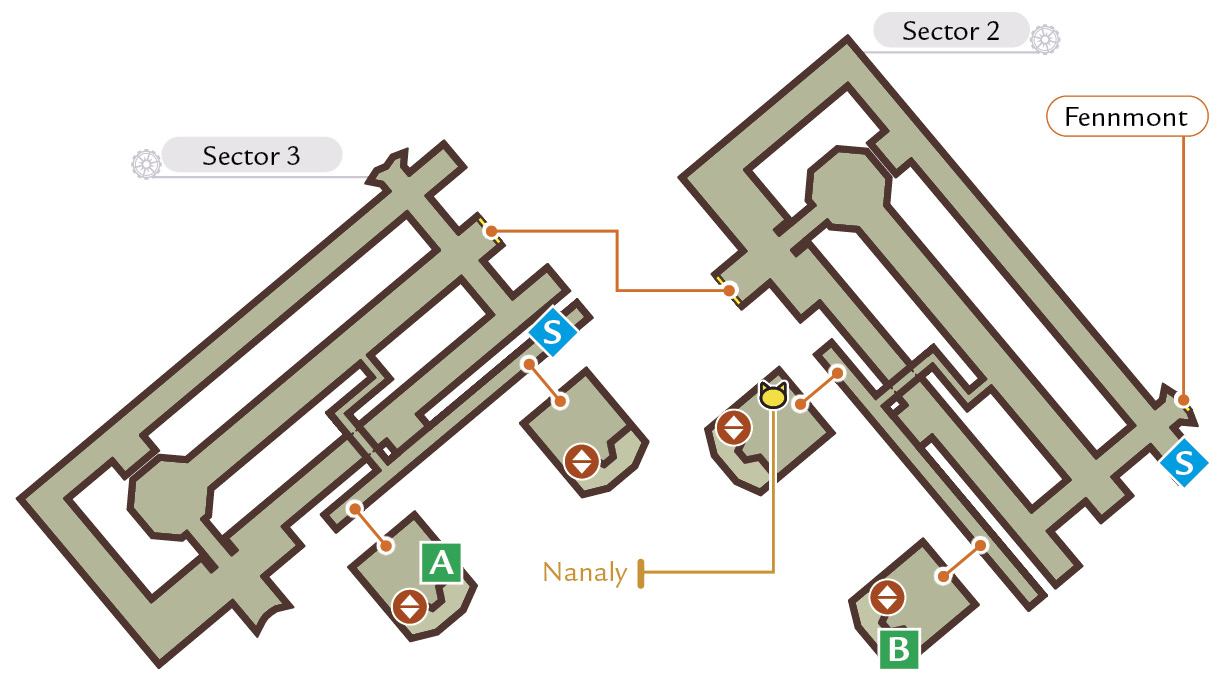
Visit the Labs from Tales of Xillia 1
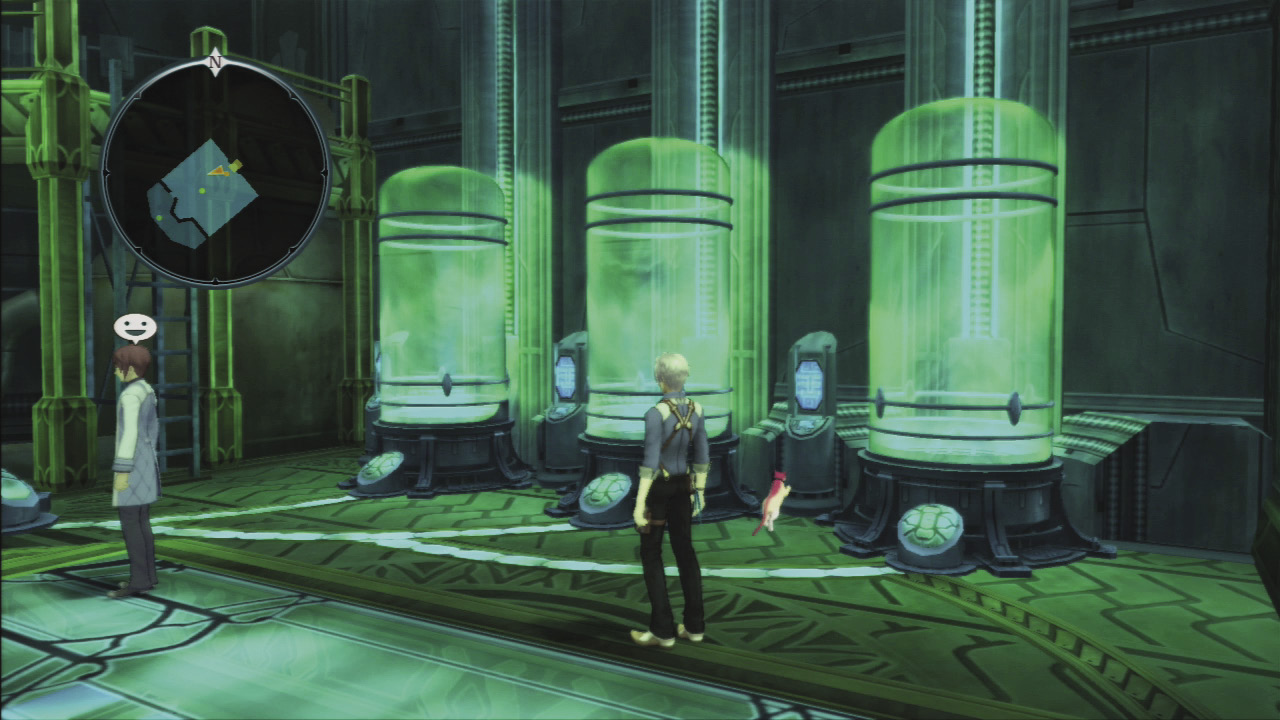
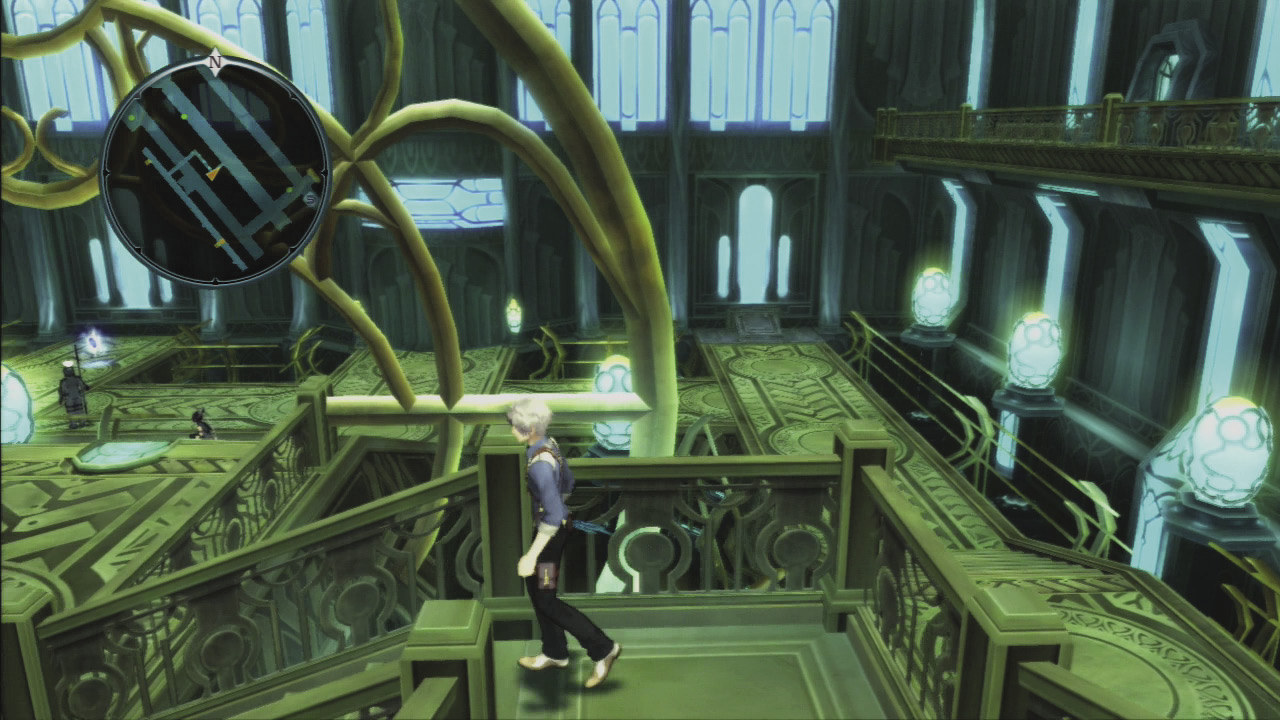
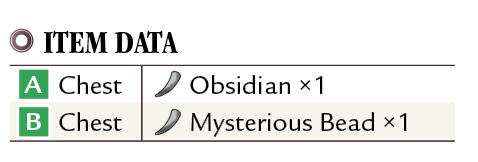
There is not a lot of action in Laforte Research Center, but there is an Obsidian and Mysterious Bead to collect. Also, you will want to visit this area to find Nanaly and its Item Quest collar in Sector 2—Laboratory 08.
Debt Repayment Interval 10-11
Field
Barnauer Highroad
|
Required Teammates |
— |
|
Inn Price |
— |
|
Elemental Ore |
14–45 |
|
Enemies Level |
46–50 |
|
Cats |
Lucy, Cannon |

Enemies
Scorpion
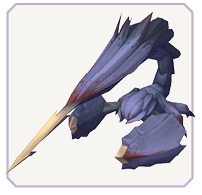
|
Type |
|
|
HP |
5119 |
|
Weak |
  |
|
Strong |
— |

Rashugal Battlecorps Deserter
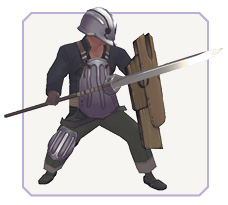
|
Type |
|
|
HP |
4830 |
|
Weak |
— |
|
Strong |
  |

Antler Beak
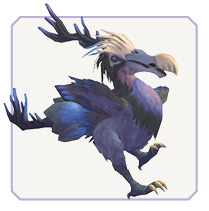
|
Type |
|
|
HP |
5119 |
|
Weak |
 |
|
Strong |
 |

Rashugal Spiritcorps Deserter
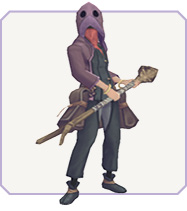
|
Type |
|
|
HP |
4830 |
|
Weak |
|
|
Strong |
|


Barnauer Highroad
Fill Your Party with Powerful Artes Casters
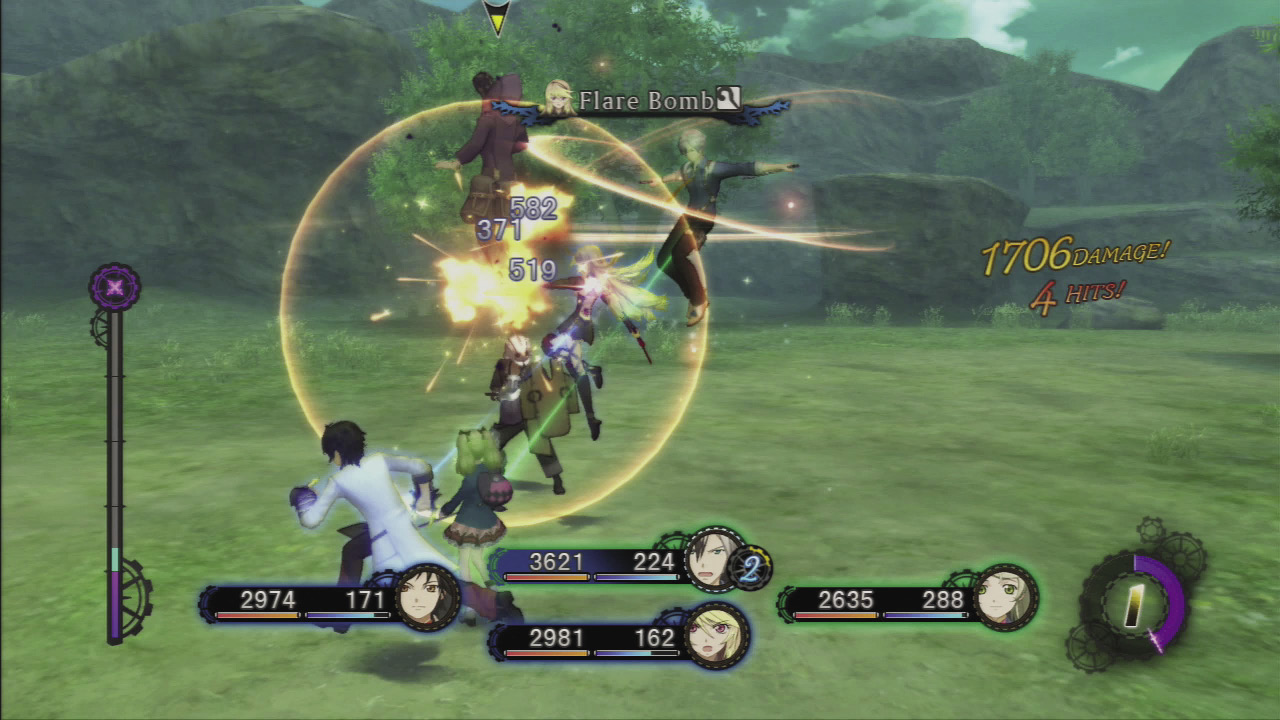
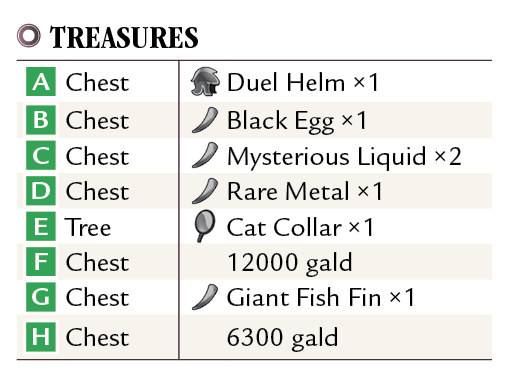
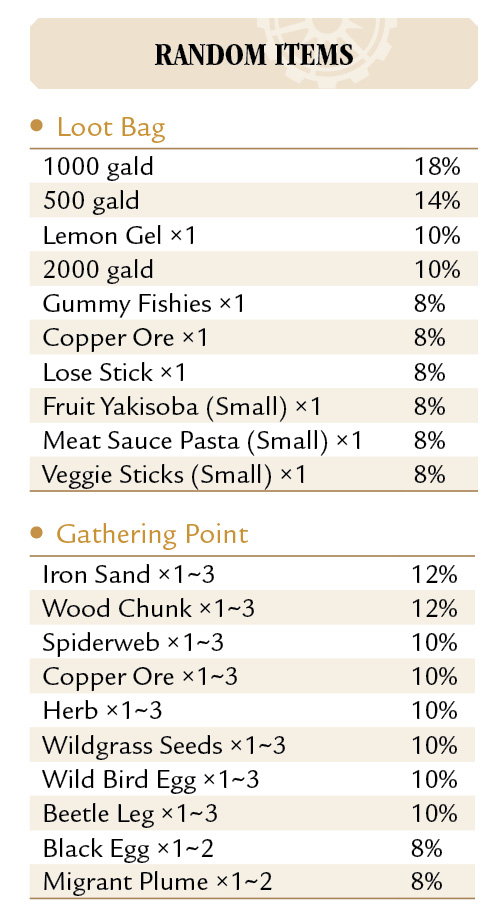
The Rashugal Battlecorps Deserters are the most dangerous of the foes you’ll face on the Barnauer Highroad, thanks to their lack of any weakness and their ability to heal themselves with a Lemon Gel when their HP gets low. Beat them with a party of powerful offensive magical artes users like Elize and Milla.
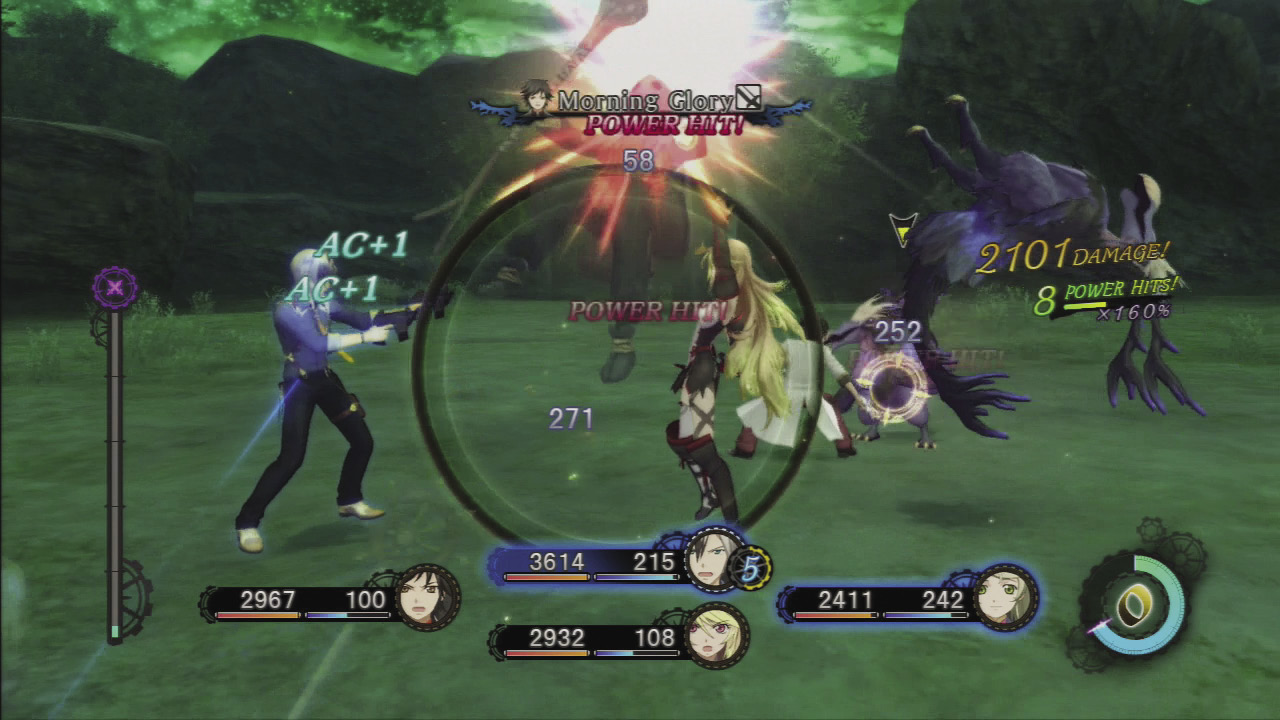
Also, note that the Antler Beaks here can use a thrusting attack with their beaks that sends party members flying and knocks them down. Antler Beaks are weak to guns, so keep your distance when they appear and try to snipe them out from afar.
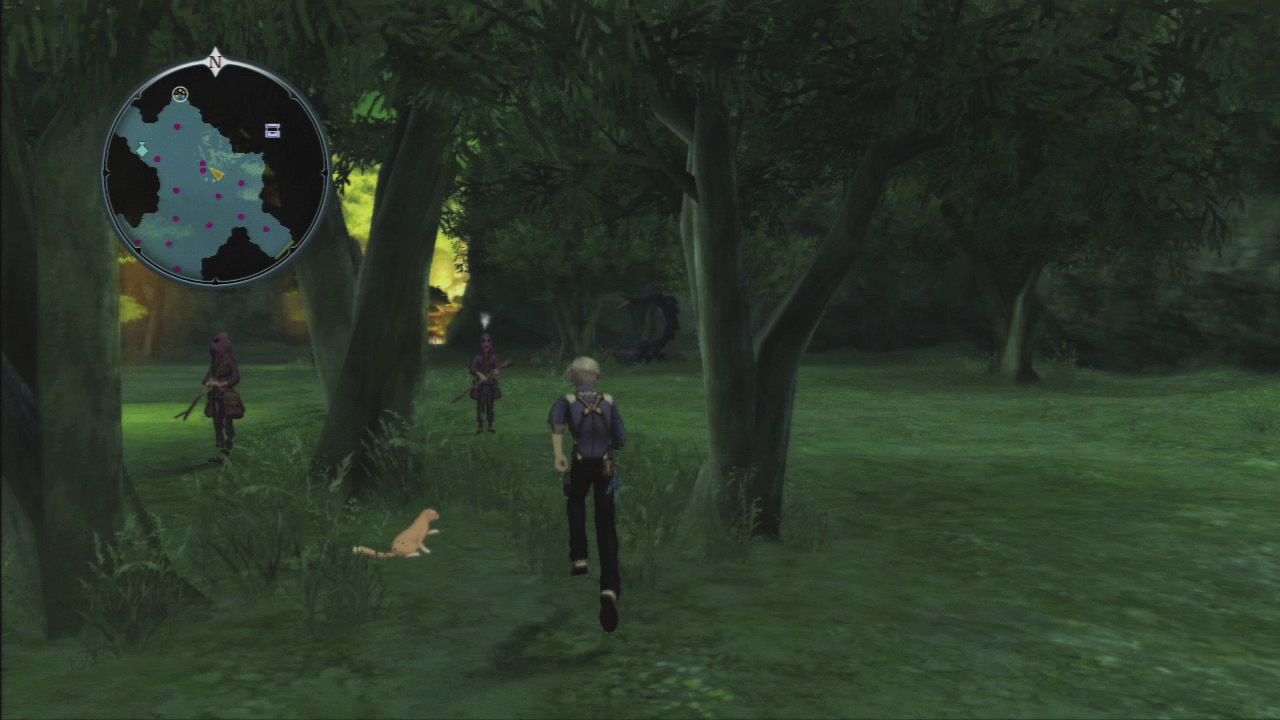
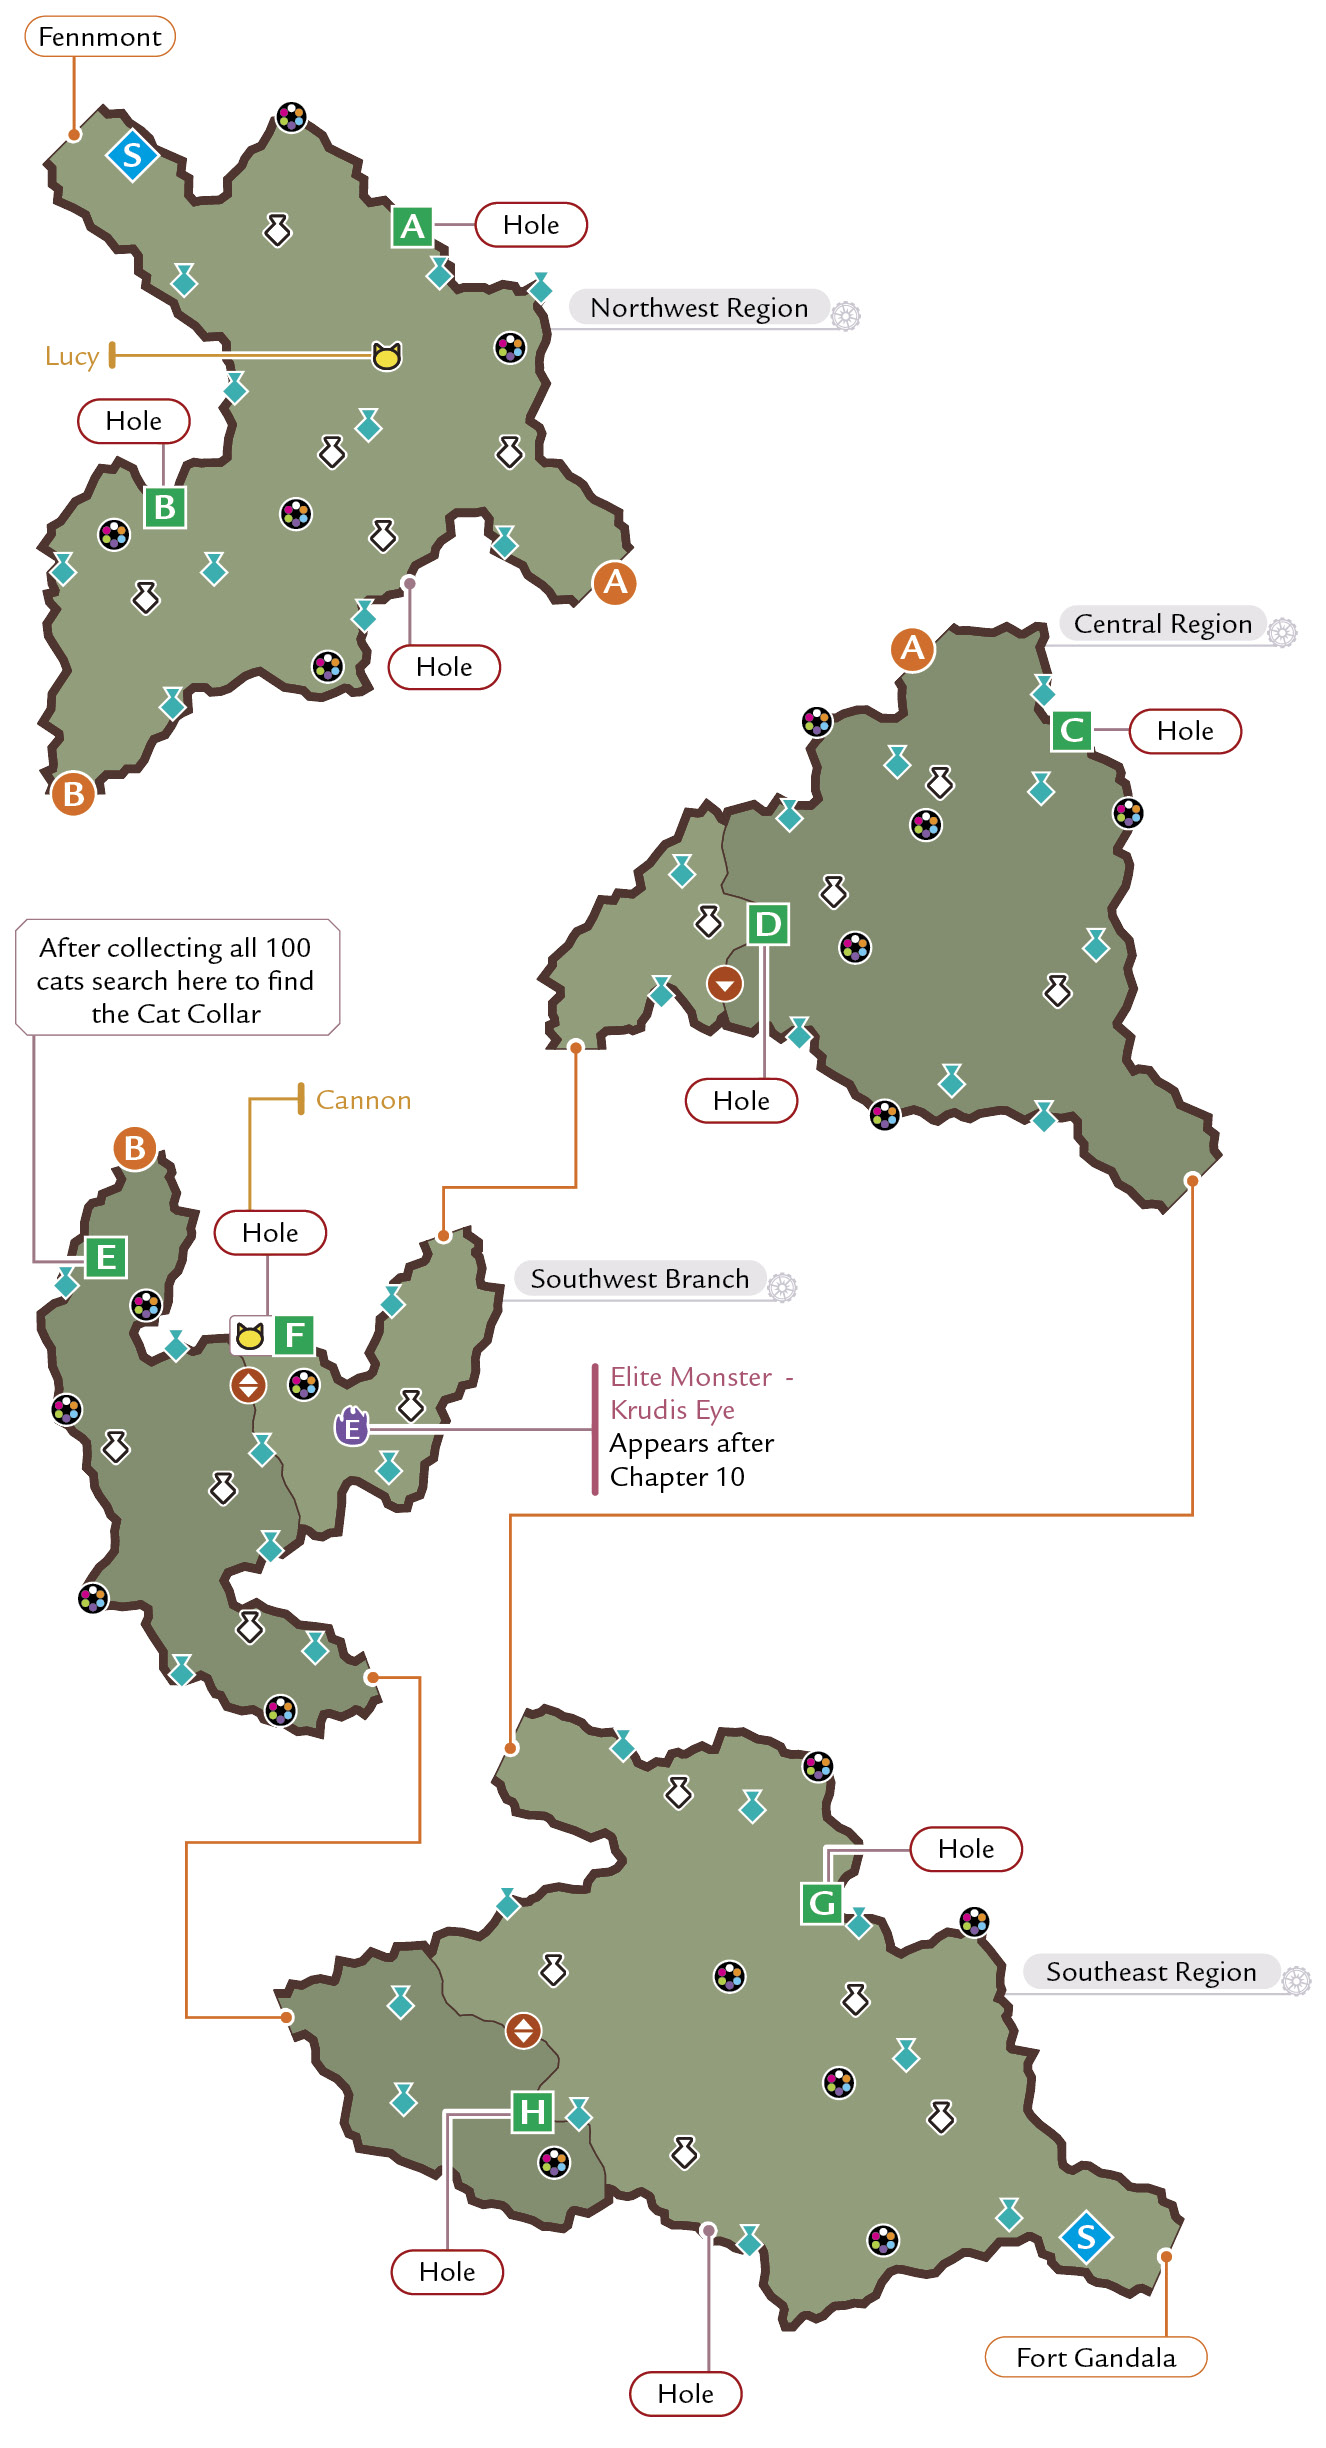
When exploring the Northwest Region, check the center of the map to find Lucy the cat in the center of a trio of trees.
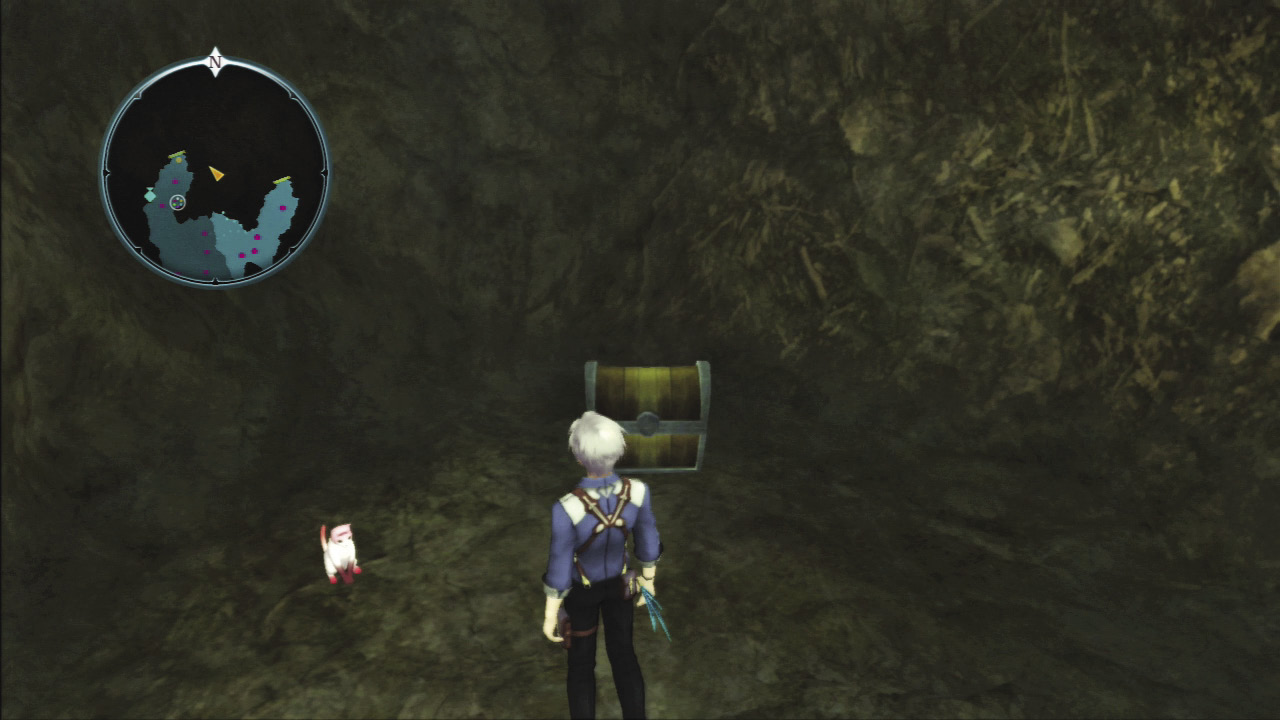
In the Southwest Branch is a small cave in the north, just before a steep drop off, where Cannon the cat and its precious collar are hiding.
Debt Repayment Interval 10-11
Field
Arklund Quag
|
Required Teammates |
— |
|
Inn Price |
— |
|
Elemental Ore |
14–45 |
|
Enemies Level |
46–50/48–70 (during and after Muzét Episode 1)/58–62 (at the end of Chapter 13) |
|
Cats |
Carolina |

Enemies
Quag Merfish
|
Type |
|
|
HP |
5119/5310/6264 |
|
Weak |
|
|
Strong |
|


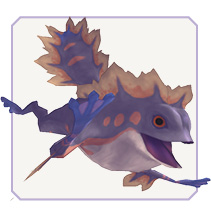
Bog Ribbit
|
Type |
|
|
HP |
4491/4659/5496 |
|
Weak |
|
|
Strong |
|


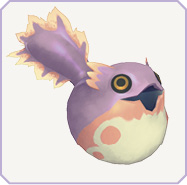
Bog Polwigle
|
Type |
|
|
HP |
4491/4659/5496 |
|
Weak |
|
|
Strong |
|


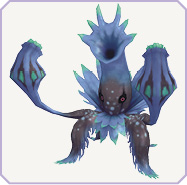
Bog Plant
|
Type |
|
|
HP |
9660/10020/11820 |
|
Weak |
|
|
Strong |
|


Arklund Quag
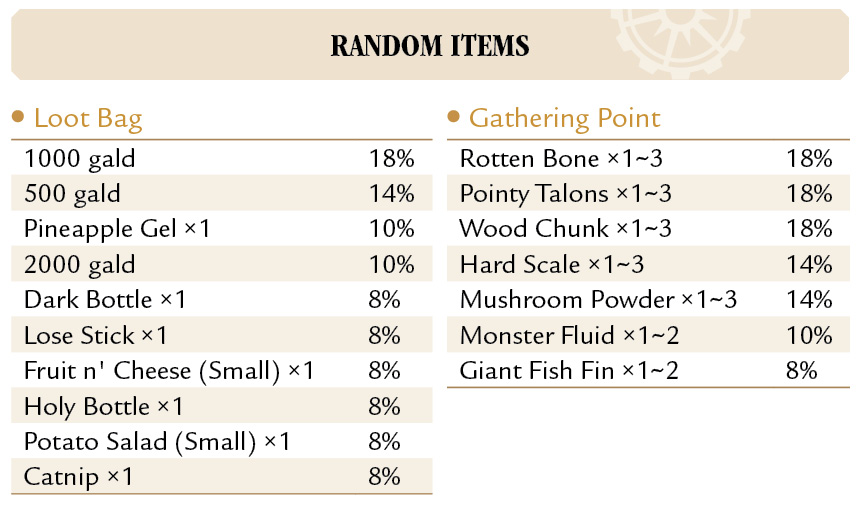
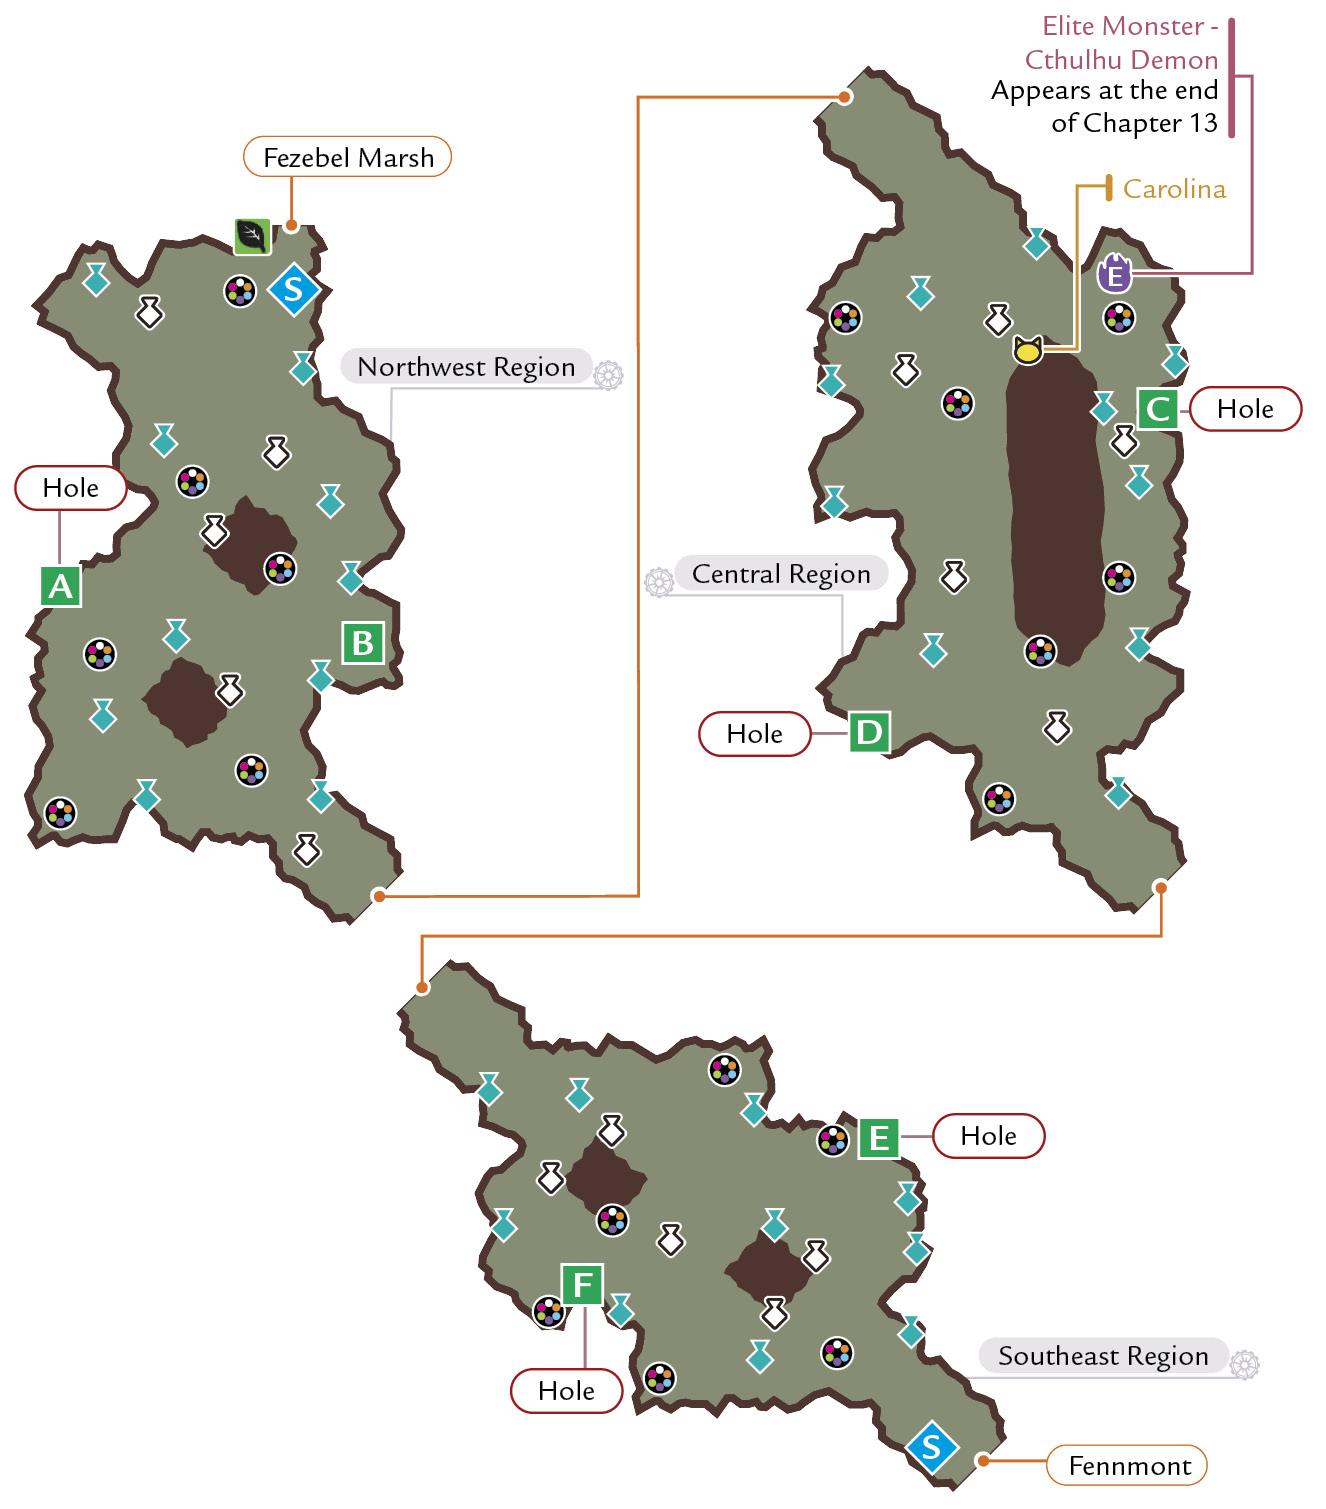
Water-Type Enemies Appear in Large Quantities
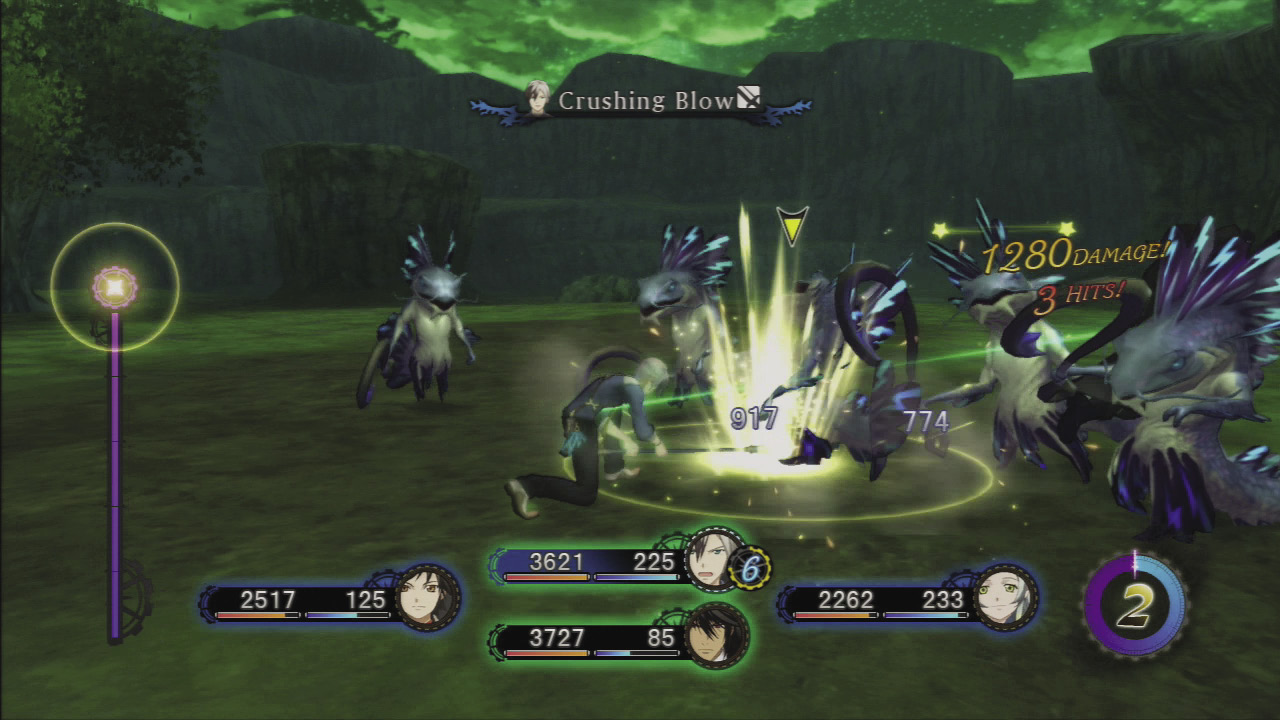
The majority of the monsters that live in the Arklund Quag are Water-type, so make sure your party members aren’t wielding Water-type weaponry. All of the enemies have a weakness to slash or strike damage, so switch between dual blades and sledgehammer as you fight through their numbers. Watch out for the quick, front-slashing attack of the Quag Merfish, which can interfere with your party’s attempts to attack and use artes. Circle around them with free run to strike without interference. Also, the Bog Plant sweeps its hands in a forward arc to attack, so use the same tactic as you did for the Merfish by circling behind it and attacking with slashing-type attacks.
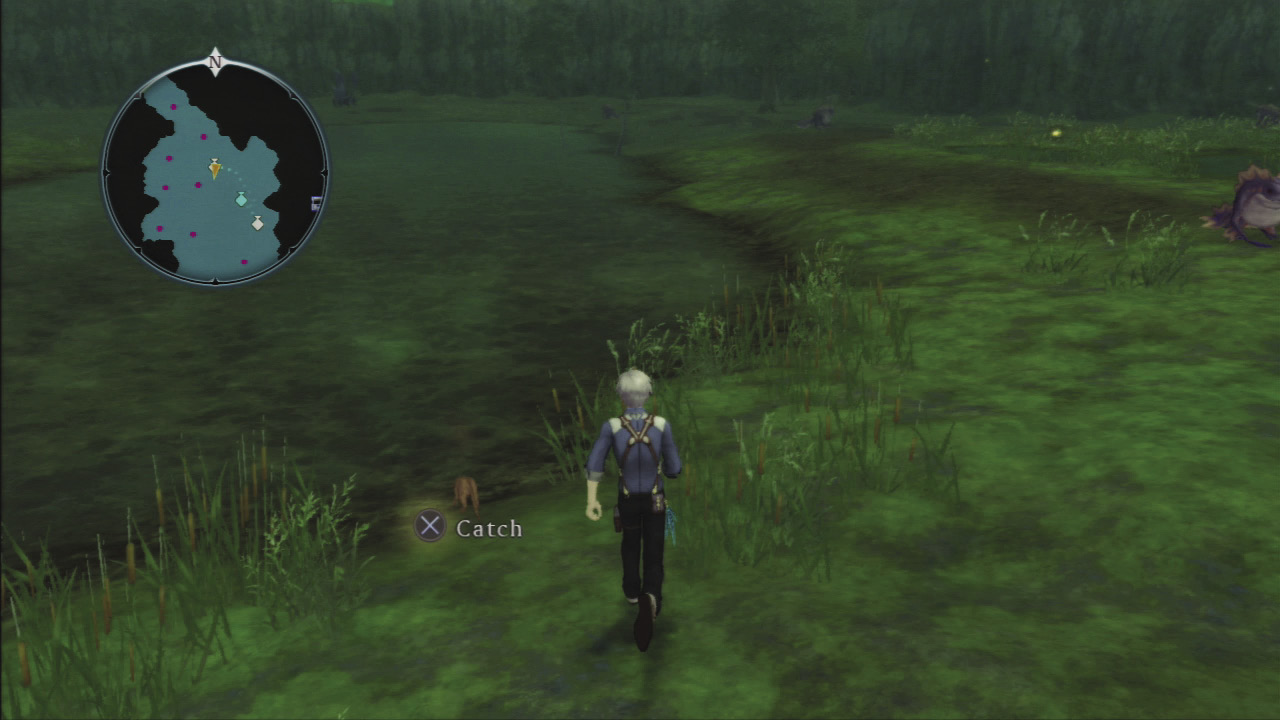
At the northern tip of a pond in the Central Region you can find Carolina (with its Item Quest collar) getting a drink.