
Tales of Xillia 2 Guide 3 Walkthrough Walkthrough
Walkthrough Tips
Use Your Maps
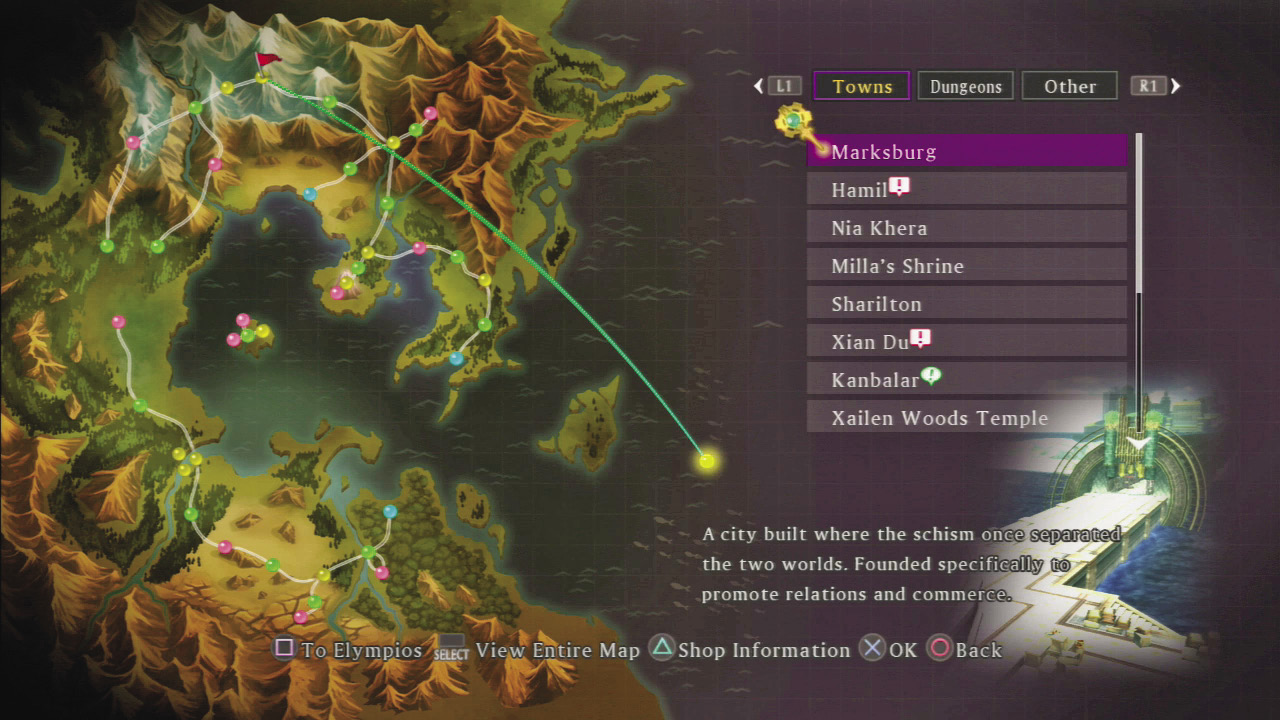
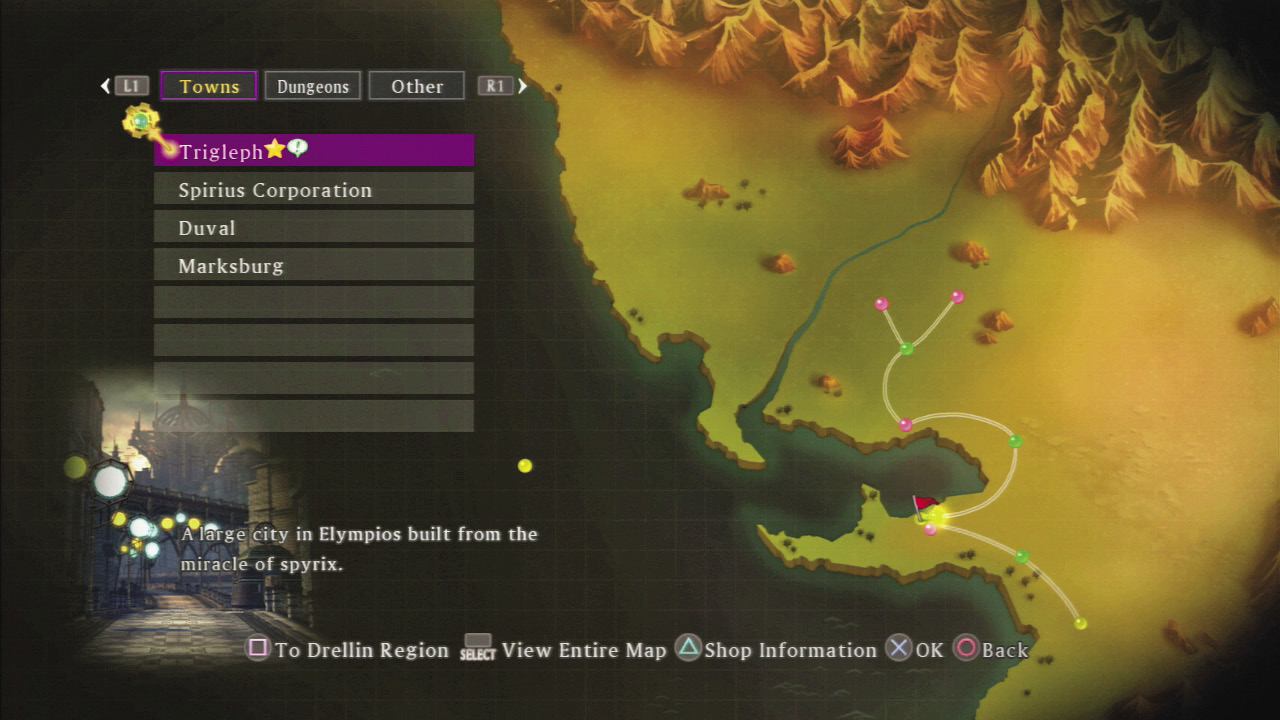
Your current objective is shown by a gold star on the in-game maps, and it will guide you during the main chapters. If you ever lose your place in the game or if you want to see what’s available, simply check the World Map. The World Map will show a gold star next to the location for the current chapter. It will also have a red ! next to areas that have a Character Episode and a green ! indicating the target of an Event Quest.
Quests With a Limited Time Frame
As a general rule, there’s no time limit for quests written in red. However, the Event Quests listed below will disappear when you reach a certain point in the game, and you will not get another chance to complete them! If you’re determined to complete all of the game’s quests, make sure you do these as soon as they appear. Additionally, note that you’ll be able to gain affinity with Fractured Milla until the beginning of Chapter 11.
Limited-Time Event Quests
| Completion Deadline | Event Quest Name |
|---|---|
| Chapter 12 start | 14 Meeting with Julius |
| Chapter 12 Trigleph (4), Sharilton (Fractured) | 01 The Girl’s Gift/07 The Father’s Gift |
| Chapter 13 Marksburg (2) | 05 Elle’s Belongings/06 Traces of Kinship: Part 1 |
| Chapter 14 start | 11 Rideaux’s Request |
Characters Stories First
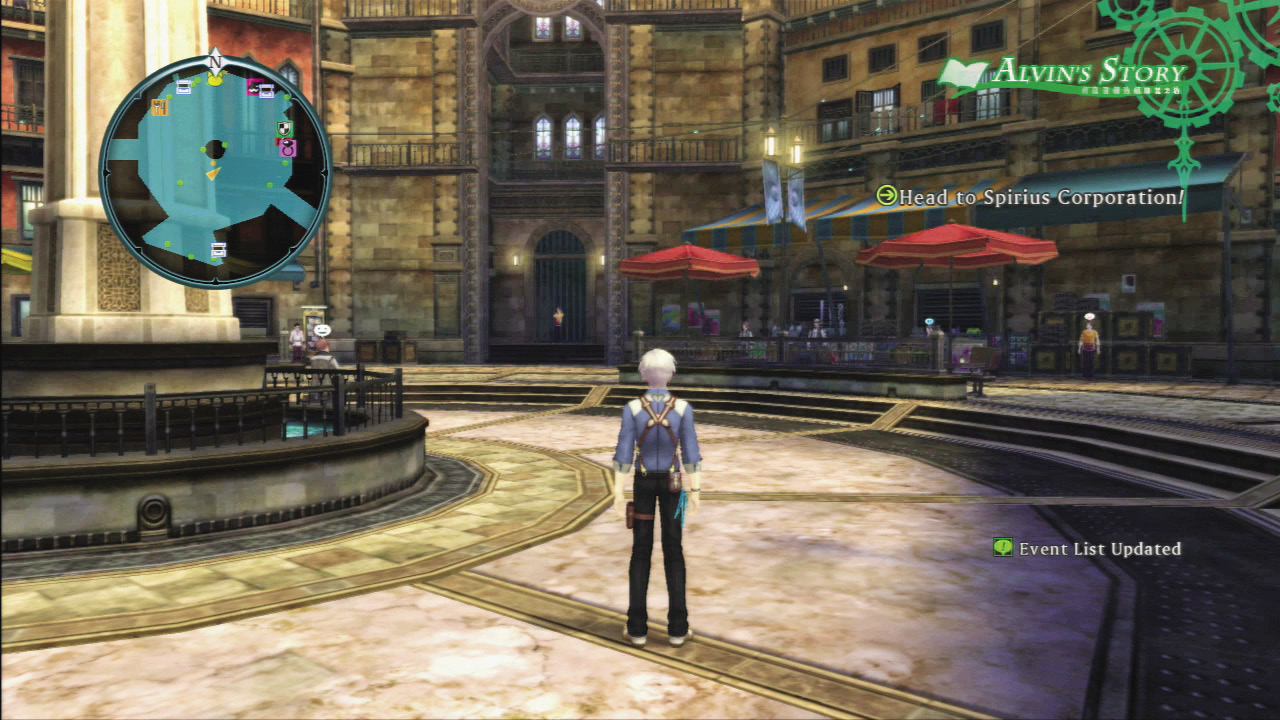
During debt repayment intervals, new Character Story episodes can become available. These will show up on the World Map as a red !. Although you can complete most of them at your leisure (once they appear) some are time-based and can expire. As a general rule you should complete each episode as soon as it appears, before paying back the debt and continuing the next chapter of the Main Story. A lot of the chapters have bonus scenes that require completion of a specific Character Episode. If you haven’t done that episode, not only would you miss some extra cinemas, but also many of the bonus scenes that have a chance to boost a character’s affinity.
Unleash the Cats
With all the other events going on in the game, it can be hard to remember to use the Kitty Dispatch. But keep in mind that it takes time for them to search. The sooner you send them out, the quicker they will return. There are items that can lower the cats’ return time, but the important thing is to constantly keep the kitties busy. As soon as you find a cat in an area, that area’s name will appear in the Kitty Dispatch. Immediately send your cat to the new region and it is likely to bring back a friend. The more cats you send out, the greater the odds of collecting items, plus you can retrieve more items on each errand. Many of the quest items can only be found through the Kitty Dispatch, and it is also a great method to gather materials for Custom Orders.
Building Affinity With NPCs
At the end of Chapter 15, if you’ve built enough affinity with NPC characters Bisley, Julius, and Elle, you’ll receive a unique weapon as a prize in Ludger’s mailbox at his apartment. So when making Ludger’s dialogue choices, you should generally choose the option that builds the most affinity with those three characters. However, getting the weapon from Elle requires so much affinity that it isn’t technically possible to do it on your first pass through the game; you’ll have to carry over your affinity into New Game+ and complete the game a second time to get it! Because of these, you should prioritize raising affinity with Bisley and Julius on your first pass through the game. Pay close attention to the dialogue choices and you can earn some awesome items.
Unique Affinity Items
- Elle: 8000 Affinity = Dual Blades Pollux Twins
- Bisley: 4000 Affinity = Sledgehammer Spirius Surrender
- Julius: 4000 Affinity = Dual Pistols Spirius Model-4304
Custom Orders to Look Out For
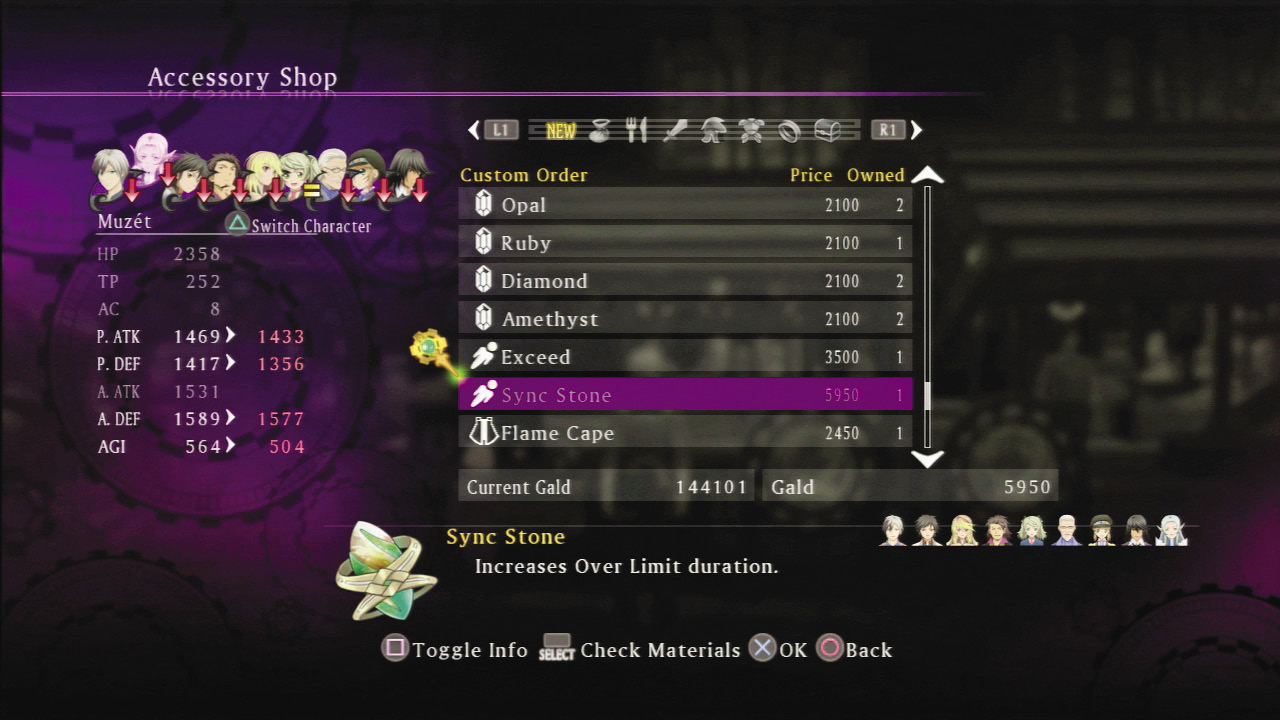
You can make powerful items through Custom Orders that are unavailable anywhere else. However, the materials for these items are difficult to find. It would take a great deal of materials to make every item for every character, so it’s a better idea to prioritize accessories and extractors that can be used by everyone in the party. Extractors are especially useful, since they allow you to learn skills and artes earlier. Note that the items you can order after completing a certain post-game condition are among the finest in the games, so you’ll definitely want to make those.
Exceptional Custom Orders
| Item Type | When Unlocked | Where Unlocked | Properties |
|---|---|---|---|
| Garnet, Aquamarine, Opal, Ruby, Diamond, Amethyst | Debt repayment interval 7–8 | Sharilton (Central Square) | Raises your resistance to the corresponding element by 50%. A great trump card against the enemy’s elemental attacks. |
| Sync Stone | Debt repayment interval 7–8 | Sharilton (Central Square) | Lengthens Over Limit duration, allowing for longer Linked Artes chains. |
| Exceed | Debt repayment interval 7–8 | Sharilton (Central Square) | Adds 1 AC. Equip this when you want to perform longer combos. |
| Mystic Emblem/Mystic Symbol | Debt repayment interval 8–9/Debt repayment interval 12–13 | Kanbalar (Main Road)/Drellin (Central Square) | The Mystic Emblem reduces magical artes casting times by 10%, while the Mystic Symbol reduces it by 20%. Equip this to characters who primarily cast artes: Elize, Rowen, and Muzét. |
| Shock Ward, Muddle Ward, Stone Ward | Debt repayment interval 9–10 | Drellin (Central Square) | Provides a 50% chance of negating ailment point gains. Action-restricting ailments like Paralysis, Confusion, and Petrify can be devastating, so use these to protect against them. |
| Emerald Ring/Faerie Ring | Debt repayment interval 9–10/Debt repayment interval 12–13 | Drellin (Central Square) | The Emerald Ring reduces TP costs to 2/3 of the original cost, while the Faerie Ring reduces them to 1/2 of the original cost. Equip this to a character who fights primarily with magical artes. |
| Black Onyx | Debt repayment interval 10–11 | Fennmont (Samsara Trading Post 1F) | Up to 30% HP increase. Great item if your characters keep dying in battle or for low-HP-based teammates. |
Key Debt-Repayment Milestones
If you want to repay your debts quickly, the best way to do so is to prioritize fighting Elite Monsters. Defeating even just one or two of them will provide a great deal of gald and points. Try to accept monster eradication quests in the same area as the Elite Monsters so you can do this while you’re in the area. Note that the game doesn’t force you to pay back more than you need to, but by paying relatively little extra, you can earn two very valuable rewards early in the game. The sooner you get these, the sooner you can put them to work against bosses. You can also get these items by continuing to pay your debt even after it’s cleared in Chapter 14.
| Repayment | Item | Description |
|---|---|---|
| 180000 | Skill Tome: “Absolute Defense” AL | This teaches Alvin’s Impregnable Guard skill, which makes foes unable to guard break you. Ultimately, every character besides Ludger will get their own version of Absolute Defense, but what’s great about Alvin’s is how cheaply you can get it. |
| 290000 | Skill Tome: “Born Healer” JD | This teaches Jude’s Restore Plus skill. When you partner with Jude, this skill will increase his odds of resurrecting his fallen partner by 20% (to 70%). This will greatly reduce the amount of Life Bottles you need, making it extremely useful in boss fights. |
Can’t-Miss Poker Prizes
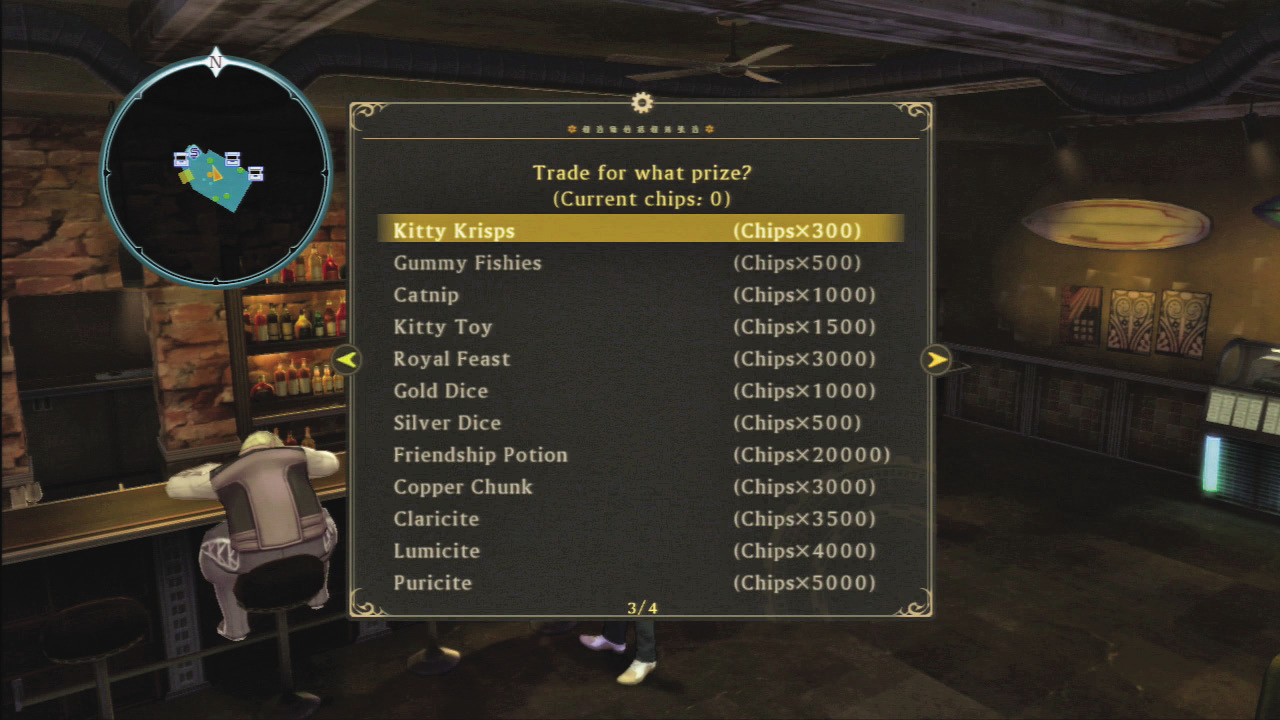
After you clear Event Quest 15, Poker Face, you’ll be able to play the poker mini-game. The chips you earn in this game can be redeemed for a number of precious items that will make your life much easier. To accumulate chips, use the Gold Dice item. If you win using this, it’s possible to get 179200 chips at one go. To do so, buy chips with gald, redeem them for the Gold Dice item, and then save your game before you sit down to play.
Useful Items to Get
| Required Chips | Item | Description |
|---|---|---|
| 5000 | Red Cape | Absorbs Fire, Earth, and Light damage, but you take double damage from Water, Wind, and Dark. It’s extremely useful against foes who don’t attack with those elements. |
| 5000 | Blue Cape | Absorbs Water, Wind, and Dark damage, but you take double damage from Fire, Earth, and Light. This gives you an option for when the Red Cape would be ineffective. |
| 8000 | Yin and Yang | An extractor that extracts Light (4x) and Darkness (4x) |
| 8000 | Scorched Earth | An extractor that extracts Fire (3x), Earth (2x), and Darkness (2x) |
| 9000 | Torch Nebula | An extractor that extracts Fire (3x), Earth (4x), Light (1x), Darkness (1x) |
| 10000 | Erupting Geyser | An extractor that extracts Fire (2x), Water (3x), Wind (3x), and Earth (2x) |
| 20000 | Friendship Potion | An item that boosts your affinity with a character by 500 points. Useful for when you want to get a certain Skill Tome early. |
| 5000 | Iolite Ore | A material that has no particular use but can be sold for 20000 gald. Converting all of your chips into these and these into gald is an efficient way to pay your debt. |
Tactics for Earning Titles
When you meet certain conditions, you’ll earn titles that increase the amount of Grade you get for your second playthrough. Many titles require you to take some action a certain number of times. If you have these conditions in mind as you play the game, it will be easier to get them. One to watch out for is “Complete the Game Without Using Your Transformation More than 50 Times”. This title begins keeping track at the end of Chapter 13, so you can transform as much as you want before then. In fact, you should use it very aggressively before then, so you can earn the titles that require you to use it frequently - those exist too.
How to Optimize Your Titles
| Technique | Explanation |
|---|---|
| Battle Monsters | Fight monsters frequently. Take special care to battle any previously unseen monsters before they can run away. |
| View Skits Immediately | View skits as soon as the prompt appears. You won’t get credit towards these titles for viewing them from the menu. |
| Pick Up Items | Collect items from the map as you proceed. |
| Trigger Food Effects | Buy lots of food so you can always have a food item active. |
| Pursue Quests | Complete lots of quests to earn merit points. Make sure to battle those Elite Monsters. |
| Dispatch Cats | Use Kitty Dispatch to have your cats seek items from everywhere. |
| Link | Always be linked in combat, and have your AI partners link too. Change partners frequently to put their combat abilities to good use. |
| Raise Affinity | Complete everyone’s character episodes. |
| Use Restraint on Transformations | After the end of Chapter 13, save your transformations for bosses and Elite Monsters only. |
| Go for Big Combos | Chain together combos with large numbers of hits by linking artes of various different types. Use shortcuts to make this easier. |
| Use Weakness-Exploiting Combos | Use Weapon Swap and a variety of artes to attack enemy weaknesses with Ludger. Aim for the nine-action combo. |
| Use Linked Artes Chains | Chain your Linked Artes during Over Limit, and aim for the longest chains possible. |
| Use Special Abilities | Frequently change the character you control as you fight. |
| Block | Block frequently with the Power Charge skills for maximum effect. |
Changing Party Members
During intervals, you’re free to change the three companions who battle alongside Ludger. You have eight possible choices, which is plenty to create advantageous combinations of abilities or shore up potential weaknesses. Basically, each party has a short-range fighter, a healer, and a support player. You can choose among these parties for when you want to prioritize offense versus survivability.
Balanced Party

Well-balanced on offense and defense. With a wide variety of artes between them, Jude and Milla are sufficiently powerful, and between Jude’s support and Elize’s healing the defensive side is reasonably covered. This is a good all-around party, proficient in physical attacks, magical attacks, and healing.
Physical Attack Party

A team of the game’s most powerful attackers. Between Alvin and Gaius you’ll be able to shatter both regular blocks and Iron Guards. This party has Leia to provide healing, but you can swap her out for Jude for even greater physical offense.
Survivor Party
A party designed to weather enemy attacks. Elize is on full-time healing duty, Leia can provide healing as well as support, and by linking with Muzét you can use Support Warp for improved evasion. This party is designed to back up Ludger as he fights with his dual pistols from afar.
Magical Attack Party

A party focused on powerful magic. It has access to wide-area spells in a variety of elemental types, making it useful for large parties of foes. Ludger can turn to both Rowen and Muzét for defensive support while striking at foes from afar.
Best Meals for Boss Fights
Eat foods that boost your Attack and Defense before fighting bosses. Before you reach the boss, use foods that restore HP and TP and fight lesser foes so you can face the boss at full health while saving all your recovery items for the fight itself. During normal exploration, stay full with other foods like those that boost EXP—titles are awarded for eating regularly.
| Food | Effect | Description |
|---|---|---|
| Fruit n’ Cheese, Croquette Parfait | Post-Battle HP & TP Recovery | Eat these when you’re running low on HP while exploring, especially when there’s a boss ahead. |
| Soba Omelette, Takoyaki Ramen | P.ATK & A.ATK Up | Eat these before bosses; whether you want to focus on offense or defense depends on your party makeup. If you die, retry and try a different meal. |
| Yakisoba Noodles, Veggie Sticks, Seaweed Salad | P.DEF & A.DEF Up | Eat these before bosses; whether you want to focus on offense or defense depends on your party makeup. If you die, retry and try a different meal. |
| Fruit Yakisoba | P.ATK, A.ATK, P.DEF, & A.DEF Up | Eat these before bosses; whether you want to focus on offense or defense depends on your party make up. If you die, retry and try a different meal. |
| Beef Bowl, Spicy Chicken Roll | EXP Up | Use these when you see a Bacura. If you’re confident you can beat a boss, you can eat these instead. |
| Minestrone, Tomato a la Mode | Elemental Ore Up | Use these when you see a Bacura. If you’re confident you can beat a boss, you can eat these instead. |
| Tofu Miso Soup, Seafood Stew | Gald Up | Eat these when you encounter a Gald Freak. |
AI Settings for Allies
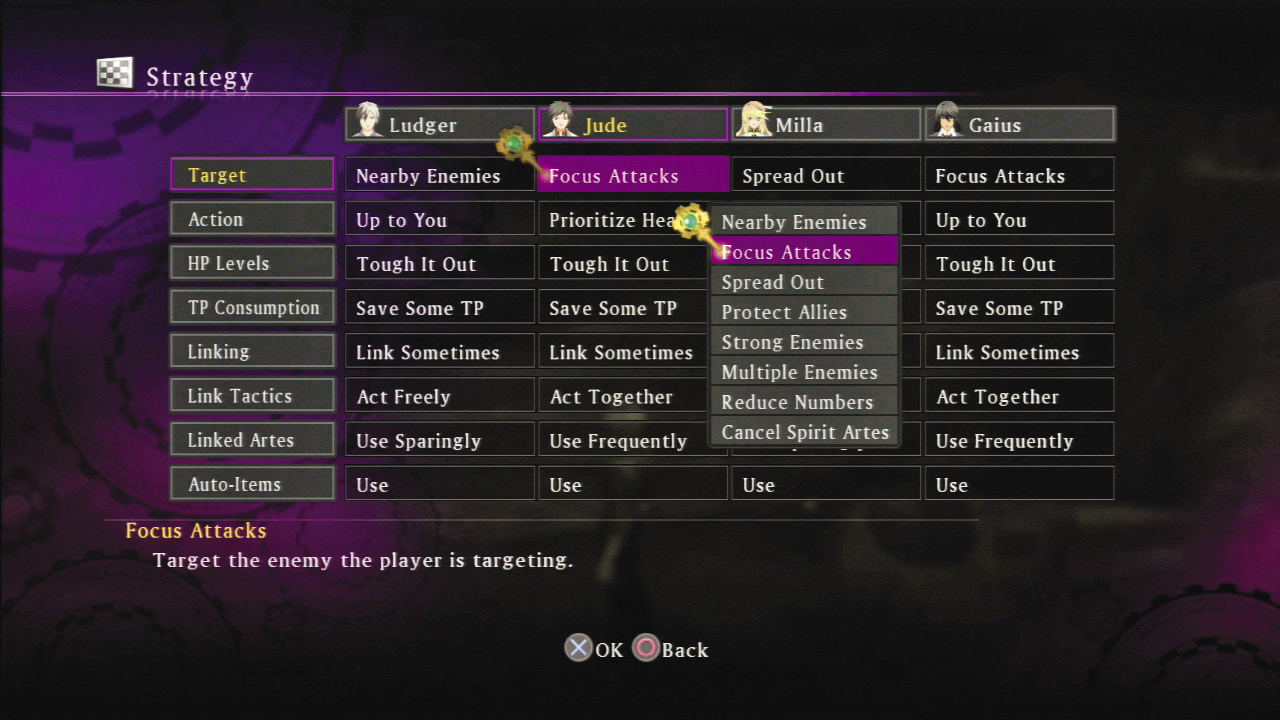
You can use the Strategy menu to set general guidelines for how your allies behave. This allows you to designate them into specific roles, like healer or link partner.
You can also set them to not use artes when they’re using too many. You may also want to set them to not use artes of certain damage types and artes with knockback effects for the sake of your weakness-exploiting combos. If there’s an arte you want them to use frequently, set a shortcut so you can order them to use it whenever you like. This is particularly useful for wide-area attacks, healing spells, and artes that you want them to use during your combos.
Example AI Configuration
This strategy is designed for Ludger to link with Leia, while Jude provides combat support and Elize focuses on healing. Leia has been set not to use TP so that Ludger can use her TP through TP Sharing. Jude has been set not to link so that Elize will link with him and he’ll have access to HP/TP recovery through Teepo Drain as he fights aggressively. (When AI partners link, the one who initiates the link becomes the support partner.) Everyone has been set to not use Linked Artes so Ludger can use them himself. Since Leia has skills that affect item use, she was assigned to be the priority item user in the party.
| Tactics | Jude | Elize | Leia |
|---|---|---|---|
| Target | Spread Out | Protect Allies | Focus Attacks |
| Action | Mainly Artes | Prioritize Healing | Up to You |
| HP Levels | Do What You Can | Be Careful | Tough it Out |
| TP Consumption | Give it Your All | Save Some TP | Store TP |
| Linking | Do Not Link | Link Often | Link Often |
| Link Tactics | Act Freely | Act Freely | Act Together |
| Link Artes | Do Not Use | Do Not Use | Do Not Use |
| Auto-Items | Use | Use | Prioritize Use |
Stealing Items from Bosses
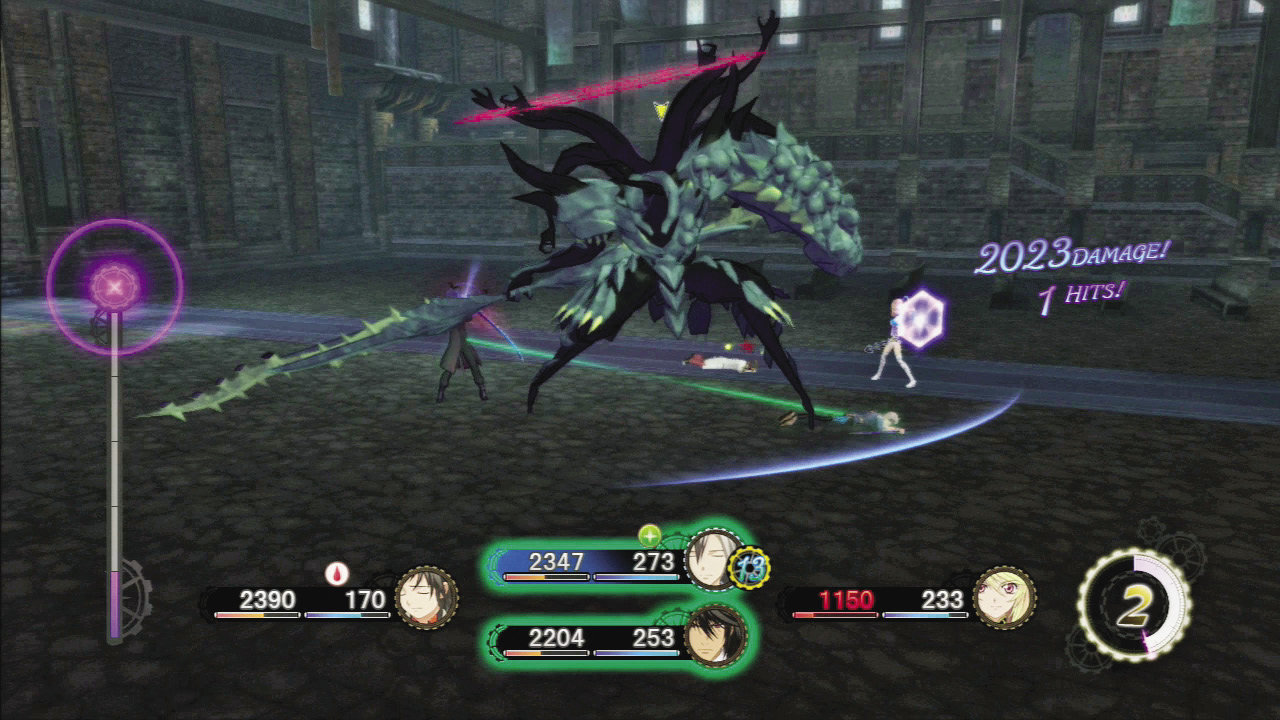
Leia’s Item Steal support ability allows her to steal precious items from a small handful of bosses. The odds of successfully stealing these items are 5%, so make sure to learn and set her Steal Plus skill, which boosts the odds by 30%. Note that all of these items can be made as Custom Orders, so if you don’t manage to steal them, it doesn’t mean you won’t ever be able to get them.
Items to Steal from Bosses
| Name | Occurrence | Items | Details |
|---|---|---|---|
| Chronos | Chapter 7, Dimensional Breach (Fractured) | Hourglass | When used during battles, temporarily freezes all enemy movement. It’s also used as a Custom Order material. |
| Wingul (Catalyst) | Chapter 8/9, Kanbalar (Fractured) | Prototype Booster | This is needed for a quest, and is also used as a Custom Order material. You can get these via Kitty Dispatch too. |
| Odin (Catalyst) | Chapter 10, Epsilla Ruins (Fractured) | All-Divide | When used in combat, reduces all damage by 50%. It’s also used as a Custom Order material. |
| Chronos (2) | Chapter 16, Land of Canaan | Working Gear | Used as a Custom Order material. You can also get these via Kitty Dispatch. |
| Maxwell (Fractured) | Milla Episode 6, Temporal Crossroads (Fractured) | Elemental Cape | An accessory that boosts resistance to all damage types by 15%. It’s also used as a Custom Order material. |
| Agria (Fractured) (2) | Alvin Episode 4, Milla’s Shrine | Magic Symbol | An accessory that boosts A.ATK by 10%. It’s also used as a Custom Order material. |
| Nachtigal (Fractured) | Rowen Episode 3, Orda Palace (Fractured) | Strength Ring | An accessory that boosts STR by 15%. It’s also used as a Custom Order material. |
| Pluto | Quest 26, Maiden’s Job Report, Xailen Woods Temple | Laurel Crown | An accessory that prevents all magical ailment. You can also get one from a chest in the Illusionary Darkness, but it’s so useful you’ll want two. |
Exploiting Power Charge
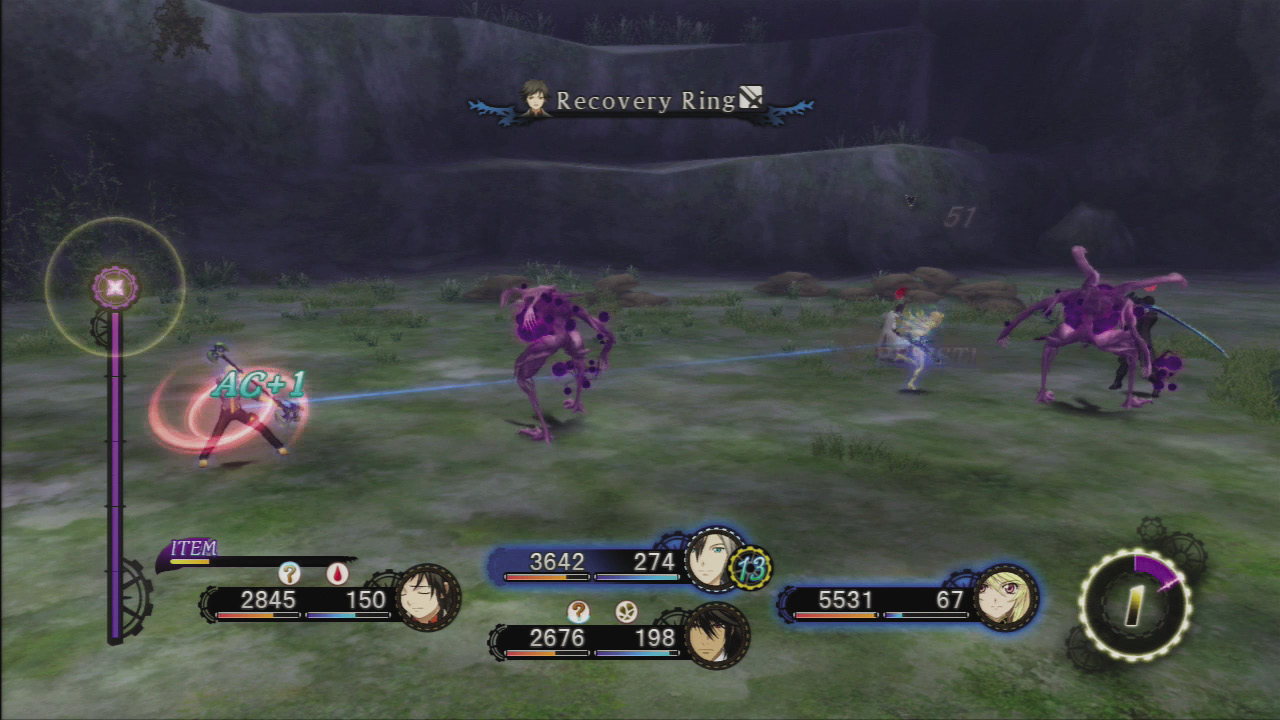
Bosses typically have high Iron Stance values, and even when you can land a combo against them, they may counterattack rapidly, making them difficult to defeat with normal combos. The best tactic is weakness-exploiting combos, which immediately shatter Iron Stances and can’t be counterattacked.
A great way to trigger weakness-exploiting combos against foes is by using the three Power Charge skills. If you have all three active, guarding for 4.5 seconds will gain you the following benefits: +3 AC, 25% TP Cost Reduction, the ability to attack as if the attack was from a damage type the foe was weak to, and the ability to stagger your foe. Note that it doesn’t need to be 4.5 consecutive seconds; you can guard, take an action other than attacking, and then continue where you left off.
Every character can learn the Power Charge skills from leveling up, so make sure to set them to whoever you’re controlling.
Skills for Guarding
| Skill | Effect | Note |
|---|---|---|
| Power Charge | Gain 1 AC when you guard for .75 seconds, and TP costs are reduced by 25% during your next combo. | Use this before artes with large TP costs. The +1 AC is a nice benefit as well. |
| Power Charge 2 | Gain an additional 1 AC when you guard for 2 seconds, and your next attack counts as hitting an enemy weakness. | Very useful against bosses with no damage-type weaknesses. Good by itself, but more effective when combined with Power Charge 3. |
| Power Charge 3 | Gain an additional 1 AC when you guard for 4.5 seconds, and your next non-arte attack is guaranteed to stagger your foe. | The stagger effect ignores Iron Stance and damage-type resistances completely. Combine this with Power Charge 2 for maximum effect. The 4.5 seconds is a long time to charge, so move around between guarding to stay out of danger. |
| Impregnable Guard | Your guard can’t be broken. | A great combo with the Power Charge skills, although this skill is fairly difficult to acquire. |
| Magic Guard | Allows you to use a guard that reduces damage from magical attacks. | Many enemies use both physical and magical artes, so you should generally have this set, unless you’re linking with Rowen. |
| All Guard | Magic Guard guards against both physical and magical attacks. | No longer having to switch between normal guard and Magic Guard will let you avoid the common mistake of using the wrong type. |
Usage
Guard: You need to guard continuously to trigger Power Charge. Guard for roughly 1 second at a time.
Move: After every second spent guarding, use a quick-step, jump, or free run away—any action but an attack (that would reset your guard timer).
Guard Again: After repeating for another 3.5 seconds, Power Charge 3 triggers! If your guard is broken at this point, the effect won’t be reset.
Fight in the Air When Transformed
Transformation is your chance to overpower your foes, and you want to avoid taking damage while transformed to maintain it for as long as possible. A great way to do so is to use the Kresnik 2 skill, which reduces the speed at which your chromatus gauge empties by half when fighting in mid-air. Continuously chaining Dark Projection into a mid-air Azure Edge will allow you to dish out damage while extending the length of your transformation. However, you have to be careful of counterattacks from Iron Stance foes. To finish with your mystic arte, watch for when your gauge is down to about 1/8 full, then knock down your foe with a combo or back-step away and use the easy-to-hit-with Grand Cleaver.
Best Transformation Timing
| Situation | Description |
|---|---|
| When Taking Damage: | When you’re in the midst of an enemy combo and nearing a KO, you can turn the tables by transforming. |
| During Weakness-Exploiting Combo: | If you transform during a weakness-exploiting combo and immediately attack, you can maintain the damage modifier from your combo. If you have the Kresnik skill set, doing this will also increase your transformation time. |
| After Enemy Enters Over Limit: | If you transform during the enemy’s Over Limit, you can run down the clock by spamming w + u in mid-air. Resume normal attacks when Over Limit ends. |
Exploiting Enemy Weaknesses
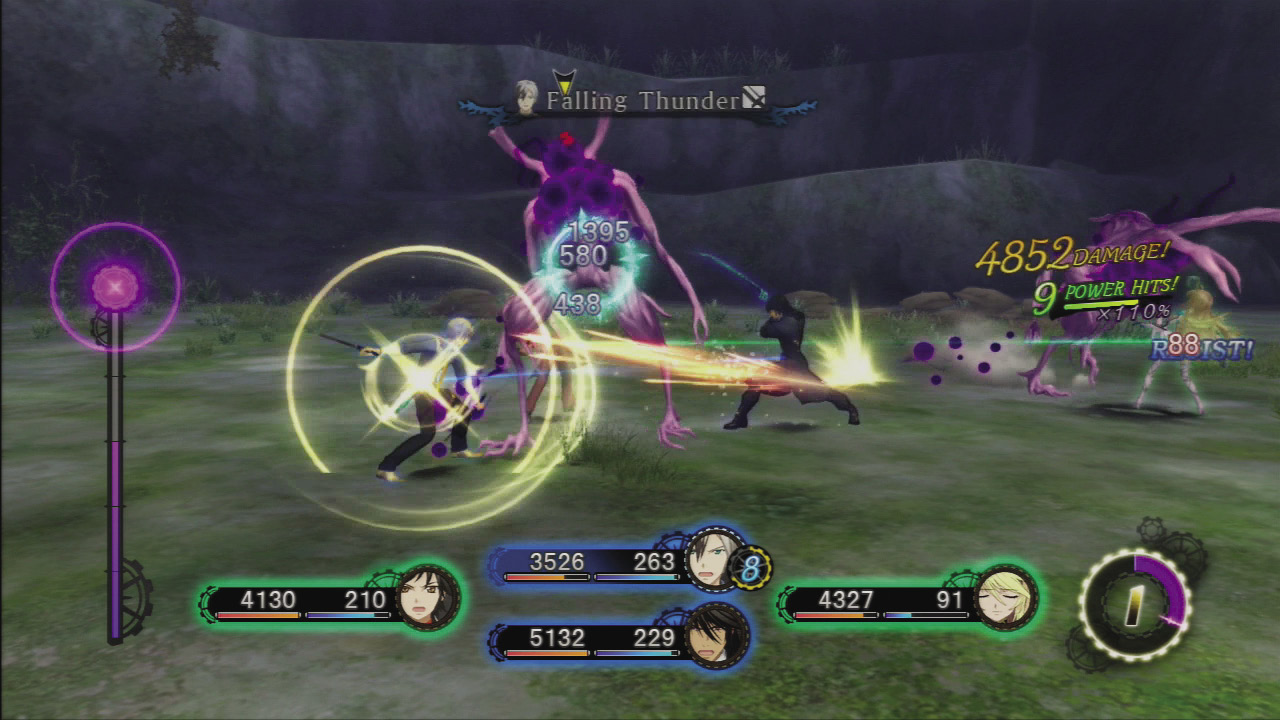
To maximize your weakness-exploiting combos, you have to rapidly use a series of artes of different damage types. We recommend having Ludger do this, using his Weapon Swap ability to gain access to the following easy-to-chain artes of every elemental damage type. It’s important to avoid knocking your foes away so you can keep the combo going.
Ludger’s Easy Artes for Combos
| Arte | Type | Description |
|---|---|---|
| Azure Edge | Wind | A very short-range attack, but it comes out quickly. |
| Tiger Blade | Slash | This attack is useful for knocking a foe who’s slightly above the ground back to earth. |
| Swift Strike | Slash | Attack includes a forward movement, making it ideal for closing the gap to your foe. |
| Falling Thunder | Light | This attack is slow, but it props knocked down foes back up so you can continue the combo. |
| Hunting Phoenix | Darkness | A quick attack with a slight forward step makes this easy to use in combos. |
| Crushing Blow | Strike | Fairly slow to execute, but its quick recovery time makes it ideal for lifting up fallen foes. |
| Magical Destruction | Light | A great combo piece because of its quick execution and wide range. |
| Freezing Eruption | Water/Earth | A quick arte with a long range. But if it fails to petrify, it can be hard to keep the combo going afterwards. |
| Rapid Burst | Fire/Wind | A quick arte with long range and multiple elements. But beware of its slightly long execution time. |
| Arc Fire | Water | Short in range by dual pistols arte standards, but quick to execute and with minimal recovery time. |
Farming for Gold and EXP
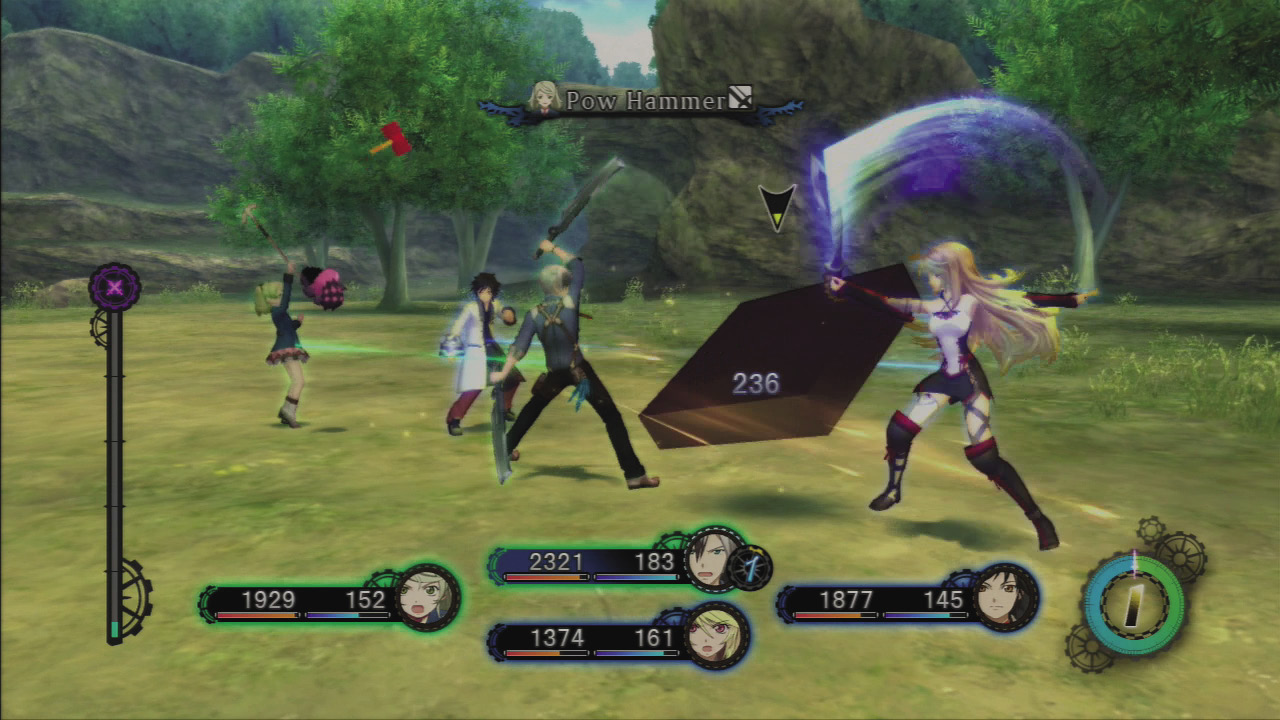
The rare monster Bacura is rich in EXP and Element Ore, while the Gald Freak provides large amount of gald, so if you spot these foes, you’ll definitely want to beat them. Each foe only appears in certain preset areas, and may only appear in certain parts of that area. For example, in the Sillea Tundra the Gold Bacura appears in the south, while the Gald Freak appears in the north. Whenever you enter one of these areas, there’s a chance the foe may appear, so if you’re eager to fight one, you can enter and leave an area repeatedly.
LOCATIONS Rare Foes Appear (Both Dimensions)
| Enemy Name | Location |
|---|---|
| Bacura | Alest Highroad, Torbalan Highroad, Aladhi Trail, Galia Trail, Kijara Seafalls, Nia Khera Spiritway, Nia Khera Hallowmont |
| Bronze Bacura | Xagut Floodmeadow, Sapstrath Highroad, Sapstrath Deepwood, Culmar Trail, Bermia Gorge, Talys Highroad |
| Silver Bacura | Fezebel Marsh (Northeast Region, Northwest Region), Rusalle Highroad, Tatalian Abyss (1F, B1F, B2F), Royal Hunting Grounds, Lakutam Highroad, Mon Highlands, Nala Lava Tubes, Kukhar Ice Caverns, Voltea Woods |
| Gold Bacura | Fezebel Marsh (South Region, Central Region, West Region), Tatalian Abyss (B3F), Labari Hollow, Xailen Woods, Sillea Tundra (South Region), Tulea Tundra (South Region), Old Vicalle Mine (South Region), Felgana Mine (Shaft 1, Shaft 4), Catamar Heights (West Region, Northeast Region), Barnauer Highroad (Southeast Region, Central Region, Northwest Region), Arklund Quag (Southeast Region, Northwest Region), Land of Canaan |