
Assassin's Creed Origins Guide Side Quests Uab Nome Side Quests
Seven Farmers
Prerequisite: Discover Uab Nome
Suggested Level: 30
REWARDS: 3,750 XP, Rare Predator Bow
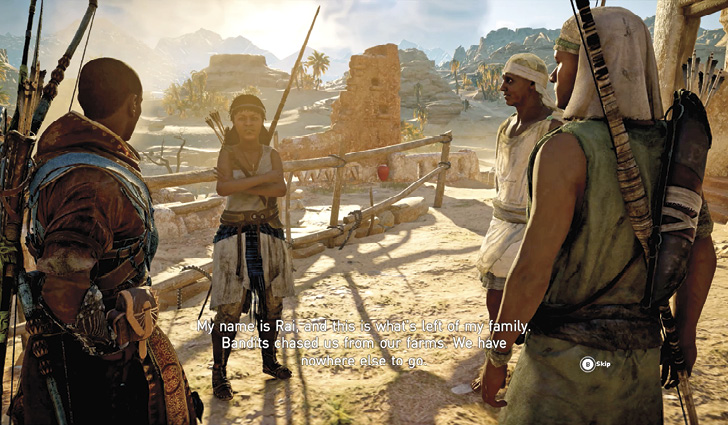
Speak to Rai
Uab Nome
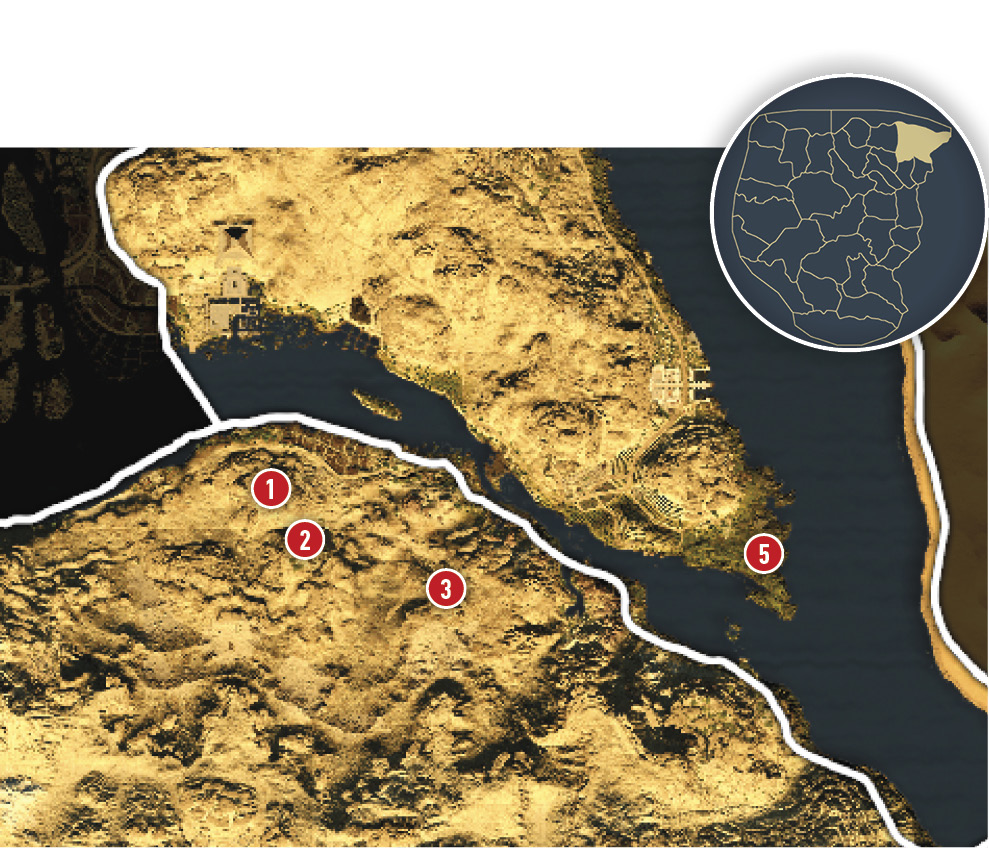
A small group of farmers is planning their last stand against bandits. Their leader, a woman called Rai (1), asks for Bayek’s help.
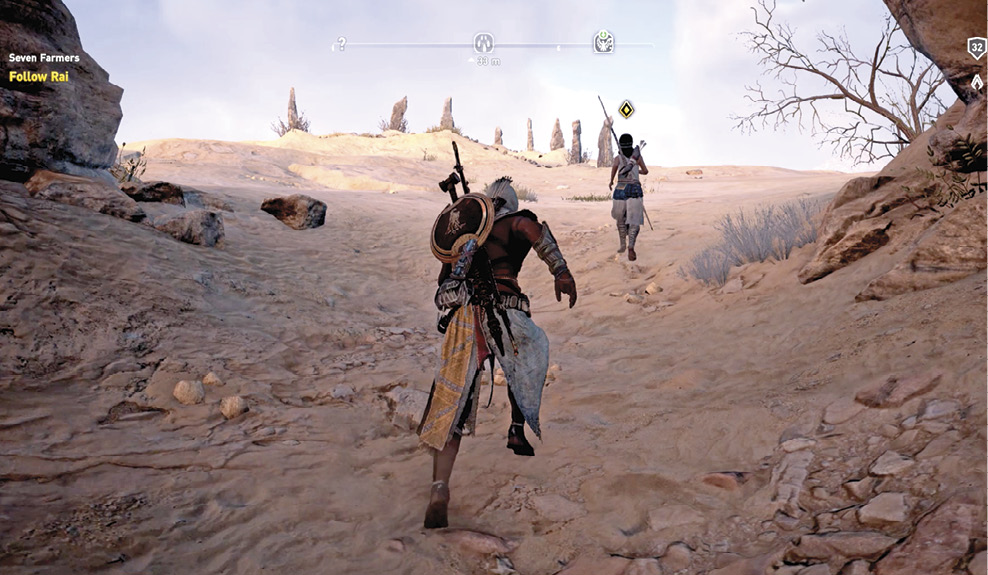
Follow Rai
Follow Rai as she heads southeast toward the Horus Stone Circle (2). Along the way, be prepared to battle a pack of Level 28 hyenas.

When you reach a deep ravine, Rai mentions seeing some markings on the wall. You tell her it’s an altered symbol of Horus. Follow her through the ravine and into a cave. Climb with her to the top of the cliff. Here you exit the cave tunnel at the Horus Stone Circle (2).
She continues to the cliff’s edge just beyond the stone circle. Approach her to talk to her. Before you leave, you can complete the Horus Stone Circle challenge (see the Activities section for help) and synchronize with the nearby Viewpoint. Dive into the water below for a shortcut off the cliff.
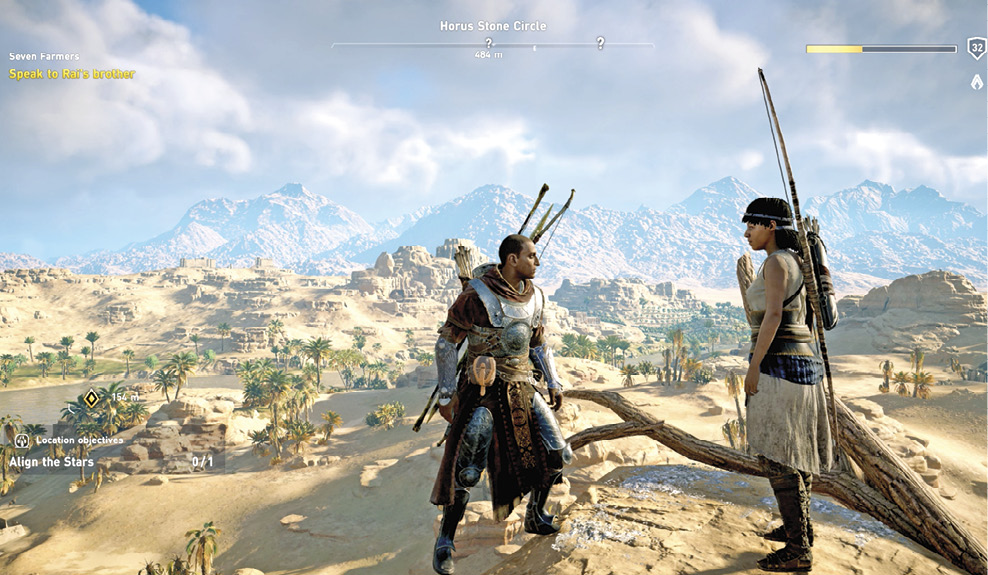
Return to Rai’s brothers (1). You tell them that she is staying on the cliff and will signal when the bandits approach. Bayek suggests setting traps with oil vases in areas where the enemy will pass.

Speak to the Lookout When You Are Ready
The battle is not any more severe than other battles in the past. Set up oil pots to shoot with fire arrows, then put them in the two narrow passages below the guard tower. Speak to the lookout in the watchtower when you are ready to start the fight.

Kill the Bandits
If it was daytime, then time changes to night and the battle begins. You start in the watchtower. Set your arrows on fire with the small lamp there. Start shooting oil vases or the bandits.

There are six Level 29 bandits below; all are marked. You can take most, if not all, of them out from the tower. Kill all six bandits to complete the objective. One of the brothers tells you that the bandits are only coming for their father’s bow. Bayek offers to hunt down their leader. Rai says they could be camping in the foothills to the southeast. She gives you her father’s bow, knowing it will be safer with you. You earn the Broken Bow.

Find and Get Information on the Bandit Leader
Follow the marker southwest. When you get close and are prompted, send Senu up to locate the target (3) through the cliff rock inside Senehem Depths.
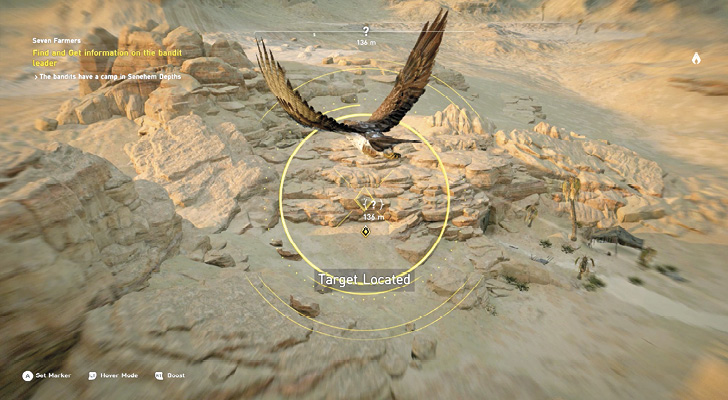
Senehem Depths
Prerequisite: Approach the cave
Suggested Level: 30
Location Reward: 450 XP
Location Objectives: Loot one treasure
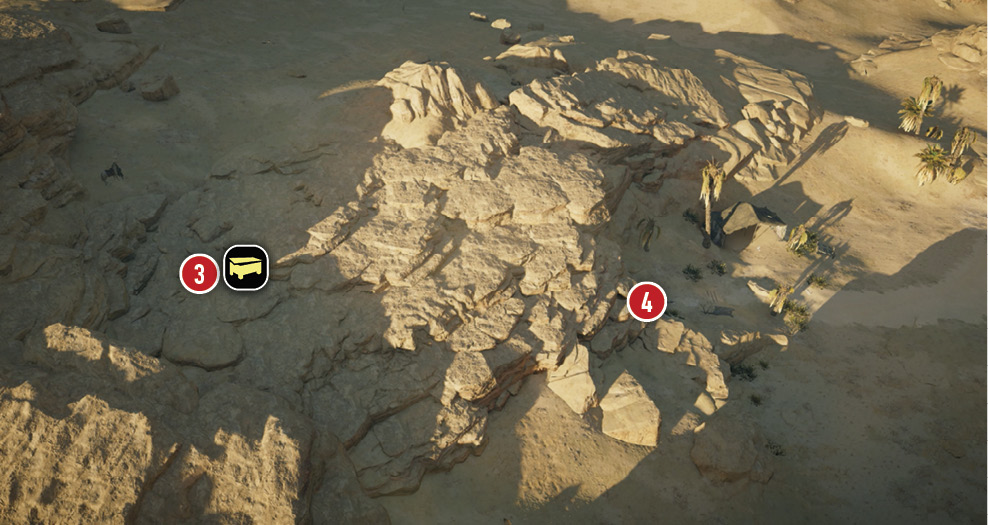
Instead of entering the Senehem Depths through the front door (4), climb to the cliff’s top and drop in through the hole (3) southwest of the main entrance. This way you can deal with the bandits guarding the entrance from behind them when you leave. You drop into a locus nesting area. Ignore them and drop to the floor; head to the right to the marker.
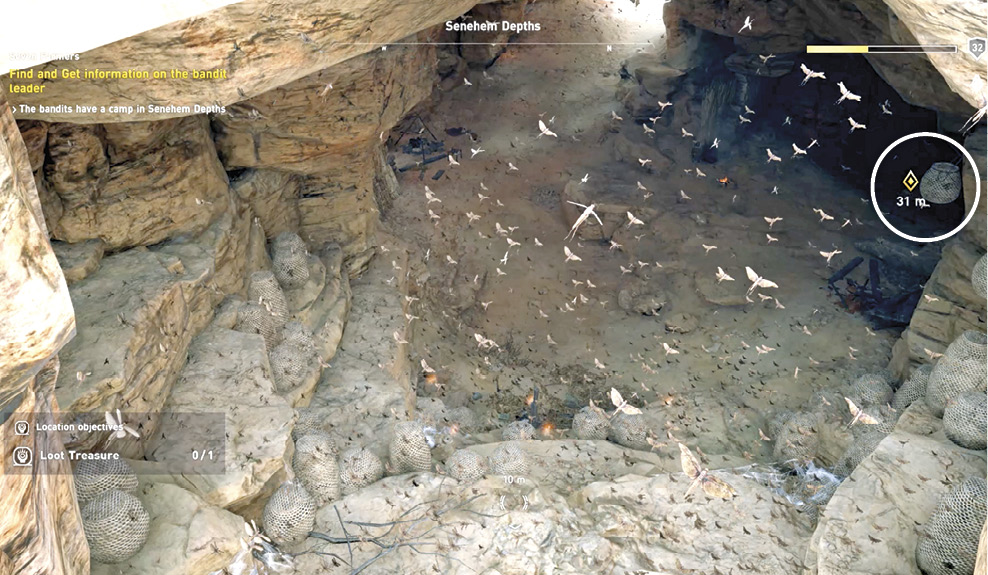
You find the Bandit Letter on a table on the cave’s right side.

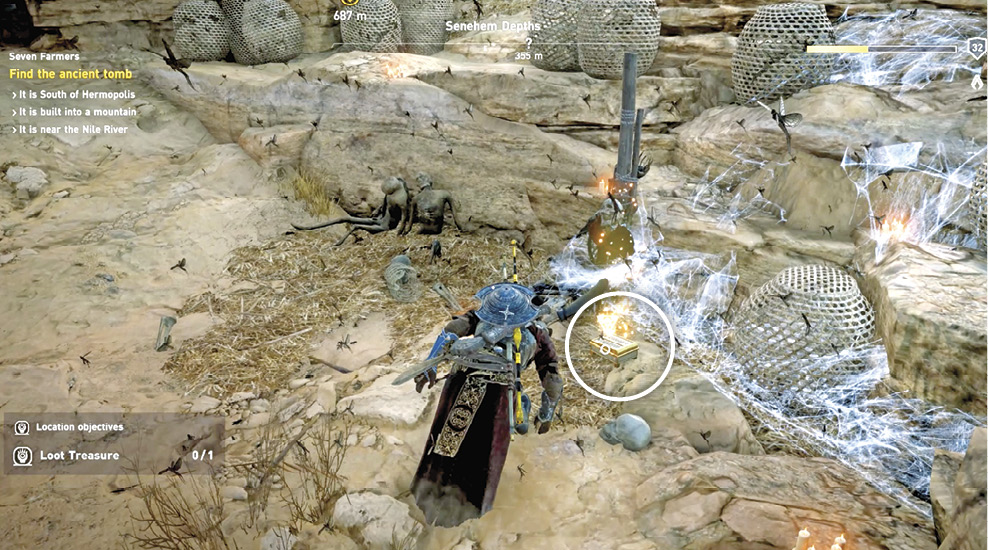
Steal the treasure at the bottom of the wall of hives (also next to a skeleton) to complete the location objective.
Find an Ancient Tomb
Exit the cave through the front entrance. Call a mount and trot out of there, or finish off the front entrance guards and not worry about escaping.

Follow the marker northeast. Cross the Nile (you’ll have to swim or find a boat) and travel through Etesias’ Olive Grove, which is occupied by Roman soldiers. Call Senu to find the entrance to the Tomb of Smenkhkare (5).
Tomb of Smenkhkare
Prerequisite: Approach the tomb
Suggested Level: 30
Location Reward: One Ability Point
Location Objectives: Find the Ancient Tablet
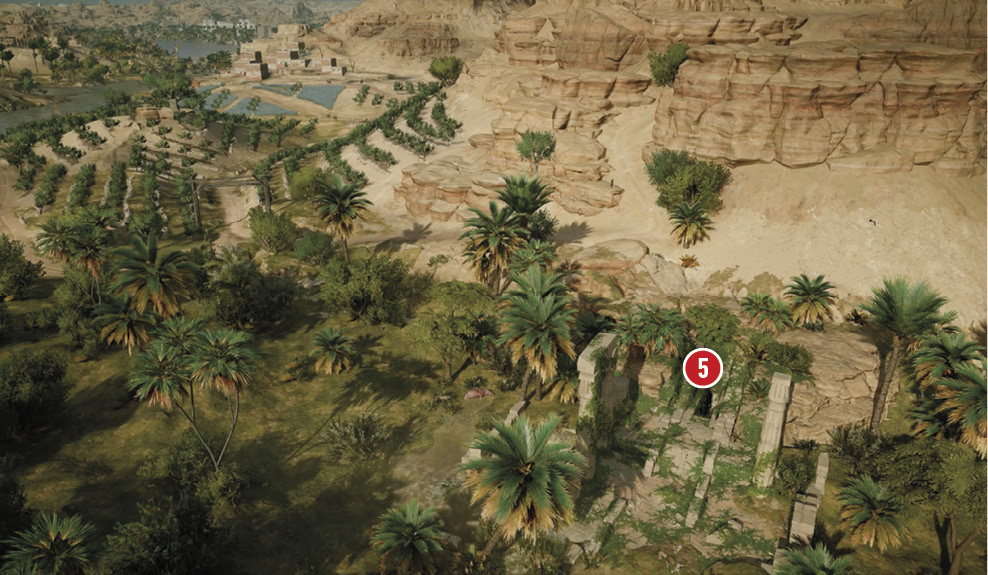
There is a lion around the tomb’s entrance (5). Be prepared to defeat it before you head down the stairs into the tomb. At the bottom of the stairs, inspect the wall to find the markings are like those on Rai’s bow.
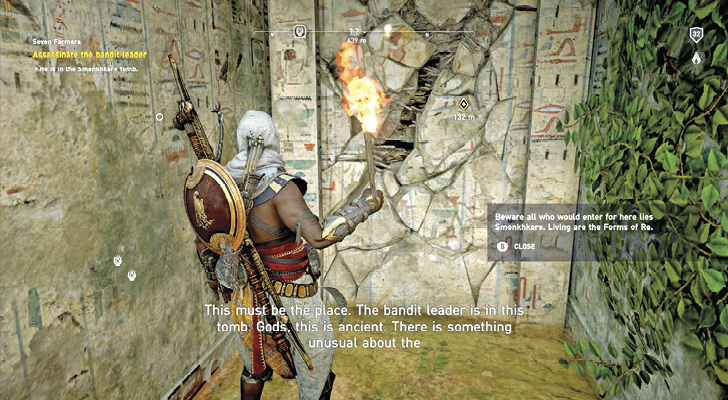
Assassinate the Bandit Leader
Smash through the cracked wall at the bottom of the stairs and enter the tomb. Light a torch. Take the first hallway on the right to reach a dead-end treasure room with two chests. Raid the chests and return to the previous hallway. Turn right to continue deeper into the tomb.
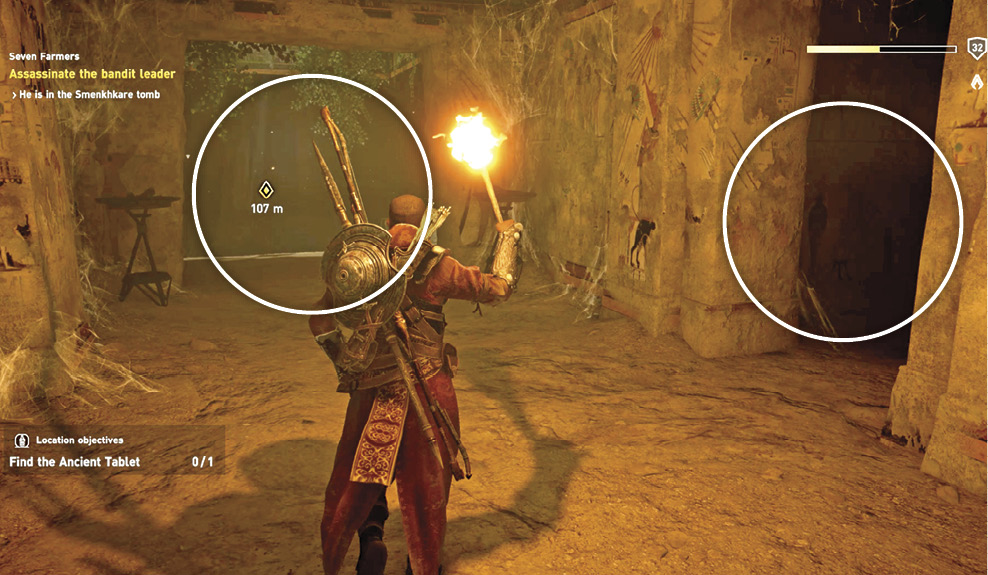
Weighted Platform Chamber Puzzle
In the next chamber, dive into the water at the bottom of the pit. Do some exploring underwater for some treasure. You come up into a very large chamber with counterweight balance platforms.

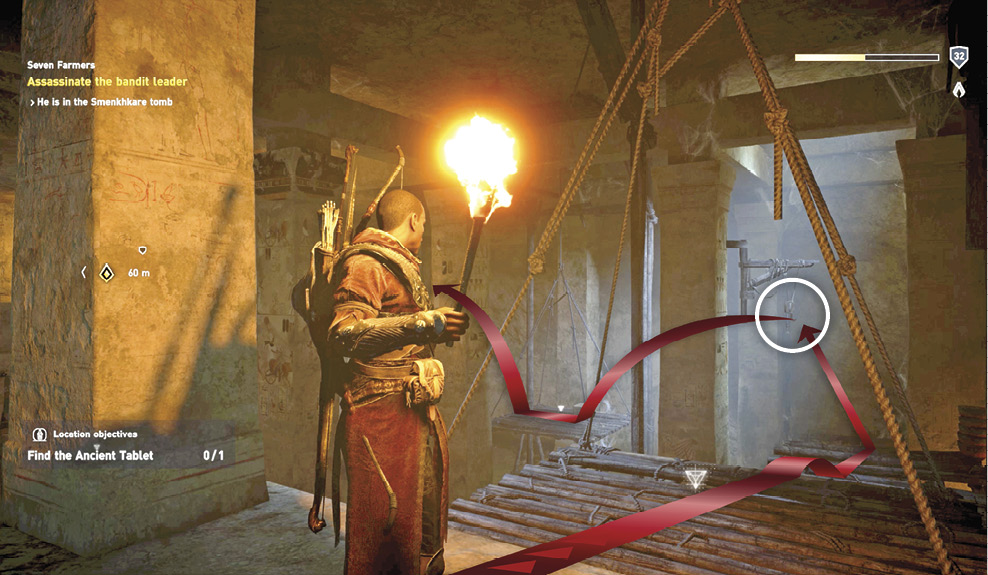
Use the series of two solid platforms and two balance platforms arranged all in a row to reach the upper walkway. On the walkway is a small table and a large crack in the wall (through the crack is a small room containing a single Silica).

Follow the upper walkway to the next set of balance platforms. Now you must run and jump from the first balance platform to a solid one. From here, continue running without stopping. Jump from the solid platform and grab on to the hanging wench. Swing around the corner to the next balance platform. Quickly run and jump from the platform before it falls under your weight. Reach the final ledge.
Now you reach a large ledge with an opening marked with lit torches. Inside the next room, mark a handful of enemies (Level 29 to 31). The bandit leader is marked with an objective marker. Use the torch near the entry to light your arrows and shoot those that you can get with a clear shot.

Move around the edges of the large chamber, taking out bandits until you can get to the leader. There are plenty of walls, columns, and even a large sarcophagus to hide behind as you sneak up on the leader. Eliminate him and confirm the kill to complete the quest. He’s also in the same room with the Ancient Tablet. It’s at the back side of the large central sarcophagus.
