
Assassin's Creed Origins Guide Main Quests Giza
The Hyena
Prerequisite: Complete Main Quest: “Aya”
Suggested Level: 20
REWARDS: 2,250 XP
Unlocks: One of three quests that unlocks Main Quest: Way of the Gabiniani
Details: Bayek travels to Giza to meet the informant Mered to learn about one of his targets: the Hyena.
Travel to Giza
Giza
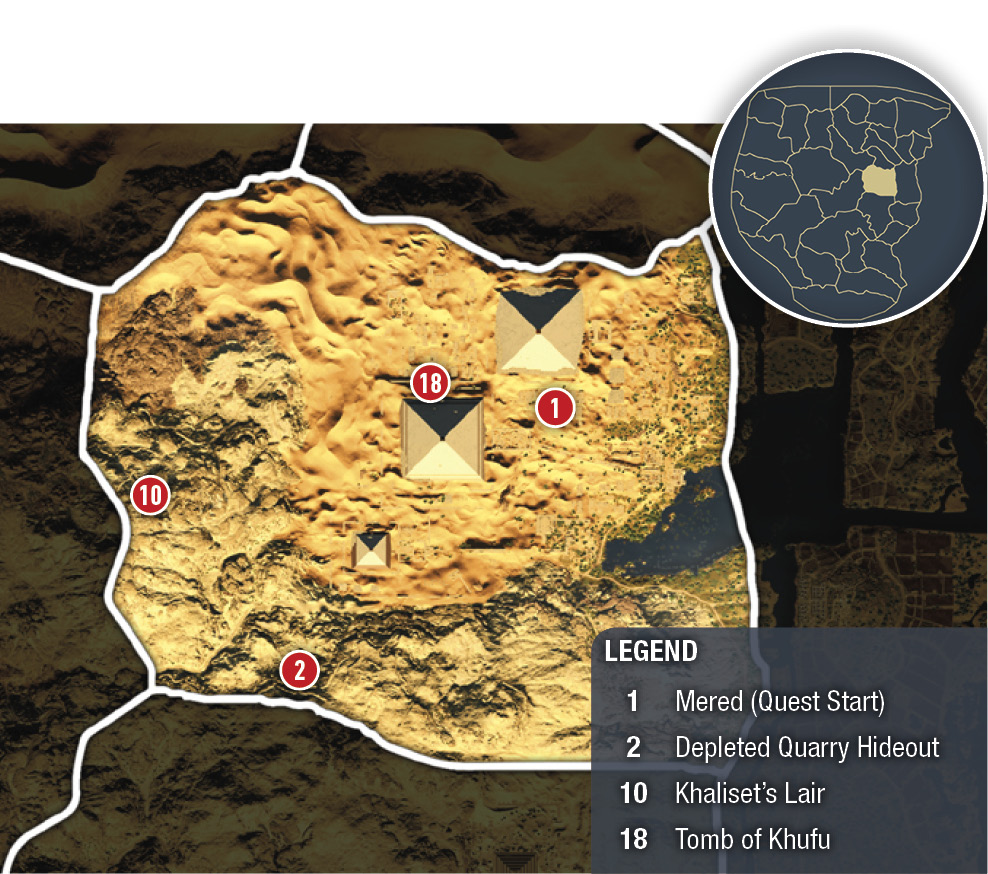
Bayek travels to Giza, where one of his targets, known as the Hyena, comes to the market in search of something precise to fulfill her mysterious agenda. Apollodorus’s contact is Mered, a merchant who has kept tabs on the Hyena’s activity.
Speak to Apollodorus’s Contact in the Giza Market
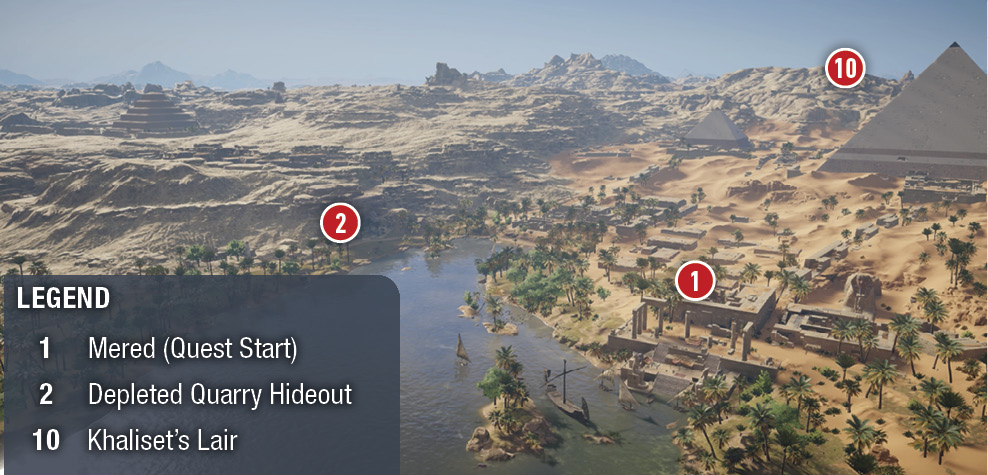
Mered (1) is at his wares booth at the market south of the Great Sphinx. Speak to him and he tries to sell you some of his junk. Bayek asks for information on the Hyena. The salesman says that’s the most expensive thing at the store.
Pay Mered to Learn More About the Hyena
Pay Mered 100 drachmas to get information. If you don’t have it, sell something. You learn that the Hyena’s real name is Khaliset. He will tell you where to find her if you go retrieve his stolen horse from a camp south of the market.
Find and Bring Mered’s Horse Back to the Market
Depleted Quarry Hideout
Prerequisite: Approach the hideout
SUGGESTED LEVEL: 20 or higher
LOCATION REWARD: 600 XP
LOCATION OBJECTIVE: Kill one captain, kill one commander, loot two treasures
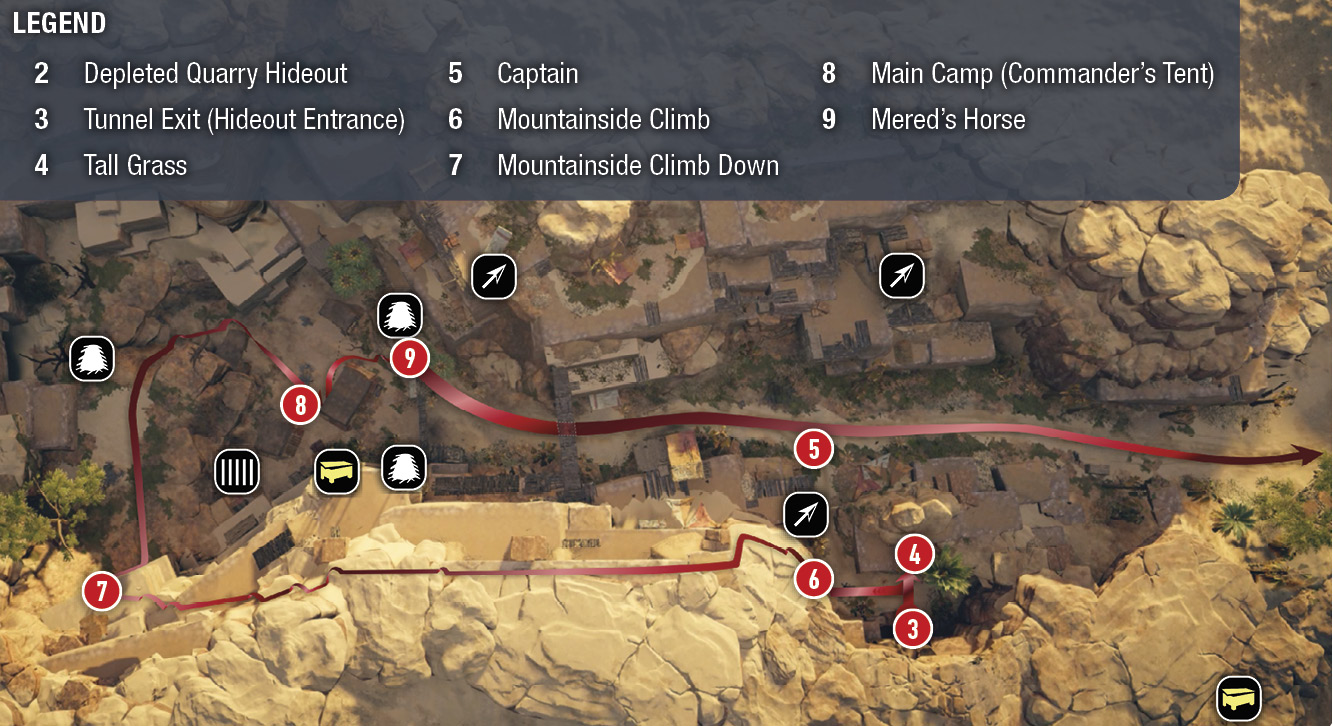
Mered gives you three men to assist you. Let them follow you even if you don’t need them (they won’t disrupt your stealth approach). Mount your ride and head south around the lake to the Depleted Quarry Hideout (2). Use the secret tunnel on the mountain’s north side to enter the base. Send Senu up to mark the location of the horse, the enemies, and the treasures.
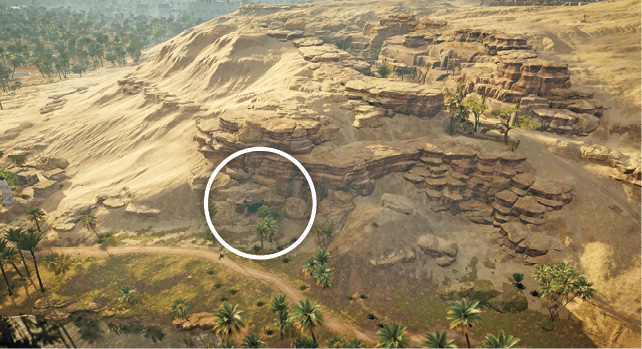
Depleted Quarry Secret Tunnel Entrance
Head into the tunnel until you reach a fire-lit clearing where a ladder allows access to ledges above. Use Animus Pulse to locate all the loot around. Before climbing the ladder, explore the tunnel to the right (west). At the tunnel’s end is the first of two hideout treasures.
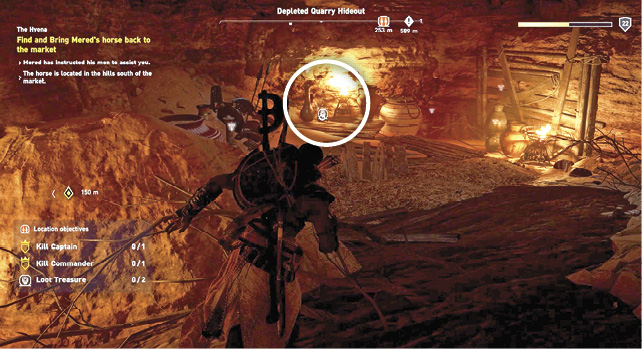
Head back to the cave with the ladders and climb three sets of ladders and platforms to reach the cave exit. This exit (3) places you in a small gully with lots of tall grass. If you wait for a short while, the captain (5) inspects the gully area. Lure him into the tall grass (4) and assassinate him.
Use the gully to climb up the mountainside (6) to the south. Reach the highest ground above all the lower hideout rock platforms. Begin shooting everyone in range with predator or hunting arrows (you always have better range and damage with a predator bow). The hideout is large, and most of the bandits are alone, making this slaughter nice and stealthy. You can easily take out the Level 20 enemies on the ravine’s opposite side, on the rock platforms and guard towers from your side of the hideout.
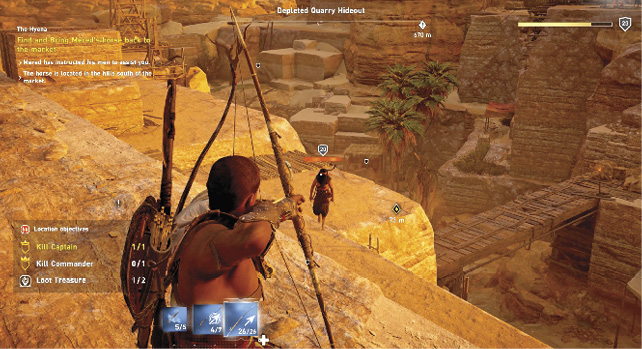
Grab the arrow supply and continue along the mountaintop to the south end (7). Walk the edge, shooting bandits on the different levels below and even in the main camp (8) on the ground level. By the time you climb down into the camp (7), you should have killed most of the bandits. If the commander remains, you can find him around the main tent (8) with the last treasure. Use the haystack behind the tent or any obstruction to hide behind and come up behind him and assassinate him. Or use arrows. You can get a legendary weapon from this commander.
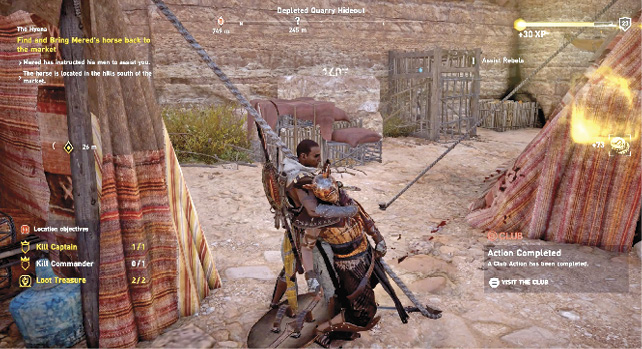
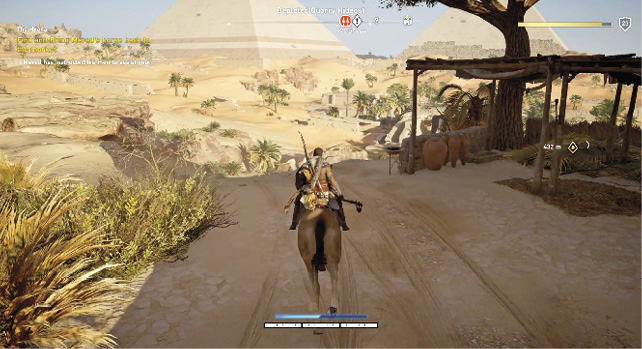
You can release the prisoner near the main tent for more XP. Find the horse (9) on a higher ledge near the main tent. Ride it out of the hideout and head back to the Giza market to return it to Mered (1), who is now waiting just outside the walls of the market.
Find Khaliset’s Lair in the Hills West of the Pyramids
It turns out that the horse you returned was not even Mered’s, but he does come through on his word and tells you where you can find the Hyena. He points you to the hills west of the pyramids. Ride west to the marker.
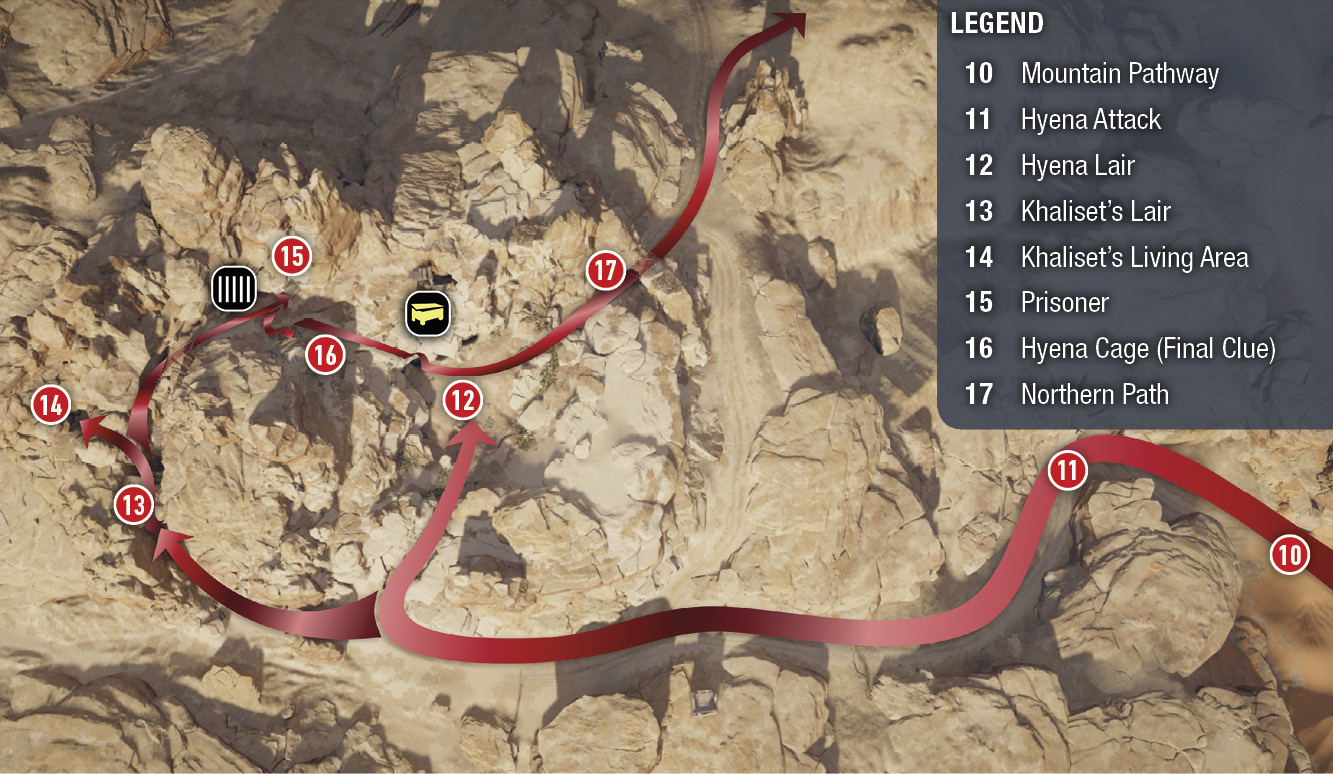
When you get close to the mountain pathway (10), call Senu to do some recon and locate Khaliset’s Lair. You also discover the Giza Hyena lair nearby. The enemies you tag in that location are Level 17 and 18 hyenas.
Going up the mountain path, expect a hyena attack around the first bend (11). Equip a heavy blunt or a spear so you can attack them without getting off your horse. If you just keep riding, you can outrun them.
When “New Location Discovered: Hyena Lair” appears on-screen, you’ll find a narrow pathway to the right that leads to the hyena lair. You do not have to go there to complete the task, as the leader of the pack often patrols Khaliset’s Lair, which is where you are headed. There is a treasure at the hyena lair (12) in a small outpost building.

Continue along the main pathway to reach a ridge, where you’ll have to leave the horse. This is the back entrance to Khaliset’s Lair (13). Climb the short ladder up the side of the canyon wall and notice the left passage. It leads to Khaliset’s living area. She’s gone. You may encounter hyenas now. The leader from the hyena lair is somewhere here too; defeat him to get the 300 XP Location Objective award.
Investigate Khaliset’s Lair to Uncover Her Whereabouts
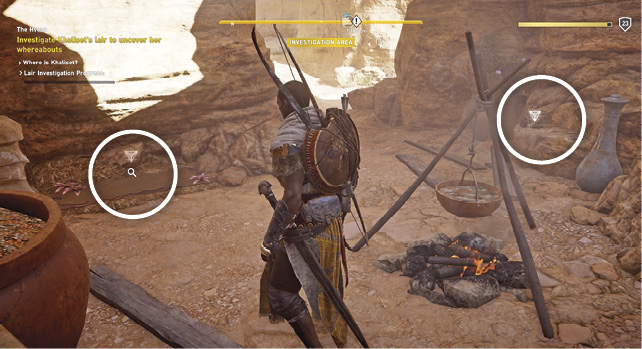
Investigate the blanket on the ground where she sleeps. “A Message to Khaliset” is on the ledge opposite the bedding. It’s from the Snake. Exit this area and explore the rest of the lair (head left down the pathway).
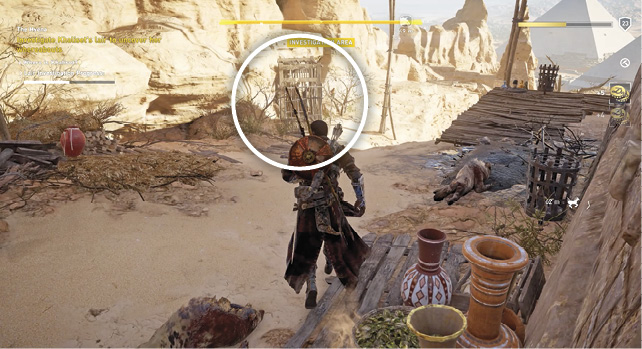
Free the prisoner (15) from the small cage and speak to him. He does not have the Hyena’s location.
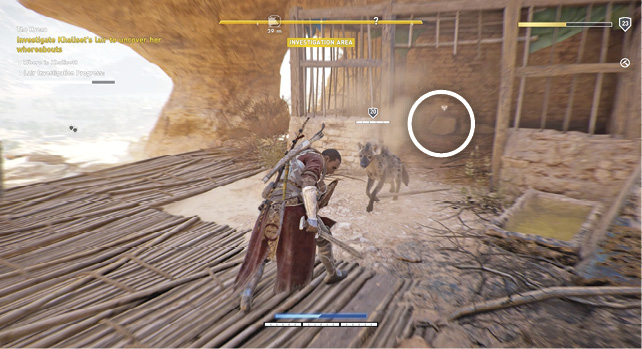
Head to the pathway’s other side and unlock the hyena cage (16). Kill the hyena and then interact with the large rock in the corner. Behind the rock is the final clue: Khaliset’s Drawing. It’s a detailed map of Khufu’s tomb. This must be where she is located.
Reach the Pyramid of Khufu
Call your mount and ride through the hyena lair and down the side exit to the north (17). Taking this path to the pyramid runs you through some serious hunting opportunities. Do some ibex hunting for crafting materials. Follow the next marker to the north side of Khufu’s pyramid. Climb the pyramid now or when you finish this quest to synchronize the Viewpoint on top. Have fun sliding down (hold the Drop Object button so you don’t automatically grab on to handgrips on the way down).
Explore the Pyramid in Search of Khaliset
KHUFU’S TOMB
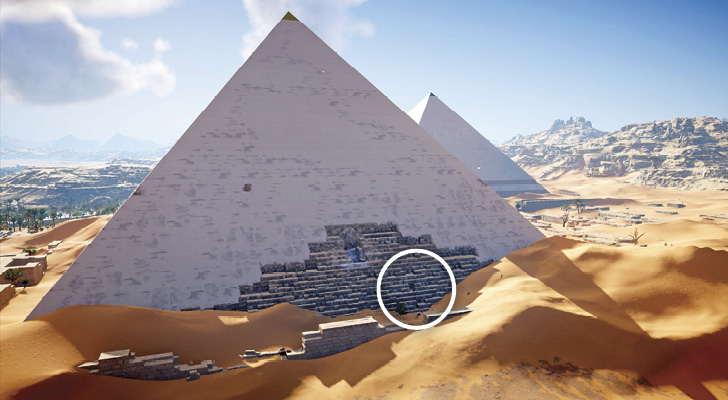
Enter the small tunnel entrance about five pyramid block layers from the ground. Be careful of the hyenas in this area. Light a torch and explore the interior. The Hyena screams at you from somewhere inside the tomb when you breach the entrance. At the top of the first slope, you reach an intersection…
Ancient Tablet and Main Quest Intersection
When you reach the first intersection, you must make a choice: take the large tunnel running off to the left or head through a crack in the wall on the right. Slipping through the crack (20) leads to the continuation of this main quest, but exploring the left tunnel (19) leads you to the Ancient Tablet in the Tomb of Khufu. The path to the tablet is explained in detail in the Activities section of this guide. If you go for the tablet, we suggest lighting the torch in the intersection so you don’t pass the crack in the wall on your way back.
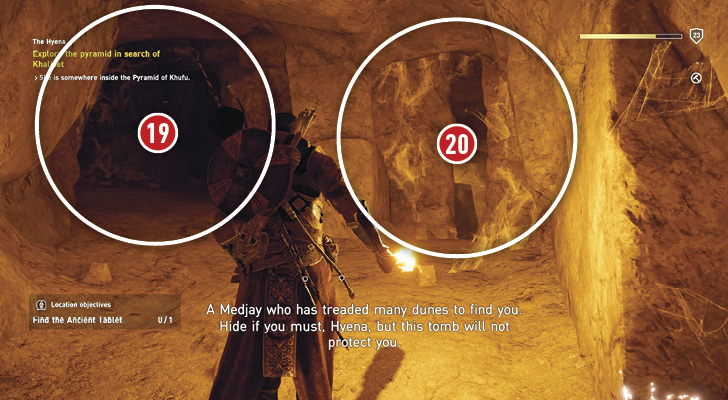
Slip through the crack and follow the tunnel to an open cave, where a torch marks the location of a large hole in the ground. Drop carefully down into the hole to continue. Khaliset screams a warning at you once you reach the tunnel at the bottom of the hole. Follow the lower tunnel to a humongous open tomb.
Investigate Khaliset’s Purpose in the Mysterious Tomb
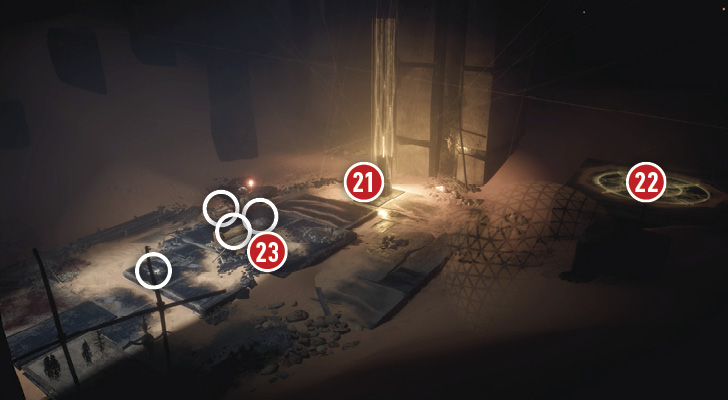
Collect Silica from all over the large chamber and feed it to the monolith (21) for some modern enlightenment. There’s also a platform (22) that beams you out of the pyramid. Don’t use this device. You have also entered an investigation area (23). There are four clues near the mysterious monolith. Check out the drawings, the offerings, and the warm, dead sacrificial corpse on the floor. Lastly, inspect the sarcophagus. Bayek will put the clues together and walk you through what happened.
Open the Sarcophagus
After Bayek’s walkthrough of the ritual site, you are prompted to open the sarcophagus. A female child’s body is inside. Khaliset shows herself and explains that the body is her deceased child. She throws a smoke bomb and escapes the pyramid in a cloud of white smoke.
Kill Khaliset
Run out of the tomb. Follow the objective marker down the long passage. Push through the pyramid block to enter a pitch-black room. Light your torch, vault over the obstruction, and immediately raise your shield to block Khaliset’s fire arrows.
Don’t stop; keep pressing forward or Khaliset will keep firing at you. At the top of the tunnel incline is a left turn. Stop there. Khaliset sets some oil vases on fire and the entire floor burns. Avoid running through it. Let the fire die out before continuing. Climb the wall at the tunnel’s end to reach the outside.
Use the arrow supply in the next area to refill your arrows. Climb out of the ruins above the arrow supply to begin the real battle.
The Ruins Battleground
The battlegrounds are dark, and a small sandstorm has rolled through. Visibility is low. You should be around Level 23; Khaliset’s hyena bodyguards are Level 26. Khaliset is Level 20 and her health gauge is at the top of the screen.
The Hyenas
Her hyenas are tough to beat but it just takes a little more time than usual. Consider using a very powerful sword. A heavy weapon is too slow, giving the hyenas time to knock you to the ground. Drop down off the ruins (where you begin the battle) to avoid Khaliset’s fire arrows. She keeps her distance and shoots arrows while you try to find her and deal with her hyenas. If you stay off the ruins platforms, you’ll be relatively safe from her flaming arrows.
Finding and Defeating Khaliset
Once you’ve dealt with her hyenas (if you come across them before you find her), start looking for Khaliset. Just raise your shield and walk toward the direction the flaming arrows are coming from. Once you find her, climb up to her ruin platform, rush her with your shield raised, and start hitting her with your most powerful weapon. Alternatively, you can use a good warrior bow to do the damage. She will escape in a puff of white smoke from a smoke bomb.
Now you repeat the same process a few times; fight hyenas while staying low. Look for the direction of the fire arrows and chase them with the shield raised. Do some rolls and dodges as you get near and then attack her again. Save your built-up adrenaline for a close-contact battle with Khaliset instead of wasting it on hyenas. You should be able to take her out about the fourth time you run into her. Once she is on the ground, confirm the kill to complete the quest.