
Assassin's Creed Origins Guide Activities Gladiator Arenas
Cyrene
Territory: Kyrenaika
How to Unlock: Complete Side Quest—The Lure of Glory (suggested level: 30)
The owner of the Krokodilopolis arena sends Bayek to Cyrene to meet the owner of the second gladiator arena in the quest, the Lure of Glory. Five arena events are available at Cyrene, with suggested levels between 34 and 40.
The Hammer
Suggested Level: 34
Elite Suggested Level: 38
How to Unlock: Unlocked once arena is available,
He’s the Hammer, and you’re the nail. Avoid the deadly arc of his cudgel, and show him some Siwan justice. Don’t get smashed!
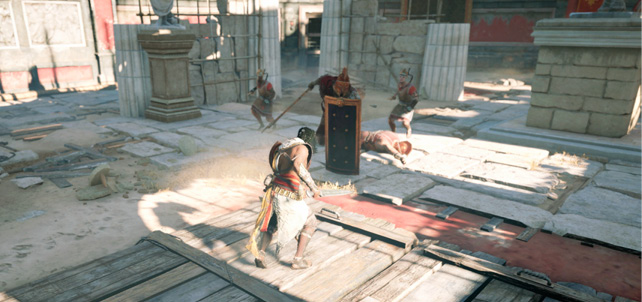
Hammer I
Bayek’s Weapon: Regular sword and shield
Description: An easy fight against soldiers, brutes, and archers.
Traps: Ground spikes
Wave |
Enemies |
|
1 |
L33 Soldier Type A L34 Soldier Type B L33 Soldier Type D L32 Brute Type A |
|
2 |
L33 Soldiers Type A (x2) L34 Soldier Type B L32 Brute Type A |
|
3 |
L33 Soldiers Type A (x2) L34 Archer Type A (x2) L32 Brute Type B |
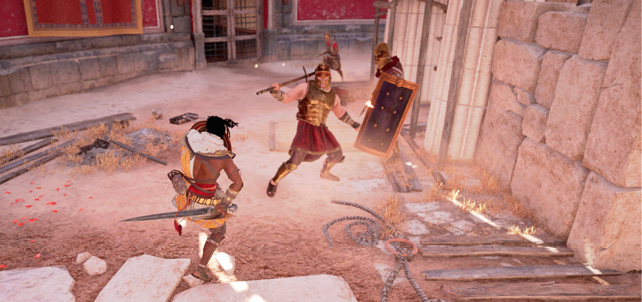
Hammer II
Bayek’s Weapon: Regular sword and shield
Description: A medium-difficulty battle against soldiers and brutes amidst spike traps.
Traps: Ground spikes
Wave |
Enemies |
|
1 |
L34 Soldiers Type A (x3) L31 Soldier Type C L32 Brute Type A |
|
2 |
L34 Soldier Type A L31 Brute Type A L32 Brute Type B |
|
3 |
L34 Soldiers Type A (x2) L33 Soldiers Type D (x2) L32 Brute Type B |
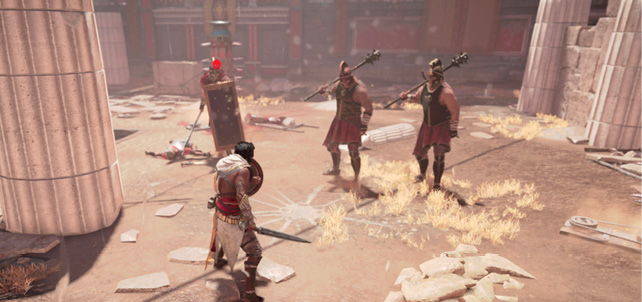
Hammer III
Bayek’s Weapon: Regular sword and shield
Description: A difficult fight against soldiers and brutes while avoiding spike traps and a pit.
Traps: Spiked pillars, ground spikes, pit
Wave |
Enemies |
|
1 |
L34 Soldiers Type A (x2) L31 Brute Type A L34 Brute Type B |
|
2 |
L34 Soldiers Type A (x2) L30 Soldiers Type D (x2) |
|
3 |
L32 Brutes Type A (x2) |
Boss—the Hammer
Bayek’s Weapon: Regular sword and shield
Enemy Level: 34
Description: Brutal warrior who wields his two-handed hammer with the concussive power of a stone block.
Reward Item: Priest of Ma’at Rare Warrior Bow
Elite Reward Item: Roman Legionary Legendary Outfit
Traps: None
Several precarious pillars stand around the perimeter of the arena. You can use these for a temporary reprieve, but one swing of the boss’s enormous hammer destroys the obstacle in an instant. Once healed, move out from behind the pillar to save it for later.
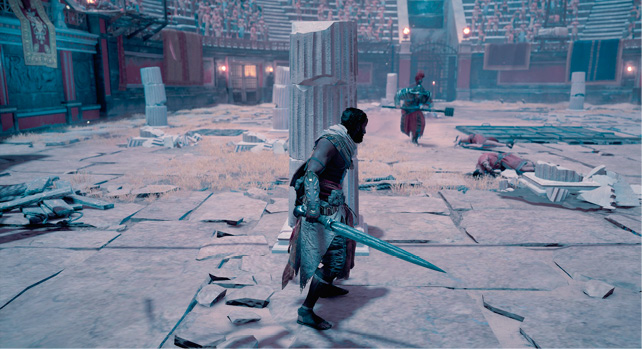
The Raging Hammer is a powerful boss with a massive weapon. He can take quite a bit of punishment before going down, and one swing of his hammer can knock off a good chunk of health. It takes a little time to get his weapon going, though, giving you plenty of time to react to his attacks.
Watch for him to swing his hammer around on the ground; he follows that up with a couple slams. Stay at a safe distance and then go in for a combo after the second ground pound.
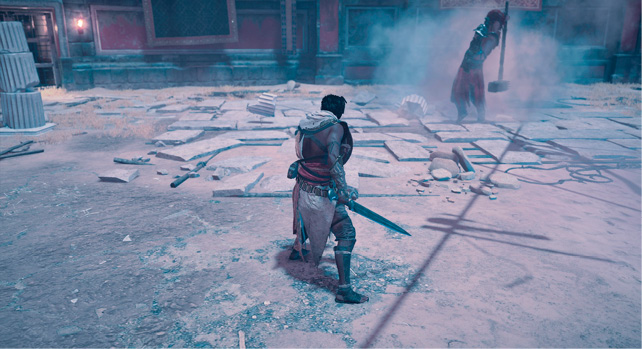
When he takes a couple steps forward, he may rear back and slam the hammer to the ground. Sidestep the slow attack and follow up with a strike of your own.
The Hammer may swing his hammer around twice in an attempt to knock you down. Be careful not to jump the gun—wait out both swings before attacking.
Two quicker moves involve the Hammer running toward you and either stabbing with the handle or backhanding you. Backtrack whenever you see him lunge your way. Be careful, as the big guy can quickly cover a lot of ground when he charges.
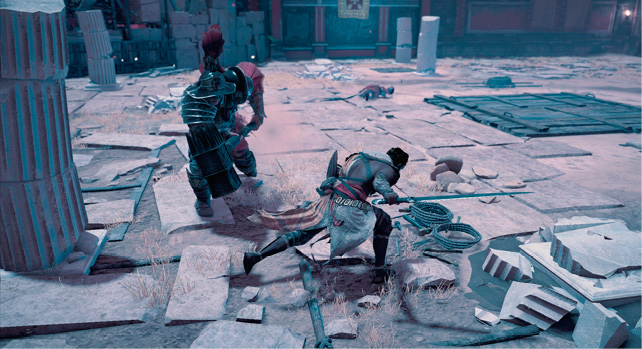
Learn the Hammer’s moves, evade his big hammer, and strike whenever the opportunities arise. Eventually the giant goes down with a huge thud.
The Axes
Suggested Level: 35
Elite Suggested Level: 39
How to Unlock: Defeat boss—the Hammer,
Overcome the Axes and his sadistic strikes. Put an end to his vicious whirling cleavers without losing any body parts.
Axes I
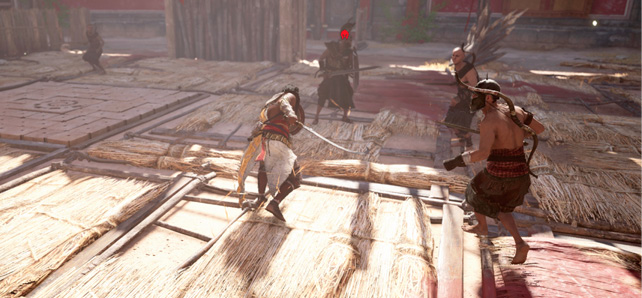
Bayek’s Weapon: Sickle sword and shield
Description: An easy fight against soldiers, elite soldiers, and archers.
Traps: Ground spikes
Wave |
Enemies |
|
1 |
L34 Soldiers Type A (x4) L27 Super Type A (Phylake) |
|
2 |
L34 Soldiers Type A (x4) |
|
3 |
L31 Soldiers Type B (x2) L31 Soldier Type C L34 Archers Type A (x2) |
Axes II
Bayek’s Weapon: Sickle sword and shield
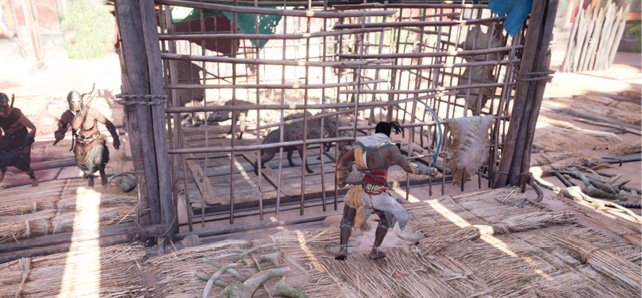
Description: A medium-difficulty fight against soldiers and elite soldiers amidst spike traps.
Traps: Spiked pillars, ground spikes, caged Level 30 hyenas (x4)
Wave |
Enemies |
|
1 |
L34 Soldiers Type A (x3) L28 Soldier Type B |
|
2 |
L34 Soldiers Type A (x3) L29 Soldiers Type C (x2) |
|
3 |
L34 Soldiers Type A (x3) L31 Super Type A |
Axes III
Bayek’s Weapon: Sickle sword and shield
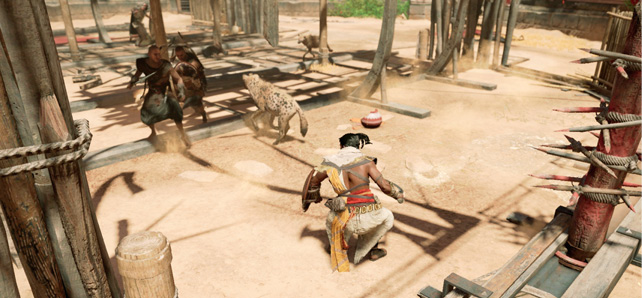
Description: A difficult battle against soldiers and elite soldiers amongst spike traps.
Traps: Moving spiked pillars, ground spikes, pit
Wave |
Enemies |
|
1 |
L34 Soldiers Type A (x2) |
|
2 |
L34 Soldiers Type A (x3) L29 Soldier Type C |
|
3 |
L31 Soldiers Type A (x3) L31 Soldier Type C L31 Super Type B L28 Hyenas (x2; introduced later in wave) |
Boss—the Axes
Bayek’s Weapon: Sickle sword and shield
Enemy Level: 33
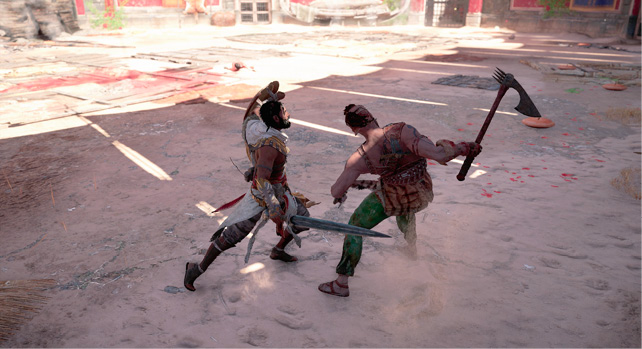
Description: A sadistic psychopath who favors twin axes for the sheer bloody carnage they cause.
Reward Item: None
Elite Reward Item: None
Traps: None
As his moniker suggests, this boss prefers to fight with a pair of axes, slicing up his opponents with precision. There is not much to hide behind in the arena, besides the wooden wreckage that sits on one side. That’s too bad, as his jump attacks and devastating combos can wreak havoc. His axes are also used for defense—he crosses them in front of his chest to block and disrupt combos.
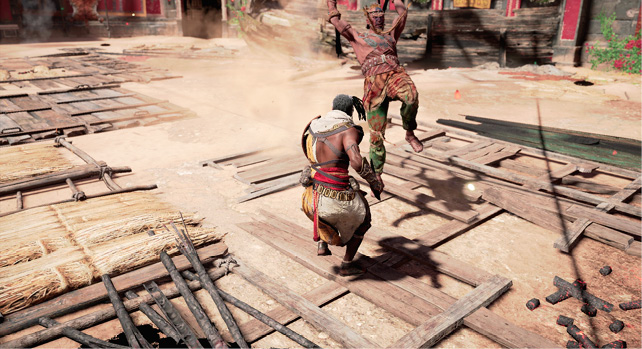
When in close, the boss can quickly grab you, perform three headbutts, and toss you to the ground. Always be ready to evade since his moves are quick. He may kick you backward in order to create space, though the move does not cause any damage.
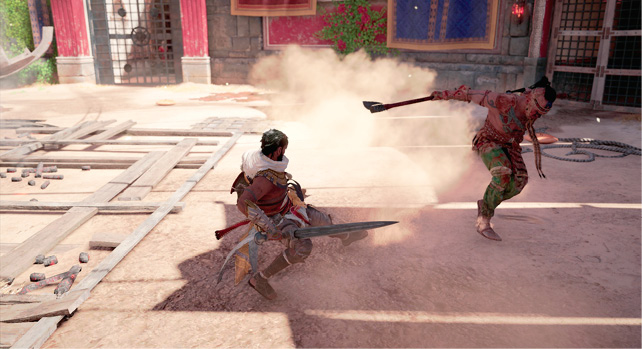
Look for him to swing around to his left, signifying a jump attack is imminent. Move back to avoid his lunge. Once he hits the ground, though, let him have it as he pauses for a moment. A second jump maneuver sees the boss cross his axes, leap forward, and swing outward in an attempt to slice you in two. Step out of the way and attack his side as he reorients himself.
When he raises his axes, it means he is ready to run at you and release a brutal combo upon you. Stay out of reach of his axes or, at the very least, put up your shield for a chance to withstand the blows. Do not let your defenses down until you are sure he has completed his attacks. If you are feeling confident, you can interrupt his run, especially if you have an Overpower ready.
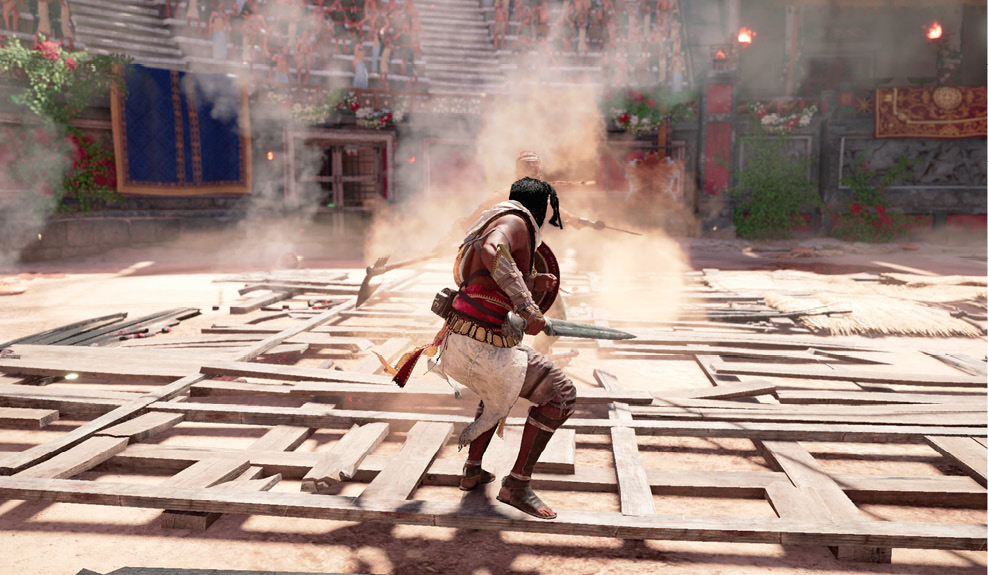
Try to keep your health in the middle to upper third of the health bar. The boss’s combo can rip through a big chunk if you are not careful. Patiently pick away at his health between his vicious attacks until he finally falls to the ground.
The Hoplite
Suggested Level: 35
Elite Suggested Level: 39
How to Unlock: Defeat boss—the Axes,
The Hoplite is a battle-ready Greek soldier with the deadly determination of a Spartan warrior. Take him down if you can.
Hoplite I
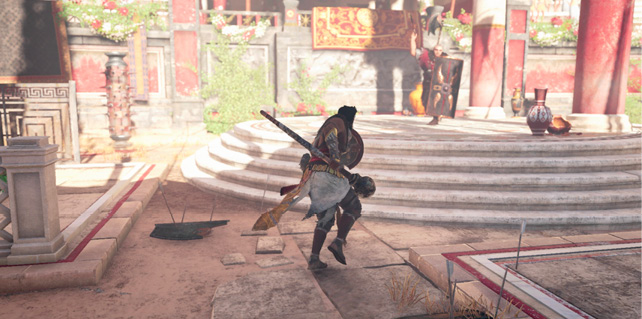
Bayek’s Weapon: Heavy blunt weapon and shield
Description: An easy fight against soldiers, brutes, and archers amongst spike traps.
Traps: Spiked pillars, ground spikes
Wave |
Enemies |
|
1 |
L35 Soldiers Type A (x2) L35 Soldiers Type B (X2) L35 Brute Type C (does not need to be defeated for next wave to enter) |
|
2 |
L35 Soldiers Type B (x2) L34 Soldiers Type C (x2) |
|
3 |
L35 Soldiers Type A (x2) L34 Soldiers Type C (x2) L34 Archers Type A (x2) |
Hoplite II
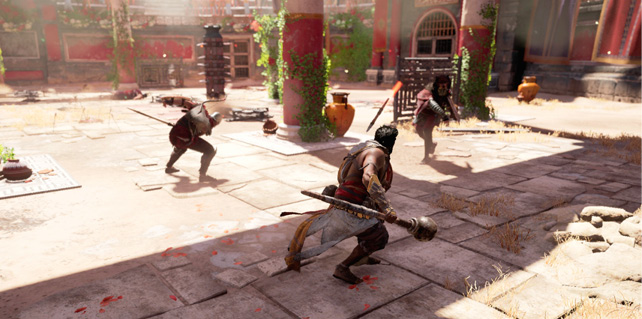
Bayek’s Weapon: Heavy blunt weapon and shield
Description: A medium-difficulty battle with soldiers, brutes, and elite soldiers in the midst of spike traps and a pit.
Traps: Moving spiked pillars, ground spikes, pit
Wave |
Enemies |
|
1 |
L35 Soldier Type A L34 Soldiers Type C (x2) L33 Brutes Type A (x2) |
|
2 |
L35 Soldiers Type A (x2) L35 Soldiers Type B (x2) L33 Super Type B |
|
3 |
L35 Soldiers Type B (x2) L34 Soldiers Type C (x2) L33 Super Type A |
Hoplite III
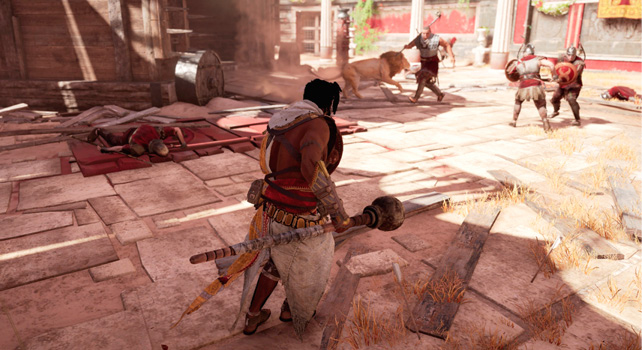
Bayek’s Weapon: Heavy blunt weapon and shield
Description: A difficult fight against soldiers, brutes, and lions amongst spike traps.
Traps: Spiked pillars, ground spikes, fire trap, Trojan horse
Wave |
Enemies |
|
1 |
L35 Soldiers Type A (x2) L35 Soldier Type B L33 Brute Type A |
|
2 |
L34 Soldier Type C L33 Brutes Type A (x2) |
|
3 |
L35 Soldiers Type B (x2) L34 Soldiers Type C (x2) L33 Brute Type A L33 Predator Type A L30 Lion (x2; emerge from Trojan horse midwave) |
Boss—the Hoplite
Bayek’s Weapon: Heavy blunt weapon and shield
Enemy Level: 35
Description: A highly trained, battle-hardened Greek soldier who uses his shield as well as he wields his spear.
Reward Item: None
Elite Reward Item: None
Traps: None
The skilled Hoplite wields a spear and shield with the option of switching to his sword at any point. His reach is quite impressive as he lunges at his target with the long lance. His skill with the sword and shield are equally impressive as he attacks with both arms. It is best to keep your shield up and always be ready to evade his quick stabs.
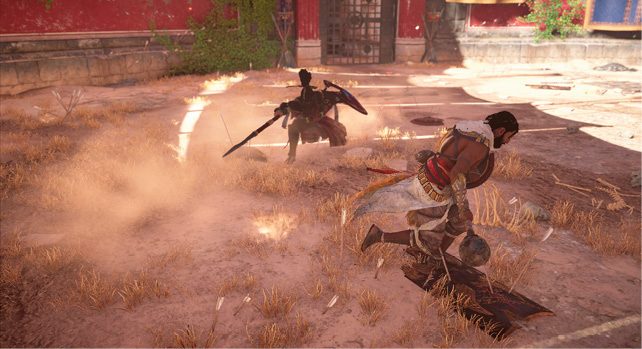
His spear attacks are all about reach. It is possible to deflect some attacks with your shield, but it is typically best to evade them altogether. If he holds the spear up high, be ready for a quick stab. If he rears back, watch out for a long stab or a circular attack. The stabs can be sidestepped, while you continue to increase your distance from the sweep and swing moves.
If Bayek is knocked to the ground, the boss attempts to stab you, so time your evade during this attack and follow up with a strike of your own.
The boss can switch to his sword at any time, while he must run to one of the weapon racks that line the perimeter of the arena to equip a spear. His attacks between the two setups differ drastically, so be ready for either.
The Hoplite may leap in the air and throw his spear at Bayek. Watch for him to cock his arm back and sidestep the projectile to avoid impact. After releasing the spear, he must switch to the sword.
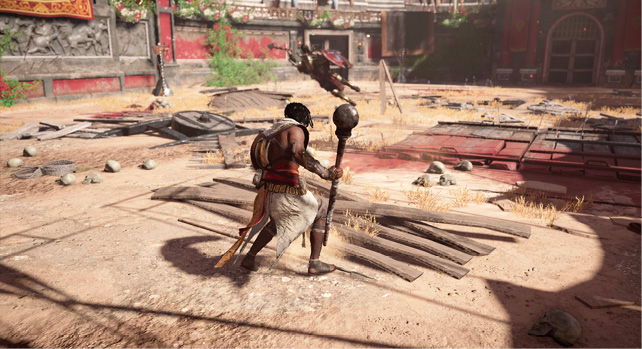
When close, he may attempt to grab and throw Bayek over his shoulder, so always keep a bit of distance from him. The Hoplite also has a quick maneuver with either weapon that pushes his target back, though damage is minimal.
When the sword is equipped, be ready for his jump attacks and slicing combos. Use the shield to block the strikes or use evades in order to move behind the boss. He tends to use his shield about as much as his sword, so be ready for attacks to come from either side.
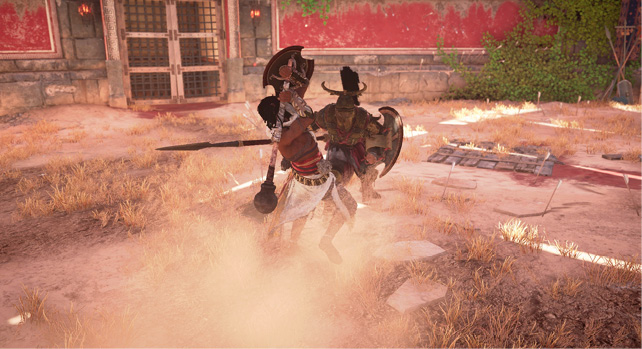
Your mace attacks at a relatively slow speed, allowing the Hoplite to easily disrupt your combos. Time your strikes just as the boss opens his defenses and limit your combos—getting in one or two blows before backing away.
The Seleucid
Suggested Level: 36
Elite Suggested Level: 40
How to Unlock: Defeat boss—the Hoplite,
The Seleucid has trained his entire life for the sole purpose of defeating all comers in battle. Show him what a Medjay can do.
Seleucid I
Bayek’s Weapon: Long spear and shield
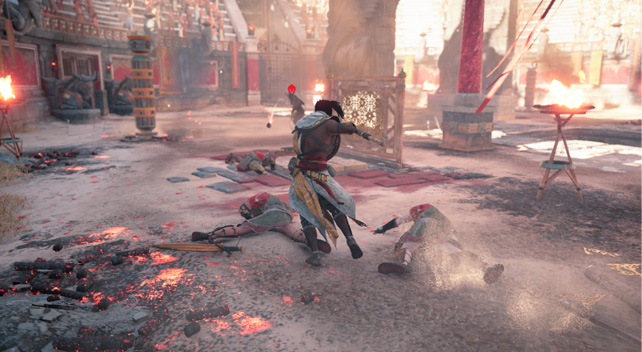
Description: An easy fight against soldiers, elite soldiers, predators, and archers with the added danger of fire traps.
Traps: Ground spikes, fire traps, fire pillars, pit
Wave |
Enemies |
|
1 |
L35 Soldiers Type A (x3) L34 Archer Type A L35 Super Type A (Phylake; does not need to be defeated for next wave to enter) |
|
2 |
L34 Soldiers Type D (x2) L34 Archers Type A (x2) |
|
3 |
L35 Soldiers Type A (x2) L34 Archer Type A L33 Brute Type A |
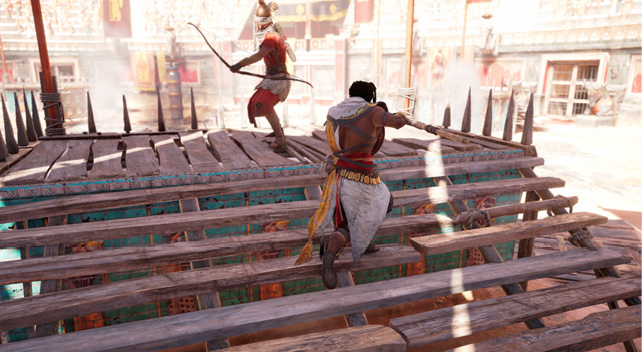
Seleucid II
Bayek’s Weapon: Long spear and shield
Description: A medium-difficulty fight against soldiers, brutes, and archers amidst fire traps.
Traps: Moving fire pillars, fire traps, archer stands
Wave |
Enemies |
|
1 |
L35 Soldiers Type A (x4) L33 Archer Type C |
|
2 |
L35 Soldier Type A L34 Soldiers Type D (x2) L34 Archer Type A L33 Archer Type C L33 Brute Type A |
|
3 |
L34 Archers Type A (x3) L33 Archer Type C L33 Brutes Type A (x2) |
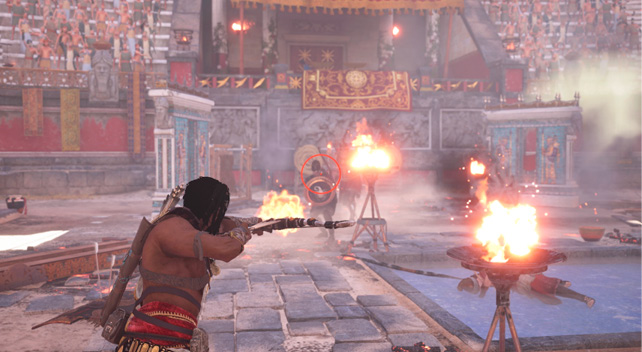
Seleucid III
Bayek’s Weapon: Warrior bow
Description: A difficult battle with soldiers, brutes, and archers while avoiding fire traps.
Traps: Moving fire pillars, fire traps
Wave |
Enemies |
|
1 |
L34 Soldiers Type A (x2) L33 Soldiers Type D (x2) L33 Archer Type A |
|
2 |
L34 Soldier Type A L32 Soldiers Type C (x2) L33 Archer Type A L32 Brute Type A |
|
3 |
L34 Soldiers Type A (X2) L32 Archer Type A (x2) L33 Brute Type A |
Boss—the Seleucid
Bayek’s Weapon: Long spear and shield
Enemy Level: 36
Description: A Greek soldier dedicated to the art of systematically dismantling opponents with his long military pike.
Reward Item: Roman Legionary Legendary Outfit
Elite Reward Item: Roman Marinus Legendary Outfit
Traps: Fire traps
The Seleucid wields an extremely long pike and combines it with a leap attack, allowing him to strike from a very long distance. With the ability to add fire throughout the battle, the fight becomes much tougher as it progress.
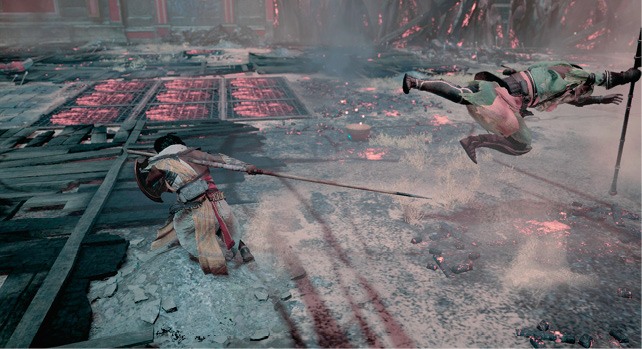
The boss uses his pike like a pole vault, performing a jump kick, which he combos into a swing attack. Move backward when you see this coming to avoid the wide range of the pike swing.
He may also run after Bayek as he attempts to harpoon you. This attack is easily sidestepped, but you must be ready for it.
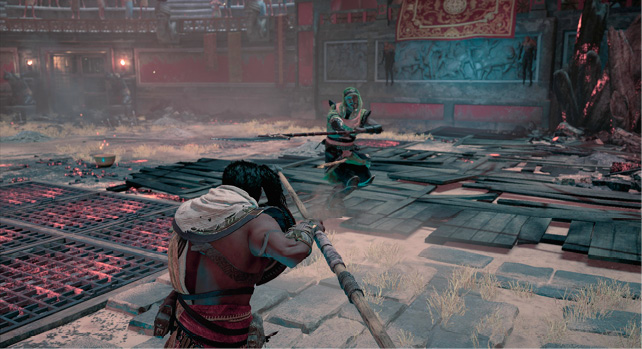
When the boss swings the pike around, stand clear throughout the two swings to avoid taking damage. If he lifts the pike up over his head, move backward or sidestep as he slams the blade into the ground.
After eliminating a quarter of his health bar, he becomes slightly enraged and changes up his moves slightly. Watch out for him to combine his run attack with a swing of the pike or perform a jump-stab maneuver.
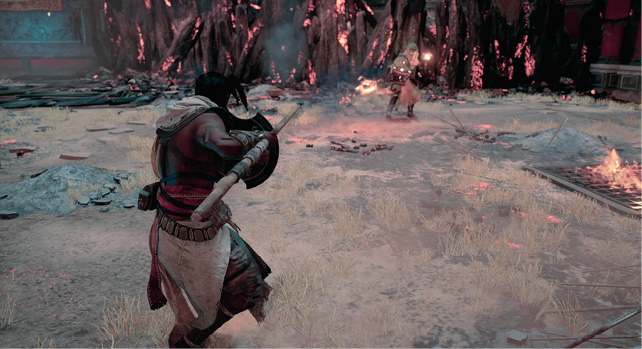
At half a health bar, the Seleucid sets the end of his pike ablaze, which means successful hits have a chance to set Bayek on fire—providing more incentive to avoid his lengthy strikes.
The Seleucid begins to combine more of his attacks, such as adding a jump-stab after the double-pike swing and an additional swing after the pole-vault move.
Your light attack swings the spear around, while the heavy attack performs a slower, step-stab maneuver. Use the former when in close, while the latter should be used when the boss is left open at a distance. The Seleucid tends not to hang around for more than two hits, so limit your combos.
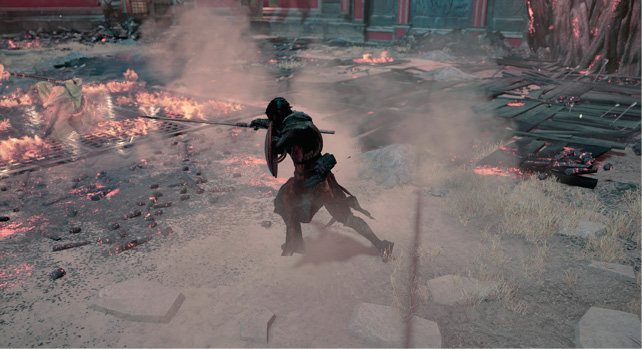
At three-quarters of a health bar, the boss starts up the smaller, outside fire traps. With half of a health bar, he lights up the middle. Walking over these traps has a chance of igniting Bayek, so steer clear.
The Duelist
Suggested Level: 38
Elite Suggested Level: 40
How to Unlock: Defeat boss—the Seleucid,
Defeat the Duelist in single combat. Avoid her rapid, articulated blade and find an answer for her athletic precision.
Duelist I
Bayek’s Weapon: Regular sword and shield
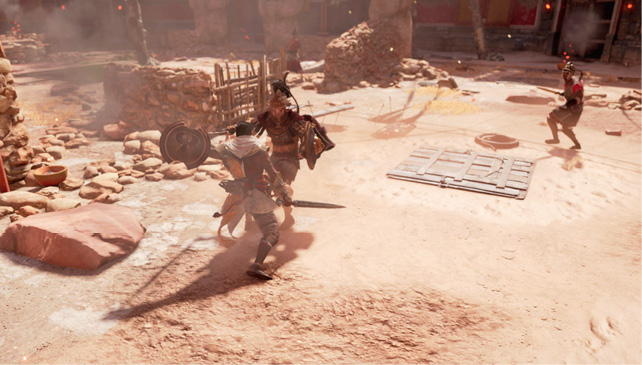
Description: An easy fight with a mix of all enemy types.
Traps: Poison pit, cobras
Wave |
Enemies |
|
1 |
L37 Soldiers Type A (x3) L36 Archers Type A (x2) L35 Super Type A |
|
2 |
L37 Soldier Type A L36 Archer Type A L35 Brute Type A L35 Predator Type A |
|
3 |
L36 Soldiers Type D (x2) L36 Archers Type A (x2) L35 Predator Type A L35 Super Type A |
Duelist II
Bayek’s Weapon: Regular sword and shield
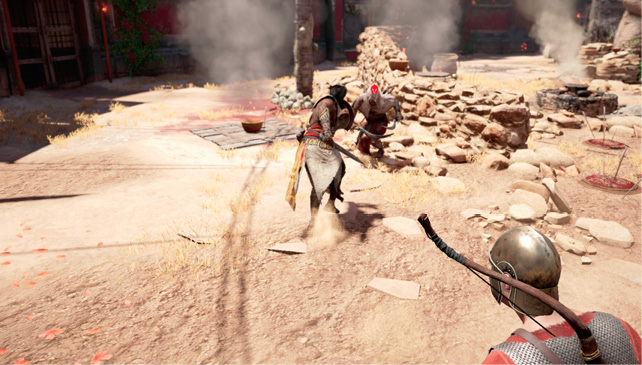
Description: A medium-difficulty fight against a mix of all enemy types.
Traps: Fire pit, cobras
Wave |
Enemies |
|
1 |
L37 Soldiers Type A (x2) L36 Archers Type A (x2) L37 Predatory Type B (Phylake) |
|
2 |
L37 Soldiers Type A (x2) L36 Soldiers Type D (x2) L20 Predator Type A |
|
3 |
L37 Soldiers Type A (x2) L36 Archer Type B L35 Super Type A |
Duelist III
Bayek’s Weapon: Warrior bow
Description: A difficult battle against a mixture of all enemy types.
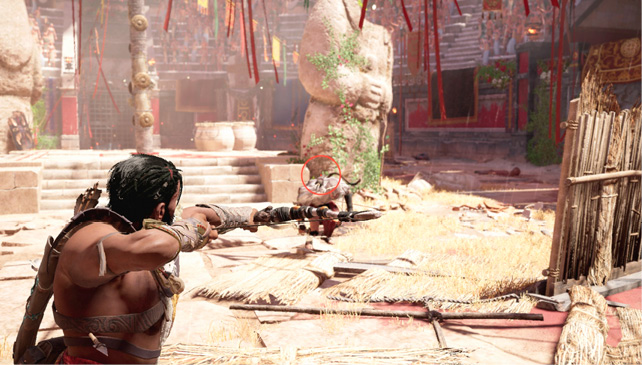
Traps: Ground spikes, cobras
Wave |
Enemies |
|
1 |
L37 Soldiers Type A (x4) L35 Predator Type B |
|
2 |
L37 Soldiers Type A L36 Soldiers Type D (x2) L35 Predator Type B L35 Super Type A |
|
3 |
L37 Soldier Type A L35 Predator Type B L35 Supers Type A (x2) |
Boss—the Duelist
Bayek’s Weapon: Regular sword and shield
Enemy Level: 38
Description: A disciplined and flawless swordsmith whose skill with her single blade approaches an art form, if art could kill.
Reward Item: Freeman Sword Regular Sword
Elite Reward Item: Roman Venator Legendary Outfit
Traps: None
The Duelist begins the fight with one sword, but after eliminating about one-quarter of her health, she pulls out a second. This widens her area of attack as she swings two blades instead of one.
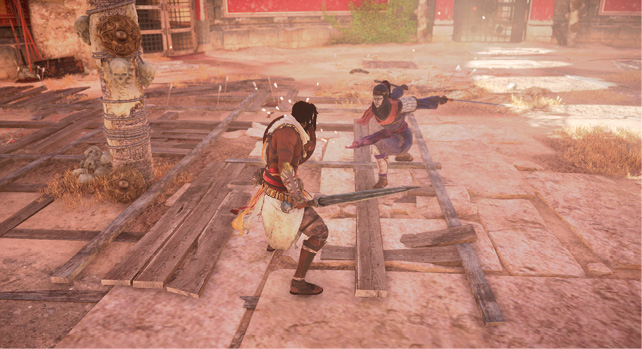
At half a health bar, she applies poison to one of her blades. After making contact with the poison, you are unable to regenerate health, making it more urgent to avoid taking damage.
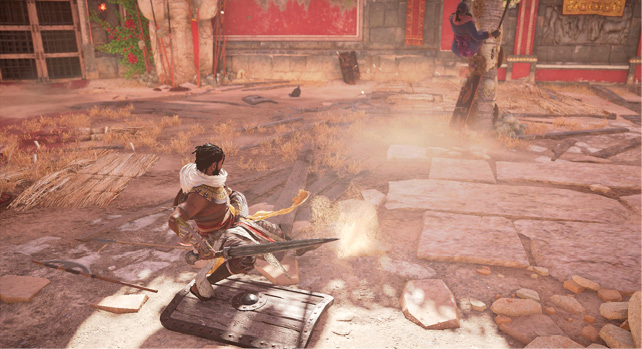
Six pillars offer a little protection for when you need to regenerate health. If you are not directly opposite the boss, she can quickly strike with a jump or lunge attack, so stay on the move until your health has regenerated. The Duelist may also use the pillars or sidewalls to get behind you, so be ready to sidestep when she runs up either one.
While you can block some of her attacks, a flick of her sword can knock your shield to the side, leaving you open for attack. It is best to fight from a distance and move in only when she is open to attack. Try performing quick strikes with an immediate withdrawal to minimize the risk.
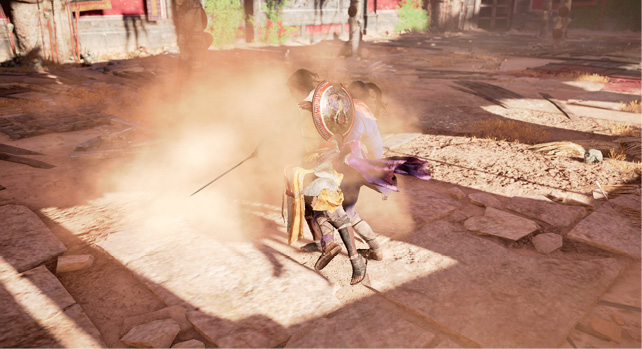
An extra danger of fighting up close is her throw, as she flips Bayek over her back onto the ground. She can also slide between your legs and throw you down from behind. Similar to the other bosses, she attempts to strike you when on the ground, so time your evade to just avoid the hit and follow it up with a hit or two against the vulnerable foe.
She can cover a lot of ground with her jump attack. Watch for her to kneel before performing the move, giving you time to move out of the way.
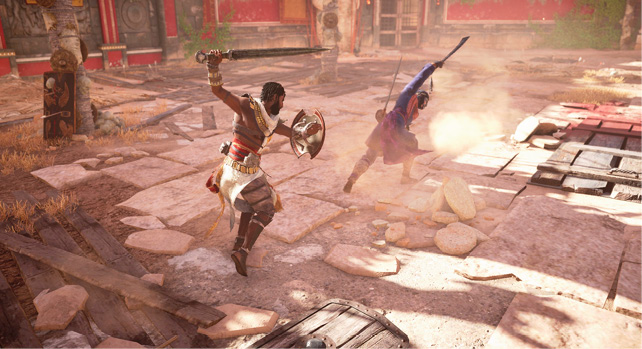
She is the most agile of the bosses, with quick, acrobatic moves, which become more dangerous when she adds the second sword, and even more so with the poison. Stay on your toes and keep moving, since the Duelist can strike extremely fast. Take extra precaution to avoid her poison as you whittle her health down.