BioShock: The Collection Guide Bioshock Walkthrough Olympus Heights
Mercury Suites
 Little Sister Encounter
Big Daddy: Elite Rosie
Hack the Security Camera on the wall just inside Mercury Suites and round the corner towards the sound of the Big Daddy. Splicers will likely be occupying the big one’s attention at the moment, thereby giving you time to set up your trap.
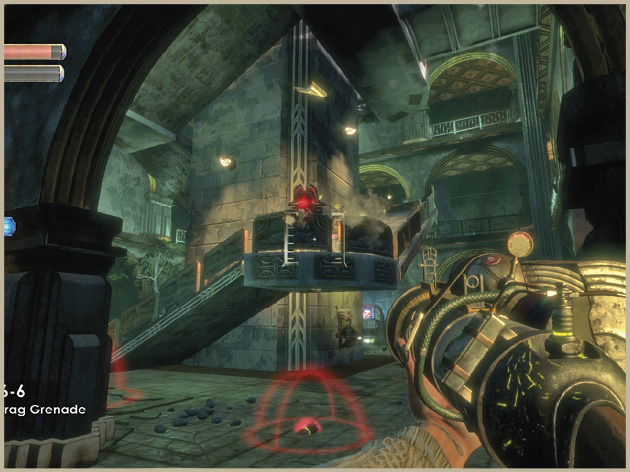
Lay several Proximity Mines in a trail leading back towards the Security Camera and position a Target Dummy near the Proximity Mines. Hit the Elite Rosie with a Frag Grenade, then backpedal towards the trap you’ve set. If the mines and Frag Grenade don’t kill it, the Security Bots summoned by the Security Camera will certainly help to polish it off.
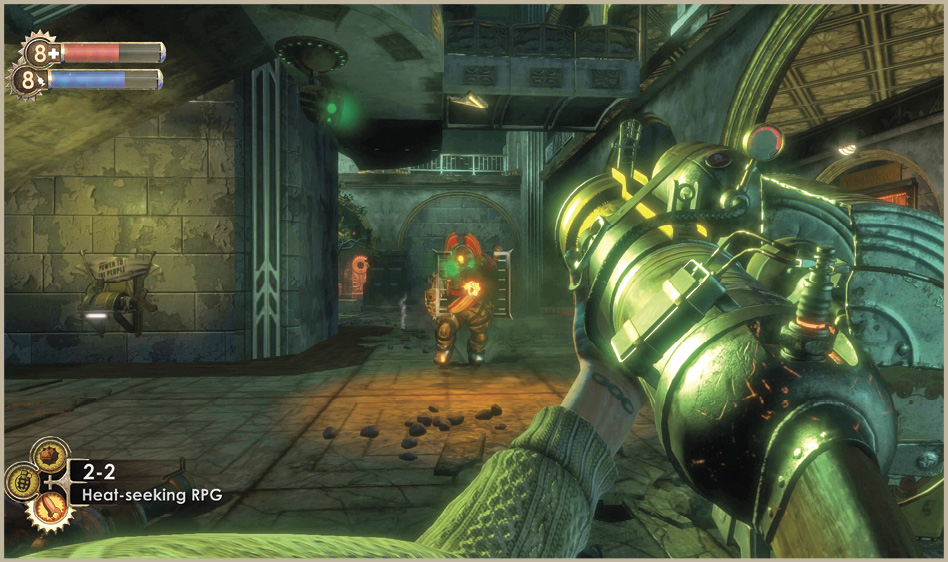
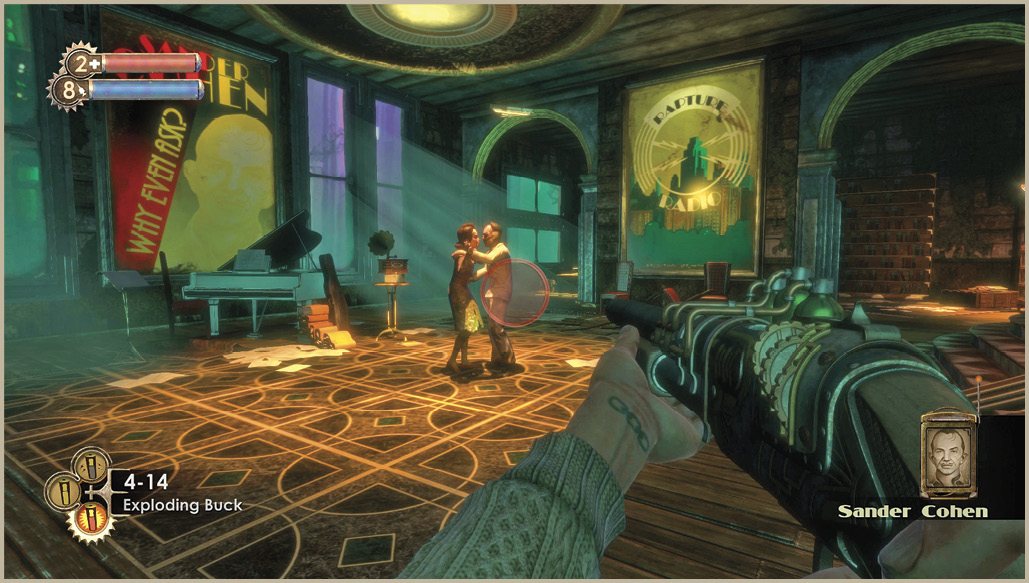
Enter the main downstairs lobby of Mercury Suites and follow the outer corridor, around the corner to the right, towards Sander Cohen’s residence. Cohen’s Apartment has some useful invention components in it, as well as some money and First Aid Kits. The locked door on the right leads to Cohen’s bedroom. This is only accessible if you refrained from killing Sander Cohen in Fort Frolic. If he’s still alive, ignore his instructions and attack the dancers to draw him out of his bedroom. The Muse Key on his corpse can be used to unlock the other display case in the Atrium at Fort Frolic.
Exit Cohen’s Apartment and continue in a counter-clockwise loop around the lower floor of the apartment building. Access the Power to the People machine on the back of the central elevator tower and finish upgrading your fourth weapon. From there, turn around and proceed due north to Culpepper’s Apartment. This apartment contains an Audio Diary and several items and money, as well as a couple of Nitro Splicers. Be sure to hack the Security Camera inside, so you can allow the Security Bots to take care of the intruders.
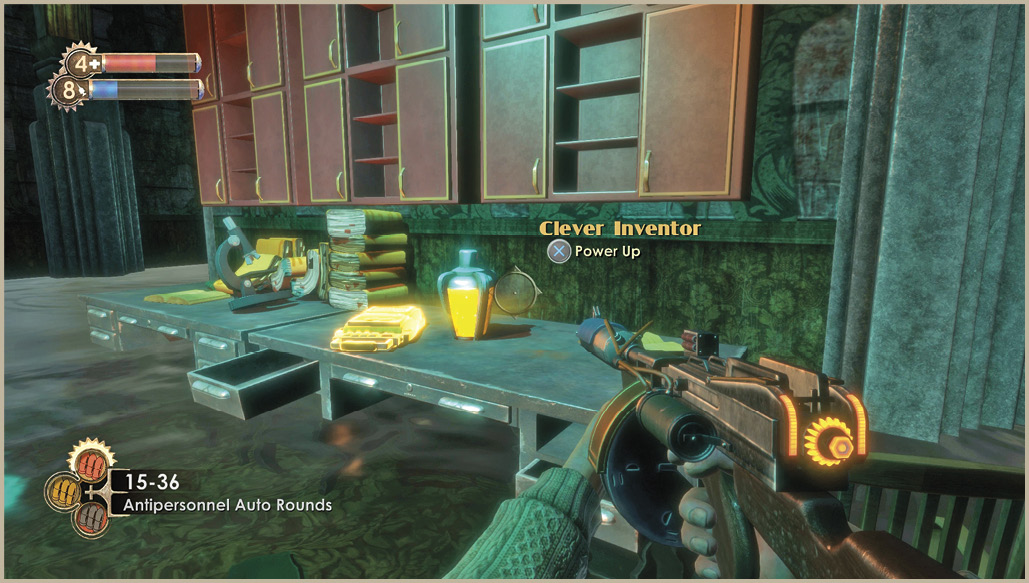
Return to the main lobby and approach the apartment behind the Circus of Values machine. This is Dr. Yi Suchong’s Apartment. Take a quick look around, making sure to collect the items in the steamer trunk, in the living room, and kitchen. Gradually make your way to his study in the southwest corner of the suite. Take the Clever Inventor tonic from the desk and pay close attention to the Audio Diary next to it.
Objective 3: Get the Lot 192 RemedySuchong developed an antidote to the kill-switch Fontaine is using to destroy you. He dubbed it experimental Lot 192. Tenenbaum has told you two possible locations to find it. Suchong developed the drug in his lab at Artemis Suites, near Apollo Square, but Tenenbaum stole a sample and stashed it in her second floor apartment in Mercury Suites. 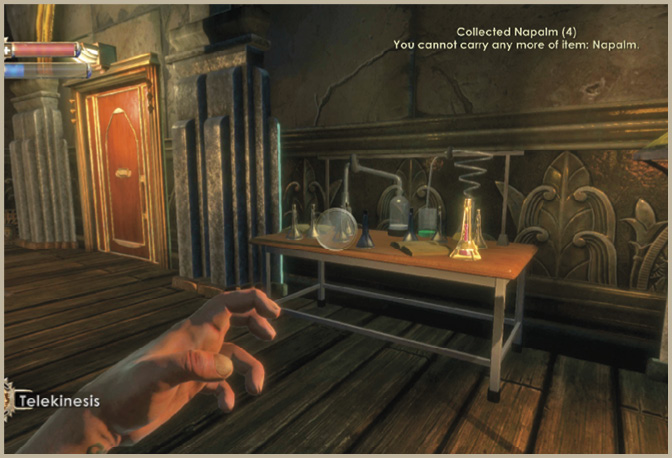
|
Exit Suchong’s Apartment and head up the stairs in the central lobby to the second floor. Loop around the perimeter walkway to the abandoned apartment on the east side of the building. Give the abandoned apartment a thorough looking over, then return to the other side, near Tenenbaum’s Apartment. Her second-floor entrance is locked so continue up the stairs to the third floor.
 Safe
Safe
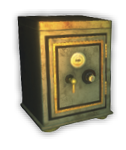
Contents: 6 Armor-Piercing Pistol Rounds, 66 Dollars, 2 Brass Tubes
This safe is in the back corner of the master bedroom (in the abandoned apartment) on the second floor. Unless you have a couple of Automatic Hack Tools handy, consider using the Buyout option if the hacking difficulty is too high. You’re going to get much of the money back anyway.
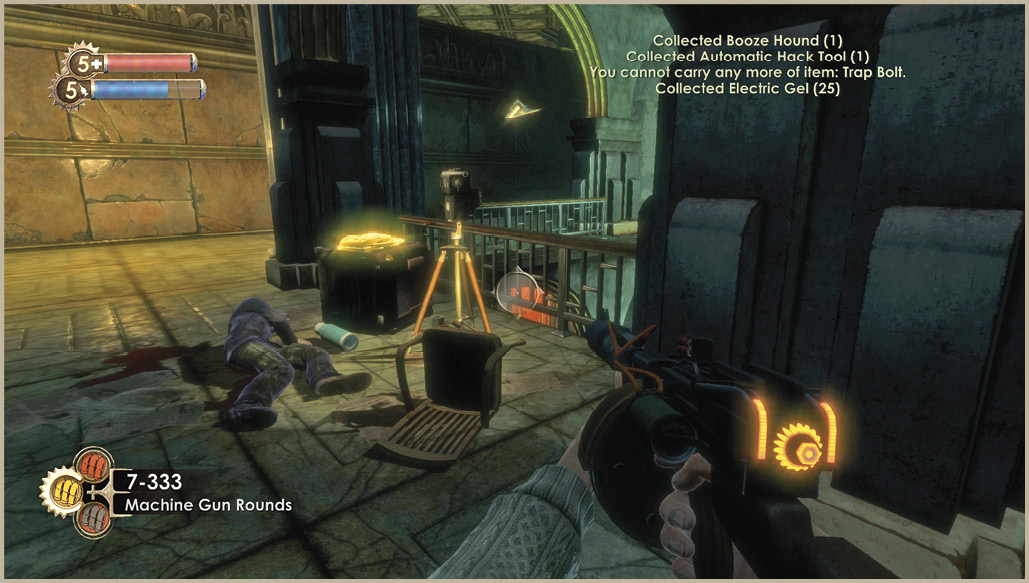
Once again, perform a sweep of the entire floor of the apartment building, including the abandoned apartment on the east side of the building. Of particular interest on this level is the Audio Diary near the photographer’s kit on the balcony. This Audio Diary is from a member of the Paparazzi staking out Fontaine and reveals the new code to the elevator—you’ll need it to reach the penthouse later!