
BioShock: The Collection Guide Bioshock 2 Into the Dive Suit
Gameplay Fundamentals
Controls
BioShock 2 utilizes the same control scheme as the original game. The only true difference is that you can duel-wield Plasmids and weapons simultaneously—a Big Daddy is strong enough hold firearms with just one hand. Plasmids are selected and fired using the controller’s left buttons, whereas weapons are selected and fired with the buttons on the right side of the controller. The following table shows the default control setup for the XBOX One, the PS4, and PC.
| Action | XBOX One | PS4 | PC |
|---|---|---|---|
| Movement | Left Thumbstick | Left Stick | W, A, S, D |
| Look/Aim | Right Thumbstick | Right Stick | Mouse |
| Reload | X Button | Square Button | R Key |
| Jump | Y Button | Triangle Button | Space Bar |
| Use First Aid | D-Pad Right | Directional Pad Right | Ctrl Key |
| Interact | A Button | X Button | F Key |
| Fire Weapon | R Trigger | R2 Button | Left Mouse Button |
| Switch Weapon | R Bumper (hold for Weapon Radial) | R1 Button (hold for Weapon Radial) | Mouse Wheel |
| Toggle Zoom | Right Thumbstick Button | R3 Button | T Key |
| Fire Plasmid | L Trigger | L2 Button | Right Mouse Button |
| Switch Plasmid | L Bumper (hold for Plasmid Radial) | L1 Button (hold for Plasmid Radial) | Function Keys |
| Toggle Crouch | Left Thumbstick Button | L3 Button | C Key |
| Switch Ammo Type | D-Pad (Up, Down, Left) | Directional Pad (Up, Down, Left) | [ ] Keys |
| Status Menu & Map | Back Button | Select Button | M Key |
| Pause Menu | Start Button | Touchpad Button | P Key |
Difficulty Options
There are three difficulty settings to choose from when beginning a new game: Easy, Normal, and Hard. This strategy guide is based on the Normal difficulty setting, which serves as the game’s default difficulty. You should initially play this mode, and if you struggle to stay alive, consider lowering it to Easy. Unlocking all of the Achievements/Trophies requires completing the game twice, so save your attempt at Hard mode until after you’ve played through the game once on Normal. The following list details the major differences between the difficulty modes.
Game Progression
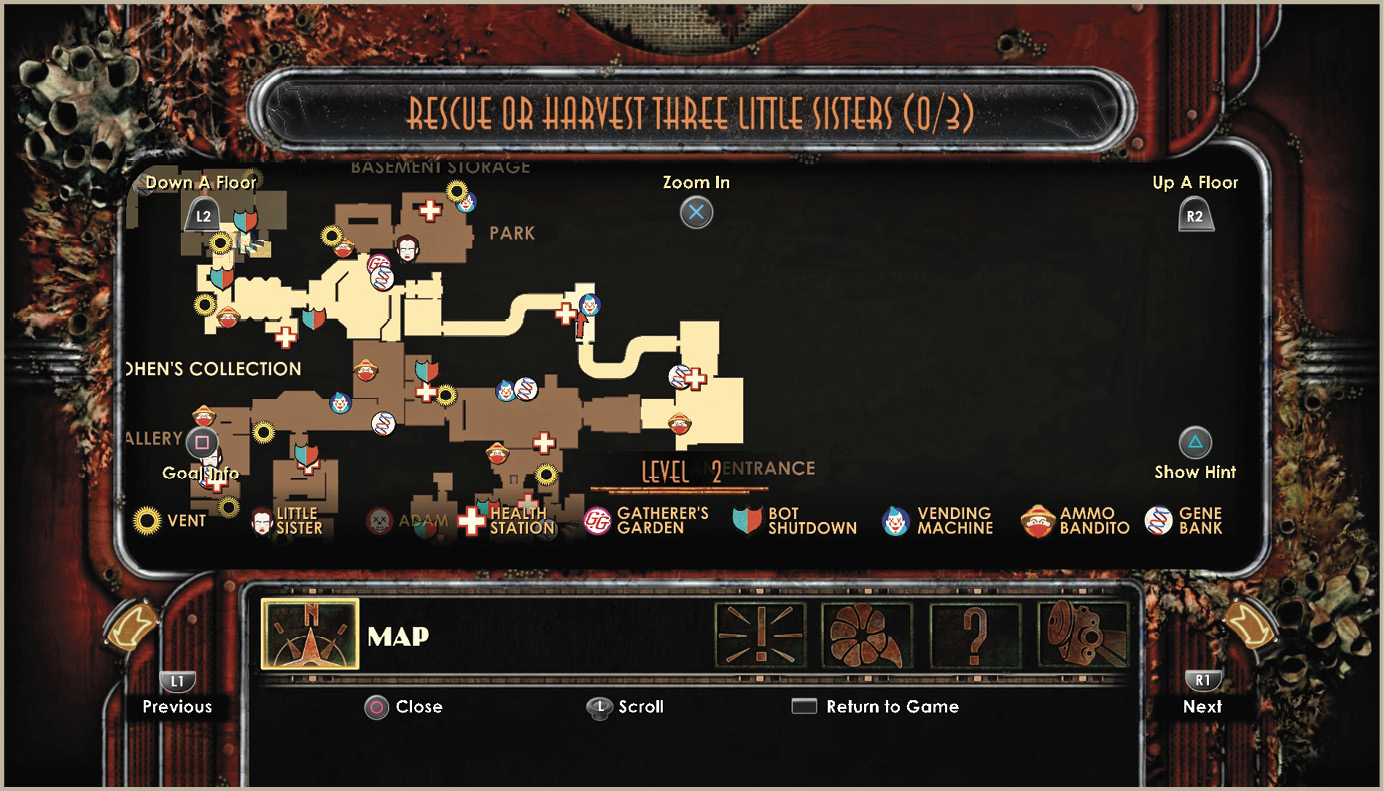
The story of BioShock 2 is revealed as the player progresses through nine distinct areas within Rapture. Goals are provided in sequence to keep the player moving through an area, exploring his surroundings, and continuing the fight to reunite with Eleanor. These goals are revealed as radio messages, often by a man named Augustus Sinclair, but can be also accessed through the Map Screen. A large star icon will appear on the in-game map, along with an arrow indicator on the screen, to help guide you in the proper direction.
Unlike in the original BioShock, past areas cannot be revisited, so it is imperative that you not exit an area without first completing your goals. This means searching for all of the Audio Diaries, tonics, and other items that you expect to find in the area.
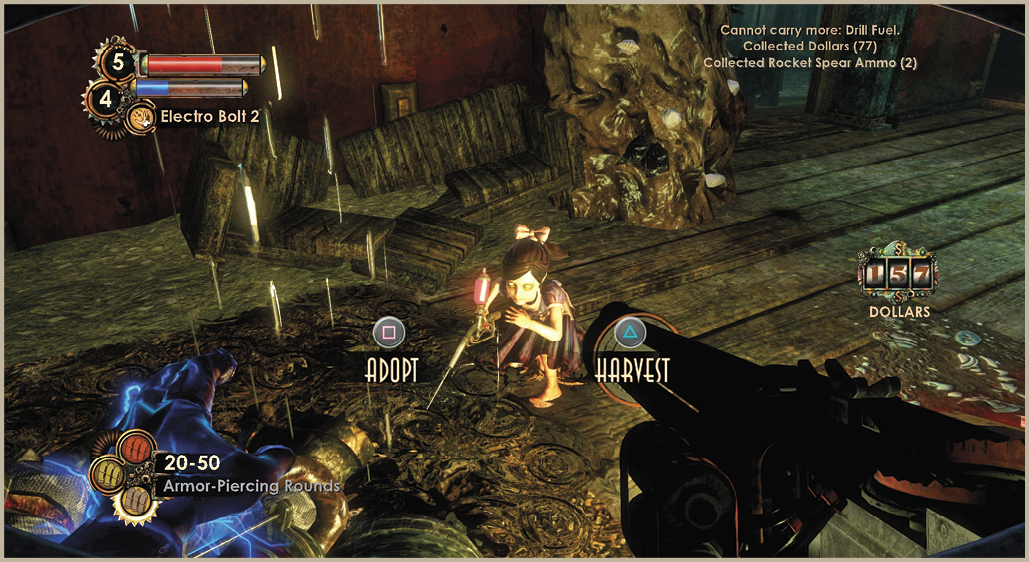
A key piece of the gameplay revolves around obtaining ADAM from Little Sisters. Though entirely optional, ADAM is the currency needed to buy the vitally important Plasmids, tonics, and health and EVE upgrades. Each area has two or three Little Sisters that must be isolated from their Big Daddies. Each Little Sister can then be taken to two specifically marked corpses to perform an ADAM Gather before you decide their fate. Little Sisters can carry over from one area to the next, so if you only deal with two or three in one area, you’ll have a chance to encounter four in the next area. Keep in mind that there are no Little Sisters beyond the seventh area, Fontaine Futuristics, so this is your last chance in the game to save or harvest them.
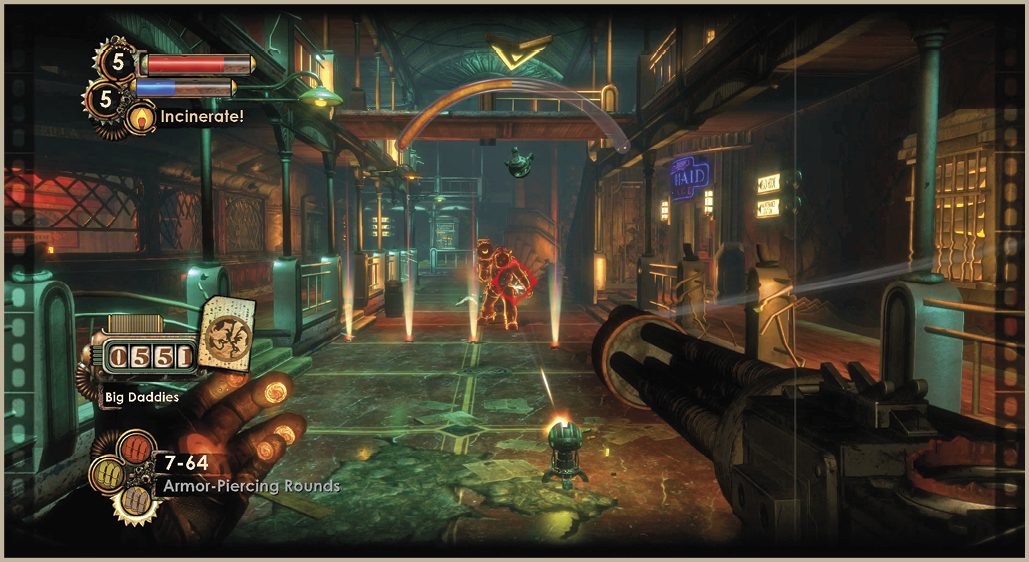
Lastly, though there are a handful of story-related enemies who can be considered “boss enemies,” the true boss creatures of the game are the Big Sisters that appear periodically—never more than one per area—based on how many Little Sisters you’ve dealt with and how often.
Generally speaking, BioShock 2 is more difficult than the original game, so you should save your progress often rather than relying solely on the Auto-Save that occurs each time you enter a new area. Consider creating two new save files at the start of each area and overwrite the second one as you progress in good standing, while always leaving the other one as a clean start for that chapter of the game.