
BioShock: The Collection Guide Bioshock Infinite Burial at Sea, Episode 1
Fontaine’s Department Store
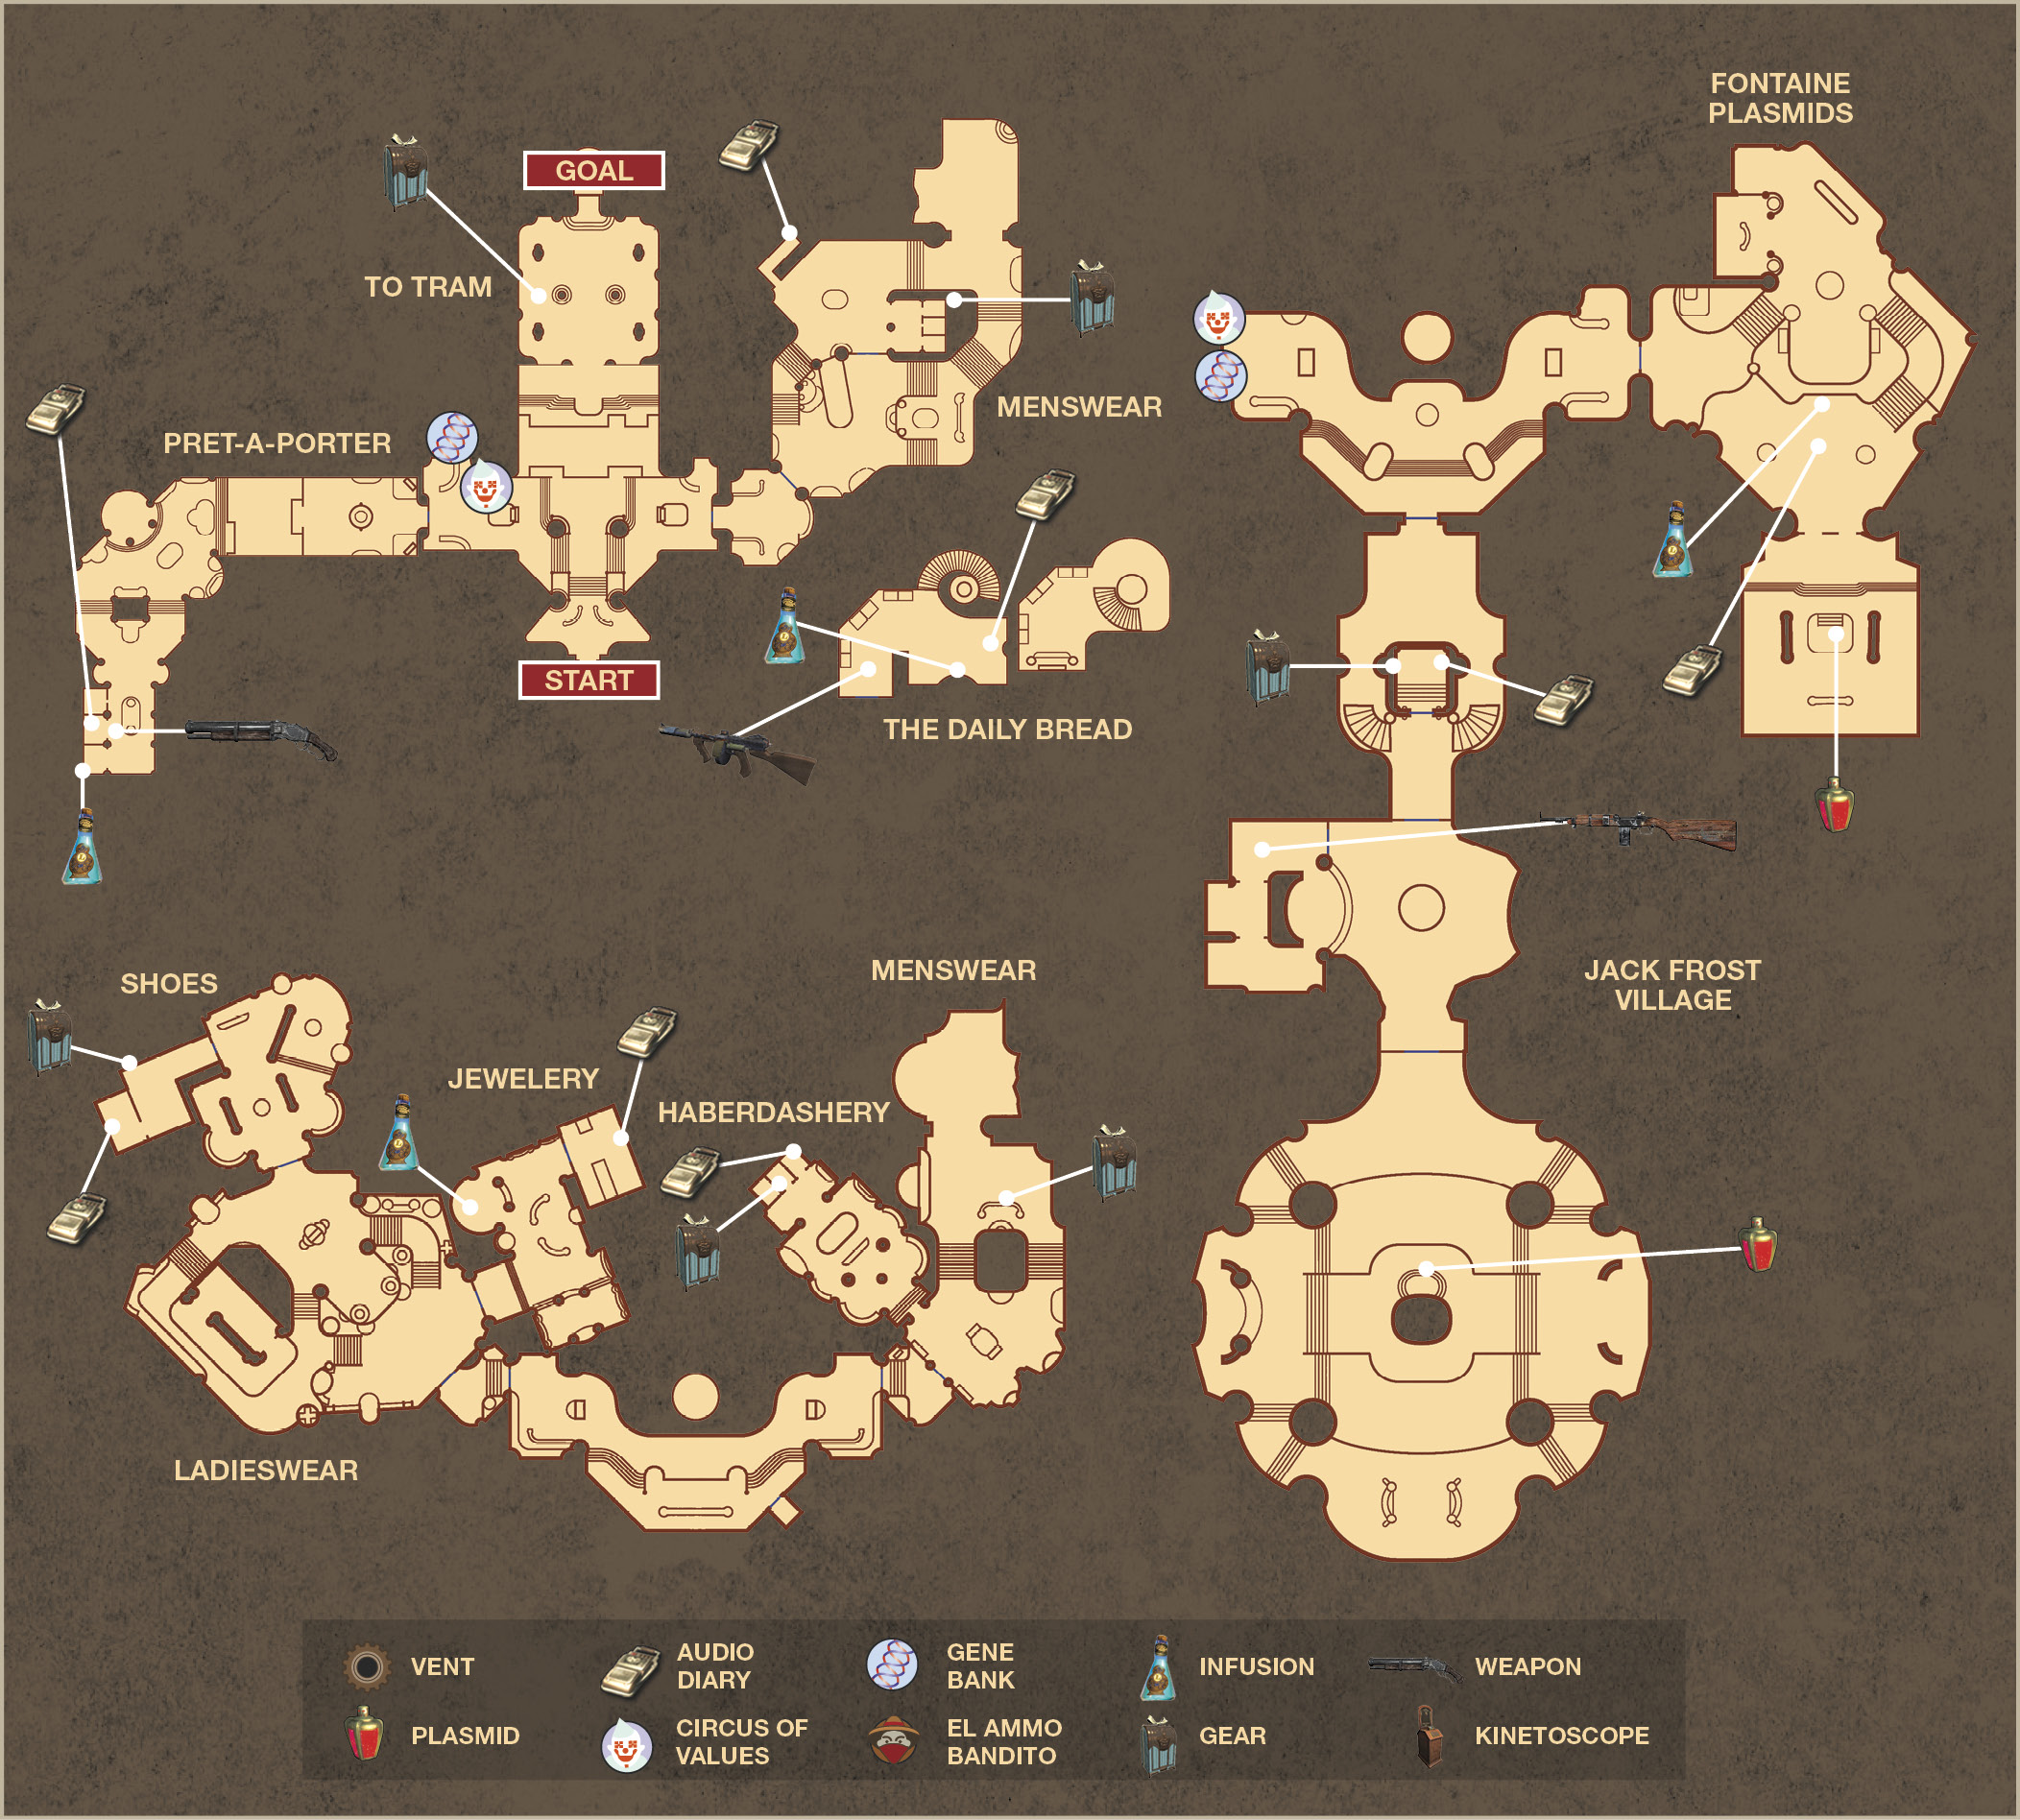
Find a Way to Freeze the Water
Sneak up behind the female Splicer and strike her down with a melee attack. Then, dispense with the two other Splicers that attack. The tram entrance is straight ahead, but another collapse blocks the way. You’re going to have to find a Plasmid that lets you freeze the burst pipes like the Frosty Splicer did at the station.
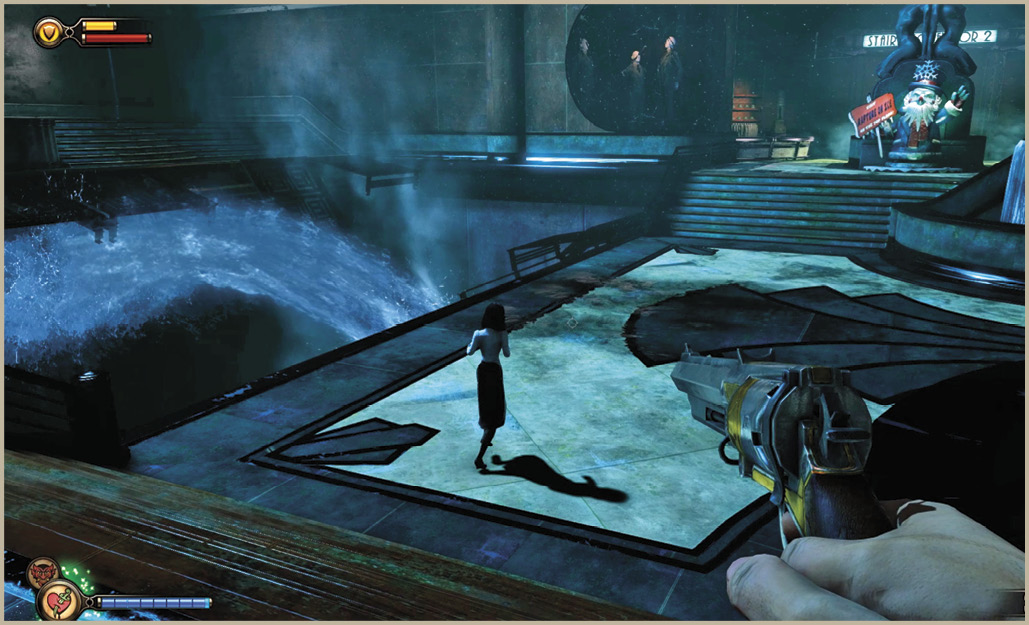
Scavenge for loose change in the area and visit the two vending machines on the left, near Pret-a-Porter. The Gene Bank machines in Rapture sell Plasmid upgrades and the Circus of Values machines sell Health Kits, EVE, food, and some ammunition. El Ammo Bandito machines sell ammunition and weapon upgrades. Purchase Possession for Less if you can afford it, as well as some Hand Cannon ammo.
Gene Bank
| Plasmid Upgrade | Price |
|---|---|
| Winter Boost | $125 |
| Winter Mod | $225 |
| Bronco Attract | $190 |
| Bronco Aid | $100 |
| Shock Jockey Bounce | $140 |
| Shock Chain Aid | $100 |
| Possession for Less | $100 |
Circus of Values
| Item | Price |
|---|---|
| Health Kit (80%) | $36 |
| Health Kit (20%) | $14 |
| EVE (100%) | $67 |
| EVE (25%) | $19 |
| Hand Cannon Ammo (6) | $8 |
| Tommy Gun Ammo (35) | $8 |
| Shotgun Ammo (4) | $8 |
| Carbine Ammo (8) | $8 |
Visit Rapture on Ice
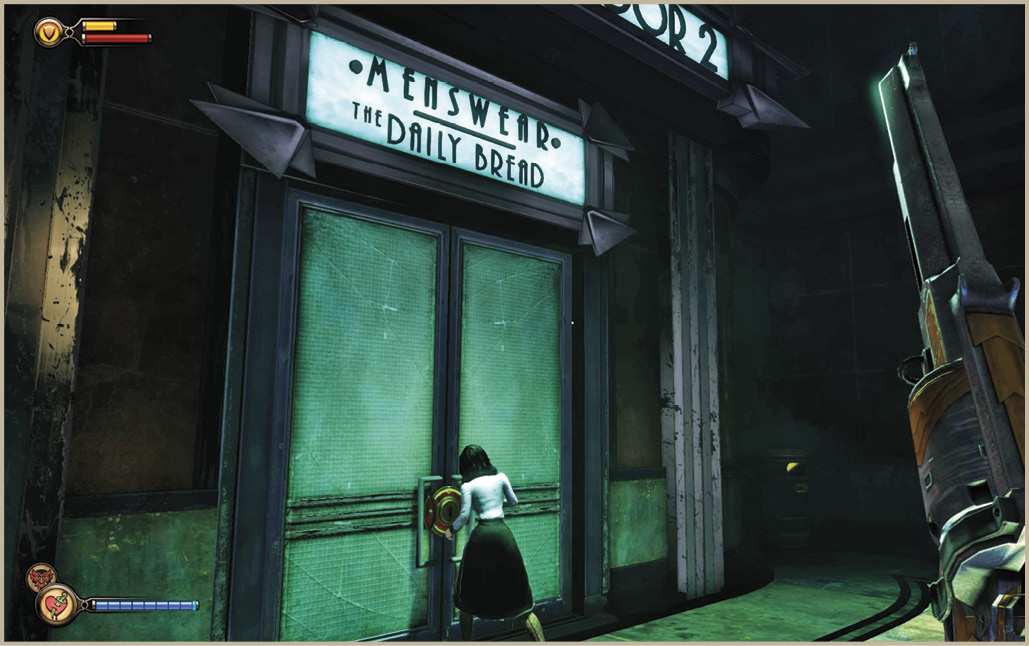
There’s no getting into the Pret-a-Porter department just yet, so continue past the sign advertising the ice rink and inspect the door. It’s locked, but Elizabeth can pick it with her hairpin. Other locks will be much more difficult to pick and require as many five Lockpicks to get through. Continue through the door toward Menswear and The Daily Bread.
Menswear
Multiple Splicers are trying to get through the locked door to The Daily Bread. Cast Possession on one of them to get their attention, then, when they turn toward you, shoot the fuel drum to kill them all with a single bullet. Another option is to lay down a Devil’s Kiss trap and use the freight hook to leap up and Air-Strike an enemy. Run past the trap to bait them into it. You’ll need one Lockpick for Elizabeth to enter this area, so head up the stairs on the right.
Round the corner to the left, take Possession of the Gun Turret near the dressing rooms, and locate the Gear in the dressing room behind the turret. Equip the Filthy Leech pants to regain some EVE whenever you use a Plasmid to kill an enemy. The Possessed Gun Turret comes in handy briefly.
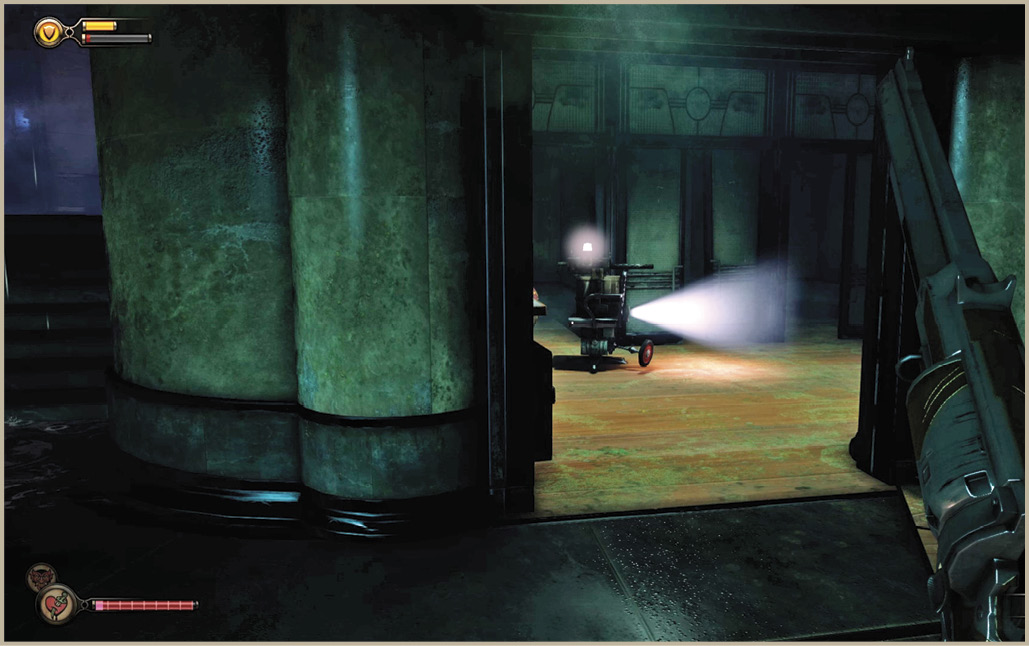
Duck beneath the wall, beyond the hat display, to enter the utility corridor where a Splicer, a Lockpick, and an Audio Diary can be found. Dispatch the Splicers that attack near the hats, then return to the lower level and use the Lockpick to open the door to The Daily Bread.
Acquire the Tommy Gun from the corpse in the diner and gather up the loose change and Audio Diary behind the bar. Don’t miss the Infusion on the shelf that is also behind the bar. Infusions are pretty rare down here in Rapture and you’re going to need every one you can find. Consider using it to upgrade your Shield.
Descend the stairs to the lower level of the restaurant and cast Possession on the Gun Turret that the Splicers are tinkering with. Use the curved stairs to your advantage. Open fire while healthy, then retreat out of sight whenever your Shield needs recharging. Collect the Gold Bar from the corpse beneath the stairs and the Lockpick from the toolbox near the Gun Turret, then return the way you came.
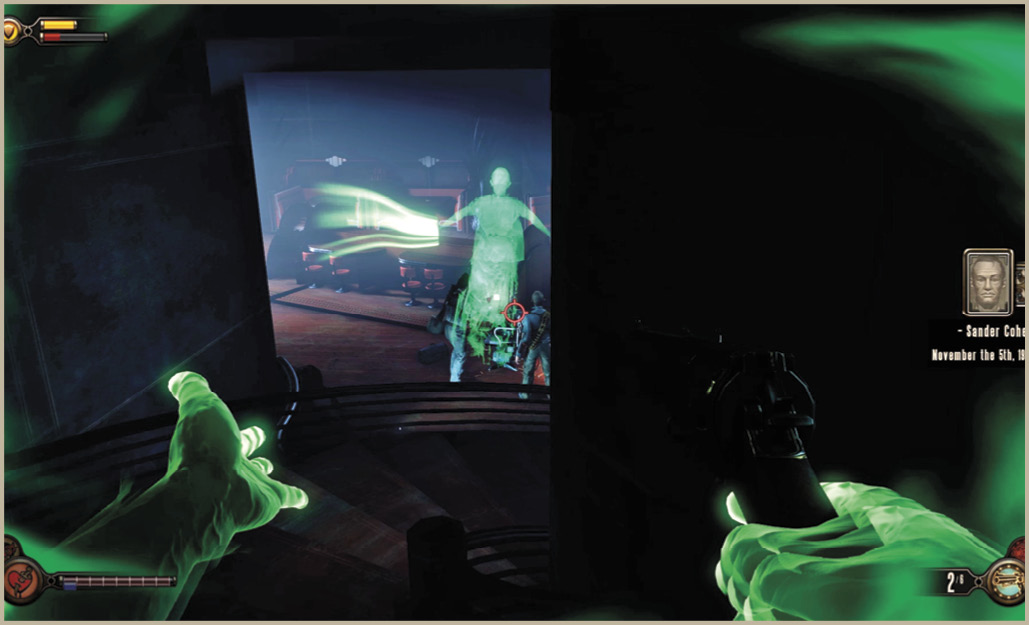
Have your Tommy Gun and Devil’s Kiss ready when you exit the restaurant, as a handful of Splicers wait outside. Target the fuel drum if you didn’t destroy it earlier, then sprint up the stairs toward the frozen corpses, and pick off the Splicers as they pursue. Locate the Lockpick on the ledge beneath the spotlight, then use the Air Grabber to leap across the gap where the stairs collapsed.
Kill off the Splicers on the stairs near the Workman’s Wear sign and collect the Gear from the counter. Equip the Evil Eye hat, which increases weapon damage whenever you’re using the sights. It also increases damage after each successive kill (up to five). The barrel of your weapon glows red whenever you benefit from the Evil Eye effect.
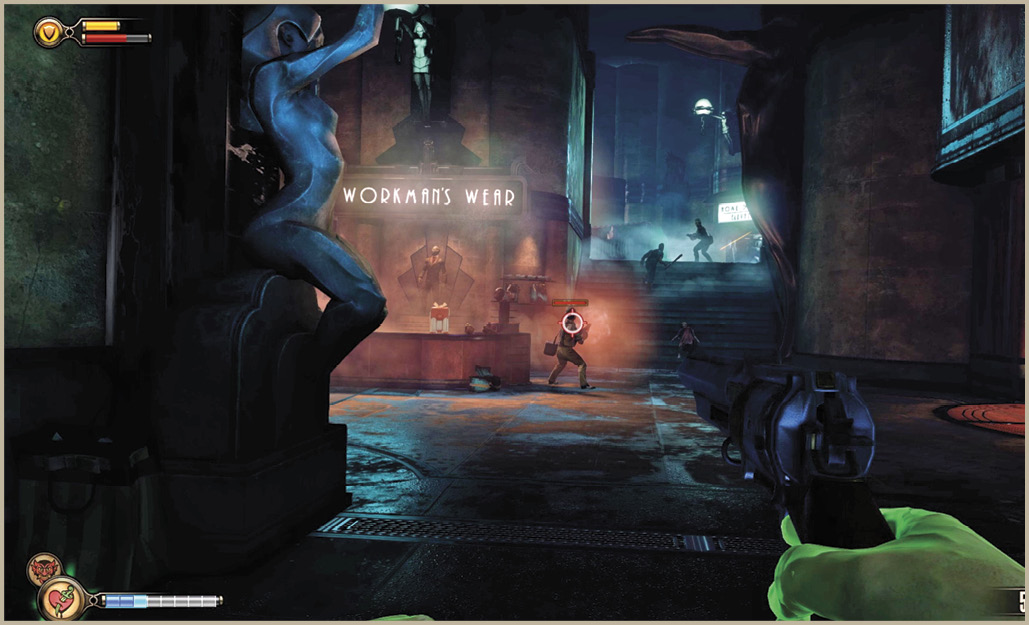
Possess the Gun Turret near the elevator entrance and head inside the Haberdashery. There’s another Gun Turret in the back near the dressing rooms. Do what you wish with it and locate the Audio Diary in the right-most dressing room. There’s also the Ticket Puncher Gear in the middle dressing room. This is a good piece of Gear to equip if you rely on melee attacks a lot, otherwise stick with Evil Eye.
Eliminate the Splicers waiting for you outside the dressing rooms, then return to the elevator near the prior turret. Use the lever to cycle the airlock and step out onto the main concourse of the second floor.
Rapture on Ice is located on the third floor, but the elevator near Home Delivery is short-circuiting. No need to worry, since you can use the Air Grabber to ride the pneumo tube up to the third floor.
Fontaine’s Plasmids
Don’t head to Jack Frost’s Village before visiting Fontaine’s Plasmids—you can find Shock Jockey there. Have Elizabeth open the door to Plasmids and go inside. Quietly ascend the stairs to stealthily kill the female Splicer near the break in the railing and have a look around the upper area. Cast Possession down at the Splicers on the lower level, then pick off any survivors from up high. Target the fuel barrel if the Splicers are near it.
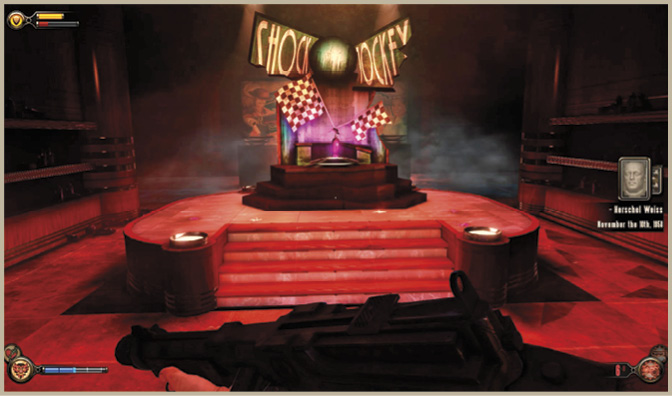
Be sure not to miss the safe under the Possession advertisement screen. It costs three Lockpicks to open but it contains an Infusion and an Audio Diary. If you’ve been scavenging throughout the area, and already visited the Ladieswear area, you should have the necessary Lockpicks to open it.
Descend the stairs, collect Shock Jockey from the display, and return to the third-floor concourse. Put down the Splicers who ride the pneumo tube up to you, and then visit the vending machines across the way. Consider purchasing Shock Chain Aid, Shock Jockey Bounce, and a full supply of ammo for the Tommy Gun and Hand Cannon. Make sure your EVE is topped off, as well.
Jack Frost’s Village
Use Shock Jockey to enter the souvenir stand that is just inside the entrance. There you can find an Audio Diary, Gear, and a safe (one Lockpick required) containing some money. The High and Mighty boots provide a chance of Winter Shield when attaching to pneumo lines and freight hooks. They also increase your damage for five seconds.
Cycle the airlock beyond the souvenir shop and locate the Carbine that is just through the door to the rental shop, on the right. This weapon will come in handy, along with your High and Mighty boots, as you proceed through the door to Rapture on Ice.
Defeat the Frosty Splicer
In order to get the Old Man Winter Plasmid, you must first kill the Frosty Splicer in the center of the attraction. Take Possession of the Splicer on the left, then leap to the pneumo line above. This will hopefully trigger a Winter Shield through your new boots. Ignore the Frost Splicer and continue to leap on and off the pneumo line, Air-Striking each of the other Splicers as you go. This should keep you safe from the Frosty Splicer and from any inbound gunfire.
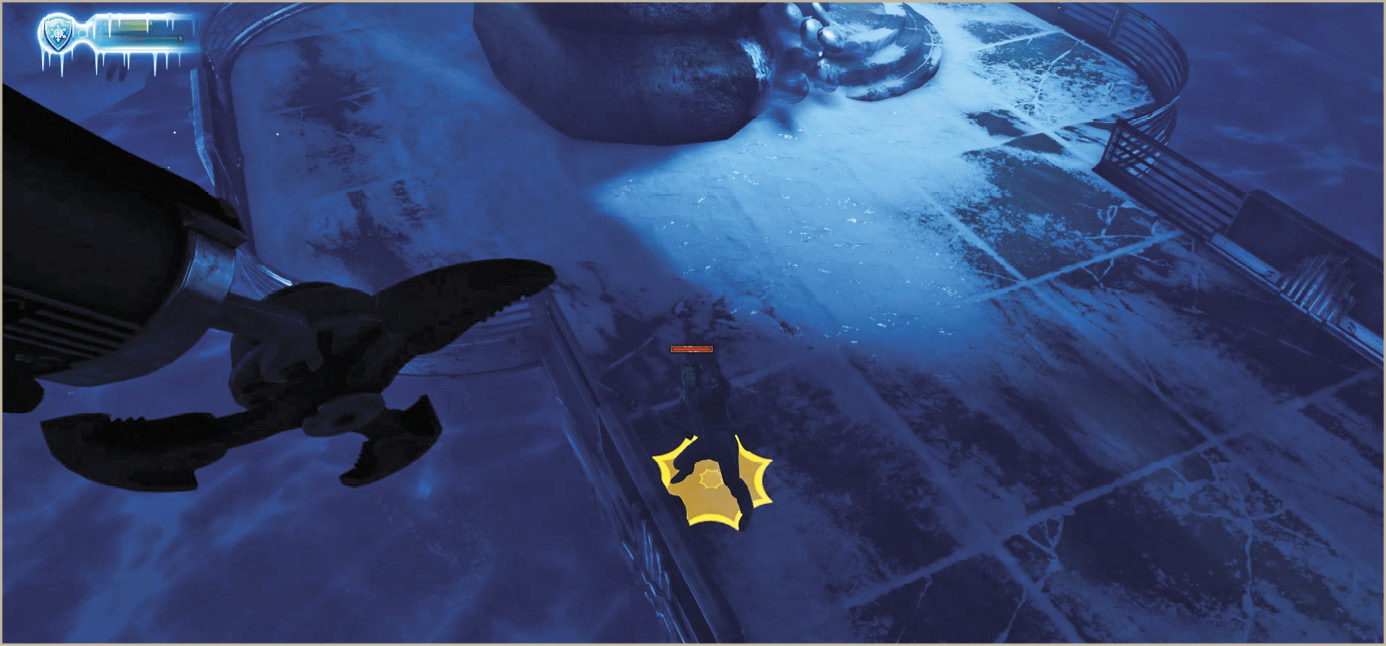
The Frosty Splicer will send a blast of icicles that radiate outwards in your direction. Getting hit by these crystals doesn’t just damage you, it also slows your movement for several seconds and leaves you vulnerable to attack from the other Splicers. Hit the Frosty Splicer with Devil’s Kiss and the Hand Cannon to finish him off before he hits you with the ice attack. Use the large columns near the top of the stairs for cover from the Leadhead Splicers if necessary.
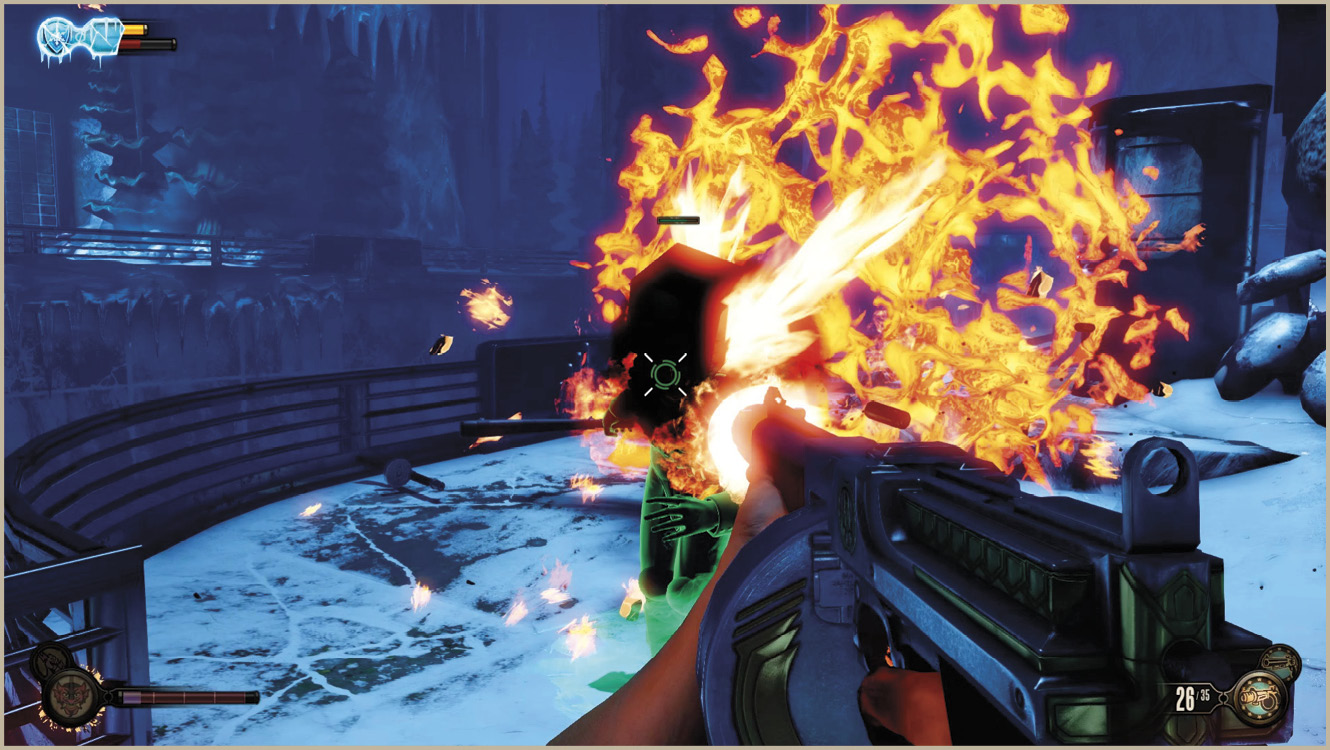
There’s plenty of ammo underneath the display case, on crates atop the frozen pond. Take advantage of the other Gear you have equipped, particularly the Evil Eye hat—try to kill the lesser Splicers in quick succession to build up your damage multiplier before targeting the Frosty Splicer.
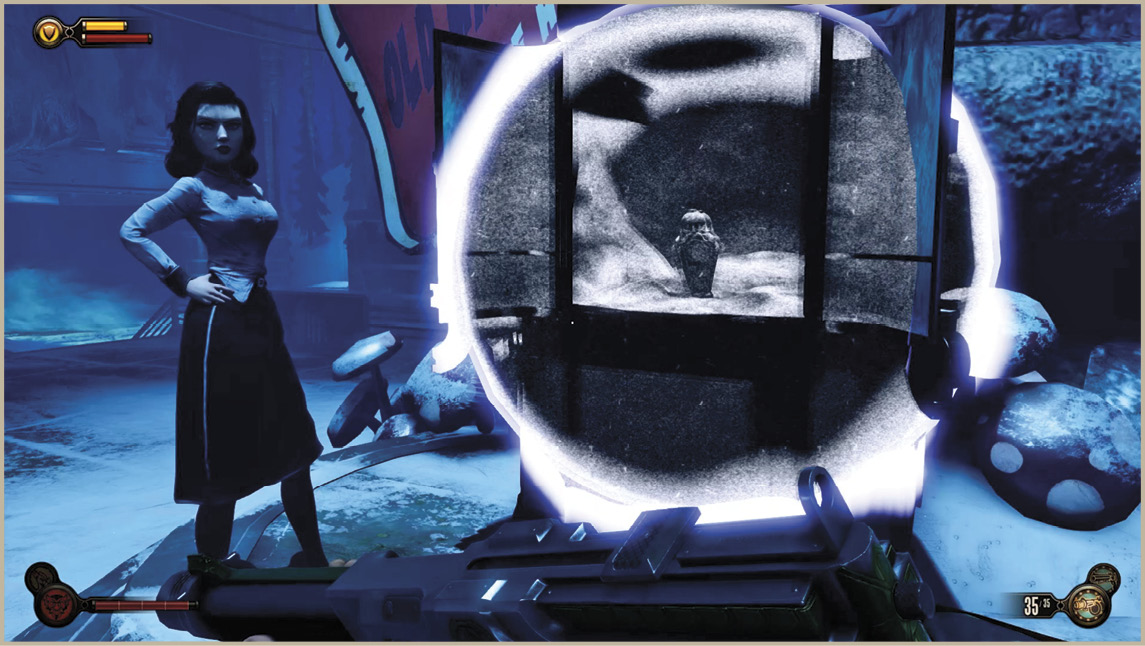
Ask Elizabeth to pick open the display case with her hairpin. Unfortunately, Old Man Winter is out of stock—the Splicer drank every bottle—but Elizabeth has a trick up her sleeve. Watch as she opens the first Tear in Rapture and allows Booker to take the Plasmid bottle from a different place and time.
Take the Tram to Housewares
Return to the third-floor concourse and have Elizabeth open the Tear for the Carbine on the right. Load up on ammo, then open the Tear for the Samurai to enlist the help of this otherworldly fighter in the battle with the Splicers.
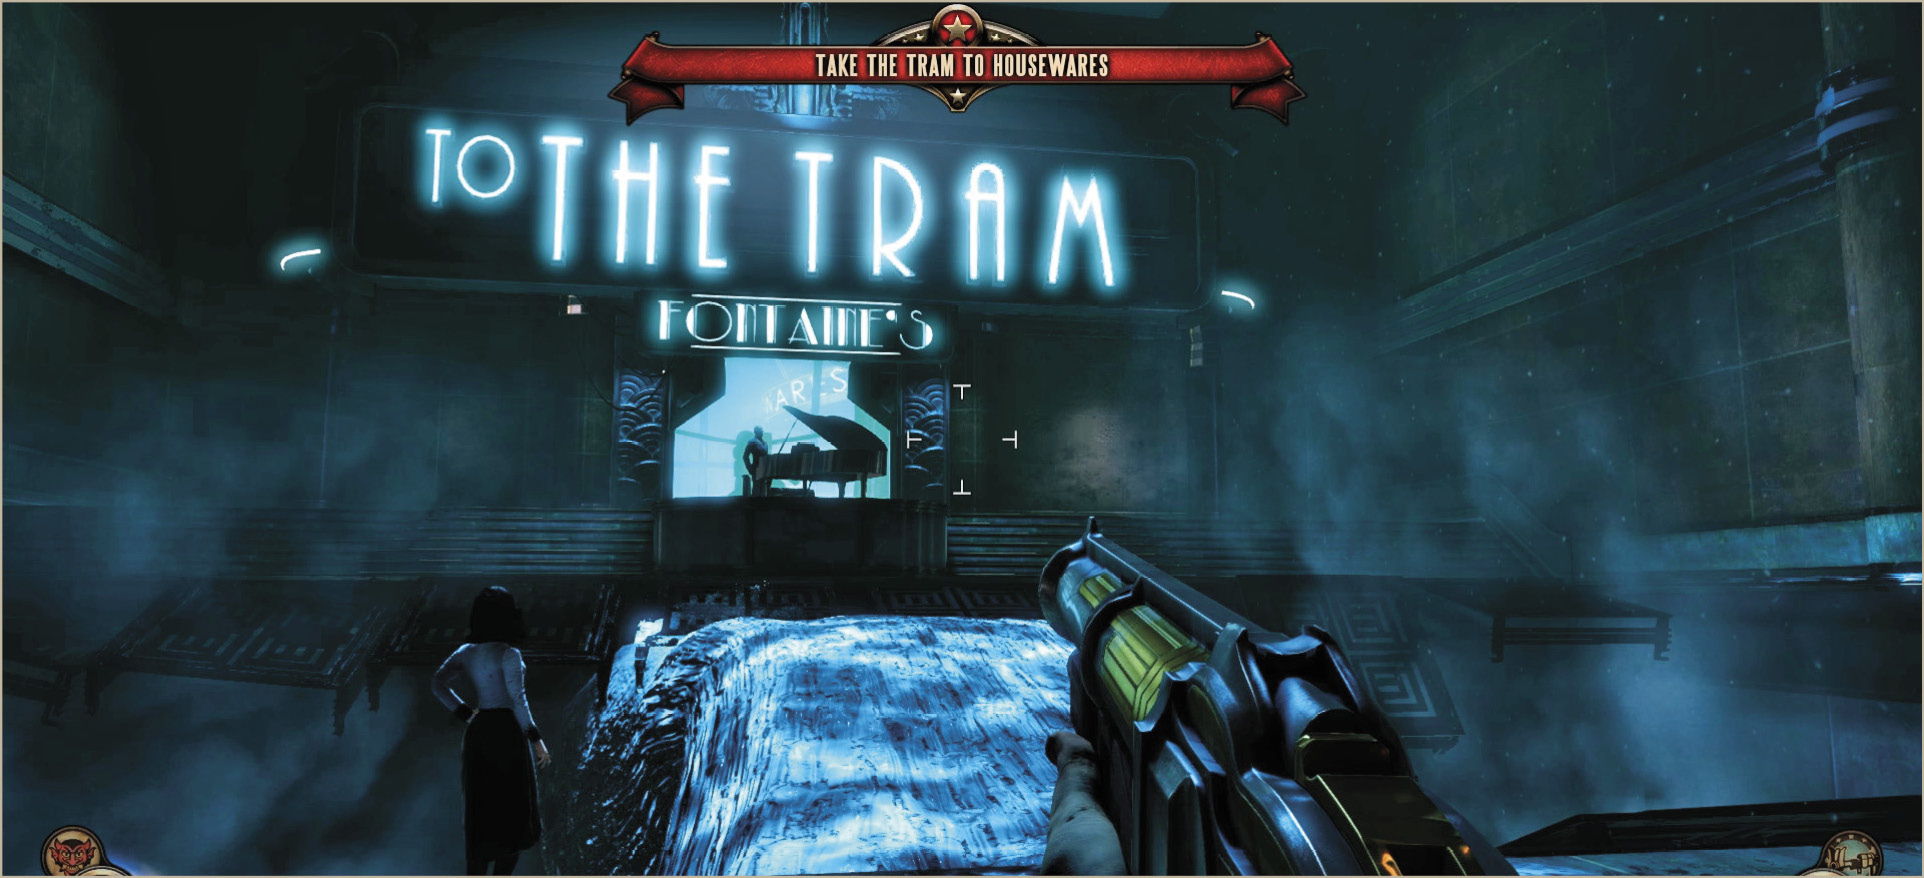
Ride the pneumo line back to the second floor and zap the short-circuiting elevator with Shock Jockey to return to the first floor, right near the ruptured pipes (if you take the stairs instead, you’ll have to fight your way past numerous Splicers to get to the same place). Hit the spraying water with Old Man Winter and run across the ice bridge to the Tram Station. There’s a Tear for an EVE dispenser to the left if you need it. Locate the Gear on the left, near the corpse, to obtain the Death Benefit pants.
El Ammo Bandito
| Weapon Upgrade & Ammo | Price |
|---|---|
| Accelerator Mod | $150 |
| Slow Cook Mod | $200 |
| Hand Cannon Ammo (6) | $8 |
| Tommy Gun Ammo (35) | $8 |
| Shotgun Ammo (4) | $8 |
| Carbine Ammo (8) | $8 |