BioShock: The Collection Guide Bioshock 2 Walkthrough Siren Alley
Little Eden Plaza
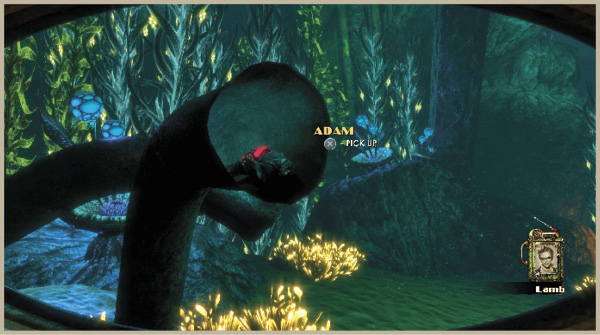
You revive in the water between the districts of Dionysus Park and Siren Alley with no choice but to continue south towards the latter. Scan the seafloor for loose munitions and ADAM Slugs. ADAM Slugs are worth 10 ADAM each, and shimmer as you approach them. There are three in this area: one on the ground, one on the wall as you round the corner to the left, and a third in the pipe near the entrance to Siren Alley. Move on to the airlock and enter Siren Alley, where you’ll immediately overhear a couple of Leadhead Splicers dueling with a new form of Big Daddy called a Rumbler.
Big Daddy: Rumbler
Enter Little Eden Plaza and quickly start the Research Camera rolling on the Leadhead Splicers to your right as they target the Big Daddy on the upper walkway. That Big Daddy is known as a Rumbler, and it fires Heat-Seeking Rockets and deploys Mini-Turrets. Use the time it takes the Rumbler to descend the steps to set up a number of Trap Rivets near the base of the stairs and in front of the Mermaid Lounge. There are more Leadhead Splicers beyond the Circus of Values machine to the east—enlist their assistance by splashing them with Hypnotize.
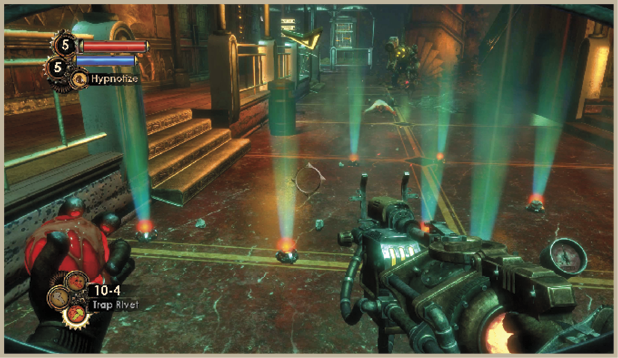
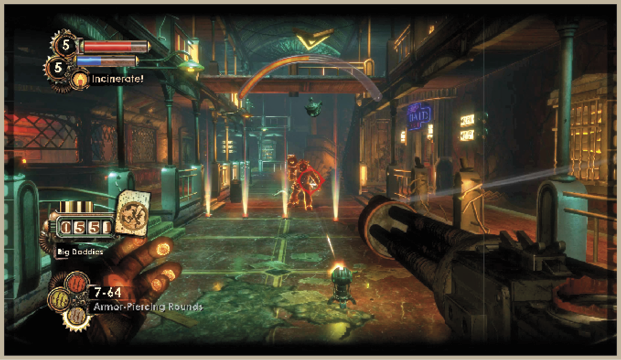
The Rumbler is a far deadlier opponent than the Rosie and Bouncer you’ve encountered previously, and it’s a bad idea to take it on without a full complement of First Aid Kits. Use Electro Bolt to keep it stunned for as much of the battle as possible, and strafe in and out of cover to avoid its rockets as best as you can. The key to putting the Rumbler down quickly is to turn its Mini-Turrets against it. The best way to do this is to quickly run up and hack the Mini-Turret as soon as it is deployed—it’s a very fast one-stage hack. Another way is to use the Hack Tool, though you may have trouble making an accurate shot while trying to dodge Heat-Seeking Rockets! Continue zapping the Rumbler and open fire on it with either your Machine Gun, loaded with Armor-Piercing Rounds, or a Rivet Gun with Heavy Rivets.
 Little Sister Encounter
Gather #1: Behind the Poisoned Apple
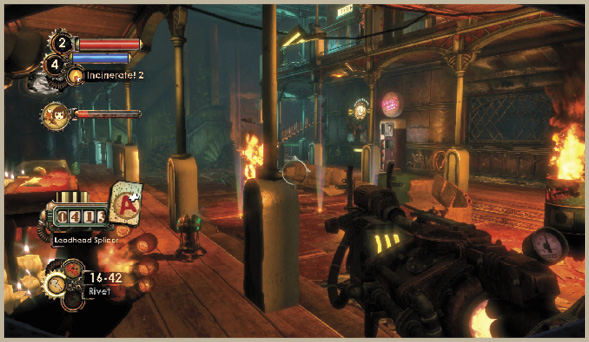
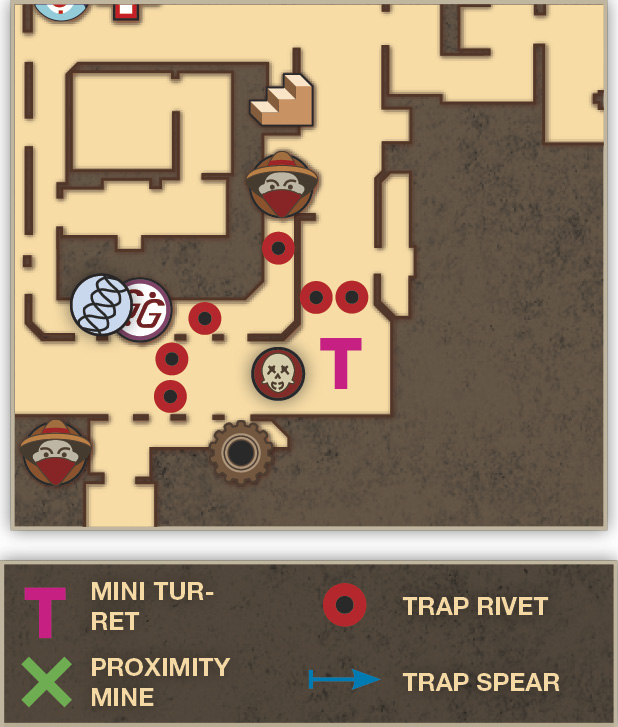
The first Gather is just south of the Poisoned Apple and around the corner from the Mermaid Lounge. Set up a number of Trap Rivets next to the door leading to the Maintenance Area and several more in the street beneath the balcony and near the street corner. Set the Little Sister down and take position beneath the balcony to avoid being shot by those above you. The Leadhead Splicers enter from all directions, but the Trap Rivets you place can at least minimize their numbers. Deploy a Mini-Turret (obtained from the Rumbler corpse) in the street next to the Gather, and use your Plasmids and Machine Gun with Anti-Personnel Rounds to eliminate the Splicers. Every attacking Splicer is of the Leadhead variety—take photos of the corpses after the battle to squeeze out a few extra Research Points, but don’t try to perform a lot of research during the battle, since you may find yourself outmatched.
Gather #2: On the Balcony of the Poisoned Apple
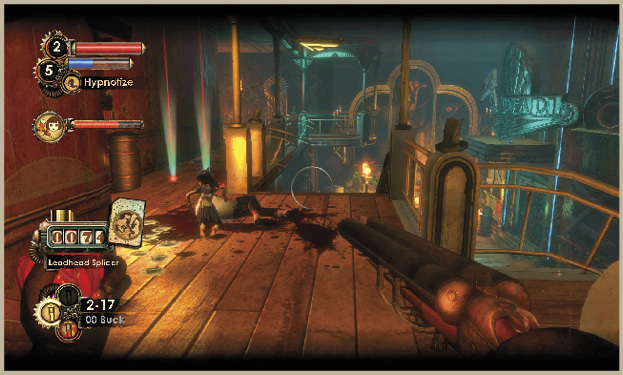
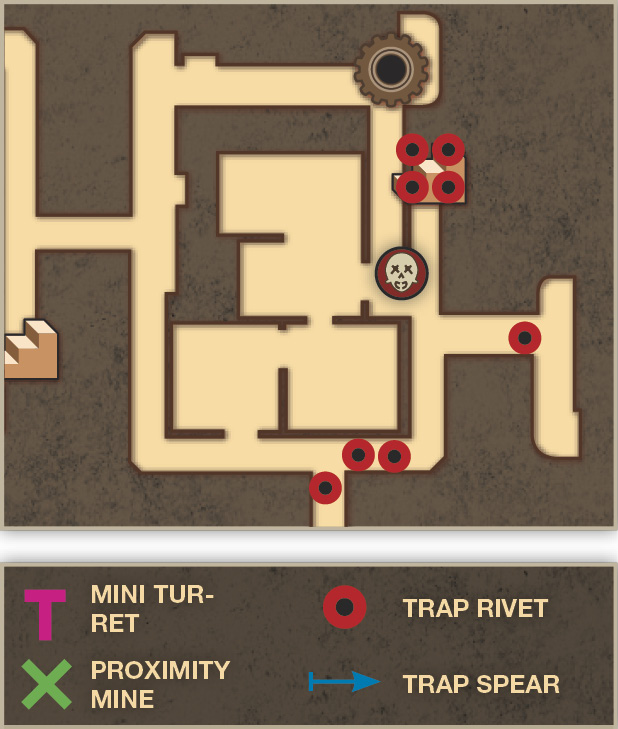
Travel up the stairs alongside the Poisoned Apple to find the second Gather. Search the balcony for items and lay a string of Trap Rivets down on the stairs leading up to the balcony, around the corner to the south, and across the bridge to the east. Take cover near the door leading into the apartment above the Poisoned Apple, and watch as the Splicers come running straight into your array of Trap Rivets. Charge up a Level 2 Plasmid like Incinerate! 2 or Electro Bolt 2 and hurl it down the stairs at any Leadhead Splicers trying to avoid the Trap Rivets. The unique position of the Gather corpse gives you a distinct advantage—this is one of the easier Gathers to defend and strong candidate for unlocking the Master Protector bonus. After you perform these two Gathers, you will receive the first Little Sister gift.
Head up the stairs on the outside of the Poisoned Apple and search the balconies and second floor apartment for items. Drop through the hole in the floor to enter the otherwise locked Poisoned Apple speakeasy. Use Incinerate! to melt the ice in the kitchen to find some extra goodies, then take the Handyman tonic and Audio Diary off the counter in the front. Hack the control panel near the door to exit.
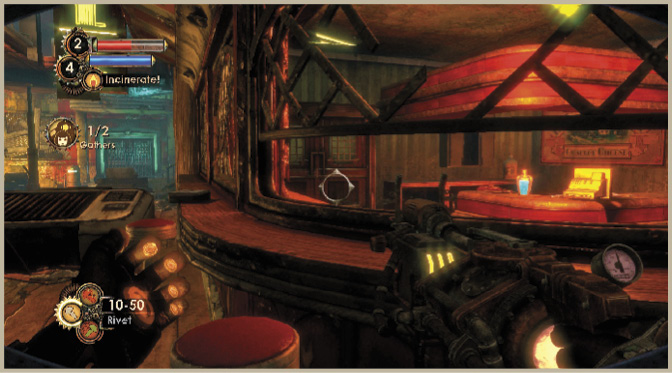
Ignore the urge to move south towards the Maintenance Area and finish your search of the bars and casinos in Little Eden Plaza. Scour the Mermaid Lounge’s lower level for items, then head up the stairs to the casino area. Use the Hack Tool to fire a Remote Hack Dart through the metal accordion gate at the Door Control Panel inside the kitchen, on the right-hand wall. Drop through the hole in the floor to find a Power to the People machine in the room below.
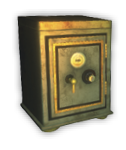 Safe
Safe
Contents: 4 Phosphorous Buck, 30 Anti-Personnel Rounds, 2 First Aid Kits.
The safe is inside the second floor kitchen of the Mermaid Lounge. Fire a Remote Hack Dart over the counter to hack the Door Control Panel. The safe is just inside on the right. It’s a five-stage hack, but there aren’t any Security Cameras nearby or Splicers to worry about.
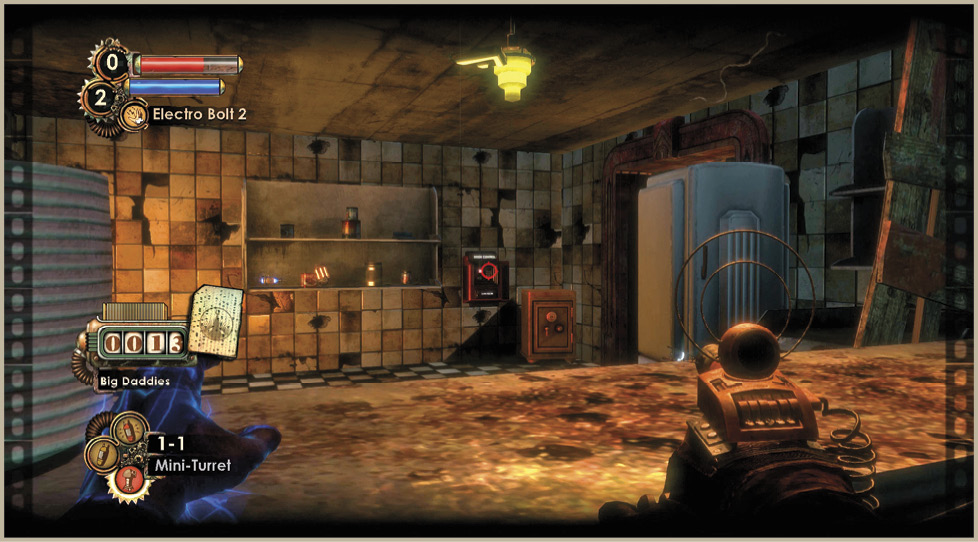
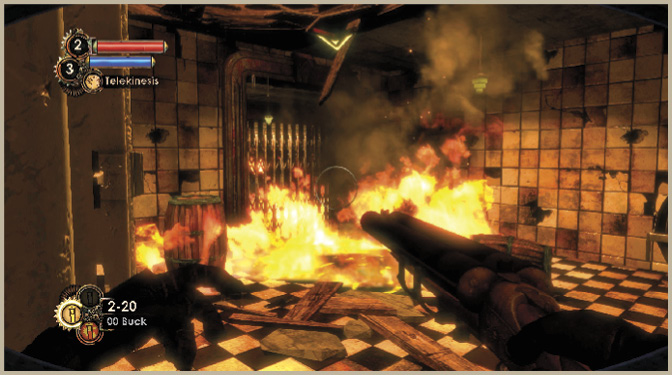
Use the Power to the People machine in the Mermaid Lounge and approach the exit to trigger a Splicer attack. Next, the gate shuts and fire spreads across the floor. Back into the corner as far from the fuel drums as you can get and eliminate the Leadhead Splicer that attacks when the gate opens. Go back out into the street, note the locked door to the Pink Pearl in the northeast corner, and continue south out of this area.