
BioShock: The Collection Guide Bioshock 2 Walkthrough Fontaine Futuristics
Lobby
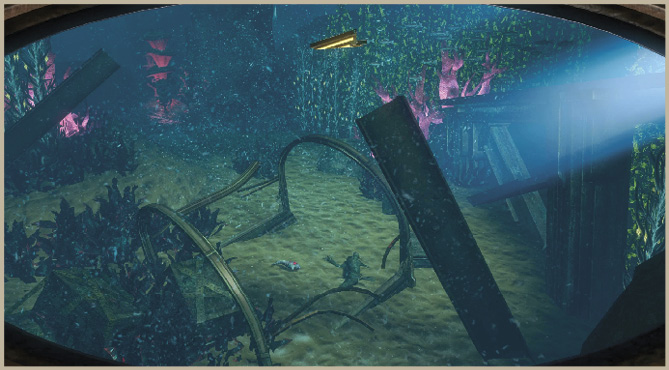
Use the Airlock Control to leave the train station and cross the open seafloor to the Fontaine Futuristics lobby. There is a lone ADAM Slug on the right, near the corpse as you leave the train station. Summon a pair of Security Bots with Security Command 2 as you leave the second airlock, and use Telekinesis to pick up one of the gas cylinders near the stairs.
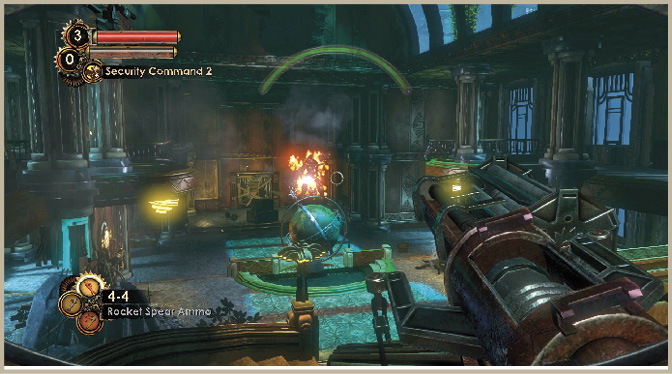
Hurl the cylinder at the Splicers trying to break into the vending machine. A second batch of Leadhead and Houdini Splicers attack as you move further into the lobby, so be ready for them. Splice up the Handyman tonic and use it to repair your Security Bots. Collect the Mini-Turret hiding behind the planter under the balcony on the left, and head up to the second floor where the Security Bio-Scan is located.
The Bio-Scan properly identifies you as Subject Delta, a Protector in the clinical trials program—deceased. This last piece of data confuses the system and triggers an attack by an Alpha Series. The Alpha Series is an early prototype Big Daddy that was subject to too many experimental Plasmid concoctions and is therefore prone to uncontrollable Plasmid outbursts of electricity, fire, and ice. Start the Research Camera rolling as soon as the Alpha Series appears on the globe in the center of the lobby, then begin your attack. Hit it with Frag Grenades, and either Electro Bolt or Incinerate! Lay down a Proximity Mine or two, then switch to Armor-Piercing Rounds or your Rocket Spears. The Security Bots help distract the Alpha Series from you and should keep it on the ground floor of the lobby, giving you the perfect opportunity to attack from above while remaining safely out of range of its Plasmid outbursts.
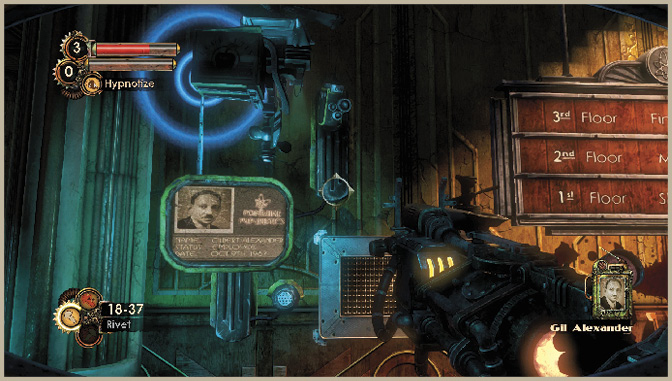
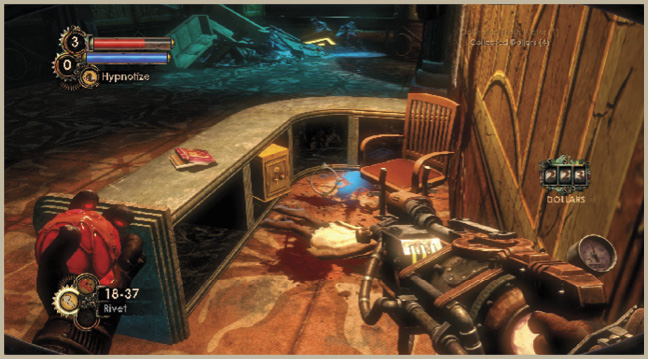
Clearance to enter Fontaine Futuristics is granted as soon as the Alpha Series is defeated. Approach the desk in the lobby and listen to Gil’s next recording, then take the Audio Diary and supplies in the cabinet to the right of the monitor. This Audio Diary merely has the sound of Gil Alexander reciting the password, “Agnus Dei,” on it.
 Safe
Safe
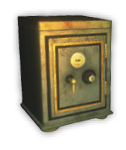
Contents: 14 Dollars, 16 Armor-Piercing Rounds, First Aid Kit.
This safe is located behind the receptionist’s counter where the recording of Gil Alexander saying “Agnus Dei” is found. The safe’s contents aren’t terribly valuable, but you’ll be under no threat while performing the hack.
Access The Security OfficeGil’s recording tells you that he has become so unrecognizably spliced and insane that he must be killed. This explains the erratic and violent behavior of present-day Gil, now called “Alex the Great.” He has left further recorded instructions on how to put him out of his misery, safely locked away in the Security Office near the foyer. Use his voice password recording to gain access to the Security Office. 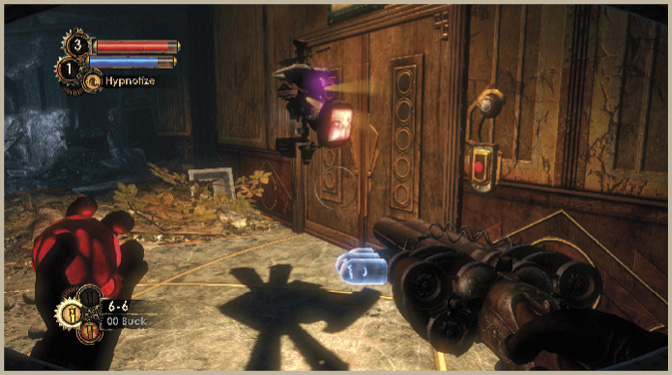
|