
BioShock: The Collection Guide Bioshock Challenge Rooms
Worlds of Hurt
The Little Sister wants to be rescued, but this area is crawling with hostile creatures! Clear out all eight combat arenas and she will let you in. No puzzles here, and no Vita-Chamber—it’s kill or be killed!
Battle Plan
Worlds of Hurt consists of eight rooms around a central hub. Your goal is to eliminate all of the enemies in each of the themed rooms. Doing so earns you cash, Adam, and access to a Power to the People machine. How you choose to spend your cash and Adam is up to you. Vending machines in the central hub provide all manner of spending opportunity. You begin with just SportBoost and SportBoost 2, Security Expert 2, and Photographer’s Eye 2.
Regardless of your style of play, you may want to focus on just a couple of weapon types and amassing a collection of Gene Tonics that aid your preferred combat style. Trying to load up on ammo for too many weapons or trying to collect too many Gene Tonics and plasmids is a sure-fire way to spread yourself too thin. It is recommended that you purchase the Enrage plasmid early on so you can turn enemies against one another.
After the first two combat rooms have been cleared, you’re free to choose among the final six in any order that you would like. The tactics that follow detail each of the rooms in order of increased difficulty. Rooms cannot be entered a second time, so search each thoroughly before leaving via the teleporter near the Little Sister Vent.
A Single Splicer: Pick up the Wrench and Pistol on your way into the room, cross the glass ceiling of the room below, and drop through the hole where the arrow is. Sneak up behind the Thuggish Splicer near the Little Sister Vent and club him with the Wrench. Save your Pistol ammo for later—ammo is precious—the scour the room for loot. Search the corpses scattered around the room, gather up the First-Aid Kits near the broken Health Station, and take the gift from the Little Sister (she gives you all other weapons). Use the Power to the People machine, then step into the glowing rings to teleport back to the central hub.
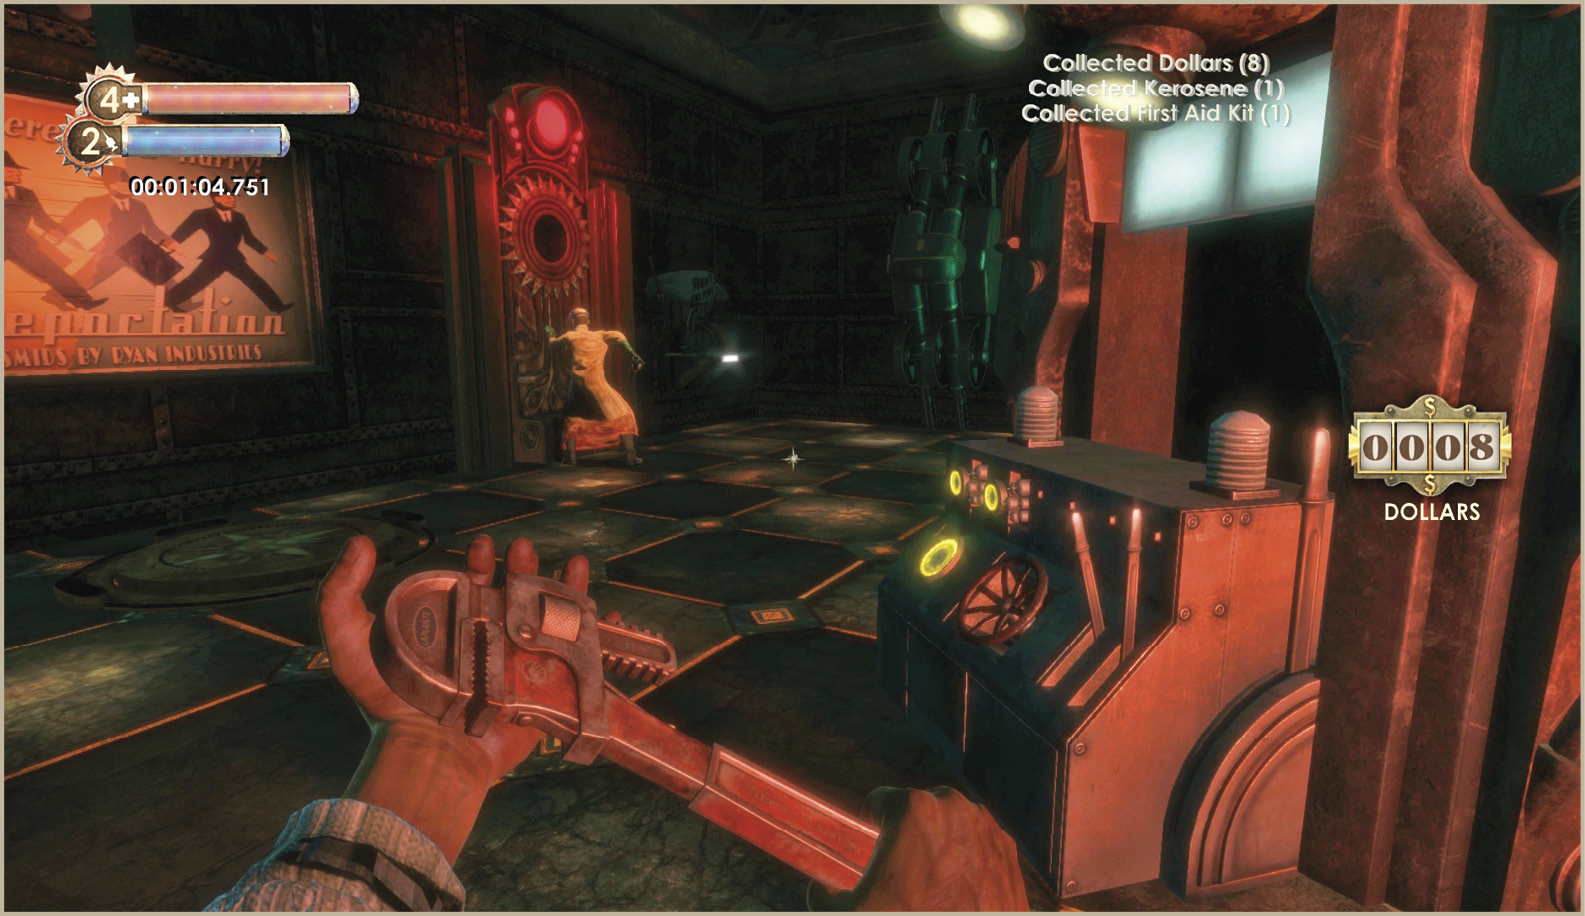
A Single Big Daddy: Take a photo of the Bouncer near the vent before attacking him, then open fire from afar. Use his straight-line charge attack against him to bait him into the electrified pool of water. Once he’s in the pool, he’ll struggle to exit and pose little threat to you. Finish him off with whatever weapon you bought that has the most ammo available.
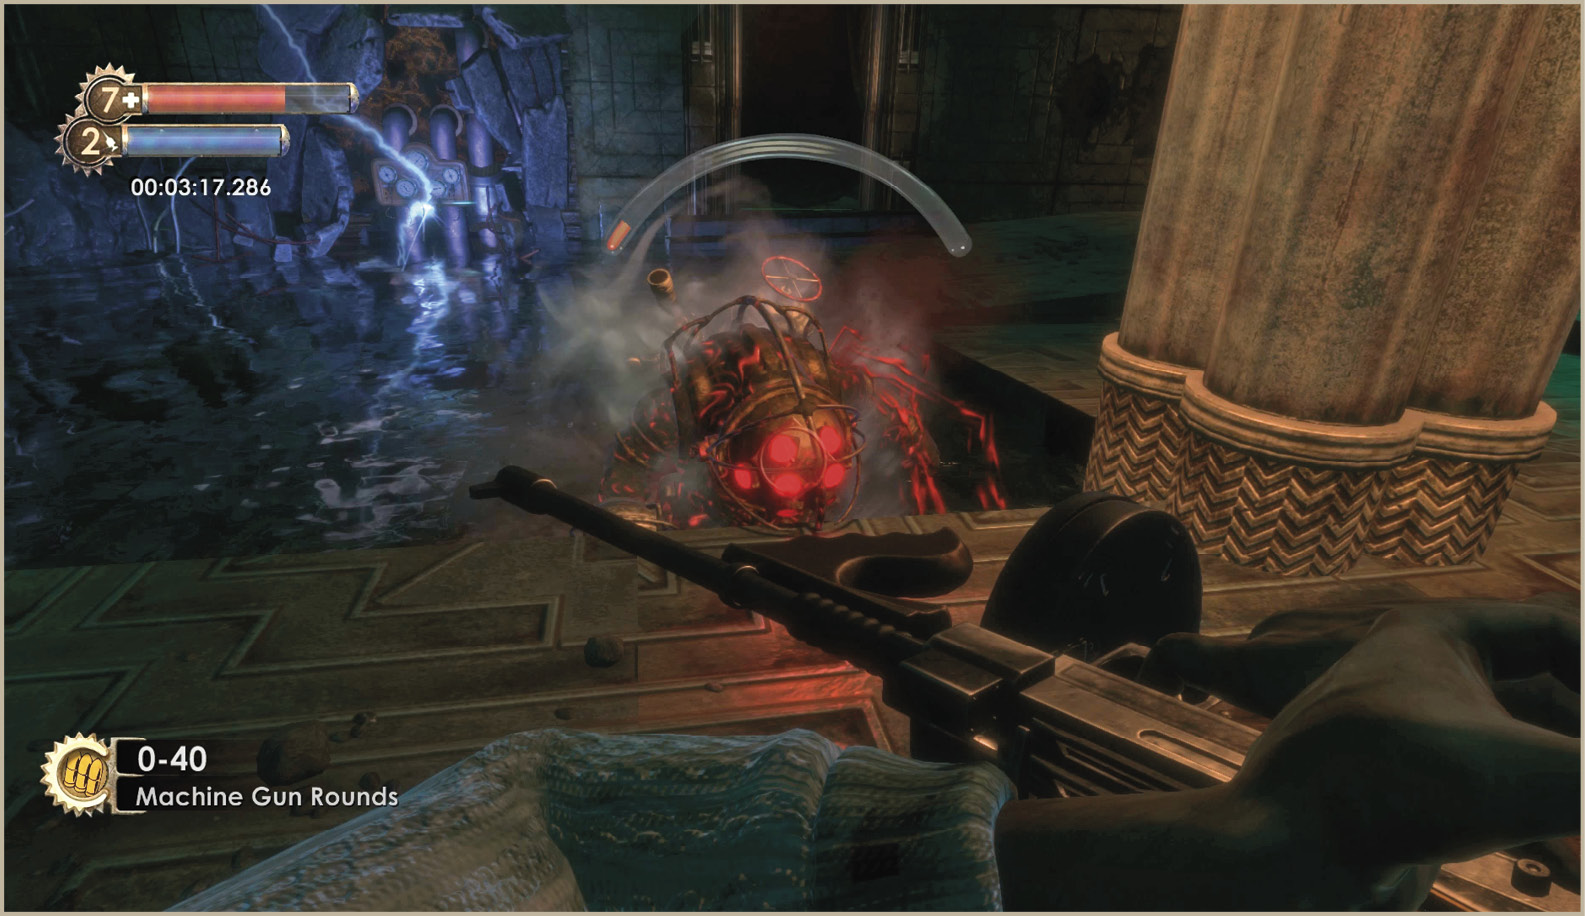
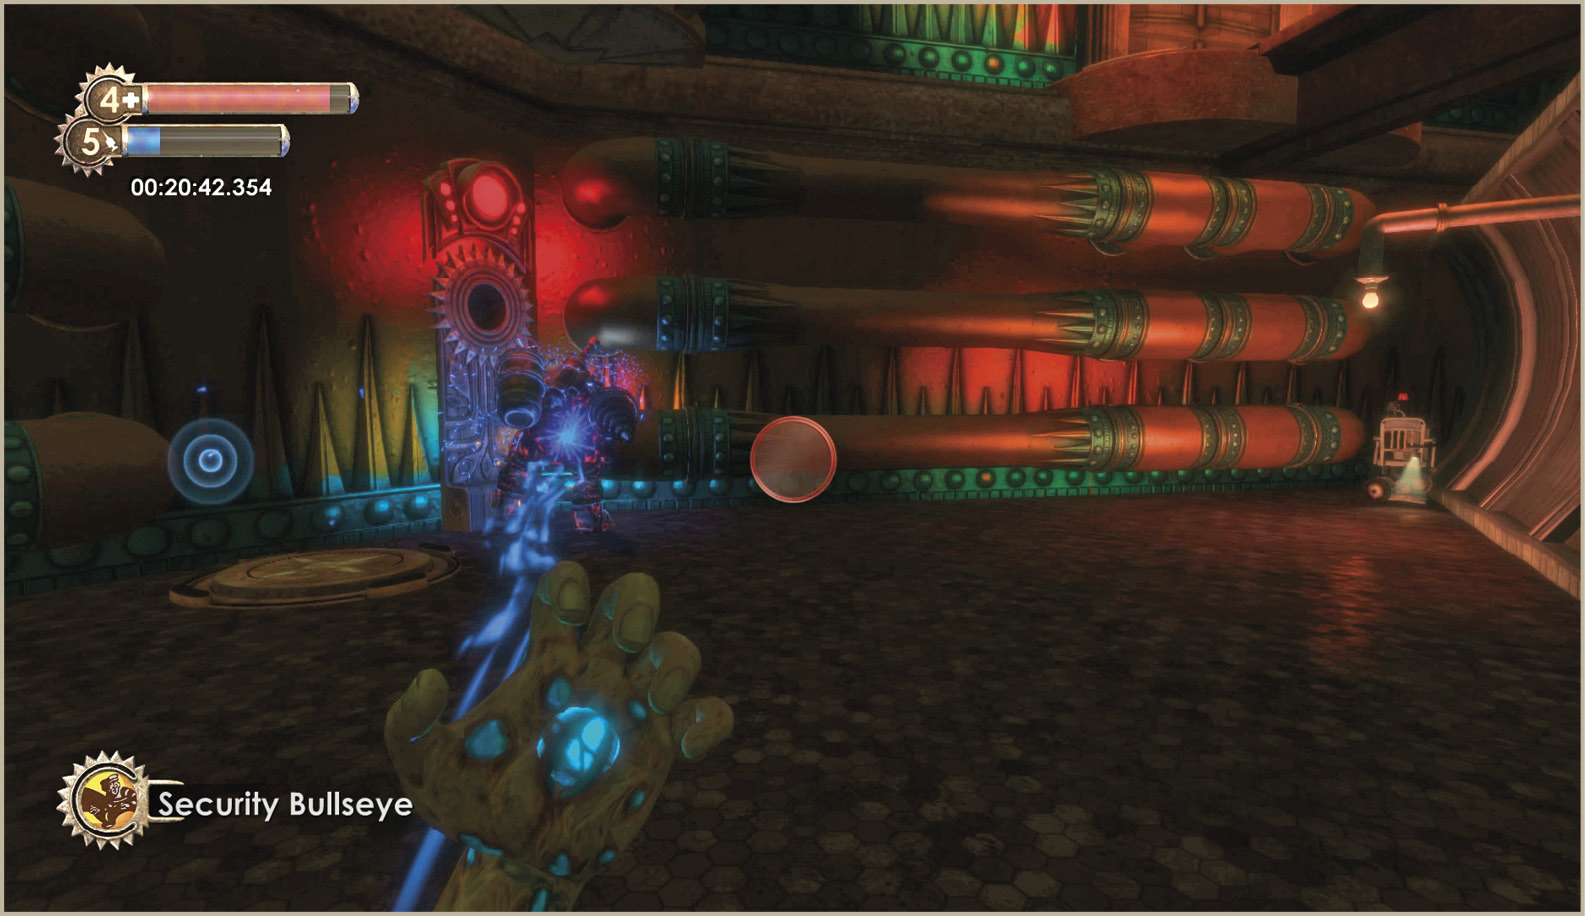
Security Bots: This is a good room to attempt next, especially if you’ve purchased Security Bullseye and/or Electro Bolt. The room contains a number of Security Bots in addition to a Thuggish Splicer and a Bouncer. Hit the Big Daddy with Security Bullseye to turn the Security Bots against it, then, while they are focused on the Big Daddy, use Electro Bolt to stun and hack the Security Bots. Hacking a Security Bot (or Turret in subsequent rooms) counts as defeating it. Be sure to further your research of the Bouncer!
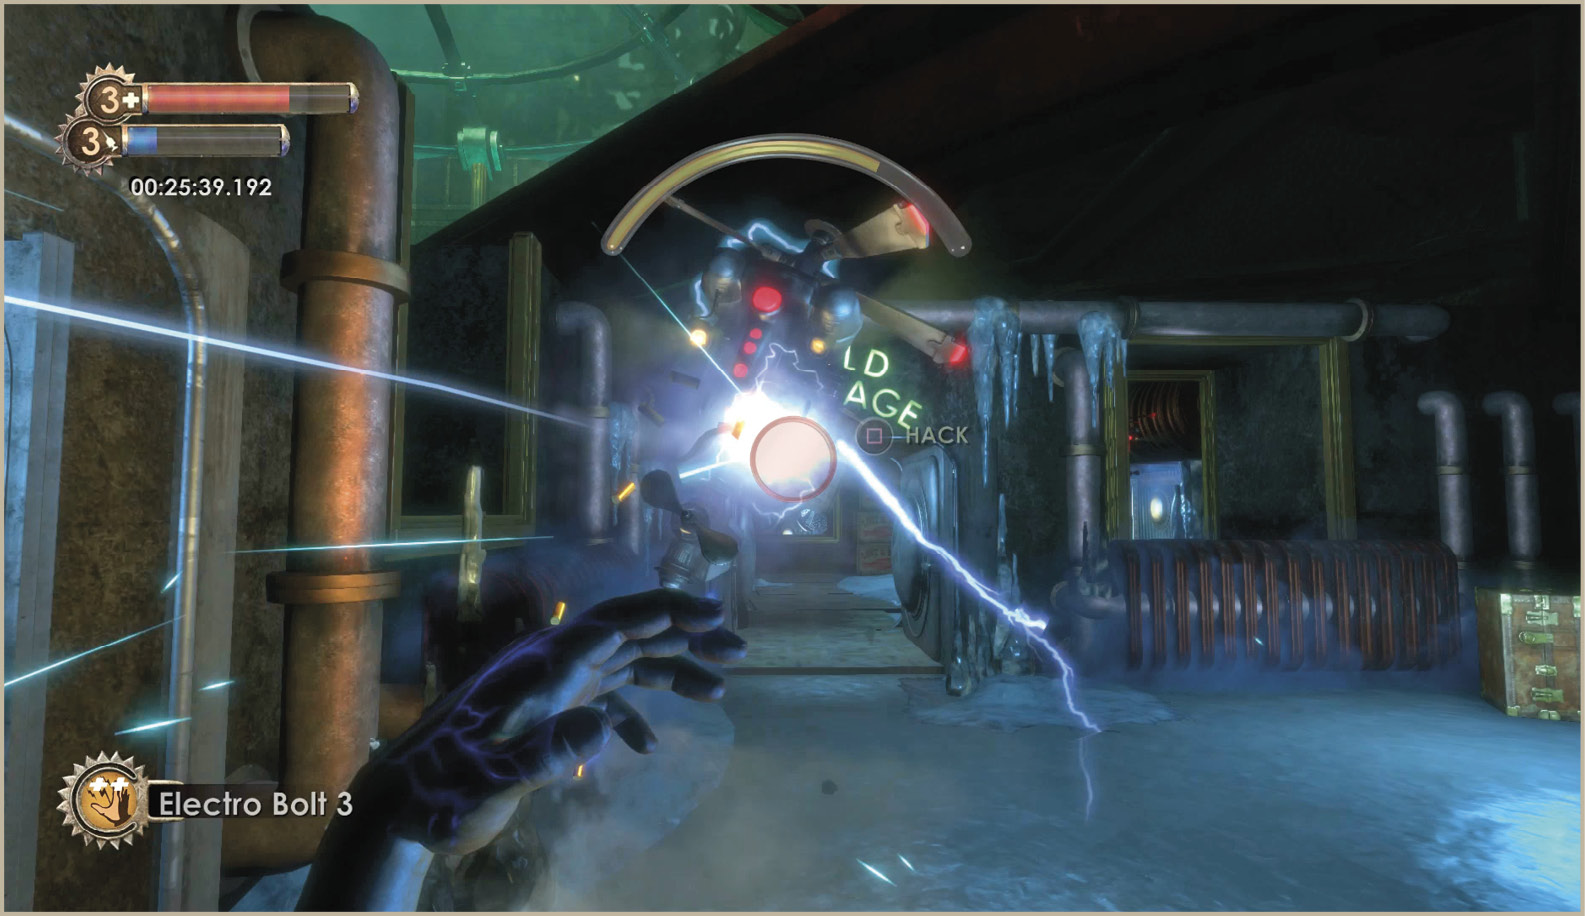
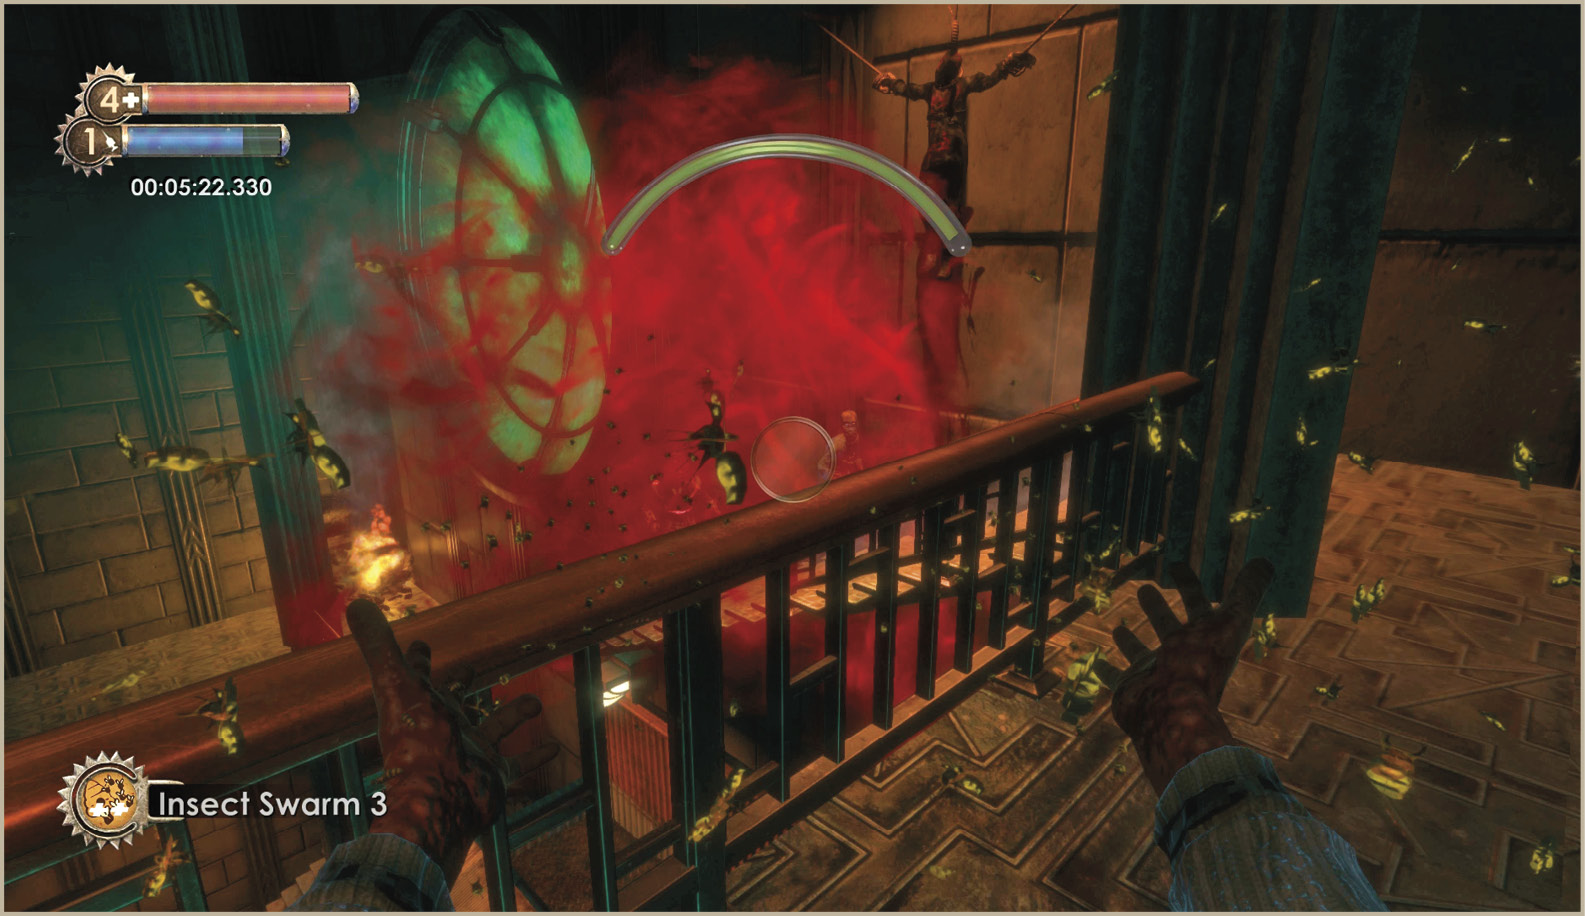
Spider Splicers: Take plenty of photos early to gain a combat advantage against the fast-moving Spider Splicers, then start hitting them with Electro Bolt or Insect Swarm. Consider using either the Shotgun or Chemical Thrower, or conserve your ammo and use the Wrench to bash their heads in. The Wrench is best used with at least one of the Wrench Jockey tonics equipped. Incinerate! is a useful alternative to Electro Bolt. Similarly, you can splash multiple Spider Splicers with Enrage, watch them weaken one another, then finish them off with the Wrench—provided they drop from the ceiling.
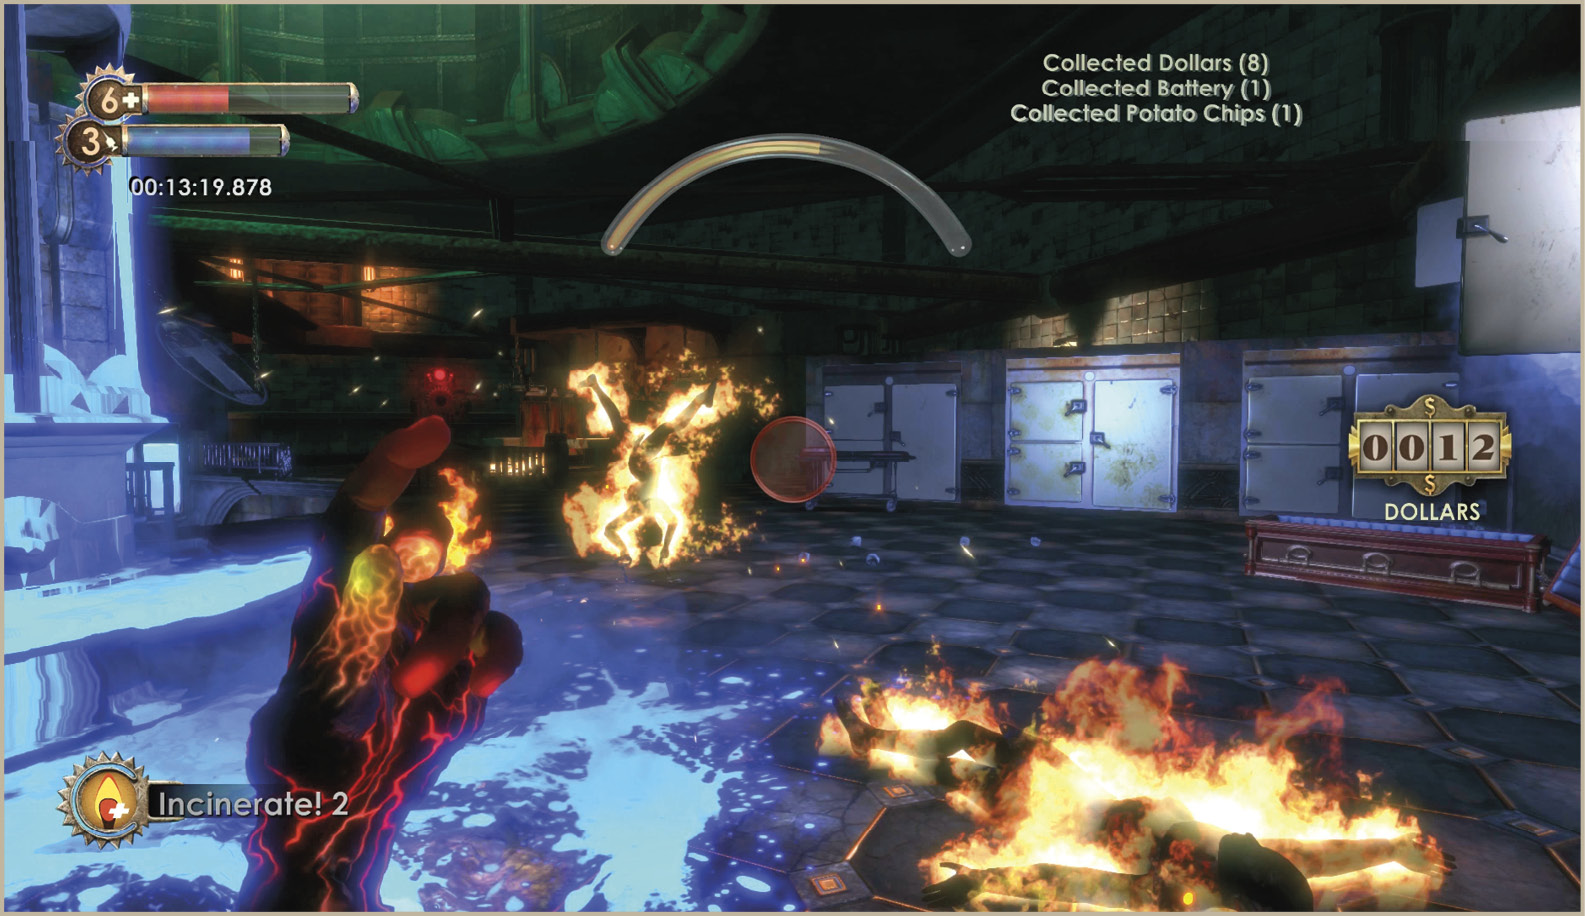
Houdini Splicers: This vertical room pits you against a dozen Houdini Splicers. Take them out while you carefully descend a spiraling walkway along the edge of the room before contending with several more on the ground. Use Insect Swarm or Electro Bolt to disrupt the Houdini Splicers’ disappearance act and snipe them with the Crossbow from afar or rush their position with the Machine Gun. Be careful not to fall off the walkways—watch out for gaps—and do your best to not leave too many Houdini Splicers alive before you reach the ground. You don’t want to be surrounded in such tight confines. Make sure to collect the supplies and cash from the corpses.
Security Turret Maze: Take your time upon entering the room to take photos of the Turrets through the glass ceiling, since doing so gains you the ability to instantly hack security apparatus. This room not only contains a number of Machine Gun, RPG, and Flamethrower Turrets, but also Big Daddies and several Leadhead Splicers. Hacking the Turrets helps with the Big Daddies and also counts as a defeated enemy. Research Bouncers to gain the Wrench Jockey tonic before attempting this room and put Security Bullseye to use against the Big Daddies. With a room full of Turrets, you might as well enlist their help. If you are struggling with the Turrets, you may wish to use Electro Bolt and the Crossbow from beyond their effective range.
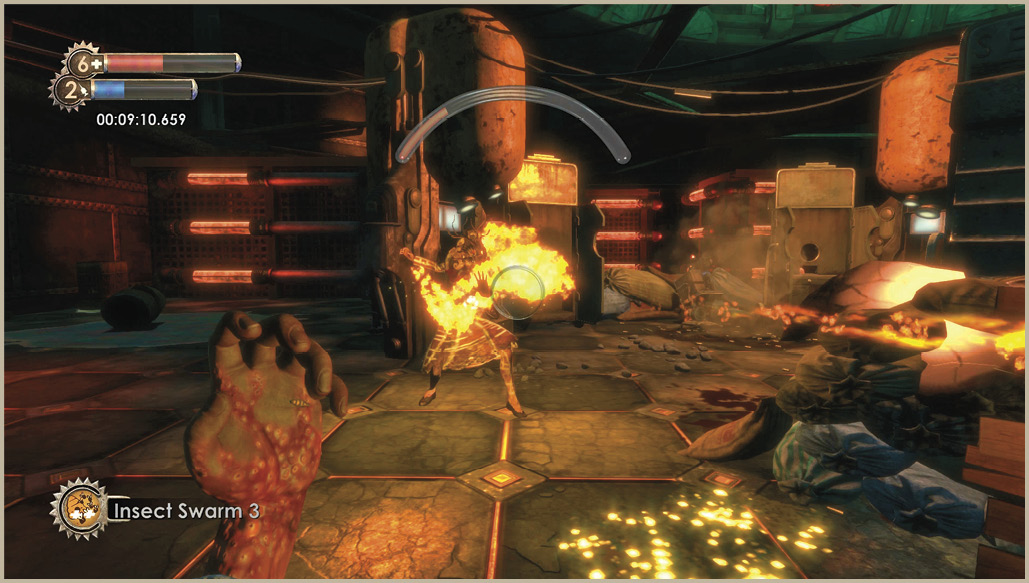
All Kinds of Enemies: This room contains a little bit of everything, including a malfunctioning Machine Gun Turret you can hack to aid you. Depending on your equipped plasmids, it can be the hardest room of all, but it’s made a lot easier with the help of Enrage and Insect Swarm. Move quickly from one alcove to another to isolate enemies and pin them into the corner. Equip Antipersonnel Rounds for your Machine Gun or Pistol, if you have any, and consider loading up some Explosive Buck for the Bouncer. If you have Telekinesis, you can save ammo by hurling the explosive barrels at the Bouncer. Better still, use Target Dummy to lure the enemies together, then hurl the barrel at them!
All Kinds of Big Daddies: This room contains four Big Daddies—a Bouncer, a Rosie, an Elite Bouncer, and an Elite Rosie. Even though the Big Daddies generally stick to themselves, you can use Enrage to bait them into fighting one another. The Elite Rosie will make quick work of the normal Rosie, but by Enraging multiple Big Daddies at once (and hurling Insect Swarm or Incinerate! at them as they battle one another) you can be sure to have only a weakened Elite Bouncer left to contend with. Those who made it this far without purchasing the Enrage plasmid should try using Proximity Mines and the Target Dummy plasmid. Don’t forget that you can also shoot the Rosie’s Proximity Mines to detonate them—spring this trap with Target Dummy!
Collectible Roses
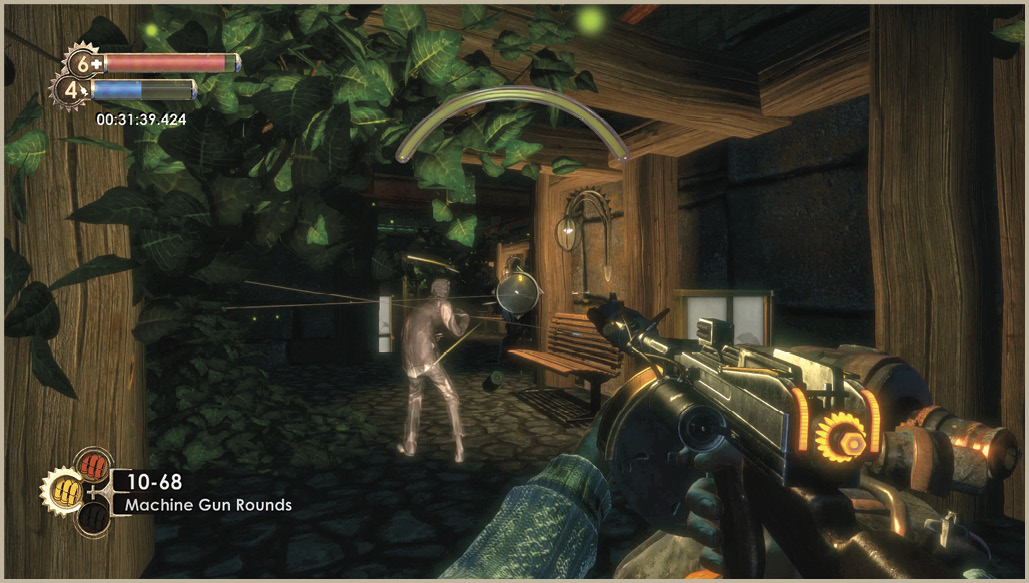
There are eight collectible Roses in this challenge, one in each of the eight rooms. Some of them are tucked away in some pretty hard-to-spot areas, but you have all the time you need to find them. Clear the room of enemies, collect your gift from the Little Sister, then scour the room for supplies, cash, and the Rose before exiting via the teleporter.
In the room with the single Thuggish Splicer, the Rose is located on the floor between two pieces of machinery near the center of the room, not far from the broken Health Station.
In the room with the lone Big Daddy, the Rose is in a crack in the floor near the entrance. Crouch down near the broken piece of flooring (facing the entrance, the water is on your left) to get it. It’s very hard to see.
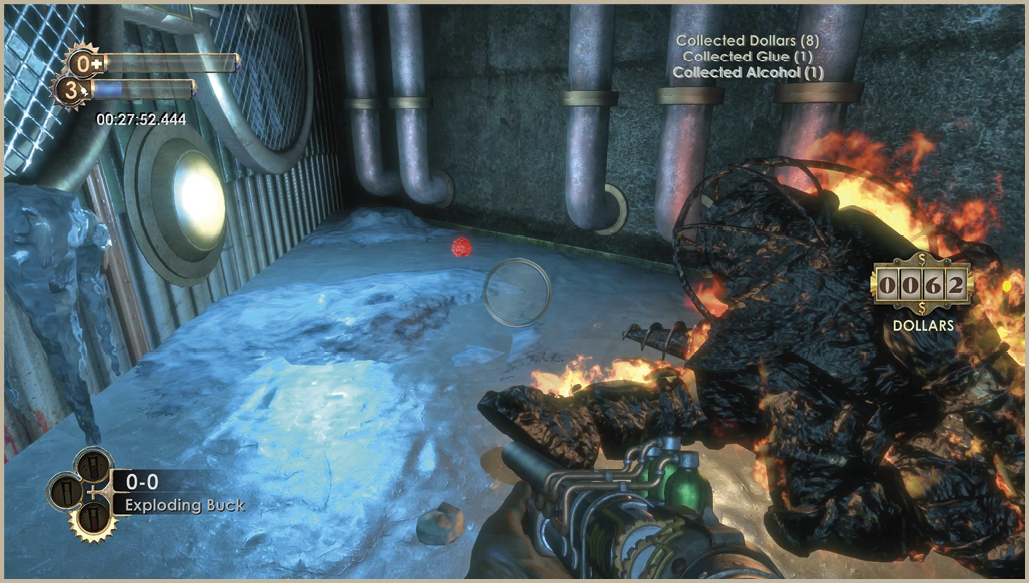
In the room with the Security Bots, it’s beneath the ice near the Thuggish Splicer and the broken Bot Shutdown panel. Use Incinerate! to melt the ice.
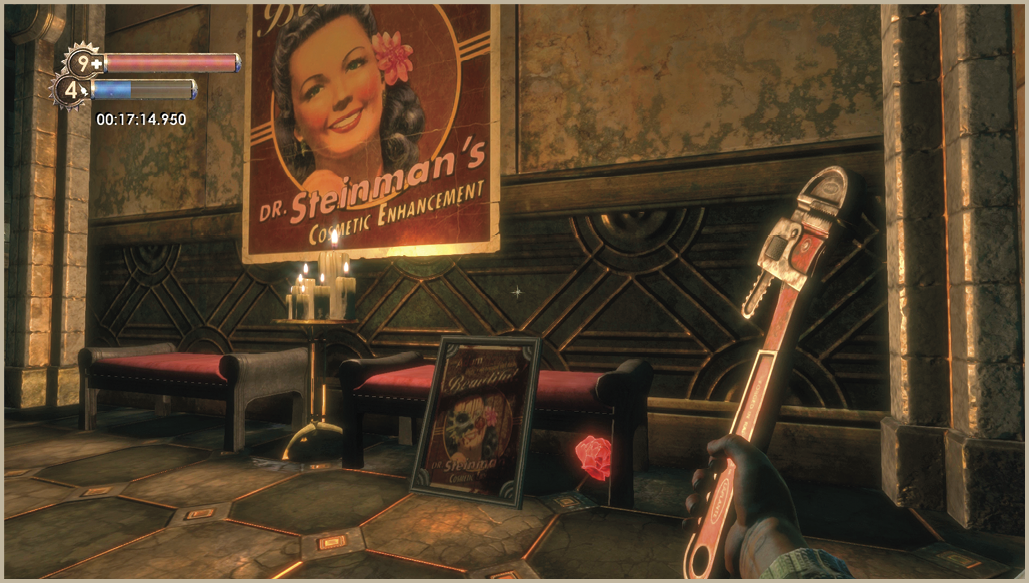
In the room with the Spider Splicers, it’s under the bench to the left of the Power to the People machine.
In the room with the Houdini Splicers, it’s behind a piece of sheet metal on a balcony that is beneath a flight of stairs, and near the Health Station. Ascend a set of stairs to a walkway with a broken railing and make a running leap down to it.
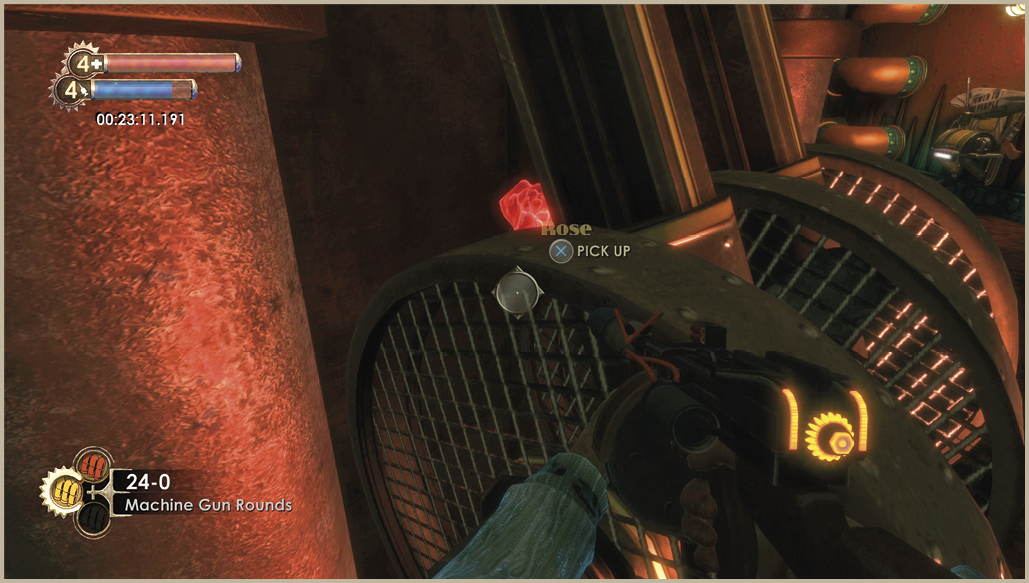
In the room with the maze of Turrets, the Rose is atop the machinery to the right of the Power to the People machine. Jump off the gray pipe to get it.
In the rooms with the various enemy types, it’s behind the sandbags in the corner of the room to the right of the Little Sister Vent.
In the room with the various Big Daddies, the Rose is behind a bench and a log that is near the Little Sister Vent. Face the Little Sister Vent and look on the ground to the right, on the opposite side of the bench from the vent.