
BioShock: The Collection Guide Bioshock 2 Walkthrough Pauper’s Drop
Sinclair Deluxe Tenements
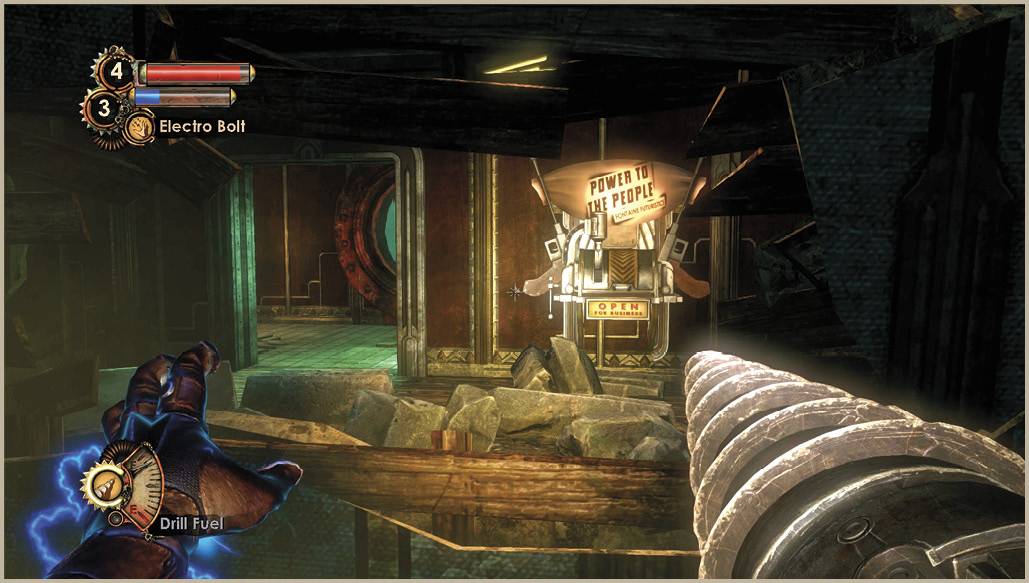
Move up the stairs to the second floor and search the balcony and Apartment 106 on the south side before continuing east. The lights are out in the tenements, but you have a flashlight to help illuminate the way. Proceed down the hall to Apartment 118 and make your way through the winding maze of rooms. Continue past the hole in the wall where you can see the Power to the People machine, and move around the corner to the Splicer hanging from a rope. Go through the hole in the wall on the right (near the window looking out into the ocean) and turn south. Hack the Turret around the corner and enter the room on the right to access the Power to the People machine.
 Safe
Safe
Contents: 40 Anti-Personnel, First Aid Kit, 40 Dollars.
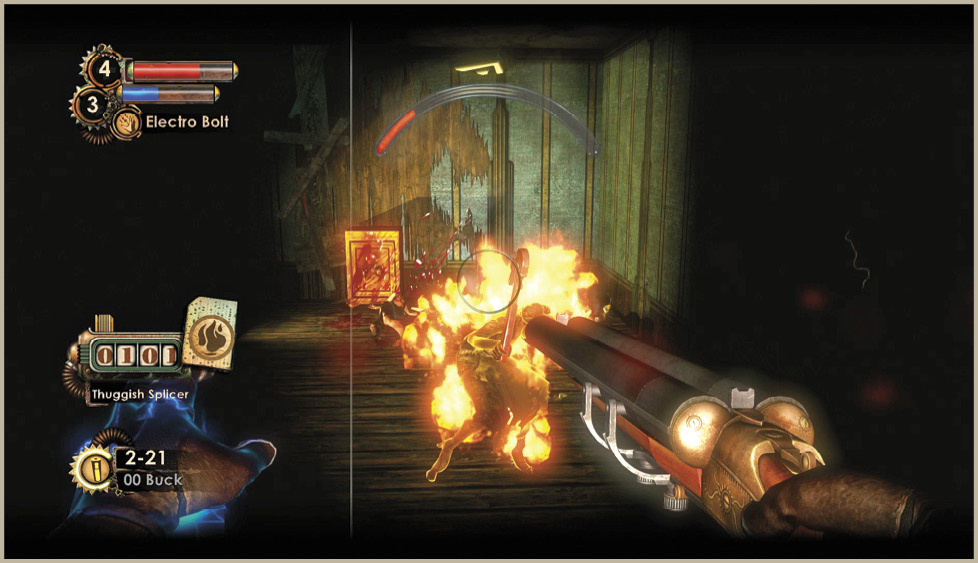
Continue down the hall on the second floor to Apartment 115—you’ll hear voices coming from the left. Draw your Shotgun and head inside and blast the two Splicers near the safe. No other Splicers attack while you hack this safe, and there aren’t any Security Cameras or Turrets to worry about, either. It’s a five-stage hack.
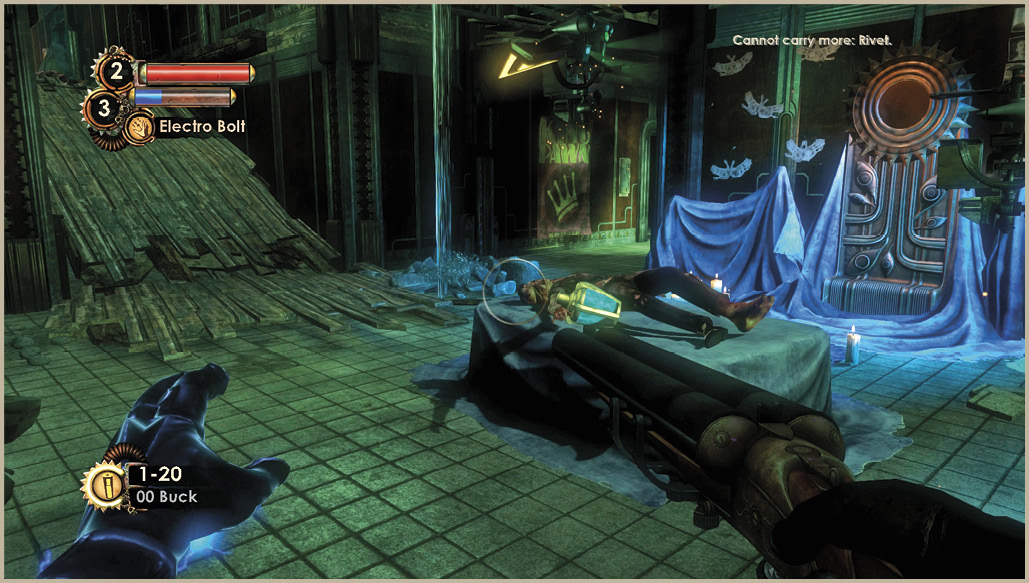
Collect the Freezing Drill tonic from the corpse near the Security Camera and Sister Vent, and put down the Leadhead Splicers that attack. Don’t head up the ramp opposite the Security Camera just yet. First, ascend the stairs near the Gene Bank to what’s left of the floor above the makeshift altar below, and locate the Audio Diary and Auto-Hack Dart. Carefully jump on an angle from one ledge to the next to gather the items.
Ascend the collapsed floor to the third floor hallway and make your way down the hall past the Circus of Value machine. Apartment 215 on the right has several loose containers of food and scattered ammo to pick up, but its most interesting item is a birdcage with a dead cat inside it. At least kitty went out with a full stomach…
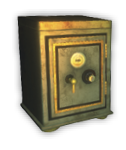 Safe
Safe
Contents: Trap Rivet, 2 EVE Hypos, 8 00 Buck.
The room across from the Circus of Values machine has a safe in it, but it also has a Turret positioned out of sight on the right-hand side of the room. Draw the Hack Tool, crouch behind the furniture near the door, and strafe quickly to the left, fire the Hack Tool, then strafe back. The safe has five stages and, like the previous safe, the blue zone is in the final stage. Let the needle go all the way across once before aiming to stop it in the blue.
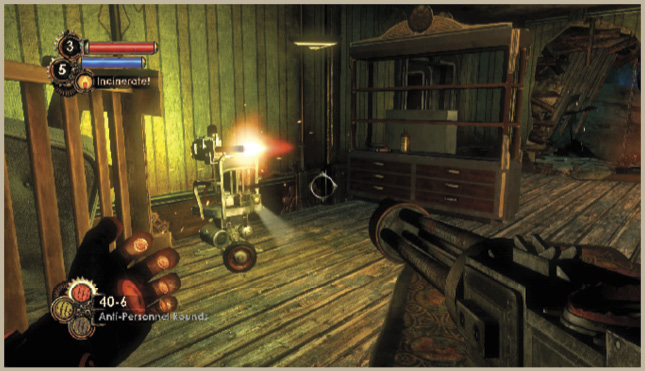
Use Telekinesis to pick up one of the flammable containers and approach Apartment 212, where a Brute Splicer is likely to be lying in wait. Search the apartment in this corner of the building and climb the spiraling wreckage to the uppermost floor of the building.
Hack the Security Camera near the balcony in the center of the atrium and travel down the hallway to the east to Grace’s apartment, number 307. You’re getting close now; don’t let Grace’s threats steer you away from your objective.
Take the Keen Observer tonic from inside what was once Eleanor’s bedroom, and locate the Audio Diaries under her bed along with the one on Grace’s in the next room. The latter mentions the poster of Doctor Lamb—inspect the poster on the wall to locate a hidden switch.
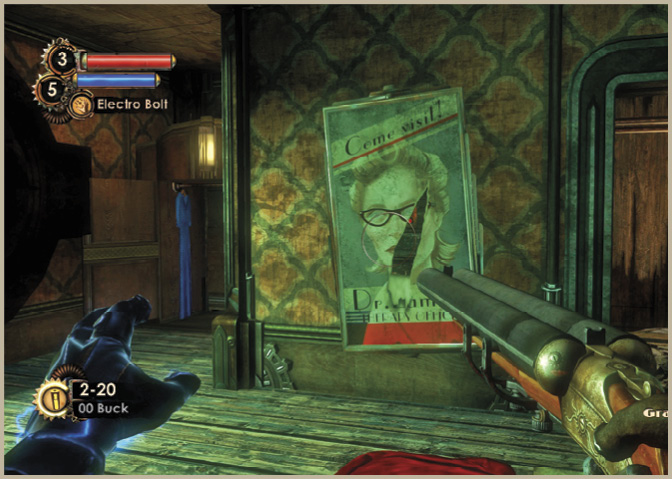
Get the Override Key From GraceGrace Holloway, a follower of Sofi a Lamb, has the Override Key for the Pauper’s Drop train station. She is holed up in a hidden room at the back of her apartment in the Sinclair Deluxe Hotel. Go there and get the Override Key that unlocks the train. 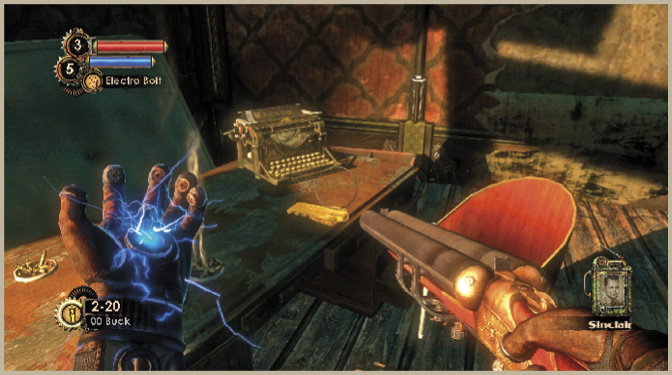
|