
BioShock: The Collection Guide Bioshock 2 Walkthrough Fontaine Futuristics
Live Test Facility
Continue south from Gil’s tank to the Live Test Facility and hurl a fireball at the fuel spill near the Splicers in the room below. Descend the stairs carefully, as there is a RPG Turret under the landing on the right as you come down the steps. Scour the area for ammo and money, then move east to the room where the holding cells are located.
Big Daddy: Rumbler
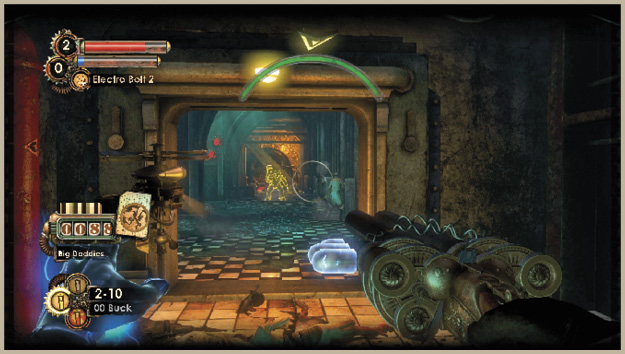
You’ll encounter this final Pair Bond in the holding cells area of the Live Test Facility. Befriend one of the Splicers in the room and lay down a couple of Proximity Mines before firing the first shot. With any luck, the Rumbler will be at the far end of the hall and you’ll have room to maneuver—the confines here are pretty tight. Fire a Heat-Seeking Rocket at it to get the fight started.
The Splicer and Elite Security Bots on your side inflict most of the damage, as do any Frag Grenades or Heat-Seeking Rockets you fire at it. Remember to use Security Command to turn the Rumbler’s Mini-Turrets against it. Searching the corpse of this Big Daddy reveals the “Meltzer’s Choice” Audio Diary and brings closure to the Mark Meltzer storyline—as it turns out, you just defeated the man who came all this way from topside to be with his daughter Cindy. He finally succeeded, only to be struck down by you not long after being inducted into the Protector program.
 Little Sister Encounter
Gather #1: Where the Pair Bonds are Joined
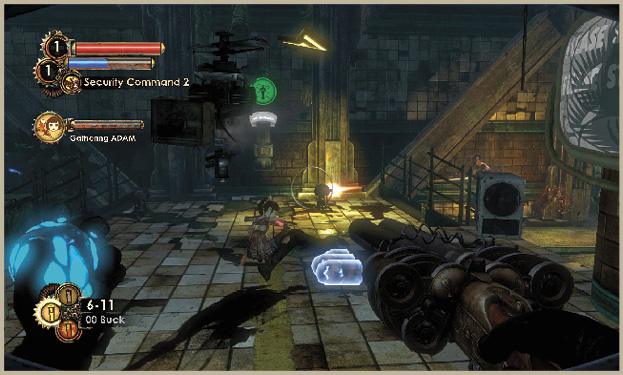
The Gather corpse is located right near the third ADAM-infused plant, beside the seats where the Gatherer and Protector Candidates are joined. Place Trap Rivets on the floor atop the steps on either side of the corpse and summon your two Elite Security Bots. You’re very likely to encounter another Big Daddy roaming the area. If so, use Hypnotize 3 to befriend him, then stand back and watch as your new pal does everything he can to protect you and therefore the Little Sister you’re watching over. Deploy a Mini-Turret near the Gather corpse to be on the safe side, and be ready with a Heat-Seeking Rocket in case your Big Daddy friend turns against you.
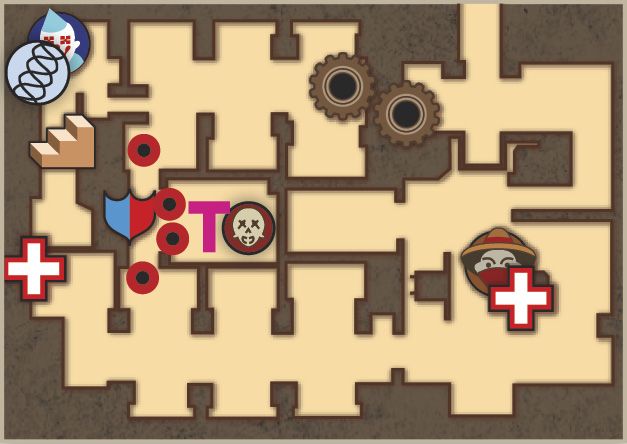
Gather #2: Outside the Security Booth In the Live Test Facility
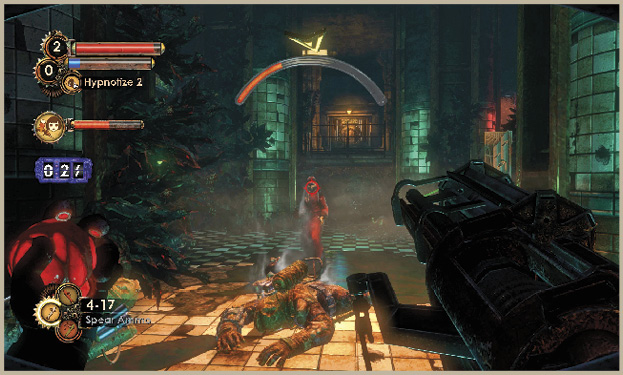
This is the final Gather to perform in the game and also the most difficult. Your assailants here are primarily Alpha Series and Houdini Splicers. The best way to defend the Little Sister—and yourself—is to befriend either a Rumbler or Alpha Series. Fortunately, there are plenty of them walking around this area of Fontaine Futuristics, so you shouldn’t have a problem using them to fend off one another. With any luck, they’ll even take their fight behind the closed door of the Live Test Facility. Lay a couple of Proximity Mines down near the Gather corpse just in case, and have your Elite Security Bots ready. It doesn’t hurt to scatter a couple of Cyclone Traps around the area as well. Stand back in the corner near the Health Station with the Machine Gun set to Anti-Personnel Rounds, and rip the Houdini Splicers to pieces with your gun. Keep a fresh batch of Hypnotize 3 charged up and ready to fling at the next Big Daddy or Alpha Series that takes a swing at you.
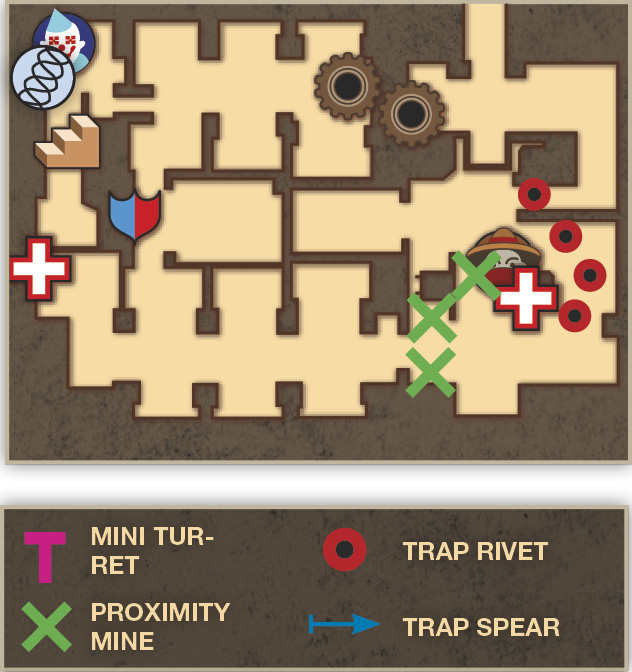
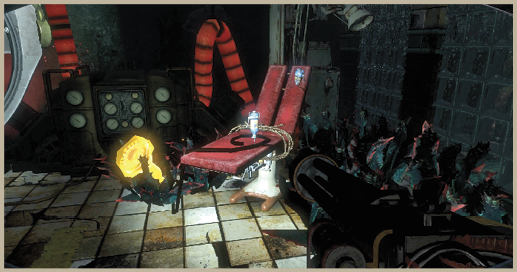
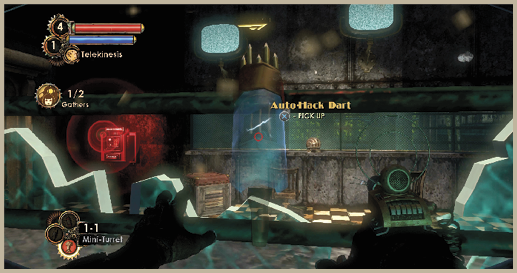
Collect the third ADAM-infused plant and make your way around the corner towards the Sister Vent. Hack (or destroy) the Security Camera near the broken window, then use Telekinesis to collect the Auto-Hack Dart in the Security Office. Use it to hack the door control panel through the hole in the window. This action unlocks the door in the previous area—the one with the flashing red light.
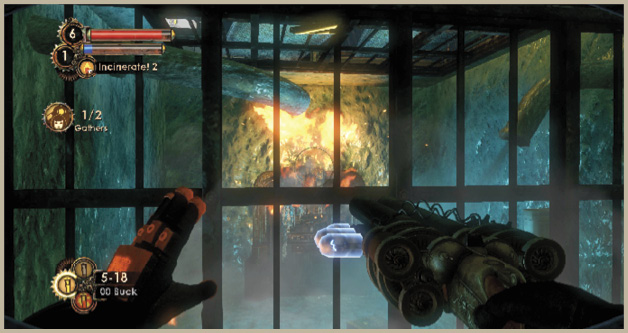
Drop through the hole in the floor to enter the holding cells area below and quickly kill the Houdini Splicer that unlocks the cell for you. The fourth and final ADAM-infused plant is in the cell in the southwest corner, but don’t go there just yet. First, explore the cells on the north side of the room. Hack the Turret behind the cell in the northeast corner and use Incinerate! to melt the ice in the northwestern cell. Continue flaming the ice until the door opens, then head around and go inside to find the Audio Diary and some munitions.
 Safe
Safe
Contents: 6 Heat-Seeking Rockets, 65 Dollars, 12 Solid Slugs.
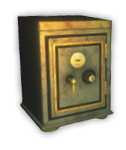
This safe is located inside the iced-over cell in the northwest corner of the holding cells area. Unfreeze the door by using Incinerate! from within the crawlspace behind the cells (accessed via the northeastern cell) and melt the ice where the Audio Diary and safe are located. The safe is very difficult to hack, but there is a Security Bot Shutdown Panel right outside the cell, so if you fail the hack, just take a couple steps and pull the lever to disable the alarm.
Make your way back up the stairs and around to the Security Office that was locked earlier. Use the Power to the People machine, then gather up the other items nearby and head back to Gil.
 Safe
Safe
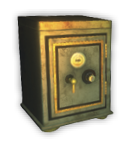
Contents: 8 Dollars, Frag Grenade, Badanges.
This safe is located in the space behind the northeastern cell, beside the Turret. It’s extremely difficult to hack, it costs 90 dollars to buyout, and honestly, doesn’t even contain anything valuable. Go ahead and skip it!
|
 Deal with Every Little Sister
Big Sister is Coming
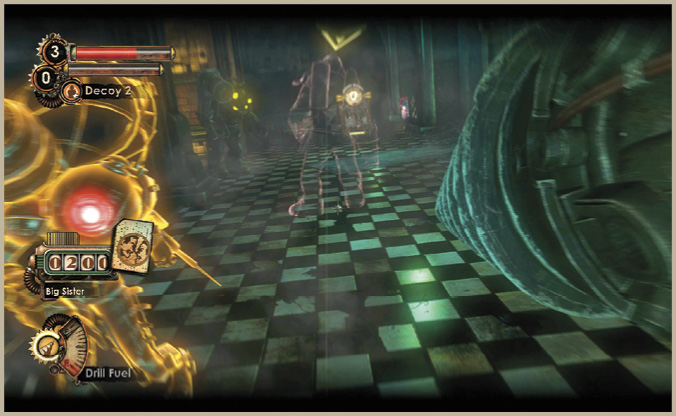
Dealing with all of the Little Sisters in Fontaine Futuristics brings the Big Sister out of hiding, probably while you’re in the Live Test Facility. This location is both a blessing and a curse, as there are plenty of Alpha Series and Rumblers walking around for you to befriend with Hypnotize 3 and use against the Big Sister. The danger in this is that you may suddenly find yourself dealing with a Big Sister and an angry Big Daddy or Alpha Series at the same time. Limit the chance of this happening by befriending a Big Daddy and waiting, perhaps in the security booth, for all other Big Daddies to vacate the area. Bring the Little Sister to the Sister Vent up the steps and decide her fate there.
You’ll have time before the Big Sister arrives to get your Elite Security Bots ready and to place a few Proximity Mines around the area, but not so many as to harm your befriended ally. Utilize the numerous Heat-Seeking Rockets located in this area to bombard the Big Sister repeatedly with this heaviest of firepower. Deploy a couple Mini-Turrets once the battle is half over, as the Big Sister will probably eliminate your befriended Big Daddy and you will need some extra help in case another Alpha Series shows up. Put her on ice with Winter Blast if you feel the fight starting to slip away. Collect the ADAM from her corpse and hurry to a Circus of Values or Health Station to top off your supply of First Aid Kits—this isn’t an easy fight to win!
Lure Gil out of HidingYou now have the ADAM-infused plant bait needed to lure Gil out of hiding. Head to his holding tank, and inject the ADAM-infused plants into it. 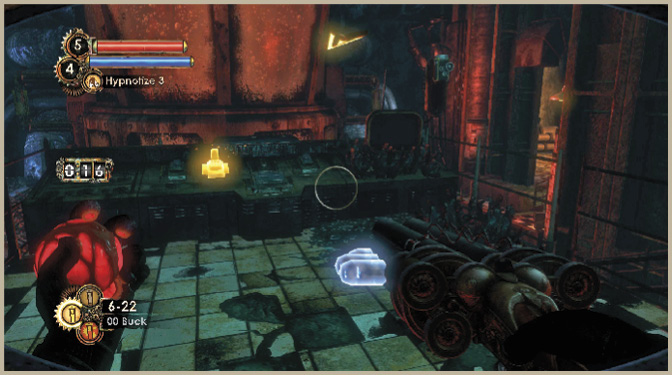
|