
BioShock: The Collection Guide Bioshock 2 Walkthrough Inner Persephone
Cell Blocks
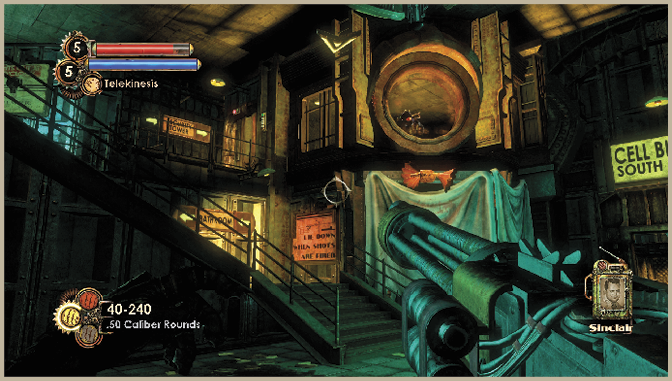
The area Sinclair has locked you inside is comprised of two halves. The southern half, near Solitary Confinement, has stairs that lead directly up to the locked Watch Tower where Sinclair is located. The north side has unlocked access to the Watch Tower atop a crumbled pile of rubble. Though you can rush right into any one of the solutions mentioned in the box on this page, you may want to consider a more methodical approach.
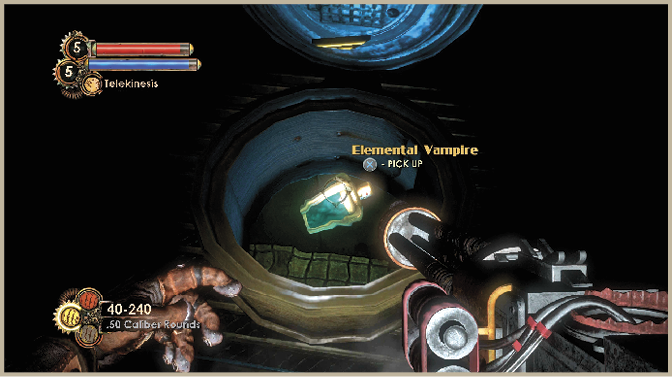
Begin by searching the lower portion of Solitary Confinement for the Elemental Vampire tonic. Once you have it, continue up the stairs to Block D and search the cells for Audio Diaries about the code. One mentions the first half of the code, whereas the other instructs a prisoner to leave a clue for the code’s whereabouts in Block A.
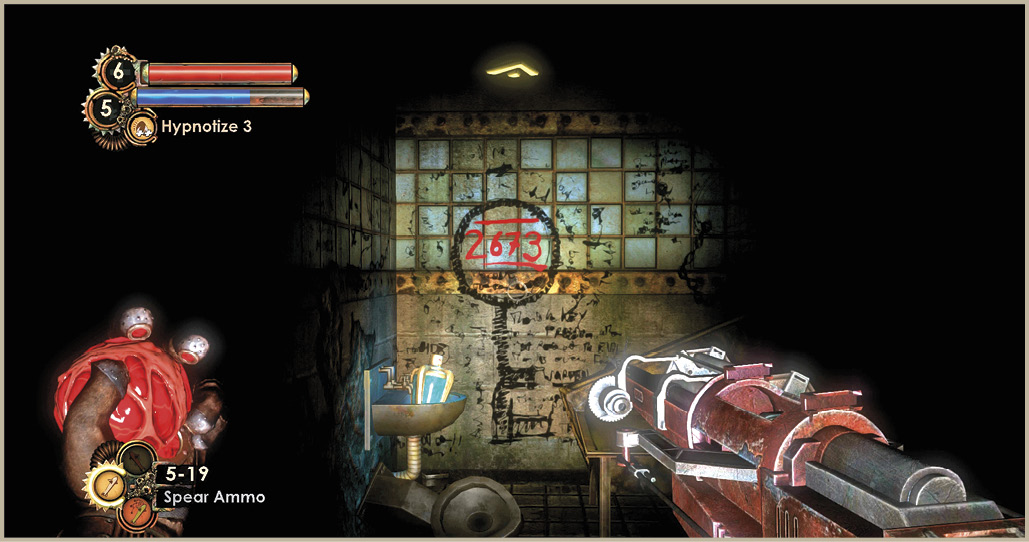
Search the rest of Block A and slip through the hole in the wall to Block B. You can find the full keycode to the Watch Tower on the wall in the cell straight ahead (2673), right next to the Elemental Sponge tonic. Though you now have the code, there are still some places left to search before using it. Head to the South Quad via the upstairs walkway and enter Block A. Kill the Elite Brute Splicer and gather up the Heat-Seeking Rockets and other munitions in the cell on the left. The Audio Diary here indicates another keycode location (not that you need it at this point).
Drop off the walkway in the South Quad and enter the padded cell with the prisoner sitting on the floor. Enter the crawlspace through the hole in the wall to find another Audio Diary and Remote Hack Dart.
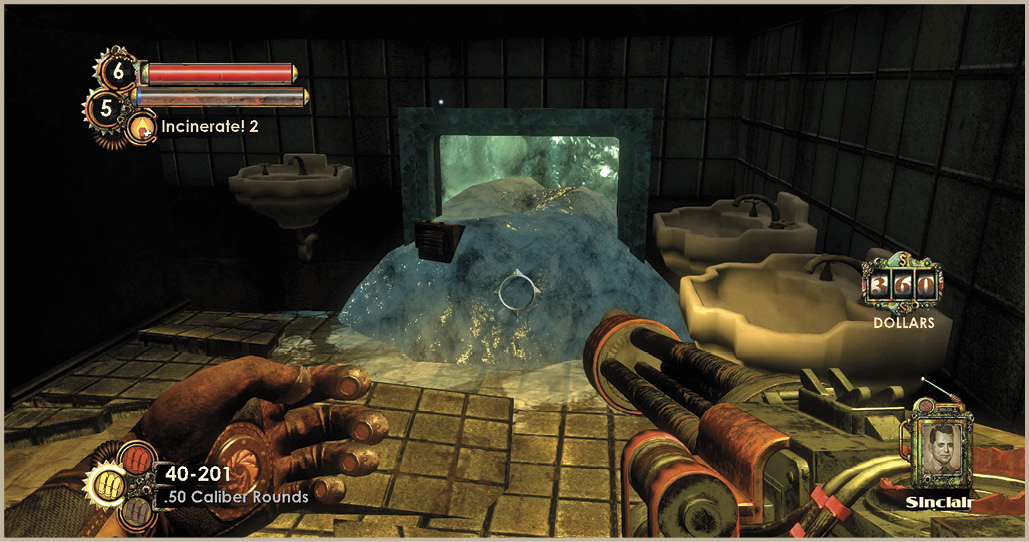
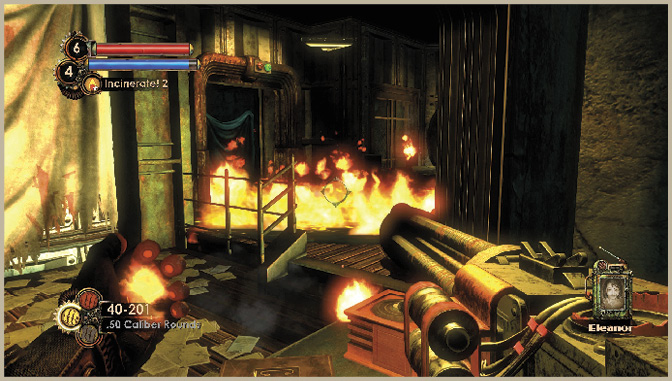
Go back to the area where you first got locked in, near the Gene Bank, and go upstairs. Place a Proximity Mine or two near the locked door to the Watch Tower, then pay the $5 to enter the bathrooms and search the third tank on the left for the hidden code and a number of items. Now, rather than going up to the door and entering the keycode manually, use your Incinerate! Plasmid to melt the ice in the bathrooms and enter the tunnel behind the walls. This section leads you right to the Watch Tower.
Travel to the end of the tunnel, to the window looking into the Watch Tower, and use the Hack Tool to hack the Security Bot on the floor in front of the Power to the People machine. Toss a couple of Mini-Turrets into the room and light the fuel spill on fire. This forces Sinclair (remember, he’s an Alpha Series now) to unlock the door and flee towards Block D. The Security Bot will probably chase him down and finish him off, but if not, the Turret you hacked earlier will.
Exit the tunnel and enter the Watch Tower to pick up another Audio Diary and (more importantly) use the Power to the People machine. Go after Sinclair and take the key from him.
Use Sinclair’s Key in the TowerNow that you have the key from Sinclair—you can use it to end the security curfew, so you can access the vessel and escape to the surface. The only catch is that overriding the security curfew has the unpleasant side effect of releasing all the prisoners in the Holding Wing. Use Sinclair’s key at the control panel in the Security Tower, but be on guard. 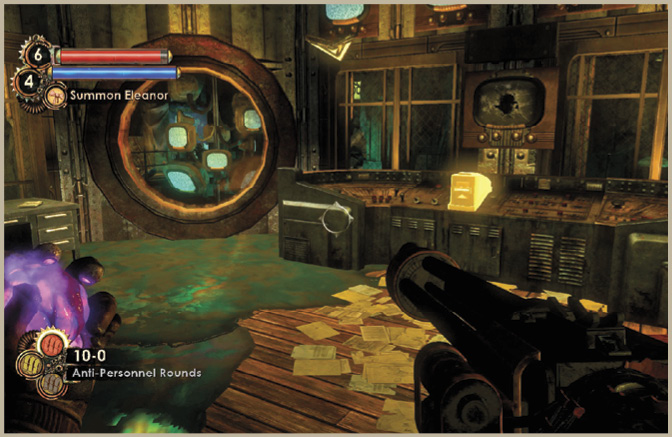
|