
BioShock: The Collection Guide Bioshock 2 Walkthrough Fontaine Futuristics
Frank Fontaine’s Office
Travel up the stairs in the lobby to the second floor and ready the Hack Tool. Continue north towards Frank Fontaine’s office and fire a Hack Dart at the Turret guarding the door. Make sure your two Elite Security Bots are nearby before you enter the offices because another Alpha Series is guarding the room.
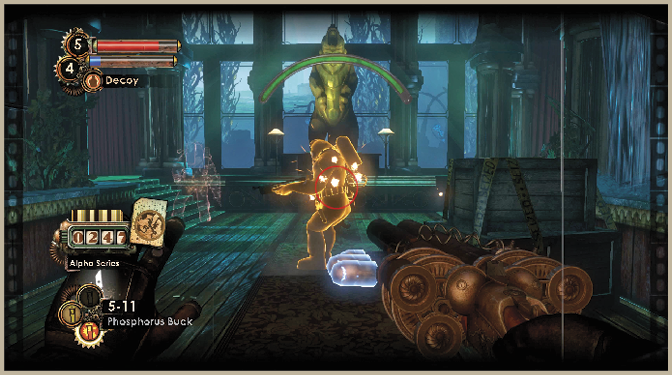
Open the doors and toss a Mini-Turret inside, then quickly hurl a fireball at the Alpha Series. Back away to avoid any return fire and watch your security apparatus cut the Alpha Series down to size. Strafe out of cover from beside the door and hit him with a final Frag Grenade to claim free reign of Frank Fontaine’s old haunt.
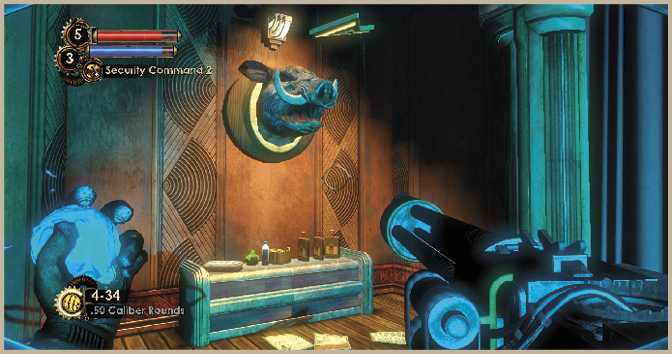
The third signal relay is off to the right as you enter the room, but that’s not all that’s in here. Head to the left and inspect the “Conspicuous Boar Mount” to reveal Frank Fontaine’s private stash. This secret hiding space contains a couple of crates, three safes, and an Audio Diary of Frank practicing Atlas’s voice.
 Safe
Safe
Contents: Safe: 4 Rocket Spears, 2 First Aid Kits, 6 Heavy Rivets.
Safe: 50 Dollars, 6 Phosphorous Buck, 2 EVE Hypos.
Safe: 3 Proximity Mines, 5 Solid Slugs, 30 Armor-Piercing Rounds.
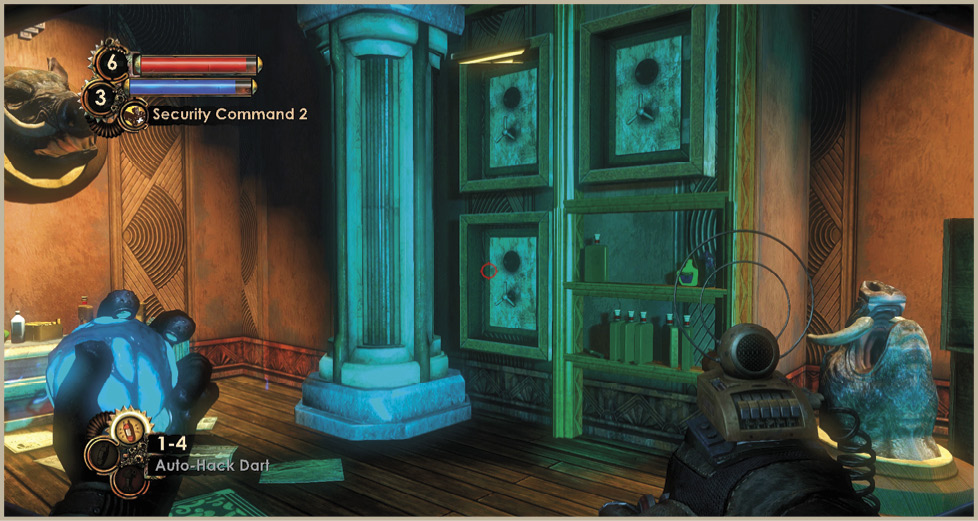
A false wall in Frank Fontaine’s office hides these three safes from view. Inspect the mounted boar’s head on the wall to the left as you enter the office in order to reveal Frank’s private stash. The safes are very hard to hack—and cost 90 dollars each to buyout—so you might want to consider using an Auto-Hack Dart on each of them. Of course, you can always go ahead and attempt the hack knowing there’s a Security Bot Shutdown Panel across the room.
Exit Frank’s old office and round the corner to the left to enter the nearby marketing offices. The three Splicers playing dead at the large table are just that—playing dead. Charge up a Fire Bomb with Incinerate! 2 and inch forward until they spring to life, then set them aflame. Enter the office to the right to find the so-called “Unstable Teleport Plasmid,” then try to grab it. Attempting to pick up this flashing multi-colored Plasmid causes it to vanish and reappear elsewhere. You’ll have to chase after it repeatedly before you can finally collect your rightful reward. See the note box for details on the Unstable Teleport Plasmid’s locations.
 Safe
Safe
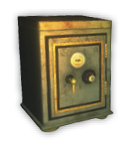
Contents: 3 Mini-Turrets, 4 Solid Slugs, 17 Anti-Personnel Rounds.
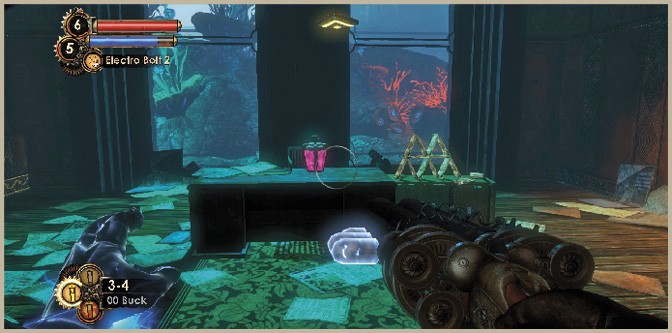
This safe is in the office with the Unstable Teleport Plasmid. Collect the stacks of money from the desk and put these newfound riches to use to buyout the hack of this safe, unless you have a number of hack-assists spliced into your system or an Auto-Hack Dart to spare. Regardless, it’s a small price to pay for three Mini-Turrets and additional ammo.
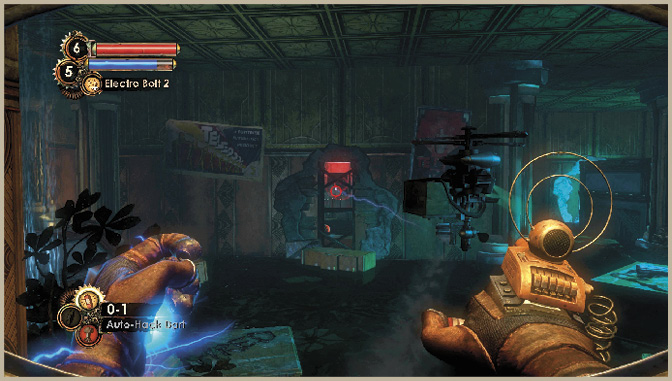
Open the door on the other side of the conference room, crouch down, and fire a Hack Dart through the hole in the wall to the electric panel shocking the flooded room. This makes the water safe to wade through. Gather up the items in this office and destroy the fourth signal relay around the corner on the far side of the room.
Exit the office and fight your way back down the stairs to the ground floor of the foyer. Use the voice recording to enter the Security Office and listen to Gil’s next set of instructions. Use the Power to the People machine, then flip the Plasmid Laboratory access switch to unlock the doors to the laboratory area of Fontaine Futuristics: Gil is waiting for you there.
Head To The Plasmid LaboratoryAn airlock is now open at the back of Fontaine Futuristics. Gil says it leads to the hidden Plasmid Research Laboratory. Proceed to the Plasmid Laboratory to receive further instructions on how to deal with the present-day Gil. 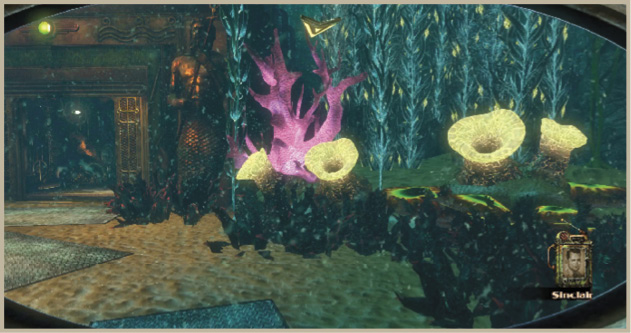
|