
BioShock: The Collection Guide Bioshock 2 Into the Dive Suit
Beyond the Basics
all about ADAM
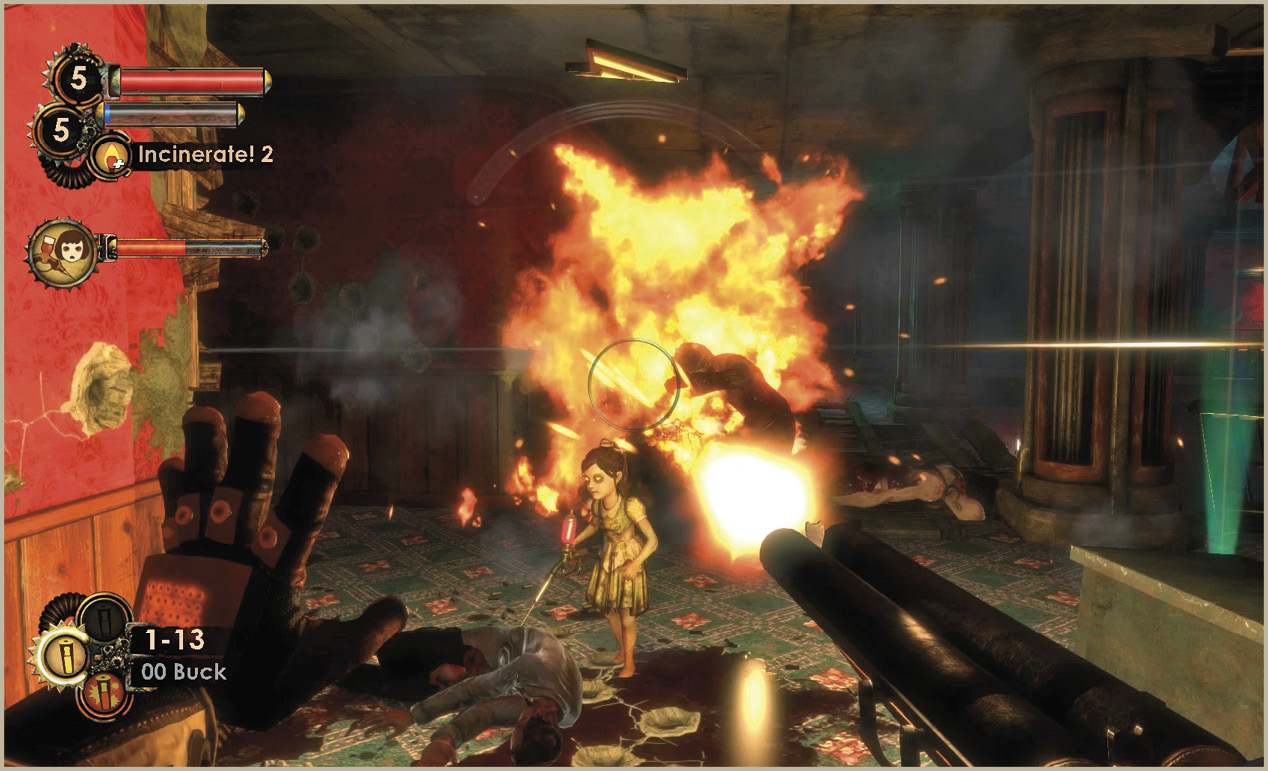
As a Big Daddy, you are the sworn enemy to the Splicers, but this doesn’t mean you are at odds with ADAM. Quite the contrary: you need ADAM to fuel your ever-increasing need for Plasmids and tonics as much as the Splicers need it to get their fix. Little Sisters are the primary gatekeepers of the ADAM supply in Rapture. They carry it within them, they gather it from the corpses of Splicers, and they can even be coerced into giving it to you as a gift. However, they are not the only source of ADAM. ADAM can be also found on the corpses of Big Sisters (no more than one per area for +40 ADAM) and on ADAM Slugs found in the sea (+10 ADAM per Slug). There are three ADAM Slugs in Siren Alley and two in Fontaine Futuristics.
Unless you are trying to play through the game as quickly as possible, it is important that you try to maximize your collection of ADAM within the confines of your chosen moral bearing. This means not only dealing with each of the 12 Little Sisters, but also performing the maximum two ADAM Gathers that each Little Sister can obtain before she needs to be “dealt with.” To do so, you must first “adopt” a Little Sister by defeating the Big Daddy that protects her. Kill the Big Daddy, raid his corpse for a wealth of ammo and money, then press the Reload button next to the Little Sister to adopt her.
Once adopted, the Little Sister rides on your shoulders; hold the Reload button down to have her lead you to one of the special corpses that she can Gather ADAM from. Set up your defenses, then place her down near the corpse to perform the Gather. Though she cannot be injured per se, enemies do attack in attempt to stop her. It’s up to you to keep her safe. Gathers typically last a minute or so. Watch for the Gather progress meter to disappear, signaling that the Little Sister is done, then pick her up. This nets you +40 ADAM. Perform the second Gather to gain an additional +40 ADAM.
Pick up the Little Sister after the second Gather and carry her to a Sister Vent. This is where you make your final decision about her fate—often referred to as “dealing with” the Little Sister. “Harvesting” the ADAM Slug from within her effectively sacrifices the body of the Little Sister in exchange for +160 ADAM, whereas “rescuing” her only nets you +80 ADAM but cures the Little Sister and allows her to return to life as a normal child. This decision not only affects your ADAM supply, but also the ending of the game (see below). For every four Little Sisters you rescue, one will leave a generous gift for you at a nearby Gatherer’s Garden machine.
Running ADAM Tallies
| Little Sister | Location | Gathers | Rescue | Harvest | Big Sister | Rescue Gift | Running ADAM Total (Rescuer) | Running ADAM Total (Harvester) |
|---|---|---|---|---|---|---|---|---|
| 1 | Ryan Amusements | 80 | 80 | 160 | 40 | — | 200 | 280 |
| 2 | Pauper’s Drop | 80 | 80 | 160 | — | — | 360 | 520 |
| 3 | Pauper’s Drop | 80 | 80 | 160 | 40 | — | 560 | 800 |
| 4 | Siren Alley | 80 | 80 | 160 | — | 80 | 800 | 1040 |
| 5 | Siren Alley | 80 | 80 | 160 | — | — | 960 | 1200 |
| 6 | Siren Alley | 80 | 80 | 160 | 40 | — | 1160 | 1480 |
| 7 | Dionysus Park | 80 | 80 | 160 | — | — | 1320 | 1720 |
| 8 | Dionysus Park | 80 | 80 | 160 | — | 120 | 1600 | 1960 |
| 9 | Dionysus Park | 80 | 80 | 160 | 40 | — | 1800 | 2240 |
| 10 | Fontaine Futuristics | 80 | 80 | 160 | — | — | 1960 | 2480 |
| 11 | Fontaine Futuristics | 80 | 80 | 160 | — | — | 2120 | 2720 |
| 12 | Fontaine Futuristics | 80 | 80 | 160 | 40 | 250 | 2570 | 3000 |
As the table shows, playing consistently as a Harvester nets you 430 more ADAM than you would get by playing consistently as a Rescuer. Both of these totals can be increased by +50 if you find all of the ADAM Slugs. Additionally, there are other Gathers to perform outside of the constraints of the Protector Program, but let’s not spoil anything for you just yet. For the purposes of this discussion, tallies listed are limited up to and including the Fontaine Futuristics area.
Harvesting every Little Sister you encounter during the game, can provide you with a surplus of ADAM that will make it much easier for you. However, choosing the Rescue path makes the journey more difficult, but the ending joined to this path may be considered “better.” You should definitely avoid going back and forth between harvesting and rescuing, since you need to be 100% committed to one or the other in order to get all of the gifts and/or experience all of the endings.
Little Sister Thank-You Gifts
| Little Sisters Rescued | Gift |
|---|---|
| 4 | Proud Parent tonic, 50 dollars, 80 ADAM |
| 8 | Demanding Father tonic, 100 dollars, 120 ADAM |
| 12 | 100 dollars, 250 ADAM, Crème-Filled Cake |
Hacking
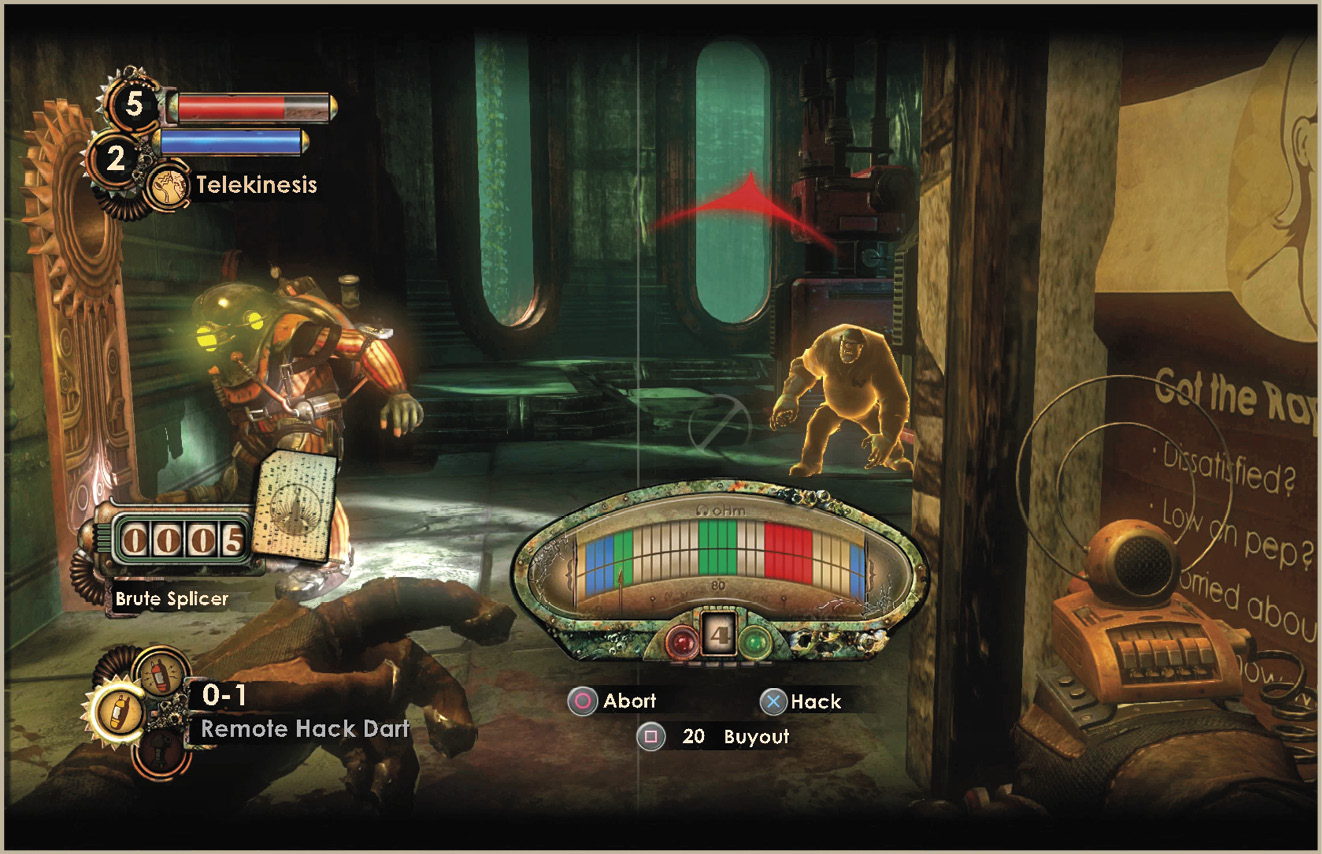
Hacking plays a big role in BioShock because it allows you to subvert the machinery in Rapture and turn the security system against Splicers, open locked doors, and lower the prices at vending machines, among other things. You can hack safes, Security Cameras, Security Bots, Turrets, vending machines, Health Stations, and even some door control panels.
One of the biggest changes made to BioShock 2 is a total revamping of the hacking system. Not only do you now have a Hack Tool that fires Remote Hack Darts, letting you hack from a distance, but hacking is now done in real-time, leaving you vulnerable to enemy—or security—attacks while you perform the hack. Auto-Hack Darts allow you to instantly hack a device with the Hack Tool, but they are rare and should be saved for frantic situations and difficult hacks. Hack a machine by either firing a Remote Hack Dart at it, or approaching the machine and pressing the Reload button when the on-screen prompt appears. The hacking overlay then appears, and the hack begins immediately.
Complete the hack by stopping the needle in the green or blue zones as it bounces back and forth across the dial. The number in the center of the hack overlay indicates how many sweeps the needle can make before short-circuiting. A given hack can have between one and five stages, and the needle not only moves faster for more difficult hacks, but the blue and green zones get much smaller. Stopping the needle in a green or blue zone completes the stage. The white space ends the hack and shocks you, causing damage, while stopping the needle in a red space ends the hack and triggers a security alarm. Always know where the nearest Security Bot Shutdown Panel is located before attempting the hack. Also, there are a variety of hacking tonics available in the game to make hacking easier if it is too challenging.
Hacking Buyout Fees (Exceptions do Exist)
| Area | Vending Machine | Security Bot | Security Camera | Health Station | Turret | Door Control Panel | Safe |
|---|---|---|---|---|---|---|---|
| Adonis Luxury Resort | — | — | — | — | — | — | — |
| Atlantic Express | 20 | 10 | 10 | 20 | — | 20 | — |
| Ryan Amusements | 20 | 10 | 10 | 20 | 10 | 20 | 40 |
| Pauper’s Drop | 30 | 15 | 20 | 20 | 20 | 30 | 50 |
| Siren Alley | 40 | 20 | 30 | 40 | 30 | 40 | 60 |
| Dionysus Park | 50 | 30 | 40 | 40 | 40 | 50 | 70 |
| Fontaine Futuristics | 70 | 50 | 60 | 70 | 60 | 70 | 90 |
| Persephone | 70 | 30 | — | 50 | — | — | — |
| Inner Persephone | 80 | 50 | 70 | 60 | 70 | 80 | 100 |
Blue Zone Bonuses
Hacking gets really difficult at times, but it’s always worth the effort it takes to land the needle in a blue zone. Not only does this count as a success (and can end the hack instantly with the right tonic spliced), but it gets you a pretty nice bonus as well. Depending on what you’re hacking, you might even encounter blues zones in more than one stage of the hack, thus giving you the chance to gain multiple bonuses.
Hacking Bonuses per Bluezone
| Hacked Machine | Bonus |
|---|---|
| Health Station | Free First-Aid Kit |
| Circus of Values | Free random item |
| El Ammo Bandito | Free random item |
| Safe | Extra money |
| Security Camera | Extended alarm when triggered by enemies |
| Security Bot | 20% increase to attack damage |
| Turret | 20% increase to attack damage |
Research
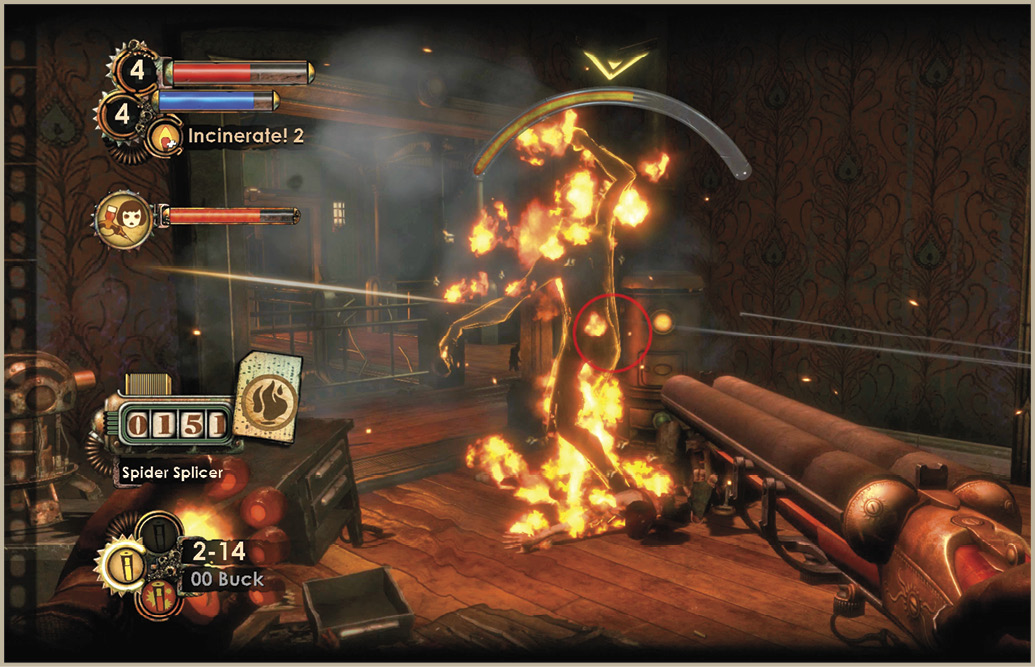
One of the biggest ways to ensure the game’s dynamic difficulty curve doesn’t get a little too steep for you is to make frequent use of the Research Camera. You’ll acquire this handy tool in Pauper’s Drop and can gain valuable insight into your enemies by filming them during combat. Research leads to damage bonuses, new abilities and techniques, and even specialty tonics! You can learn all about using the Research Camera in the “Big Daddy Weaponry” chapter. Additionally, a full list of Research Bonuses for each and every enemy is included in the “Residents of Rapture” chapter.
Unlike the Research Camera in the original game, this is a video camera that automatically films the action on the screen once you start recording. Select the Research Camera from the Weapon Radial and point it at the enemy you wish to film (it then glows yellow), and press the Fire Weapon button to begin filming. Filming ends after a set period of time, or after the enemy is deceased or leaves the area. There are a host of tonics that you can splice into your system to improve your research score, extend the duration of filming, and also increase the damage bonuses you earn through research.
Research Scoring
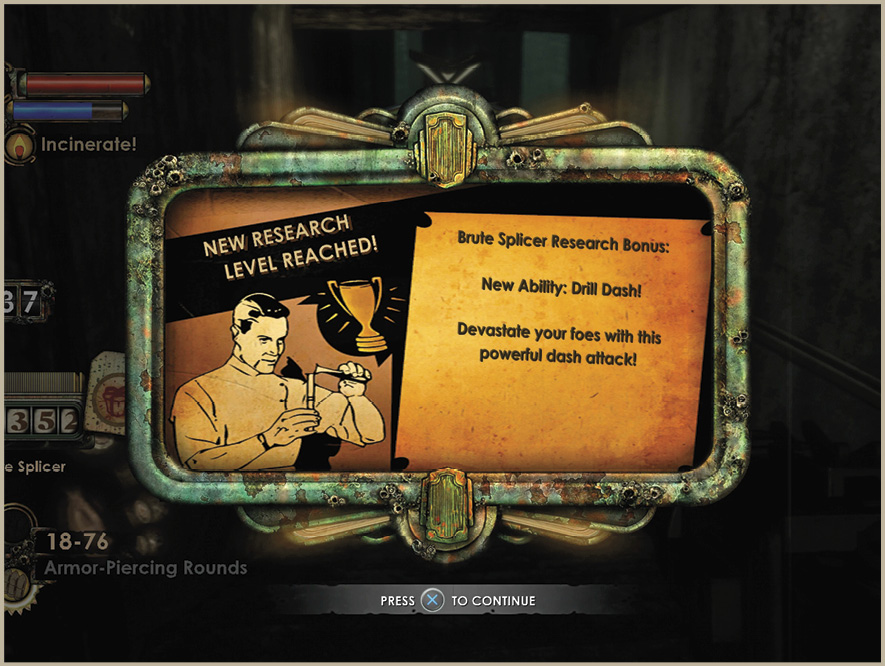
Each individual enemy can only be filmed once, and bonus points are not awarded if multiple enemies of the same type are on-screen at once. Additionally, you can snap a photo with the Research Camera of the corpse of an un-researched enemy for the minimum five Research Points. The key to unlocking all four Research Bonuses per enemy type is to not only use a variety of attacks, but to chain multiple attacks together in creative ways.
The research scoring system is a very sophisticated system that rewards player creativity. Even though you can earn points and low-level Research Bonuses by performing basic attacks, the key to gaining those special tonics awarded for Level 4 Research Bonuses lies in your ability to compound multiple styles of attacks together. The scoring system doesn’t just look for individual actions, but has been programmed to detect specific combinations that showcase your mastery of weapons and Plasmids. Here are just a few examples of the nearly infinite number of combinations you can perform that can really boost your Research Score.