BioShock: The Collection Guide Bioshock Walkthrough Farmer’s Market
Market
Objective 1: Obtain 7 Enzyme SamplesThe formula for the Lazarus Vector specifies 7 samples of a special enzyme. Explore Arcadia and the Farmer’s Market to obtain enough of this to create the Vector. 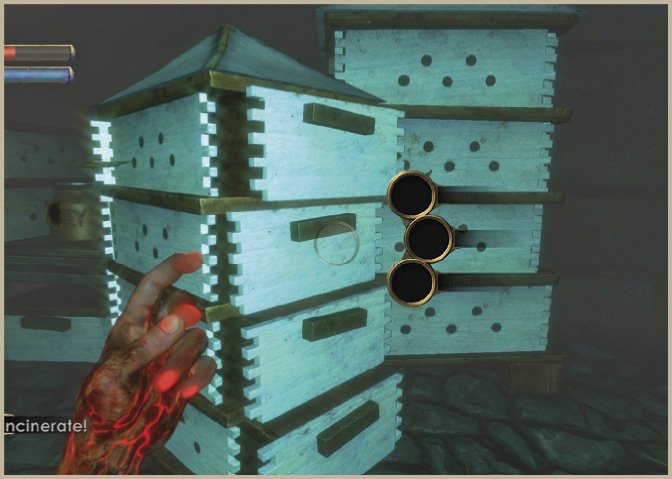
|
Search the corpse near the Pneumo Tube to find the first of the seven Enzyme Samples. This specific component of the Lazarus Vector can be found on a few corpses in the Market, but you will find the majority of them in the beehives located at the apiary. Don’t head straight to the apiary without first searching the Market.
Enter the Market and immediately stun and hack the RPG Turret on the crates around the corner to the right—doing so allows you to collect the items in this area without having to keep looking over your shoulder. Descend the stairs on the right and collect the Eve Link 2 physical tonic on the ground near the vending machines.
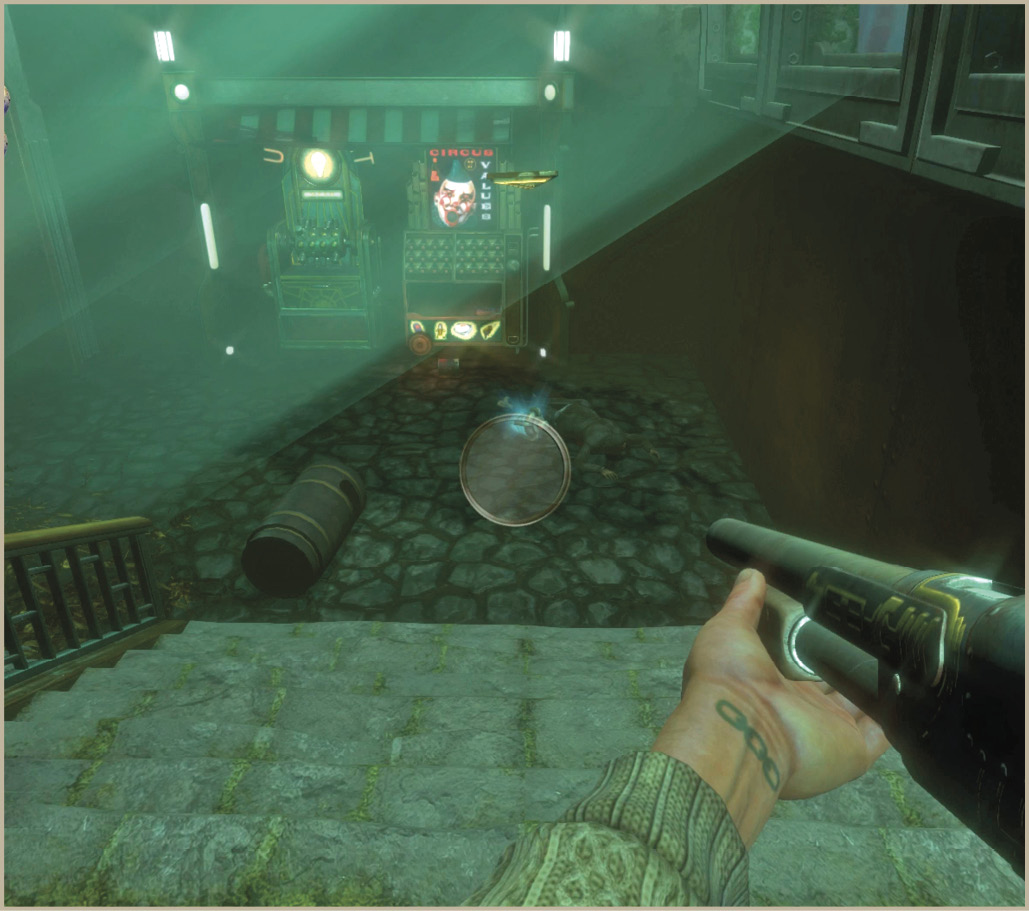
Continue around the bend towards the grassy area where three Splicers attack. Drop them with the Machine Gun and search the area for items, including those in the storage crate under the stairs. Go behind the counter and enter the left-hand room. Here you can find a pair of Audio Diaries, as well as some useful items on the corpse of the Big Daddy. There is another storage room adjacent this one. Beware the Thuggish Splicer inside it, but be sure to head inside and collect the unit of Distilled Water near the U-Invent machine.
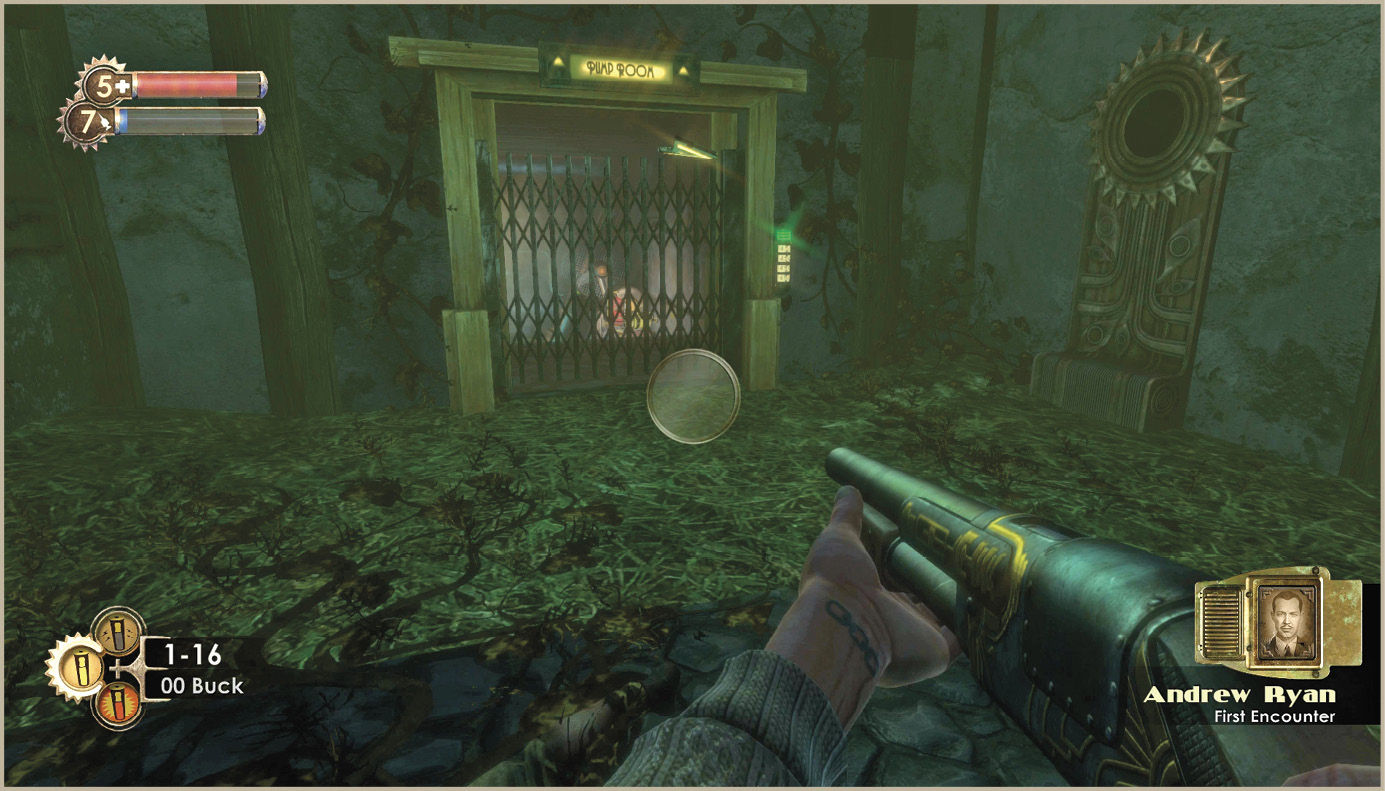
Exit the storage rooms and use an Automatic Hack Tool to pick the combination lock on the gated pump room to the left. You’ll find plenty of Napalm and Electric Gel in the pump room, among many other items. The loot you’ll take from this small side-room is certainly worth using up one of the precious Automatic Hack Tool to get to.
Climb the stairs and go through the door on the right. Immediately crouch down and take cover behind the counter to avoid detection by the Security Camera in the distance. Stealthily move to the crawlspace door across from where you entered and duck inside the storeroom. Hop up the pile of crates, bust through the ventilation grate, and continue on to the meat locker up ahead. You’ll exit through another crawlspace door, directly under the Security Camera.
 Safe
Safe
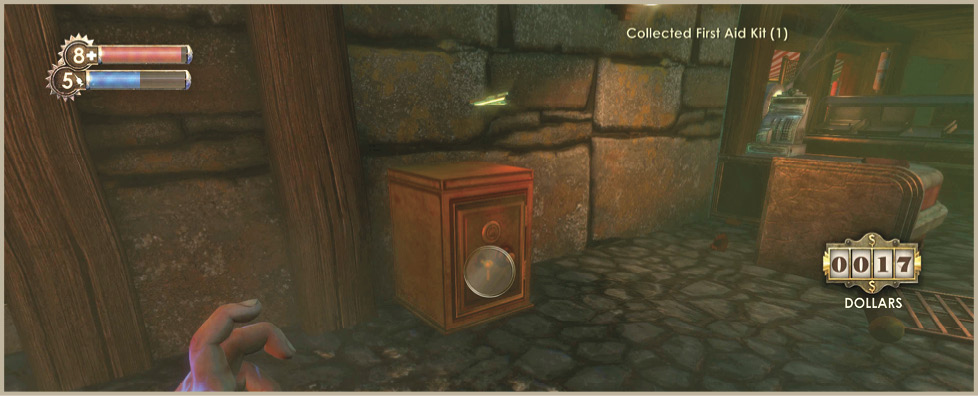
Contents: 16 Armor-Piercing Pistol Rounds, 70 Dollars, Empty Hypo
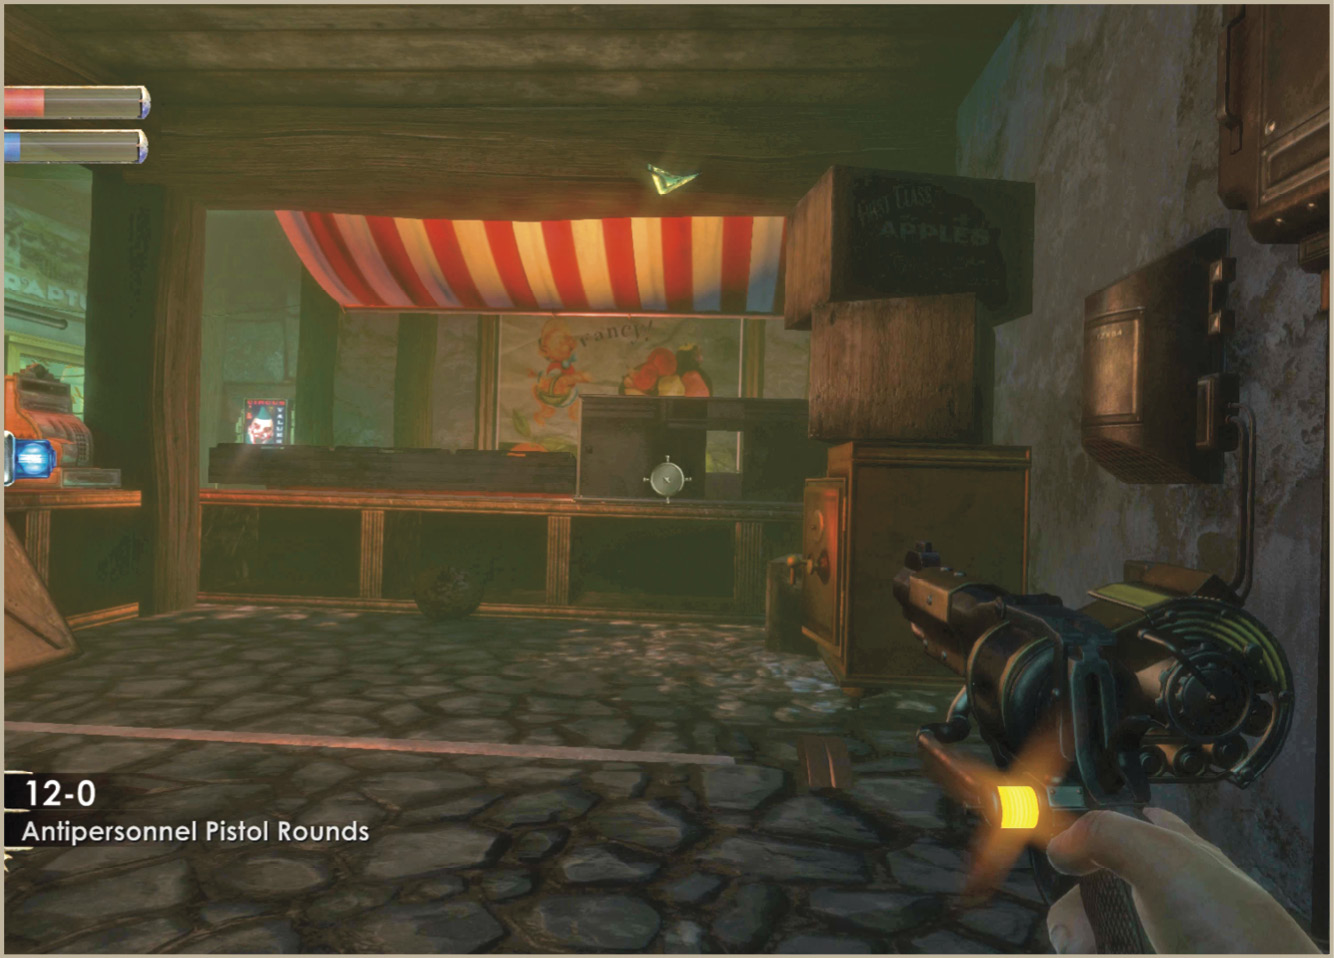
The safe is on the ground behind the counter nearest the Security Camera. Don’t try to access it until after you’ve hacked the Security Camera overhead. Use the crawlspace linking the storeroom and freezer to access it safely.
 Little Sister Encounter
Big Daddy: Rosie
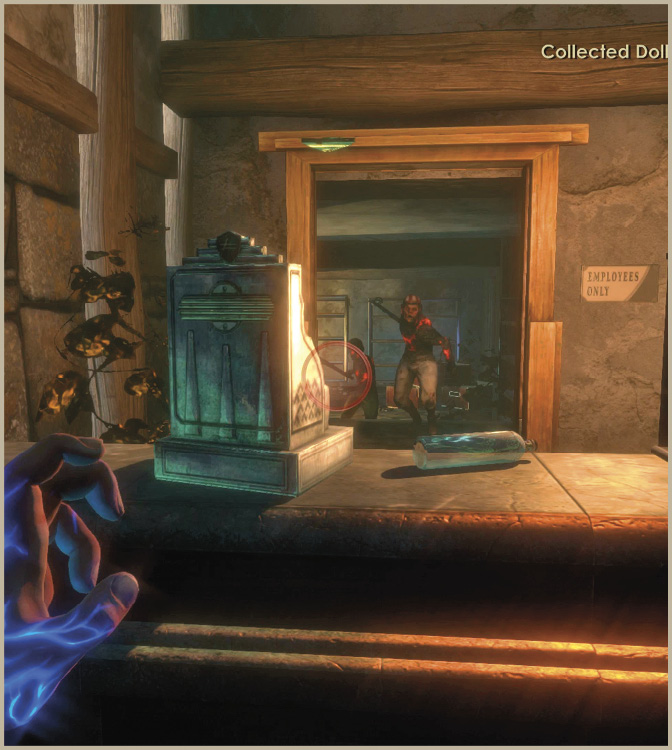
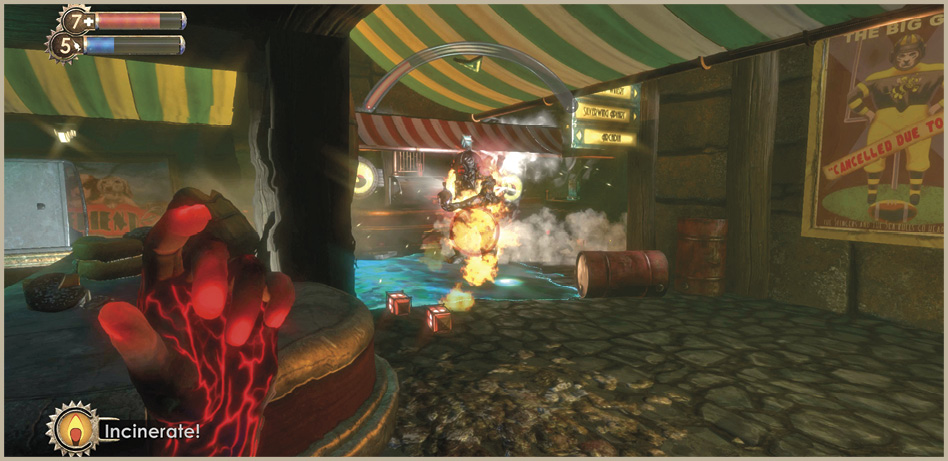
Make a left at the large neon sign for the winery and head through the door marked “Employees Only”. Quickly hack the Turret in the corner of the room near the door and approach the meat counter. Wait for the Big Daddy and Little Sister to come into view and hit the Rosie with the Security Bullseye plasmid. The Security Camera immediately calls for Security Bots and the RPG Turret you hacked near the stairs begins firing. Within seconds, the Rosie is surrounded and you won’t have to fire a single shot!
Remain crouched out of view from the robotic hell you’ve unleashed to avoid being hit by stray gunfire. Listen to the sounds of the battle to see how it progressing. Wait for the tell-tale sobbing of the Little Sister before emerging from your hiding place. But remember, the Security Camera hasn’t been hacked, so you better destroy it if it’s still ticking.
 Safe
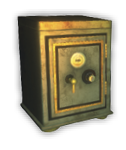
Safe
Contents: 100 Liquid Nitrogen, 4 Frag Grenades, 20 Antipersonnel Auto Rounds
This particular safe is behind the meat counters, near the Turret you hacked when entering the area from the main Market area. It’s a max-difficulty safe, so be sure to get your hands on an Automatic Hack Tool from a U-Invent station if you don’t have one.