
BioShock: The Collection Guide Bioshock Infinite Burial at Sea, Episode 1
Housewares
Close All Vents
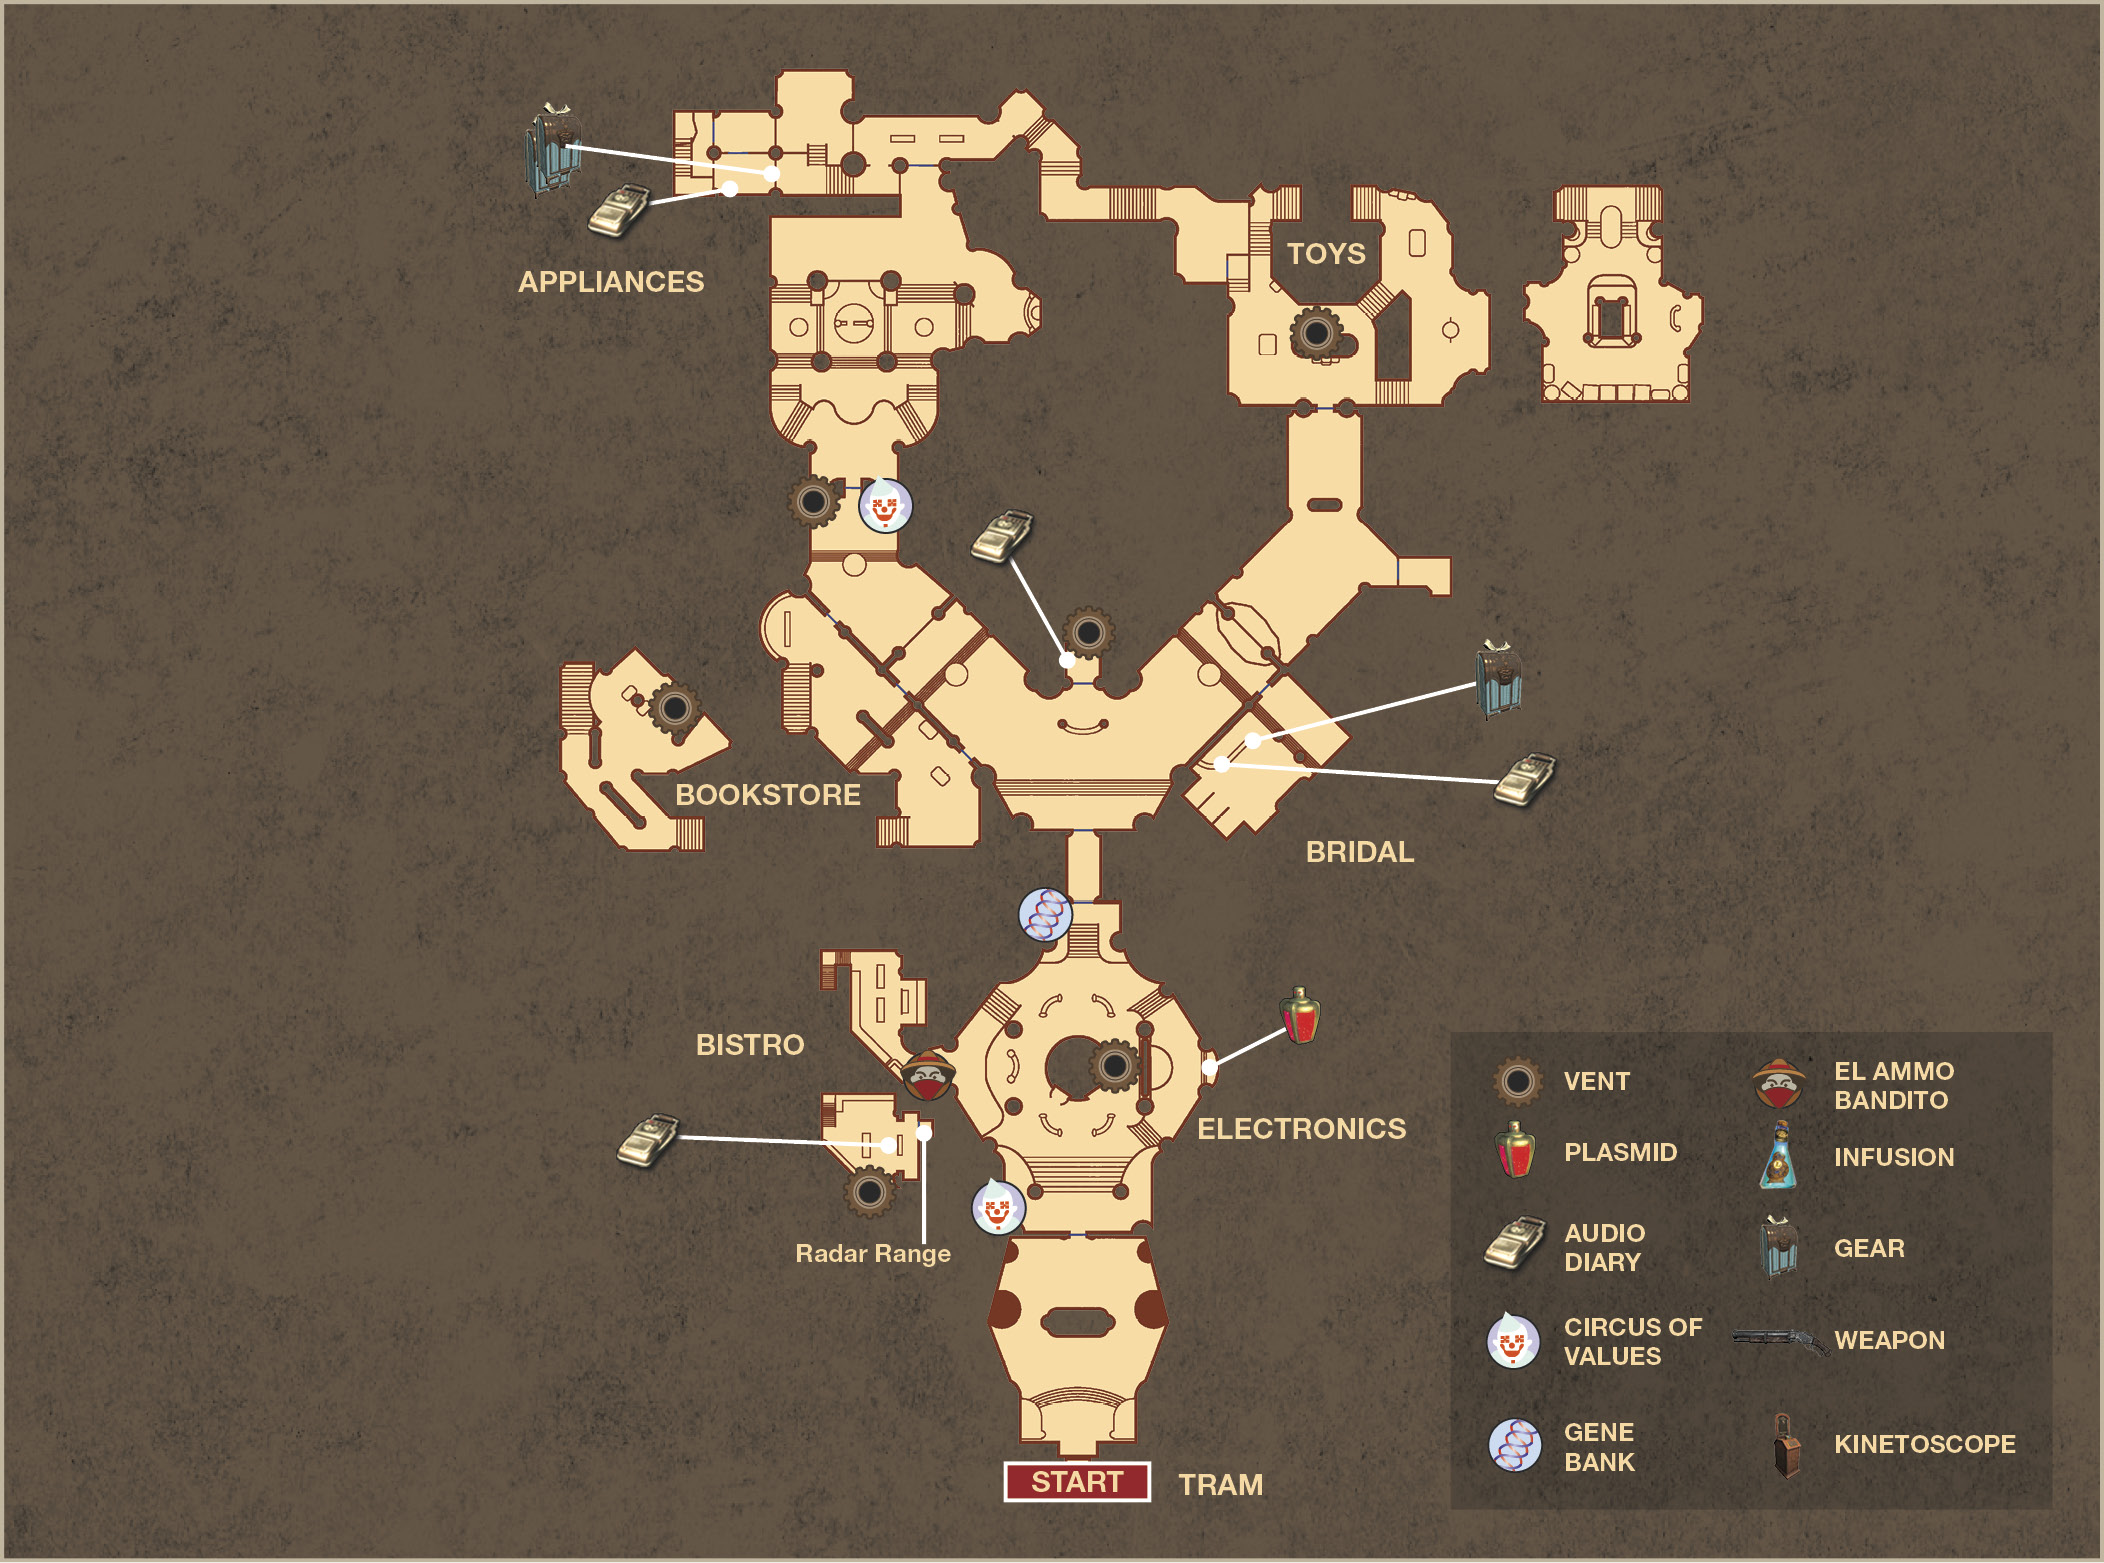
Elizabeth sees Sally disappear into the Little Sister Vent in the Tram Station at Housewares and devises a plan: If you travel throughout Housewares and close all but one of the vents, and then turn up the heat, she’ll be forced out of the one open vent. That’s how you’re going to rescue her! Elizabeth has closed the first vent at the Tram Station. It’s up to you to locate the other five. They’re located in the Bistro, Returns, Electronics, and Appliances departments.
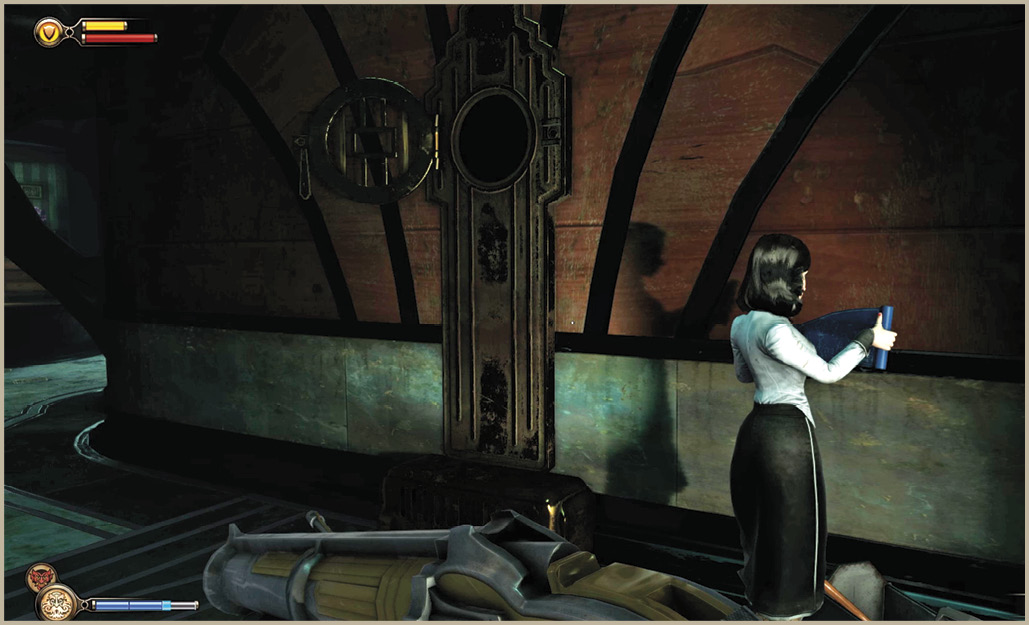
Gather up all of the money lying around in the station and collect the Shotgun from near the door if you haven’t picked one up previously at Pret-a-Porter. First stop, the Electronics department! Have Elizabeth unlock the door.
Electronics
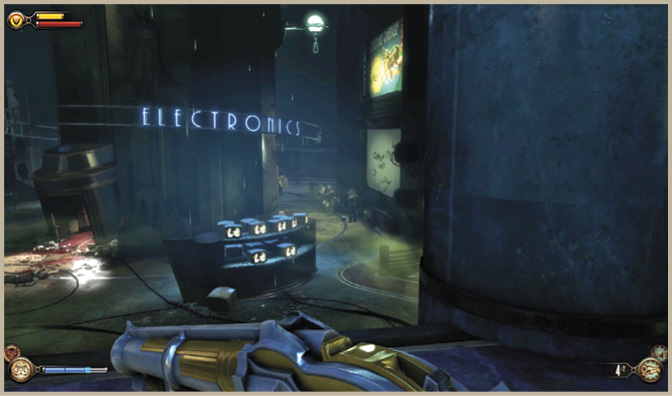
The Little Sister Vent is directly ahead, beneath the advertisement for the Radar Range. Hurl a Devil’s Kiss at the group of Splicers trying to coax her out, then jump down, and leap up to the freight hook that is high above to attack the survivors from this vantage point. Air-Strike the Frosty Splicer if he’s still standing after the initial assault.
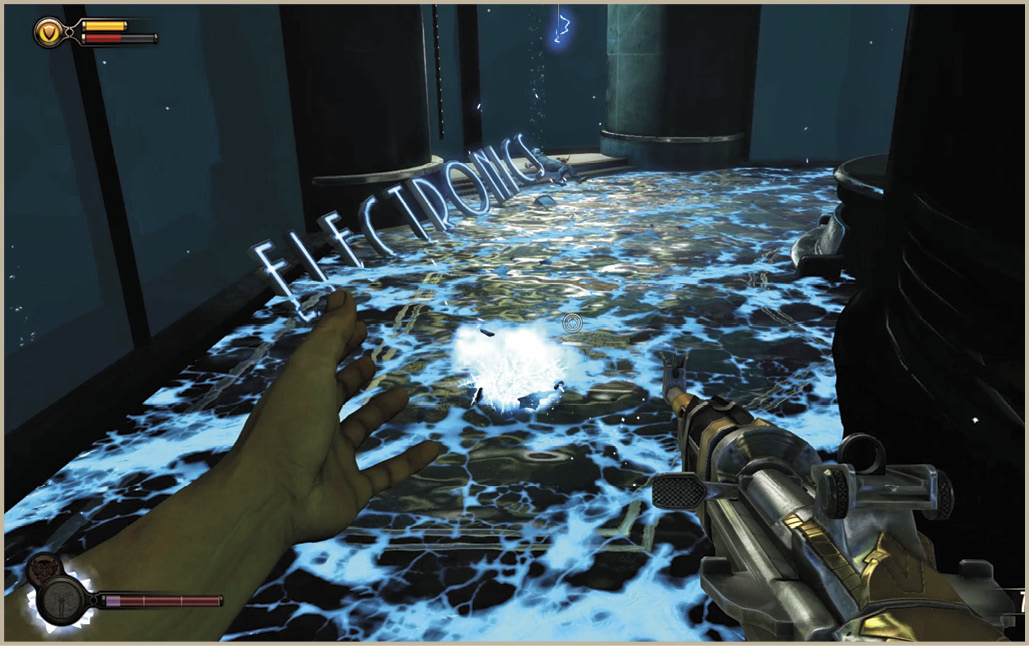
Loot the Frosty Splicer for a Lockpick, then close the vent. Freeze the electrified water with Old Man Winter to make it safe to cross and step out onto the frozen pond to collect the Bucking Bronco Plasmid. It is on the ledge near the fallen sign. There is also an important Audio Diary in the broken elevator that is in the middle of the Electronics area.
The next vent is in the Bistro. Head up the stairs on the left, as viewed from the entrance to Electronics, and explore the restaurant.
Bistro
Cast Possession on the waitress and push toward the stairs to engage the other Splicers in the Bistro. Loot the corpses of the diners on the upper level, then descend the stairs to find the Little Sister Vent. Have Elizabeth open the Gun Automaton Tear and watch for the Splicer to step into the water around the salad bar. Hit it with Shock Jockey.
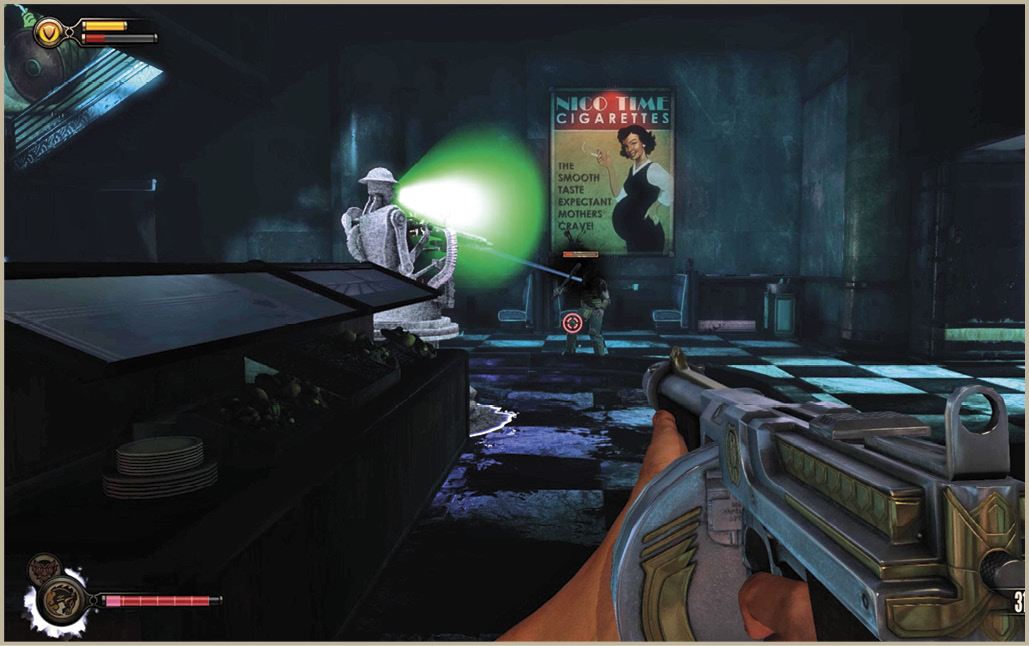
Locate the Audio Diary from the counter and inspect the locked door in the kitchen. The keycode from the Audio Diary found in Electronics can open this door. Enter the code 3-9-5-8 to obtain the Radar Range, a powerful weapon that cooks Splicers from the inside out.
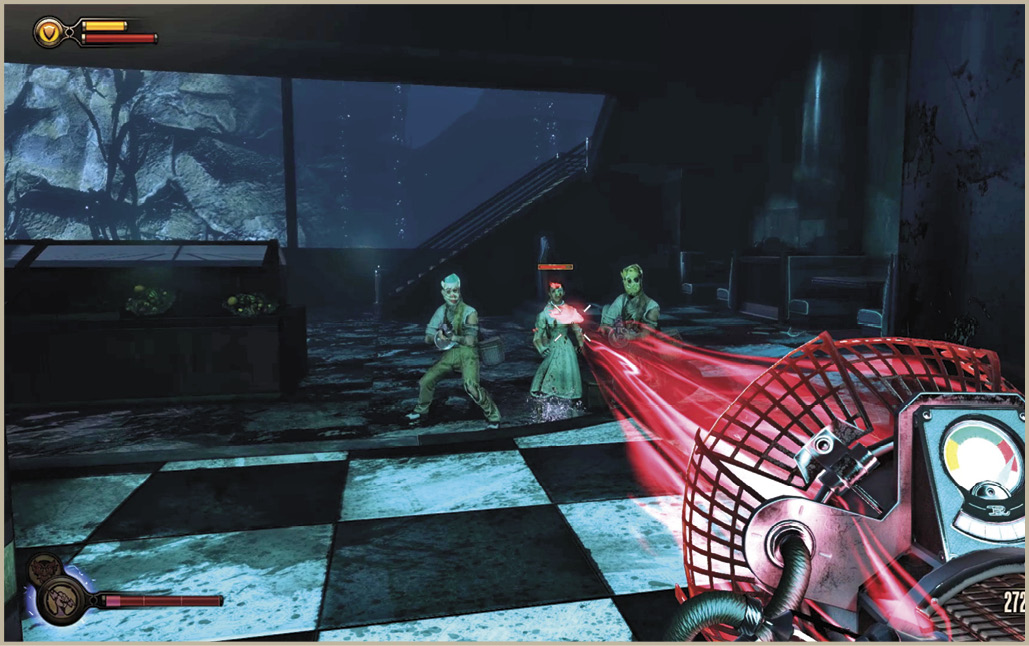
Return to the Electronics department, kill the Splicers that attack, and head north through the door toward Appliances and Toys. The next Little Sister Vent is directly ahead, in the Customer Service room, and behind the counter. Grab the Audio Diary from the desk near the vent and instruct Elizabeth to open the safe (three Lockpicks required) behind the counter on your way out. The safe contains a Gold Bar and some money.
Take a moment to inspect the Bridal store to the left. It requires one Lockpick to enter, but contains an Audio Diary and the Surprise Element Gear, both of which are behind the counter. This new hat gives your bullets a 50% chance to do fire, electric, or ice damage. This is a worthy replacement for your Evil Eye hat.
The entrance to the Toys department is blocked from this direction, so you’re going to have to loop around in a clockwise direction. Use the Decoy Tear on the left to bait the Splicers over, then hit them with Old Man Winter and Devil’s Kiss. Continue to the Bookstore where the next vent is located.
Bookstore
Eliminate the Splicers downstairs and ascend to the second level, preferably via the stairs near the checkout counter on the right. This puts you in a good position to destroy the Gun Turret near the vent. Hit it with Shock Jockey and open fire with the Hand Cannon. Close the Little Sister Vent near the Medical Kits Tear and take a look around the second floor of the Bookstore.
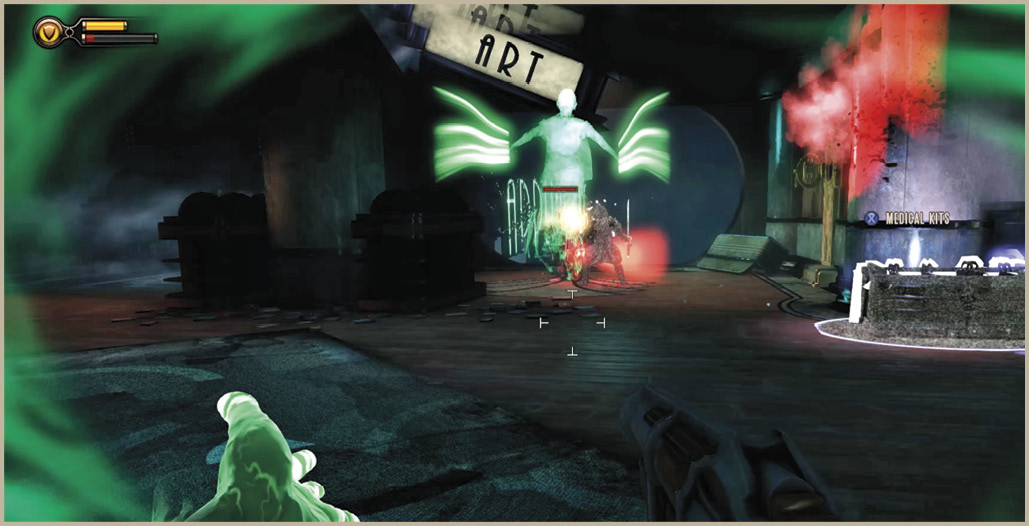
There are three doors leading in and out of the Bookstore. You’ll need to exit via the third one to bypass the metal gate that is cordoning off the Appliances department. The freight hook outside isn’t close enough to leap over it.
Exit the door nearest the checkout counter to find another Little Sister Vent, directly across from a vending machine. Close the vent.
Find the Central Exhaust in Toys
With the final vent closed, you’ll need to locate the exhaust in the Toys department. The only way to get there is through the Appliances department. Instruct Elizabeth to pick the lock to the showroom and head inside.
Appliances
Use your elevated vantage point to take out the half-dozen Splicers down below. Players wishing to attack from afar can use Devil’s Kiss and the Carbine to pick off the more distant enemies. Descend the stairs and hit any foes close by with Bucking Bronco and the Radar Range. It helps to use the Decoy Tear in the back left corner, since this will buy you some time to let your Shield recharge.
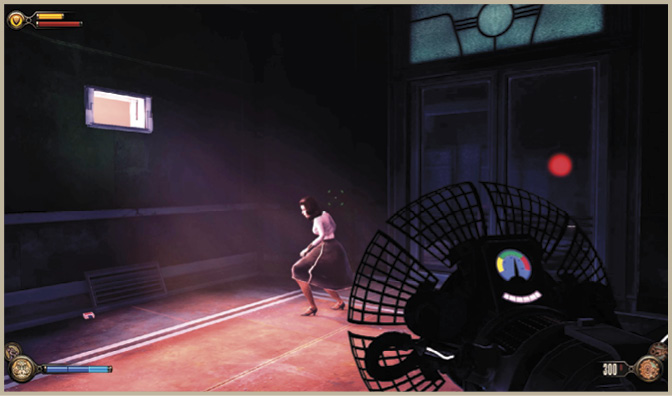
Gather up the Carbine ammo and Medical Kits from the Tears, then approach the locked door. Elizabeth will offer to crawl through the vent on the left, provided Booker gives her a boost up. Have her open the Decoy Tear before you lift her up.
Several Splicers attack while Elizabeth is struggling with the lock from the other side of the door. She won’t be able to open any Tears from outside the room, so you’ve got to be careful. Cast Possession on a Frosty Splicer, then switch to Bucking Bronco or Old Man Winter to prevent the other attackers from doing damage. Equip the Radar Range or Shotgun and finish them off while strafing the perimeter of the area.
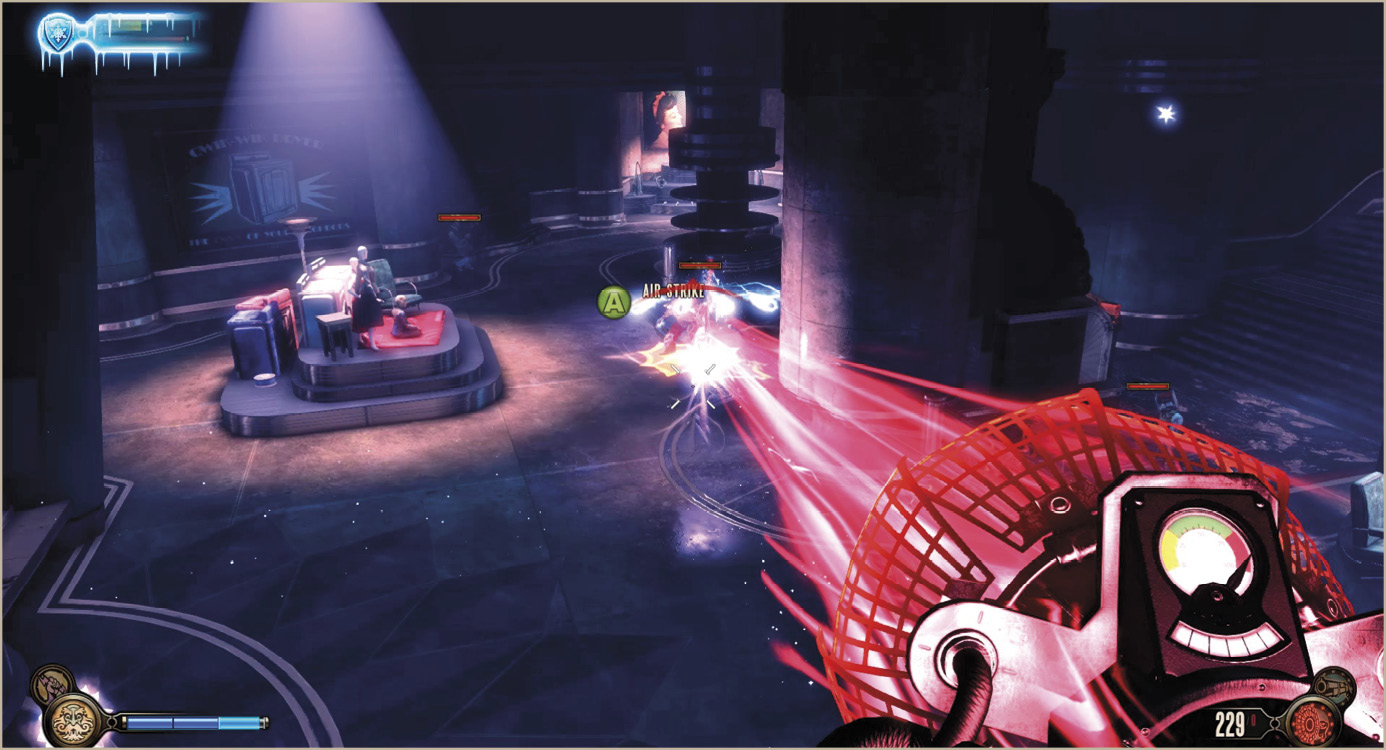
Enter the staff area of the Appliances department, loot the lockers, and freeze the water on the left to make another ice bridge. The final Audio Diary is on the desk in the office to the left along with the Roar to Life Gear. This shirt increases your movement speed and damage dealt for five seconds when your Shield breaks. It also instantly refills your current weapon clip—a must-have in tricky confrontations!
Follow the winding path up the stairs. Continue past the excess toys and crates to the entrance to the toys department.
Toys
Take a minute to look around the department’s lower levels. Use the Tears to top off your health and pick up any EVE bottles you need. The exhaust vent you seek is on the upper level of the department, not far from where you enter. It’s on the side of the mushroom-themed display that faces the pneumo line.
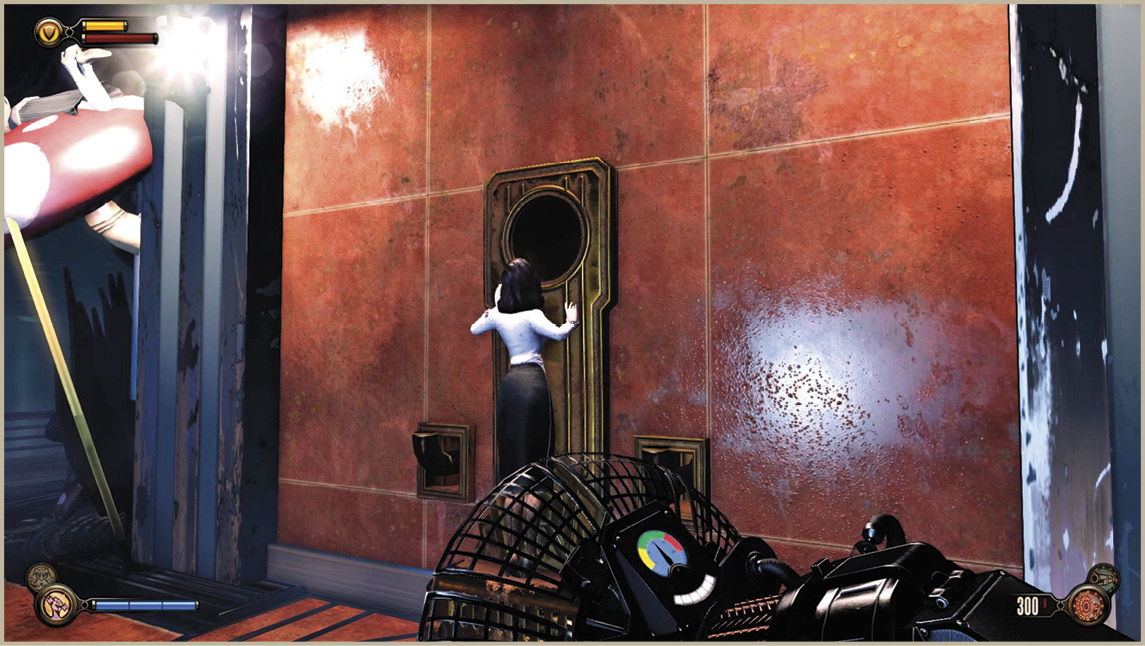
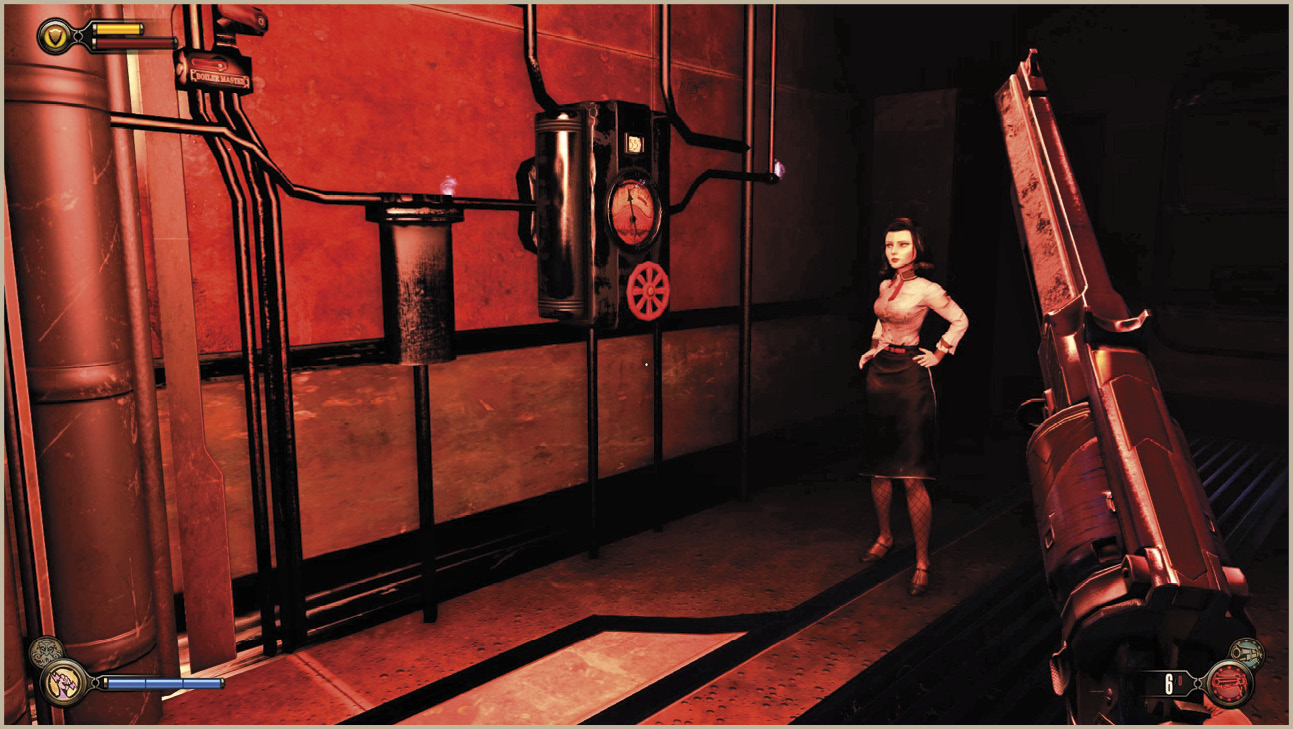
Loop around the divider with the vent. Proceed through the open doors and down the hall to the employees-only area on the left. That’s where you’ll find the thermostat.
Eliminate the Big Daddy
Hurry back to the exhaust vent in an effort to pull Sally out before she burns. Look into the vent and grab the Little Sister as she appears. Booker inadvertently scares her, causing her to scream for her protector. And you know what that means…
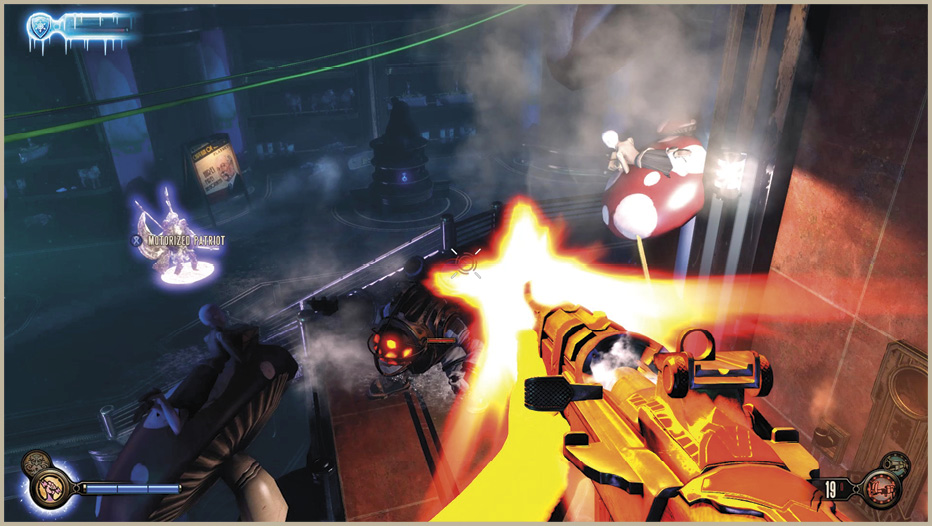
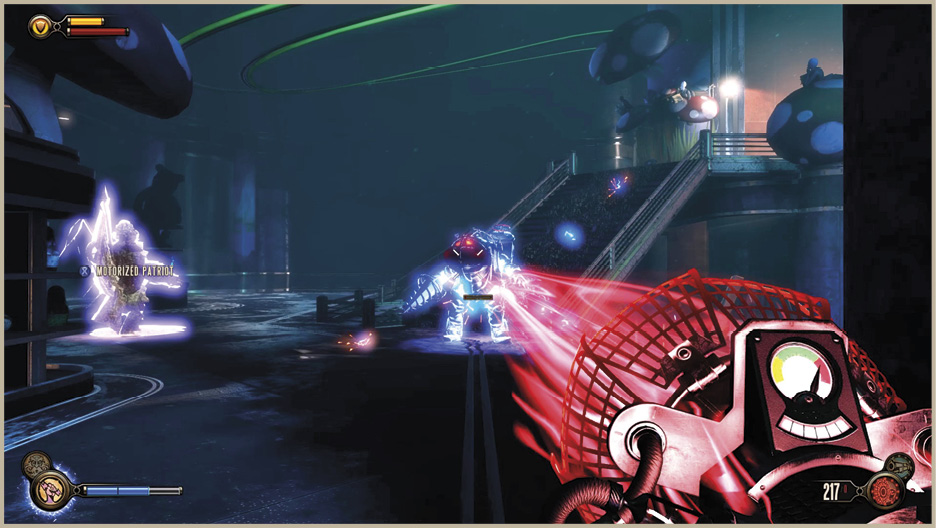
The only way to rescue Sally is to eliminate the Big Daddy assigned to protect her. Booker dodges its retractable Drill attack once, automatically, but you’re not likely to be so lucky a second time. Flee to the safety of the pneumo line, instruct Elizabeth to open the Tear for the Motorized Patriot, and open fire with the Hand Cannon from the pneumo line as it snakes around the Toys department.
The Big Daddy tries to hit you with its retractable Drill if you go too slow. If hit, you’ll be yanked off the pneumo line to where it can hit you with another melee attack. Leap downstairs and use the Medical Kits Tear to heal. Equip Shock Jockey, the Shotgun, and move in for the kill.
Race back to the main level and look in the vent to try and rescue Sally once the Big Daddy has been killed. Doing so concludes Episode 1 of Burial at Sea. Turn the page for our coverage of Episode 2.