BioShock: The Collection Guide Bioshock 2 Walkthrough Siren Alley
Plaza Hedone
The Pump Control Substation is off to the east of Plaza Hedone, but there are a number of places to explore and items to acquire before going there. For starters, search the apartments on the west side of the second floor, near the crossing walkways. Locate the Audio Diary there, then climb the stairs in the very back of the southwest room to reach the third floor. Travel south across the walkways to the Smuggler’s Hideout room to find another Audio Diary and safe.
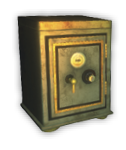 Safe
Safe
Contents: 120 Dollars, 3 Auto-Hack Darts, 4 Phosphorous Buck.
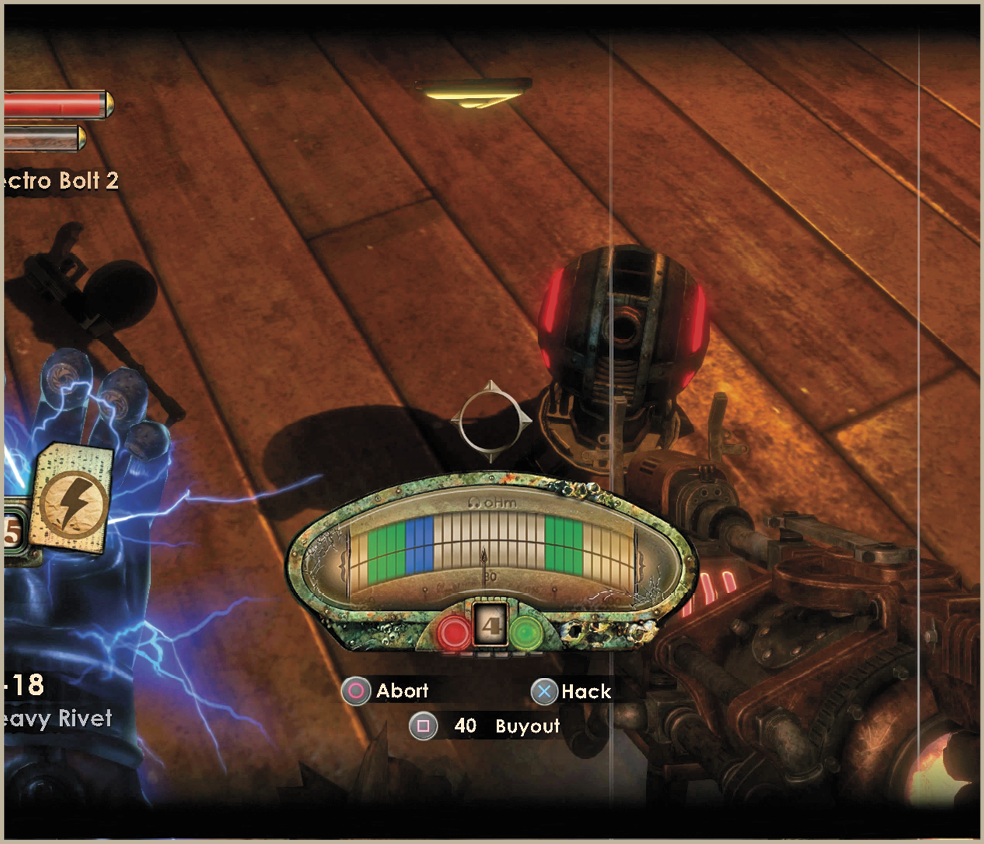
Use the stairs in the southwest apartment on the second floor to reach the third floor balconies, then continue south across the bridges to the Smuggler’s Hideout in the room beyond the Turret. There aren’t any Security Cameras watching over this safe, but beware that there aren’t any Bot Shutdown Panels nearby if you fail the hack. The safe has some very valuable contents—play it careful and don’t go for the blue zone bonus unless you have a real knack for hacking.
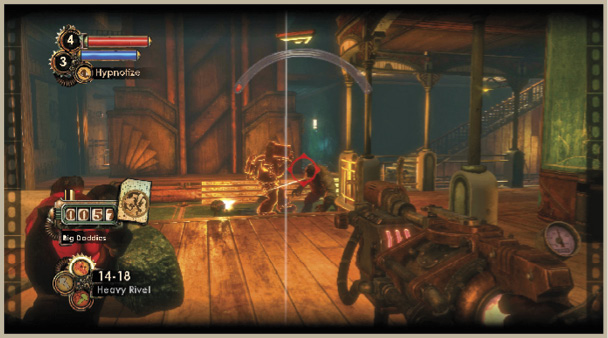
Big Daddy: Rumbler
The Big Daddy roaming around Plaza Hedone eventually makes his way to a Sister Vent and retrieves a Little Sister if he hasn’t already. Ignore the brute for now and head to the third floor balcony, then carefully pick up the fuel drums and drop them onto the street below (press the Reload button to drop them gently). Descend to the street and adhere a Trap Rivet or two to the fuel drums, positioning them so they are blocking the walkway between the stairs and the vending machines. Make sure you have already hacked the Security Camera in the corner near the orphanage as well.
Wait for the Rumbler to approach the area where you set your traps, then deploy a Mini-Turret, splash him with Security Command, and open fire with the Speargun set to Rocket Spears. Backpedal away from the Rumbler to draw him into your explosive traps and continue painting him blue with Security Command so that the Mini-Turrets he deploys target him instead of you. Lead him around the corner towards the Security Camera and watch as the Security Bots come whirly-birding out of hiding to help you finish him off.
 Little Sister Encounter
Gather #1: Second Floor room in plaza Hedone
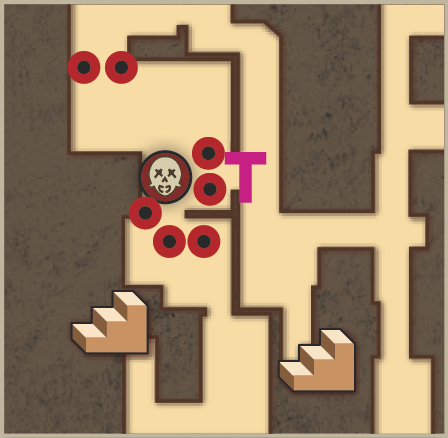
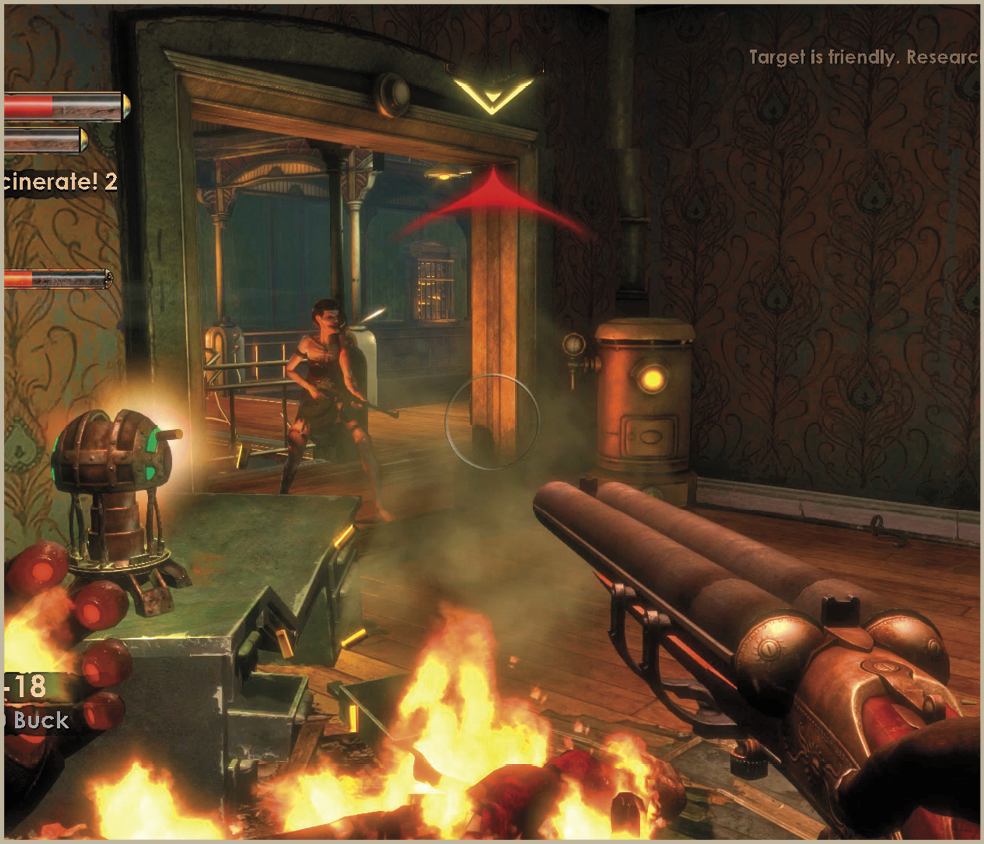
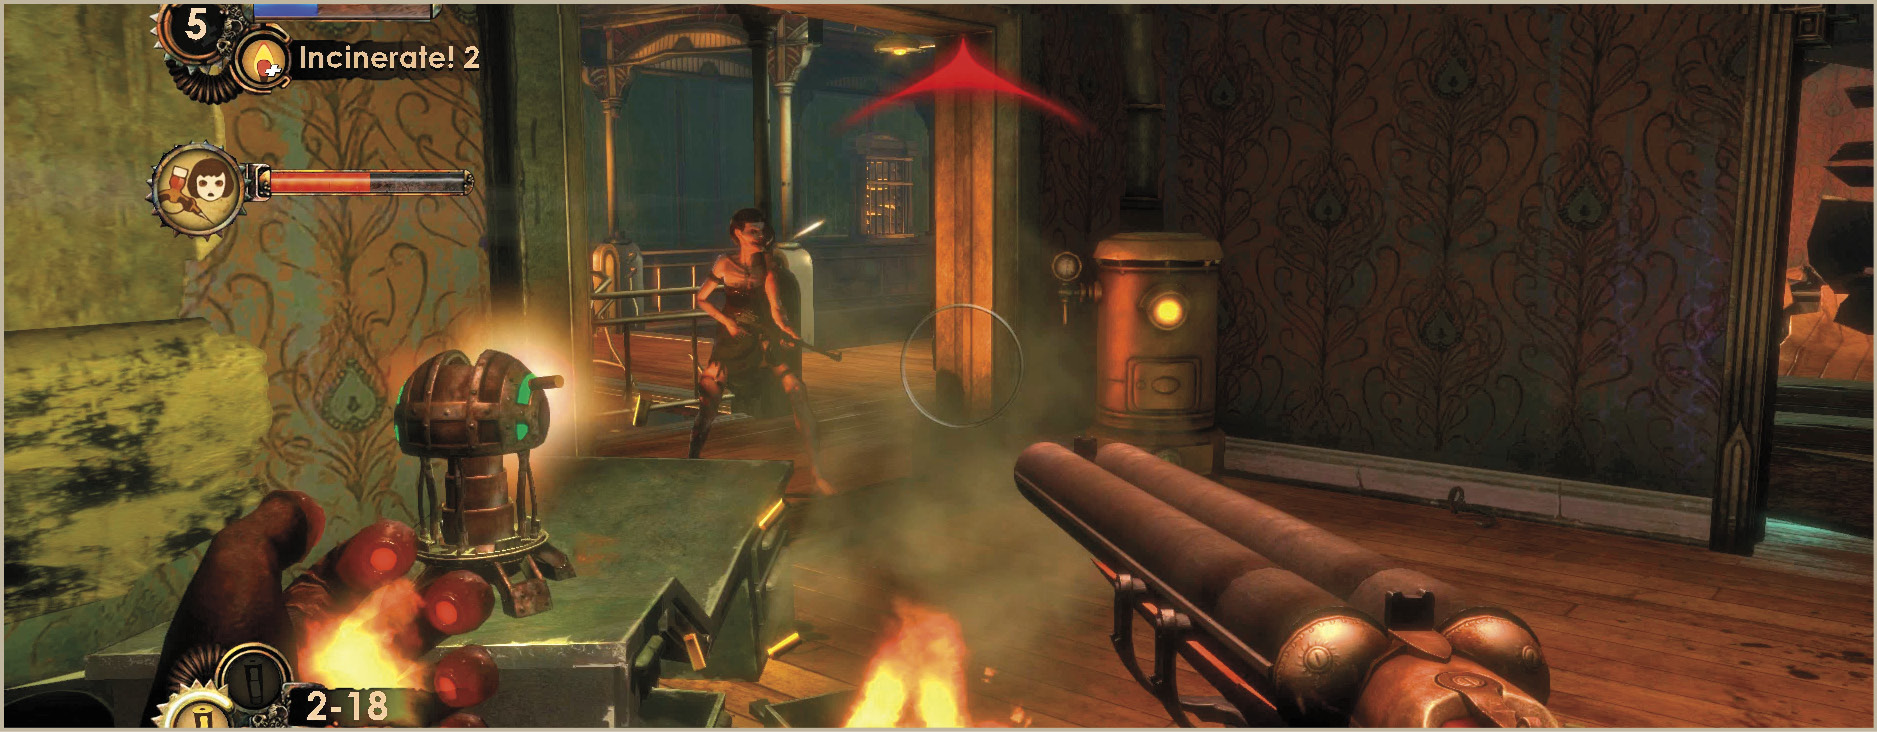
Enter the room on the east side of the second floor to find a Gather corpse lying in front of the door. There are a couple of ways in and out of this room, so cover the entrance from the north room with Trap Rivets and place a Mini-Turret outside the door directly in front of the corpse. Place some more Trap Rivets near the stairs in the back of the adjacent room to eliminate any Splicers heading down the stairs from the third floor. Most of the Splicers that attack are Spider Splicers that arrive through the door nearest the corpse. Use Winter Blast to freeze them as they enter, and use the Research Camera to load up on Research Points of this maniacal variety of Splicer before you blast them with the Shotgun.
Gather #2: outside the smuggler’s hideout
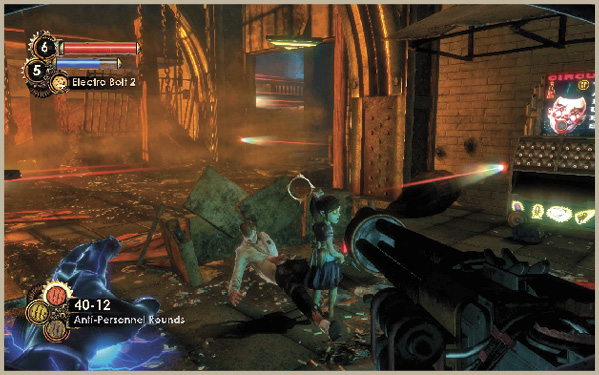
It’s best to perform the second Gather from the corpse near the Turret outside the door to the Smuggler’s Hideout (on the third floor of the Plaza Hedone area). Set up Trap Rivets near the stairs to the left and right, and set the Little Sister down on the corpse near the Turret. Keep to the corner of the area to make sure the Turret has a clean line-of-sight on the approaching Splicers. Charge up Hypnotize 2 and befriend the Leadhead Splicers on the stairs before the Turret rips them to pieces. The Leadhead Splicers you befriend won’t last long against the others, so be ready with Winter Blast to freeze any that get too close. There’s a good chance you won’t have to contend with Spider Splicers during this Gather, but enough Leadhead Splicers will arrive to give you a challenge.
Big Sister Is Coming
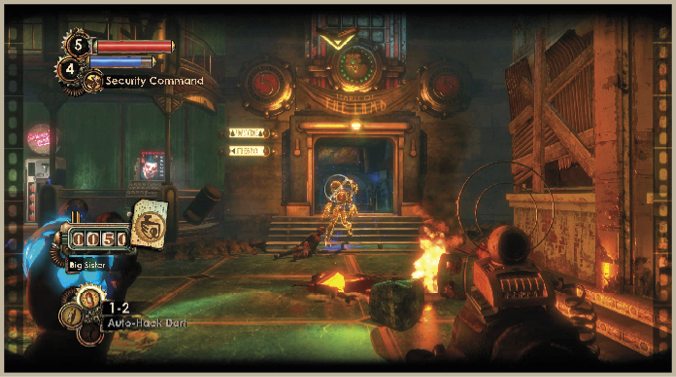
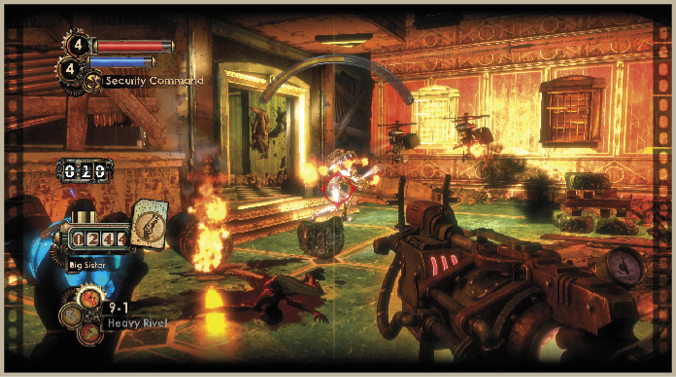
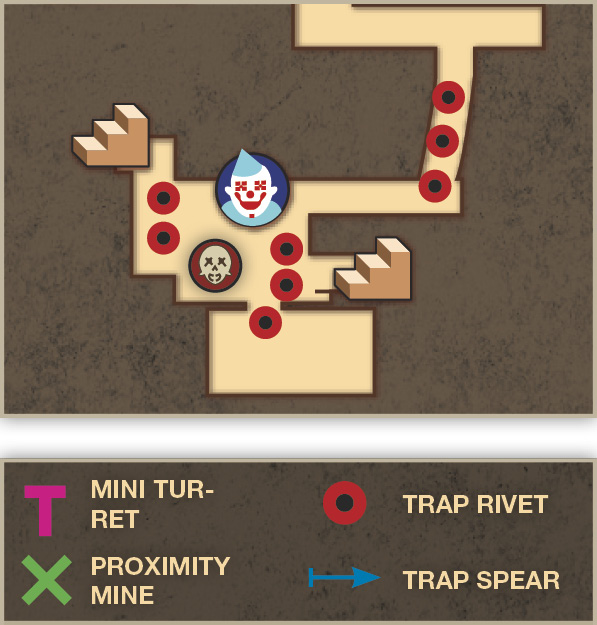
Choosing to deal with all three Little Sisters in Siren Alley certainly brings a Big Sister out of hiding. Fortunately, there are many Sister Vents in the area and you can effectively control where she attacks. Wait to harvest or rescue the third Little Sister until you are at the ground floor of Plaza Hedone and the Security Camera on the east side of the area has been hacked. Return the Little Sister to the nearby vent to make your decision, then hurry back to the area near the Security Camera. Set up a few Trap Rivets on the floor outside the door to the orphanage and deploy a Mini-Turret on the ground in front of the Security Camera. Grab a nearby gas cylinder with Telekinesis and wait for her to appear, then throw it at her (just make sure the explosion doesn’t destroy the Security Camera).
Have the Research Camera ready for the Big Sister when she appears and start filming at once. The Security Camera summons a pair of Security Bots, and the Mini-Turret opens fire on her. Stand back and begin hurling fireballs with Incinerate! and, for added Research Points, use Hypnotize 2 to befriend any Splicers who happen by. Mix up your attacks for added points and hit her with Phosphorous Buck and your Drill Dash attack, especially if she’s distracted. If you’d prefer to keep away from her, consider climbing up to the balcony above and using the Speargun and Rocket Spears to snipe her.
 Safe
Safe
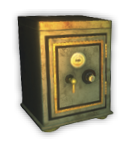
Contents: 6 Heavy Rivets, 2 Spear Ammo, First Aid Kit.
Ascend the stairs in Pump Station Access to the second floor walkway and use the Hack Tool to fire an Auto-Hack Dart through the accordion gate at the Door Control on the right. This opens the gate from the inside and avails you to the safe and Audio Diary in this locked room. This is a tricky safe to hack, and the contents aren’t entirely worth your bother. Just remember that there is a Bot Shutdown Panel downstairs—run past any Security Bots that approach and disable the alarm if it’s triggered.
Continue east towards the Pump Control Substation 5 and take a moment to use the Power to the People machine in Lamb’s Office on the left. You should have a Security Bot or two accompanying you—if not, return to a nearby vending machine and purposely fail a hack attempt to get some.
 Safe
Safe
Contents: 95 Dollars, 3 EVE Hypos, 4 Phosphorous Buck.
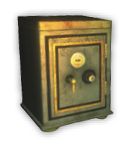
This is arguably the most well-hidden safe in all of Rapture. Enter Joe’s Green Groceries and find the “conspicuous switch” behind the counter beneath the register, and press it. Move through the secret lab behind the storefront, then continue around the right-hand side to remain upstairs. Enter the office to the south and press a second switch on the side of the desk. This makes the poster slide away from the wall, revealing the safe. Nobody comes to bother you during the hack, provided you already hacked the Security Camera and Turret in the previous room.