BioShock: The Collection Guide Bioshock Infinite Walkthrough Flight of the Songbird
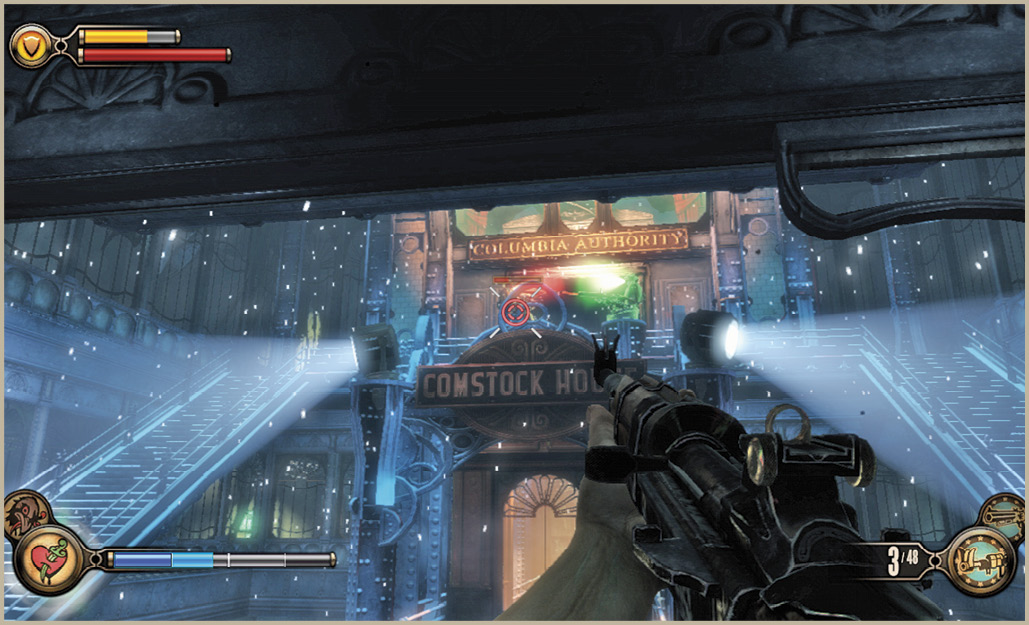
Comstock House
First encountersBoy of Silence Collectibles
|
 Infusions: 1
 Voxophones: 8
 Kinectoscopes: 3
 Telescopes: 1
Bridge to Comstock House
Comstock House is on its own floating island in the sky, built upon the three faces of the Founding Fathers. The island is connected to Emporia by two mighty cables from a bridge. Pull the lever at the end of the bridge, amidst the lightning storm, to reel in the house. As soon as Booker pulls the lever, Songbird arrives on the scene and throws him through the window in the belfry of the building in Victory Square, high above the hand-scan gate. Booker wakes to the sight of Elizabeth pleading with Songbird not to hurt him, and Songbird accepting her bargain.
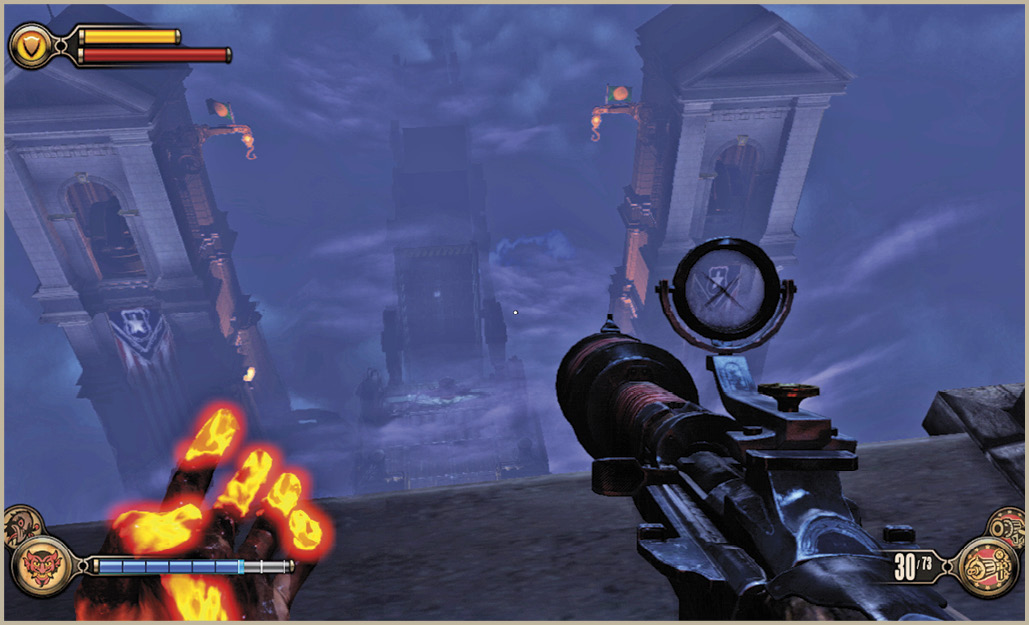
You need to get across the bridge to Comstock House in a hurry if you’re to ever see Elizabeth again. Move carefully to the hole in the wall where Songbird was, and leap to either of the freight hooks down below. From there, drop to the bridge near the lever and wait for the drawbridge to lower. Cross the bridge toward the Tear at the base of the stairs, and continue up the steps and through the doors to the home.
Search for Elizabeth
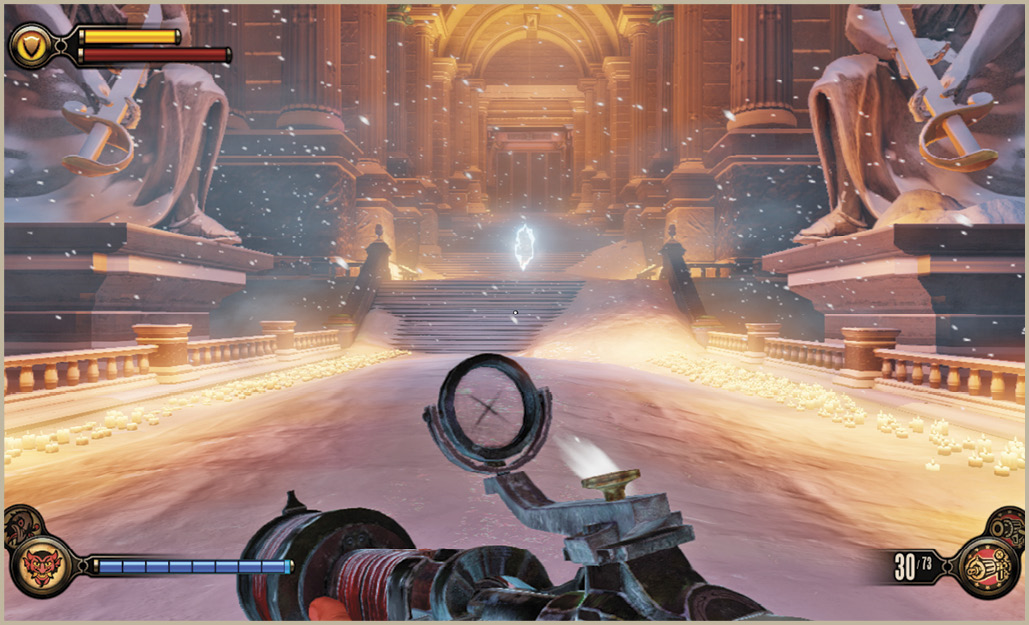
The Tears in Comstock House are Elizabeth’s trail, a trail she’s left just for you. Continue through the doors to the room with the large Elizabeth statue. Loop around the candlelit corridor on either side of the statue to find another Tear behind it, and continue through the door to the next area.
Boy of Silence

Comstock House Boy of Silence’s Vitals
| Health | Ranged Damage | Melee Damage | Special Damage | Special Attack |
|---|---|---|---|---|
|
N/A |
N/A |
N/A |
N/A |
N/A |
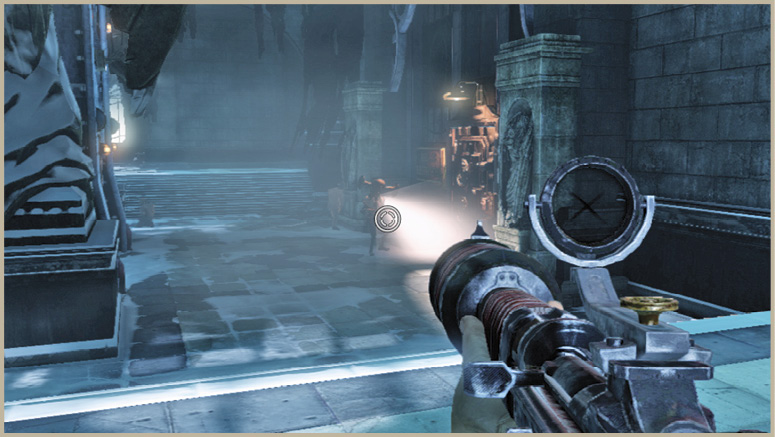
The Boy of Silence is an alarm that whips the home’s crazed denizens into a frenzy. There is no way to harm the Boy of Silence; all you can do is try to sneak past him without being detected. Use the available cover and monitor the flashlight-like beam of light that shines from his eyes. This light turns yellow if the Boy of Silence starts to detects your presence—immediately run and hide before it alarms the others. Shooting him, casting Possession, or making any sudden movements near the Boy of Silence immediately causes him to go on alert and vanish, but not before an army of crazed foes comes rushing forth to attack.
The wild attackers that rush forward aren’t necessarily hard to kill, but there is very little ammo and even fewer Salts available in Comstock House. And Elizabeth isn’t there to keep you supplied. Make your shots count, and only use Vigors that consume small quantities of Salts, such as Murder of Crows, Shock Jockey, and Bucking Bronco. The accompanying maps in this chapter reveal the locations of weapons that will almost certainly come in handy—this is no time to hold onto weapons for which you have no ammo!
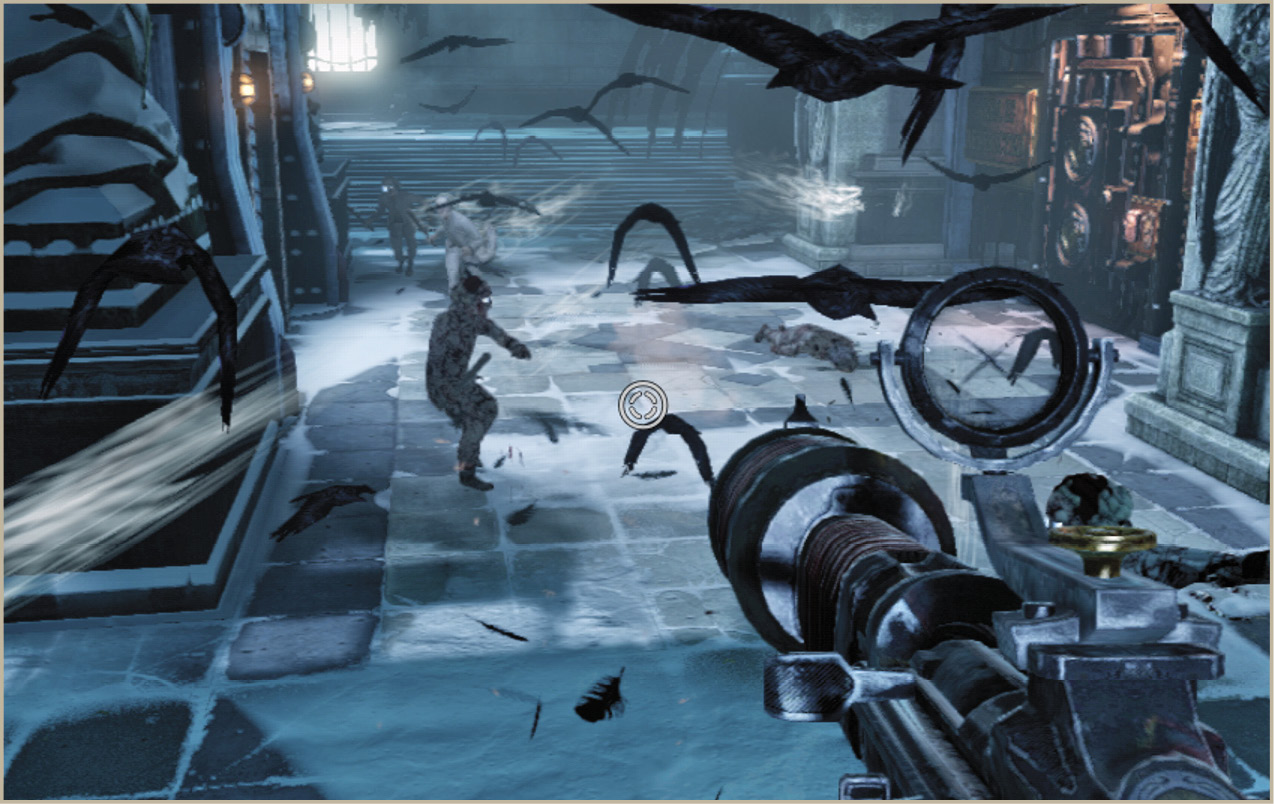
The Boy of Silence was standing watch by the door to a restricted area. Even with the Boy of Silence chased off, the door remains locked. Booker must head to the Warden’s Office on the third floor to unlock the door. Use the intercom beside the door to call for the elevator.
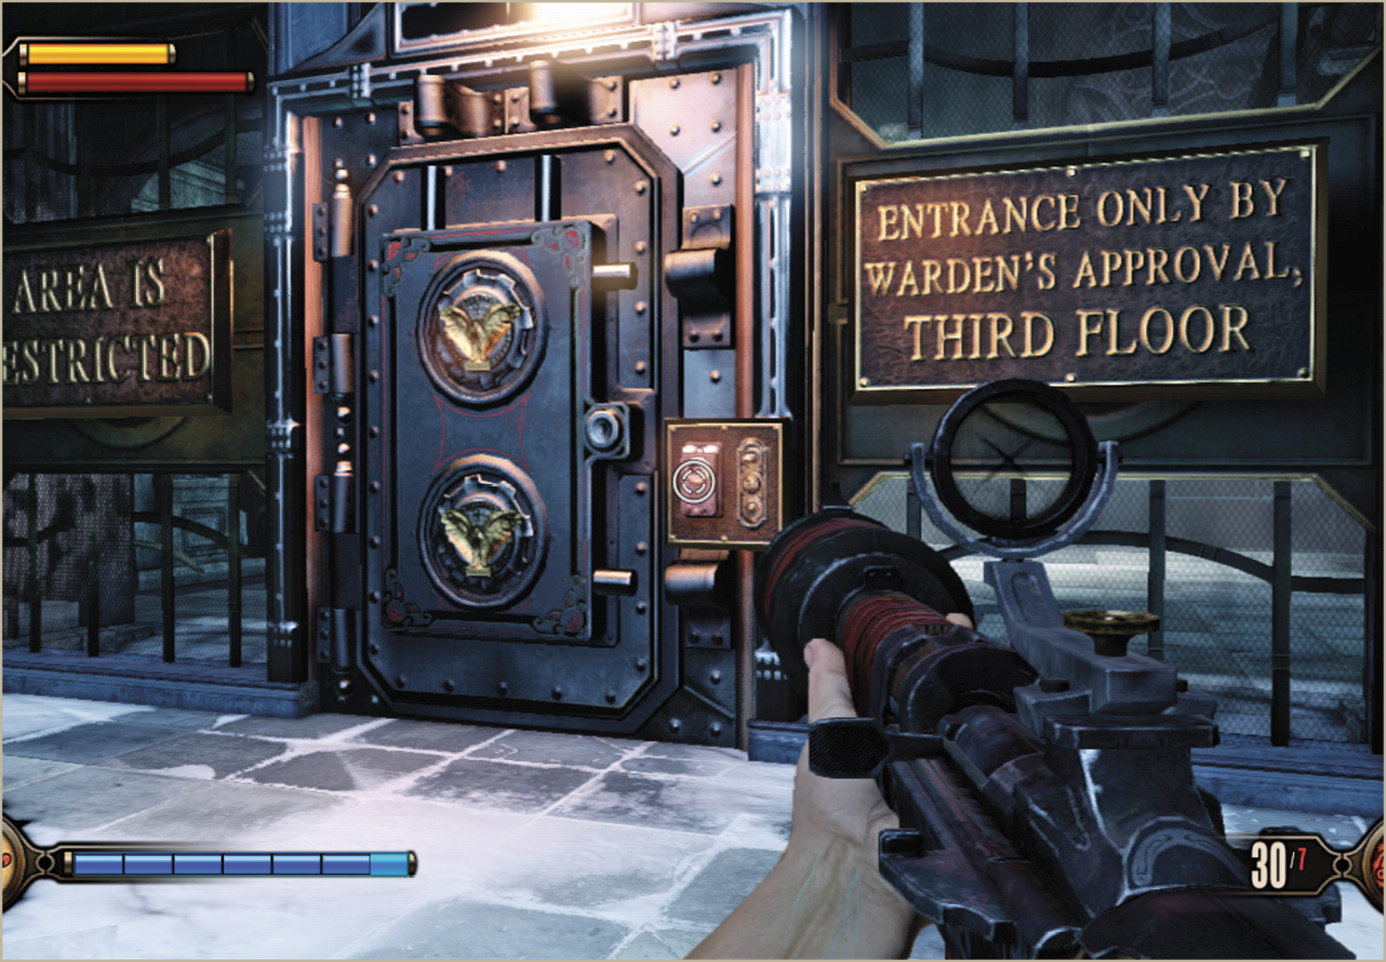
Go to Warden’s Office
The Atrium
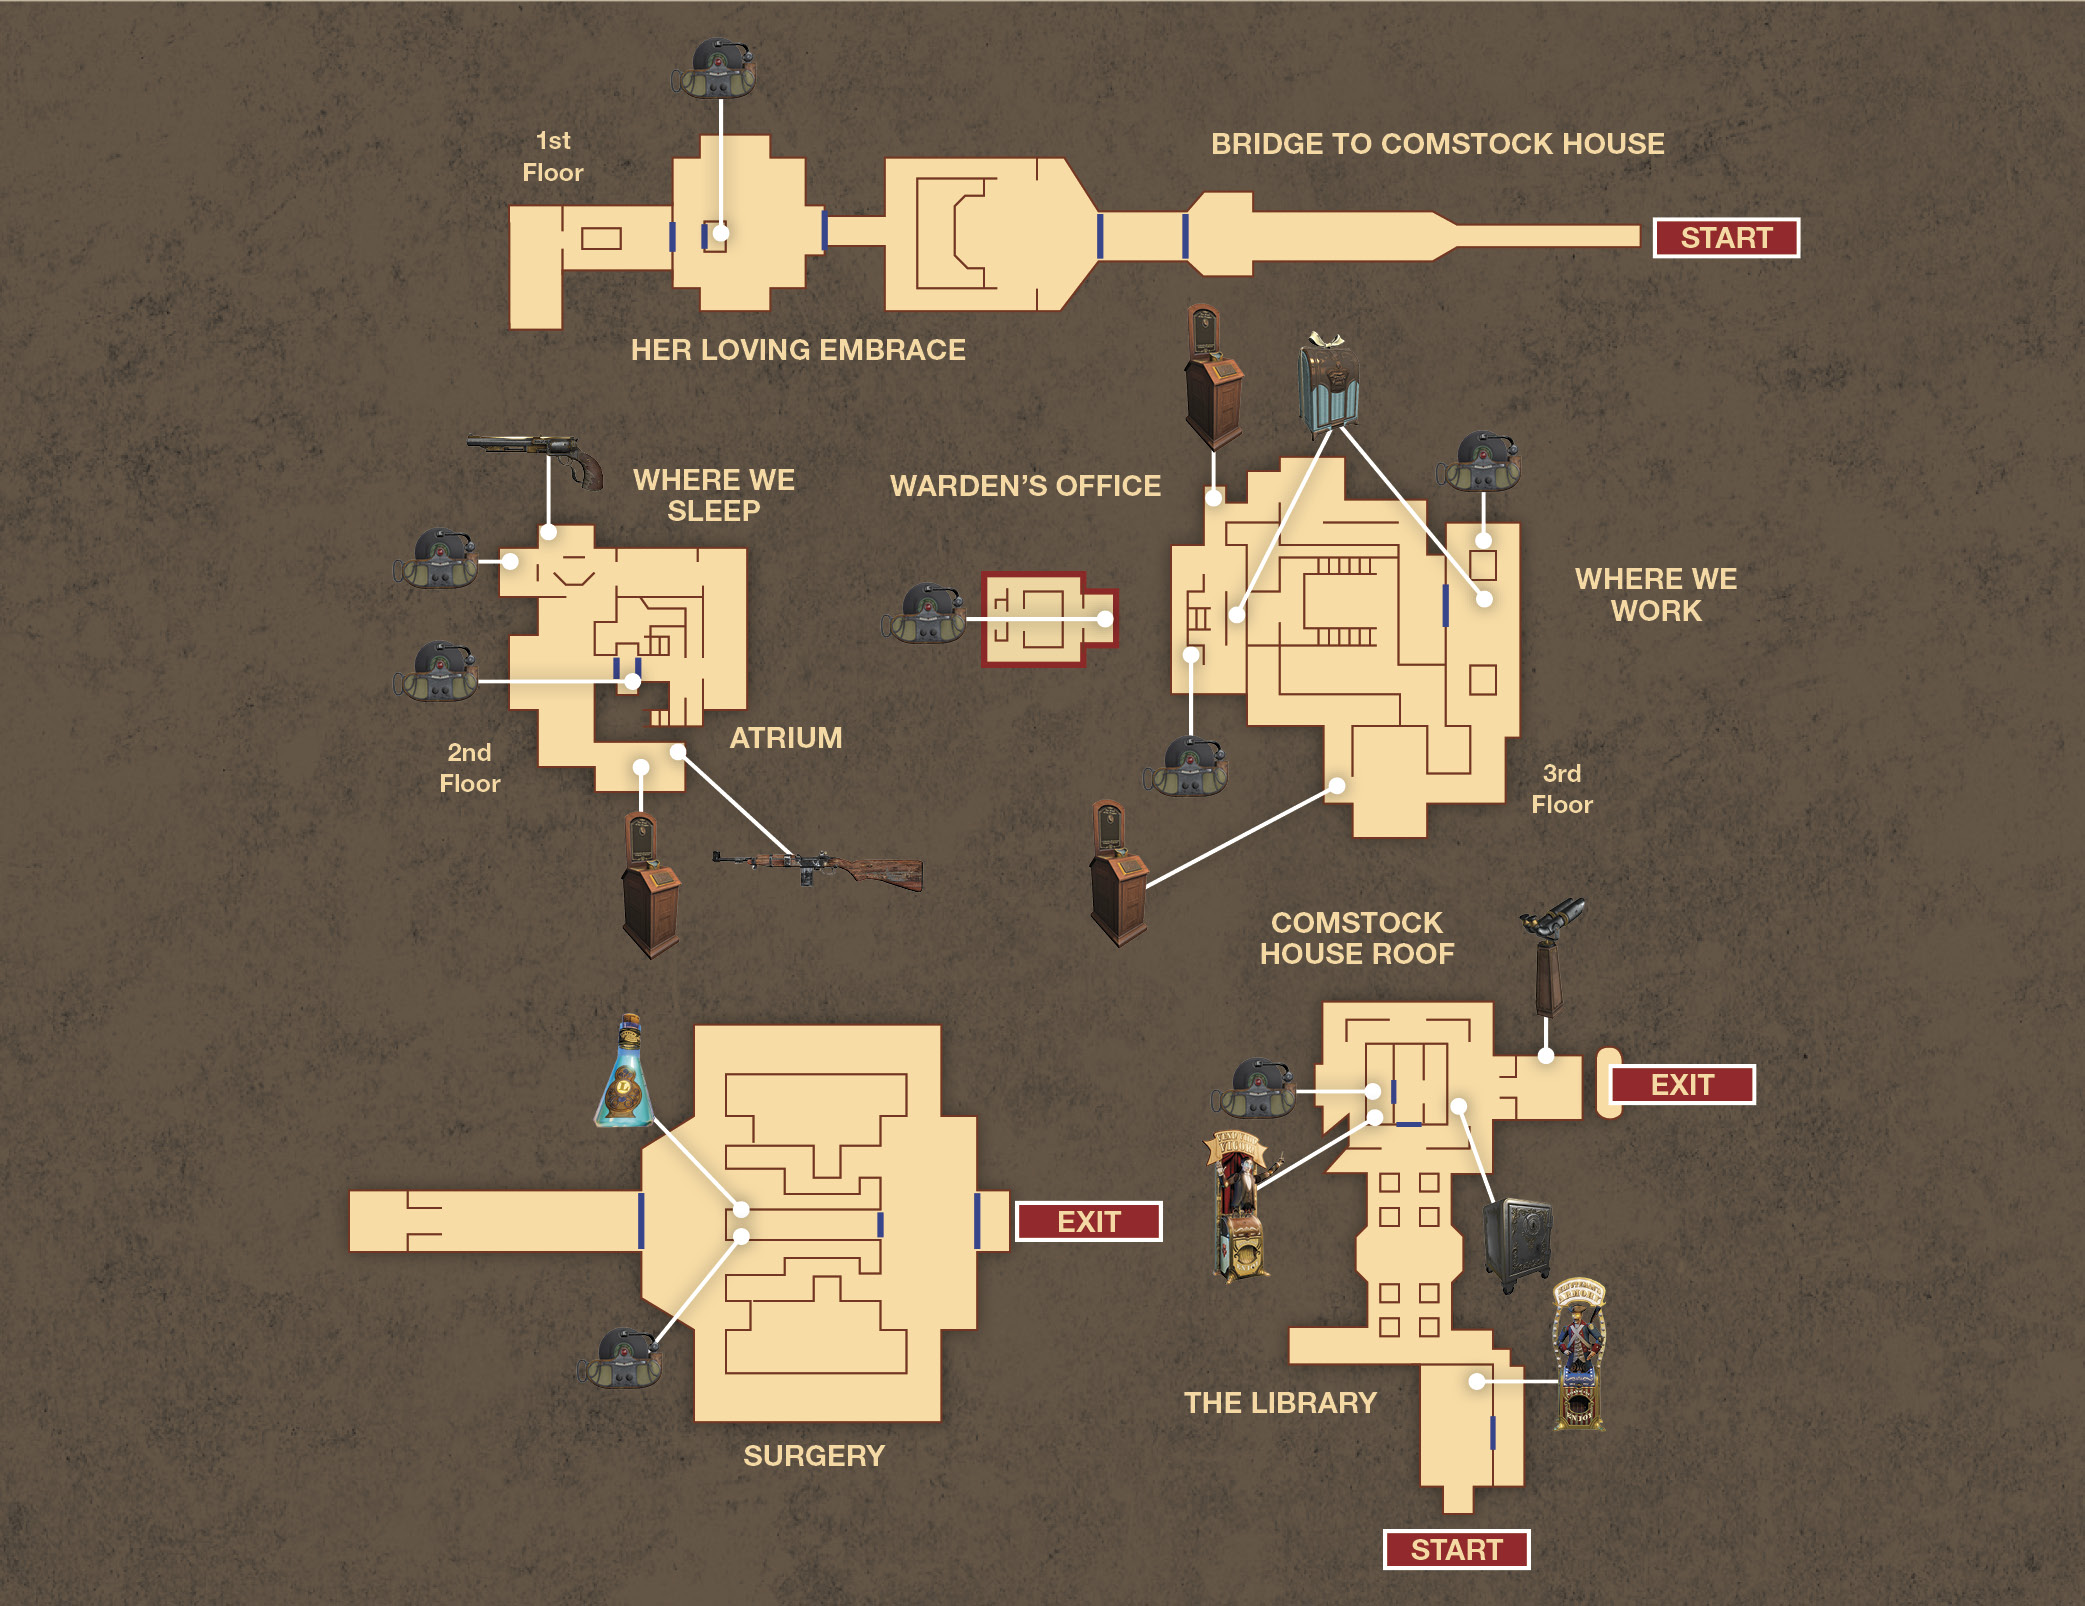
Exit the elevator and approach the Boy of Silence. He’ll once again incite a riot among the dead and vanish into the ether if he senses your presence. Continue to use your abilities to take out the melee-fighters incited by the Boy of Silence, and search their corpses for a chance at some loot, provided you’ve equipped the proper Gear, since the Lunatics never have loot otherwise. A nearby Hand Cannon and Carbine will certainly come in handy.
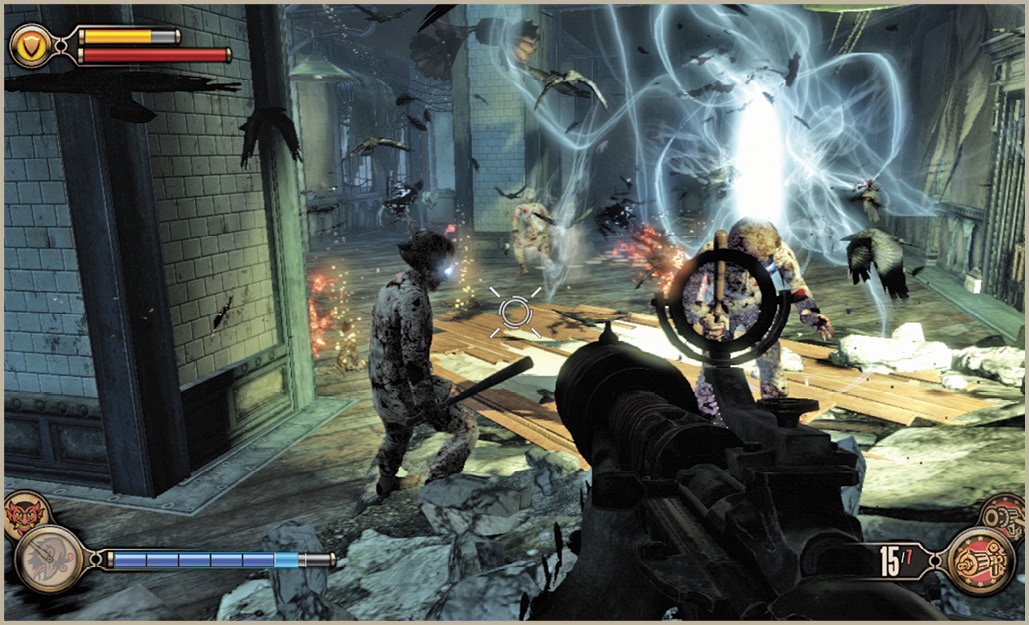
From the elevator, head to the south to find a Kinetoscope and Carbine near another Tear, then head back and follow the “Where We Weep” and “Where We Sleep” signs around the floor in a clockwise direction to find a Voxophone. The room is filled with coffins, the adjacent room a furnace and crematorium with dozens of shrouded bodies waiting to be incinerated. Visit each of the Tears to hear a memory from the past.
SunriseExit the elevator in the Atrium, on the second floor, and head to the dead-end on the left to find this Kinetoscope. It’s located near the column by the Carbine. 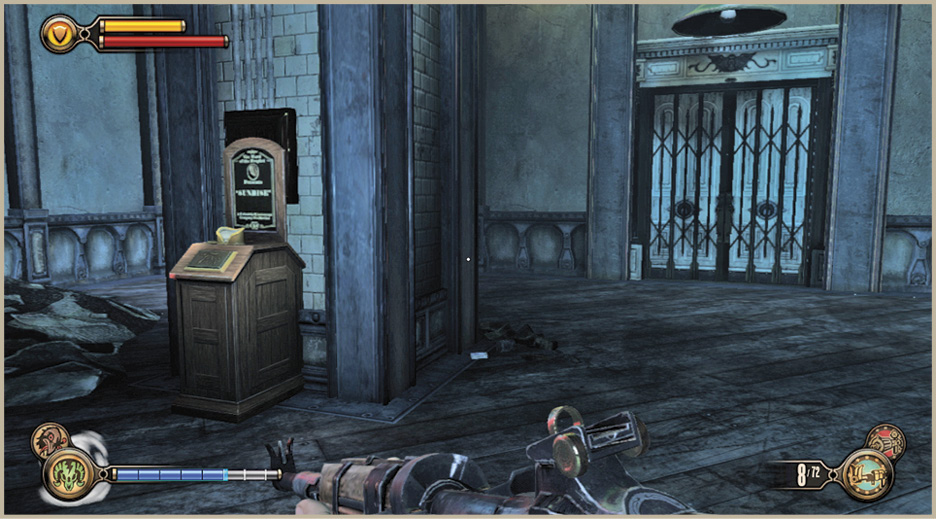 |
Continue through the bathing room to the dormitory, where numerous dead roam in eternal horror. A Boy of Silence stands at the rear of the room, atop a bed. You can try to sneak past his detection as he rotates in place, or you can simple open fire on him and start the battle. Defeat the crazed attackers by sticking to either end of the room to keep them all in front of you. Don’t hesitate to retreat through the previous rooms if necessary. This is the longest of the Boy of Silence battles, and you may start to run low on supplies. The corpses of the attackers disappear within moments after you’ve killed them. The only way to search their bodies for loot is to do it within seconds of their death.
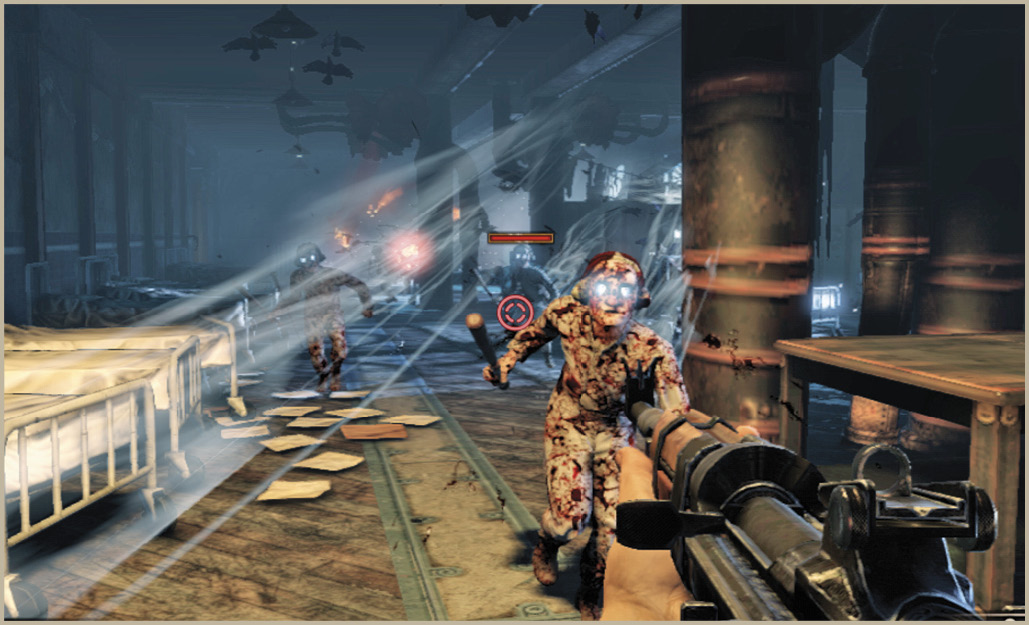
Exit the dormitory to the other side of the Atrium, at the base of the two sets of stairs that lead up to the third floor. Immediately take possession of either of the two Gun Automatons on the landing atop the stairs, and open fire on the other. Stay close to the dormitory entrance and ready yourself for battle with a Zealot. Try to keep the remaining Gun Automaton possessed to aid you, as several of the facility’s orderlies are set to attack alongside the Zealot.
Loop around the third floor in a counter-clockwise direction to the Kinetoscope at the end of the hall near the entrance to the workshops.
The workshops contain numerous handicrafts like machines for making banners, lots of paint and masks, and plaster. You’ll also find a Shotgun, Gear, and a Voxophone in the area “Where We Work.” Defeat the foes stirred into action by the Boy of Silence, and complete a thorough sweep of the room to find the collectibles. Depending on the upgrades you’ve made, the Shotgun may be capable of dropping two or more attackers with a single squeeze of the trigger—and it’s always good to conserve ammo!
Enter the room with the projector and the skipping phonograph, and clamber up and over the debris to the broken observation room nearby. This isn’t just “Where We Learn,” but it’s also home to the Columbia’s final Kinetoscope. The Warden’s Office isn’t much farther.
HummingbirdsThis Kinetoscope is located on the third floor of the Atrium, down the hall from the stairs and near the entrance to the workshops. Find it in the shadows, to the right of the shop entrance. 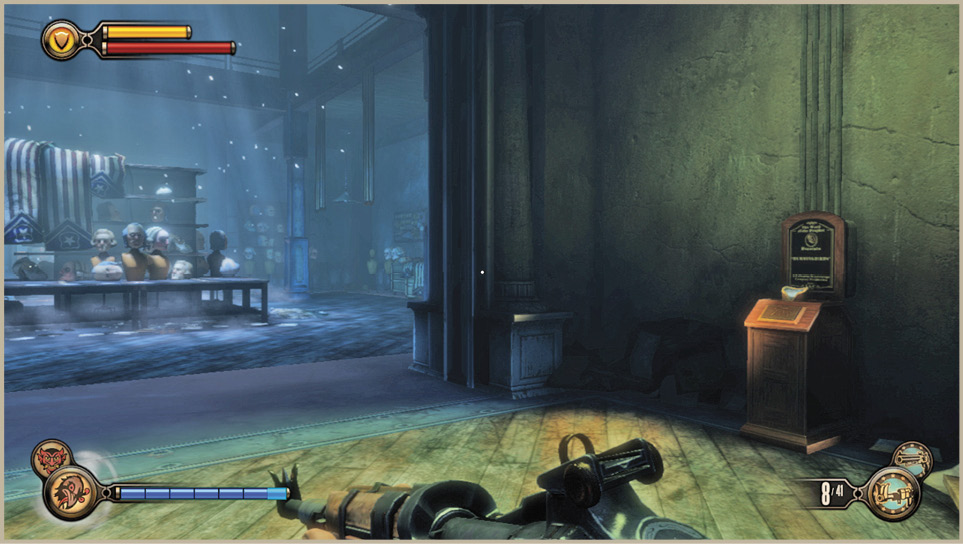 |
Battleship FallsThis Kinetoscope reveals a moment from Columbia’s future-past, which only adds to Booker’s confusion about time and space. It’s on the right-hand side of the observation room, next to the room with the projector. 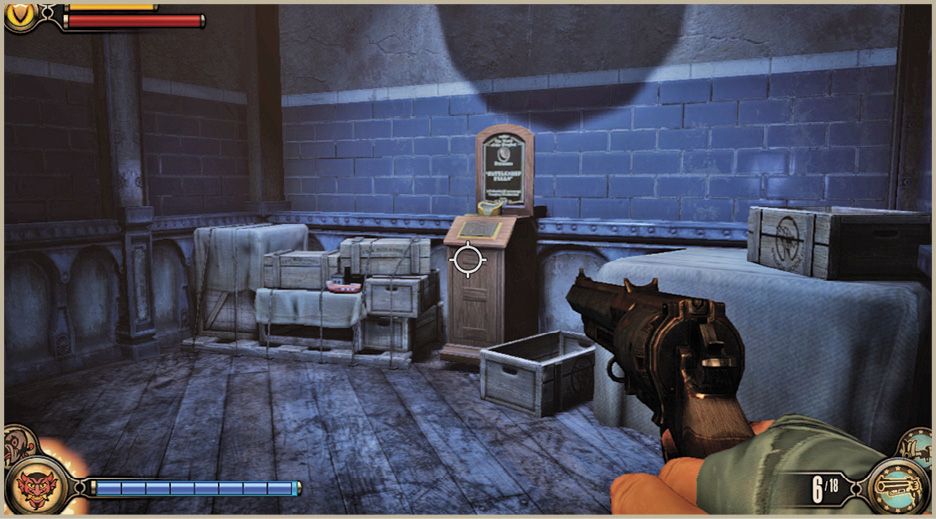 |
Warden’s Office
The winding path you took has led back to the room near the top of the stairs with the gun turrets, but now, you’re on the other side of the bars. Check the desks in the area for items: you can loot the one in the center, at the very least. Head up the stairs toward the signs pointing to “Processing,” and check the office on the left for a Voxophone near the projector. Continue along, proceeding around the walkway as it loops past the stairs you just came up to the Warden’s Office. You’ll also find a new piece of Gear in this area: the Rising Bloodlust hat. This hat increases weapon damage after each successive kill (up to five) and lasts for 10 seconds—a truly special item!
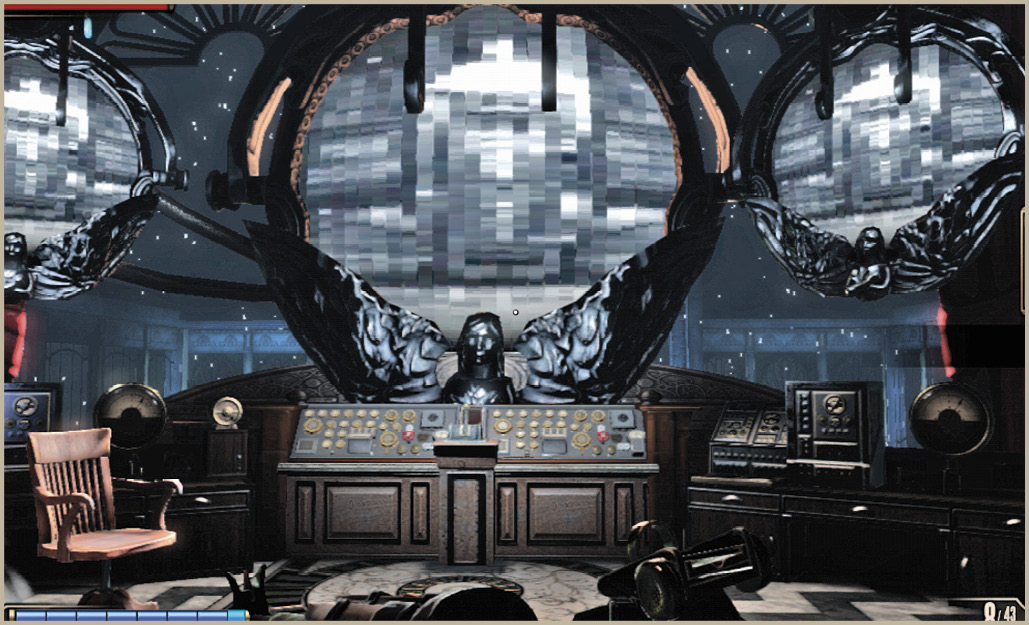
The Warden’s Office has many searchable cabinets and represents your best chance for collecting more ammo, Salts, and money in a long time. Stock up if you can, and don’t miss the Voxophone on the chair on the left. Approach the controls near the window and pull the lever to open access to the Restricted Area back on the first floor of the atrium. Fight your way back down the stairs to the second floor, collect the Voxophone in the elevator, and ride it back to the lower level.
Find Elizabeth
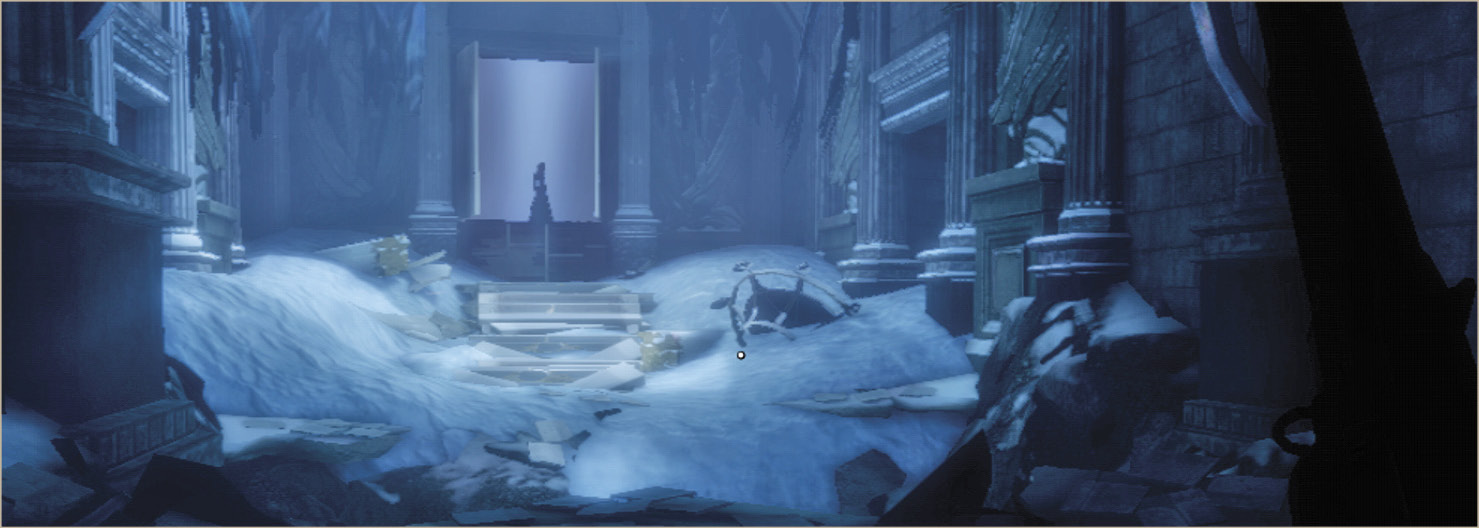
Exit the elevator, and go through the recently unlocked security door. Listen to the Lutece Twins in the adjoining room, then continue up the snow-covered hallway to the silhouette in the distance. Take the card when it’s offered.
Surgery
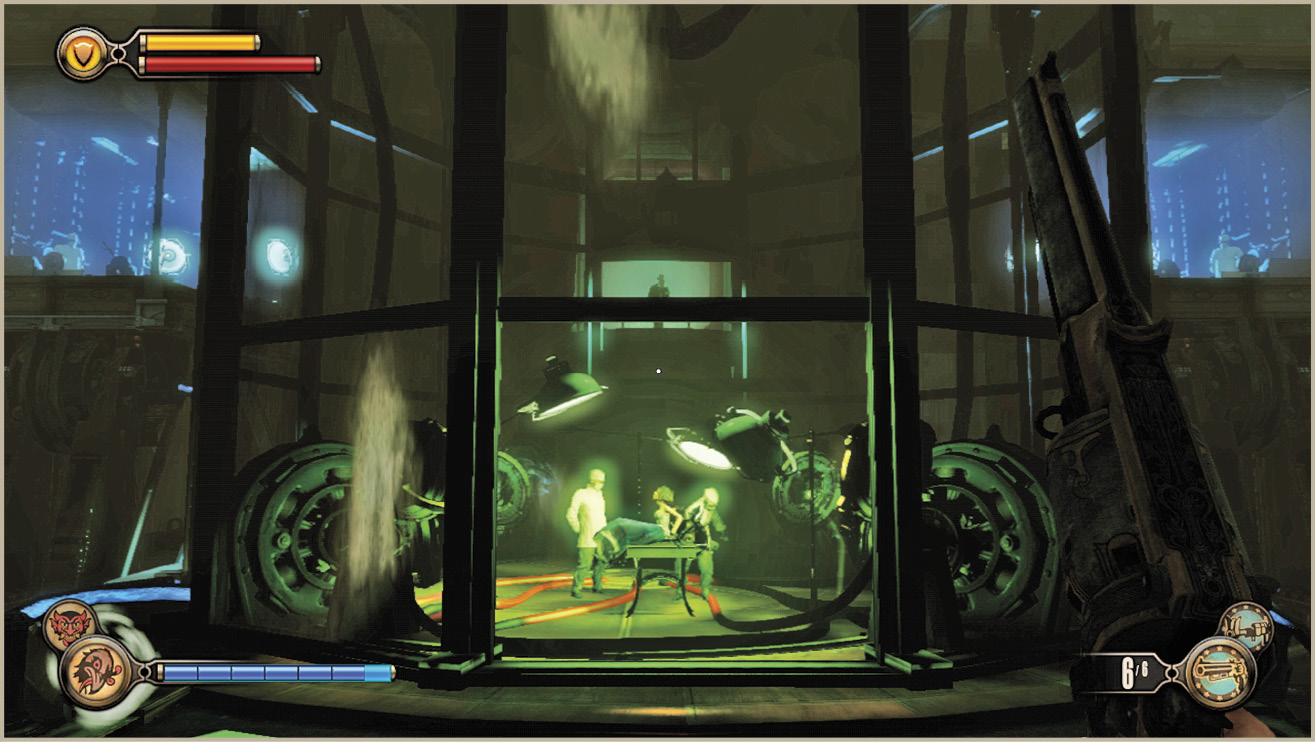
Continue down the hall and through the doors to find Elizabeth: present-day Elizabeth, that is. Comstock is watching from his office, making sure the two doctors have Elizabeth properly strapped in and connected to the Siphon.Two more doctors supervise from elevated rooms, where they each control one of the two inhibitors needed to power the equipment. It’s up to Booker to shut those inhibitors down and break Elizabeth free!
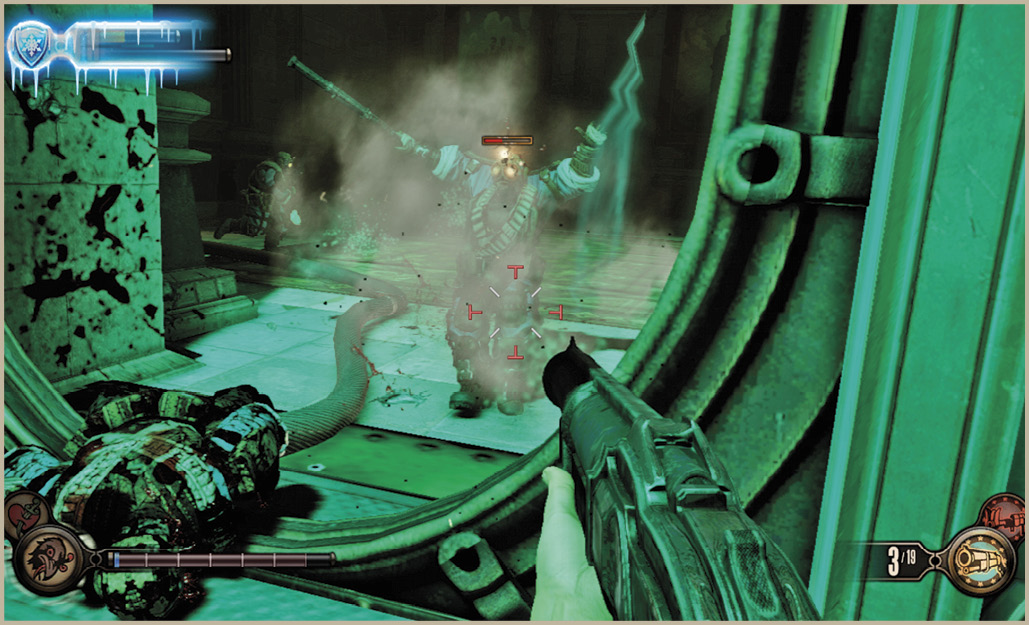
Head left into the brightly lit, elegant hallway, and continue up the stairs, making sure to use Possession on the Gun Automaton in the hall as you go. Numerous Founders are stationed in the back hallway, along with two additional Gun Automatons. Use Possession and Return to Sender to stay safe, and locate the two airlocks flanking the locked door to Comstock’s office.
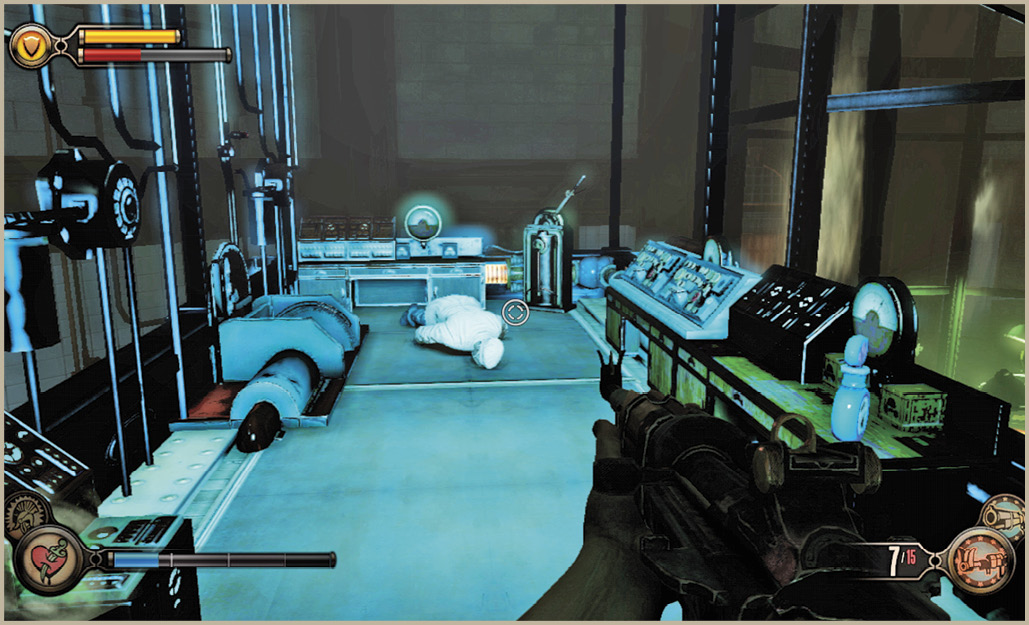
Enter either of the airlocks and head up the stairs to the platform overlooking Elizabeth, and pull the lever to turn off the first inhibitor. You’ll find a much-needed Salts Phial in each of these observation rooms housing the machine controls. A Motorized Patriot is waiting in the hallway leading back to Elizabeth after the first lever is pulled, so be ready for it.
Make your way back down the hall to the room where you first saw Elizabeth. With the machines turned off, she was able to open a Tear and take care of the remaining doctors herself, breaking the glass wall in the process. Climb the pile of debris serving as a ramp up to Elizabeth, and help release her from the straps. Press the corresponding button when prompted to yank the Siphon out of her back and to help tighten her corset.
Lead Elizabeth out of the operating area and up the stairs to the elevator leading to the roof. Have her first pick the lock to the small room (three lockpicks) looking out over the surgery area to find an Infusion and Voxophone. With the items in hand, have Elizabeth pick the lock on the golden gate and ride the elevator to the library.
The library has seen heavy battle. Corpses line the floor, and guns lie everywhere. Fortunately, there is a wealth of desks and cabinets to raid and corpses to loot. Load up on ammo and Salts, and use the Minuteman’s Armory to purchase any extra upgrades you can afford. Pick the lock on the balcony doors, and head outside.
|
 Higher Learning
Board Comstock’s Flagship
Comstock House Roof
Take the Volley Gun on the crate as the Hand of the Prophet, Comstock’s zeppelin, deploys what appear to be large bombs. But they’re not bombs; they’re actually large pods that are intended to land safely and deploy Motorized Patriots. Dozens of human enemies have made their way onto the roof, as well, with many coming from a police barge that docks in the far right corner.
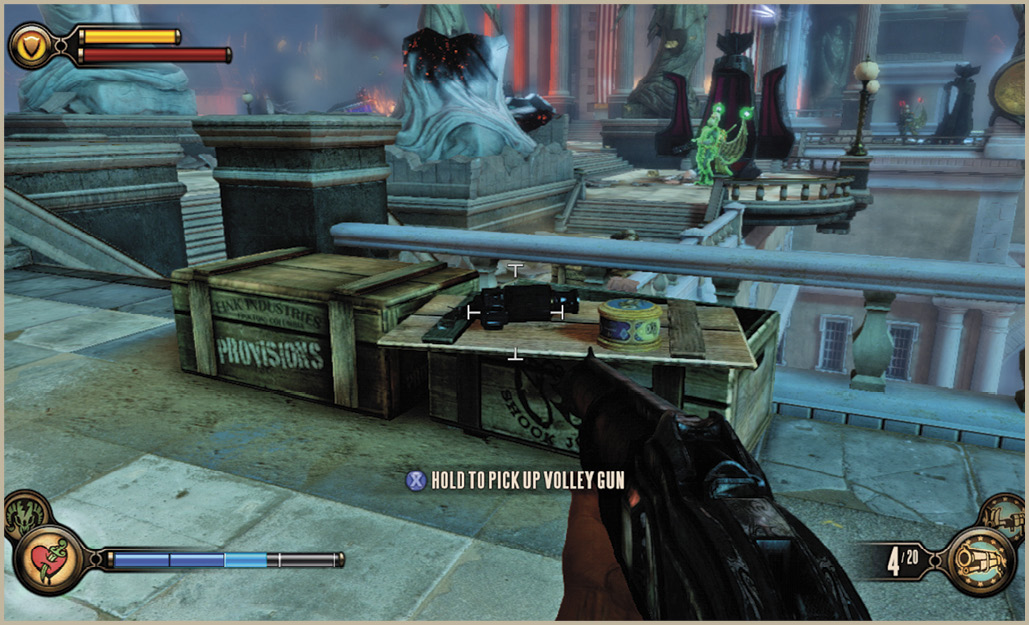
There are numerous Tears available on the roof, including Cover, a Mosquito in the distance, and a Rocket Automaton up close on the left. Open the Tear for the police barricade first to help provide cover from the initial surge. Possess one of the early attackers so that you have someone nearby watching your back while you use the Volley Gun to lob shots at those in the distance. Keep Shock Jockey on hand whenever the Motorized Patriots come into view.
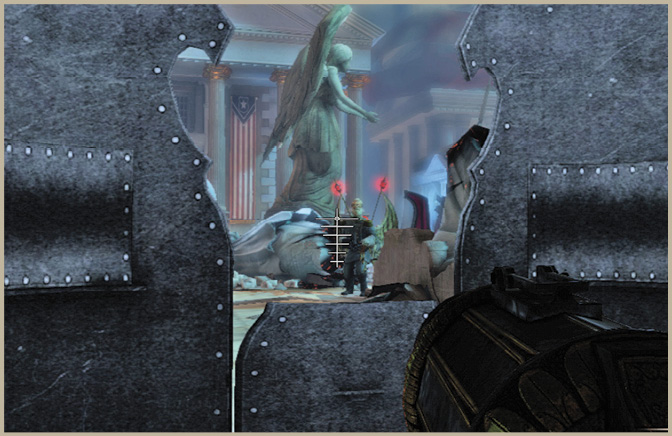
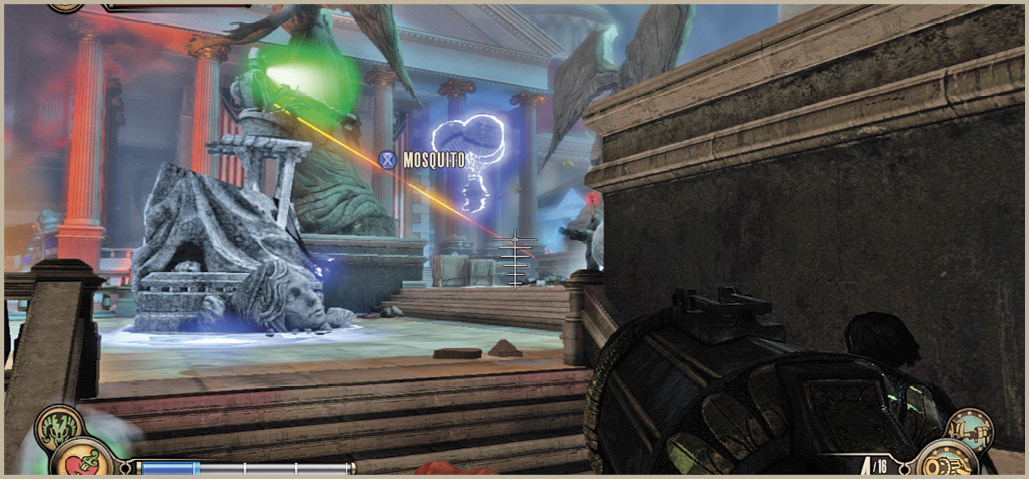
Put down the initial crush of enemies, then open the Tear for the Mosquito in the distance to soften things up further. The Mosquito may be destroyed rather quickly, making it a prime time to open the Tear for the Rocket Automaton while the Mosquito Tear reactivates. Keep the Return to Sender Vigor on hand when chasing down any remaining Founders, especially if you have the Ammo Absorb upgrade.
Eliminate any enemies near the police barge to finish clearing the rooftop of the Founder forces, but don’t board the barge just yet! First, have Elizabeth pick the lock on the door (three lockpicks required) near the flags, and go inside. The room on the right contains a safe (one lockpick needed), and the one on the left contains both a Voxophone and a Veni! Vidi! Vigor! Machine. Exit the interior and pay a visit to the Telescope on the left, the final Telescope in Columbia!
Leap onto the police barge, and pick up the Shotgun from the gun rack on the right. Pull the lever to send the gunship on its way back to the Hand of the Prophet. It’s time to bring Comstock down!
TelescopeThis last Telescope is located right near where the police barge docks with the roof. It’s on the left-hand side and must be viewed before you get on the barge, since you won’t be coming back to the roof. 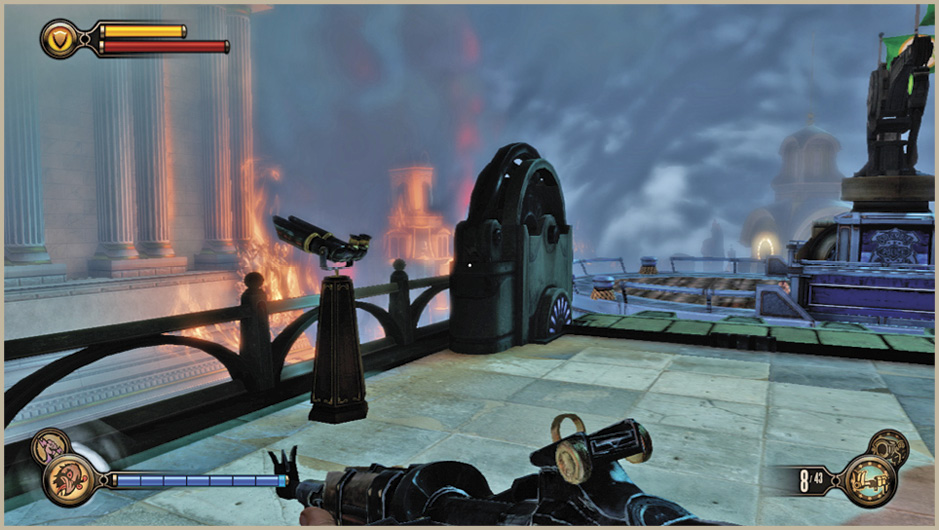 |
Repel the Airborne Assault
The flight to the Hand of the Prophet won’t be as uneventful as Booker was hoping. Another gunship soon deploys from the zeppelin and is due inbound any moment, as are several others after it. A number of Vox barges eventually join these police barges, as well.
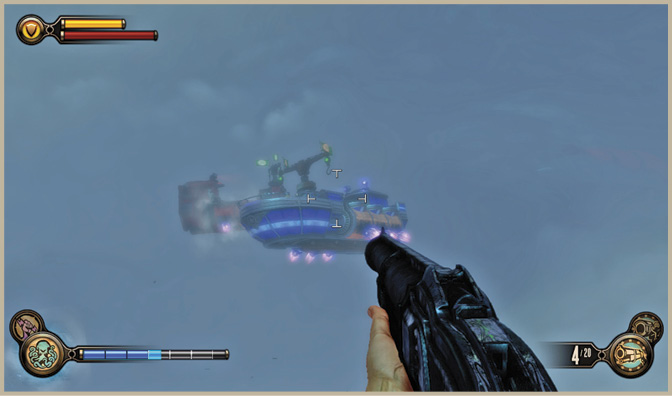
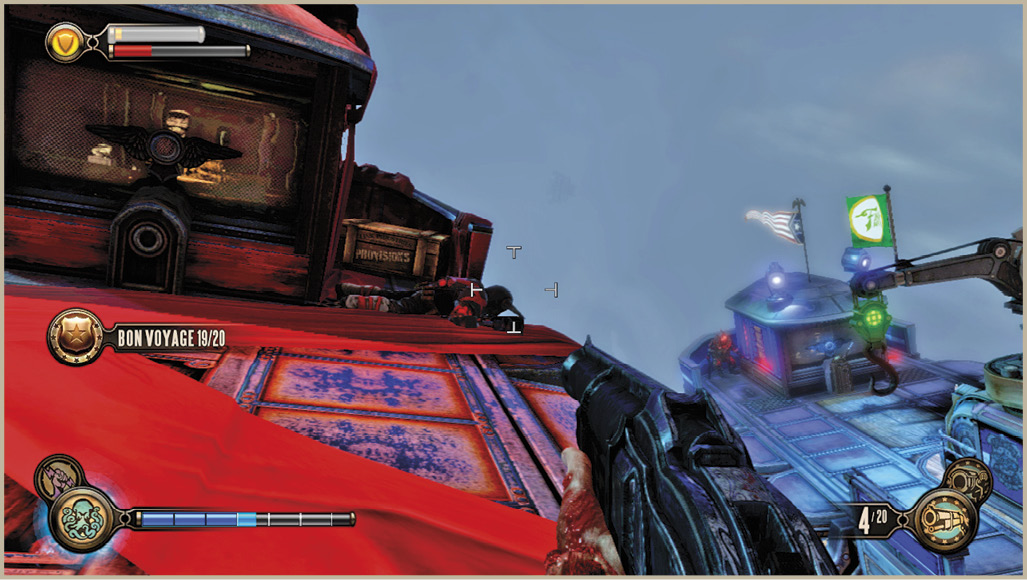
Each ship has a couple of freight hooks that make leaping back and forth relatively safe and easy. Each gunship typically has four enemy passengers, three of which are often heavy soldiers with Machine Guns. The single best way to take them out (and unlock the “Bon Voyage” bonus) is to leap to the freight hook, perform a Sky-Line Strike on a nearby adversary to safely dismount the hook, then knock the crew off the ship with Undertow. Undertow, especially if upgraded, can knock all three or four foes overboard with a single use. Clear the deck of enemies, then leap back to your ship and deal with the Mosquitos that attack between the waves of enemy gunships. Check each gunship for Salts before disembarking.
Continue to do this until you have repelled all four barges, including the two Vox gunships. Return to your original police barge, where Elizabeth awaits, and prepare to dock with the Hand of the Prophet.