
BioShock: The Collection Guide Bioshock Evolve Today!
Plasmids
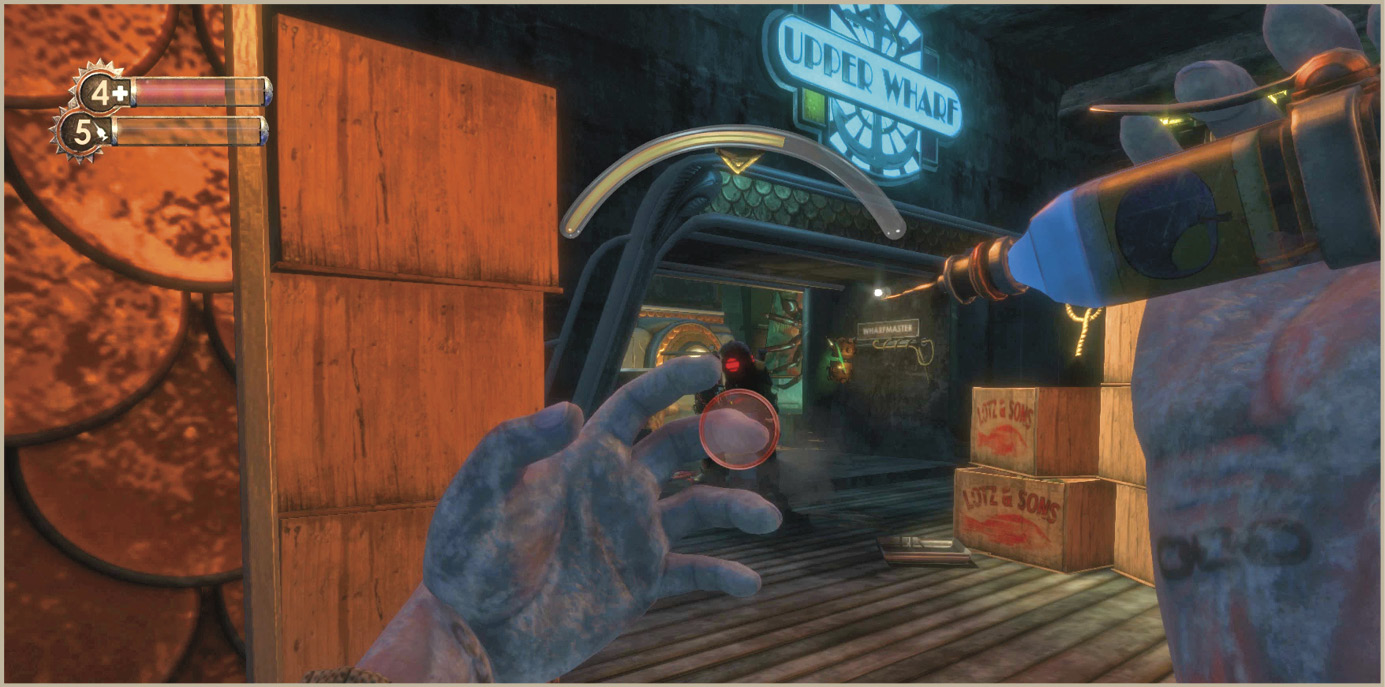
Skilled collection and use of the many plasmids that exist in Rapture is paramount to your survival. While there is no denying the awesome firepower that is available for the experienced triggerman, guns alone won’t bring success in Rapture. No, victory here requires a two-pronged, err, two handed attack! In addition to using your right-hand for conventional weaponry, you will come to rely heavily on your left hand as well—the hand you’ll cast your plasmid attacks from. Plasmids give you the ability to launch incredibly powerful attacks from your fingertips by converting the EVE you inject into your system to a mighty fireball or, perhaps, a hypnotic spell.
Plasmids are genetic alterations that not only consume EVE with each use, but require active participation on your part, unlike the gene tonics described later in this chapter. Although you will eventually be able to splice up to six plasmids at a time, only one is ever active at a time. Use the Plasmid Button to quickly put away your weapon and raise your character’s left hand. Switch to the plasmid you desire and press the Plasmid Button again to fire it. Plasmid use does consume EVE, so make sure to keep a supply of EVE Hypos on hand and reload with them just as if they were ammunition for a gun.
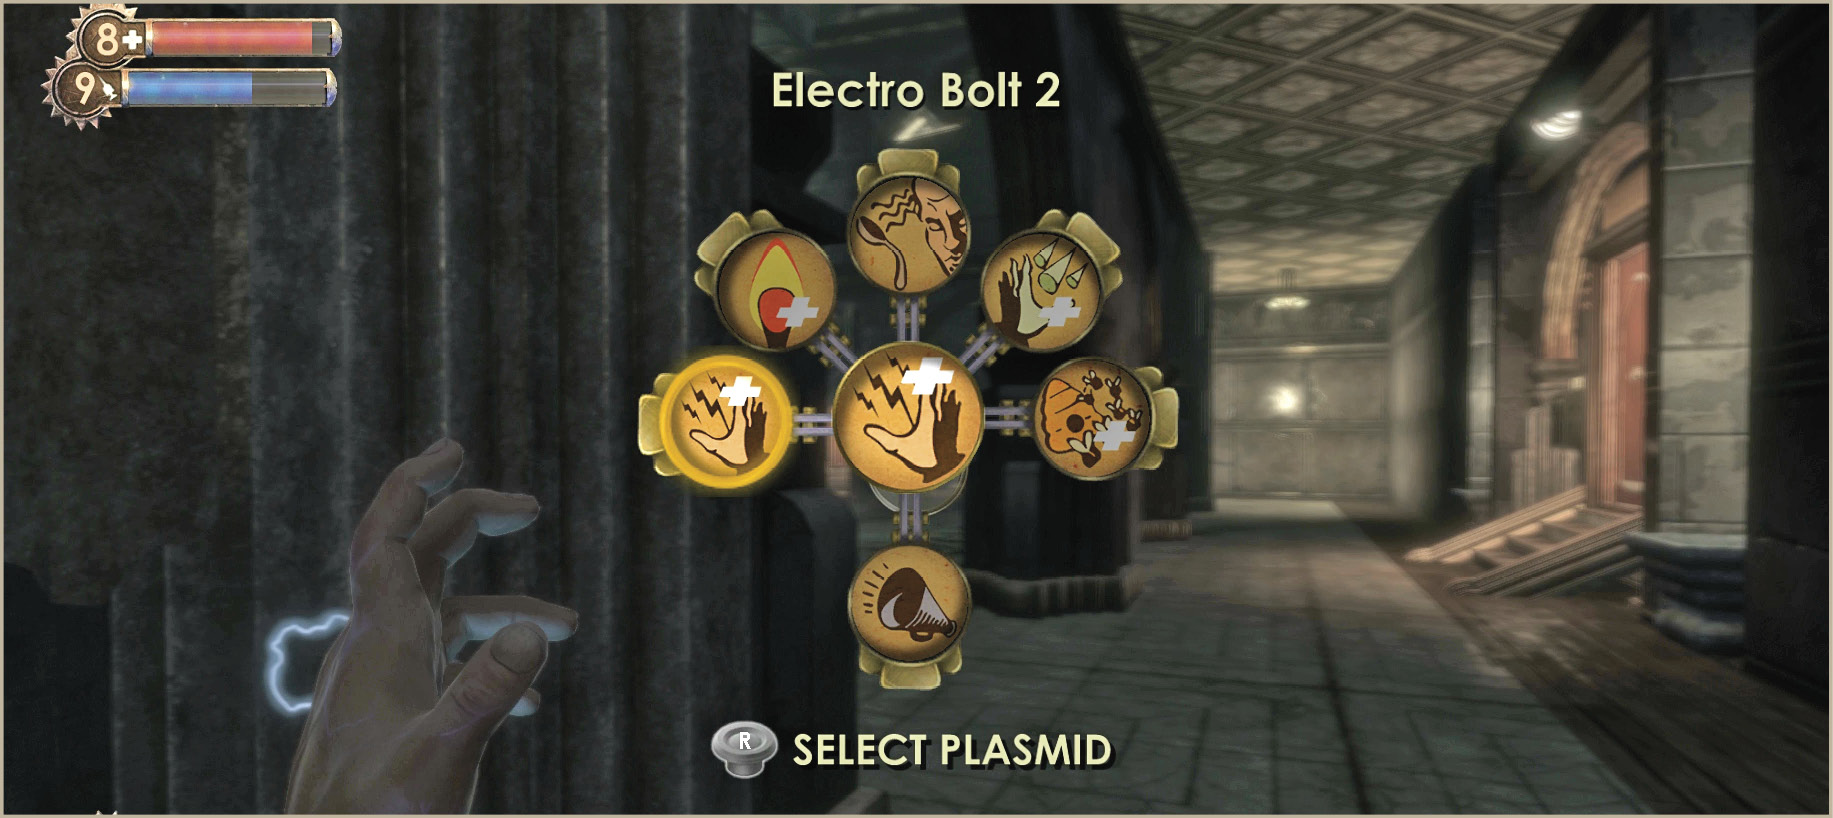
Our Five Favorite PlasmidsElectro Bolt Enrage Incinerate! Telekinesis Winter Blast |
 Cyclone Trap
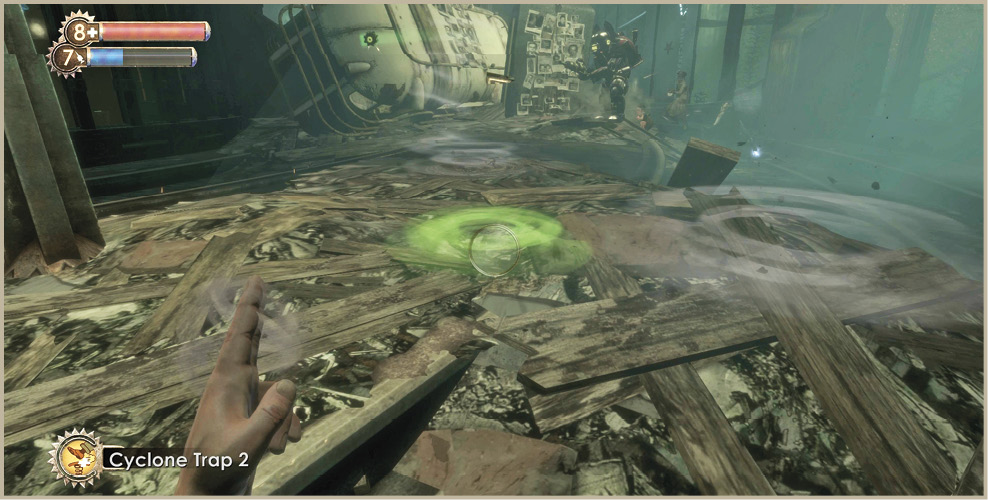
This plasmid allows you to set a trap for enemies as they run towards you—perfect for doorways and other narrow openings where they have to funnel in. Cyclone Trap is a mighty vortex of wind that sends Splicers high into the air, often slamming them against the ceiling. Enemies not only become briefly disoriented, but they also suffer damage when they hit the ground on the way down. This is a good plasmid to use when dealing with large numbers of enemies. Throw down a Cyclone Trap, watch your enemies get catapulted into the air, and unload on the staggering beasts with the Shotgun or Chemical Thrower once they hit the floor!
 Cyclone Trap
Location: Available at a Gatherer’s Garden vending machine, starting in Arcadia.
Effect: Throws enemies into the air with moderate force when they walk into the swirling vortex you place.
Teach your enemies a lesson they’ll never forget with Cyclone Trap from Ryan Industries. (Ryan Industries is not liable for damage done to ceiling fans, chandeliers, or other ceiling fixtures.)
 Cyclone Trap 2
Location: Available at a Gatherer’s Garden vending machine, starting in Arcadia.
Effect: Throws enemies into the air with powerful force when they walk into the swirling vortex you place.
Cyclone Trap 2 sends your enemies even higher—because Ryan Industries never stops improving. (Ryan Industries is not liable for damage done to ceiling fans, chandeliers, or other ceiling fixtures.)
 Electro Bolt
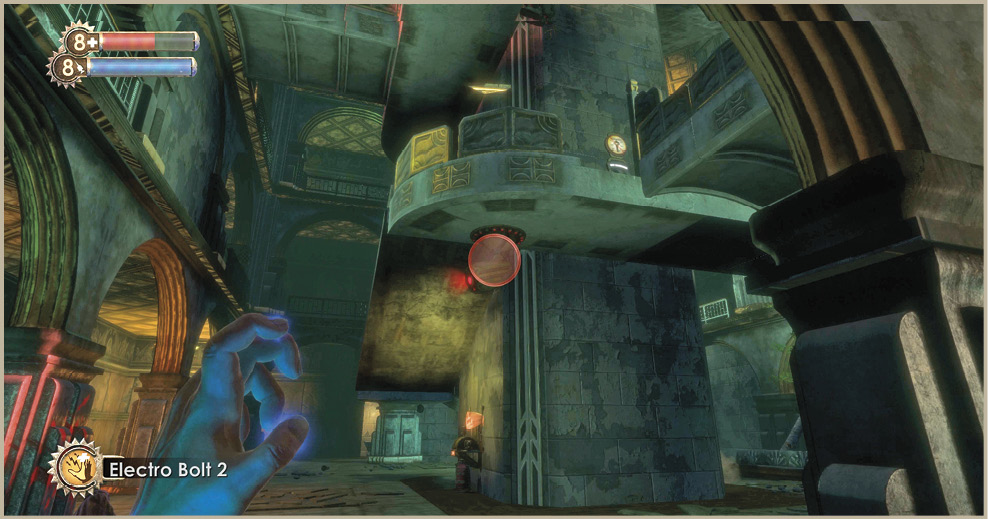
Electro Bolt gives you the ability to launch a blast of electricity from your hand that can be used to incapacitate enemies, both flesh-based and mechanical. One potent strategy for use against Splicers (and enemies with little health left) is to stun them with Electro Bolt, then rush forward and deliver a fatal blow with the Wrench. This tactic is an excellent way to conserve ammunition. Similarly, you can use Electro Bolt to temporarily stun a Turret, Security Bot, or Camera and make it susceptible to hacking. As is the case with oil slicks and the Incinerate plasmid, Electro Bolt can be shot into a pool of water to electrocute enemies wading nearby. Lastly, Electro Bolt can be used to surge short-circuiting control panels to open doors or other apparatus that may be on the fritz.
 Electro-bolt
Location: Near the disabled Gatherer’s Garden machine on the second floor of the Lounge.
Effect: Bolt of electricity shocks a target for a short duration.
Don’t be a dolt—use Electro Bolt!
 Electro-bolt 2
Location: Available at a Gatherer’s Garden vending machine, starting in the Arcadia area.
Effect: Bolt of electricity shocks a target for a moderate duration.
Electro Bolt letting you down? Try the new and improved Electro Bolt 2.
 Electro-bolt 3
Location: Available at a Gatherer’s Garden vending machine, starting in the Olympus Heights area.
Effect: Bolt of electricity shocks a target for a long duration.
Almost no one can resist the stunning effects of Electro Bolt 3!
 Enrage
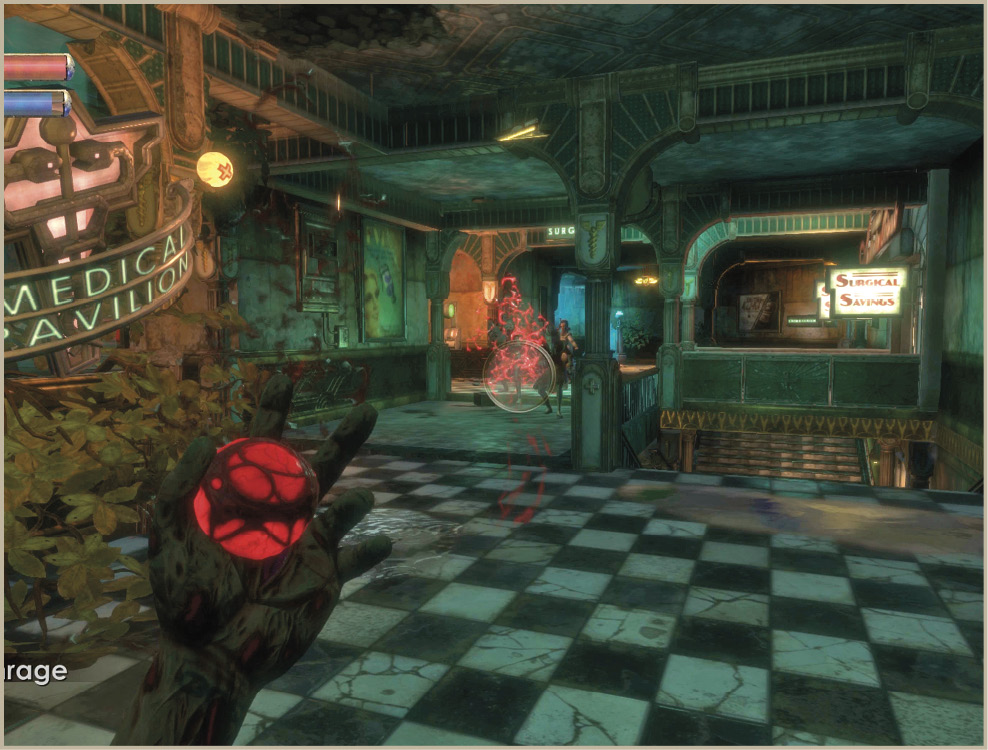
Enrage is an excellent plasmid to use in any situation involving more than one other enemy, but it really shines when you’re doing battle against a Big Daddy. Target a nearby Splicer with Enrage, stand back, and watch as it charges head-first into battle for you. Sure, the Big Daddy will make quick work of most Splicers, but every little bit of extra damage the Enraged Splicer can inflict before being destroyed only makes it that much easier for you! And not only that, but it also distracts the Big Daddy from you, thereby allowing you to take photographs or even fire off some cheap shots from a safe distance.
 Enrage
Location: Available at a Gatherer’s Garden vending machine, starting in the Medical Pavilion area.
Effect: Enrages target, causing it to attack nearby creatures. Don’t use if you are the only other living thing nearby.
Developed for use in today’s uncertain environment, Enrage will make your victim forget what side he’s on, and attack anyone nearby. Just make sure ‘anyone’ isn’t you!
 Hypnotize Big Daddy
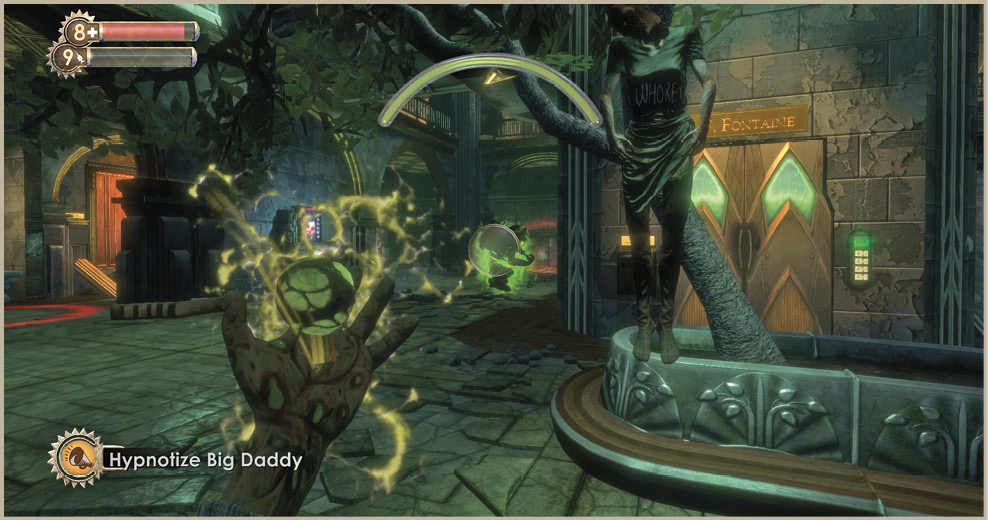
Not every Big Daddy you encounter is in the midst of chaperoning a Little Sister on a gathering mission. There are many more Big Daddies wandering the halls of Rapture than there are Little Sisters, and this plasmid gives you the chance to have them protect you as if their life depends on it. Hit them with this plasmid to make them seek and destroy any Splicer, Turret, or Security Bot that dares try to harm you. Just beware that once the effects wear off, the Big Daddy may become confused and attack you.
 Hypnotize Big Daddy
Location: Rescue 3 Little Sisters to receive this tonic as a reward from Tenenbaum.
Effect: Big Daddy guards you for 90 seconds.
Need a bodyguard in a pinch? Our new Hypontize plasmid will fool a Big Daddy into protecting you as if you were its own Little Sister.
 Hypnotize Big Daddy 2
Location: Rescue 9 Little Sisters to receive this tonic as a reward from Tenenbaum.
Effect: Big Daddy guards you for 180 seconds.
Our newest Hypnotize plasmid lasts longer than ever! Make a Big Daddy befriend you today!
 Incinerate!
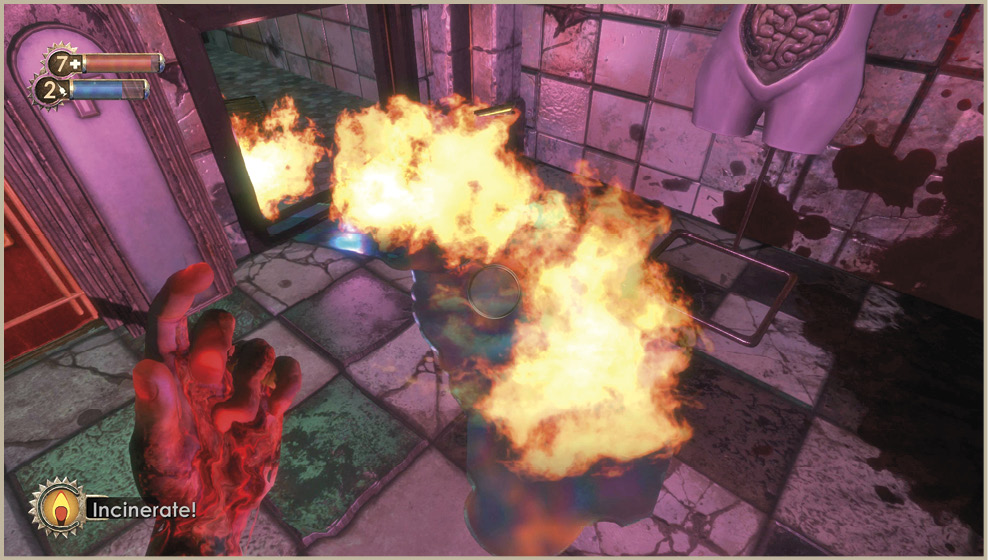
Incinerate! is one of the first Plasmids you acquire upon arriving in Rapture and it is one that you will use throughout much of your journey. Throw a fireball from your left hand to engulf the enemy in flames. This fire continues to inflict damage for several seconds, thus giving you time to switch to a weapon and stack the damage while the enemy writhes about in agony. Also, keep your eyes peeled for oil slicks that can be used as booby-traps; wait for an enemy to step into the oil slick, then use Incinerate to ignite the floor around them! Similarly, send a fire ball into an explosive barrel or fuel cylinder for a massive explosion!
 Incinerate!
Location: Found on the floor in small room on second floor of Eternal Flame Crematorium. Crawl through opening near door to reach it.
Effect: Sets things on fire, doing low damage per second.
When it absolutely positively has to erupt in flames, don’t wait—Incinerate!
 Incinerate! 2
Location: Available at a Gatherer’s Garden vending machine, starting in the Fort Frolic area.
Effect: Sets things on fire, doing moderate damage per second.
Incineration 2: Make your hotfoot even hotter!
 Incinerate! 3
Location: Available at a Gatherer’s Garden vending machine, starting in the Point Prometheus area.
Effect: Sets things on fire, doing high damage per second.
Incineration 3: The hottest plasmid of the year!
 Insect Swarm
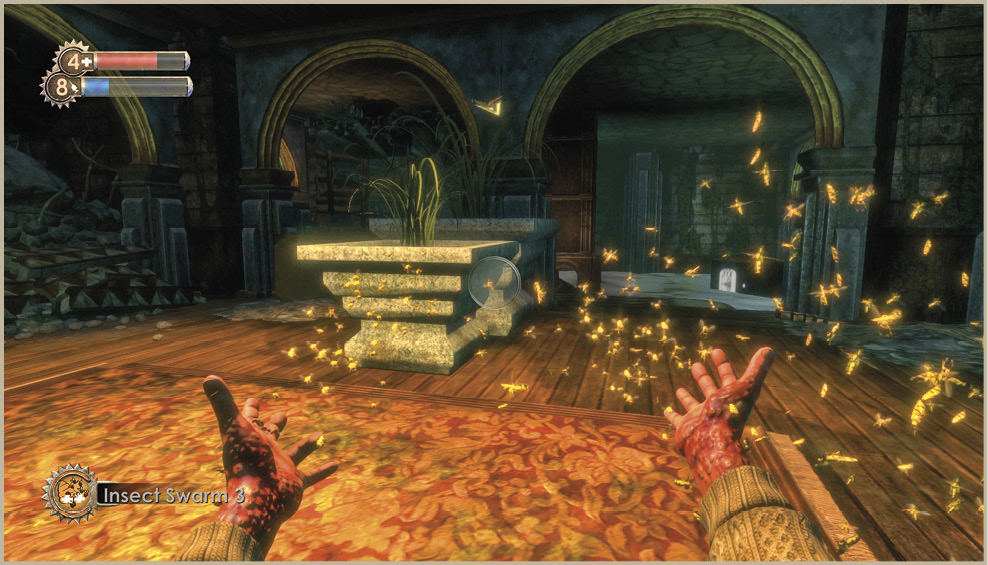
Insect Swarm is a fun plasmid to use, since it can really be entertaining to watch those maniacal Splicers flee in horror as swarms of bees descend upon them. Insect Swarm is a great plasmid to use against multiple enemies because it does a very good job of disrupting them and altering their priorities in a significant manner. One dose of Insect Swarm is all it takes to have them thinking far more about their own survival than your demise. One nasty side-effect of Insect Swarm is that it typically results in a bit of chaos, so following up this plasmid with gunfire can be tricky. Best use the Grenade Launcher or Shotgun!
 Insect Swarm
Location: Available at a Gatherer’s Garden vending machine, starting in the Farmer’s Market area.
Effect: Launches a swarm of bees that does a low amount of damage per second and lasts for 20 seconds. Can attack multiple enemies at once.
Nothing clears a room like swarms of stinging hornets. (Warning: not recommended for users with allergies.)
 Insect Swarm 2
Location: Available at a Gatherer’s Garden vending machine, starting in the Hephaestus area.
Effect: Launches a swarm of bees that does a moderate amount of damage per second and lasts for 24 seconds. Can attack multiple enemies at once.
Insect Swarm 2, with more bite for the buck! (Warning: not recommended for users with allergies or asthma.)
 Insect Swarm 3
Location: Available at a Gatherer’s Garden vending machine, starting in the Olympus Heights area.
Effect: Launches a swarm of bees that does a high amount of damage per second and lasts for 30 seconds. Can attack multiple enemies at once.
Insect Swarm 3—It stings! (Warning: not recommended for users with allergies, asthma, or heart conditions.)
 Security Bullseye
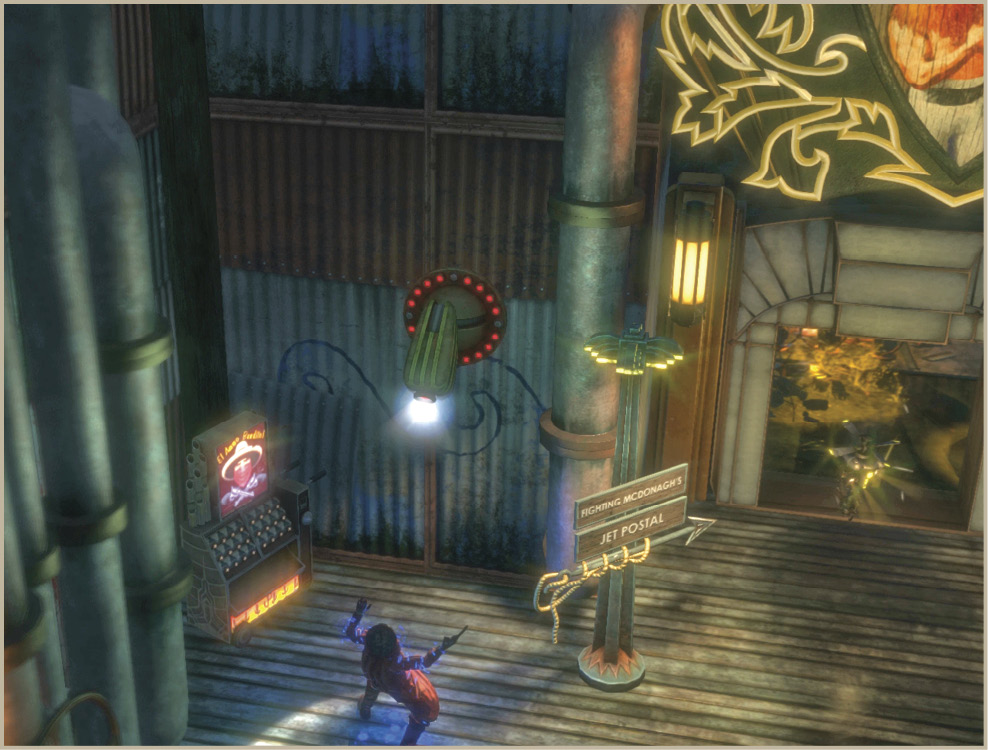
See an enemy up ahead near some un-hacked Security Cameras or Turrets? If so, hit ‘em with Security Bullseye to make the Rapture security system turn on the ones it’s supposed to protect. Security Bullseye gives you the benefits of hacking Turrets or Security Cameras without physically having to put yourself in harm’s way to do it! Just beware that the Security Cameras, Security Bots, and Turrets that attack the targeted enemy are not necessarily your friend. They are still programmed to attack you on sight, so be sure to give them a wide berth or hack them before getting too close.
 Security Bullseye
Location: On a ledge near the Wharfmaster’s Office above the Upper Wharf.
Effect: Enemies hit by this plasmid will become the targets of Security Cameras, Turrets, and Security Bots.
Are those pesky security cameras getting you down? Simple tag your enemies with our photoelectric insects and those cameras and turrets become your best friend. Splice Security Bullseye today!
 Sonic Boom
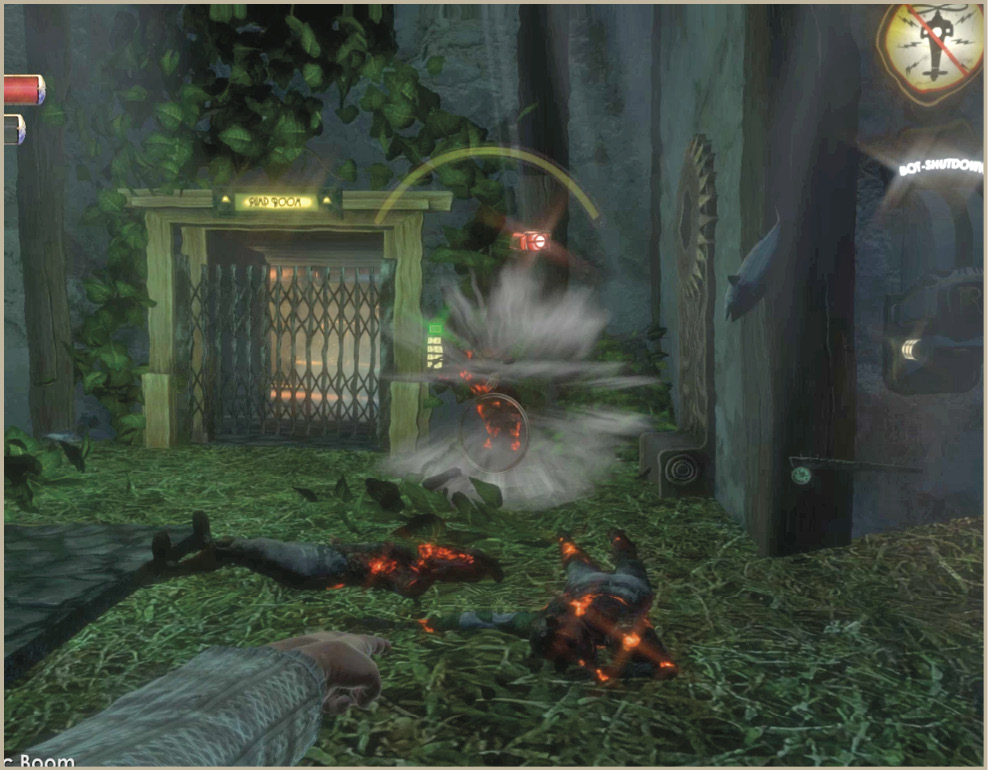
Sonic Boom generates a blast of air that can propel enemies and movable objects backwards across an area. Damage is done by hurling Splicers or Security Bots into walls and other objects, or by blasting objects into enemies. The damage inflicted upon Splicers with Sonic Boom depends entirely on the distance they fly and how hard they hit a wall or other object. Sonic Boom has no effect on Turrets or Big Daddies, but can be used to repel the Proximity Mines lobbed by Bouncers right back at them. Similarly, Sonic Boom is great for knocking back grenades that are tossed by Nitro Splicers. Sonic Boom is essentially a cross between Cyclone Trap and Telekinesis. It can deal deadly damage to Splicers by sending them flying into a wall, knocking them off a ledge, or into a hazard or trap you’ve set up. It can be a bit unpredictable, but it really comes in handy when trying to fend off numerous enemies, particularly those that throw slow-moving projectiles at you.
 Sonic Boom
Location: Available at a Gatherer’s Garden vending machine starting in the Neptune’s Bounty area.
Effect: Hurls creatures and objects back with a blast of force.
When just yelling get back isn’t working, it’s nice to have some repelling force to back up your request. Sonic Boom – when push comes to shove.
 Sonic Boom 2
Location: Available at a Gatherer’s Garden vending machine starting in the Fort Frolic area.
Effect: Hurls creatures and objects back with a powerful blast of force.
Sonic Boom not strong enough to push people around any more? Try our new version, with even more BOOM! Sonic Boom 2 – when you need that extra push.
 Target Dummy
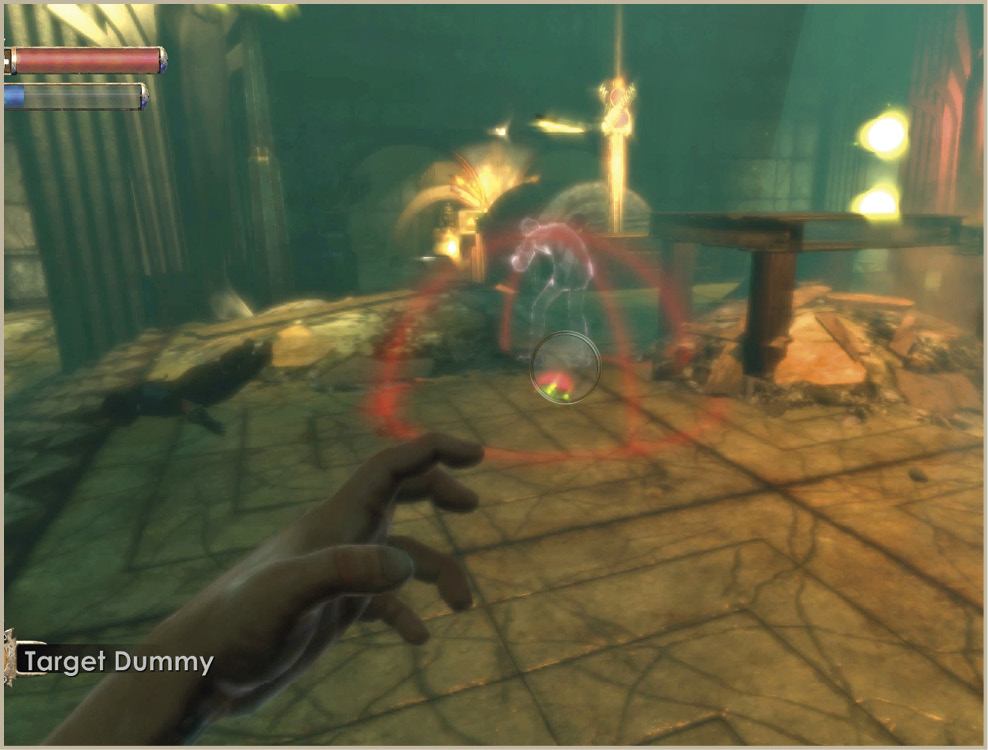
When all else fails, turn to Target Dummy and lure the enemies’ attacks away from you. This semi-transparent decoy will stand right where you place him and attract gunfire and other attacks away from you so. The Target Dummy is great for times when you need to make a quick escape from a painful situation, but also perfect for times when you’re setting a trap for a Big Daddy. Lay your defenses down, ready your weapons, then cast a Target Dummy off to the side to lure the Big Daddy’s ire away from you.
 Target Dummy
Location: Available at a Gatherer’s Garden vending machine, starting at the Neptune’s Bounty area.
Effect: Creates a decoy that draws enemy attacks away from you for 10 seconds.
Enemies on your back? Distract their attention with a helpful decoy. They take the heat… so you don’t have to!
 Telekinesis
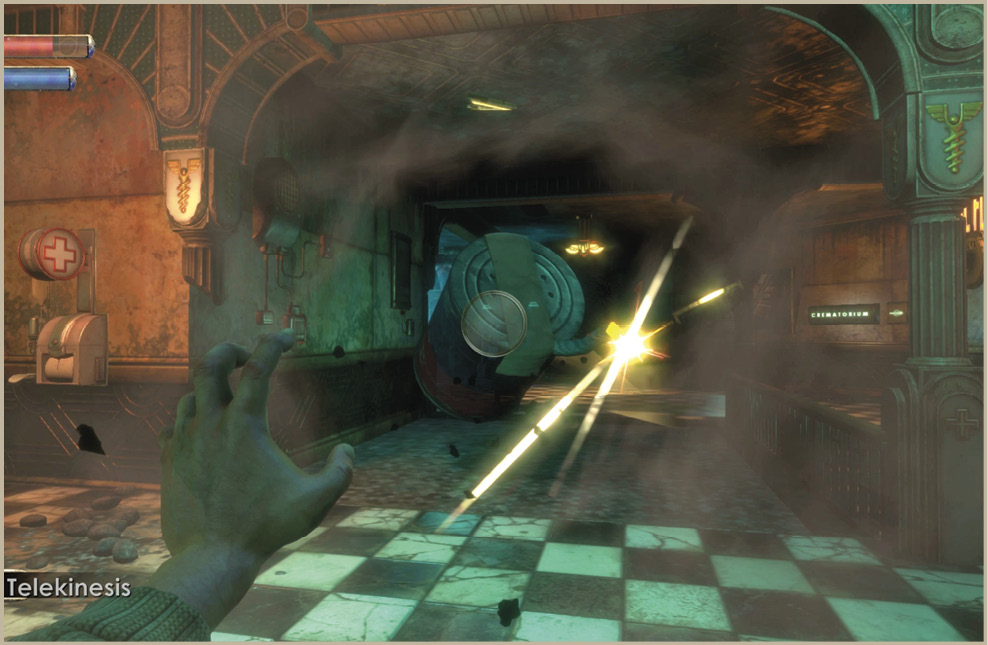
Telekinesis is the ultimate mind over matter plasmid. This plasmid not only gives you the ability to bring distant objects within reach through mental power, but you can pick up objects, carry them in front of you (as a shield perhaps), and then hurl them elsewhere. The most common use for Telekinesis is definitely in collecting out-of-reach EVE Hypos and First Aid Kits, but there are other uses as well. For starters, catch the grenades Nitro Splicers lob at you and throw them back! Additionally, you can pick up fuel cylinders or barrels and launch them at enemies to blow them to pieces. Lastly, use Telekinesis to pick up inanimate objects for use as shields or even to trip the many Trap Bolts you’ll come across.
 Telekinesis
Location: Just behind the glass doors inside the Dandy Dental office.
Effect: Pull objects towards you (or catch those thrown at you) and hurl them backwards or drop them in front of you.
Pick up big stuff with your mind. Throw them at your enemies. What else do you need to know?
 Winter Blast
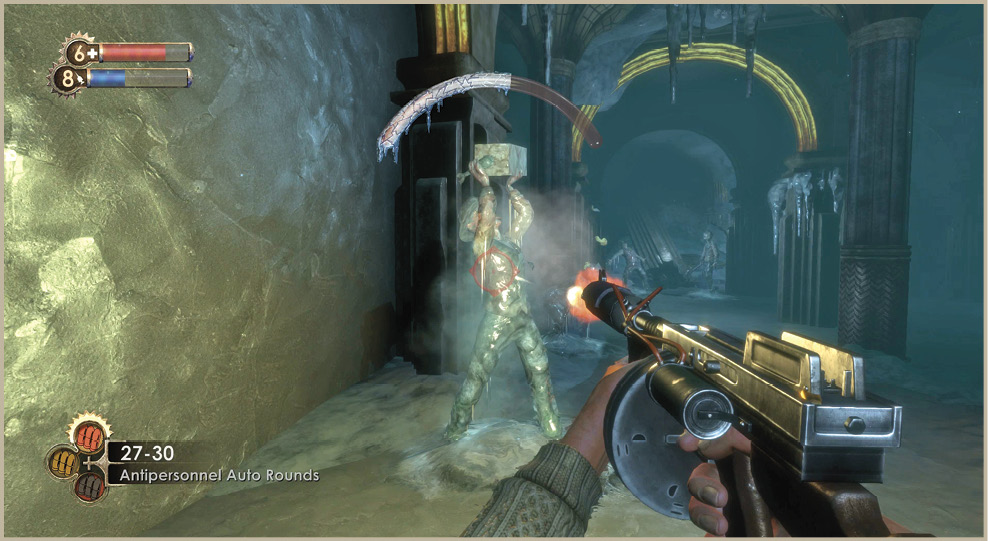
Winter Blast is a powerful plasmid that not only can be used to stop an enemy in its tracks, but gives you the opportunity to score what amounts to an instant-kill. Hit the enemy with Winter Blast to freeze it solid for a brief period of time. Although this attack doesn’t actually inflict any damage on the enemy, you can rush up to the frozen foe and shatter it into a thousand pieces. A frozen health meter of sorts appears over the frozen enemy. This is the meter that governs whether or not the enemy is going to shatter. Grab the Shotgun and open fire to completely obliterate the frozen enemy. Just note that enemies that are shattered while frozen will not leave a corpse to search. By destroying them in this manner, you destroy whatever may have been in their pockets as well.
 Winter Blast
Location: Available at a Gatherer’s Garden vending machine, starting in the Neptune’s Bounty area.
Effect: Fires icicle fragments that freeze the target for a short duration. You can shatter the enemy while frozen.
Don’t get caught without this powerful self-defense tool at the ready. Give your foes the cold shoulder with Winter Blast!
 Winter Blast 2
Location: Available at a Gatherer’s Garden vending machine, starting in the Fort Frolic area.
Effect: Fires icicle fragments that freeze the target for a moderate duration. You can shatter the enemy while frozen.
Foes coming out of a deep freeze? Make sure they stay on ice with Winter Blast 2!
 Winter Blast 3
Location: Available at a Gatherer’s Garden vending machine, starting in the Olympus Heights area.
Effect: Fires icicle fragments that freeze the target for a long duration. You can shatter the enemy while frozen.
Freeze even the toughest foe in his tracks with Winter Blast 3, the ultimate in stopping power!