Prima Games eGuides
primagames.com Browse Redeem a code Help
BioShock: The Collection eGuide
Sign in My Guides

Sign in or create an account

We'll email you a link. No password needed, and if you don't have an account yet, the link makes one.

By creating an account or signing in, you agree to our Terms of Service and Privacy Policy.

Have a password?

Had an account on the old eGuides site, or a code from a printed guide? Help and troubleshooting

Sign in with a password

By signing in, you agree to our Terms of Service and Privacy Policy.

Check your email

A sign-in link is on its way. It works once and expires in 15 minutes. Open it and you're in, with an account if you didn't already have one.

Contents

  • Bioshock
    • One Man’s Vision…
    • About This Guide
    • Residents of Rapture
      • The Rapture Elite
      • Splicers
      • The Adam Gatherers
      • Rapture Security
    • Life Underwater
      • Gameplay Fundamentals
      • Beyond the Basics
    • Arm Yourself
      • Weapons Guide
    • Evolve Today!
      • Overview
      • Plasmids
      • Gene Tonics
    • U-Invent
      • Inventions and Components
    • Walkthrough
      • Introduction
      • Welcome to Rapture
        • Overview
        • Whereabouts Unknown
        • Bathysphere Station
        • Lounge
        • Elevators
        • Kashmir Restaurant
        • Footlight Theatre
      • Medical Pavilion
        • Overview
        • Foyer (First Visit)
        • Emergency Access
        • Foyer (Second Visit)
        • Surgery Foyer (First Visit)
        • Eternal Flame Crematorium
        • Twilight Fields
        • Kure All
        • Painless Dental
        • Dandy Dental
        • Surgery Foyer (Second Visit)
        • Surgery
        • Lounge
        • Foyer (Third Visit)
      • Neptune’s Bounty
        • Overview
        • Bathysphere Station
        • Lower Wharf
        • Fontaine Fisheries (First Visit)
        • Upper Wharf
        • Wharfmaster’s Office
        • Jet Postal
        • Fighting Mcdonagh
        • Fontaine Fisheries (Second Visit)
        • Relinquish Your Weapons
        • Freezer Top Floor
        • Freezer Bottom Floor
      • Smuggler’s Hideout
        • Overview
        • Flooded Cave
        • Control Room
        • Submarine Bay
      • Arcadia
        • Overview
        • Tea Garden
        • Arcadia Glens
        • Rolling Hills
        • Waterfall Grottos
        • Research Laboratories
        • Langford’s Office
        • Tree Farm
      • Farmer’s Market
        • Overview
        • Market
        • Silverwing Apiary
        • Worley Winery
      • Restoring Arcadia
        • Overview
        • Langford’s Office
        • Research Laboratories
      • Fort Frolic
        • Overview
        • Bathysphere Station
        • Go to Fleet Hall
        • Fleet Hall Theatre
        • Photograph the Dead Pianist
        • Atrium (First Visit)
        • Cohen’s Collection
        • Frozen Tunnel
        • Poseidon Plaza (First Visit)
        • Atrium (Second Visit)
        • Poseidon Plaza (Second Visit)
        • Eve’s Garden
        • Atrium (Third Visit)
      • Hephaestus
        • Overview
        • Bathysphere Station
        • Central Control
        • Hephaestus Core (First Visit)
        • Heat Loss Monitoring
        • Hephaestus Core (Second Visit)
        • Search The Workshops
        • Kyburz’s Office
        • Geothermal Control
      • Rapture Central Control
        • Overview
        • Control Room
        • Ryan’s Office
      • Olympus Heights
        • Overview
        • Tenenbaum’s Safehouse
        • Olympus Heights
        • Mercury Suites
        • Tenenbaum’s Apartment
        • Fontaine’s Apartment
      • Apollo Square
        • Overview
        • Apollo Square Streets
        • Artemis Suites
        • Dr. Suchong’s Clinic
        • Apollo Square
        • Hestia Chambers
        • Atlas’s Headquarters
      • Point Prometheus
        • Overview
        • Atrium
        • Little Wonders
        • Optimized Eugenics
        • Mendel Family Library
        • Failsafe Armored Escorts
      • Proving Grounds
        • Overview
        • Museum Lobby
        • South Wing
        • North Wing
      • Fontaine
        • Overview
        • Fontaine’s Lair
    • Achievement & Trophy Guide
      • Game Completion Series
      • Crafting Series
      • Plasmid Mastery Series
      • Weapon Upgrade Series
      • Research Series
      • Hacking Series
      • Special Series
    • Challenge Rooms
      • The "I" in Team
      • A Shocking Turn of Events
      • Worlds of Hurt
      • Achievements and Trophies
  • Bioshock 2
    • Introduction
    • Residents of Rapture
      • Subject Delta
      • The Rapture Elite
      • Splicers
      • The Protector/Gatherer Program
      • Rapture Security
    • Into the Dive Suit
      • Gameplay Fundamentals
      • Exploring Rapture
      • Protector in Combat
      • Beyond the Basics
      • Machines of Rapture
    • Big Daddy Weaponry
      • Bullet Supply
      • Weapons Guide
    • Evolve Today!
      • Gatherer’s Garden
      • Plasmids
      • Gene Tonics
    • Walkthrough
      • Adonis Luxury Resort
        • Overview
        • Lobby
        • Adonis Baths
        • Bridge Courtyard
        • Grand Foyer
        • Demeter’s Banquet Hall
      • Atlantic Express Depot
        • Overview
        • Airlock
        • Train Workshop 6A
        • Drafting Room
        • Train Workshop 6B
        • Switching Hub
        • Train Station
      • Ryan Amusements
        • Overview
        • Train Station
        • Museum Entrance
        • Rapture Museum
        • El Dorado
        • Back to the Museum
        • Journey to the Surface (Part 1)
        • Journey to the Surface (Part 2)
        • Hall of the Future
        • Melting The Ice
      • Pauper’s Drop
        • Overview
        • Train Station
        • Fishbowl Diner
        • Town Square
        • Market
        • Limbo Room
        • Sinclair Deluxe Tenements
        • Grace’s Apartment
      • Siren Alley
        • Overview
        • Little Eden Plaza
        • Maintenance Area
        • The Pink Pearl
        • Back to the Maintenance Area
        • Plaza Hedone
        • Pump Station Access (First Visit)
        • Pump Station No. 5
        • Pump Control Substation 5
        • Pump Station Access (Second Visit)
      • Dionysus Park
        • Overview
        • Basement Storage
        • The Promenade
        • Triton Cinema
        • Imago Fine Arts
        • J. Fischer Gallery
        • Lamb’s Garden
        • Train Station
      • Fontaine Futuristics
        • Overview
        • Train Station
        • Lobby
        • Security
        • Frank Fontaine’s Plasmid Spectacular Theater
        • Frank Fontaine’s Office
        • Lab Airlock
        • Fontaine’s Plasmid Research & Development
        • ADAM Research Laboratory
        • Live Test Facility
        • ADAM Research Lab
        • Hidden Elevator
      • Outer Persephone
        • Overview
        • Therapy Entrance
        • Main Atrium
        • Lamb’s Office
        • Cell Blocks
      • Inner Persephone
        • Overview
        • Docking Platform (First Visit)
        • Security Office
        • Holding Wing (First Visit)
        • Cell Blocks
        • Holding Wing (Second Visit)
        • Therapy Wing
        • Infirmary Wing
        • Pediatric Ward
        • Docking Platform (Second Visit)
        • Story Conclusions
    • Protector Trials
      • The Rules of Engagement
      • General Tips
      • The Adonis Baths
      • Atlantic Express Train Upkeep
      • Pauper’s Drop Market
      • Simon Wales’ Church
      • Folly of Dionysus
      • Persephone Cellblock F
      • Bonuses, Achievements, and Trophies
    • Minerva’s Den
      • New Discoveries
      • Find Charles Milton Porter
      • Restore Power to Minerva’s Den
      • Get to Porter’s Office
      • Take the Operations Punchcard
      • Head for Operations
      • Find the Gravity Well Plasmid
      • Find a Bathysphere Signal Beacon
      • Hack the Signal Beacon
      • Get to Computer Core Access
      • Reset the Climate Control Turbine
      • Print Out The Thinker’s Code
      • Defeat Reed Wahl
      • Achievements and Trophies
    • Achievement & Trophy Guide
      • Story Progression
      • Variable Endings
      • Hooked on ADAM
      • Power to the People!
      • Hackers Wanted
      • Smile for the Camera!
      • My Daddy Can Beat Up Your Daddy!
      • Something Special
  • Bioshock Infinite
    • Foreword
    • About This Guide
    • Detective Training
      • Gameplay Fundamentals
      • Catalogue for 1912
      • Elizabeth
      • Sights and Sounds of Columbia
    • Guns of Liberty
      • Overview
    • Vigors
      • Overview
      • Possession
      • Devil’s Kiss
      • Murder of Crows
      • Bucking Bronco
      • Shock Jockey
      • Charge
      • Undertow
      • Return to Sender
    • Gear
      • Columbia Chronicles
      • Randomized Gear
      • Guaranteed Gear
      • Build Examples
    • Walkthrough
      • In the Name of the Prophet
        • Introduction
        • Lighthouse
      • A Day at the Fair
        • Town Center
        • Comstock Center Rooftops
        • Monument Island Gateway
      • Bring Us the Girl
        • Monument Tower
        • Battleship Bay
        • Soldier’s Field
        • Hall of Heroes
      • Guns for the Lady
        • Finkton Docks
        • Finkton Proper
        • Shantytown
        • The Factory
      • Family Reunion
        • Emporia
        • Downtown Emporia
      • Flight of the Songbird
        • Comstock House
        • Hand of the Prophet
        • Hangar Bay
    • Enemies of the People
      • Soldiers (Founders and Vox)
      • Automatons (Turrets)
      • Mosquito
      • Zealot of the Lady
      • Fireman
      • Motorized Patriot
      • Beast
      • Handyman
      • Siren
      • Boys of Silence
    • Achievement & Trophy Guide
      • Introduction
      • Story Achievements
      • Combat Achievements
      • Upgrades and Collectibles
    • Clash in the Clouds
      • Battle Prep
      • The OPS Zeal
      • Duke and Dimwit Theater
      • Raven’s Dome
      • Emporia Arcade
      • Achievements and Trophies
    • Burial at Sea, Episode 1
      • Overview
      • Market Street
      • High Street
      • Cohen’s
      • Fontaine Station
      • Fontaine’s Department Store
      • Housewares
      • Achievements and Trophies
    • Burial at Sea, Episode 2
      • Introduction
      • Toy Department
      • Ryan the Lion Preparatory Academy
      • Bathyspheres DeLuxe
      • Columbia
      • Return to Rapture
      • Suchong’s Free Clinic
      • Achievements and Trophies
  • Credits
    • Legal

BioShock: The Collection Guide › Bioshock Infinite › Clash in the Clouds

Battle Prep

It’s time to put your skills to the test! Clash in the Clouds challenges you to complete 60 distinct combat waves across four environments. Battle all manner of Founders and Vox in arena-style environments as you unlock a whole new set of Infusions, Vigors, Gear, and weaponry. And, there’s a corresponding Blue Ribbon Challenge for each wave. Since brute power and patience will see you through to completing each of the waves without much difficulty, this chapter’s tactics focus on completing the Blue Ribbon Challenges, which can be extremely difficult.

The Lobby

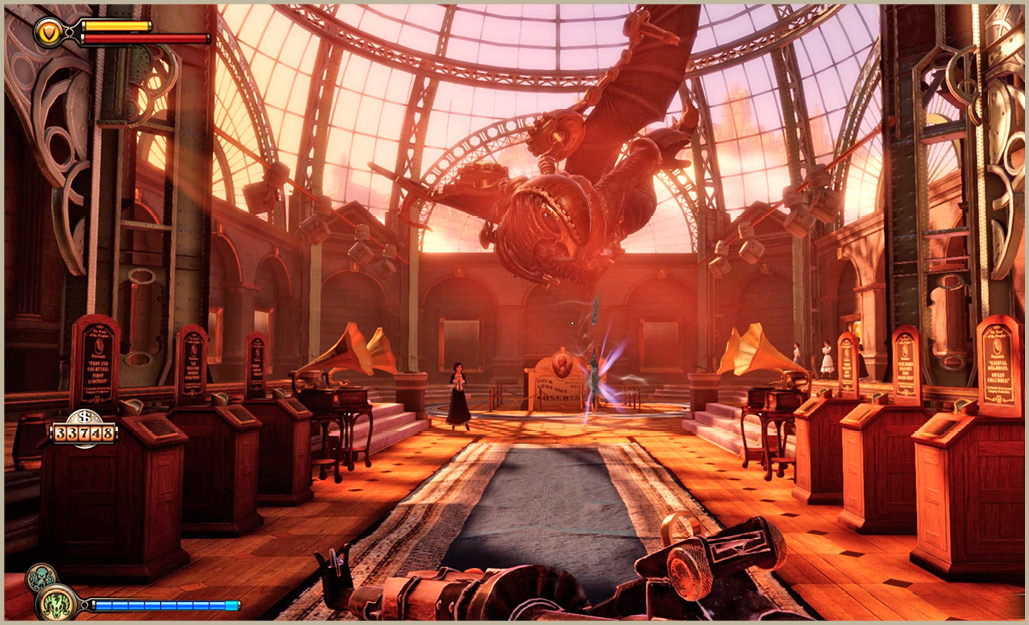
You’ll begin each play session in the lobby. Here you’ll be able to review the leaderboards, acquire Vigors and Salts free of charge, save your progress, unlock different arenas, and visit the museum.
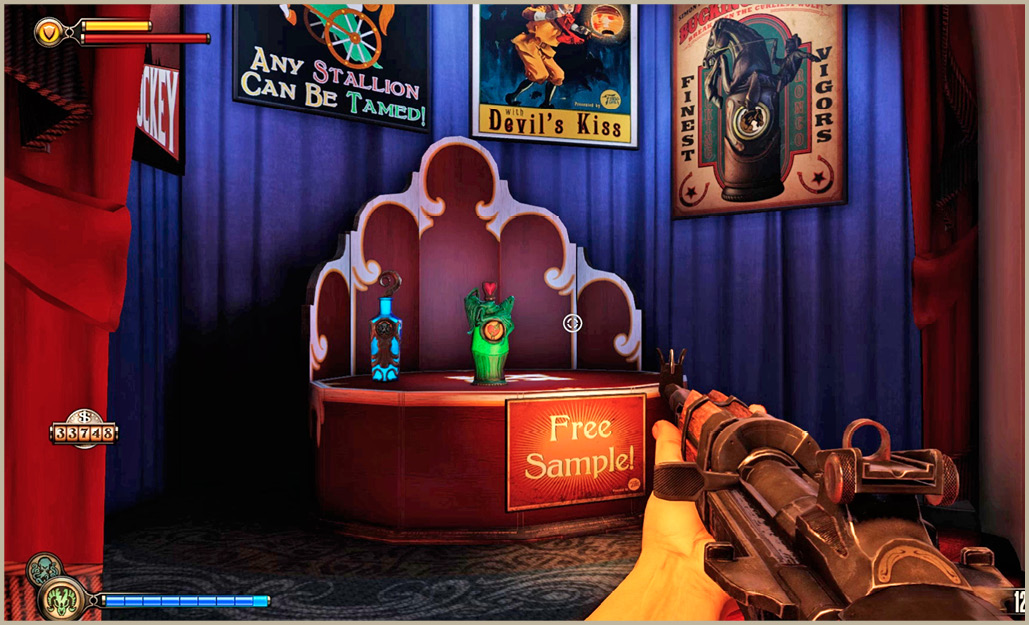
The Vigors on the table are free of charge. Grab a new one each time you play, so you don’t have to purchase them.
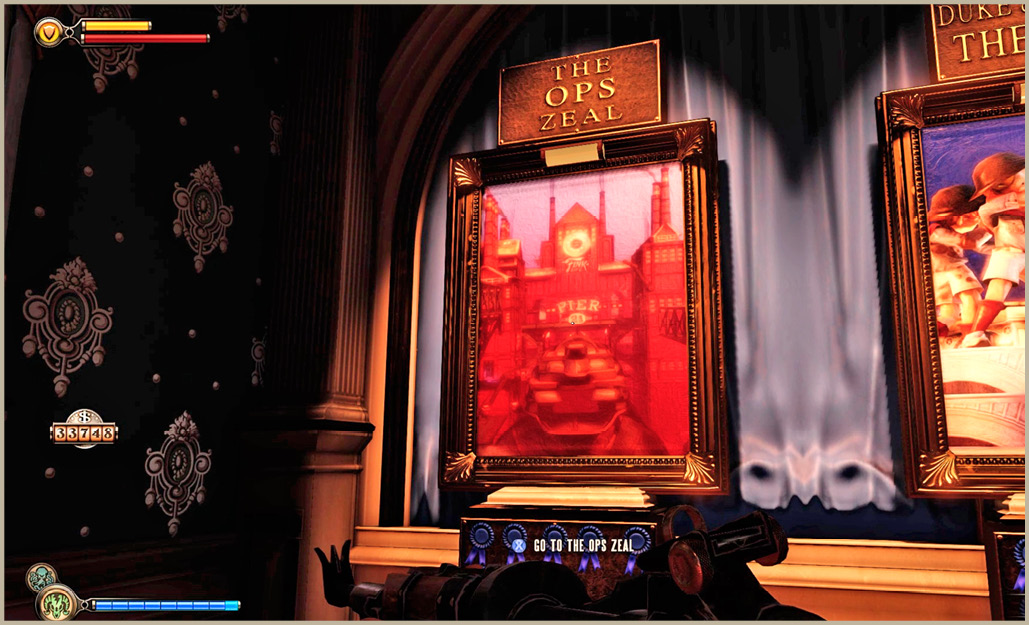
The OPS Zeal is already unlocked, but you’ll have to pay to unlock the other three maps.
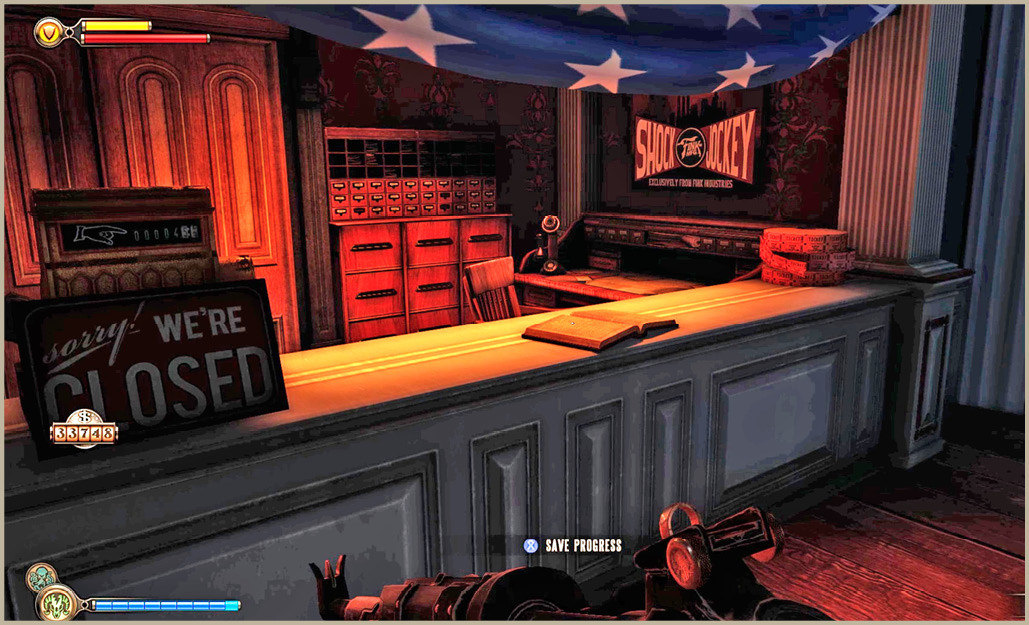
Don’t overlook this important logbook! This is where you save your progress in Clash in the Clouds.
Spend your extra money in the museum, collecting the many pieces of concept art, songs, and Kinetoscopes.

The Armory

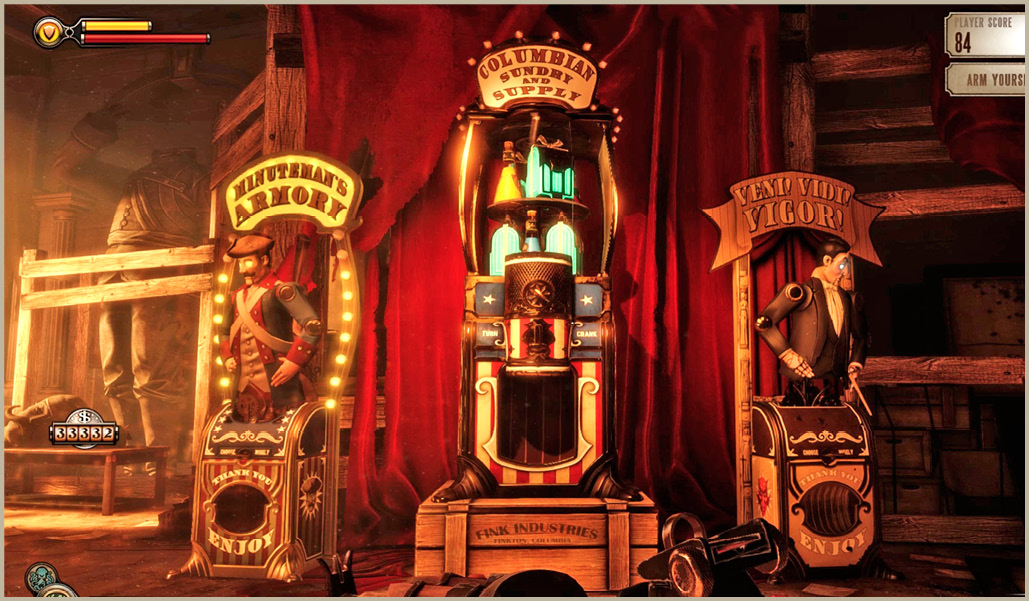
You’ll jump right into the fray whenever you select a map, but you return to this room between each wave. Use this time to prepare for your next wave. Pay special attention to the announcement regarding the Blue Ribbon Challenge requirements and enemy list for the next wave. Equip your weaponry carefully and use the money that you earn in the previous wave to unlock the most useful Vigor and weapon upgrades before you start.
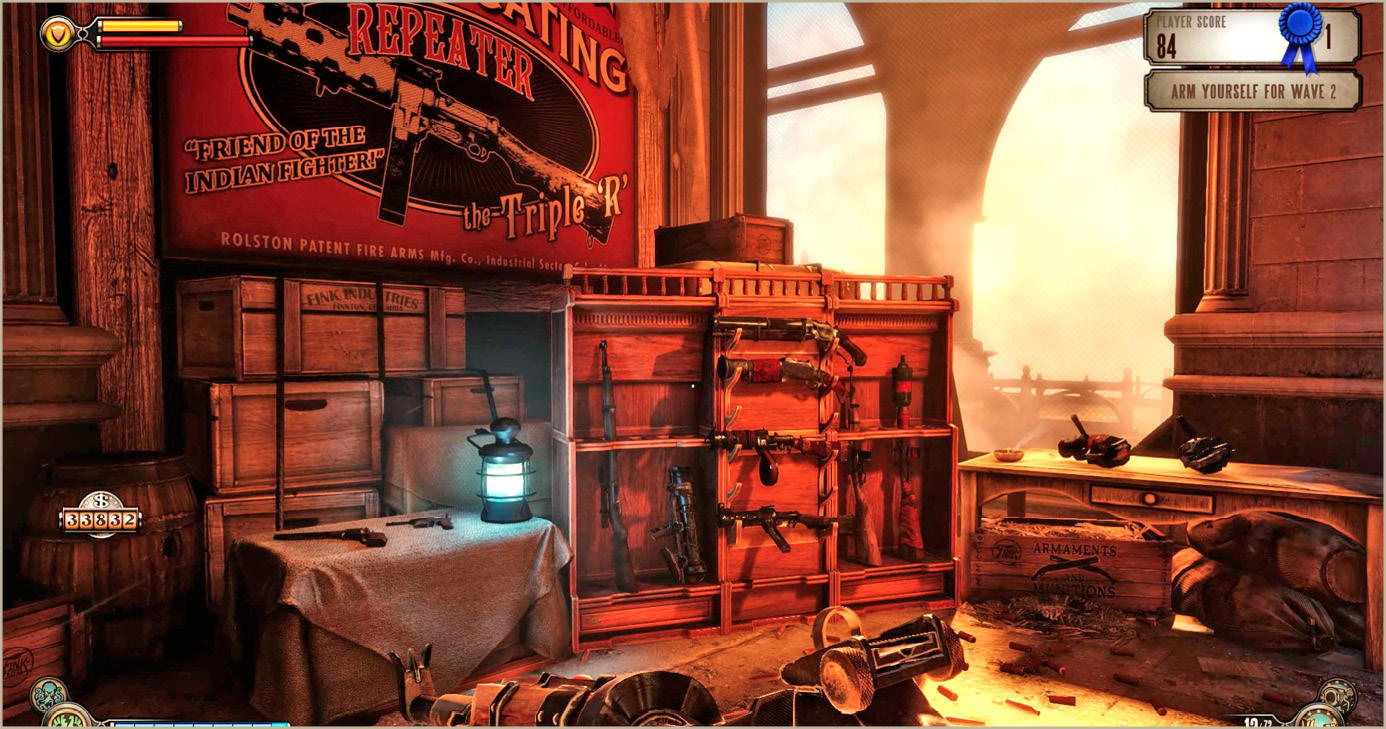
You can select any two weapons from this assortment prior to entering the map. When not sure, consider the Carbine and Volley Gun.
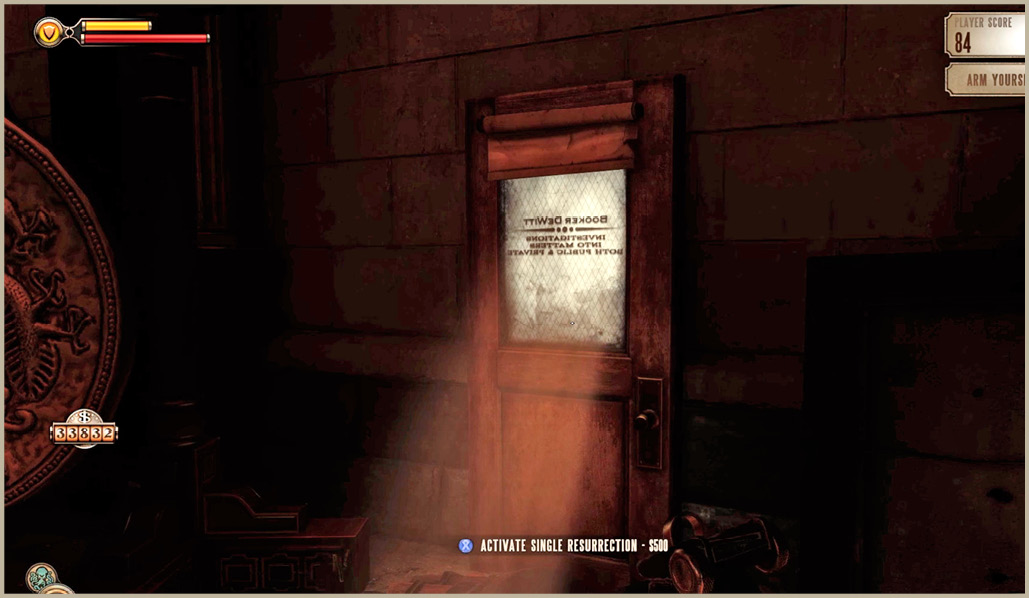
Purchase a Continue from the office door when trying to complete the Blue Ribbon Challenge or prior to the waves 10 through 15, as they tend to be very difficult.
Purchase all of the available Vigor upgrades as soon as you can, since these improvements will make the most difference when completing the challenges.

General Tips

Clash in the Clouds allows for plenty of improvisation, experimentation, and various styles of play. There is no one clear path to victory, but this chapter can save you a lot of trial and error. Consider the following general tips when tackling this exciting addition to Bioshock Infinite.

  • Play through all 60 waves at least once first, without worrying too much about Blue Ribbon Challenges. Use the Infusions you receive after every other wave to fully upgrade your Shield, then alternate spending those Infusions on Salts and Health. You won’t be able to fully upgrade all three attributes, so you may want to prioritize Shield.
  • Don’t spend any of the money during your initial playthrough on items in the museum. First make sure you purchase all of the upgrades for each of the Vigors. You’ll really need those upgraded Vigors if you’re going to have any shot at completing all 60 Blue Ribbon Challenges.
  • Remember to save your progress whenever you return to the lobby (interact with the book on the desk). Similarly, do not use the “Restart from Last Checkpoint” option in the middle of a wave, as that will send you back to the lobby.
  • Dying or failing a Blue Ribbon Challenge is no reason to start over from the first wave on your first playthrough. Just keep playing on until you get to the fifteenth wave in an area. The cash, Gear, and Infusions you unlock are worth it.
  • Understand that the maps change slightly from wave to wave. The Tears may change, the Sky-Lines may shift (or be removed), and the action may shift from solid ground to gunboats and gondolas.
  • Don’t use up the Salts and Health Kits from Tears too early in a wave, because they won’t replenish during a wave. Save them for emergencies only.
  • Consider buying a Continue before starting each wave (access the door in the armory) when trying to complete a wave’s Blue Ribbon Challenge, as it could prevent a lot of frustration. Continues cost $500, but a second Continue can be purchased mid-wave for $1000 from the door inside the area.
  • Use the money earned from attempting Blue Ribbon Challenges during your subsequent playthroughs to unlock the items in the museum. You’ll have more than enough to unlock everything in the museum and still have plenty of money left over for upgrading your weaponry and purchasing Continues.

Keep reading with a free account

The first 3 sections of BioShock: The Collection are open to everyone. An account opens the rest of it, and every other guide in the archive. It's free, and there's nothing to buy.

Bought guides on the old Prima Games site? Your account and every guide you own moved here, so there's nothing to buy again. Sign in.

Create a free account Or browse our free guides

PreviousUpgrades and Collectibles NextThe OPS Zeal