
BioShock: The Collection Guide Bioshock 2 Walkthrough Pauper’s Drop
Market
Exit the pawn shop and head due east out of Town Square, then follow the signs towards “Skid Row” to reach the Market. Eliminate any Splicers you encounter in the glass tunnels and move slowly into the Market area while studying the Big Daddy in the distance.
Big Daddy: Rosie
The Big Daddy you see when you first enter the Market may or may not be under attack by other Splicers. If you see that it already has a Little Sister with it, then by all means start filming and join the action. Otherwise, you’re going to need to sit on the sidelines and wait for the Big Daddy to draw the Little Sister out of the Sister Vent off to the left. Use the Hack Tool to hack the Security Camera in the distance, and set up some Trap Rivets on the steps leading down to the pool of water where the Sister Vent is located.
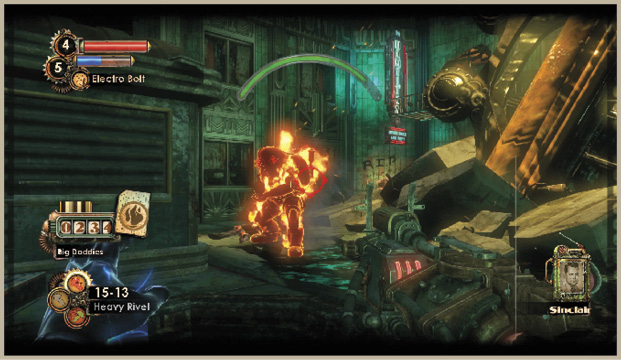
Use Telekinesis to pick up the gas cylinder off to the right and throw it at the Rosie as soon as he begins to walk away with the Little Sister. Switch to Electro Bolt and continuously zap the water while the Rosie is standing in it. Use the Machine Gun and Armor-Piercing Rounds to rip right through the Big Daddy’s armor. The Security Camera likely summons a pair of Security Bots, which should buy you just enough time to finish off the Rosie before it attacks with its Proximity Mines and Rivet Gun.
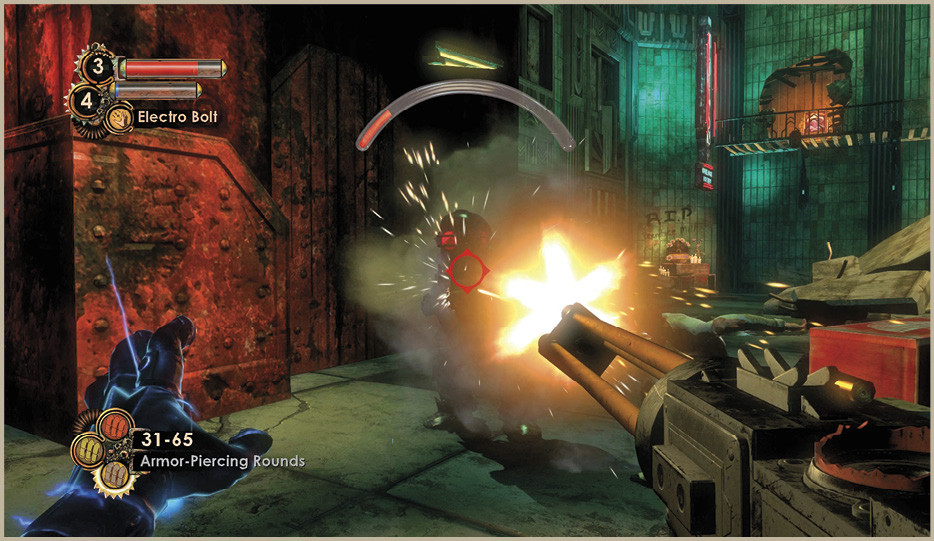
 Little Sister Encounter
Gather #1: In the Market Area
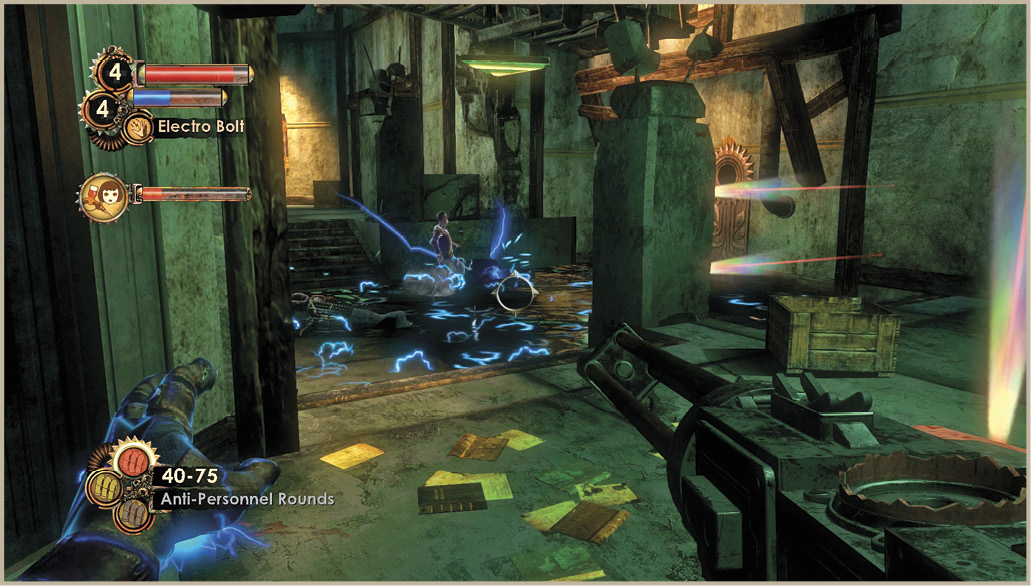
This next Gather is just steps away from the Sister Vent, and conveniently under a Security Camera. There’s also a Rocket Turret in the shop directly to the southeast of the Gather corpse that you would be wise to spend an Auto-Hack Dart on. Most of the Splicers that attack during the Gather are going to come from the stairwell directly south of the corpse and from the balcony directly above the Sister Vent. Place Trap Rivets near the entryway leading away from the stairwell and along the edge of the water. Set the Little Sister down to initiate the Gather and pick up a nearby fuel cylinder with Telekinesis, throwing it at the first batch of Splicers to appear. Let the Trap Rivets, Security Camera, and Rocket Turret take care of the rest that come from the stairs. Use Electro Bolt to fry the ones that leap from the balcony down into the water. This is one of the easiest Gathers in which to perfectly defend your Little Sister.
Gather #2: Apartment Above the Market
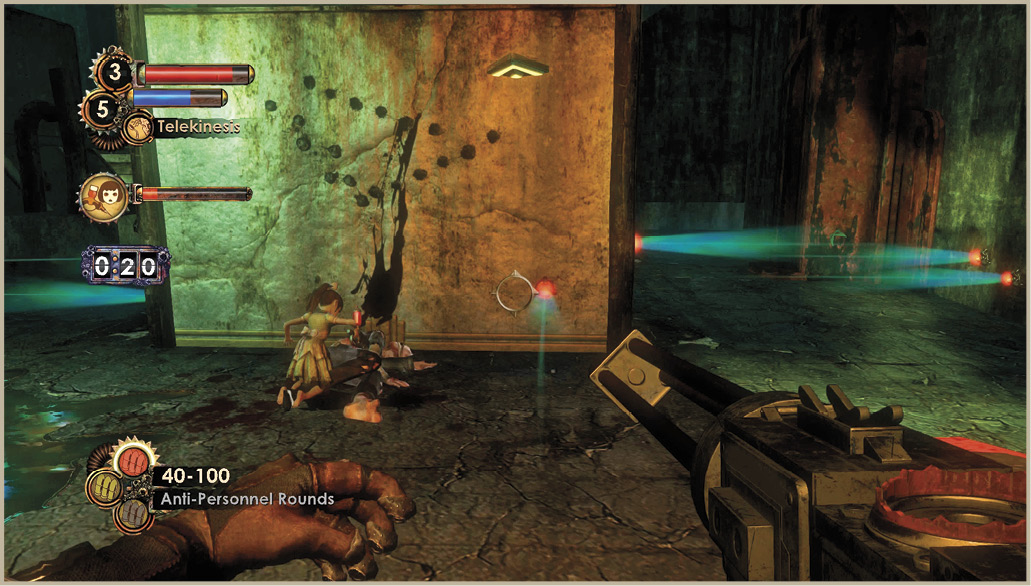
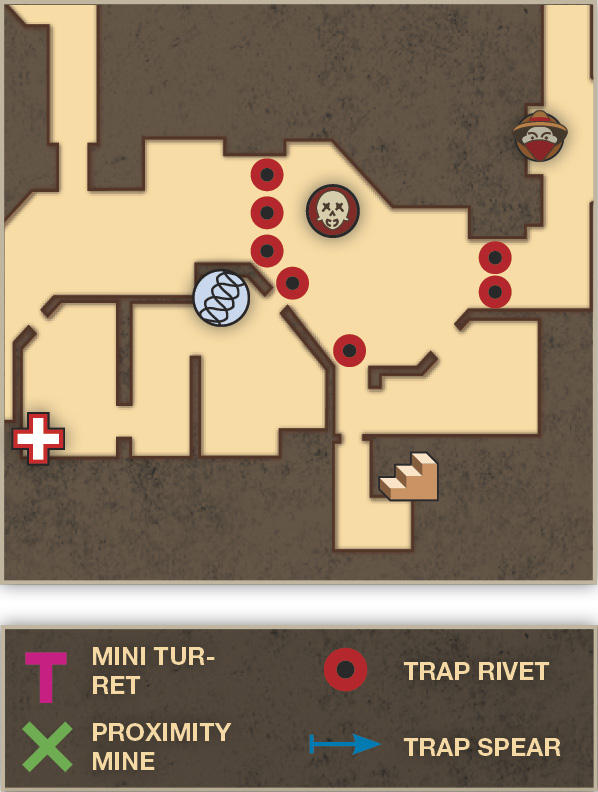
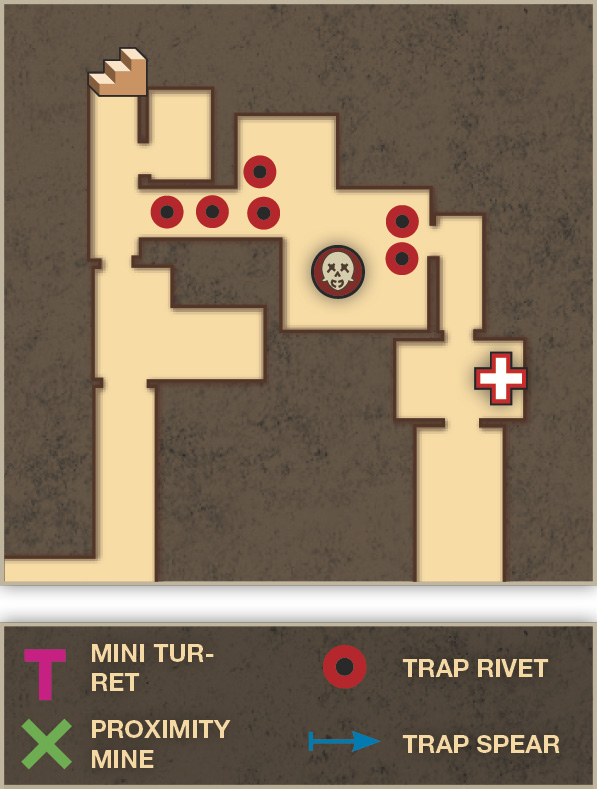
Move up the stairs south of this Little Sister’s first Gather corpse to the apartments on the next level to find the second Gather. There are only two ways into this room—through the hallway you enter from and the one opposite. Cover as much of these two approaches as you can with Trap Rivets and set the Little Sister down at the corpse. Stand in the corner behind her and watch for Splicers to come running in. A combination of the Shotgun and Incinerate! should be all you need to put down the eight or so Thuggish and Leadhead Splicers that attack. If you only have enough Trap Rivets to cover one of the two entrances, put them all on the floor in the hallway opposite the one you entered from since you won’t have a clear sight of enemies coming from that direction. Position yourself to the rear of the room, behind the Little Sister.
 Safe
Safe
Contents: 2 Auto-Hack Darts, 30 Armor-Piercing Rounds, 8 Trap Rivets.
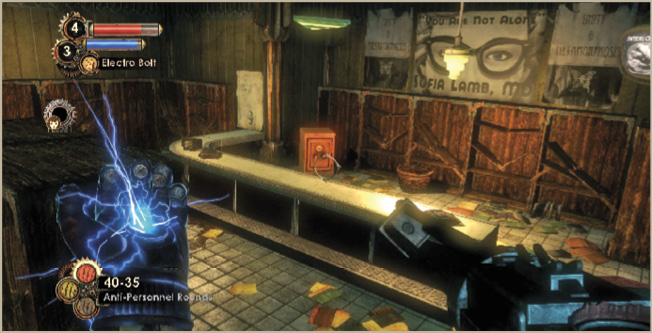
This safe is behind the counter of the store in the Market. To reach it, go through the door on the west side of the shops and crawl through the hole in the back room laboratory to enter the locked store with the safe. There aren’t any security devices or Splicers to attack you while you work on the safe, so take your time and be careful. The contents are pretty valuable. Use the nearby Gene Bank to equip Careful Hacker if available.
Move up the stairs on the south side of the Market to explore the upper area of this section of Pauper’s Drop (and perform the next Gather). Use Telekinesis to grab the Auto-Hack Dart on the ledge to the right, and locate the Audio Diary on the chair. Round the corner and continue down the hall to the south to find the Fire Storm tonic. Continue south across the bridge to the apartment above the pharmacy and locate the Audio Diary there before dropping through the hole to return to the lower level, right near a Sister Vent. Head to the Sister Vent and make your decision.
Big Sister is Coming
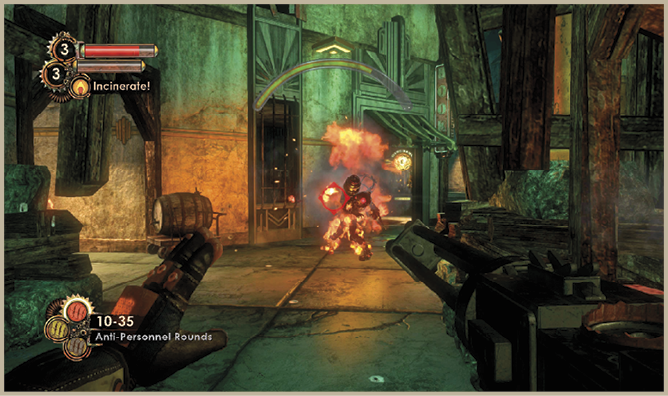
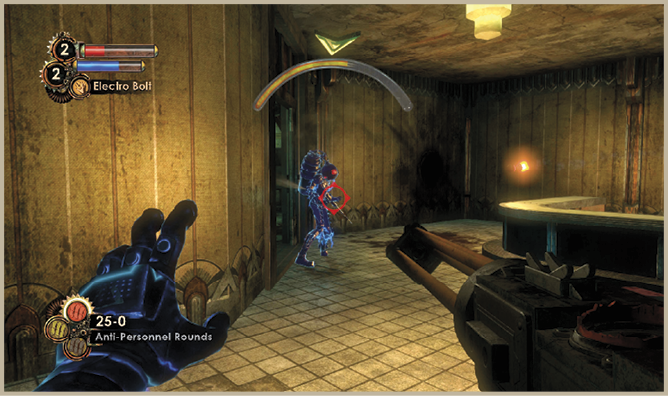
Dealing with the Little Sisters in Pauper’s Drop probably lures a Big Sister out of hiding moments after you leave a Sister Vent. This is why it’s best to return to the ground level of the Market area. And, if you’re not there when you hear the tell-tale screech of an approaching Big Sister, you would be wise to get there as fast as you can. You’ve already hacked a Security Camera and Rocket Turret in this area; now it’s time to put them to use!
Set up an array of Trap Rivets throughout the area near the stores and by the steps leading into the water, and position yourself between the Security Camera and Rocket Turret. Equip Incinerate! and the Machine Gun with Armor-Piercing Rounds and make sure your health and EVE levels are topped off. The Big Sister either stands back and uses Telekinesis or Incinerate! to attack from afar, or she dashes forward in attempt to impale you with her giant needle. Swing your weapon to knock her back and do what you can to lure her into view of the Rocket Turret in the corner store, which thoroughly distracts her and renders her an easy mark . The Security Camera soon summons a pair of Security Bots to further distract her, and the Rocket Turret continues bombarding her with explosives, at least until she destroys it. Open fire on her with the Machine Gun and Incinerate!, but switch to Electro Bolt if she happens to stray into the water near the Sister Vent.
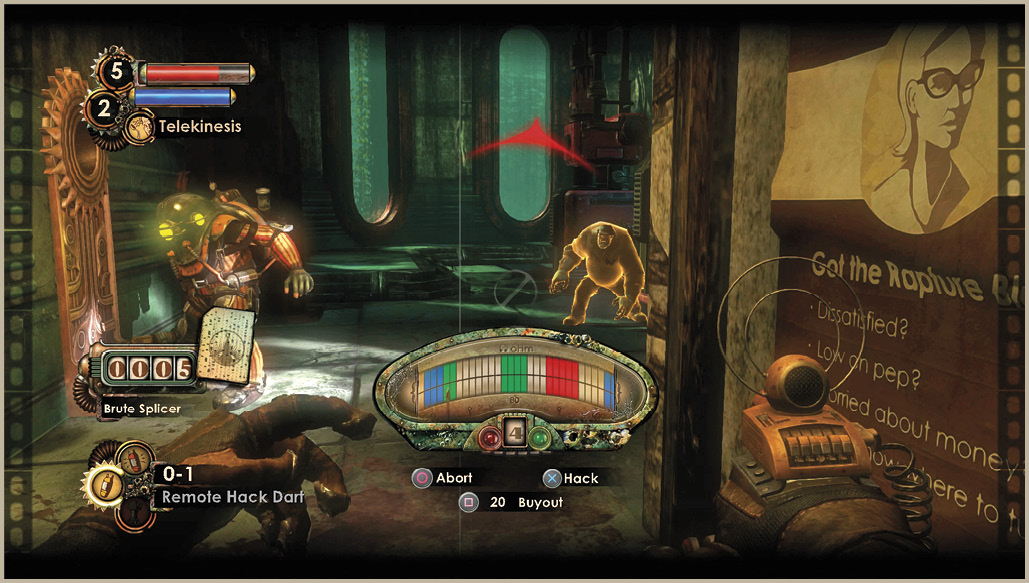
Continue through the maintenance tunnel opposite the entrance to the pharmacy. Then, move north past the Rosie corpse near the crates and around the corner. You will find a Brute Splicer near the entrance to the Limbo Room. Round the corner slowly and hack the Security Camera on the wall to the right. Switch to the Research Camera and Incinerate! and start filming the Brute Splicer in the distance. He’ll turn and attack as soon as he hears the camera’s motor—hit him with Incinerate! and back away to lure him towards the oil slick by the Security Camera. Continue to pelt him with fireballs and ignite the oil slick to engulf him in flame. The Security Bots that appear should be all it takes to finish him off.
Clear the Rubble at the Sinclair DeluxeNow that you have learned the Drill Dash by researching Brute Splicers, you can bust your way into the Sinclair Deluxe Hotel. Head back to the Hotel and use the Drill Dash to destroy the rubble blocking your way. Remember, you must have some Drill Fuel to execute a Drill Dash. 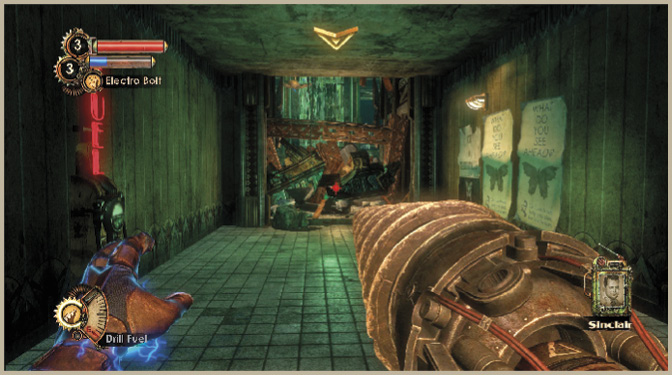
|