BioShock: The Collection Guide Bioshock Walkthrough Neptune’s Bounty
Wharfmaster’s Office
The upper level offices are the most secure area in all of Neptune’s Bounty and you really need to pay attention to the location of Security Cameras and RPG Turrets here if you want to get out alive. Before you can inspect the office on the left-hand side, or the prisoner cells in the center of the area, you need to loop around to the right where the security system is in place.
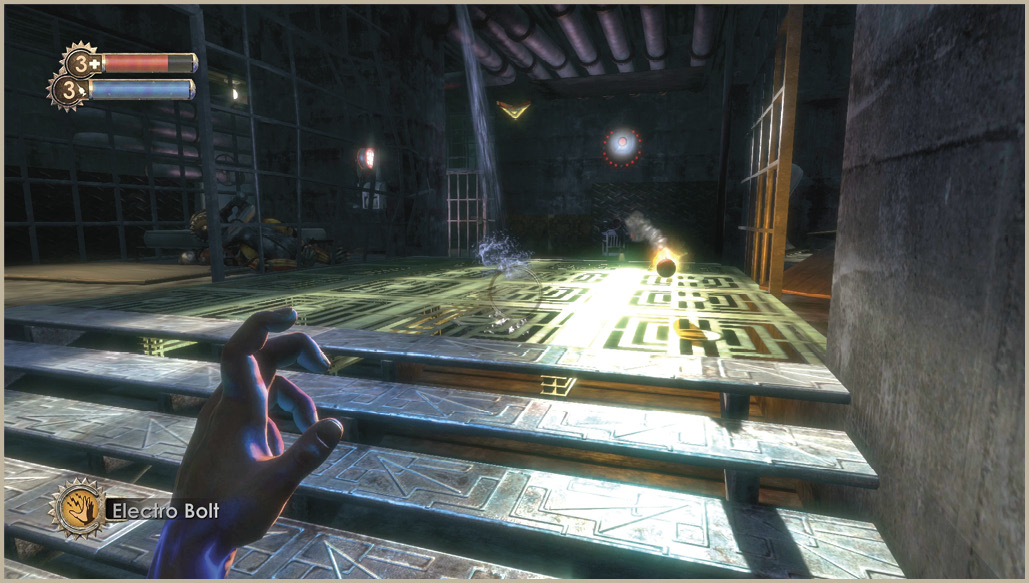
Although several Leadhead Splicers may come to attack, it’s not worth hacking the Turrets in this case. Instead, zap them with the Electro Bolt to stun them, then quickly blow them apart with the Shotgun. Better yet, use the Electric Buck ammo for the Shotgun to do it all in one step.
Listen closely for the side-to-side motion of the Security Camera and beware the panning of the red security light. Use Armor-Piercing rounds to eliminate it quickly. Eliminate or hack the three Turrets near the jail cells (one is to the right upon entering and the other two are at the far end of the floor, near the camera). Once you have secured the area, crawl through the ventilation grate near the locked office door to search the office for items. There’s a Security Camera inside, but the Bot Control Shutdown panel is also inside the room near the desk if you need it.
 Safe
Safe
Contents: 3 Antipersonnel Pistol Rounds, 2 Heat-Seeking RPGs, 33 Dollars
Crawl through the ventilation opening to enter the locked office on the left-hand side of the Upper Wharf. The safe is in this room near the desk. It is fairly simple to hack and well worth the effort.
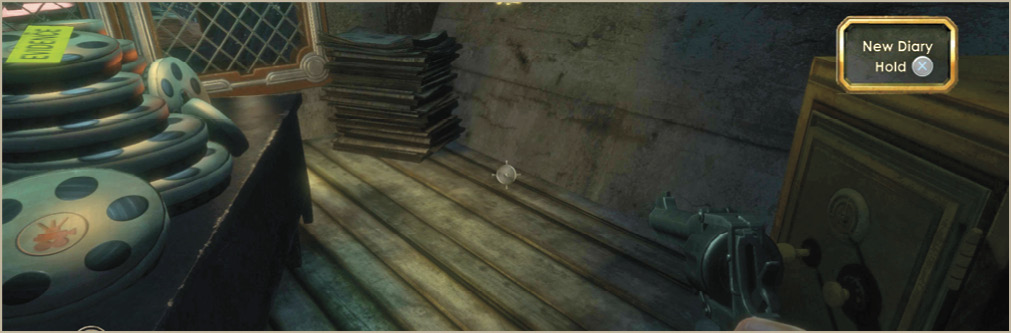
When done raiding the security office, continue on towards the main Wharfmaster’s Office. Crawl through the hole in the floor towards the Gene Bank and Vita-Chamber. The Research Camera is around the corner to the right on the desk.
Objective 3: Photograph 3 Spider SplicersUse the Research Camera to take a photo of three Spider Splicers (the ones who crawl on the ceilings). If you do this for Peach he’ll let you into Fontaine Fisheries so you can locate the hidden submarine. 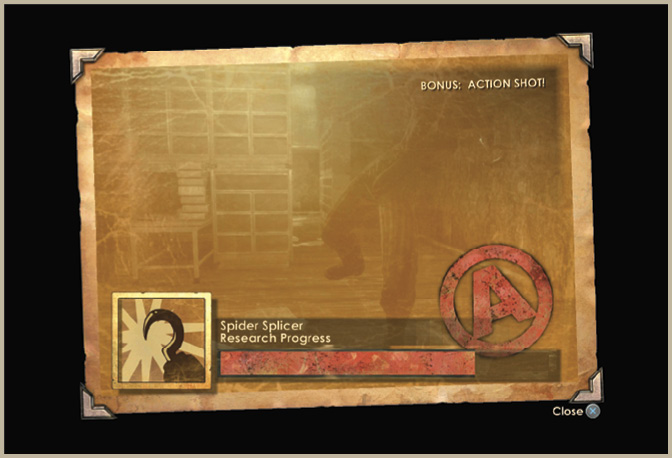
|
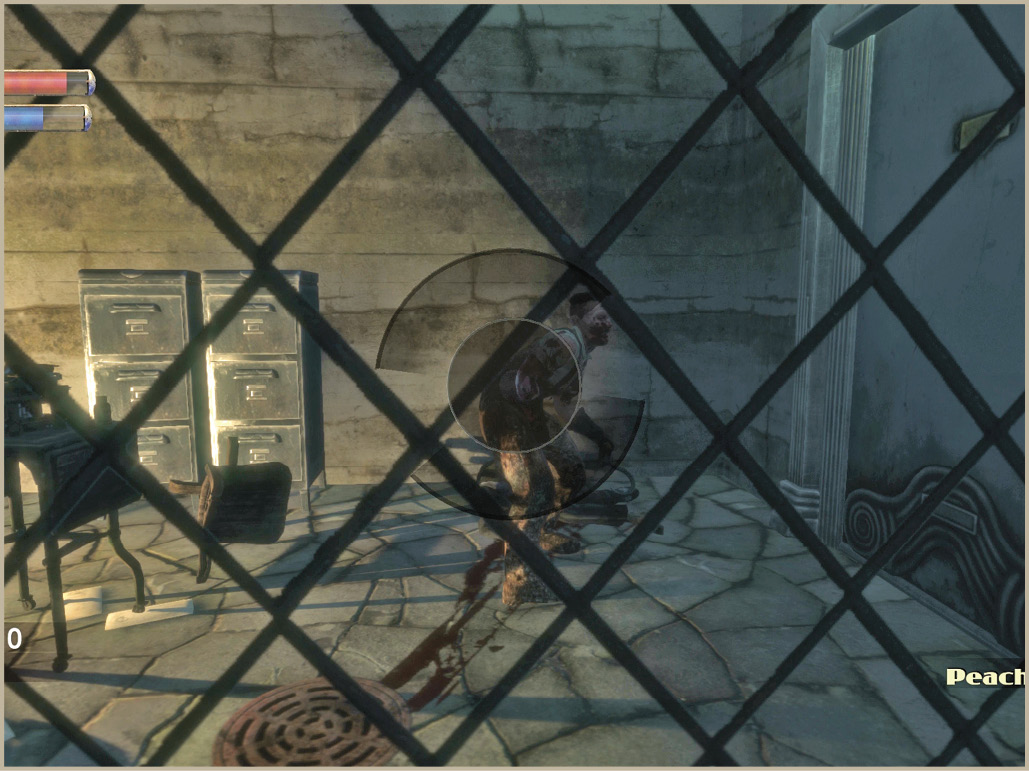
The Research Camera comes with enough Film to take 12 shots, but don’t worry about running out, since you’ll be able to buy more Film in no time. Start your photography career by taking a picture of the Spider Splicer in the neighboring room. Wait for it to approach the window and be sure to get as much of its body as you can. That’s one, now you need to find and photograph two other Spider Splicers to complete Peach’s request.
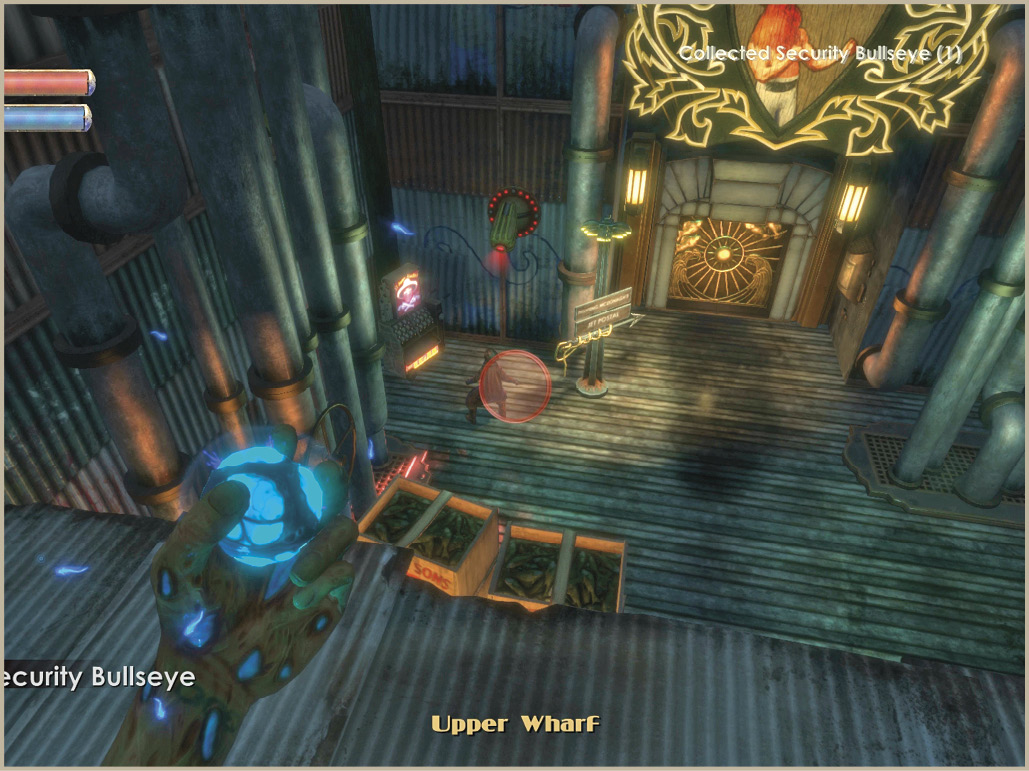
An explosion rips through the wall in the Wharfmaster’s Office and provides you with a shortcut back to the Upper Wharf, not to mention a way over the gate below. Pick up the Security Bullseye plasmid and immediately put it to use against the Splicer standing in front of the Security Camera down below. Take a photo of the Security Bot that comes out to battle it, then drop off the ledge on the right to access the area that was otherwise gated off. Go south through the hallway to Jet Postal.