Though there are a total of eight weapons to select from in the Weapon Radial—and all can be swung melee-style—only six of these devices truly qualify as weaponry. The other two, the Research Camera and Hack Tool, are tools. That said, the Drill is the only weapon that doesn’t feature a variety of ammunition (it consumes only one type of Drill Fuel). Similarly, the Research Camera and Hack Tool are the only devices that do not have any available upgrades. Weapons can be upgraded by stopping at a Power to the People machine and selecting one of the available upgrades. Power to the People machines are very rare and can only be used once, so choose wisely. It’s impossible to fully upgrade every weapon during a single playthrough of BioShock 2, so consider your tendencies and the upgrade strategies that follow before committing to any one upgrade.
Drill
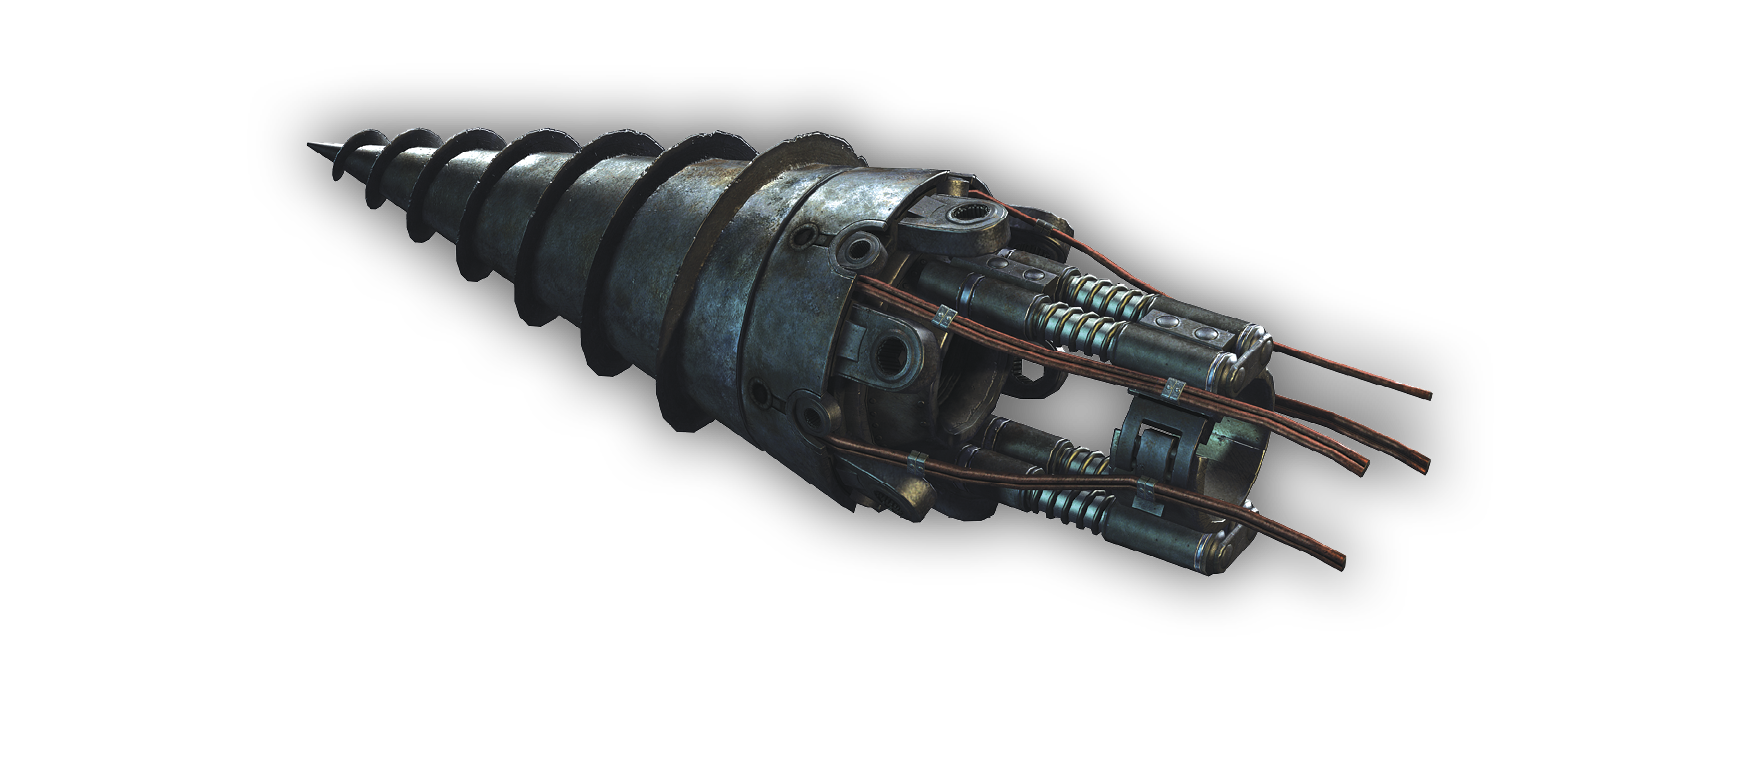
The Bouncer’s Drill was as much a symbol of the original BioShock as Little Sisters and bathyspheres, and now you get to have one to call your own! The Drill is a devastating melee weapon that can be used in a number of ways. Like the other weapons, it can be used to bash an enemy over the head (more like a pointy-ended uppercut) with a tap of the Melee button. This not only conserves Drill Fuel, but is a great follow-up to an Electro Bolt attack. It also inflicts far more damage than clubbing an enemy with any other weapon. You can also deliver continuous heavy damage to an enemy by holding the Fire Weapon button to spin the Drill and bore into an enemy. This consumes Drill Fuel, but inflicts significant damage to all enemy types, even Big Sisters. Lastly, you eventually learn how to perform the Drill Dash attack. You can perform this high-speed attack by pressing the Melee button while holding the Fire Weapon button. This action sends the Big Daddy dashing across the floor to deliver incredible damage to a distant enemy. The Drill Dash attack becomes available after achieving the Level 1 Research Bonus from a Brute Splicer.
Fuel Capacity
Ammo Type
Tank Capacity
Carry Capacity
Drill Fuel
300
300
Rivet Gun
No Big Daddy would be complete without the deadly Rivet Gun that made the notorious Rosie so menacing in the original game. The Rivet Gun essentially fills the space in the player’s arsenal previously occupied by the Pistol. It fires single projectiles—rivets—at a moderate rate, making this gun a satisfactory all-purpose weapon. Standard rivets offer a moderate amount of piercing damage, and the Rivet Gun can be used as a melee weapon in a pinch. Click the Look Controls to stare down the barrel for a more accurate shot, though this requires two hands and prohibits Plasmid use until the Look Controls are clicked again.
Rivet Gun Ammo Capacity
Ammo Type
Magazine Capacity (Base)
Carry Capacity (Base)
Rivets
12
60
Heavy Rivets
12
24
Trap Rivets
12
24
Machine Gun
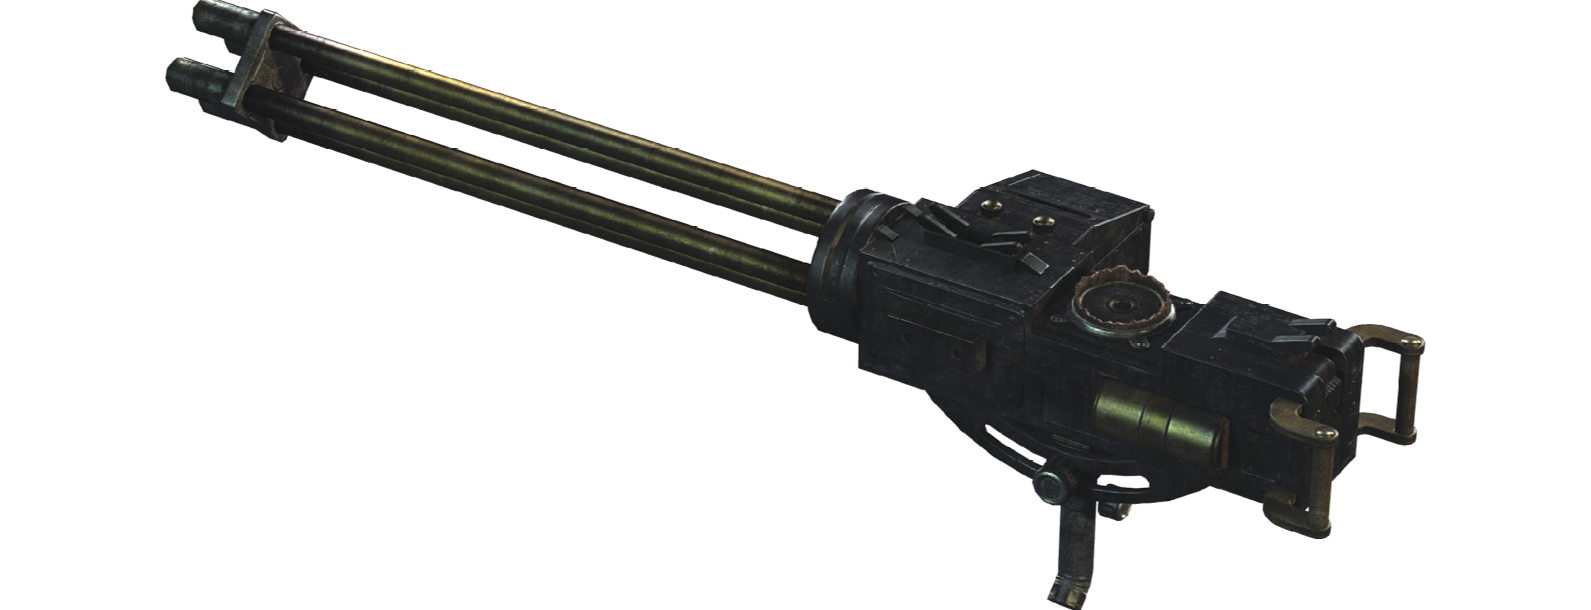
The Machine Gun uses the same ammunition as the Tommy Guns you’ll see many of the Leadhead Splicers carrying, but that’s where the similarities end. The Machine Gun has been scaled for a Big Daddy and resembles a Gatling gun more so than the pint-sized weapons the Splicers use. This weapon has an unmatched rate of fire and can spray enough bullets to mow down an army of Splicers in a few seconds flat. The downside to the Machine Gun is that it suffers from ferocious recoil and can be quite inaccurate in unsteady hands. It is best used in short bursts, though that does tend to sideline its greatest asset: its fully automatic firing capability. The Machine Gun is best saved for use against groups of low-level Splicers (perhaps during a Gather) or against larger targets such as Brute Splicers and Big Daddies. It also does well against close-range targets. Perhaps more so than any other weapon, your choice of ammunition is critical.
Machine Gun Ammo Capacity
Ammo Type
Magazine Capacity (Base)
Carry Capacity
.50 Caliber Rounds
40
280
Anti-Personnel Rounds
40
160
Armor-Piercing Rounds
40
160
Shotgun
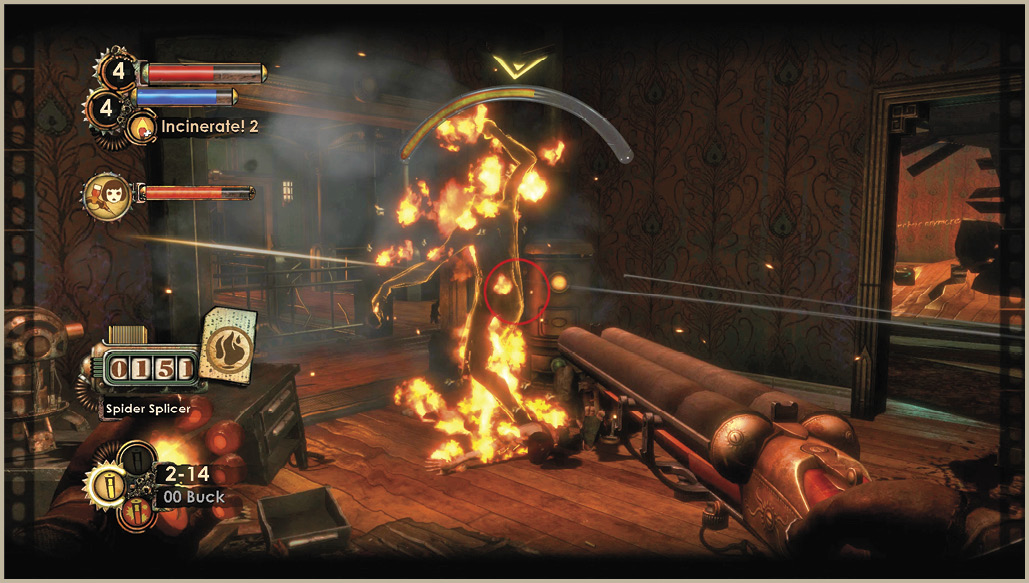
The Shotgun is the ultimate short-range gun. It fires a wide burst of pellets and can be fired effectively from the hip or shouldered for increased accuracy. The Shotgun can defeat most low-level enemies with a single blast, and is also effective against armored enemies that get too close. Of the primary weapons, the Shotgun does have the slowest firing rate (and smallest capacity), but these shortcomings are offset by the increased firepower. The Shotgun is the perfect weapon for tight hallways and areas where enemies can suddenly appear at close range. It’s not conducive for open spaces or situations when enemies can move quickly between distant locations.
Shotgun Ammo Capacity
Ammo Type
Magazine Capacity (Base)
Carry Capacity
00 Buck
2
24
Solid Slug
2
12
Phosphorous Buck
2
12
Speargun
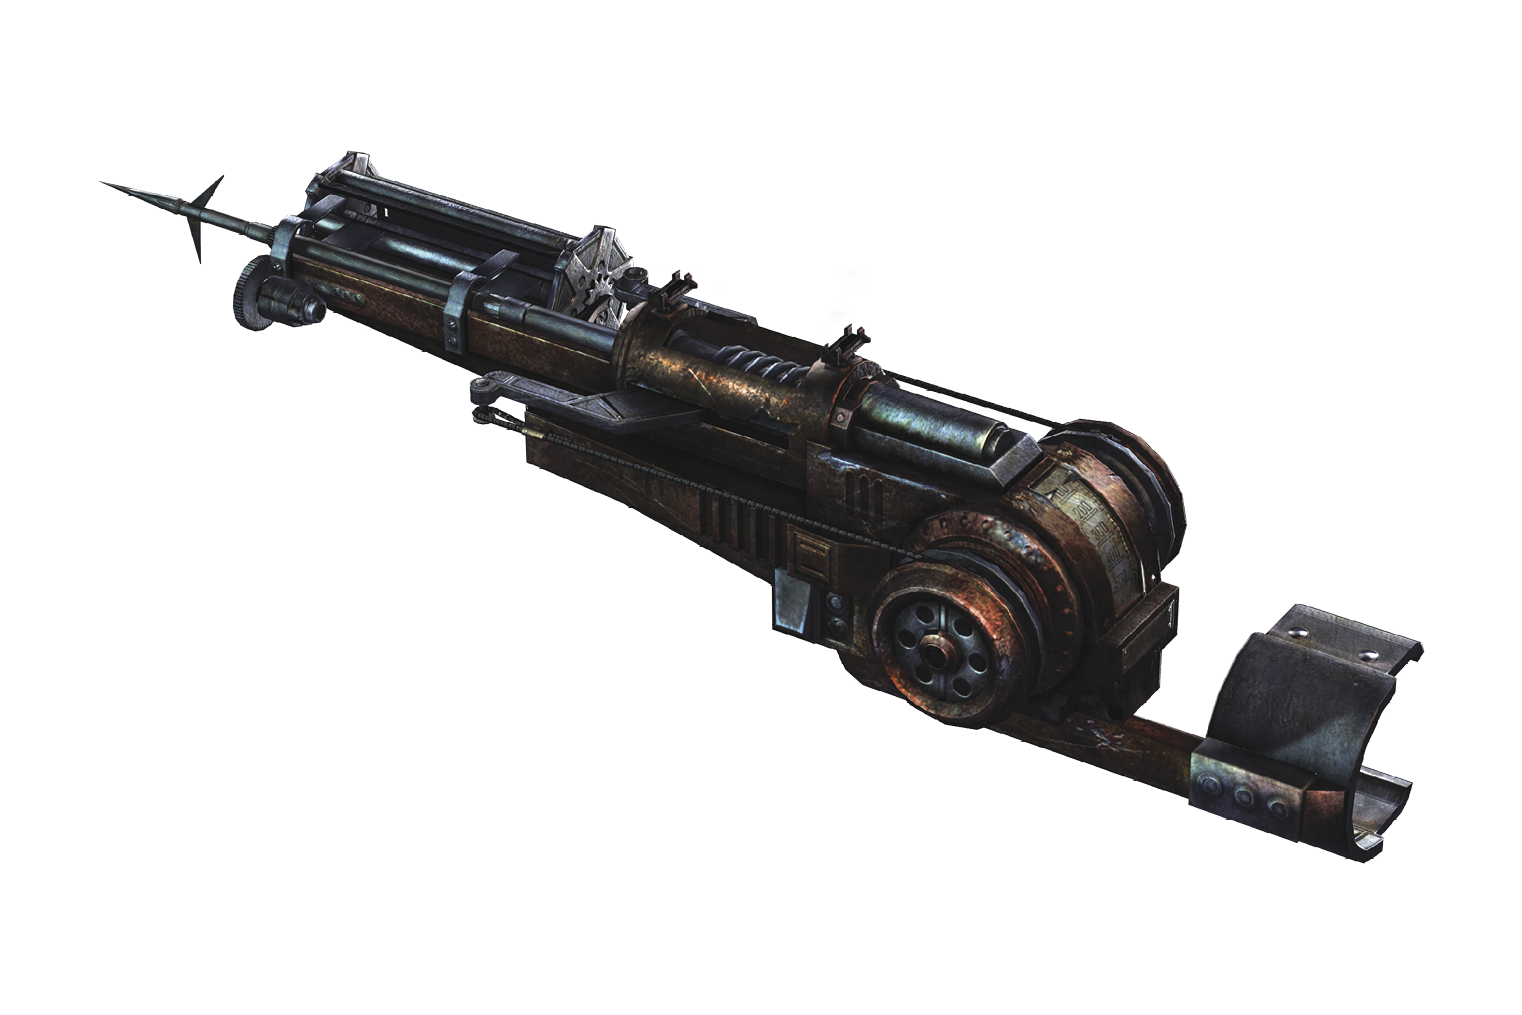
The Speargun is the Big Daddy equivalent to the Crossbow made famous in the original BioShock, and provides an entertaining take on the act of sniping. The Speargun fires large heavy-duty spears with deadly accuracy and affords the player the opportunity to kill most Splicers with a single shot from considerable distance. The benefits of the Speargun don’t end there! The individual spears hit the target with such force as to drive the enemy backwards through the air—they can even stake the enemy to the wall! Best of all, the spears are quite durable and can be reclaimed from corpses and the environment—a feature that really helps offset the cost of the ammunition! Plus, it’s morbidly entertaining to watch the corpses fall to the floor after retrieving the spear holding them to the wall. The Speargun is an excellent weapon for players looking to use cover and snipe at distant enemies, but it is less effective against tougher foes in a skirmish situation.
Speargun Ammo Capacity
Ammo Type
Magazine Capacity (Base)
Carry Capacity
Spear Ammo
5
20
Trap Spear
5
10
Rocket Spear
5
10
Launcher
The Launcher is essentially an up-scaled version of the Grenade Launcher used by Jack in the original BioShock. What this weapon lacks in carrying capacity, firing rate, and reload time, it more than makes up for in ammunition variety and sheer firepower! The Launcher can be used to clear a room of Splicers, lay traps for Big Daddies, or even fire heat-seeking rockets at Big Sisters and Alpha Series enemies. Although ammunition is relatively scarce, this is not a huge issue. It’s best to view the Launcher as a specialty weapon, and only bring it out for battles against the most threatening enemies and while protecting the Little Sister during a Gather.
launcher Ammo Capacity
Ammo Type
Magazine Capacity (Base)
Carry Capacity
Frag Grenade
3
15
Proximity Mine
3
9
Heat-Seeking Rocket
3
9
Hack Tool
The Hack Tool is a device that allows you to hack the many mechanical devices in Rapture without having to get too close. Aim the reticule of the Hack Tool at any hackable machine and fire a Hack Dart to initiate the hack. The reticule indicates valid targets by turning red (short-circuiting doors and apparatus typically need to be hit with Electro Bolt). The Hack Tool can be used as a melee weapon in a pinch, but you probably should avoid firing Hack Darts at enemies. Not only do they not inflict any substantial damage, but Hack Darts are too valuable to waste them in this manner. Unlike in the original game, hacking takes place in real-time and does not interrupt the action. This means Security Bots and Turrets (as well as nearby enemies) continue to attack you while you perform a hack if they detect your presence. See the “Into the Dive Suit” chapter for full details on hacking.
hack tool Ammo Capacity
Ammo Type
Magazine Capacity (Base)
Carry Capacity
Remote Hack Dart
1
9
Auto-Hack Dart
1
4
Mini-Turret
1
4
Research Camera
The Research Camera in BioShock 2 records moving pictures and automatically grades and scores your combat techniques while the camera is recording. Earn as many Research Points as you can for a given type of enemy to unlock Research Bonuses, including special tonics and damage bonuses! Equip the Research Camera and aim the viewfinder at a particular subject (can only research one enemy at a time) and press the Fire Weapon button to initiate filming. The Research Camera then records for roughly 30 seconds (the Extended Reel Tonic increases this to 45 seconds) or until you defeat the enemy, whichever comes first. You don’t need to keep the enemy in view, and you automatically swap to your last-used weapon. See the “Into the Dive Suit” chapter for full details on scoring Research Points.