BioShock: The Collection Guide Bioshock Infinite Burial at Sea, Episode 2
Bathyspheres DeLuxe
Go to the Silver Fin
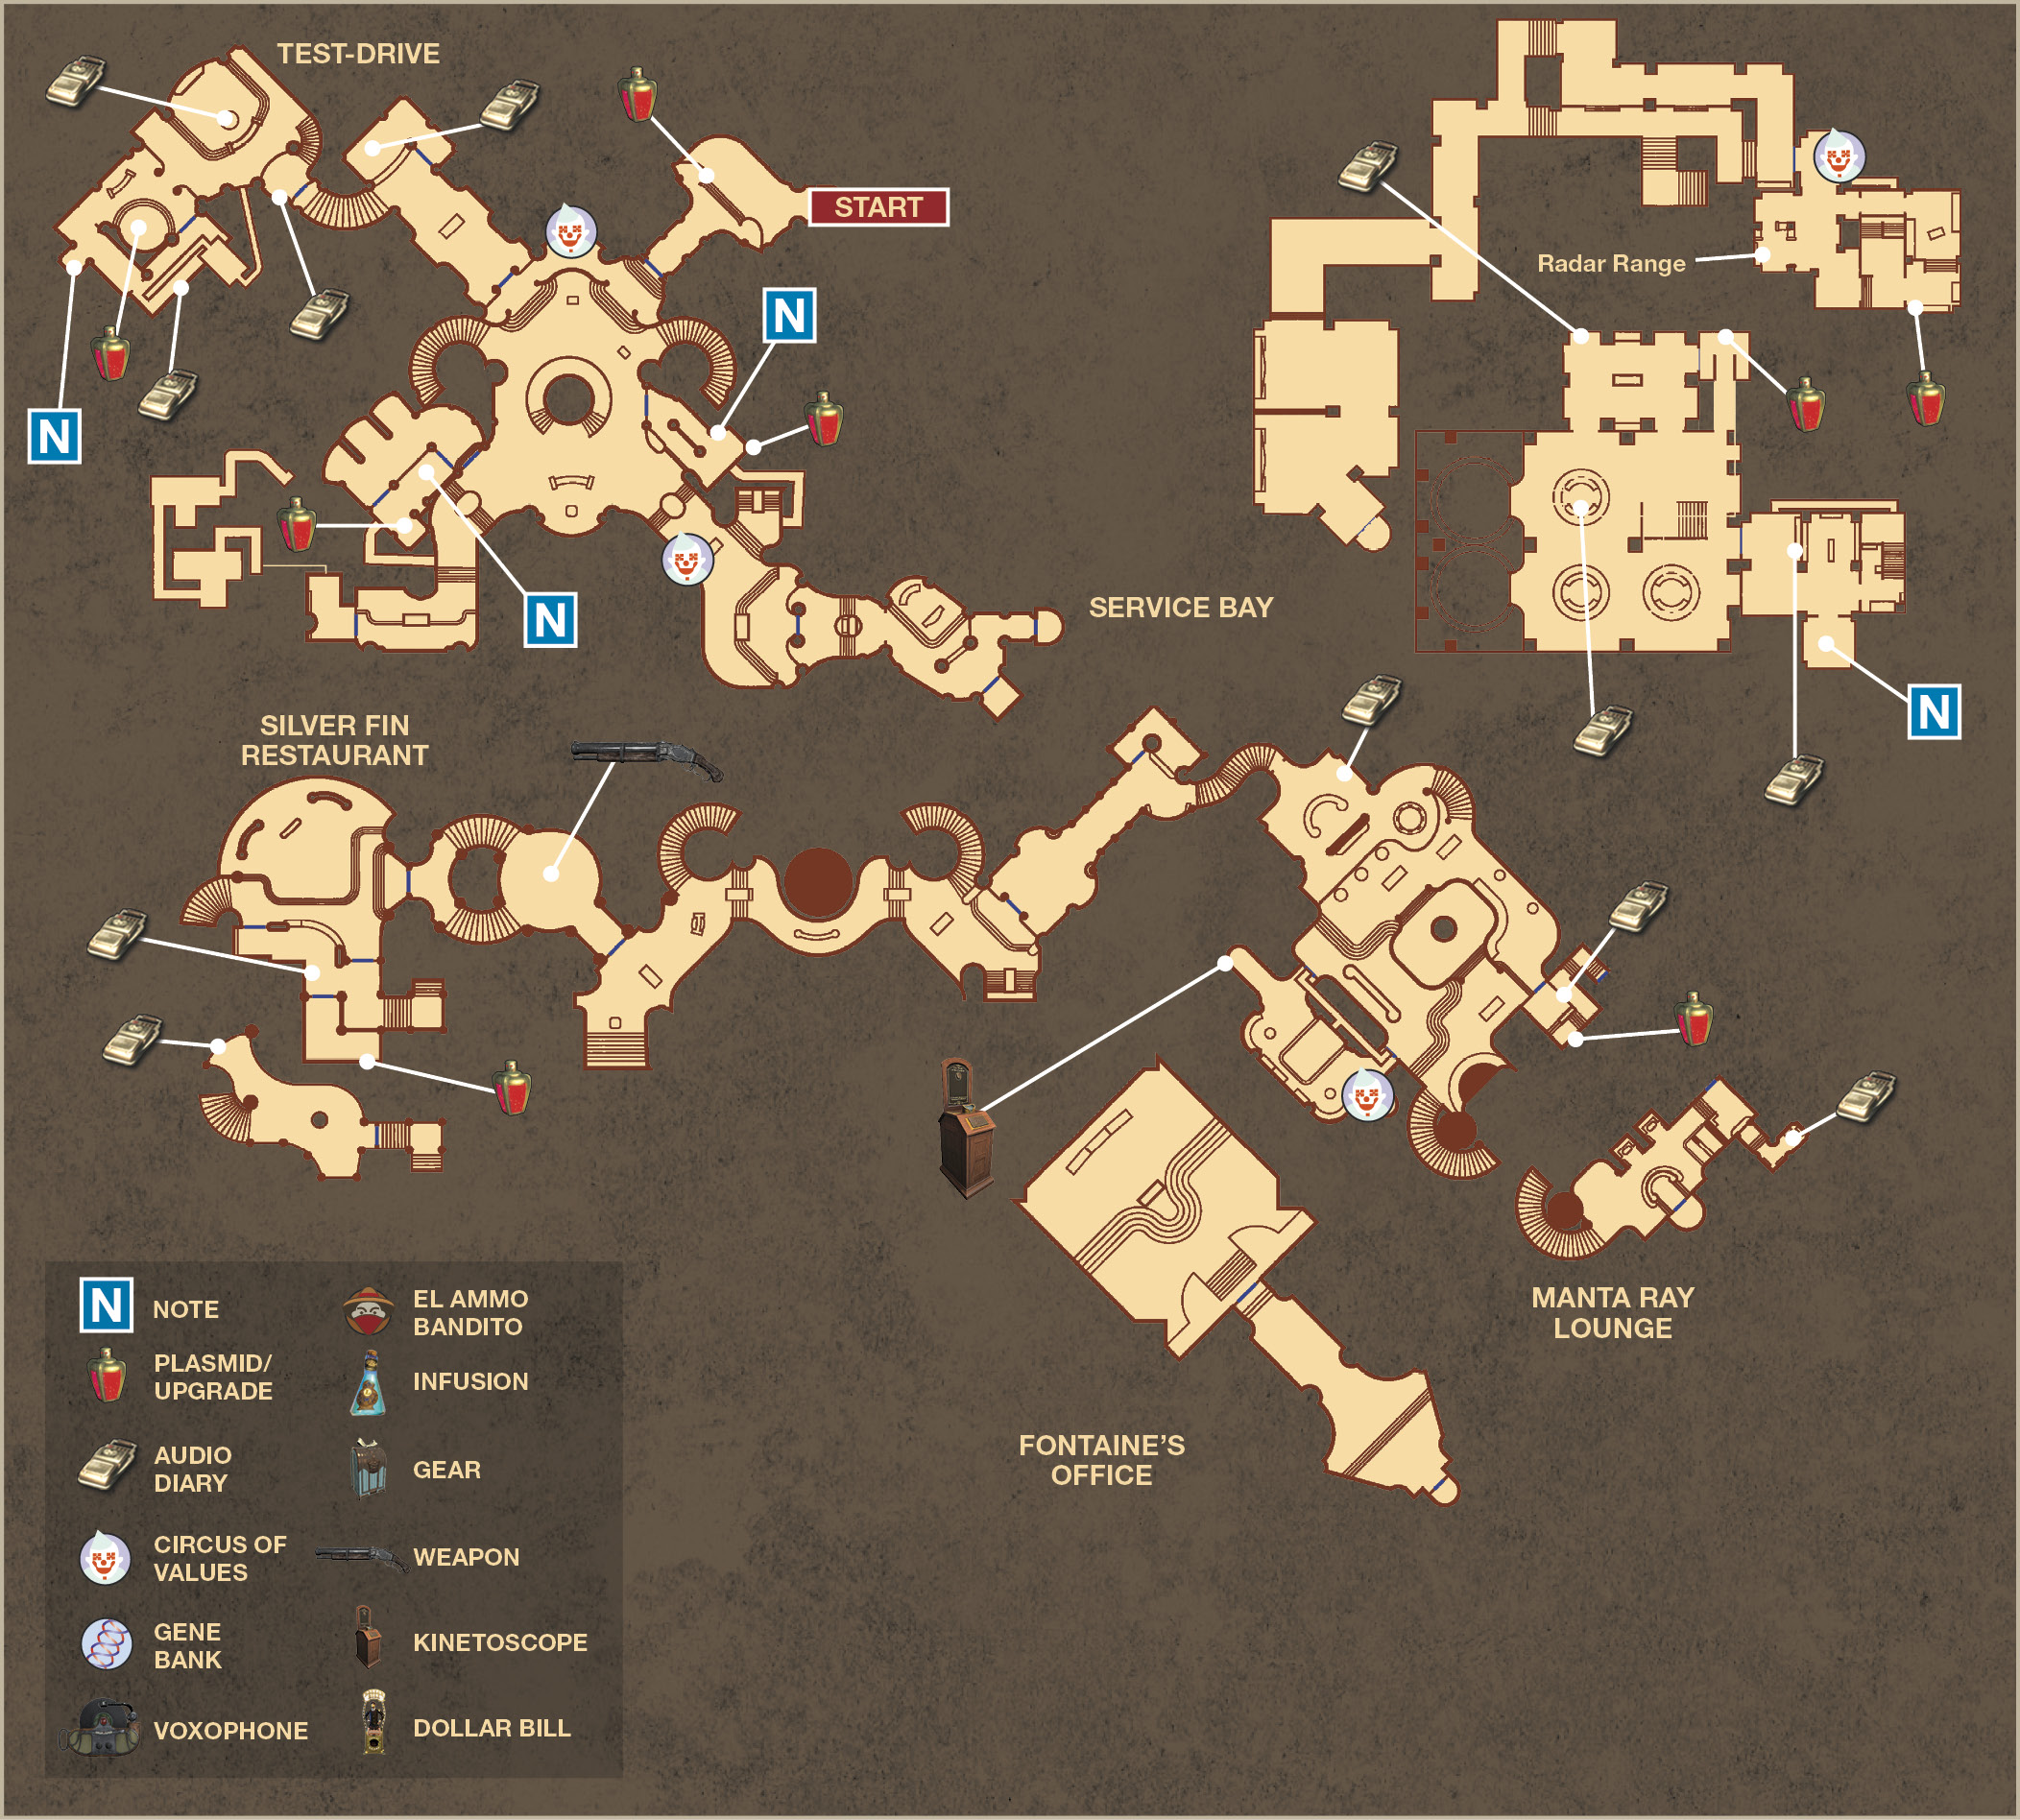
Ignore the man playing the guitar—don’t risk losing any Tranquilizer Ammo over an innocent—and pick up the Possession Plasmid beside him. Proceed through the door atop the stairs to enter the Bathyspheres DeLuxe shopping mall. Here you’ll find restaurants, a nightclub, a bathysphere dealership, and even a bathysphere service center, among other businesses.
Ignore the Big Daddy that you see patrolling the area and make your way toward the Silver Fin Restaurant. Stay to the right, past the Test-Drive dealership, and head up the curving stairs. Stick to the shadows and you shouldn’t be spotted. If you are, cast Possession at the Big Daddy and let him draw the fire away from you. The door to the Silver Fin is locked up tight, but there’s a blood trail leading down the steps to a storage room. Go inside.
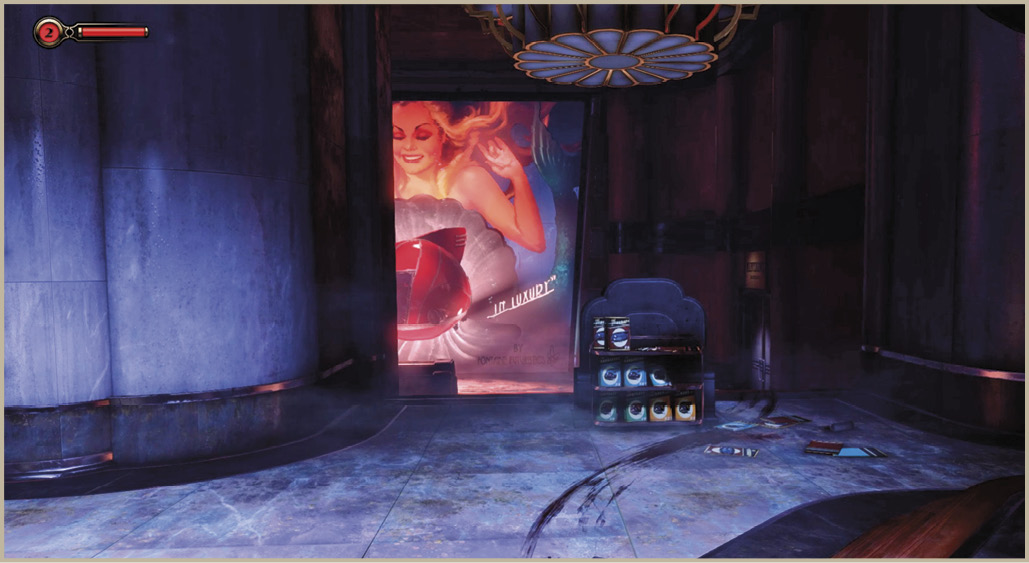
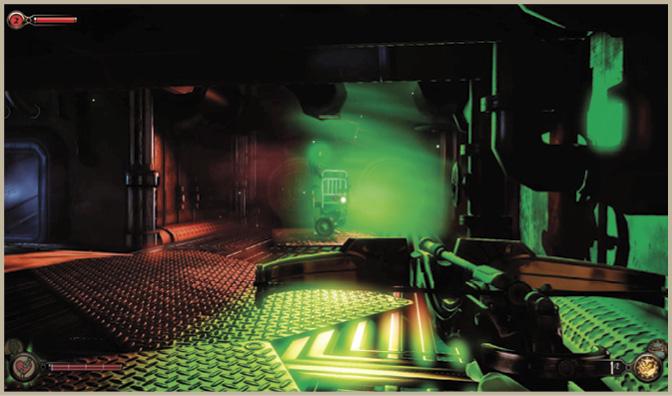
Examine the blueprint in the hands of the body near the boiler, then push the cabinet out of the way to reveal a hidden vent. Make sure you have plenty of EVE and the Possession Plasmid equipped, as there are two Gun Turrets lurking in the ventilation system. In contrast, it will take five shots from the Hand Cannon to destroy a Gun Turret. Climb inside and follow the ductwork to the Silver Fin Restaurant.
Silver Fin Restaurant
Grab the Shotgun from the reception desk and continue up the stairs. Inside the restaurant is a Lutece device. Examine the Tear leading back to Columbia for a glimpse into the future—to see what the Elizabeth who was already here has done. Elizabeth realizes she’s going to need to repair the Lutece device, travel to Columbia in search of a quantum particle, and then use it to float the building back up to Rapture. But first things first; she needs to find some documentation.
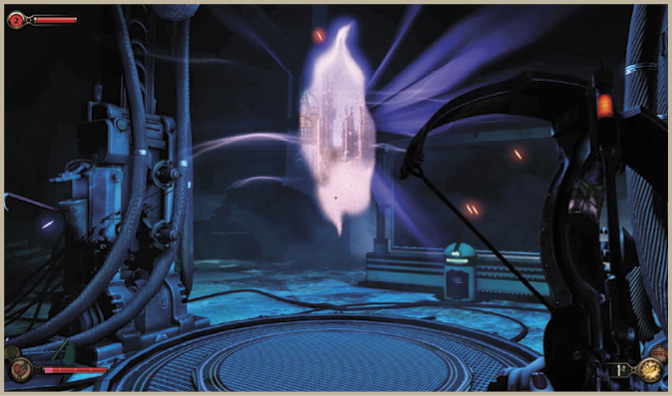
There aren’t any enemies in the Silver Fin Restaurant, so you can take a relaxed look around. There’s an Audio Diary on the counter near a locked door in the kitchen and another one upstairs.
Hit the Gun Turret inside the locked room with Possession to keep it from gunning you down and note the location of the Old Man Winter upgrade on the counter. Plasmid upgrades like this can be found all over Rapture, but you need the Plasmid it goes with before you can collect it. Come back for this one later on, once you find Old Man Winter.
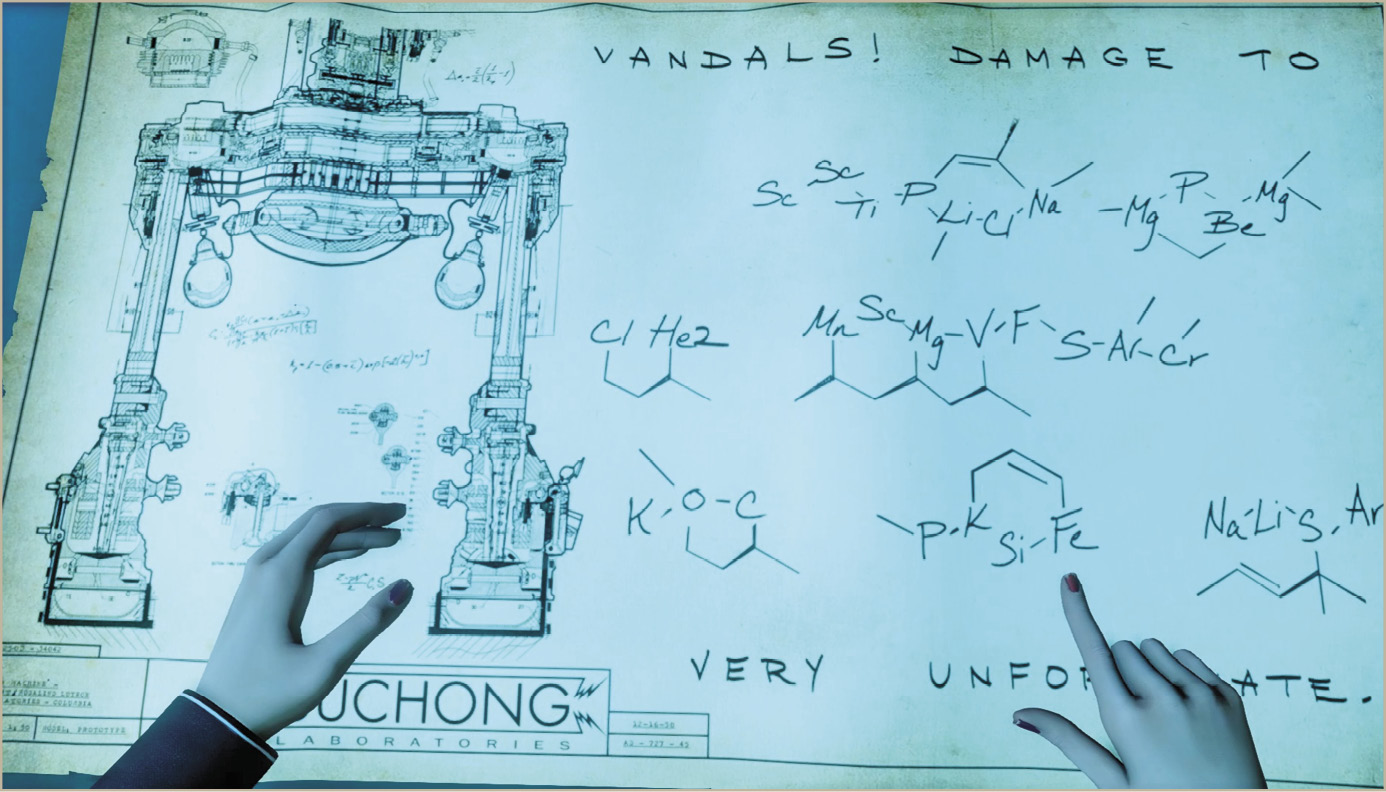
Head up the stairs to the second floor of the restaurant and locate the schematics. Suchong left an easily deciphered message describing the parts needed to repair the Lutece device. Locate the other Audio Diary from the table near the bottle of EVE and head back downstairs. Approach the locked door—the alarm will sound but Yi Suchong will let you out in hopes you make good on your plan. Enter the code 1-2-1-6 when he gives it to you.
Repair the Lutece Device
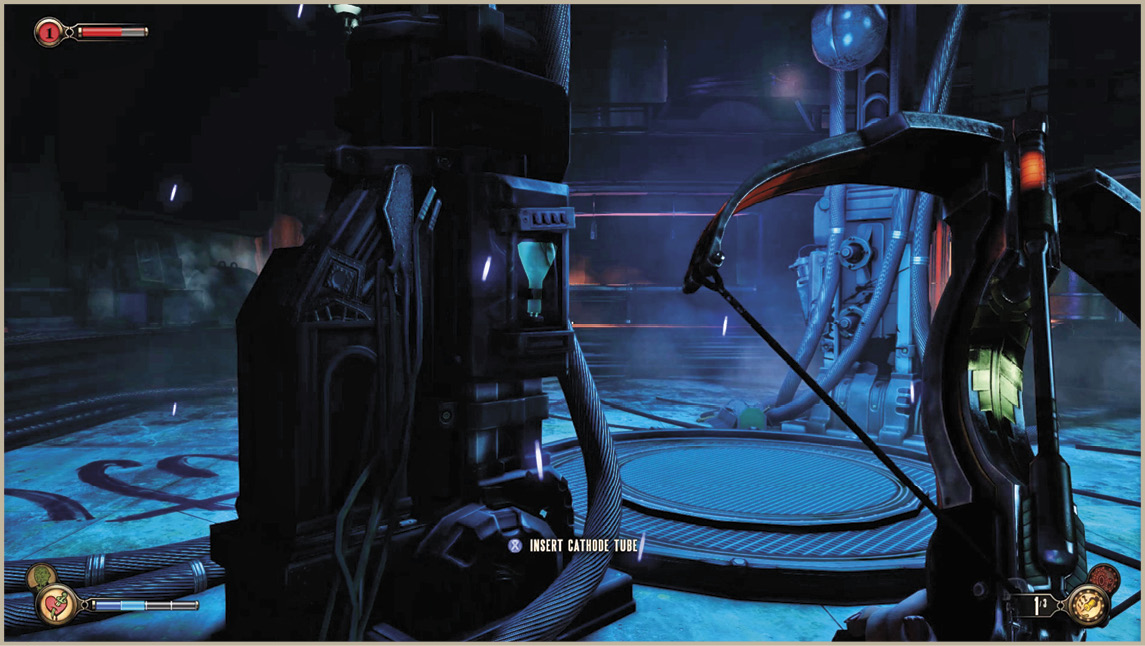
The first step in finding the components to repair the Lutece device is to get the Cathode Tube from a nearby Circus of Values machine. Those looking to rack up their stealth kill tally can use Peeping Tom to slip behind the man up the stairs while he listens to the woman sing atop the marquee. Knock the man out, then use the Air Grabber to leap to the freight hook high above. Dismount toward the Circus of Values machine to the left of the Test-Drive sign.
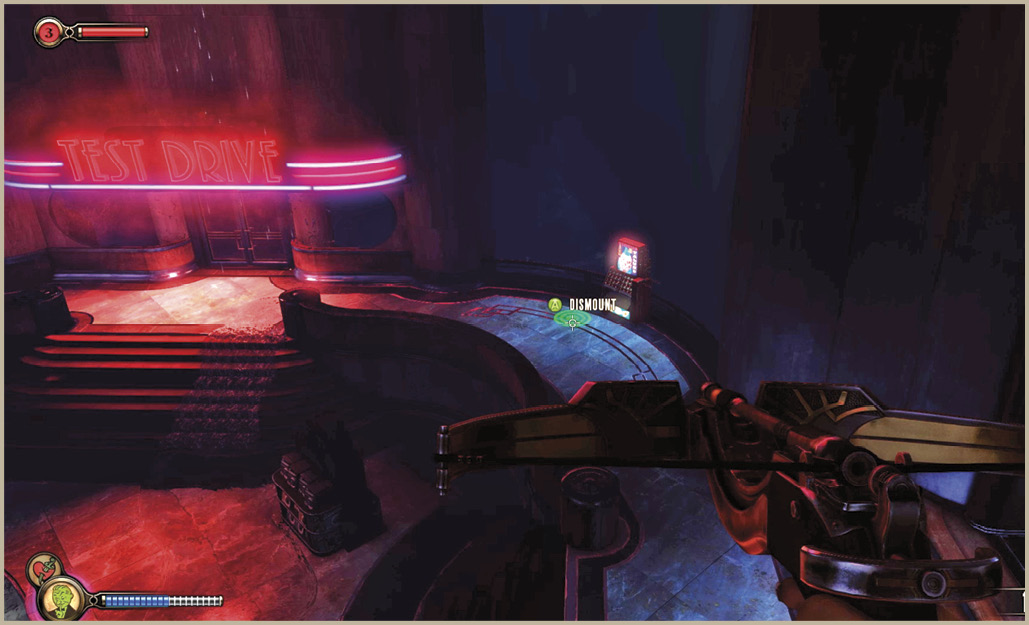
Test-Drive
Enter the Test-Drive dealership in search of Old Man Winter. Trigger Peeping Tom, leap over the counter, and knock out the lady near the filing cabinets. Collect the Audio Diary from the table before descending the stairs to the secured door. Knock to be let in.
Descend the stairs inside the secret hideout and sweep the area from left to right to make sure you find the Audio Diary atop the desk with the chair on it, beneath the entrance, and the one on the large circular table in the middle of the area. Note the position of the ventilation shaft on the wall in the main room, beneath the balcony. You’re going to use this soon enough!
Collect the Old Man Winter Plasmid from the display, enter the room on the left, and find yet another Audio Diary in the hands of a corpse tied to a chair. Gather up the EVE and Lockpick and inspect the Note on the desk near the tickertape machine.
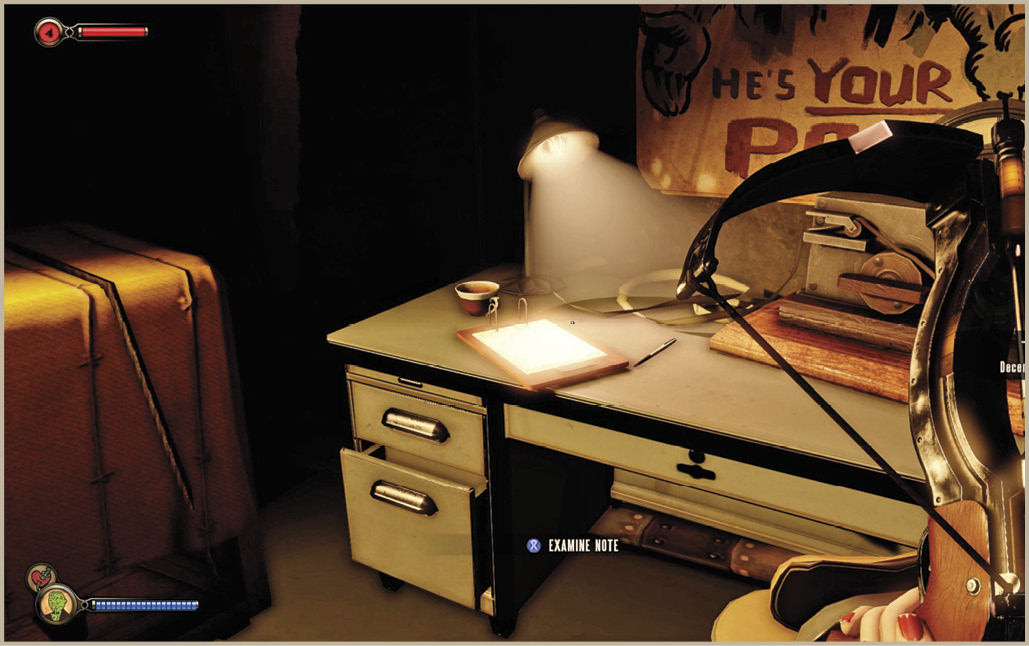
Some of Ryan’s sympathizers attack Atlas’s hideout just as you leave the area where the Old Man Winter Plasmid was located. Do not get involved! Immediately climb into the vent on the right and crawl through it. Continue to the end of the ductwork and wait for the man in the room below to walk past. Activate Peeping Tom, drop out of the ceiling, and knock him out. Two more armed thugs are in the Old Man Winter room, one with his back to the room and the other near the table on the left. Use Peeping Tom and your Air Grabber to knock both of them out without detection. Ascend the stairs to the showroom and exit the area.
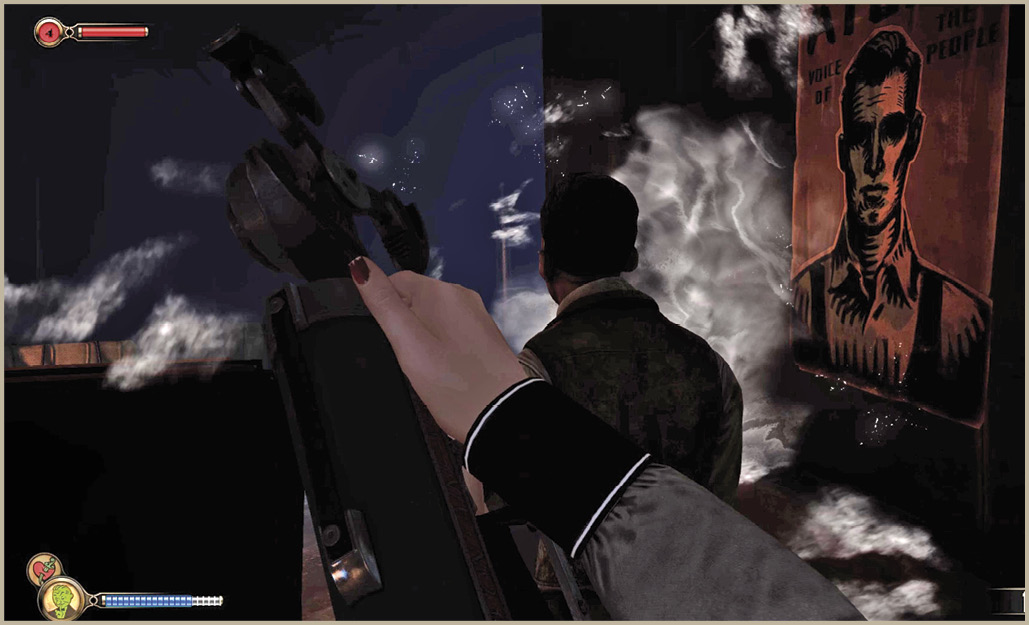
The only component left is the CO2 Scrubber, and that’s located in the Service Bay. But don’t head there just yet! Exit Test-Drive and make your way past the stairs on the left to the double doors of the Information office. You may spot a Big Daddy in the area. Cast Possession on him if there are any Splicers milling about. Here you’ll find the second Note and a Safe (five Lockpicks) containing the Winter Forget Mod. Climb into the vent to find a Lockpick if you need one. Continue through this vent to exit beside the Service Bay entrance.
Service Bay
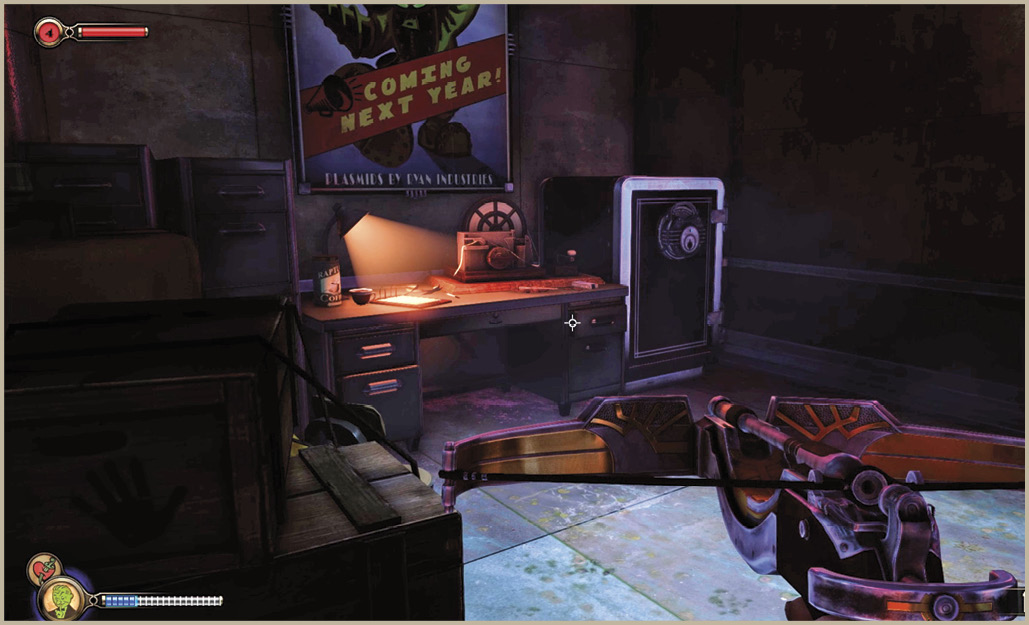
Enter the Service Bay area, loot the office for EVE, and descend to the service area via the elevator on the left. Things are about to get tougher!
Examine the two antiquated bathyspheres in the darkened workshop and collect the Lockpicks from the bench. Round the corner toward the Service Bay where Elizabeth spots a red bathysphere hanging from the ceiling. That’s the model with the CO2 Scrubber she needs! To reach it, however, you’re going to have to clear the area of thugs, break into the office, and use the controls to lower the bathysphere within reach. There are a couple of ways to go about this. You can run in guns blazing, but this is not recommended. You can also minimize combat by using the Noisemaker Darts to draw enemies away and slip through using the freight hooks or the passages beneath the floor grates. Lastly, you can use a combination of Peeping Tom, Tranquilizer Darts, and both the freight hooks and under-floor passages to fully scour the area. We recommend the last approach.
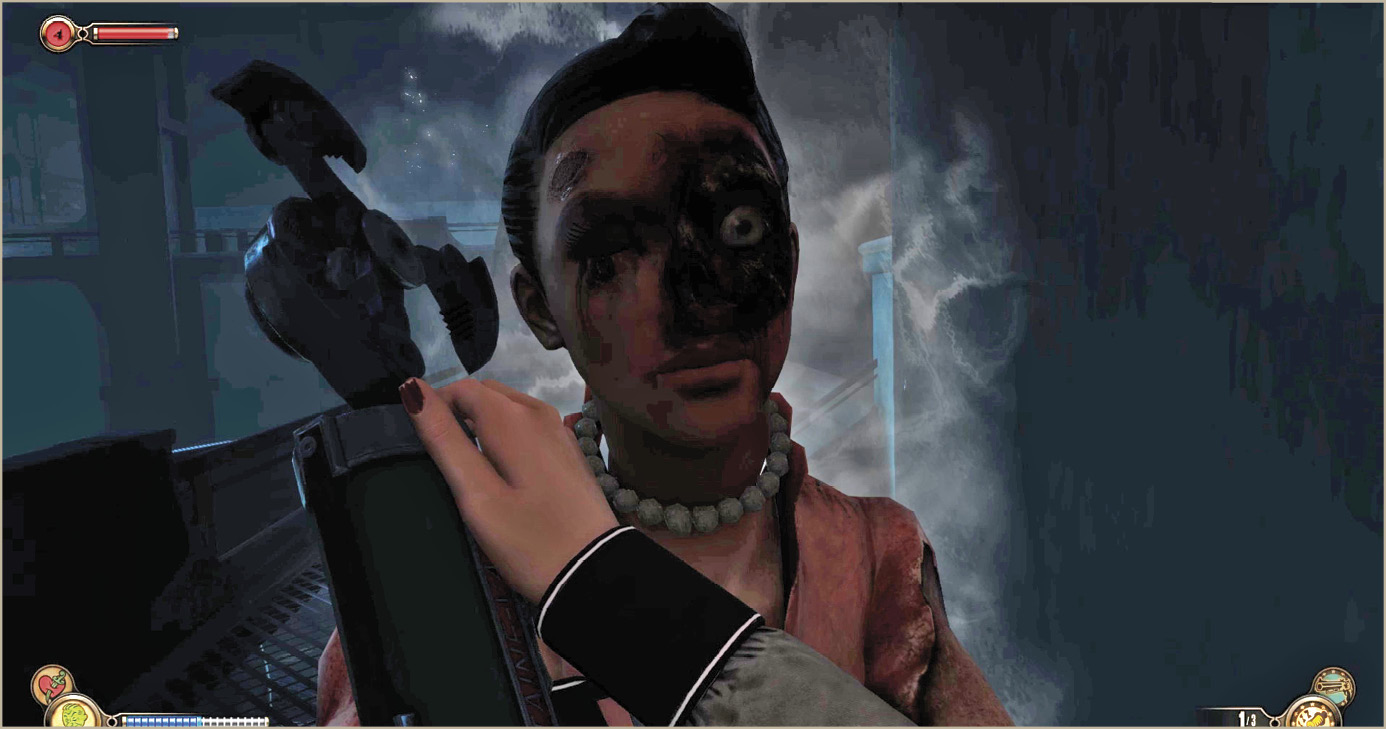
Knock out the patrolling thug that approaches from the left, then circle around the upper walkway. Briefly cast Peeping Tom to monitor the whereabouts of the other men. If possible, leap from freight hook to freight hook and drop down behind an unsuspecting enemy for another quick knockout. Duck behind cover and use Peeping Tom to go invisible if spotted.
Use a Noisemaker Dart if enemies are bunched up, since you don’t want to take on a group of enemies at once, especially if there’s a Frosty Splicer in their midst. Another option is to use Possession or Old Man Winter against them. Use hit-and-run tactics to clear the area of the enemies (six in total) then use the freight hooks to loot the two blue bathyspheres in the dry-dock.
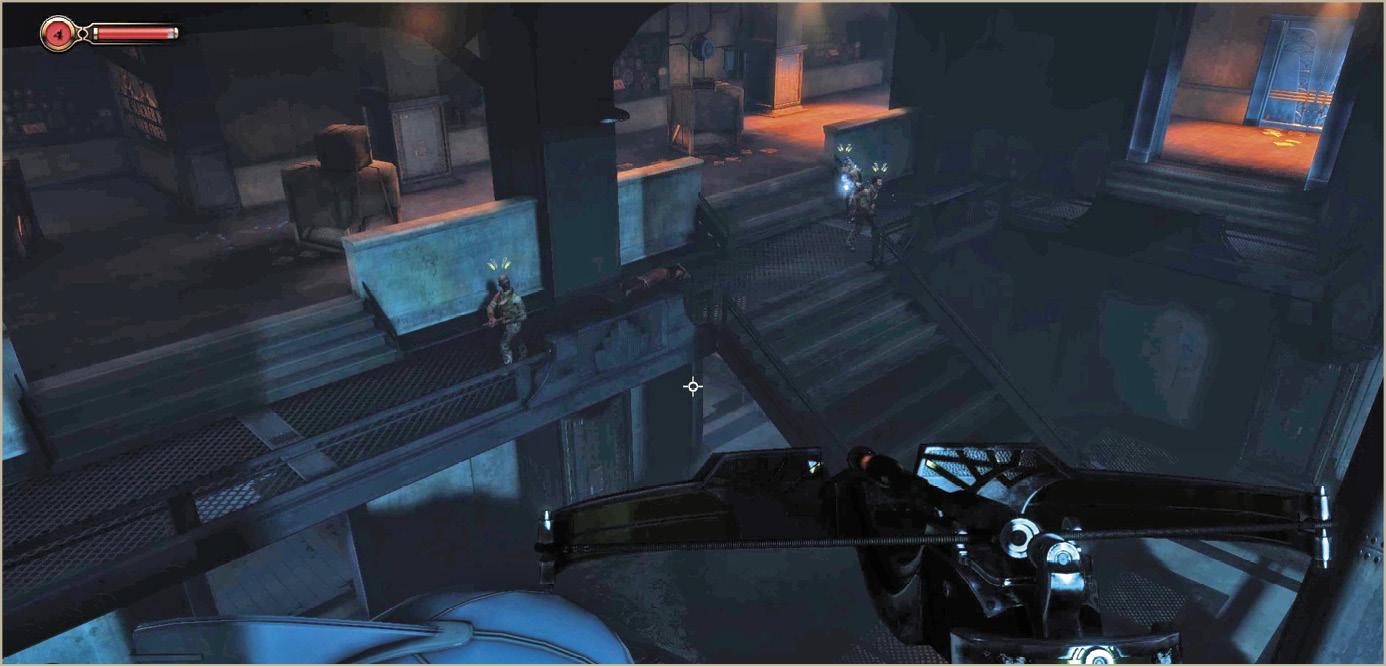
Scour the lower level’s workrooms and locker areas for the Peeping Vision Mod, EVE, and another Audio Diary. The Peeping Vision Mod allows you to cast Peeping Tom and see through walls while standing still without costing you any EVE. Use this ability to periodically cast Peeping Tom and keep tabs on enemy positions without expending EVE. Locate the Audio Diary in the sink near the lockers to retrieve the security code for the locked room (though you should resist using it).
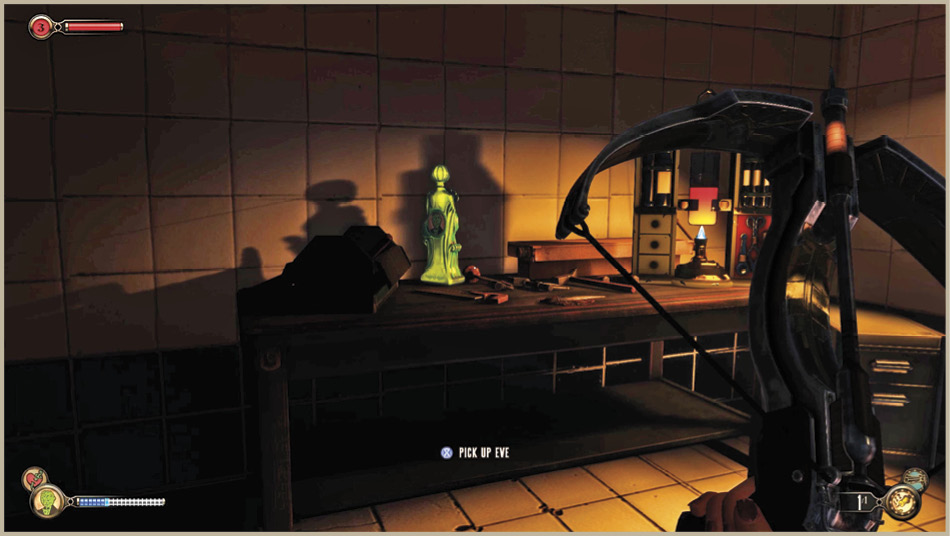
Pick the locked door on the lower level of the area, just beneath and left of the security office (the upper door requires a keycode obtained from an Audio Diary). Grab the Audio Diary from the shelf and listen for the sound of the Gun Turrets. There are three in the lower area of the offices. Use invisibility to slip past the first one on the left and inspect the office on the right for the third decrypted Note. Return to where you entered the area and use the ventilation shaft to slip past the Gun Turrets. Use Peeping Tom to continue past the second turret, which is facing the vent and will detect you. Cast Possession on the Gun Turret in the stairwell and run upstairs to the right. Another option is to hack a Gun Turret using two Lockpicks. You shouldn’t get too close to them without Shock Jockey, which you don’t have. This generally isn’t worth using your Lockpicks, though.
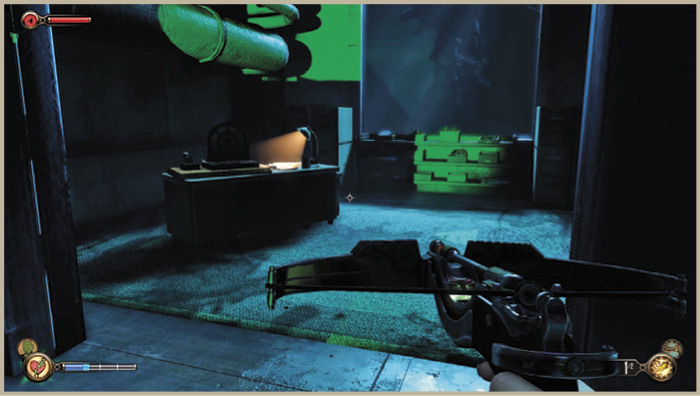
Eliminate the lone thug patrolling the upper floor, then pick the lock on the Safe to obtain the Possess Turret Mod. Now your Possessed turrets remain your allies forever. Cast Possession on the Gun Turrets in the stairwell and lower area before doing anything else!
Locate the Radar Range weapon near the lever by the window. This starts lowering the bathysphere that you need. Multiple enemies come to investigate, but they’ll have to run the gauntlet past your Possessed Gun Turrets, since you left the upper door locked. The Possessed Gun Turret should eliminate them on your behalf. Use the Radar Range on any survivors and exit via the locked door near the vending machine. Use the code is 7-9-5-1.
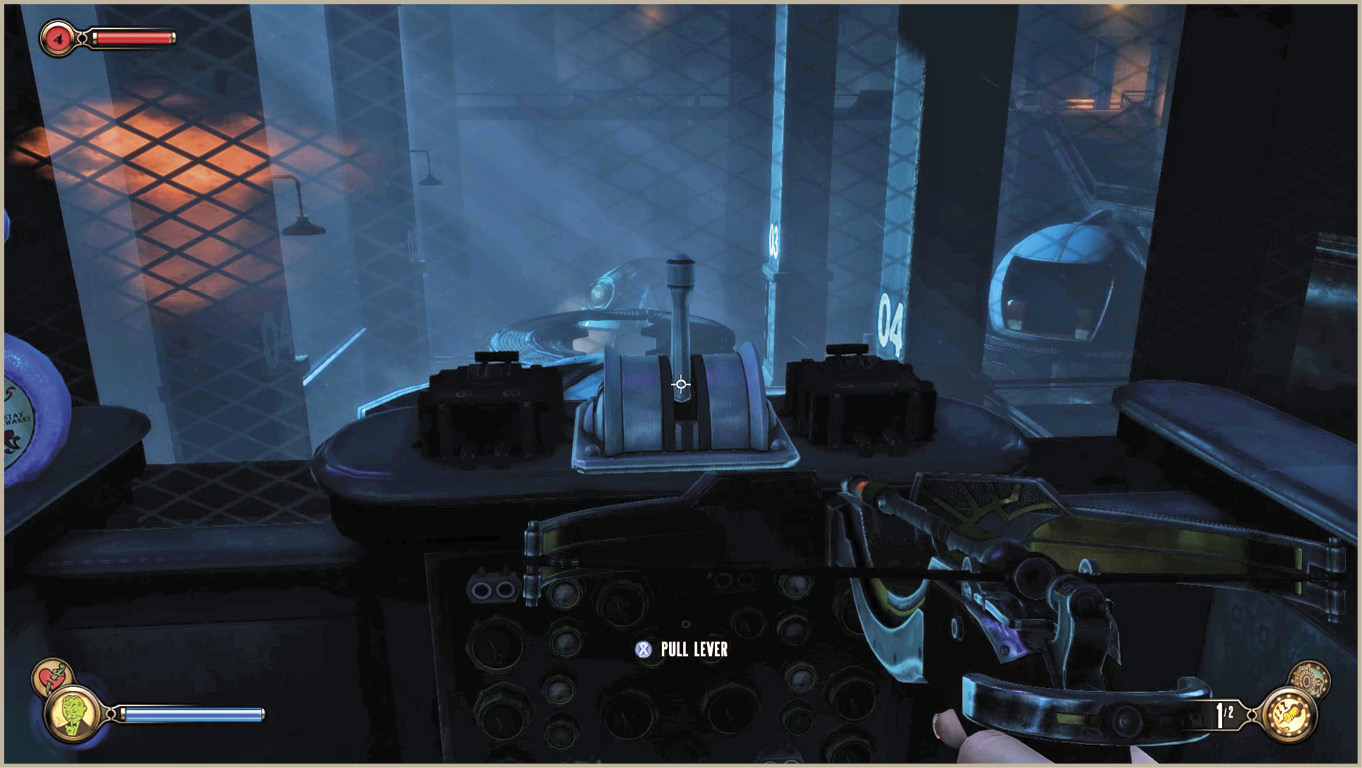
Use the freight hook to reach the red bathysphere that you lowered and retrieve the CO2 Scrubber from the compartment on its floor. Fight your way back to the elevator and ride it up to reception. Pick up the Crossbow Gas Ammo outside the elevator and equip it. The Knockout Gas emits a cloud of toxic gas that can knock out several enemies with a single dart. Use it on the men in the lobby and exit the Service Bay area to the main shopping mall.
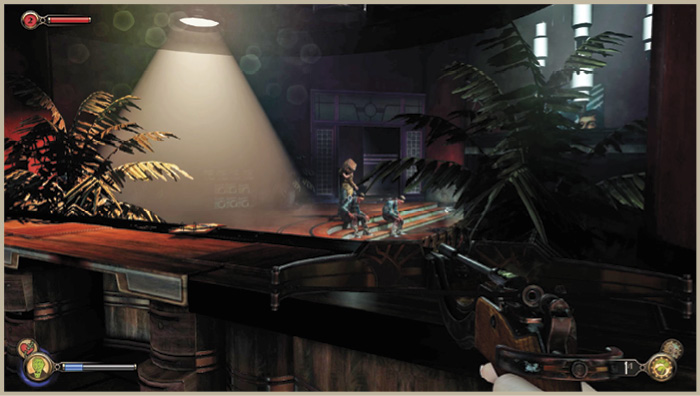
Silver Fin Restaurant
Return to the Silver Fin Restaurant after your side-trip to the Manta Ray Lounge. The safest way to go about getting there is by using the two freight hooks high above the floor between the Manta Ray Lounge and the Test-Drive dealership. This will keep you well out of sight of the Splicers and Big Daddy down below. Leap from the second freight hook down onto the curving stairs leading up the restaurant and sprint inside before being spotted.
Collect the Winter Mod upgrade from the kitchen if you haven’t already—this allows you to freeze multiple enemies at once with Old Man Winter. Place the two components into the damaged Lutece device to repair it, then hit the red top part of the device with Old Man Winter. Pull the lever when prompted to open a Tear to Columbia. Step on through whenever you’re ready.