BioShock: The Collection Guide Bioshock Infinite Burial at Sea, Episode 2
Columbia
Retrieve the Quantum Particle
You exit the Tear aboard the First Lady, right at the time Elizabeth and Booker were waging their assault. Approach the door beyond the blue dress to understand what it is you’ll be looking for, then ride the maintenance elevator on the right to the upper deck.
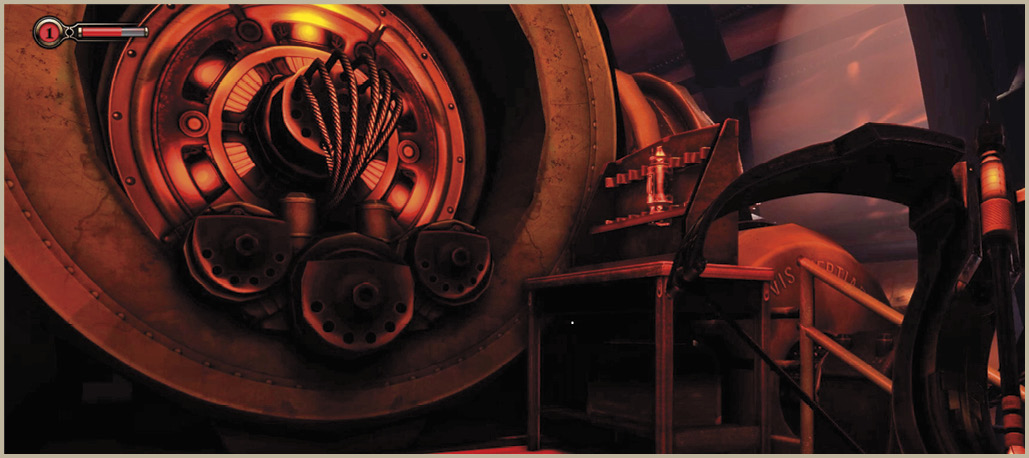
Ascend the stairs to the engine and take the spare quantum particle from the rack atop the table. Take the elevator back to the cabin and approach the Tear. Suchong appears in the Tear and tells Elizabeth that he needs a hair sample from a mothballed lab in Fink’s Factories. Only then will he allow her back to Rapture.
Find Fink’s Lab
Pick up the Ironsides Vigor on the left to add another defensive ability to Elizabeth’s repertoire. Ironsides creates a temporary bullet-catching shield that not only keeps Elizabeth safe from damage, but adds the bullets to her own weapons. Even though you can use it to replenish spent ammunition, it’s still better to avoid firefights and take a stealthy approach to combat.
Factory Docks
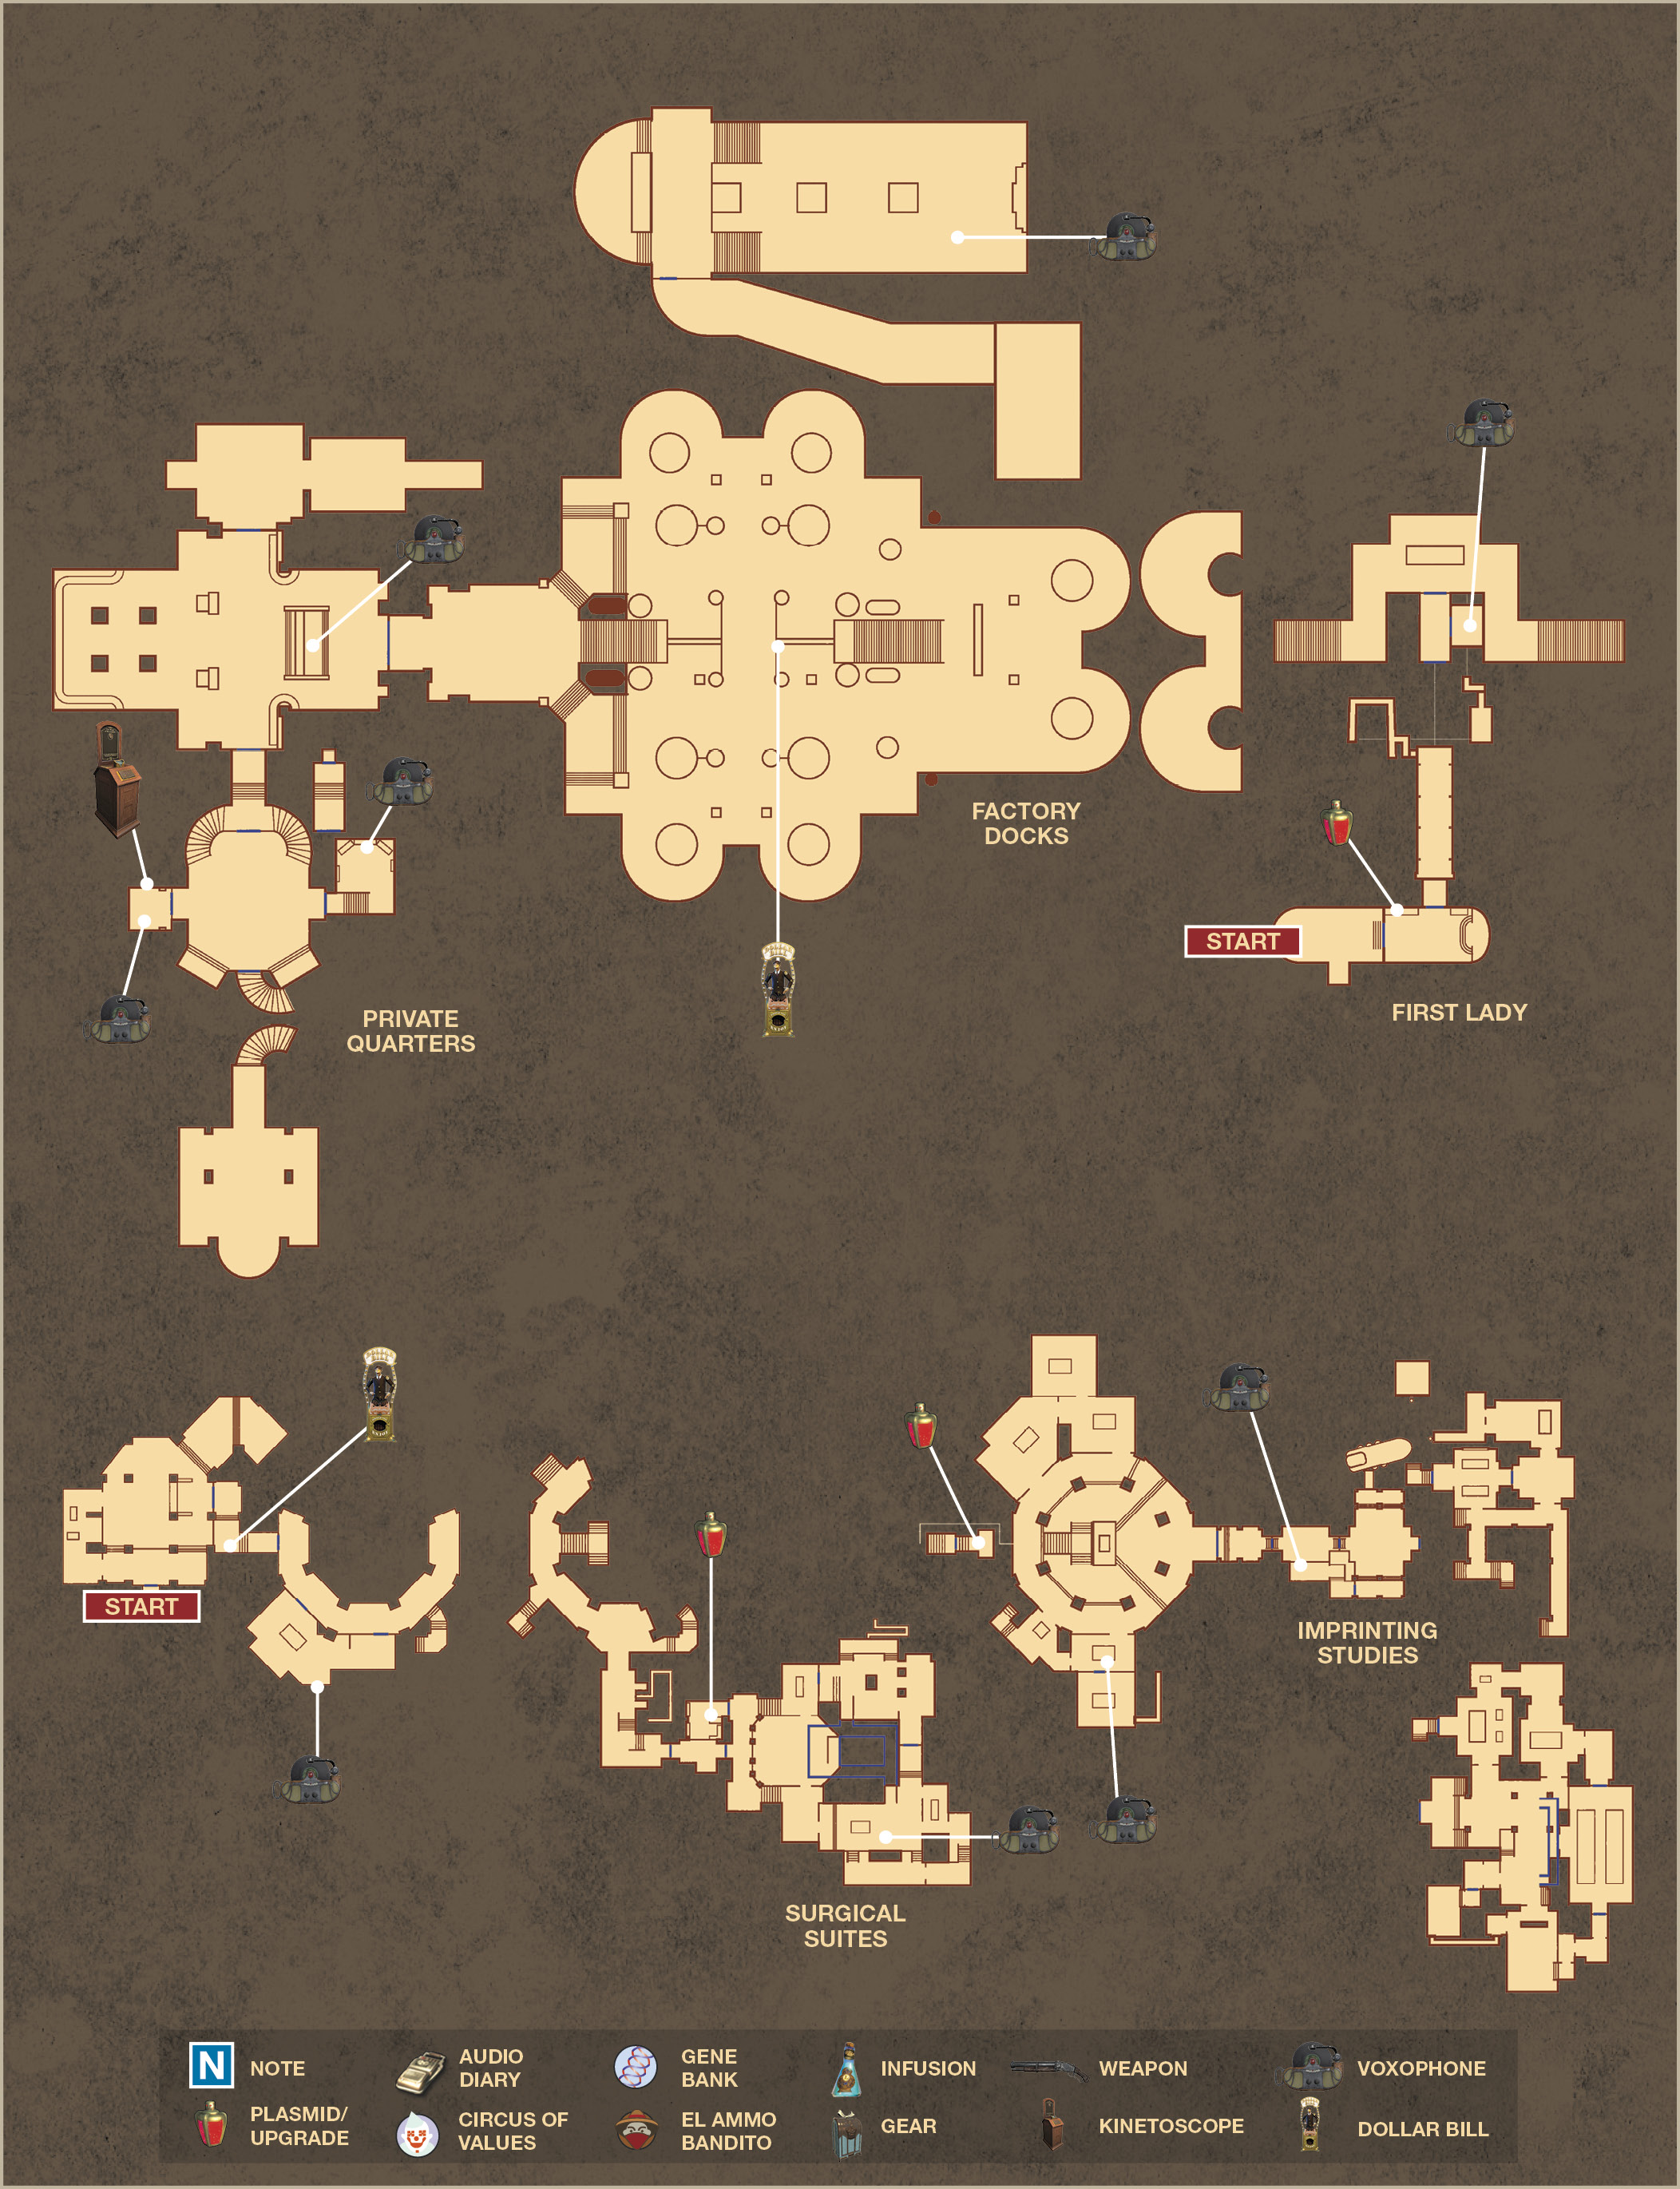
Proceed down the hallway on the left and climb into the vent near the gate. Eavesdrop on the conversation between Daisy Fitzroy and the Lutece twins about Daisy’s and “the girl’s” part in taking down Comstock. Continue through the ventilation shaft, dropping down level by level until you find the exit to the docks.
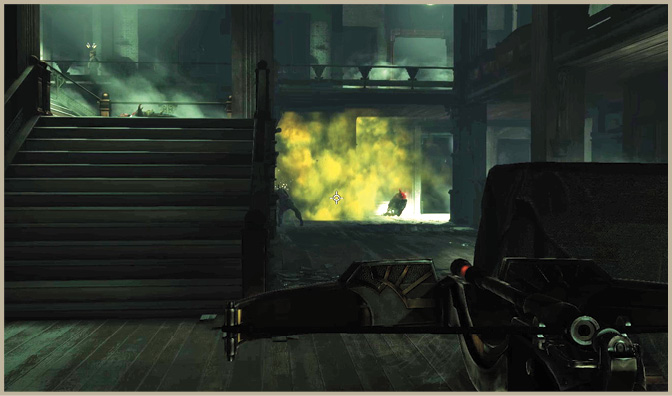
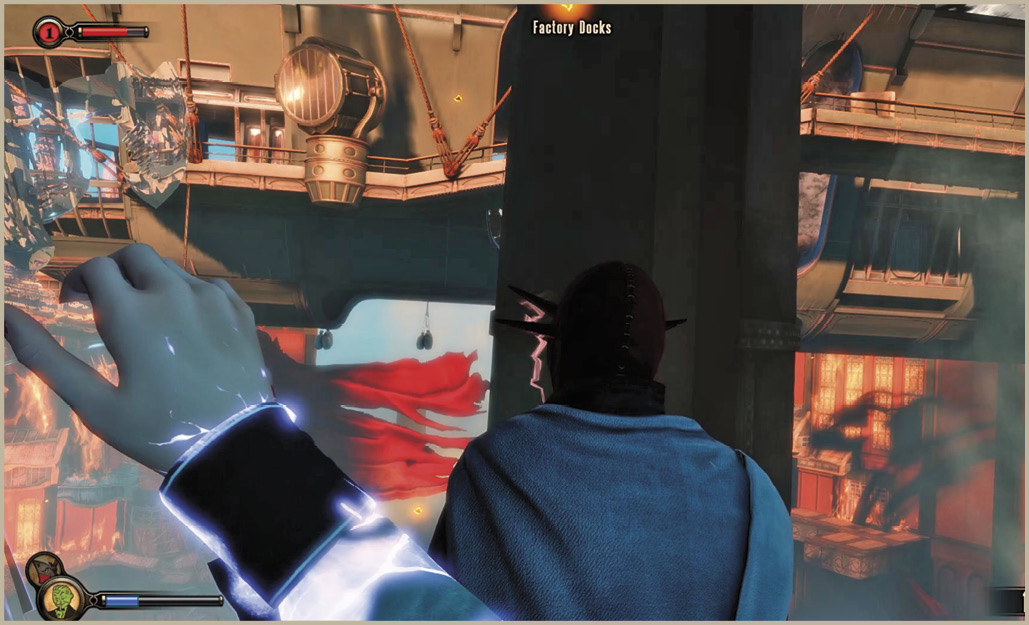
The Vox you see patrolling this side of the docks isn’t alone. He’s got another off to the right and two more within sight to the left. Use Peeping Tom to scout the area, then use the Crossbow or the Air Grabber to take them down quietly. Use Ironsides if you get into a shootout, but try to avoid this if possible. If a shootout does occur, flee to the lower level of the docks, round the corner to the right, and take cover behind the columns. You’ll be able to wait it out there and resume a stealthy, more measured approach. Consider returning to the top deck and waiting for the Vox to investigate the bodies. Pick them off one by one with the Air Grabber and Peeping Tom.
Go through the glass door beside the vent you drop out of and enter the room on the left to find a Voxophone. Unlock the gate in the hallway so you can more easily return to the First Lady after you get what Suchong needs.
Before you leave the docks, leap to the Sky-Line running around the east side and ride it up to the First Lady’s wing. Drop onto the outer walkway and head inside the main cabin of the First Lady to find some loot and a well-hidden Voxophone near some paintings in the back.
Descend the stairs from the Factory Docks and head inside the office of Jeremiah Fink. Eliminate the two Vox inside the main room—most of Fink’s men are already dead—and locate the Voxophone on the desk. Search the numerous bodies in this room. You can find another Dollar Bill vending machine in the factory storage room on the right, should you be in need of anything.
Exit the control room via the door on the left to enter the private quarters of Jeremiah Fink. This area is empty of enemies and has four different rooms radiating off of it. The door to each of the rooms—sleep, prayer, leisure, and work—only opens based on a clock-like locking mechanism. You’re going to need to find the Clock Key and wind the hands of the clock to fast-forward to Fink’s working hours. You’ll find the Clock Key and a Voxophone in the room where he sleeps.
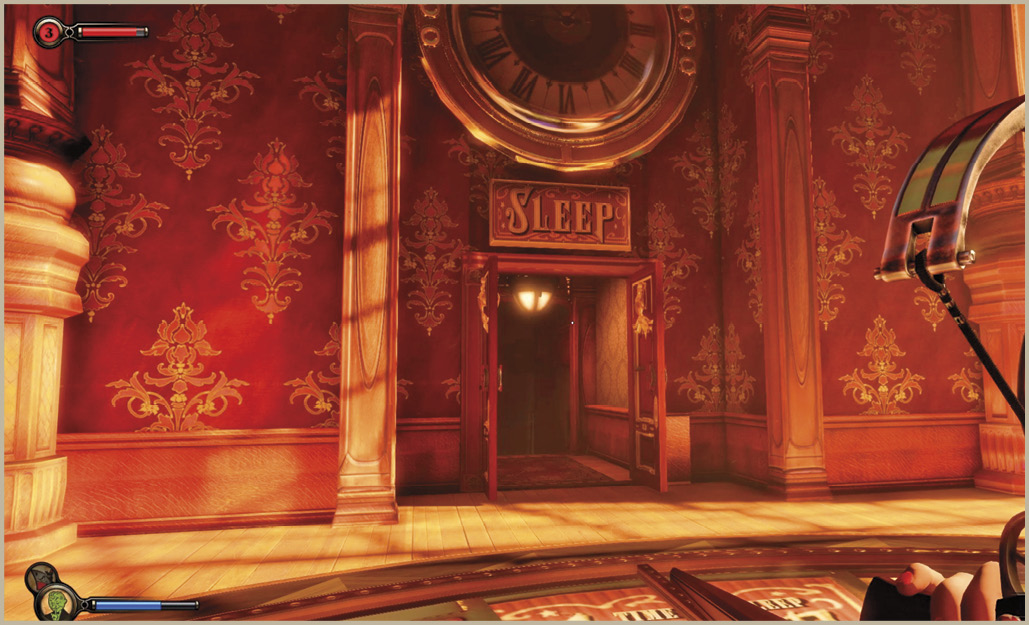
Return to the main room with the Clock Key and turn it to open each of the other doors, one by one. Loot the rooms as they open to gain some additional ammo, EVE, and Silver Eagles (dollars). You’ll find another Voxophone in the leisure room. Ride the elevators down to the laboratories when you are ready to move on.
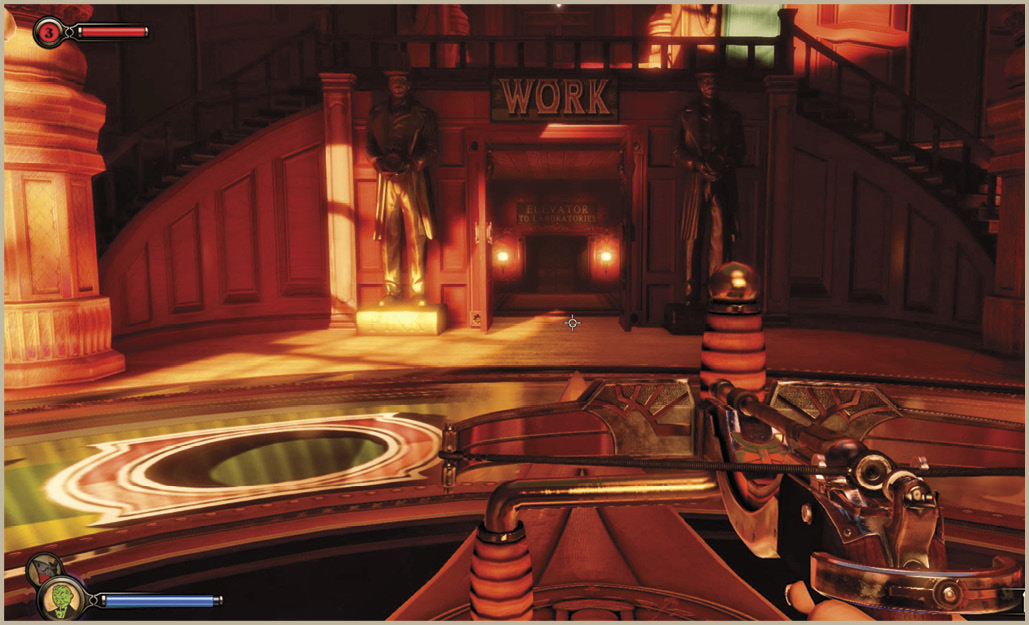
Find the Hair Sample
Fink’s laboratories are accessed through a large, semi-circular room with three separate levels of walkways. You’ll exit the elevator in a foyer of sorts that is even in height with the middle level of the adjacent atrium. The walkway through the door on the right leads up a flight of stairs to the upper level. The path nearest the windows leads down a flight to the lower level. There are some offices on the upper level that are worth exploring before continuing on to the Imprinting Studies wing that is off of the lower level. The Surgical Suites located on the middle level are entirely optional, but you can find a Voxophone there.
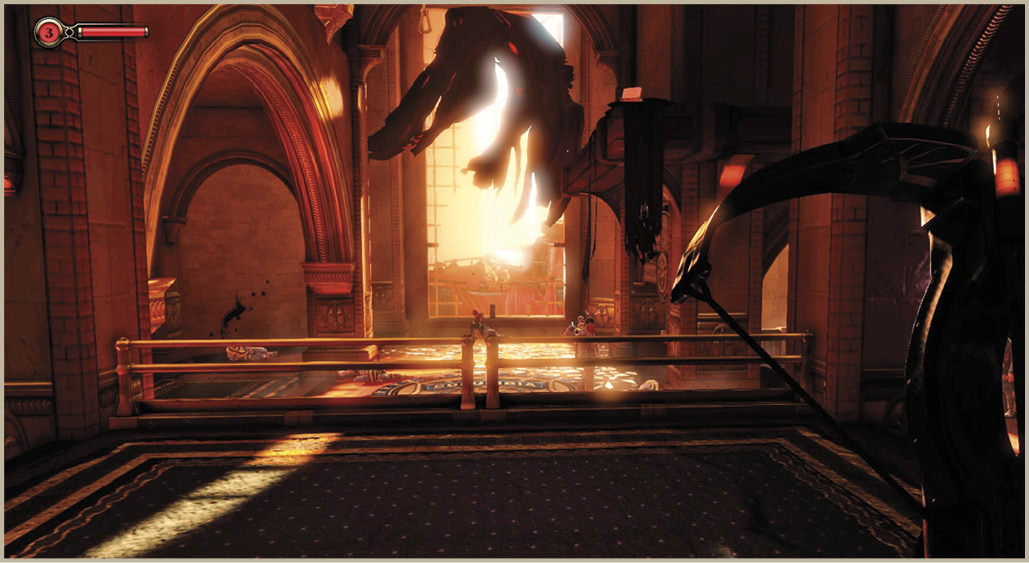
Eliminate the two guards nearest the elevator when you arrive, then cast Possession on the Gun Automaton on the gondola near the broken window. This eliminates the final, more distant enemy near the window. Use the freight hook to reach the ledge where the Salts are located, then drop back down. Go through the door and up the stairs to begin your sweep of the labs from the uppermost floor.
Stay low and make your way into the large office to the right. You’ll find a Voxophone with the code to a secret storage room beneath the statue in the center of the atrium. Exit the lab, remaining crouched, and continue to the right until you reach the corpses near the railing. This is a great spot to use to launch an attack on the enemies below. Employ a Noisemaker Dart to draw them toward the window, then hit them with a Knockout Gas Dart. Cast Possession on any Vox Shotgunners that you see, and then use the freight hook to drop down to the lower level.
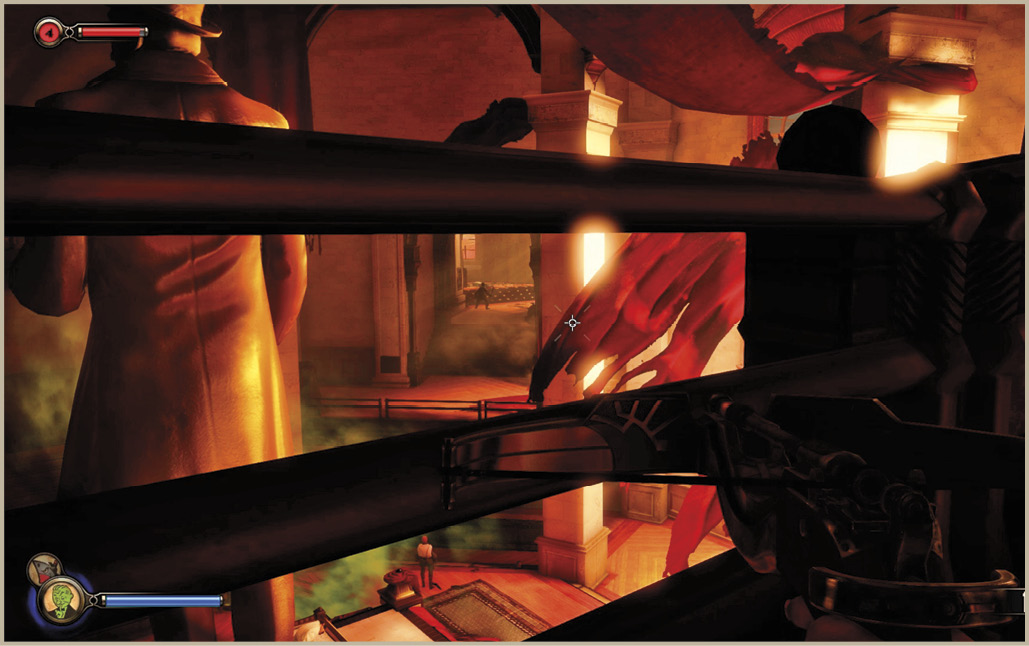
Descend the steps to the door that is beneath the statue in the center and input the code 8-3-7-1 to gain access. Inside you’ll find the Ironsides Salts Mod which adds the ability to recover some EVE based on the damage that the Ironsides Vigor absorbs. Absorb enough bullets while using Ironsides, and it will basically pay for itself!
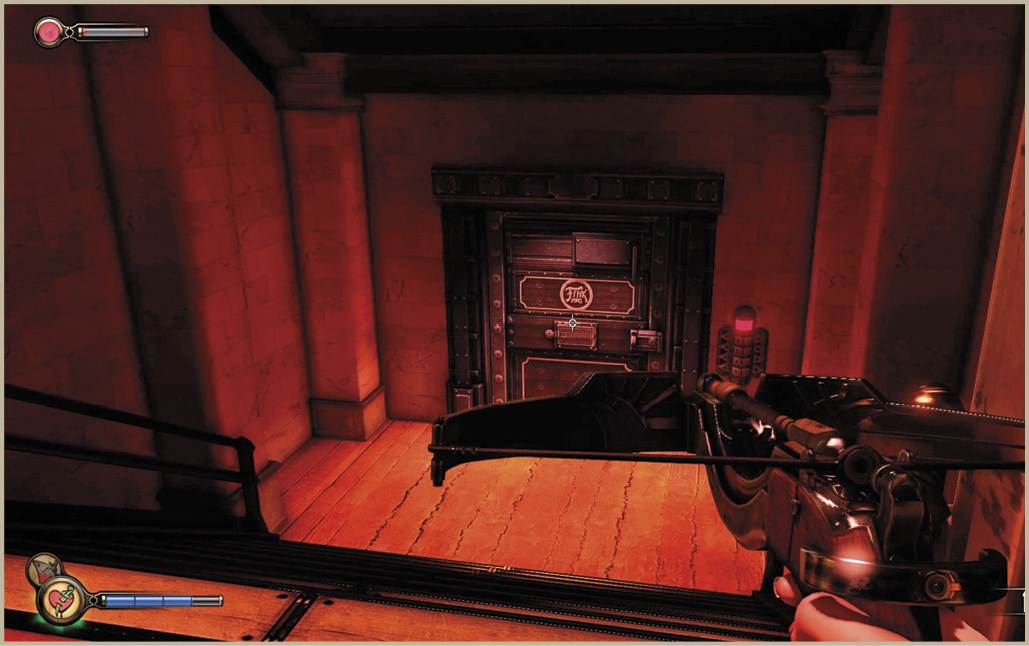
Imprinting Studies
With the atrium cleared of Vox, proceed east across the lower level through the doorway leading to Imprinting Studies. Ignore the quarantine signs, note the Voxophone in the locked office on the right, and have Possession ready. Cast it at the Gun Automaton you see in the room beyond the third door.
Continue up the ramp to the gondola outside and leap to the freight hook on the side of the brick building to the left. From there you can leap to the ledge near the broken window in the Imprinting Studies area. This gets you inside the quarantined area, past the security doors.
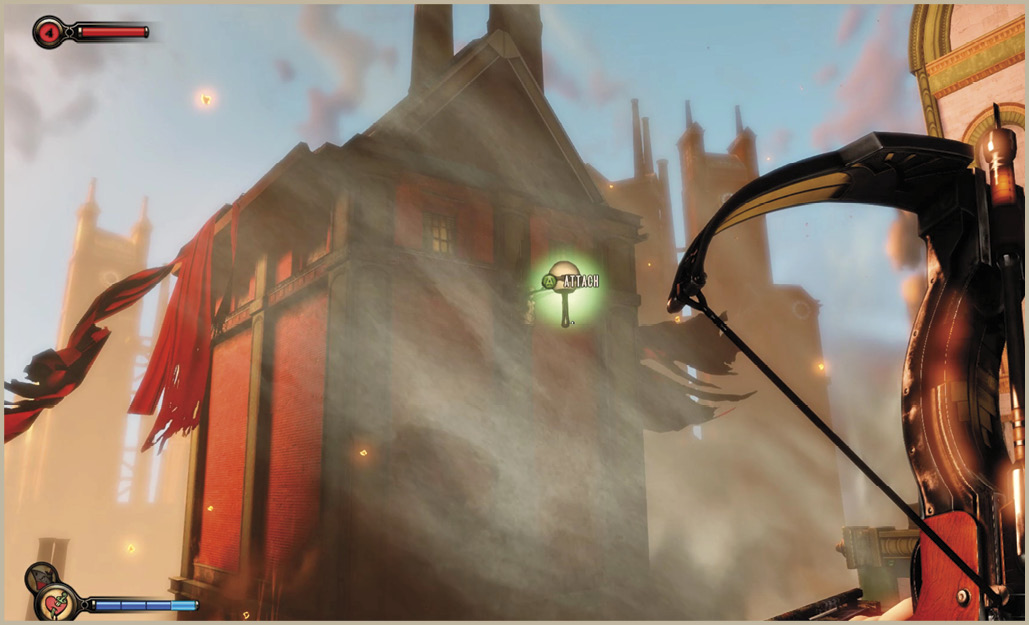
Continue past the projector room via the doors on the right and move into the sample room with the cages. Continue down the stairs at the other end of the room to the imprinting lab with the gorilla and the wire mother. Pull the levers on the hermetic chambers that you encounter as you proceed through the laboratory. Examine the paper on the desk to the left of the second hermetic chamber for insight into Fink’s scientific process and continue to where the Songbird prototype is located. Inspect the paper on the table near the bottle of EVE and climb into the vent on the left.
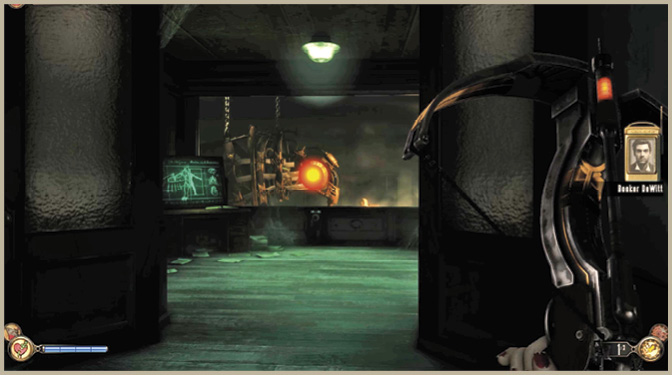
Start the projector in the room beyond the vent to see how the Songbird imprinted on Elizabeth. Proceed to the next room and take the hair sample from the display of “Subject’s Personal Effects.”
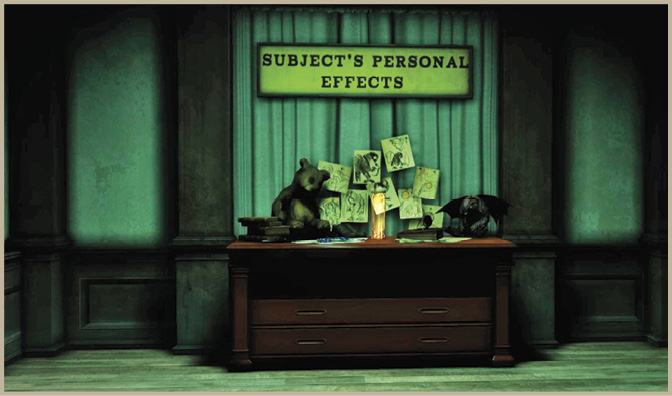
Return to the Tear
Ready for battle, since the laboratory isn’t going to remain quiet once you pull the lever that raises the security doors (you can’t return the way you came, as the vent you exited is too high to climb back into). Peeping Tom will reveal as many as seven enemies approaching from the left. Use the Knockout Gas on the two on the lower level, then Possess the Vox Shotgunner on the upper walkway to enlist his help against the others.
From the Quarantine Control room, head past the stairs to the left, and under the walkway, to take the quickest path to the room where the Gun Automaton was earlier. Spot the Phial of Salts to the left of the Gun Automaton—this is where the locked door to the office was earlier—and enter this small room to find a Voxophone.