
BioShock: The Collection Guide Bioshock Infinite Walkthrough Bring Us the Girl
Hall of Heroes
First encountersNew VigorsNew Weaponry
Collectibles
|
 Crank Gun
 Infusions: 2
 Voxophones: 3
 Kinectoscopes: 3
 Telescopes: -
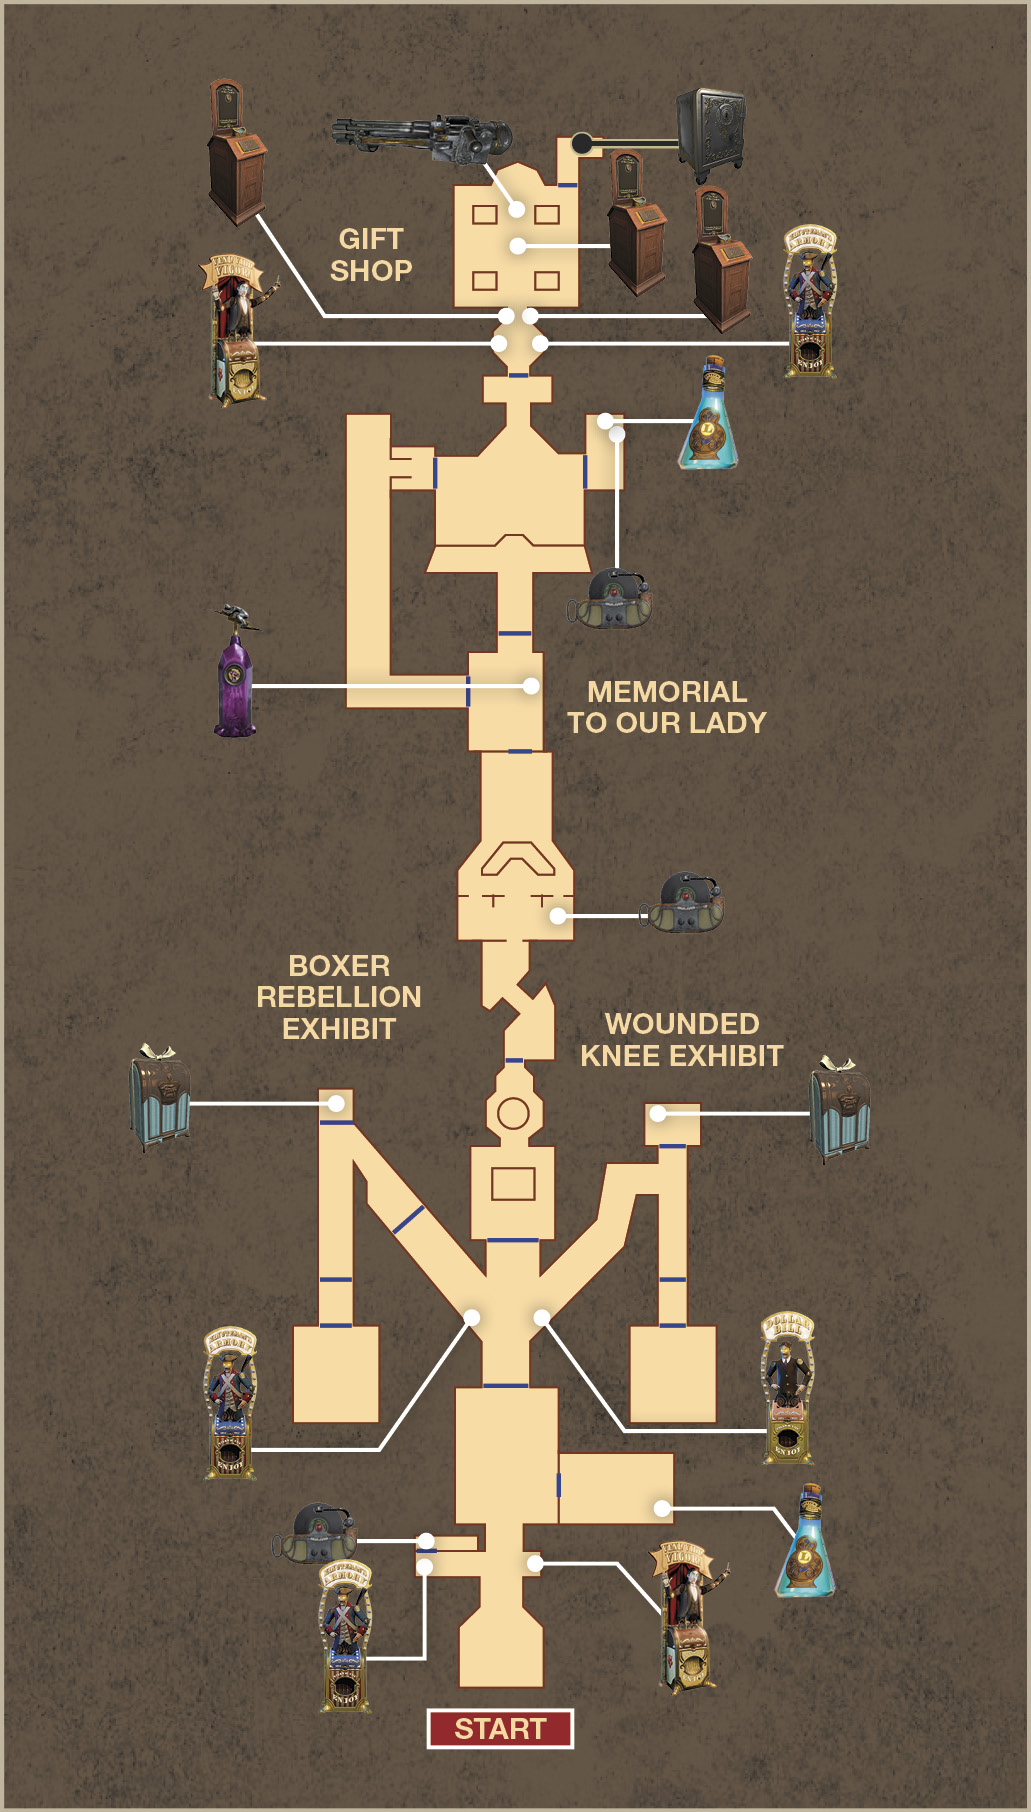
Place a Devil’s Kiss trap on the floor in front of the door to your right along with a Bucking Bronco trap, in anticipation of the soldiers who emerge from behind the locked door. Help yourself to the Infusion at the rear of the storage room, and definitely pick up the two lockpicks also present. Return to the vending machines if necessary, then advance to the rotunda, where a large plinth reveals the timeline of the City of Columbia. Slate’s men are stationed in the Boxer Rebellion and Battle of Wounded Knee wings of the Hall of Heroes.
You’ll no doubt notice that there are plenty of Vigor bottles scattered around the Hall of Heroes, and nearly all of them are for Vigors you already have. Though you won’t be able to gain a new ability, picking up a Vigor you already have is every bit as good as getting a full bottle of Salts. Vigors completely restore your Salt Meter and should not be overlooked!
Find Shock Jockey
The Hall of Heroes appears empty, but you can bet the silence won’t last for long. Head down the hall on the left and enter the office next to the Minuteman’s Armory vending machine (no new items available). Find the Voxophone behind the door and lay low inside the office as two of Slate’s men with Machine Guns patrol the area outside. Bounce them into the air with Bucking Bronco, and shoot them dead.
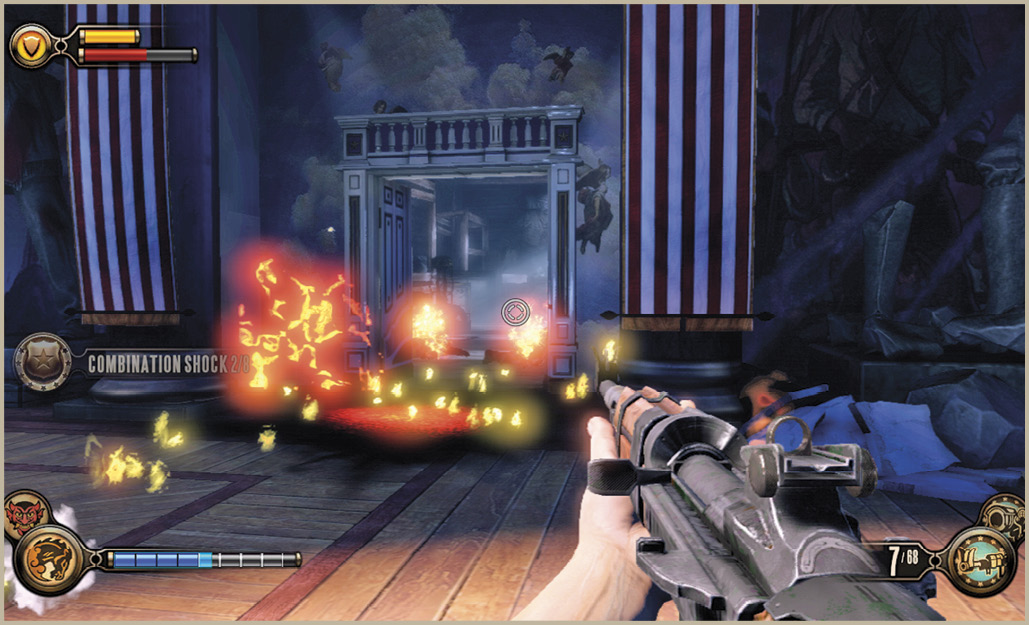
Approach the Father Comstock statue in the next room and listen in as one of Booker’s former colleagues in the military addresses him from a remote location. His name is Slate, and he’s waging a war against Comstock’s revisionist history. Booker’s sudden arrival on the scene is a wildcard Slate is all too happy to see revealed. Slate will give Booker the Shock Jockey Vigor, but he’s going to have to fight his men for it first. Slate would much rather see his men die an honorable death at the hands of a real soldier than by those of a man like Comstock.
Defeat Slate’s Men
boxer rebellion Exhibit
Enter the Boxer Rebellion wing and continue down the hall, through the display to where the path makes a hard turn to the left. Enter the storage room on the right to find a piece of Gear. Dispatch the soldier who attacks outside the room, and continue past the room with the George Washington display to the main Boxer Rebellion battle exhibit.
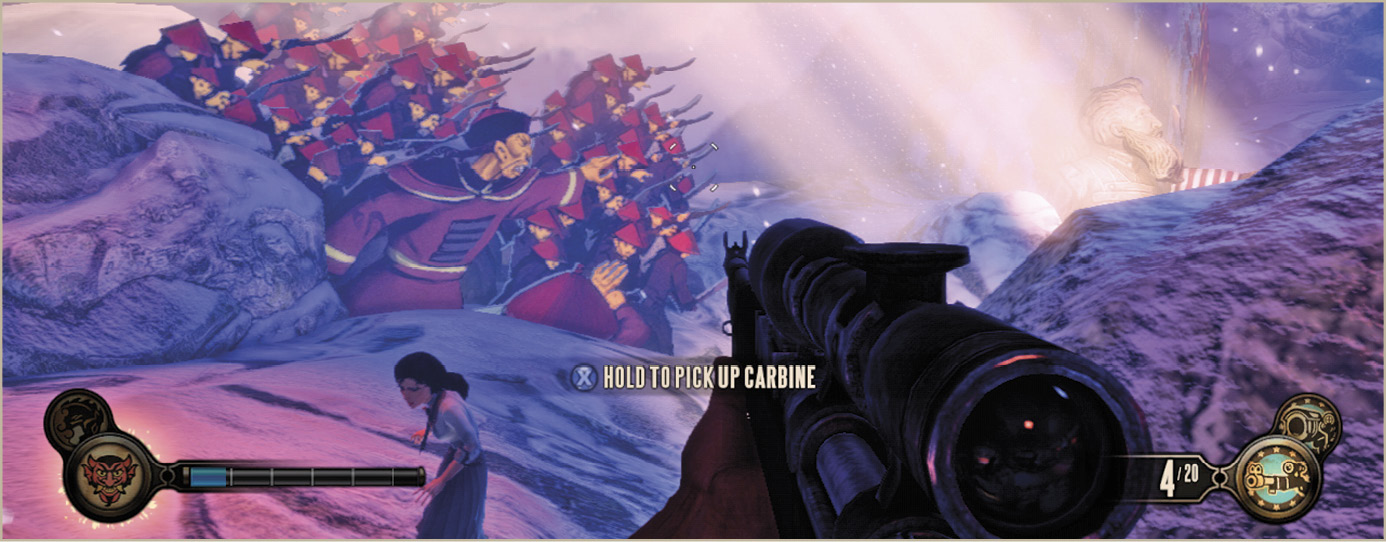
The doors lock behind Booker, and wooden cutouts block access to the pagoda on the right. Head up the rocky path on the left and swap out your Machine Gun or Carbine for the Sniper Rifle leaning against the rocks. Plant a Devil’s Kiss trap on the floor at each side of the room, near the cutouts—they’ll soon retract into the floor and allow Slate’s men to charge forward.
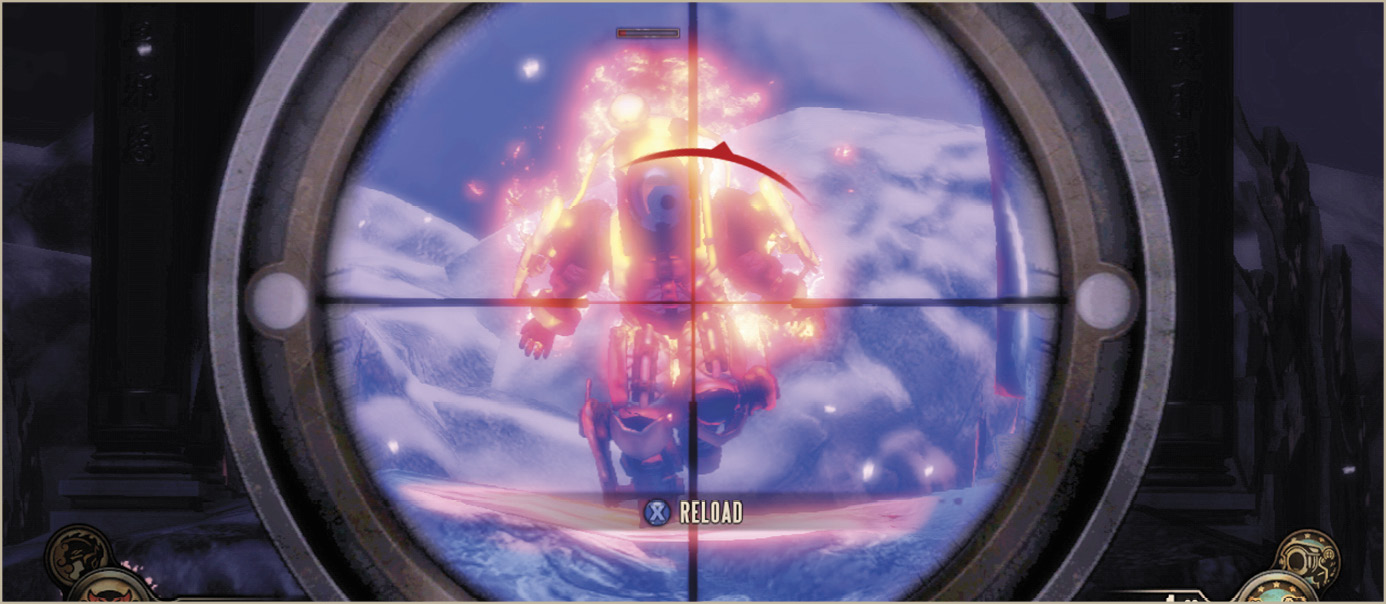
A Fireman takes position in the pagoda just as several of Slate’s men attack from the two sides. Your traps hold off the attackers, giving you time to focus on the Fireman with the Sniper Rifle. Stay behind the faux rocks for cover and pick off the remaining men with the Sniper Rifle. The Fireman is unlikely to cross the entire room during its self-destruct charge, but you can use Bucking Bronco on him if it happens. Be sure to loot the Fireman’s corpse (or lockbox), as it contains a lockpick. Recover your Carbine or Machine Gun and fight your way back to the rotunda. Restock your ammo and Salt supplies at the vending machines there before entering the second exhibit.
Wounded Knee Exhibit
Make your way through Comstock’s distorted rendition of the Battle of Wounded Knee, and enter the storage room on the left to find another piece of Gear. Continue on toward the flickering red lights and the main room beyond the doors.
Once again, the doors lock behind Booker, and he’s forced to fend off a number of Slate’s men. Head up the steps on the right and lay Devil’s Kiss or Bucking Bronco traps on the ground at the base of the stairs. Slate’s men charge Booker’s position from both directions, and these traps go a long way toward holding them off. Consider swapping the Carbine for one of the dropped Shotguns, and blast away any of the Founders who make it past your traps. Stay in cover to avoid incoming fire from the soldiers with Machine Guns on the catwalk high above the floor on the other side of the room. Pop out of cover, line up your shot, and take them down with one or two shots from the Carbine.
Once Booker has eliminated all these opponents, a Zealot of the Lady attacks. Use Bucking Bronco or Devil’s Kiss to soften him up, then switch to the Shotgun and pump him full of lead. Another option, if you have it, is to use the RPG. Just watch for the crows to gather up, and fire a rocket at the floor to catch the Zealot in its blast as he takes shape.
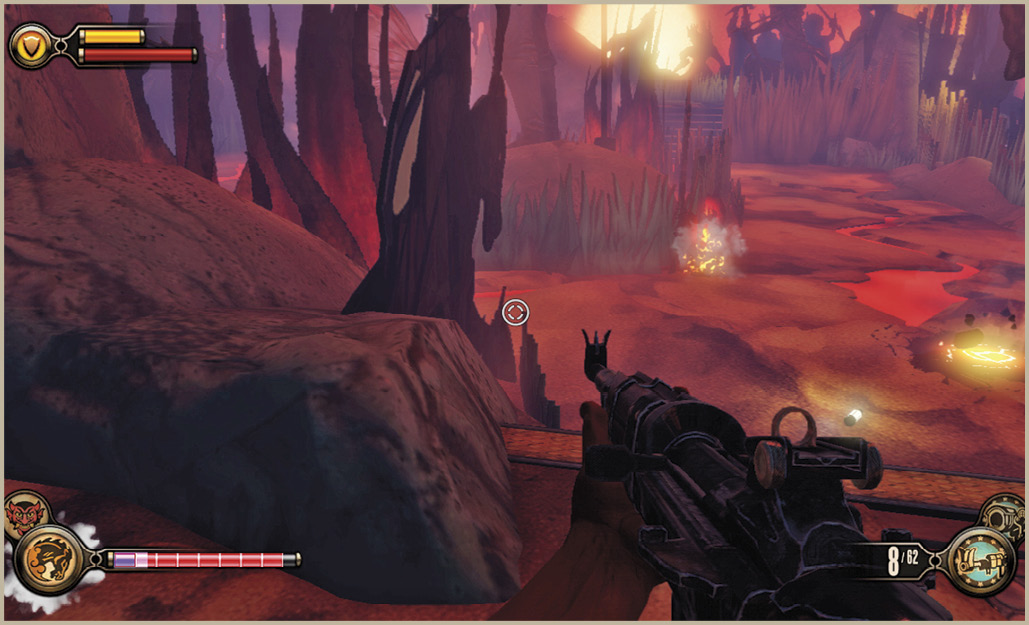
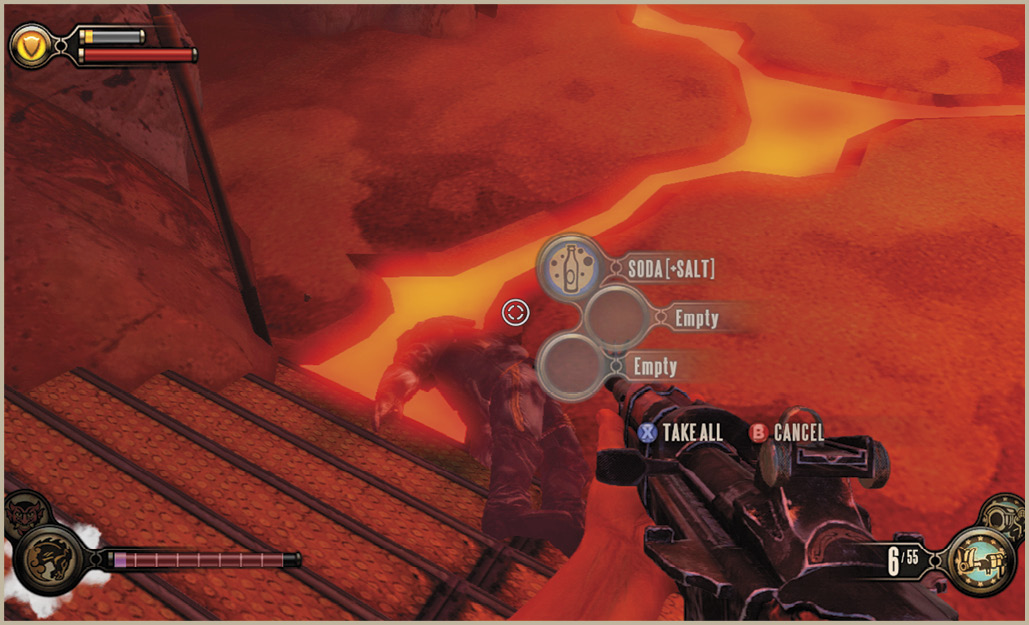
This Zealot has considerably more health than the first one you fought, so don’t let down your guard. Search the corpses and lockboxes for Salts and ammo should you need it. Return the way you came, but keep your Shotgun or Carbine on hand for any Founders patrolling the rotunda.
Find Slate
First Lady Memorial
The doors between the two exhibits are now unlocked. Pass through them to enter the First Lady Memorial, a lovely garden display set to commemorate Lady Comstock. Walk with Elizabeth through the exhibit as Elizabeth reads the plaques adorning the displays. Have Elizabeth pick the lock on the door beyond the stone bridge—no lockpicks required—to learn about the murder. Search the adjacent rooms for money and a Voxophone before continuing to the room displaying Comstock’s vengeance.
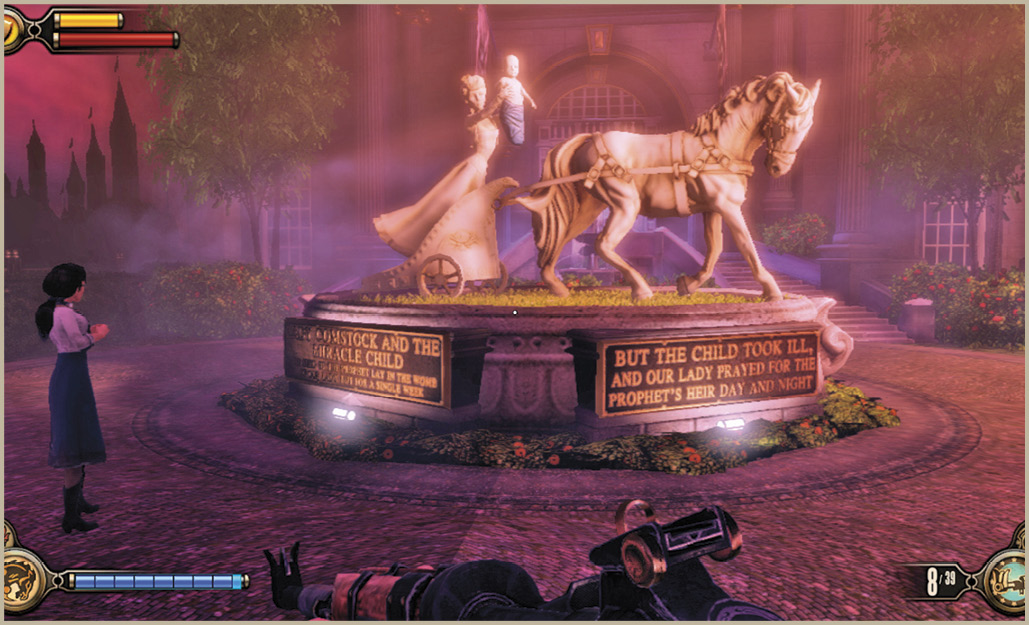
The final area of the First Lady Memorial, the Courtyard, is still under construction, and a large gate blocks access. Elizabeth can slip between the bars, but Booker cannot. Fortunately, she manages to spot a Tear above the floor—it’s a freight hook! Hold the Reload button to instruct Elizabeth to open the Tear, thus giving you a freight hook to have Booker leap to in order to scale the gate.
From your freight hook, Elizabeth spots additional Tears that can be opened: you must choose between three freight hooks high on the walls, or a large MG Turret in the center of the floor. A number of Slate’s men has wandered into the room far below Booker’s current position. Consider instructing Elizabeth to open the Tear for the MG Turret so you can gun down those enemies who are already present. Booker immediately falls to the balcony below, and though the MG Turret is destroyed in relative quickness, it sufficiently distracts enough attention to allow Booker to get into cover.
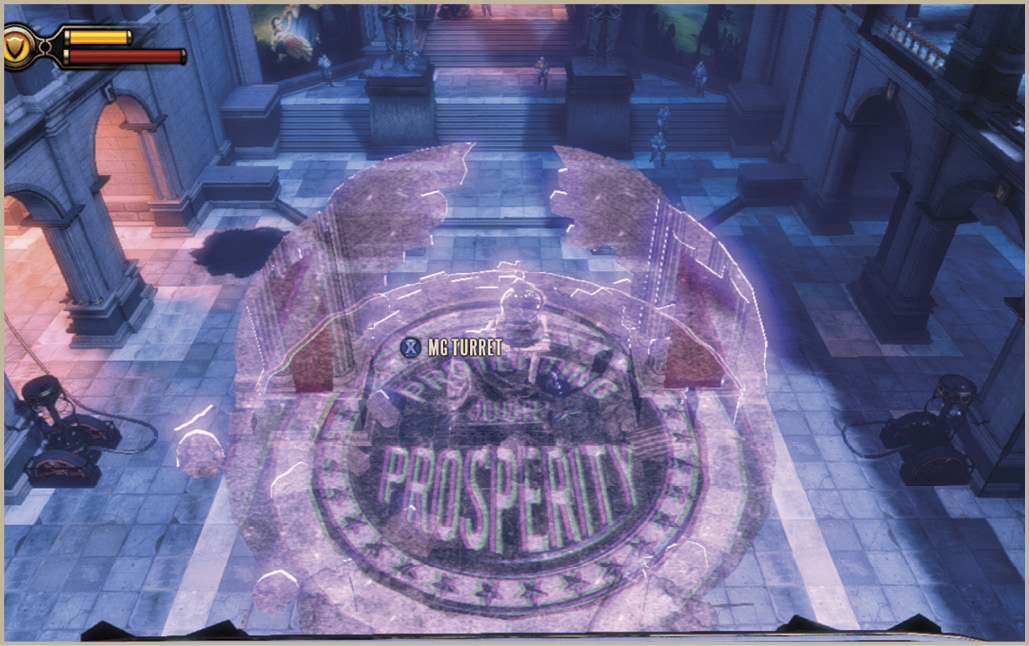
The soldiers below cannot reach your position, provided you stay on the balcony with Elizabeth. Shoulder the Sniper Rifle, strafe past the scaffolding to the right, and take Possession of the Gun Automaton on the far side of the room. Remain crouched on the far right-hand side of the balcony to present a smaller target, and shoot each of Slate’s men as they come into view. There’s a Sniper Rifle on this balcony if you need it. Slate’s men are all toting Machine Guns; dispatch them with a single bullet to the head.
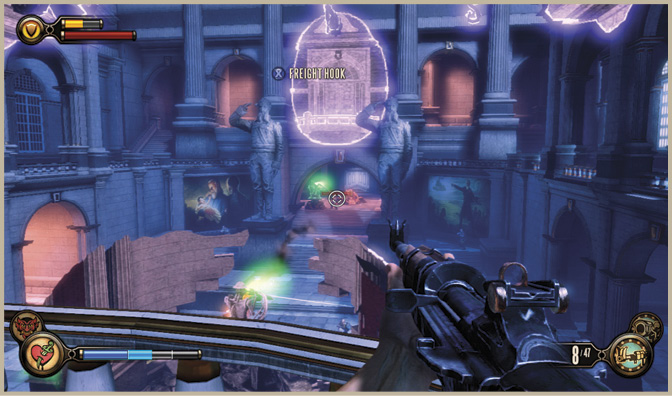
Elizabeth’s ability to open up Tears on Booker’s command relies entirely on their presence in the area. Booker cannot request a Tear be opened for something that isn’t there. That being said, there are often multiple Tears to choose from, and it’s entirely up to you, as Booker, to decide which Tear to open. Once a Tear has been opened, you must wait 10 seconds before Elizabeth can open another one, at which time the first Tear disappears. Only one Tear can be open at a time. Not only can you reopen a previously opened Tear, but it even returns to its initial state. Watch to see if your MG Turret is destroyed, then quickly open another nearby Tear. Wait for the original MG Turret Tear to reappear, and reopen it to have it working again.
The Gift Shop
The Veni! Vidi! Vigor! vending machine now contains the limited release Possession For Less Vigor upgrade, but the Minuteman’s Armory machine contains no new products. The vending machines aren’t the only devices of note in this area; there are also three Kinetoscopes.
Elizabeth can open any of three Tears in the Gift Shop: Salts, Medical Kits, or a Gun Automaton. If you need Salt or health, have her open either of the supplies Tears; otherwise, instruct her to open the Tear for the Gun Automaton on the right side of the room to prepare for the fight to come.
The Lamb Is the Future of the City--Behold the Miracle Child! A Prophecy is Fulfilled!The small octagonal lobby in front of the Gift Shop contains two vending machines and a pair of Kinetoscopes. Watch the films and learn about the Miracle Child, the Lamb, the future! 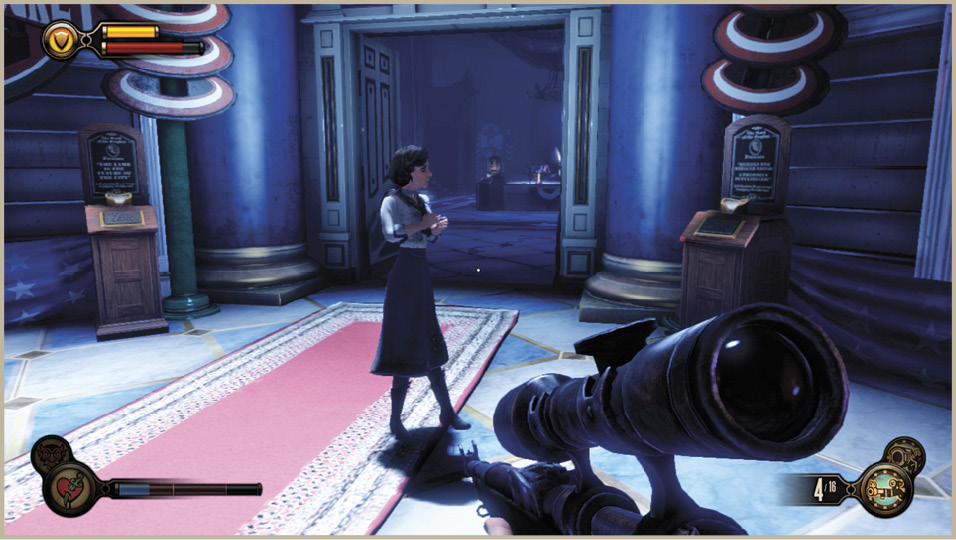 |
A City Mourns…This Kinetoscope is located in the center of the Gift Shop, near the Medical Kits. Whereas the two previous two told a story of hope, this is one of sadness. 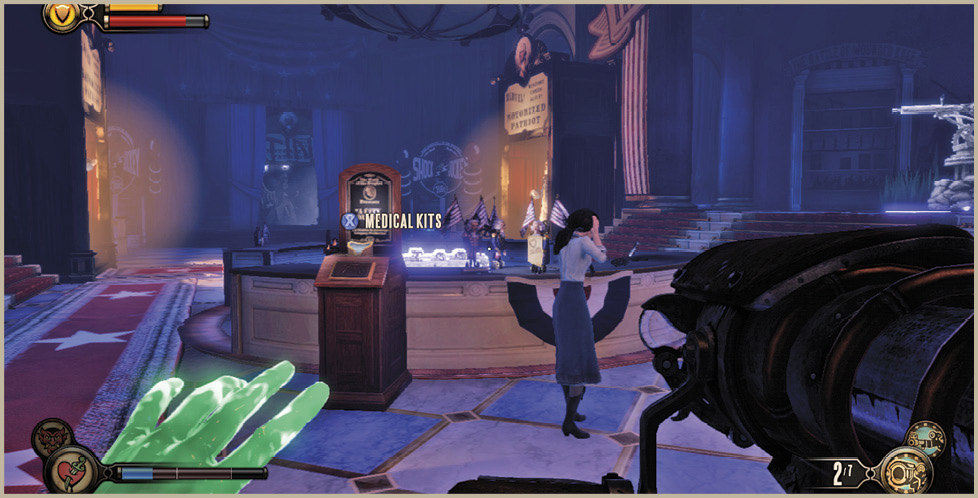 |
Motorized Patriot
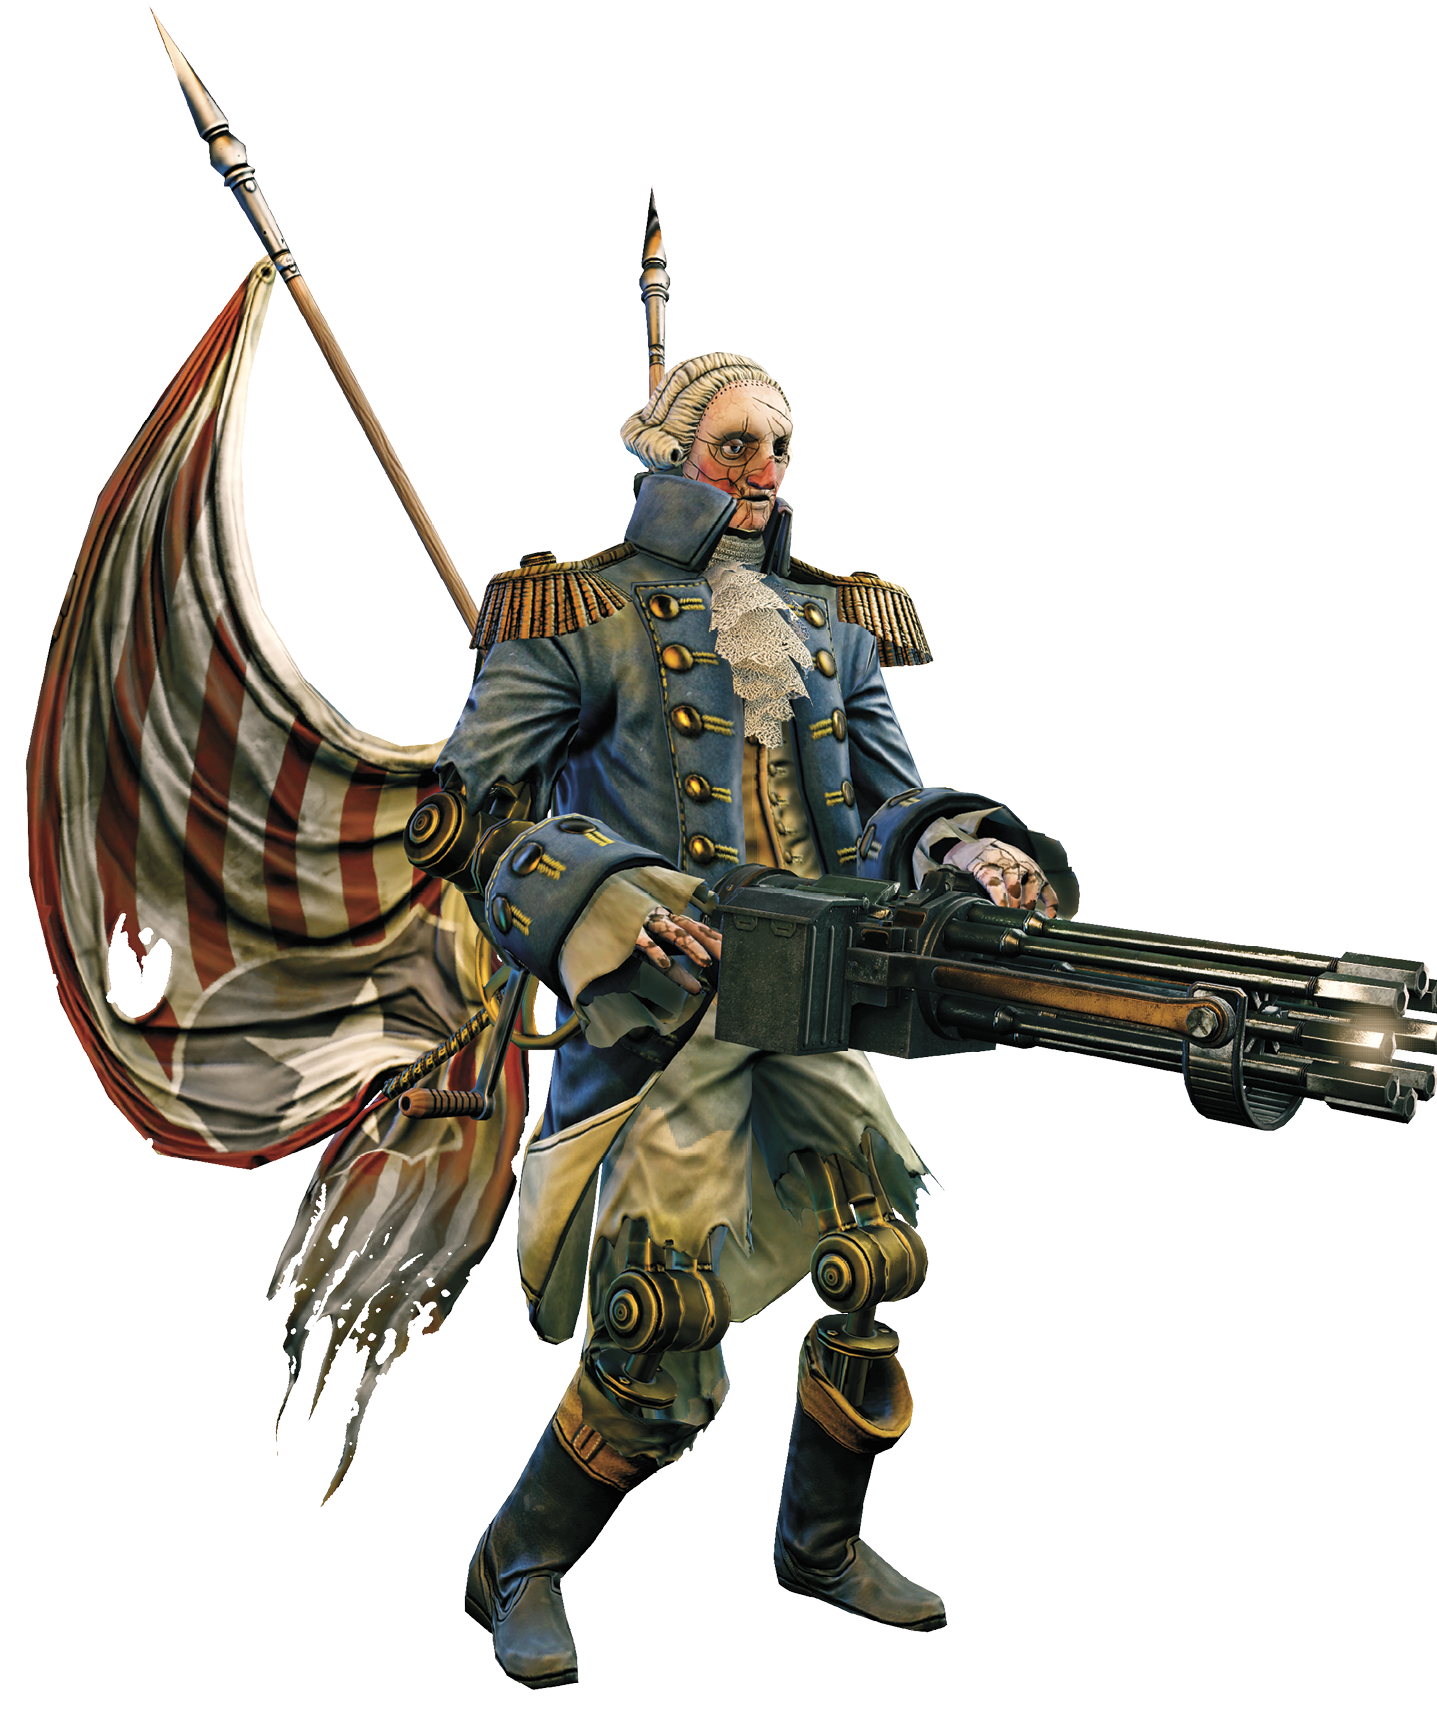
Gift Shop Motorized Patriot’s Vitals
| Health | Ranged Damage | Melee Damage | Special Damage | Special Attack |
|---|---|---|---|---|
|
5053 |
72 |
432 |
N/A |
N/A |
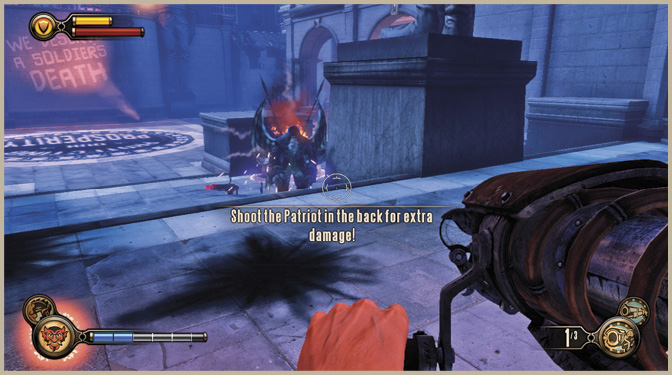
The Motorized Patriot subscribes to the motto that it’s best to walk slowly and carry a big gun! An automaton in the form of seven-foot-tall George Washington wields a Crank Gun and is every bit as resilient to damage as his gun is lethal. Though he walks slowly, the Motorized Patriot has no fear and continues to march straight after its target, provided he can see it. Shooting his head off renders him unable to see, but he can still fire his weapon and wander around.
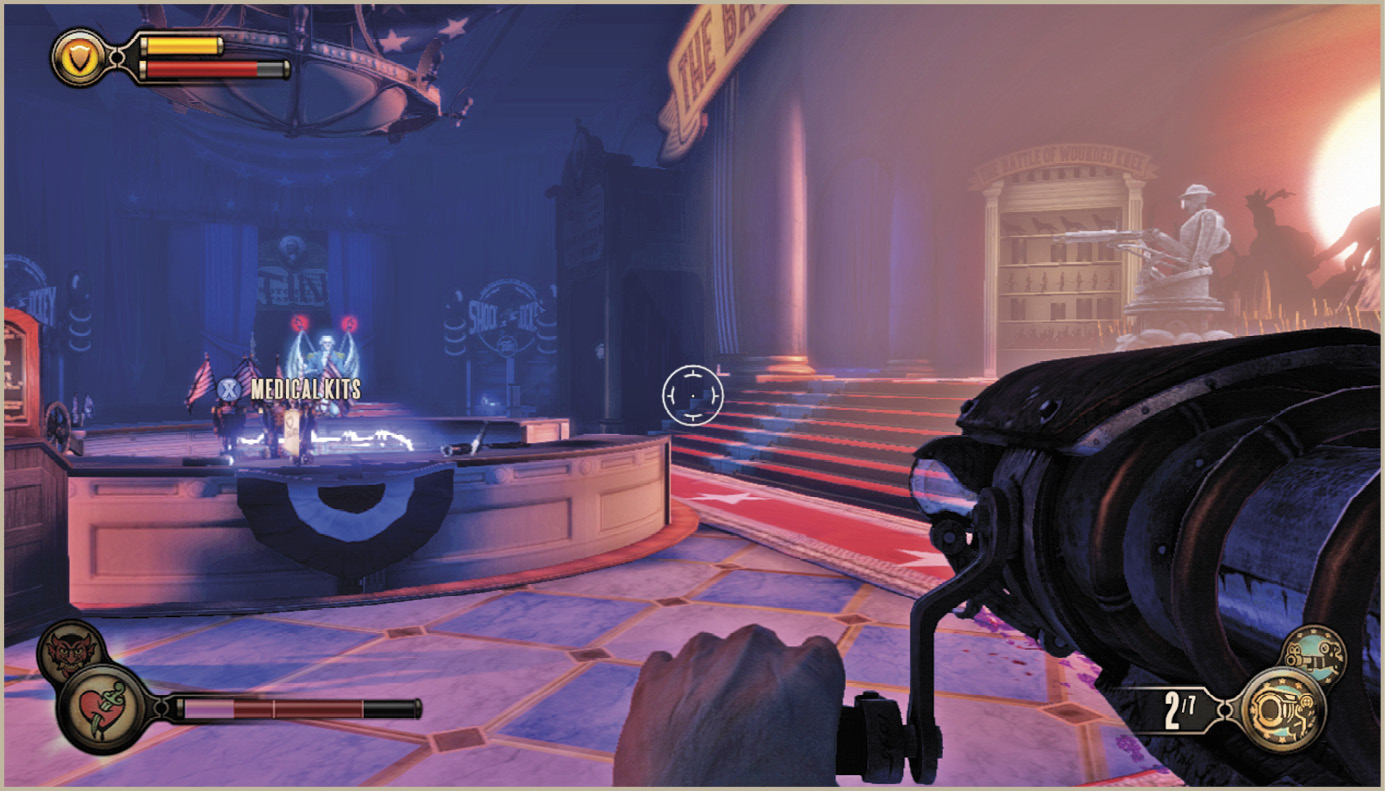
Being both heavy and made of wires and gears, the Motorized Patriot is invulnerable to attacks like Murder of Crows and Bucking Bronco. That said, he is highly susceptible to electric and water-based attacks, which you’ll acquire eventually. For this fight, it’s best to simply lead the Motorized Patriot out into the middle of the room, where the Gun Automaton that Elizabeth opened can shoot it.
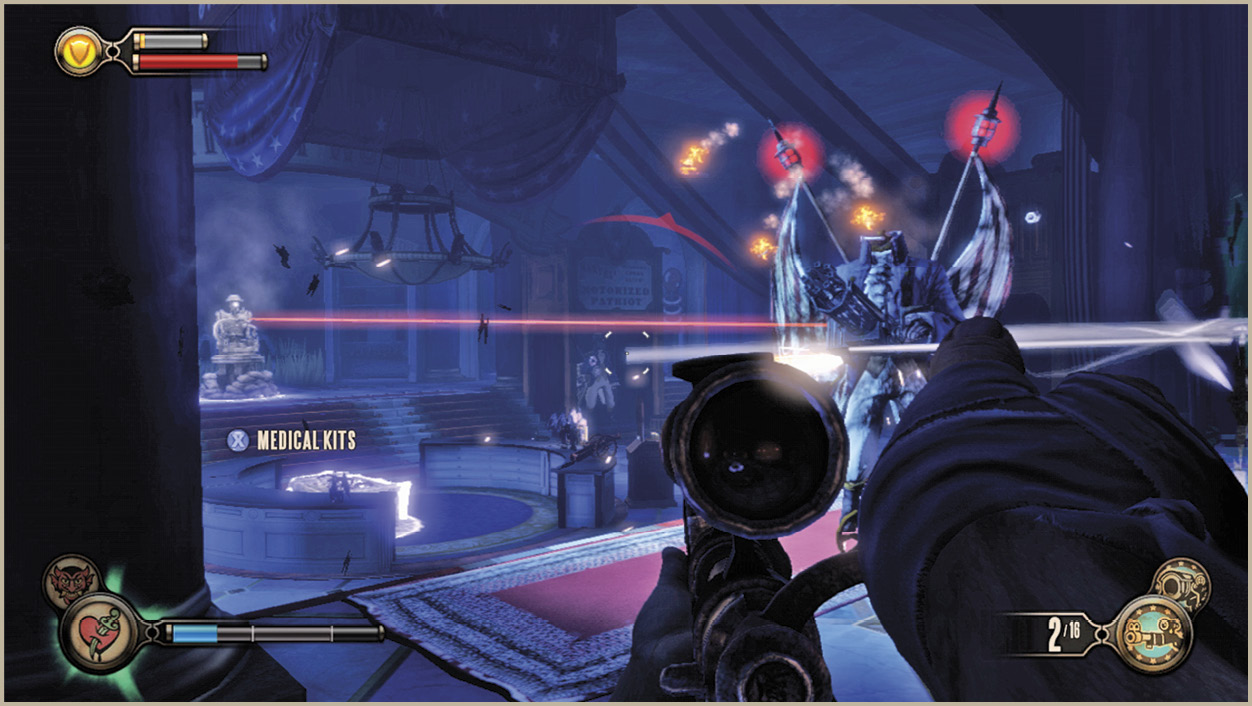
The Motorized Patriot can be damaged from all sides, but his weakest point is in his back, right where his winding mechanism is located. Try to circle around a column or other obstacle to sneak up behind the Motorized Patriot for a clean shot. Similarly, see if he turns to fire on the Gun Automaton. If he does, run up behind him and unload on his backside with the Shotgun at close range! Lastly, though it isn’t ideal, don’t be afraid to hip-fire the Sniper Rifle at the enemy, as it packs a punch!
Swap out your Shotgun or Sniper Rifle for the Crank Gun, leave the Gun Automaton active (if it’s still operational), and have Elizabeth pick the lock to the maintenance room in the rear right-hand corner. You’ll find a safe in this room (five lockpicks), but the crates of Shock Jockey have been ransacked.
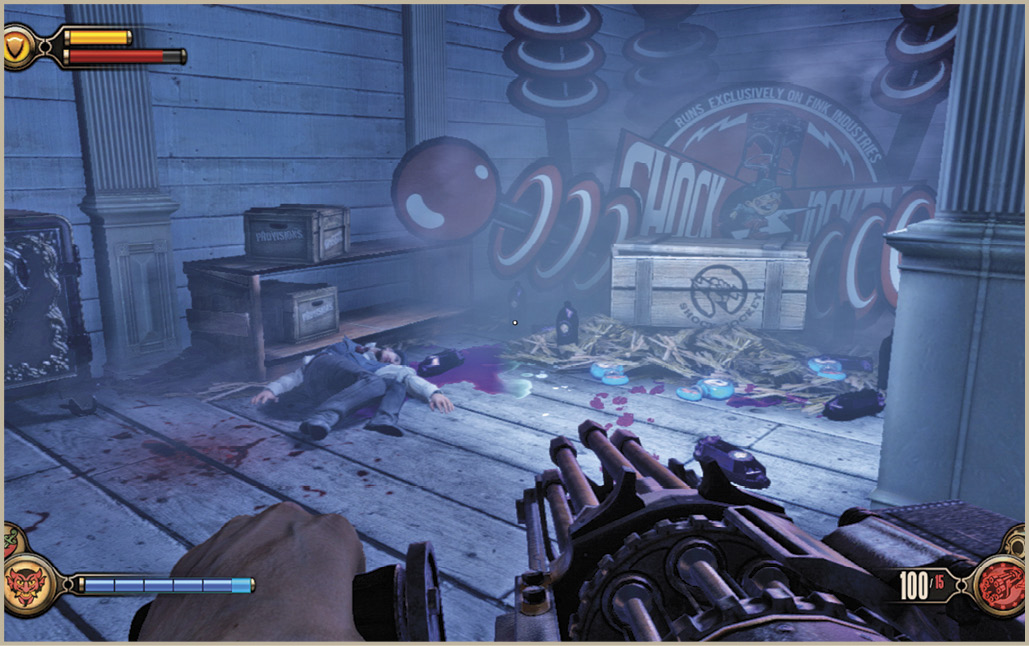
Exit the maintenance room to the sound of the Gun Automaton acquiring a fresh target. Slate has laid several Shock Jockey traps in the gift shop —target them with the Crank Gun from afar to ensure that Booker doesn’t get electrocuted. Follow the inky purple footsteps back toward the First Lady Memorial.
Subdue Slate
The Courtyard
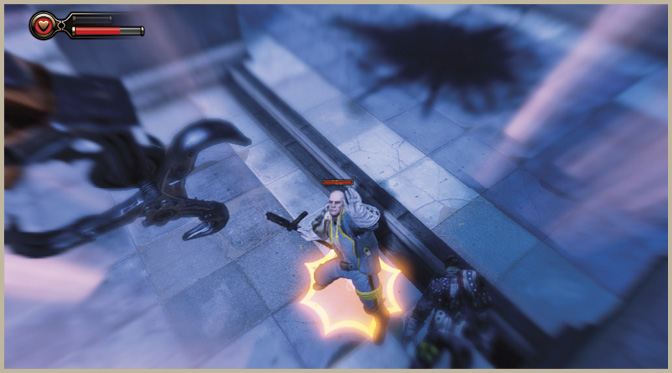
Cornelius Slate has taken the Shock Jockey Vigor back to the Courtyard and is on the far balcony where Booker first instructed Elizabeth in the use of Tears. Comstock’s ships are circling above, but Slate isn’t paying them any mind—he’s going to lead his men into one final battle against Booker!
Slate glows pink from the effects of the Shock Jockey and periodically lobs electric traps throughout the area. These Shock Jockey traps take the form of electrified crystals; either avoid them, or better still, shoot them when Slate’s soldiers are in range.
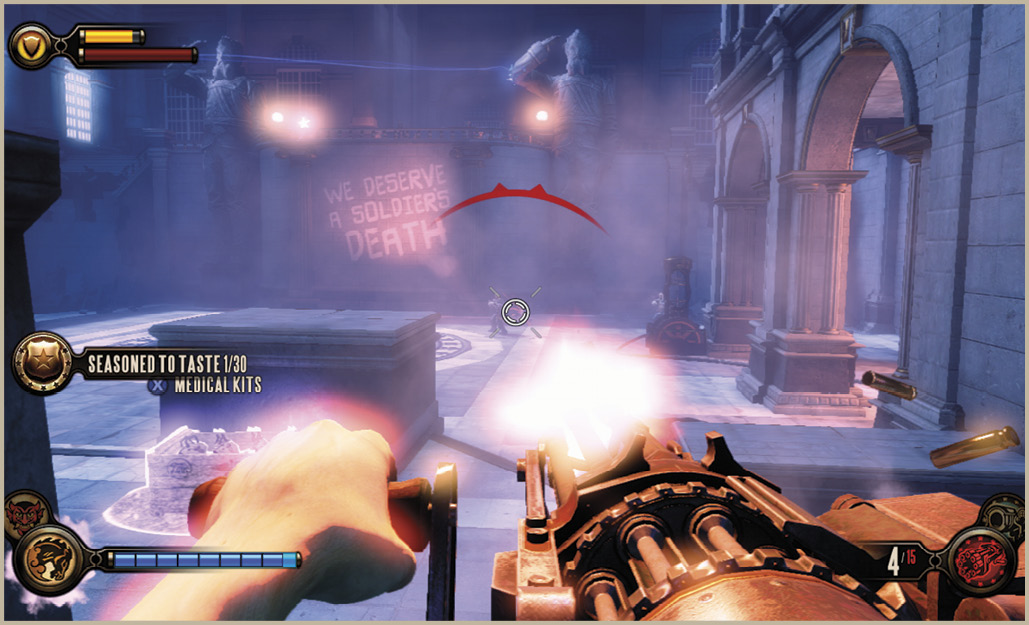
Open the Tear for the Medical Kits so that you can access them once necessary. Slate is going to conduct his assault in three waves, the first coming from the far balcony where Booker first entered the area. Use the cover near the two Tears and resist the temptation to lay down a lot of Devil’s Kiss traps, as many of Slate’s men stick to the far side of the Courtyard for now. Strafe in and out of cover while popping off shots with the Carbine. Keep Bucking Bronco on hand in case any get too close; otherwise, try to shoot the Shock Jockey traps in the center of the room.
After a brief lull in the fight, Slate uses Shock Jockey to unlock the door on the lower left side of the room. Place both Devil’s Kiss and Murder of Crows traps in front of the door to catch them as they emerge. A Fireman also attacks during this wave. Swap to the RPG or Crank Gun, and open fire. Listen for the whirr of its self-destruct charge, and try to snare it in a Shock Jockey trap or with Bucking Bronco to give Booker a means to escape.
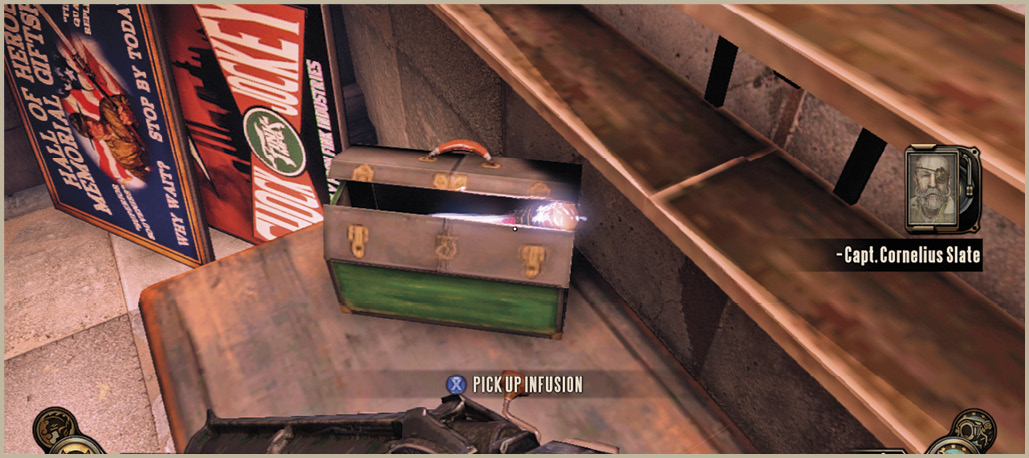
Collect the Voxophone and Infusion from the storage room on the ground floor before chasing after Slate. The Infusion is inside the partially closed toolbox atop the workbench and can be hard to spot if Booker doesn’t leap onto the table.
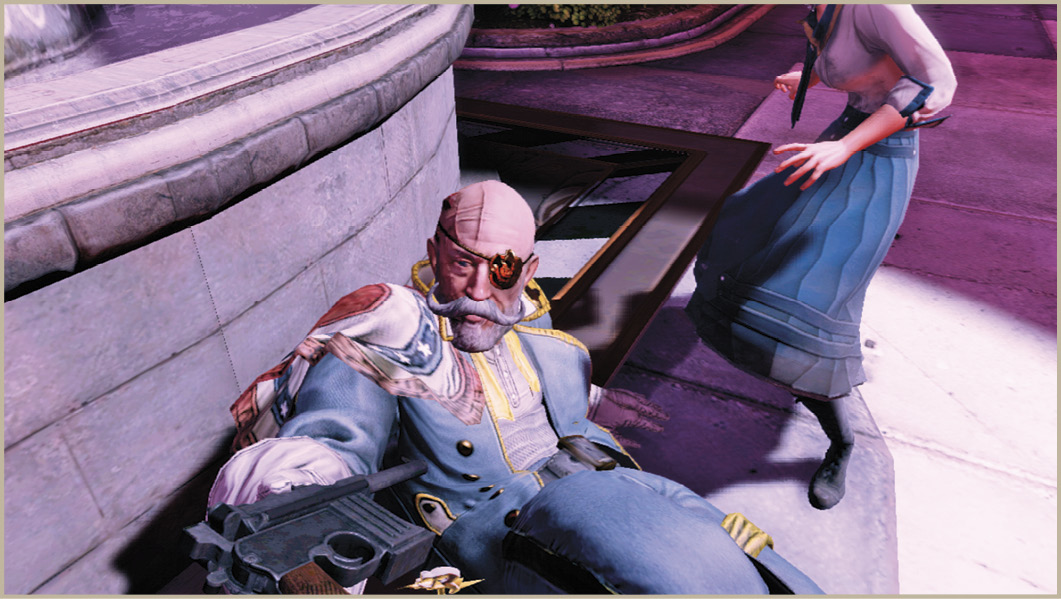
Slate retreats through the door opposite the Gift Shop, using it to head back towards the museum. Unable to access that ledge, you’ll have to pursue him through the lengthy hallway to the right, taking down the enemies from an ambush attempt, and continue through the door to where he sits crumpled on the floor in a spotlight. Reach down to grab the Vigor, and watch as Slate musters the strength to give Booker one final order: he wants Booker to shoot him. The choice to spare or to kill Slate is yours, and, as with other choices that have been presented, the impact of this choice is relatively minor (largely just dialogue differences) and is revealed later in the walkthrough. Pick up the Shock Jockey Vigor after you make your decision.
|
 Shock Tactics
Return to the Aerodrome Gondola
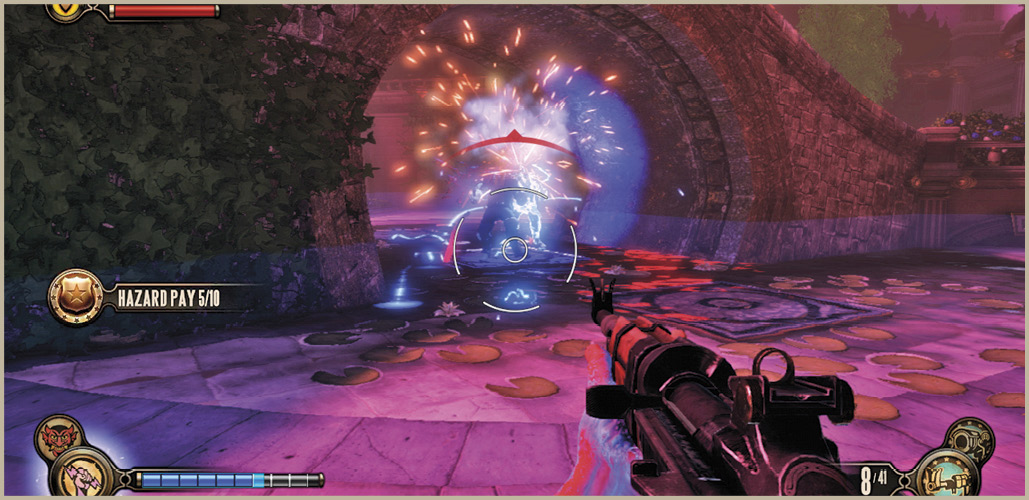
Fight your way back through the First Lady Memorial toward the entrance where the vending machines were located. Use your newly obtained Shock Jockey Vigor to immobilize any of Slate’s men you encounter along the way with a blast of electricity that renders them unable to fire their weapons as well as more susceptible to damage. Whenever possible, look to aim Shock Jockey at enemies standing in water, as the voltage gets amplified to lethal quantities!
Fire a dose of Shock Jockey at the glass power conductor across from the Salts machine to open the gate. It’s time to head back across the sprawling Soldier’s Field and power-up the gondola to the Aerodrome once and for all!
Outside the Museum
Booker exits the Hall of Heroes to find a full-scale battle taking place between Slate’s devotees and Comstock’s followers. Comstock’s Founder Police are going to view Booker as being on the same side as Slate’s men, so do your best to not shoot anyone with their back to you. Immediately open the Tear for the Mosquito in the far off distance so that it can start whittling down the number of Comstock’s men. Watch for the gun balloon to be destroyed, then instruct Elizabeth to open the Tear for the Sniper Rifle on the left. This gives you plenty of ammo to pick off the numerous Founders approaching the steps outside the museum. Don’t worry about any remaining units from Slate’s makeshift army, as they’re outnumbered and won’t have the opportunity to turn against you. Reopen the Tear for the Mosquito as soon as it’s ready.
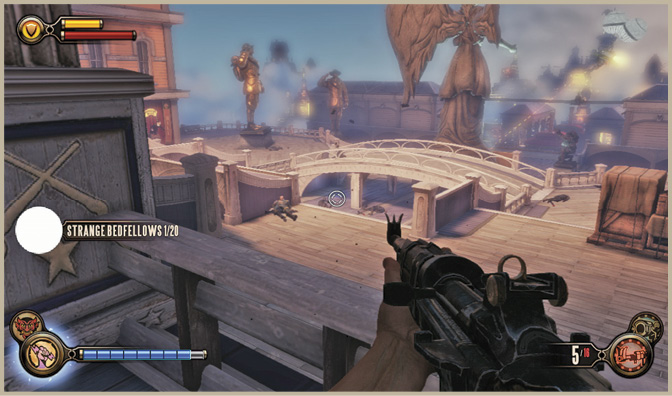
Descend the stairs on the right and use Shock Jockey to open the gated staircase on the far right side of the building (as viewed with Booker’s back to the Hall of Heroes entrance). Ascend the stairs to find a wealth of crates to loot, as well as a piece of Gear and a Lockpicking Kit containing two lockpicks.
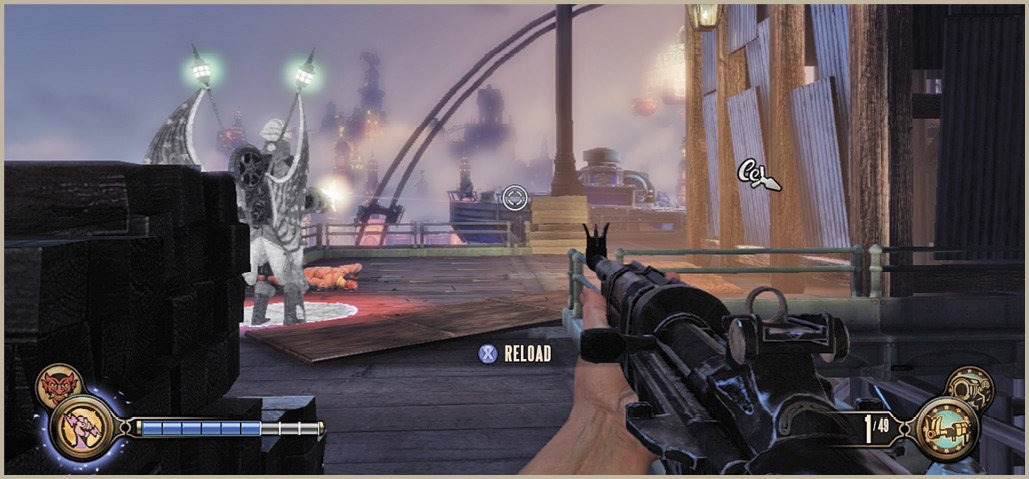
Descend the stairs from the upper level and leap to the Sky-Line heading toward the Hall of Heroes maintenance platform off to the right. Open the Tear for the Motorized Patriot and leap to its side to fend off the other Founder Police (press the Crouch button to reverse direction if Booker happens to slide past the platform). A police barge rises up on the other side of the platform, so be ready for it. Stand guard with the Motorized Patriot and fire your preferred long-distance weapon at the enemies on the barge from the safety of the pile of wood.
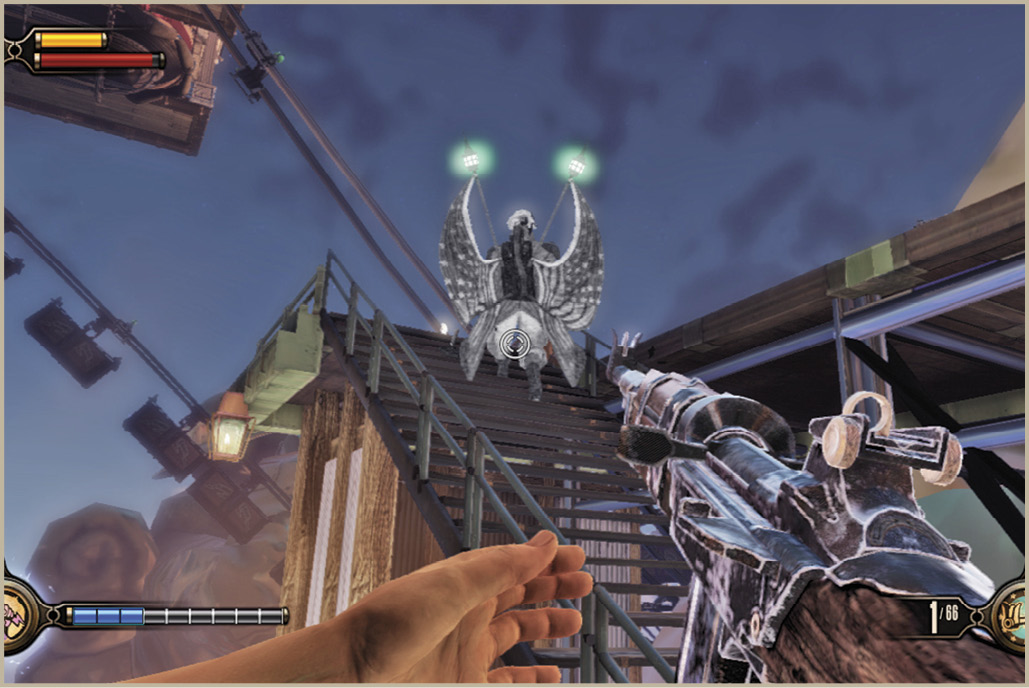
Sweep around the structure in a counter-clockwise direction to find a lockpick and to get the drop on an adversary with an RPG, known as the Beast. This helmeted foe is positioned atop the right-hand set of stairs, opposite the police barge, and he can fire RPGs in quick succession. Jolt him with Shock Jockey, then open fire or knock him into the air with Bucking Bronco. It’s also possible to shoot his black metal helmet off. With his head exposed, you can go for the headshot! Clear the platform, then leap to the Sky-Line leading down and away toward Soldier’s Field.
Sky Road
Hop off the Sky-Line and immediately take cover near the stack of crates. A large contingent of Founder Police has been assembled on Sky Road, and a Fireman accompanies the group. Pick off a couple of the ones nearest your position, then focus on the Fireman. Continue sniping him until he starts to rush Booker’s position, then switch to Shock Jockey and the Shotgun or RPG to finish him off. Headshot the other enemies in the area, then round up the loot and continue up the stairs to the lobby. Be sure to loot the Fireman for the fifth lockpick you’ll need to open the safe in the office up ahead.
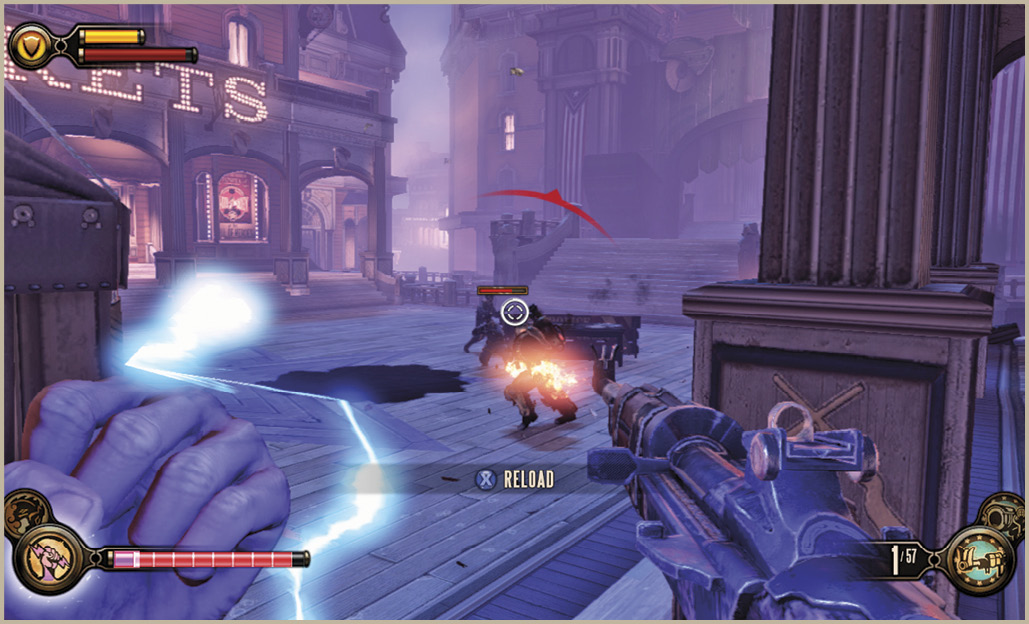
A Motorized Patriot has escaped its display and is set to attack near the elevator. Though it’s entirely possible to hit it with Possession and safely board the elevator without having defeated it, it’s quite simple to kill it with Shock Jockey and a few rounds from the Carbine. The Motorized Patriot is highly susceptible to Shock Jockey. Stun it with the electric attack, then circle-strafe to its blindside and open fire on the sprockets and cogs. Snag the Crank Gun it drops, and board the elevator for the main Boardwalk at Soldier’s Field.
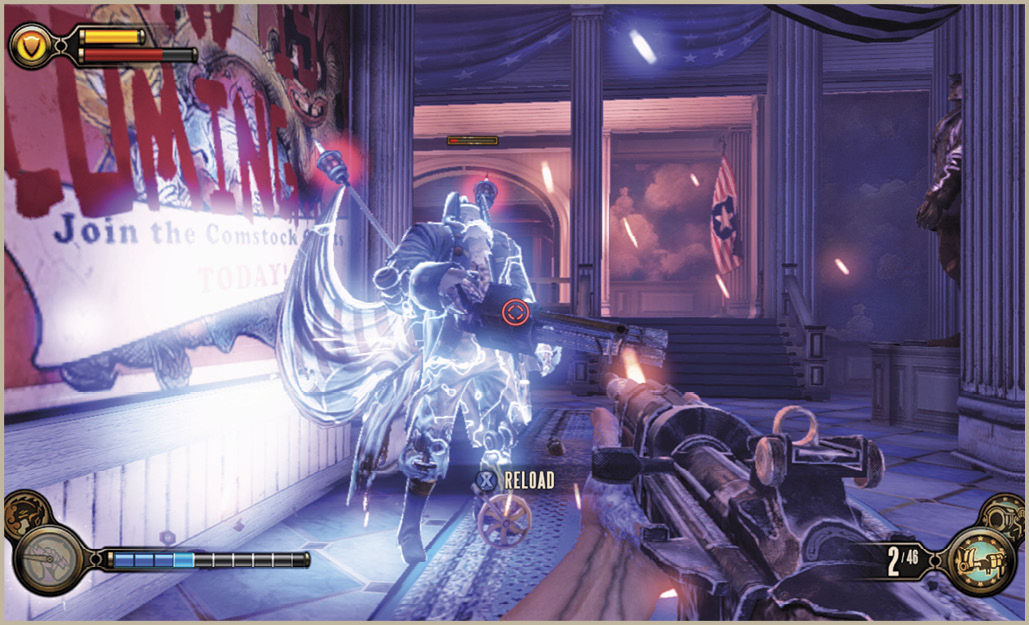
Soldier’s Field
Descend the stairs toward the Soldier’s Field Hotel and leap to the freight hook on the balcony. Use Shock Jockey to unlock the gated door, and locate the Voxophone and Gear near the bed. There is a wealth of money and two lockpicks to be found in this room. Exit the hotel and make your way to the toy store, where you can use Shock Jockey to open yet another locked door. Lift the gate to enter the toy store after hours, then use Shock Jockey to gain access to the employees only closet to find another piece of Gear.
The shops in Soldier’s Field are closed at night, but you can still enter most of them by lifting the gates manually. With the shops empty, you don’t have to fear alerting the local constabulary when you raid the cash registers or go behind the counter of the ice cream parlor.
There are several Tears available to you and Elizabeth when you return to Soldier’s Field at night. There is a Motorized Patriot near the carousel, and Cover and a Gun Automaton on the roof of the ice cream parlor, as well as above the toy store. Open the Tear for the Motorized Patriot, and lead it toward the gondola lever.
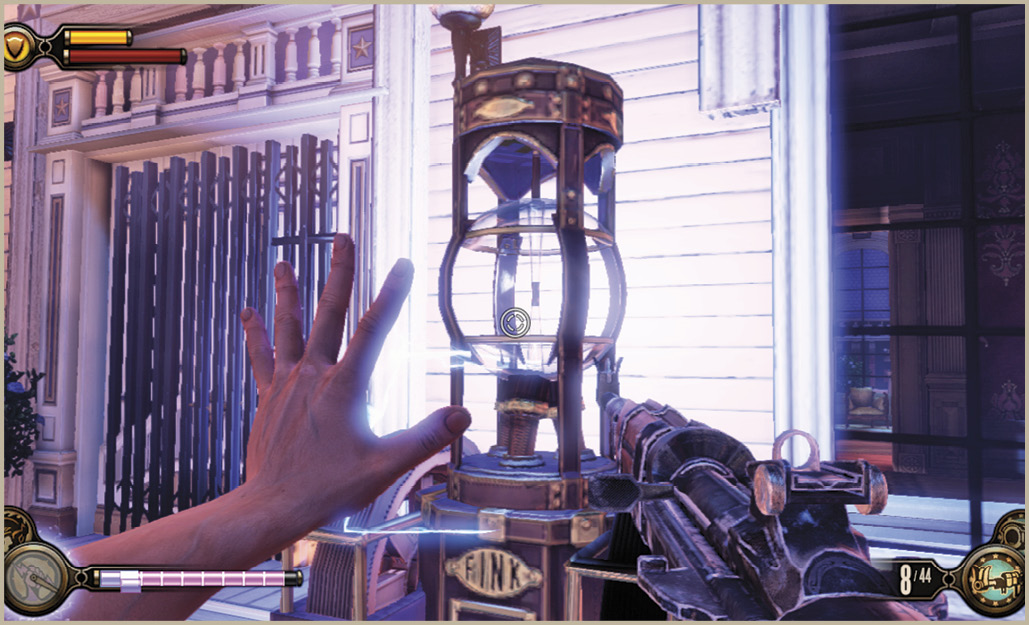
Call the Gondola
Zap the power conductor near the lever with Shock Jockey to restore the power; now all you need to do is pull the lever. Before pulling the lever for the gondola, look out into the distance and note the two police barges flanking the tracks near the Aerodrome. Those barges will be headed straight for Booker once he pulls that lever, so make sure you’re ready for battle! Now, pull the lever to call for the gondola.
Each of the two police barges contains a number of gun-wielding Founders and Beasts. The two barges slowly circle the Soldier’s Field Hotel after affording the Founders a chance to either leap to the Boardwalk or onto the Sky-Lines that run around the area. Three Beasts are spread across the two barges and remain aboard and fire their RPGs continuously.
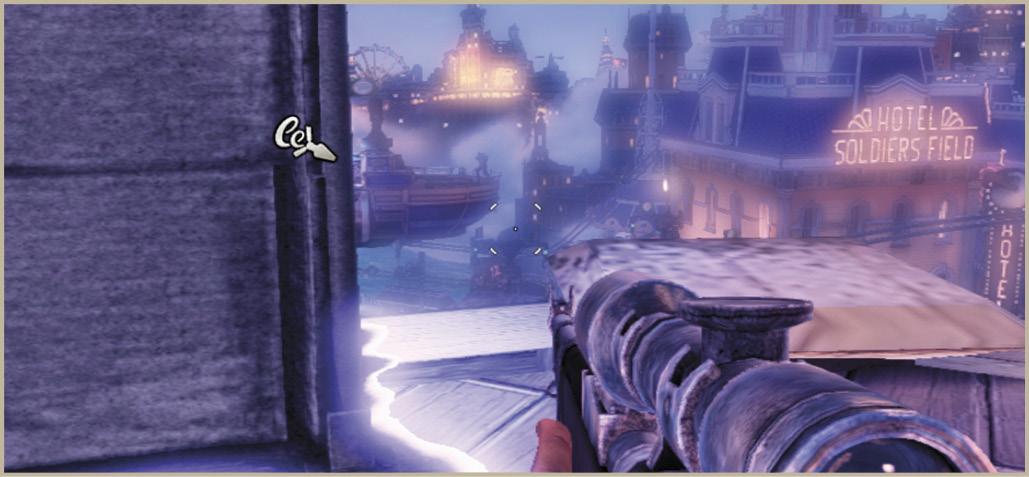
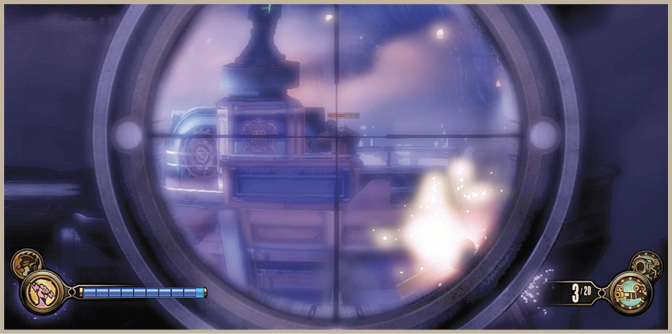
Hold your ground until the barges get close to keep the Motorized Patriot in position to help, then leap to the Sky-Line. Ride it past the hotel and leap to the upper Sky-Line to reach the roof of the ice cream parlor. Have Elizabeth open the Tear for the large Cover and grab the Sniper Rifle behind it. Lay traps down on the roof, near the Tear for the Gun Automaton, to catch any Founders that ride the Sky-Lines to this position. Use the Sniper Rifle to carefully snipe the Beasts that remain on the barges. Shoot their helmets off, then target their exposed heads.
Open the Tear for the Gun Automaton if any of the barges get too close, and quickly leap to the Sky-Line to make a run for it. You can find Tears for Medical Kits on the roof of the shops, as well a Sniper Rifle Tear aboard one of the police barges. Equip any Gear you have that aids in Sky-Line Strikes, and consider leaping to one of the freight hooks on the police barges. Act quickly, and you can safely knock the Beast from its police barge with a Sky-Line Strike.
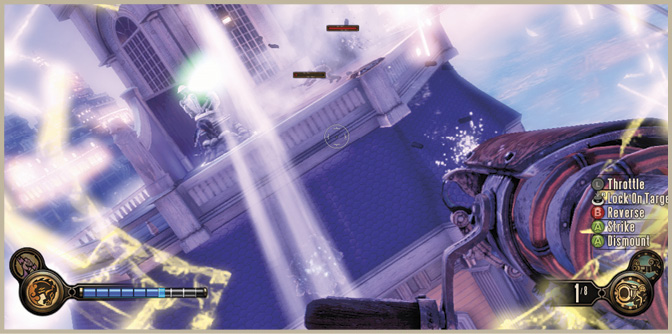
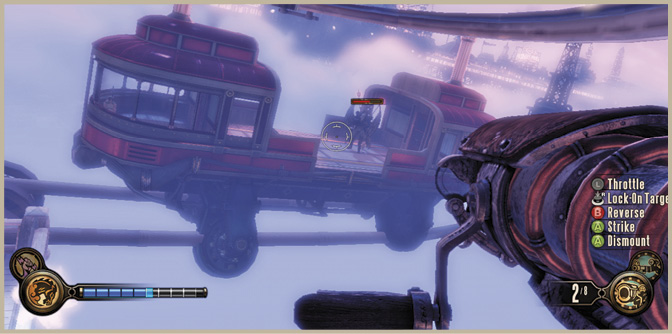
When the gondola arrives, have Elizabeth open the Tear to the Motorized Patriot near the carousel. The Motorized Patriot then takes care of the adversaries that exit the gondola you summoned, including an enemy Motorized Patriot. Leap to the lower of the two Sky-Lines, preferably with an RPG, and rain fire on the remaining Founders. You can use throttle controls and the ability to reverse direction to avoid return fire and position Booker in excellent position for a Sky-Line Strike.
Board the First Lady
Board the gondola and instruct Elizabeth to pick the lock to the cockpit. Grab the lockpick inside on the left and pull the lever to set the gondola in motion.
Ascend the stairs to enter the lobby and use the vending machines on either end to replenish your reserves. A half-dozen Founder Police are set to attack. Lay down some traps, and fall back toward the entrance to draw them into your traps. Switch to Murder of Crows to stun multiple foes at once if several are still standing. The Kinetoscope beneath the stairs is a duplicate of the one in the Gift Shop. Board the elevator across the room and ride it up to the First Lady Airship.
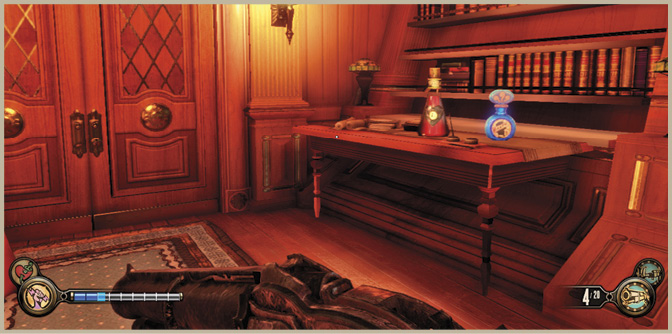
Collect the Infusion on the right and the Silver Bars across from the entrance (they’re worth 100 Silver Eagles each). Be sure to gather these items before steering a course for your flight destination. Elizabeth knows her coordinates surprisingly well and detects your betrayal immediately. You’d have to be a tougher guy than Booker to stand hearing her cry; try talking to her.
|
 First Lady