BioShock: The Collection Guide Bioshock Walkthrough Neptune’s Bounty
Freezer Top Floor
Peach Wilkins
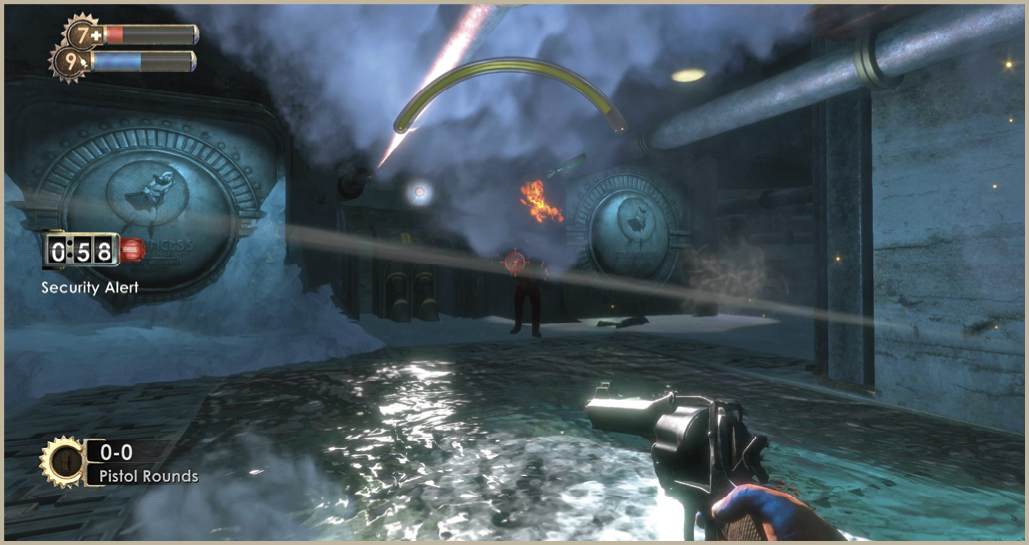
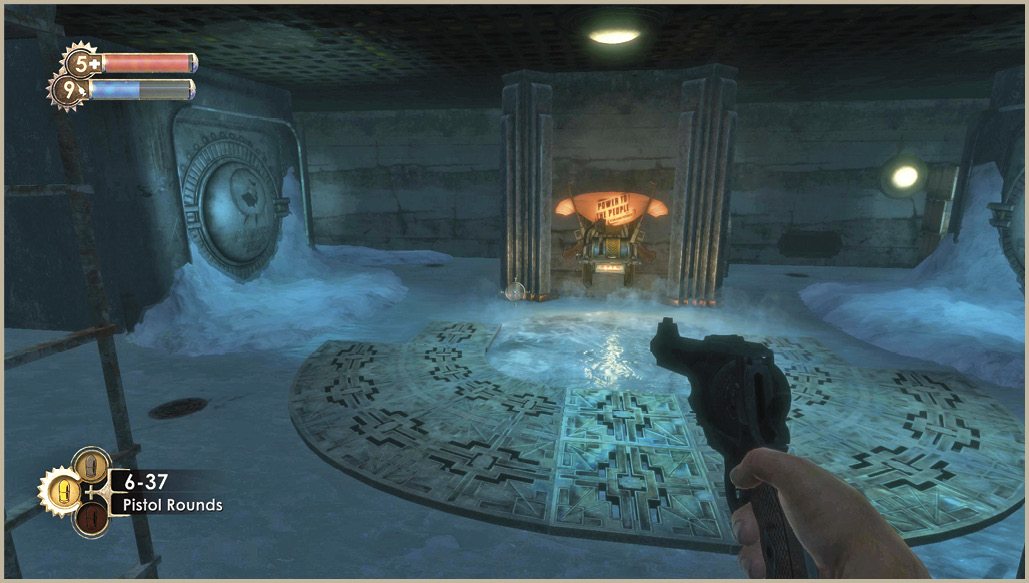
Peach Wilkins has a tremendous fear of Fontaine and no amount of convincing from either you or Atlas can convince him Fontaine is dead and that you don’t work for him. Peach has gone mad, utterly mad, and leaps from the shadows to attack shortly after dimming the lights.
Boss Attacks
Firebomb
Peach Wilkins closely resembles a Nitro Splicer and has plenty of homemade explosives to blast you from here to Dandy Dental. The big difference between Peach and a Nitro Splicer is that Peach throws his explosives more frequently and with better accuracy. He’s also a lot stronger and more mobile too!
Battle Plan
It’s important that you waste no time upon entering the freezers and head straight to the Security Camera on the right to hack it. Doing so not only eliminates the threat of being spotted, but also serves to sic the Security Bots on Peach and the Leadhead Splicers that appear (another option is to hit Peach with the Security Bullseye plasmid). Once the Security Camera has been hacked, return to the entrance area and equip the Enrage plasmid. Use it to turn the Leadhead Splicers against Peach.
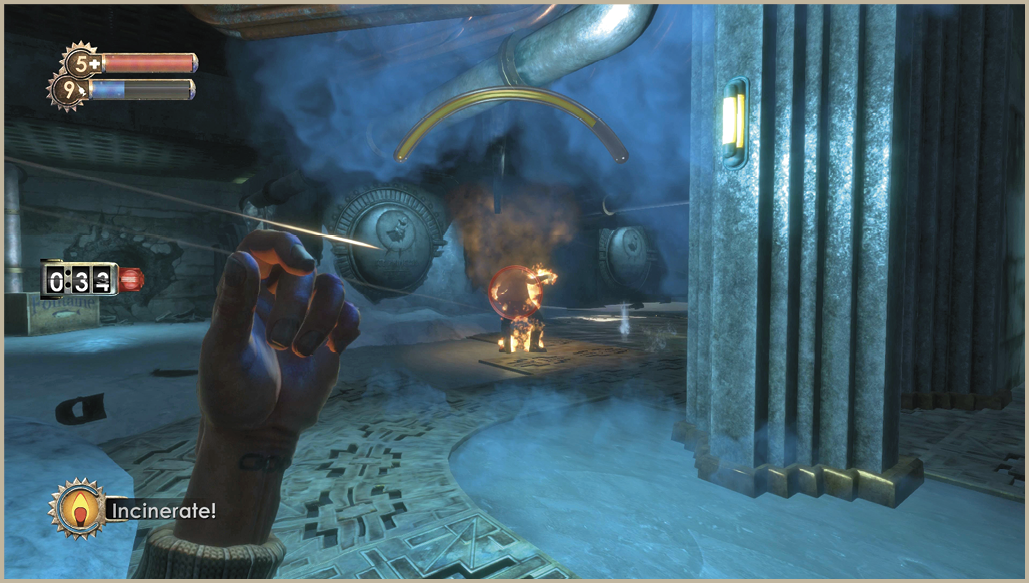
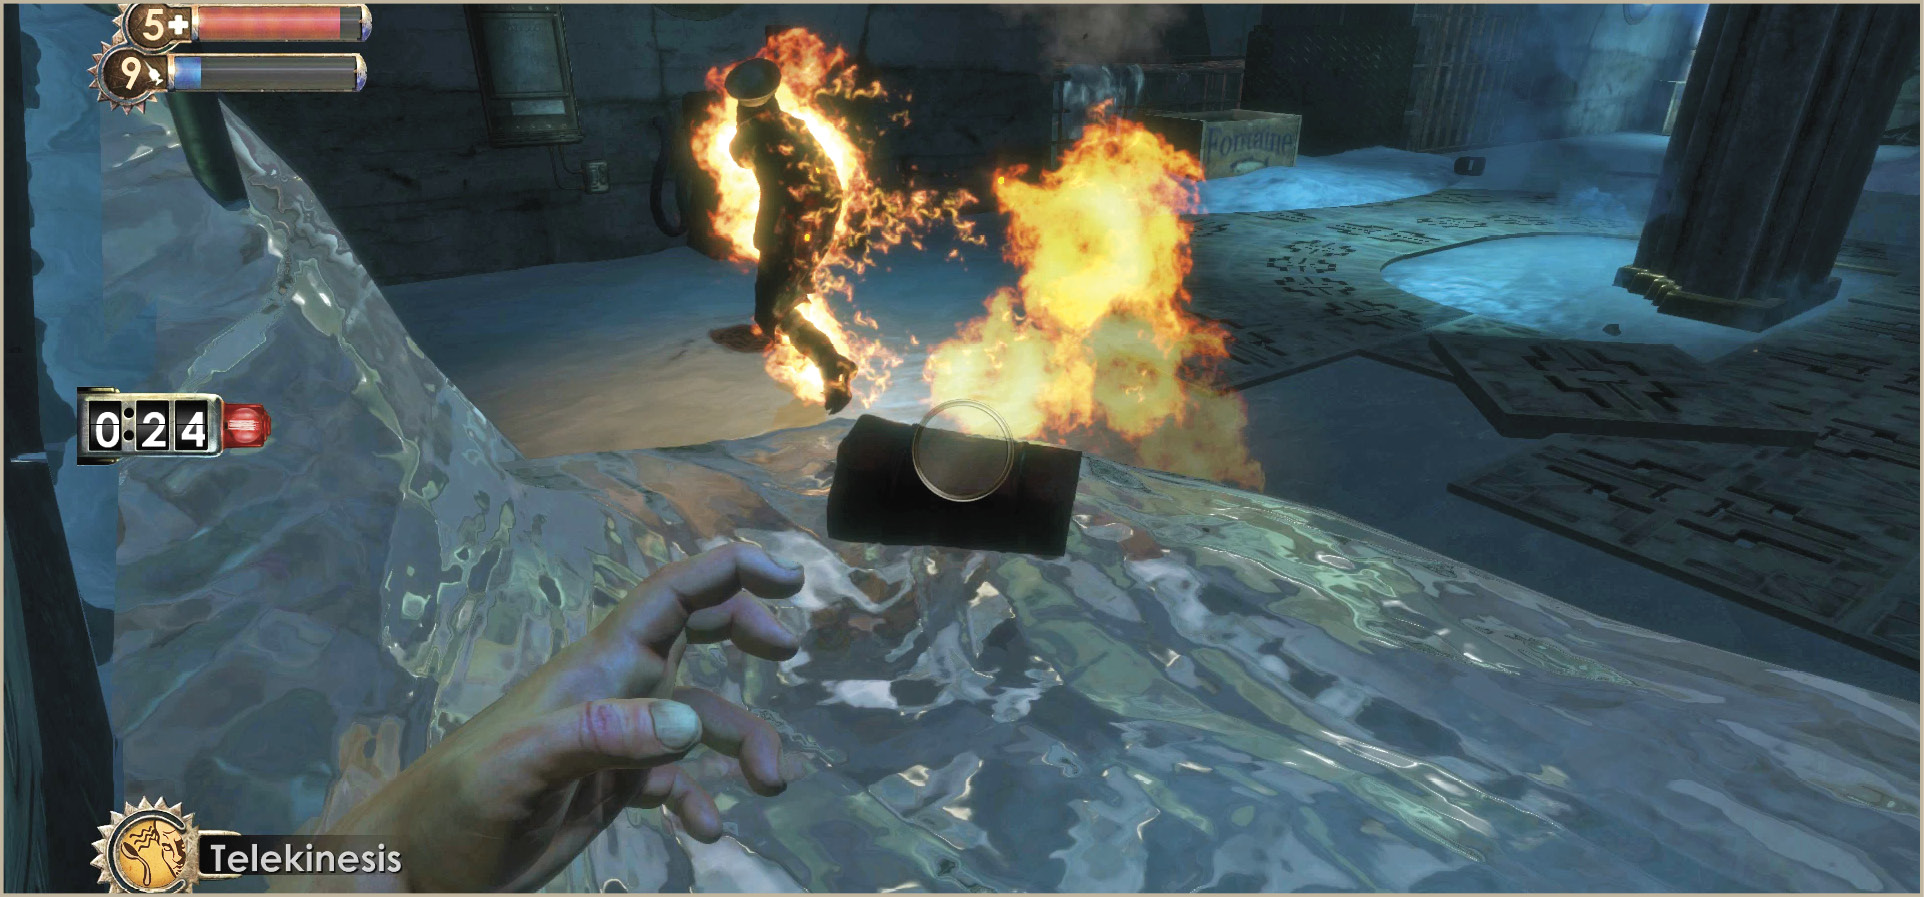
Peach Wilkins may sound like a feeble old man, but he’s as ornery as they come. And tough too! Use Incinerate to slowly burn him for nonstop damage and, when the opportunity presents itself, run up to him with the Wrench and bash him over the head. You can continuously swing the Wrench by holding down the Attack Button—this is faster than tapping it over and over. Stay on the move and watch your health meter closely, since Peach’s firebombs inflict a significant amount of damage quickly.
The addition of the Leadhead Splicers may seem a bit unfair at first, but they not only offer you a chance to use the Enrage plasmid, but they are also a source of guns. Peach knew what he was doing when he demanded you dump your weapons in the pneumatic tube, but that doesn’t mean you can’t pick up another Pistol from the dead Leadhead Splicers sprawled across the floor. This fight becomes much easier once you get your hands on a gun.
Objective 5: Find the Submarine BayFind the secret passage that leads to the hidden submarine bay, then locate the submarine that holds Atlas’s Family. Access to the submarine bay is hidden with Fontaine Fisheries. 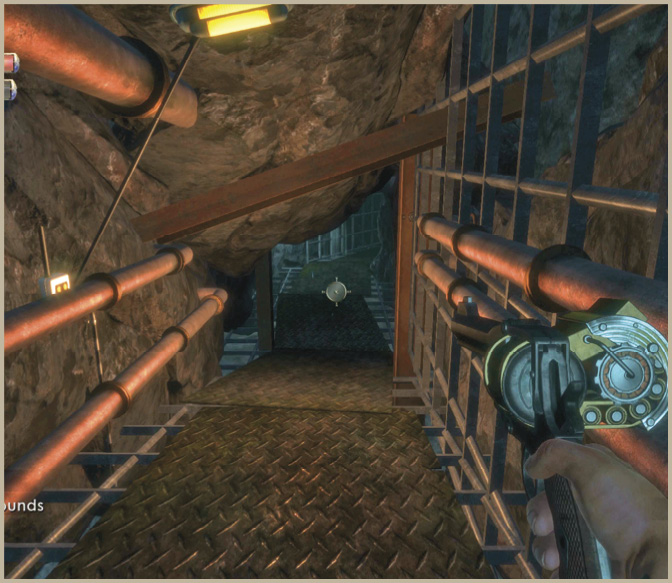
|
Once the battle with Peach has been won, take a moment to search the freezers on the left and right side of the room. Both freezers have plenty of valuable items frozen within the ice on their floors. Use Incinerate! to melt the ice and collect the items, then head down the stairs. Be sure to grab your weapons from the pneumatic tube on the landing (you no longer have all of your special ammo types, though).