
UFC Undisputed 3 Guide Gameplay Positions and Moves
Ground Positions
When one fighter succeeds in completing a takedown, both fighters end up battling on the ground. The positions discussed in this section are available when both fighters are grappling on the mat.
Open Guard, Top
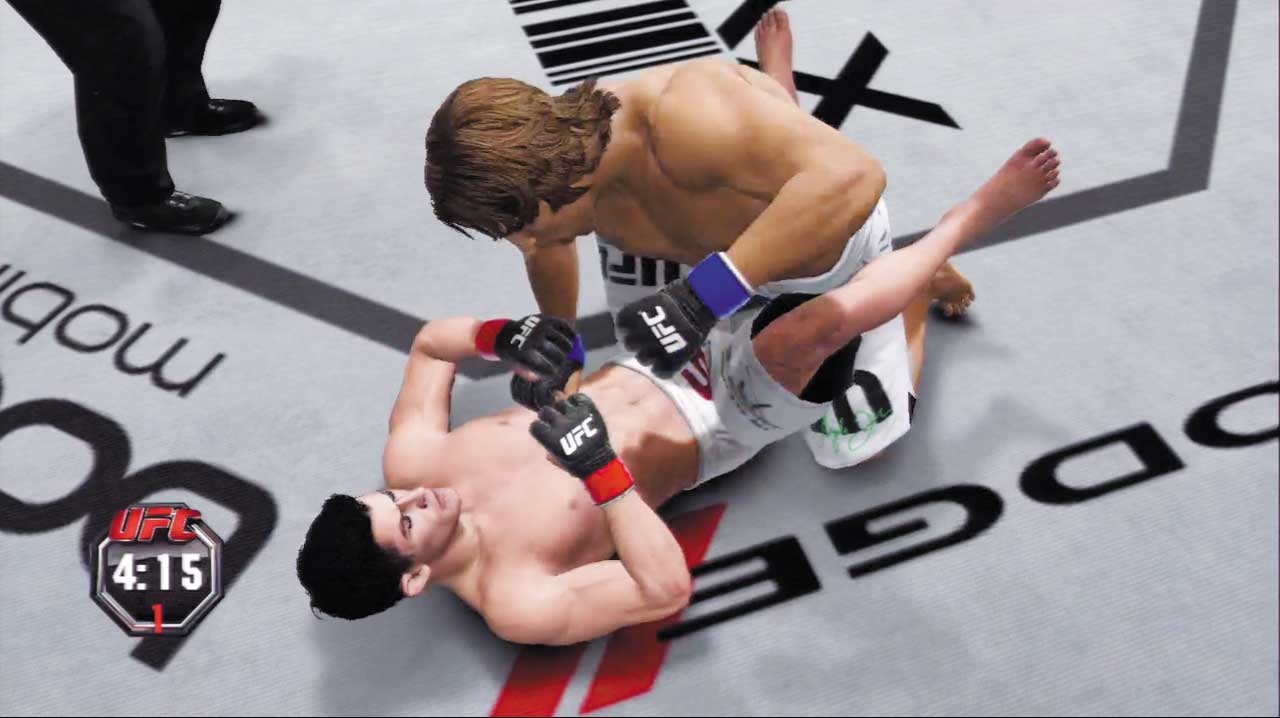
Like all ground positions, Open Guard favors the top fighter, lending extra weight to his strikes and allowing him to fall back into various leg submissions, such as heel hooks.
In addition, the bottom fighter’s movement is significantly reduced, making it difficult for him to avoid and absorb punishment. Posture up into sub position and rain down some big blows!
Attaining the Position
- You end up in this position after certain takedowns.
- You end up in this position when the opponent transitions to Open Guard, Bottom.
Available Strikes
- Quick strikes
- Quick strikes to body
- Strong strikes
- Strong strikes to body
- Technique strikes (if possible)
Available Transitions
- Minor transition to Half Guard Clinch, Top
- Technique transition (if possible)
- Escape to Up/Down, Top
- Submission (if possible)
- Technique submission (if possible)
Available Defense
- Strike defense high
- Strike defense low
- Grapple block
- Transition reversal
Open Guard, Bottom
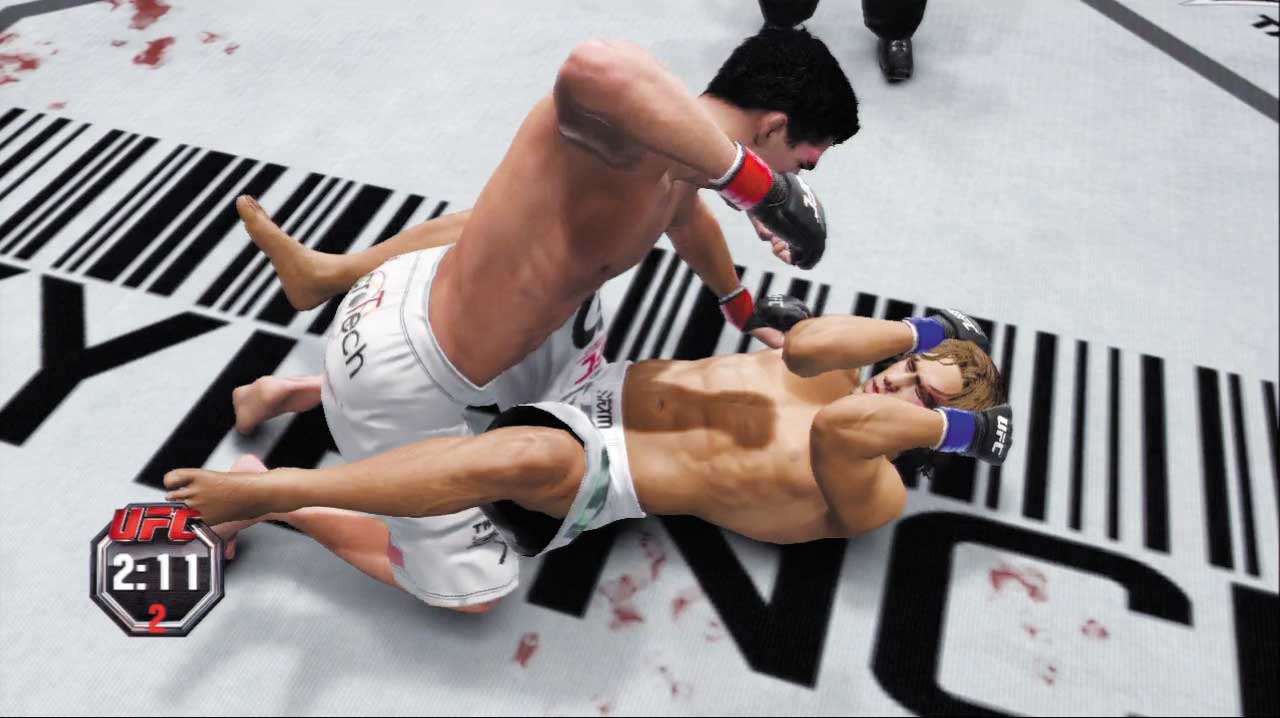
Though disadvantaged, the bottom fighter isn’t completely helpless in this ground position.
Striking isn’t advisable (and never is from the bottom), but gifted grapplers may wish to try for a submission off their back if the top opponent begins to tire.
Or, if your fighter has the talent, perform a technique transition to instantly sweep the opponent and steal top position!
Attaining the Position
- You end up in this position after failing to stuff certain takedowns.
- You end up in this position when the opponent transitions to Open Guard, Top.
Available Strikes
- Quick strikes
- Quick strikes to body
- Quick strikes to legs
- Technique strikes (if possible)
Available Transitions
- Minor transition to Open Guard Clinch, Bottom
- Transition to Up/Down, Bottom (if possible)
- Technique transition (if possible)
- Cage transition to Open Guard Cage, Bottom
- Strike catch to Open Guard Clinch, Bottom
- Strike catch submission (if possible)
Available Defense
- Strike defense high
- Strike defense low
- Ground sway
- Grapple block
- Transition reversal
Open Guard Rocked, Top
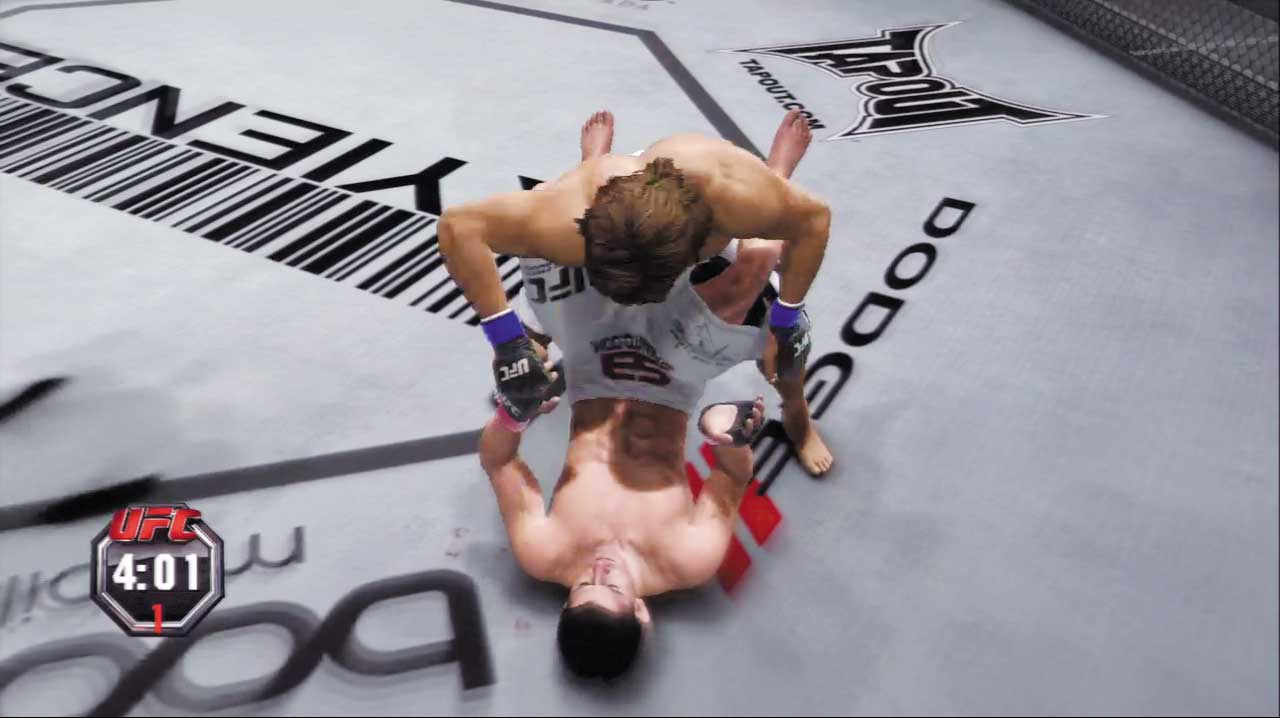
Waste no time when you’ve rocked your opponent in Open Guard—quickly follow up with more punishing strikes in hopes of scoring a TKO victory.
Or take the opportunity to quickly pass your rocked foe’s guard—a minor transition will move you all the way into Side Control instead of Half Guard, putting you much closer to the Mount.
Submissions are also available, and you’ll find them much easier to finish than when your opponent has his wits about him.
Attaining the Position
- You may end up in this position after rocking the fighter and following him to the ground.
Available Strikes
- Strong strikes
Available Transitions
- Minor transition to Side Control Rocked, Top
- Escape to Up/Down, Top
- Submission
- Technique submission (if possible)
Open Guard Rocked, Bottom
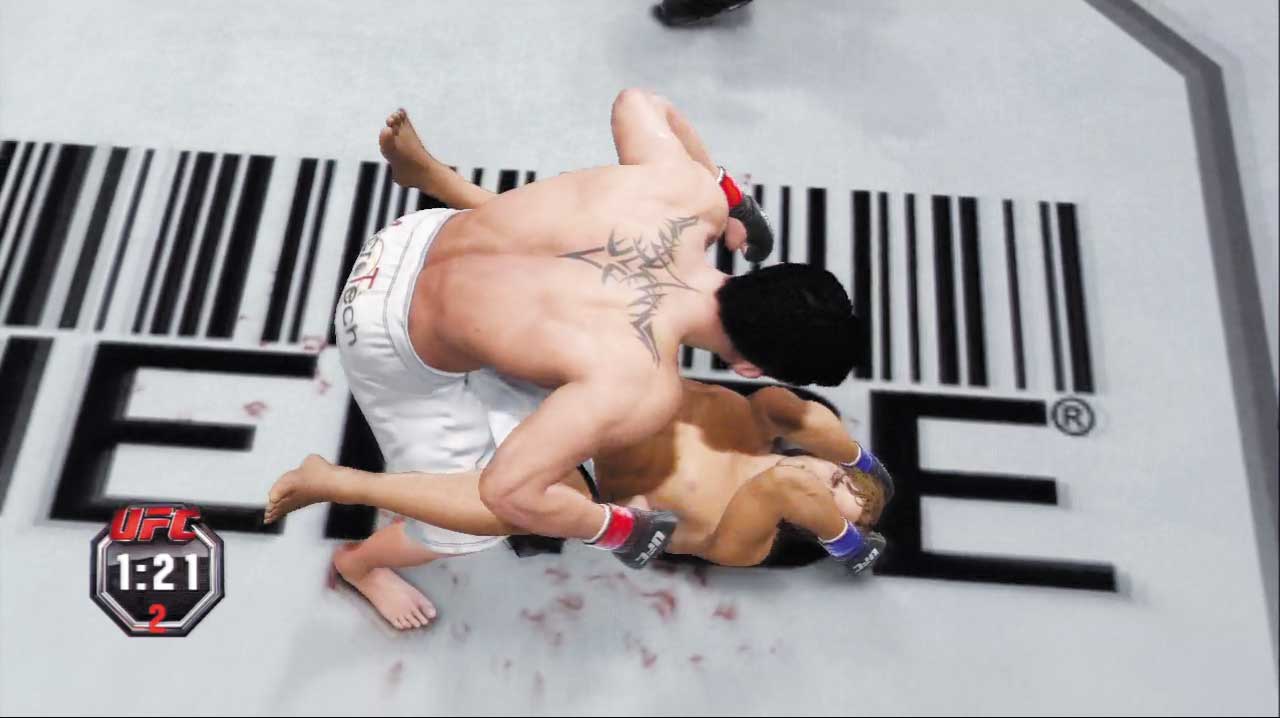
You’re dangerously close to being finished when you’re rocked, so you’ve got to play defense.
If the opponent is striking, block and attempt a daring strike catch to safely transition into the Open Guard Clinch, Bottom position, thereby giving yourself time to recover.
If the opponent is looking to pass your guard, strive to block their transitions and see if you can turn the tables with a well-timed transition reversal that suddenly places you in Open Guard, Top.
Attaining the Position
- You end up in this position when the opponent transitions to the Open Guard Rocked, Top position.
Available Transitions
- Strike catch to Open Guard Clinch, Bottom
Available Defense
- Strike defense high
- Grapple block
- Transition reversal
Open Guard Clinch, Top
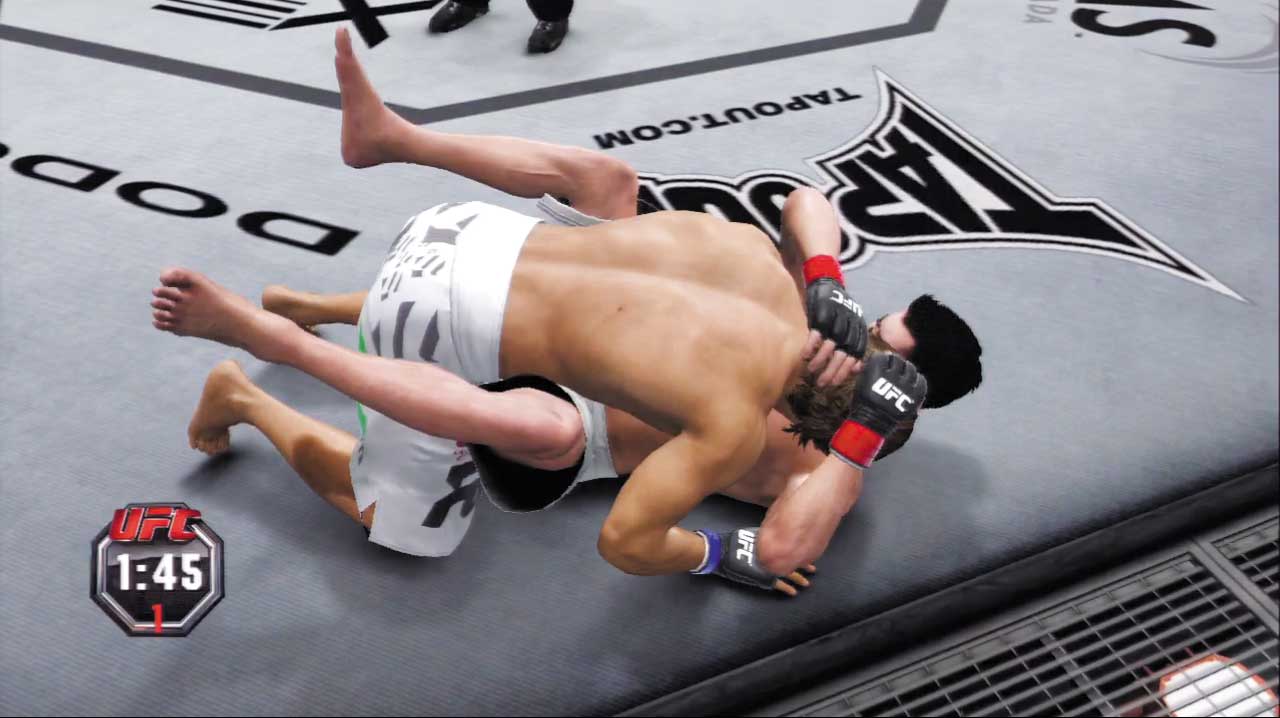
Though your grappling prowess may impress the judges when you hang out in the Open Guard Clinch, relatively little offense can be unleashed from this restrictive position—you’ve no submission options, and only quick strikes are available.
Hurry and perform a minor transition to break free of your opponent’s grip and move to Open Guard, or execute a major transition to remain in a ground clinch but advance to Half Guard Clinch.
If you delay for too long, the referee may step in and separate you from your opponent, returning you both to a neutral standing position.
Attaining the Position
- You end up in this position after certain takedowns.
- You end up in this position when the opponent transitions to Open Guard, Bottom.
Available Strikes
- Quick strikes
- Quick strikes to body
Available Transitions
- Minor transition to Open Guard, Top
- Major transition to Half Guard Clinch, Top
- Technique transition (if possible)
- Escape to Up/Down, Top
Available Defense
- Grapple block
- Transition reversal
Open Guard Clinch, Bottom
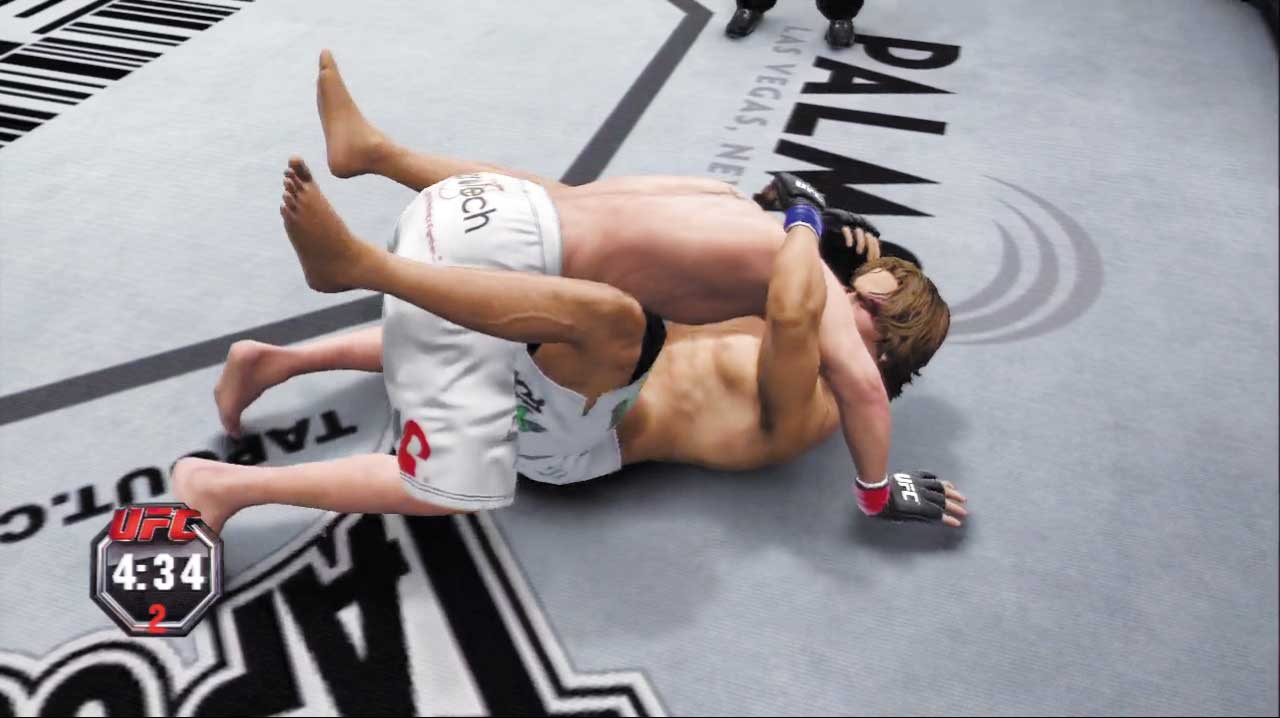
This is the best ground position that the bottom fighter can hope for.
Submissions can be attempted at will from this position, or if you prefer to fight on your feet, you’re just one minor transition away from kicking your opponent off of you.
You’re even able to move around on your back in this position—do so to angle yourself toward or away from the cage, which can be used to help you escape from the ground.
The top opponent can still score points with quick strikes here, but he’ll be unable to land strong strikes or attempt any submissions without improving his position.
Striking isn’t advisable from here, but gifted grapplers may wish to try for a submission off their back if the top opponent is working hard and begins to gas.
Attaining the Position
- You end up in this position after failing to stuff certain takedowns.
- You end up in this position when the opponent transitions to Open Guard Clinch, Top.
Available Strikes
- Quick strikes
- Quick strikes to legs
Available Transitions
- Minor transition to Up/Down, Bottom
- Cage transition to Open Guard Cage, Bottom
- Submission
- Technique submission
Available Defense
- Grapple block
- Transition reversal
Open Guard Cage, Top
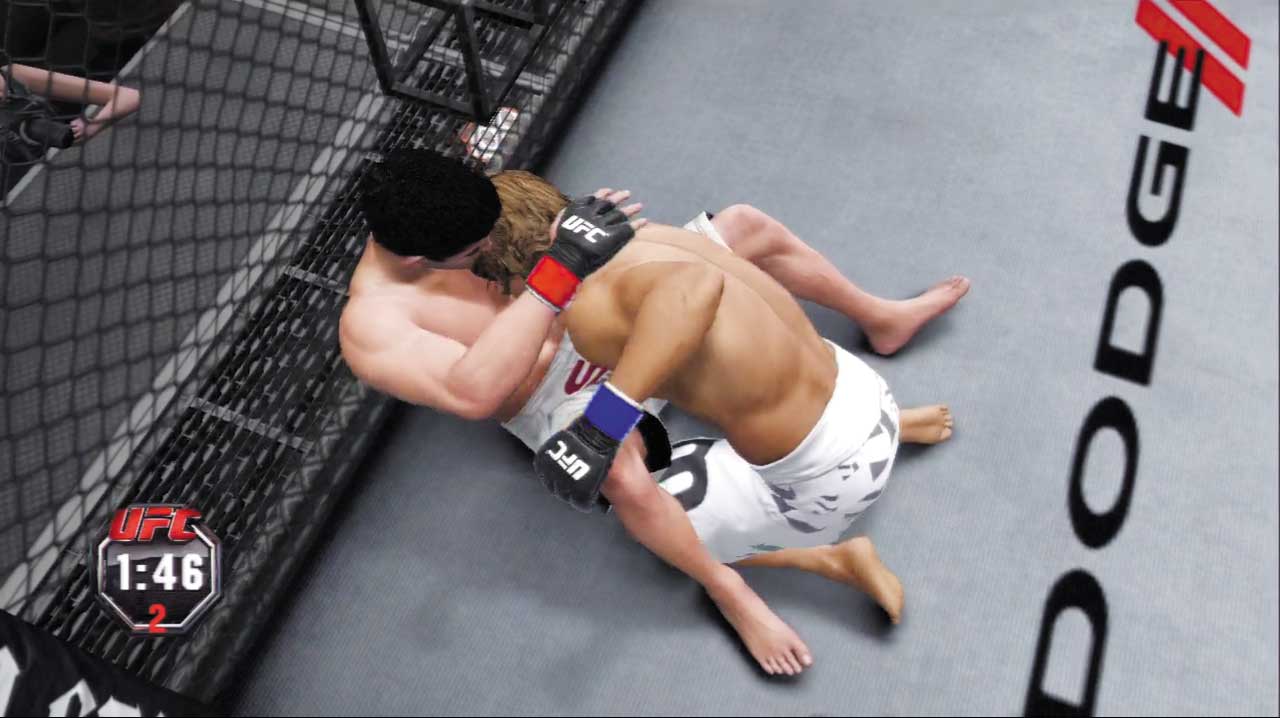
Your striking prowess is limited in this awkward top position, but submissions are still an option.
Don’t let the bottom opponent use the cage to stand back up—block transition attempts and look for a chance to pull them away from the cage and into Open Guard, where you have more offensive options.
Or pass to Half Guard Cage, Top so you can pull your adversary directly into Half Guard, Side Control, or even Mount (depending on your grappler’s ability).
Attaining the Position
- You end up in this position when the opponent transitions to the Open Guard Cage, Bottom position.
- You end up in this position when you score a takedown from the Double Leg Clinch Cage, Offense clinch.
Available Strikes
- Quick strikes
- Quick strikes to body
Available Transitions
- Minor transition to Open Guard, Top
- Major transition to Half Guard Cage, Top
- Escape to Up/Down, Top
- Submission (if possible)
Available Defense
- Grapple block
- Transition reversal
Open Guard Cage, Bottom
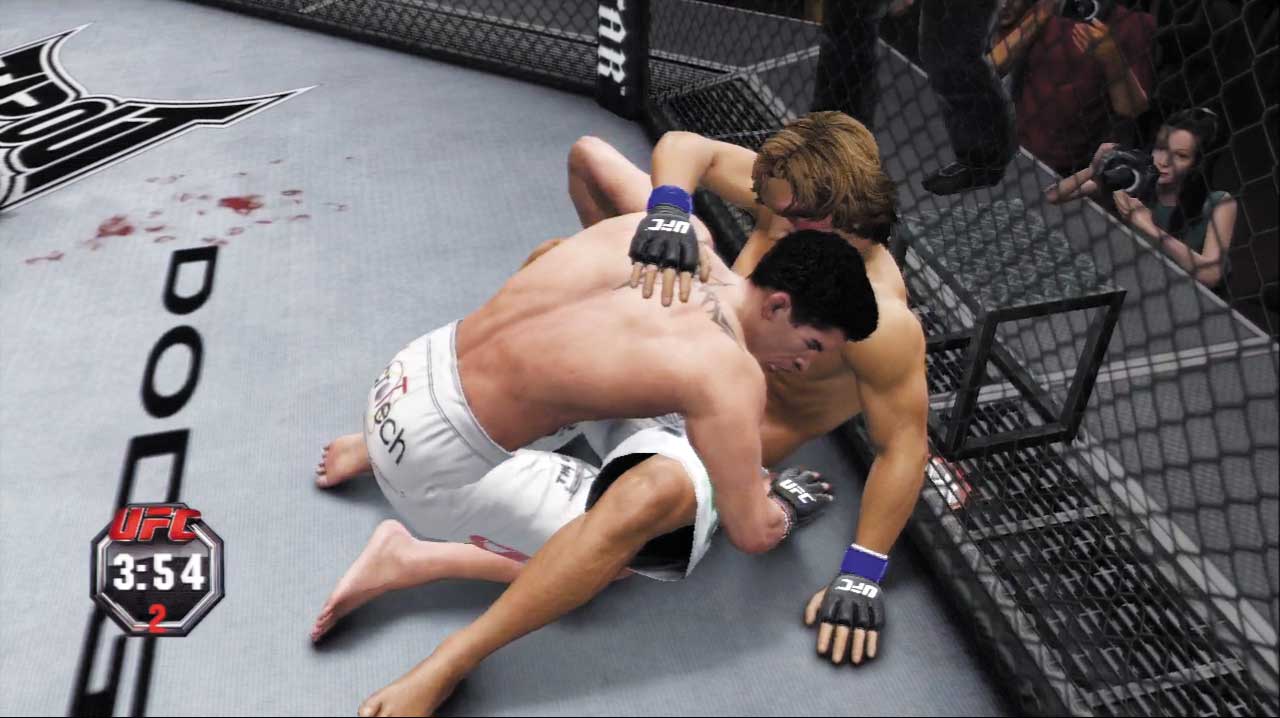
Though it’s not an ideal position, you could do a lot worse than being stuffed onto your butt against the cage.
In fact, you might even transition to this seated ground position from Open Guard—this lets you exploit the cage when attempting to transition up to your feet.
Perform a major transition to return to a standing position from here, or hit a minor transition to creep up the cage and enter the Over/Under Hook Cage, Defense clinch.
Or, if you’re feeling aggressive and your fighter has the ability, try locking in a surprise submission!
Attaining the Position
- You end up in this position when the opponent moves to the Open Guard Cage, Top position (via a takedown from Double Leg Clinch Cage, Offense).
- Execute a minor transition from Open Guard, Bottom or Open Guard Clinch, Bottom (when your head is near the cage).
Available Strikes
- Quick strikes
- Quick strikes to body
- Technique strikes (if possible)
Available Transitions
- Minor transition to Over/Under Hook Cage, Defense
- Major transition to Both Standing, Striking Range
- Submission (if possible)
Available Defense
- Grapple block
- Transition reversal
Rubber Guard, Top
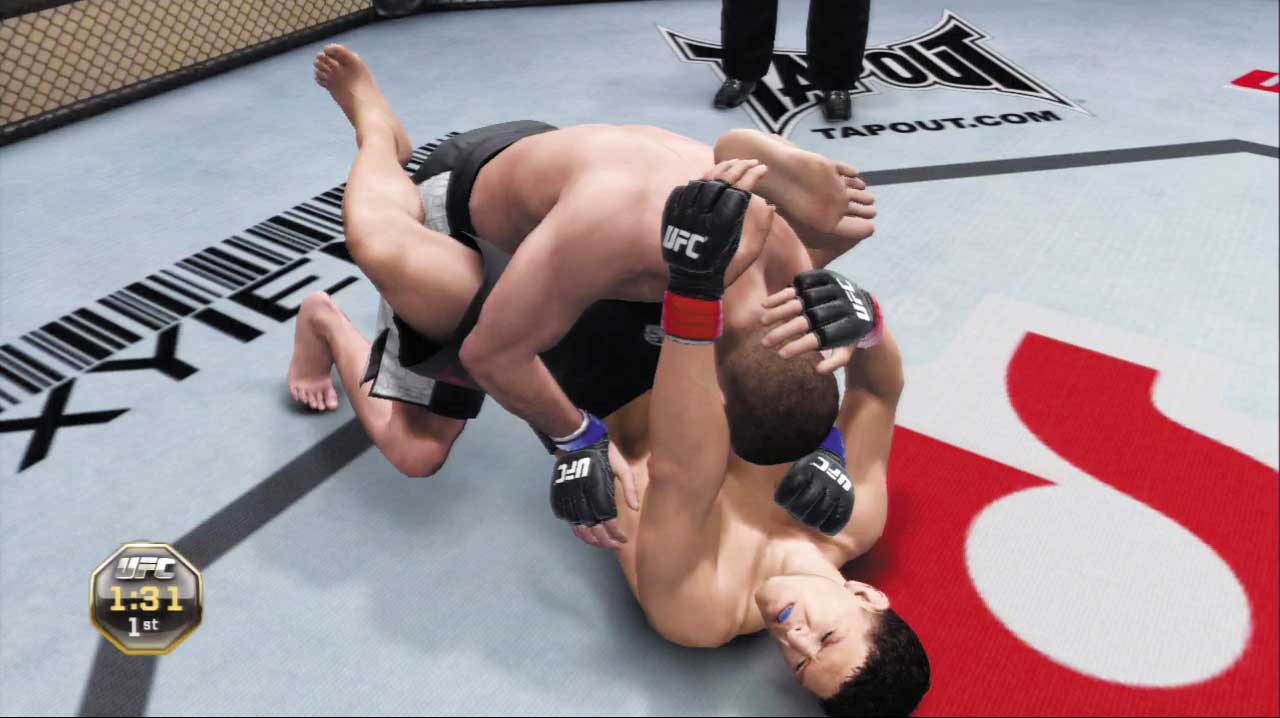
Rubber Guard is both an offensive and an improved defensive position for the bottom grappler, so from the top position transition out of this as fast as possible.
The top grappler’s strikes become shorter, as the high leg prevents you from posturing up and dropping heavy blows.
You are very vulnerable to submissions as well, as this may be how some submission artists work their way up to lock in a triangle choke.
Attaining the Position
- When the opponent transitions from Open Guard Clinch, Bottom
Available Strikes
- Weak Strikes
- Weak Strikes to Body
Available Transitions
- Minor Transition to Open Guard, Top
- Major Transition to Half Guard Clinch, Top
Available Defense
- Grapple Block
- Transition Reversal
Rubber Guard, Bottom
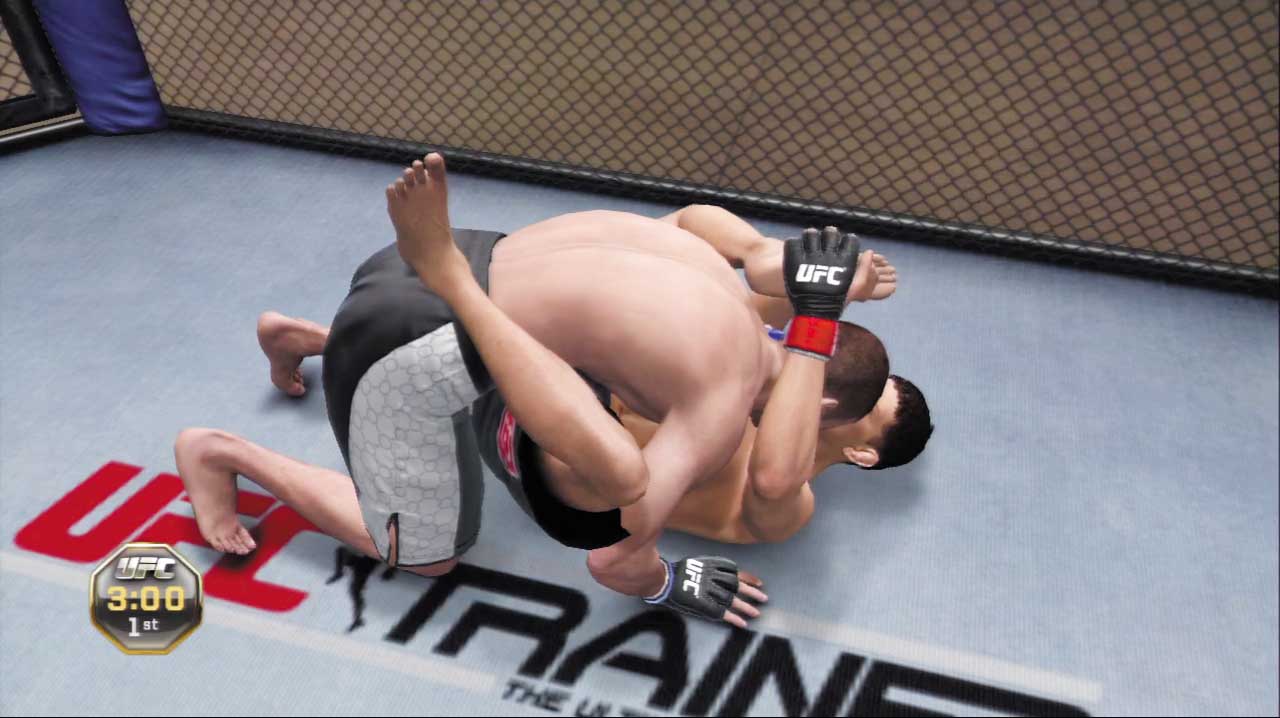
From the Open Guard Clinch, seasoned grapplers may try to utilize the rubber guard to prevent their opponent from passing the guard to the mount, or to set up a submission attempt or sweep.
Most fighters will have a Direct Catch Technique Submission like a Triangle or a Gogoplata from this position, but it’s also a good way to sweep right to the mount.
The top fighter will have to posture up out of this position or pass into your clinch in order to do anything of consequence. His strikes will become weak and you can also hit him with a left hook.
Attaining the Position
- Technique Transition from Open Guard Clinch, Bottom
Available Strikes
- Weak Strikes
Available Transitions
- Transition to Up/Down, Bottom
- Technique Sweep Transition to Mount, Top
- Submission (if possible)
- Technique Submission (if possible)
Available Defense
- Grapple Block
- Transition Reversal
Half Guard, Top
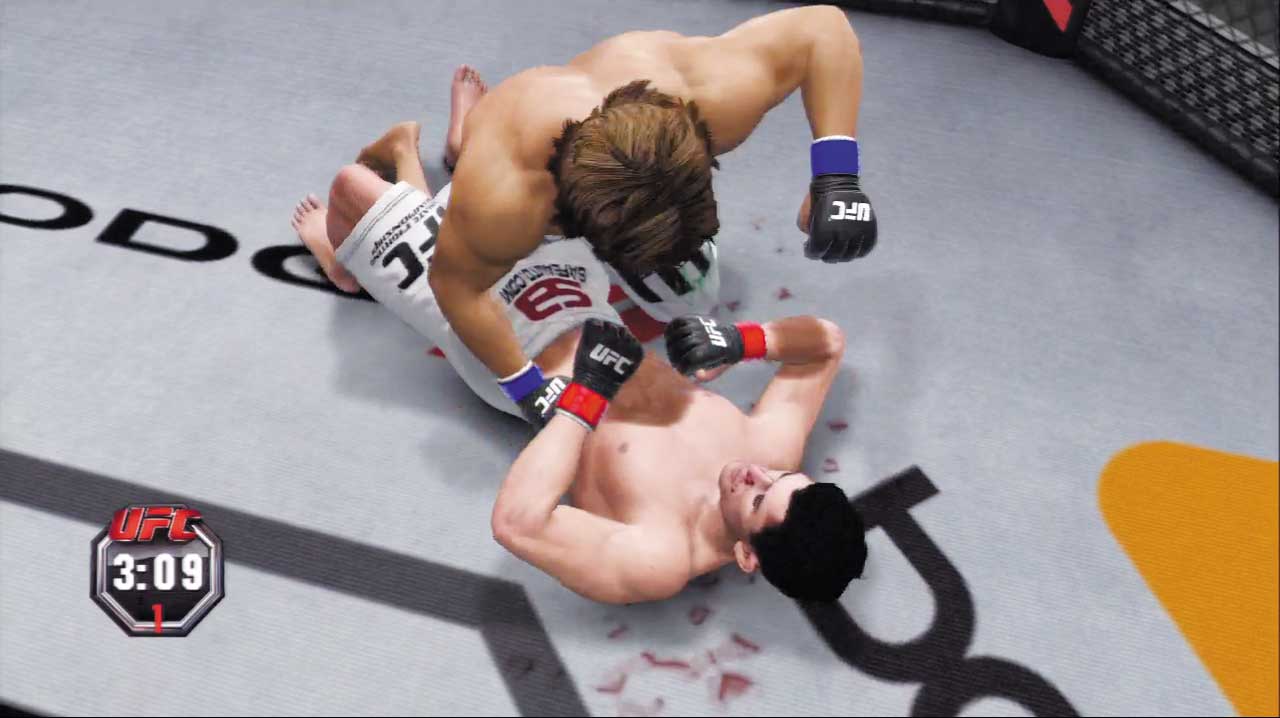
Half Guard is a more dominant ground position than Open Guard, allowing for more powerful strikes and submissions to be unleashed by the top fighter.
The bottom fighter is still able to defend by blocking and swaying, but their offensive options are significantly reduced as no submissions are available.
Many ground-and-pound specialists are happy to remain in Half Guard, posturing up into sub position to rain down punishment with little fear of counterattack.
Attaining the Position
- You end up in this position after certain takedowns.
- Execute a minor transition from Open Guard, Top.
- Execute a minor transition from Half Guard Cage, Top.
- You end up in this position when the opponent transitions to Half Guard, Bottom.
Available Strikes
- Quick strikes
- Quick strikes to body
- Strong strikes
- Strong strikes to body
- Technique strikes (if possible)
Available Transitions
- Minor transition to Side Control, Top
- Escape to Up/Down, Top
- Submission (if possible)
Available Defense
- Strike defense high
- Strike defense low
- Grapple block
- Transition reversal
Half Guard, Bottom
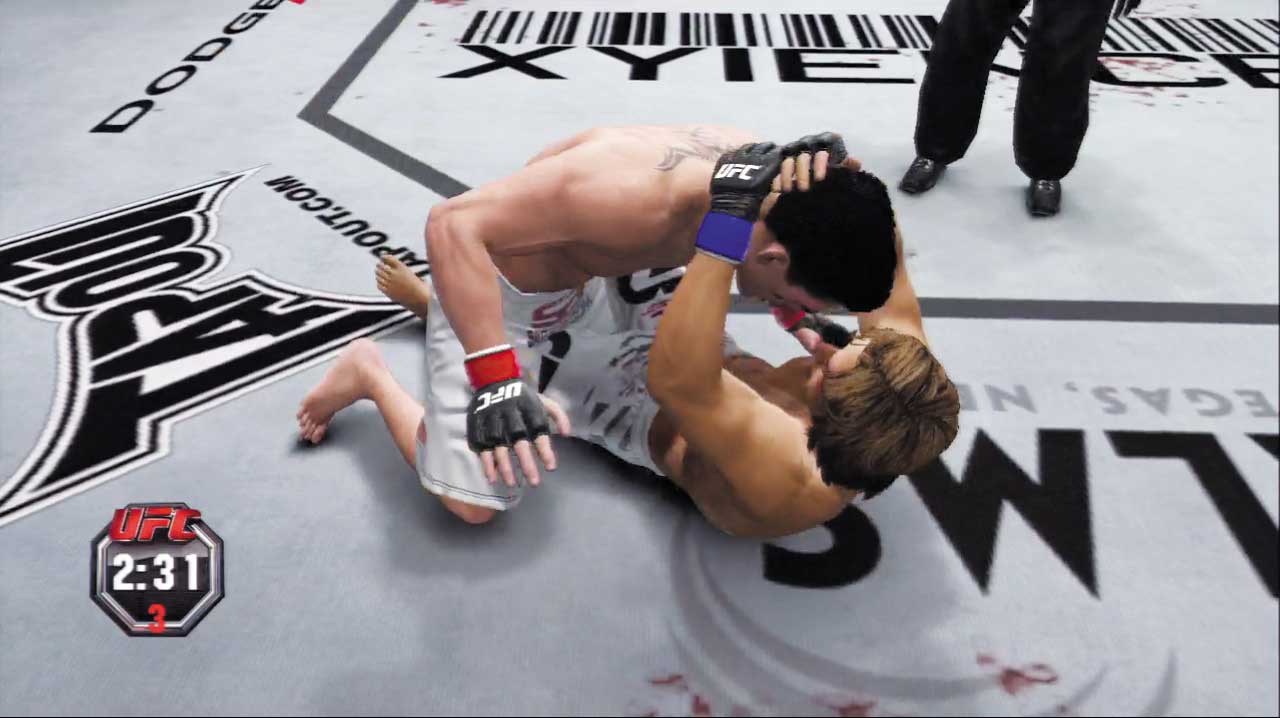
This dangerous ground position gives you few offensive options.
Focus on defending against the opponent’s powerful strikes and submissions, and look to improve your position by tying your opponent up in a restrictive ground clinch, or by returning to Open Guard so you can try to stand up.
If your fighter is a skilled grappler, you may even be able to perform a technique transition and flip your opponent onto his back!
Attaining the Position
- You end up in this position after failing to stuff certain takedowns.
- You end up in this position when the opponent transitions to the Half Guard, Top position.
- Execute a minor transition from Side Control, Bottom.
Available Strikes
- Quick strikes
- Quick strikes to body
- Quick strikes to leg
- Technique strikes (if possible)
Available Transitions
- Minor transition to Half Guard Clinch, Bottom
- Technique transition (if possible)
- Cage transition to Half Guard Cage, Bottom
- Strike catch to Half Guard Clinch, Bottom
Available Defense
- Strike defense high
- Strike defense low
- Ground sway
- Grapple block
- Transition reversal
Half Guard Rocked, Top
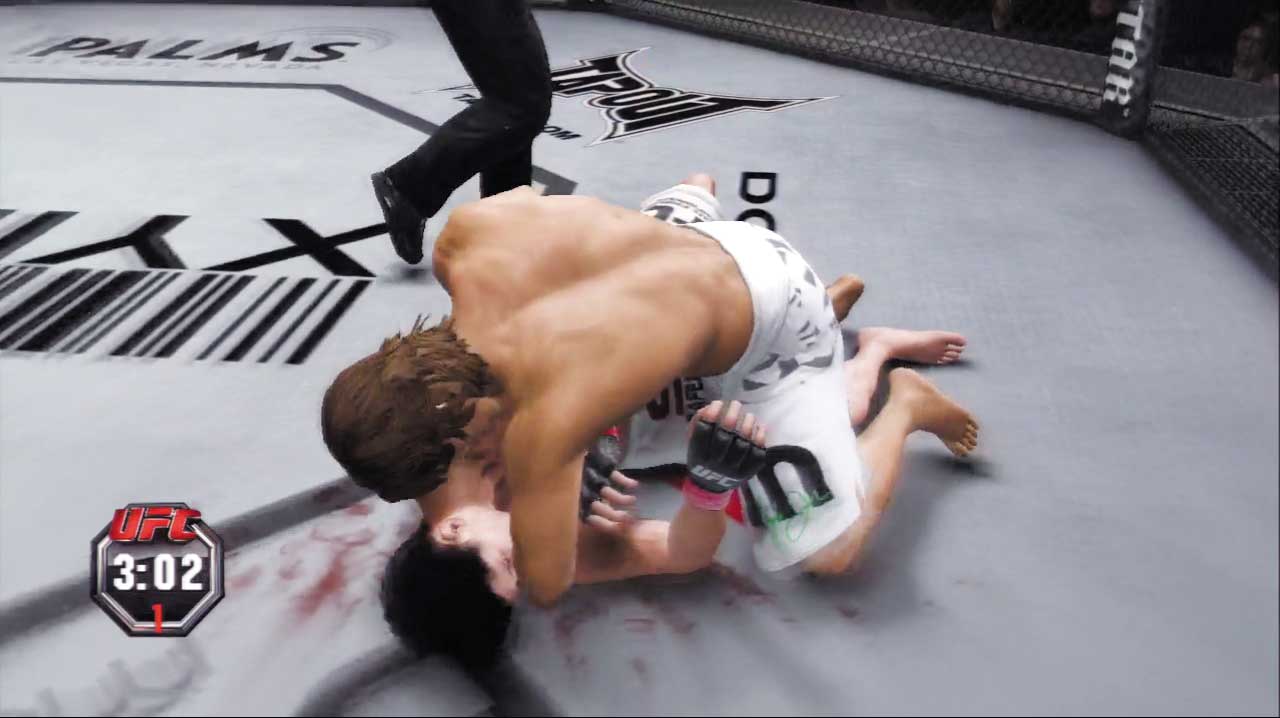
This position is similar to the Open Guard Rocked, Top position—quickly bring the pain with punishing strikes in hopes of scoring a TKO victory. Depending on your fighter’s abilities, devastating technique strikes may be available from here, which can quickly end the fight.
Of course, you can also try to pass your rocked foe’s guard—a major transition will move you all the way into Mount from here. Submissions (and possibly technique submissions) are also there to slap on, and your dazed opponent will have difficulty fending them off.
Attaining the Position
- You may end up in this position after rocking the fighter and following him to the ground.
Available Strikes
- Strong strikes
- Technique strikes (if possible)
Available Transitions
- Minor transition to Side Control Rocked, Top
- Major transition to Mount Rocked, Top
- Escape to Up/Down, Top
- Submission
- Technique submission (if possible)
Half Guard Rocked, Bottom
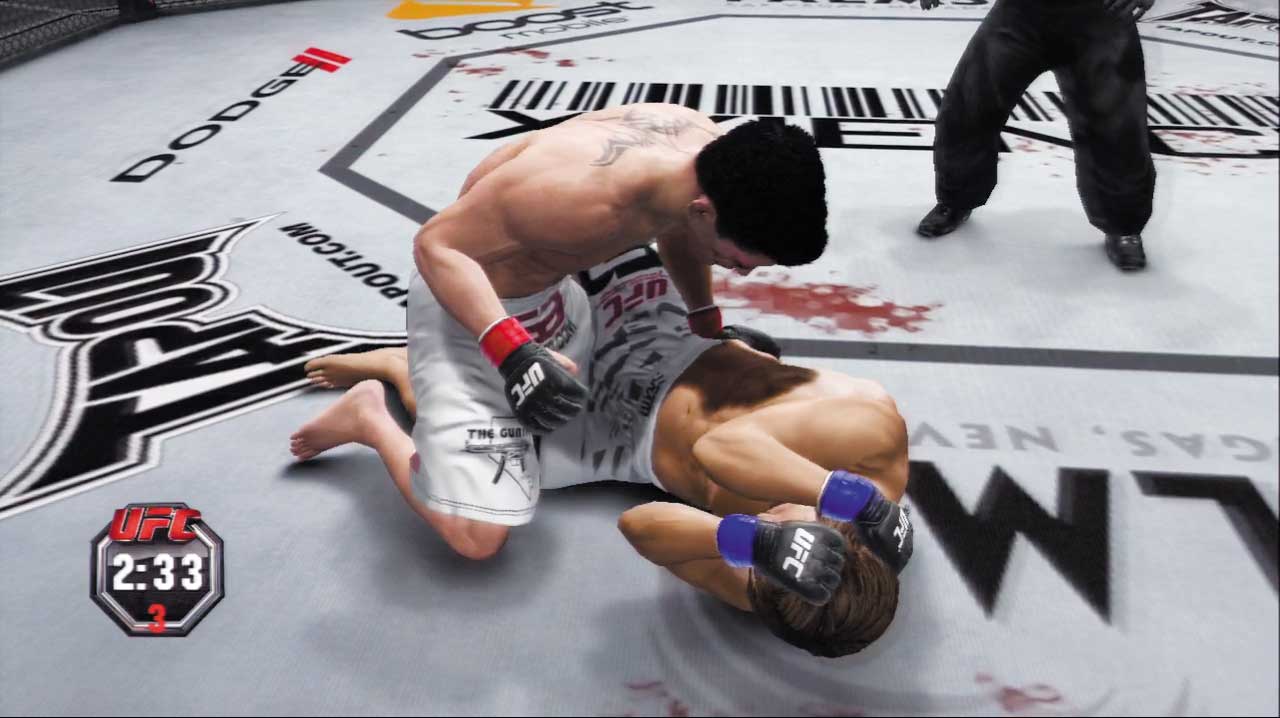
This is another extremely dangerous ground position where you’re literally moments away from being finished.
As with the Open Guard Rocked, Bottom position, focus on blocking the opponent’s strikes, and look for a chance to escape immediate danger with a strike catch.
Opponents can also transition directly into Mount from here, so it’s equally important to prevent their transitions.
If you’re feeling really daring, a well-timed transition reversal can flip the opponent over and put you on top in a dramatic twist of fate!
Attaining the Position
- You end up in this position when the opponent transitions to the Half Guard Rocked, Top position.
Available Transitions
- Strike catch to Half Guard Clinch, Bottom
Available Defense
- Strike defense high
- Grapple block
- Transition reversal
Half Guard Clinch, Top
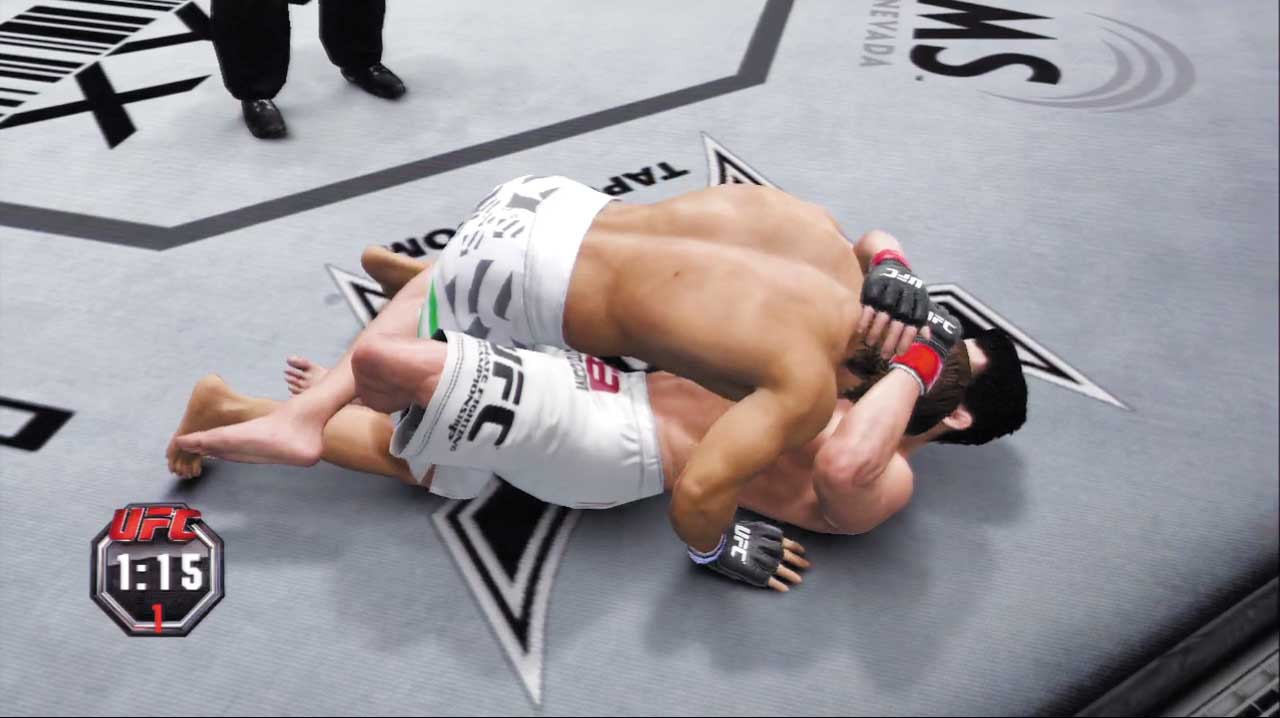
While many ground-and-pound fighters enjoy battling in Half Guard, the Half Guard Clinch is not the ideal position for the top man.
Striking options are limited here, and you must constantly beware of the bottom opponent’s ability to attempt submissions and sweeps at will.
Break free of the opponent’s ground clinch by performing a minor transition that puts you back into Half Guard, then posture up into a dangerous sub position and bring the pain.
Or slip straight into a more dominant position with a major transition and set up even more effective offense from the top.
Attaining the Position
- You end up in this position after certain takedowns.
- Execute a major transition from Open Guard Clinch, Top.
- Execute a minor transition from Half Guard Cage, Top.
- You end up in this position when the opponent transitions to Half Guard, Bottom.
Available Strikes
- Quick strikes
- Quick strikes to body
Available Transitions
- Minor transition to Half Guard, Top
- Major transition to Mount Clinch, Top
- Submission (if possible)
- Escape to Up/Down, Top
Available Defense
- Grapple block
- Transition reversal
Half Guard Clinch, Bottom
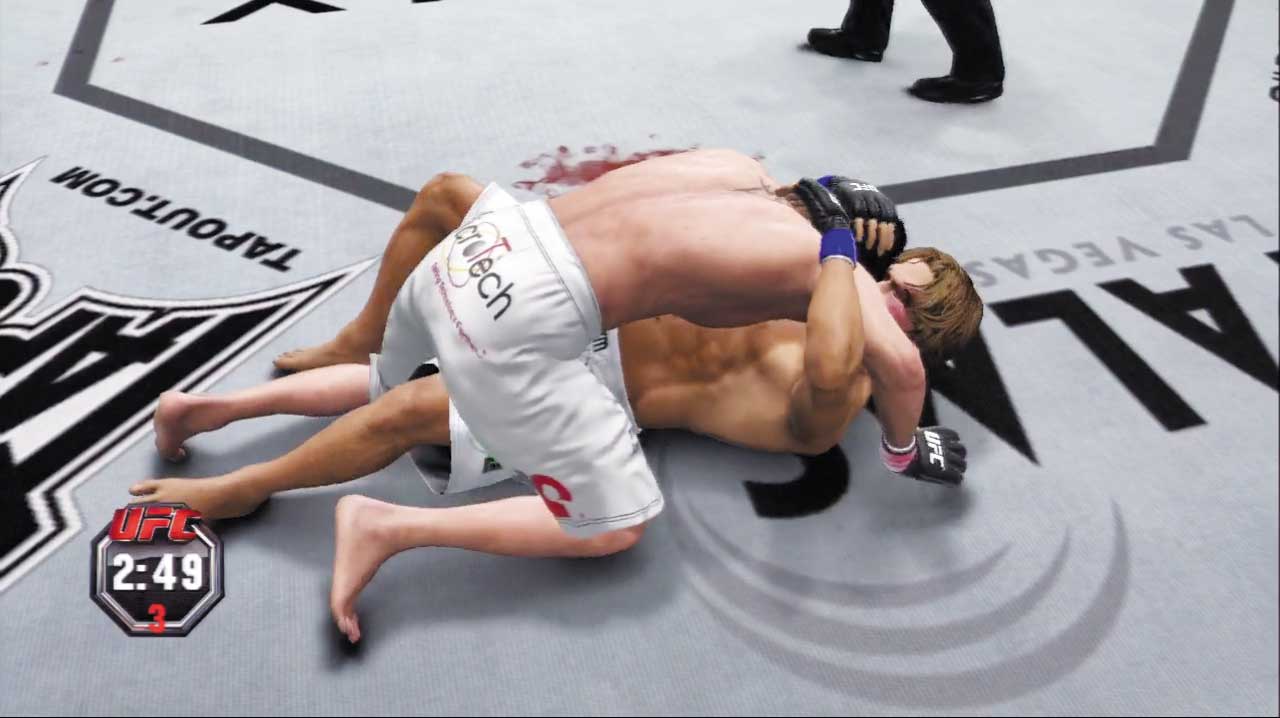
This is the second-best ground clinch that the bottom fighter can hope for next to the Open Guard Clinch.
The top opponent can’t posture up into sub position while being held so close, which drastically limits their offense and prevents them from throwing any strong strikes.
The top opponent can still attempt submissions, however, so be ready to block the attempts as you look to improve.
Attaining the Position
- You end up in this position after failing to stuff certain takedowns.
- Execute a minor transition from Mount Clinch, Bottom.
- You end up in this position when the opponent transitions to Half Guard Clinch, Top.
Available Strikes
- Quick strikes
- Quick strikes to legs
Available Transitions
- Minor transition to Open Guard Clinch, Bottom
- Cage transition to Half Guard Cage, Bottom
- Submission (if possible)
- Technique transition (if possible)
Available Defense
- Grapple block
- Transition reversal
Half Guard Cage, Top
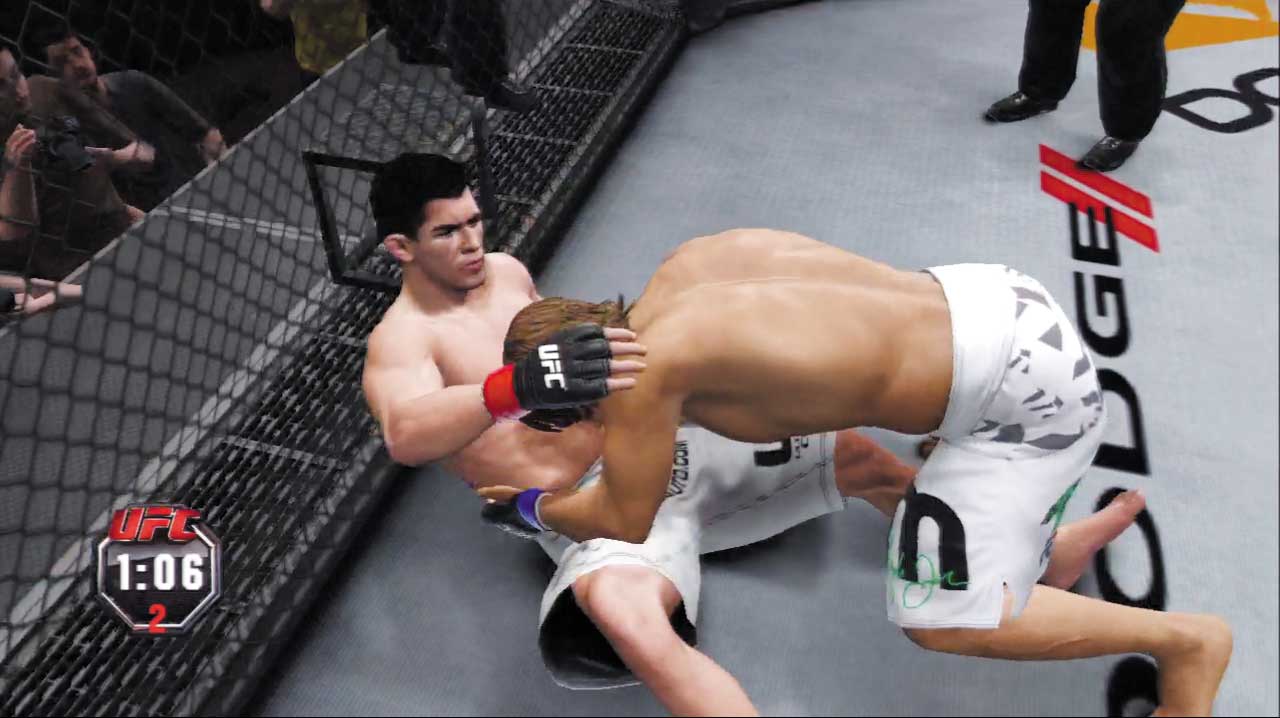
This unusual position is similar in many ways to the Half Guard Clinch, Top position.
As the top fighter, your striking options are limited, but you’re able to attempt submissions and dramatically improve your position with major transitions.
Performing a minor transition pulls the bottom opponent away from the cage, improving your position to Half Guard, from which you may posture up and bring down heavy blows.
Attaining the Position
- You end up in this position after failing to stuff certain takedowns against the cage.
- Execute a cage transition from Half Guard Clinch, Bottom.
- You end up in this position when the opponent transitions to Half Guard Cage, Top.
Available Strikes
- Quick strikes
- Quick strikes to body
Available Transitions
- Minor transition to Half Guard, Top
- Major transition to Side Control, Top (if possible)
- Major transition to Mount Clinch, Top (if possible)
- Submission (if possible)
- Escape to Up/Down, Top
Available Defense
- Grapple block
- Transition reversal
Half Guard Cage, Bottom
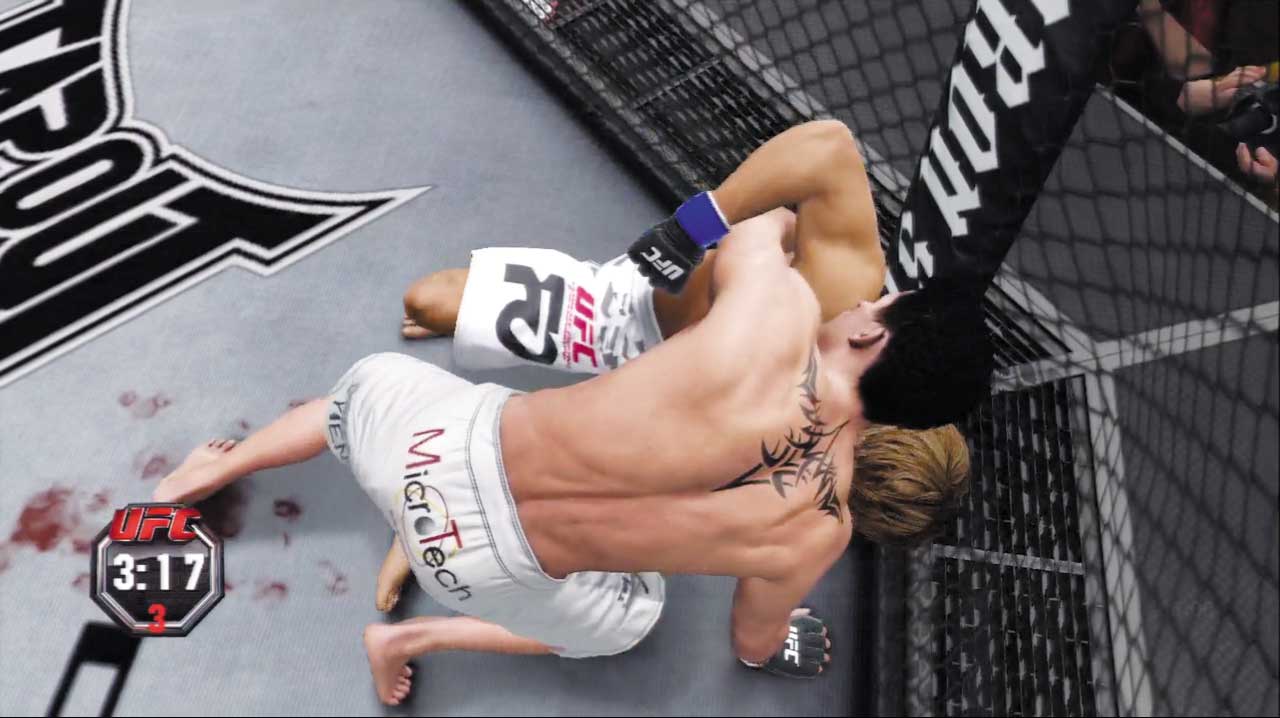
This position is a lot like the Half Guard Clinch, Bottom position—it limits the top opponent’s striking offense but allows them to threaten you with submissions.
Thanks to aid of the cage, you’re just one major transition away from breaking free and standing up from this seated position. Whenever possible, bottom fighters should look to use cage positions like this to quickly escape back up to their feet.
Attaining the Position
- You end up in this position after failing to stuff certain takedowns against the cage.
- Execute a cage transition from Half Guard Clinch, Bottom.
- You end up in this position when the opponent transitions to Half Guard Cage, Top.
Available Strikes
- Quick strikes
- Quick strikes to body
Available Transitions
- Minor transition to Over/Under Hook Cage, Defense
- Major transition to Both Standing, Striking Range
- Submission (if possible)
Available Defense
- Grapple block
- Transition reversal
Butterfly Guard, Top
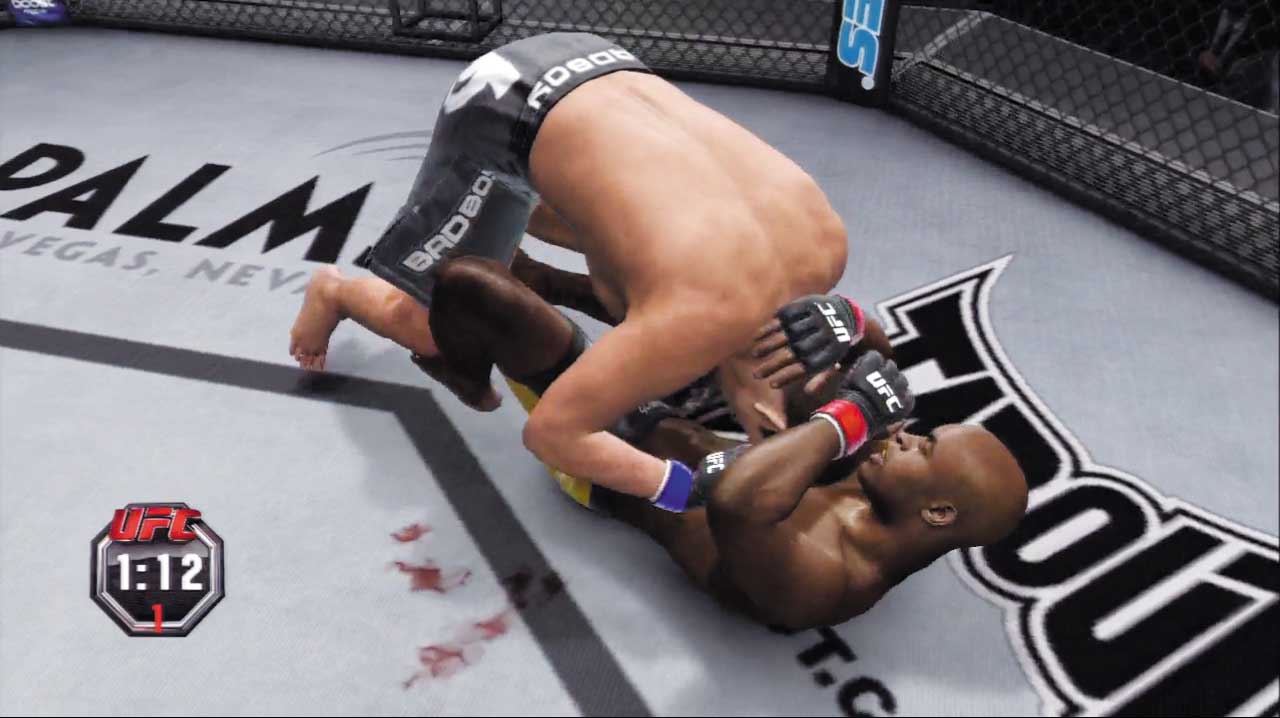
This uncommon position is only available when the bottom opponent knows how to utilize Butterfly Guard—a high-level defensive ground position that can only be accessed by way of technique transition from the bottom.
You cannot posture up into sub position from here, which prevents you from unleashing strong strikes from the top. In addition, the bottom opponent has access to dangerous submissions that they can attempt at will.
Either escape back up to the striking game, or look to improve your position to one that allows for more offense from the top.
Attaining the Position
- You end up in this position when the opponent transitions to Butterfly Guard, Bottom.
Available Strikes
- Quick strikes
- Quick strikes to body
Available Transitions
- Minor transition to Open Guard, Top
- Major transition to Half Guard Clinch, Top
- Technique transition (if possible)
- Escape to Up/Down, Top
Available Defense
- Grapple block
- Transition reversal
Butterfly Guard, Bottom
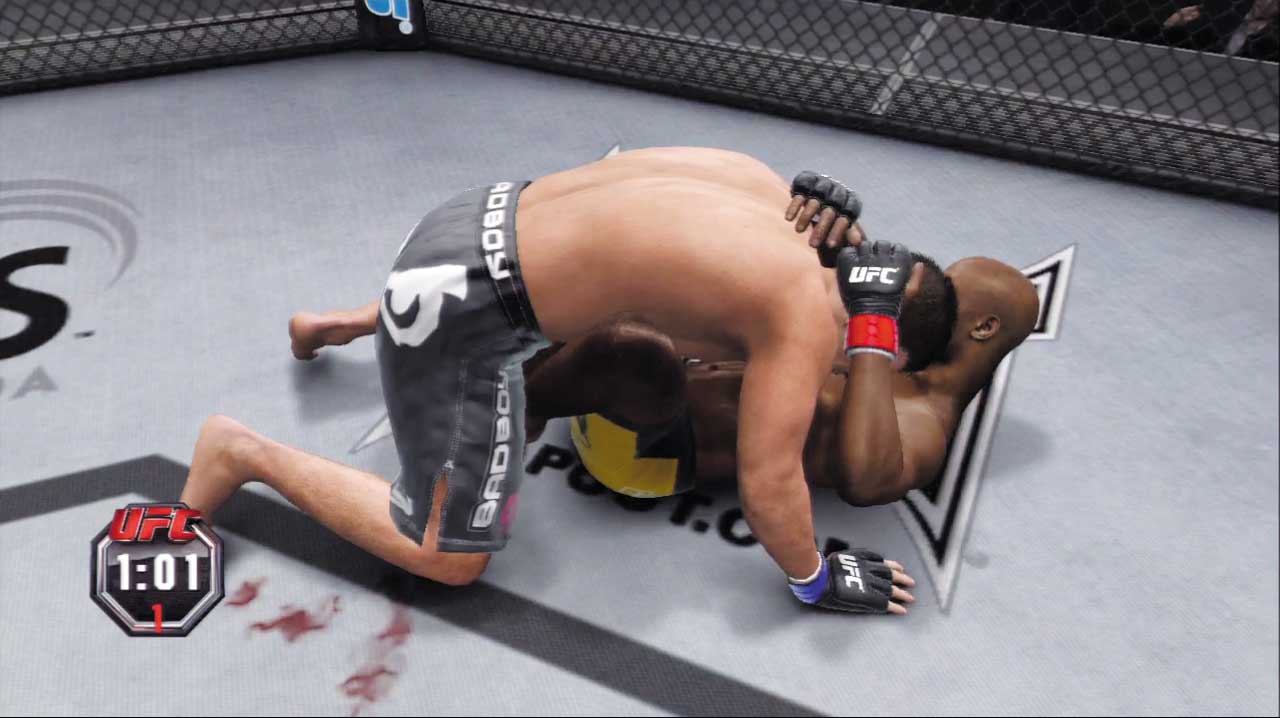
This advanced position allows for good defense and control over the top opponent—however, it can only be attained by fighters who are capable of performing technique transitions into Butterfly Guard from the bottom.
The top opponent has very limited offense here, but he may potentially transition to a far more dominant position if you’re careless not to defend.
Block the top opponent’s transition attempts as you look to set up a submission from the bottom, or simply kick the opponent away and return to your feet.
Attaining the Position
- Execute a technique transition from certain bottom positions on the ground.
Available Strikes
- Quick strikes
- Quick strikes to body
Available Transitions
- Minor transition to Up/Down, Bottom
- Submission (if possible)
Available Defense
- Ground sway
- Grapple block
- Transition reversal
Mount, Top
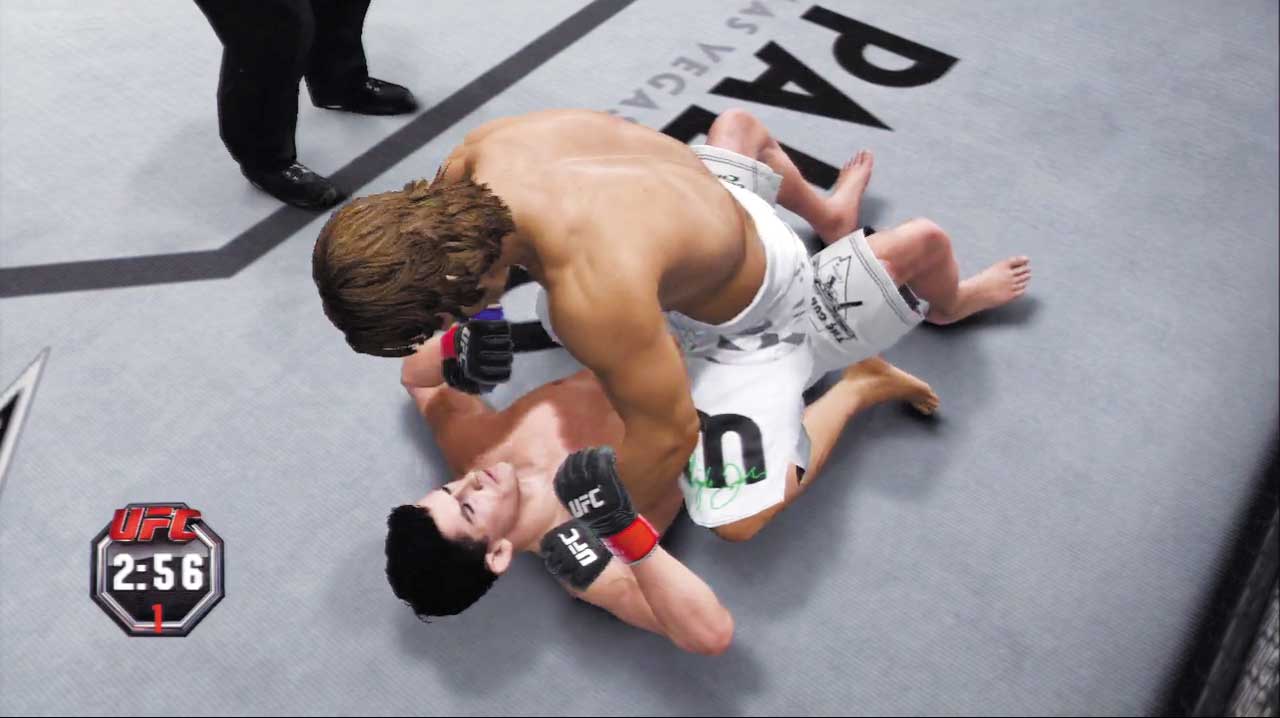
One of the most dominant ground positions for the top fighter, Mount gives you outstanding control over the bottom opponent and places him in severe jeopardy of being cut, KO’d, or submitted.
Work at passing the opponent’s guard until you achieve Mount, then posture up into sub position and bring down brutal strikes that can quickly rock the opponent or cut him badly, ending the fight.
Powerful submissions are another option from Mount, and they’re just as effective as strikes. Take full advantage once you’ve achieved this excellent position, and inflict as much pain and suffering as possible!
Attaining the Position
- Execute a minor transition from Mount Clinch, Top.
Available Strikes
- Quick strikes
- Quick strikes to body
- Strong strikes
- Strong strikes to body
- Technique strikes (if possible)
Available Transitions
- Technique transition (if possible)
- Submission (if possible)
- Escape to Up/Down, Top
Available Defense
- Strike defense high
- Strike defense low
- Grapple block
- Transition reversal
Mount, Bottom
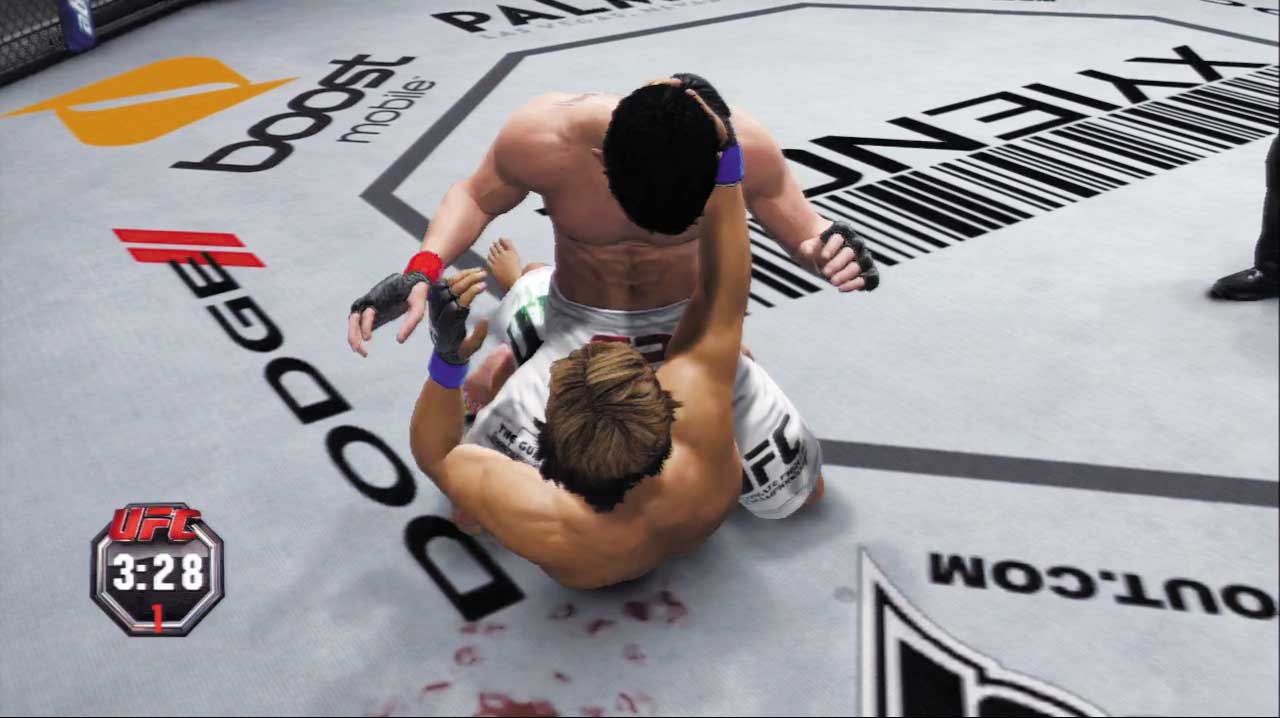
You’re in grave danger when the top opponent achieves Mount. If your fighter is able, look to dramatically improve your position with a technique transition—you may even be able to roll the opponent over onto his back, suddenly gaining top position!
Another option is to pull off a major transition and “give up your back” by rolling over into the Back Mount, Bottom position—while this is an equally disastrous position, it allows you to perform a major transition out to standing.
If your fighter doesn’t know such advanced moves, a minor transition or strike catch will pull the top opponent into a restrictive Mount Clinch, limiting their striking offense and giving you a chance to catch your breath and improve.
Attaining the Position
- You end up in this position when the opponent transitions to Mount, Top.
Available Strikes
- Quick strikes
- Quick strikes to body
- Technique strikes (if possible)
Available Transitions
- Minor transition to Mount Clinch, Bottom
- Major transition to Back Mount, Bottom (if possible)
- Strike catch to Mount Clinch, Bottom (if possible)
- Technique transition (if possible)
Available Defense
- Strike defense high
- Strike defense low
- Ground sway
- Grapple block
- Transition reversal
Mount Rocked, Top
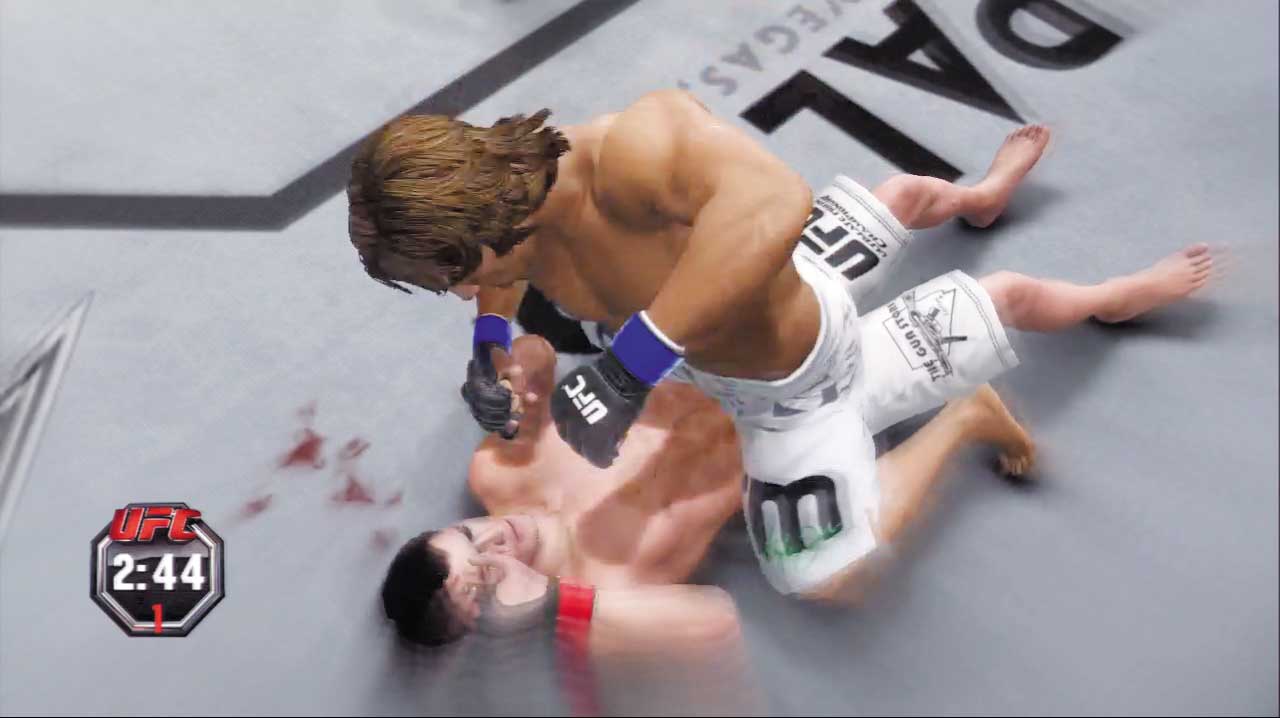
The fight is all but over once you’ve achieved Mount on a rocked opponent. Quickly finish your dazed adversary with a relentless barrage of strong or technique strikes from the top, or lock in a tight submission that should be short work to finish!
Attaining the Position
- Rock the opponent with strikes from the Mount, Top position.
- Transition to Mount while the opponent is rocked.
Available Strikes
- Strong strikes
- Technique strikes (if possible)
Available Transitions
- Submission (if possible)
- Escape to Up/Down, Top
Mount Rocked, Bottom
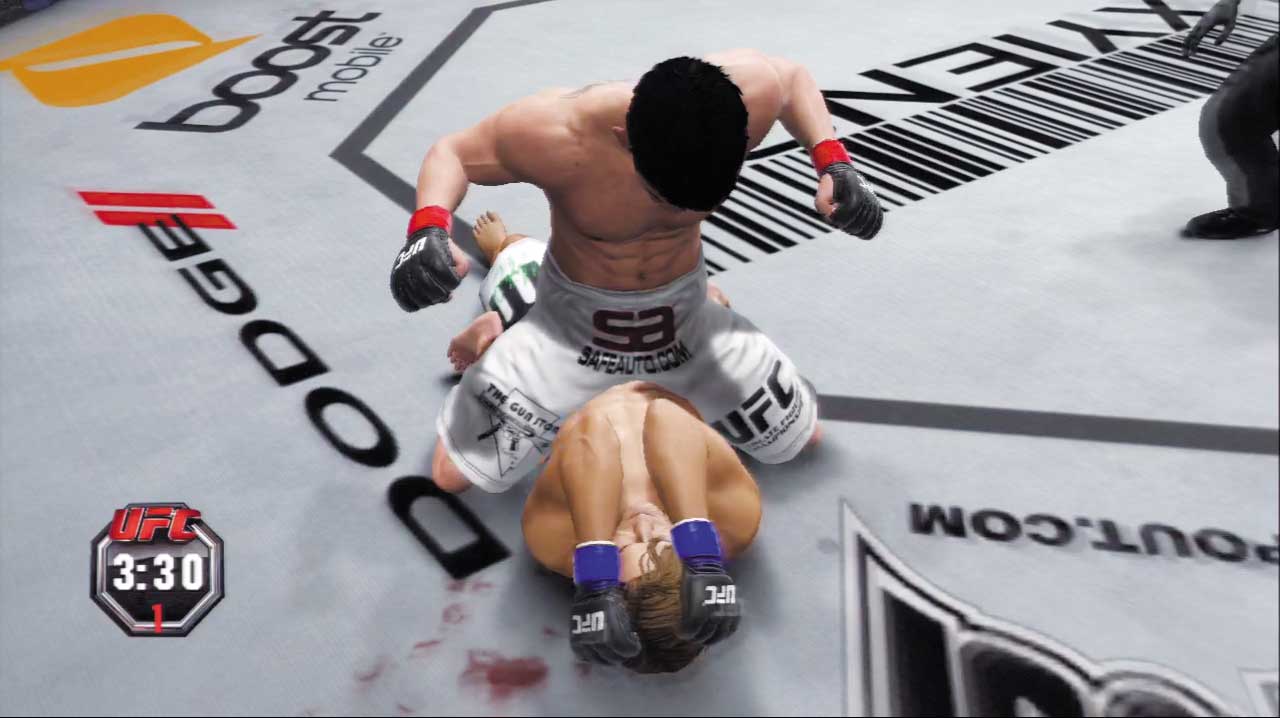
You’ve been mounted and rocked—not good! If you suspect strikes are inbound, either cover up and block or try to pull off a strike catch that pulls the opponent into a close ground clinch, thereby giving you time to recover.
If you think the opponent may try for a submission, hold the Clinch/Grapple stick away from them and block those subs!
Attaining the Position
- You end up in this position when the opponent transitions to Mount Rocked, Top.
Available Transitions
- Strike catch to Mount Clinch, Bottom
Available Defense
- Strike defense high
- Grapple block
Mount Clinch, Top
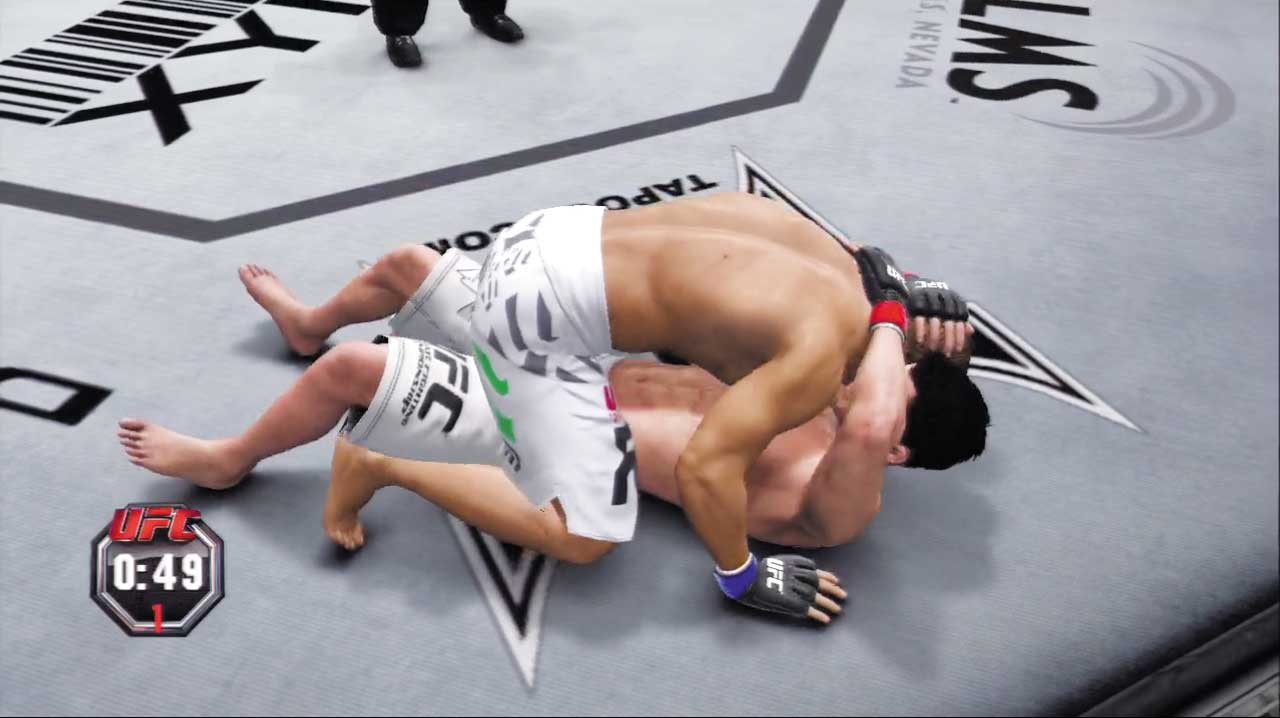
Your striking ability is limited in the Mount Clinch, reducing your offensive options. Execute a minor transition up to Mount so you can posture up into sub position and unleash some devastating blows or submissions.
Attaining the Position
- Execute a technique transition from Side Control, Top (if possible).
- Execute a major transition from Half Guard Clinch, Top.
- You end up in this position when the opponent transitions to Mount Clinch, Bottom.
Available Strikes
- Quick strikes
- Quick strikes to body
Available Transitions
- Minor transition to Mount, Top
- Technique transition to Side Control (if possible)
- Submission (if possible)
- Escape to Up/Down, Top
Available Defense
- Grapple block
- Transition reversal
Mount Clinch, Bottom
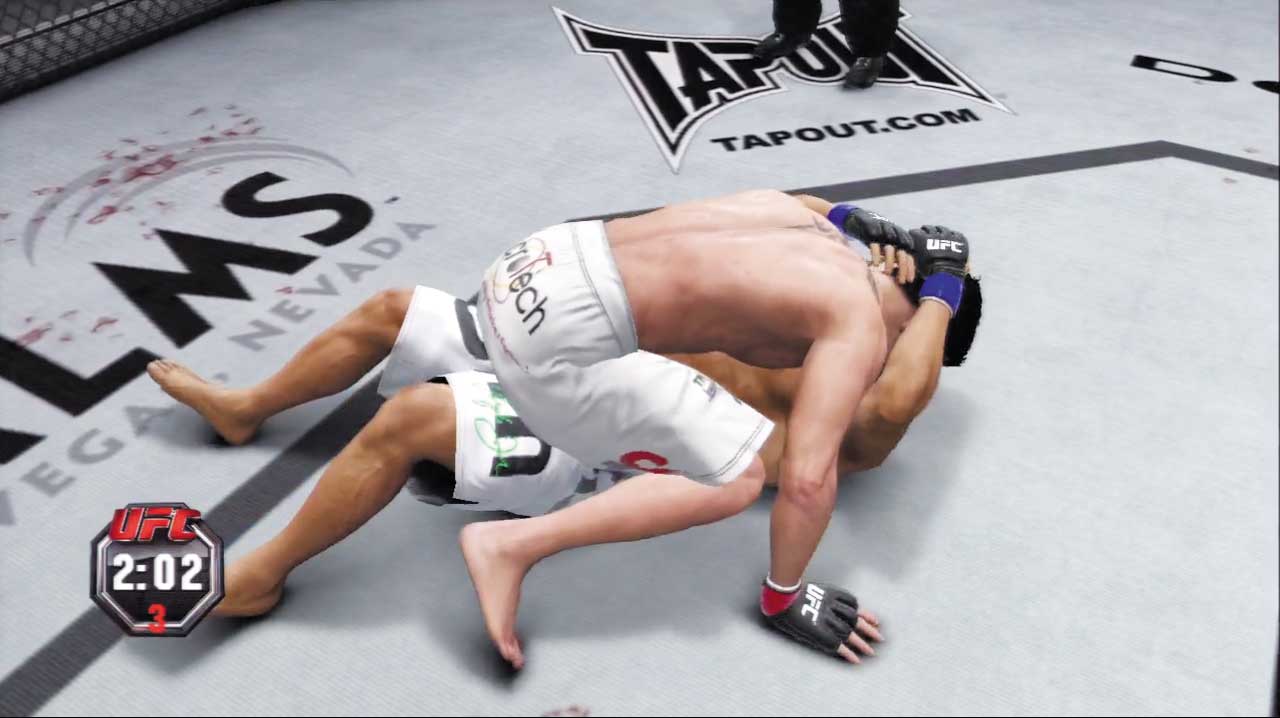
Being mounted is never a good thing, but it’s far less hazardous when you’re able to hold the top opponent in a restrictive Mount Clinch. You don’t need to fear the opponent’s strikes from here, so focus on blocking their submissions as you look for chances to further improve your position.
Attaining the Position
- Execute a minor transition from Mount, Bottom.
- You end up in this position when the opponent transitions to Mount Clinch, Top.
Available Strikes
- Quick strikes
Available Transitions
- Minor transition to Half Guard Clinch, Bottom
- Major transition to Back Mount, Bottom
- Technique transition (if possible)
- Cage transition to Open Guard Clinch, Top (if possible)
Available Defense
- Grapple block
- Transition reversal
Side Control, Top
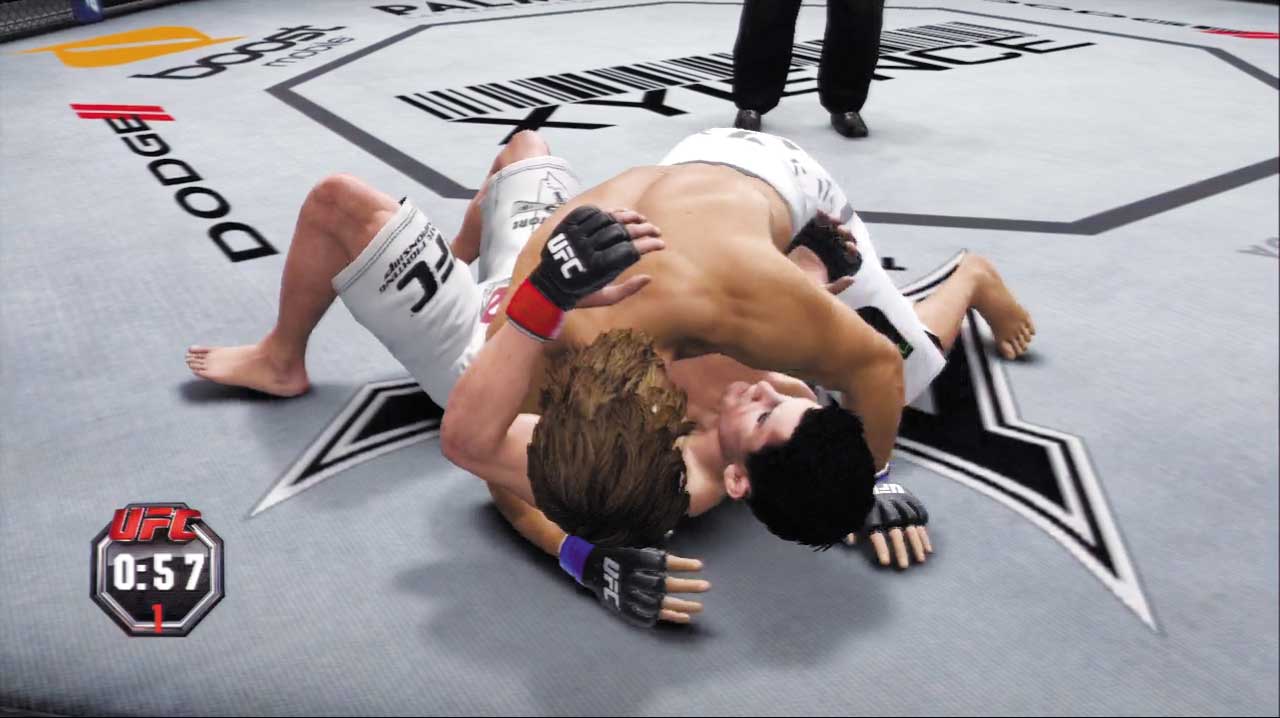
Side Control is a dominant top position that is most commonly achieved by performing a minor transition from Half Guard, Top.
Posture up into a sub position from here and let loose with powerful strong strikes—in PRIDE, these include devastating knees to the bottom opponent’s head that can quickly end the fight!
Attaining the Position
- Execute a minor transition from Half Guard, Top.
- Execute a technique transition from Mount, Top (if possible).
- Execute a technique transition from Mount Clinch, Top (if possible).
- You end up in this position when the opponent transitions to Side Control, Bottom.
Available Strikes
- Quick strikes
- Quick strikes to body
- Strong strikes
- Strong strikes to body
- Technique strikes (if possible)
Available Transitions
- Minor transition to North/South, Top
- Technique transition to Mount (if possible)
- Submission (if possible)
- Escape to Up/Down, Top
Available Defense
- Grapple block
- Transition reversal
Side Control, Bottom
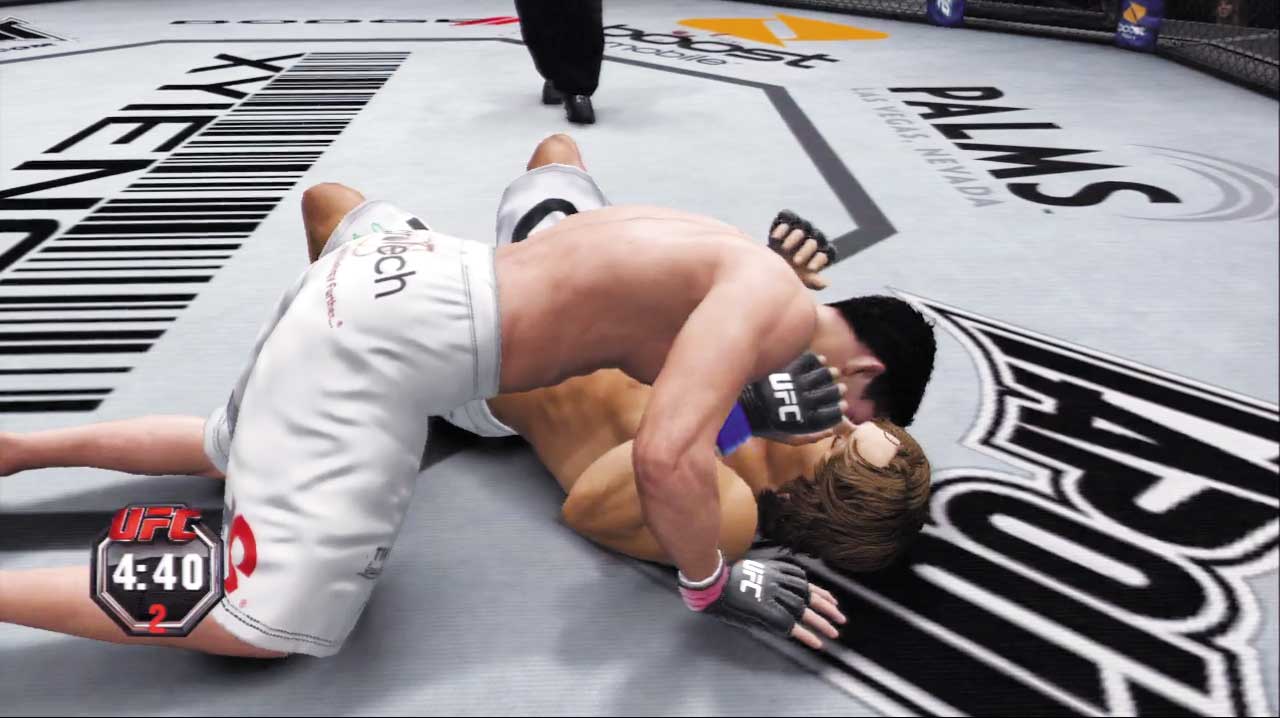
You’re in significant danger when the opponent transitions into Side Control.
Though their sub position strong strikes aren’t as powerful as those that can be thrown from other top positions, such as Mount, the top opponent’s submissions are very powerful from here.
Strive to deny all of their transition and submission attempts, and look for a chance to improve your position with a well-timed transition of your own.
Attaining the Position
- You end up in this position when the opponent transitions to Side Control, Top.
Available Strikes
- Quick strikes
- Quick strikes to body
Available Transitions
- Minor transition to Half Guard Clinch, Bottom
- Major transition to Open Guard Clinch, Bottom (if possible)
- Technique transition (if possible)
- Cage transition to Side Control, Top (if possible)
- Escape to Up/Down, Top
Available Defense
- Strike defense high
- Strike defense low
- Grapple block
- Transition reversal
Side Control Rocked, Top
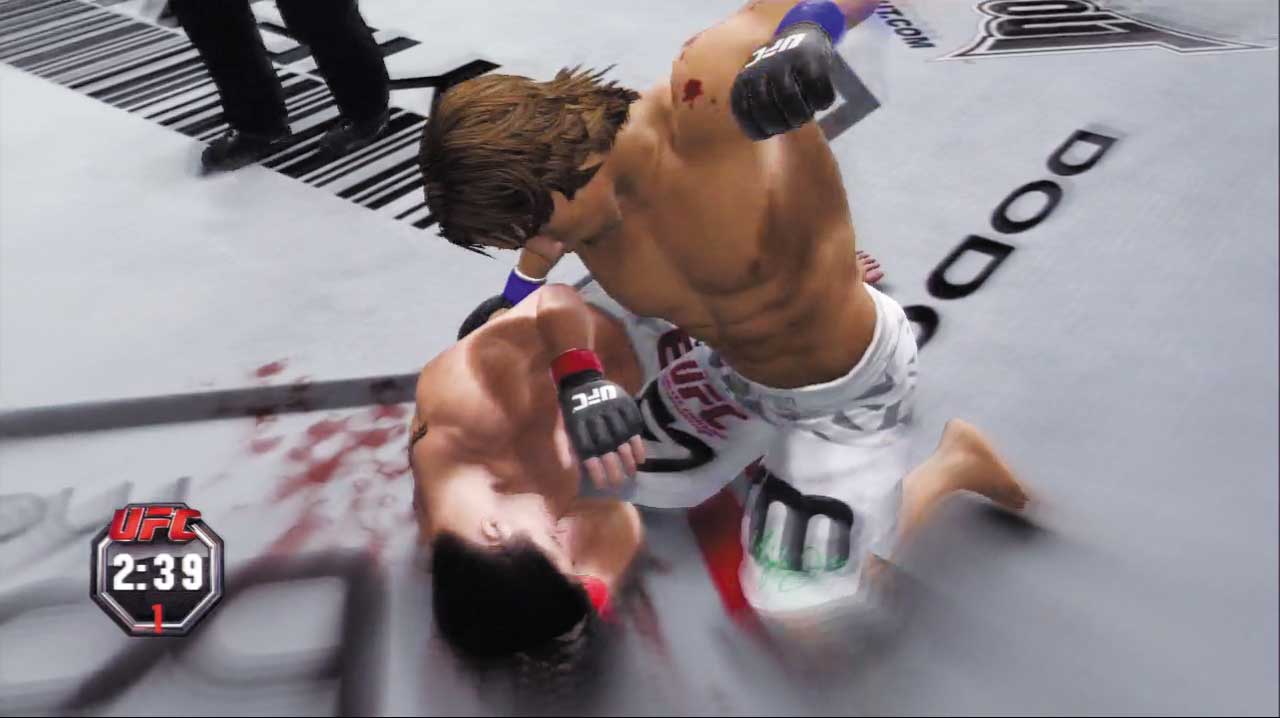
Your opponent is in trouble when you rock them in Side Control. Either pour on the strong strikes or lock in a sudden submission to finish them fast!
Knees to the head are especially lethal in this position when playing under PRIDE rules.
Attaining the Position
- Rock the opponent with strikes from the Side Control, Top position.
- Transition to Side Control while the opponent is rocked.
Available Strikes
- Strong strikes
- Strong strikes to body
Available Transitions
- Minor transition to Mount Rocked, Top
- Submission (if possible)
- Escape to Up/Down, Top
Side Control Rocked, Bottom
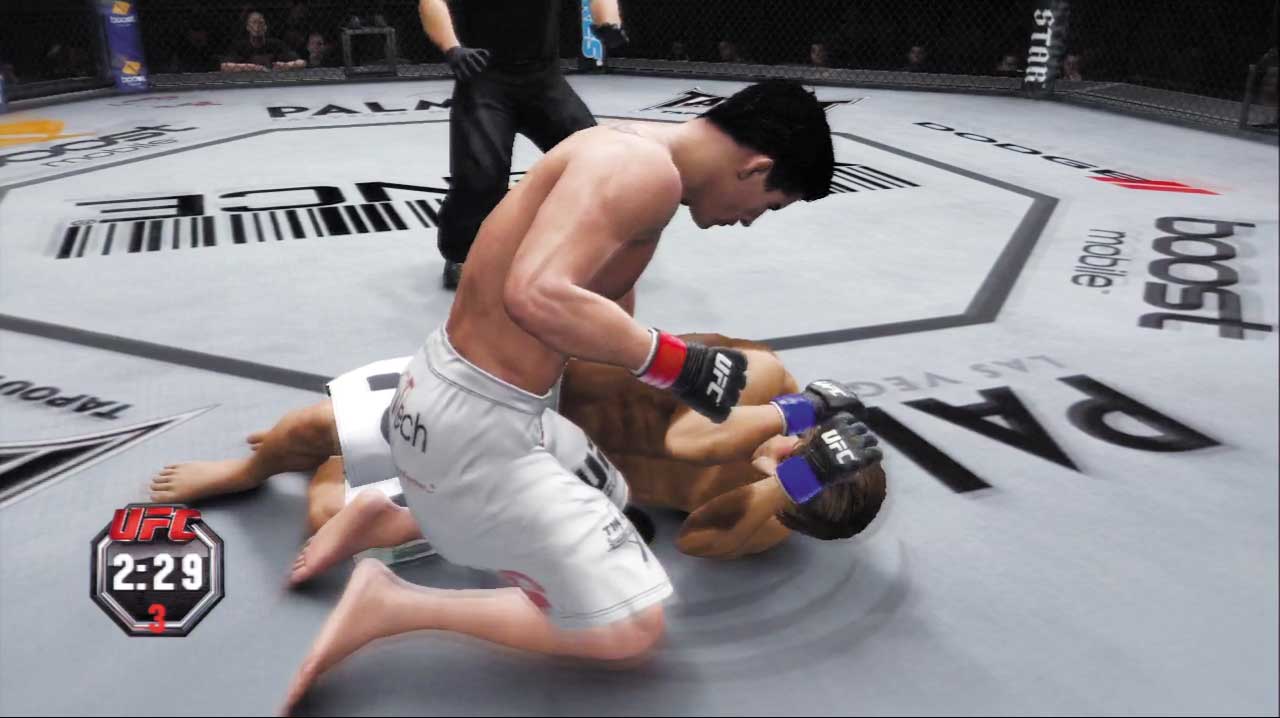
You’ve got to play defense when you get rocked in Side Control.
Cover up and defend against strikes if the opponent is hammering away, or focus on denying their transition attempts if you think they may try to improve position or submit you.
Buy time for your head to clear, then continue to play defense as you look to improve your position.
Attaining the Position
- You end up in this position when the opponent transitions to Side Control Rocked, Top.
Available Transitions
- Strike catch to Side Control, Bottom
Available Defense
- Strike defense high
- Strike defense low
- Grapple block
- Transition reversal
Salaverry, Top
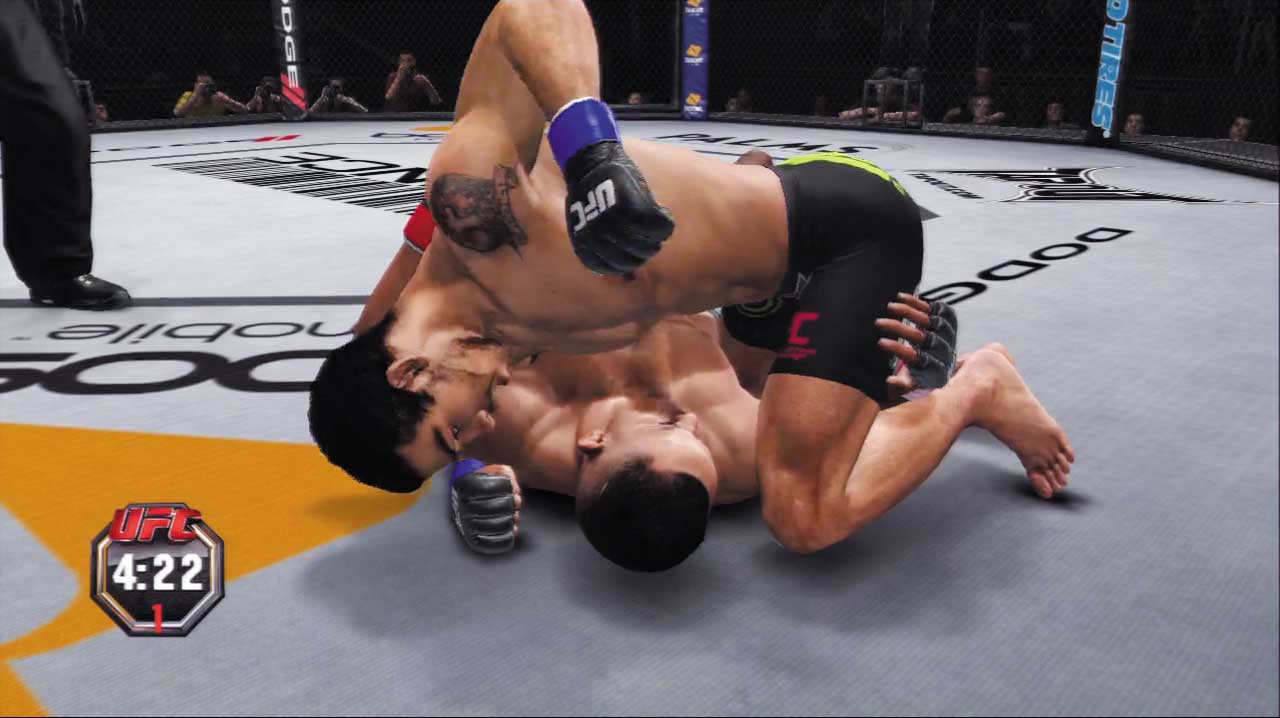
Named for former UFC standout Ivan Salaverry, this debilitating position can only be used by fighters who know special technique transitions that allow them to move into the Salaverry, Top position.
With the opponent’s arms trapped and their chest pinned to the mat, you’re free to unleash repeated strikes to their undefended head—technique strikes can be particularly painful from here.
Powerful submissions are also available, as are transitions that lead to Mount—another excellent top position.
Attaining the Position
- Execute a technique transition from Side Control, Top (if possible).
Available Strikes
- Quick strikes
- Technique strikes (if possible)
Available Transitions
- Minor transition to Mount, Top
- Submission (if possible)
- Escape to Up/Down, Top
Available Defense
- Grapple block
- Transition reversal
Salaverry, Bottom
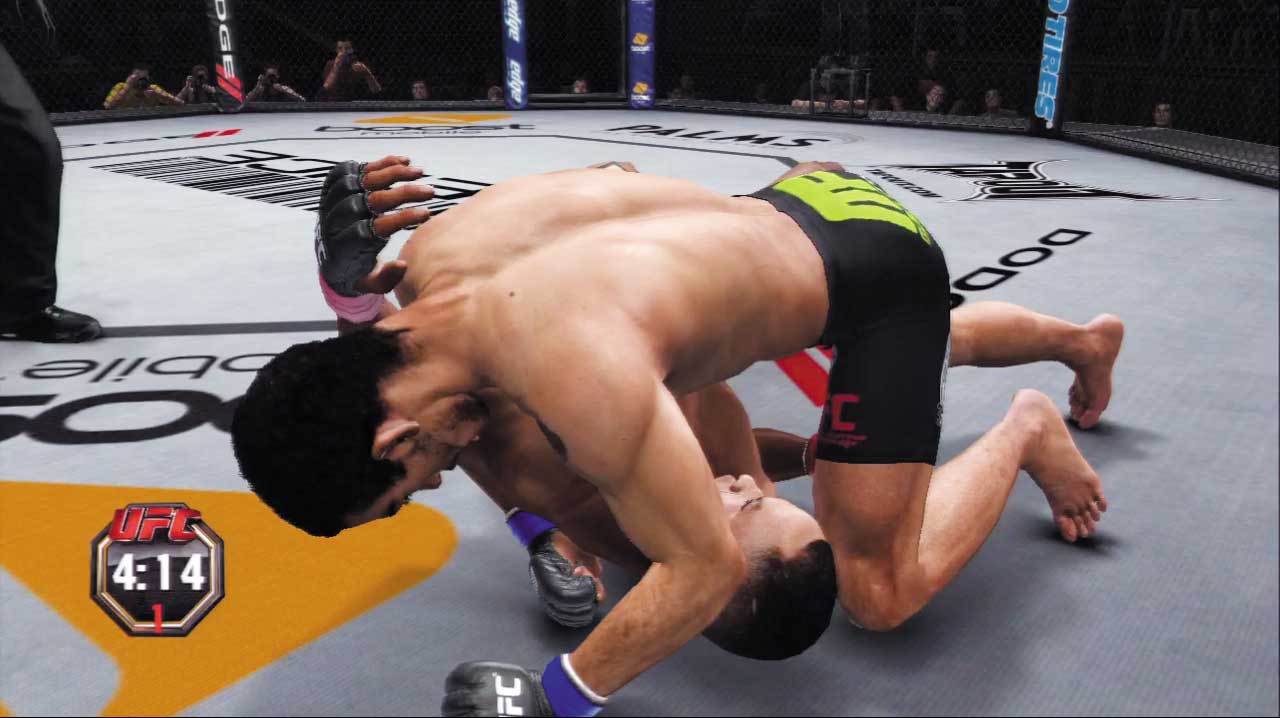
You can’t block the opponent’s strikes in this helpless position, so struggle to improve to a better position instead.
If you’re lucky enough to be near the cage, perform a well-timed cage transition to dramatically turn the tables and end up in Back Side Control, Top!
Attaining the Position
- Execute a technique transition from Side Control, Top (if possible).
Available Strikes
- Quick strikes
Available Transitions
- Minor transition to Side Control, Bottom
- Cage transition to Back Side Control, Top
Available Defense
- Grapple block
- Transition reversal
North/South, Top
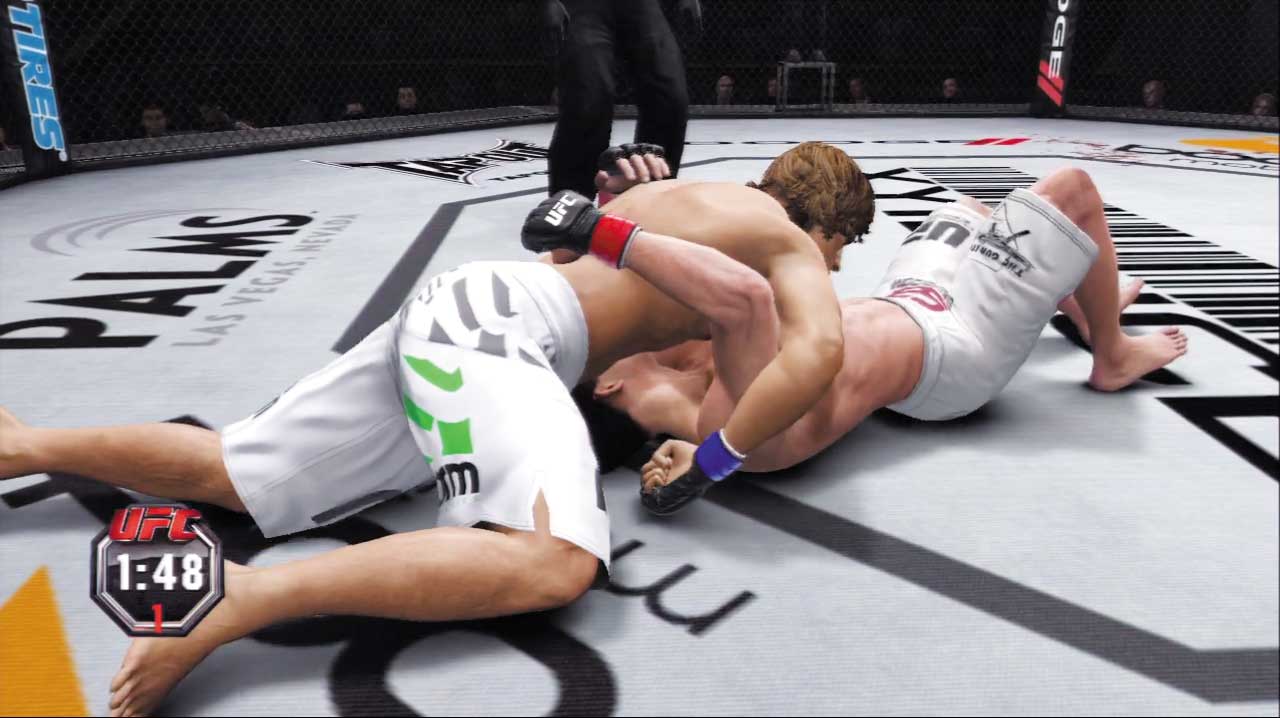
North/South is another dominant top position that’s achieved by performing a minor transition from Side Control, Top.
Posture up into sub position to land strong strikes against the bottom opponent’s body from this advantageous position, unless you’re fighting in PRIDE—then debilitating knees can (and should) be landed to the bottom opponent’s undefended head to rock him in a blink!
If you’re into submissions, crushing chokes can be performed from this position as well.
Attaining the Position
- Execute a minor transition from Side Control, Top.
Available Strikes
- Quick strikes (in PRIDE)
- Quick strikes to body
- Strong strikes (in PRIDE)
- Strong strikes to body
- Technique strikes (if possible)
Available Transitions
- Minor transition to Side Control, Top
- Major transition to Mount Clinch, Top
- Submission (if possible)
- Escape to Up/Down, Top
Available Defense
- Grapple block
- Transition reversal
North/South, Bottom
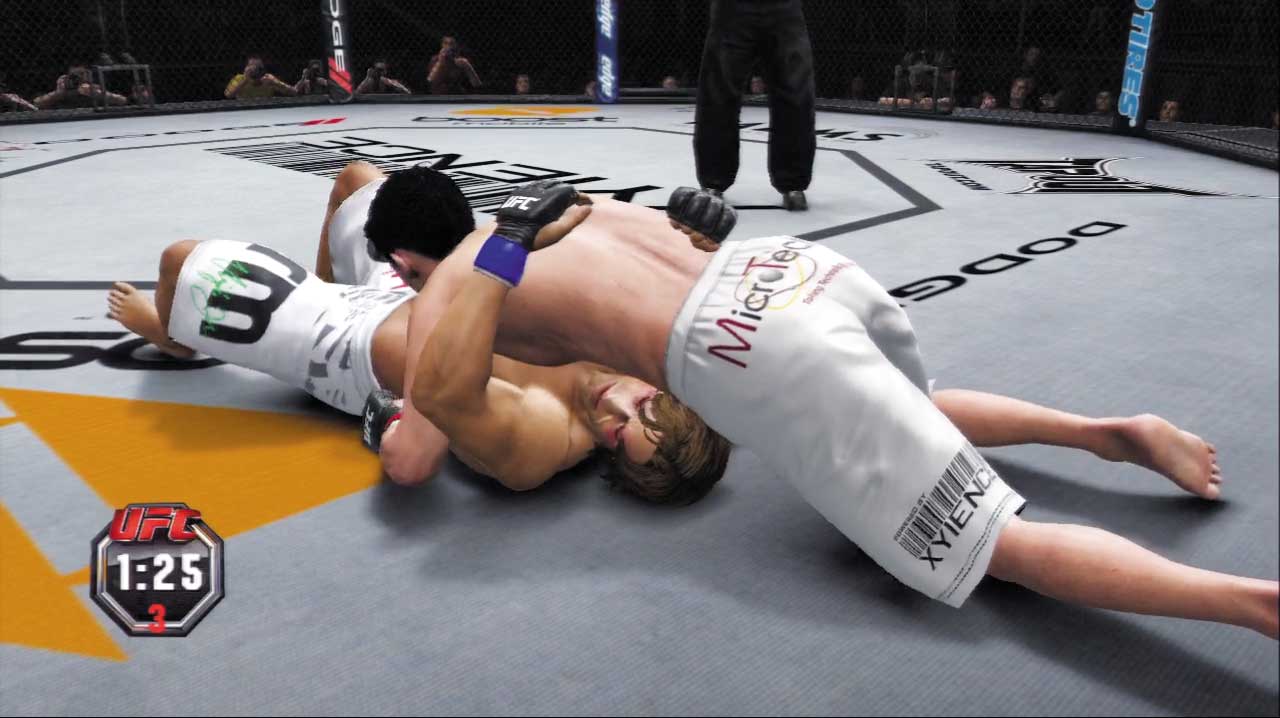
You’re unable to block the opponent’s strikes when stuck on bottom in the North/South position, so focus on improving your position instead.
Your best option from here may well be to perform a major transition to reach the Sprawl, Bottom position, from which you can escape back up to your feet.
Attaining the Position
- You end up in this position when the opponent transitions to the North/South, Top position.
Available Strikes
- Quick strikes to body
Available Transitions
- Minor transition to Side Control, Bottom
- Major transition to Sprawl, Bottom
Available Defense
- Grapple block
- Transition reversal
Sprawl, Top
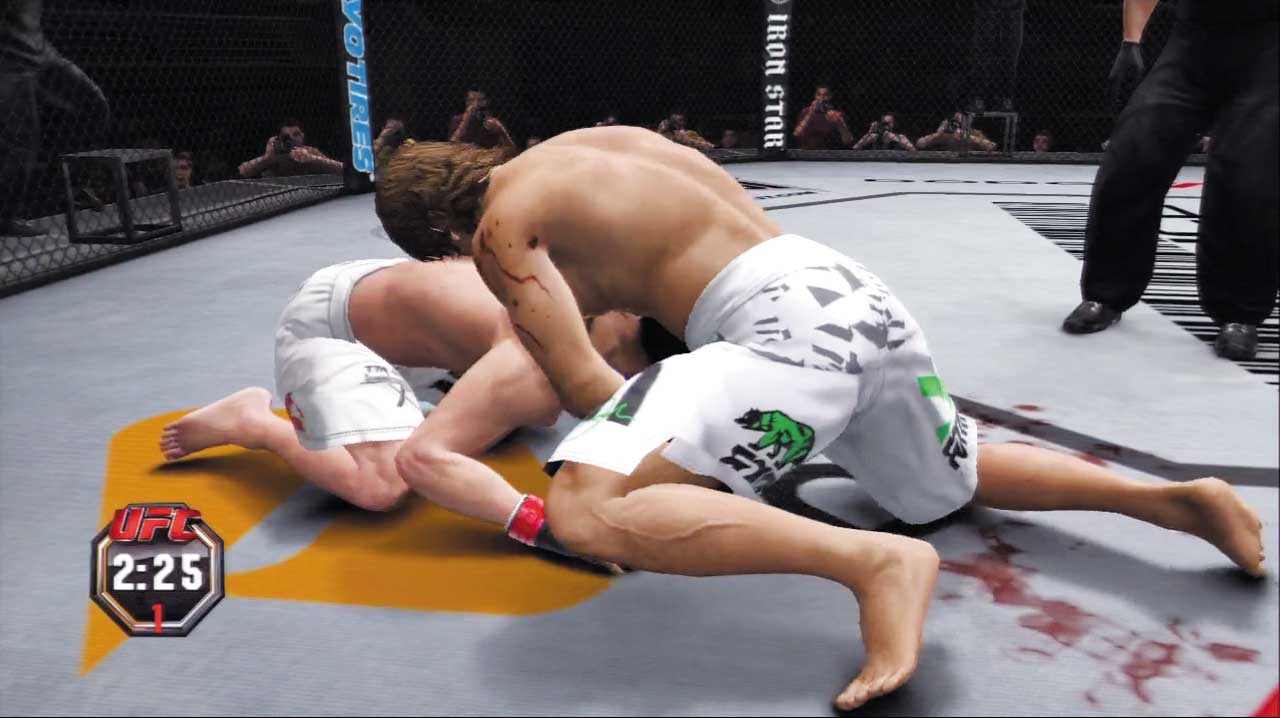
When the fighters end up in the Sprawl position, the top fighter has a distinct advantage.
Strong strikes can be landed to the bottom opponent’s head and body, and the opportunity to drop down for a choke presents itself.
Meanwhile, the bottom opponent has no opportunity for offense and may only look to improve his position or break loose and escape back up to standing.
Attaining the Position
You may end up in this position after stuffing the opponent’s takedown.
You end up in this position when the opponent transitions out from North/South, Bottom.
Available Strikes
- Quick strikes
- Quick strikes to body
- Strong strikes
- Strong strikes to body
Available Transitions
- Minor transition to Back Side Control, Top
- Major transition to Back Mount, Top
- Submission (if possible)
- Escape to Up/Down, Top
Available Defense
- Grapple block
- Transition reversal
Sprawl, Bottom
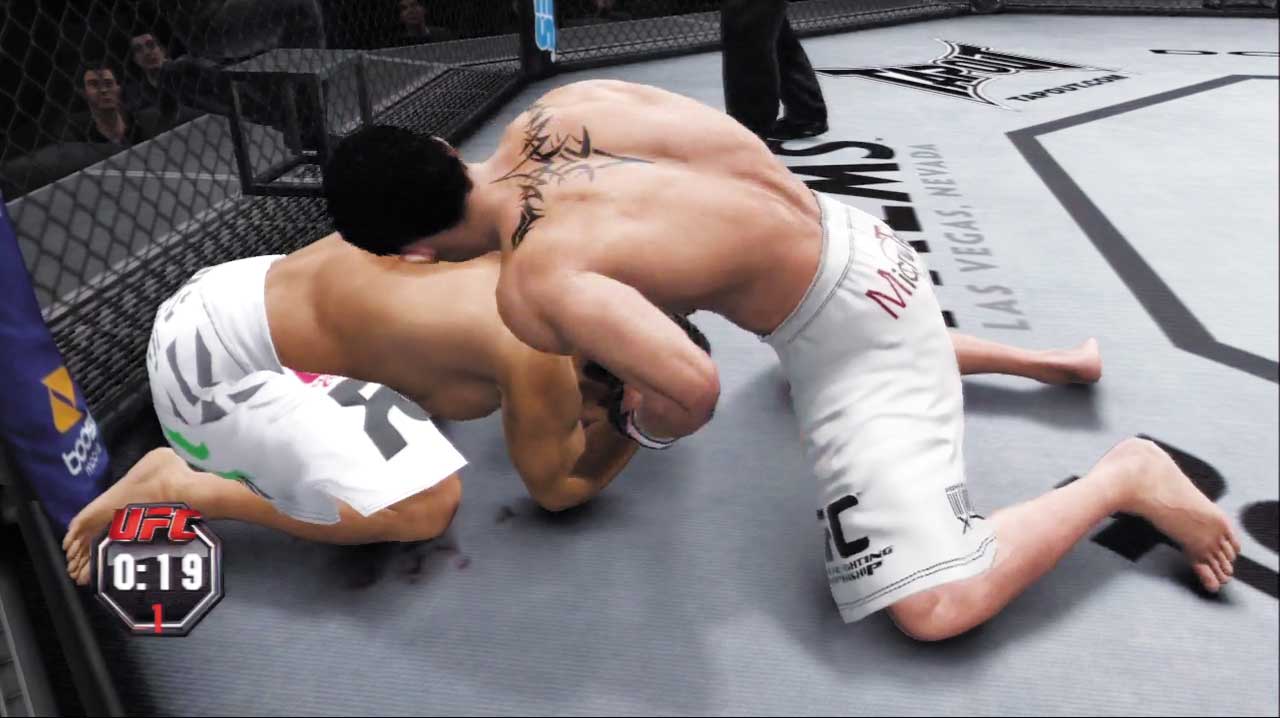
Failing to complete a takedown commonly lands you in this unfortunate position. If you’re still determined to fight on the ground, try pulling the opponent into your guard with a minor transition.
Otherwise block the opponent’s strong strikes as you struggle to transition back up to standing.
Attaining the Position
- You may end up in this position after the opponent stuffs your takedown.
- Execute a minor transition from North/South, Bottom.
Available Transitions
- Minor transition to Open Guard Clinch, Bottom
- Major transition to Both Standing, Striking Range
- Technique transition (if possible)
- Escape to Up/Down, Top
Available Defense
- Strike defense high
- Strike defense low
- Grapple block
- Transition reversal
Sprawl Rocked, Top
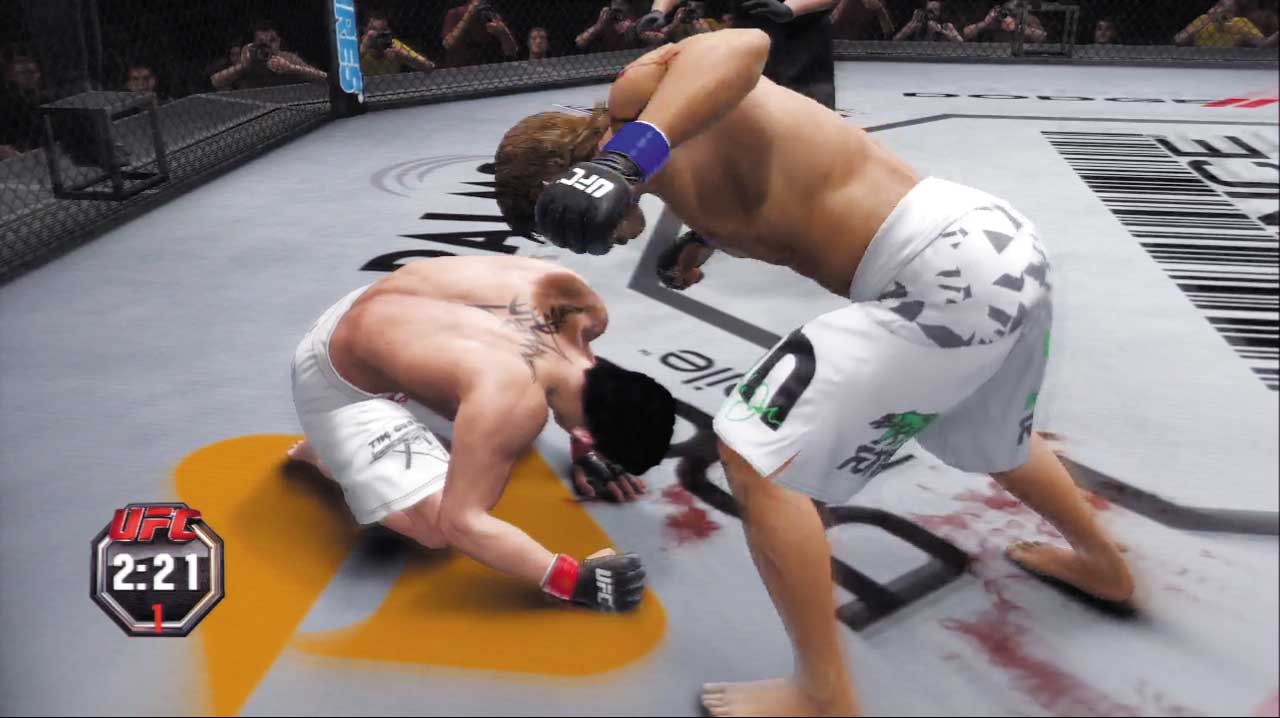
Powerful blows can be landed form the Sprawl, Top position, so it’s not uncommon to rock your opponent with one and open him up for even more devastating offense.
Try dropping down for a choke after rocking your rival in this position to end his night fast.
Attaining the Position
- Rock the opponent with strong strikes in the Sprawl, Top position.
Available Strikes
- Strong strikes
Available Transitions
- Minor transition to Back Side Control Rocked, Top
- Submission (if possible)
- Escape to Up/Down, Top
Sprawl Rocked, Bottom
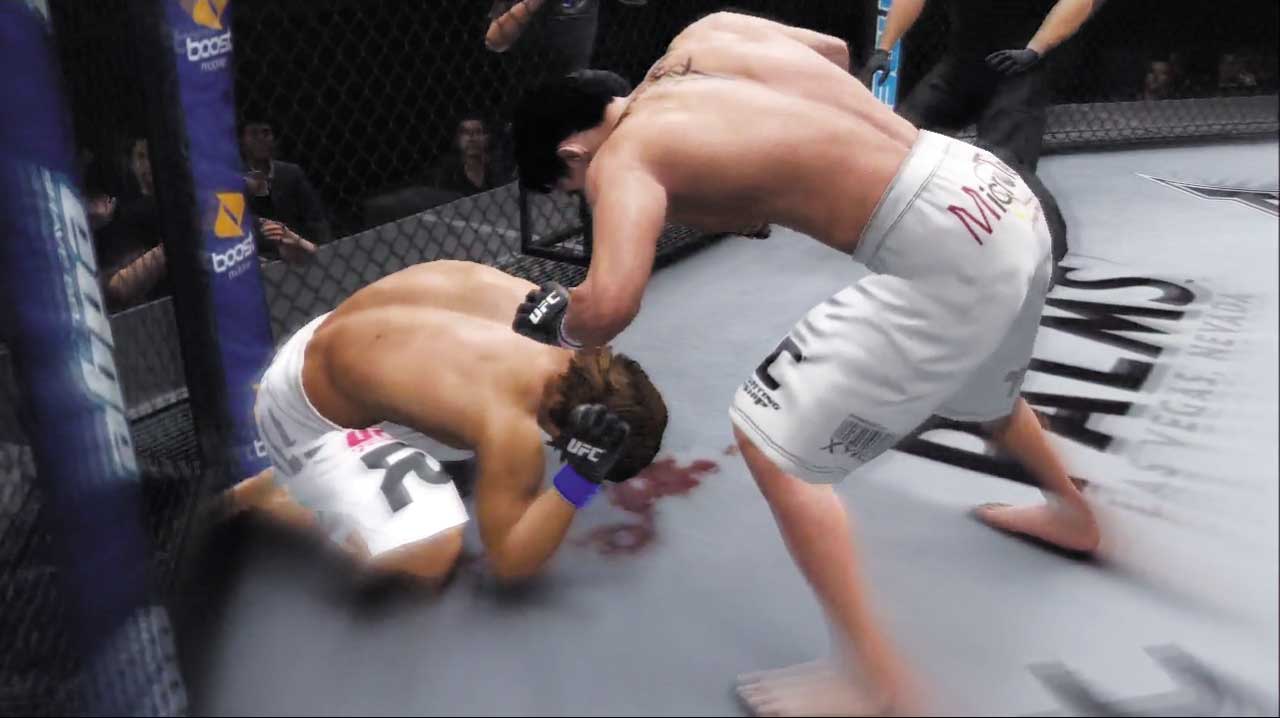
Your options are severely limited when you get rocked in the Sprawl position. Either block against strikes or strive to stuff the opponent’s transition attempts.
A well-timed transition reversal is the only way to improve your position, but it’s a risky gamble.
Attaining the Position
- You end up in this position when the opponent transitions to Sprawl Rocked, Top.
Available Defense
- Strike defense high
- Grapple block
- Transition reversal
Back Side Control, Top
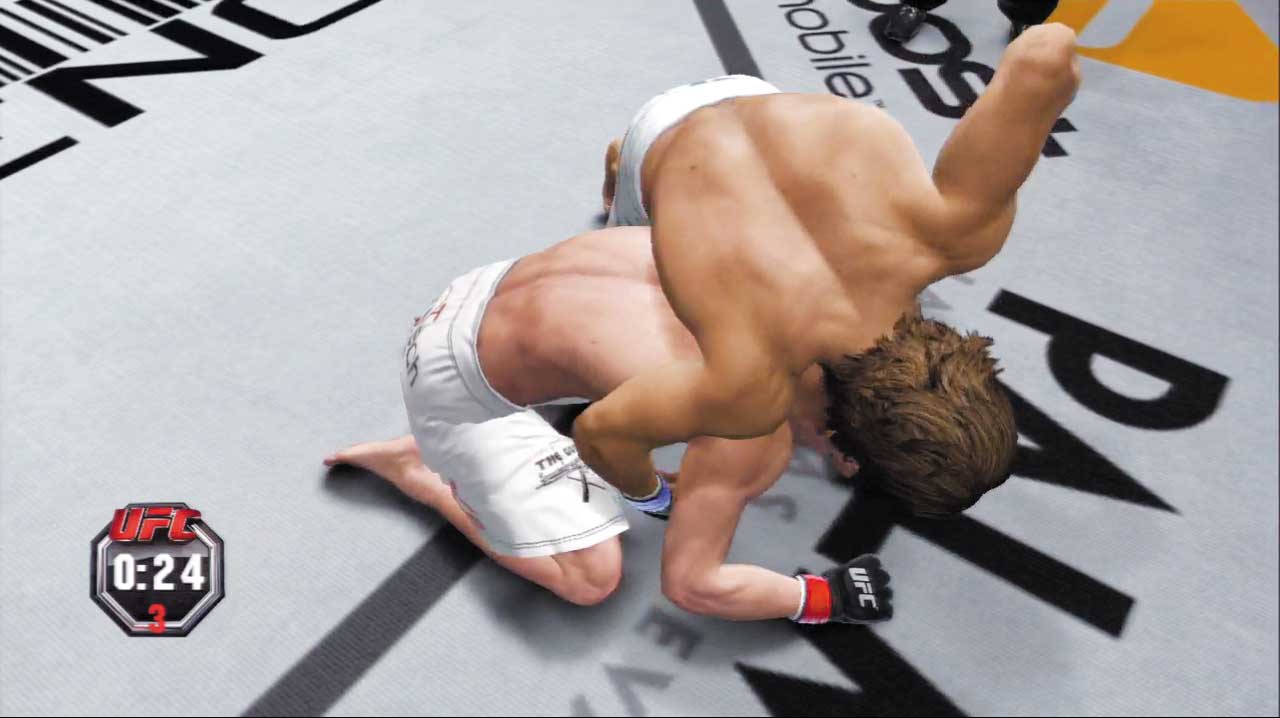
This dominant top position is often achieved by performing a minor transition from the Sprawl, Top position.
Make your opponents pay when you stuff their takedowns by quickly taking their back, securing Back Side Control.
Then posture up into sub position and batter your foe with strong strikes, or try to lock in a fight-ending choke!
Attaining the Position
- Execute a minor transition from Sprawl, Top or Sprawl Rocked, Top.
- Execute a technique transition from Back Mount, Top (if possible).
Available Strikes
- Quick strikes
- Quick strikes to body
- Strong strikes
- Strong strikes to body
Available Transitions
- Minor transition to Sprawl, Top
- Major transition to Back Mount Face Up, Top
- Submission (if possible)
- Escape to Up/Down, Top
Available Defense
- Grapple block
- Transition reversal
Back Side Control, Bottom
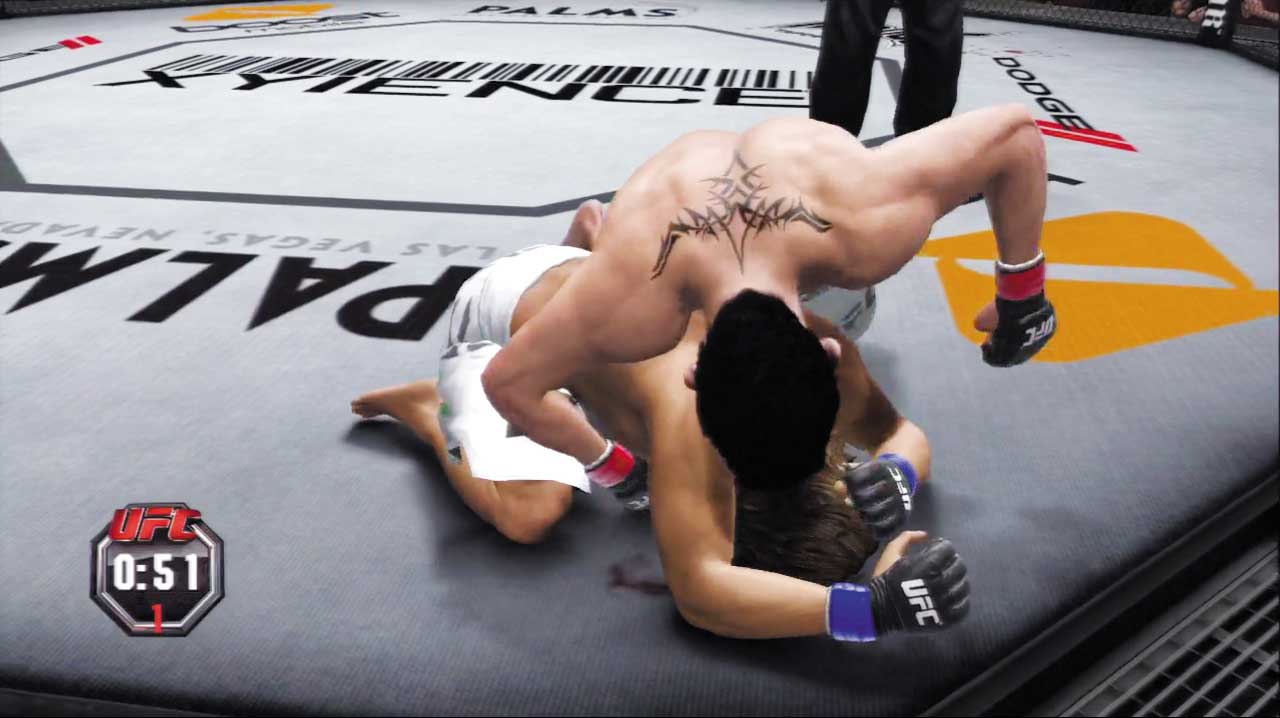
Strong strikes and dangerous chokes threaten to end your night when the opponent manages to take your back.
Cover up and defend against strikes, but don’t linger in this disastrous position for long—struggle to escape back to standing with a major transition, or begin to work your ground game by pulling your adversary into your guard with a minor transition.
Attaining the Position
- You end up in this position when the opponent transitions to Back Side Control, Top.
Available Strikes
- Quick strikes
- Quick strikes to body
- Quick strikes to legs
Available Transitions
- Minor transition to Open Guard, Bottom
- Major transition to Both Standing, Striking Range
Available Defense
- Strike defense high
- Strike defense low
- Grapple block
- Transition reversal
Back Side Control Rocked, Top
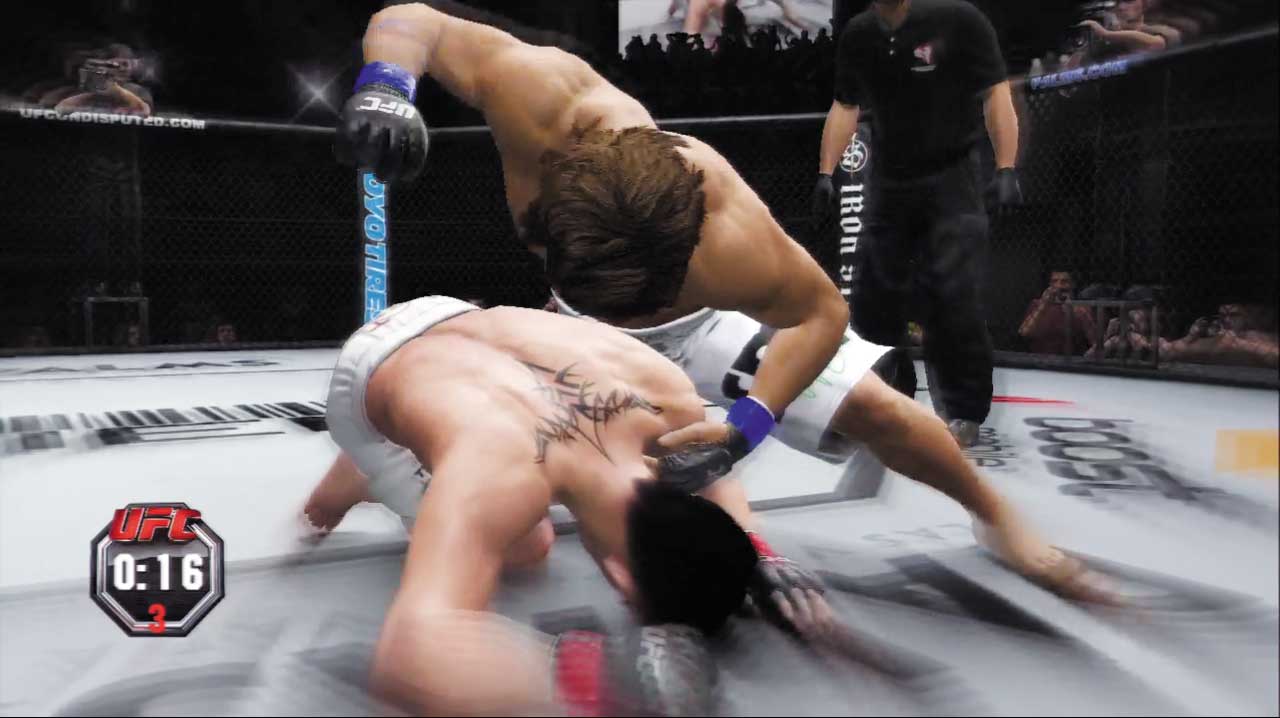
After rocking your opponent in the Sprawl, Top position, quickly transition to Back Side Control Rocked and pour on your favorite brand of offense.
The opponent can do little more than defend himself in this position, so mix up your body and head strikes to hit him where it hurts. A choke from this position can quickly spell the end for your adversary.
Attaining the Position
- Execute a minor transition from the Sprawl Rocked, Top position.
- Rock the opponent with strikes from the Back Side Control, Top position.
Available Strikes
- Strong strikes
- Strong strikes to body
Available Transitions
- Minor transition to Sprawl Rocked, Top
- Major transition to Back Mount, Top
- Submission (if possible)
- Escape to Up/Down, Top
Back Side Control Rocked, Bottom
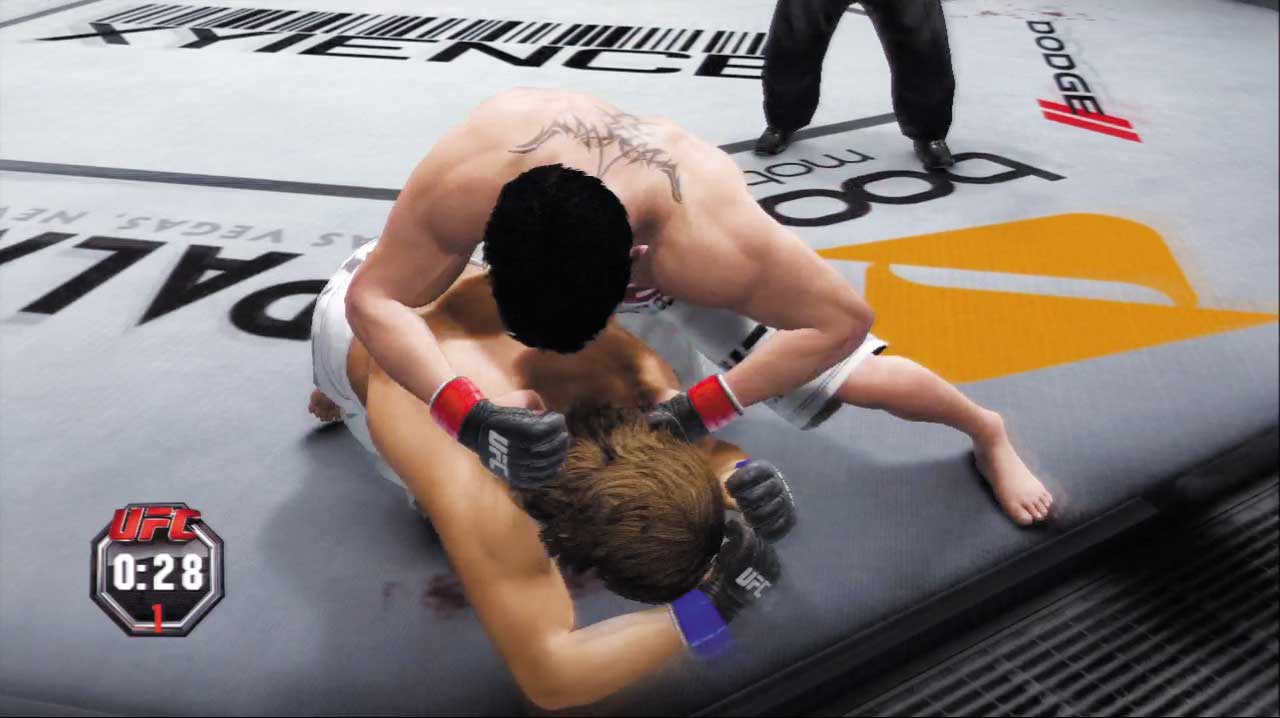
Yikes, you’re in a tough spot! Protect your head in this terrible position, and be sure to block your opponent’s submission attempts.
You can’t improve your position without chancing a risky transition reversal, so you’ve just got to try and ride out the storm.
Attaining the Position
- You end up in this position when the opponent transitions to Back Side Control Rocked, Top.
Available Defense
- Strike defense high
- Strike defense low
- Grapple block
- Transition reversal
Back Mount, Top
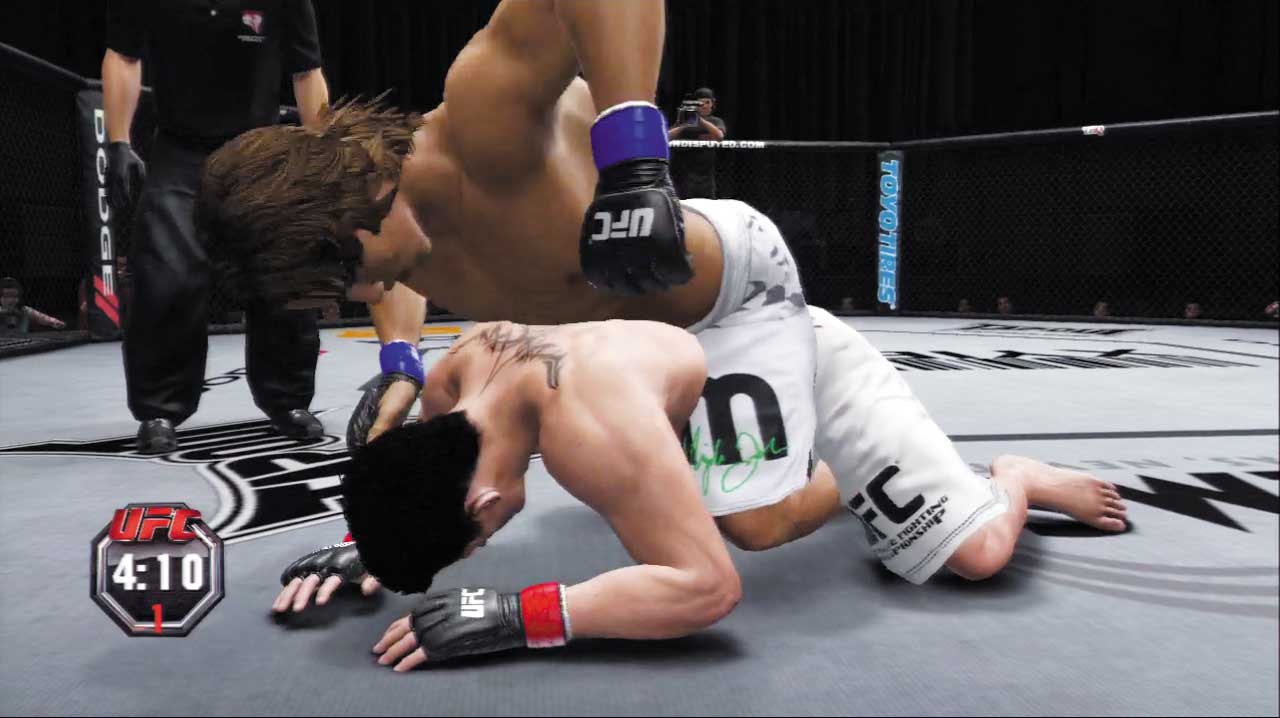
This dominant top position is commonly achieved by performing a major transition from the Sprawl, Top position.
Whenever you stuff the opponent’s takedown, you’re just one major transition away from “taking their back” and landing in Back Mount—a very dominant position that allows for strong strikes and dangerous chokes.
Posture up into sub position and bring the pain!
Attaining the Position
- Execute a major transition from Sprawl, Top.
- Execute a technique transition from Back Mount, Top (if possible).
Available Strikes
- Quick strikes
- Strong strikes
- Technique strikes (if possible)
Available Transitions
- Technique transition to Back Side Control, Top (if possible)
- Submission (if possible)
- Escape to Up/Down, Top
Available Defense
- Grapple block
- Transition reversal
Back Mount, Bottom
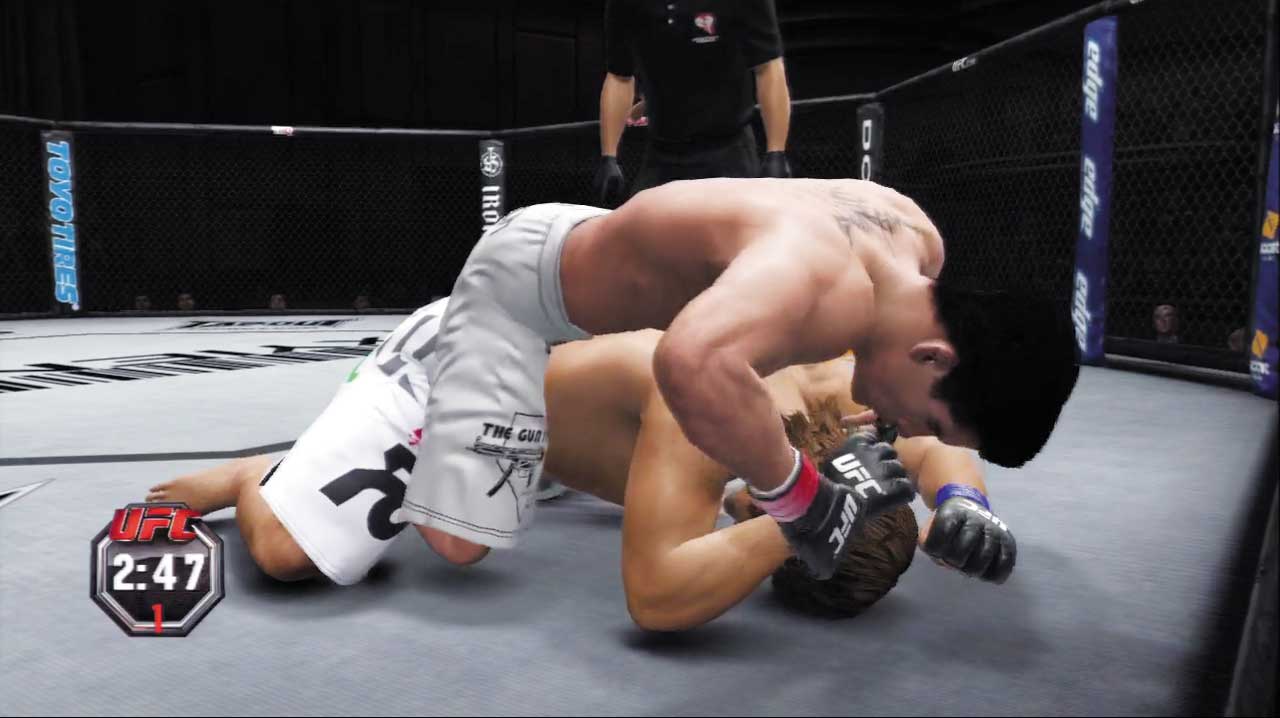
Things have definitely gone wrong if your opponent manages to mount you from behind. Protect your head and struggle to transition to a far less dangerous Mount Clinch.
Beware of the opponent’s chokes and be certain to block submission attempts in this dangerous position.
Attaining the Position
- You end up in this position when the opponent transitions to Back Mount, Top.
Available Transitions
- Minor transition to Mount Clinch, Bottom
Available Defense
- Strike defense high
- Grapple block
- Transition reversal
Back Mount Rocked, Top
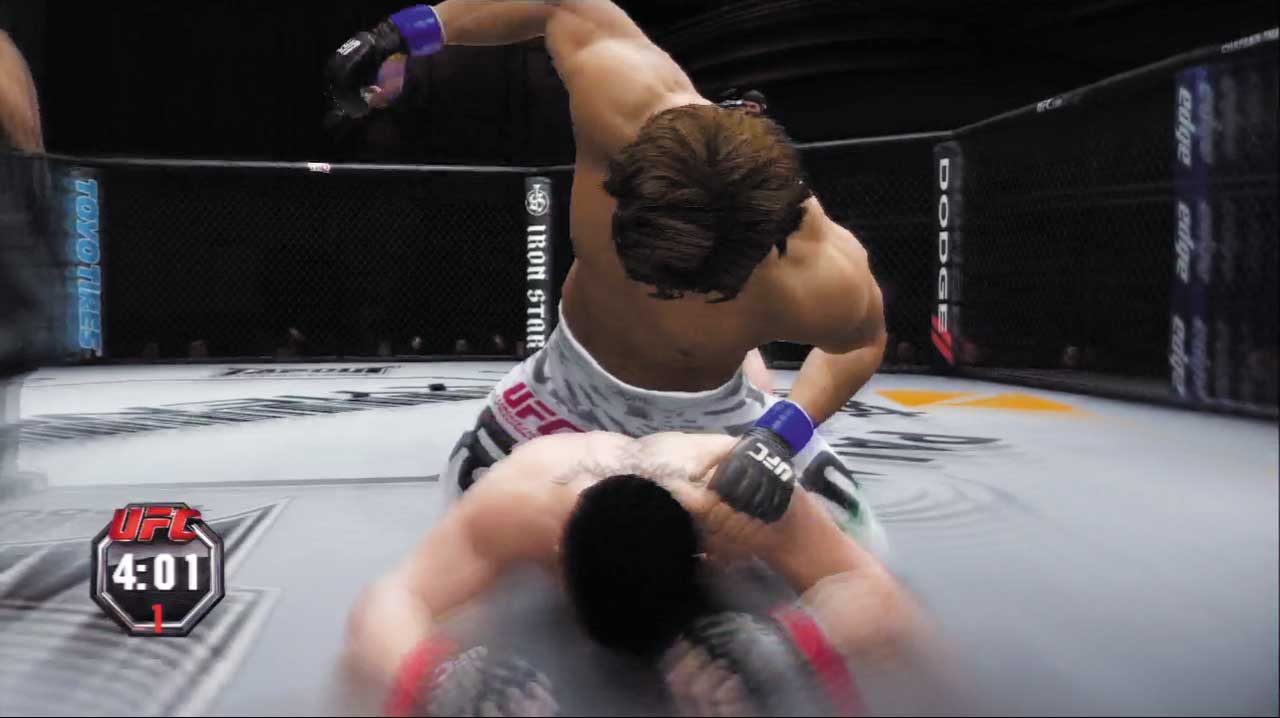
You’ve rocked your opponent from the Back Mount? Sink in a choke already!
Attaining the Position
- Execute a major transition from the Back Side Control Rocked, Top position.
- Rock the opponent with strikes from the Back Mount, Top position.
Available Strikes
- Strong strikes
Available Transitions
- Submission (if possible)
- Escape to Up/Down, Top
Back Mount Rocked, Bottom
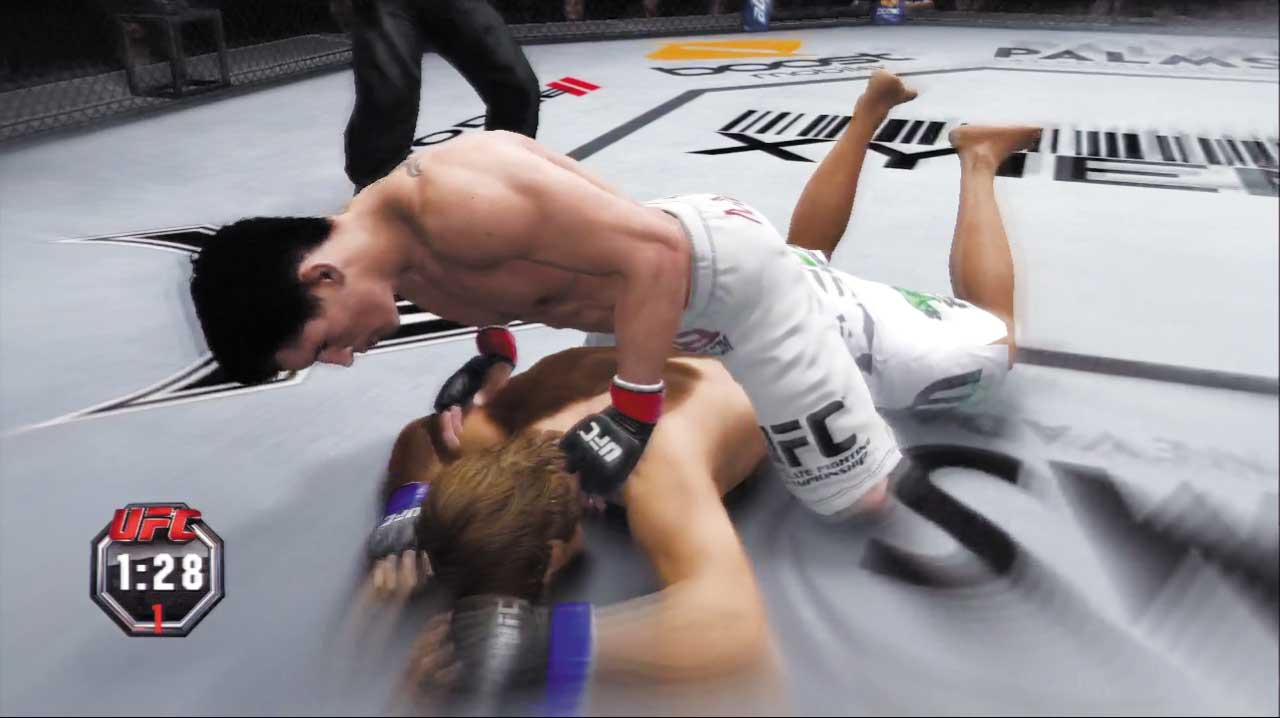
You’ve only two options in this most dire position: protecting your head and blocking the opponent’s transition and sub attempts.
There’s no hope of improving your position unless you survive and your head begins to clear, so it’s best to avoid this position altogether by sharpening up your defensive game.
Attaining the Position
- You end up in this position when the opponent transitions to Back Mount Rocked, Top.
Available Defense
- Strike defense high
- Grapple block
Back Mount Face Up, Top
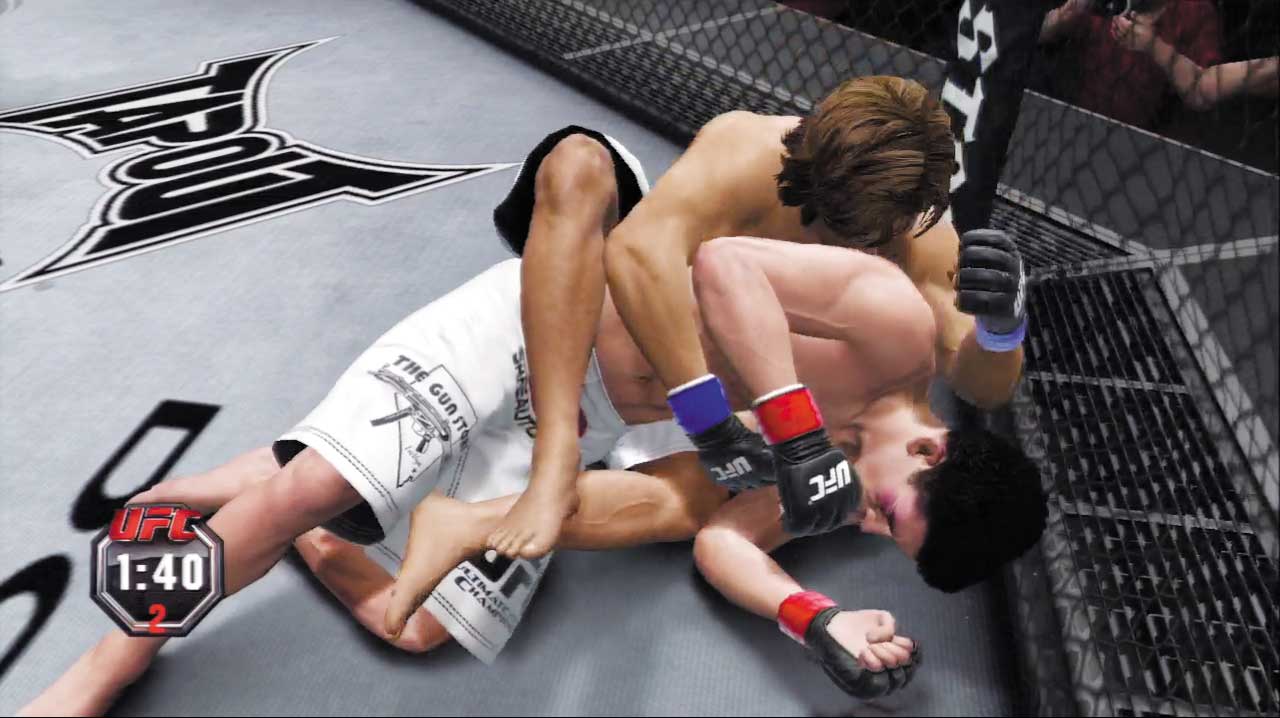
This is a very favorable position for the top fighter, as the bottom fighter is near helpless in defending himself against any strikes to the head, and a Rear Naked Choke submission attempt is imminent.
You can get to this position from Back Side Control, Top—instead of putting your hooks in and getting Back Mount, you will roll your opponent over to the face up position.
Attaining the Position
- Transition from Back Side Control, Top
Available Strikes
- Quick strikes
- Quick strikes to leg
- Strong strikes
- Technique strikes (if possible)
Available Transitions
- Minor transition to Back Mount, Top
- Major transition to Mount, Top
- Technique transition to Back Mount Face Up Body Triangle, Top (if possible)
- Submission (if possible)
- Escape to Up/Down, Top
Available Defense
- Grapple block
- Transition reversal
Back Mount Face Up, Bottom
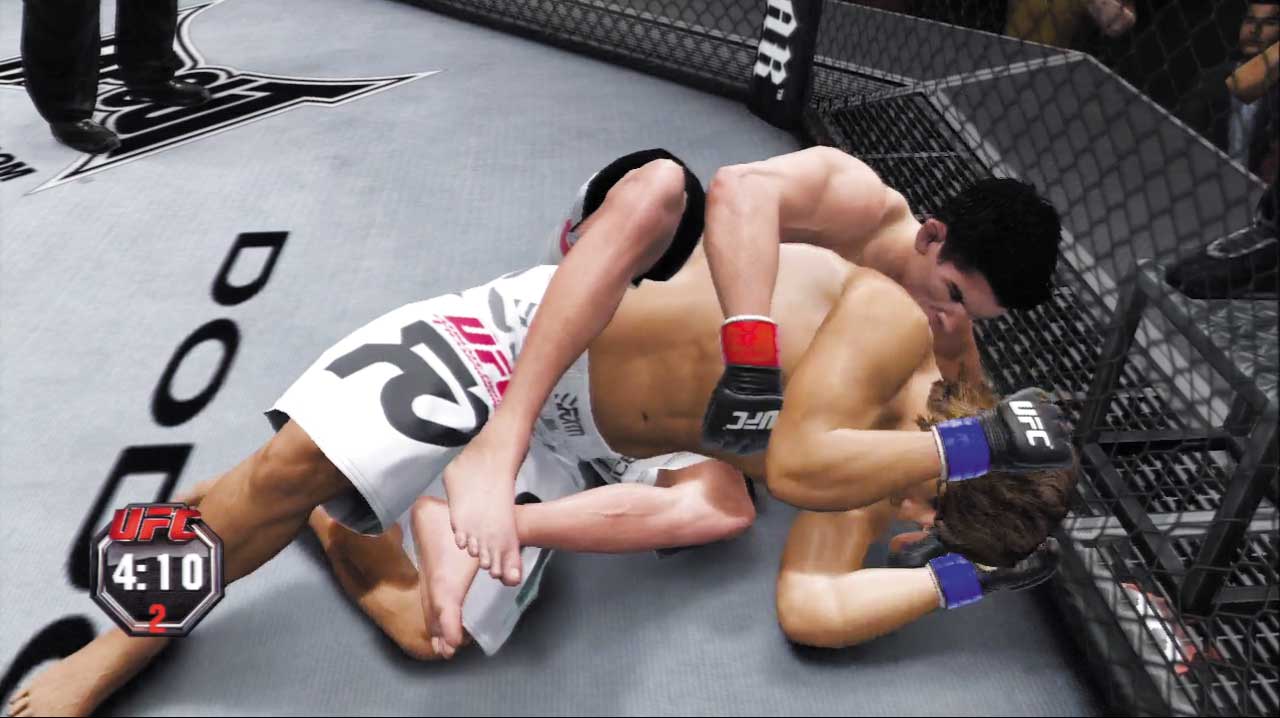
This position is a very dangerous one for you to be in, but it may be favorable to the Back Mount. Defend against the submission attempts and try not to worry about strikes to your head here.
Transition as quickly as possible into the opponent’s Open Guard. Your fighter will basically spin around and be on top in the guard.
Pretty much the only reason you’ll end up in this position is when your opponent wants to apply the Rear Naked Choke, so defend against that vehemently.
Attaining the Position
- You end up in this position when the opponent transitions to Back Mount Face Up, Top.
Available Strikes
- Quick strikes
Available Transitions
- Minor transition to Sprawl, Bottom
- Technique transition (if possible)
- Escape to Up/Down, Top
Available Defense
- Strike defense high
- Grapple block
- Transition reversal
Back Mount Face Up Body Triangle, Top
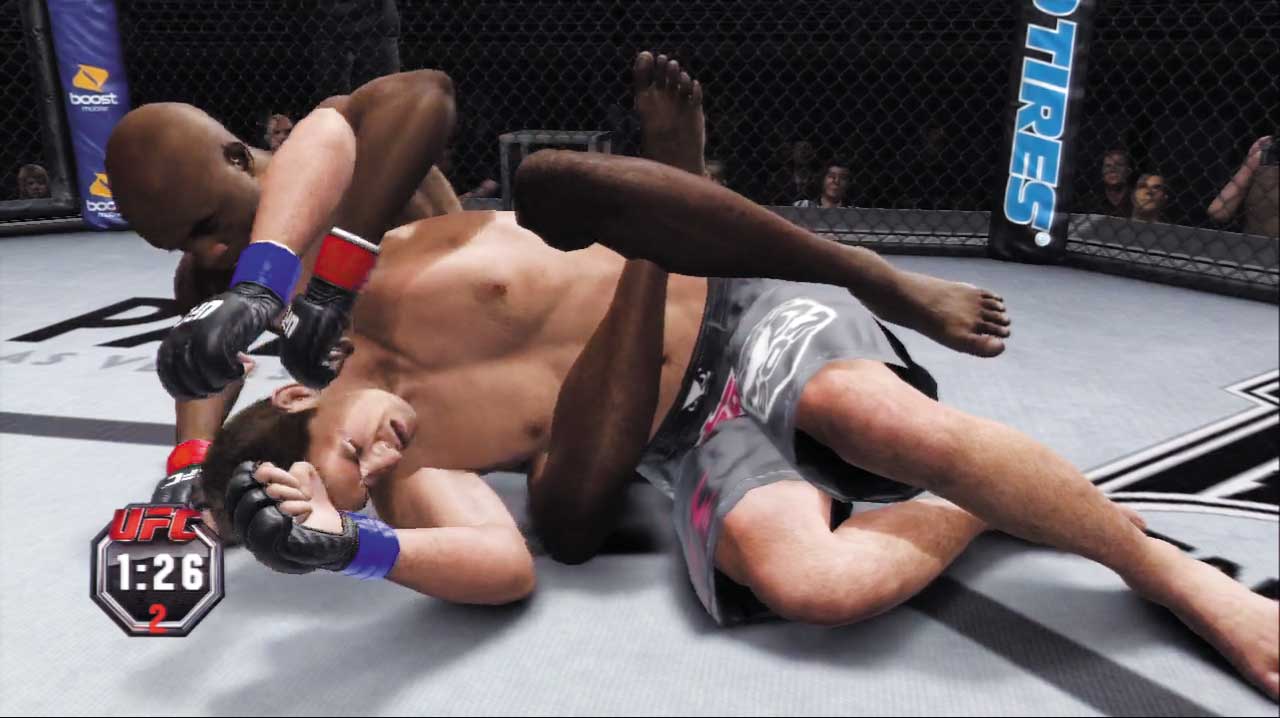
Some fighters know how to perform special technique transitions that allow them to reach this excellent ground position, where your legs are locked tight around the opponent’s abdomen, restricting their breathing and preventing their escape.
If possible, use this position to wear down your rival with powerful strikes before locking in a crushing choke.
Attaining the Position
- Perform a technique transition from the Back Mount Face Up, Top position (if possible).
Available Strikes
- Quick strikes
- Strong strikes
- Technique strikes (if possible)
Available Transitions
- Minor transition to Back Mount, Top
- Major transition to Mount, Top
- Submission (if possible)
- Escape to Up/Down, Top
Available Defense
- Grapple block
- Transition reversal
Back Mount Face Up Body Triangle, Bottom
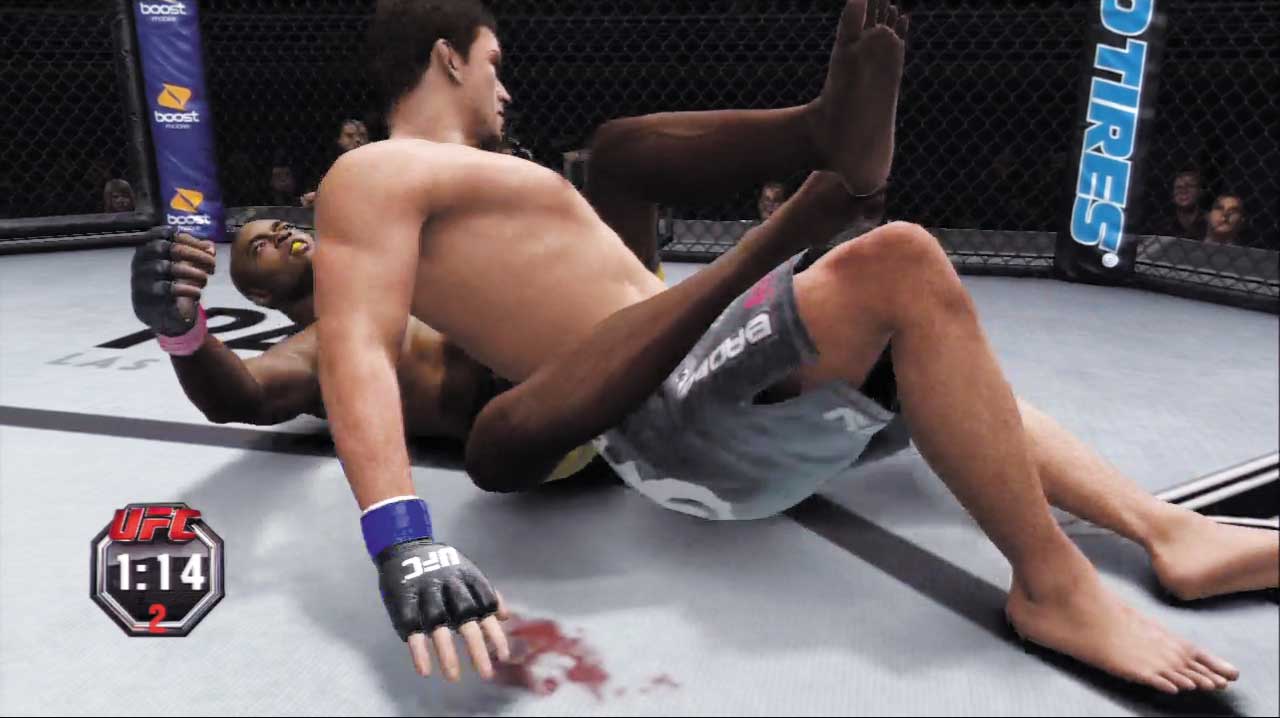
This awkward position is not a safe place to hang out. Block your opponent’s dangerous submission attempts and look for a chance to transition out to a less dangerous spot.
Attaining the Position
- You end up in this position when the opponent transitions to Back Mount Face Up Body Triangle, Top.
Available Strikes
- Quick strikes
Available Transitions
- Minor transition to Sprawl, Bottom
- Technique transition (if possible)
Available Defense
- Strike defense high
- Grapple block
- Transition reversal
Up/Down Far, Top
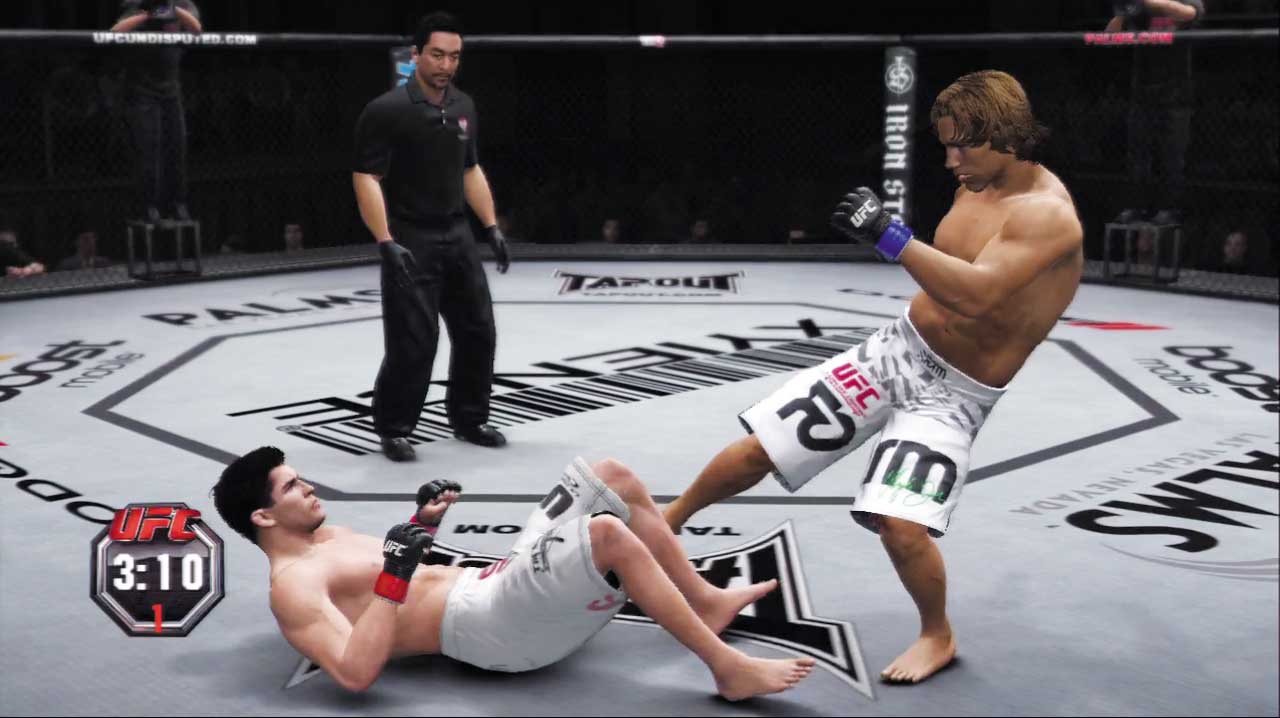
This position favors the standing fighter, allowing him to land largely unanswered strikes to the opponent’s legs, and also to the body and head when he tries to stand up.
If you’re a grappler and the bottom opponent kicked you away, try performing a quick takedown to dive back into his guard before he regains his feet.
Punish his legs otherwise, and look to land a big shot while he’s attempting to stand.
Attaining the Position
- You end up in this position when you escape from a top position on the ground and return to your feet.
- You sometimes end up in this position when the bottom opponent kicks you off.
Available Strikes
- Quick strikes
- Quick strikes to body
- Quick strikes to legs
- Offensive strong strikes
- Offensive strong strikes to legs
- Defensive strong strikes
- Defensive strong strikes to body
- Defensive strong strikes legs
- Step strikes to legs
- Sway strikes
- Sway strikes to body
- Dash strikes to legs
- Technique strikes (if possible)
- Feints
Available Transitions
- Diving takedown
- Leg takedown feint
Available Defense
- Strike defense high
- Strike defense low
- Grapple block
- Counter grapple high
- Counter grapple low
Up/Down Far, Bottom
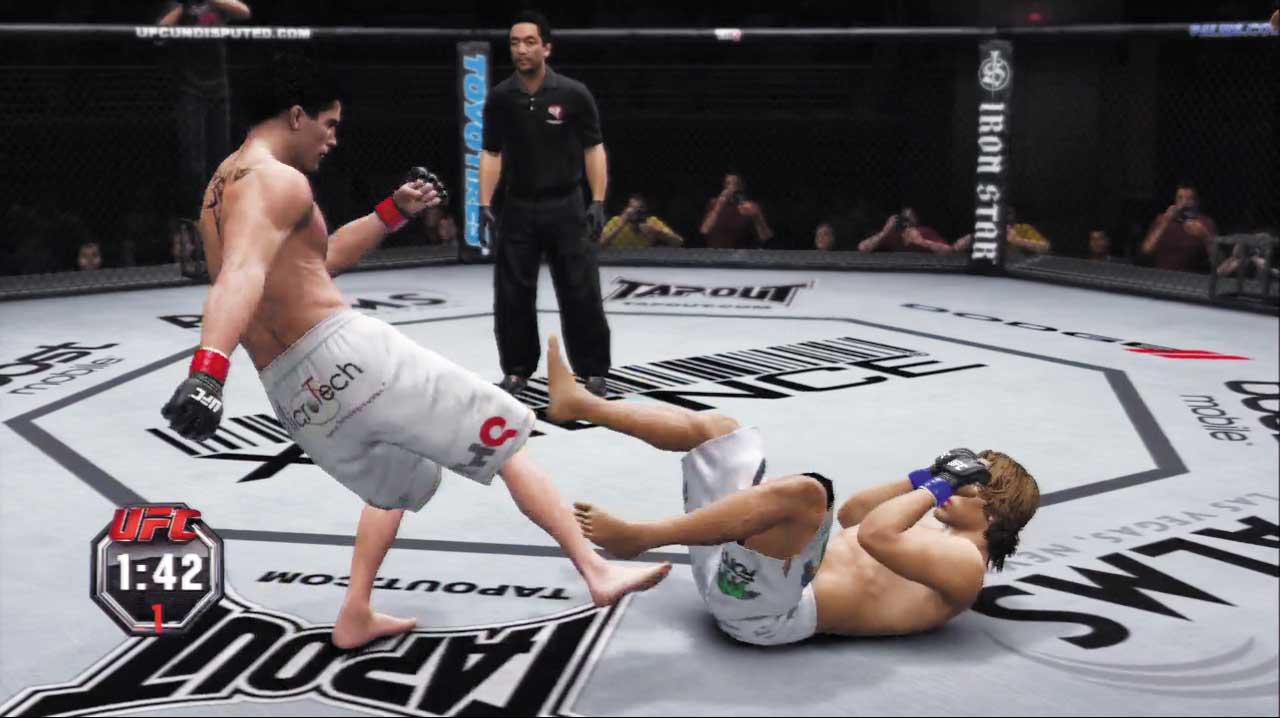
This disadvantageous position puts your legs in danger of being kicked by the standing opponent—your best option is to stand back up from here.
Quickly escape back up to standing if you wish to fight on your feet, but beware of the opponent connecting with a big blow as you rise—you’re highly vulnerable while attempting to stand.
You may also dive for a takedown if you think the opponent won’t be expecting it—these desperate takedowns are easy to counter, but they’ll turn the tables and give you top position if they succeed.
Attaining the Position
- You may end up in this position after kicking the top opponent away from you on the ground.
- You may end up in this position when the top ground opponent escapes up to standing.
Available Strikes
- Quick strikes to body
- Quick strikes to legs
Available Transitions
- Takedown
- Escape to Both Standing, Striking Range
Available Defense
- Strike defense high
- Strike defense low
- Grapple block
Up/Down Near, Top
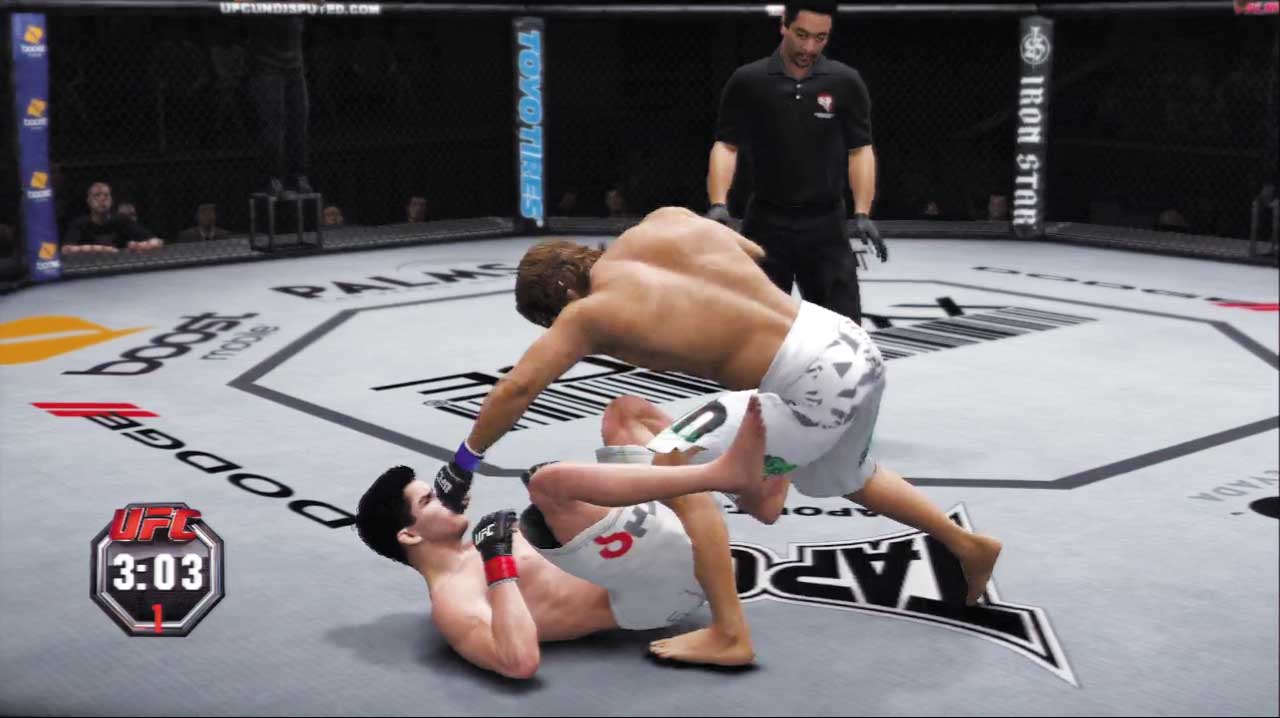
The bottom opponent’s legs rise up in defensive posture as the standing fighter draws closer, indicating that you’ve moved into Up/Down, Near.
Strong strikes thrown in this position cause you to come crashing down on the bottom opponent with a heavy blow, potentially rocking him as you land in his guard.
Submission experts may wish to forgo the falling blow and drop down for various leg locks from here instead.
Attaining the Position
- Move toward the bottom opponent to transition from Up/Down Far, Top.
Available Strikes
- Quick strikes
- Quick strikes to body
- Quick strikes to legs
- Offensive strong strikes
- Offensive strong strikes to legs
- Defensive strong strikes
- Step strikes to legs
- Technique strikes (if possible)
- Feints
Available Transitions
- Forward transition to Open Guard, Top
- Diving takedown
- Submission (if possible)
- Technique submission (if possible)
Available Defense
- Strike defense high
- Strike defense low
- Grapple block
- Counter grapple high
- Counter grapple low
Up/Down Near, Bottom
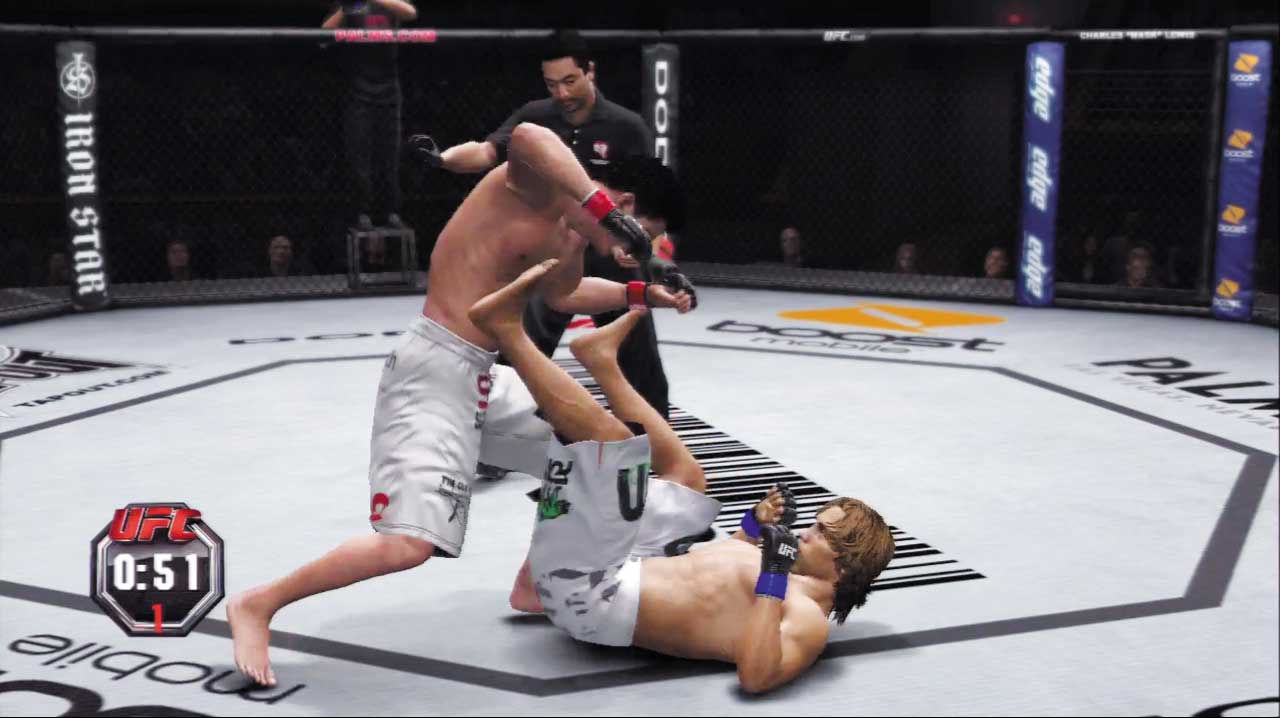
Though you can potentially unleash more powerful technique strikes from this position, such as up-kicks, you’re actually in great danger here, because the standing opponent can come crashing down into your guard with a brutal strong strike, or even drop down for a sudden leg lock submission.
Escaping up to your feet can be risky with the opponent so close—consider driving in for a surprise takedown instead, which will land you in top position if successful.
Attaining the Position
- You may end up in this position after kicking the top opponent away from you on the ground.
- You may end up in this position when the top ground opponent escapes up to standing.
- You may end up in this position when the standing opponent moves toward you while you’re on the ground.
Available Strikes
- Quick strikes to body
- Quick strikes to legs
- Technique strikes (if possible)
Available Transitions
- Takedown
- Escape to Both Standing, Striking Range
Available Defense
- Strike defense high
- Strike defense low
- Grapple block
Up/Down Nearer, Top
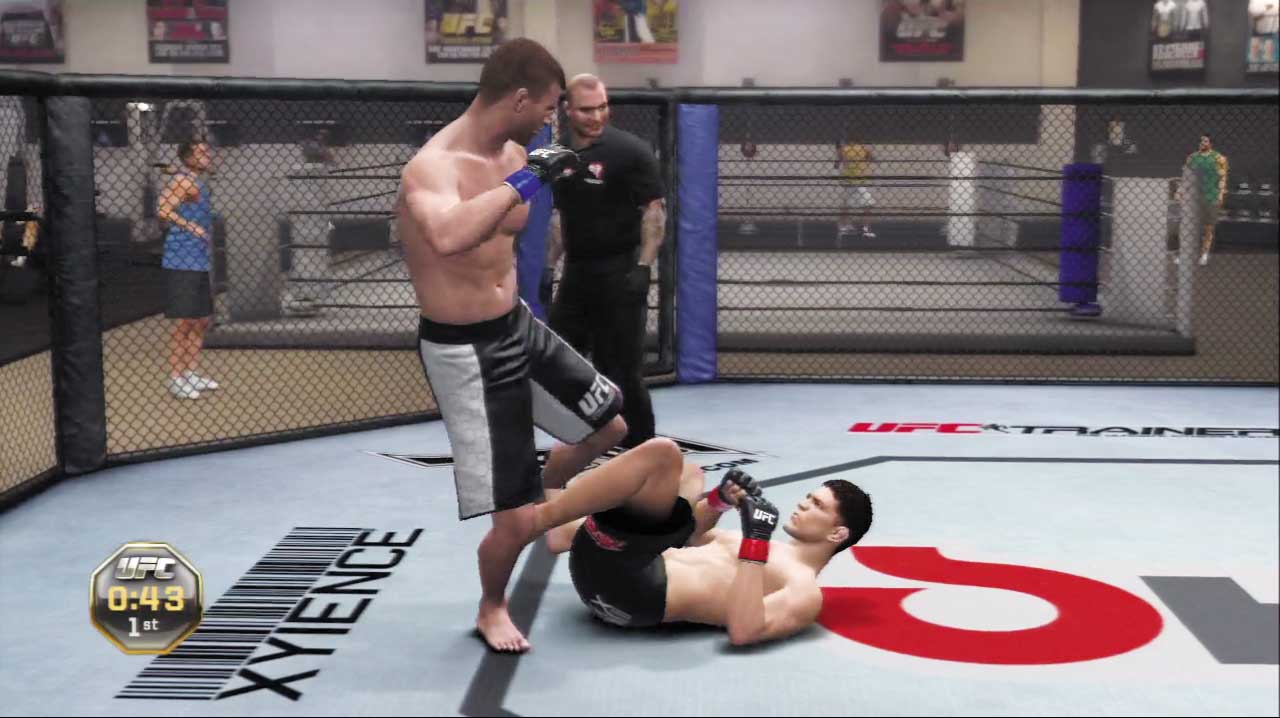
From here, you are one thumbstick flick away from entering your opponent’s guard, but you are in range to land some good punches from the top.
Get creative though—you can catch your opponents up-kick attempts and dive on him with a punch or pass directly to Side Control, Top.
But, many fighters can also drop down from standing and attack a leg with a submission from here.
Attaining the Position
- When you move in close from Up/Down Near, Top
- When your opponent scoots closer from Up/Down Near, Bottom
Available Strikes
- Quick strikes to legs
- Strong strikes
- Technique strikes (if possible)
Available Transitions
- Forward transition to Open Guard, Top
- Submission (if possible)
- Technique submission (if possible)
Available Defense
- Strike defense high
- Strike defense low
- Grapple block
- Counter grapple high
- Counter grapple low
Up/Down Nearer, Bottom
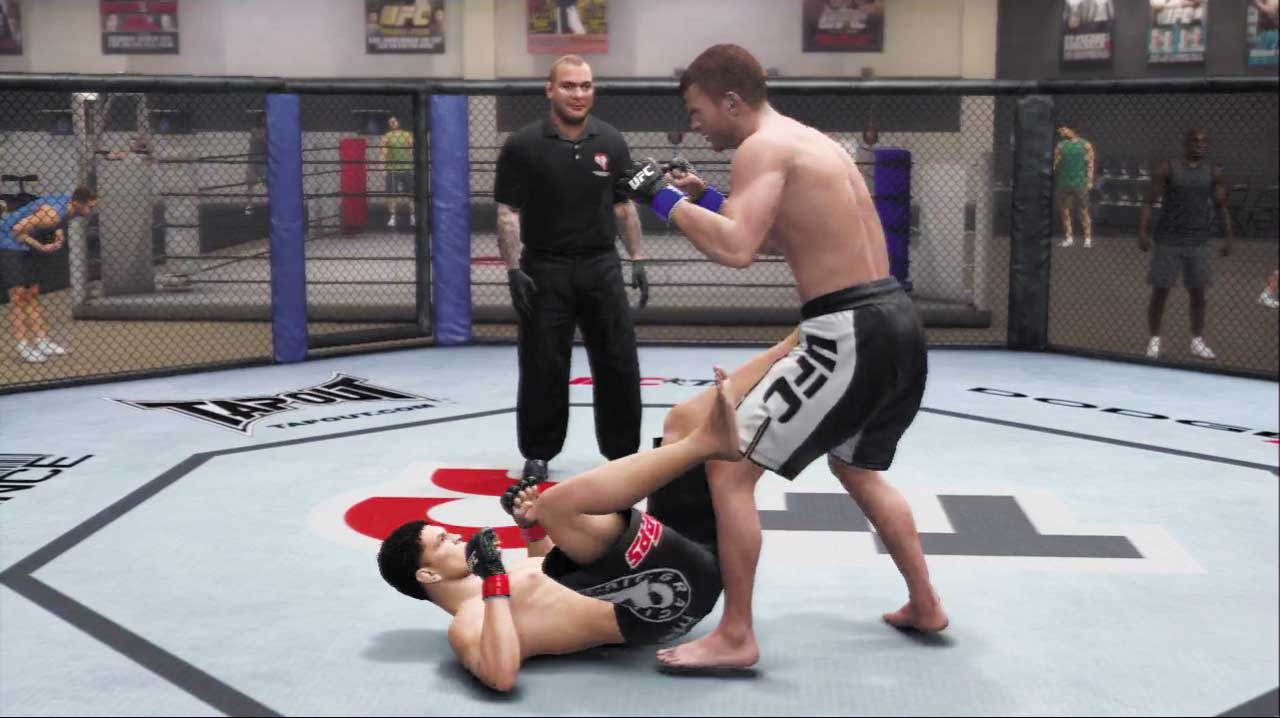
It’s not the end of the world to be in this position. You may have the opportunity to catch a submission or take your opponent down while you get up.
The major difference between this position and Up/Down Near is probably a few less strikes in your arsenal.
Watch out for ankle locks and heel hooks from this position.
Attaining the Position
- When your opponent moves in close from Up/Down Near, Top
- When you scoot closer from Up/Down Near, Bottom
Available Strikes
- Quick strikes to legs
- Technique strikes (if possible)
Available Transitions
- Forward transition to Open Guard, Top
- Submission (if possible)
- Technique submission (if possible)
Available Defense
- Strike defense high
- Strike defense low
- Grapple block
Up/Down Rocked, Top
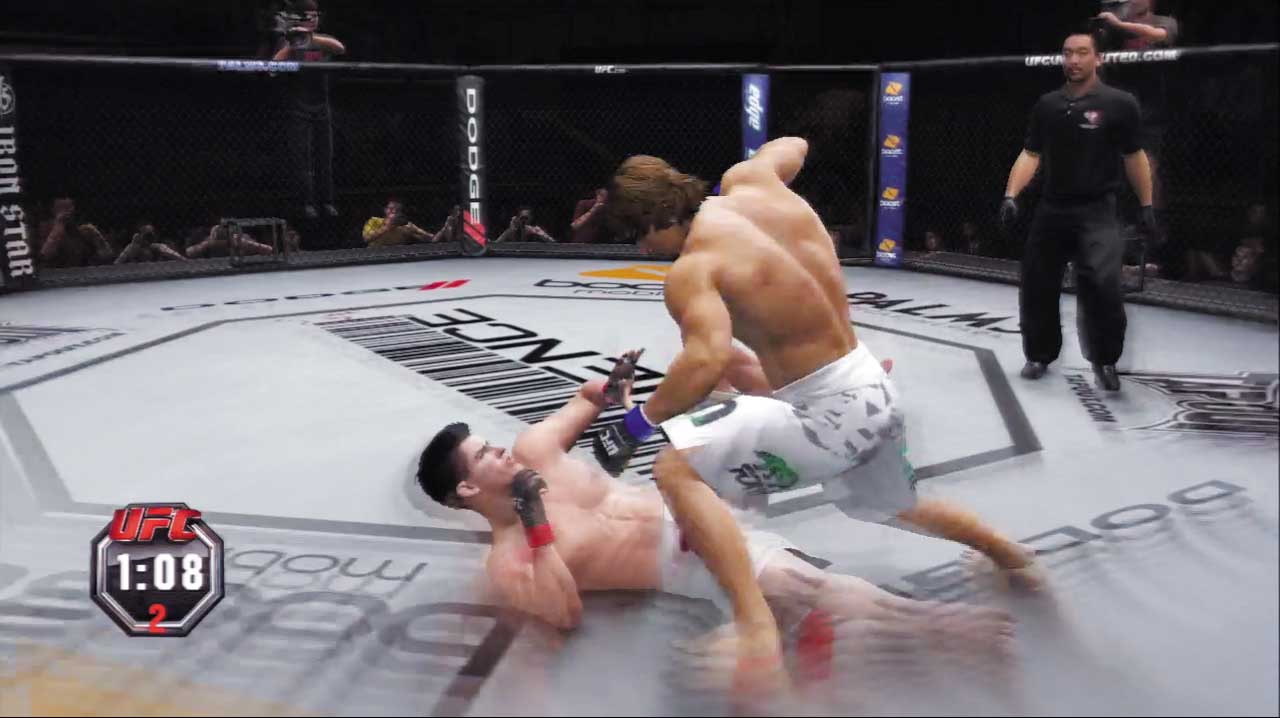
Connect with a hard strike on the feet and you may rock your opponent, causing him to collapse to the ground in a world of hurt.
Either follow him down to the ground with a big strike, or take the opportunity to transition to a dominant ground position or to lock in a powerful sub.
Attaining the Position
- You sometimes end up in this position after rocking the opponent with standing strikes.
Available Strikes
- Strong strikes
Available Transitions
- Minor transition to Mount Rocked, Top
- Submission (if possible)
- Escape to Up/Down, Top
Up/Down Rocked, Bottom
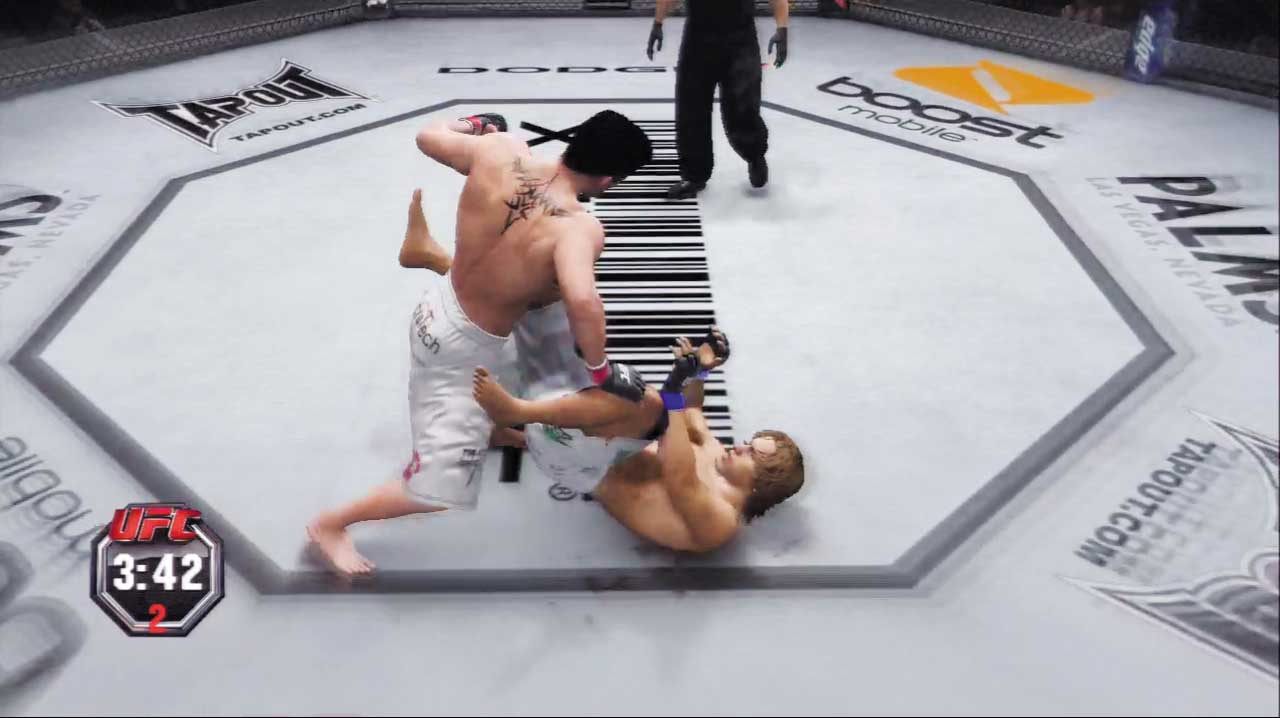
Cover up and block when you’ve been dropped by a big shot on the feet—more punishment is certain to follow!
Beware of submissions and transition attempts as well—block these to avoid winding up in an even worse spot.
You may even dare to risk a strike catch or transition reversal to quickly reach a better position and clear your head.
Attaining the Position
- You sometimes end up in this position after getting rocked by the opponent’s strikes while standing.
Available Transitions
- Strike catch to Mount Clinch, Bottom
Available Defense
- Strike defense high
- Grapple block
- Transition reversal