
UFC Undisputed 3 Guide Gameplay Positions and Moves
Standing Positions
MMA is a dynamic sport full of unique moves and fighting positions. Different positions grant different advantages, so it’s important to know about each one.
Here we review the finer points of every standing, clinch, and ground position in UFC Undisputed 3, listing all of the types of strikes, transitions, and defensive moves that are available to you in each one.
Every fight begins on the feet, so it’s important to know how to handle yourself in each standing position.
Both Standing, Striking Range
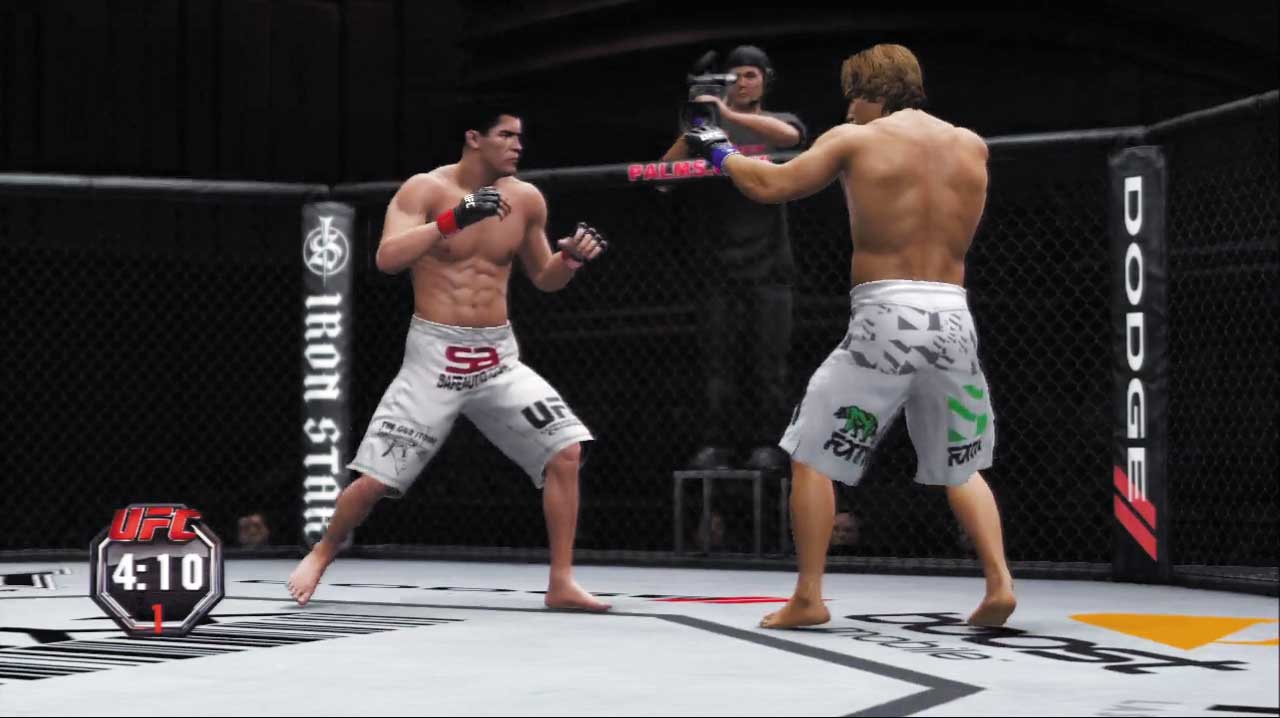
This is the default starting position for all UFC Undisputed 3 fights.
If the referee ever decides to break up the action, he’ll return the fight to this neutral standing position. Most strikers will want to remain in striking range—do so by stepping effectively to slip in and out of range.
Strive to maintain this distance against superior grapplers as well—it gives you maximum reaction time when it comes to stuffing their clinch attempts and takedowns.
Available Strikes
- Quick strikes
- Quick strikes to body
- Quick strikes to legs
- Offensive strong strikes
- Offensive strong strikes to body
- Offensive strong strikes to legs
- Defensive strong strikes
- Defensive strong strikes to body
- Defensive strong strikes legs
- Step strikes
- Step strikes to body
- Step strikes to legs
- Sway strikes
- Sway strikes to body
- Sway strikes to legs
- Dash strikes
- Dash strikes to body
- Dash strikes to legs
- Technique strikes (if possible)
- Feints
Available Transitions
- Clinch
- Technique clinch
- Takedown
- Submission (if possible)
- Leg takedown feint
Available Defense
- Strike defense high
- Strike defense low
- Grapple block
- Counter grapple high
- Counter grapple low
Both Standing, Clinch Range
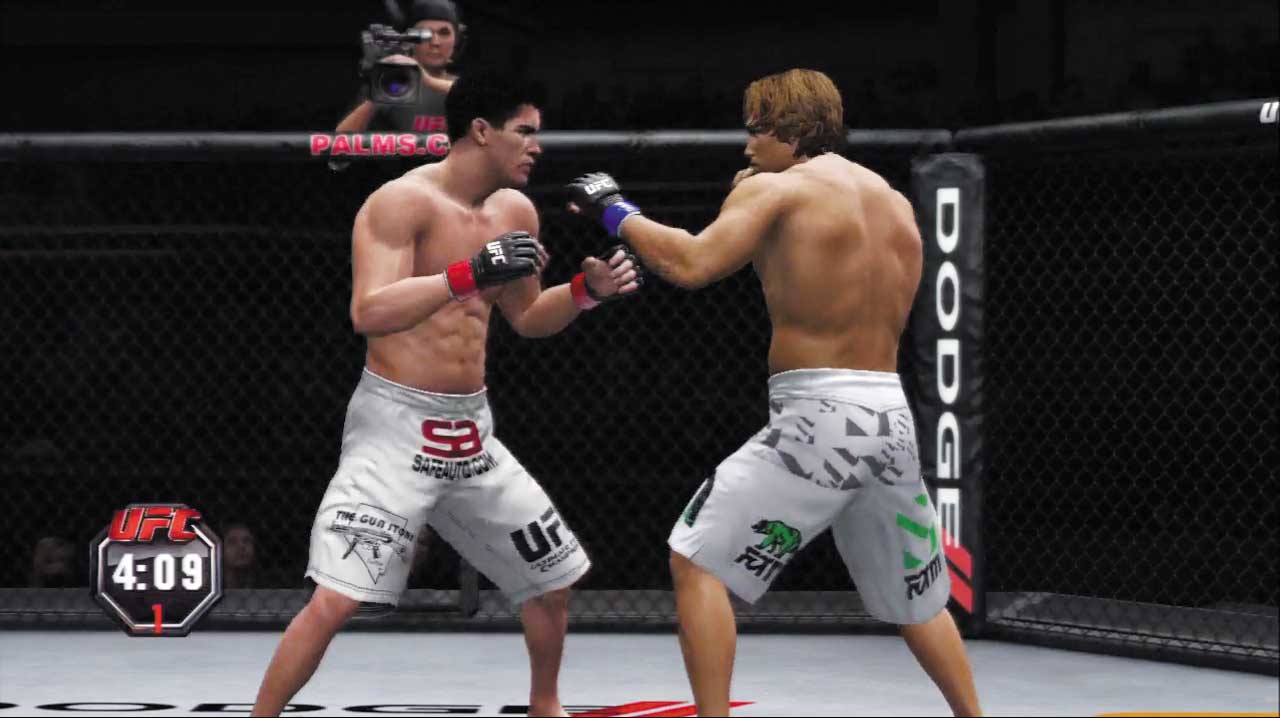
You enter clinch range whenever you or the opponent moves in close on the feet. This close-range striking position favors aggressive and durable strikers and grapplers.
Noticeably absent from this position are step strikes and dash strikes—use sway strikes instead to remain elusive while staying “in the pocket” and able to land hard counters.
Takedown feints cannot be performed from this range, either—when you’re this close to your rival, you might as well shoot for the real thing!
Available Strikes
- Quick strikes
- Quick strikes to body
- Quick strikes to legs
- Offensive strong strikes
- Offensive strong strikes to body
- Offensive strong strikes to legs
- Defensive strong strikes
- Defensive strong strikes to body
- Defensive strong strikes to legs
- Sway strikes
- Sway strikes to body
- Sway strikes to legs
- Technique strikes (if possible)
- Feints
Available Transitions
- Clinch
- Technique clinch
- Takedown
- Submission (if possible)
Available Defense
- Strike defense high
- Strike defense low
- Grapple block
- Counter grapple high
- Counter grapple low
Kick Catch
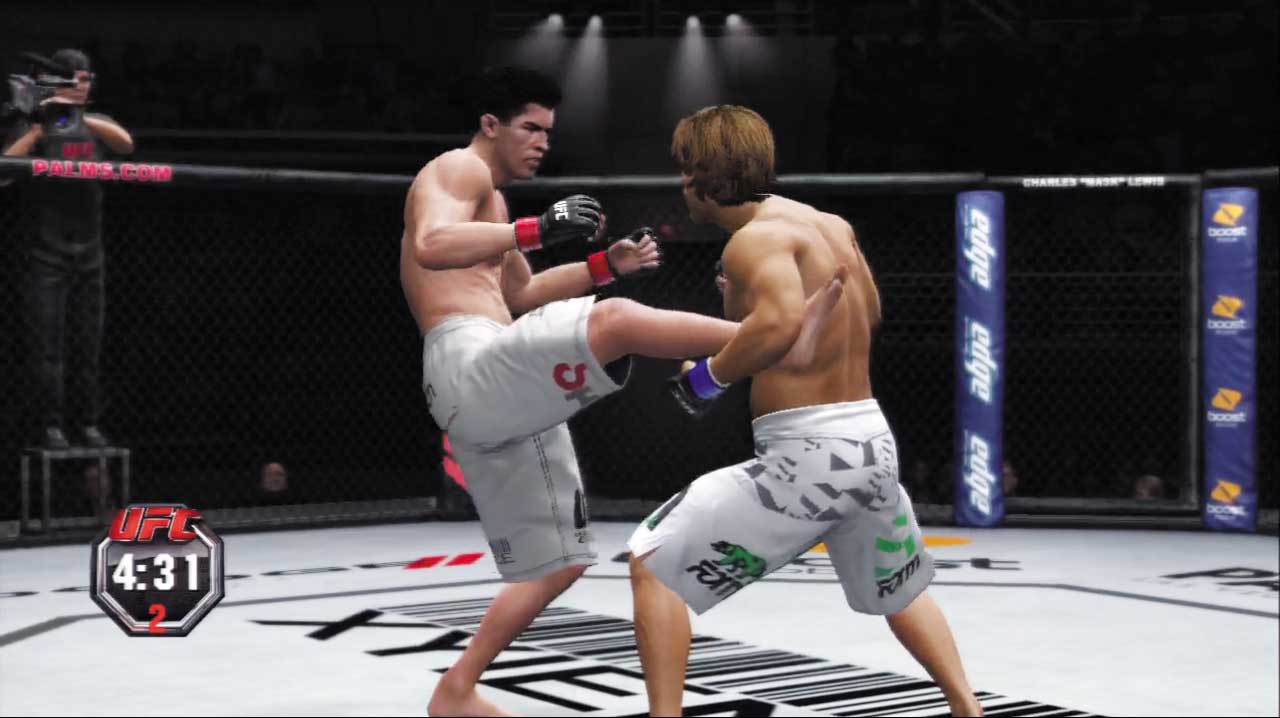
This advantageous position occurs when you successfully perform a counter grapple against any form of head or body kick.
For a brief moment, the countered opponent will be off-balance and helpless, allowing you to land an undefended strong strike or transition to a takedown or submission.
Make good use of the counter grapple move to attain this position against aggressive kick boxers.
Available Strikes
- Strong strikes
Available Transitions
- Takedown
- Technique transition (if possible)
- Submission (if possible)
Takedown Block
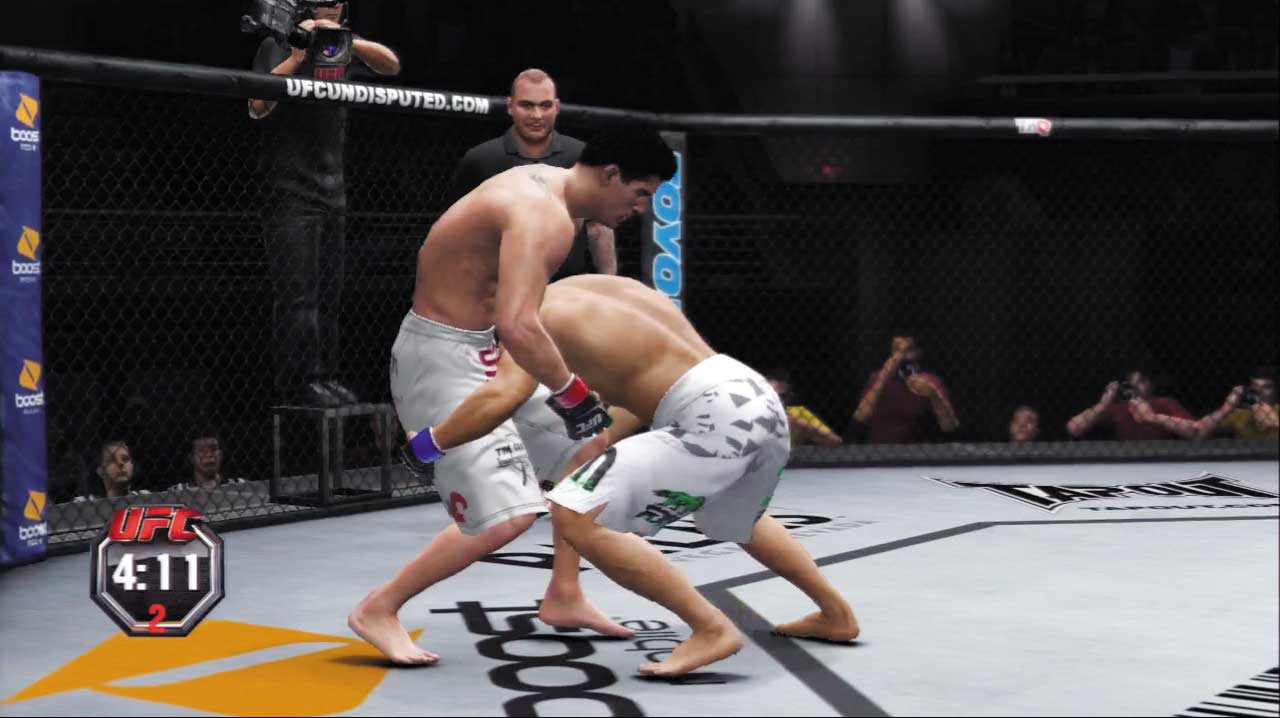
You enter this advantageous position when you’re quick to block a takedown the moment that the opponent begins to shoot.
It’s similar to the Kick Catch position; the opponent is totally off-balance and helpless for a brief moment, allowing you to land an unprotected strike or transition to a takedown or submission.
Keep your distance and be ready to stuff a takedown at a moment’s notice to improve your chances of attaining this position against aggressive takedown artists.
Available Strikes
- Strong strikes
Available Transitions
- Takedown
- Technique transition (if possible)
- Submission (if possible)