
UFC Undisputed 3 Guide Gameplay How to Play
Ground Defense
Defending on the ground is vital in UFC Undisputed 3, because you’re always vulnerable when you’re stuck on bottom. Here we cover everything you need to know about proper ground defense.
Stuffing Takedowns (Sprawling)
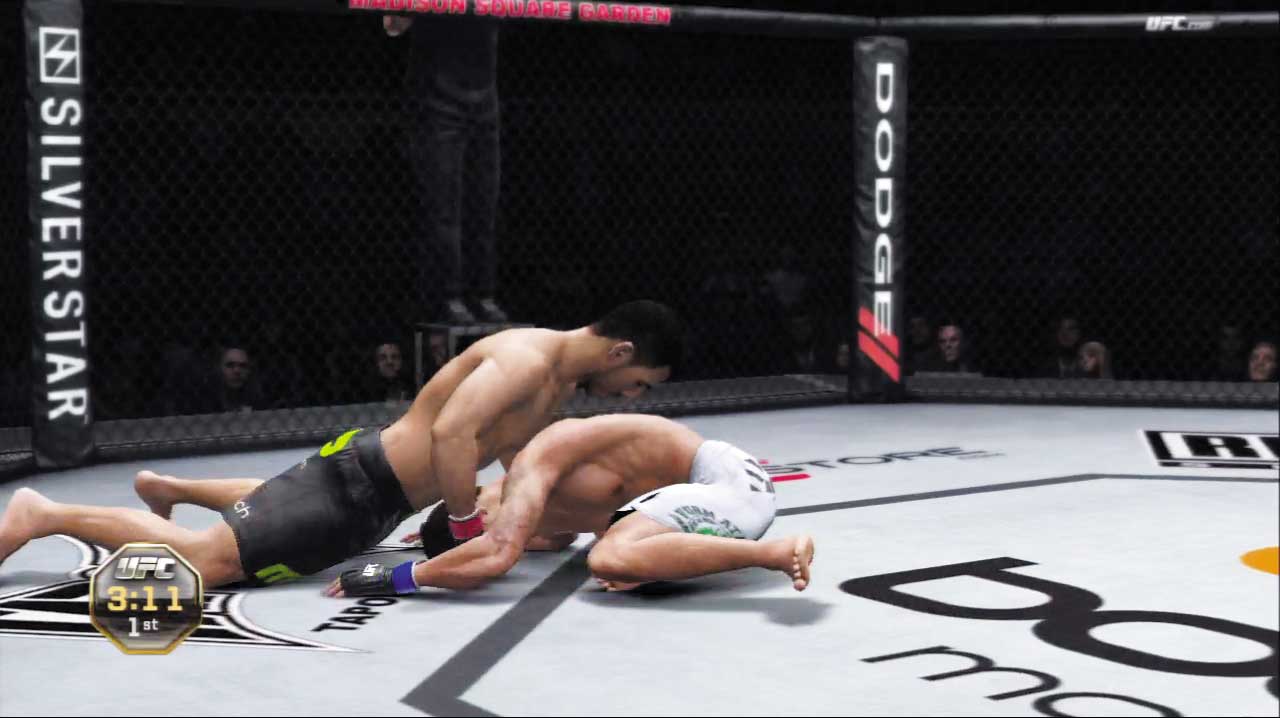
When the opponent shoots in for a takedown, tilt the Clinch/Grapple stick away from him to sprawl out and “stuff” the shot, maintaining your balance.
Many times, sprawling results in a brief takedown battle—quickly rotate the Clinch/ Grapple Stick to struggle against the takedown! At the same time, your opponent will be spinning their Clinch/Grapple stick in an attempt to complete their takedown.
The battle can result in three different outcomes, depending on how closely it was contested:
Takedown:
The takedown attempt succeeds, and the fighters move into a ground position, with the aggressor on top and the defender on bottom. The precise resulting position depends on the aggressor’s takedown prowess.
Sprawl:
The battle ends in a stalemate, and the fighters move to the Sprawl ground position. The defender has the advantage of being on top, while the aggressor will be stuck carrying his weight on bottom.
Takedown Counter: If the defender is quick to stuff the takedown immediately, he’ll have a brief chance to unleash a takedown counter.
Takedown Counters
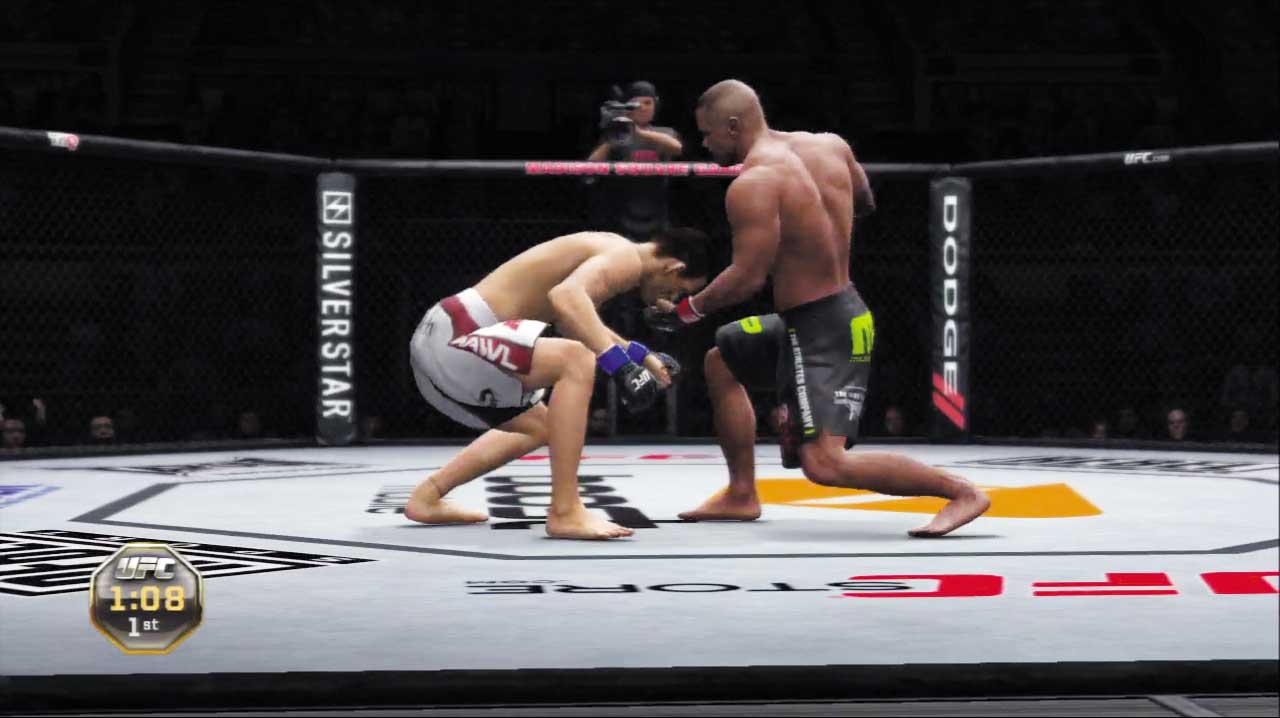
If you’re quick to stuff a takedown, it’s possible that no takedown battle will occur. In these cases, you have a brief chance to land one of three highly effective counters:
- Land a vicious counter strike by pressing any punch or kick button.
- Take the opponent down by quickly tilting the Clinch/Grapple stick toward him.
- Press down on the Clinch/Grapple stick to lock in an unexpected sub.
All three of these counters are useful, but they only become available when you stuff a takedown immediately. Even then, you have only a brief moment to perform the counter before the opponent regains his balance and stands up. Don’t waste these golden opportunities to punish your rival!
Takedown Intercept Attacks
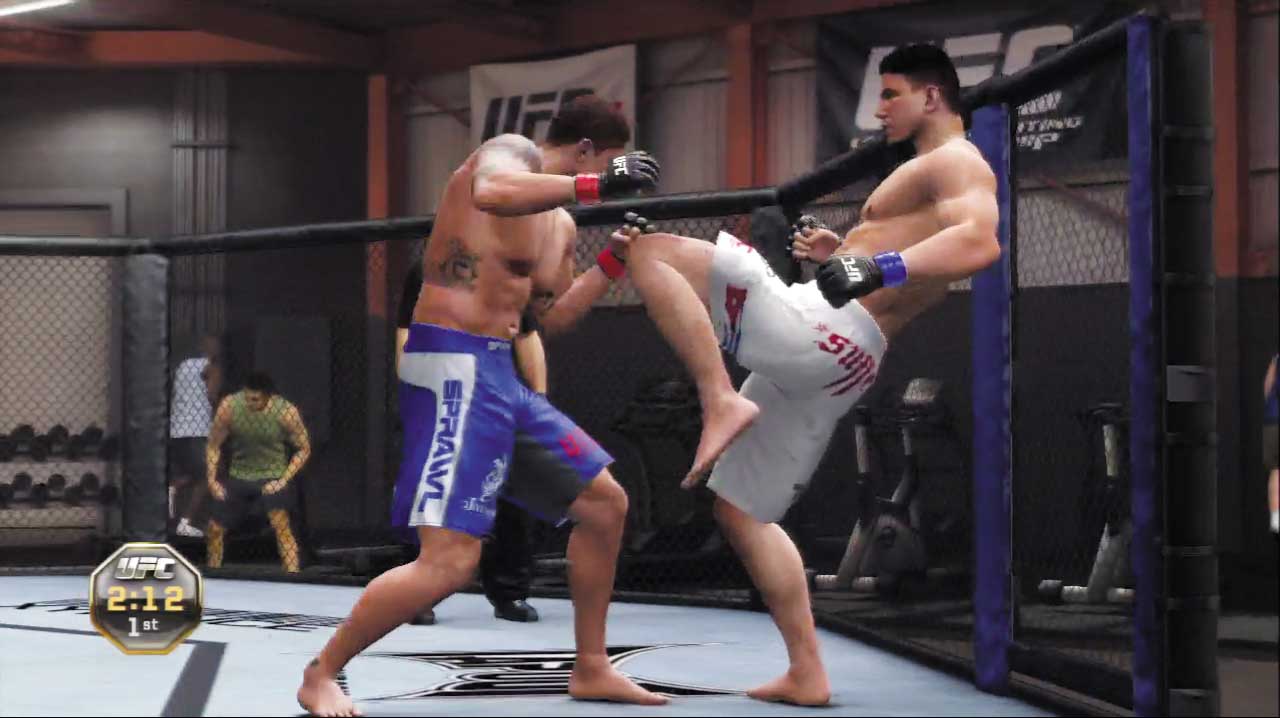
Another option for countering takedowns is to press the Right Kick button while tilting the Movement stick away from the opponent just as he begins to shoot.
When properly timed, this performs a brutal takedown intercept attack that hammers the opponent’s inbound face with an unyielding knee.
Timing is essential, however, as the opponent’s takedown will succeed rather easily if you’re slow to counter.
Ground Clinch Positions
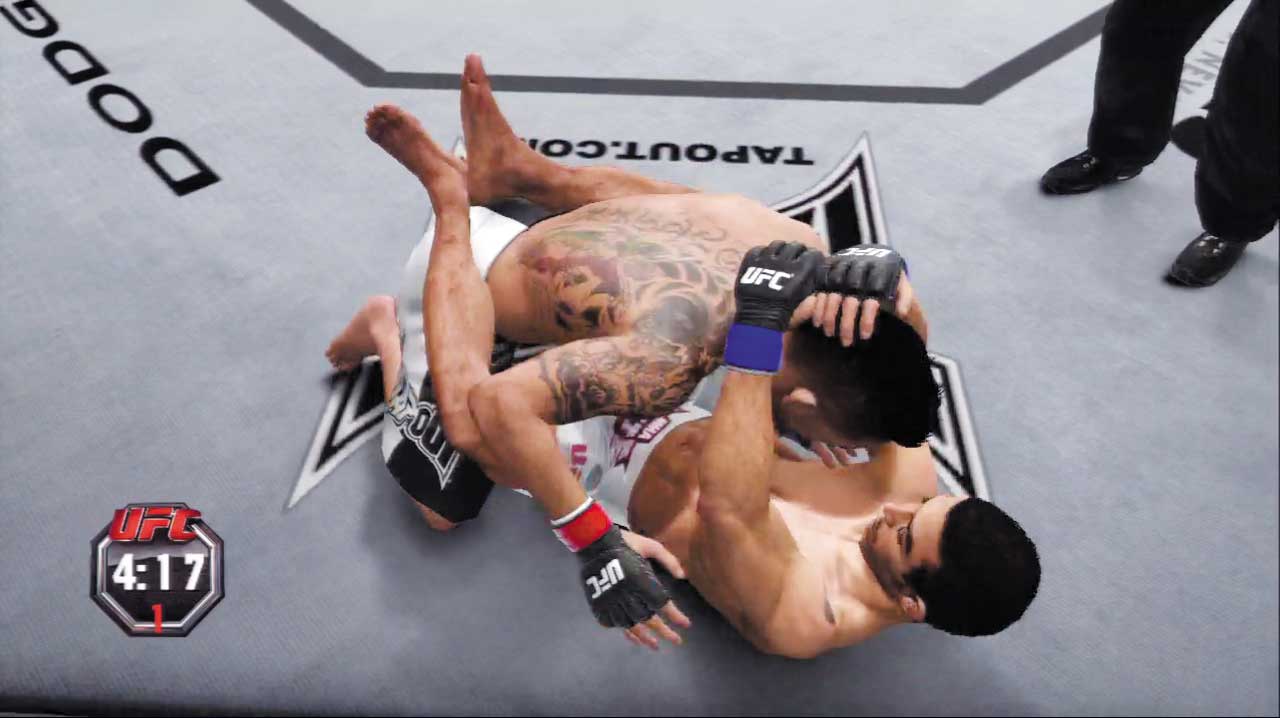
While struggling on bottom, try to maintain defensive ground clinch positions—your opponent will be unable to unleash strong strikes while the fighter’s posture is being restricted, allowing you to focus on blocking transitions and improving your own position.
To pull the opponent into a ground clinch, simply tilt the Clinch/Grapple stick up or down to perform minor or major transitions from the bottom.
If the top fighter doesn’t block your transitions, you’ll eventually pull him into a ground clinch.
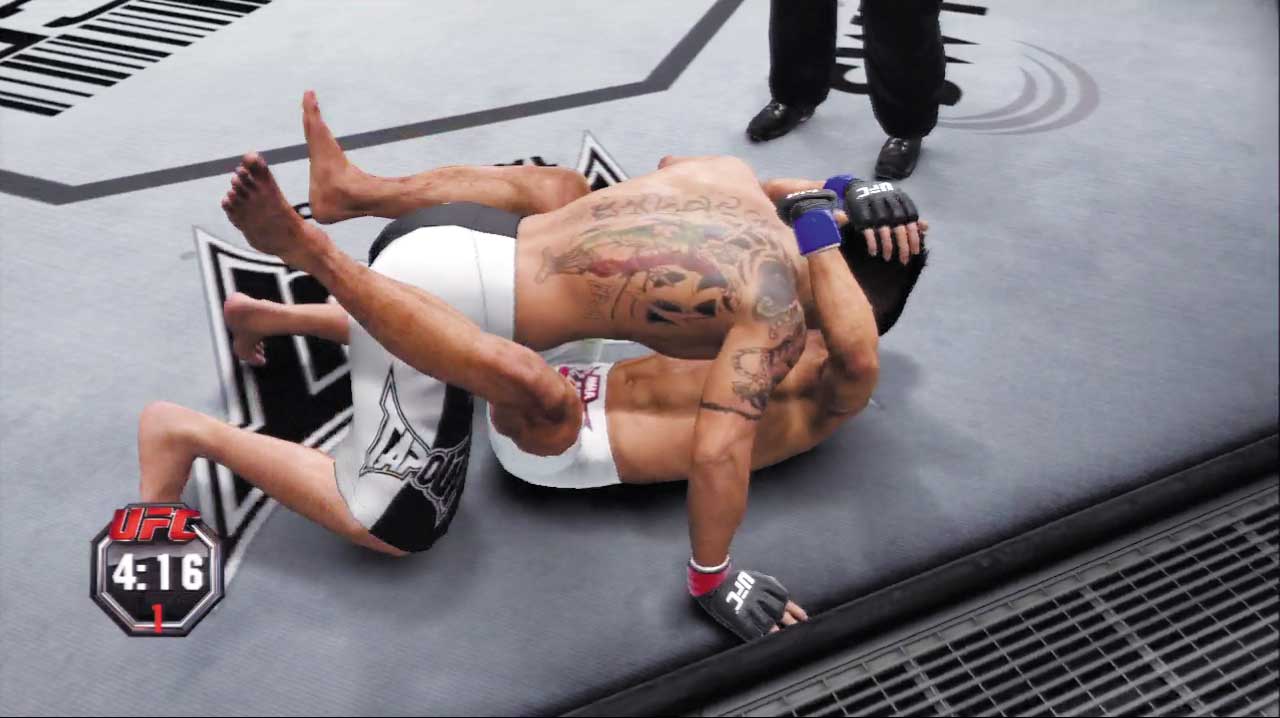
You’re normally unable to move when you’re stuck on the ground in bottom position, but in a ground clinch, you can use the Movement stick to slowly move around on your back.
This lets you inch toward the cage and transition into a seated cage position. Now perform a major transition to use the cage and quickly escape back up to your feet!
From best to worst (for the bottom fighter), here are the different ground positions from which ground clinches are available:
- Open Guard Clinch
- Half Guard Clinch
- Mount Clinch
Blocking
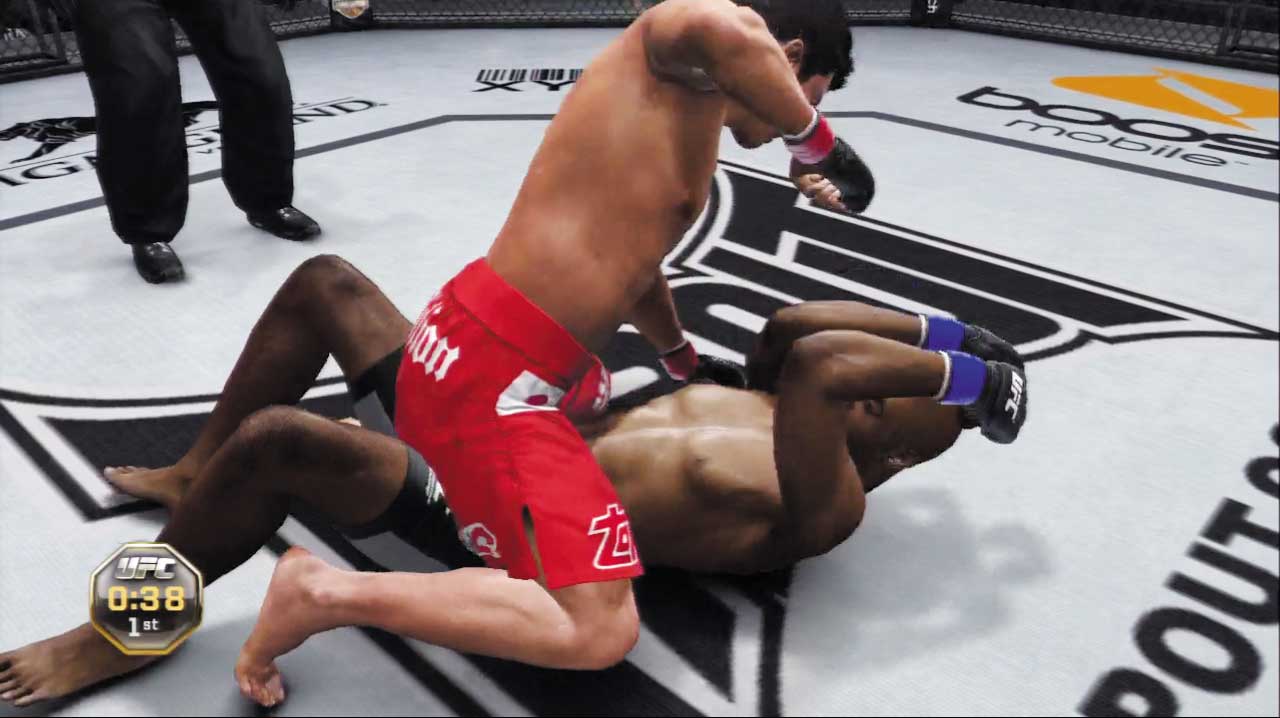
Being planted on your back is the last place you want to be inside the Octagon—but hey, it happens.
Make sure to hold the High Block trigger while struggling on bottom, particularly if the opponent has “postured up” into a dangerous sub position, from which more powerful strikes can be unleashed.
You don’t want to eat many strong strikes while on bottom—defend and look to improve your position to a ground clinch!
Ground Swaying
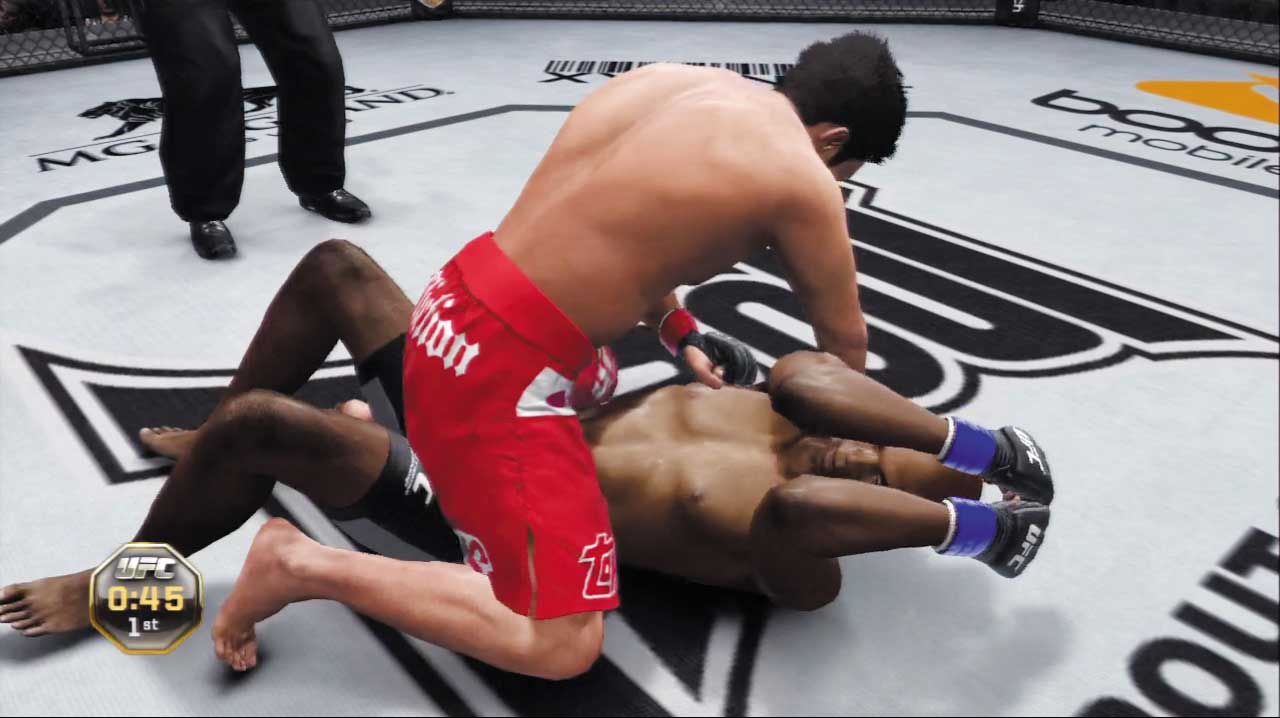
In certain ground positions, the fighter on bottom can tilt the Movement stick left and right to sway from side to side.
With proper timing, it’s possible to sway and avoid straight punches, along with other strikes that come in a straight line.
Swaying away from arcing blows such as hooks reduces their damage, while swaying into arcing blows increases their damage. Ground swaying can be risky, but also very effective at times when the opponent is throwing the same strike over and over.
Ground swaying is available in the following ground positions:
- Open Guard, Bottom
- Half Guard, Bottom
- Butterfly Guard, Bottom
- Mount, Bottom
Strike Catch Submissions
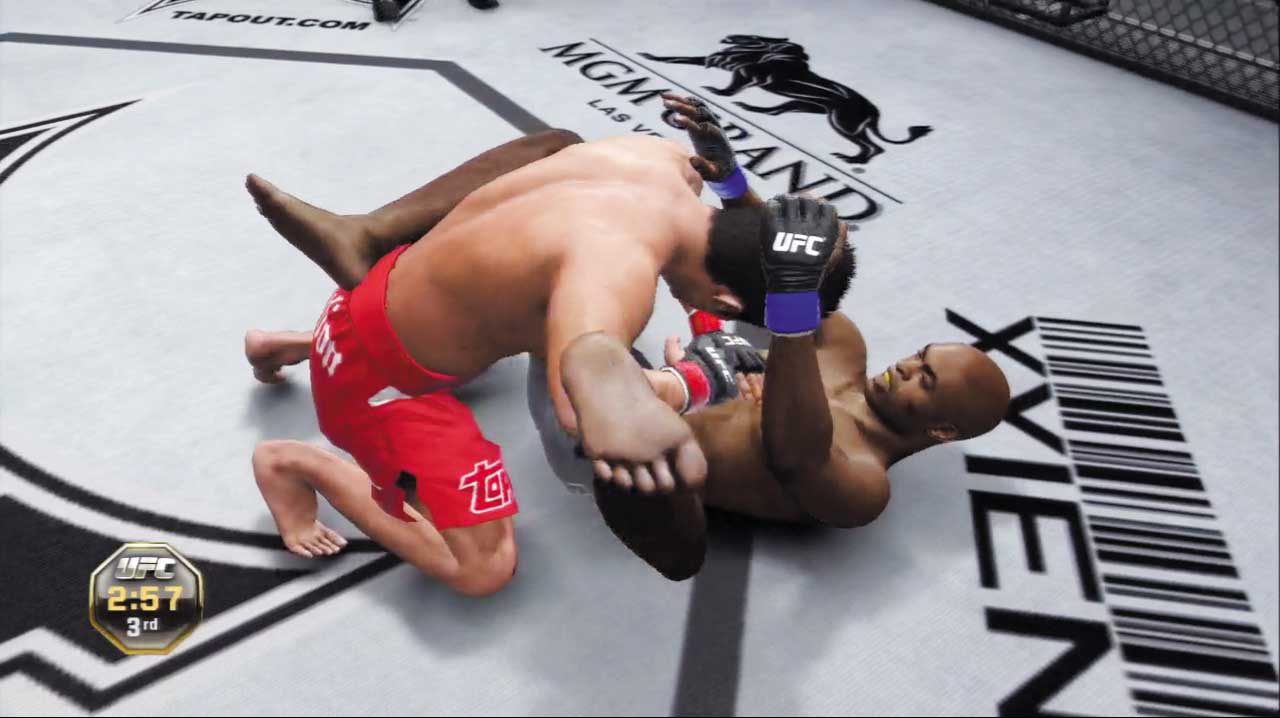
When fighting off your back in the Open Guard, Bottom position, hold the Technique Modifier trigger and press down on the Clinch/Grapple stick with proper timing to catch the opponent’s inbound strike and transition into an immediate—and unexpected—submission. Just because you’re on your back doesn’t mean you can’t attack!
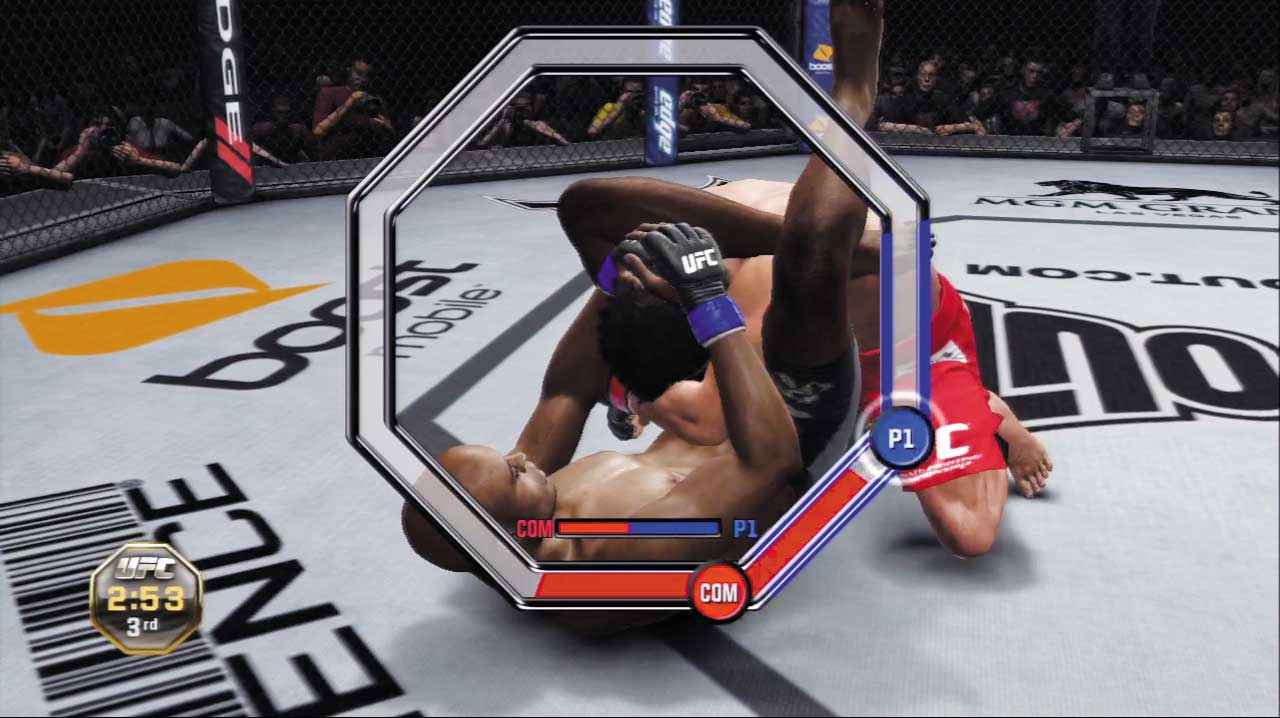
Strike catch submissions are tough to land unless the opponent is hammering down with repeated blows, but they can be a tremendous way to turn the tide of the battle, particularly for submission experts. These are only available to certain fighters in the following positions:
- Open Guard, Bottom
- Half Guard, Bottom
- Up/Down Near, Bottom
Maintaining Position
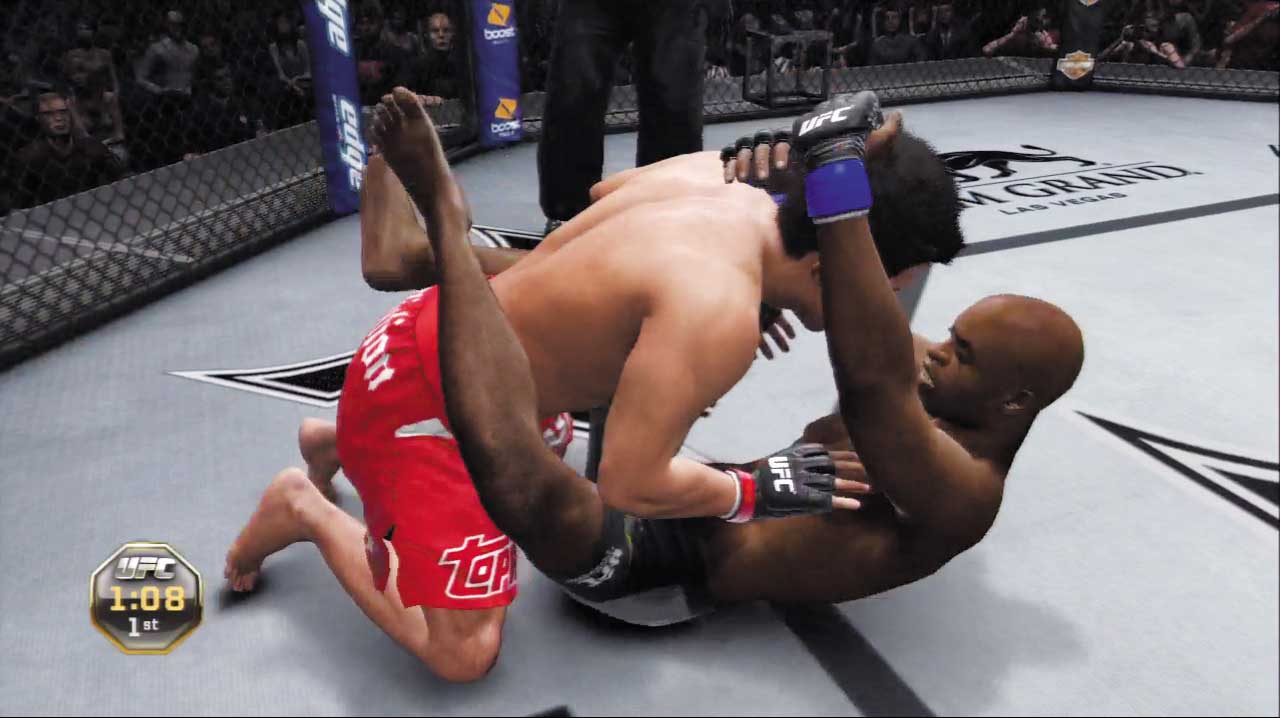
Don’t let your opponent improve their position on the ground—their offensive options significantly increase when they do!
Prevent the top opponent from transitioning by simply tilting and holding the Clinch/Grapple stick away from them to block all transition attempts for a short time.
You can’t block your opponent’s transitions forever, though, so look for opportunities to improve your position and get off your back!
Improving Position and Escaping
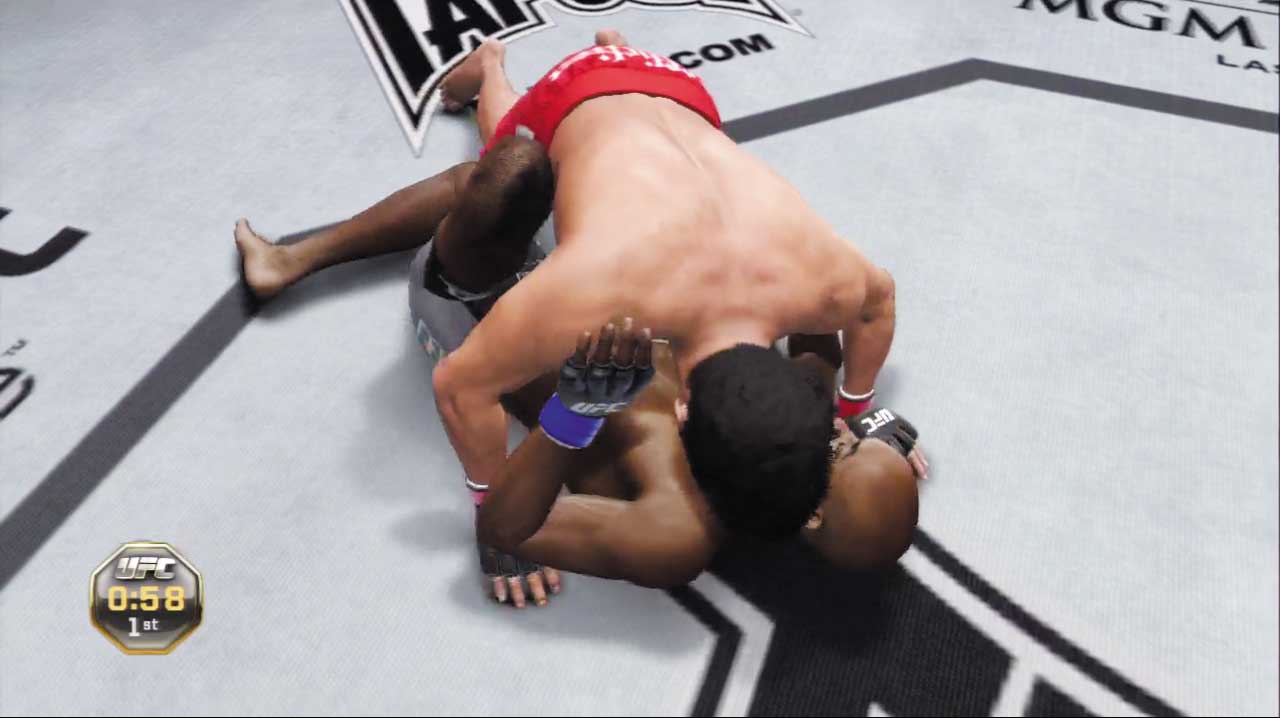
Unless you’re the man on top, don’t linger on the ground for long—work at improving your position by tilting the Clinch/Grapple stick up or down to perform minor and major transitions, just as you would when fighting from the top.
If you’re successful, you’ll eventually kick the opponent away—hurry and press down on the Movement stick to escape back up to your feet!
Ground Transition Reversals
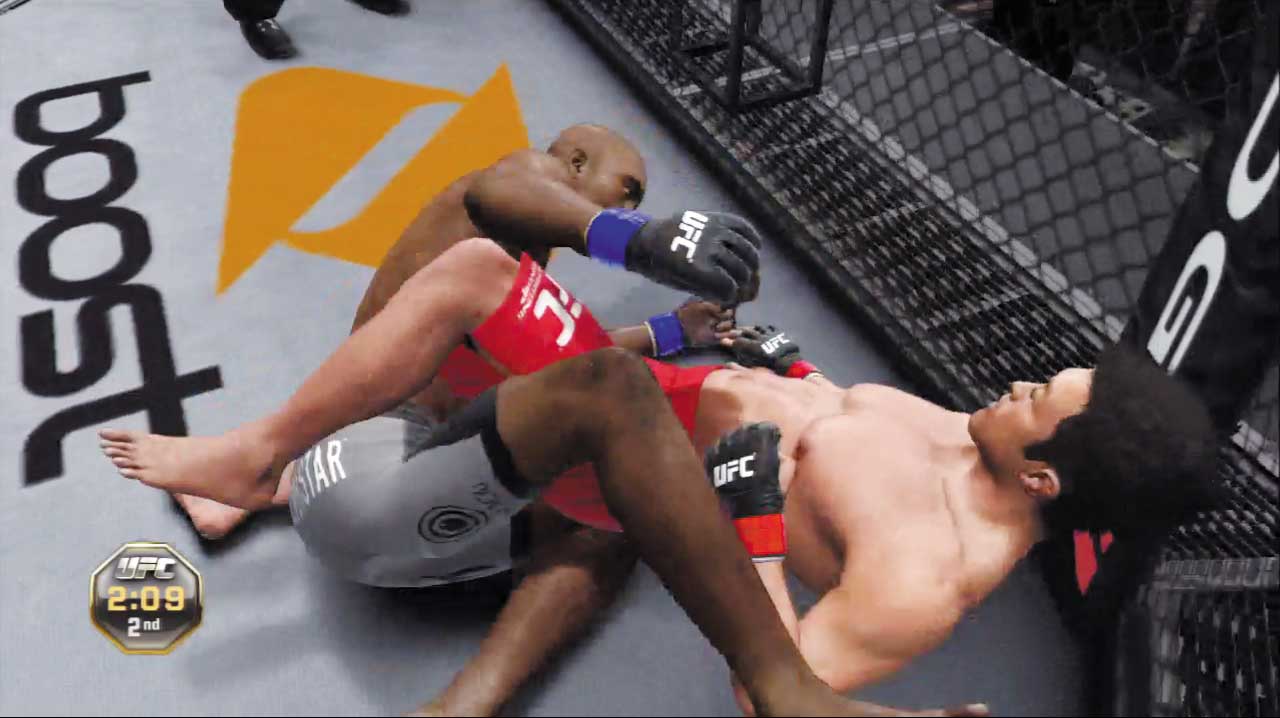
When the opponent attempts to gain better position on the ground, flick the Clinch/Grapple stick away from the fighter with the proper timing (instead of simply holding it away) to perform a ground transition reversal.
A successful reversal causes you to dramatically improve your position instead, often causing the top fighter to bound into Mount or the bottom fighter to sweep his rival onto his back, trading positions in a dramatic twist of fate.
Though potentially fight-altering, ground transition reversals are also quite risky, because waiting to flick the Clinch/Grapple stick means you’re not simply holding it away from the opponent to block transitions and subs.
Stalling on the Ground
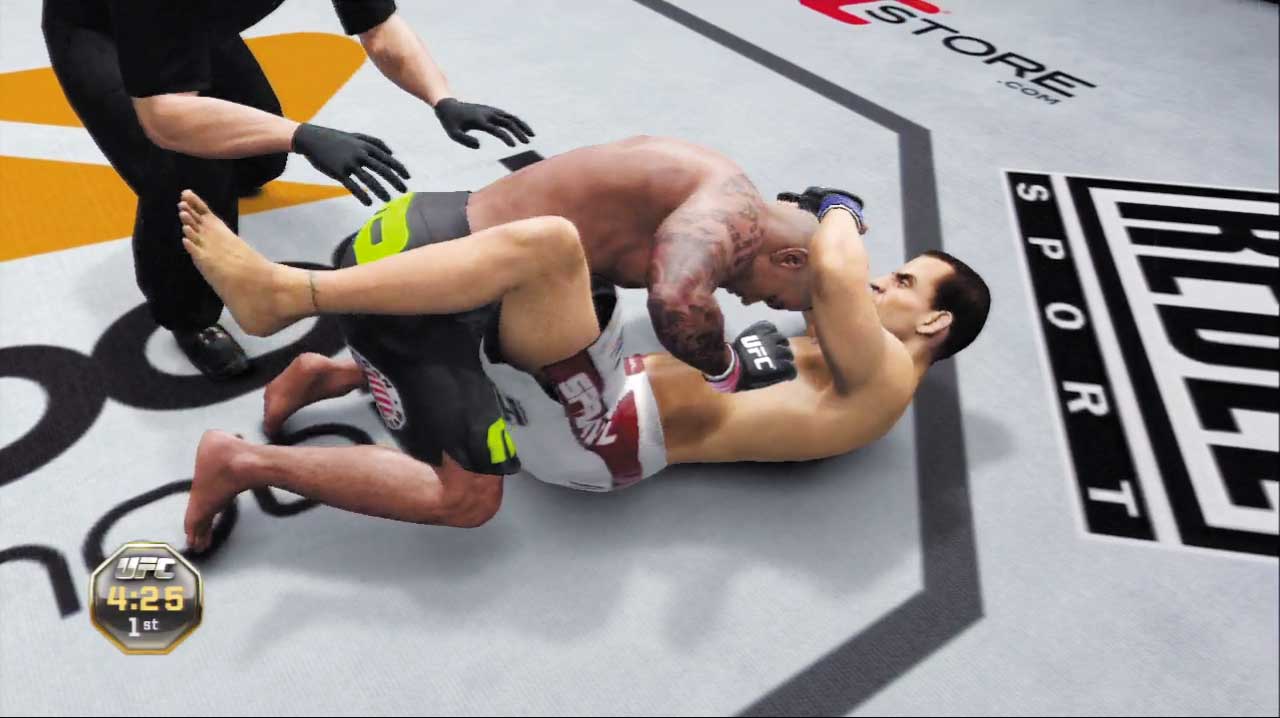
If you’re having trouble getting off your back, you may be able to force a referee stand-up. First improve to a ground clinch position, then tilt and hold the Clinch/Grapple stick away from the opponent in the hopes of blocking all transitions.
Keep this up and you may force the referee to step in and restart the action on the feet! This is an ideal tactic when facing a lazy grappler who’s simply trying to hold you down and win over the judges each round.
Ground Cage Positions
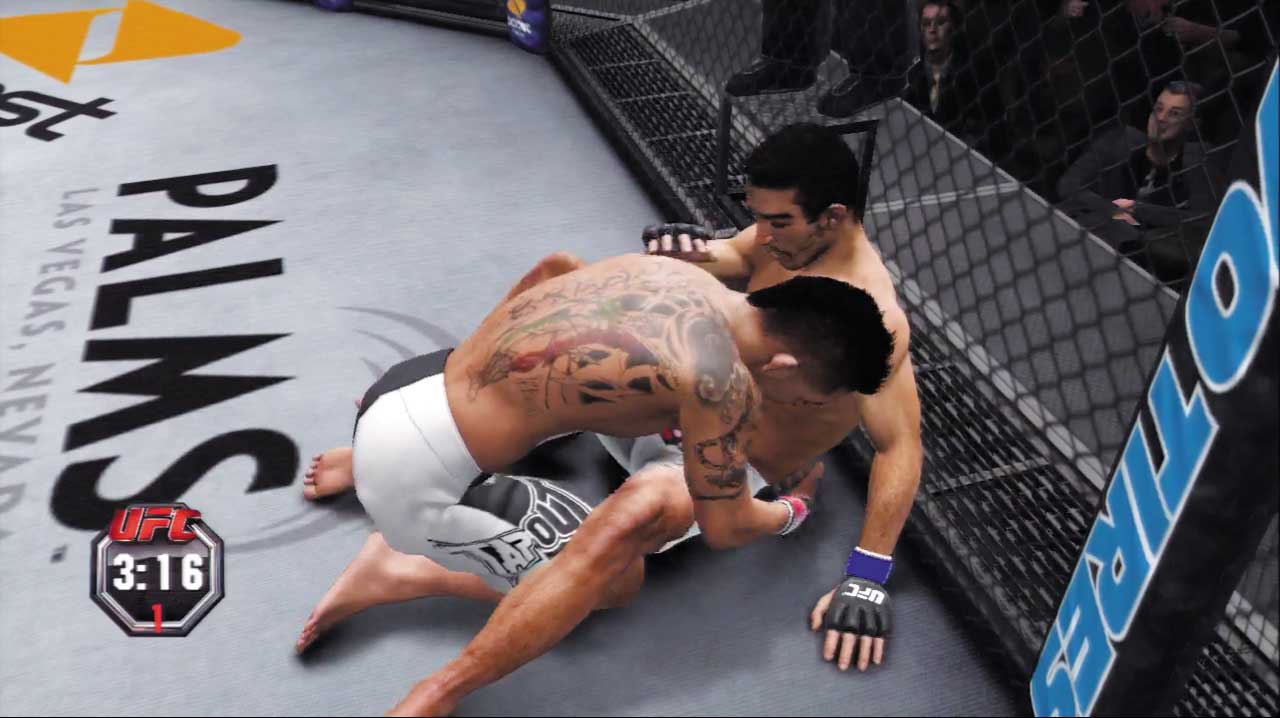
Certain ground clinch positions (namely Open Guard Clinch, Bottom and Half Guard Clinch, Bottom) allow the bottom fighter to crawl up to a seated position with his back pressed against the cage, thereby transitioning to a ground cage position.
Attempt a minor transition when your head is close to the cage—if successful, you’ll crawl up and press your back against the fence. Now you can more easily escape to a standing position by simply performing a major transition to use the cage and return to your feet!