You’ve learned how to reveal locations to maximize this phone’s usefulness, how to access the App tiles on your phone’s screen, and some basic functionality of this weapon, which can be more powerful than a gun in the right hands. Here’s how to make full use of your smartphone and every type of hacking opportunity.
// 1. PROFILING
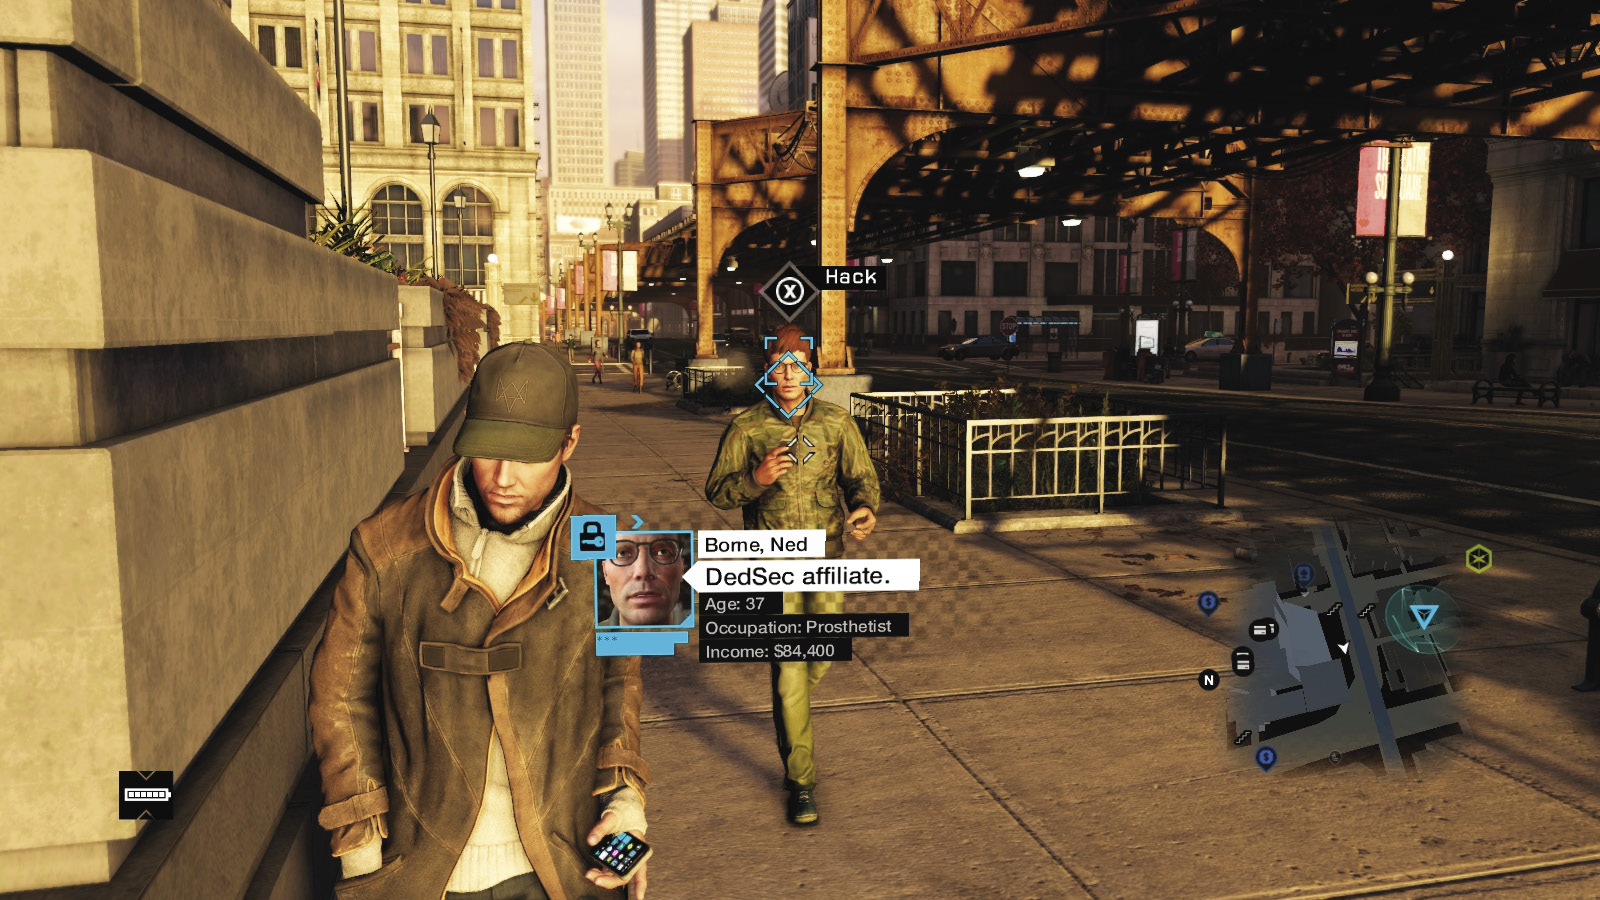
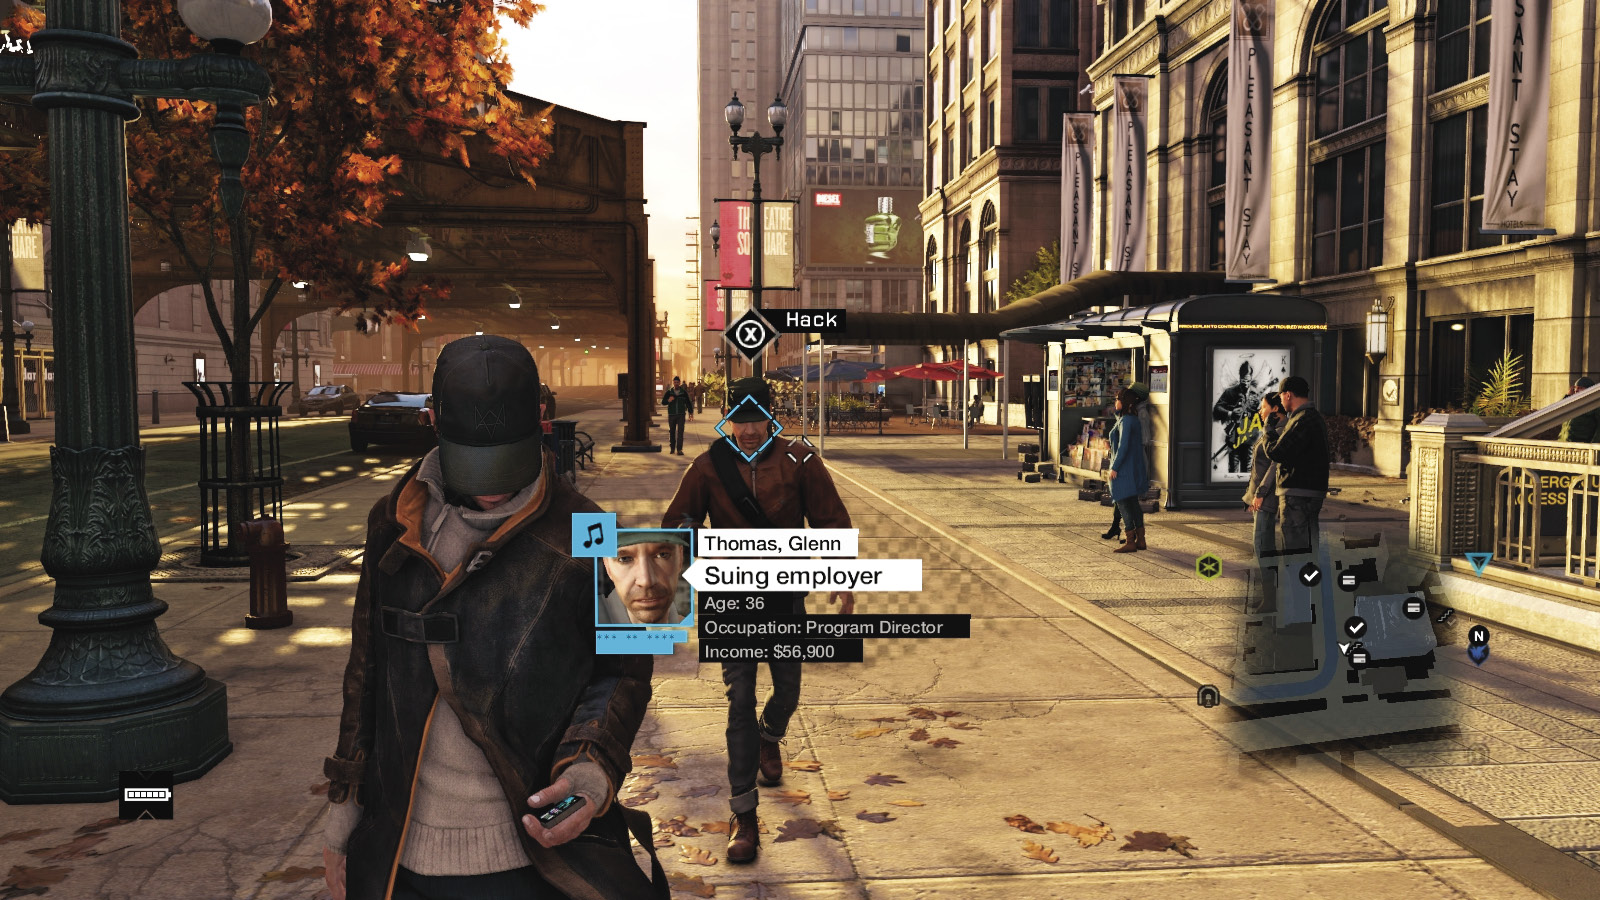
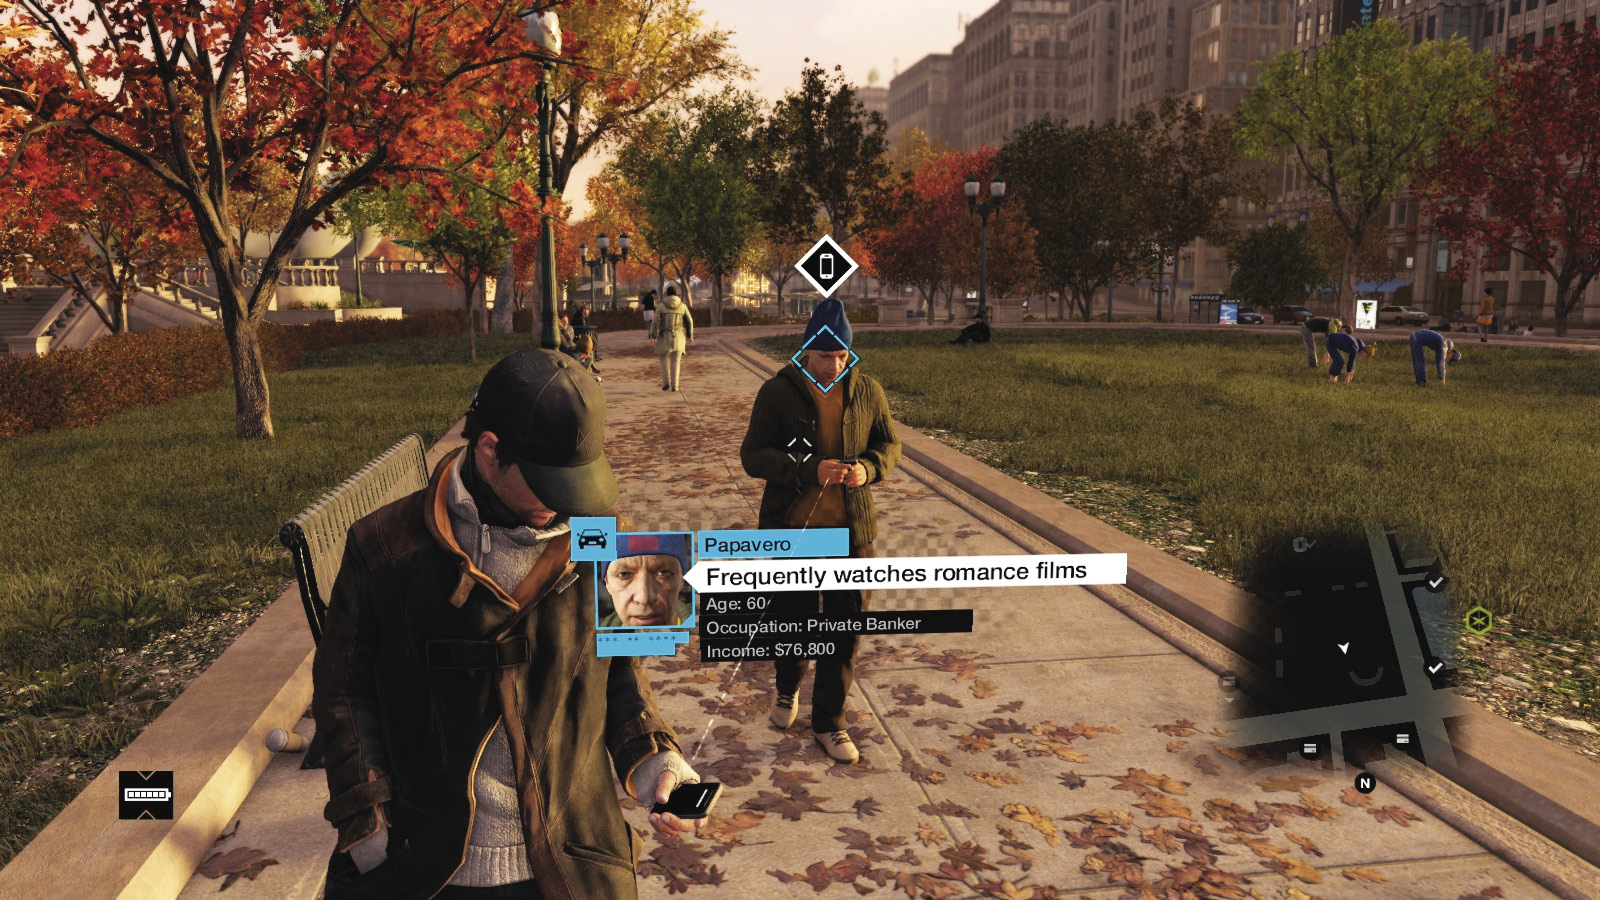
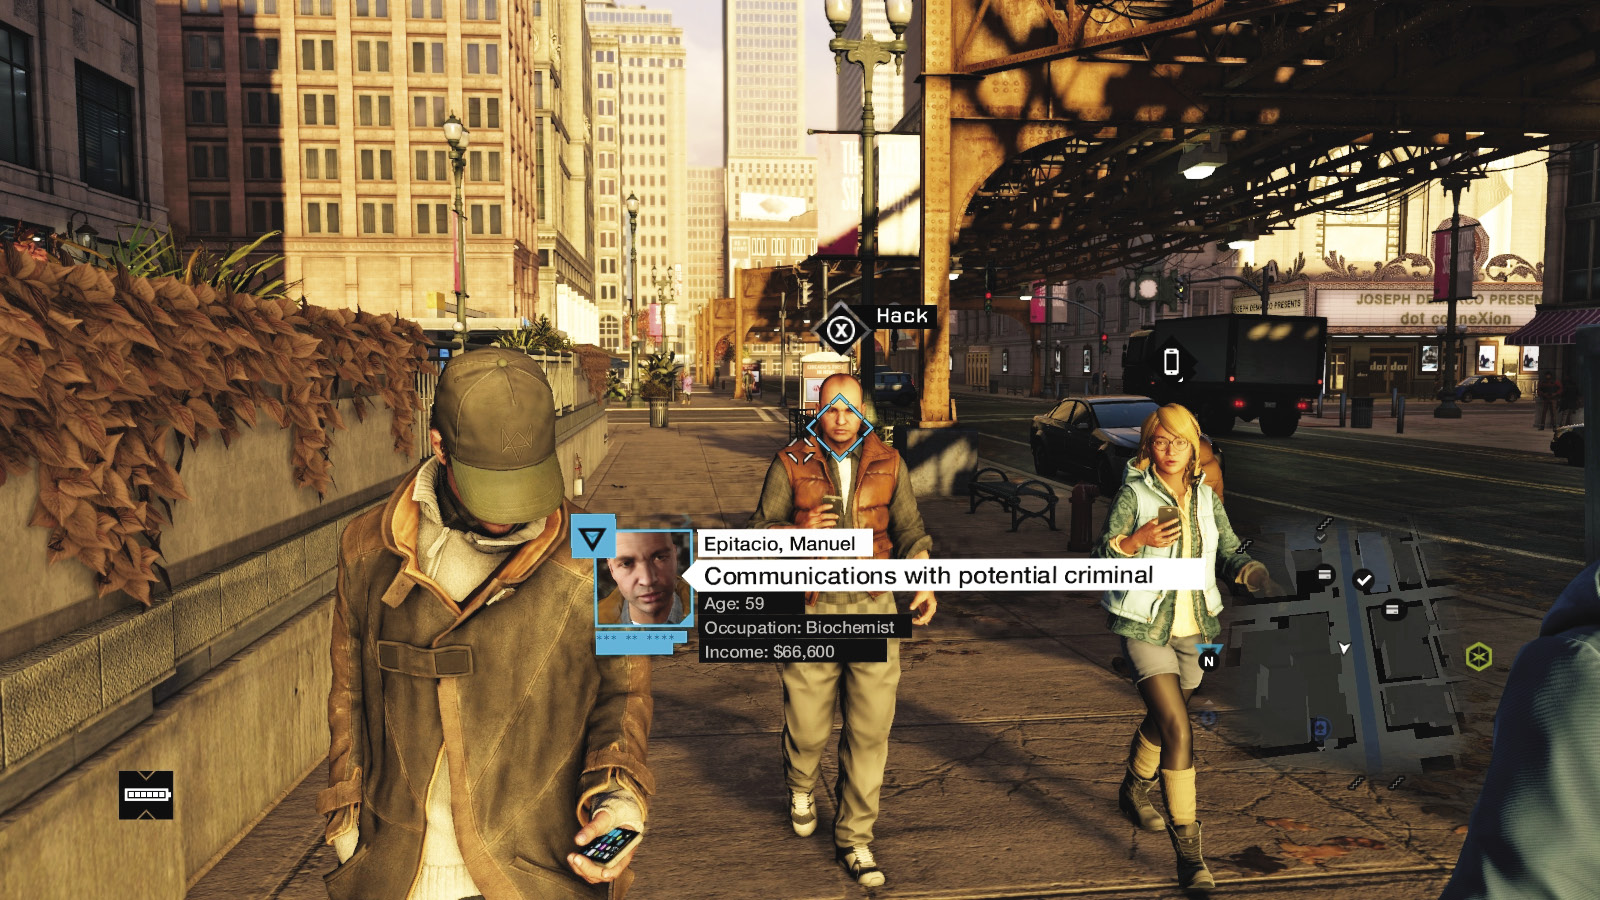
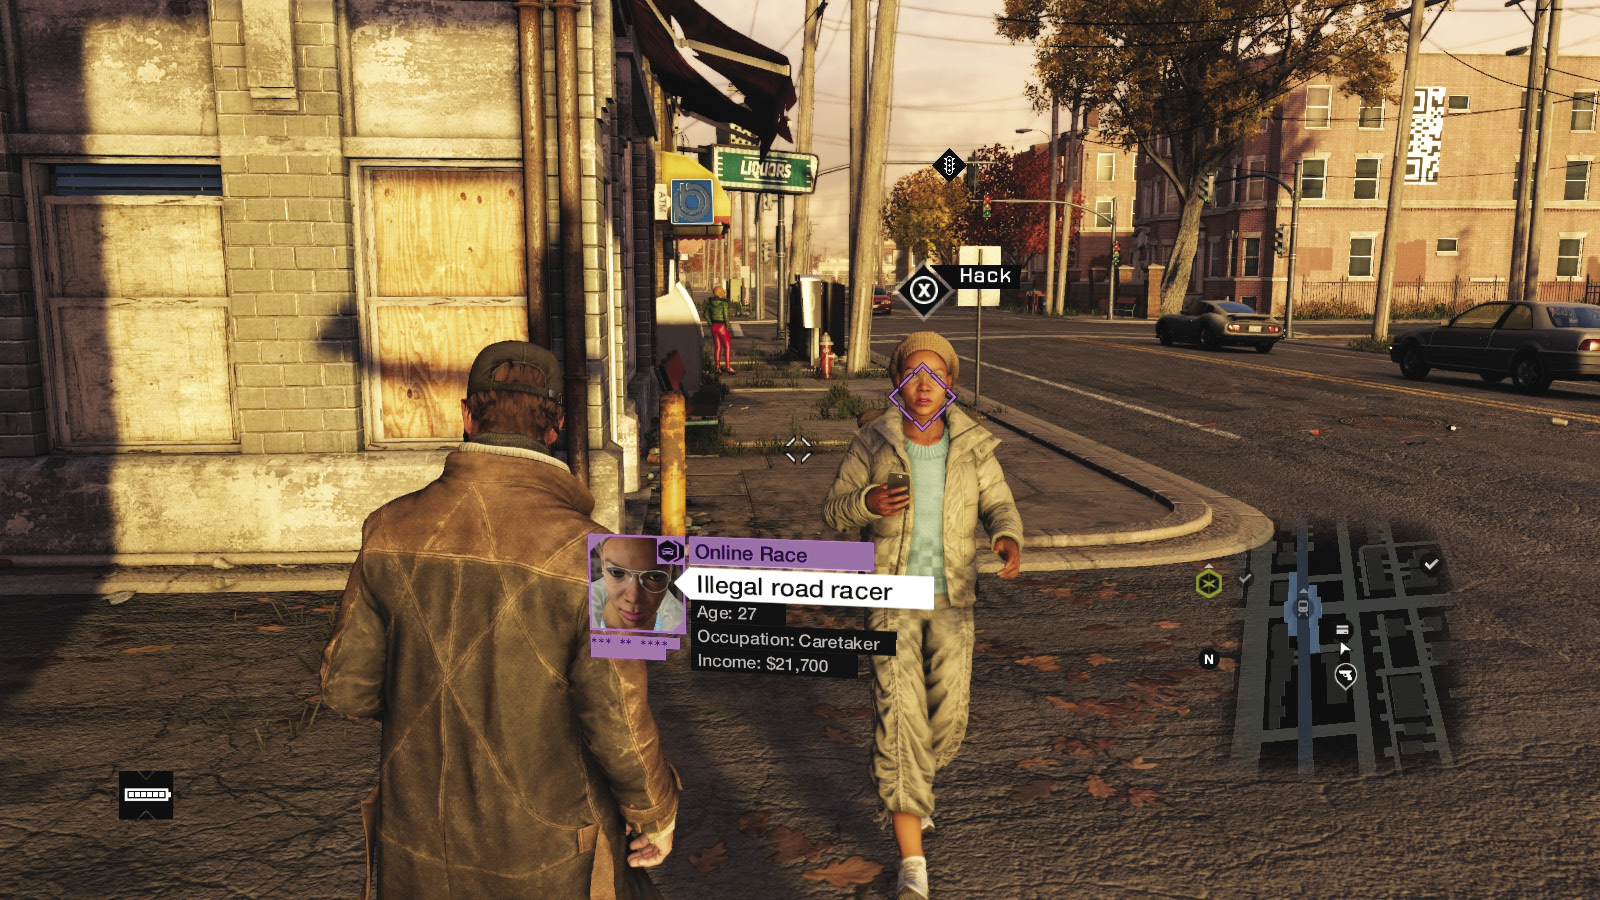
Profiling is the act of accessing the facial features of a foe or citizen (they can be dead or preferably alive), and finding out secret, potentially embarrassing, and otherwise highly personal information about them. In the case of enemies, they can be tagged (or “marked”) too. Do this on foot, in a vehicle, or via a security camera (known as “remote profiling”). There are different types of people to profile:
// PROFILING /// Citizens
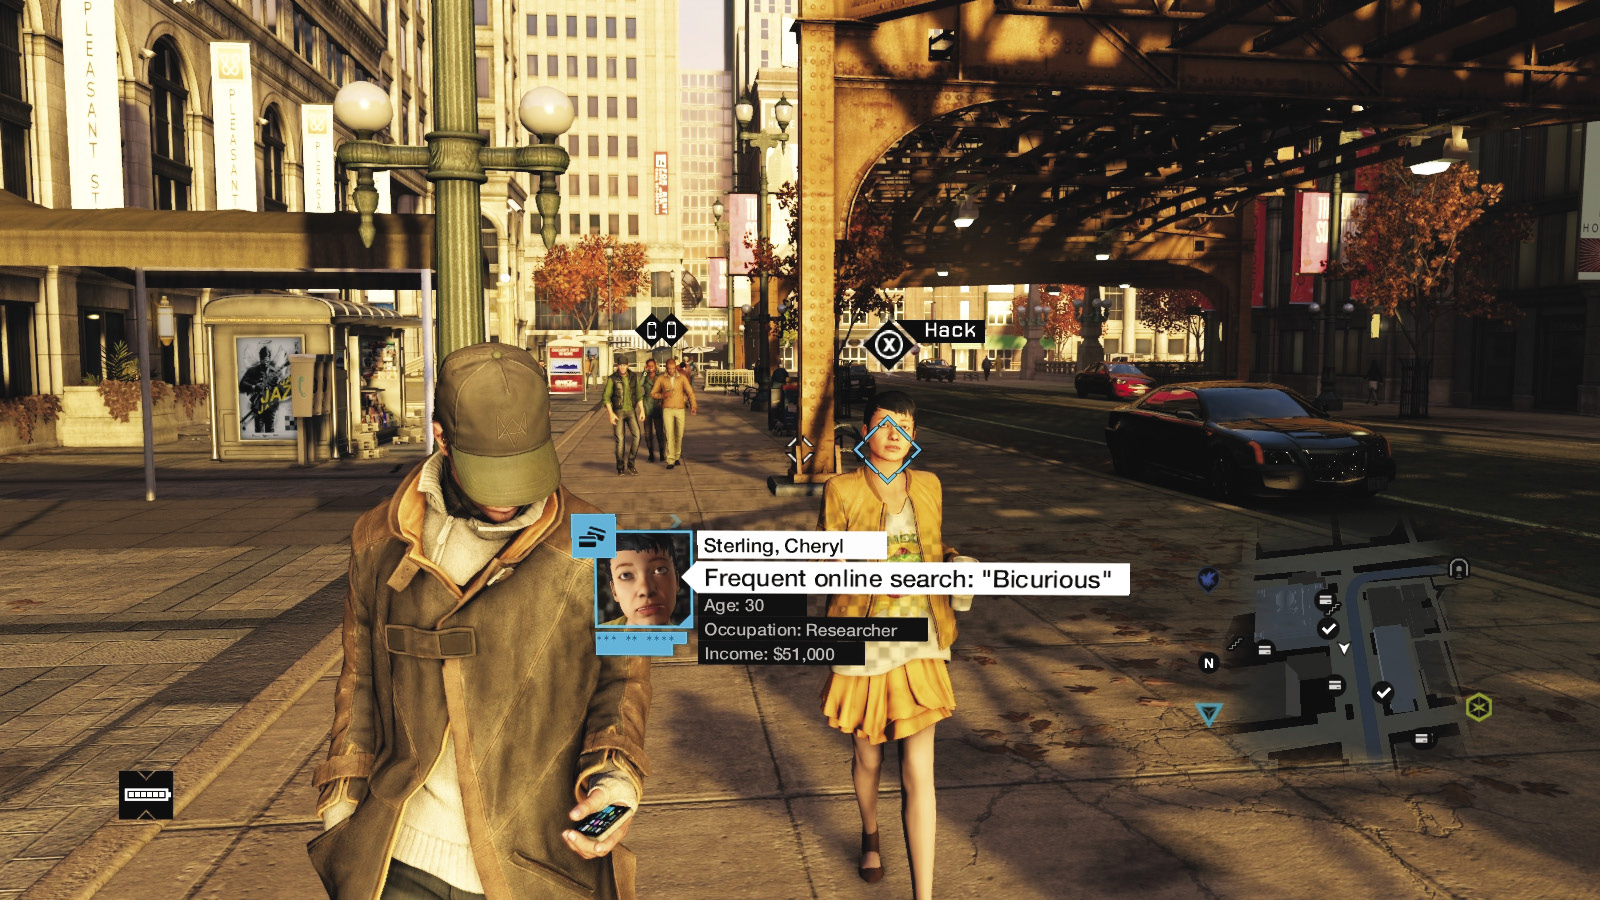
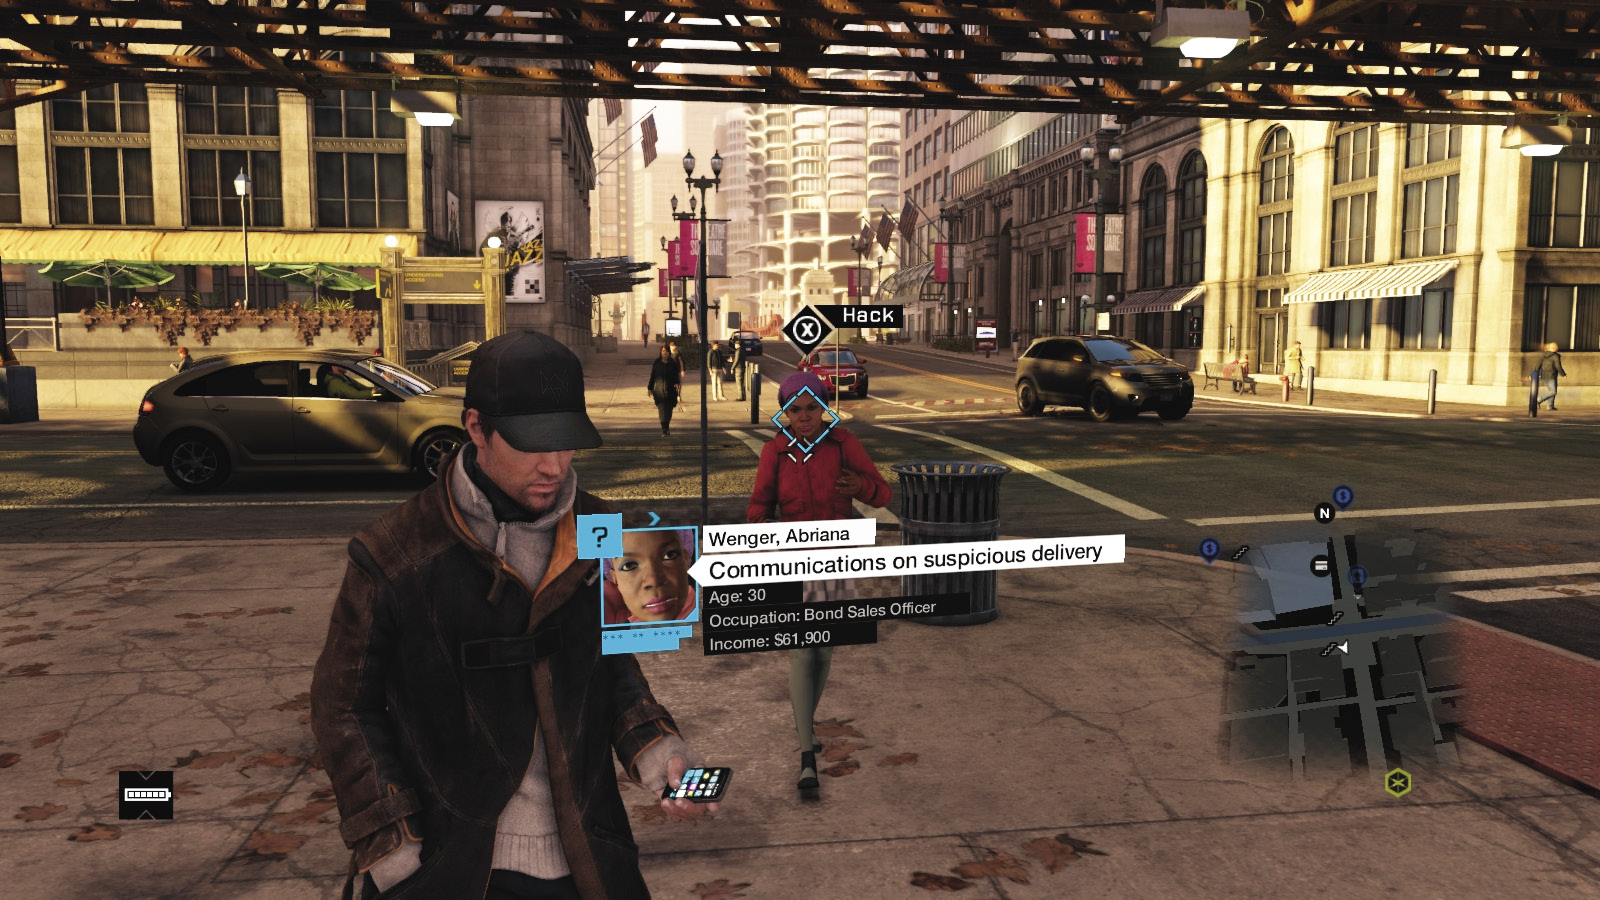
At the start of your adventure, and without the benefit of accessing the ctOS network, the general population of Chicago can’t be hacked by your phone, and a red diamond cursor appears over any potential target. However, once a ctOS control center for that district is under your jurisdiction, anyone with a cell phone in the city can be profiled. Simply move your reticle over their head, and pertinent personal data is displayed on your screen. Take this one step further by actively hacking their cell phones. In most cases regarding citizens, you can also receive text conversations, phone conversations, and e-mails.
// PROFILING /// Citizens of Interest
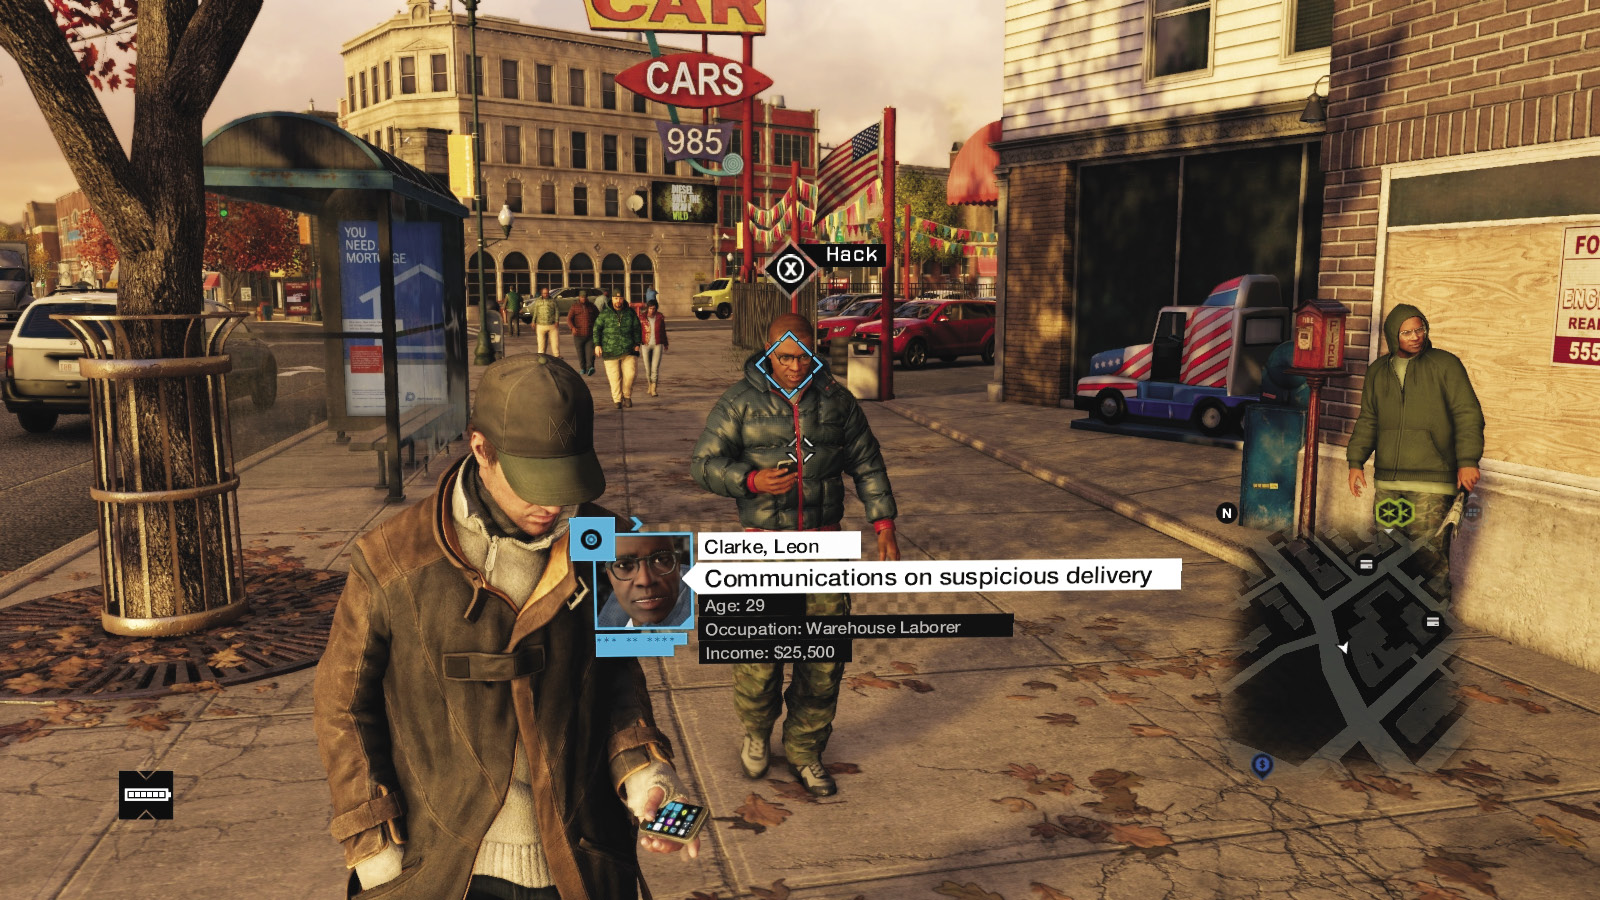
There are citizens of interest to stumble upon too: These are inhabitants of Chicago with data more pertinent to your needs and who provide high-value rewards. If you have the Profiler Optimization skill, their cursor is automatically highlighted and can then be scanned. If you don’t, then you must manually find, target, and scan these citizens. Any citizen of interest is highlighted in blue. In most cases regarding citizens of interest, the following information can be gathered:
//// Bank Account
Hack this individual to gain access to their banking records. Then head to an ATM to hack and withdraw cash from their accounts. You may (or may not) look at the personal information of the individual before deciding whether you feel conflicted stealing from them, though this doesn’t affect your Reputation.
//// Rich Bank Account
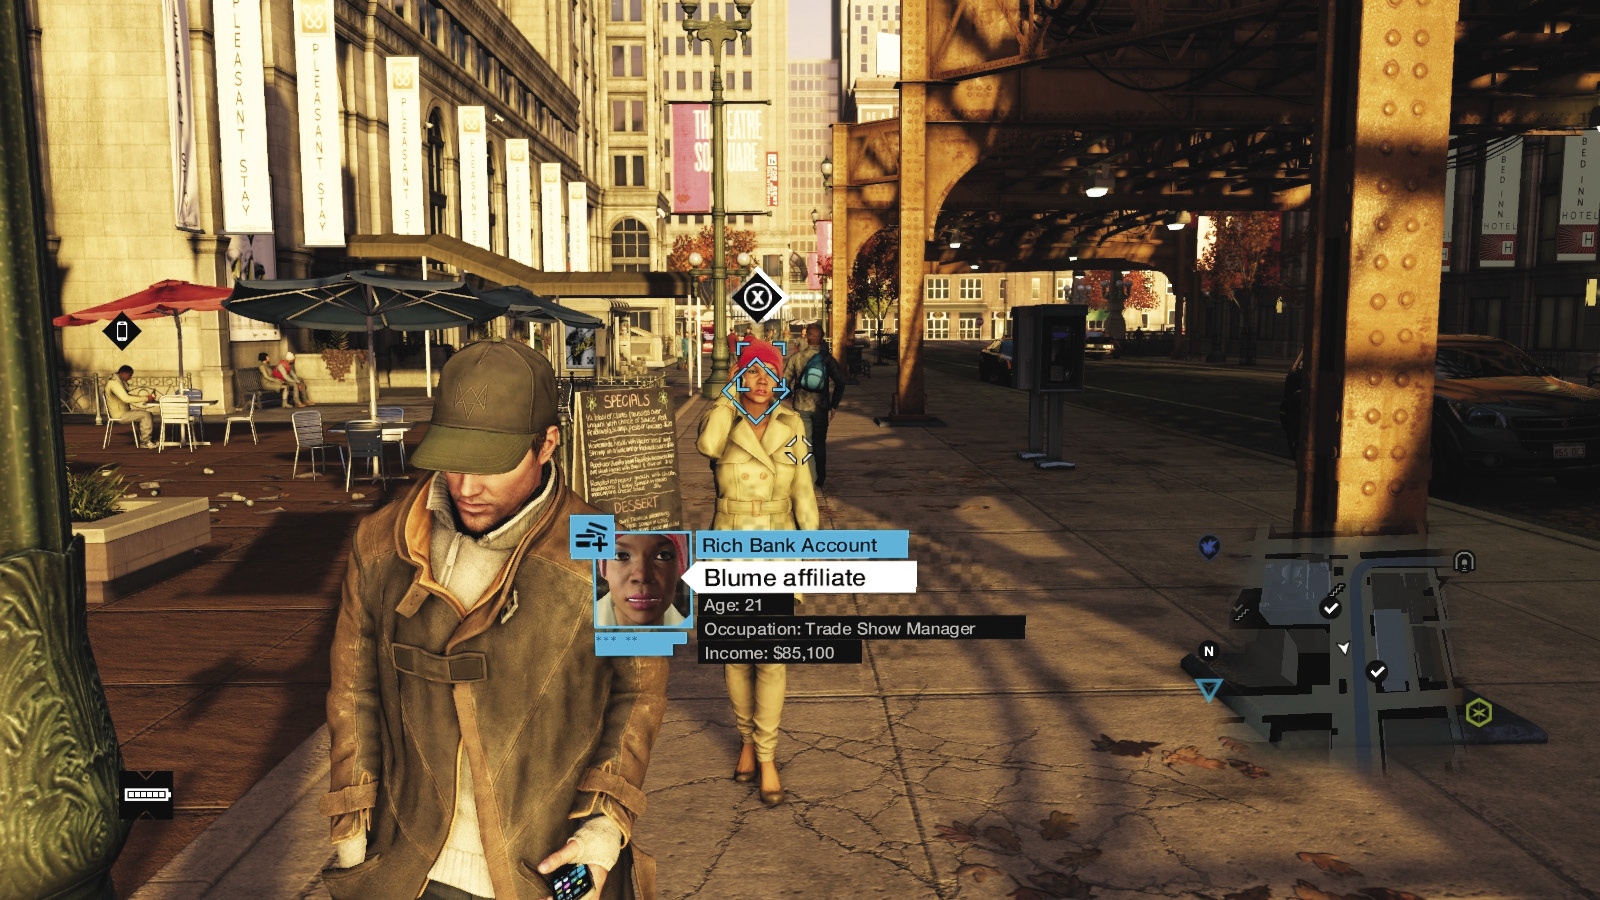
Less common are individuals with a larger bank account to steal from.
//// System Key
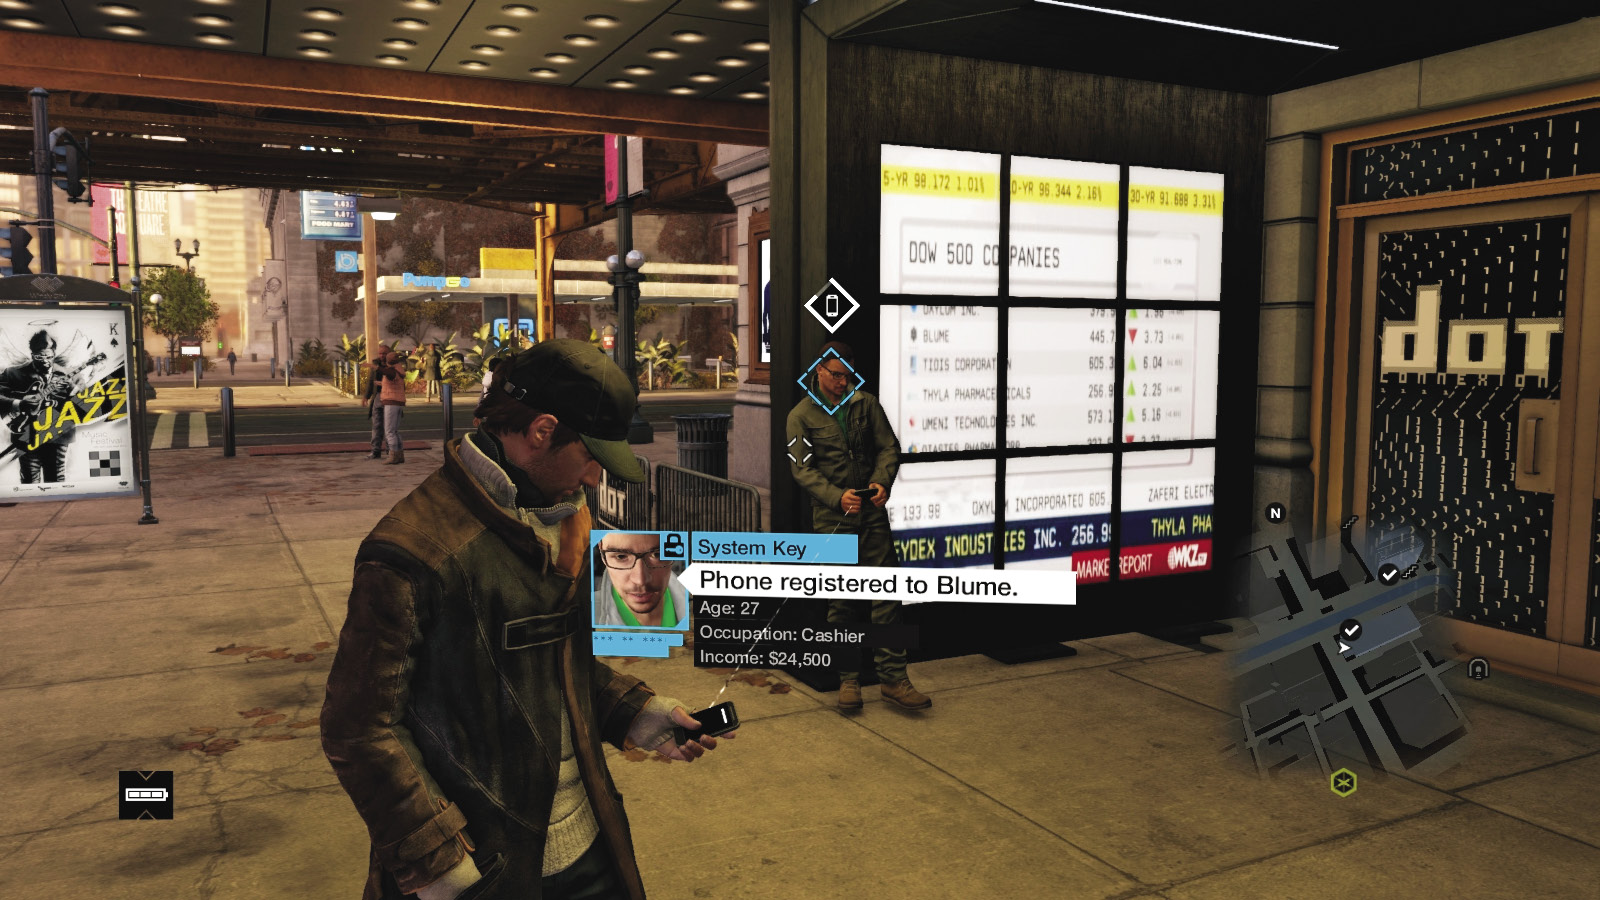
Aside from a few places you can find this crafting component during missions, the system key is arguably the most difficult item to gather (as you can’t buy it from a pawnshop). If you spot a citizen with a system key, hack it immediately. The Tailing and Hacking Online Contracts often reward you with system keys if completed successfully. It’s a great reason to try some Online Contracts, since system keys are used to craft many items.
//// SongSneak
This member of the public has a song that you haven’t gathered and added to your Media App yet, so you can hack the tune and add it automatically as part of the SongSneak tile app (which you can simply download). Find 23 of these to gain a reward.
//// Car on Demand
Certain citizens have access to a vehicle, and hacking them allows you to appropriate the exact model using your Car on Demand tile app. There are dozens of vehicles to unlock (once purchased or unlocked, you can order a vehicle as many times as you wish). Unlock a vehicle via a Progression reward, and you don’t have to pay for it any more.
//// Side Mission: Crimes Detected
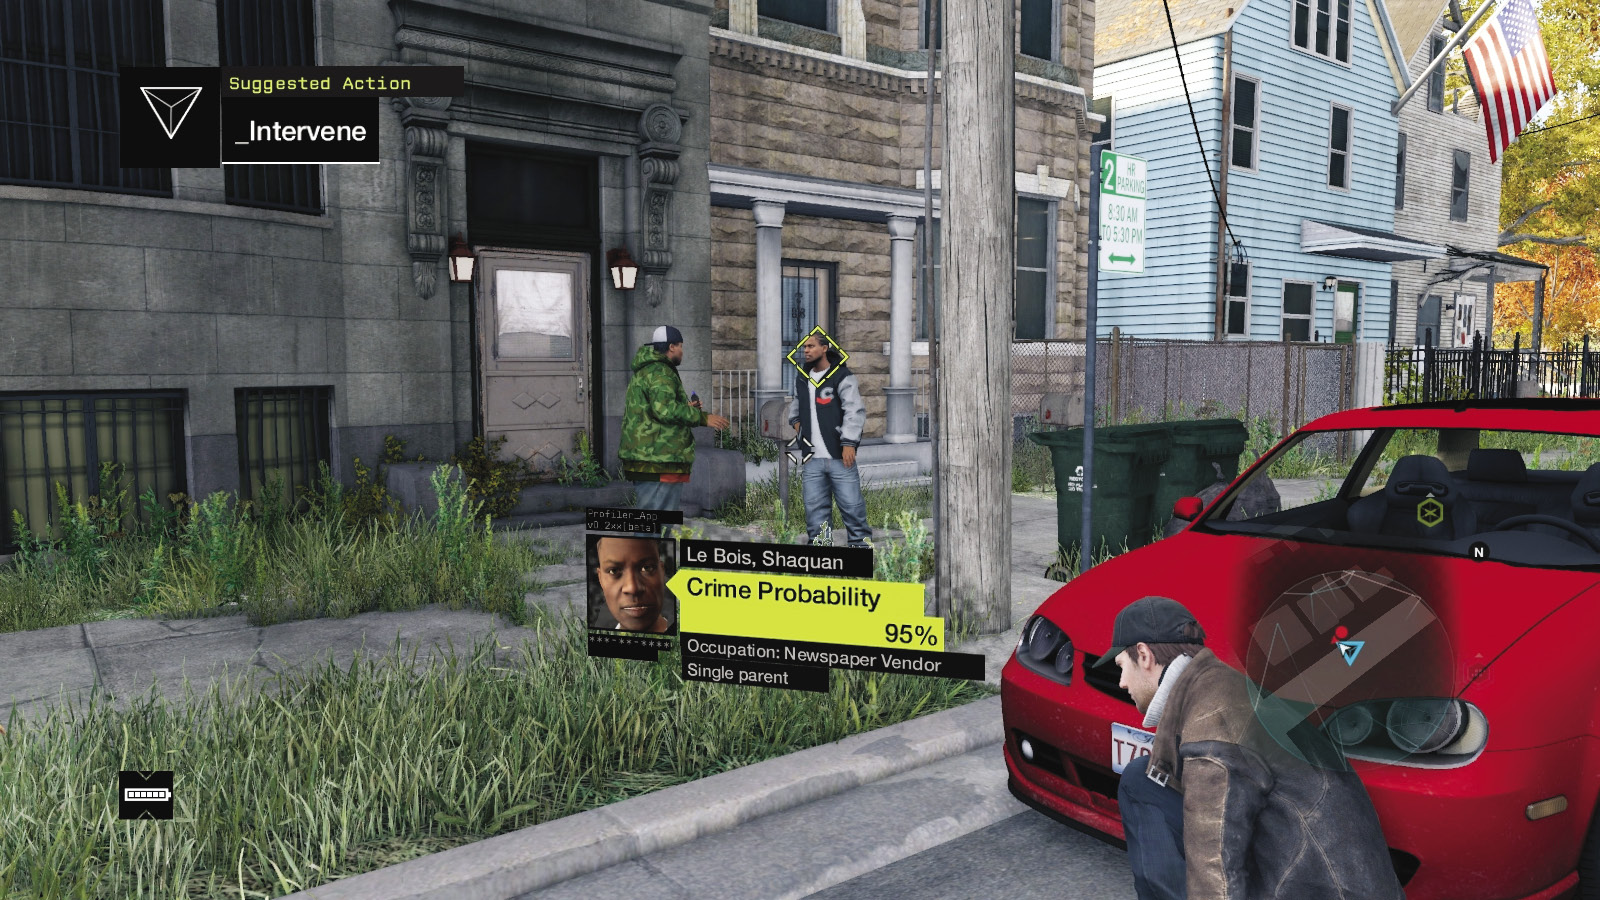
Some less-savory individuals have evidence (usually a text message) of a crime that’s about to be committed. Hack them, and a Crimes Detected Side Mission will begin, where you can apprehend a criminal and gain both XP and Reputation, if you’re successful in preventing the crime from occurring.
//// Side Mission: Criminal Convoy
A few members of the population know of a gang convoy, and there’s a specific side mission that involves intercepting the group of vehicles and removing or roughing up a particular target. You receive XP for completing these side missions.
//// Side Mission: Fixer Contract
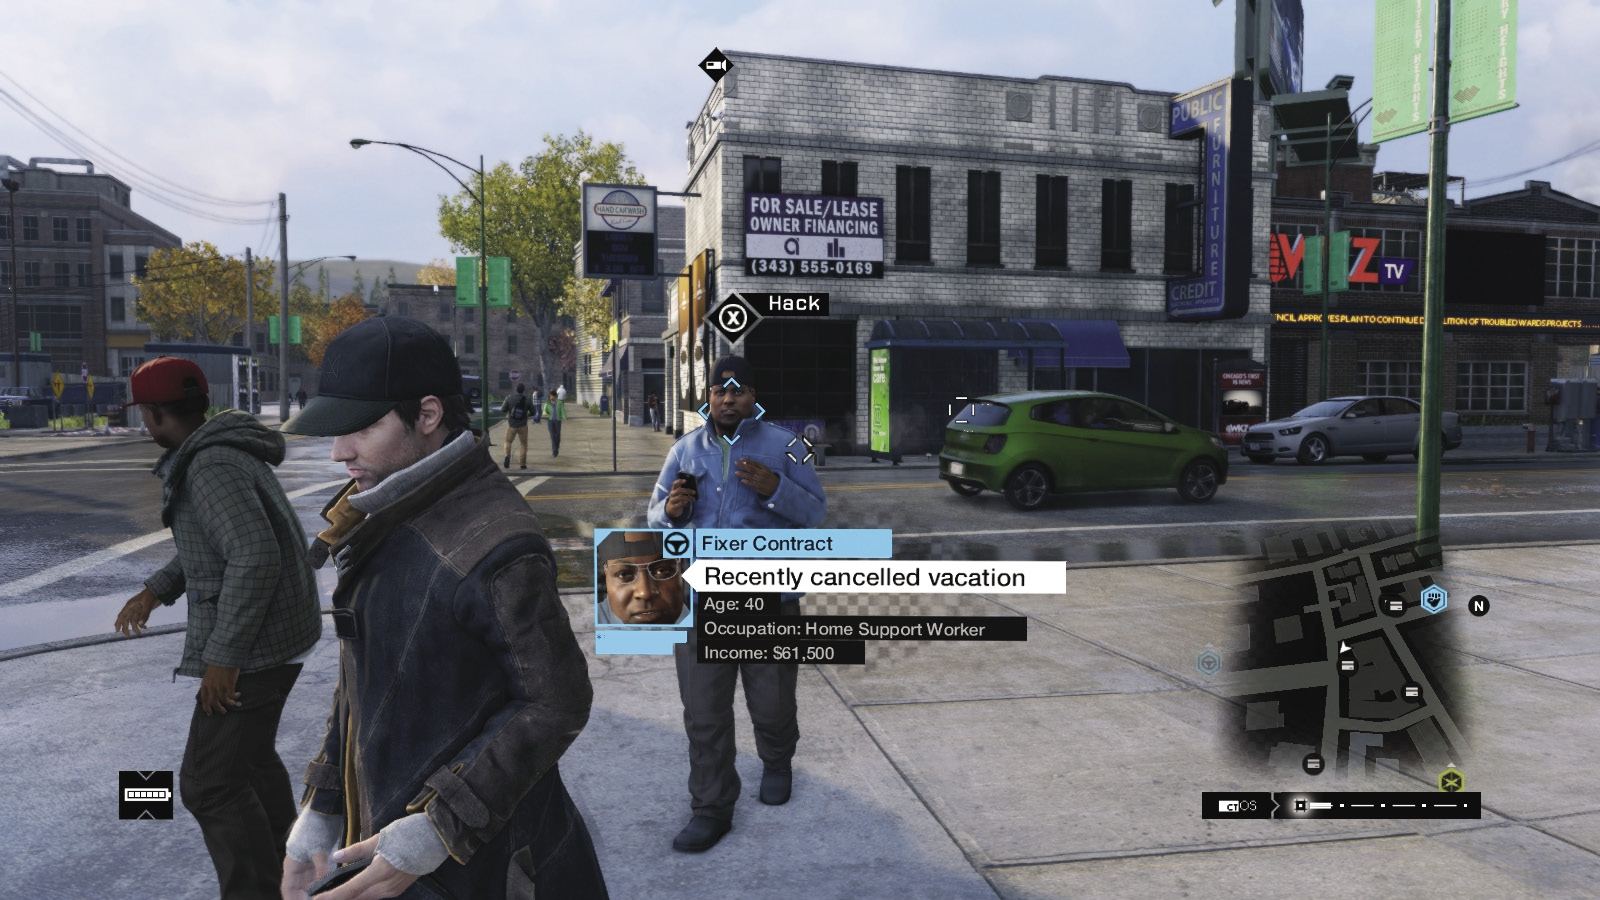
Other folks you meet wandering the mean streets of Chicago have information regarding Fixer contracts, a type of side mission involving vehicle driving (tailing a target, avoiding the cops, or taking a vehicle to a secret location). You gain XP for these.
//// Side Mission: Gang Hideout
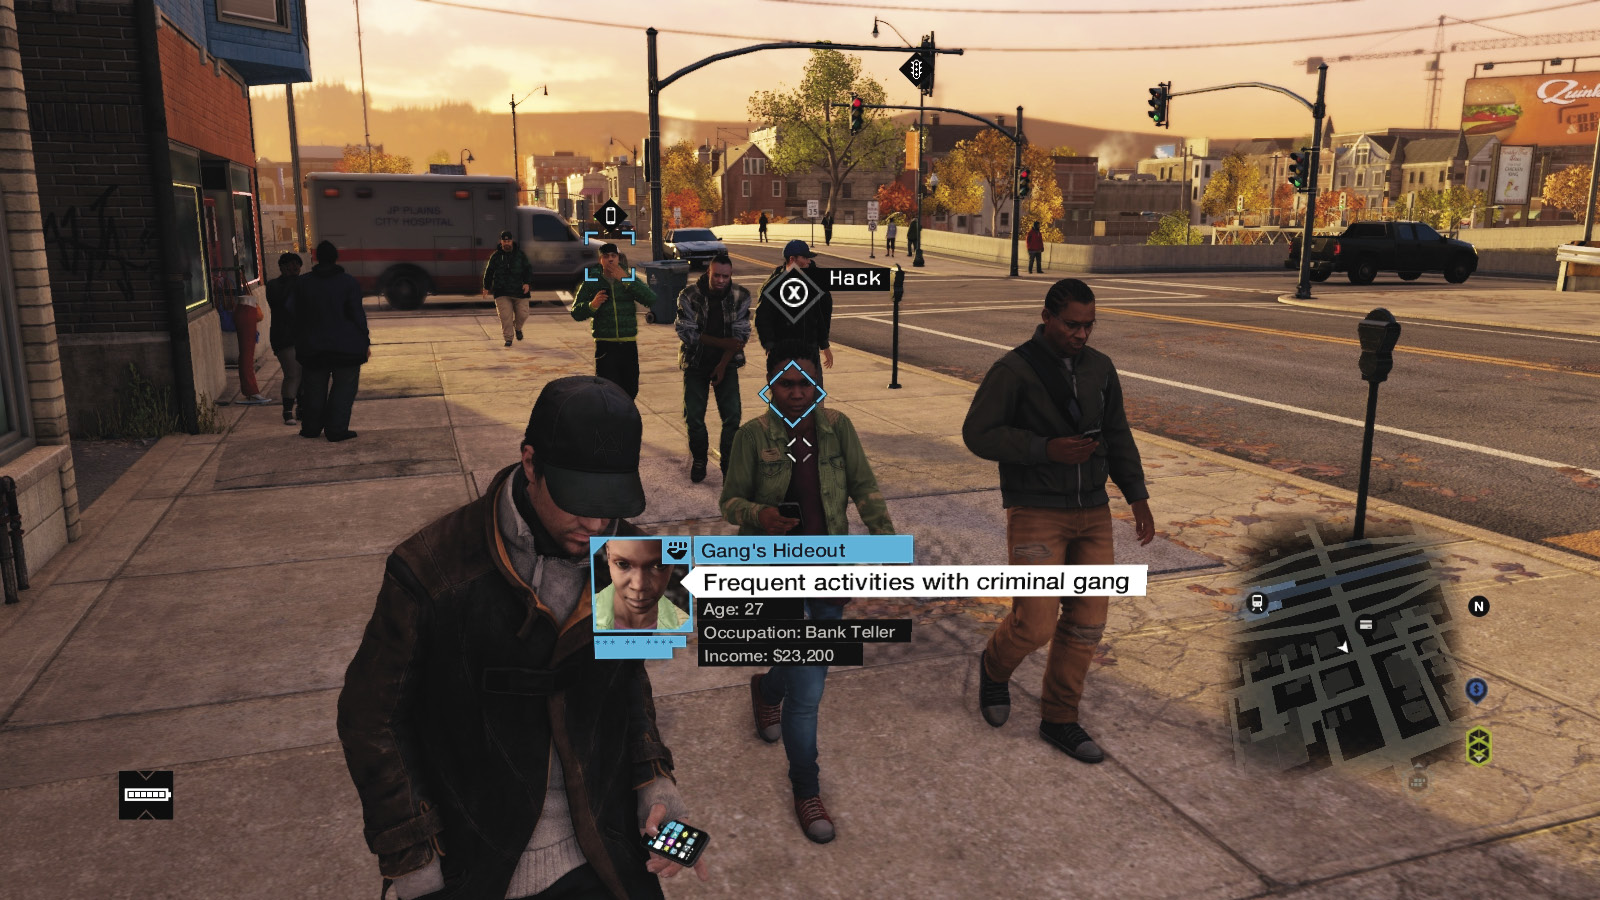
The more unsavory types have forewarning of a gang hideout in the general vicinity and a leader within a compound needing strong-arming or threatening. Take these side missions if you want both XP and a Skill Point.
//// Investigation: Buyer
Once you progress through parts of the main missions, you find certain unpleasant characters who are attempting to purchase humans. These are related to the Human Traffic Investigation and should be hacked immediately.
//// Item of Interest
Sometimes you may spot a citizen who knows of a dropped bag, usually placed there as part of a clandestine deal involving the criminal underworld. Usually scooped up by the police if left unattended, you can simply hack, find the item’s location, and pick it up (there’s usually cash inside).
//// Access Code
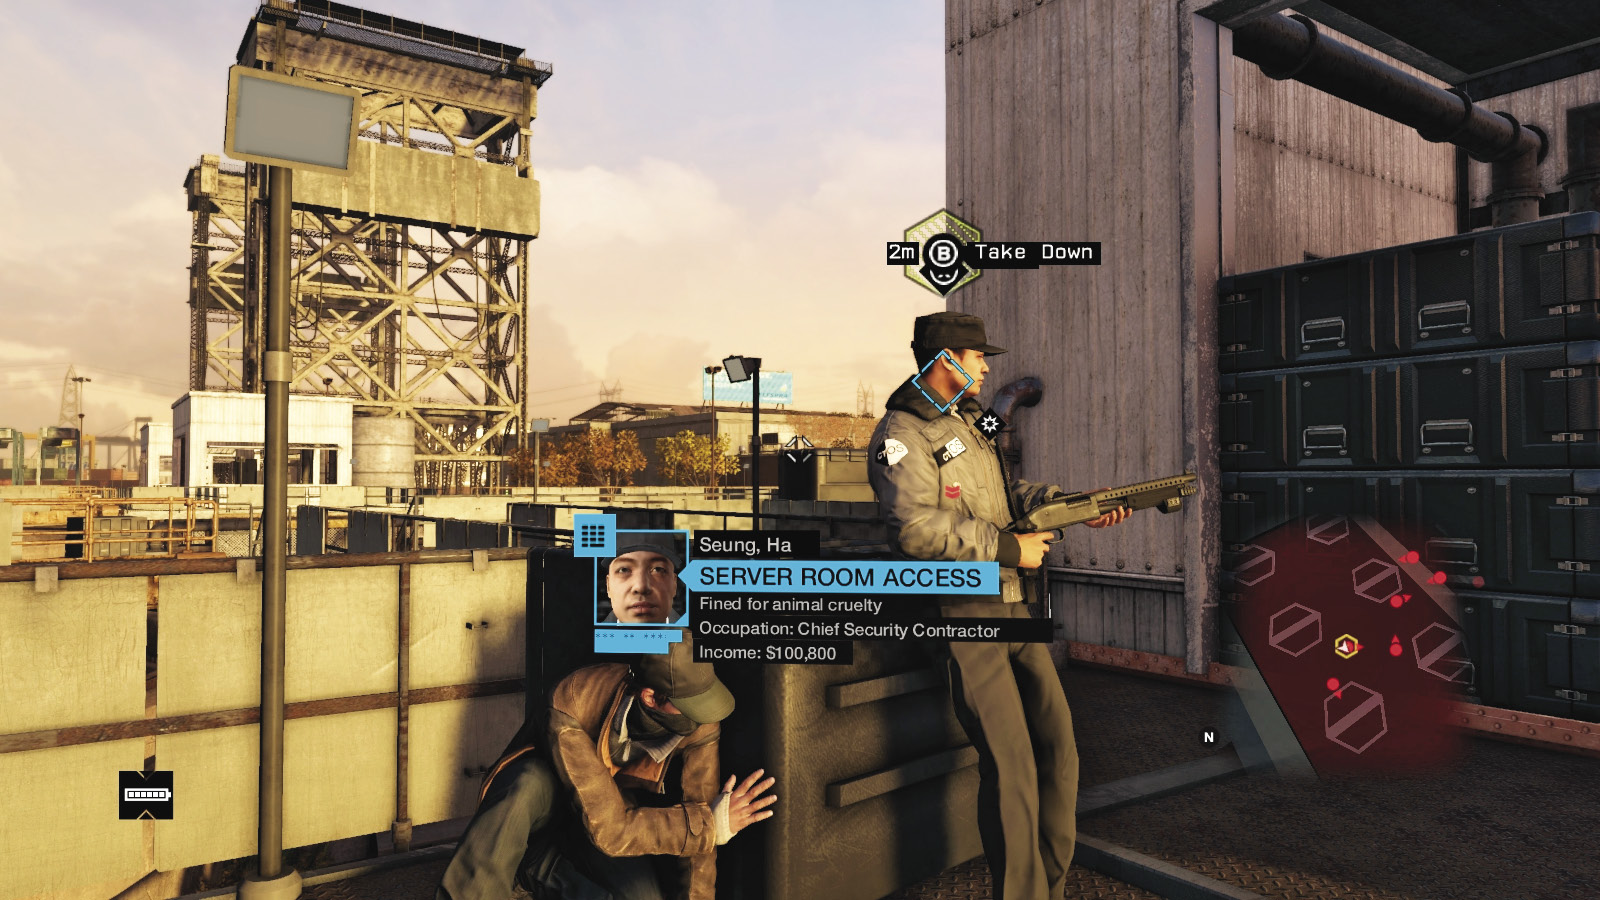
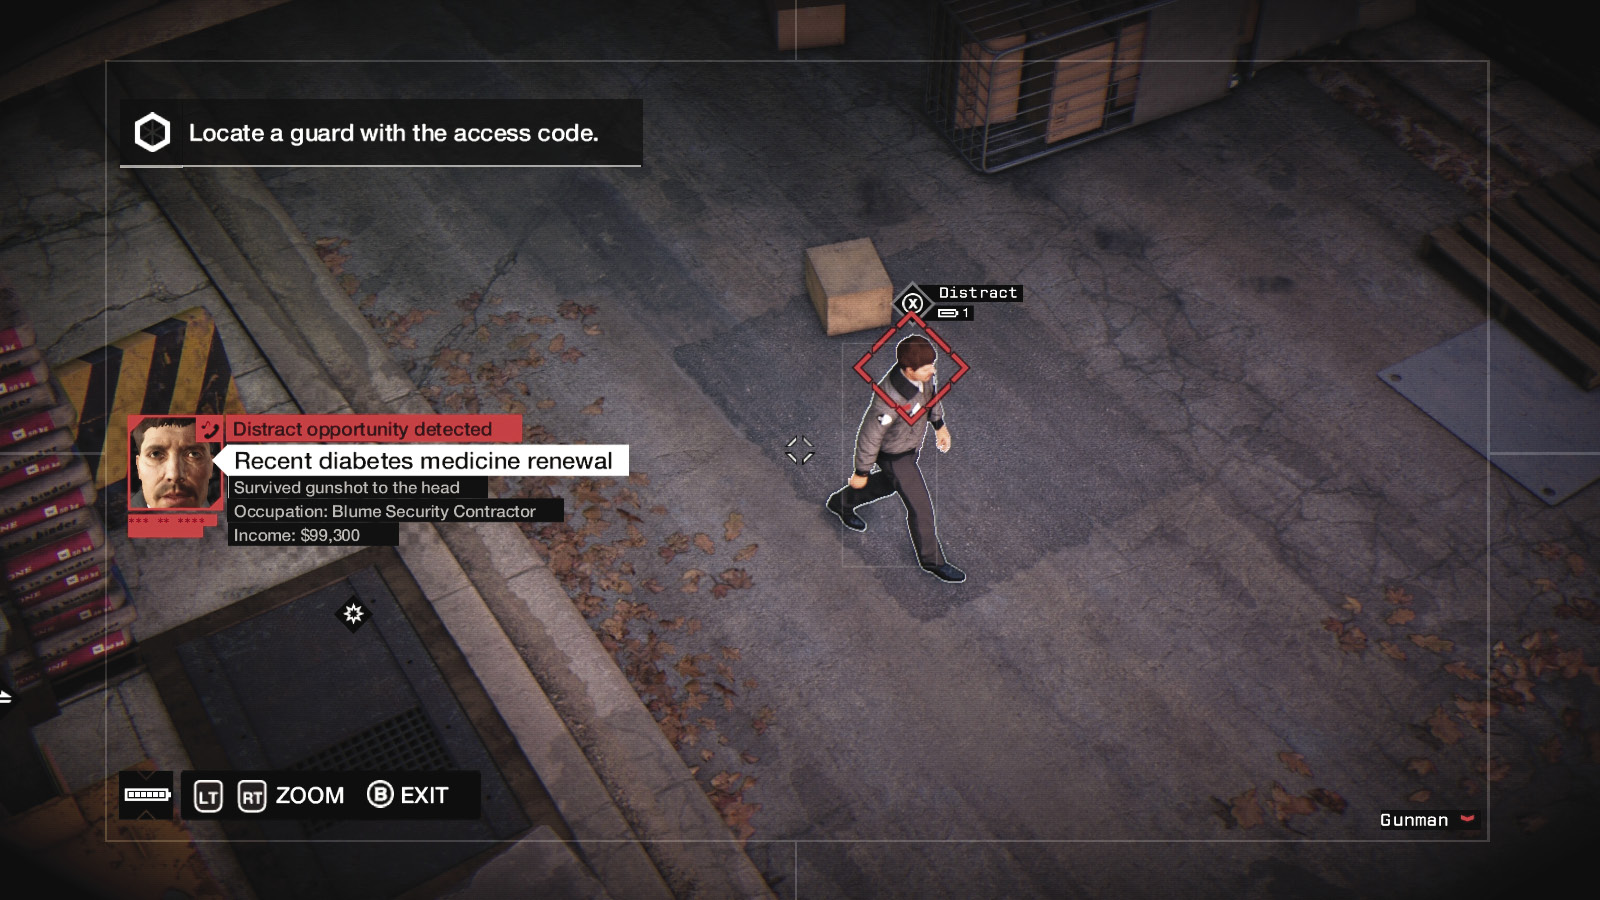
A hacking opportunity, seen only during a mission. While infiltrating, keep your phone profiling certain enemies, as one (sometimes two) is likely to be carrying some kind of access card allowing infiltration into servers or behind firewalls. These individuals are usually the target in a mission objective.
//// Online: Blume Agent
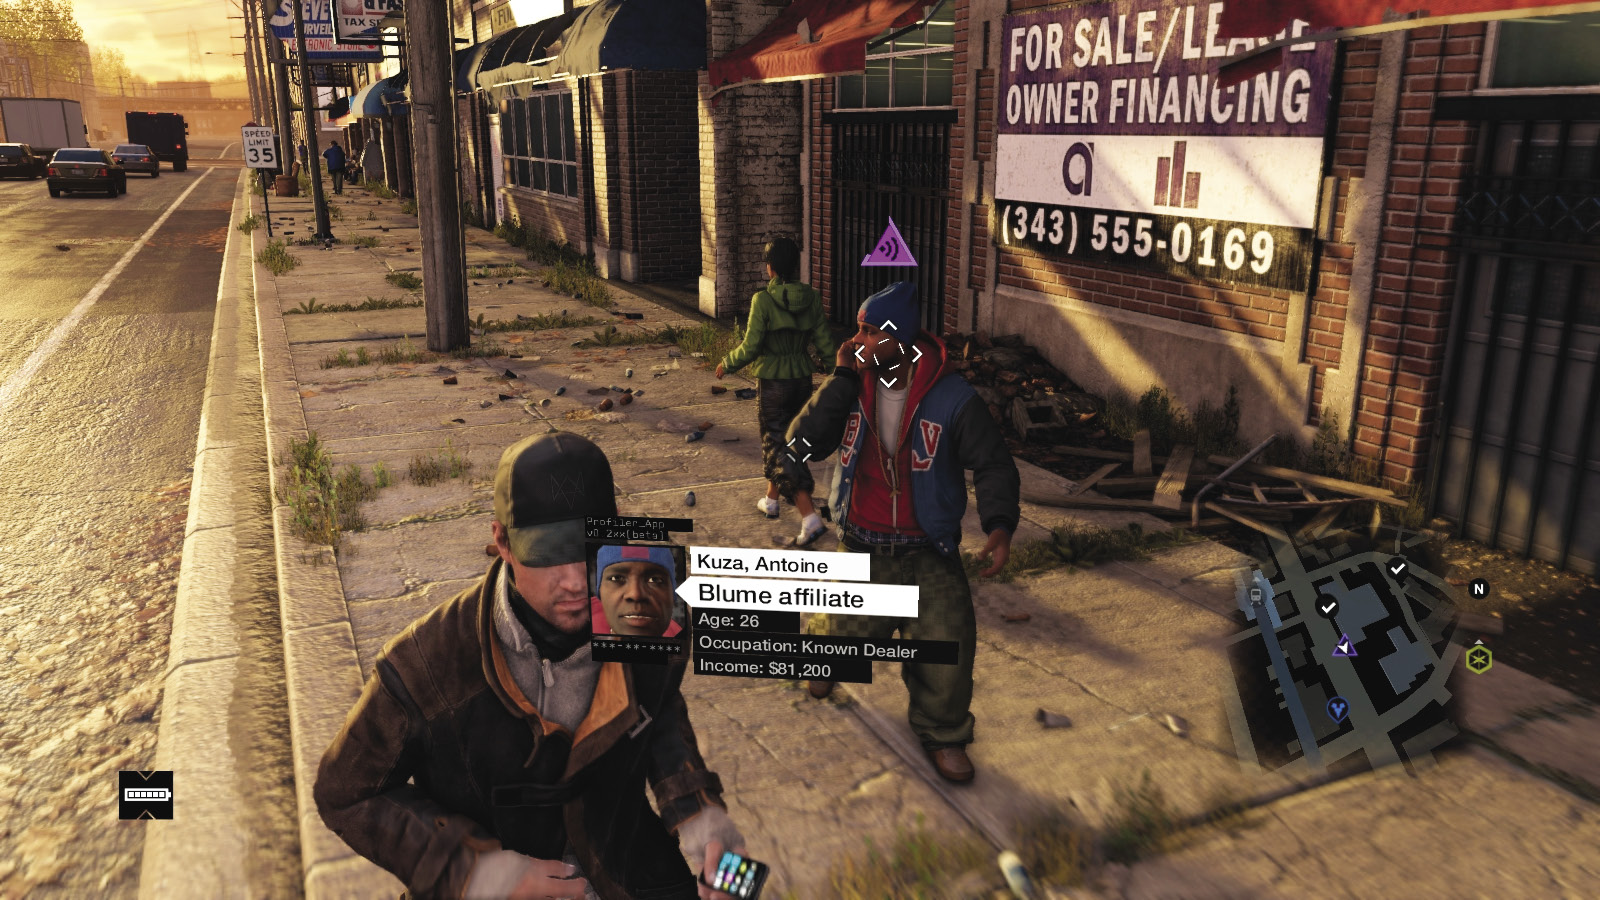
When strolling down a street, be wary of citizens who are affiliated with the Blume Corporation. If you hack them (they look like normal members of the public), they call and report you as a hacker, and if you don’t stop their call, a bounty is placed on your head! This causes your online protection to be temporarily suspended, allowing other players to find and tail or invade you!.
//// Online: Hacking Victim
Occasionally, civilians appear as victims of hacking—but not from you. Simply hack the victim, and you’re prompted to join an online game (Hacking, Tailing, and Races). This is another way to suspend your adventuring and hack into the online activities of others!
//// Online: Fixer
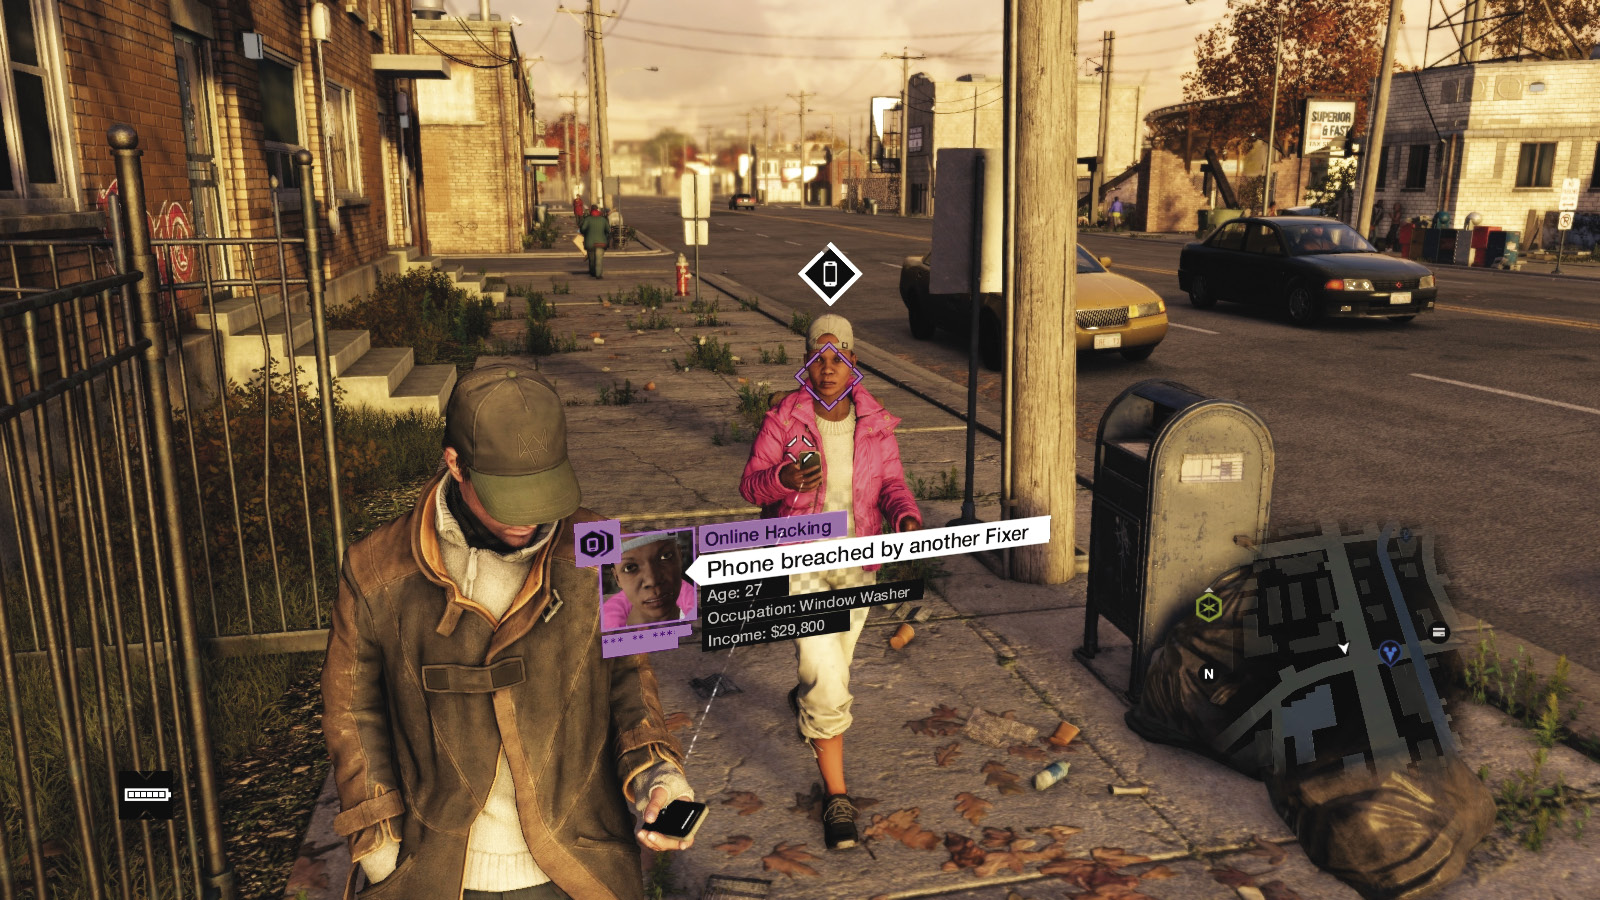
Prepare for a shock, as other players are capable of hacking into your game and attempting to gather your personal information! These are online Tailing and Hacking contracts, and it’s up to you to stop them!
// PROFILING /// Criminals and Victims
During criminal activities, certain hoodlums (usually unrelated to the factions you’re fighting against) attempt to rough up or otherwise threaten their victim. Both a criminal and a victim have a different profile cursor and information box; their cursor turns from green to red, and their information box has a green element to it. This is how you visually know that a crime is about to be committed. Then act on this information.
// PROFILING /// Enemies
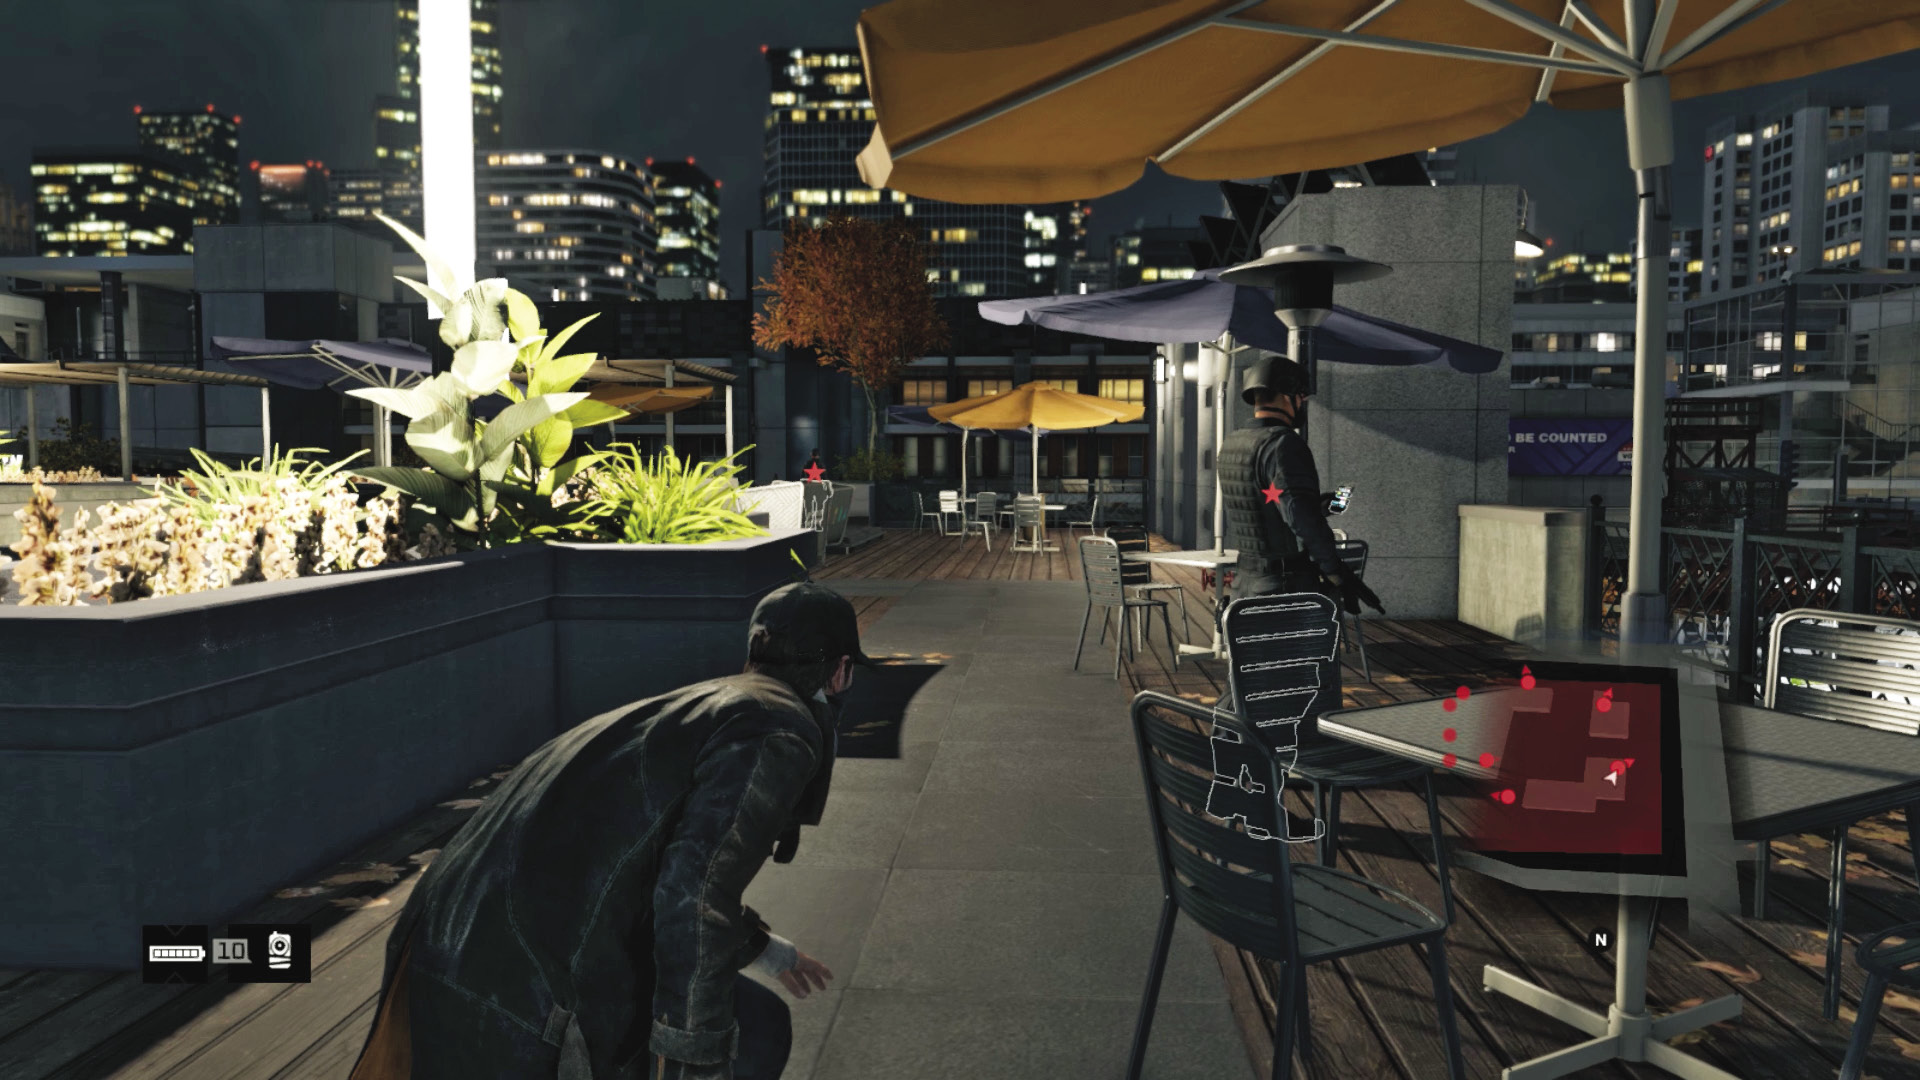
Enemies that you can melee-strike or kill (subject to mission parameters) have similar information boxes to normal citizens. However, when you target them with your Profiler cursor, camera, or ctOS scan, their “ranking” appears on them, and their outline stays in your vision.
// PROFILING /// Enemies of Interest
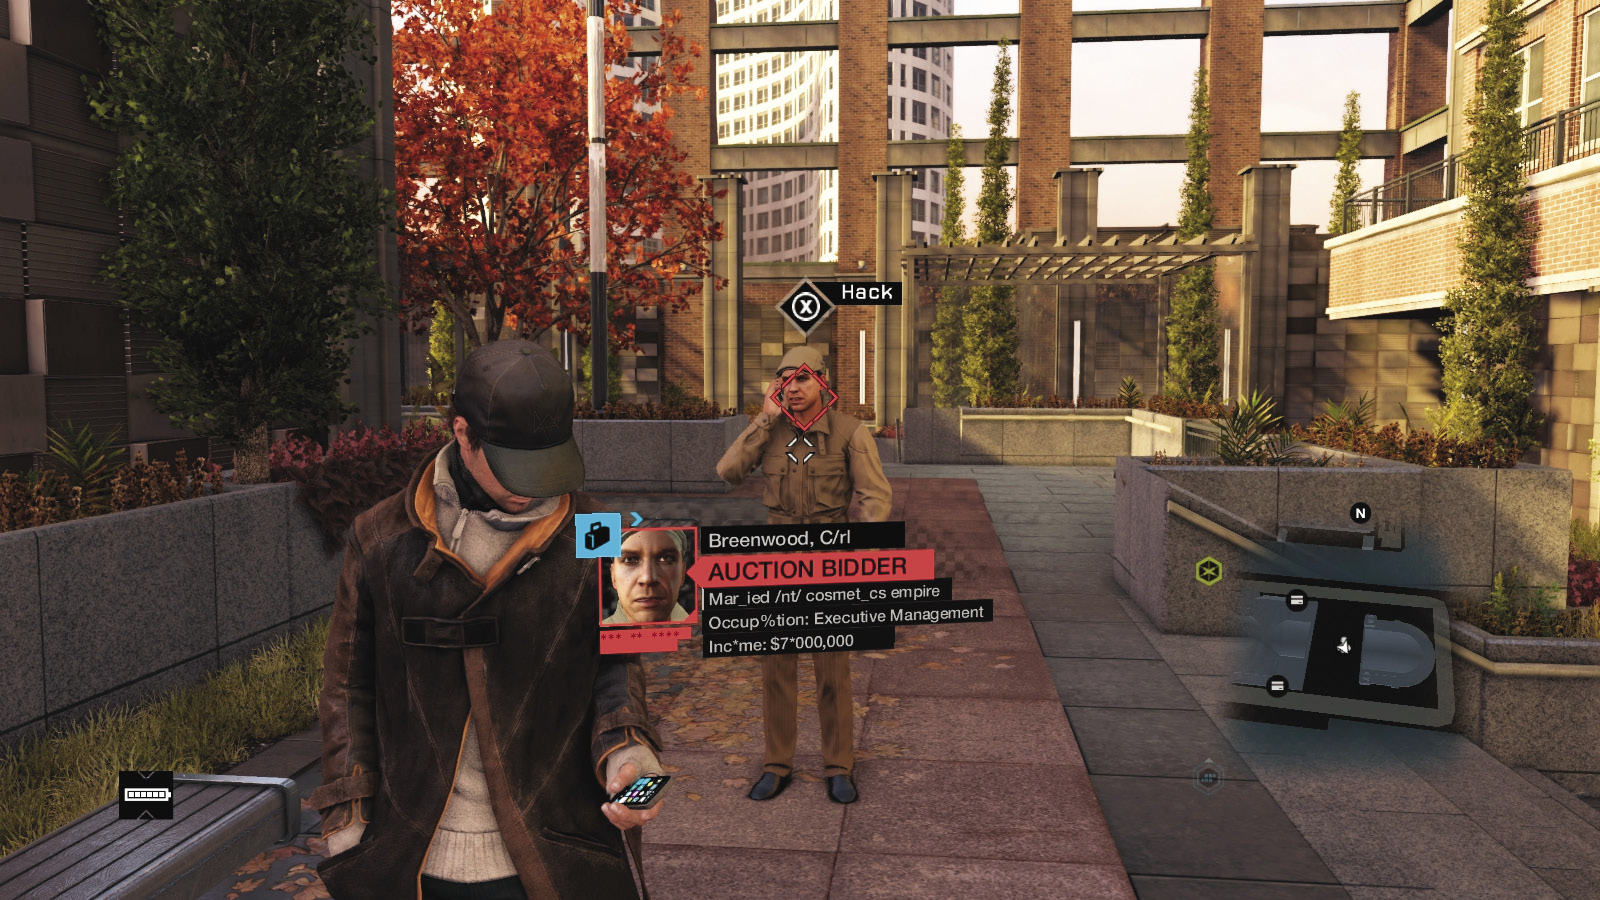
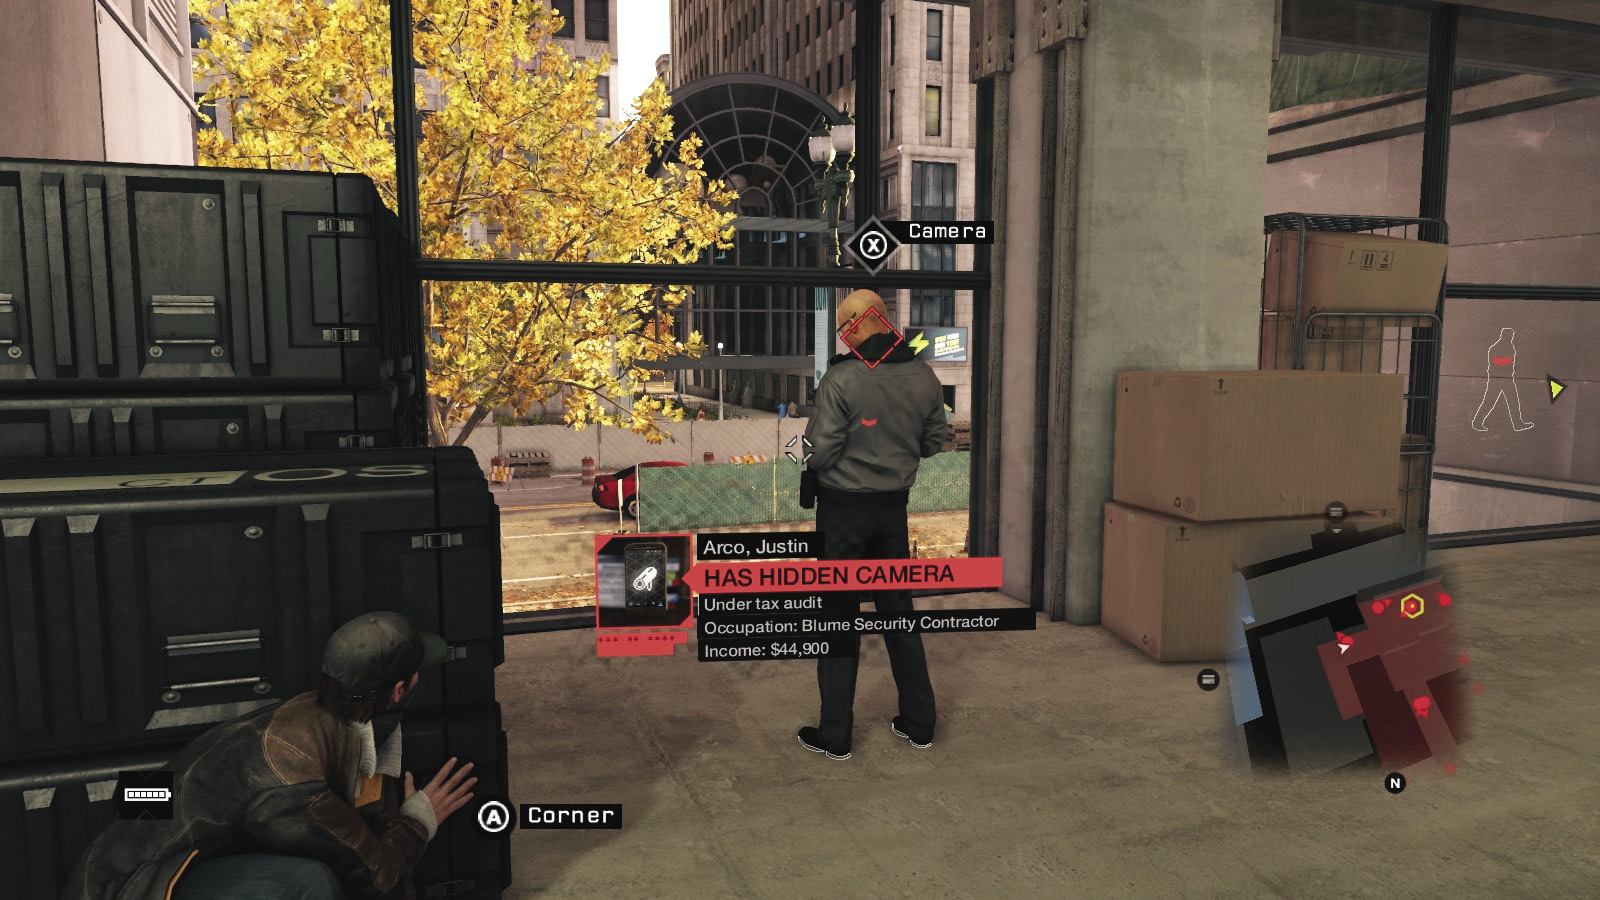
Enemies of particular importance or threat, including those who hold access codes or data to hack, or those carrying a hidden camera, have a red information bar when profiled and sometimes a yellow hash-marked pentagon over their heads to indicate data you must hack. These are your most important primary targets in a mission, and sometimes the most senior ranked foe.
// 2. ctOS CAMERA ACCESS
After you’ve learned the variety of access you can gain from simply hacking the cell phones of every citizen of Chicago, you need to up your game a bit by taking to the skies and peering down on all the folks via the thousands of ctOS cameras available once you access a control center.
// ctOS ACCESS /// Camera Access
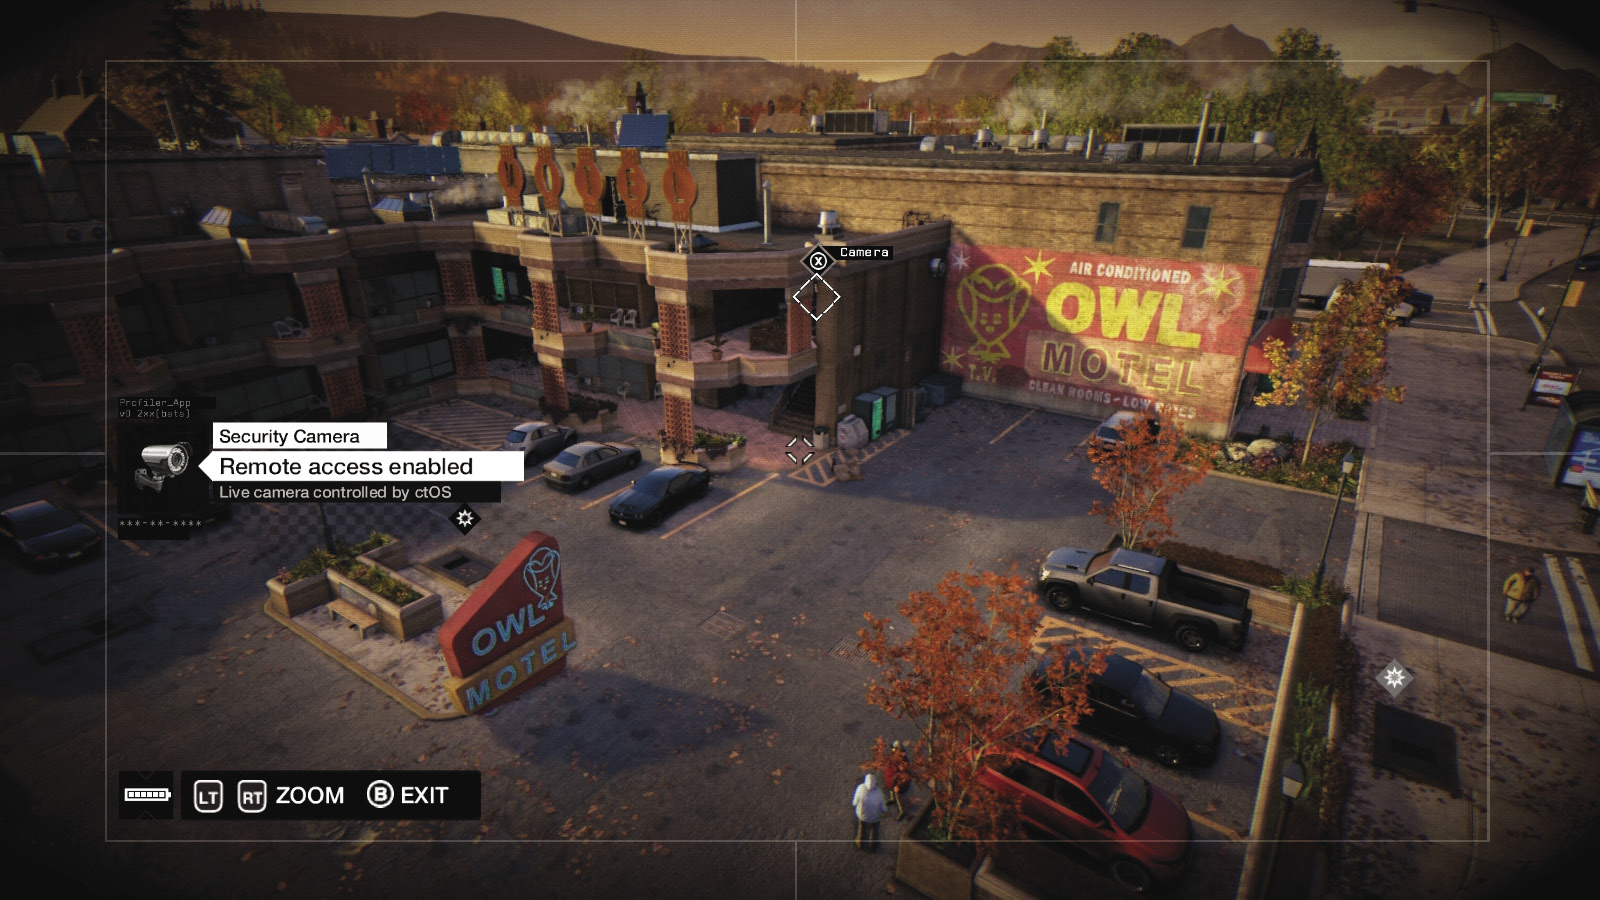
ctOS cameras are ubiquitous across Chicago. Get into the habit of accessing cameras wherever you go, especially during missions. Once you control the action, your view switches to that camera. Now you can:
Pan, Scan, and Zoom:Move the camera around and zoom it into areas to plot a course before you try an infiltration, learn the layout of an area, or find items or objects you couldn’t otherwise see.
Access Additional Cameras:This is important for completely covering an area you want to infiltrate. Tilt the camera so you can spot a second, third, or additional camera, and access that to cover areas the first camera couldn’t see.
Tag Foes:This is detailed below, but enemies can be marked.
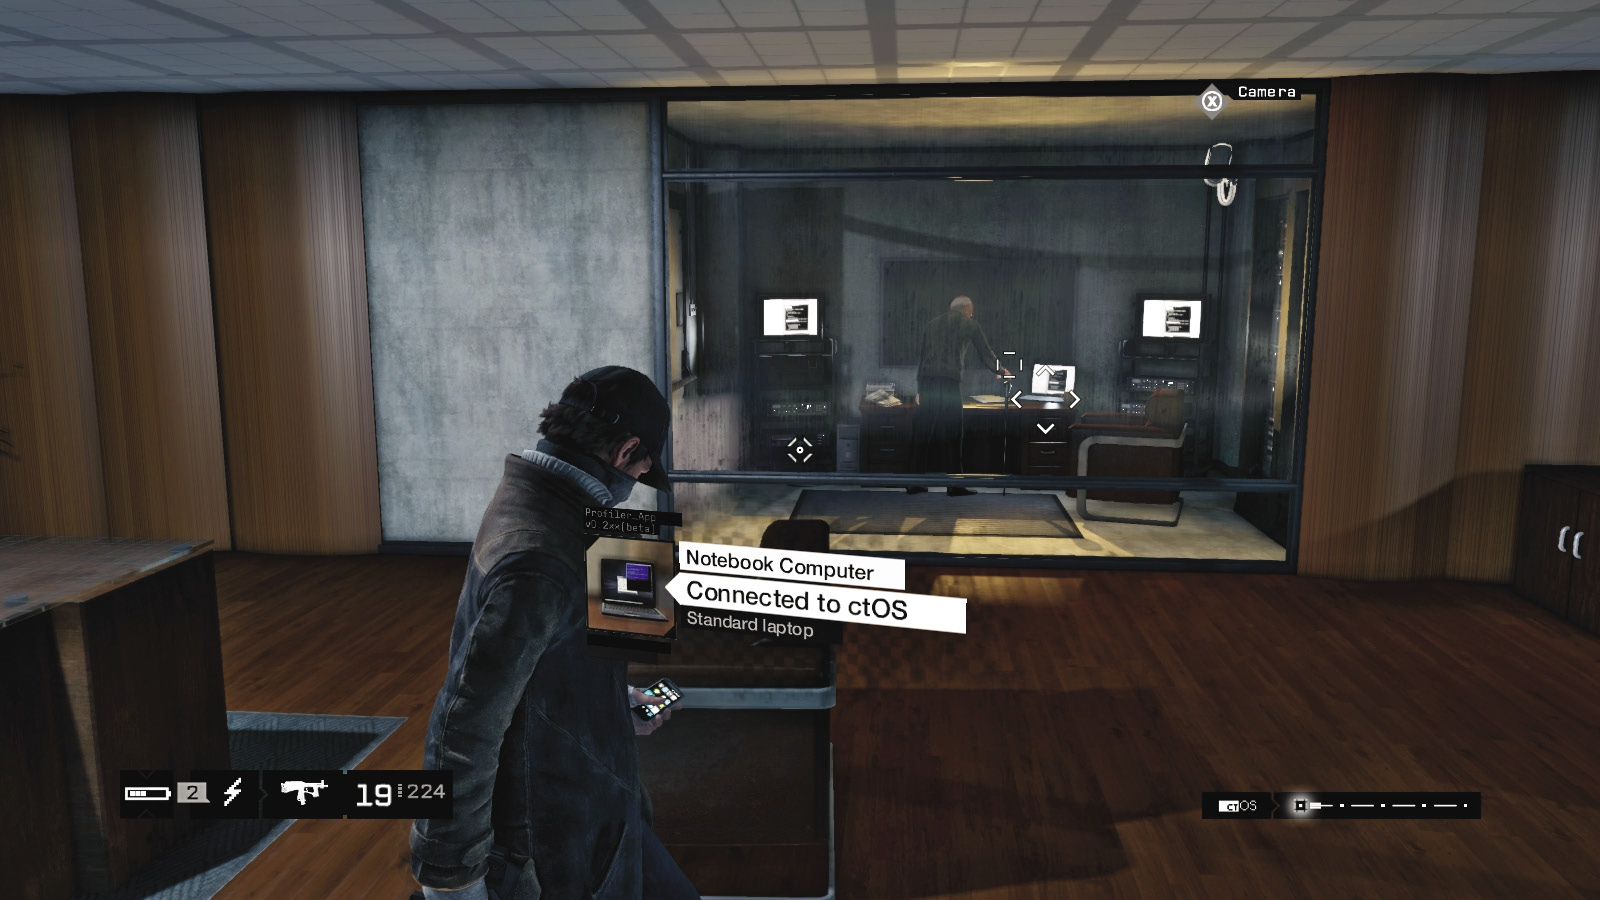
Hack:Objects (like gates, computers, switches, pipes, and even online rivals), including those carried by enemies, can be hacked as if you were standing within smartphone range. This is exceptionally useful, as it can allow you to finish missions without stepping foot into a restricted area!
// ctOS ACCESS /// Camera Tagging
If you’re pondering pathways, you want to know the enemies you’ll be facing. This is where tagging (or “marking”) comes in. Do this at closer range using your smartphone, or remotely from any ctOS camera. Here’s what to do:
Simply point the camera at an enemy, and wait for the enemy to be outlined in data. Their rank and whether they are Shot-Callers are now revealed.
Then continue to tag additional enemies, using the minimap to locate the foes your cameras don’t initially find. Some foes may be hidden from cameras, requiring you to tag them using your smartphone instead.
Now, when you start to infiltrate an area, tagged foes continue to appear, including through walls, so you know exactly where everyone is, at any time! This allows you to literally see around corners, up through floors, and get the jump on any enemy before they see you!
// ctOS ACCESS /// Enemy Camera Access
There is another type of camera to access, too, enemy cameras that are fitted onto the collars, heads, or guns of certain guards. Access these in the same way as normal cameras. They provide a first-person view of a restricted area, which is handy for seeing areas other cameras (or you) cannot reach. You also have limited usage of pan and scan and all other camera functions (i.e., accessing other cameras, tagging, and hacking). Use this to see additional areas and to prompt foes to start patrolling (which allows you to sneak past where they were).
// 3. Brute-Force Attacks
// BRUTE-FORCE ATTACKS /// Going with the (Data) Flow
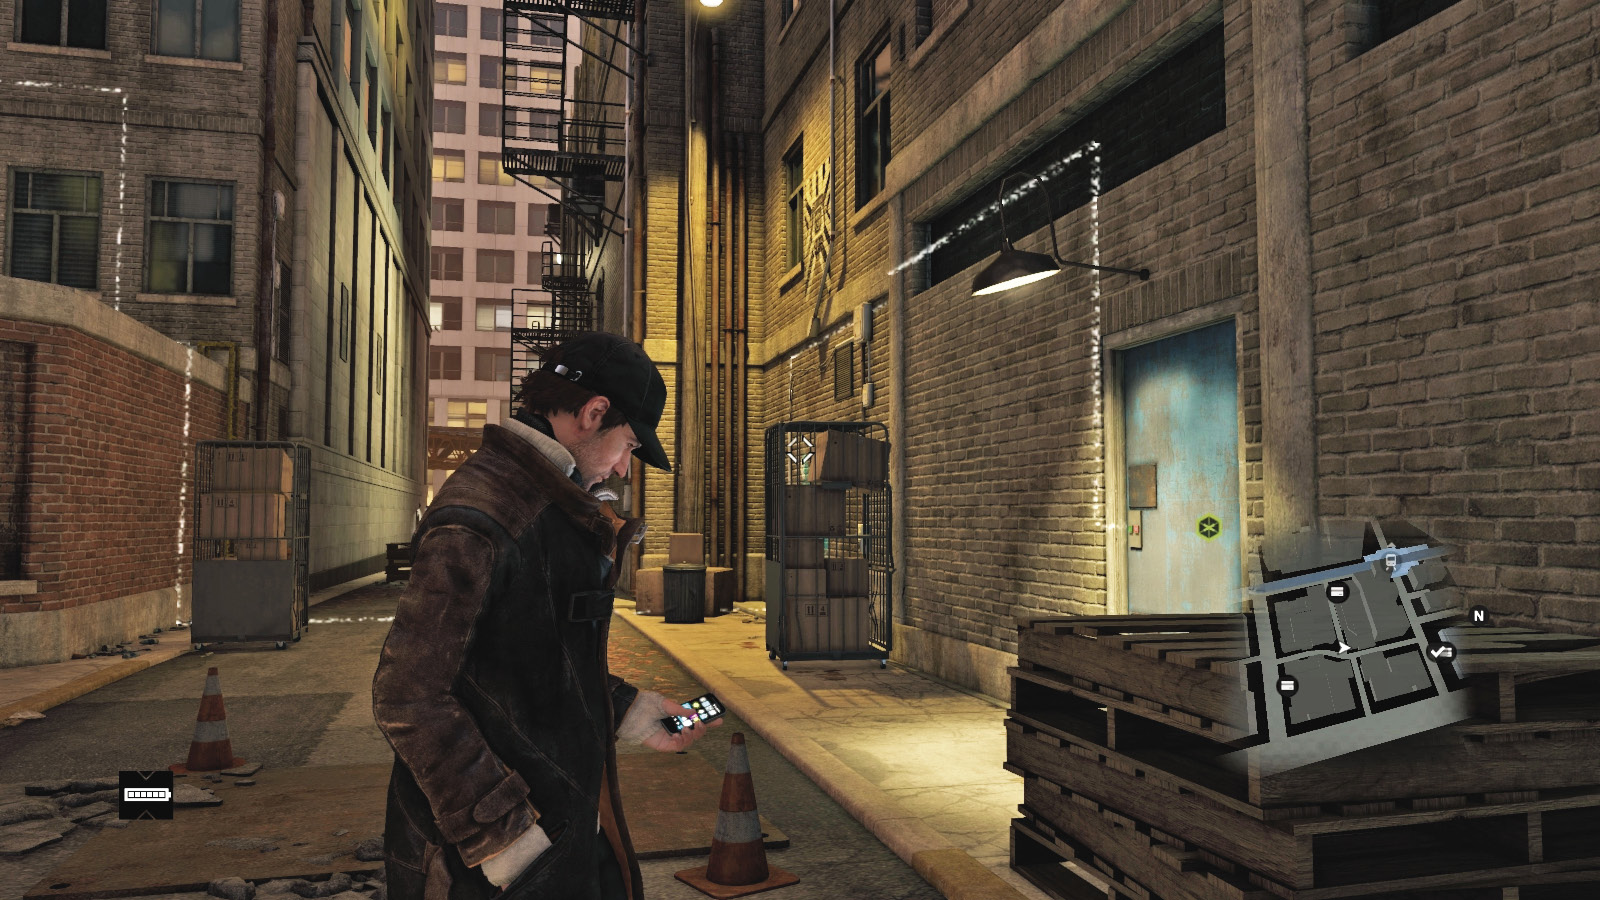
Everything is connected. While profiling, you can see this flow of data as a crackling white line. The data is protected while white, but once you hack the data flow, it turns blue. Look for data flow, which usually follows the line of a network cable and almost always ends up at a switch console—a router you hack, intrude into, or unlock.
// BRUTE-FORCE ATTACKS /// Nodal Hotspots
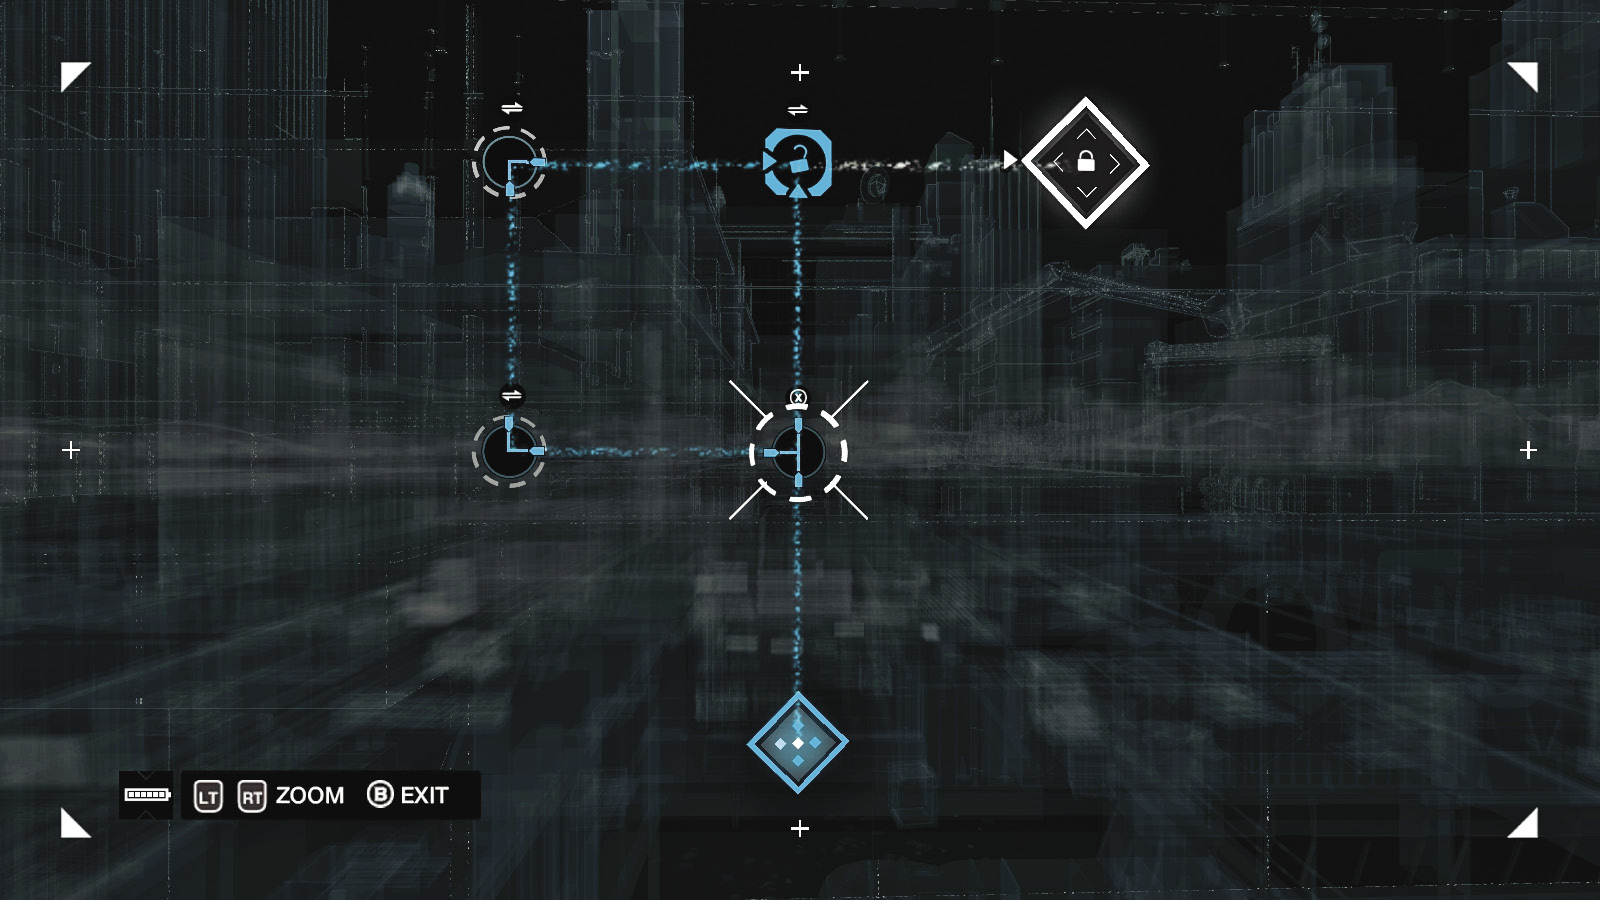
Sometimes while accessing a server, router, or other well-guarded part of a network, you reach a nodal hotspot. These take the form of a “brute-force attack,” where you connect to the inside of a network and start to connect and unlock nodes.
This is a minigame of sorts, in which you must move conduit nodes into position to unlock subsequent nodes. The layout of the data flow may seem strange, but it follows the layout of the building structure you’re looking at. There are:
Starting Nodes: Blue diamond where the data flows from.
Angle Nodes: L- or T-shaped junctions that are spun until the blue data flow passes through them.
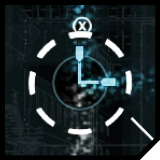
Timer Nodes: These are Angle Nodes with a firewall built into them; complete this nodal hotspot puzzle within the allotted time, or move the node back to the “unconnected” position, or you’re thrown out of the puzzle and must begin again.
Locked Nodes: Junctions with a padlock icon that are unlocked after all data flow heading into the junction is blue.
End Nodes: White diamond nodes that are the last to be unlocked and allow access to the area you need to reach.
This guide has solutions for all Nodal Hotspots. Each one is shown in its completed position. Each Node is labeled with a waypoint icon, showing a number and a letter. The number is the turns you complete for the Node at that time. The letter is the order you should turn a Node. Always start a Nodal Hotspot puzzle at the waypoint labeled “A,” and proceed in alphabetical order. Unlocks aren’t counted as turns. The number zero means you simply unlock (if necessary), or leave the Node alone.
Some Nodes have more than one label. Also remember some Nodal Hotspots can be completed in more than one way; an easy solution is always shown. Nodal hotspots are relatively straightforward if you logically start from the blue areas and concentrate on the nearest locked node one at a time.
// 4. AUDIO AND VIDEO LOGS
/// AUDIO LOGS //// Notes
Audio Logs are snippets of recorded information narrated by various characters you meet directly or tangentially throughout your missions and investigations. They provide insight into the Watch_Dogs world. Some recordings are found during main missions. Others during side missions and investigations or throughout the six districts.
/// VIDEO LOGS //// Notes
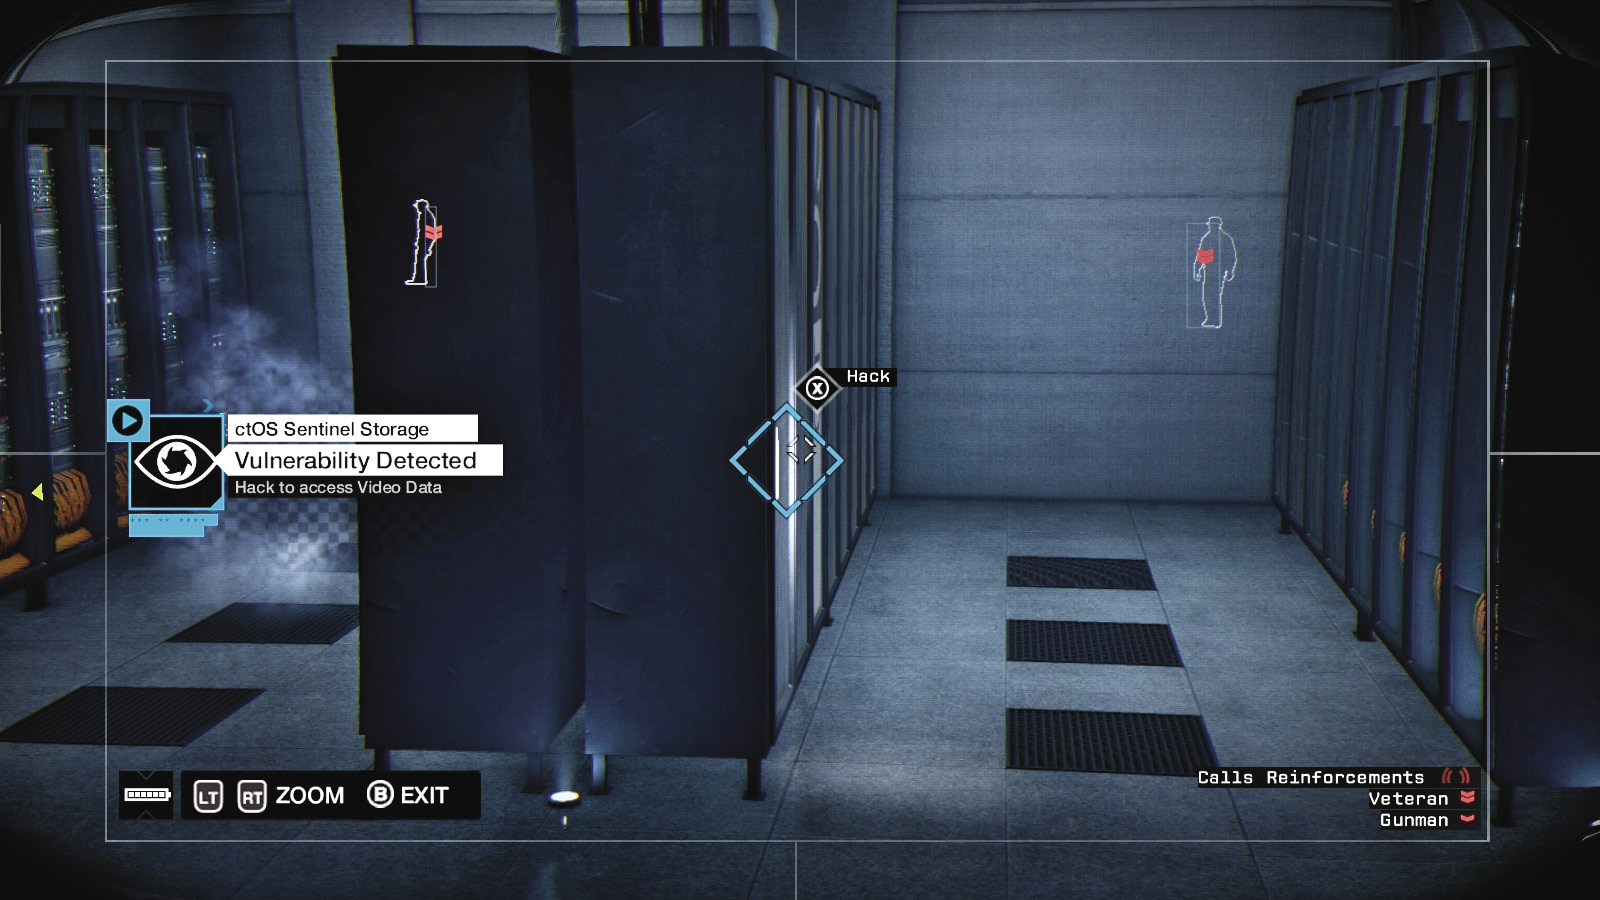
The clandestine hacker collective known as DedSec has left their mark all over ctOS servers throughout the six districts in the form of Video Logs. These playable videos contain a variety of sensitive imagery.
You can find them whenever you intrude into a server room (e.g., when infiltrating a ctOS control center). Simply hack any access points within the server wall, and the video automatically plays. You can’t replay the video, so it’s worth checking them out when you’re deep within the ctOS firewall....
// 5. Hacking Access Points (ALL DISTRICTS)
Hacking objects can take place while on foot, in a vehicle, or via a remote ctOS camera, giving you an almost infinite variety of ways to gather information, cause a distraction, or deal out some damage. The following is a comprehensive list of over 50 hackable objects in the city; some of these objects are accessed for purposes particular to a mission.
/// BRIDGES
//// City Lift Bridge
Amount Available: Uncommon
Battery cost: None
USEFULNESS:
How Used: Raised to slow pursuers or targets
Weaknesses: Can Still be driven over
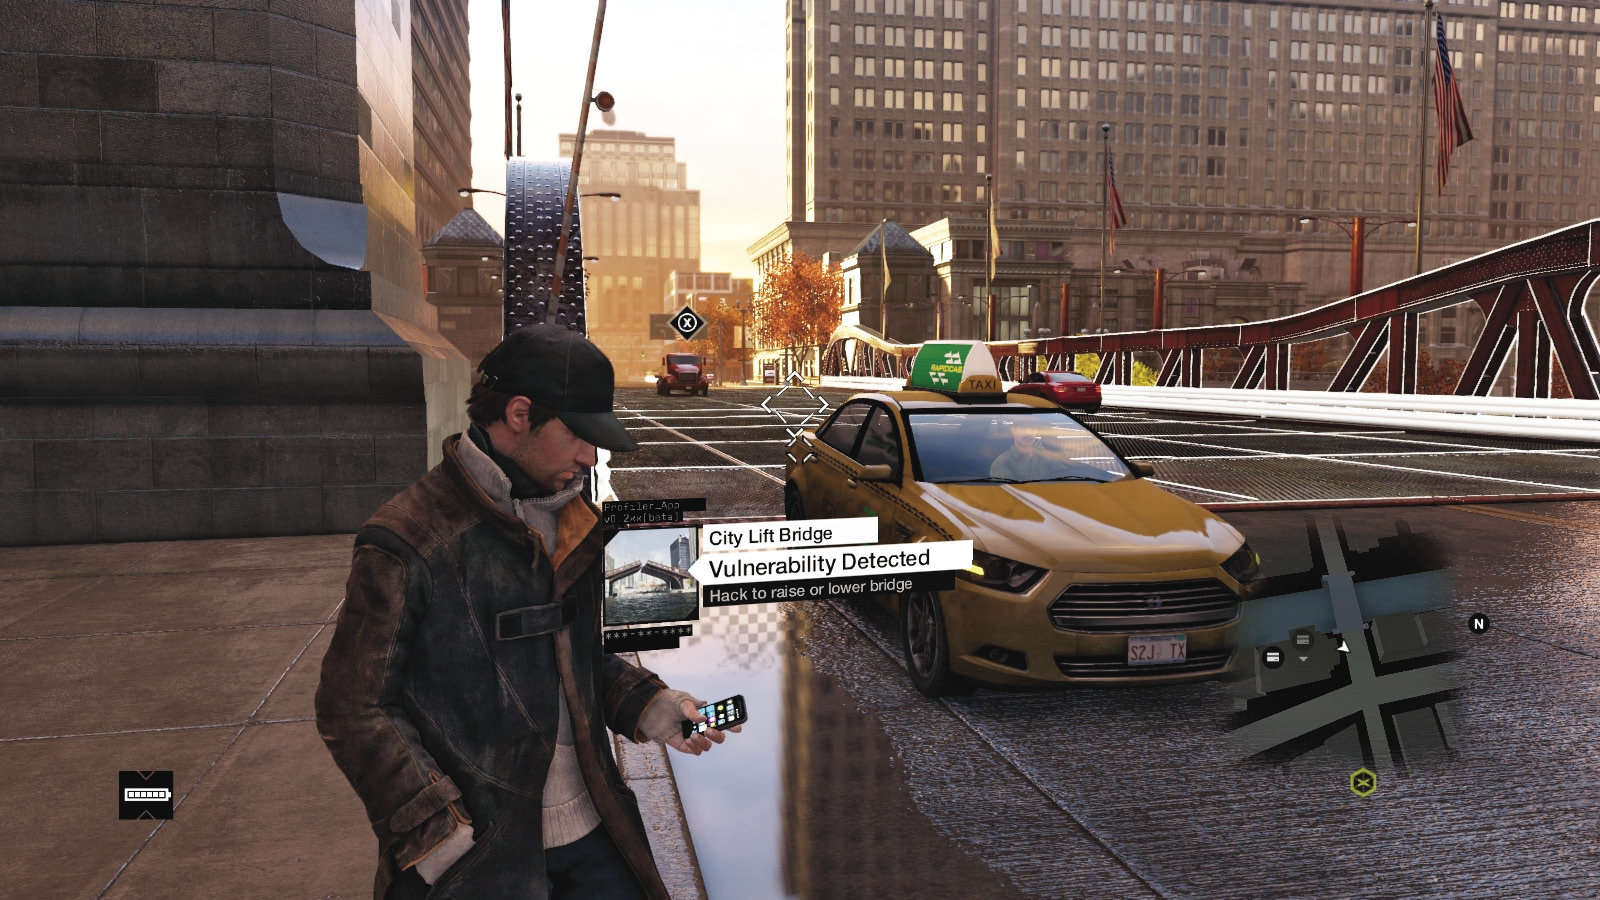
Many of the bridges linking the Loop to Mad Mile (and others in Brandon Docks) split in the middle, creating a huge ramp that allows you to easily lose pursuers.
//// Swing Bridge
Amount Available: Rare
Battery cost: None
USEFULNESS:
How Used: Swung around to connect to road
Weaknesses: Slow to move
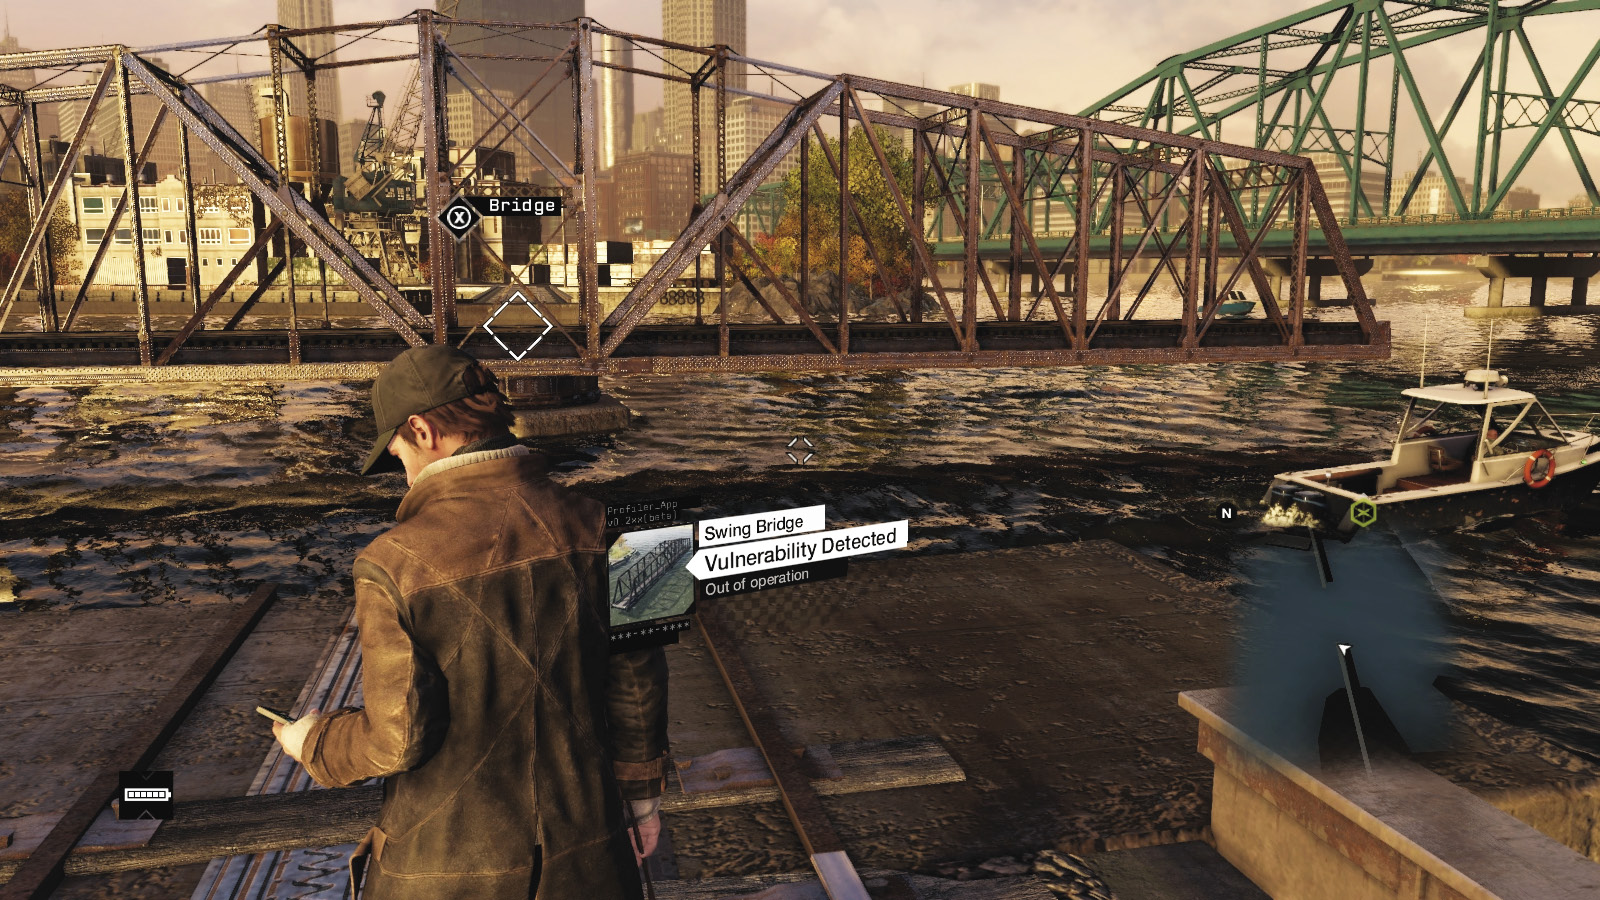
A few of the older bridges are of this type, which swing around to join both up a rail line or road. If you’re on this type of bridge and about to get off, activate it to trap foes behind you.
//// Pedestrian Bridge
Amount Available: Rare
Battery cost: None
USEFULNESS:
How Used: Rotates, allowing access
Weaknesses: Can cause unwanted attention, or trap you
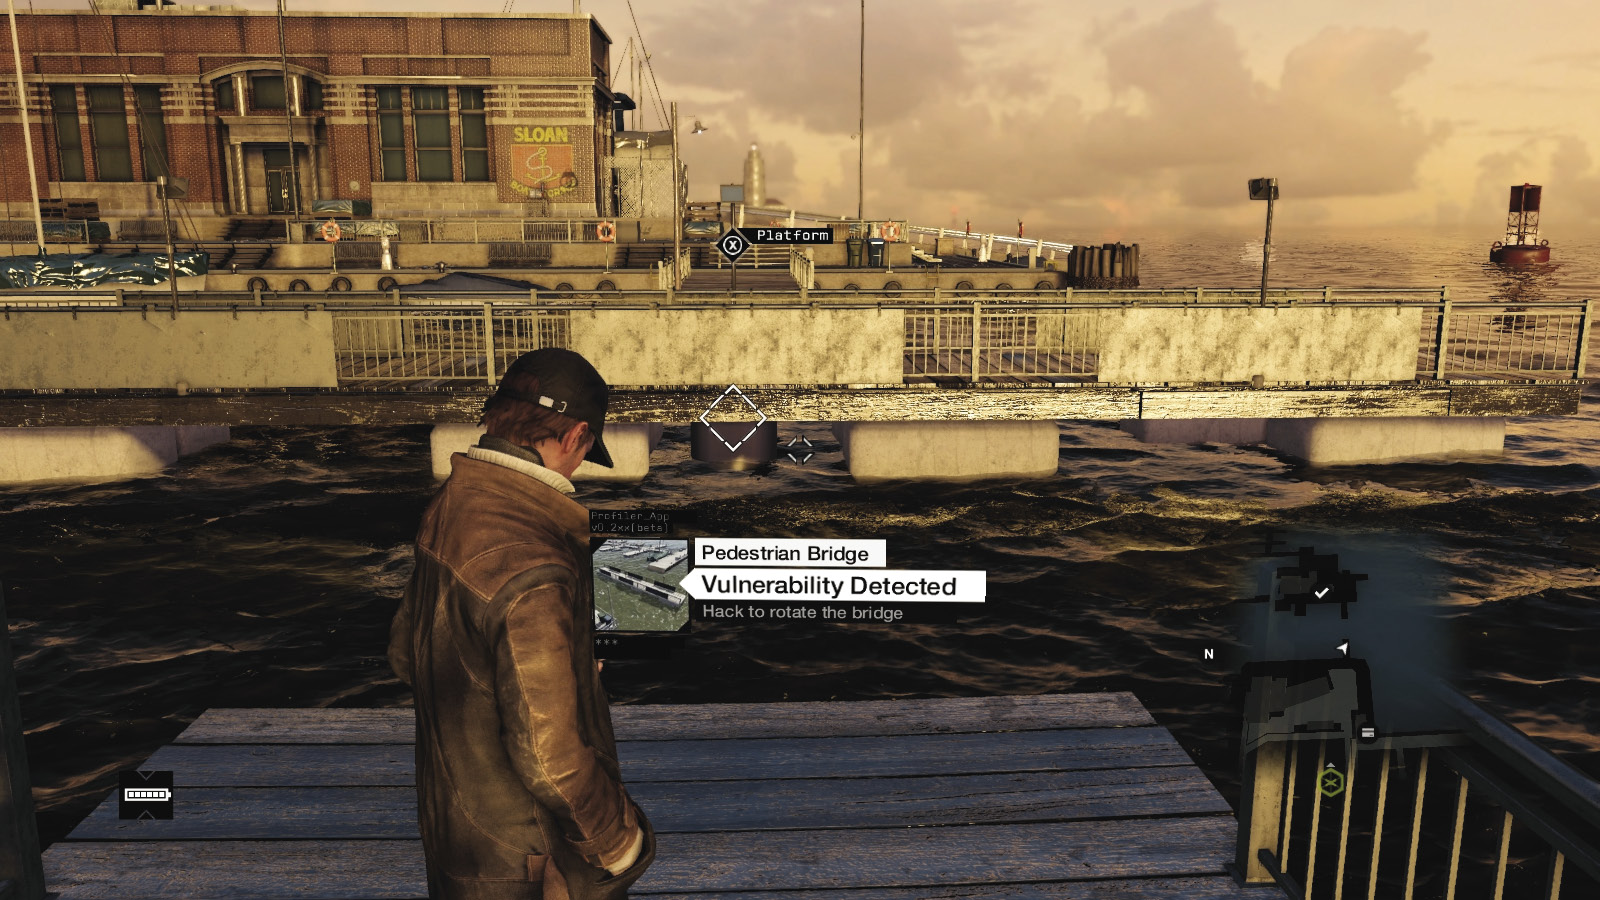
These appear only at docks and function just like swing bridges, allowing you to access different parts of a location, depending on which way the bridge faces. When foes are present, you can use them as a distraction too.
//// Service Bridge
Amount Available: Very Rare
Battery cost: None
USEFULNESS:
How Used: Rotates, allowing access
Weaknesses: Can cause unwanted attention, or trap you
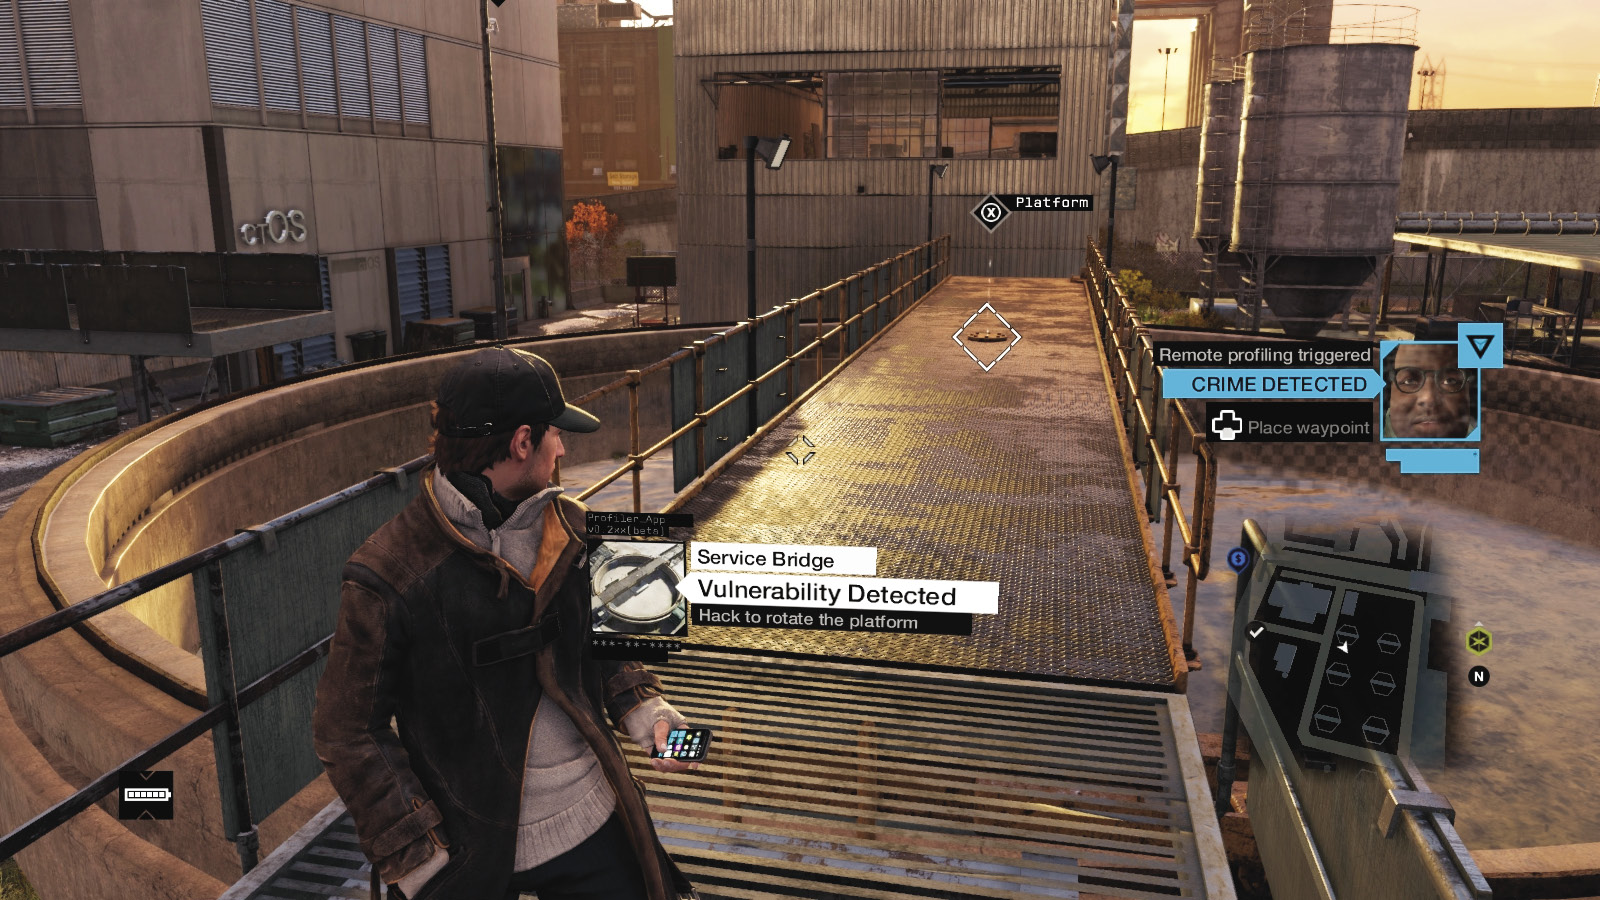
These appear only at sewer treatment works and function just like swing bridges, allowing you to access different parts of a location depending on which way the bridge faces. When foes are present, you can use them as a distraction too.
/// CRANES, LIFTS, AND ELEVATORS
//// Boat Crane
Amount Available: Unique
Battery cost: None
USEFULNESS:
How Used: Pivots a boat to and from a dock platform
Weaknesses: Only used effectively once
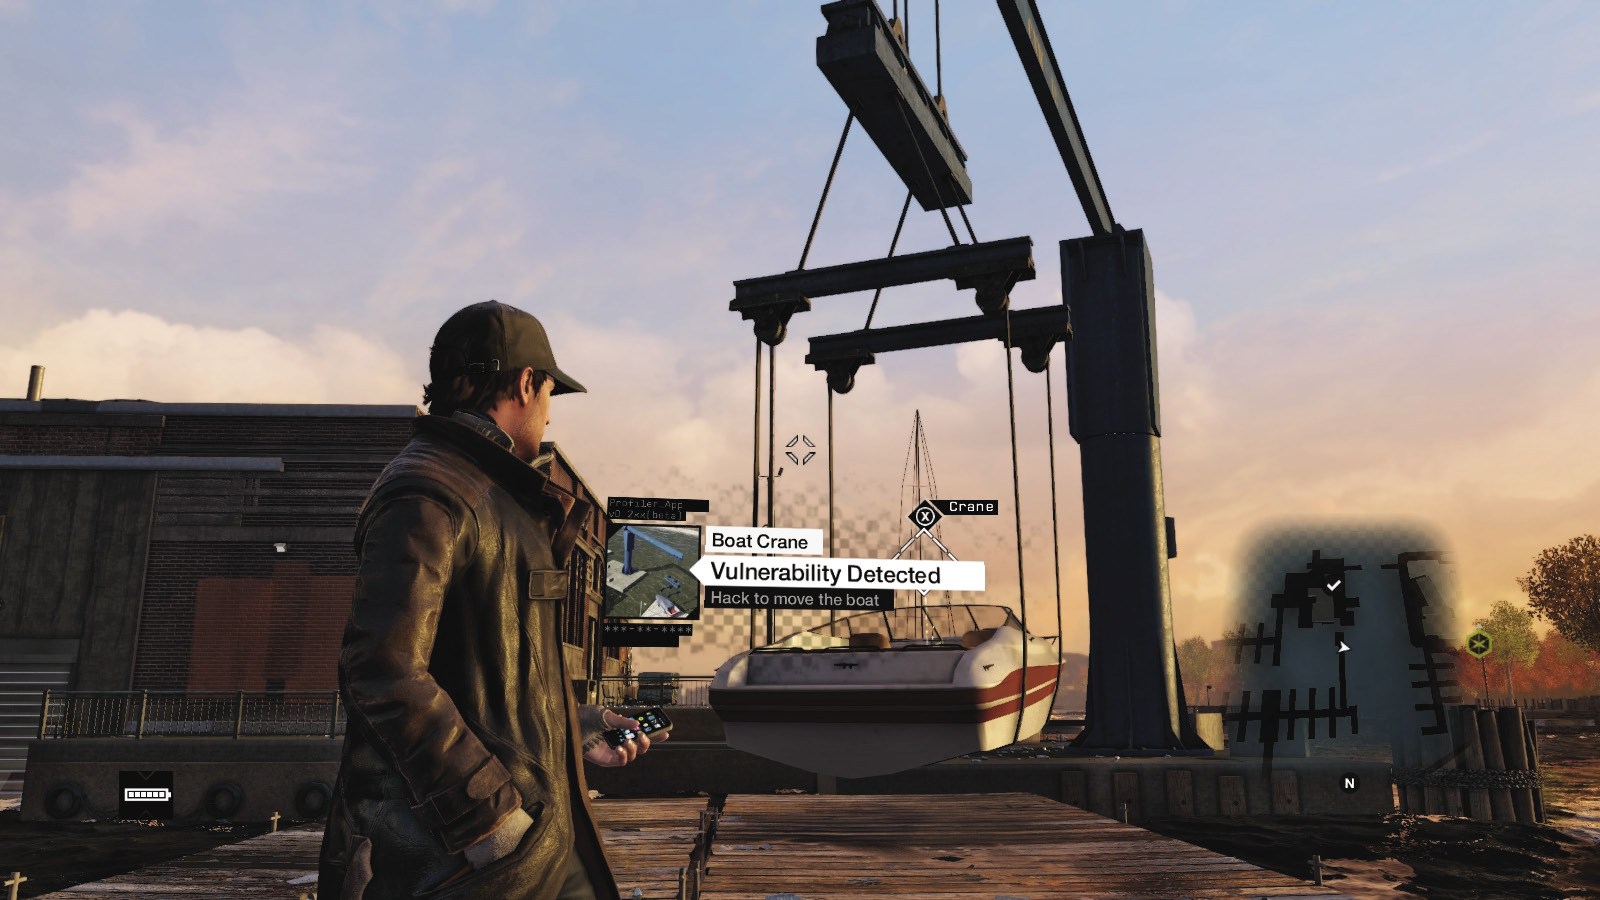
This large, blue L-shaped crane has a boat suspended to it and is located on the eastern marina in the Loop. If you stand on the boat, you can activate the crane, which pivots the boat around to a dock you’d normally have to swim to. Handy for clandestine infiltrations of this location only.
//// Bridge Crane
Amount Available: Unique
Battery cost: None
USEFULNESS:
How Used: Allows access back and forth
Weaknesses: Only horizontal movement, you can get trapped
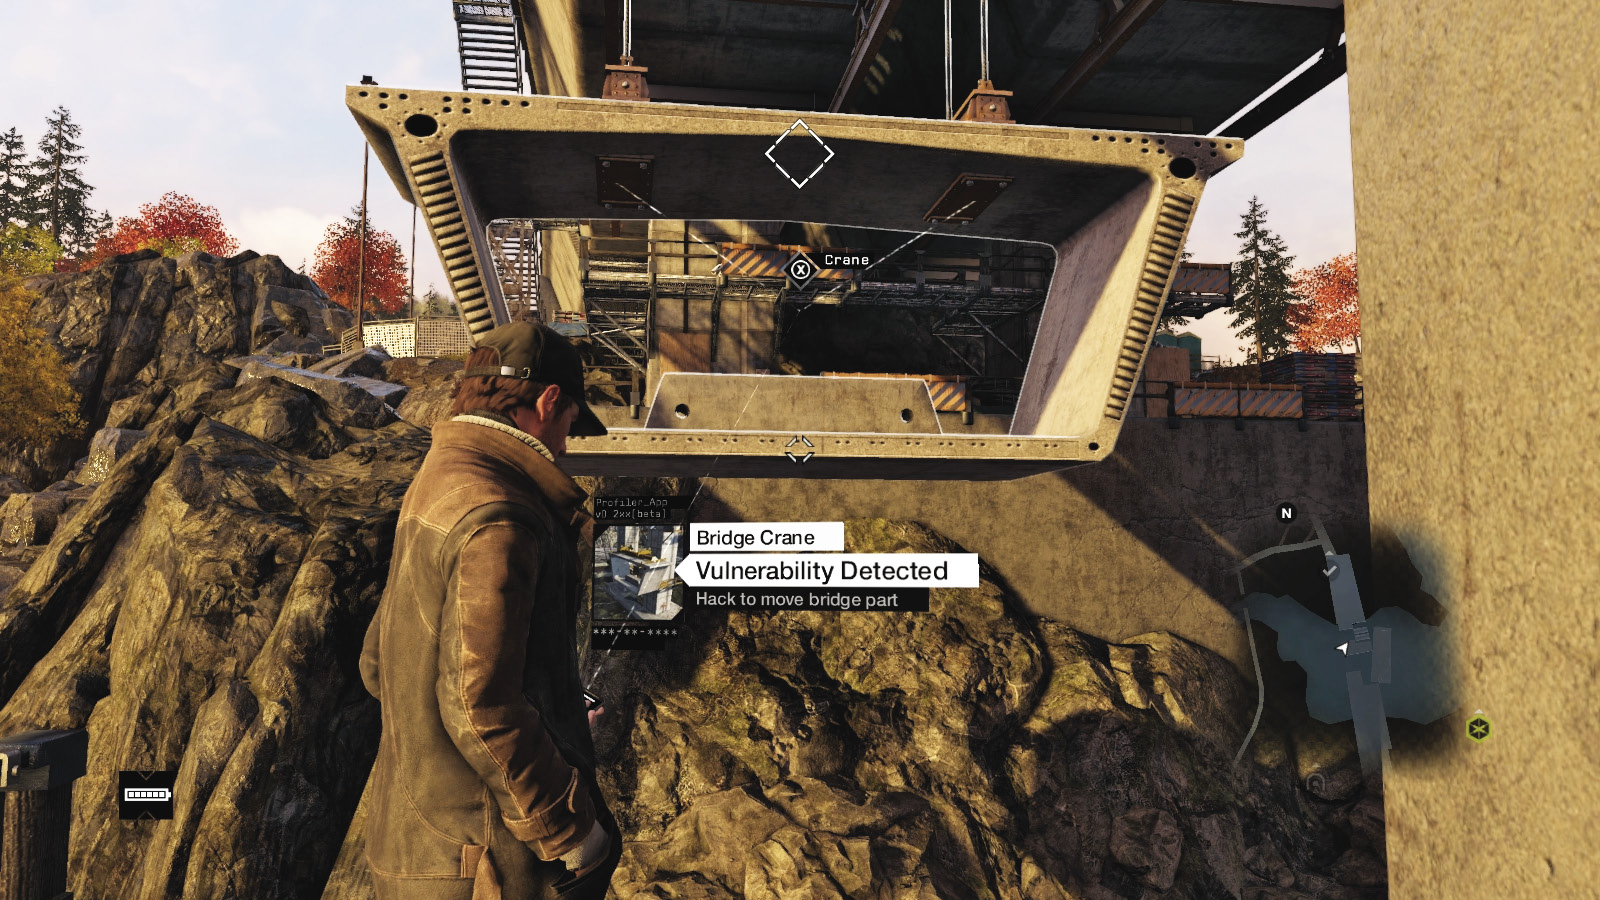
In the road construction bridge near Pawnee, part of the massive project involves a large concrete bridge section suspended by crane. Stand or cover-crouch to ride across, watching for foes along the way.
//// Container Crane I
Amount Available: RARE
Battery cost: None
USEFULNESS:
How Used: Crane releases container
Weaknesses: One use, noisy
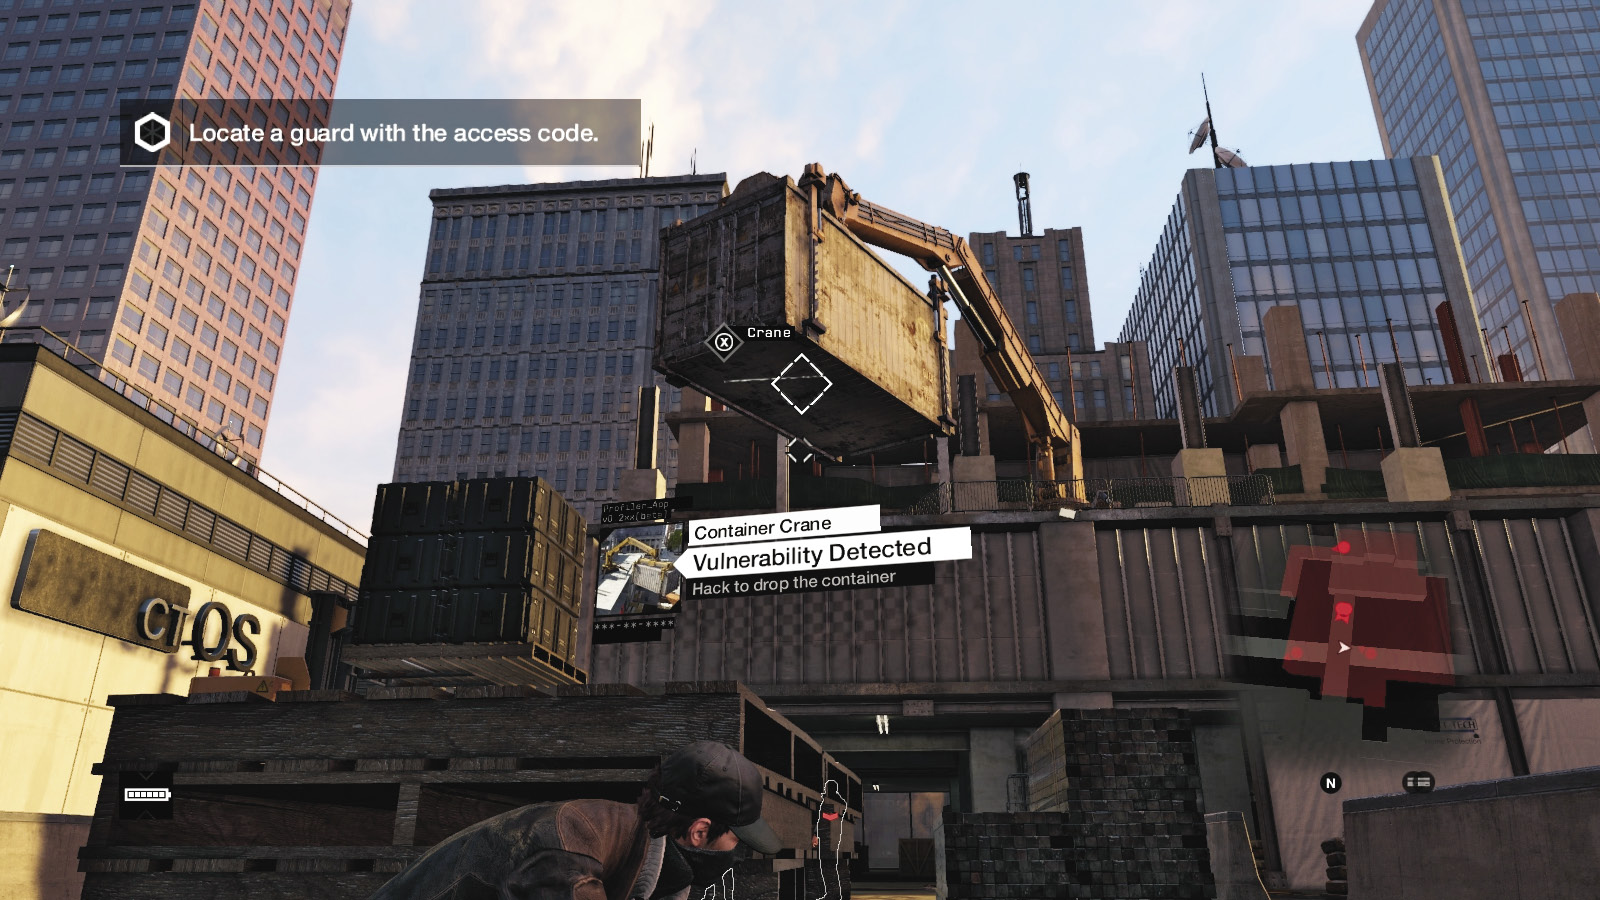
This crane holds a suspended metal container, which is usually above an area frequented by enemies. By dropping the container, you cause a large disturbance that acts as a distraction, or you can land the container on a foe underneath, killing them.
//// Container Crane II
Amount Available: RARE
Battery cost: None
USEFULNESS:
How Used: Raises and moves containers horizontally and vertically
Weaknesses: Used only as a platform
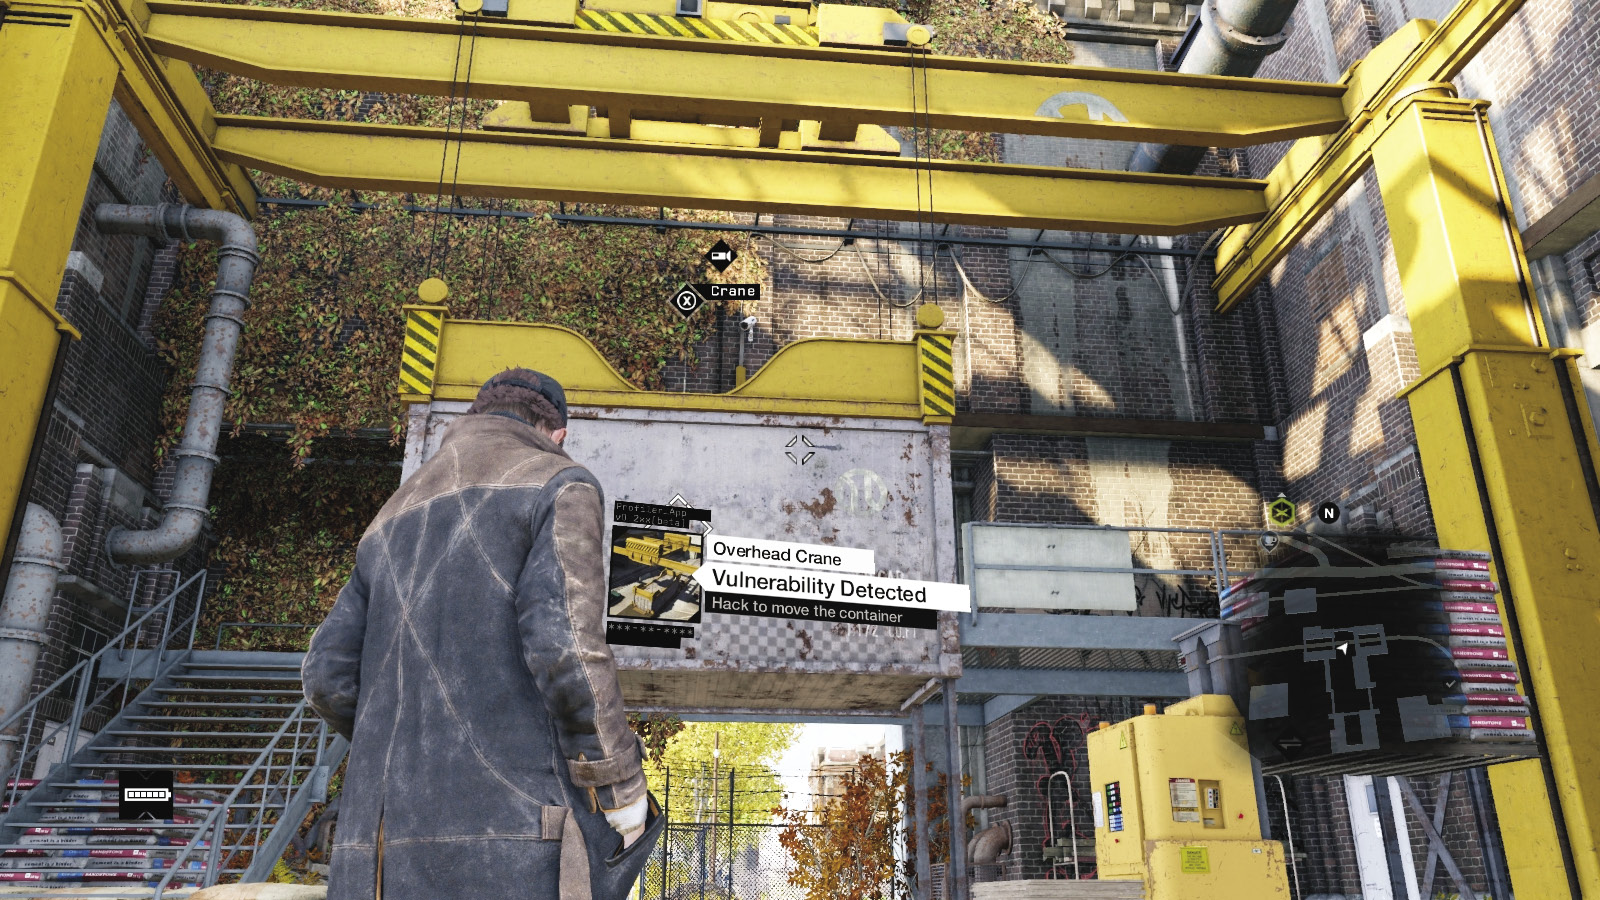
This type of crane holds a container and maneuvers its load. This is an automatic move once you hack, vertically or horizontally (or both), and is mainly used to stand on and reach an otherwise impassible area or to see behind a hidden location.
//// Container Crane III
Amount Available: RARE
Battery cost: None
USEFULNESS:
How Used: Raises and moves containers horizontally and vertically
Weaknesses: Used only as a platform
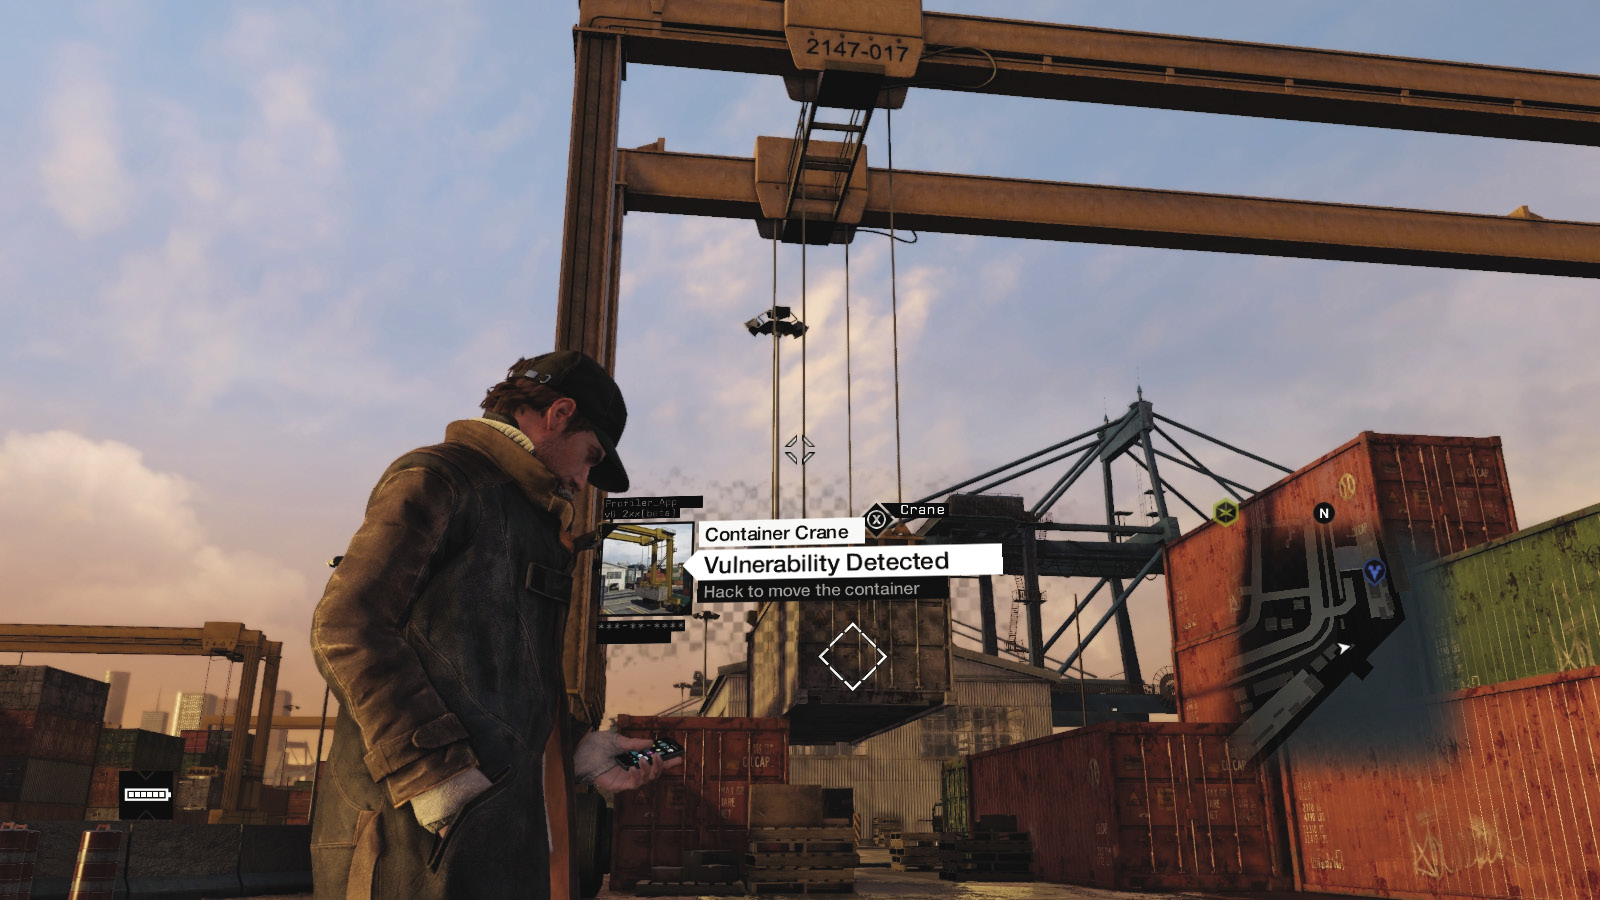
This type of crane is a slightly larger version of the Container Crane II and functions in exactly the same way. Found on the docks, it shifts its container, usually with you standing on it, horizontally or vertically, so you can rise up to survey a location, or reach a hidden location.
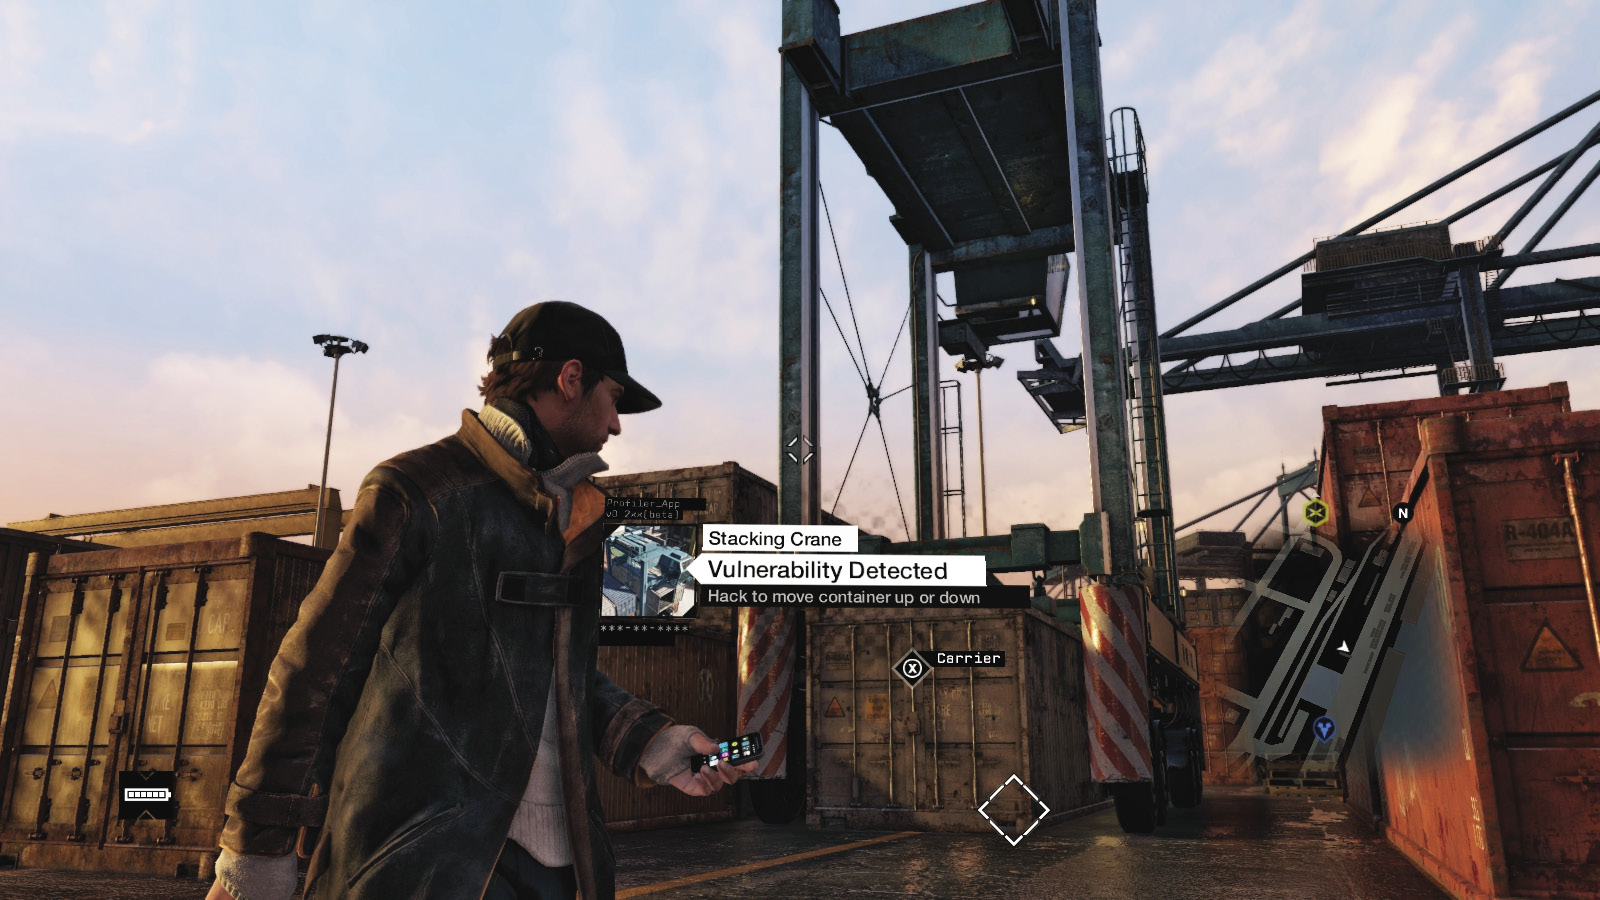
//// Stacking Crane
Amount Available: Rare
Battery cost: None
USEFULNESS:
How Used: Container raised and lowered
Weaknesses: Limited cover atop the container
Utilize this to reach a higher location that isn’t accessible by climbing or parkour. Stand in or atop a container. You also drive into this container, then raise it.
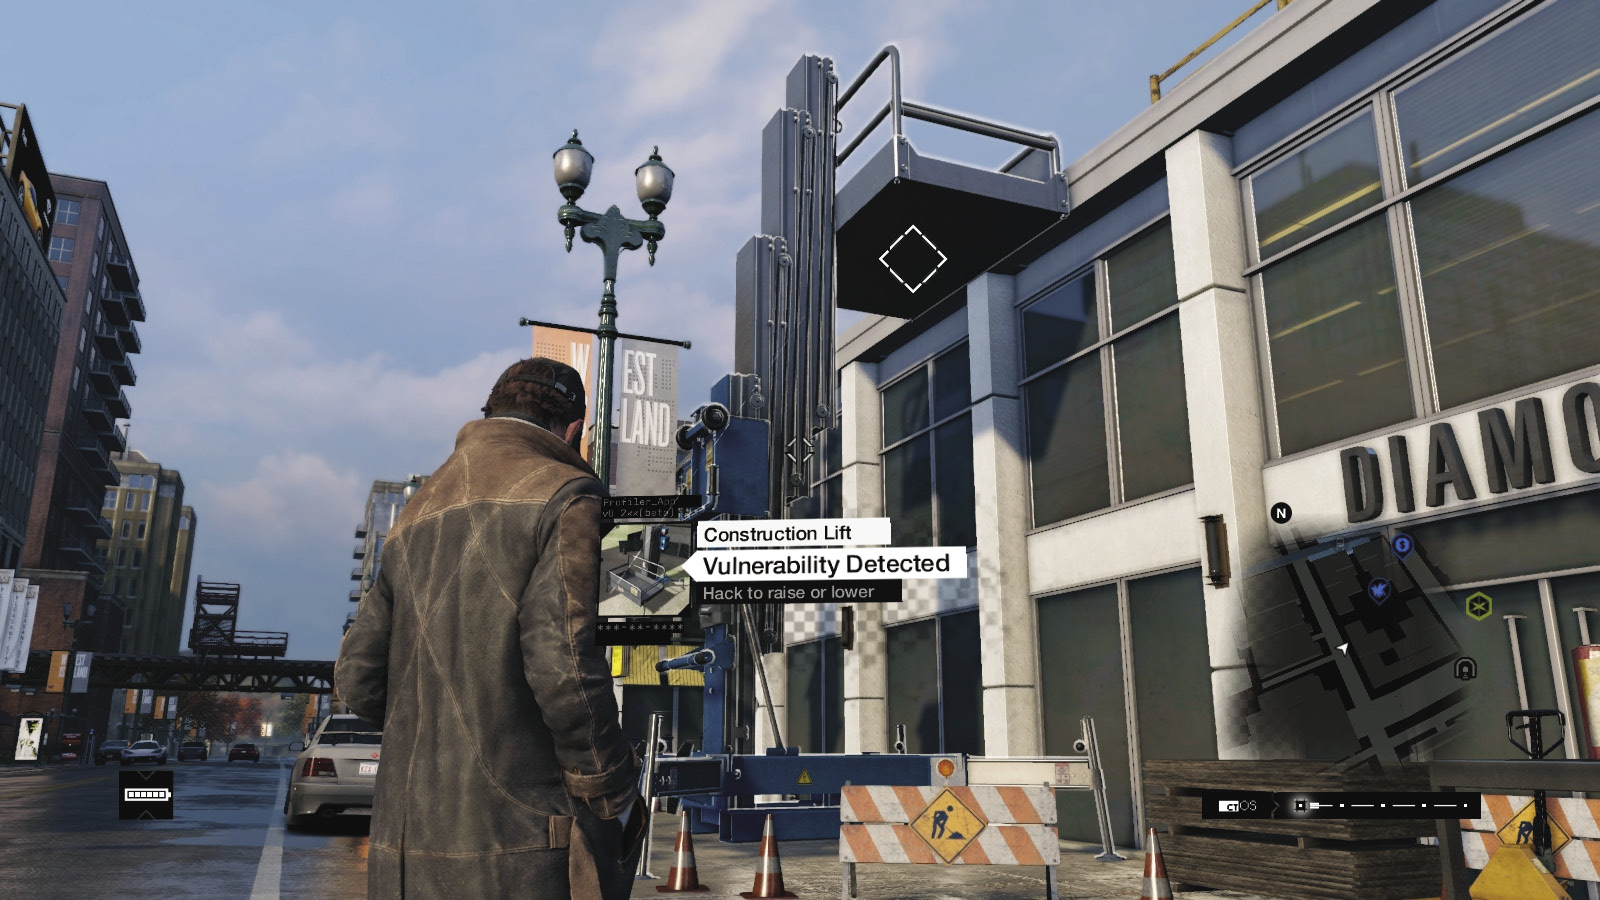
//// Construction Lift
Amount Available: UNCOMMON
Battery cost: None
USEFULNESS:
How Used: Press to ascend or descend
Weaknesses: Slow
If you want to reach a high (or low) area and don’t wish to climb or drop, stand in this lift and ascend. This allows a leisurely ride to your vertical destination. Watch for foes attacking. You can change direction by hacking again. This can also be a distraction if accessed without you on it.
//// Loading Dock Lift
Amount Available: Rare
Battery cost: None
USEFULNESS:
How Used: Slowly rises up and down
Weaknesses: Minimal help
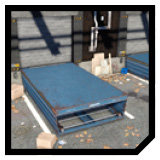
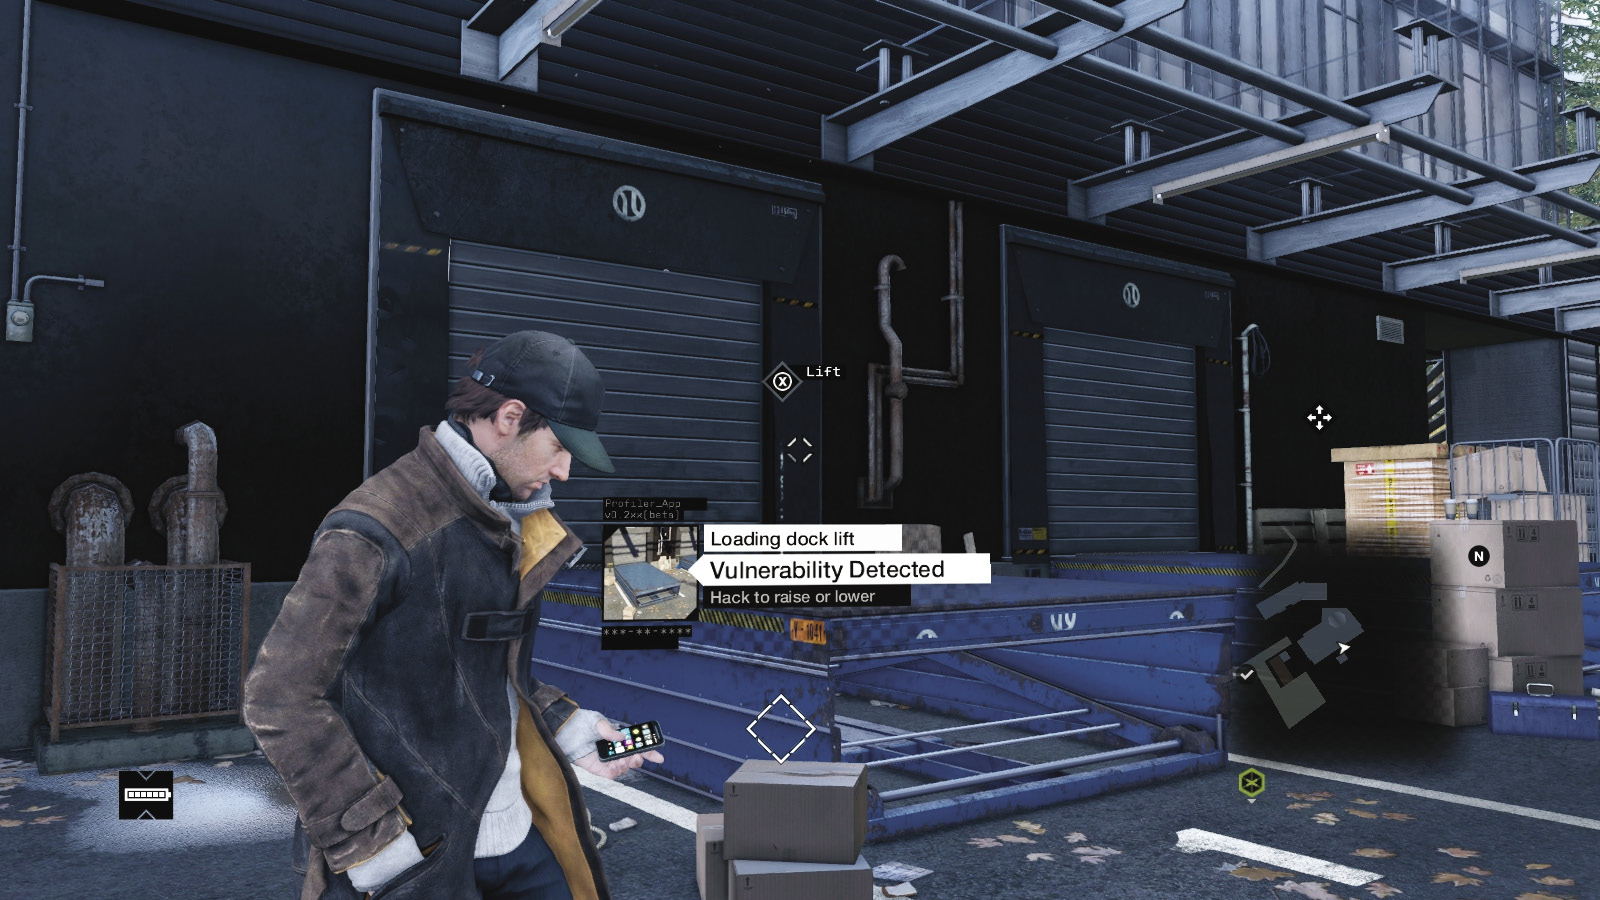
Not all the scenery you can hack is helpful, as these dock lifts show; they slowly move goods up and down, which isn’t handy in almost any combat circumstance, though you can hide IEDs or lures under them. And stand slightly higher up if you’re on top of one.
//// Scissor Lift
Amount Available: UNCOMMON
Battery cost: None
USEFULNESS:
How Used: Press to ascend or descend
Weaknesses: Slow
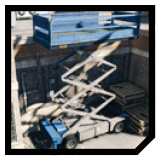
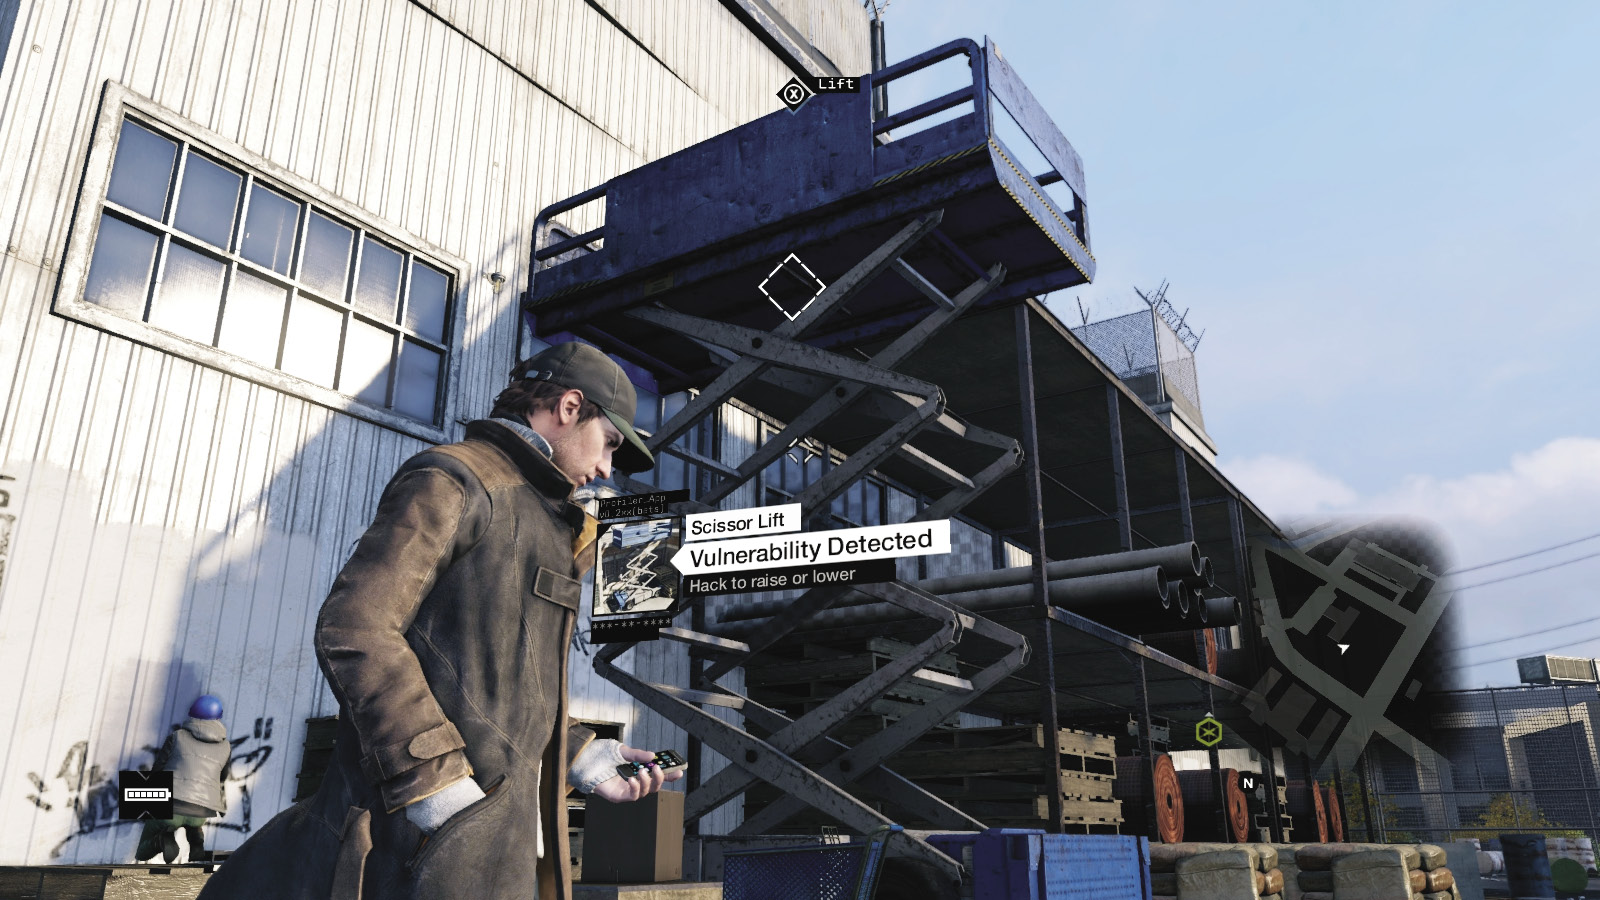
If you want to reach a high (or low) area and don’t wish to climb or drop, stand in this lift and ascend/descend. This allows a leisurely ride to your vertical destination. Watch for foes attacking. You can change direction by pressing again. This can also be a distraction if accessed without you on it. These don’t offer as much height access as a construction lift, though the carriage is the same.
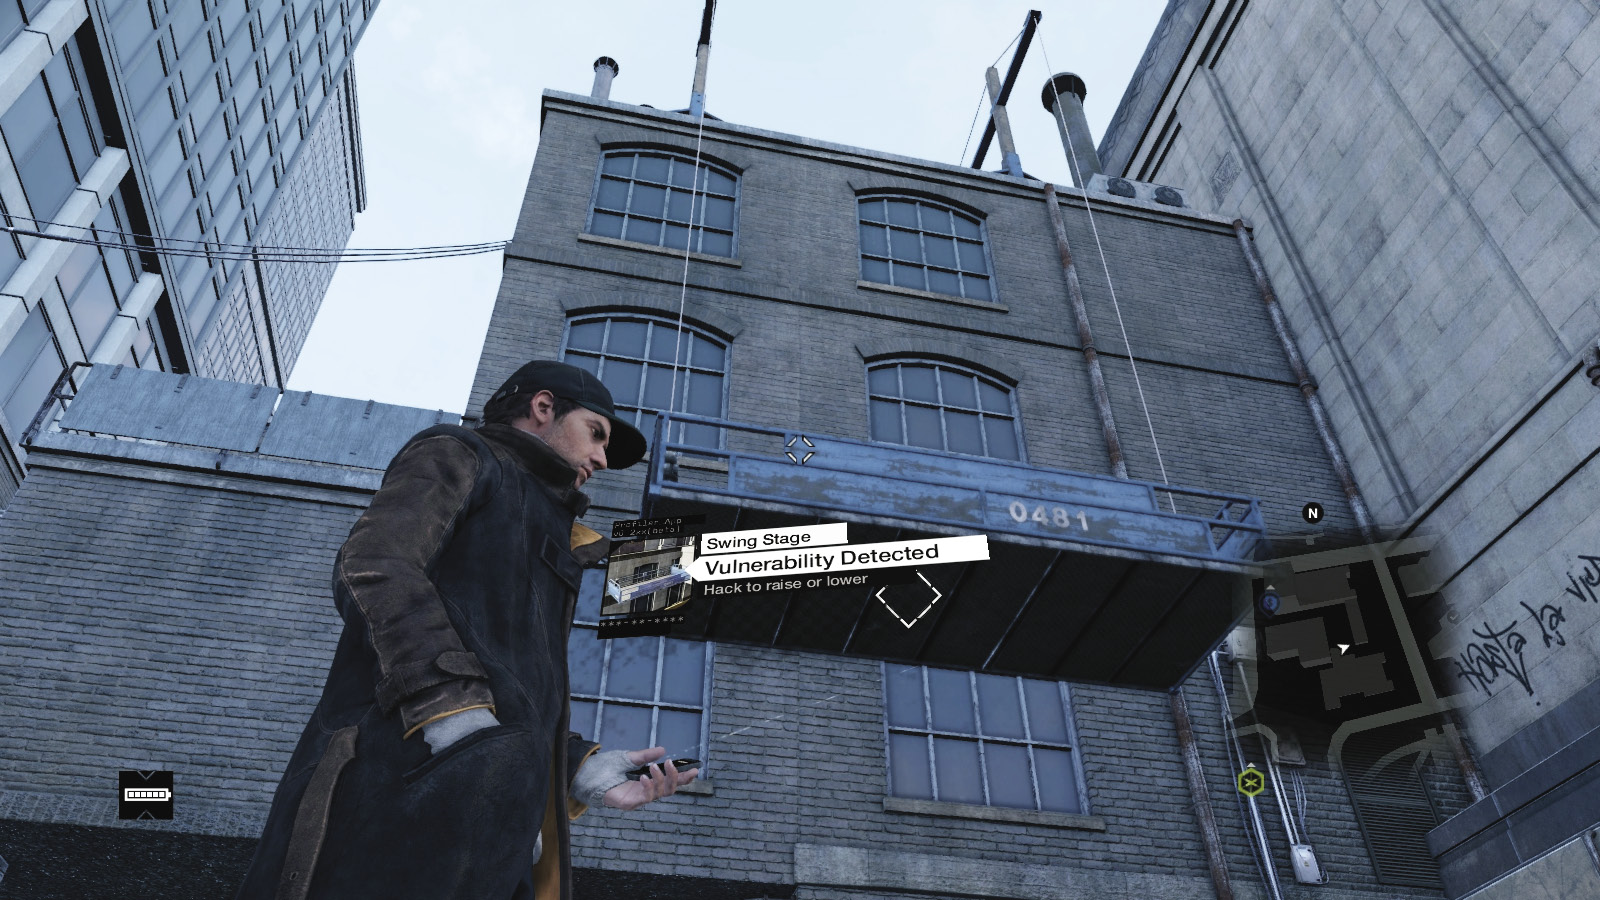
//// Swing Stage
Amount Available: Very Rare
Battery cost: None
USEFULNESS:
How Used: Moves along a tall building
Weaknesses: Easily spotted and stranded as it moves
These are rarely used, but they allow reasonably swift movement along a building when ledges and stairs aren’t available to access a location. If guards are in the vicinity, remember you have limited movement and no cover when you’re on one of these platforms.
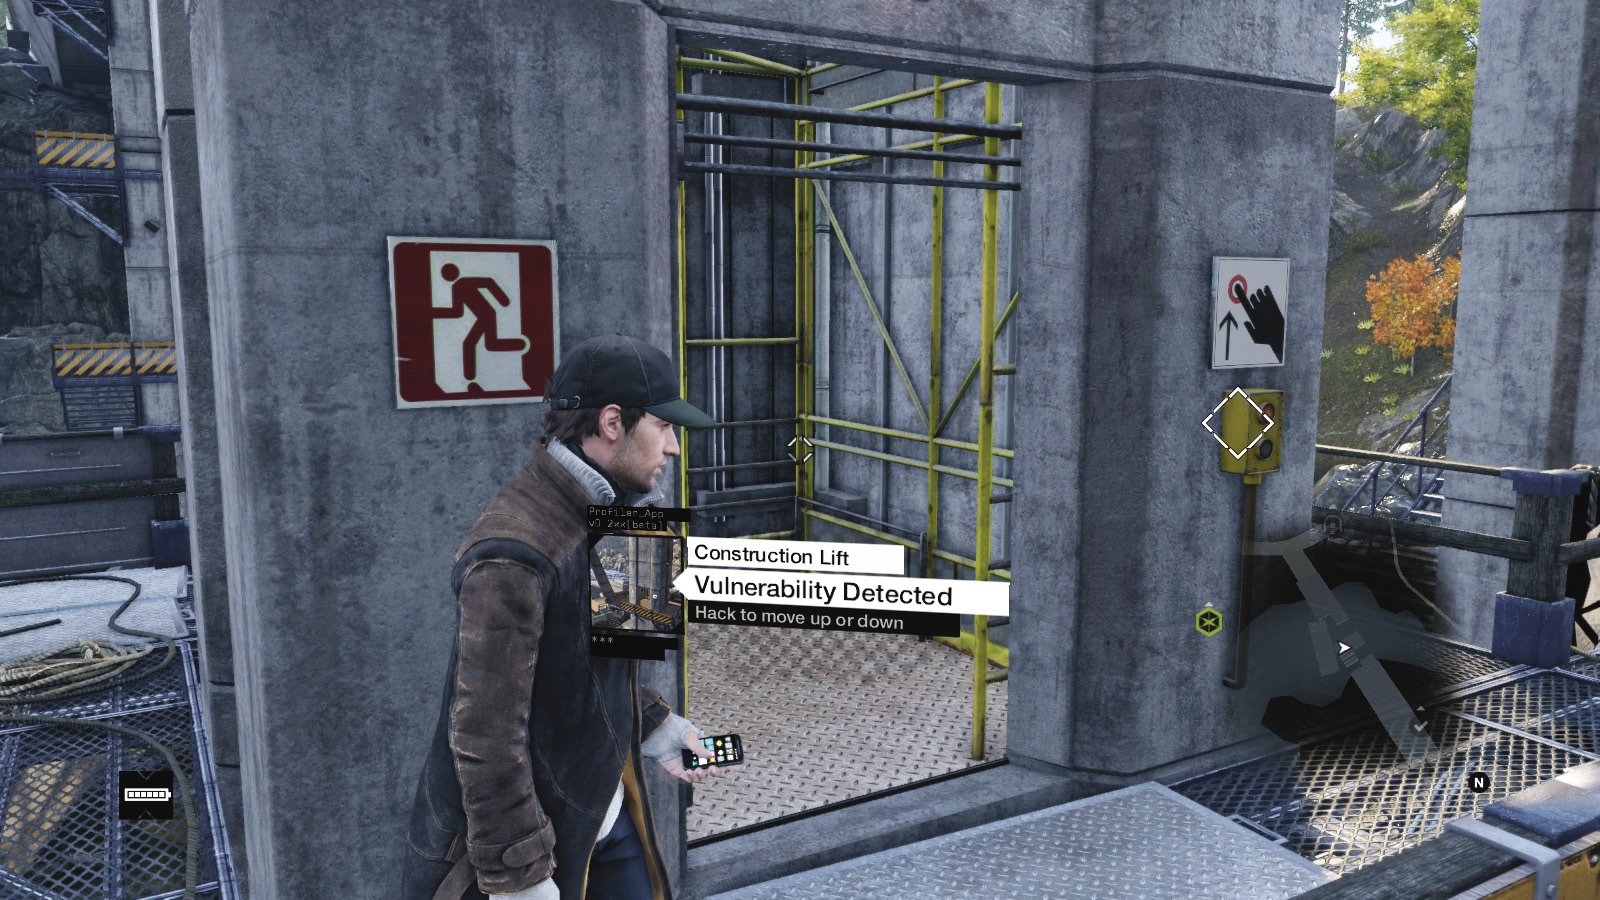
//// Construction Lift
Amount Available: Very Rare
Battery cost: None
USEFULNESS:
How Used: Access upper and lower levels of bridge pillars
Weaknesses: Cramped, easily spotted if you aren’t careful
Use this elevator to head up and down the road construction site near Pawnee; there are four such lifts here, and this enables you to reach between floors more quickly, as long as you aren’t heard or spotted.
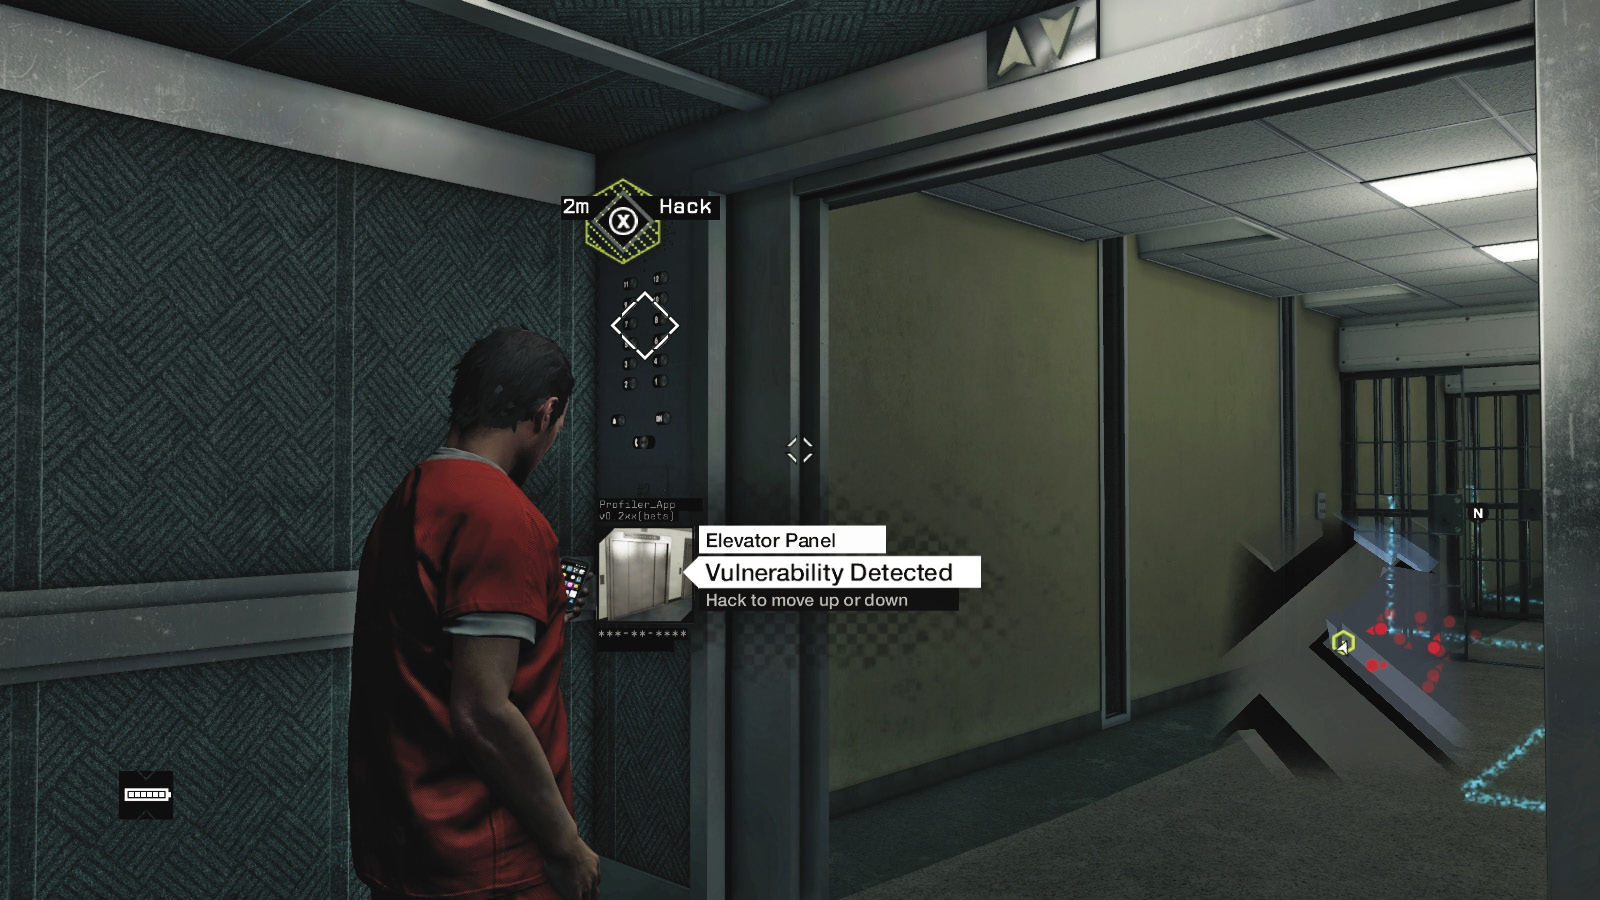
//// Elevator Keypad
Amount Available: Very Rare
Battery cost: None
USEFULNESS:
How Used: Hacked to move the elevator up and down
Weaknesses: Can bring enemies to your location
Whenever you travel in an elevator, you simply hack the keypad to head up or down. This also works if there’s a camera in the elevator, allowing this function to occur remotely. If foes are in the elevator, you can trap them, send them away from your location, or bring them to you (tag them first so you can see where they are).
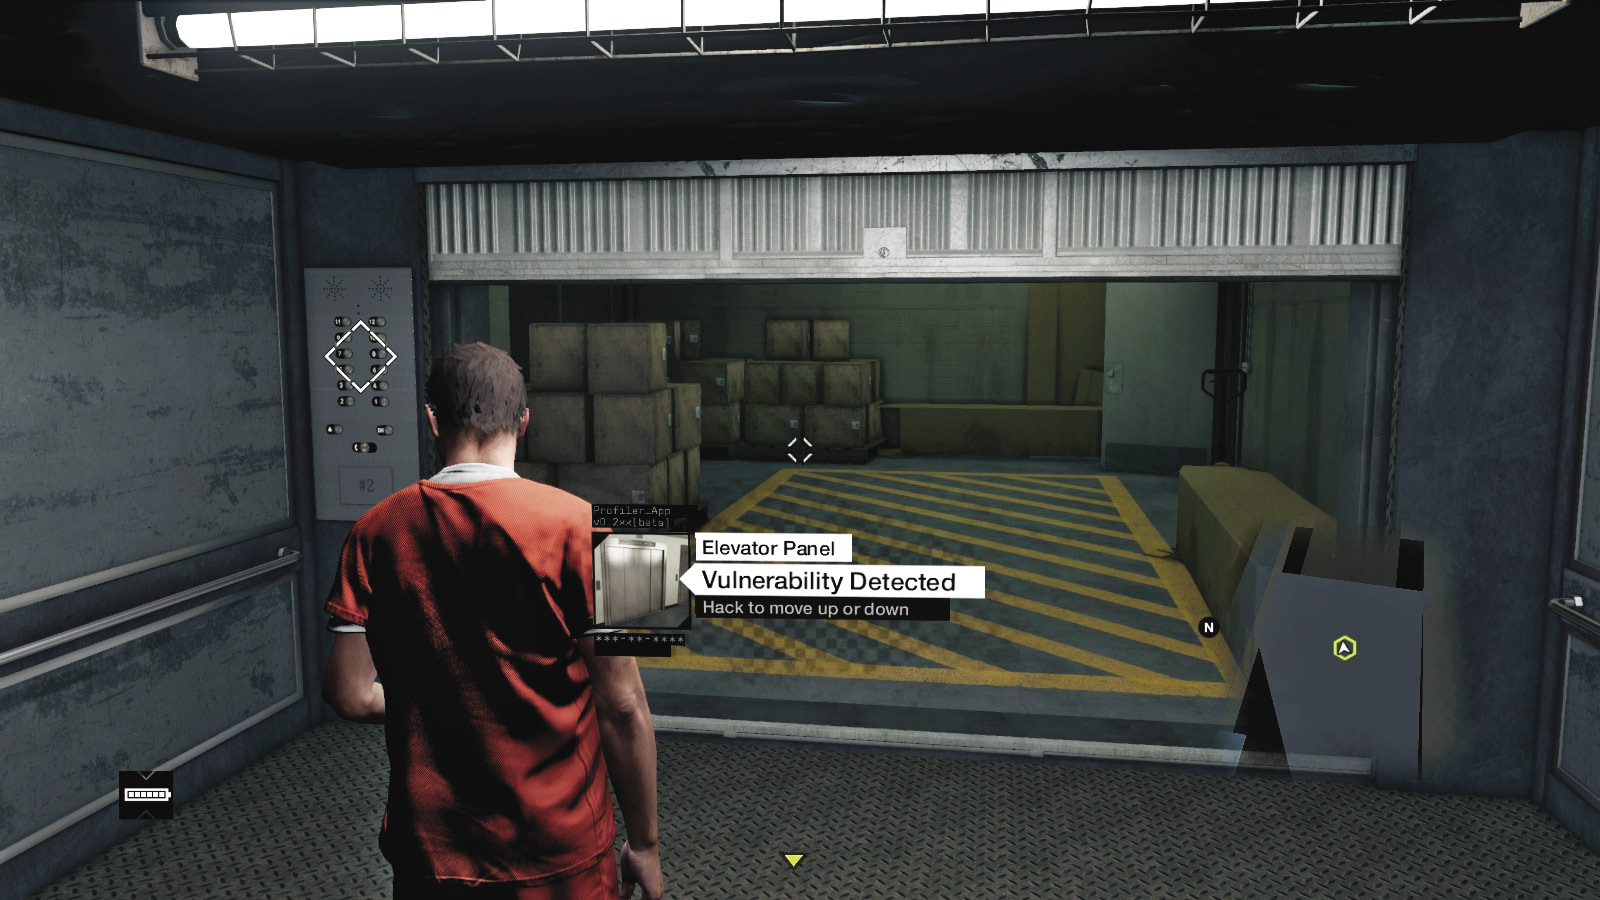
//// Freight Elevator
Amount Available: VERY RARE
Battery cost: None
USEFULNESS:
How Used: Summoned and ridden up and down
Weaknesses: Slow
This is a simple and straightforward method of moving between floors of buildings that don’t have the usual elevators. Foes can come in and attack as you ascend or descend, so clear the area first. Or close the door and send an enemy away from your location if he’s inside.
/// DOORS, GATES, AND SHUTTERS
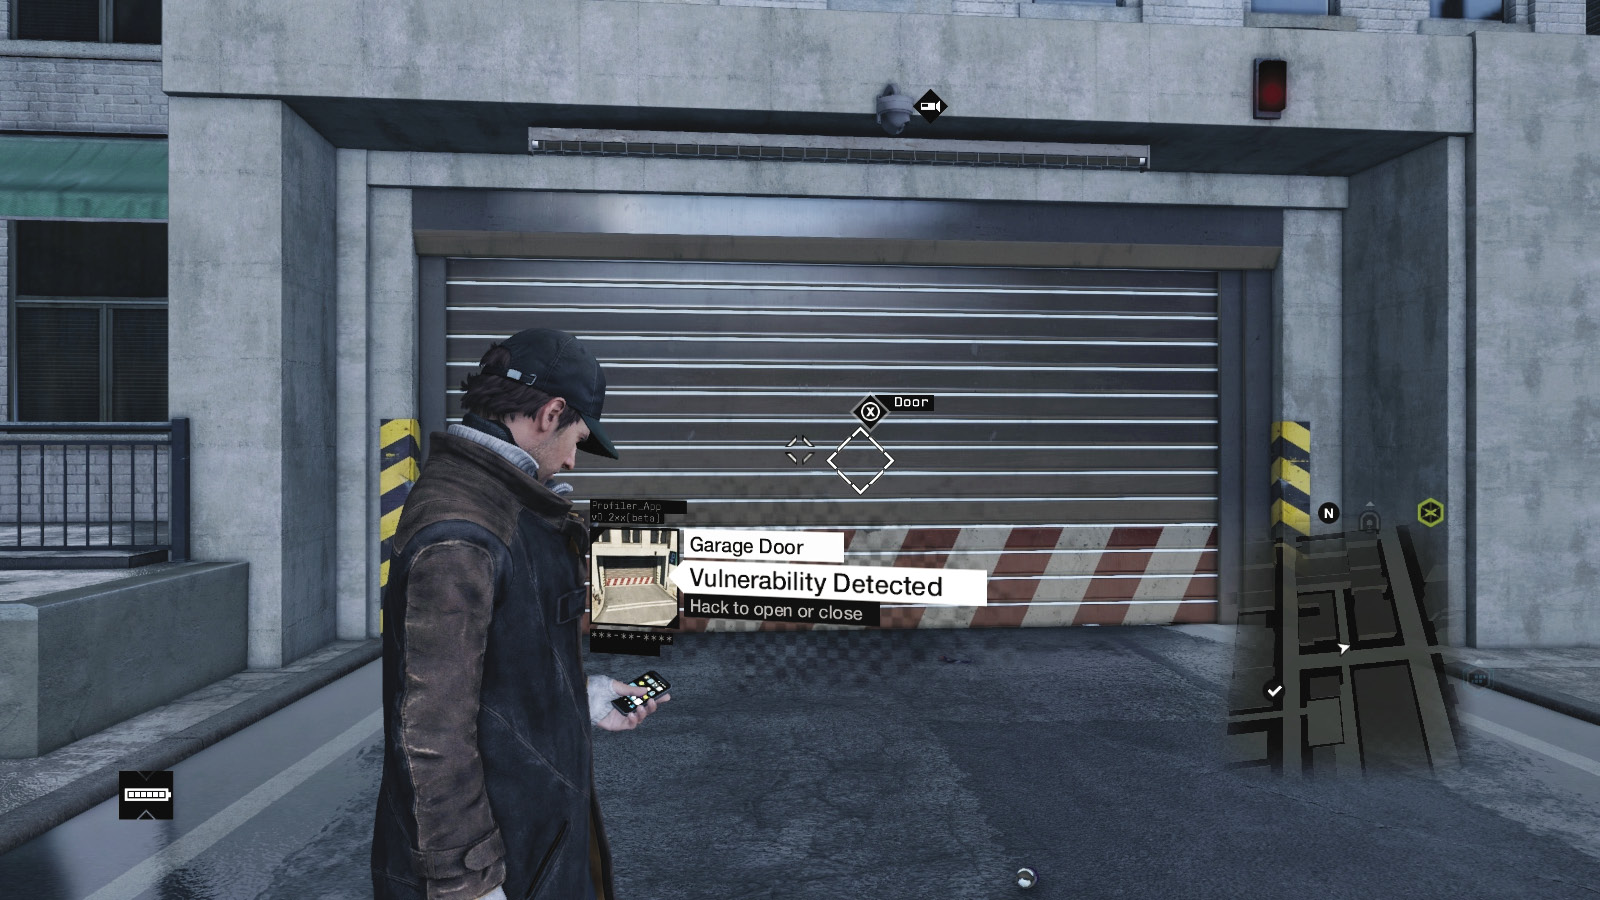
//// Garage Door
Amount Available: Numerous
Battery cost: None
USEFULNESS:
How Used: Opened and shut to access garages
Weaknesses: May not stop certain pursuers
These are excellent to open and then close behind you when foes are actively searching for you but aren’t right behind you; shut them and hide until the heat passes. Or block foes chasing you or those about to access a garage.
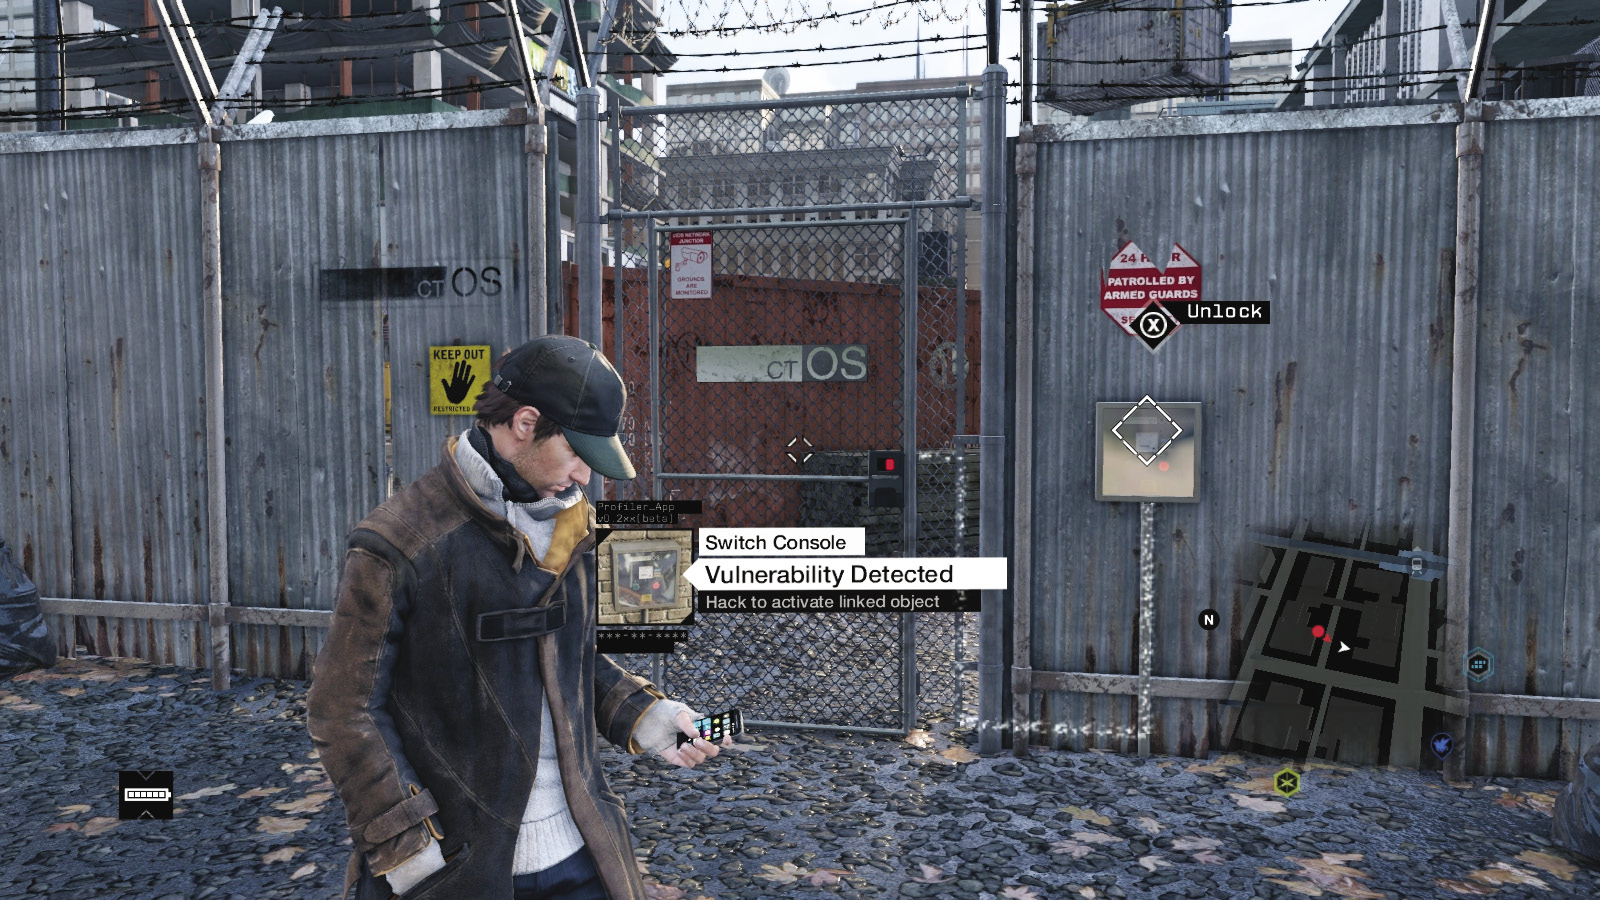
//// Security Door
Amount Available: Numerous
Battery cost: None
USEFULNESS:
How Used: Opens otherwise locked door
Weaknesses: Sometimes you’re spotted unlocking the door
A special security lock on some doors prevents you from accessing more sensitive areas of a location. However, if you hack these doors (sometimes after you find an access code on a guard), you can open these and freely move between areas.
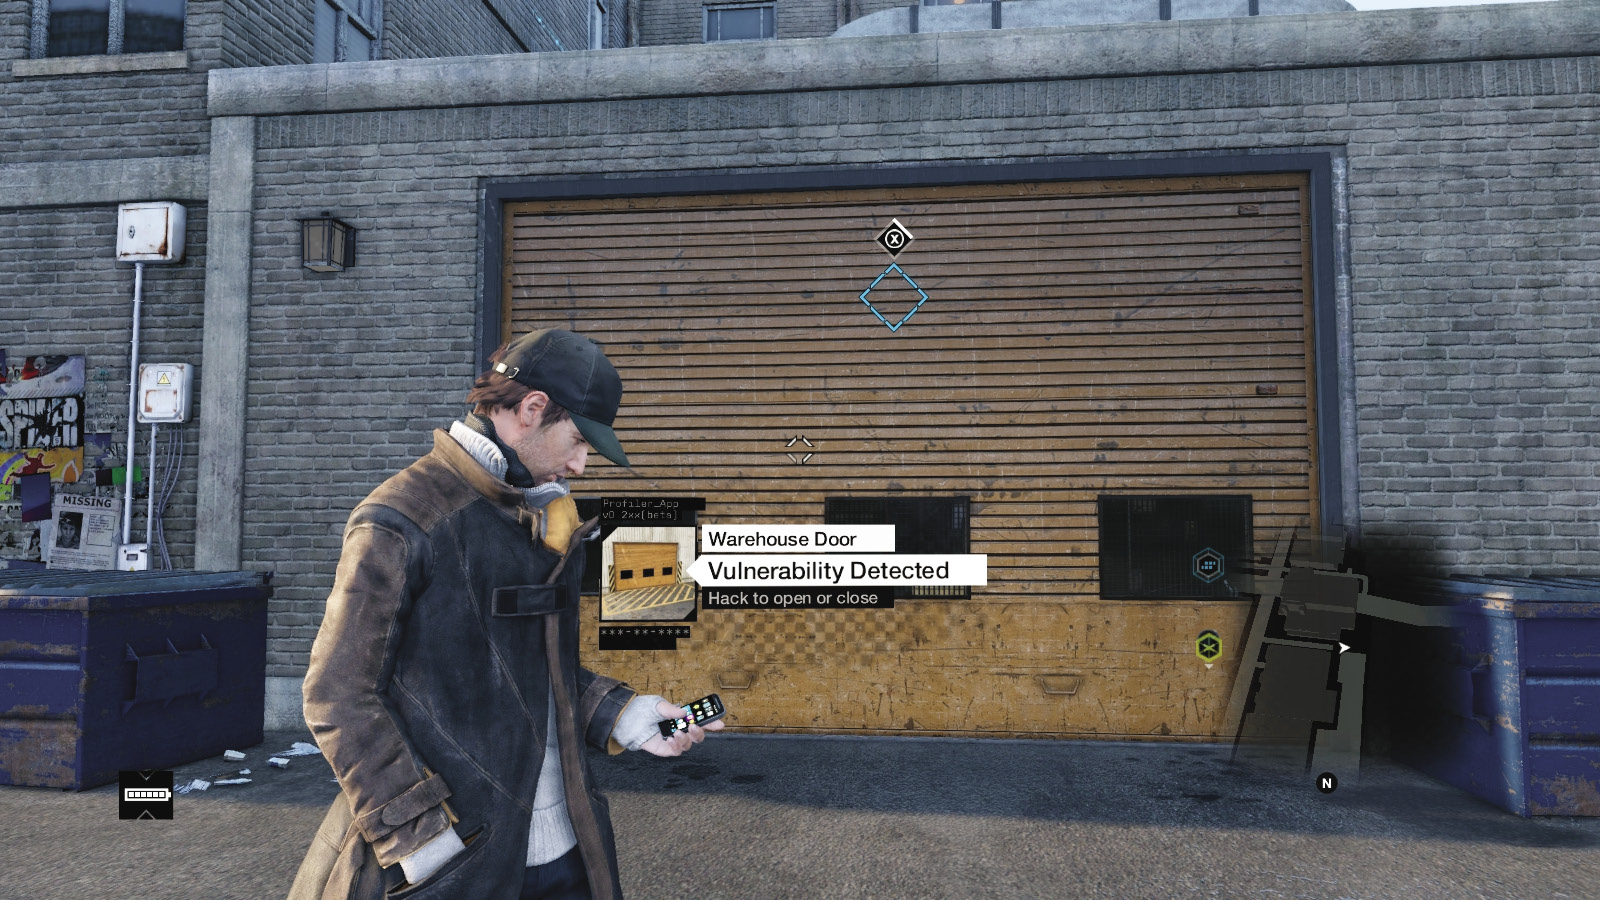
//// Warehouse Door
Amount Available: Uncommon
Battery cost: None
USEFULNESS:
How Used: Opened and shut to access garages
Weaknesses: May not stop certain pursuers
These are used in more industrial warehouse zones and boat yards; open and close them behind you when foes are actively searching for you but aren’t right behind you. Shut them and hide until the heat passes. Or block foes chasing you or those about to access a garage.
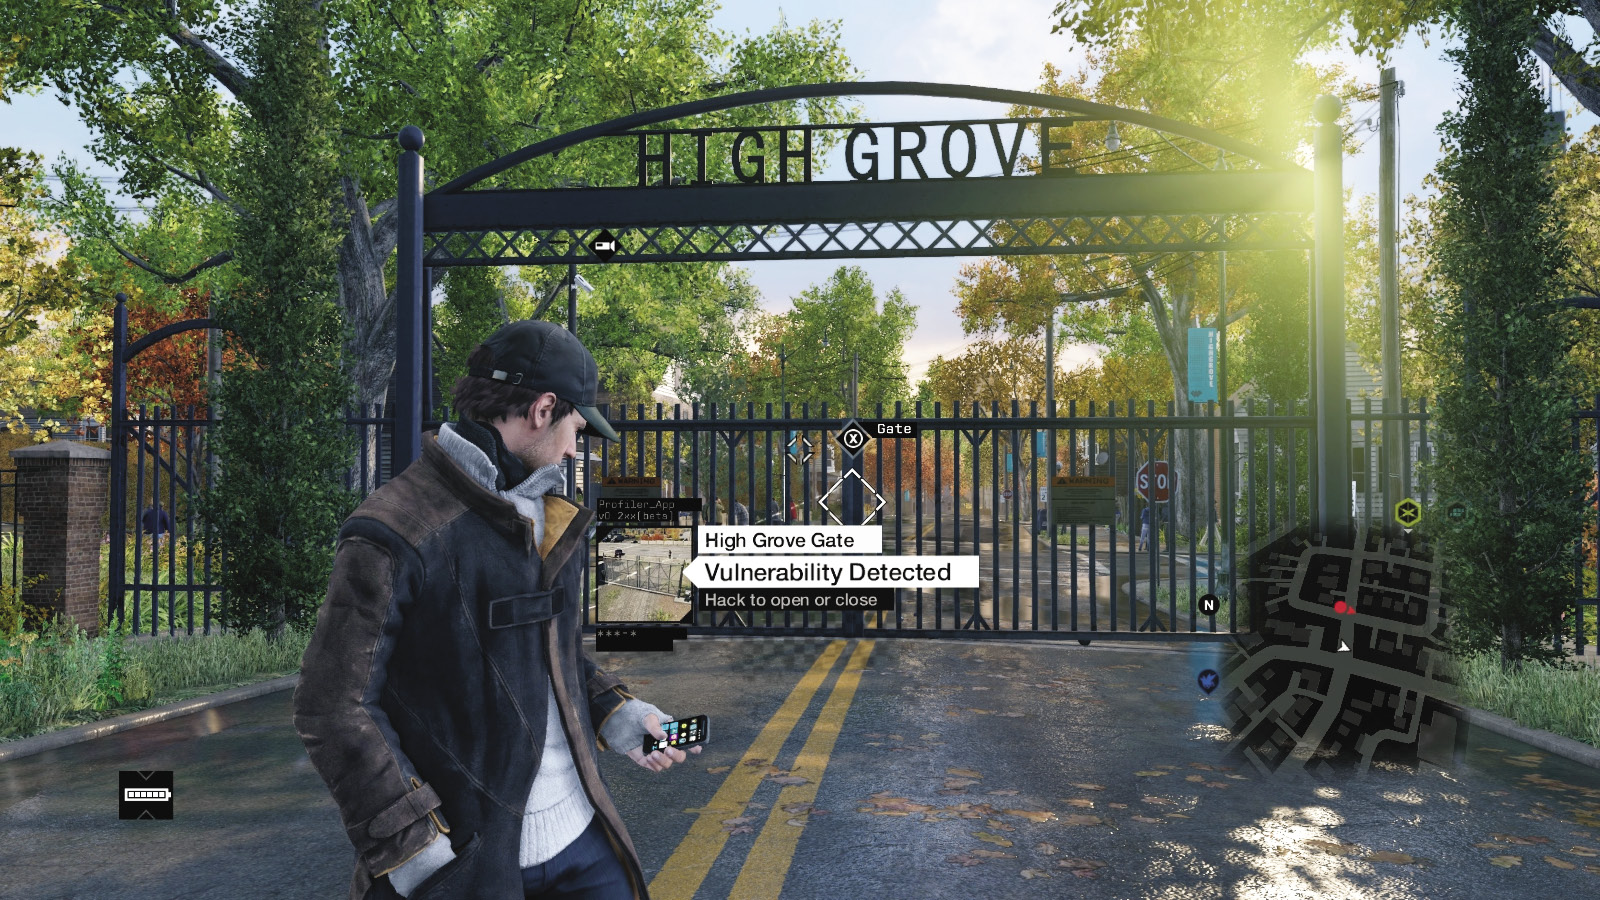
//// High Grove Gate
Amount Available: Very Rare
Battery cost: None
USEFULNESS:
How Used: access to slide gate open or closed
Weaknesses: No damage caused, Timing needed
This gate provides access to the High Grove area of Parker Square where Nicky lives. Although this won’t usually damage an enemy you’re chasing (or being chased by), it is an excellent way to stop them; just as long as you have the time to open the gate and close it behind you.
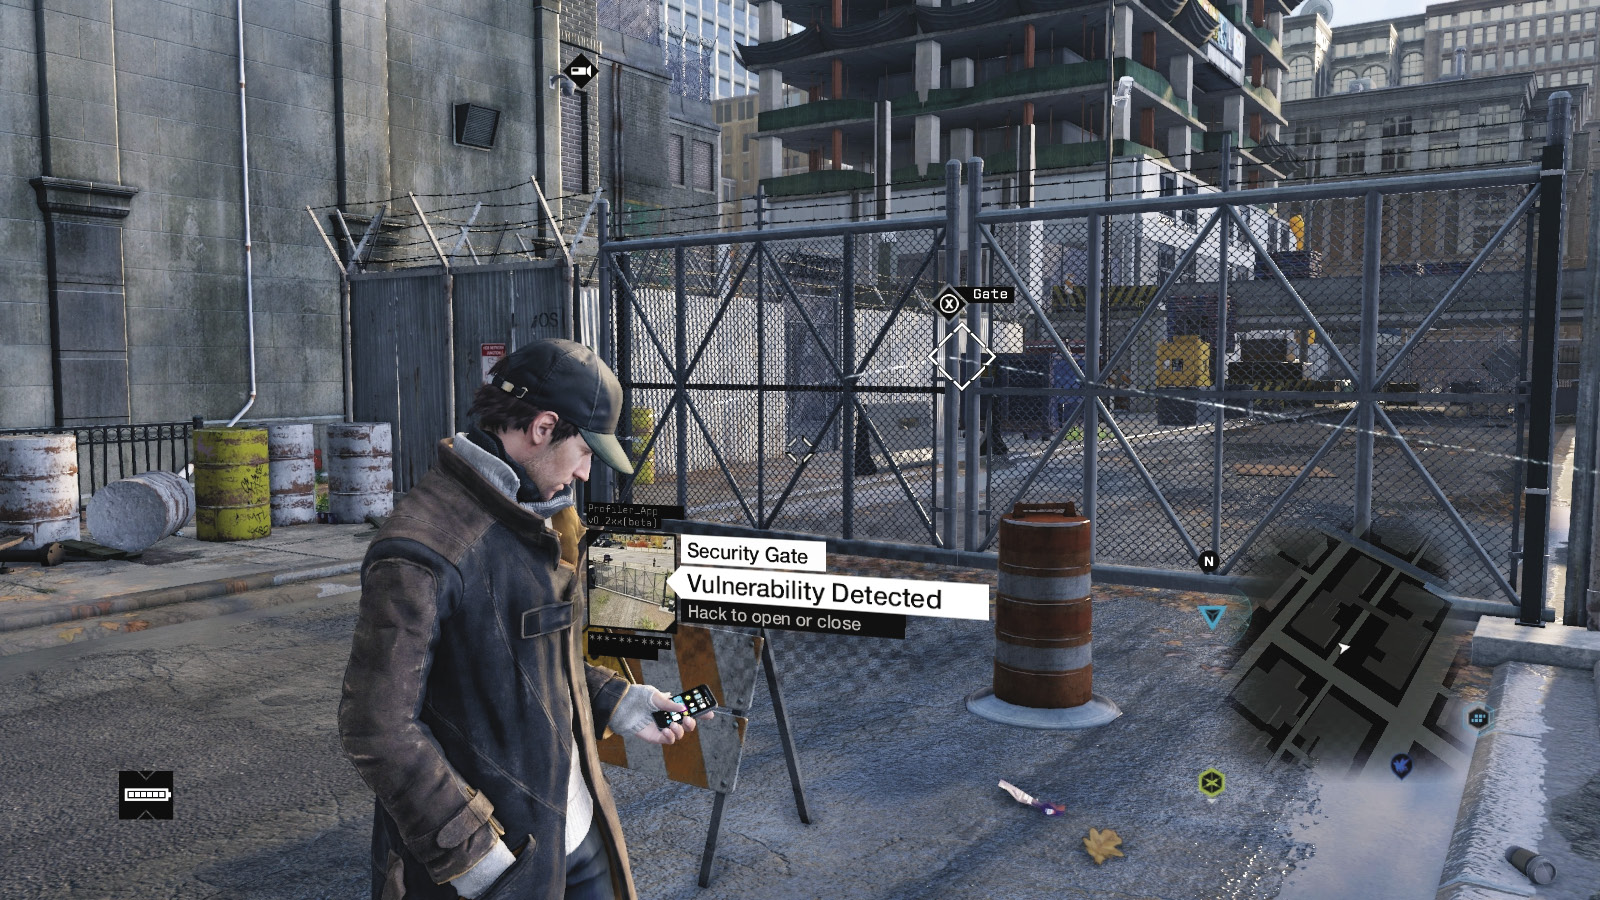
//// Security Gate
Amount Available: Numerous
Battery cost: None
USEFULNESS:
How Used: access to slide gate open or closed
Weaknesses: No damage caused, Timing needed
Although this won’t usually damage an enemy you’re chasing, it is an excellent way to stop them; just as long as you have the time to open the gate and close it behind you.
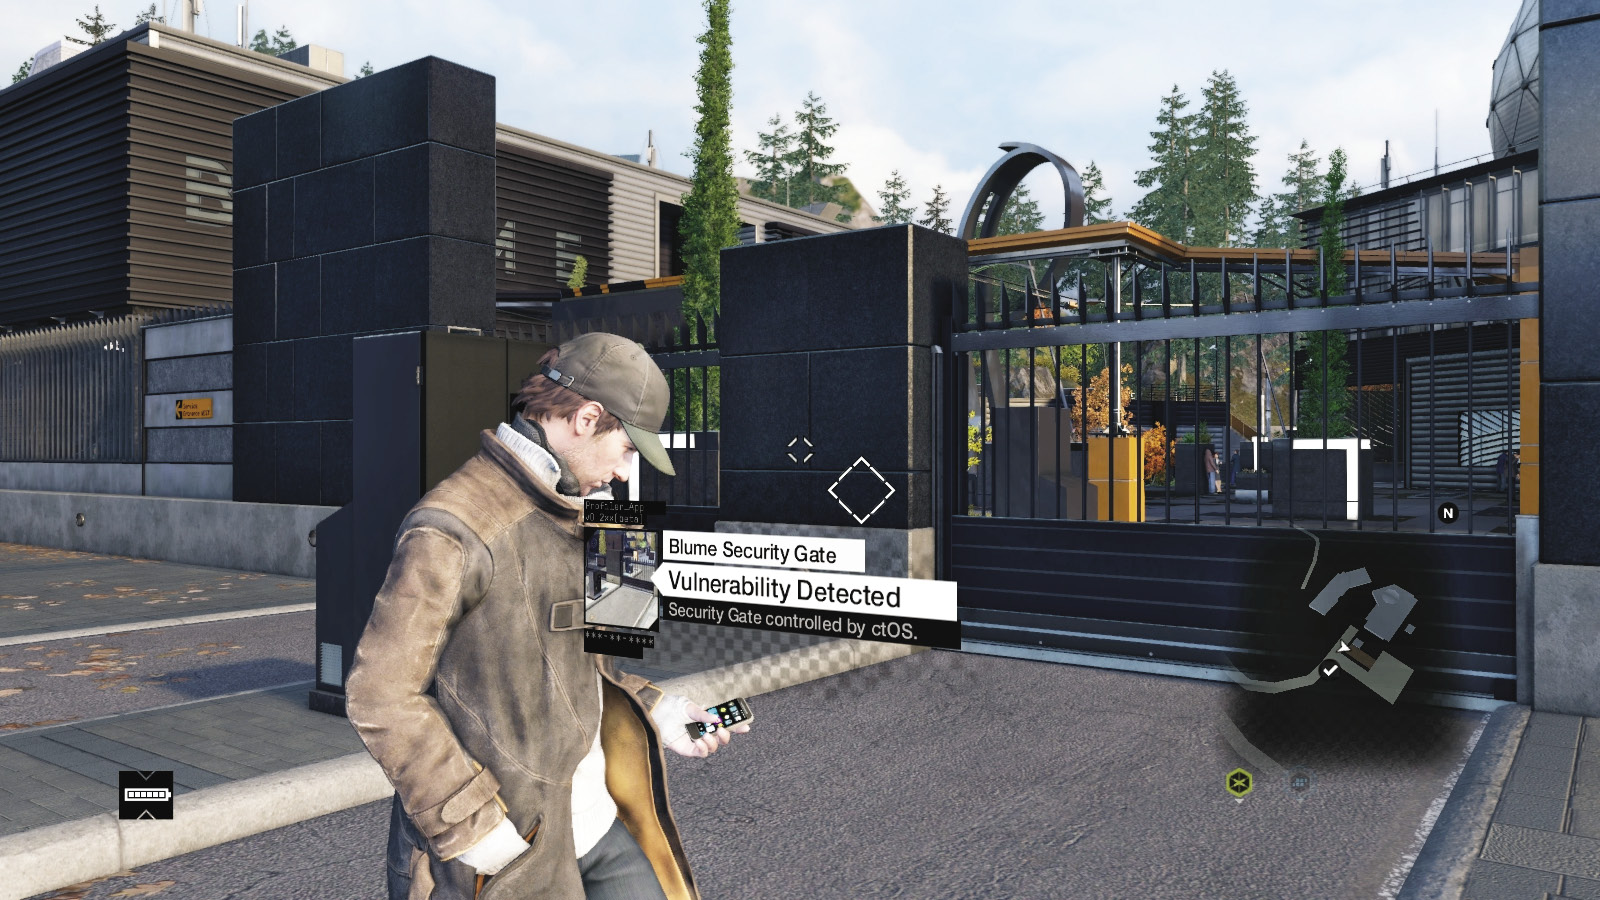
//// Blume Security Gate (Blume)
Amount Available: Unique
Battery cost: None
USEFULNESS:
How Used: access to slide gate open or closed
Weaknesses: No damage caused, Timing needed
This roll gate is at the perimeter to the Blume facility in Pawnee. Although this won’t usually damage an enemy you’re chasing, it is an excellent way to stop them, as long as you have the time to open the gate and close it behind you.
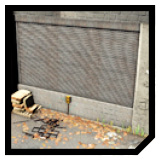
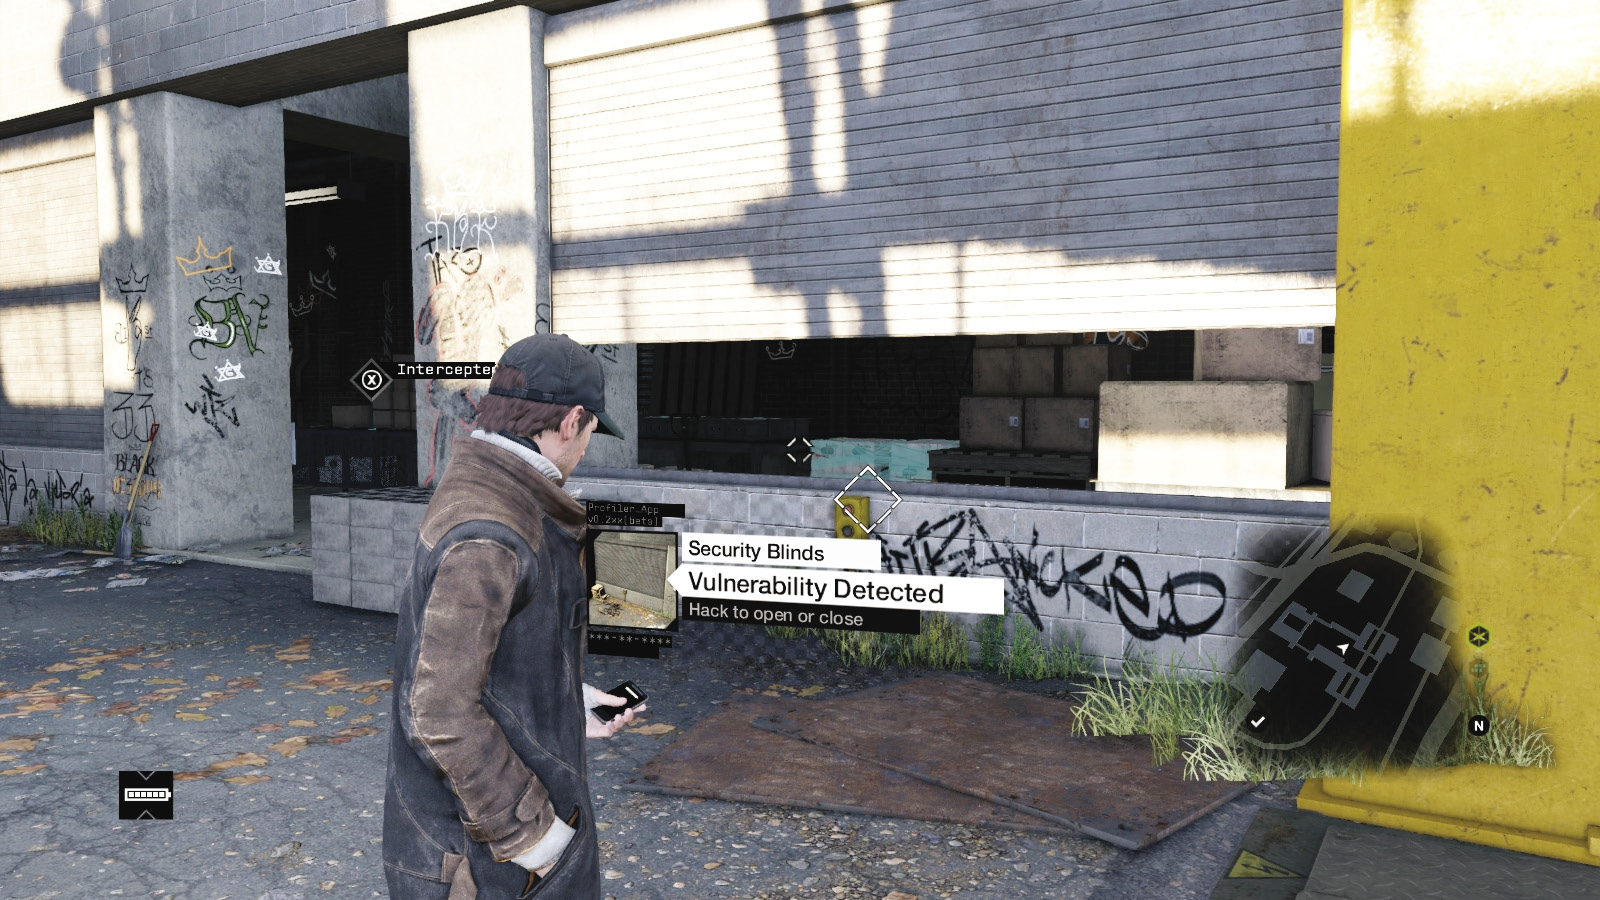
//// Security Blinds
Amount Available: Very Rare
Battery cost: None
USEFULNESS:
How Used: Raised or lowered to reveal opening
Weaknesses: Enemies can see you
A known Viceroy meeting area in Brandon Docks has these metal shutters, and opening them allows you to move between the outside and a storage area during a subsequent fight where you set traps for foes. Shutting these blinds enables you to hide more easily, but the enemy can too. They also act as a distraction.
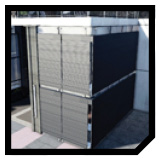
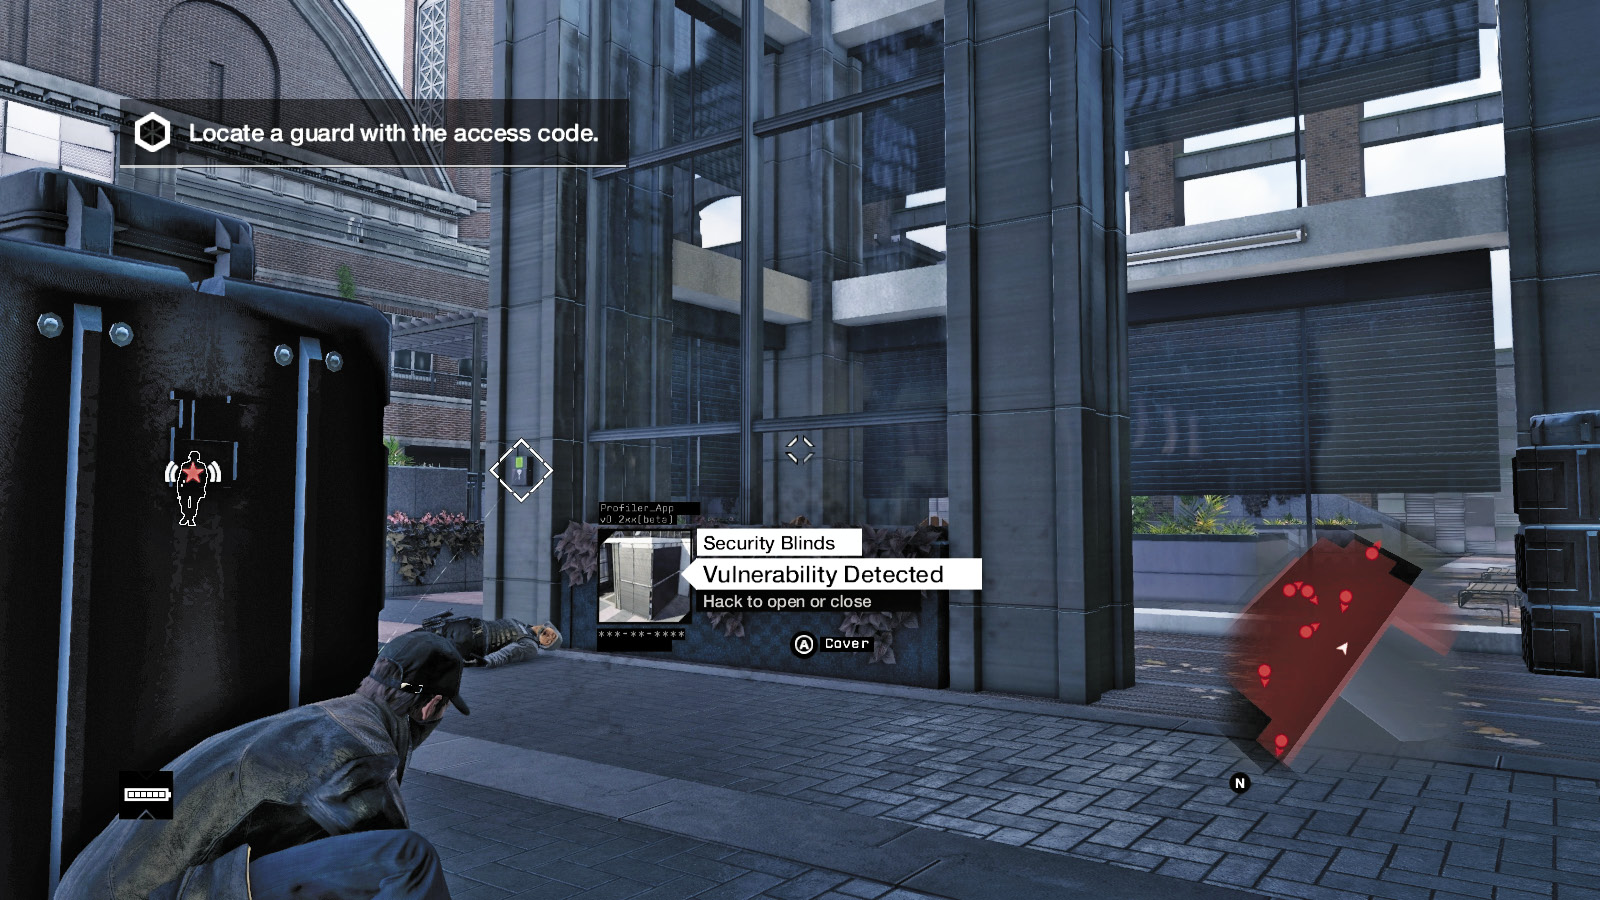
//// Security Shutters
Amount Available: VERY RARE
Battery cost: None
USEFULNESS:
How Used: RAise and lower them for protection
Weaknesses: Hemmed in and limited sight
Very occasionally, locations have security shutters that can be lowered, offering bulletproof protection to those on the other side. You can smash an adjacent window, step in, then shutter the area too. A good place to fight from.
//// Window Shutters (Blume)
Amount Available: Very Rare
Battery cost: None
USEFULNESS:
How Used: Raised or lowered to reveal opening
Weaknesses: Enemies can see you
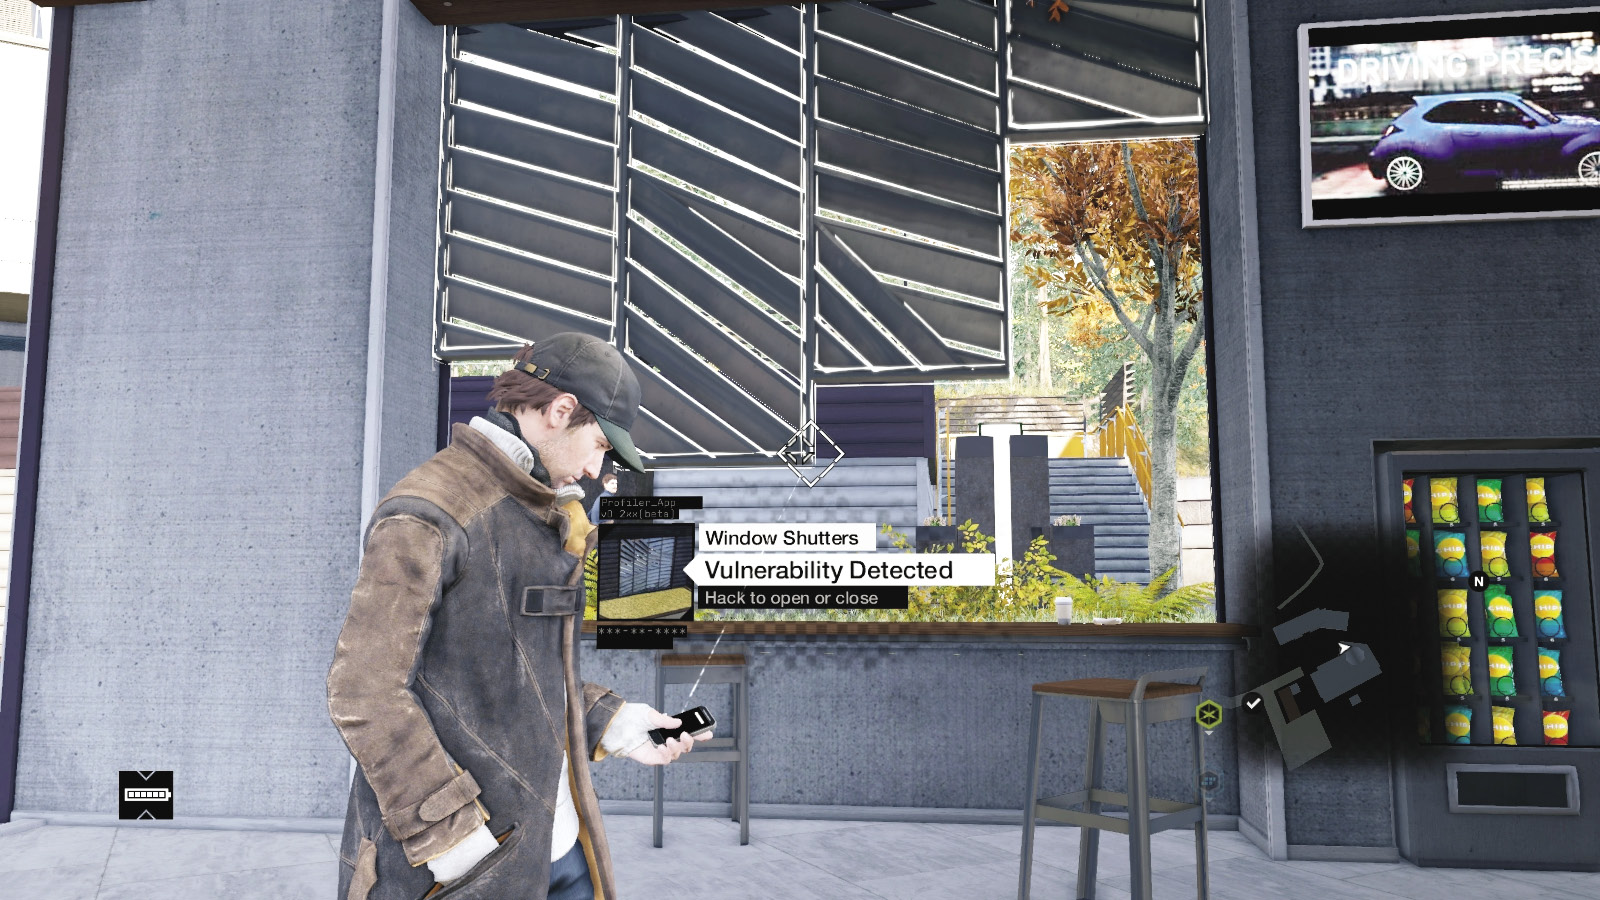
The Blume facility in Pawnee has many shutters in their central cafeteria. Opening them allows you to distract guards, trace a data flow more easily, and hop over the windowsill to get behind a guard for a takedown. But having the shutters closed allows for better hiding.
//// Window Shutters (Hotel)
Amount Available: Unique
Battery cost: None
USEFULNESS:
How Used: Raised or lowered to reveal reinforced glass
Weaknesses: One use
These window shutters are fitted to a special office somewhere in a hotel office owned by a notorious Chicago gangster. Perhaps if you open these, life-changing secrets about certain elected officials may be revealed?
/// EXPLOSIVE OR DANGEROUS SCENERY
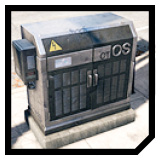
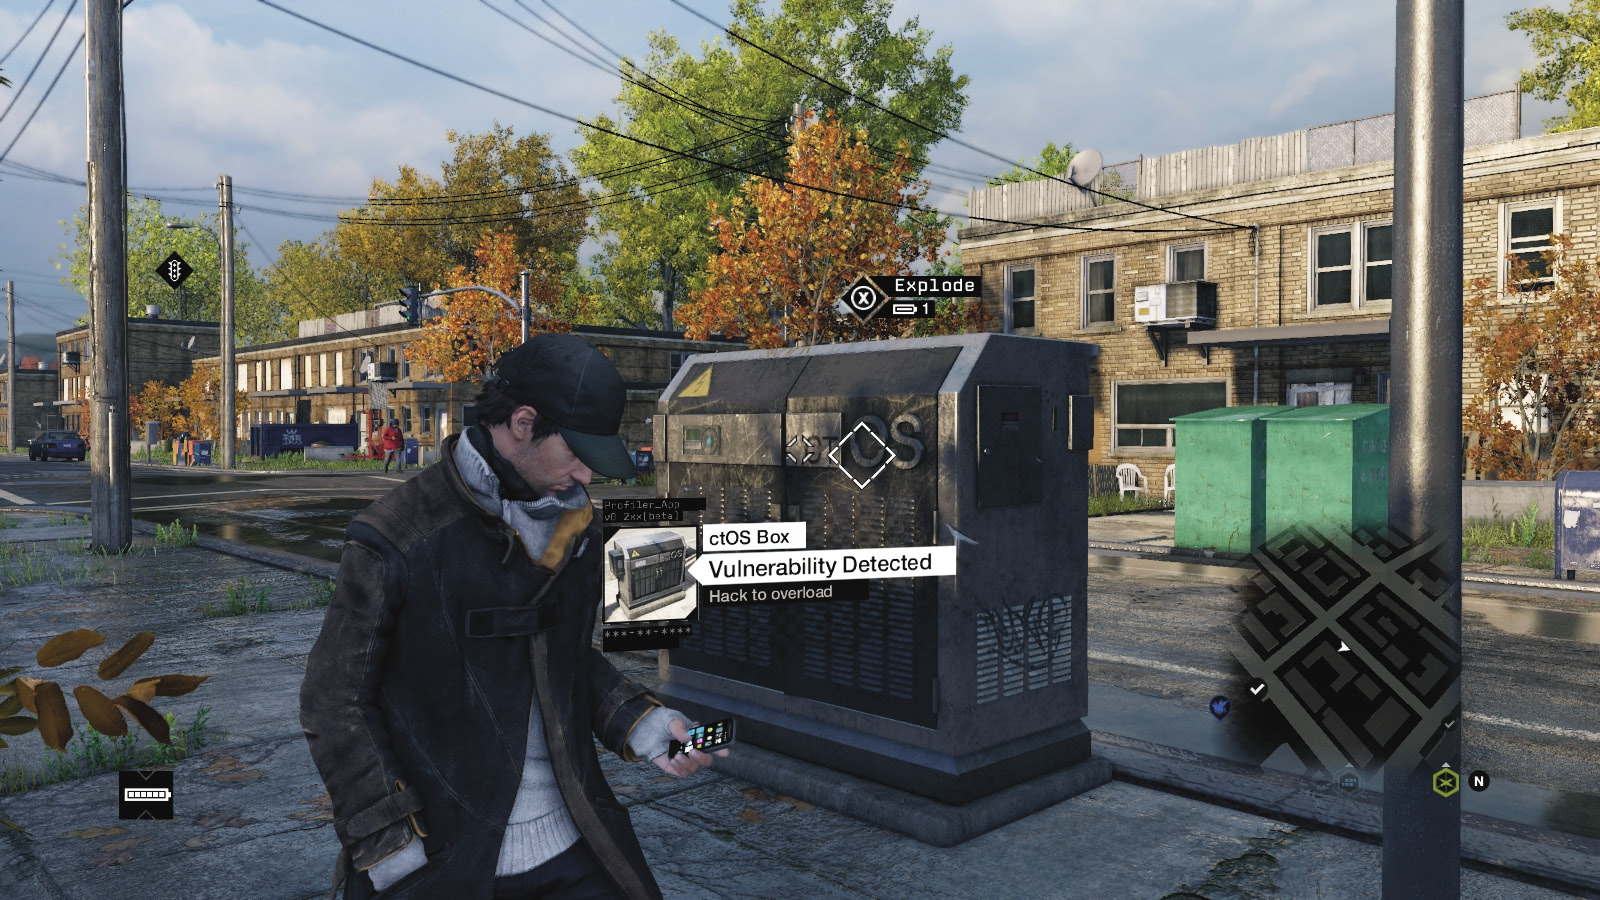
//// ctOS Box
Amount Available: UNCOMMON
Battery cost: 1
USEFULNESS:
How Used: Explodes in a large detonation, causes blackout
Weaknesses: Less useful during DAY, OTHER HACKABLE OBJECTS OFFLINE
Hack this, and prepare for a large explosion that can kill foes, hurt those farther away, cause distractions that allow you to ambush or sneak around the area, and best of all, create a blackout! This lasts around 20 seconds and foes can’t see you at night; attack or sneak during this time. Shoot or hack this.
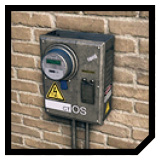
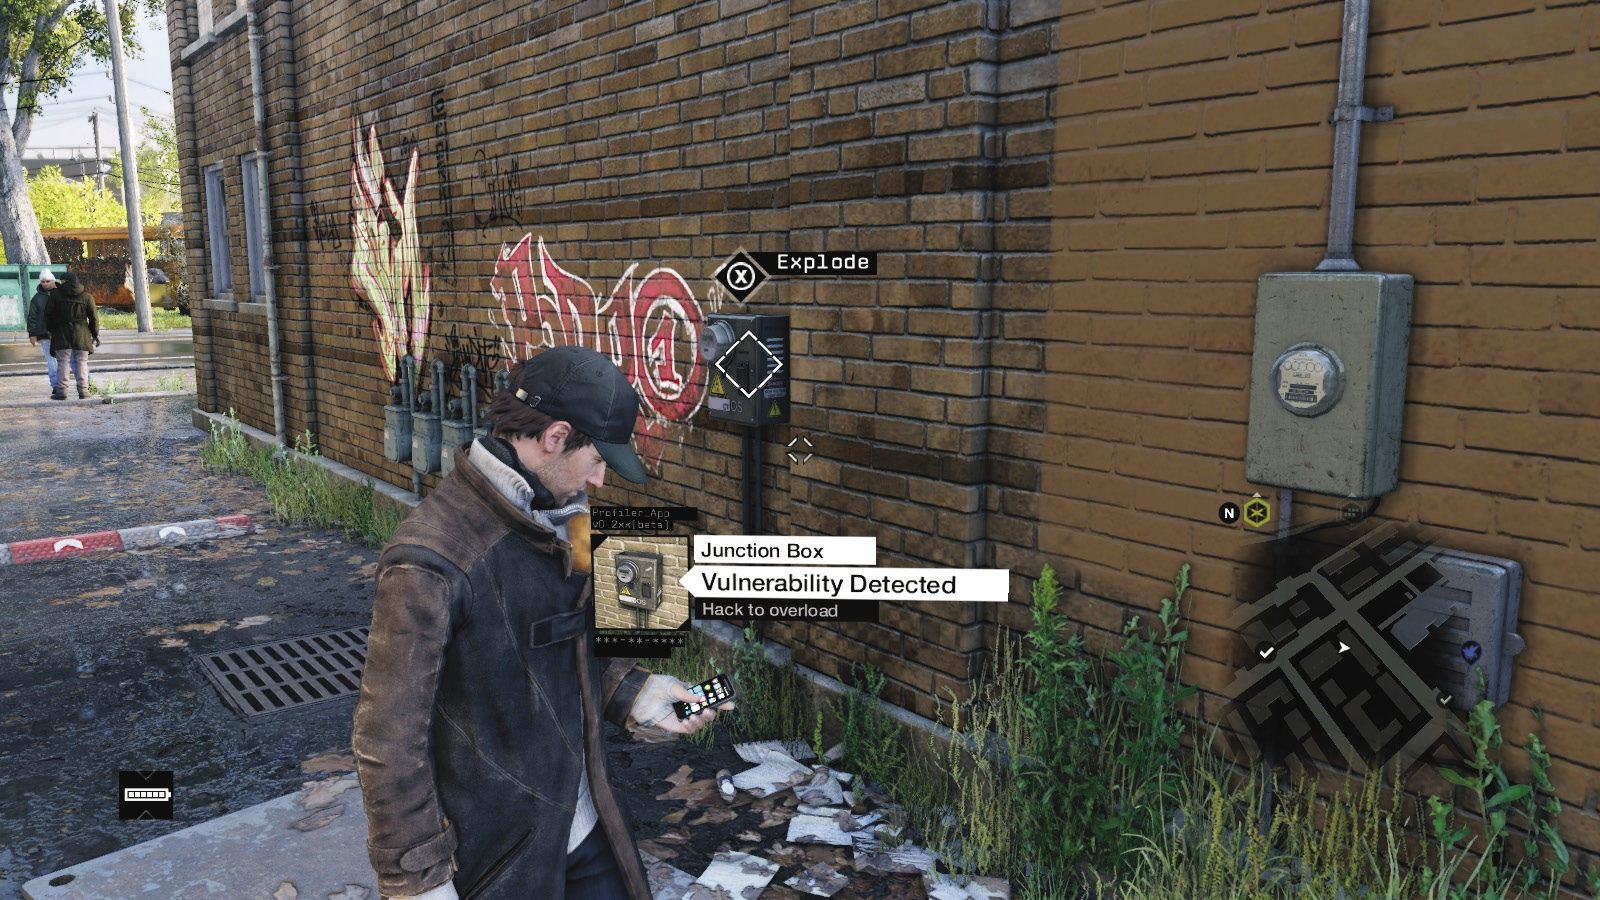
//// Junction Box
Amount Available: Numerous
Battery cost: None
USEFULNESS:
How Used: Detonate
Weaknesses: Small area of effect
This can be hacked or shot, making it versatile and ideal for slowing a fleeing foe. Or, it can act as a distraction or can blow an enemy backward off their feet, sometimes killing them in the process. A usual and smart way to thin out your foes.
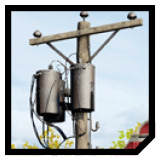
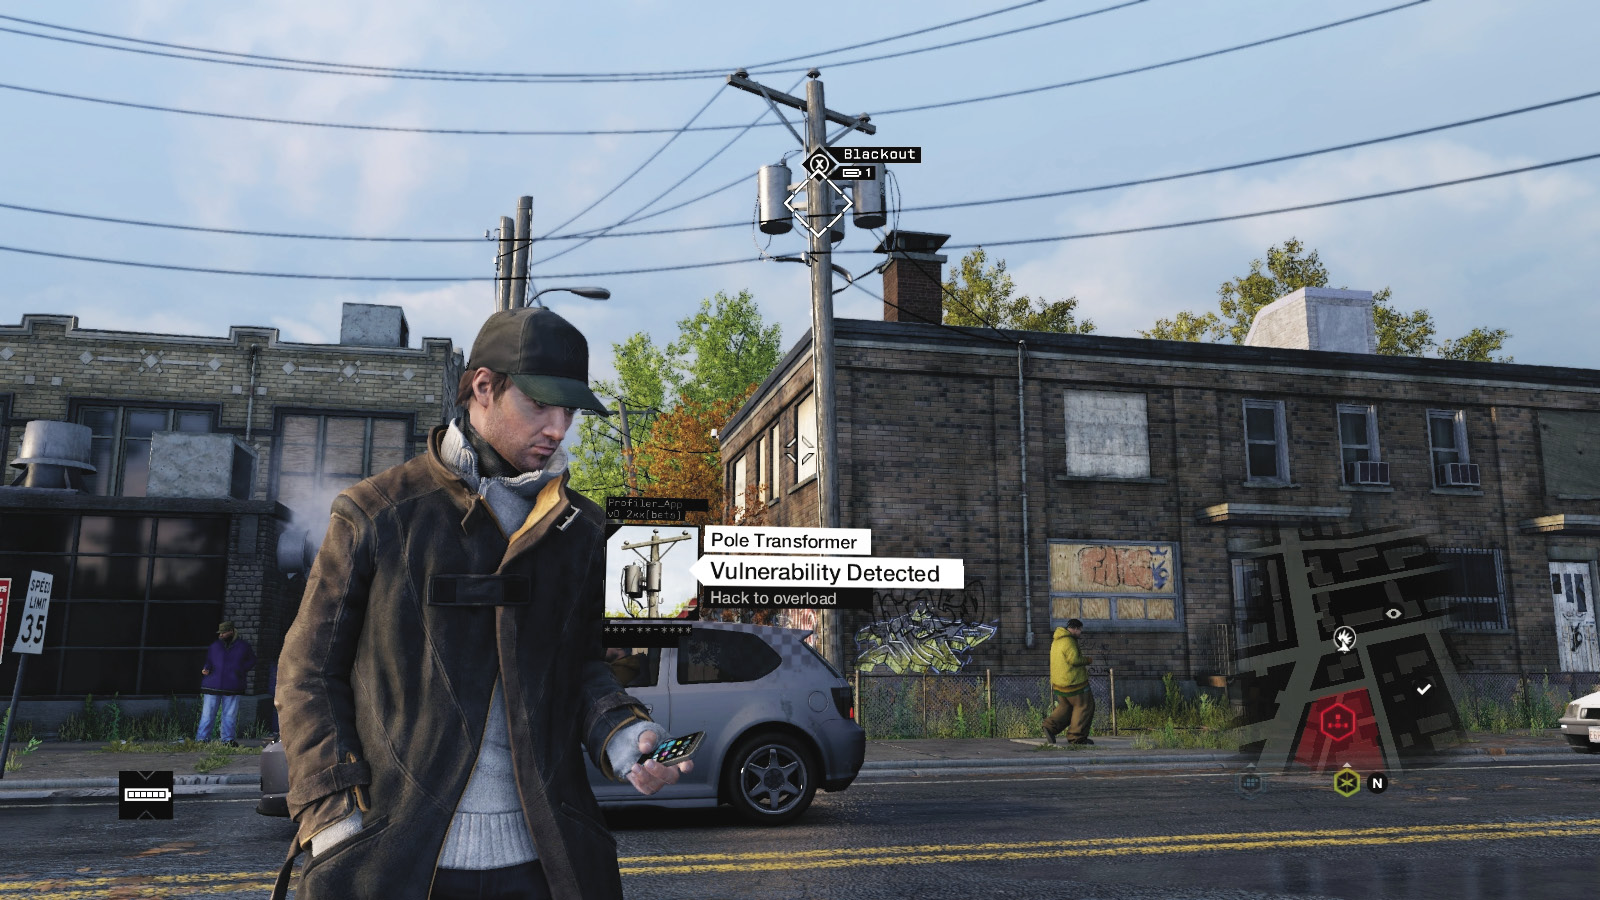
//// Pole Transformer
Amount Available: Numerous
Battery cost: 1
USEFULNESS:
How Used: EXPLODES IN DETONATION, CAUSES BLACKOUT
Weaknesses: OTHER HACKABLE OBJECTS OFF-LINE
These are down almost any long alley in the Loop and provide a spectacular spark that can kill a foe if he’s right next to the explosion. This causes a small blackout for around ten seconds, during which no other hackable item is available. Great to use at night to blind foes as you escape or attack.
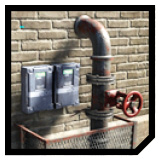
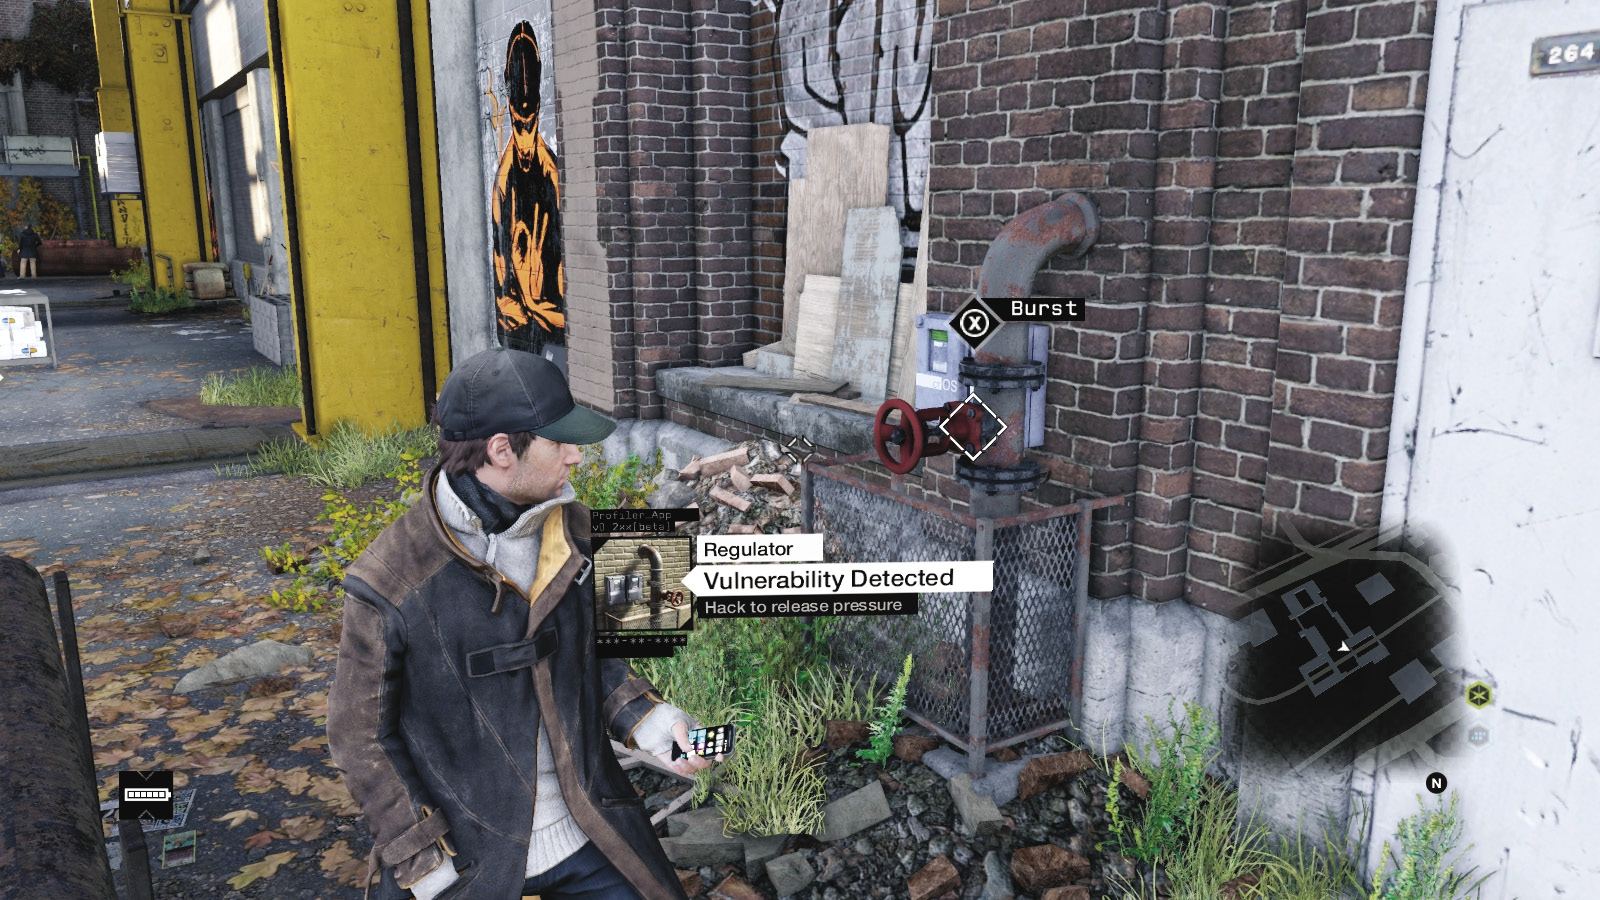
//// Regulator
Amount Available: Numerous
Battery cost: None
USEFULNESS:
How Used: Shoot or Hack to release pressure
Weaknesses: Limited blast radius
These are also known as small steam pipe valves and are on most large buildings. These are more useful to create a distraction than as an offensive weapon, though they can send a foe reeling if he’s standing right next to one. You can shoot and hack these.
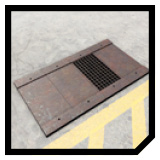
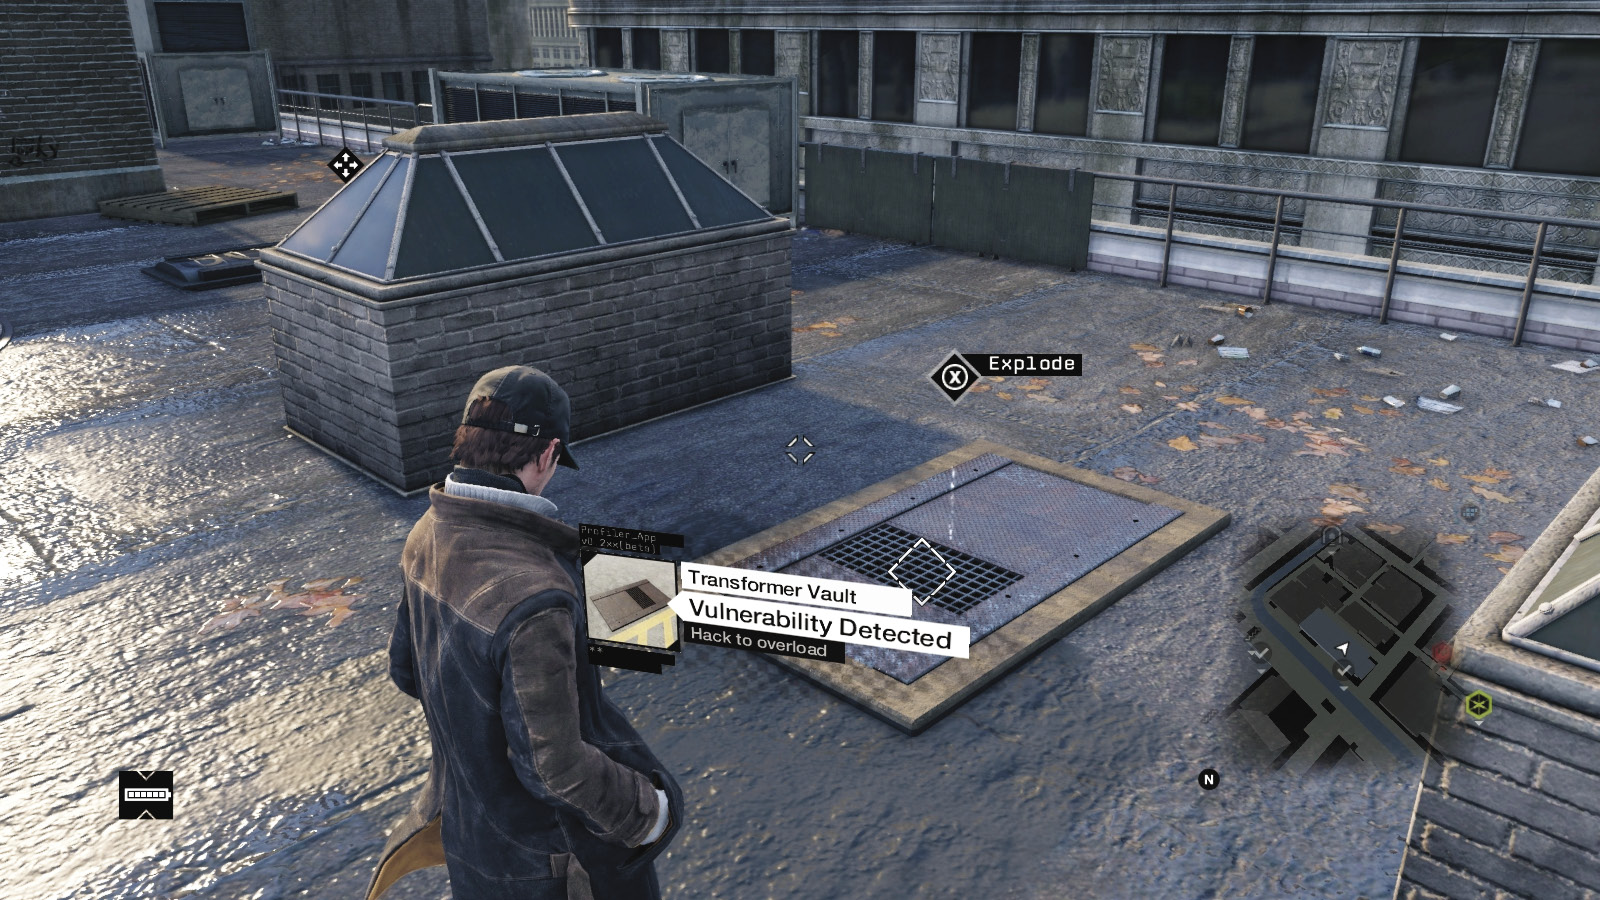
//// Transformer Vault
Amount Available: Numerous
Battery cost: None
USEFULNESS:
How Used: Explodes when hacked
Weaknesses: Limited area of effect
This can kill a foe standing directly above it when you detonate it or can throw them backward, allowing you to finish them off. Or, you can detonate this away from a foe, causing them to inspect this area as a distraction. You can hack or shoot this.
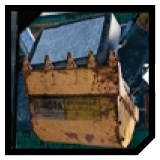
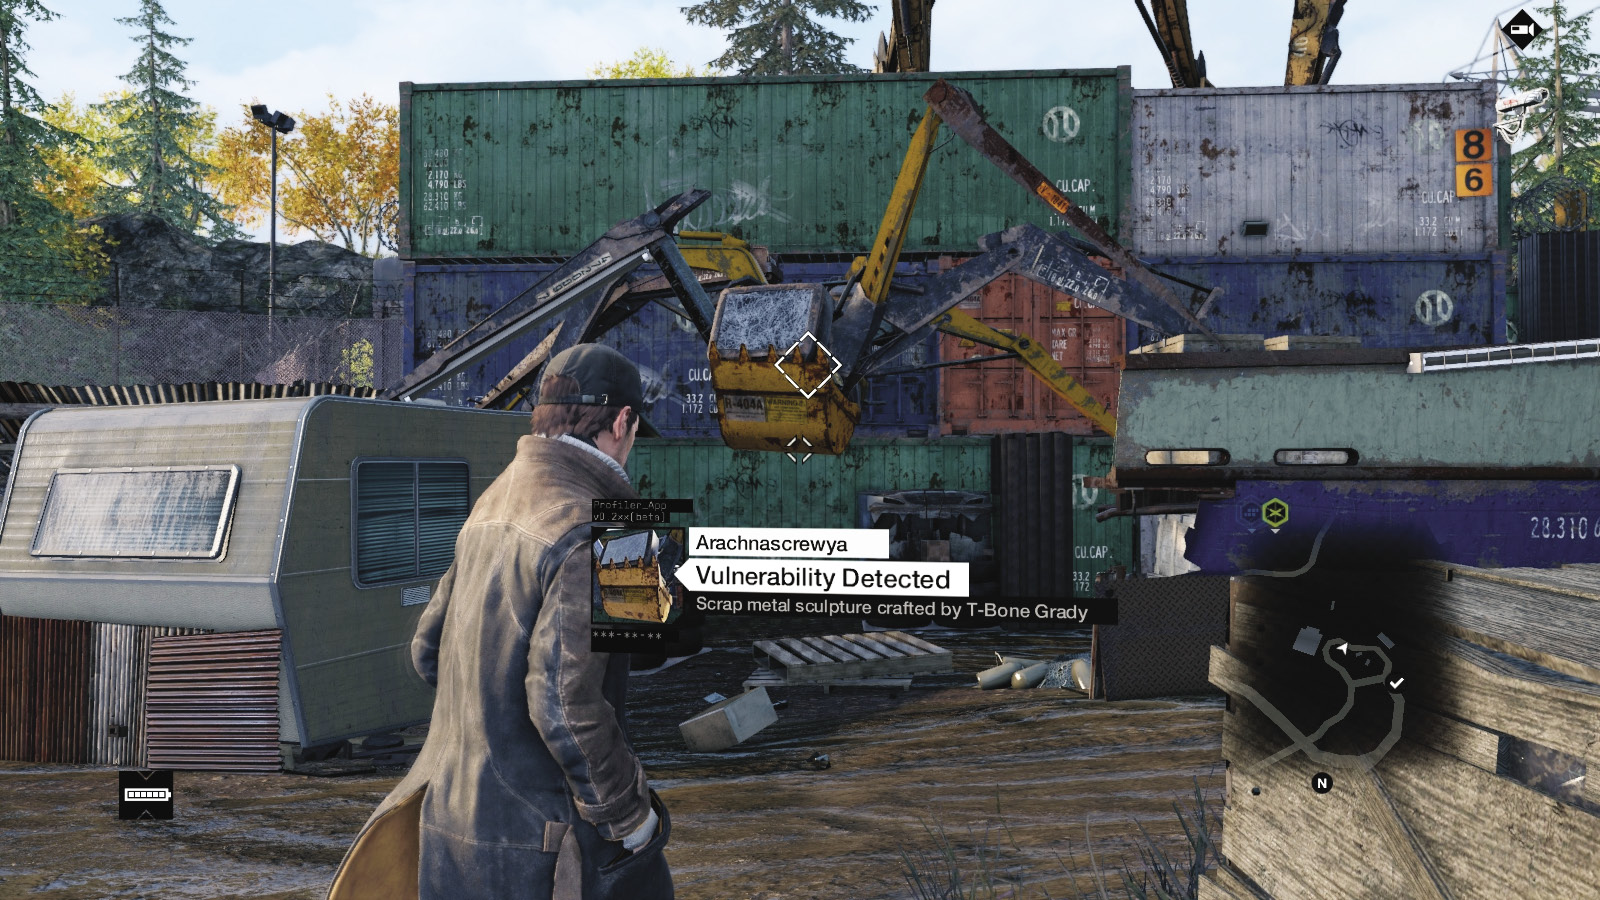
//// Arachnascrewya
Amount Available: Unique
Battery cost: None
USEFULNESS:
How Used: Charges a bolt of energy down into the ground
Weaknesses: Recharge Time
This is one of T-Bone’s sculptures and is found in his Pawnee junkyard. It is a junk spider that blasts the ground with an electrical bolt of energy, which is enough to fry any fools standing nearby. Don’t be a fool yourself, and use this as often as you can during any battles at this location.
//// Eat Crow
Amount Available: Very Rare
Battery cost: None
USEFULNESS:
How Used: Fires a rotating gatling gun 360 Degrees
Weaknesses: Recharge Time
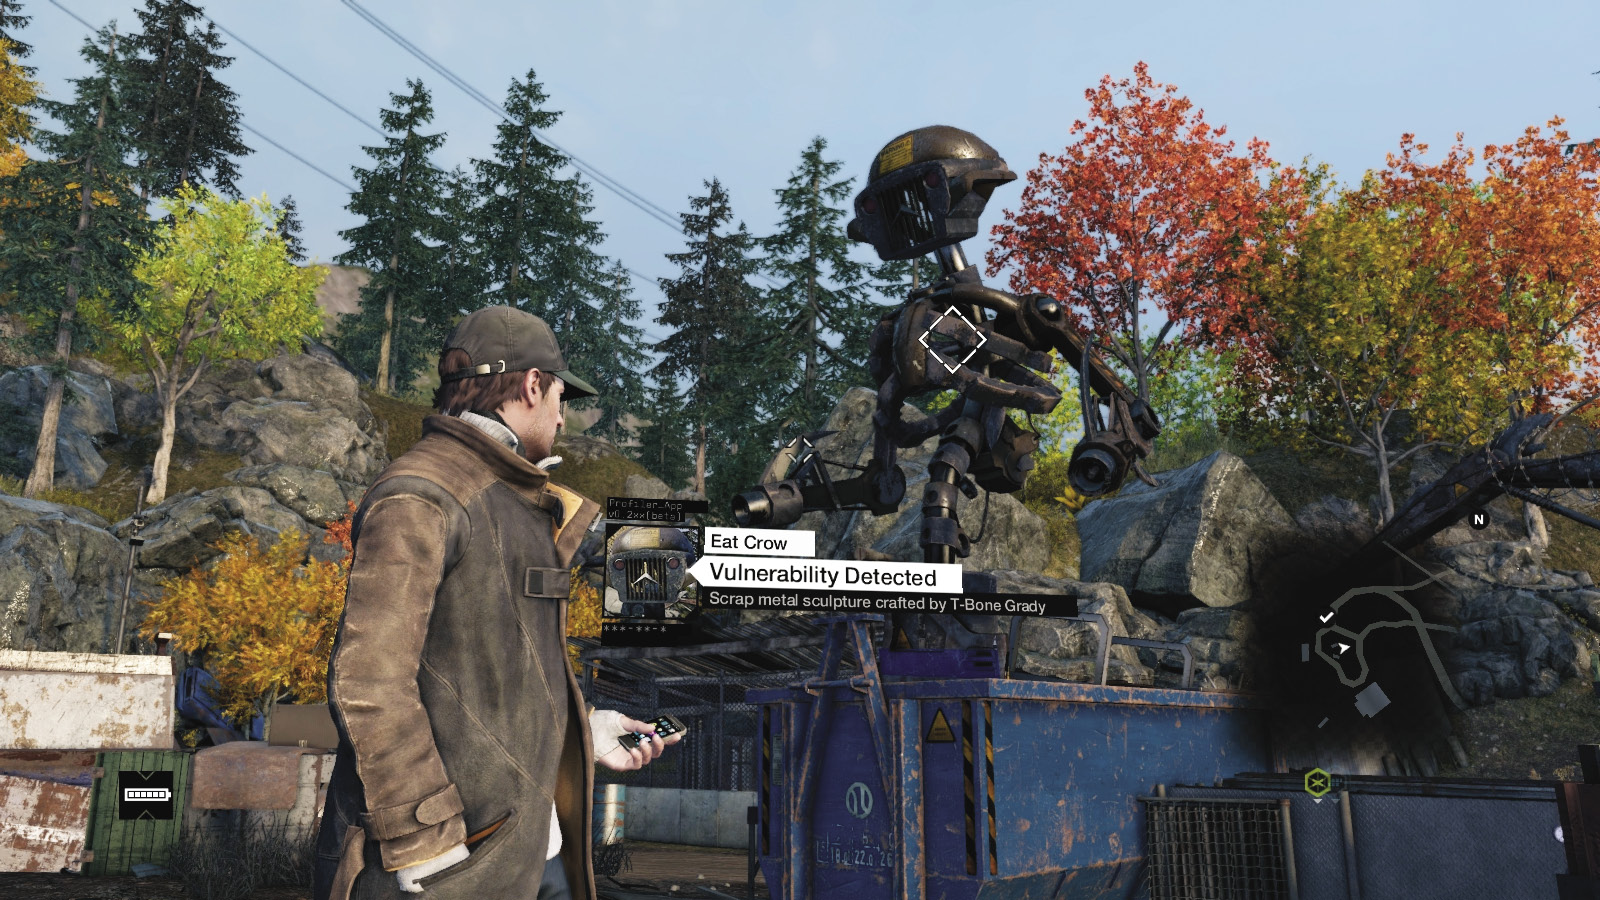
This is one of T-Bone’s sculptures. Three are in his Pawnee junkyard and one is close to the dam. With massive firepower and a 360-degree sweep of enemies, this can remove many threats and can blast vehicles. Keep activating these to aid you in any particularly fraught battles.
//// Galloping Gerty
Amount Available: VERY RARE
Battery cost: None
USEFULNESS:
How Used: Breathes a gout of fire
Weaknesses: Limited Movement, recharge Time
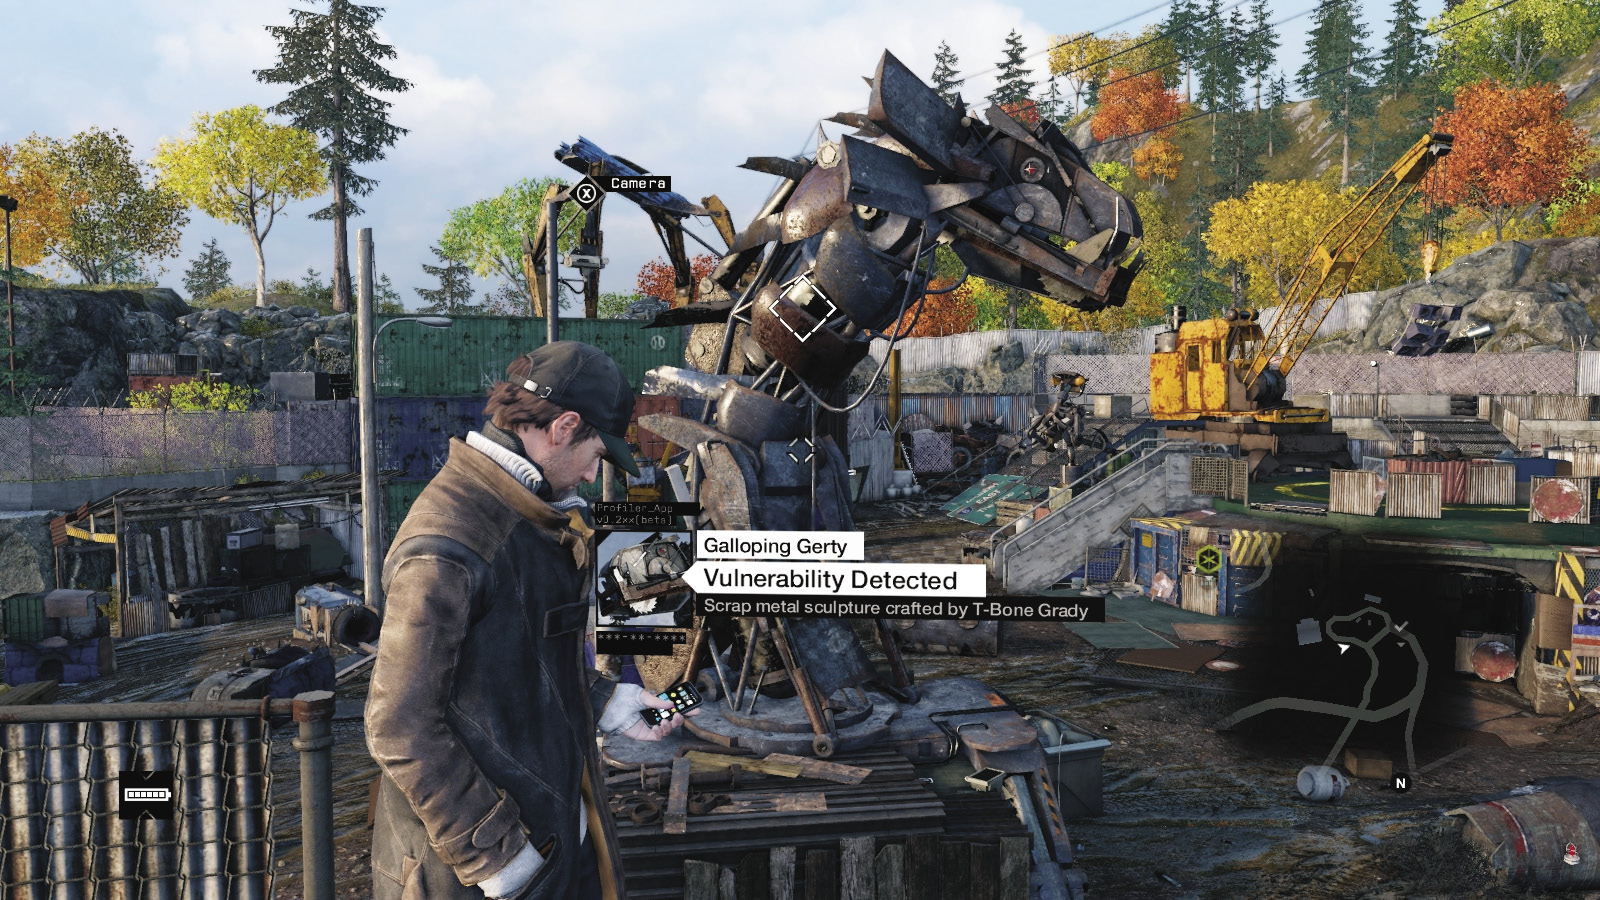
This is one of T-Bone’s sculptures; two are found in his Pawnee junkyard. They breathe a large blast of fire at the enemy, with the head of the sculpture moving left and right. With limited movement, foes can maneuver behind these sculptures, so augment these fiery blasts with weapon strikes of your own.
//// My Ex-Wife
Amount Available: VERY RARE
Battery cost: None
USEFULNESS:
How Used: Stabs an electrical current into the ground
Weaknesses: Recharge time
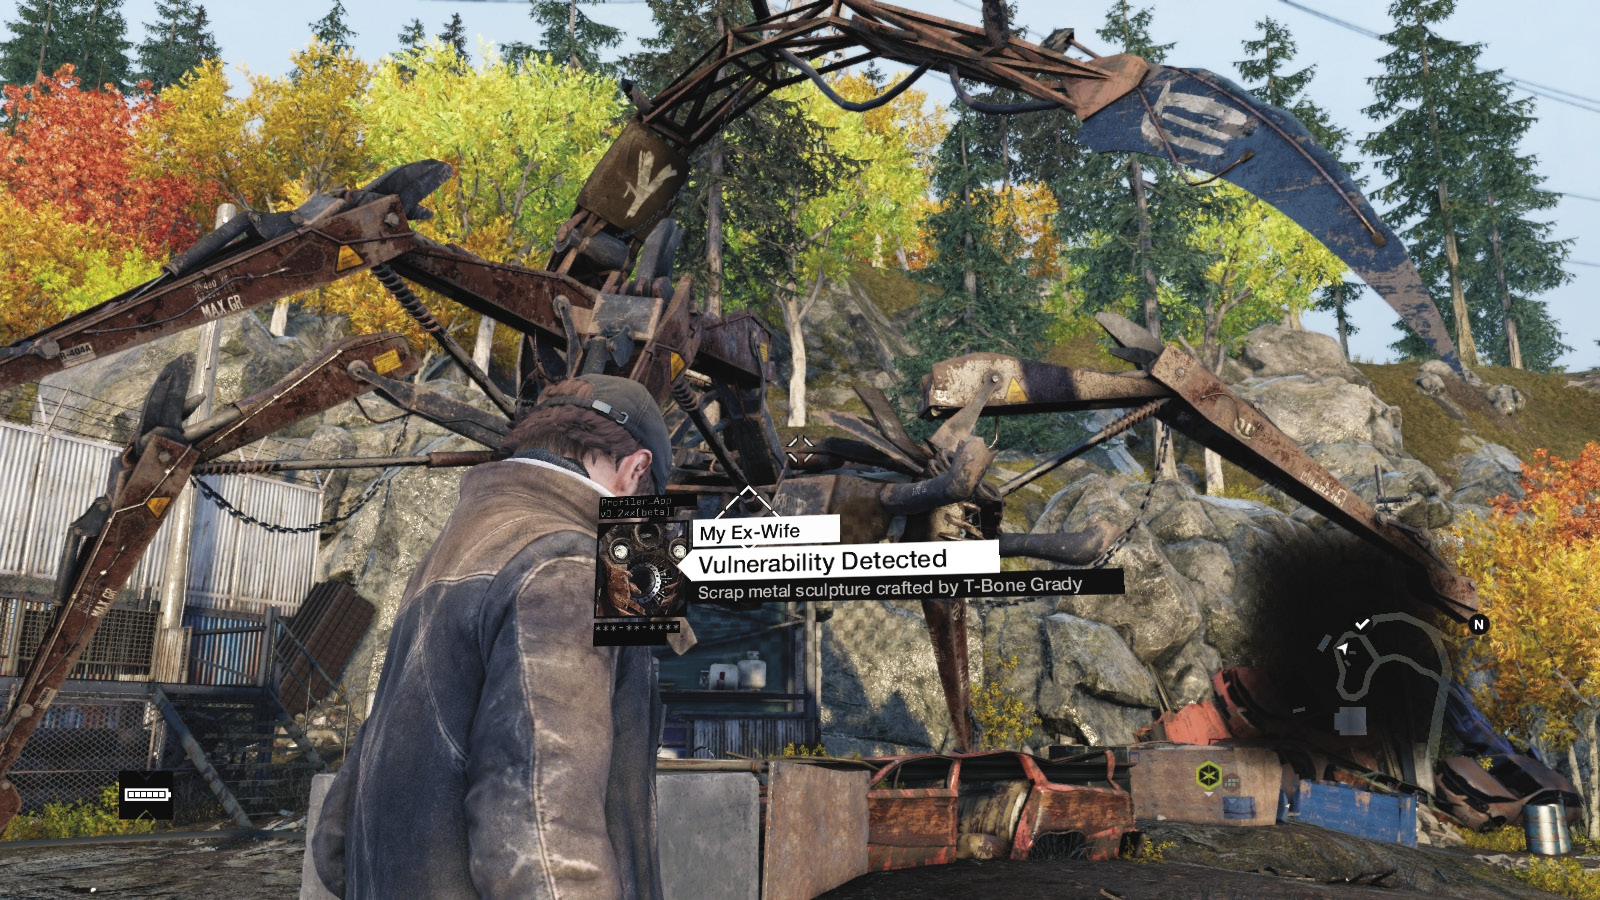
This is T-Bone’s gigantic scorpion sculpture found in his Pawnee junkyard. Though foes can hide between its legs (and sometimes escape the electrical current), this is otherwise a devastating strike weapon to remove multiple foes between recharges.
/// SCENIC COVER OR INTERACTIONS
//// ATM Machine
Amount Available: Numerous
Battery cost: None
USEFULNESS:
How Used: Access to withdraw cash (not your own)
Weaknesses: This is wanton thievery!
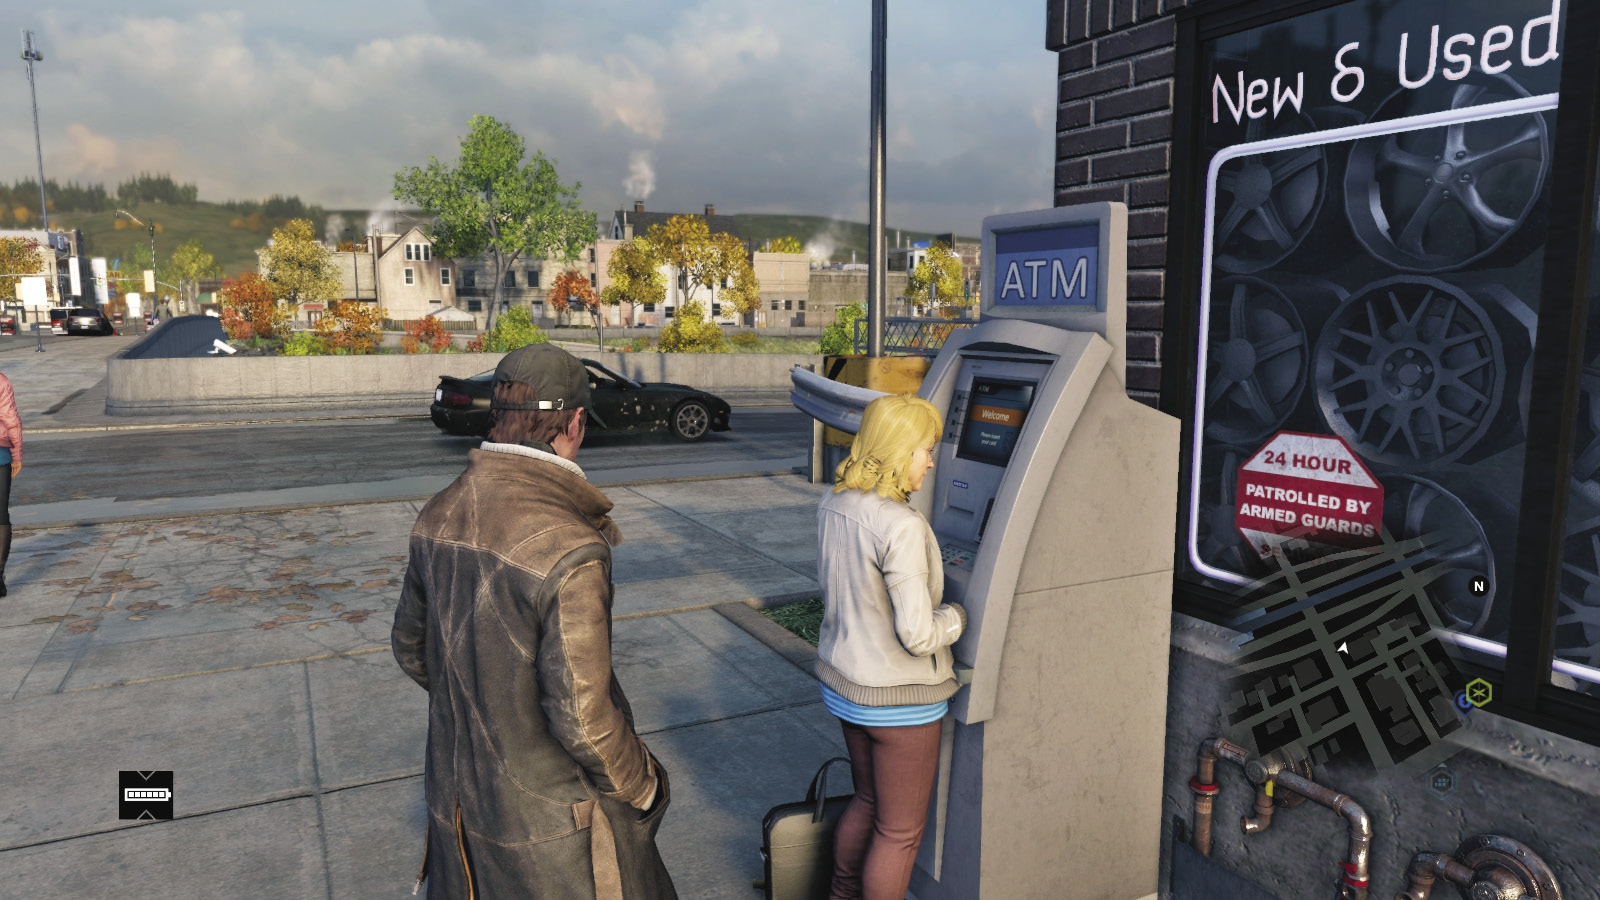
Technically, you simply interact with rather than hack the ATM machine, which you can’t access until you’ve hacked the ATM accounts of citizens, but this is still technically a hack. Gather as much ATM data as you wish, after which ATM icons appear on your map and you can withdraw funds from any of them. Gather multiple ATM accounts before heading to an ATM for a bigger haul.
During mission infiltrations, these sometimes appear on scenery and close to enemies. Activate them to hear a threatening voice and laughter, which distracts the foe long enough for you to pass by or ambush.
//// Building Security Router
AMOUNT AVAILABLE: NUMEROUS
BATTERY COST: NONE
USEFULNESS:
HOW USED: Hacked to reach a Nodal Hotspot.
WEAKNESSES: Usually well-defended.
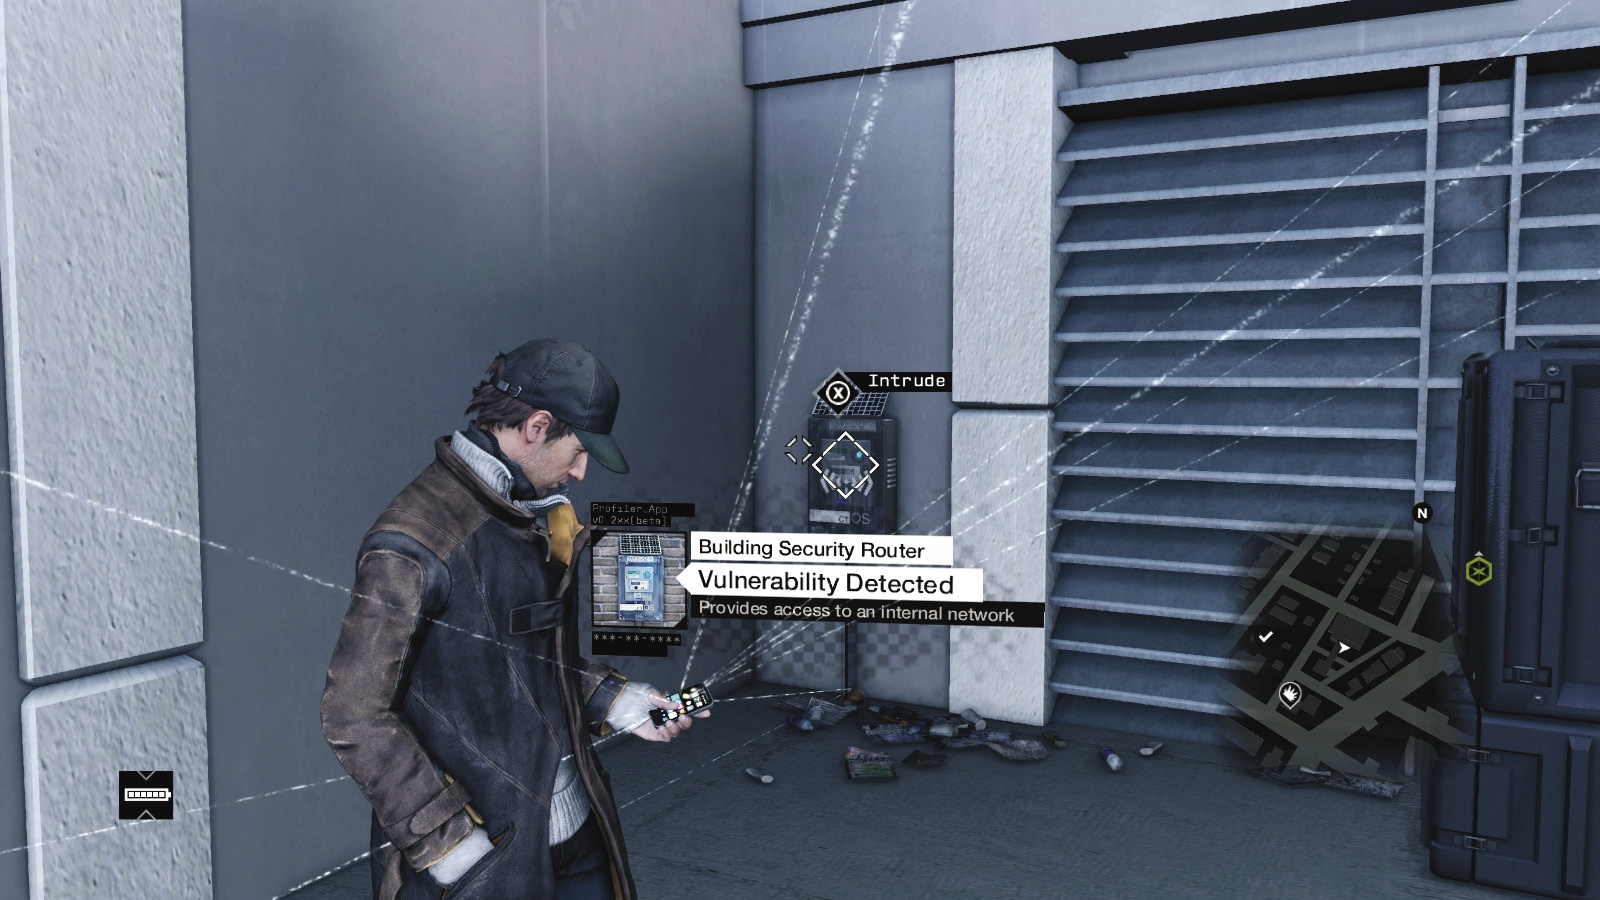
A special security lock in some locations prevents you from accessing more sensitive areas of a location. However, if you hack these routers (sometimes after you find an access code on a guard), you can access sensitive areas (usually a Nodal Hotspot or server room) within.
//// Car Alarms
Amount Available: Numerous
Battery cost: None
USEFULNESS:
How Used: Hack to set off the alarm
Weaknesses: Can cause unwanted attention
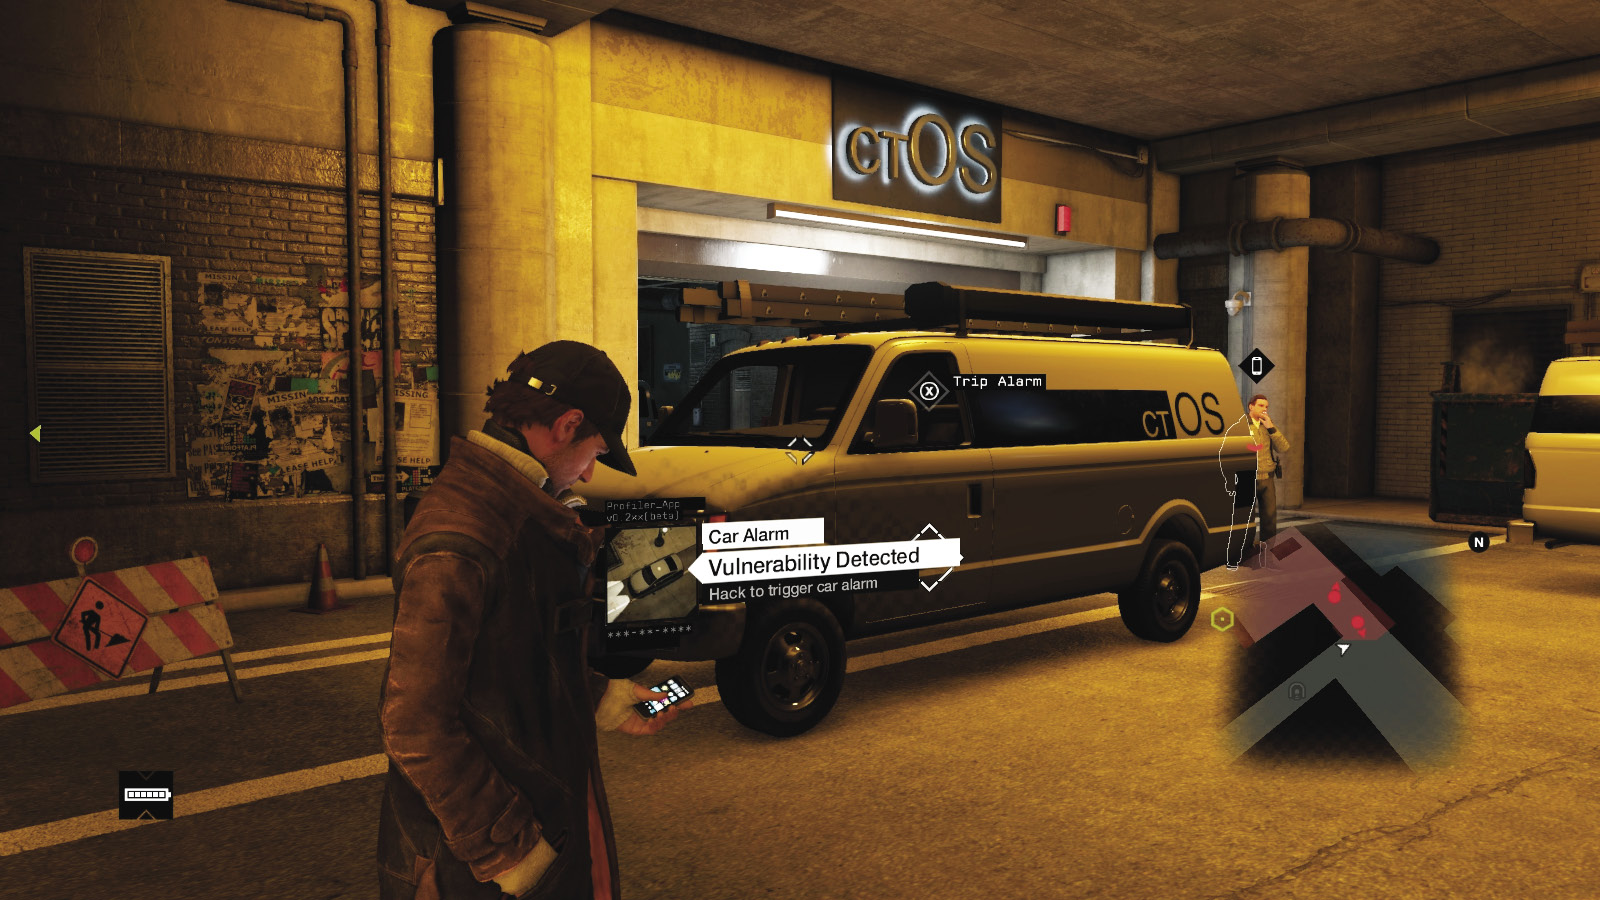
Many vehicles across the city have car alarms, which automatically go off when you try stealing the vehicle and don’t have the skill to disarm the alarm. During missions, these alarms can act as a distraction instead, but the citizens can alert the police if they see you breaking a car window.
//// Conveyer Belt
Amount Available: Very Rare
Battery cost: None
USEFULNESS:
How Used: Moves logs or wood stacks forward and back
Weaknesses: rarely used
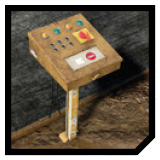
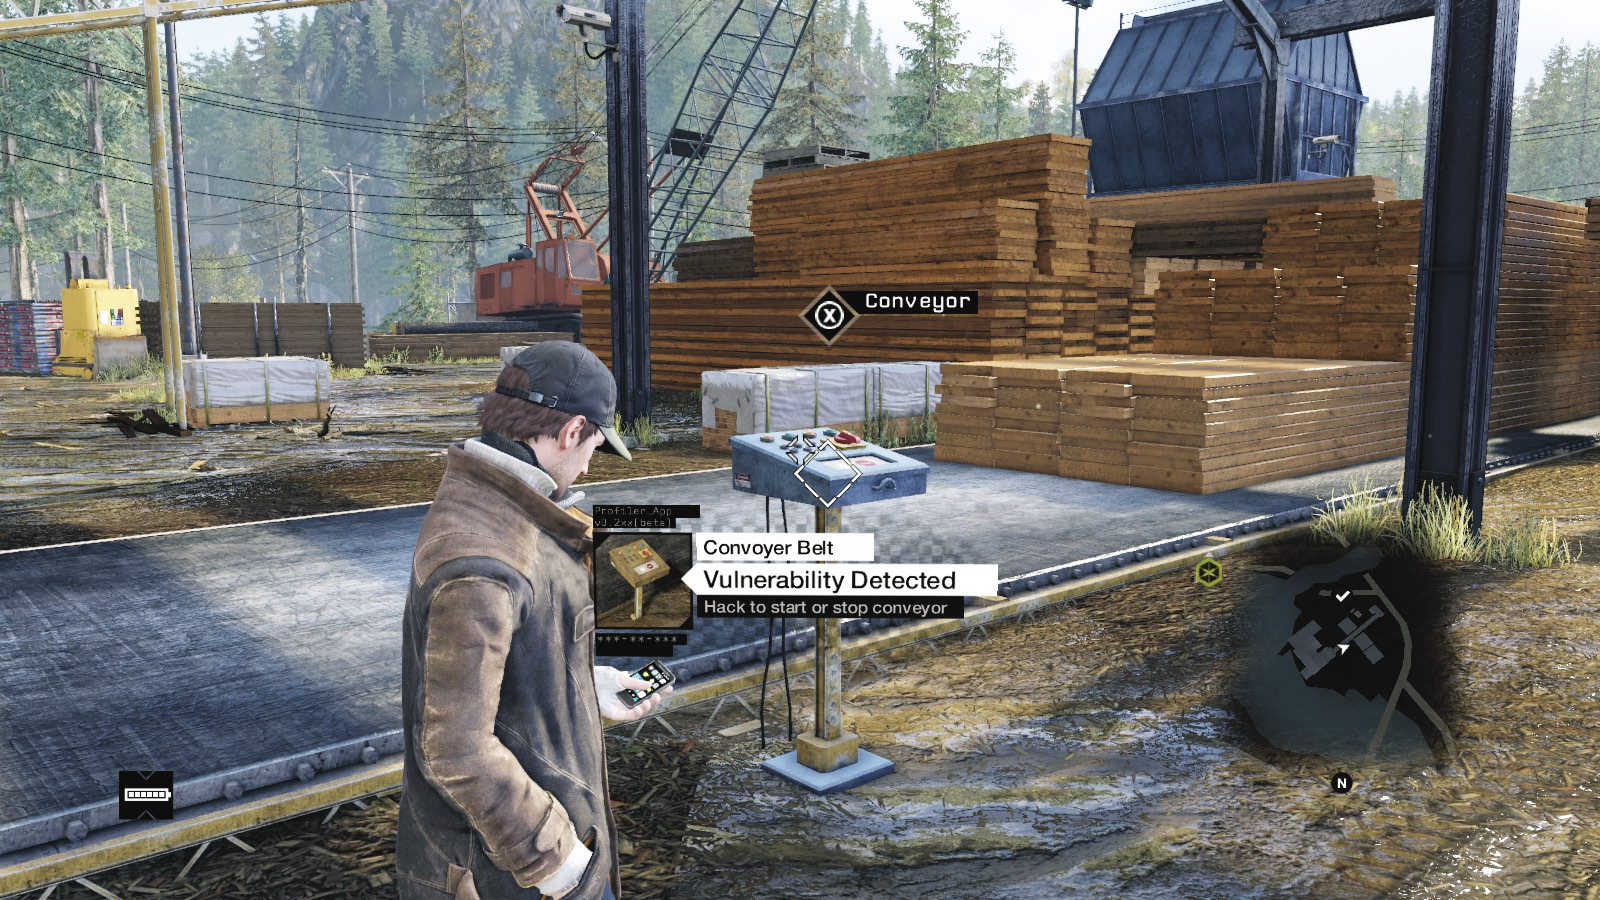
The Pawnee lumber mill has two large conveyor belts: one flat with treated lumber and the other pitched with logs to be cut from the river. Either of these can be activated to act as a distraction or to catch an enemy on the belt to move them along, perhaps into your line of sight or melee-strike range if you’re hiding.
//// Display Platform
Amount Available: Very Rare
Battery cost: None
USEFULNESS:
How Used: Rotates around 90 degrees forward and back
Weaknesses: Limited use
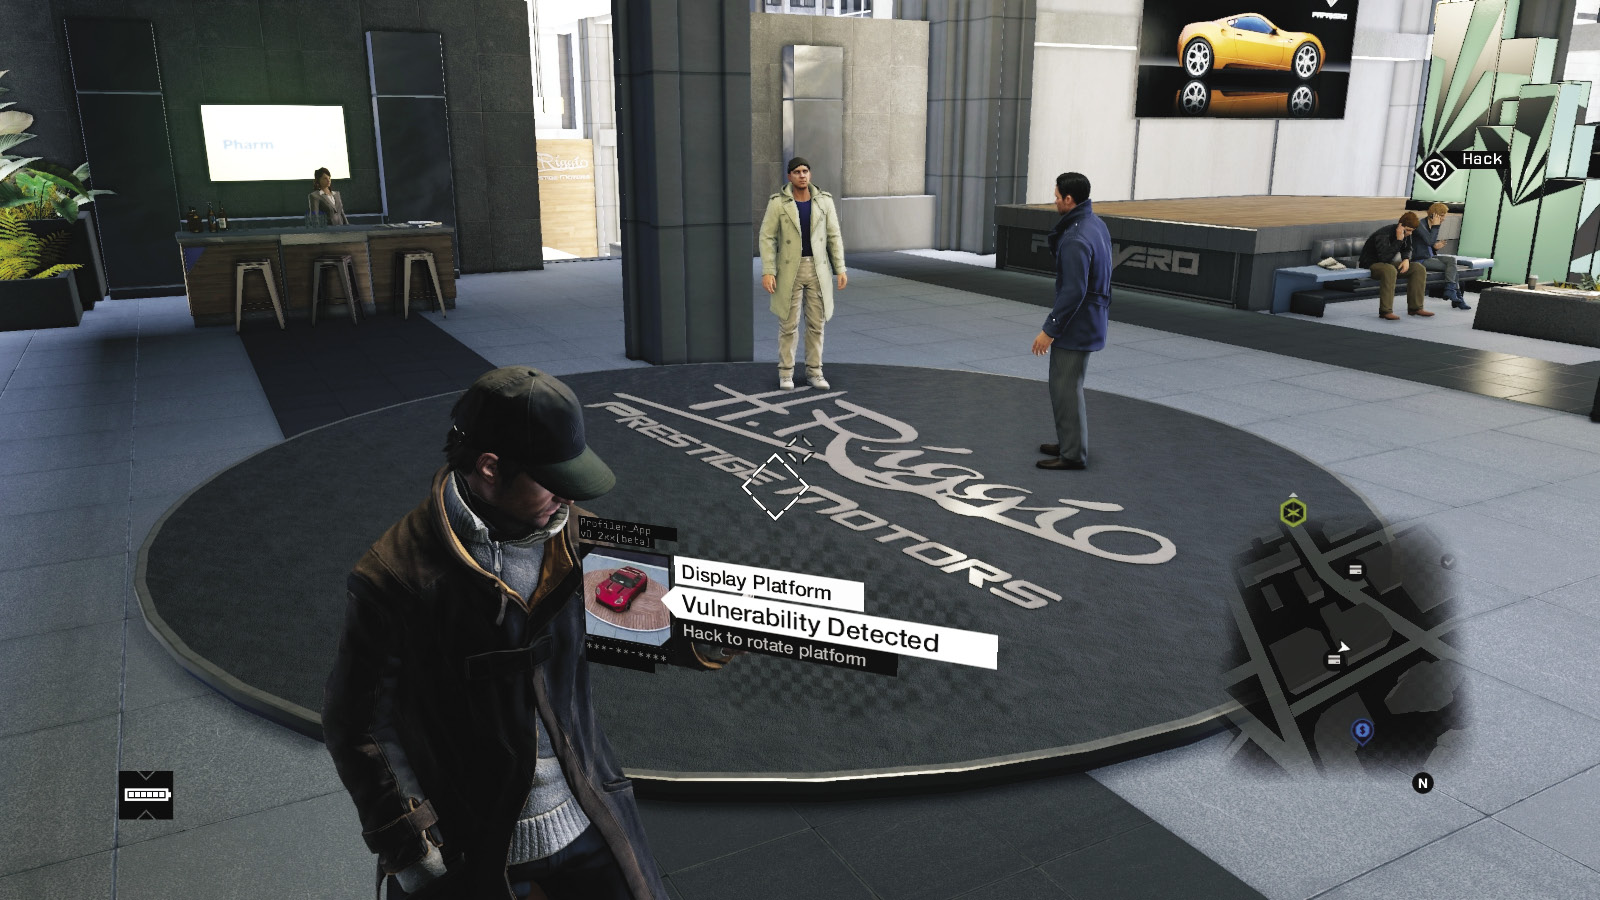
This is only available at the Mad Mile car showroom and functions as movable cover, enabling you to stay hidden behind a car as it rotates and out of sight of a patrolling foe if you’re adept at moving it back and forth. This can act as a distraction too.
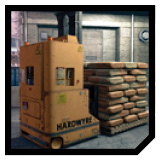
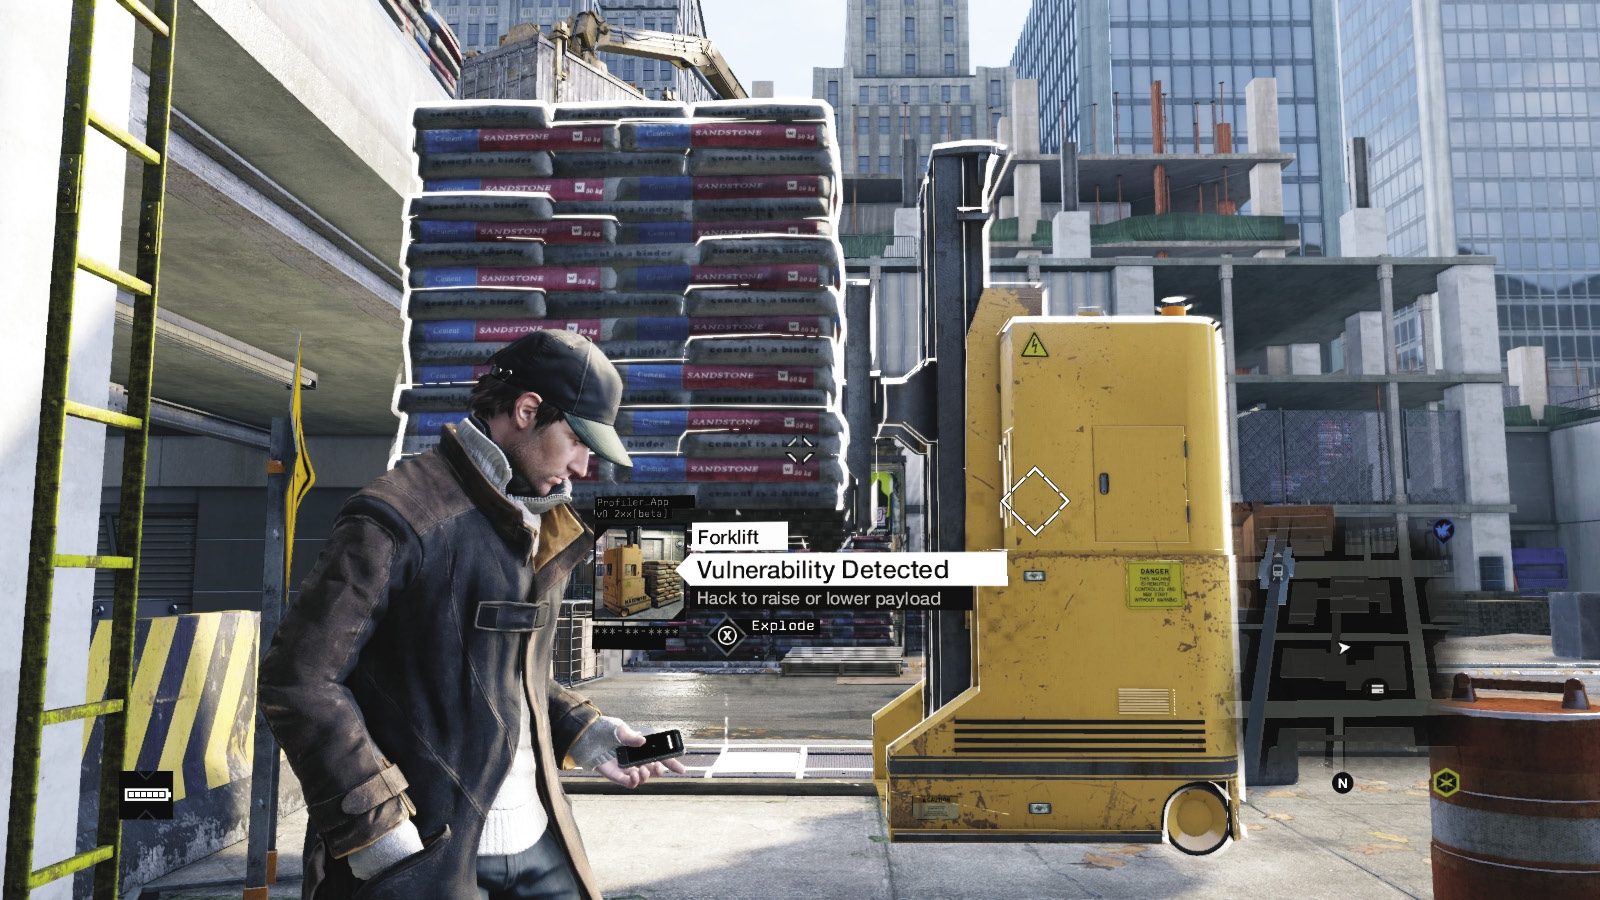
//// Forklift
Amount Available: NUMEROUS
Battery cost: None
USEFULNESS:
How Used: Forklift contents rises up and down
Weaknesses: Slow
This is a key distraction tool in many missions, as it simply enables you to activate the vehicle’s payload arms, raising them or dropping them and the pallet contents too. You can climb to higher areas or use this as a distraction, attracting more foes the more you activate it.
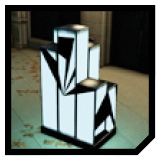
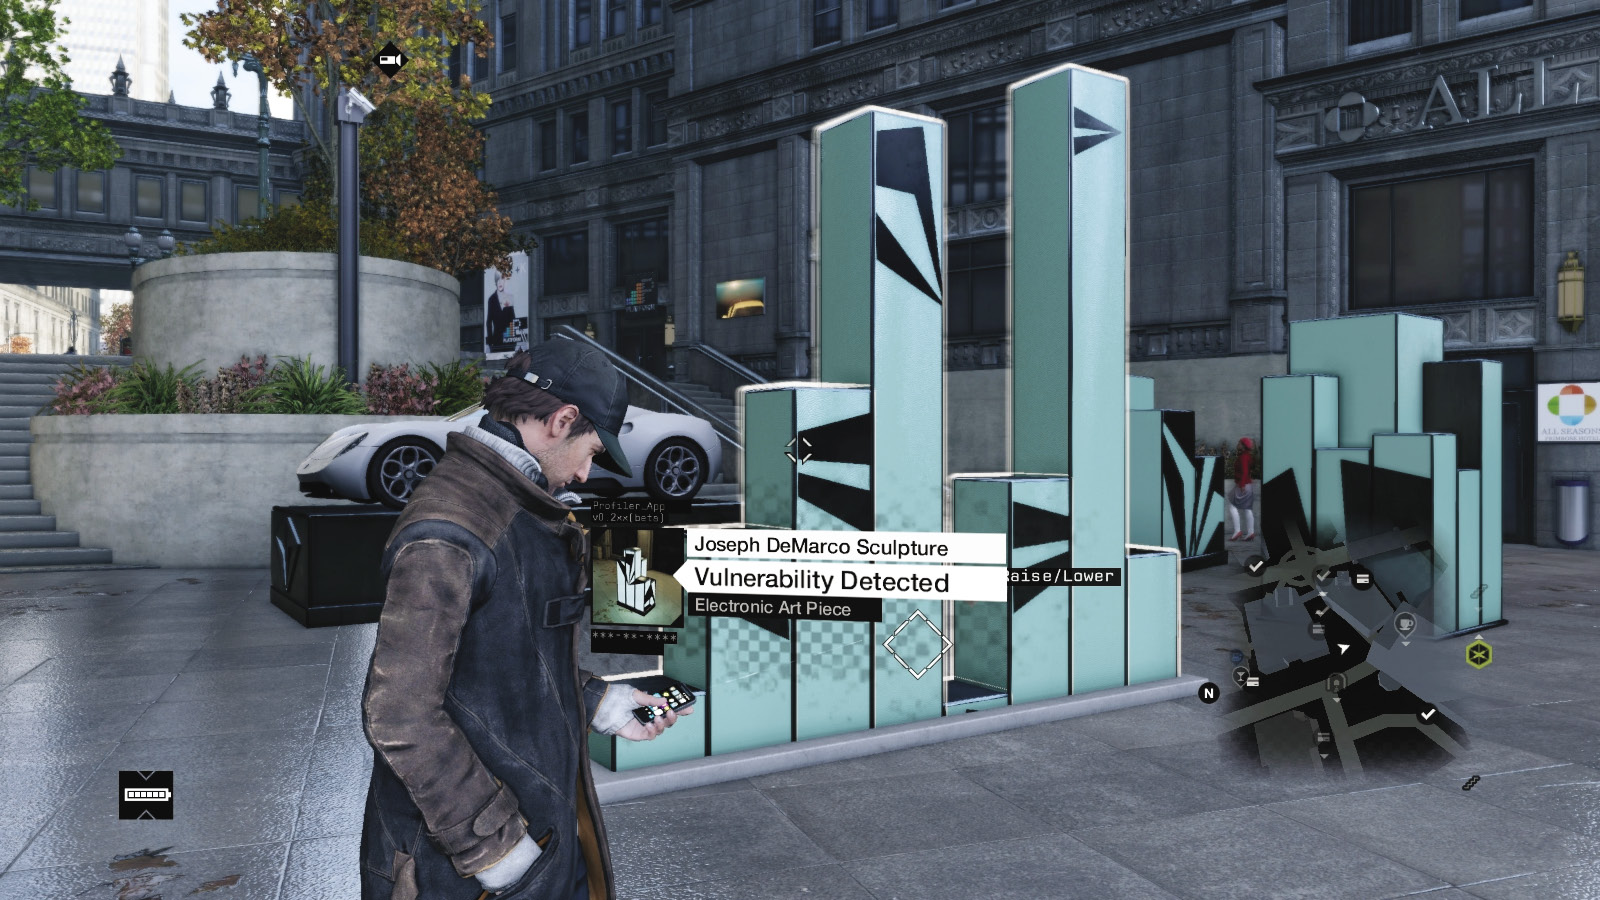
//// Joseph DeMarco Sculpture
Amount Available: Very Rare
Battery cost: None
USEFULNESS:
How Used: Sculptural sections move up and down
Weaknesses: very little tactical use
This interesting set of undulating light boxes very occasionally has enemies using it as cover. Move it to shoot through the rising and falling sections. Otherwise, this is simply an interesting take on modern art.
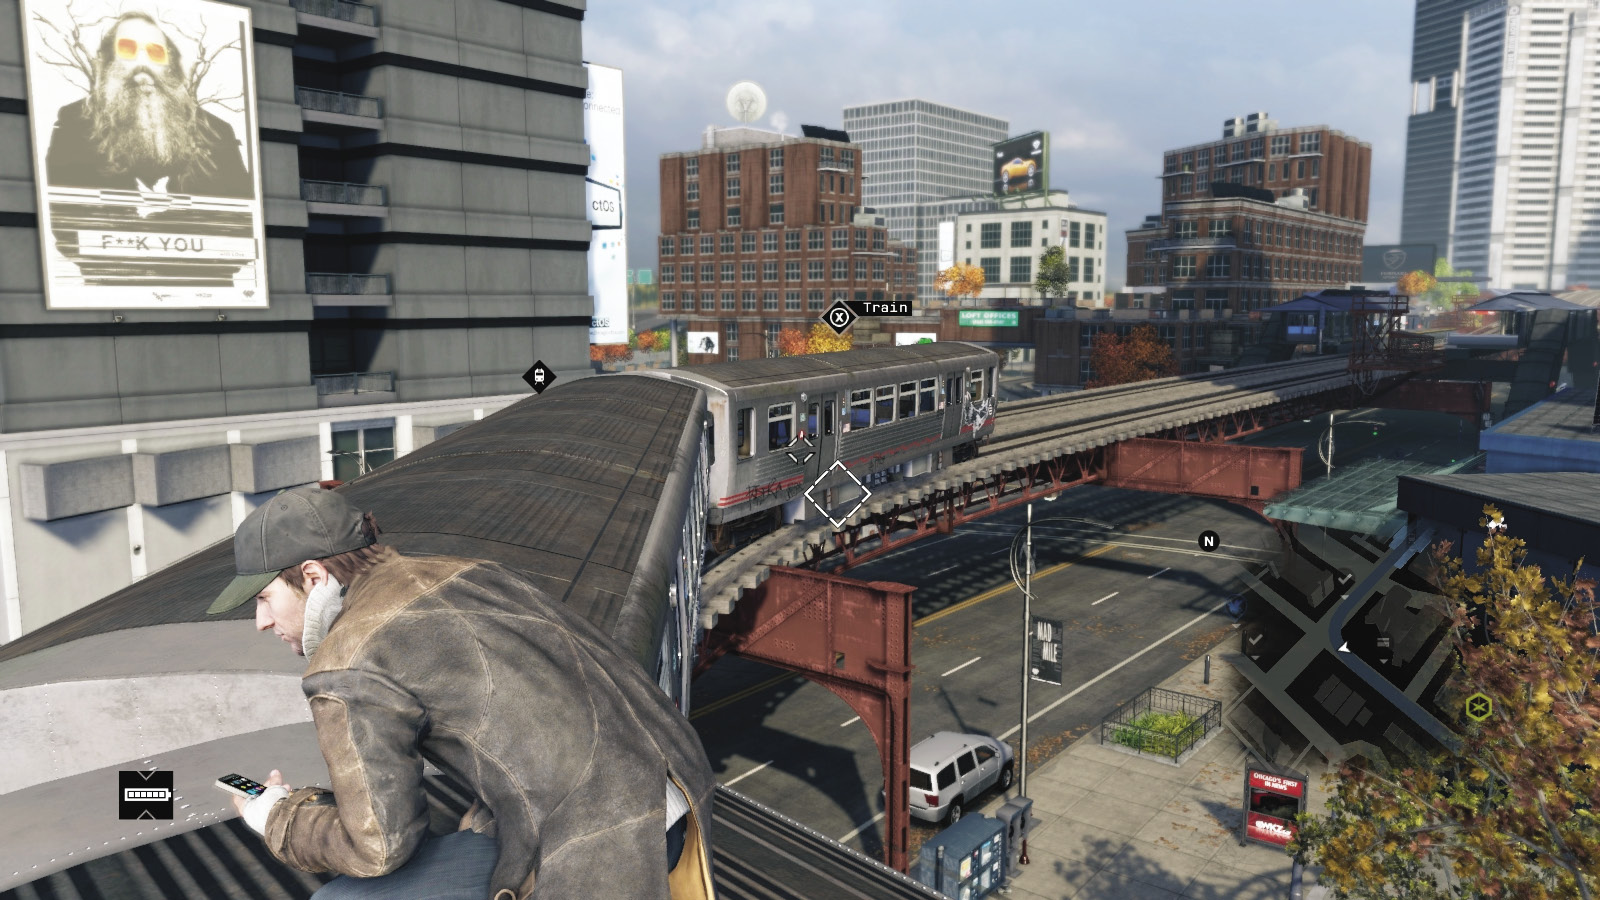
//// L-Train
Amount Available: Numerous
Battery cost: None
USEFULNESS:
How Used: Hack the train to stop and start it
Weaknesses: Limited maneuverability
When you have the appropriate skill, you can stop an L-train at its station and commandeer it. Ride the roof of the train for a greater feeling of excitement! Use trains to flee from pursuers, though police helicopters can easily keep up.
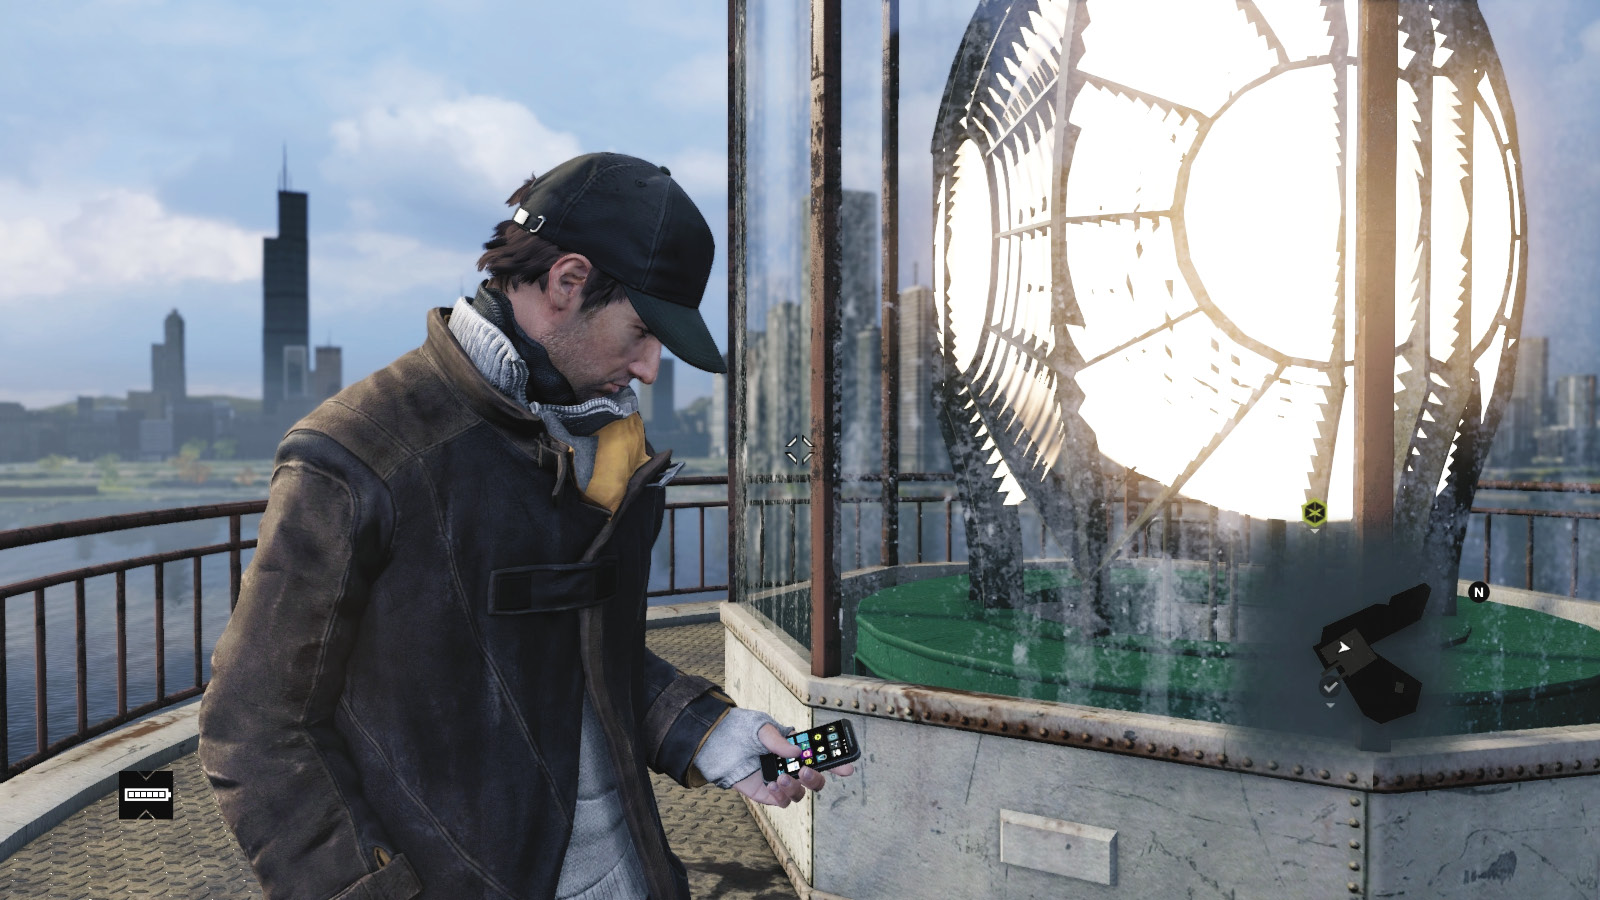
//// Lighthouse Lamp
Amount Available: Unique
Battery cost: None
USEFULNESS:
How Used: Lights the lamp up or switches it off
Weaknesses: Rarely used
The Windy City Lighthouse out in the eastern waters has a lamp at the top of the tower. You can turn this off and on. It sees some action during the latter stages of the main missions, but otherwise doesn’t affect the seafarers.
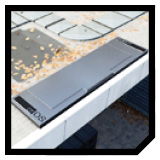
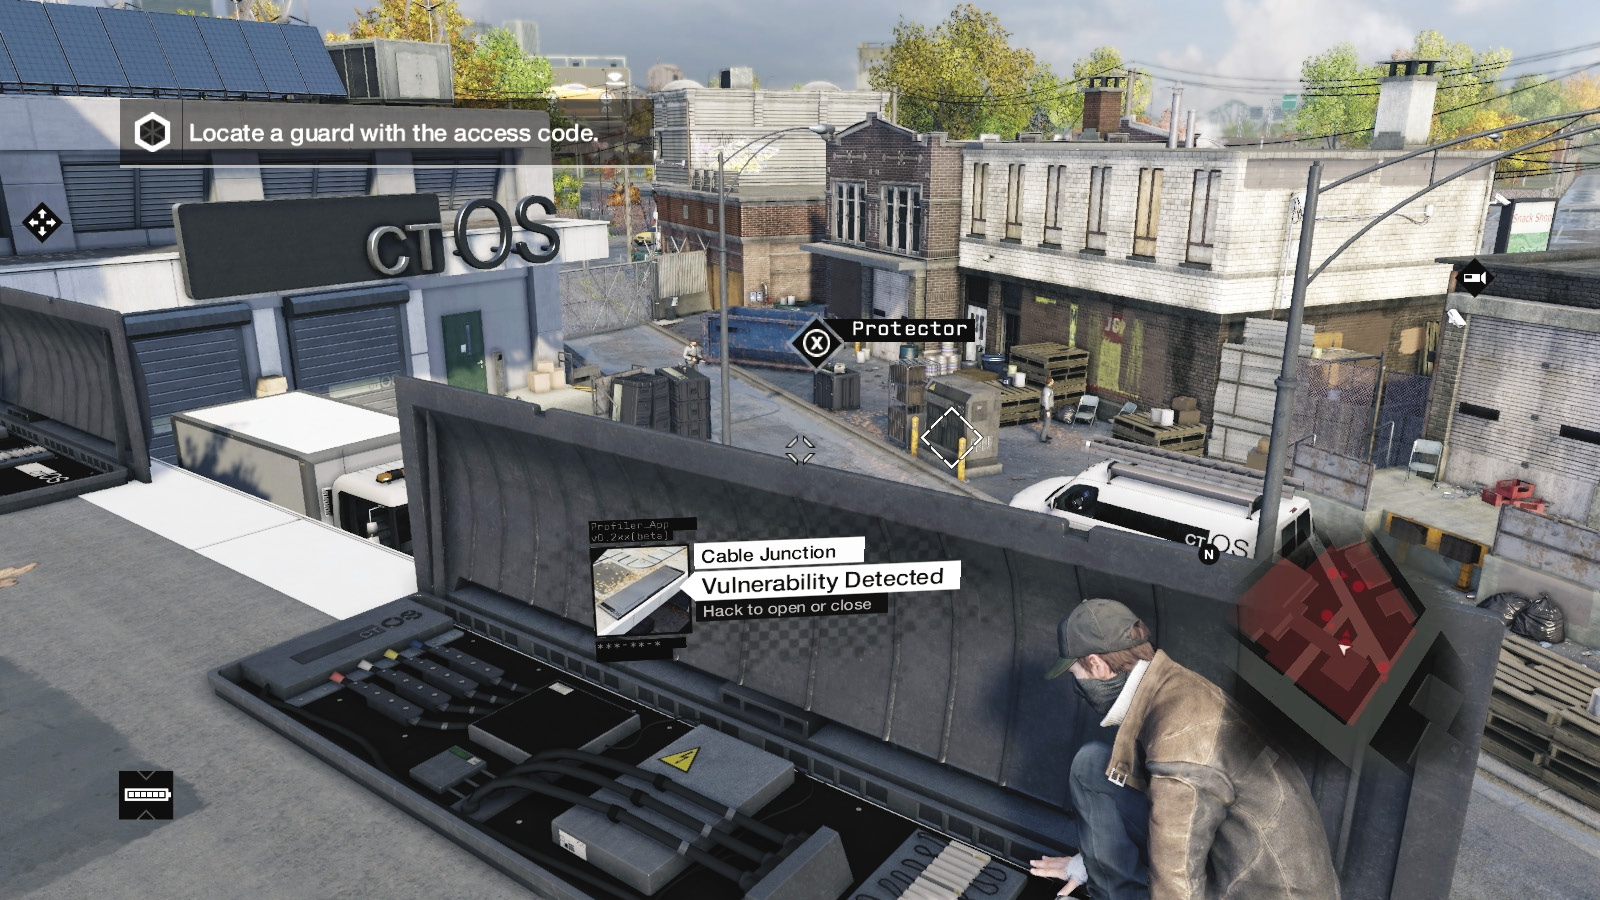
//// Protector (Cable Junction)
Amount Available: Numerous
Battery cost: None
USEFULNESS:
How Used: Rises up as cover, or down again
Weaknesses: Enemies can use it if you leave it upright
These cable protectors are on the ground and roofs of some structures, and provide an excellent cover opportunity. However, foes can use them too (so close them to stop this or coax them as a trap). Close them if you’re going to be driving over the area later, as they block vehicles.
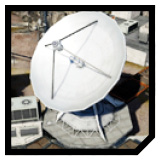
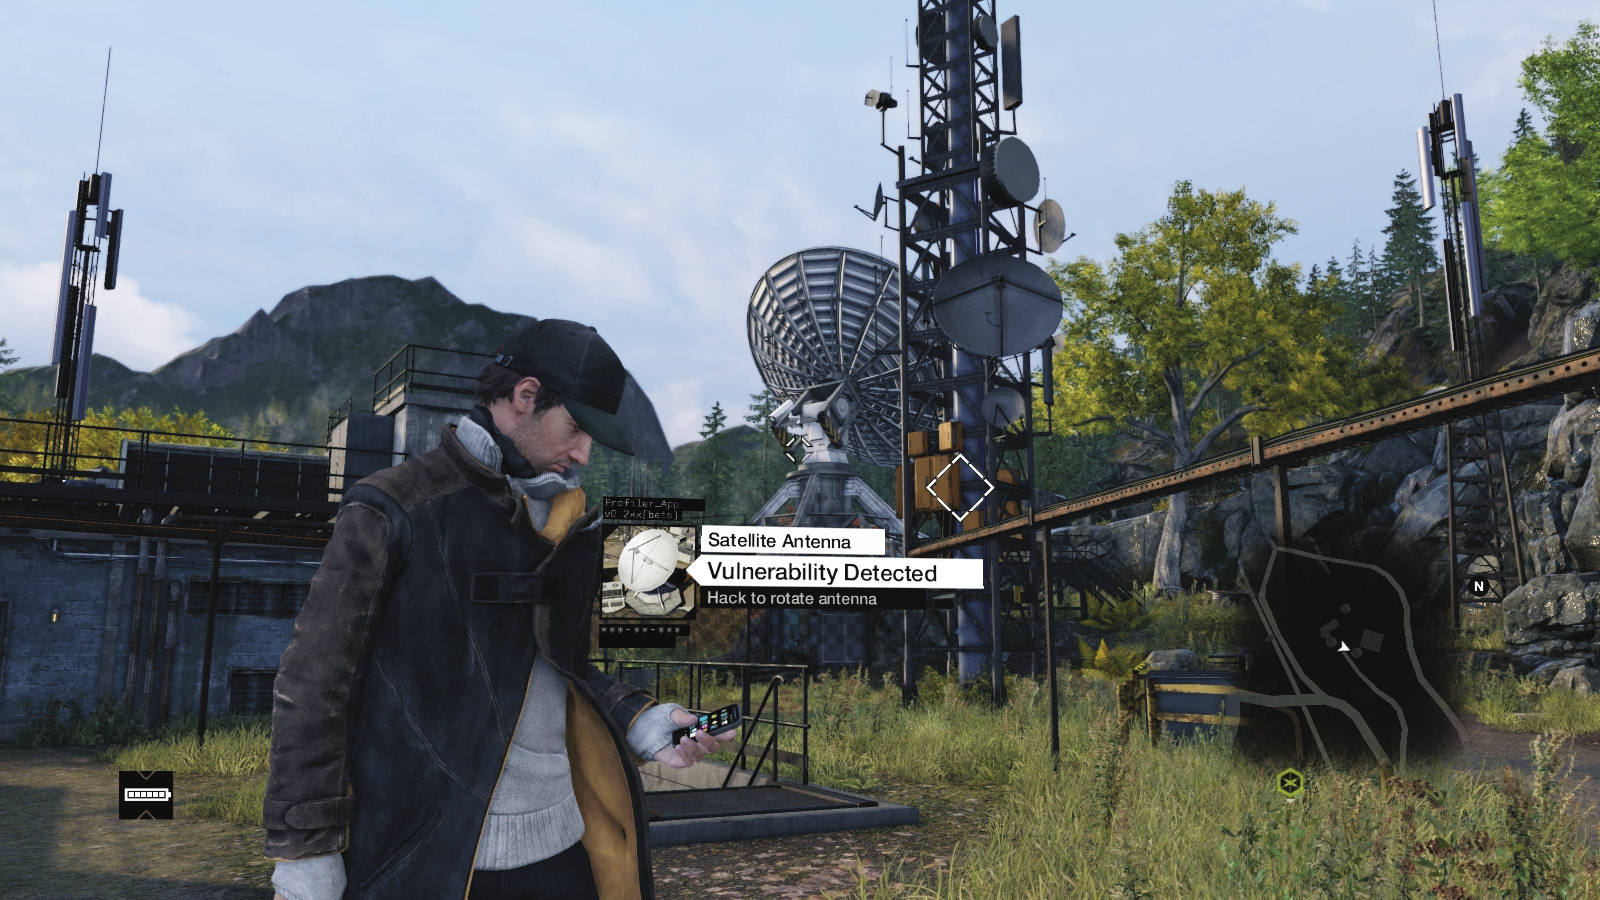
//// Satellite Antenna
Amount Available: Very Rare
Battery cost: None
USEFULNESS:
How Used: Move dish and attached walkway to access walkways
Weaknesses: Convoluted, only used once
The ctOS tower in Pawnee has two large satellite dishes, each attached to a curved walkway with a gangplank at one end. When you access an antenna, both dishes move from one position to another; these are used to navigate across the walkways during a mission.
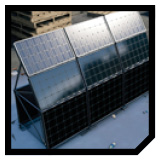
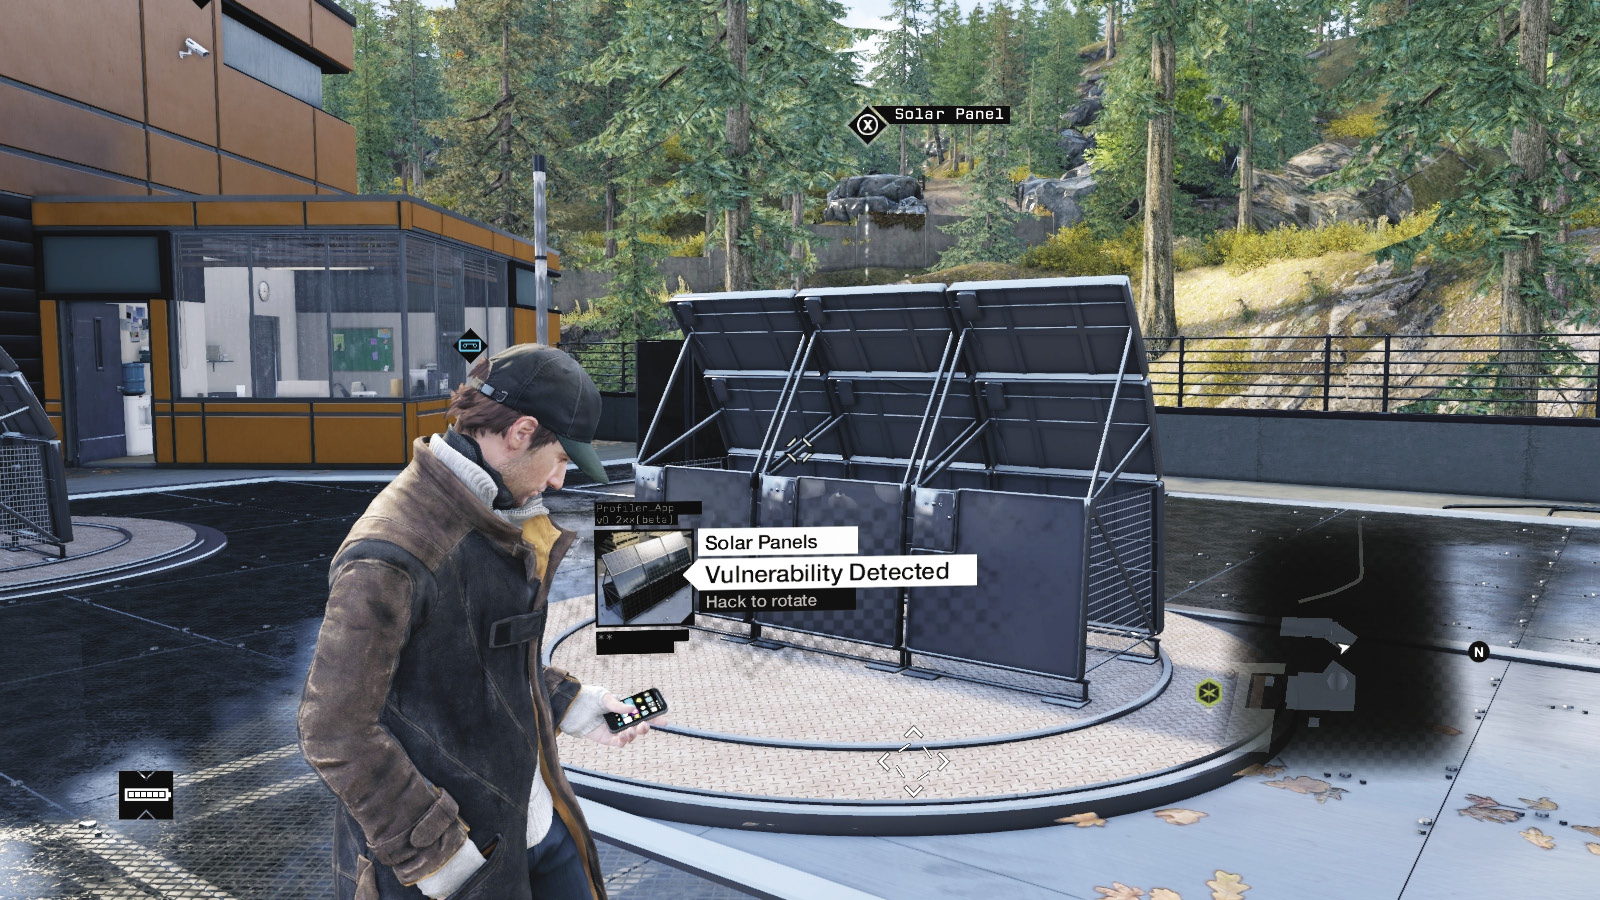
//// Solar Panels
Amount Available: Rare
Battery cost: None
USEFULNESS:
How Used: Rotates around 90 degrees forward and back
Weaknesses: Limited use
These make good cover options during an infiltration, allowing you to change cover direction to hide from a patrolling foe or exposing a foe using it as cover himself. But you can expose yourself too! You may also be able to see more scenery options while in a different position.
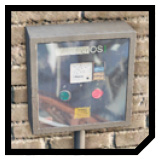
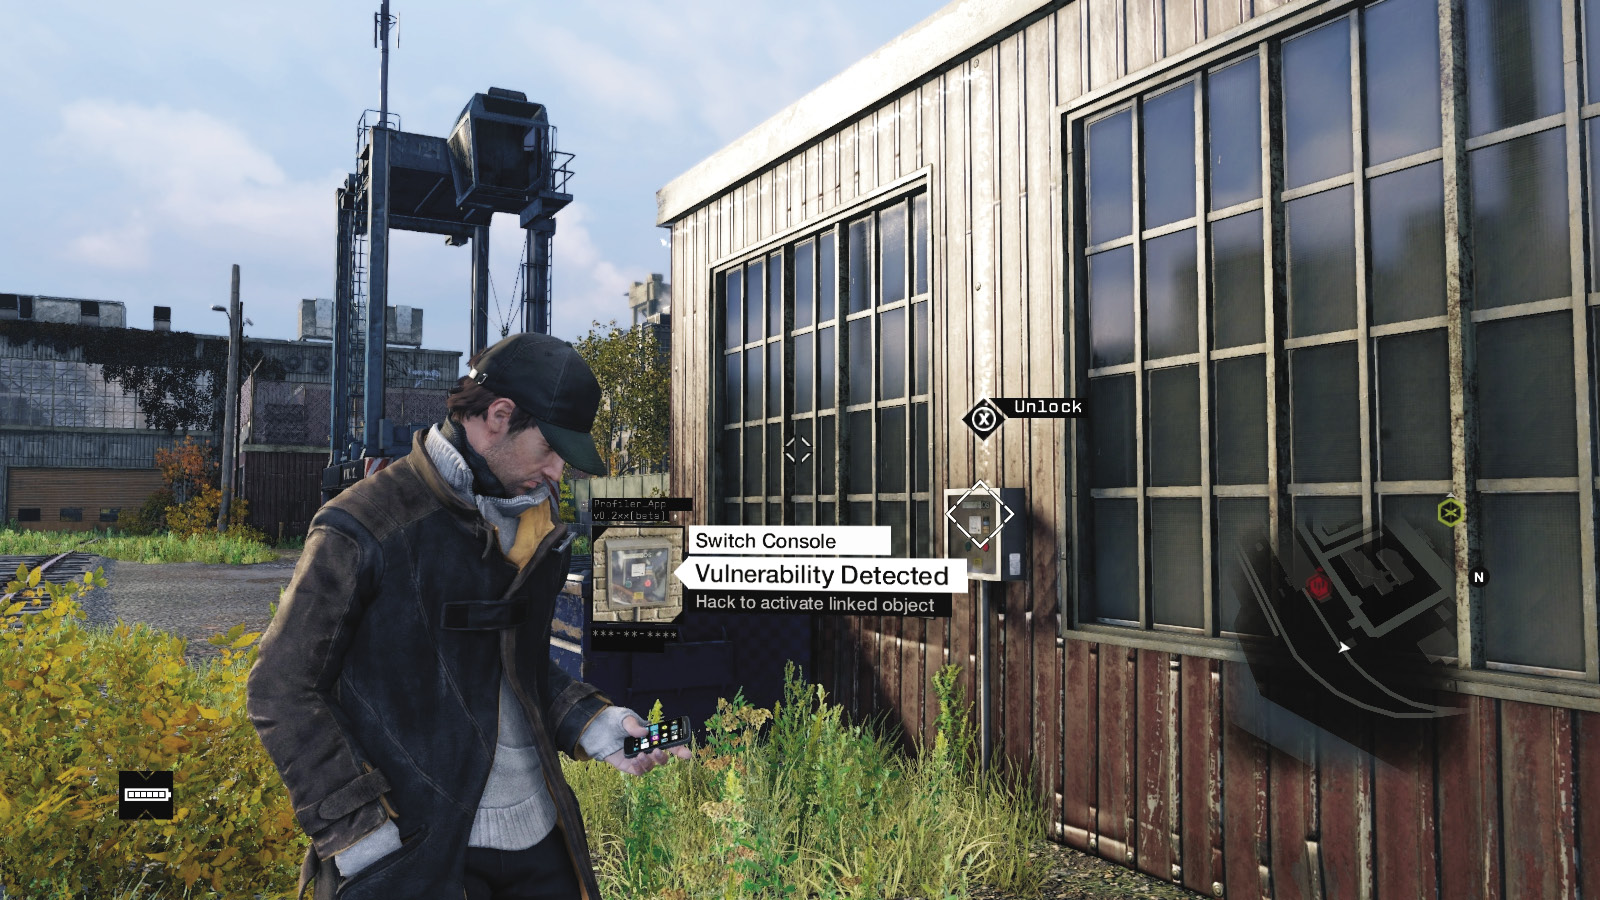
//// Switch Console
Amount Available: Numerous
Battery cost: None
USEFULNESS:
How Used: Simply hack it to access ctOS Server
Weaknesses: Sometimes convoluted method to access this
These are used on almost every mission and activity you engage in, and are all over the city; they connect (sometimes via a hotspot node) to a ctOS server or internal camera and are critical to unlocking and intruding.
//// Vending Machine
Amount Available: NUMEROUS
Battery cost: NONE
USEFULNESS:
How Used: Cans fall out of the exit flap
Weaknesses: Only used effectively once
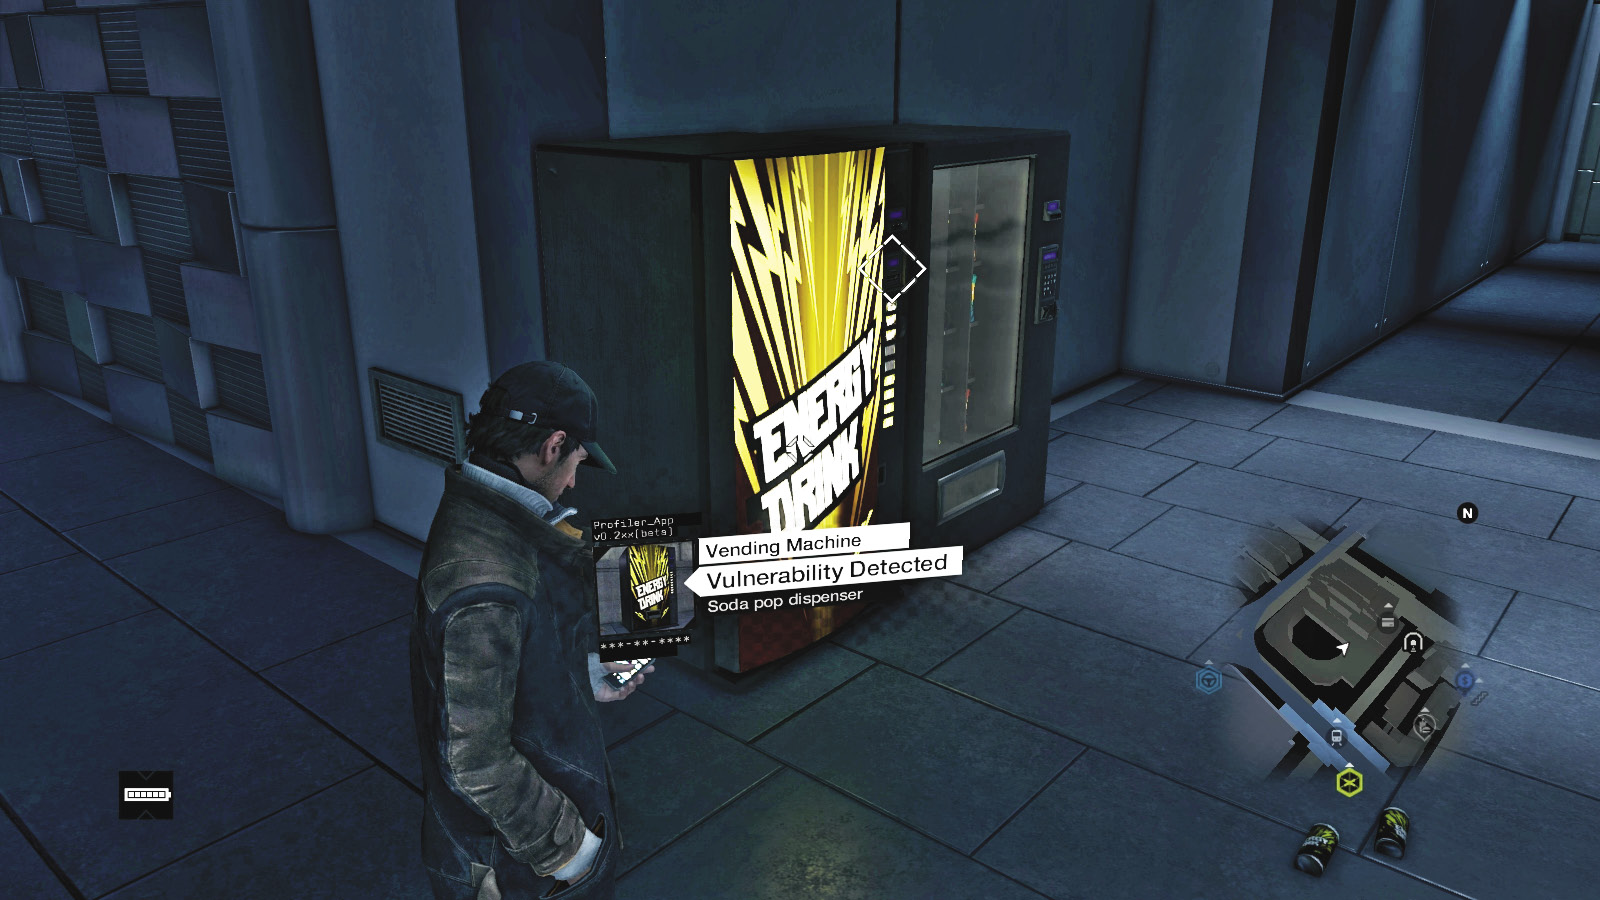
If you need to attract a foe, think of the vending machine as dispensing the same kind of tactical effectiveness as a lure, except in a static location. Out clatters a cluster of cans, making a noise loud enough to attract a guard or two. Then leave a proximity IED or step out from behind cover and remove the threat. Or, if there are no threats, be on your way.
//// Wi-Fi Speakers
Amount Available: Numerous
Battery cost: None
USEFULNESS:
How Used: Hack to gather or change the music to your liking
Weaknesses: Only helpful to music listeners
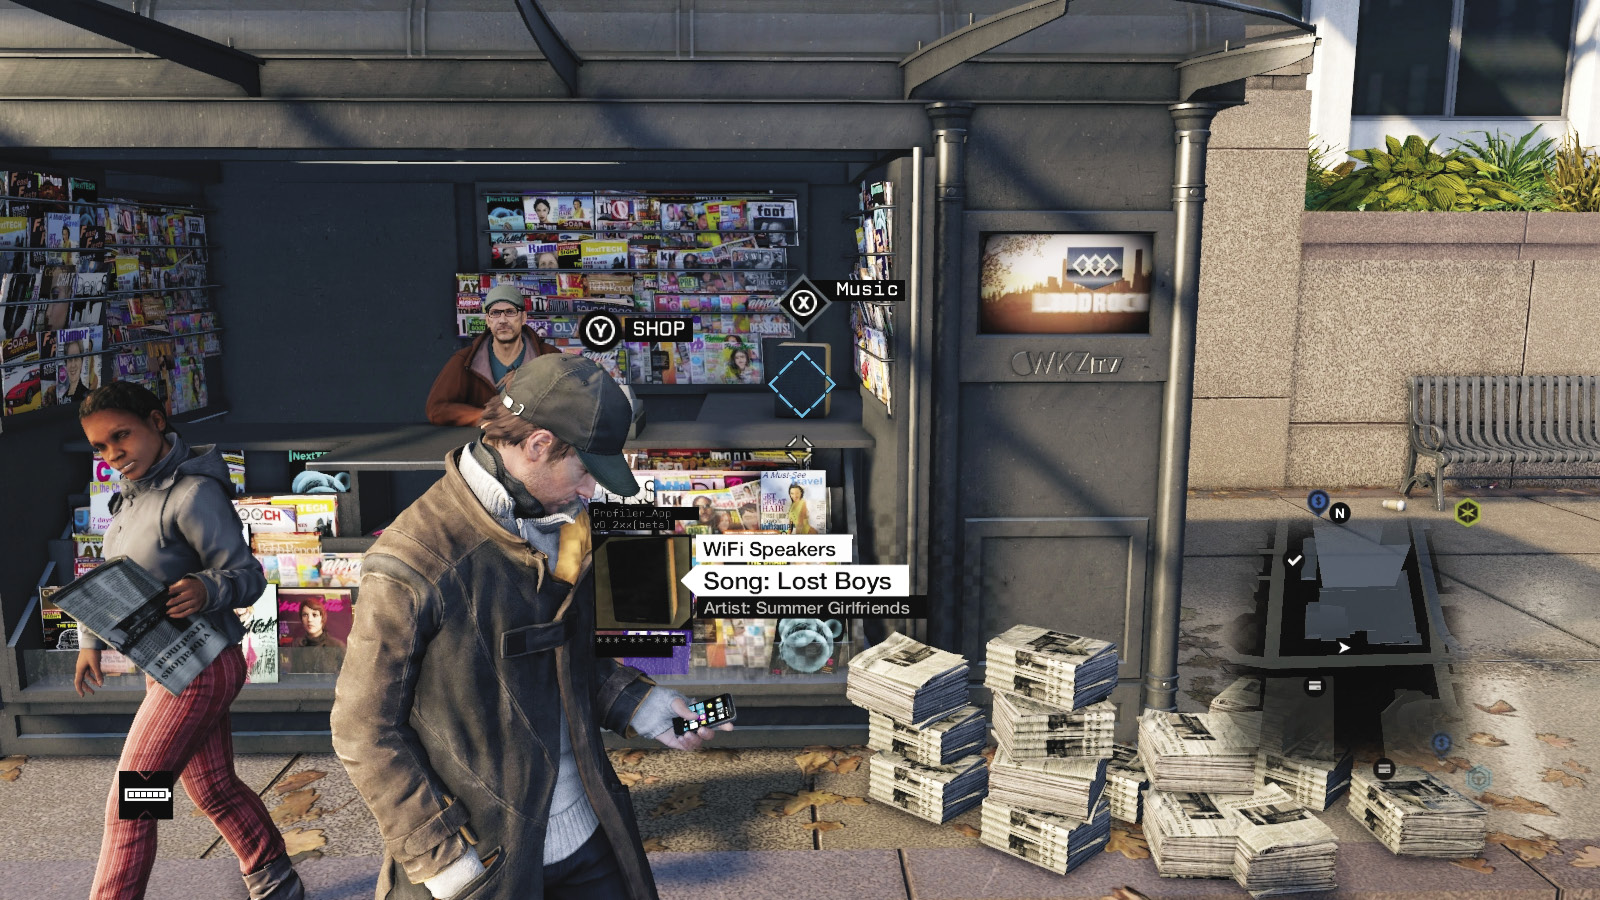
Wi-Fi speakers are generally found in newsstands and stores, and you can hack them to change the music to a song from your Media App, or use SongSneak to add the song to your collection.
/// VEHICULAR BARRICADES
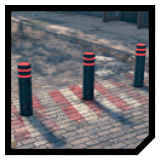
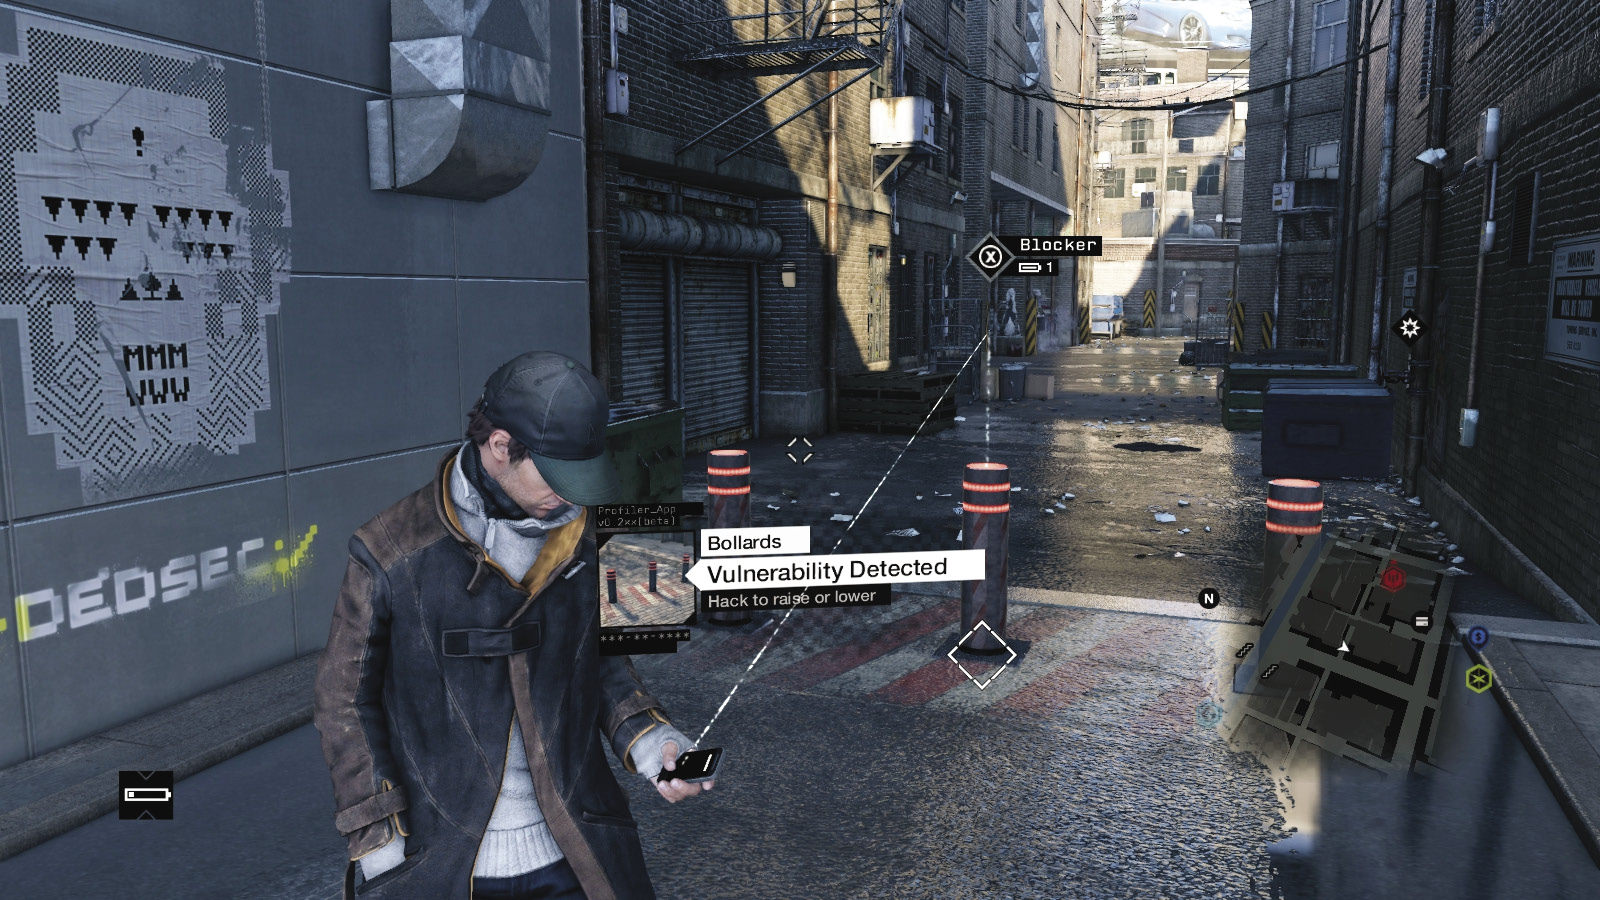
//// Bollards
Amount Available: Numerous
Battery cost: 1
USEFULNESS:
How Used: raised to block pursuers or targets
Weaknesses: You can drive around or through
Bollards are metal poles, usually placed at the entrance to side streets or cobblestone pavements. Vehicles are stopped dead if they crash into them, though they may be launched upward if on top of them when activation occurs.
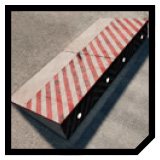
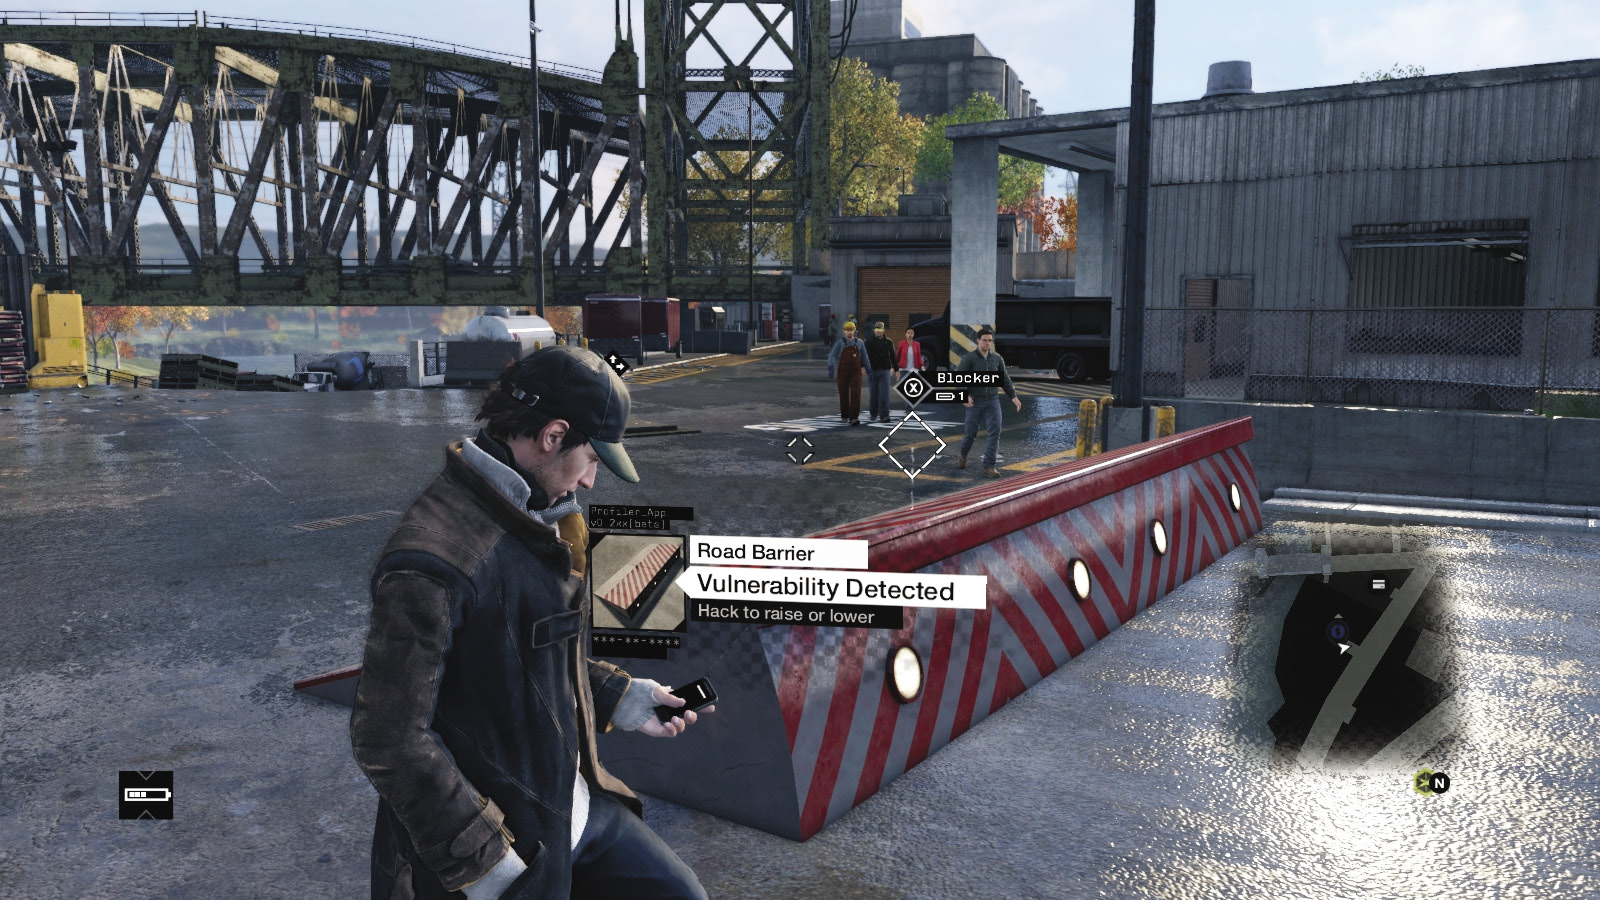
//// Road Barrier
Amount Available: Uncommon
Battery cost: 1
USEFULNESS:
How Used: raised to block pursuers or targets
Weaknesses: You can drive around
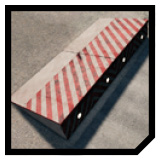
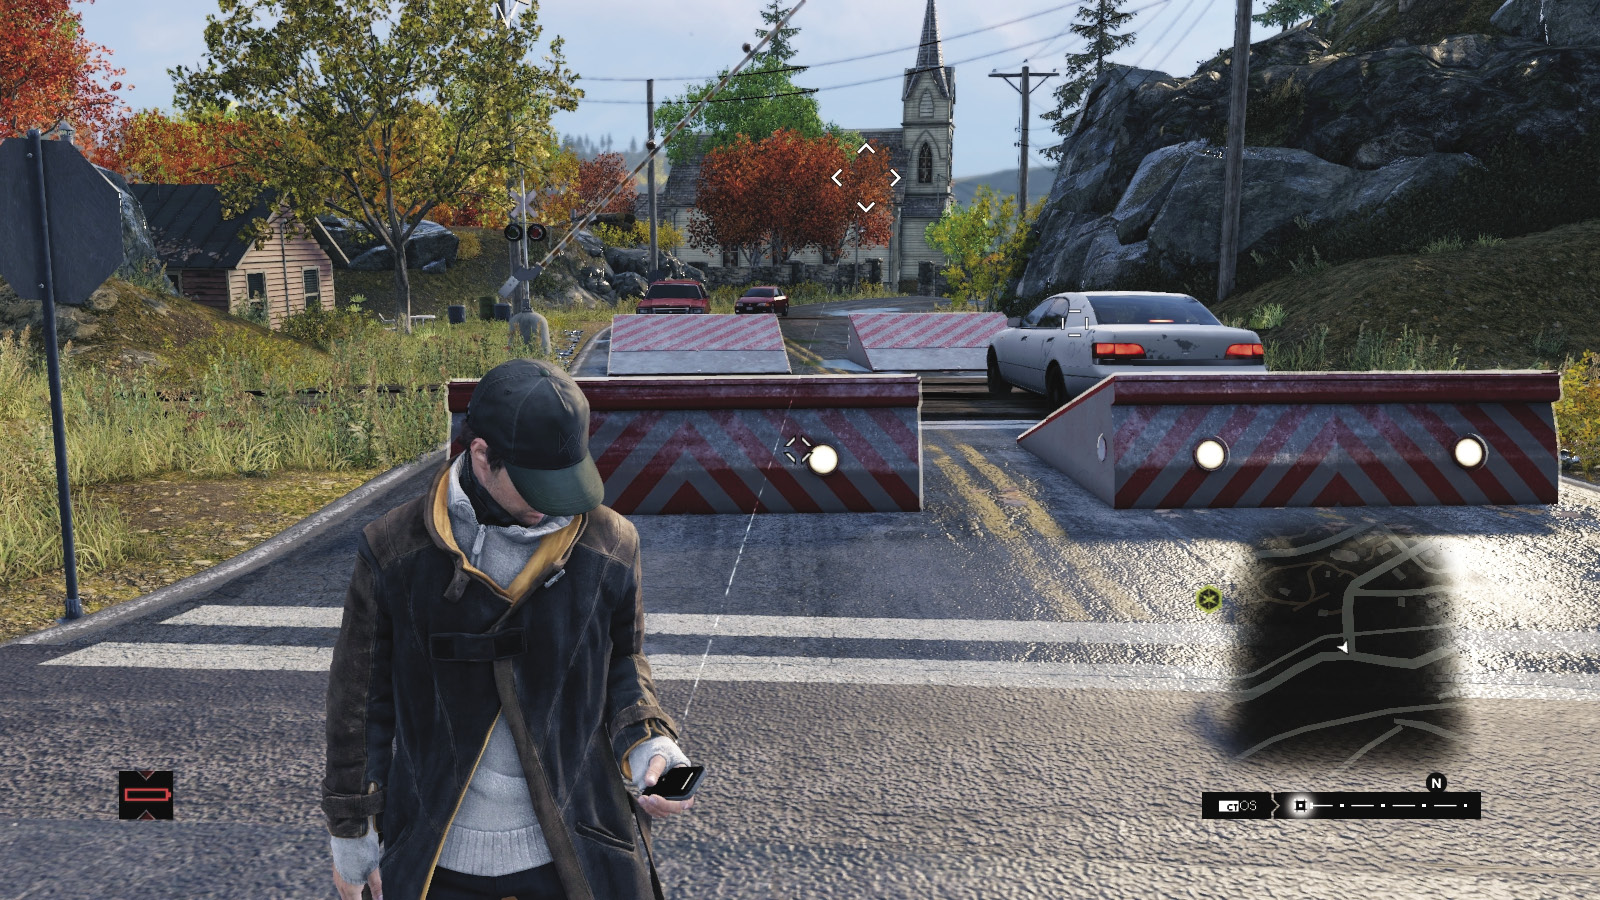
A large metal block, usually with a second block on the opposite end of a road with a second barrier. Vehicles are stopped dead if they crash into the raised side (the other side acts more like a ramp).
//// Road Barrier (Rail Line)
Amount Available: Uncommon
Battery cost: 1
USEFULNESS:
How Used: raised to block pursuers or targets
Weaknesses: You can drive around
A road barrier is a large metal block, usually with a second block on the opposite side in the case of rail tracks, with a barrier. Vehicles are stopped dead if they crash into the raised side (the other side acts more like a ramp).
//// Road Spikes
Amount Available: Numerous
Battery cost: 1
USEFULNESS:
How Used: Raised to block foes and burst tires
Weaknesses: Easy to drive over them yourself
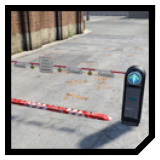
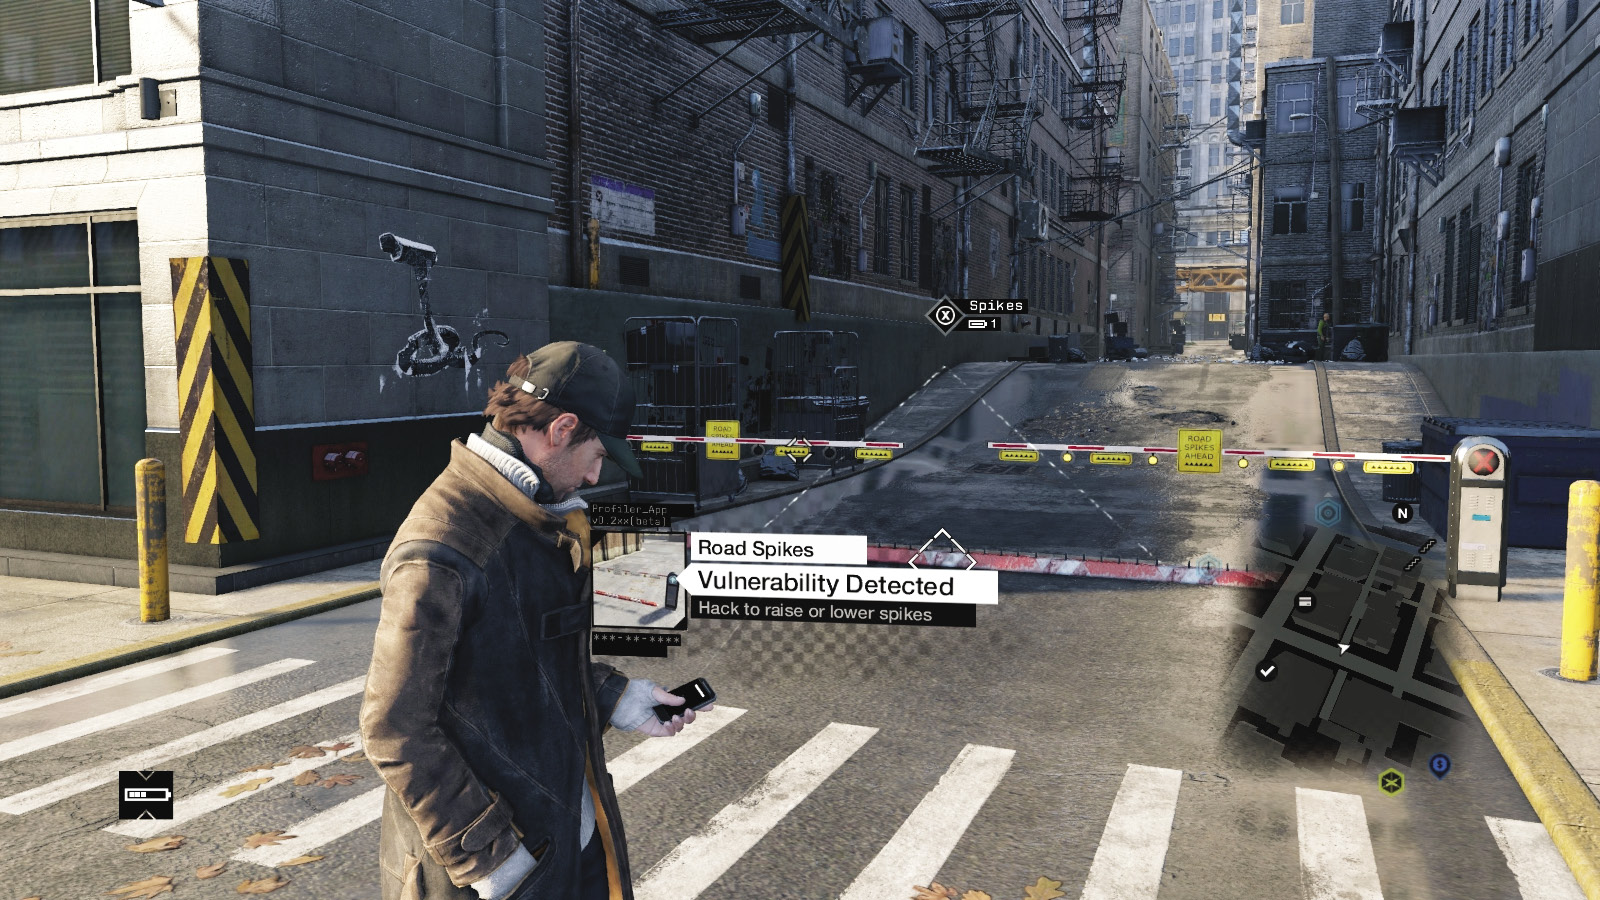
This is another excellent offensive technique to use during chases; raise these when following or being chased by a foe. They are stopped and their tires usually burst, impeding them greatly.
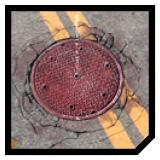
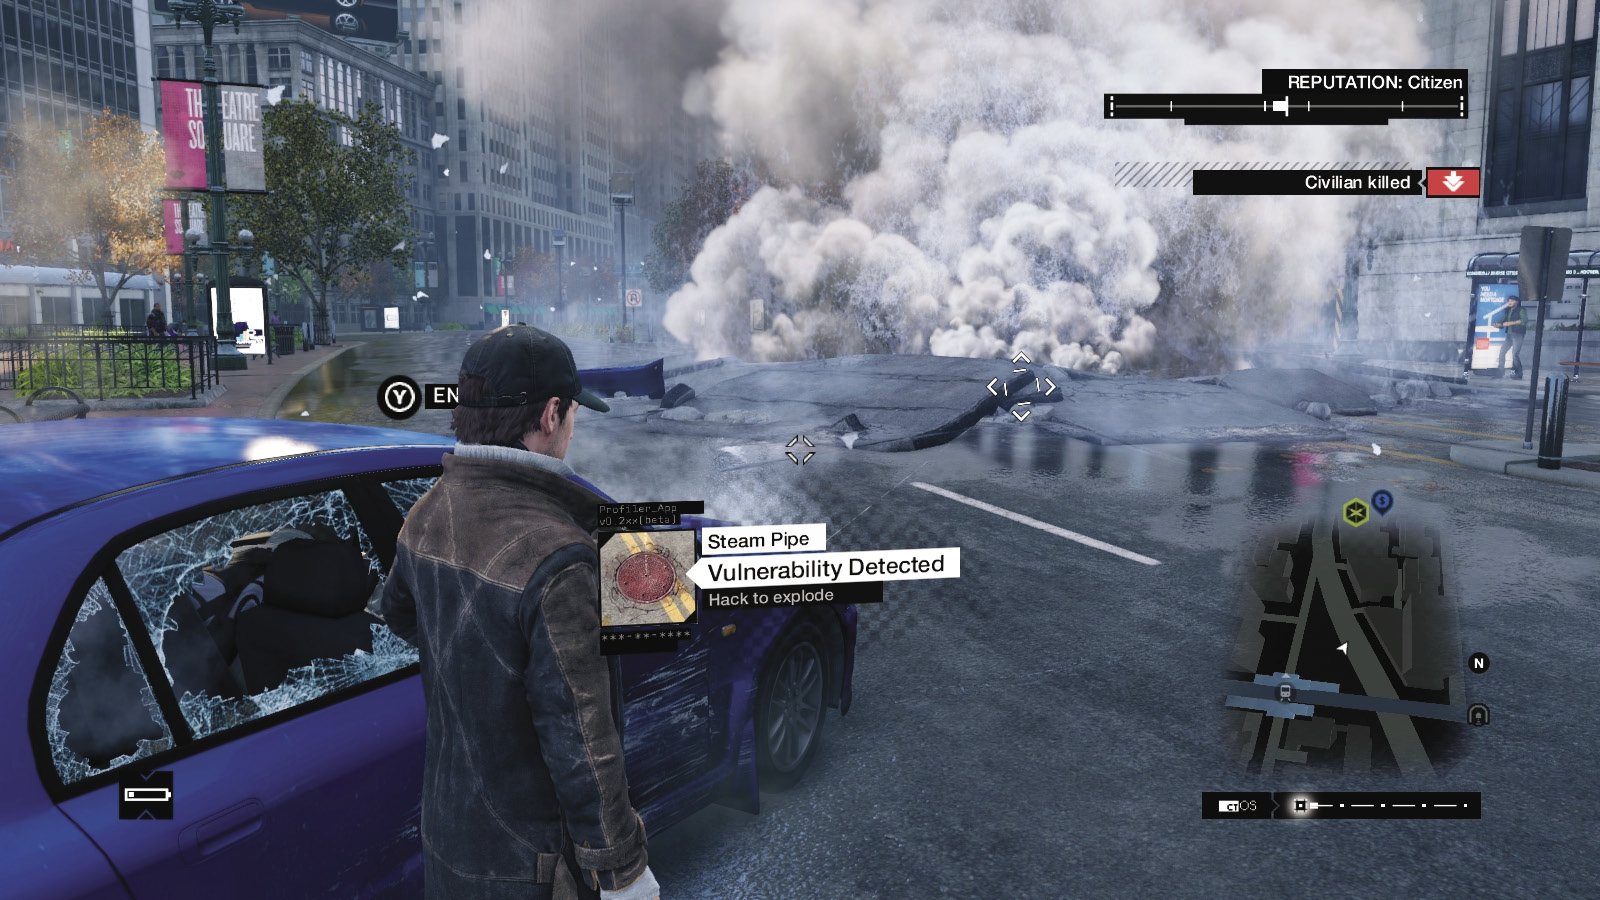
//// Steam Pipe
Amount Available: Numerous
Battery cost: 2
USEFULNESS:
How Used: detonates and blows up street section
Weaknesses: collateral damage
Detonate this just before a target vehicle or enemy moves over it. This usually wrecks the vehicle instantly and may throw it violently along the street. Extremely effective and dangerous, so avoid being near the explosion!
//// Traffic Lights
Amount Available: Numerous
Battery cost: None
USEFULNESS:
How Used: Change lights to slow target down
Weaknesses: civilian vehicles needed for impact
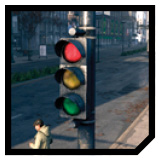
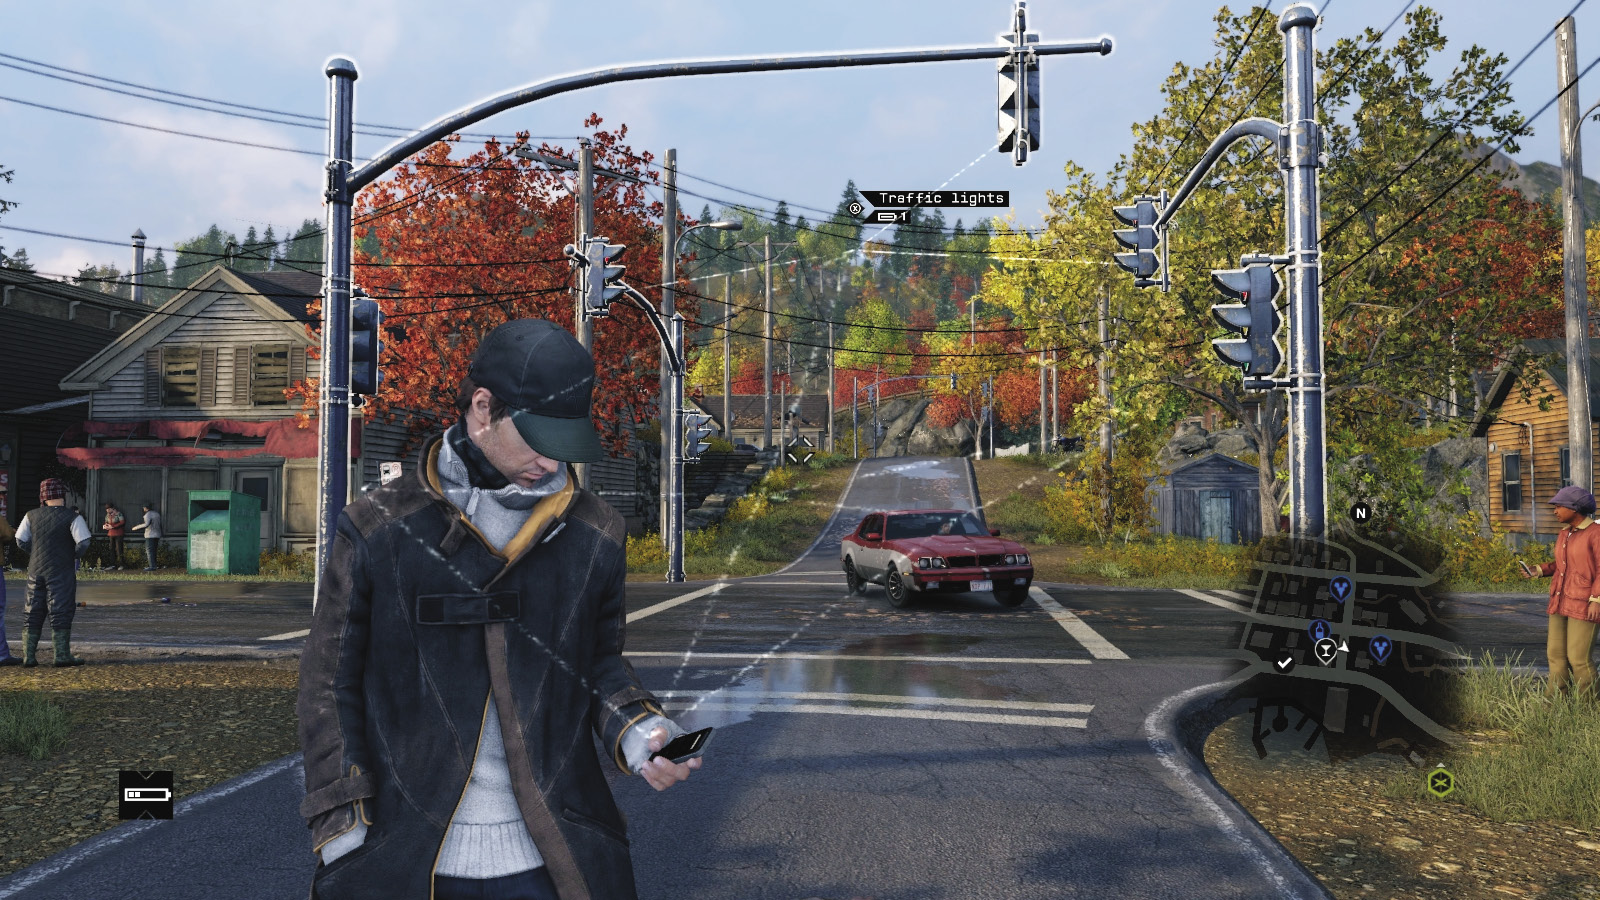
Changing the lights ahead or behind you from green to red (or red to green) causes civilian vehicles to block the road and usually slows your target right down, but only if you’re in a particularly crowded or narrow junction.
/// ADDITIONAL: FUN HACKS
//// Electronic Signs
Amount Available: NUMEROUS
Battery cost: 1
USEFULNESS:
How Used: HACK TO SHOW HACKER MESSAGE
Weaknesses: LIMITED USE
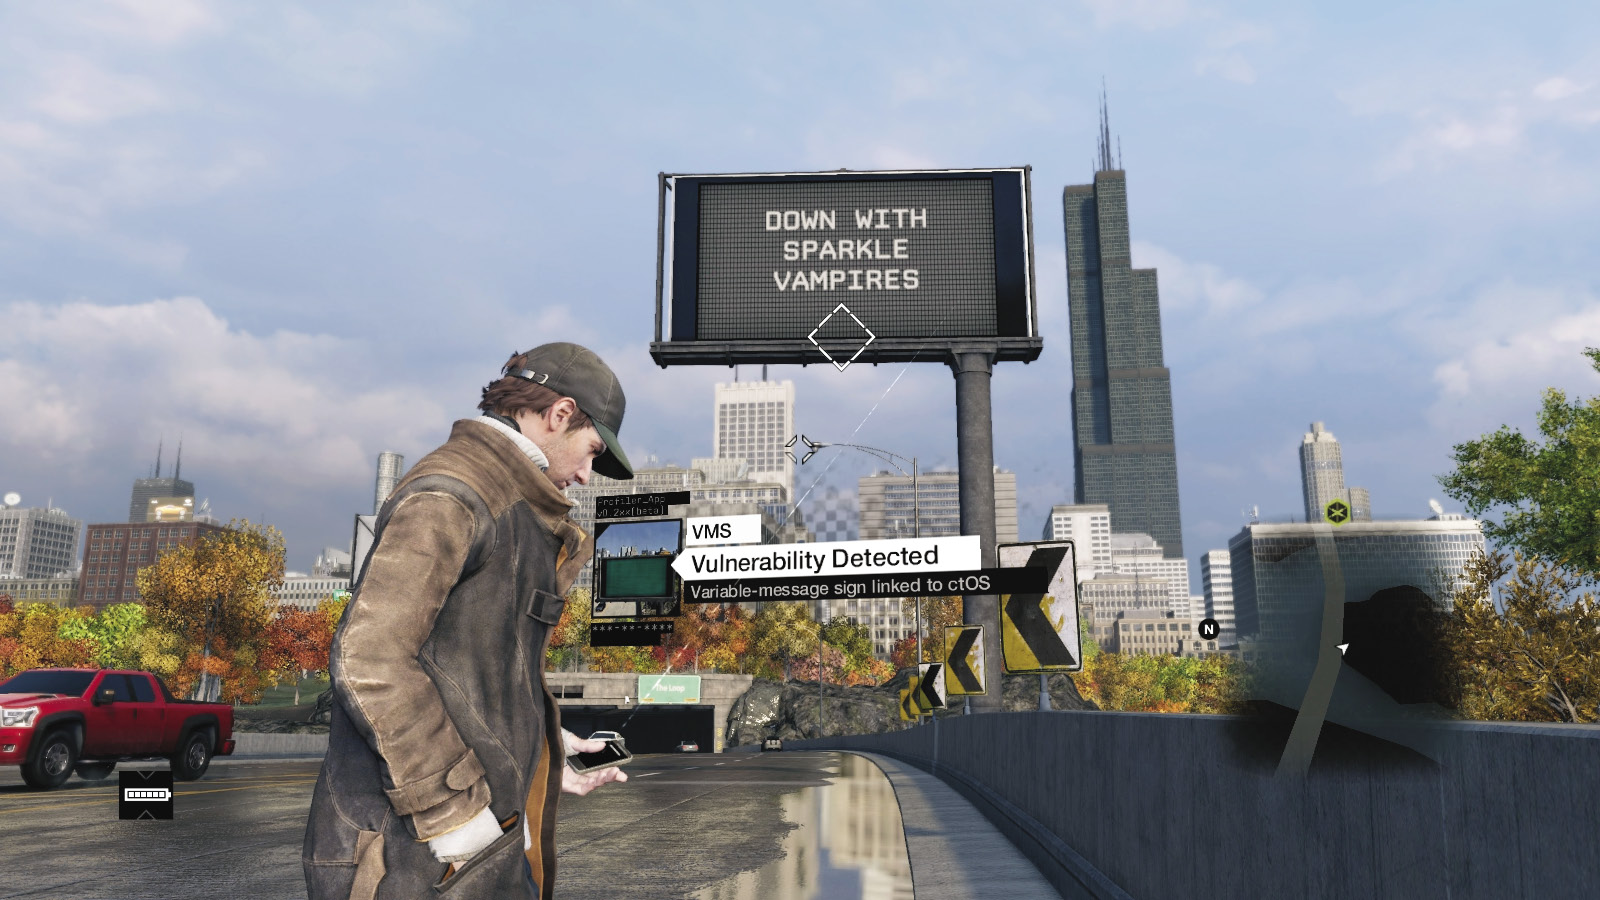
You can hack signs on freeways or in ctOS centers to display a predetermined (and mildly offensive) hacker message. This doesn’t really affect enemies while driving, but if you’re infiltrating a location, the sign lighting up can cause enemies to investigate, like a car alarm or other scenic attraction. Messages are usually humorous too. Don’t forget to use the ctOS Mobile App and write your own messages on your opponent’s signs!
//// Fun Hacks
Amount Available: Numerous
Battery cost: NONE
USEFULNESS:
How Used: Piques the interest of the easily entertained
Weaknesses: More for amusement than tactical help
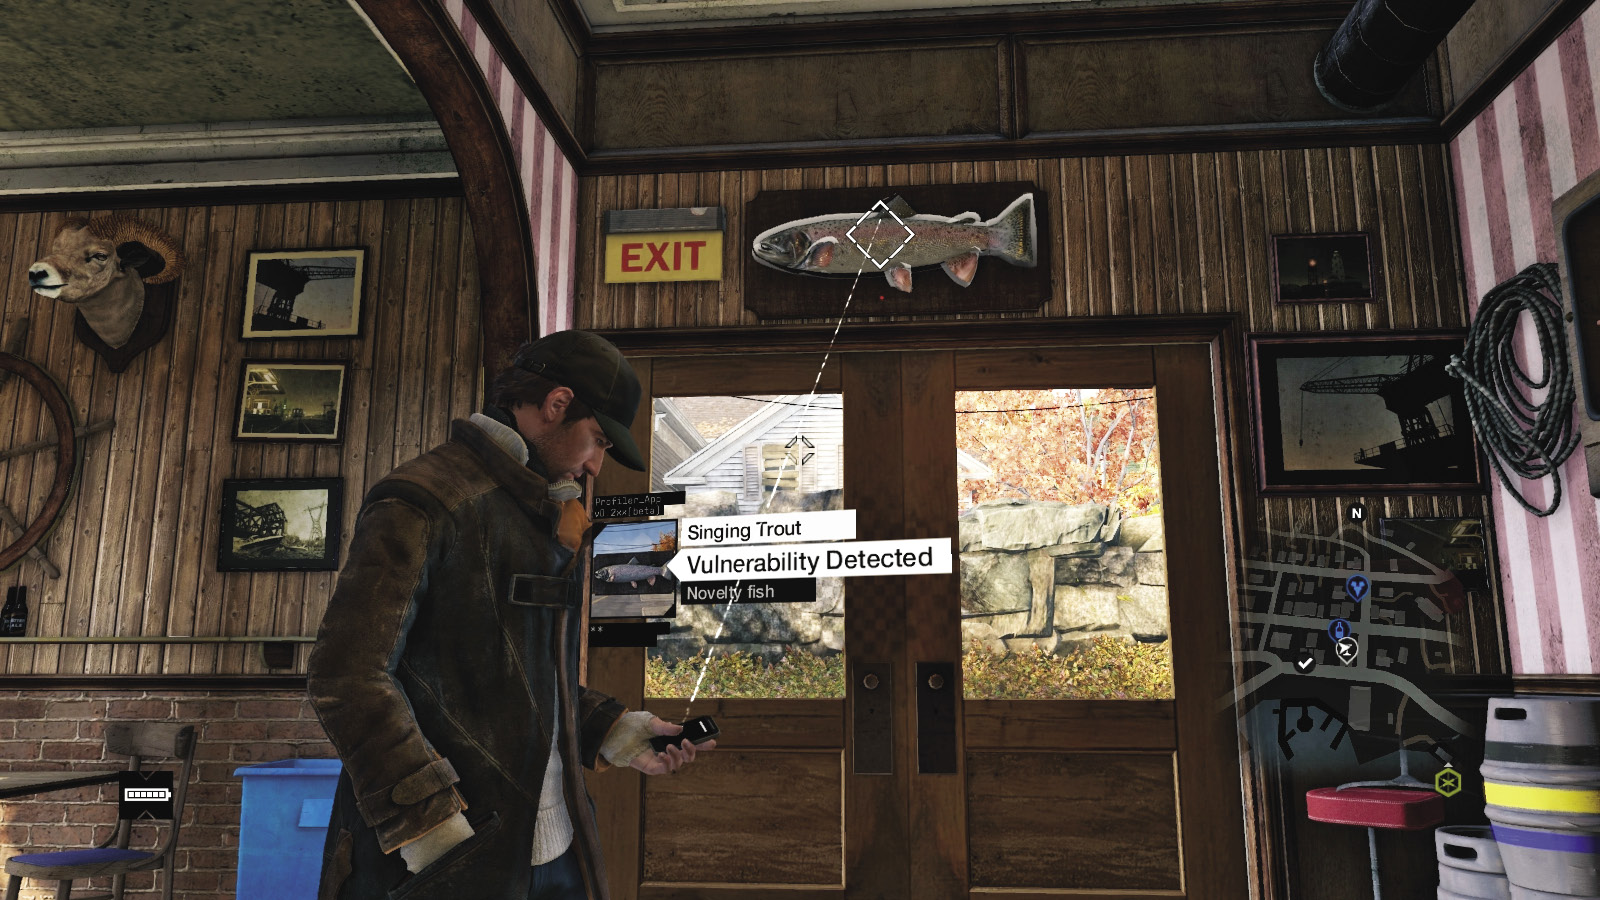
Scattered around Chicago are a variety of toys, mechanical animals (such as this comedic fish), and other oddities designed to entertain (and attract foes if you trigger the device when they are nearby). Have you found all the different varieties? These are collectively known as “fun hacks” and are a small, entertaining diversion from your main tasks.

 Starting Nodes: Blue diamond where the data flows from.
 Angle Nodes: L- or T-shaped junctions that are spun until the blue data flow passes through them.
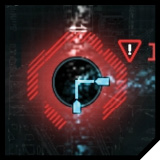 Timer Nodes: These are Angle Nodes with a firewall built into them; complete this nodal hotspot puzzle within the allotted time, or move the node back to the “unconnected” position, or you’re thrown out of the puzzle and must begin again.
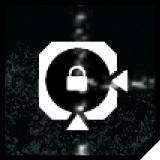 Locked Nodes: Junctions with a padlock icon that are unlocked after all data flow heading into the junction is blue.
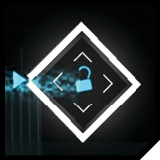 End Nodes: White diamond nodes that are the last to be unlocked and allow access to the area you need to reach.
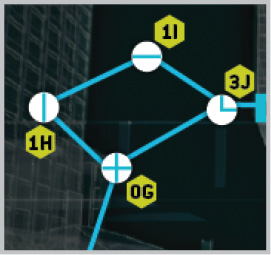 This guide has solutions for all Nodal Hotspots. Each one is shown in its completed position. Each Node is labeled with a waypoint icon, showing a number and a letter. The number is the turns you complete for the Node at that time. The letter is the order you should turn a Node. Always start a Nodal Hotspot puzzle at the waypoint labeled “A,” and proceed in alphabetical order. Unlocks aren’t counted as turns. The number zero means you simply unlock (if necessary), or leave the Node alone.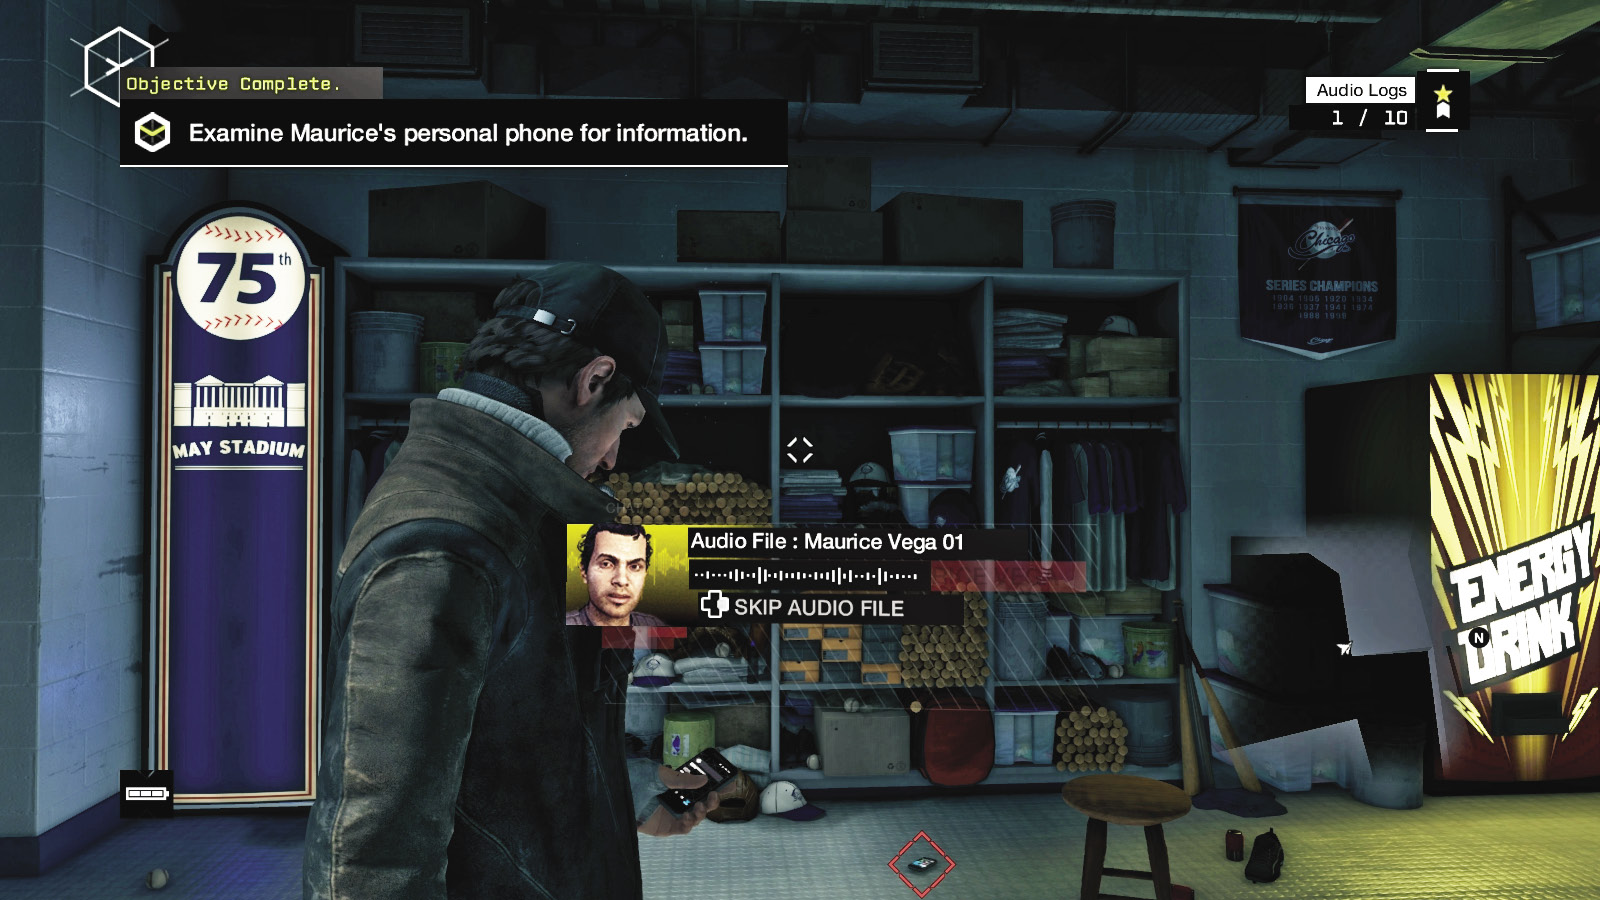
 //// City Lift Bridge
 //// Swing Bridge
 //// Pedestrian Bridge
 //// Service Bridge
 //// Boat Crane
 //// Bridge Crane
 //// Container Crane I
 //// Container Crane II
 //// Container Crane III
 //// Stacking Crane
 //// Construction Lift
 //// Loading Dock Lift
 //// Scissor Lift
 //// Swing Stage
 //// Construction Lift
 //// Elevator Keypad
 //// Freight Elevator
 //// Garage Door
 //// Security Door
 //// Warehouse Door
 //// High Grove Gate
 //// Security Gate
 //// Blume Security Gate (Blume)
 //// Security Blinds
 //// Security Shutters
 //// Window Shutters (Blume)
 //// Window Shutters (Hotel)
 //// ctOS Box
 //// Junction Box
 //// Pole Transformer
 //// Regulator
 //// Transformer Vault
 //// Arachnascrewya
 //// Eat Crow
 //// Galloping Gerty
 //// My Ex-Wife
 //// ATM Machine
 //// Attract Smartphone
 //// Building Security Router
 //// Car Alarms
 //// Conveyer Belt
 //// Display Platform
 //// Forklift
 //// Joseph DeMarco Sculpture
 //// L-Train
 //// Lighthouse Lamp
 //// Protector (Cable Junction)
 //// Satellite Antenna
 //// Solar Panels
 //// Switch Console
 //// Vending Machine
 //// Wi-Fi Speakers
 //// Bollards
 //// Road Barrier
 //// Road Barrier (Rail Line)
 //// Road Spikes
 //// Steam Pipe
 //// Traffic Lights
 //// Electronic Signs
 //// Fun Hacks