
Watch Dogs Guide MAIN MISSIONS MAIN MISSIONS /// Act II
_A BLANK SPOT THERE-ISH
MINOR SPOILER
OBJECTIVES
|
 Reach the island to search for the Bunker
 Find the generators to restore power to the Bunker
 Enter the Bunker through the hidden elevator
 Search for the power controls
 Power up the Bunker
LOCATIONS // MAP
Location 01 / The Loop // Abbot Island
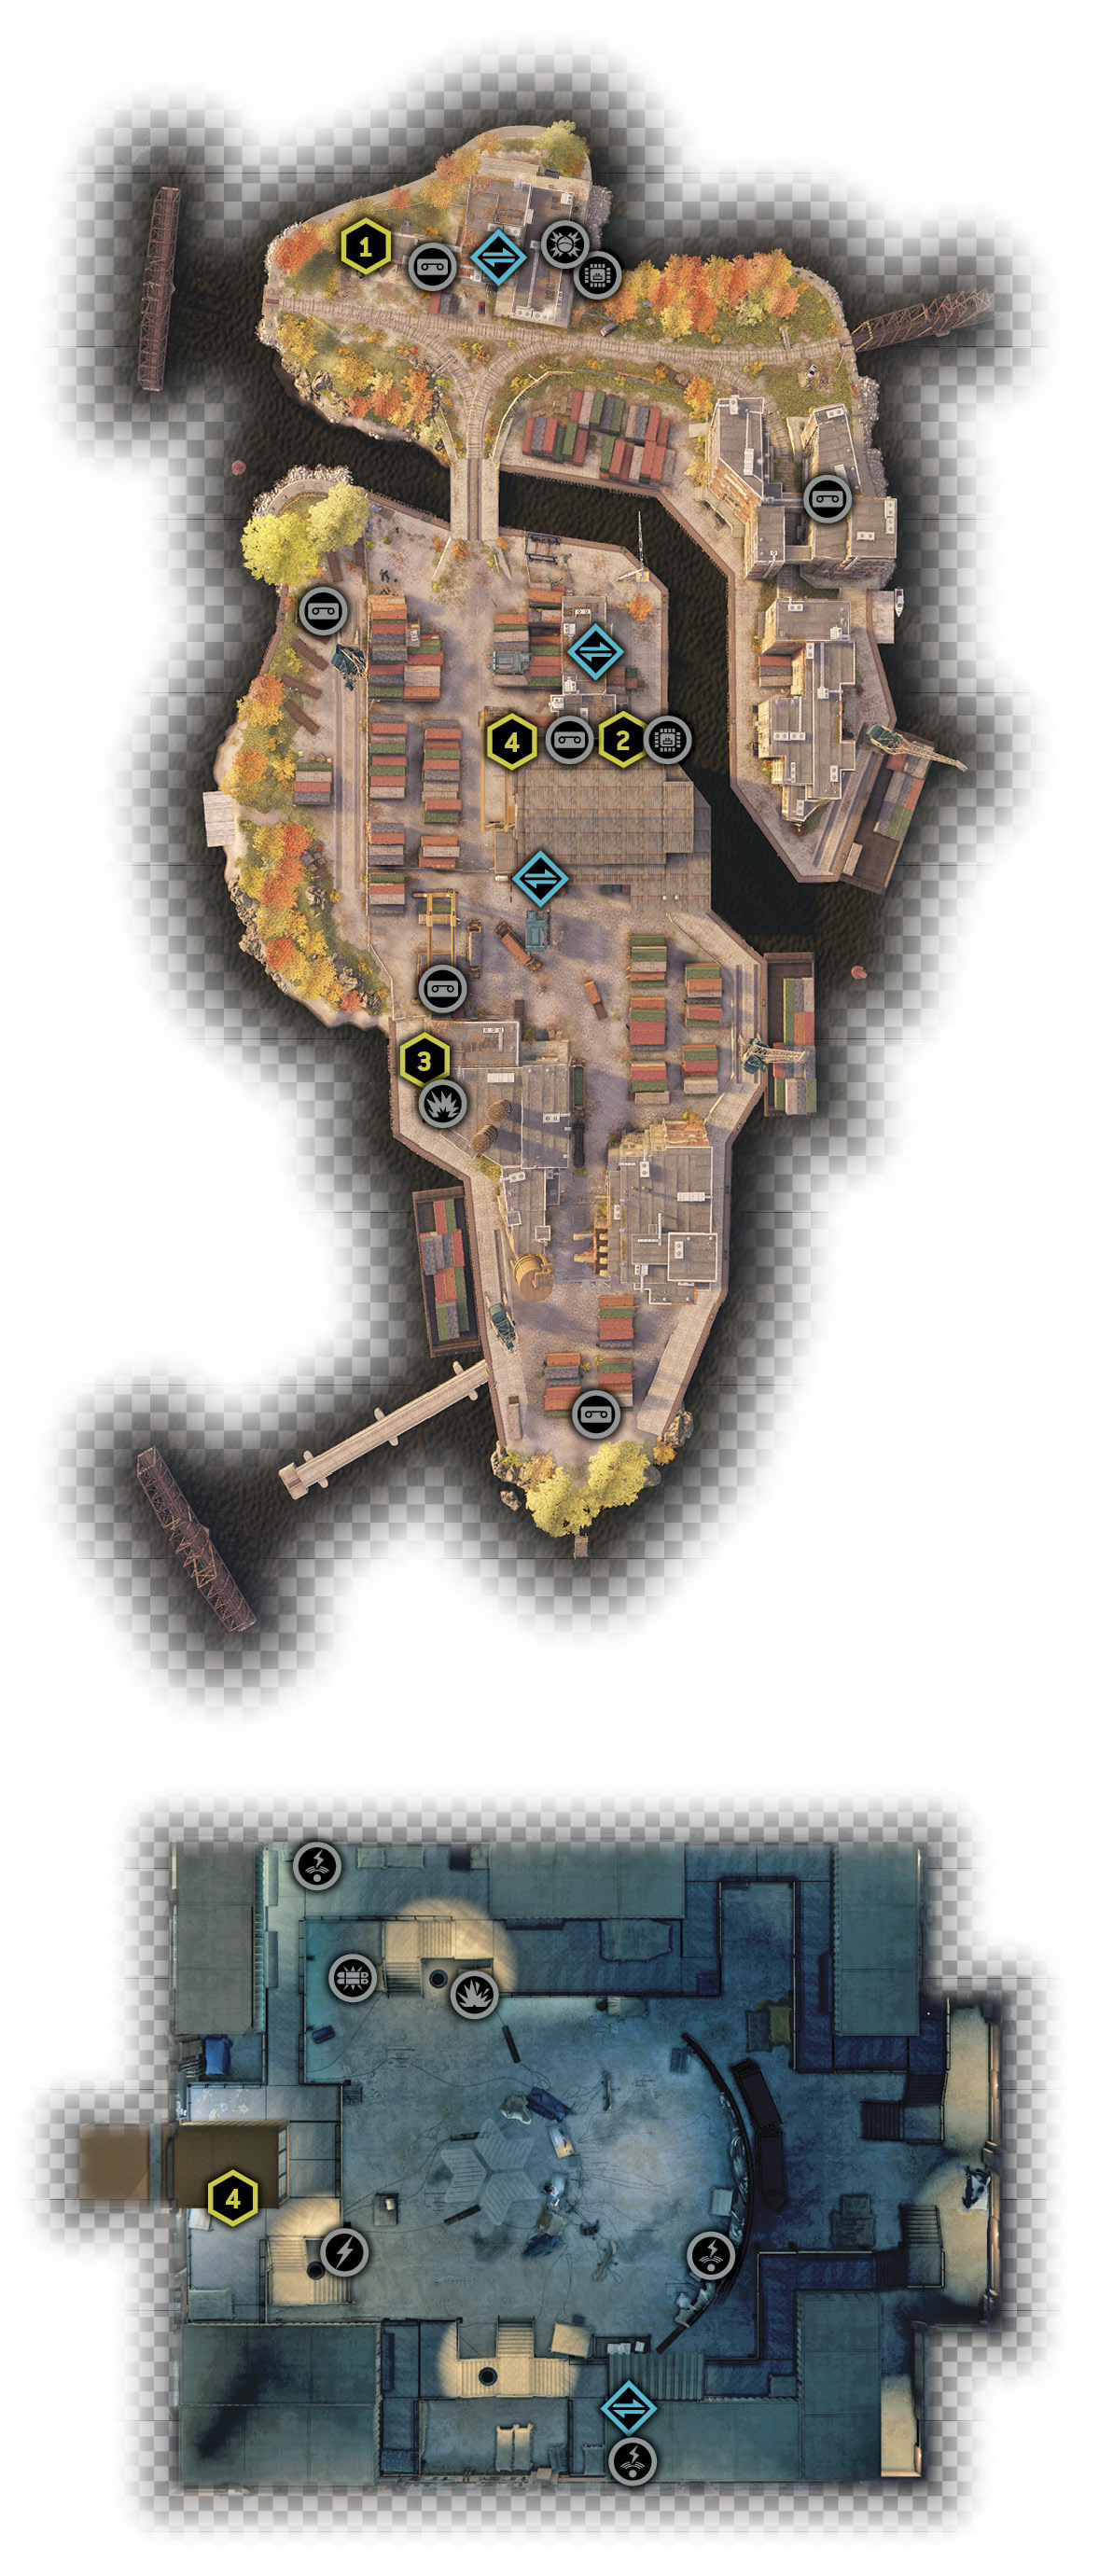
5.1 RESTORE POWER. GET INSIDE
 Location / The Loop // Swing Bridge and Homeless Shanty Town
|
|
 Reach the island to search for the Bunker
 Find the generators to restore power to the Bunker
 Driving Investigation
 Investigation
 Data Hack
Difficulty: 
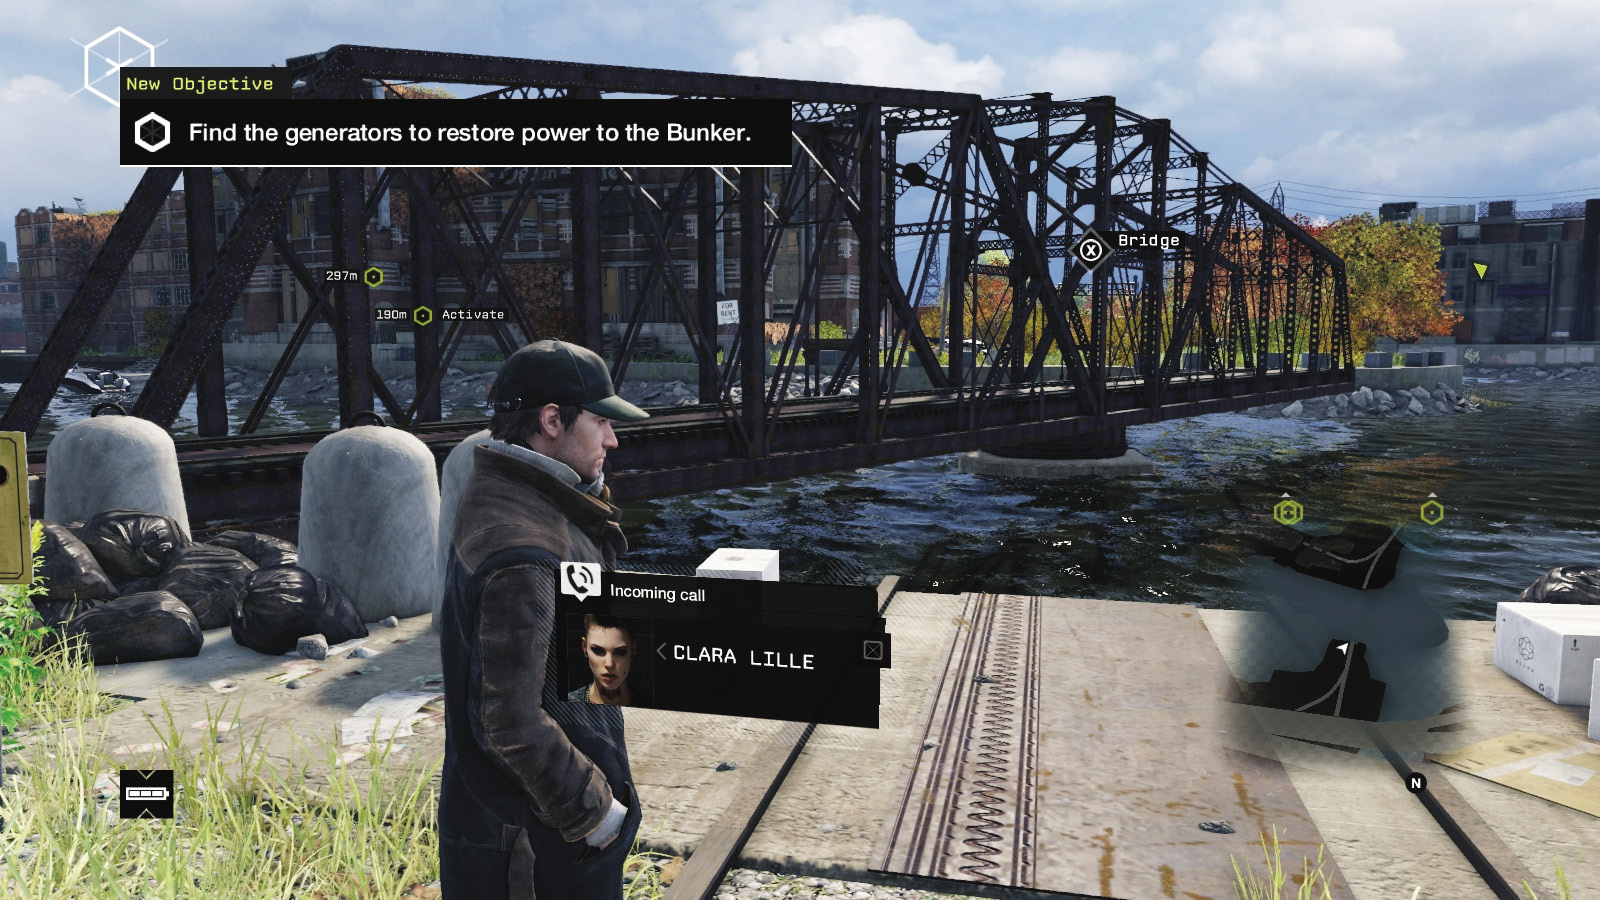
Drive to the swing bridge, this time with the garage door opener Tobias just gave you. Hack the bridge mechanism so the bridge swings around. Cross it (ideally using a vehicle, as jogging takes longer) and receive a call from Clara. She explains there are three backup generators located in this old container yard, and their power is likely used to restore The Bunker.
Tackle the following three generators in any order. While there are slight variances to routes you can take, the following paths are the only real ways to complete this objective.
 Passive // Smart: Generator 1: Not a Bad View
Difficulty: 
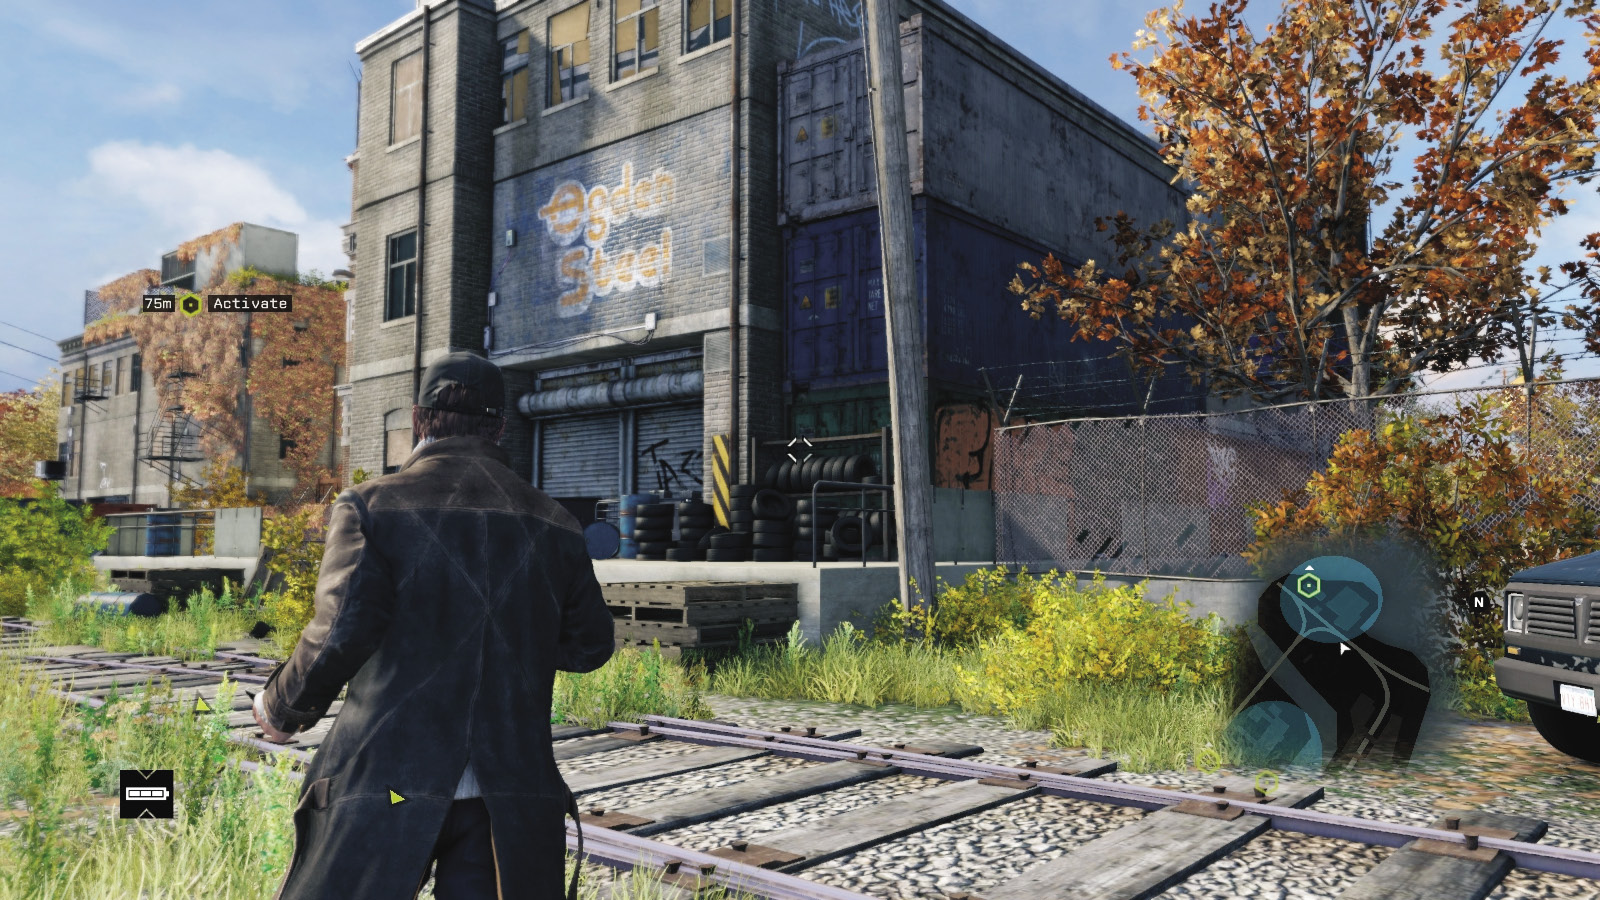
Start at the pair of brick warehouses on your right, where the nearest generator waypoint has appeared. To reach the roof of the far warehouse, you must climb up the nearer one. Begin by passing the tire pile and running to the stacks of old shipping containers on the building’s (east) side.
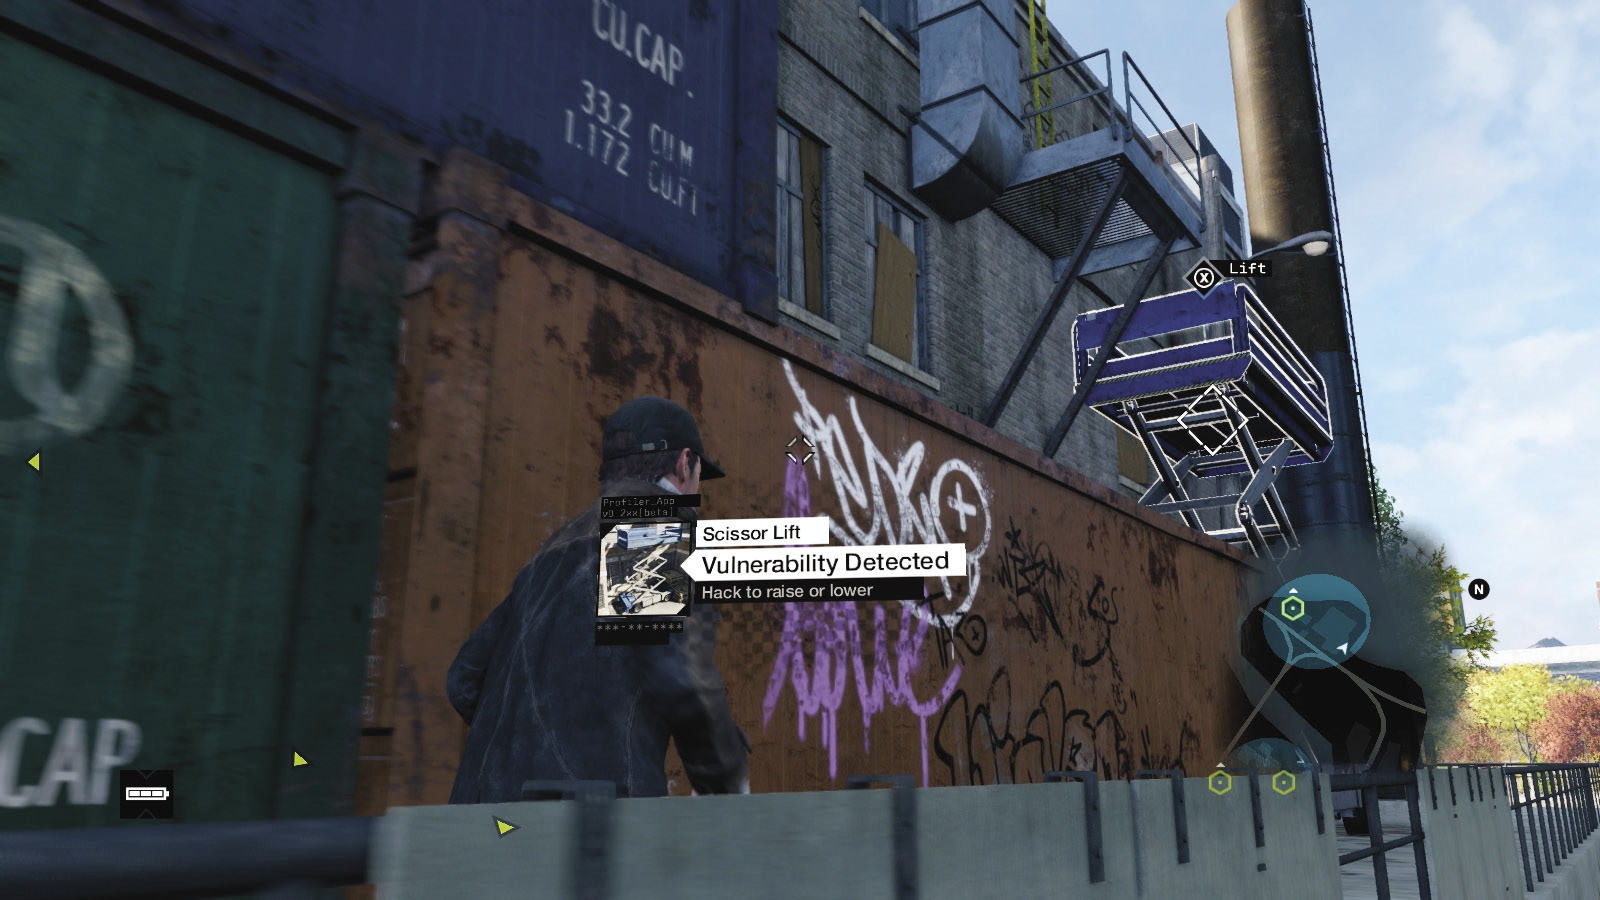
Climb the containers, checking the open one for some crafting items. Then operate the adjacent scissor lift, climb onto it, ascend to the metal balcony, and up the ladder to reach the flat roof. Head right (north), up a small ladder to your left (west) to reach a fenced-off network junction area.
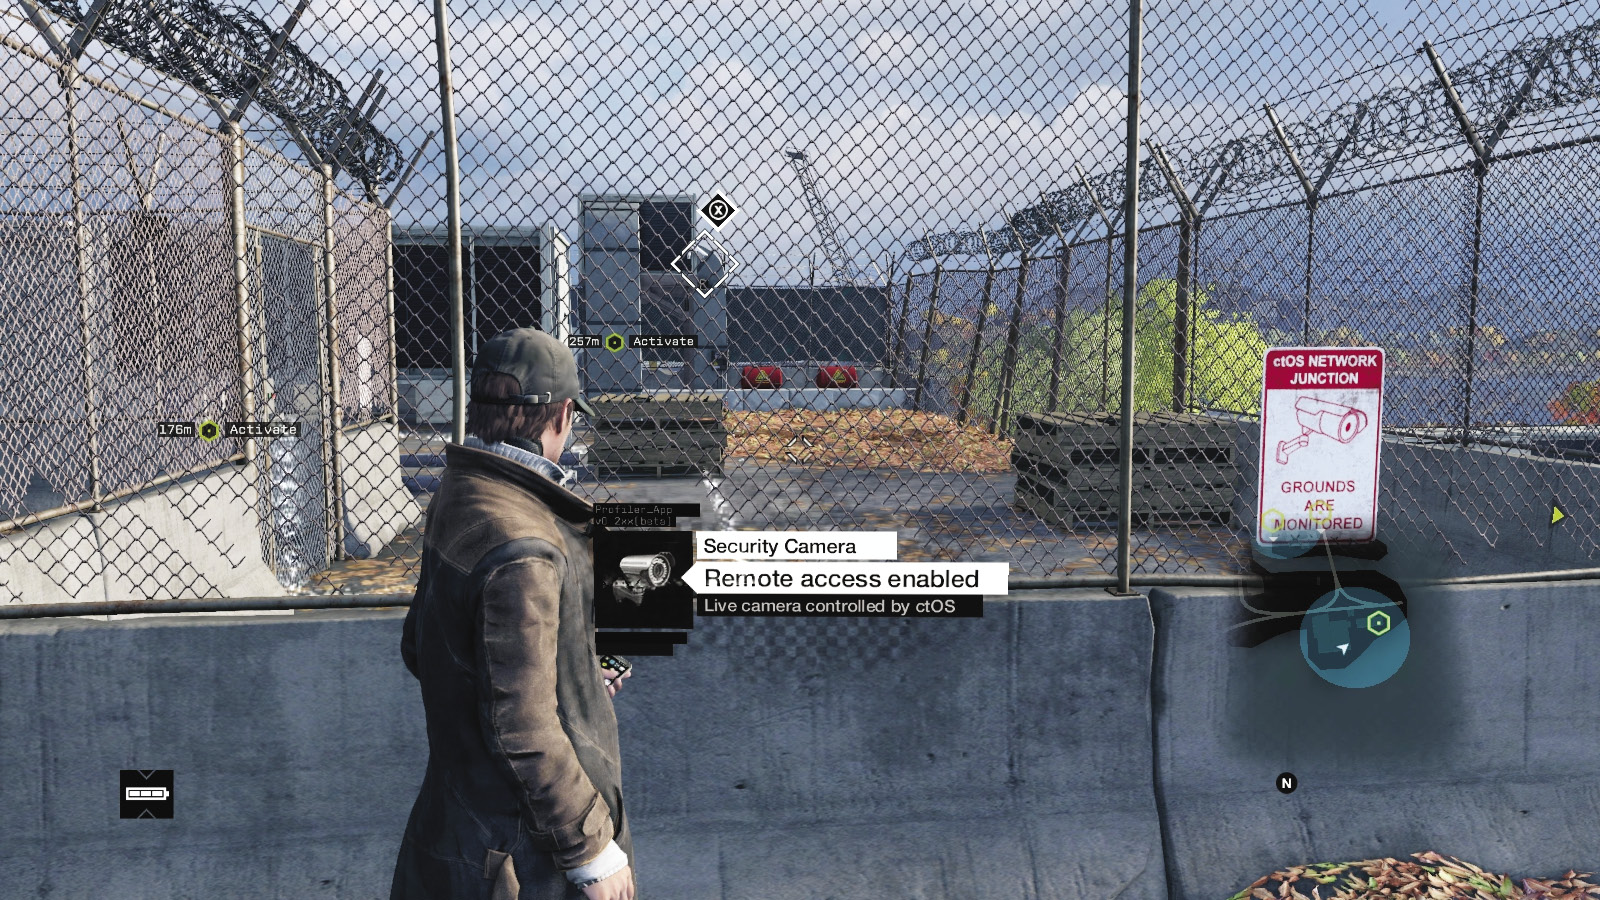
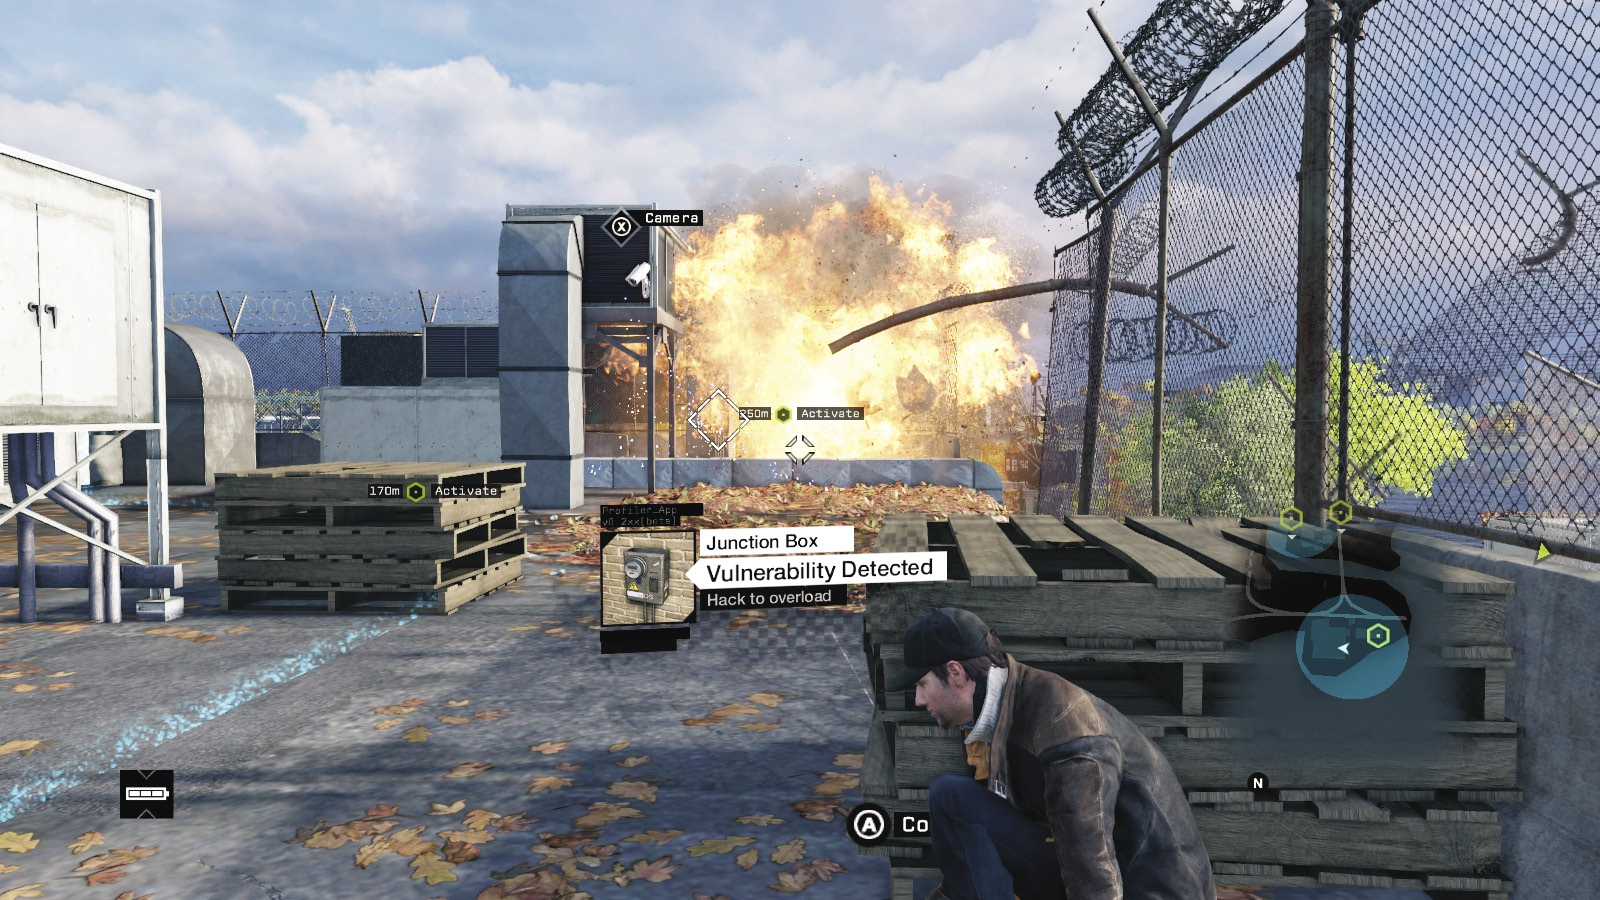
The mesh security gate is locked. Move to the side so you can see a camera and a junction box to hack. Access the camera and a second one, before accessing the gate unlock.
You’re greeted with a leaning mesh fence and an AC duct stretching to the far warehouse roof. However, the fence has barbed wire and is impassable—until you hack the junction box just behind the first camera. Blow up the stack of gas canisters (step out of the blast radius!), and remove the obstacle. You can shoot the canisters instead, if you wish.
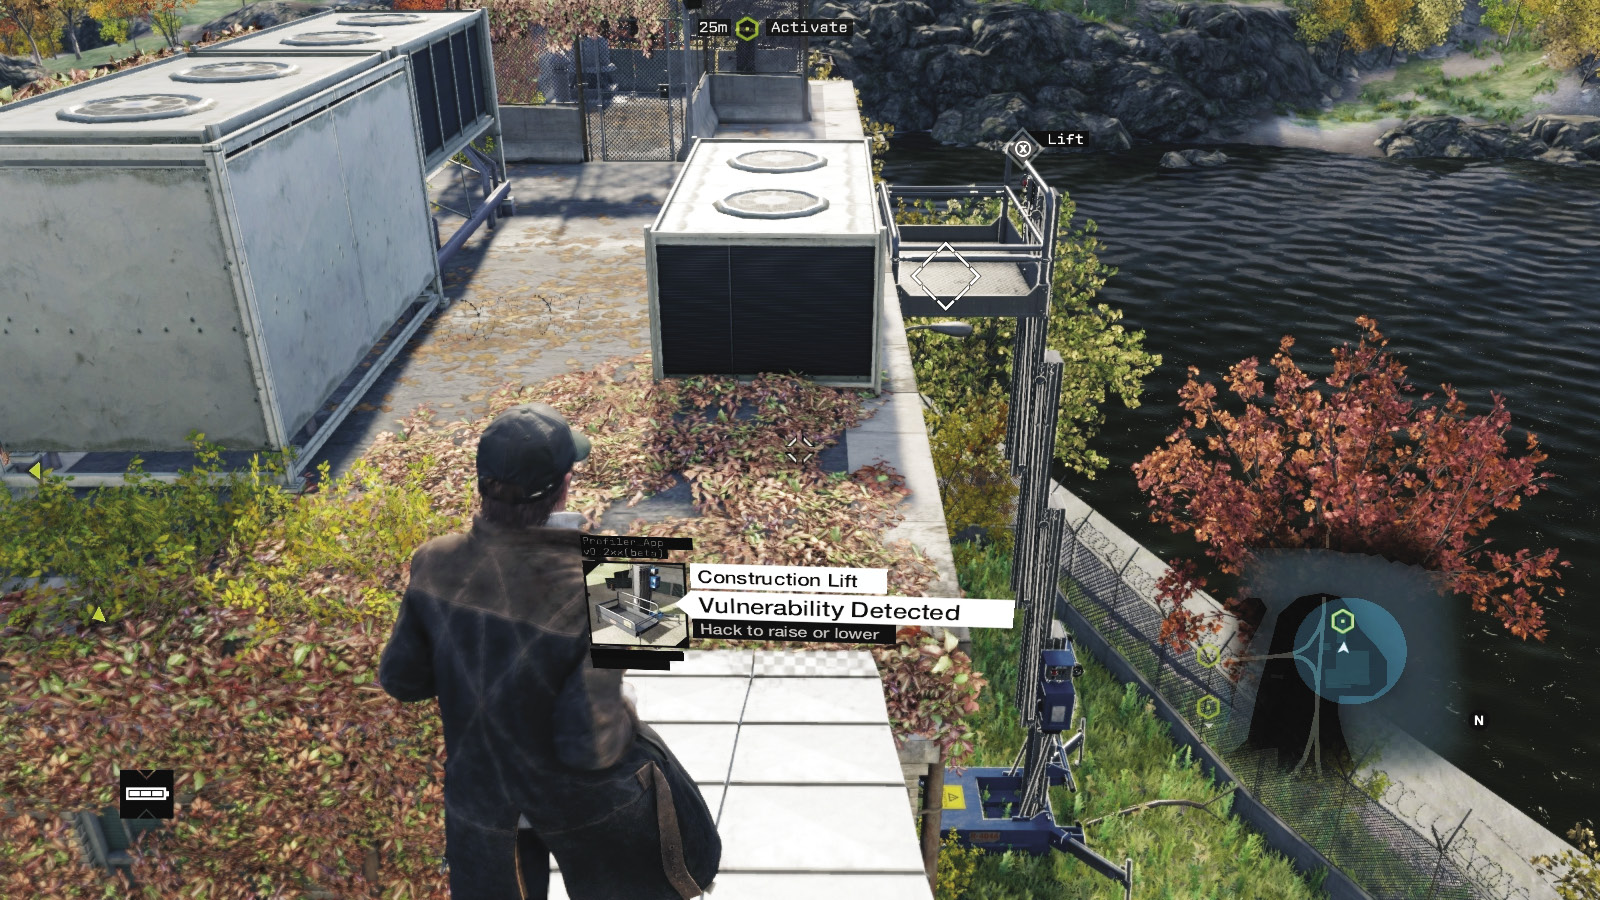
Now you can run across the AC duct (don’t fall in a rush to get there), onto the second warehouse roof, and start up the first generator. One down, two to go! Exit using the construction lift. Hop out after it descends, climb over the nearby flatbed container, and back to where you parked. Or take a nearby bike to the second generator area; it’s close to some mattresses and a boombox holding another Audio Log.

 Passive // Smart: Generator 2: A Crate Stack to Climb Through
Difficulty: 
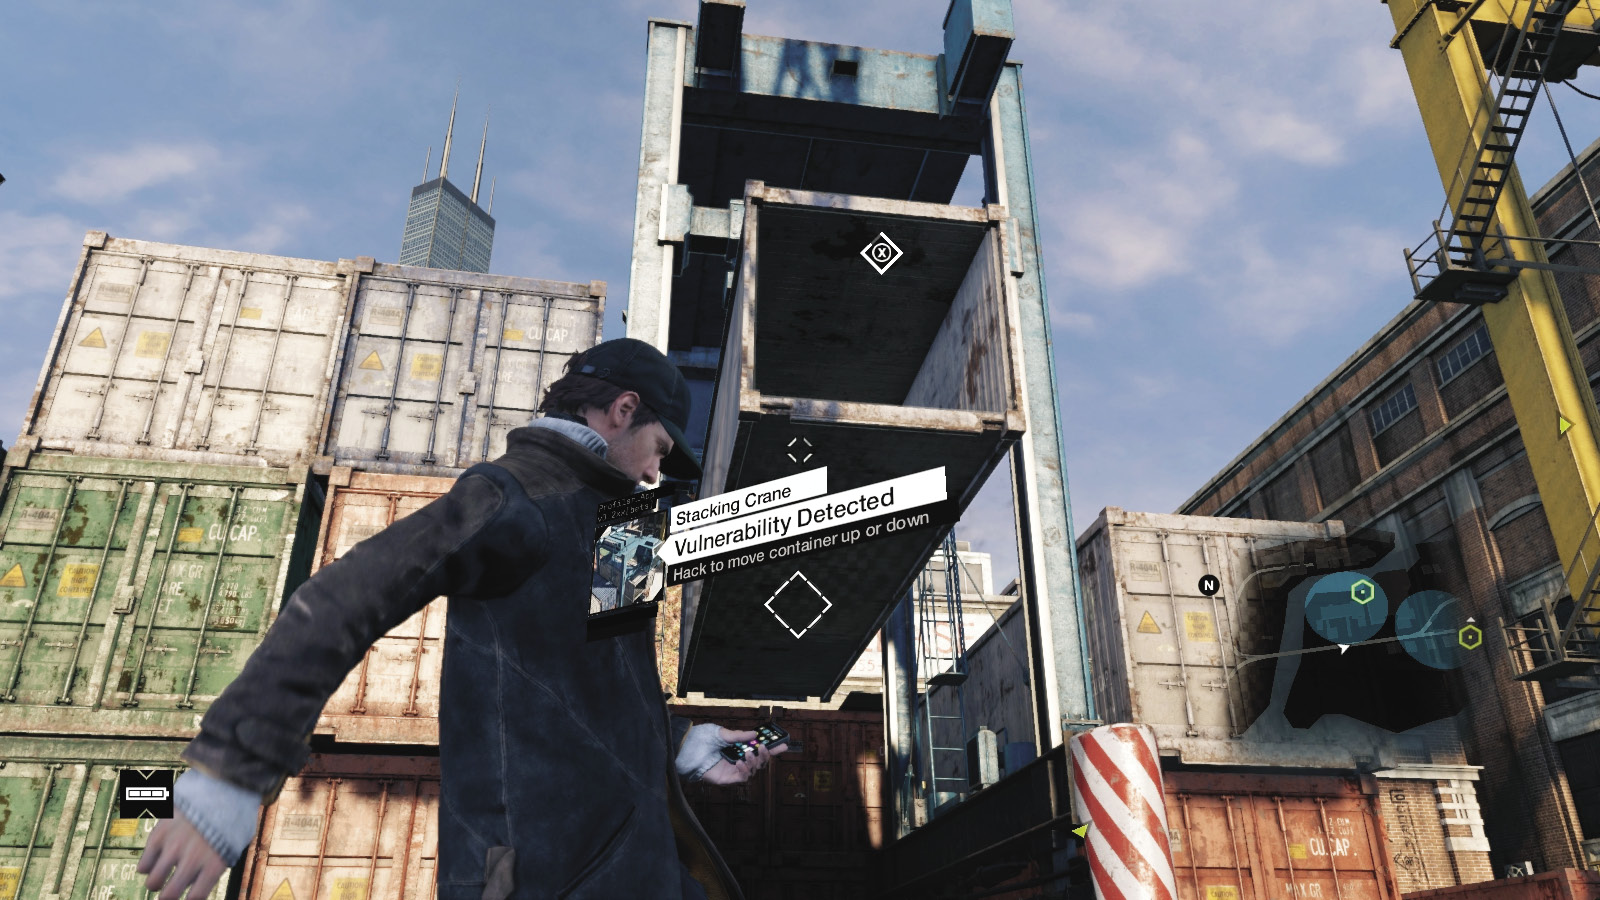
Drive south across a dock bridge to the main rail tracks into the warehouse area, with an abandoned power plant in the distance. With your smartphone profiling, you can quickly drop a carrier on your left (east), then leap and climb atop the open container the carrier is holding.
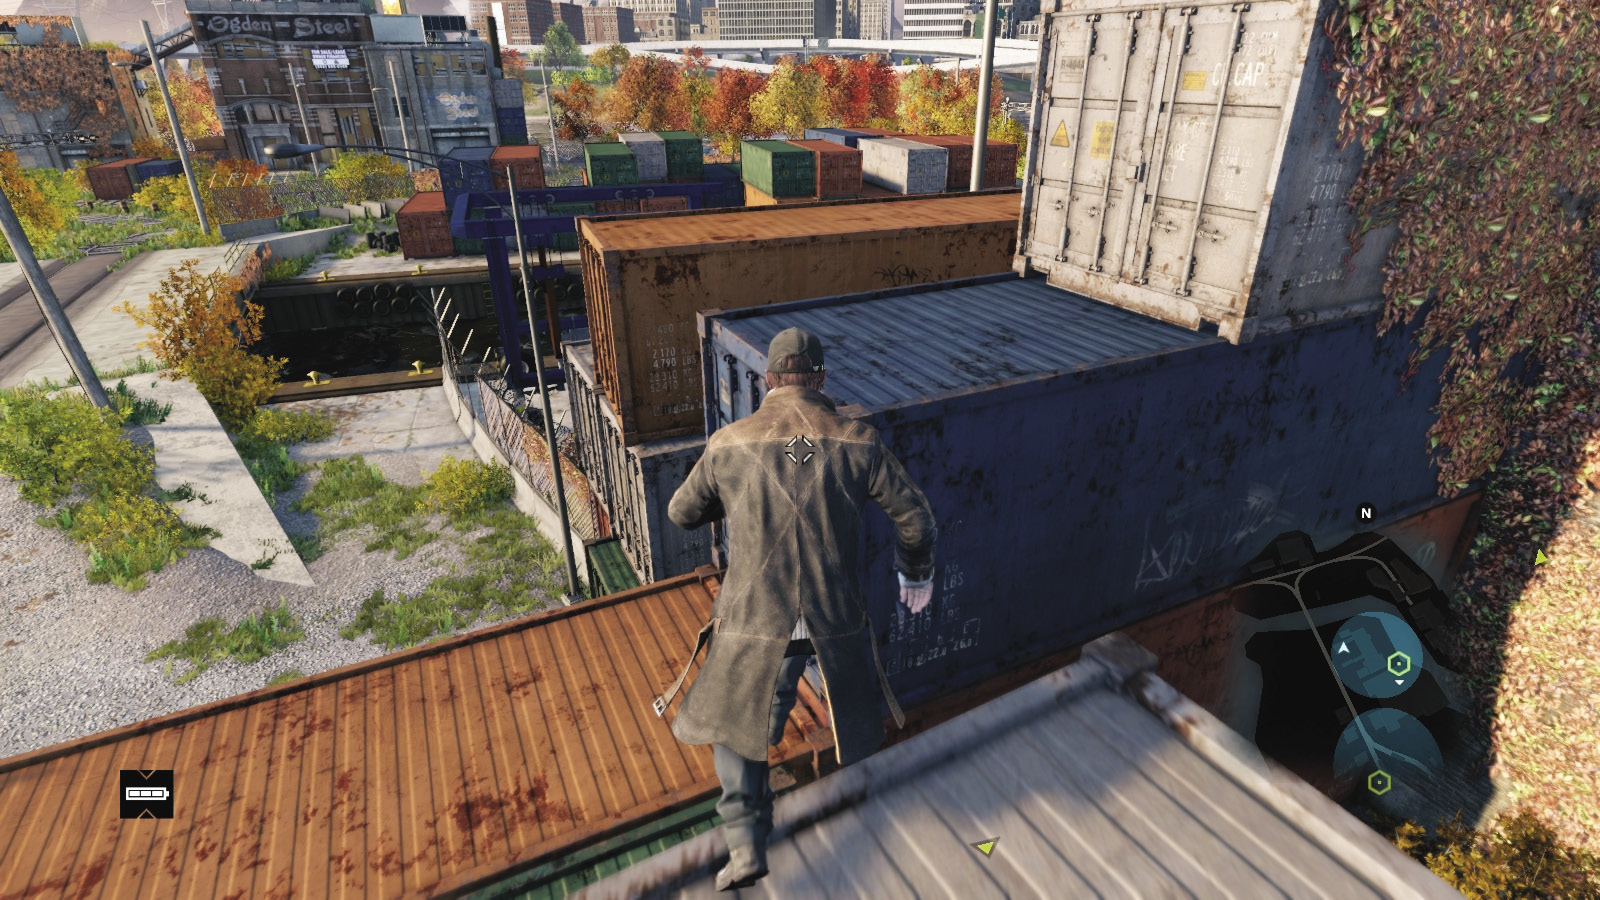
Climb onto the two red containers and turn left (north), then climb up the corner of the blue container to your left. Cross it and drop down. Immediately ascend two more stepped containers with ivy growing on them. You’re atop the roof with a great view of the Chicago skyline.
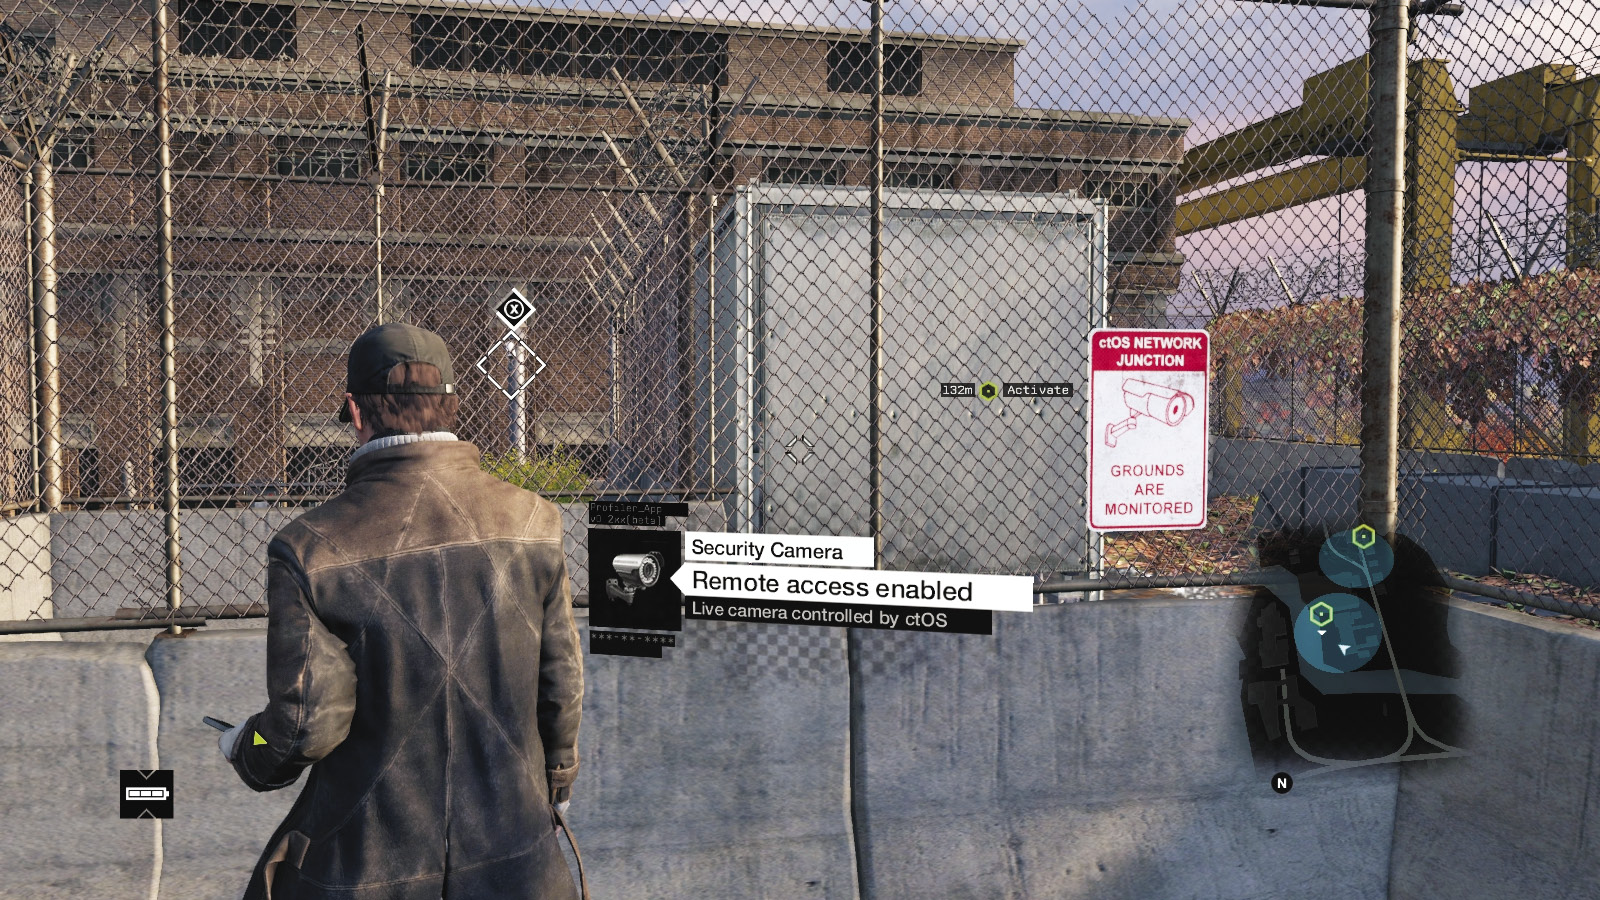
You encounter another ctOS network junction surrounded by mesh. Run left, past the gate, and peer around the back of the large AC unit behind the “Grounds Are Monitored” sign. Access the camera you find here and unlock the gate at the box.
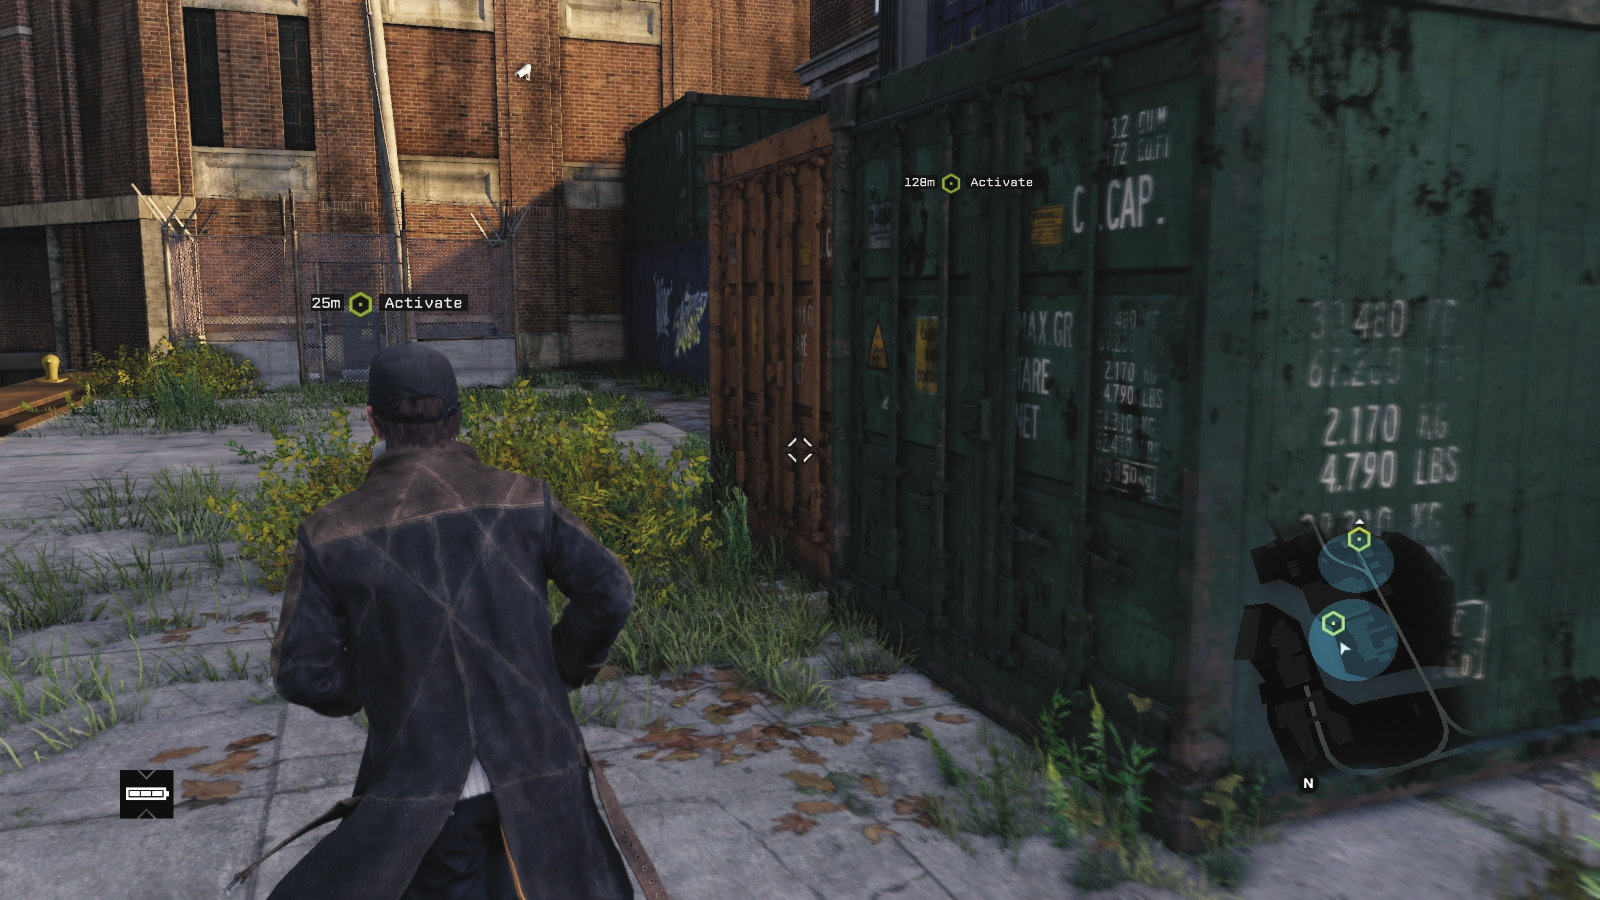
Head through the two mesh gates and turn left toward a lift, using it if you want; however, there are some containers arranged like steps that are quicker to descend. Now on the dockside, head right to activate the generator, checking the immediate area for crafting items. Though there’s a forklift at the dock area’s opposite end, it’s not worth playing with. Exit via the two stacked containers near the generator, allowing alley access and a route back to the rail tracks. Before you emerge from this alley, check behind you, close to the barbed wire fence and containers; there’s another boombox with an Audio Log.

 Passive // Smart: Generator 3: A Gate and a Crate Too
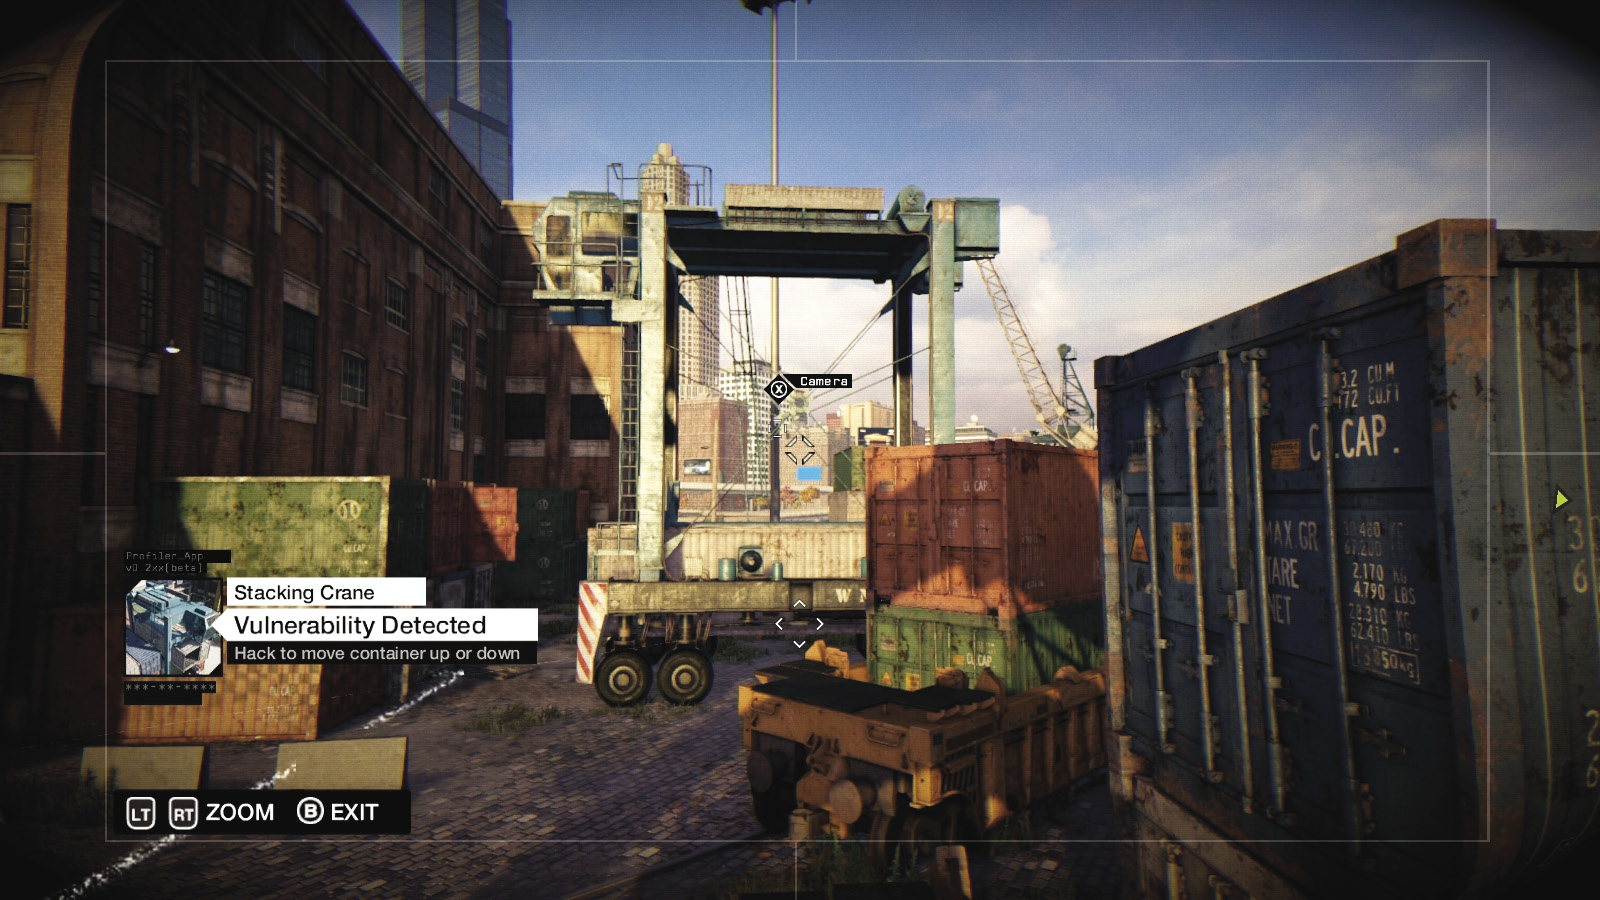
Difficulty: 
A gate bars your entry, and you can’t currently hack it. Exit your vehicle and access the camera in front and above the gate. It offers a view across the container yard and a raised carrier container. Lower the carrier, and a second camera is revealed.
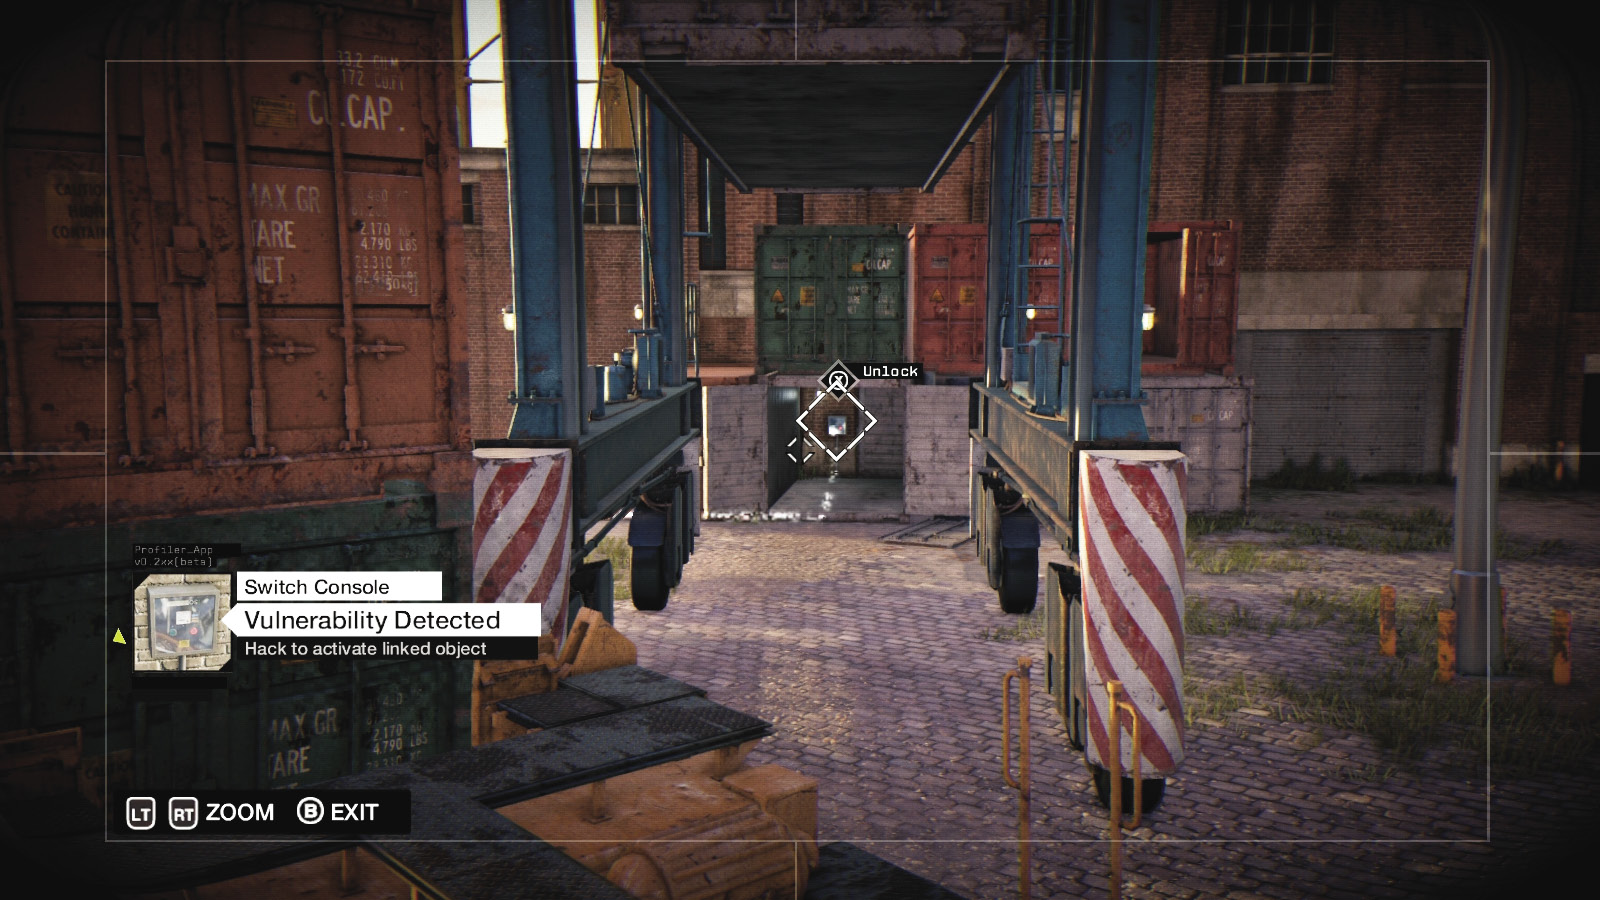
Access this camera, and then another camera on a pole that gives you a view of the end of the container carrier. Raise the carrier you just lowered, and you can see an alcove with the gate controls. Unlock the security gate and move into the yard.
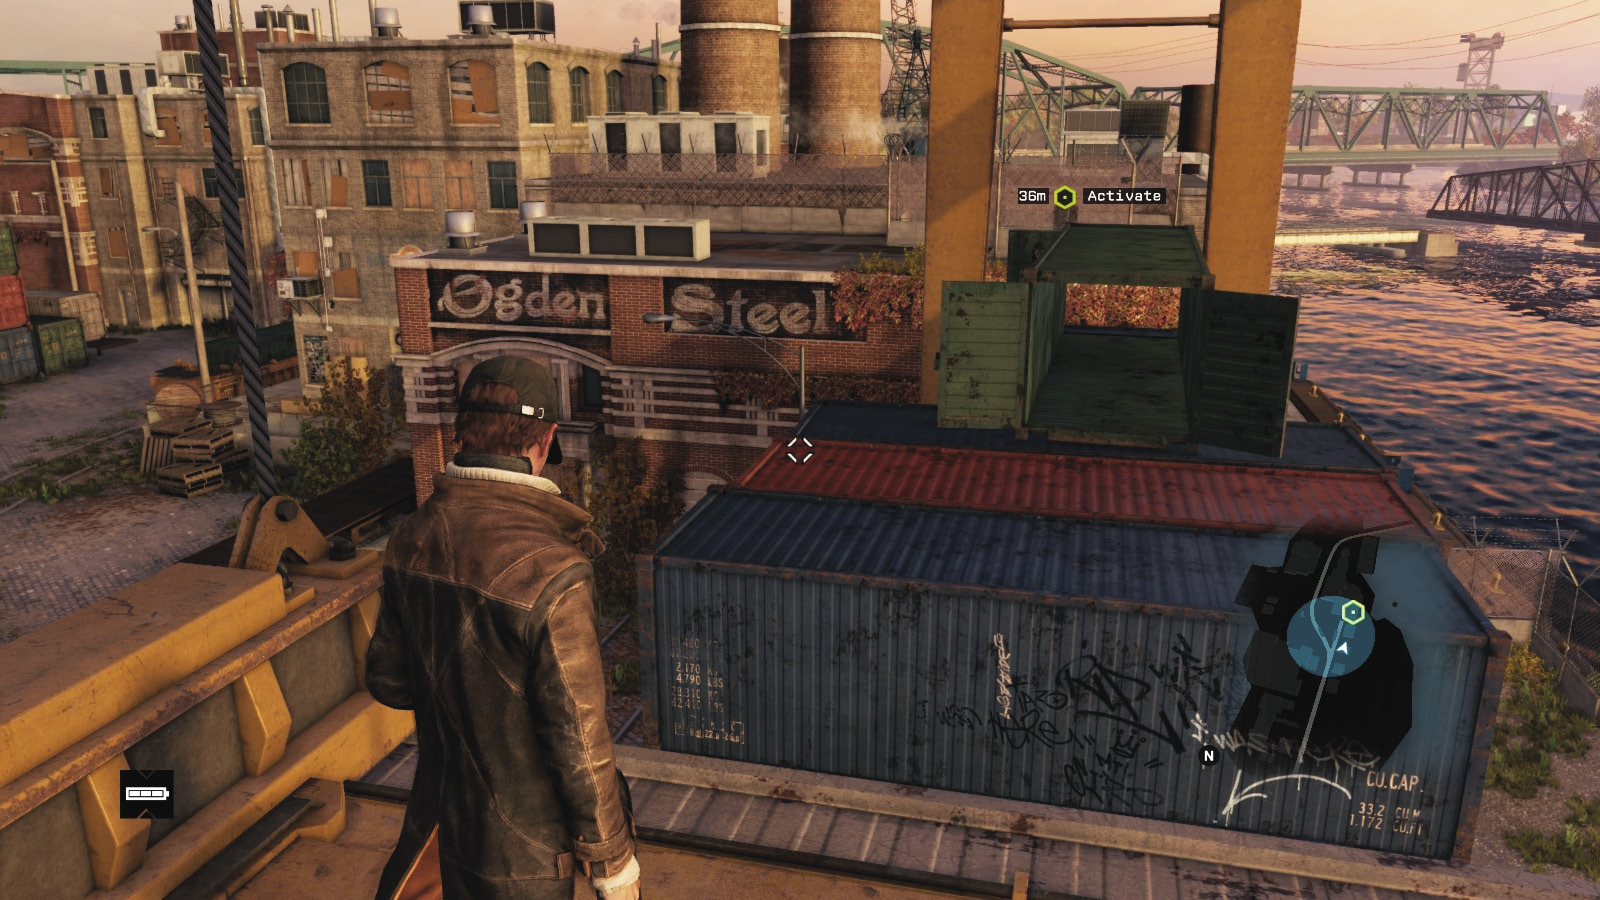
Don’t move far, though; there’s a container crate above and right of you that’s of interest. Clamber onto the container and then activate the crane while you’re standing atop it.
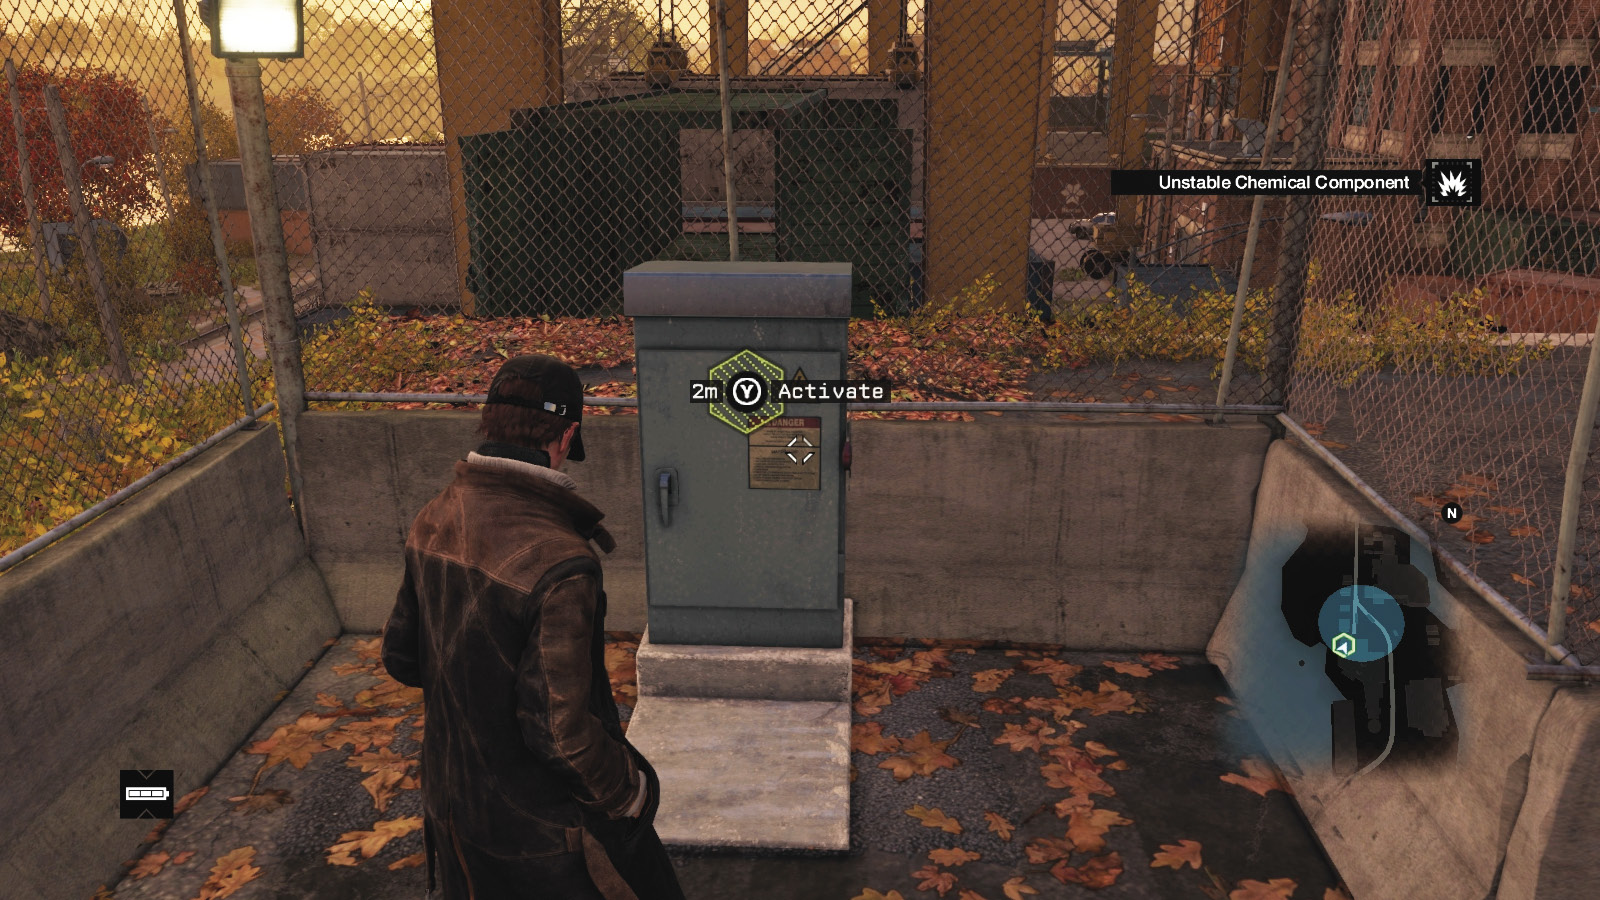
Both you and the crate are transported to the top of some containers. Drop down onto them, then run up to the dead ivy and roof area where the last of the generators sits, behind an unlocked mesh gate. Activate it, and your objective updates. Drop down onto the crates below you.
5.2 THE CONNECTIONS ARE THE IMPORTANT PART
 Location / The Loop // Swing Bridge and Homeless Shanty Town
|
|
 Enter the Bunker through the hidden elevator
 Search for the power controls
 Power up the Bunker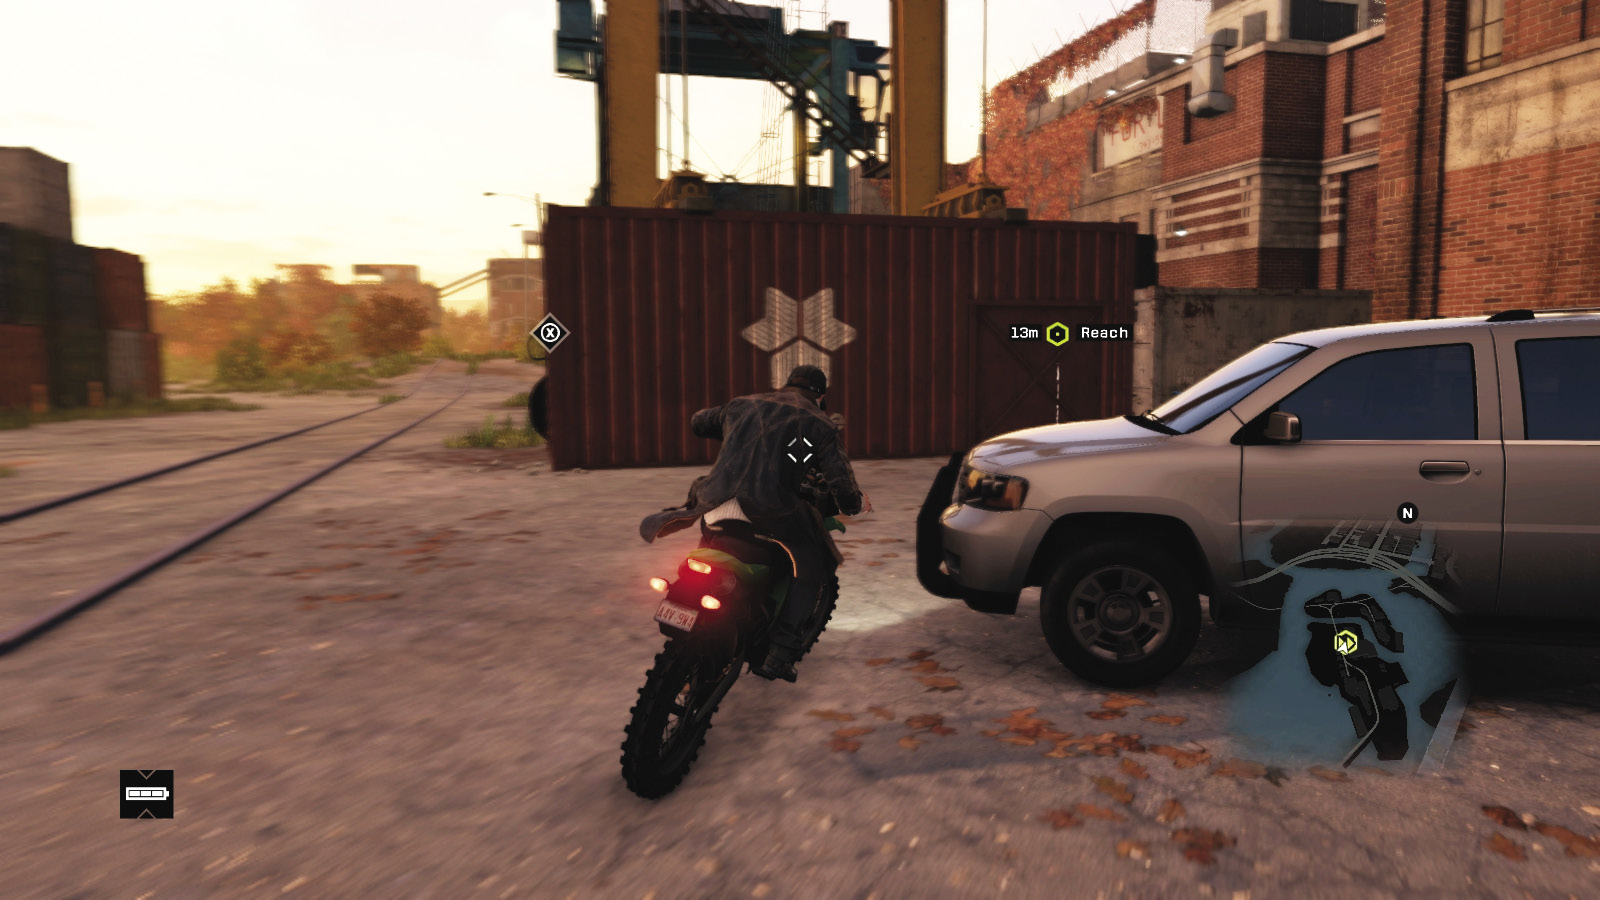
 Investigation
 Data Hack
Difficulty: 
Travel to the red “Blume” container with the hole in the side. Step around the pallet and hack the crane controls. The container (with you inside) lifts up and moves across. The metal container door slides open, finally allowing access into the fabled Bunker. The place is vast. At the top of the first steps, stop and Profile the area.
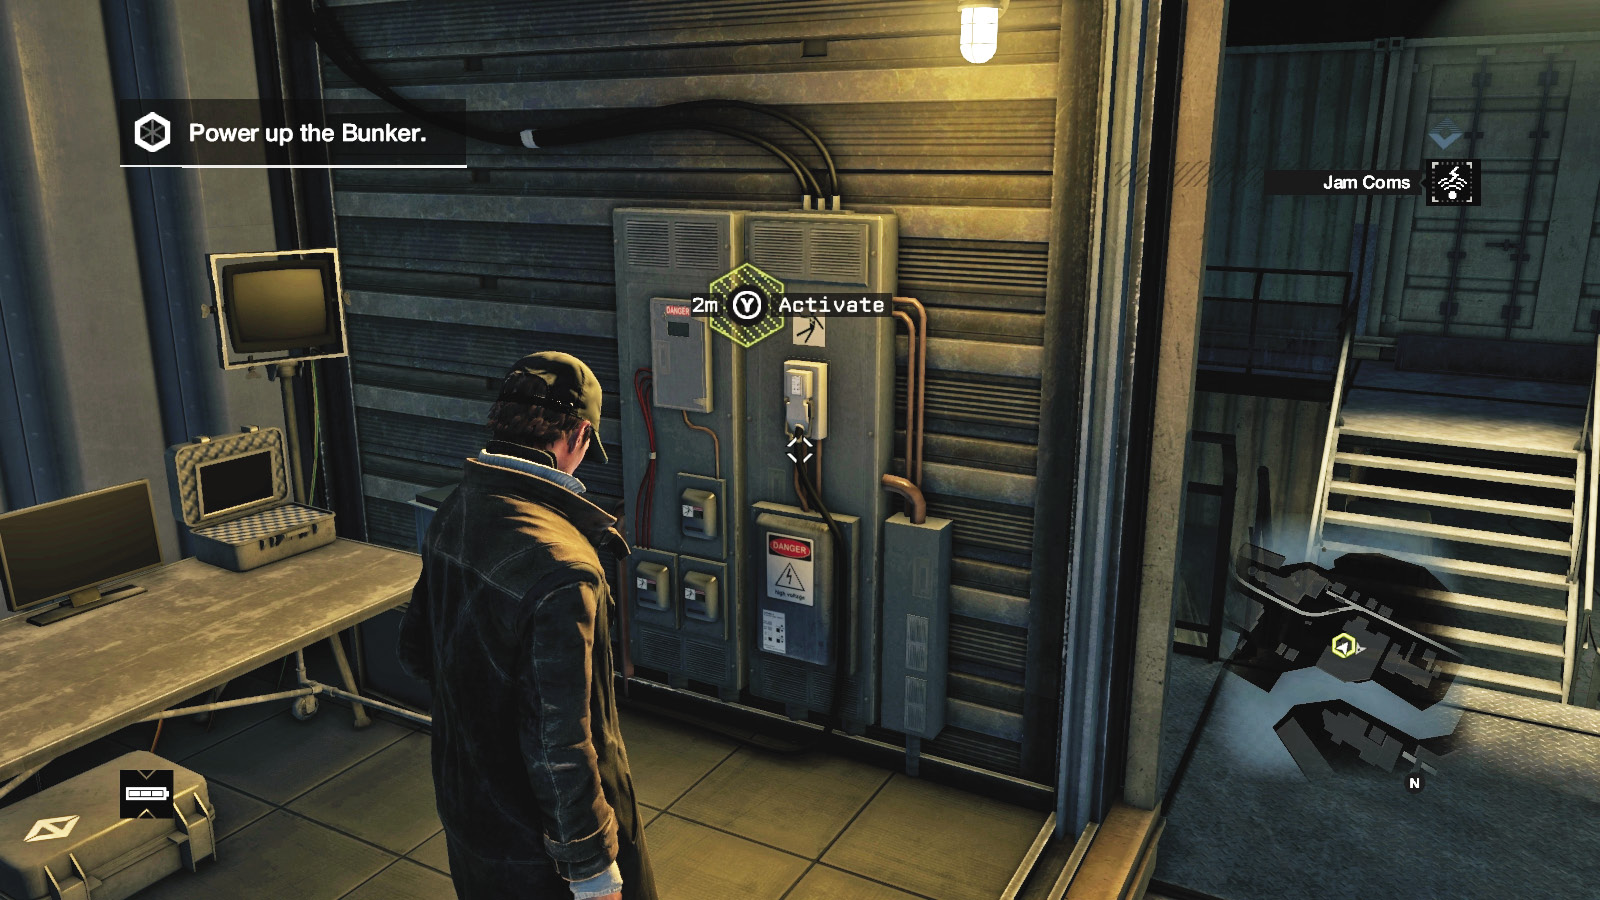
The power controls are in a laptop on one of the three tables in the center of the room. Profile it so the objective changes. Then scour the ground floor of the Bunker as Clara arrives. There are crafting items and a second Audio Log to hack, sitting among some crates below one of the gantries.
Climb the metal steps up to the left, and enter a container shell with a breaker switch to drop. The room hums to life. Clara produces her own hardware to help patch in to Blume’s mainframe. You want a lead on an IP address; Clara finds it in Viceroy territory in The Wards, and you attempt to infiltrate their security network as the mission concludes.
MISSION REWARDSGained XP +500 ctOS Center: THE WARDS MUST BE UNLOCKED |