
Watch Dogs Guide MAIN MISSIONS MAIN MISSIONS /// Act II
_A RISKY BID
MINOR SPOILER
OBJECTIVES
|
 Follow the guide
 Enter the human auction
 Follow the guide
 Locate Iraq
 Scan Iraq’s ID
 Escape Unseen
 Retrieve your weapons
 Escape the area
 Escape the area (continued)
Location / Brandon Docks // Skipsun Boat Storage (Auction Warehouse First Floor)
LOCATION / BRANDON DOCKS // SKIPSUN BOAT STORAGE (AUCTION WAREHOUSE BASEMENT)
LOCATION / BRANDON DOCKS // SKIPSUN BOAT STORAGE (AUCTION WAREHOUSE FIRST FLOOR)
LOCATION / BRANDON DOCKS // SKIPSUN BOAT STORAGE (DOCK WAREHOUSE A)
LOCATION / BRANDON DOCKS // SKIPSUN BOAT STORAGE (DOCK WAREHOUSE B)
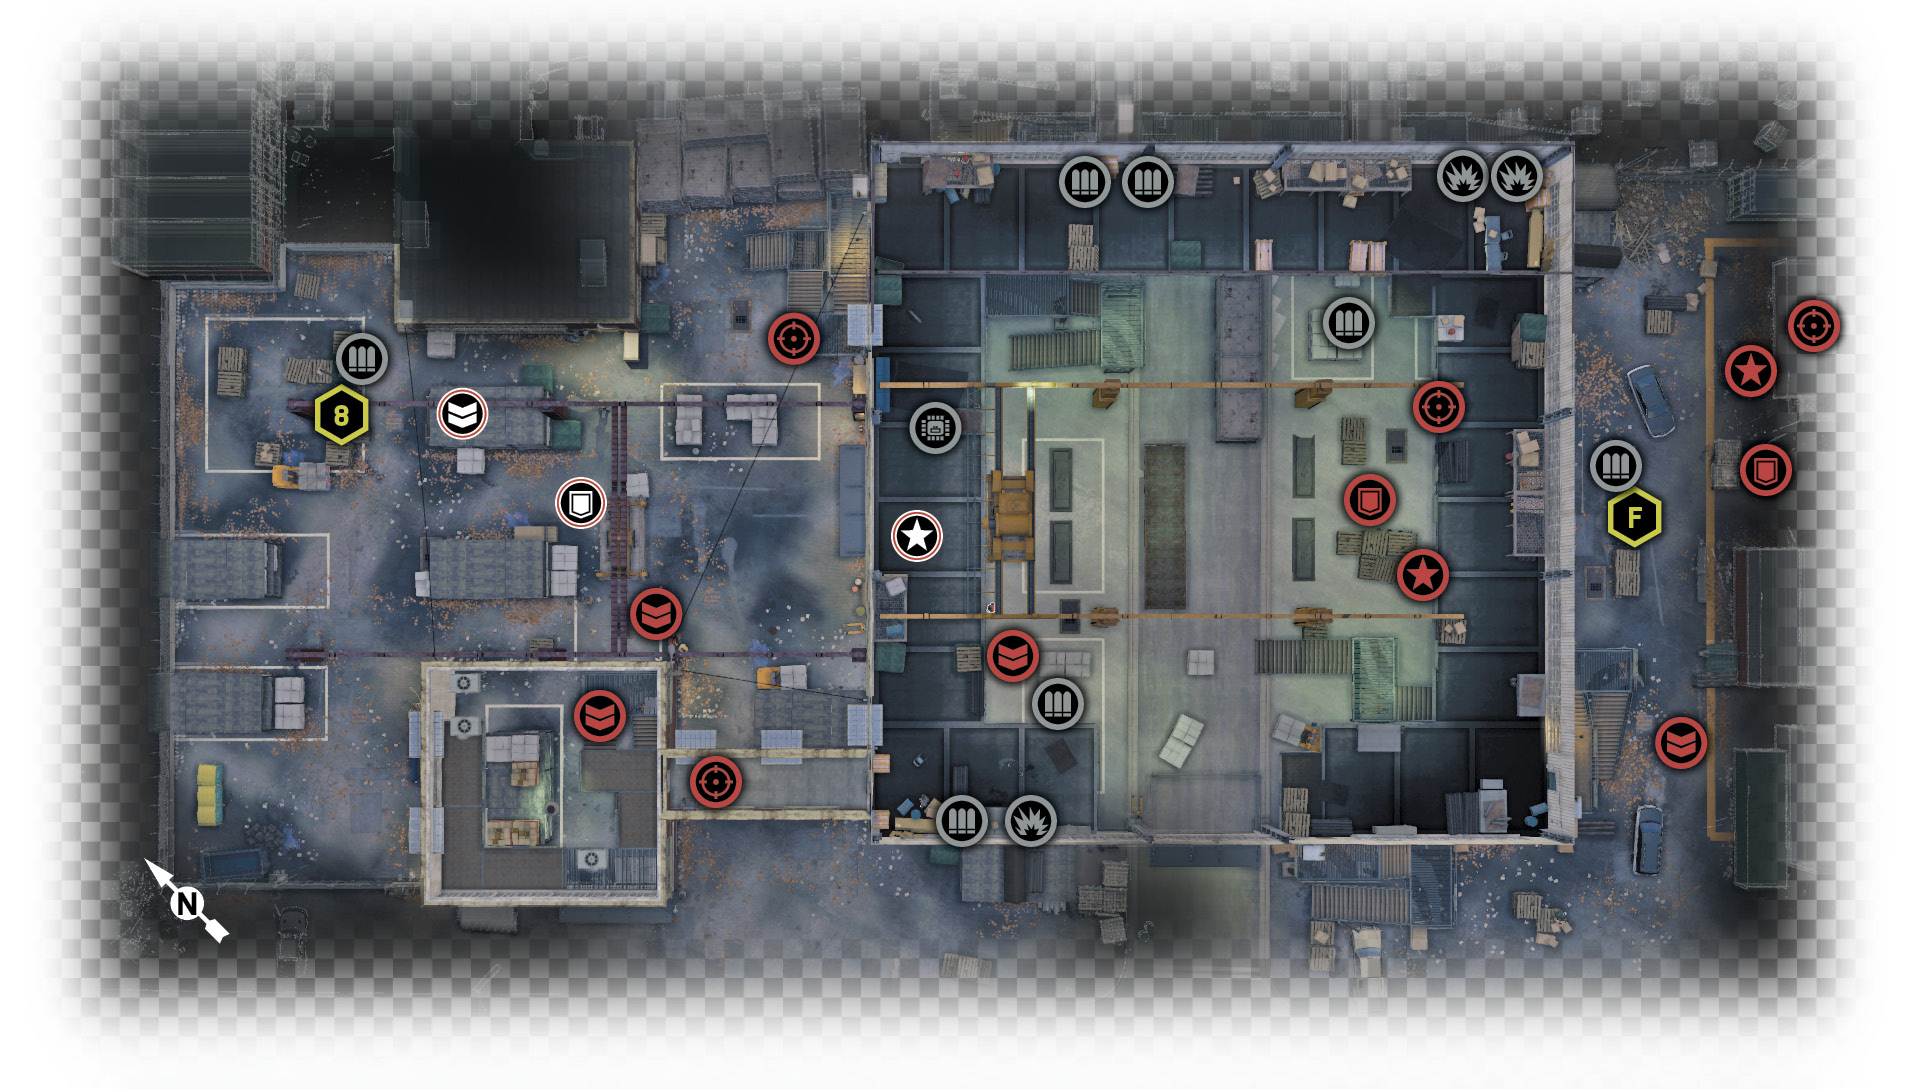
12.1 SURVEYING THE MERCHANDISE
 Location / Brandon Docks // Skipsun Boat Storage
|
|
 Follow the guide
 Enter the human auction
 Follow the guide
 Locate Iraq
 Scan Iraq’s ID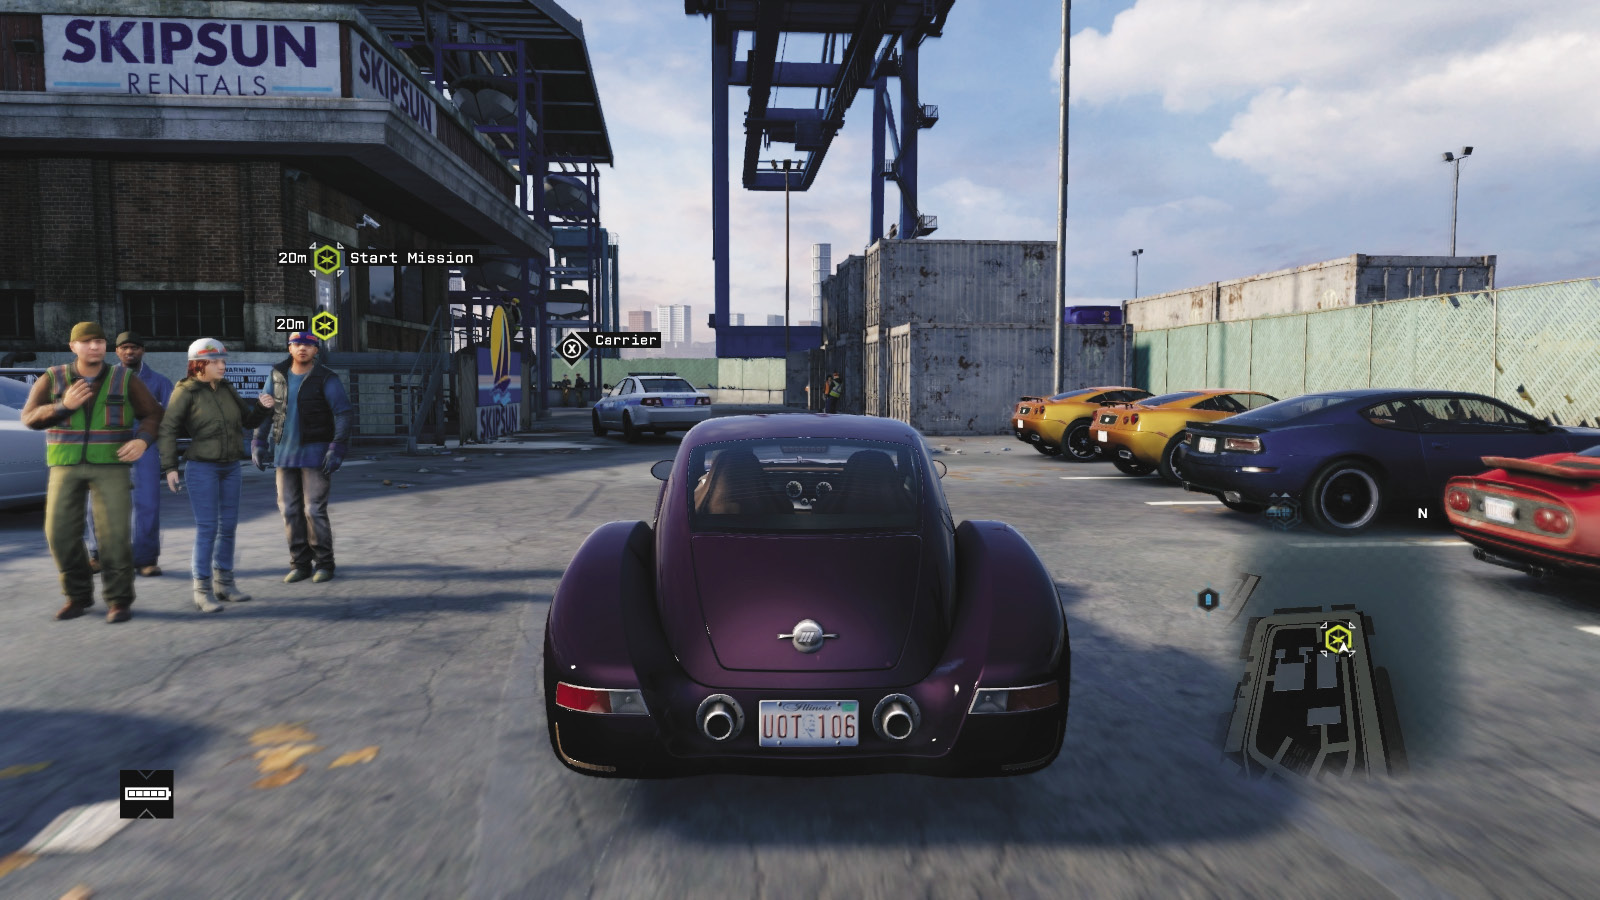
 Infiltration
 Data Hack
Difficulty: 
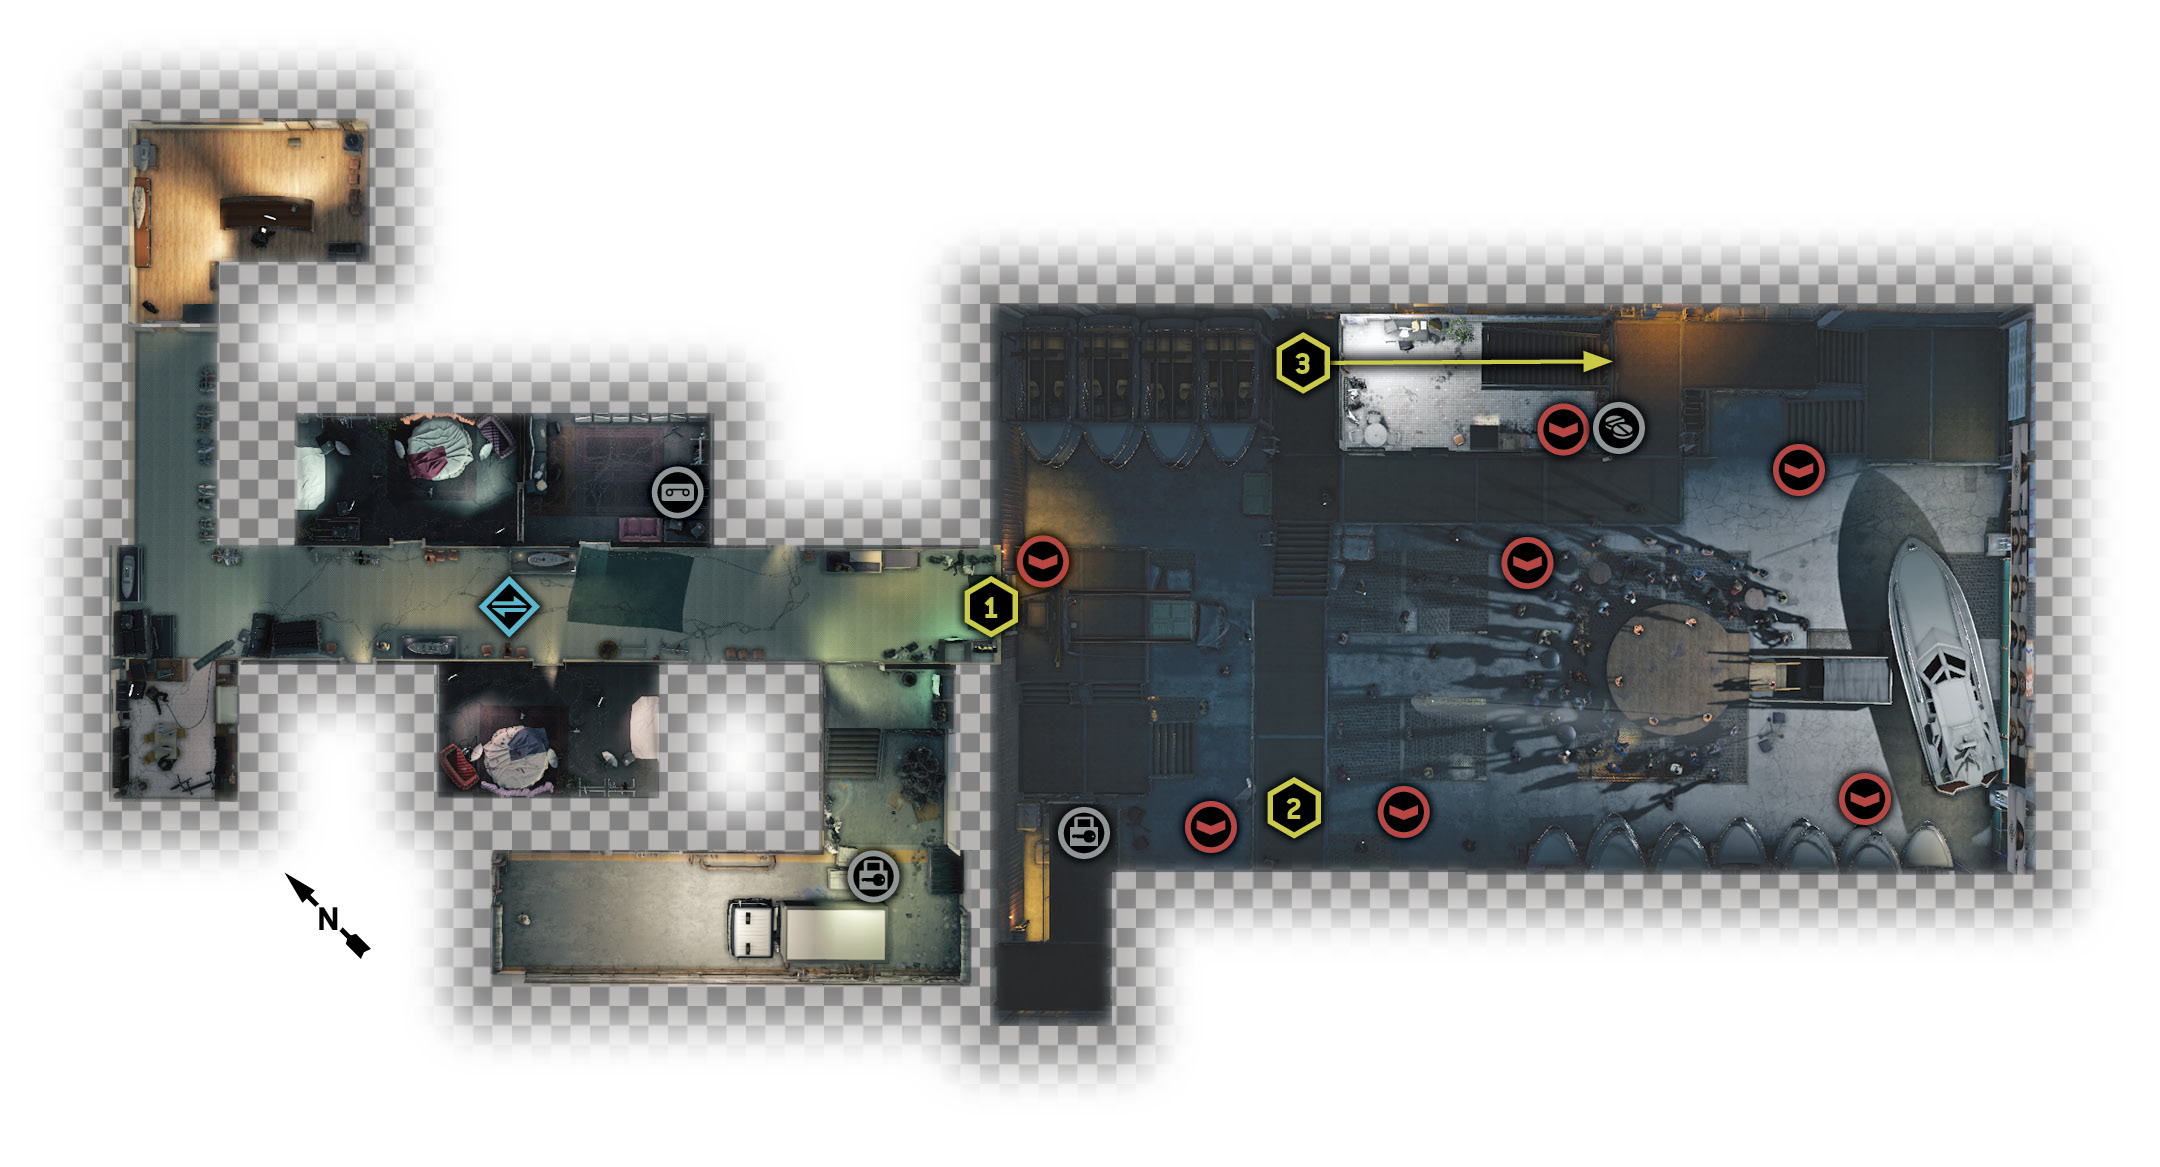
With Crispin’s identity, now is the time to locate Iraq, rendezvous with Poppy, and see what sort of seedy operations are going on in the Chicago underworld. Journey to the northeastern corner of the docks, open the gate, and exit your vehicle. It appears some shady cops are mixed up in all of this, and there’s an expensive and antique-looking luxury vehicle parked by the boat storage steps. Maybe that belongs to Lucky Quinn?
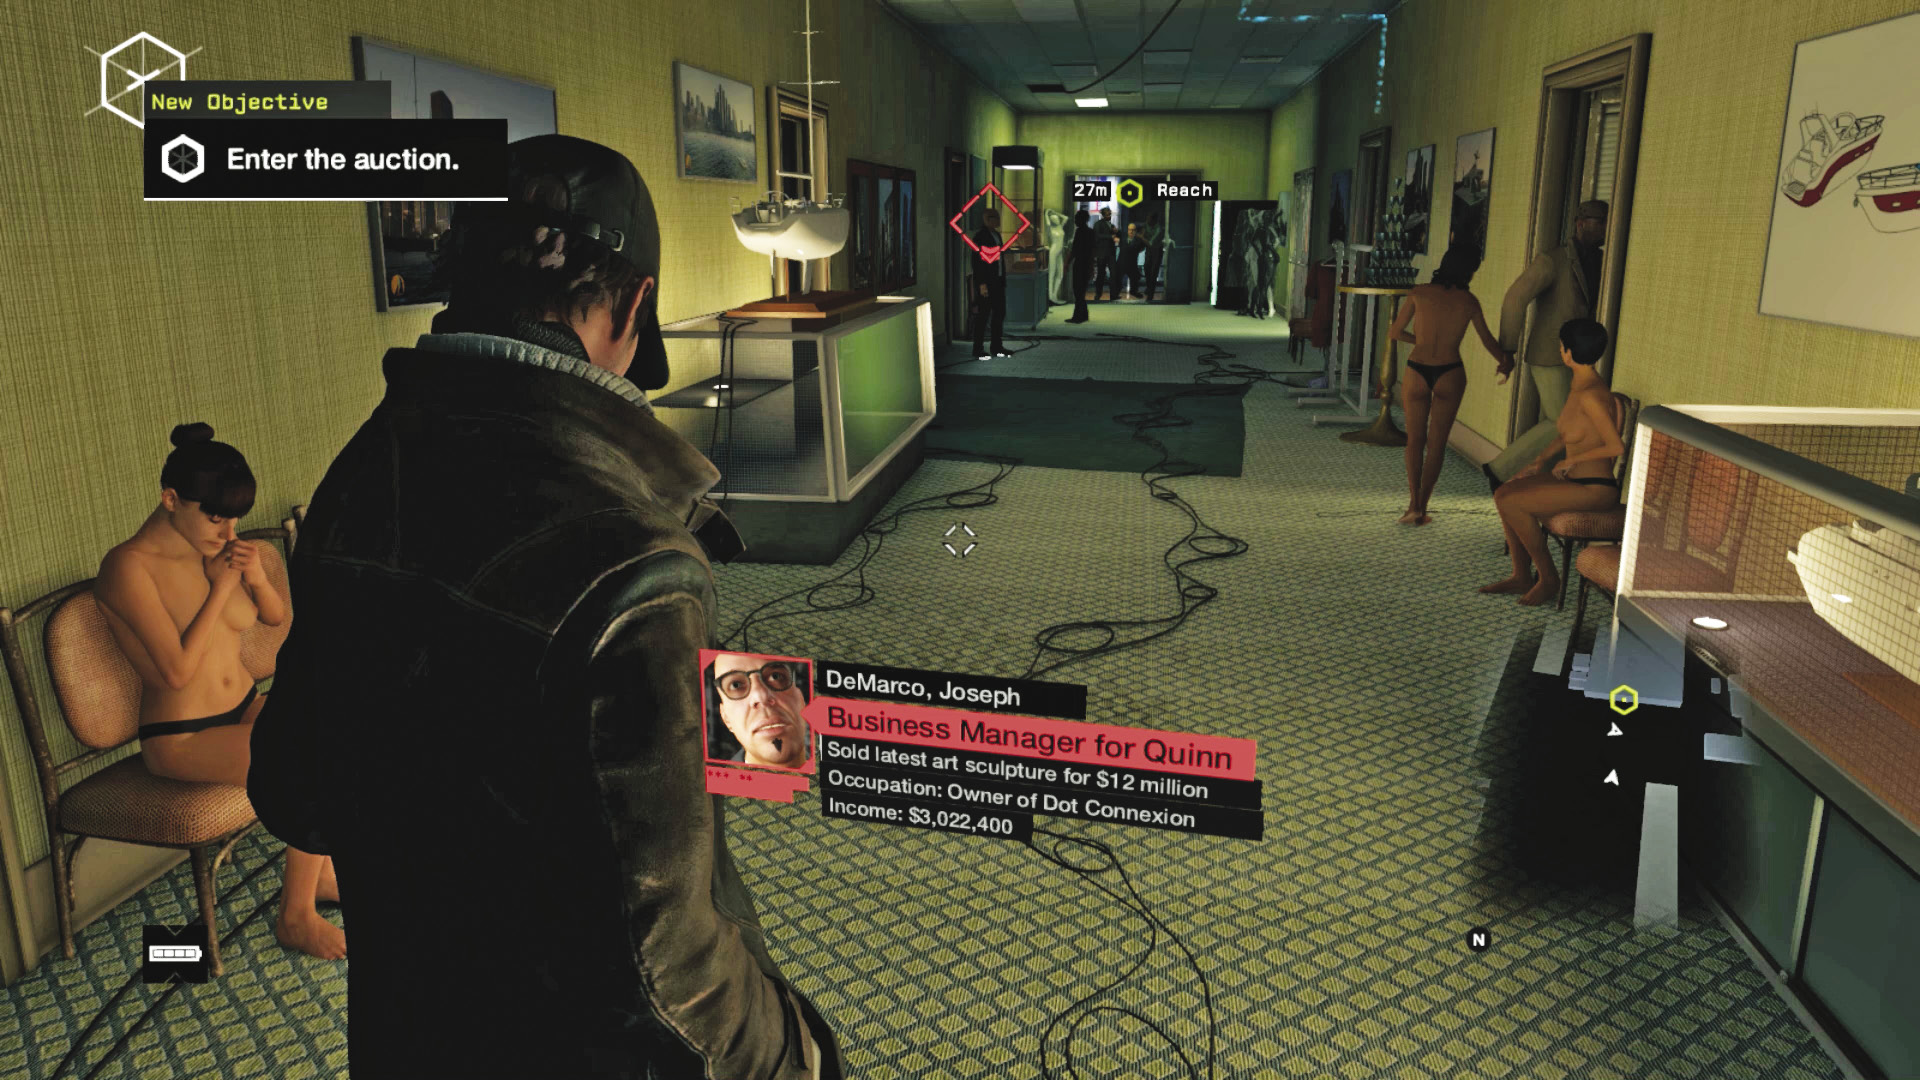
Still professing to be Crispin, you surrender your weapons to the security guard, who gestures for you to follow a guide. Slowly tail this suited type, listening (and possibly ignoring) the rules as you go. Optionally profile and hack anyone you pass for additional information (system keys, texts, and profiles of those mixed up in this vice). Enter the area, and check the laptop in the adjacent editing room for an Audio Log.
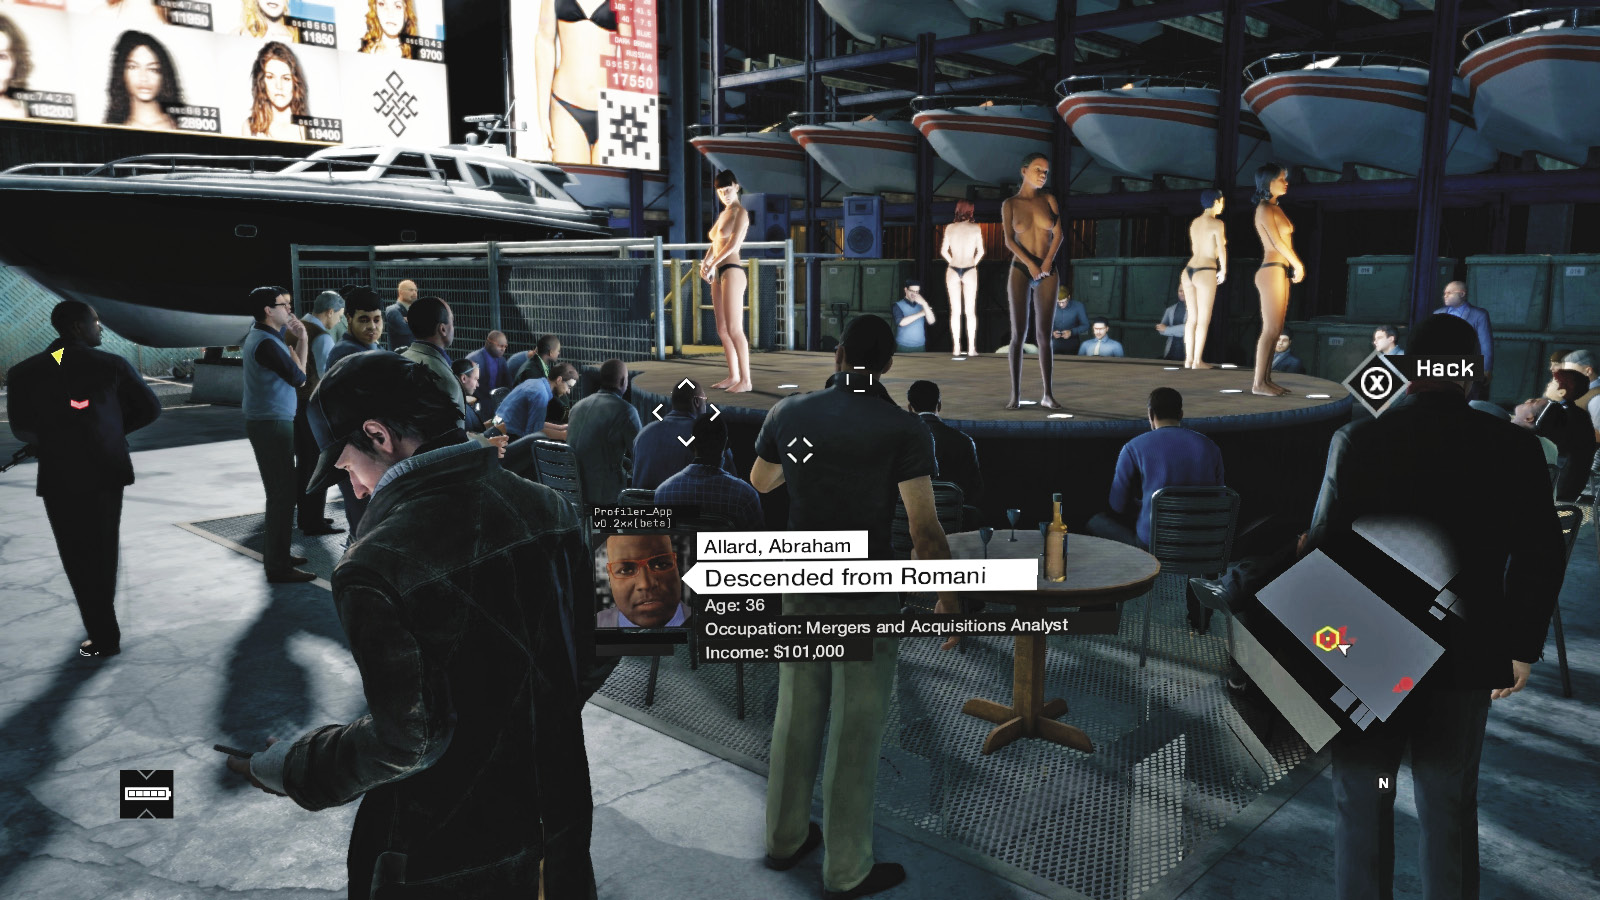
A router in the ceiling can be optionally hacked; the Hotspot is extremely simple and allows you to watch the aftermath of “merchandise testing” in an adjacent, locked chamber. Continue to follow the guide: It isn’t until you enter the crowded warehouse you become aware of just how sleazy this operation is.

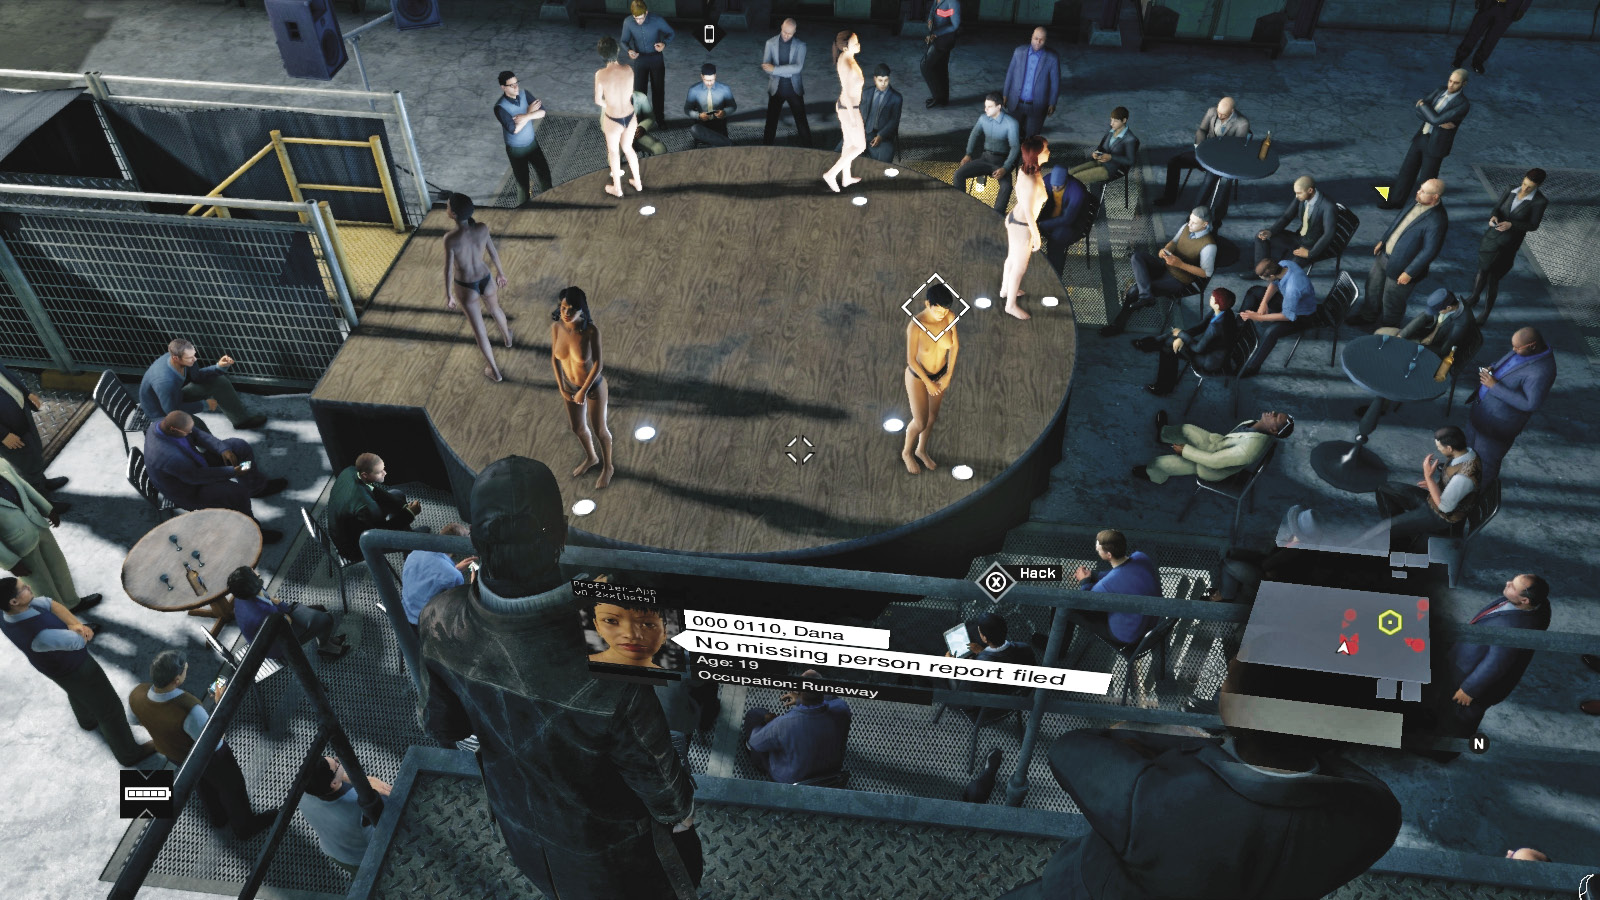
While the despicable buyers continue to ogle at their “wares,” your chaperone leads you to the bottom of some metal steps. Head up to find Iraq; follow the gantry up to the bridge above the selling grounds. Hack whoever you wish, up to the point where you start to cross the bridge. You can also tag the guards monitoring the auction; there are six of them (Gunmen x5, Veteran x1), though violence against any of them fails this mission.
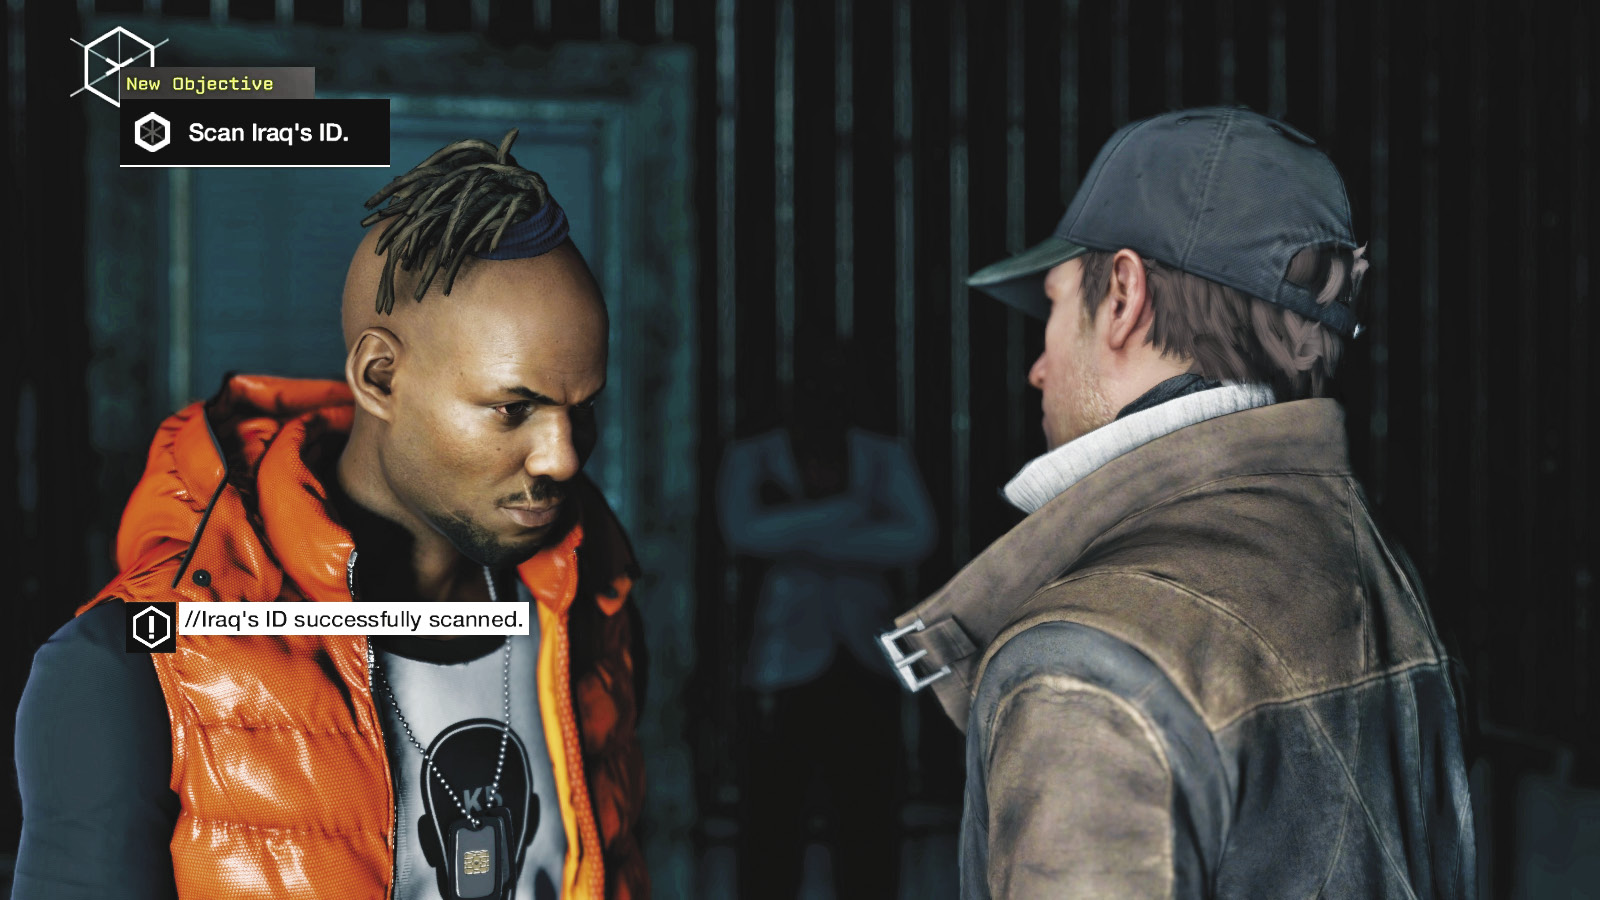
Iraq and Lucky Quinn step out of the office on the bridge’s far side. After they talk about the state of play, you lock eyeballs with Iraq for a moment. Take this opportunity to scan the dog tags Iraq is wearing. Iraq leaves, and you speak with Quinn about what life has taught him, least of all not to trust someone who doesn’t look anything like Mister Crispin. Uh-oh!
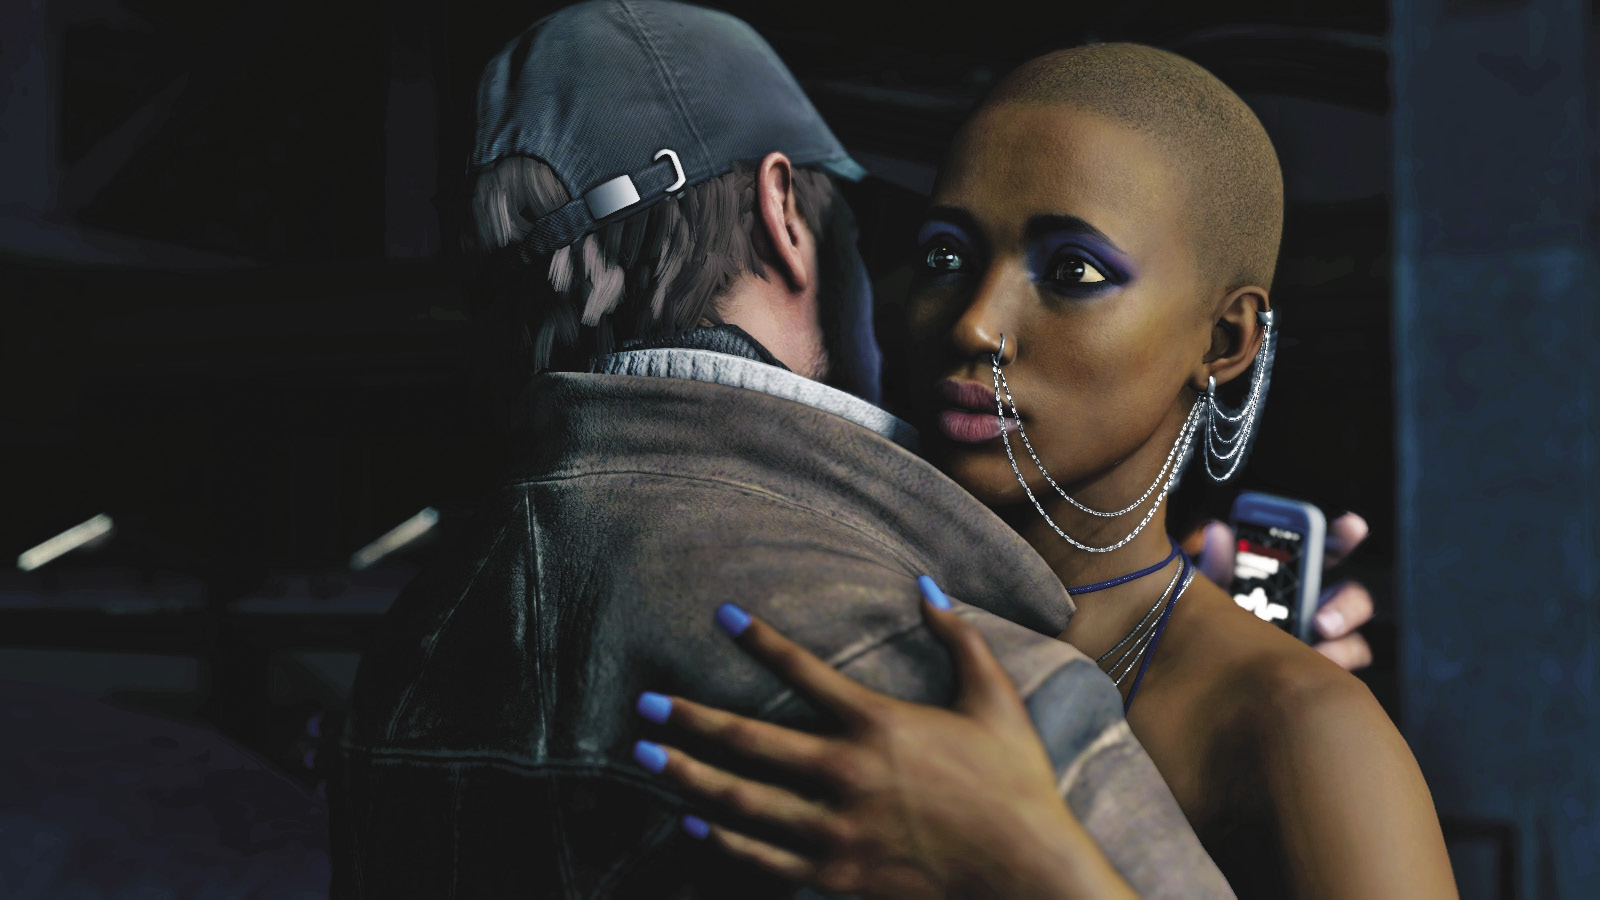
Fortunately, the delicate nature of where your ruse failed allows you to live—for the moment. Poppy is brought out, and after you scramble her tracking device, she shoves you in the direction of the warehouse foreman’s office. It’s time to flee this area, without attracting any more attention than you already have.
12.2 I CAN SHOW YOU A WAY OUT
 Location / Brandon Docks // Skipsun Boat Storage
|
|
 Escape unseen
 Retrieve your weapons
 Infiltration
 Escape
 Melee Force Likely
Difficulty: 
Overview
Completion Point: Warehouse exit, through the drywall room.
Dangers: Six of Quinn’s guards (Gunmen x6), armed with pistols, shotguns, and automatic rifles.
 Aggressive // Stealth: Creeping Underground
 Difficulty:
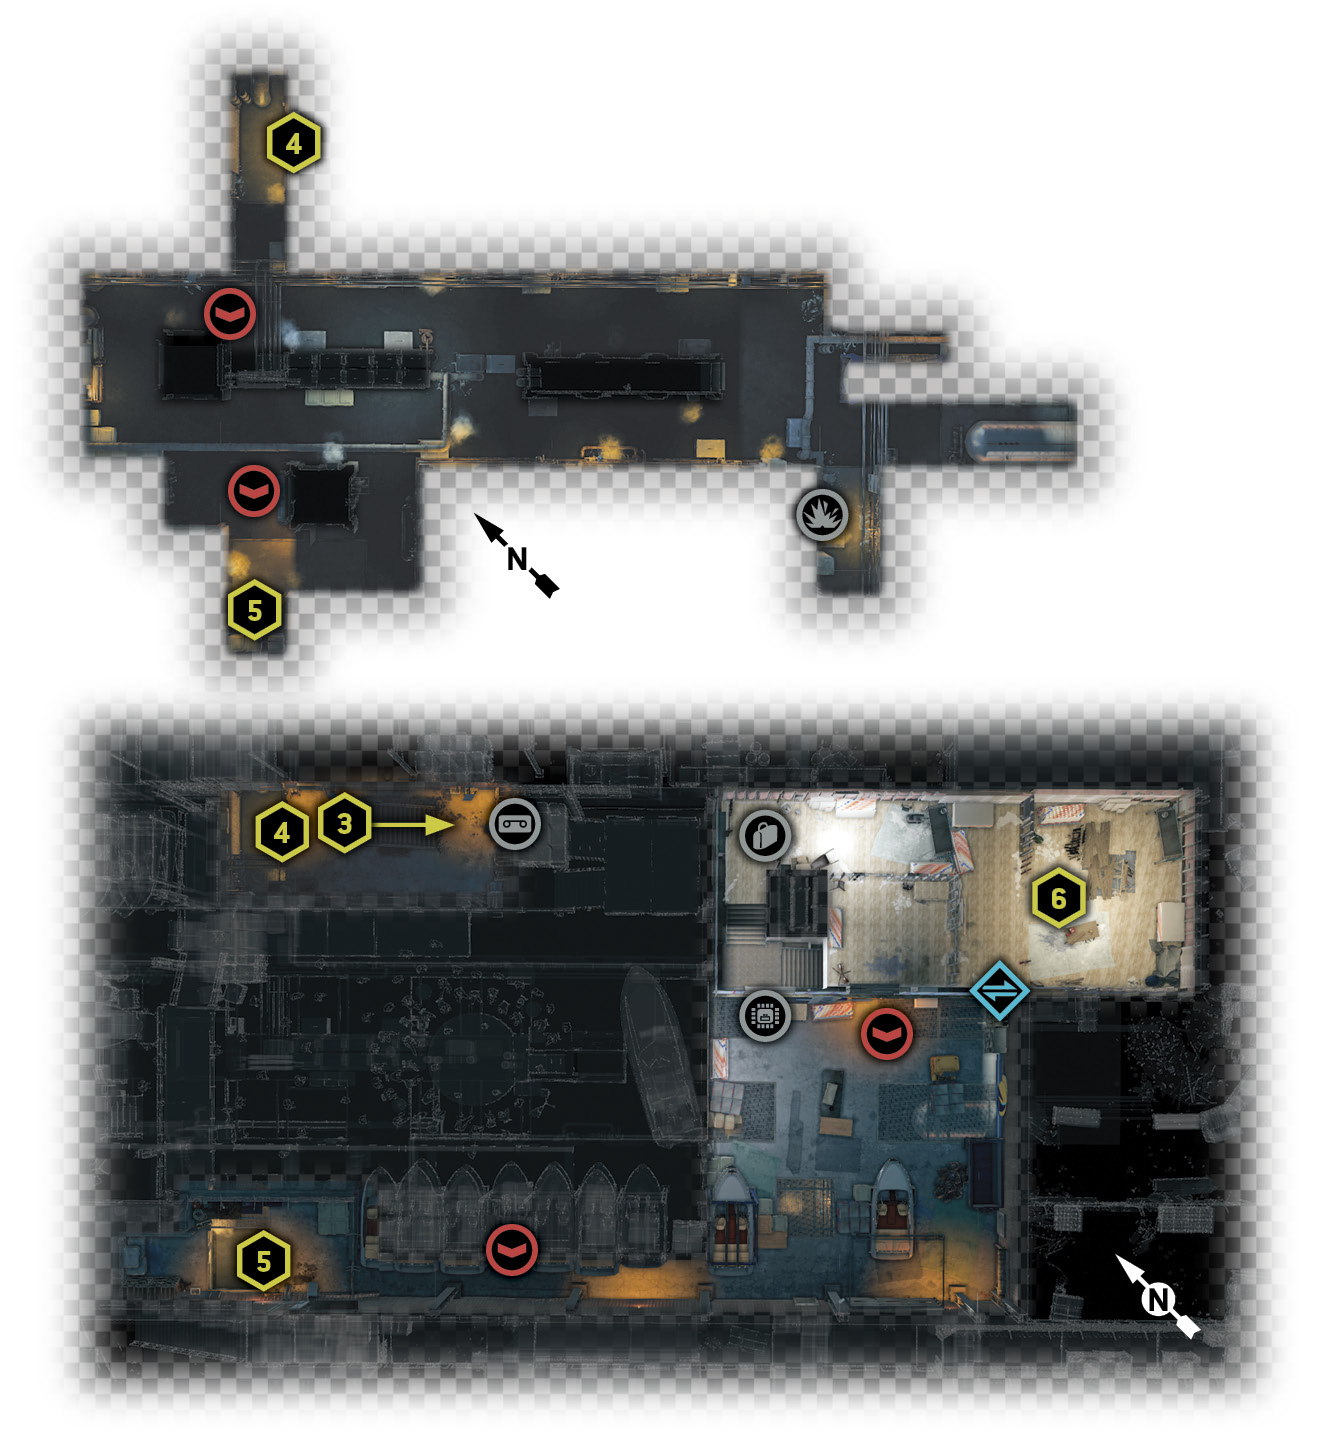
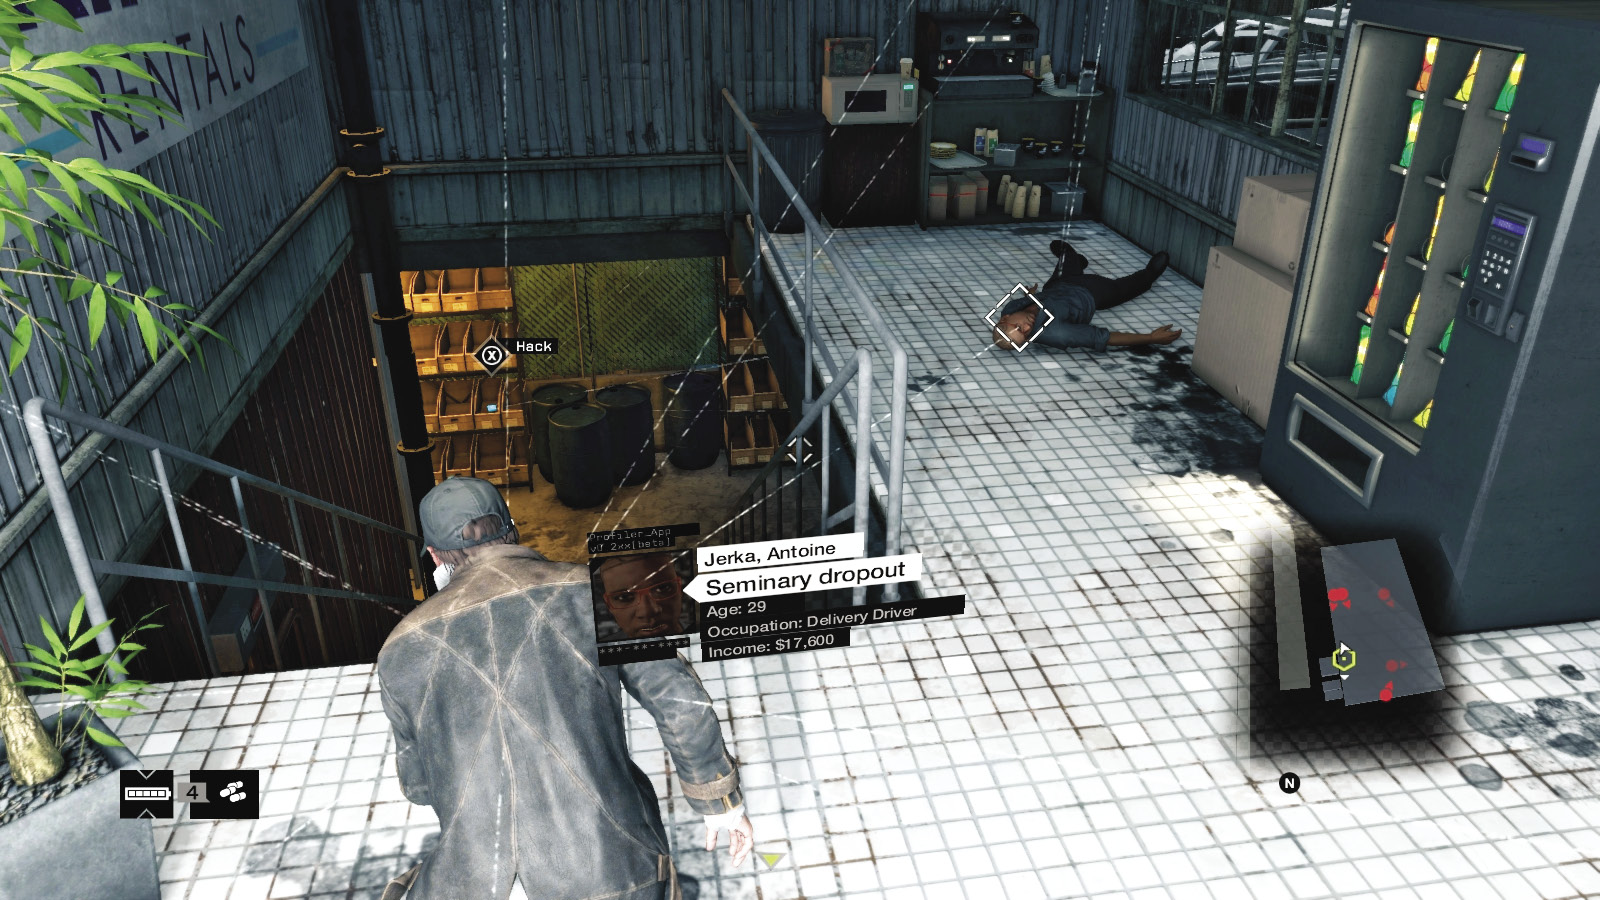
As the trafficking auction continues, creep into the foreman’s office with your smartphone Profiling so you can mark and (optionally) take down the guard in this room. Use your melee strike only, or ignore him. Either way, check the area for crafting items, then head down the stairs, pausing at a collection of barrels to secure another Audio Log. Move around and drop down to the basement pipework, directly under the stairs.

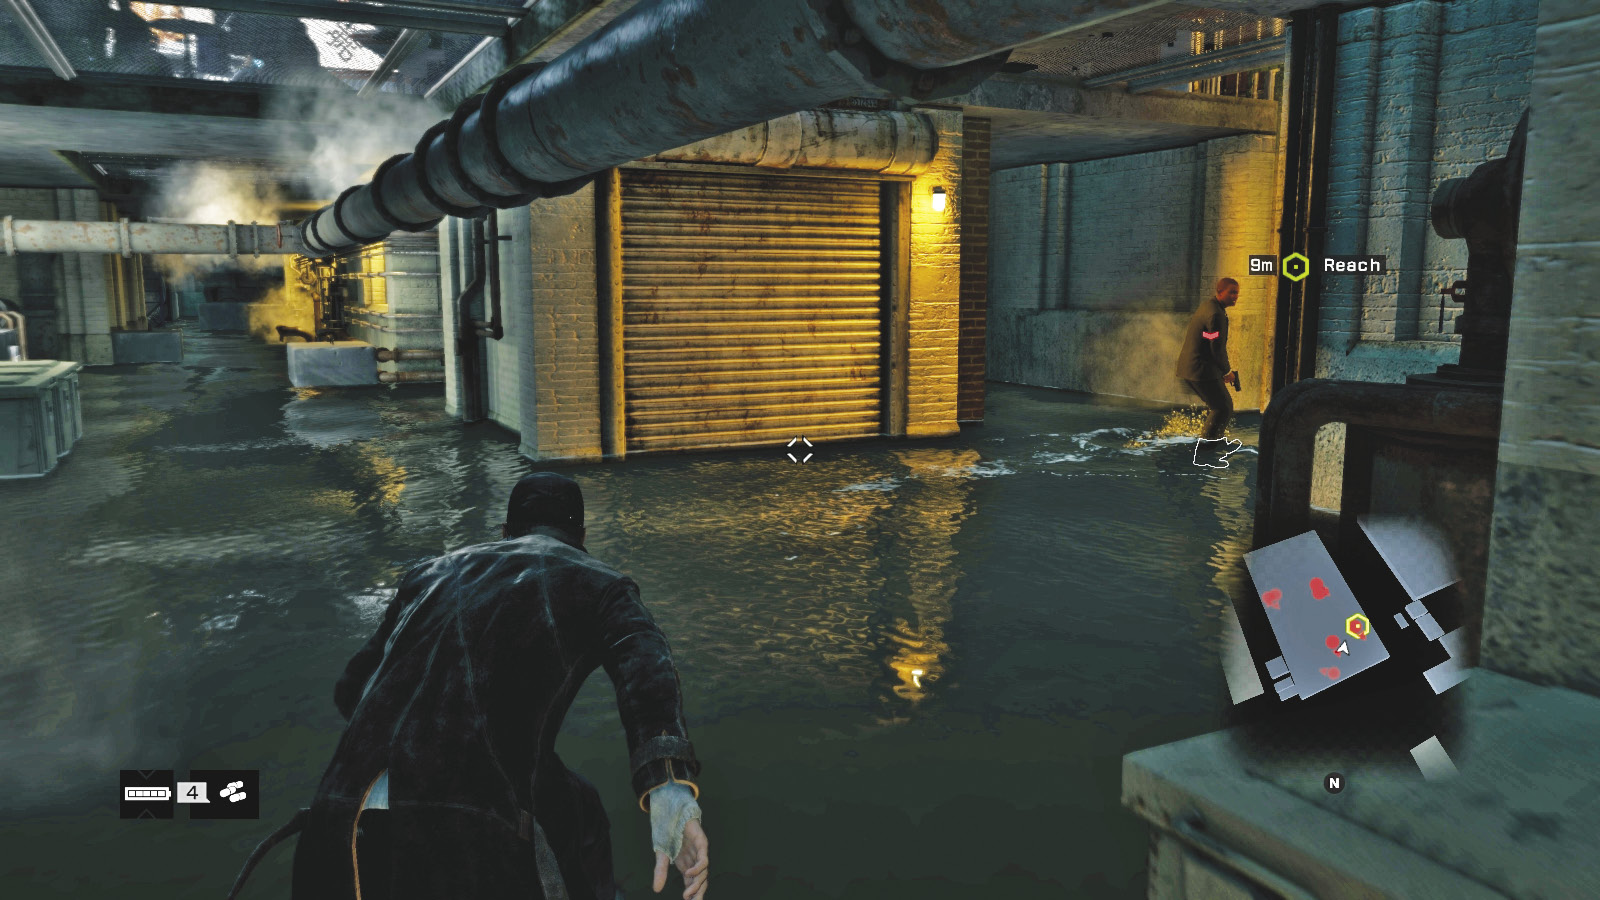
There are two foes in this basement area (both Gunmen) and more you can mark, walking the floor above you. Ignore them (especially as you have no ranged weapon), and concentrate on the two foes on your level. You have a few ways to maneuver around here:
It’s easiest to creep around the right corner hugging the large cube-shaped brick wall and then tackle the foe with his gun drawn.
You can wind between the brick and concrete walls; head around the pipework to the next waypoint. If you time the creeping correctly, you can do this without attracting any attention.
Or, you can stay behind the first cube-shaped wall, tackle both foes as they wander your way, and then explore this basement; there’s usually a crafting item at the far end of the pipe-filled corridor, on the pill boxes.
No matter the plan, head to the waypoint and climb the ladder.
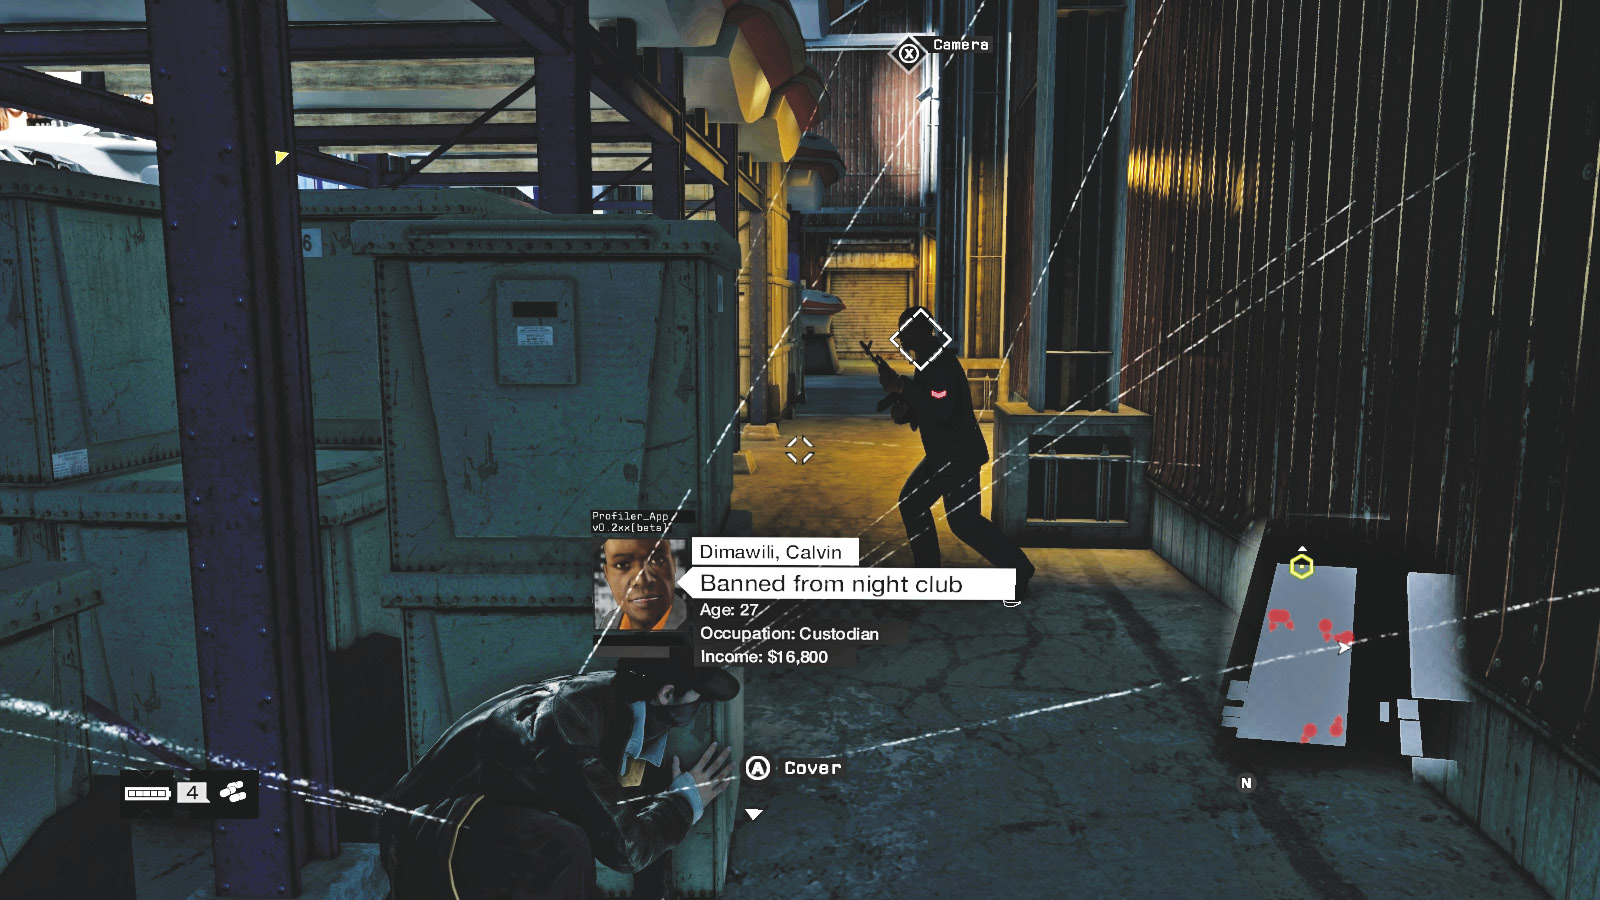
At the top of the ladder, you find yourself behind a mesh fence on your left, which separates you from the main warehouse auction area. Ignore the two guards on your minimap behind you; they are on the other side of the fence. Instead, creep forward (south), ignoring or throttling the guard at the gap in the box stacks. Wait for him to move into this side area so your beating doesn’t attract attention.
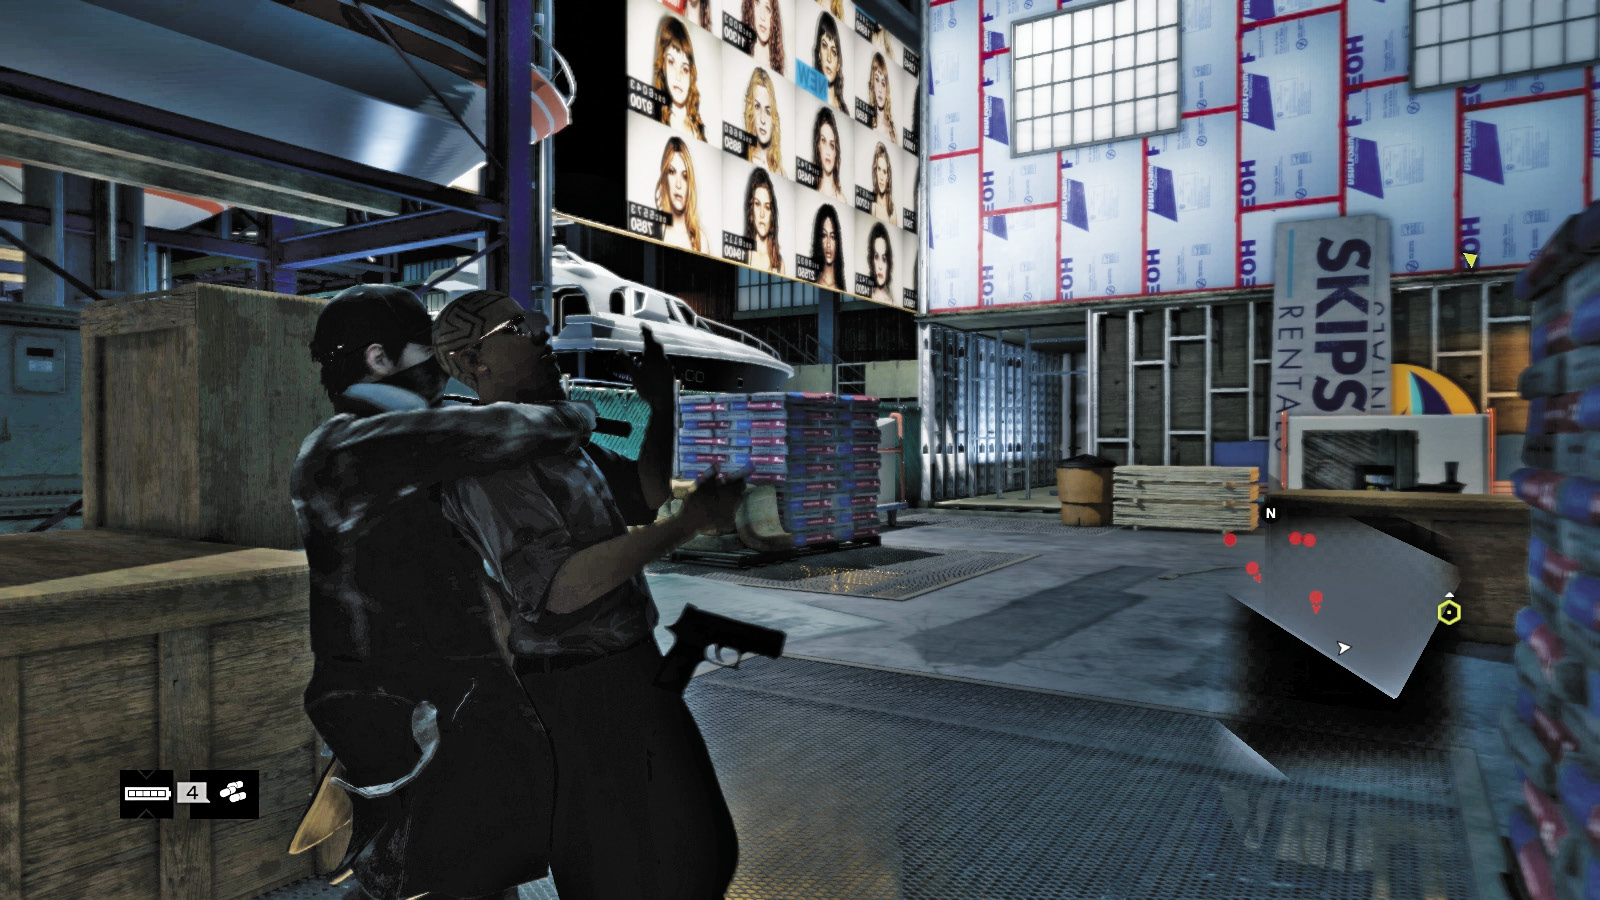
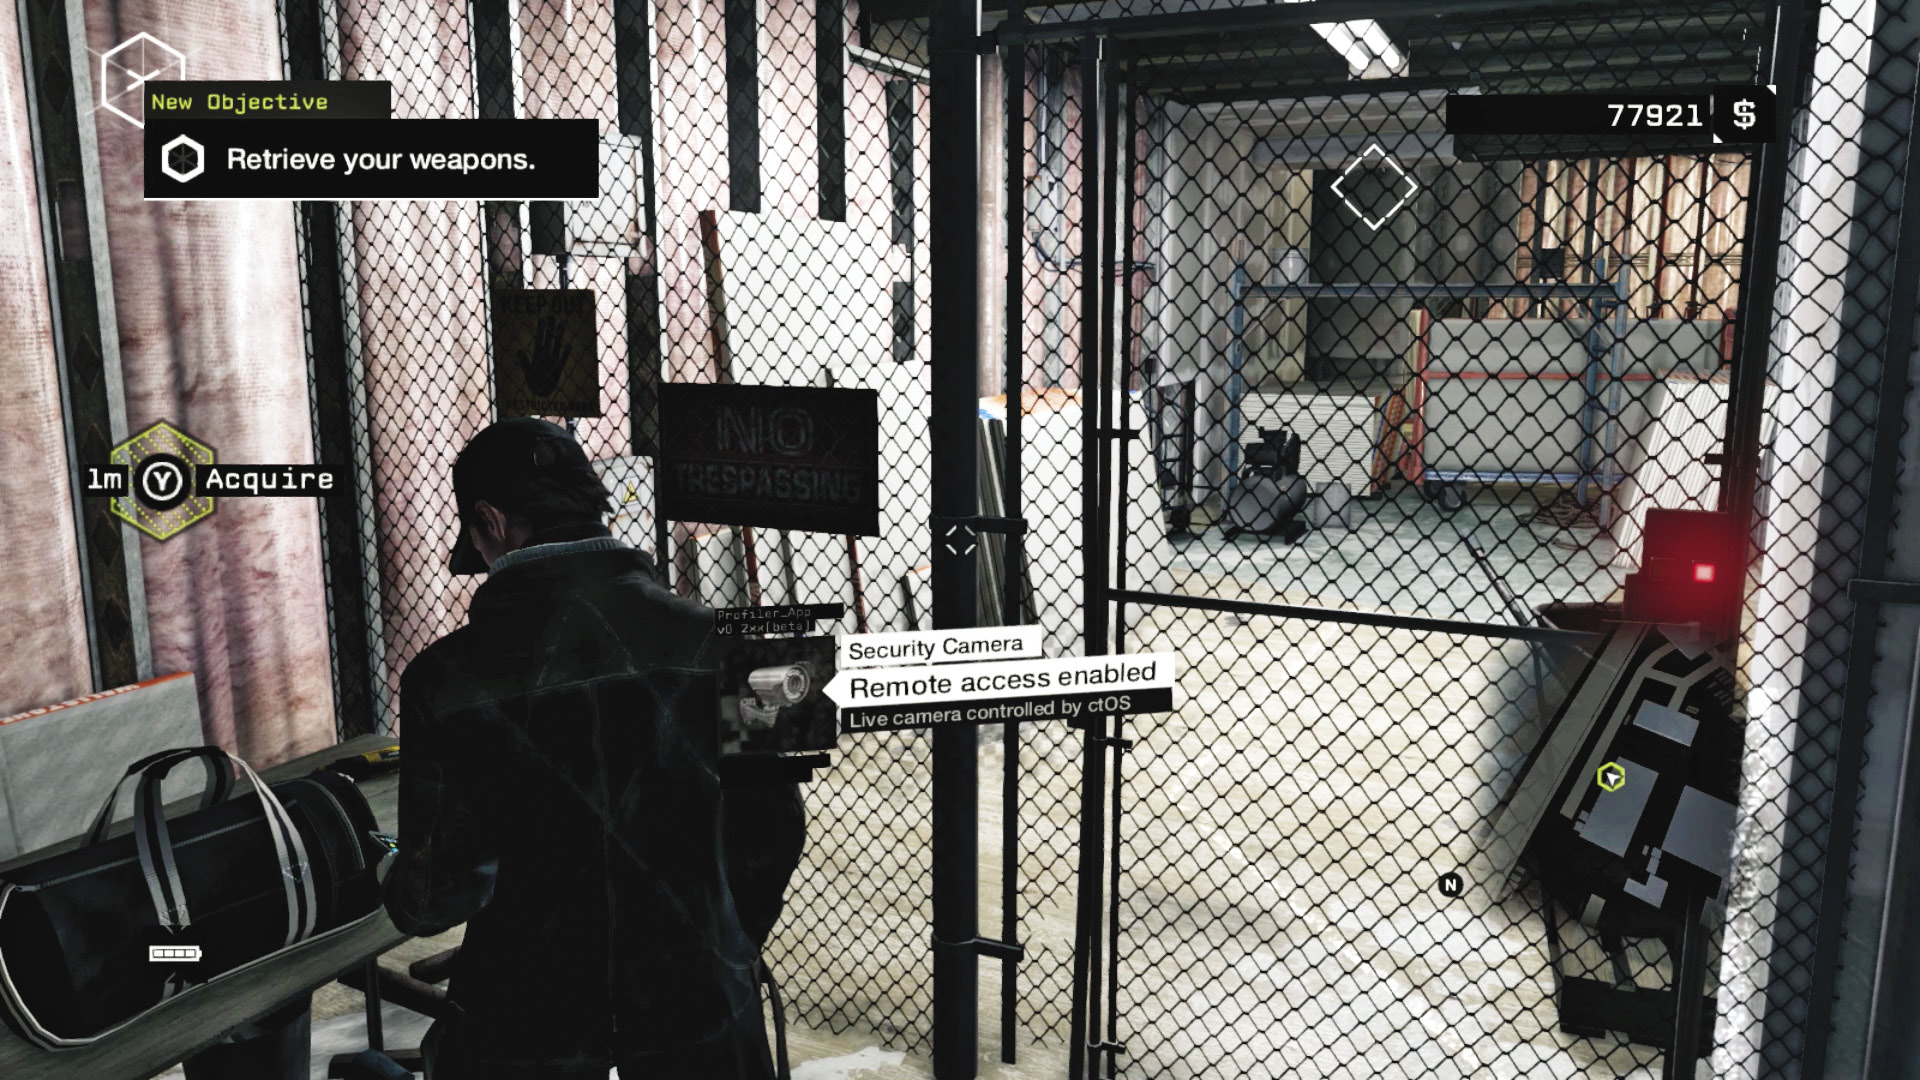
Creep to the end of the side stacking area, to a boat, some crates, and the area behind the auction screen. Wait for another foe to move around so you can creep up and knock him out from behind, or hack the forklift to attract his attention (or maneuver around him without being seen). Only wait around if you want to tackle another guard close to the box stacks who has discovered his throttled colleague. Better yet, head up the steps in the half-finished area of drywall. Stop at the gate and retrieve all of your weapons. Select a projectile (ideally an IED or grenade), choose a favorite weapon, and continue to inspect the locked gate.
Use the camera through the gate to locate the unlock switch. Then wander into the construction room, where a guard ambushes you, sending you both tumbling down to the warehouse exterior below!
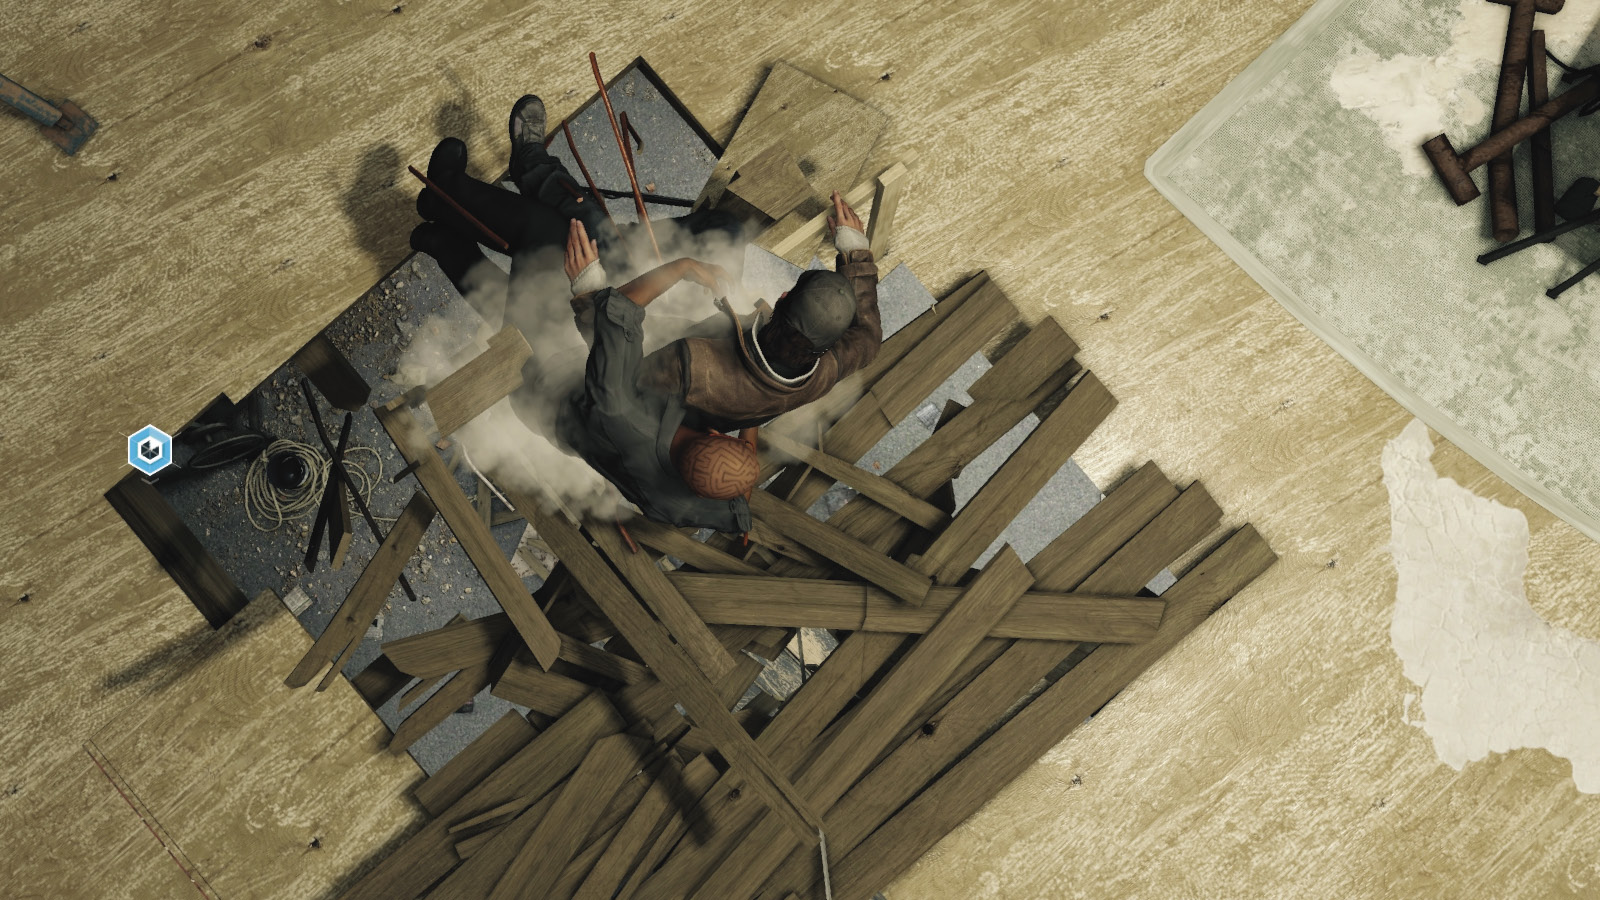
12.3 THE WAY OUT—PART 1
 Location / Brandon Docks // Skipsun Boat Storage
|
|
 Escape the area
 Escape
 Lethal Force Likely
 Melee Force Likely
Difficulty: 
Overview
Completion Point: Opposite end of this warehouse structure.
Dangers (First Wave): Four Viceroys (Veteran x4) armed with shotguns and automatic rifles.
Dangers (Second Wave): 12 Viceroys (Veteran x10, Elite x2) armed with shotguns and automatic rifles. Usually attacking four at a time, in three groups.
Dangers (Third Wave): One Viceroy (Enforcer x1) armed with an automatic rifle (a U-100).
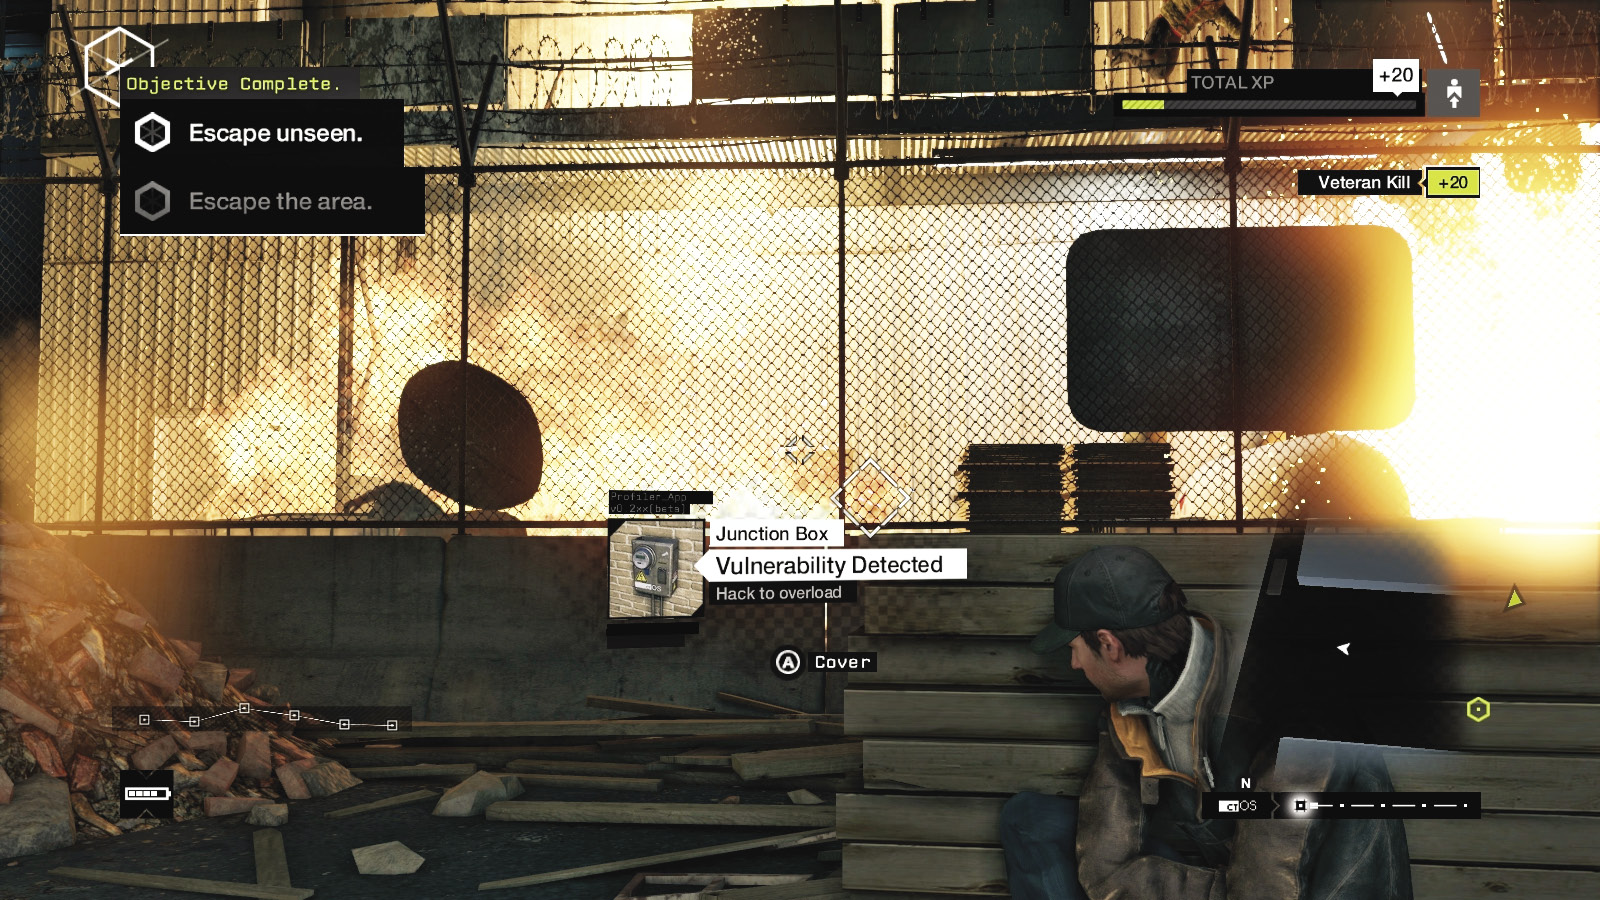
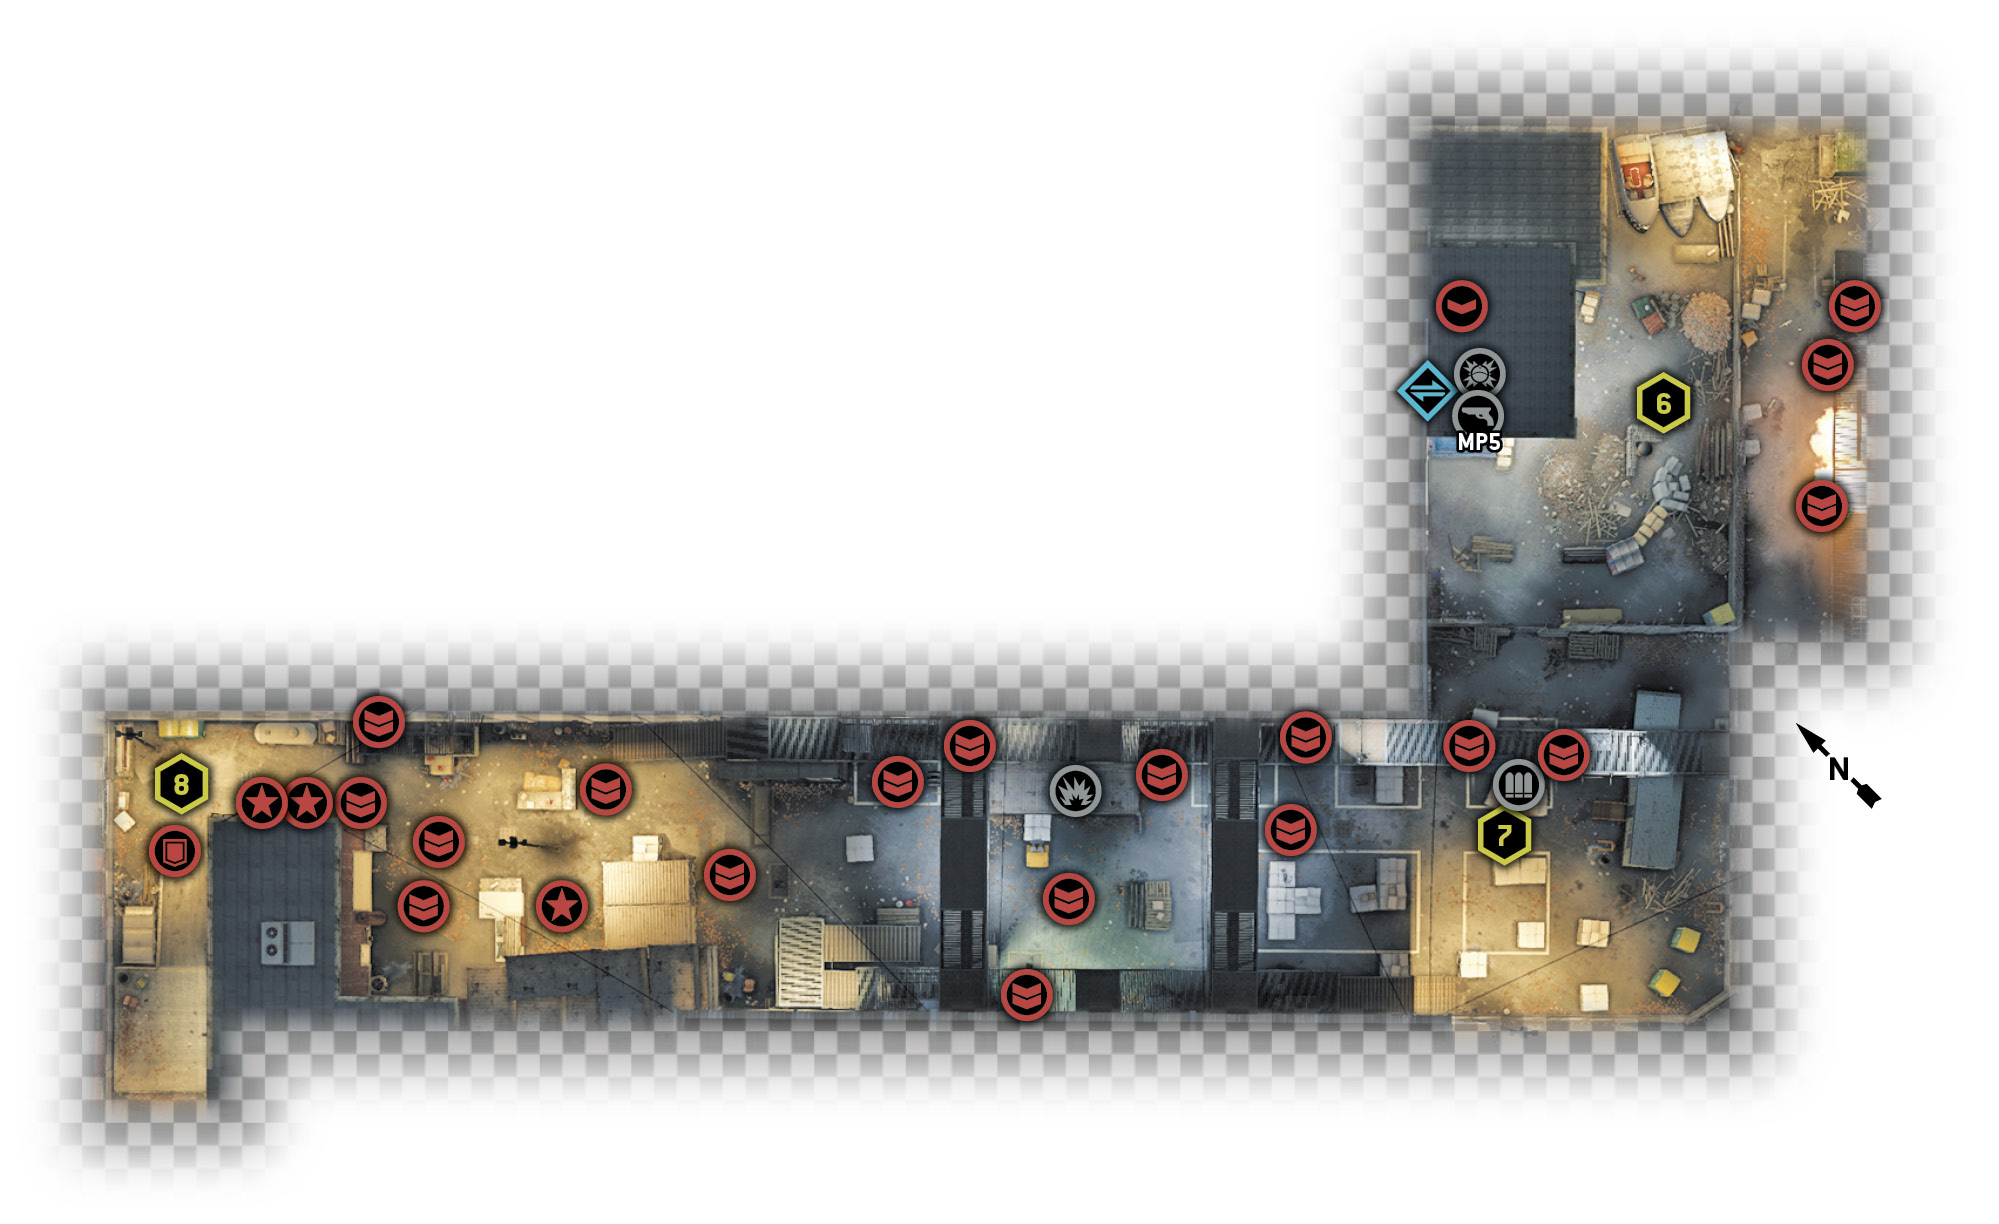
You stagger to your feet after the fall and scoot behind cover as fire rains down from above. At this point it’s good to make a sizable impression and explode the junction box behind the mesh wall, removing the two threats on either side of it. Or, you can elect to remain in cover until the enemy alert level is removed, which is possible, thus giving you the ability to sneak more easily (though this isn’t helpful in the long run).
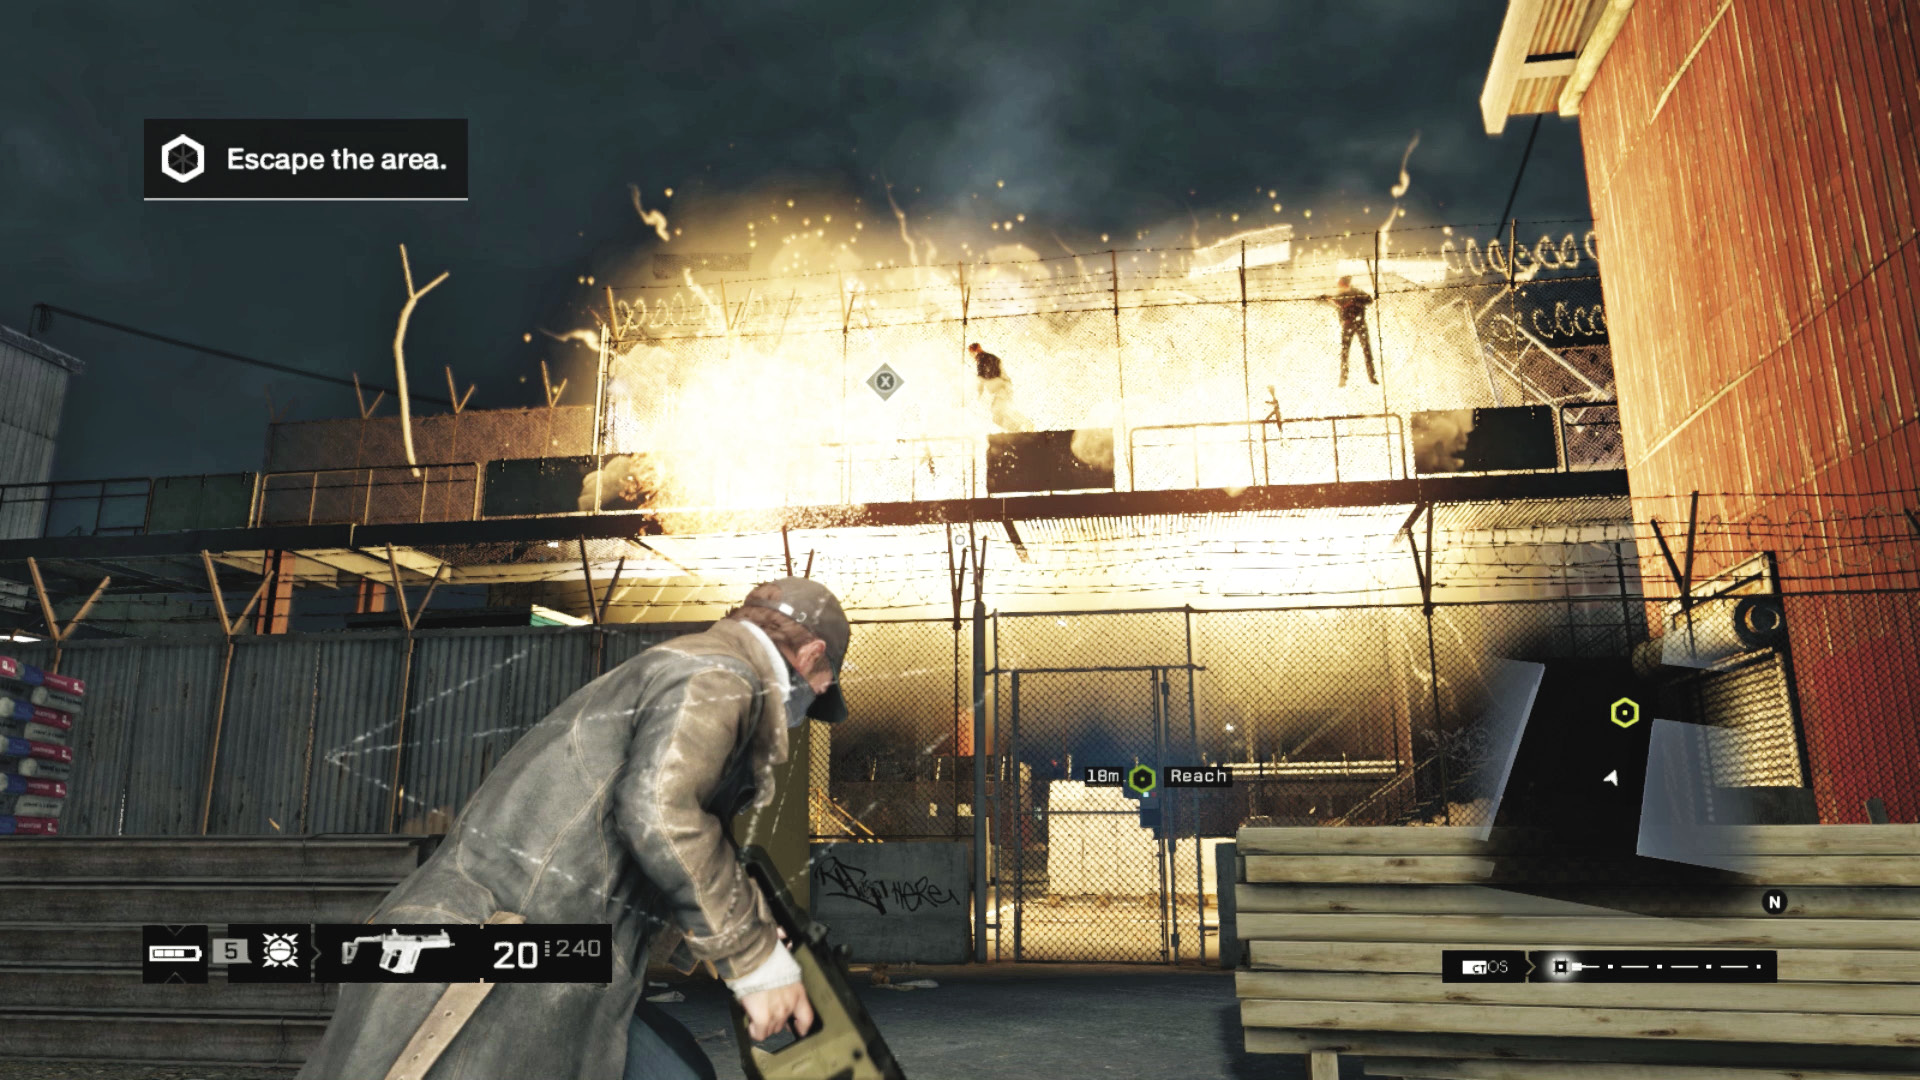
The mesh gate into the next warehouse is locked. Use your phone to spot the line of data, and follow it back to the unlocking switch. There’s grenades and an MP5 to gather when you get there. Prep your projectile if necessary and bring down the two foes standing atop the gantry above the mesh gate: Use gunfire or hack the junction box by the left foe. Then prepare for a protracted firefight, where patience and sharpshooting always wins over reckless charging and massacre attempts. You now encounter the second wave of foes.
Insertion Points
You have few choices in your route; you need to head through the well-defended warehouse area. This will be tricky. But remember the two possible routes you can use to maneuver through:
Ground Floor
Accessibility Level: 
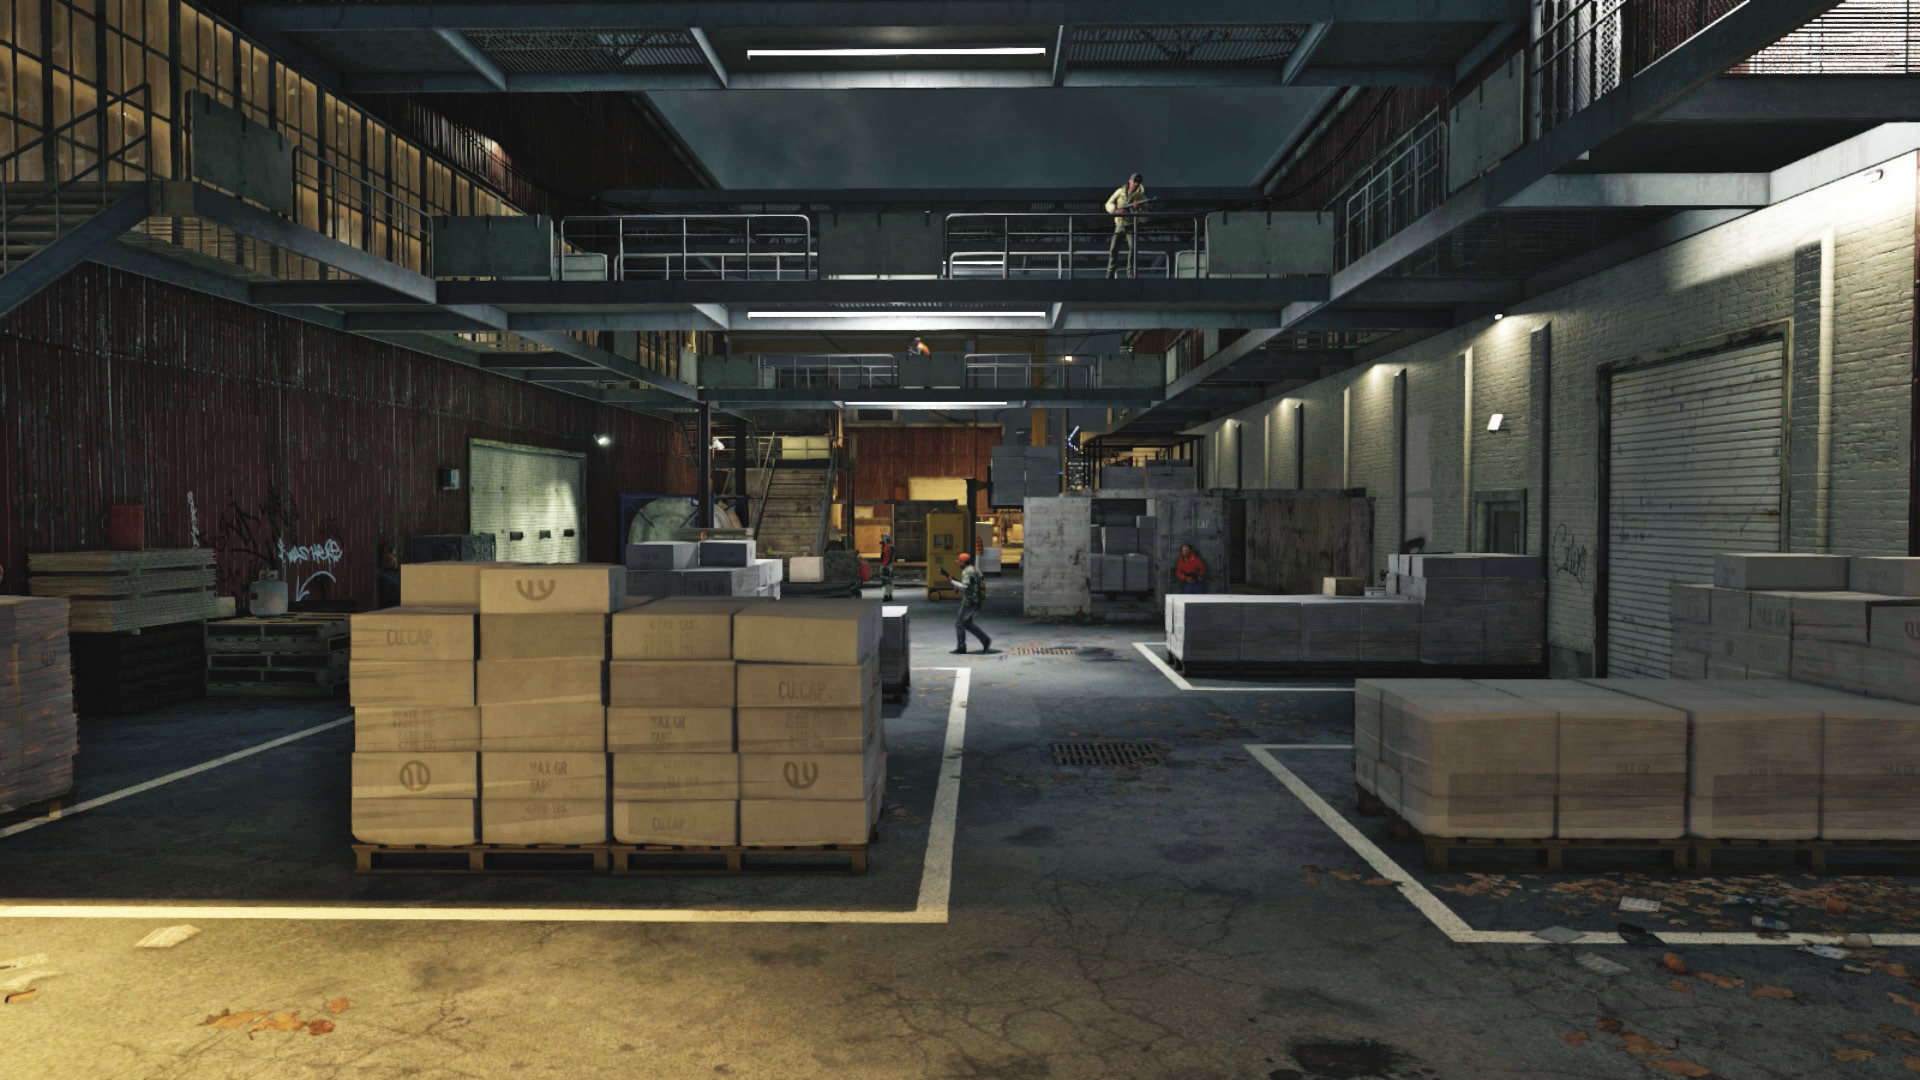
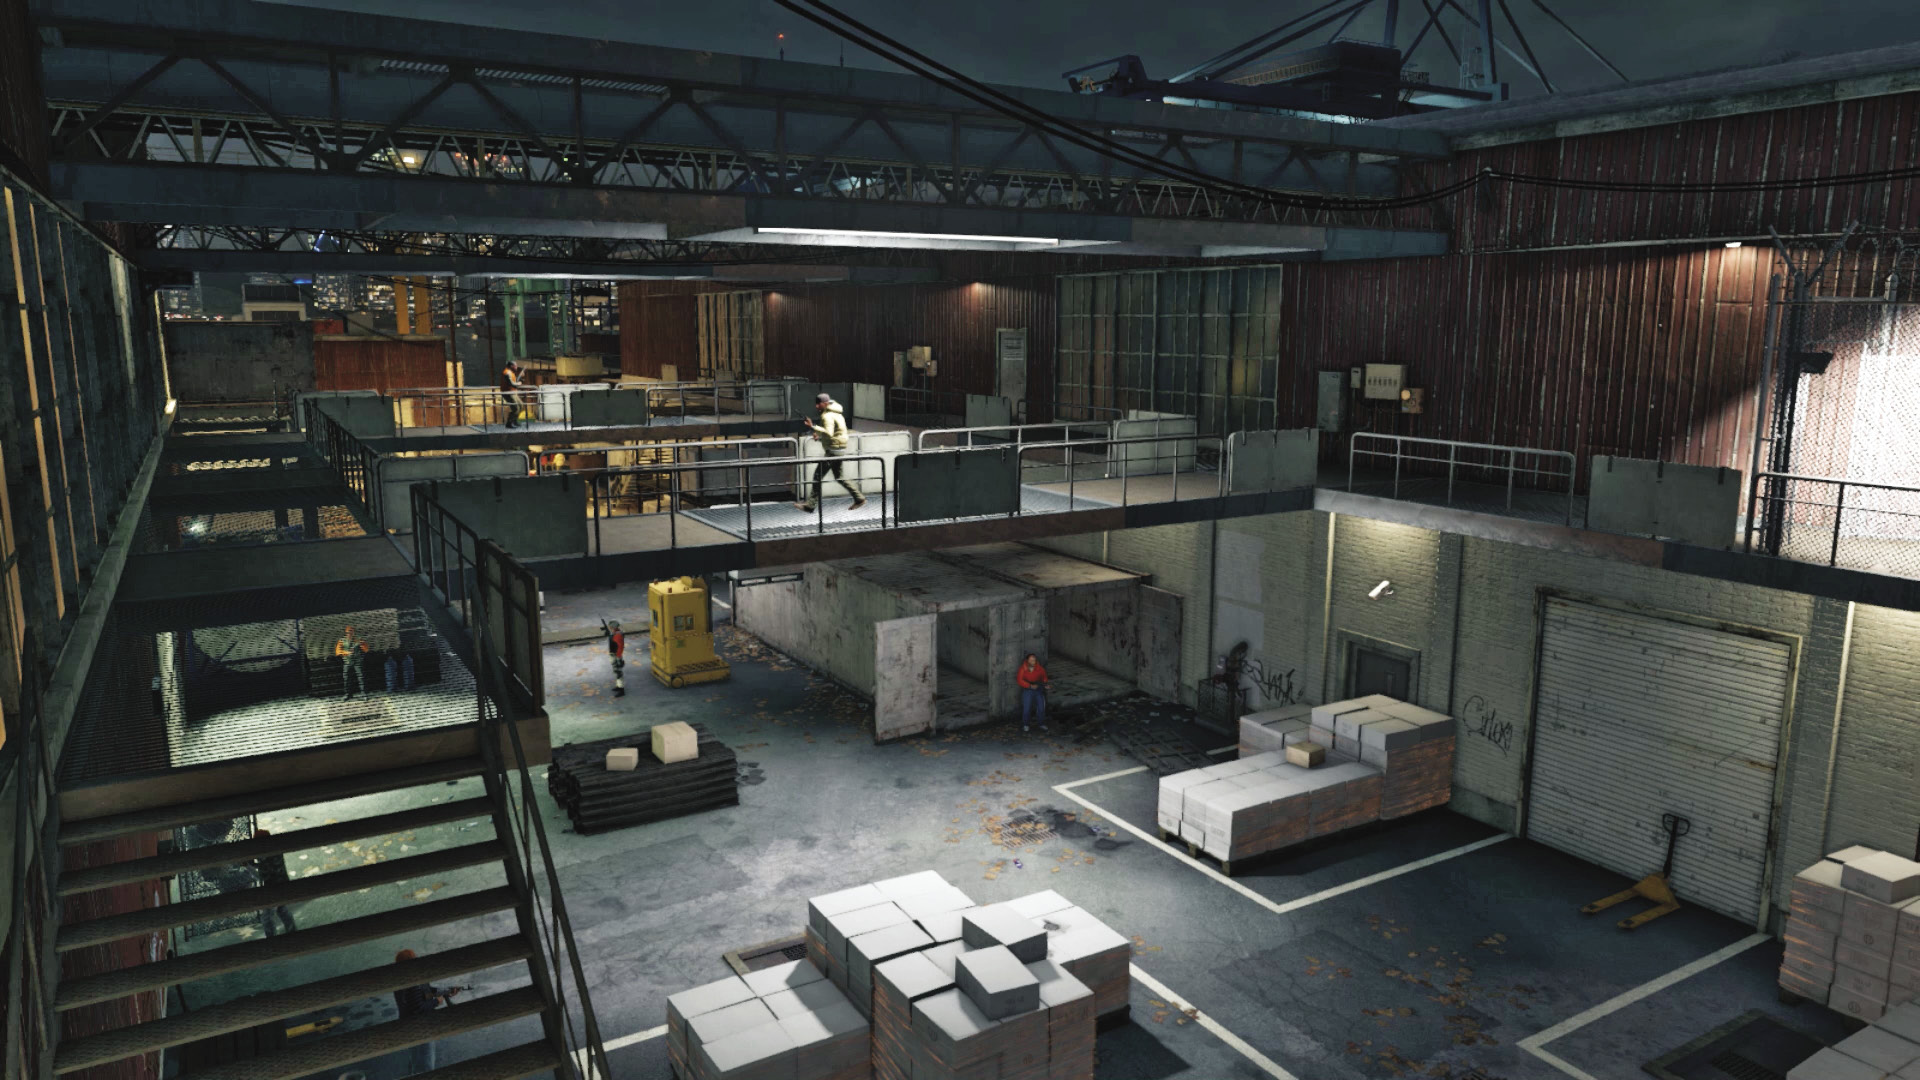
Work under the gantry, turn right, and face the long warehouse floor with over a dozen enemies to worry about. The only advantage you have are the copious hiding spots. Just make sure none of them are near any explosive gas canisters. There’s a portable cabin behind you, which you can hole up at, but otherwise, this is a warehouse filled with cover opportunities. Just watch out for gunfire from the gantries above you.
Upper Gantry
Accessibility Level: 
When looking down the long warehouse, note the steps on either side, which lead up to a gantry with two bridges crossing the warehouse and additional steps at the far end (on either side) that allow you access to the waypoint. Come up here when you want to drop grenades or fire down on foes, but watch for the lack of cover, especially as the enemy can fire up through the gantry. Use the gantry for a quick escape or for varying your route. Mostly, though, you’ll be aiming at foes on this walkway.
Progression Plans
The Viceroys are aware of your presence, and now that you’re out of the auction area, both you and your enemies can be a lot more violent toward each other. You need to escape through this open warehouse, which has an upper gantry and a ground area stacked with crates.
General PreplanningPitiful Firepower: You have your regular collection of weaponry, and hopefully you brought multiple weapons with full ammunition clips. You will be dealing with more enemies than you have before: Keep your explosives for tackling Enforcers in the forthcoming warehouses. Using Technology: You may be outmanned and outgunned, but you have the advantage of technology, and this warehouse is full of traps and cameras to kill and mark your foes with. Use these! Violence Solves Everything: Although stealth tactics are presented below, getting out of here without firing a shot is next to impossible. So focus on honing your Viceroy-popping talents, especially because you receive experience for it. |
 Aggressive // Stealth: From a Creep to a Dash
Difficulty: 
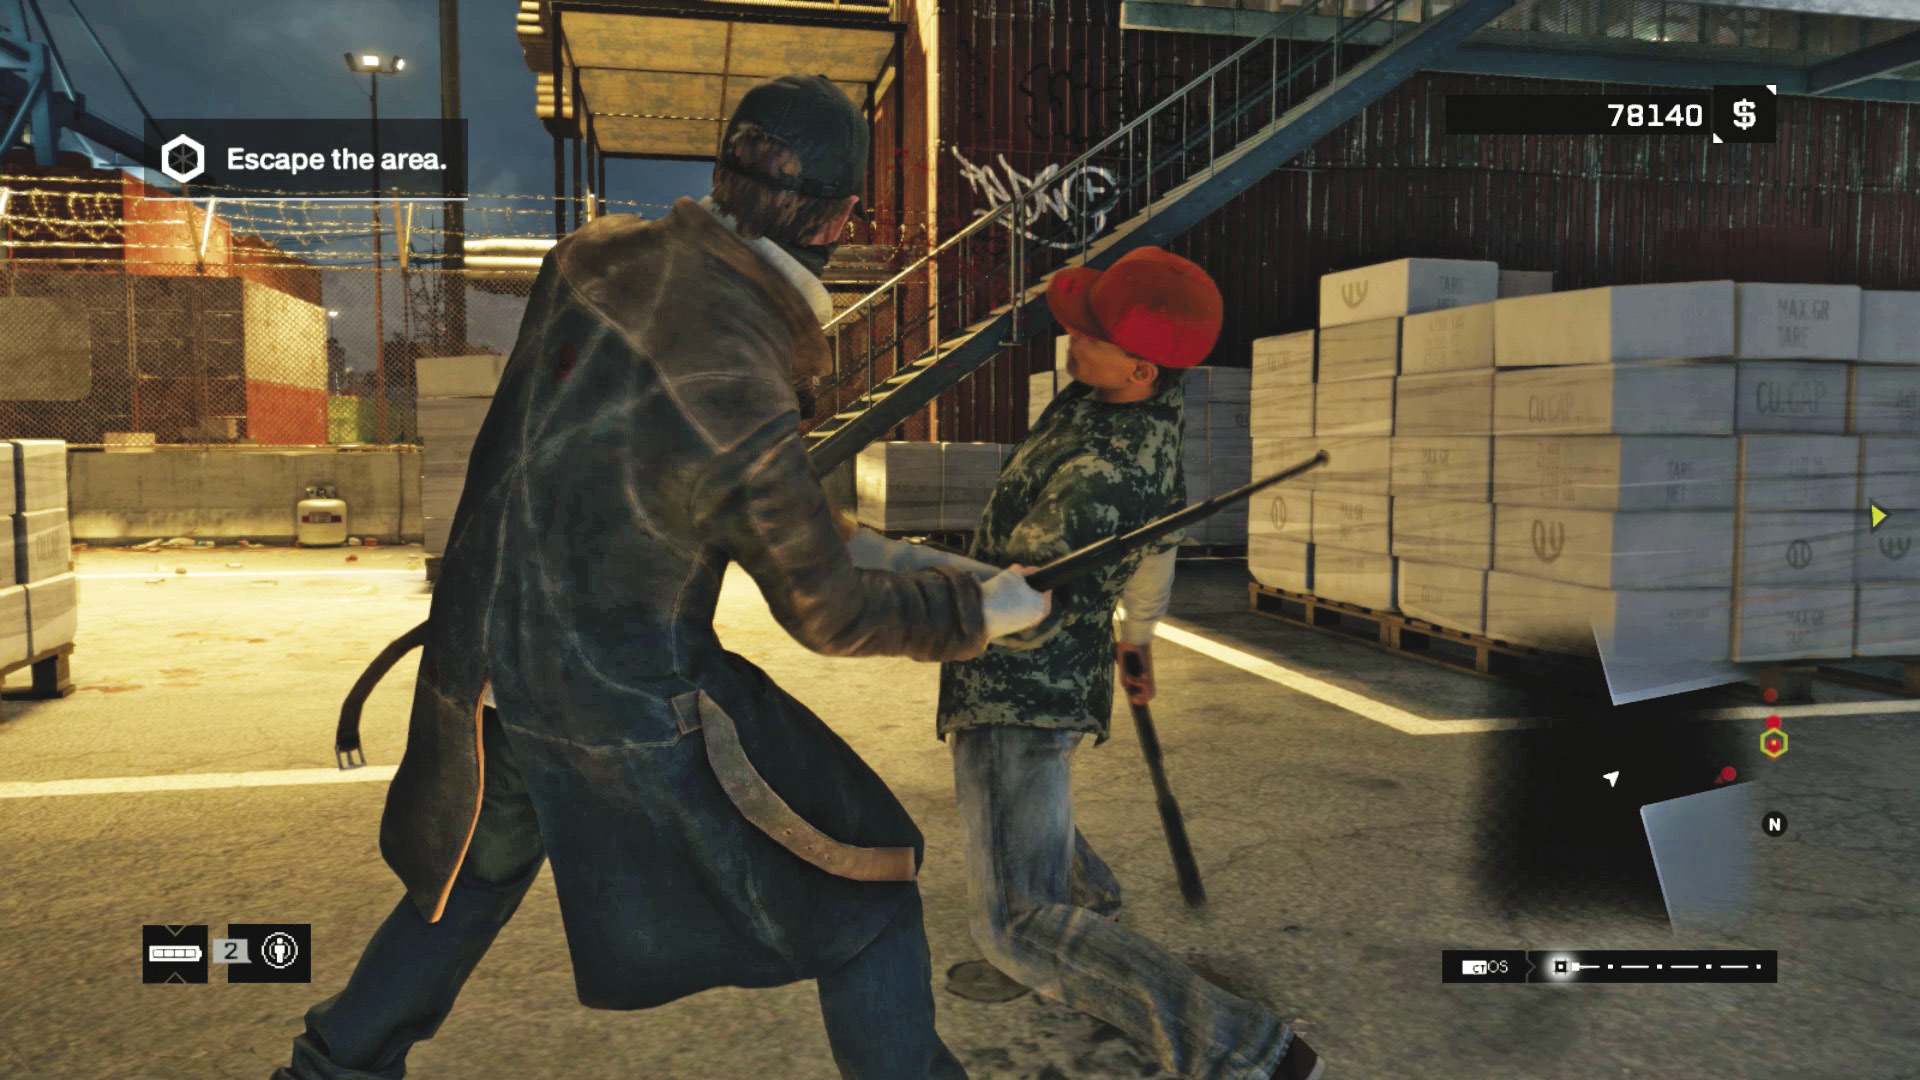
You may be contemplating a stealthy way to maneuver through this warehouse: It’s possible but very difficult. Although you can wait out the enemy, trying to head across the warehouse floor with foes looking at your location and shooting you from above isn’t the best way to get out of here alive. Perhaps the only real chance you have is to sprint toward the right set of metal stairs and race to the warehouse’s opposite end and the waypoint; there’s still a sizable contingent of foes to deal with, and the Enforcer waiting to lay waste to you is almost impossible to avoid.
However, if you haven’t detonated the junction box above the gate, and the enemy isn’t alerted to your presence, you can try to use the same route to creep across. Utilize the forklift and a phone at the bottom of the far-right stairs to attract the enemy. Then pass by or throttle them. Expect this to degenerate into violence; it’s very tricky to move through here without being spotted.
 Aggressive // Smart: Technology to Remotely Crash
 Difficulty:
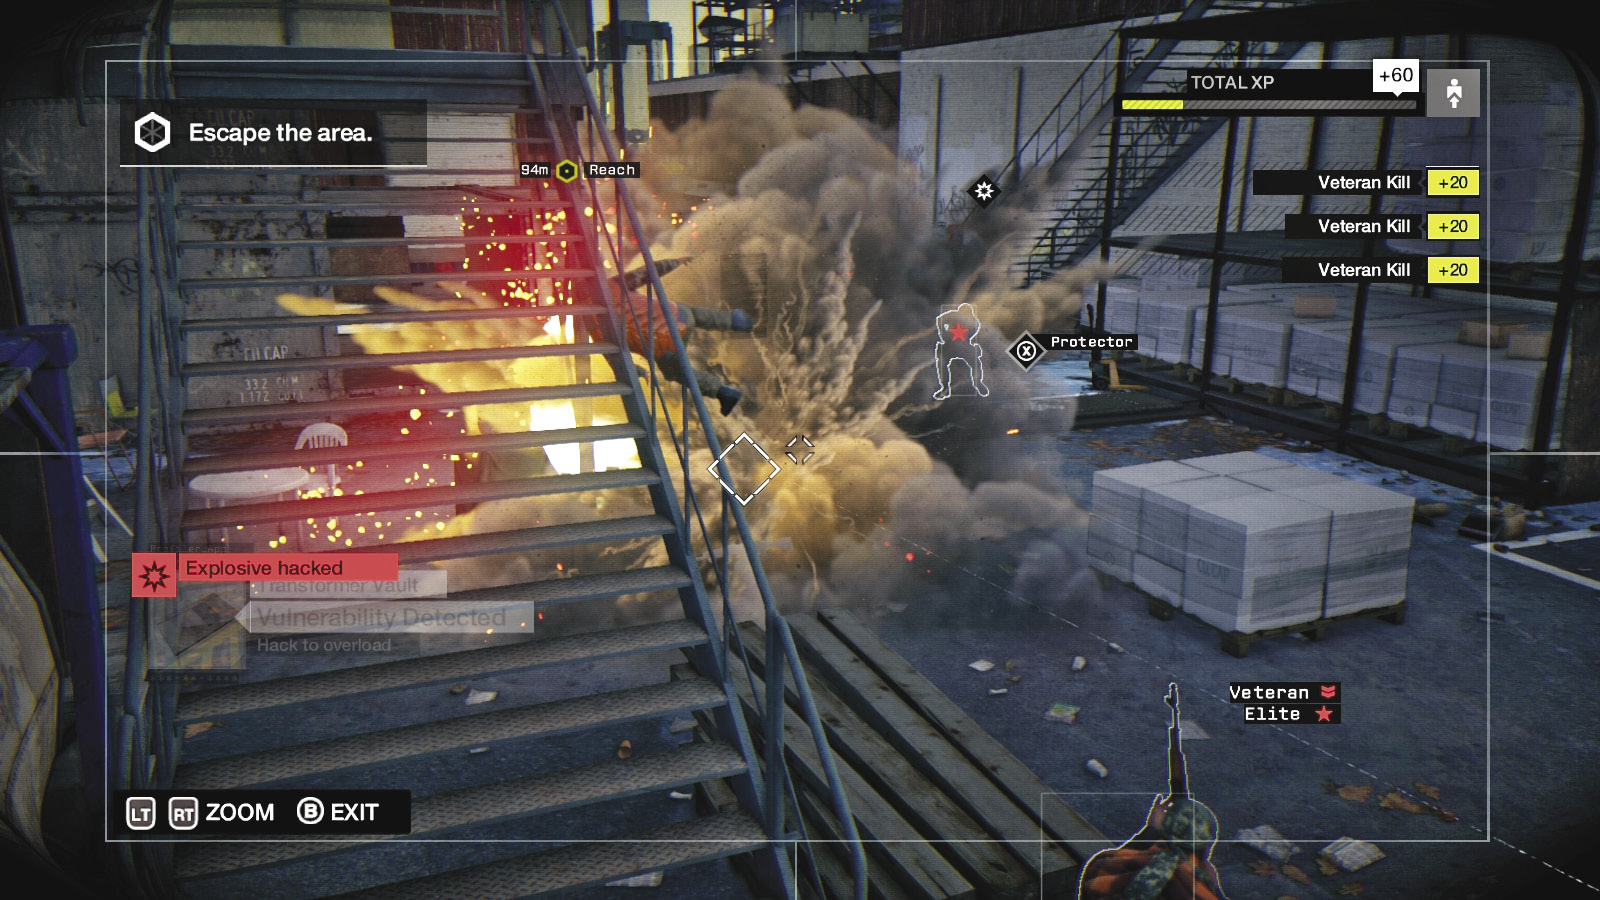
Even before you head through the gate you just unlocked, you can explode the junction box, causing havoc for the two foes above you. After that, use the cameras dotted around the warehouse to fully explore the area, and tag the incoming enemies. Make sure you’re in good cover (e.g., prior to entering the gate or behind the cabin), and then attempt one or more of the following:
Check on the cameras throughout the battle, going back to them to mark foes coming in from the opposite end and watching them step near areas you can detonate. A ctOS scan is also advisable here, but only if you have enough for the next warehouse battle.
There are junction boxes and transformer vaults on the walls and floors. You can use them to your advantage, but it may be better to simply rely on your weaponry than wait for a foe to step into place.
The forklift is less about attracting foes and more about dropping cover in the middle of the warehouse.
Be sure you fire on the gas canisters and the propane tank for impressive explosions that hopefully remove more than one foe at a time.
There are regulators on steam pipes to burst, too, but these are usually at the warehouse’s far end, and combat takes place toward your initial location.
 Aggressive // Violence: Gunfire to Rake and Slash
 Difficulty:
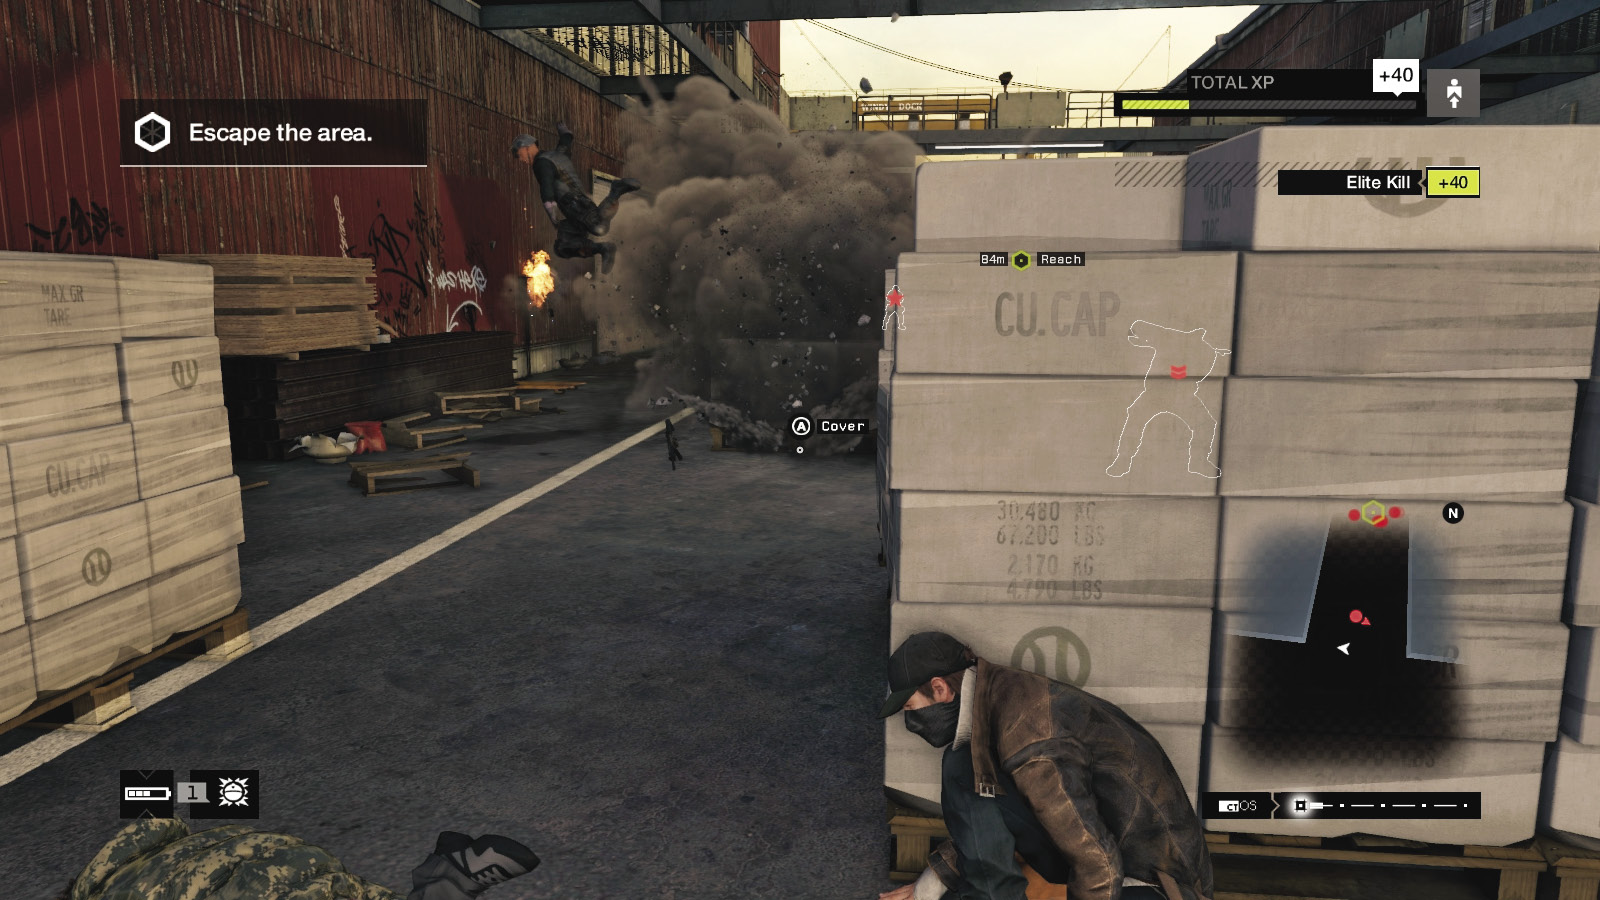
You’ll usually resort to tackling foes with firepower. You should also have grenades and a preferred weapon from any foes you’ve melee-struck. Try any of the following plans:
Wait out the foes at the warehouse’s end, using the crates of boxes as cover. As foes descend the stairs and run in from the opposite end, shoot them, finding a good line of sight. Staying near the cabin or using it as cover allows the enemy to come to you, and you don’t risk being surrounded.
You can also attack from the gantry above, using the metal plated railings as cover. The height advantage means you can more easily remove foes from cover and shoot those on the same gantry area as you. But watch for foes attacking up through the gantry or surrounding you. Keep moving.
Remember to increase your weaponry by picking up dropped weapons. When you run out of other armaments, use AK-47 takedowns.
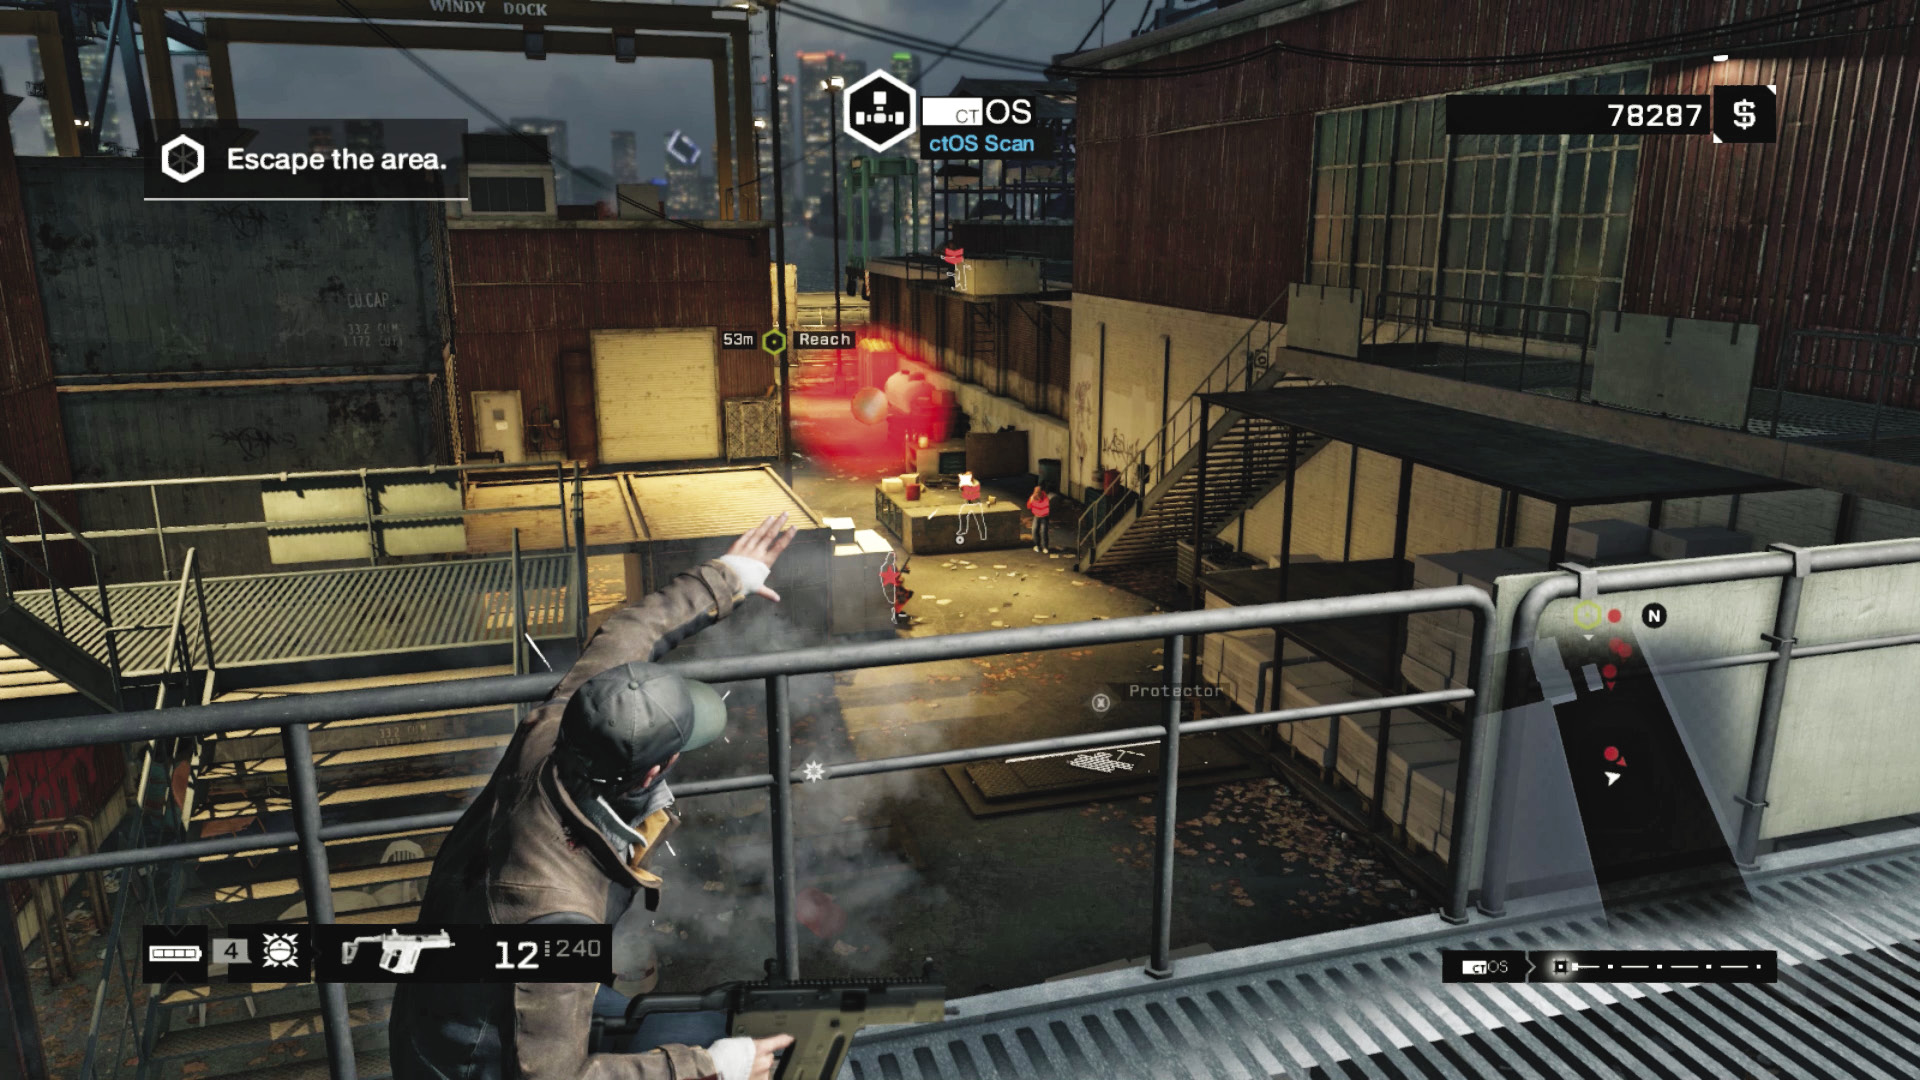
Troublesome foes behind cover can easily be executed if you run in and grab them while wielding a weapon. This is often an easier option than staying in cover and engaging in a lengthy gun battle. Just watch your health.
You may wish to lob in grenades, but there’s a second warehouse full of foes to maneuver through, and keeping them for later might be more helpful. If you don’t, flush out two or more foes behind cover with a single throw.
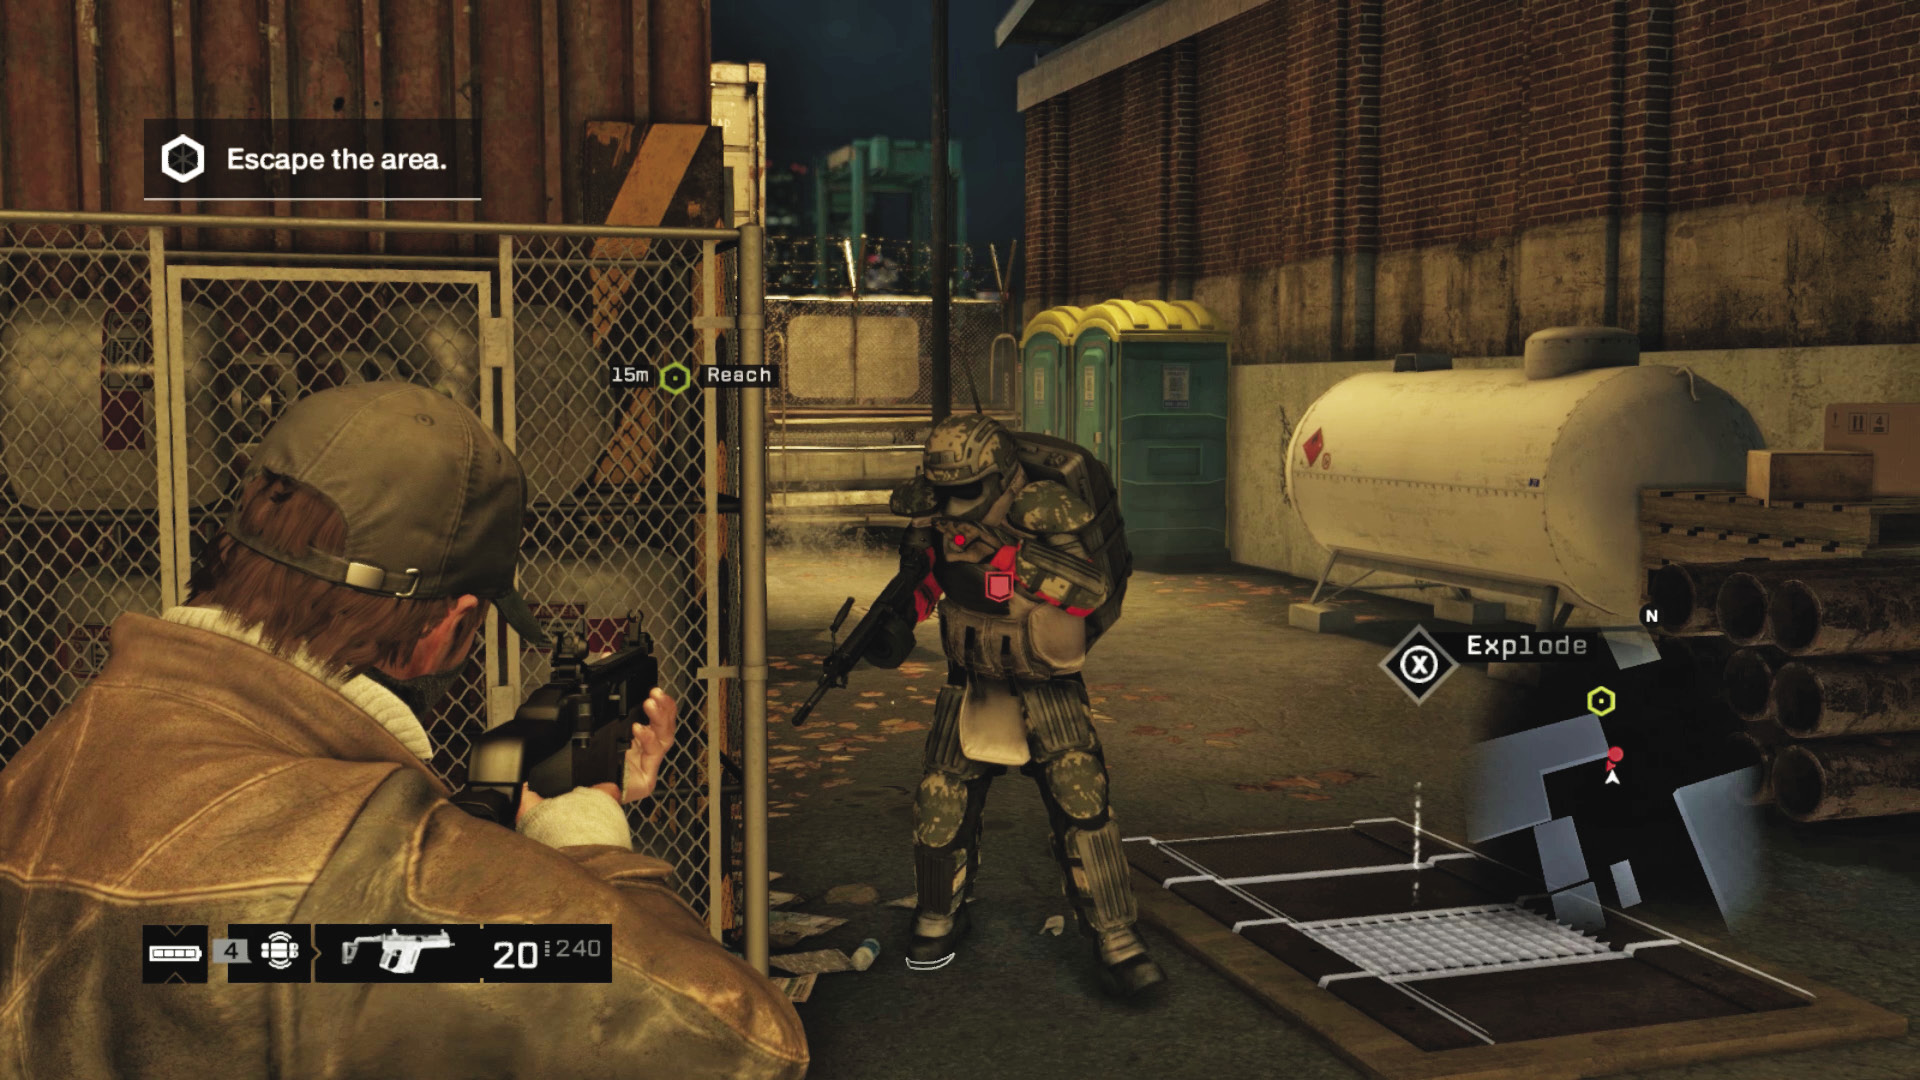
When you approach the waypoint at the warehouse’s end (it’s advisable to do this with no other enemies on your minimap), dash behind cover or raise a protector, as an Enforcer arrives to try finishing you off with an insanely-rapid-fire U100 machine gun. Your best plan here is to explode the propane tank near his entry point, hack a junction box or transformer vault, or fire on a gas can or other explosive. Retreat back, heading up the gantry if necessary to coax this beast into your trap. Or drop him with detonated projectiles (IEDs or grenades). Then stop, go back, and fill up with ammunition before running up the ramp and tumbling down to the pallets for cover as you begin an assault on a second warehouse zone.
12.4 THE WAY OUT (CONTINUED)
 Location / Brandon Docks // Skipsun Boat Storage
|
|
 Escape the area (continued)
 Escape
 Lethal Force Likely
 Melee Force Likely
Difficulty: 
Overview
Completion Point: Opposite end of this warehouse structure.
Dangers (Fourth Wave): Eleven Viceroys (Veteran x4, Elite x2, Enforcer x2, Marksmen x3) in yard and garage. Three Shot-Callers. Armed with shotguns and automatic rifles.
Reinforcements: Usually two Viceroys (Veteran x2 or Elite x2) appearing from side walls. A maximum of two sets of reinforcements is typically called.
Dangers (Fifth Wave): Four Viceroys (Veteran x1, Elite x1, Enforcer x1, Marksman x1), behind rear of warehouse. No Shot-Callers. Armed with shotguns and automatic rifles.
Insertion Points
You’re in an unloading and storage area with a sizable force of foes to contend with. Unlike the previous altercation, there are numerous methods to access the warehouse, and this is where you need to reach. Knowing the many entrances into the warehouse and what to expect when you’re inside is also crucial:
Storage Forecourt: Left Metal Building and Stairs
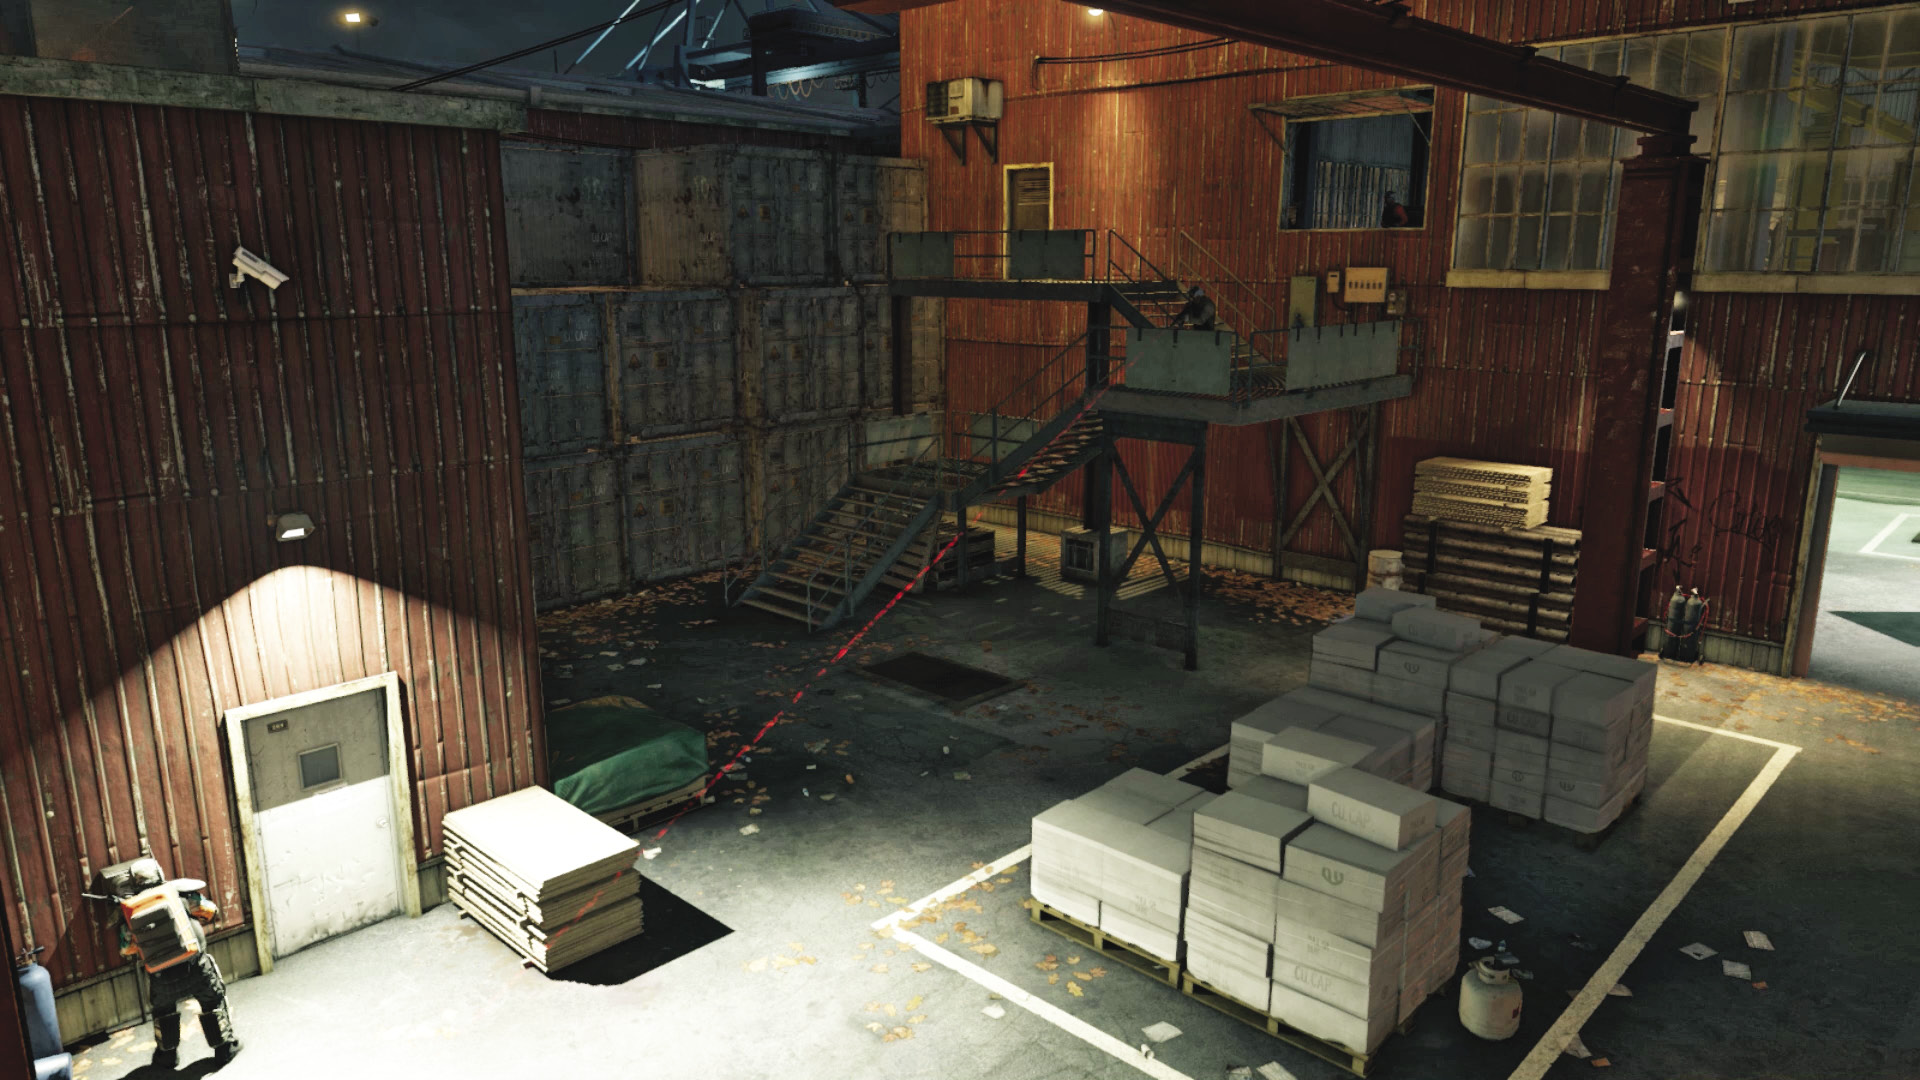
Accessibility Level: 
You’re exposed as you run across here unless you use the middle storage shelves for cover. Also be prepared for two snipers near the top of the metal stairs or inside the warehouse window. If you can sneak or rush this area, you can easily insert yourself into the warehouse via the door atop the stairs, or you can sprint across and hack the garage door.
Storage Forecourt: Central Storage Area
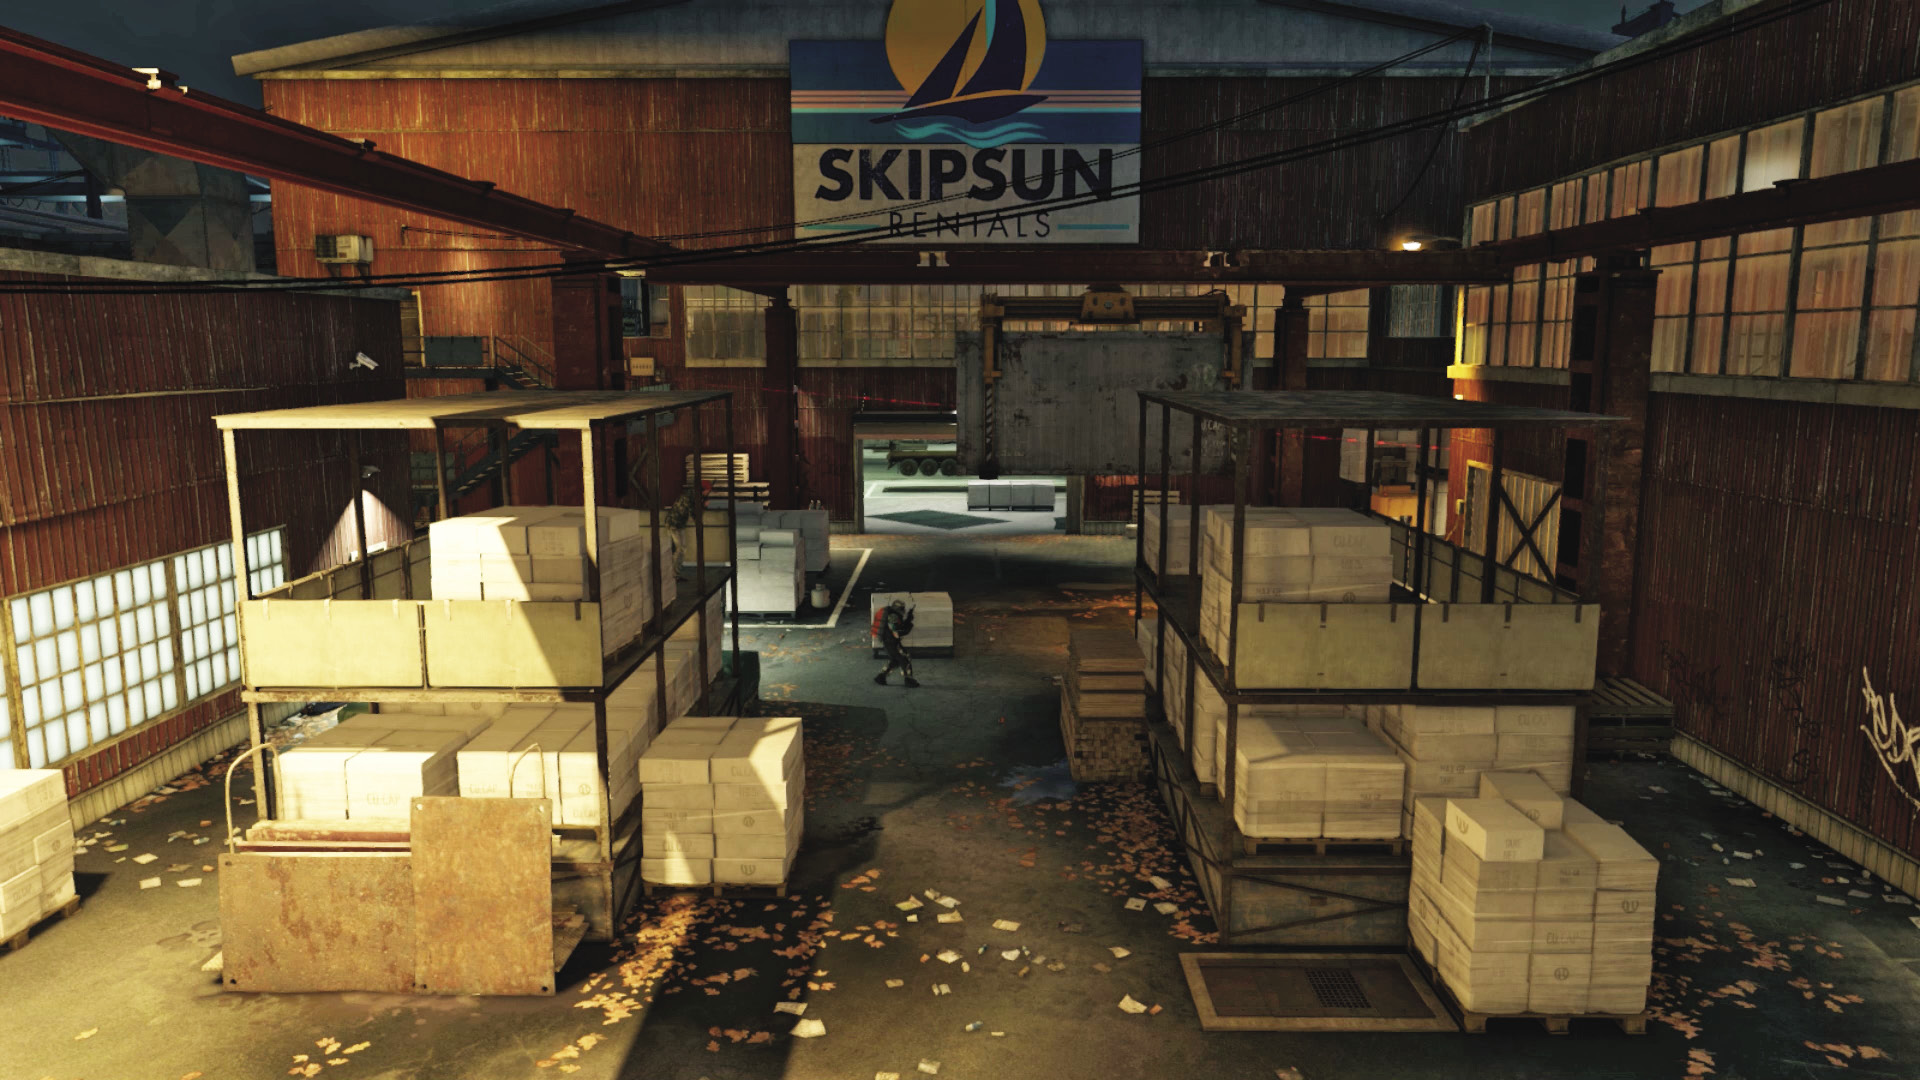
Accessibility Level: 
Expect foes on this structure and milling around it. If you decide to maneuver through these scaffold storage areas, expect more combat in this high-traffic area, though there’s a few spots of cover too. You have a straight shot to the garage door; it’s worth opening it ahead of time or moving the forklift to allow multiple ways of accessing the warehouse and dropping the crane container—ideally on an Enforcer. At the very least, it will afford you some extra cover.
Storage Forecourt: Right Metal Building Interior
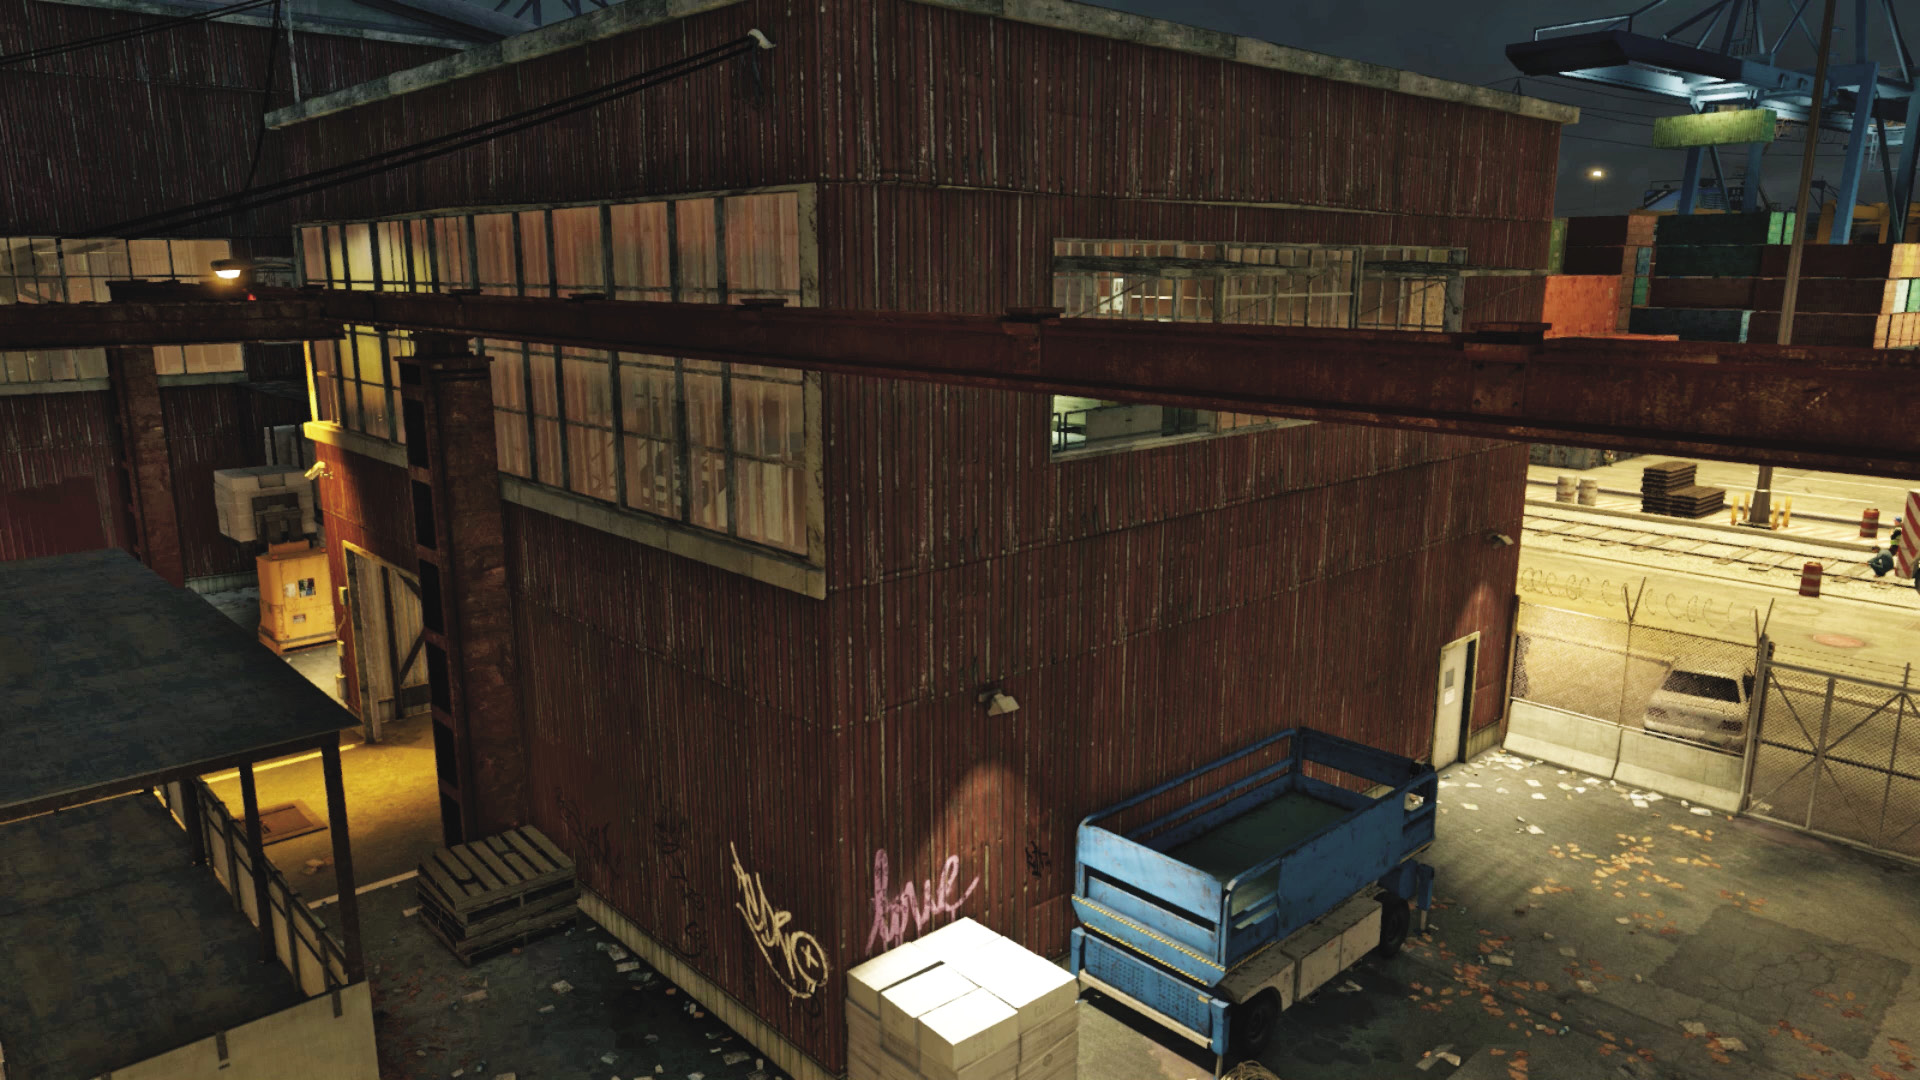
Accessibility Level: 
You can access this from the open area to the right of the central storage area, or hop onto a scissor lift and ascend to this walkway, small pallet collection, and steps back down to the ground floor. Foes congregate here, and some can be hard to remove due to their excellent cover. Expect a sniper on the right metal walkway into the warehouse. However, if you’re quick, you can vault from the lift, fight your way through the upper floor, and cross the walkway into the warehouse.
Warehouse Entrance: Door Atop Metal Stairs
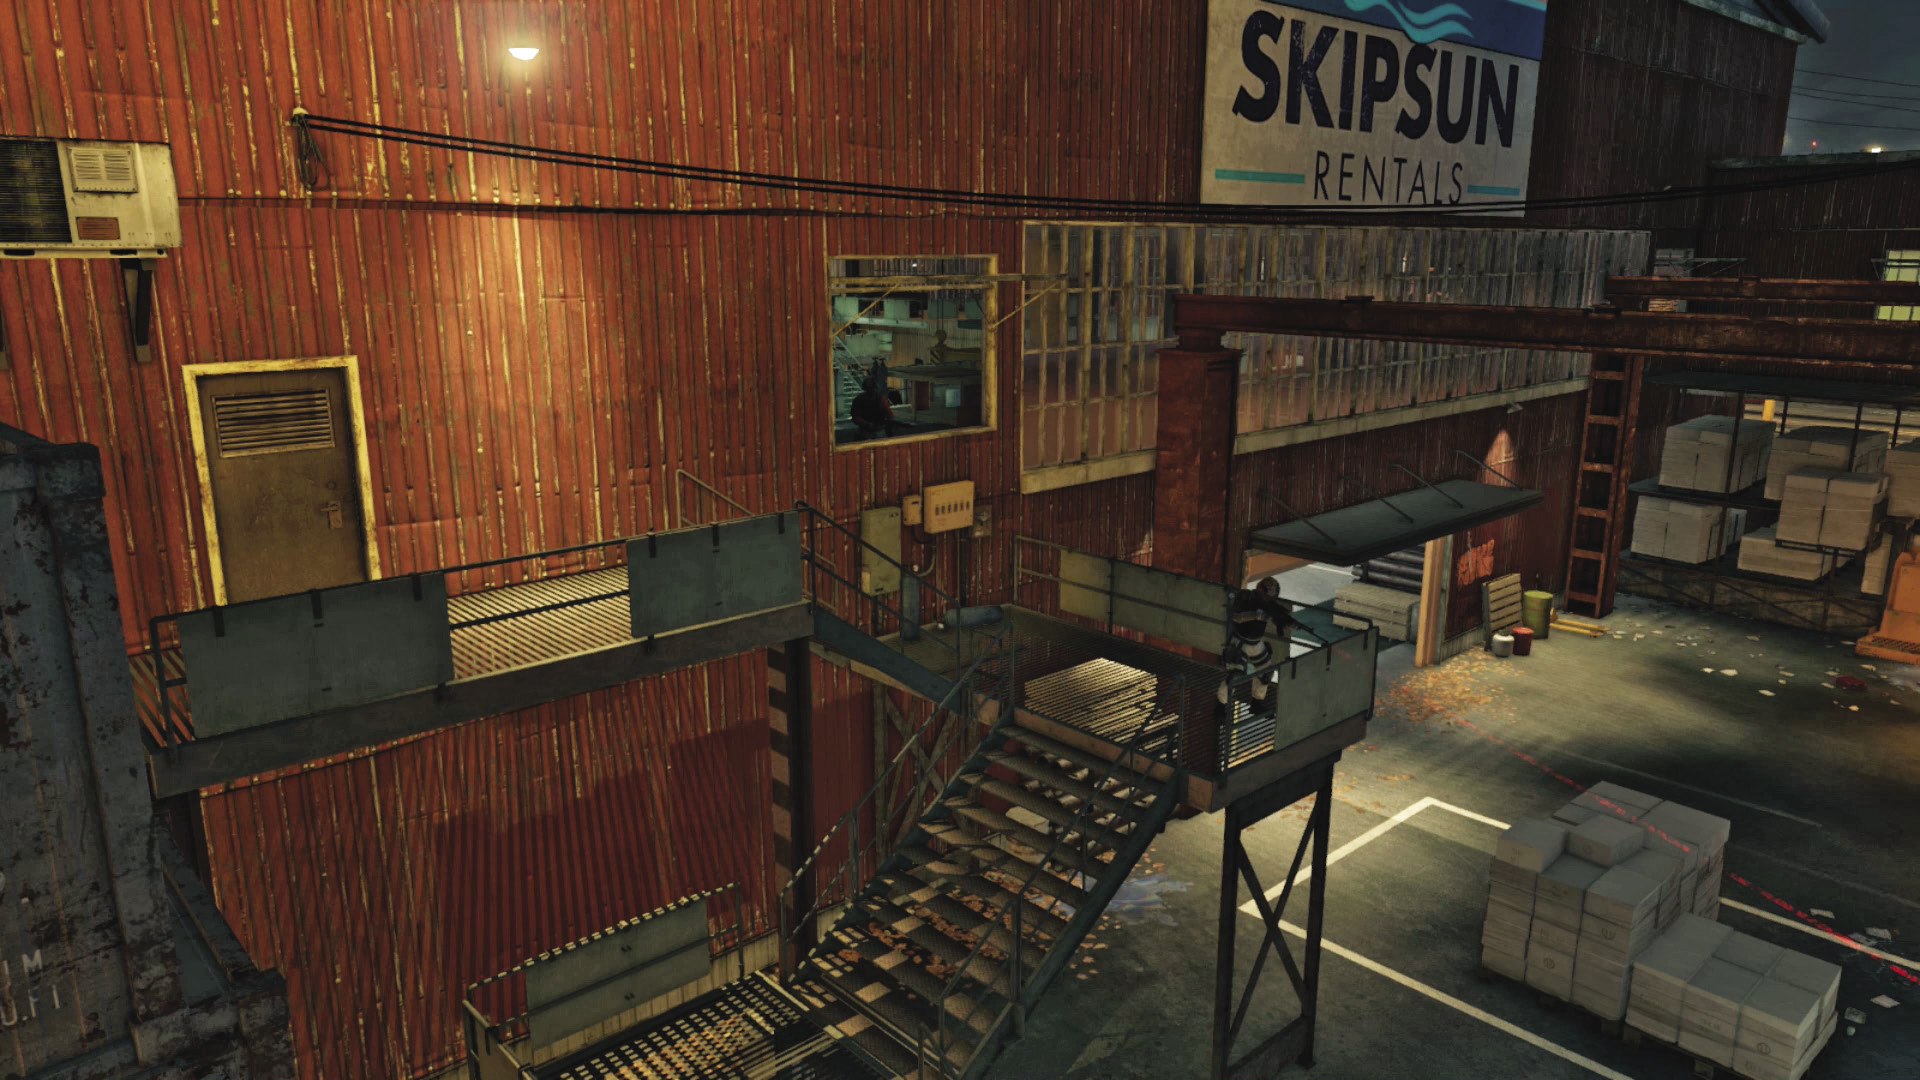
Accessibility Level: 
This door atop the left metal stairs leads to the warehouse’s left balcony. Enter here or climb up through the window above the junction box (once you smash the glass). You can access the balcony all the way around, drop to the top of containers, move to the crane lift, or head down the steps.
Warehouse Entrance: Ground Garage Door
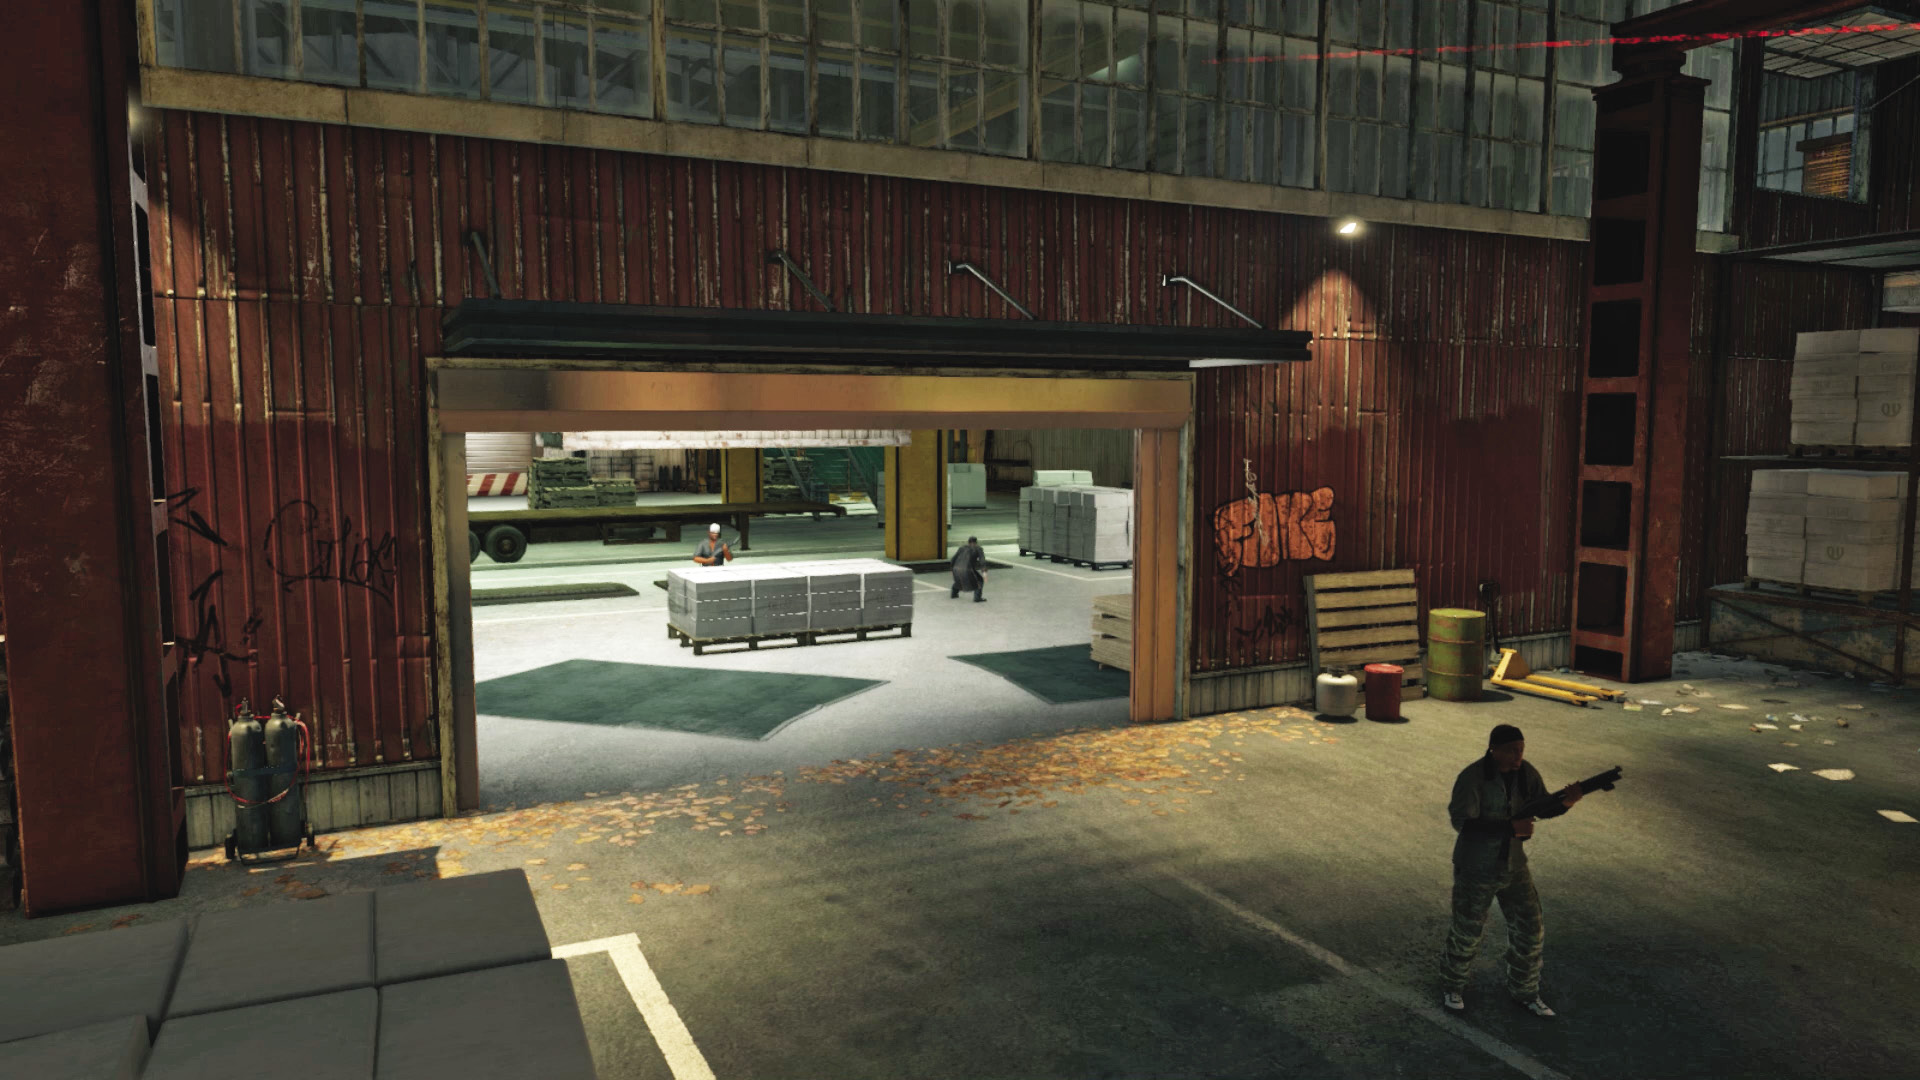
Accessibility Level: 
Expect additional foes at this point, including a third sniper on the far balcony and a second Enforcer, which is perhaps the least safe route into the warehouse. You can scatter, behind pallets or up the left metal stairs when you enter. Otherwise, you’re running the gauntlet to the protectors at the garage door on the opposite side—your final objective waypoint.
Warehouse Entrance: Forklift to Open Window
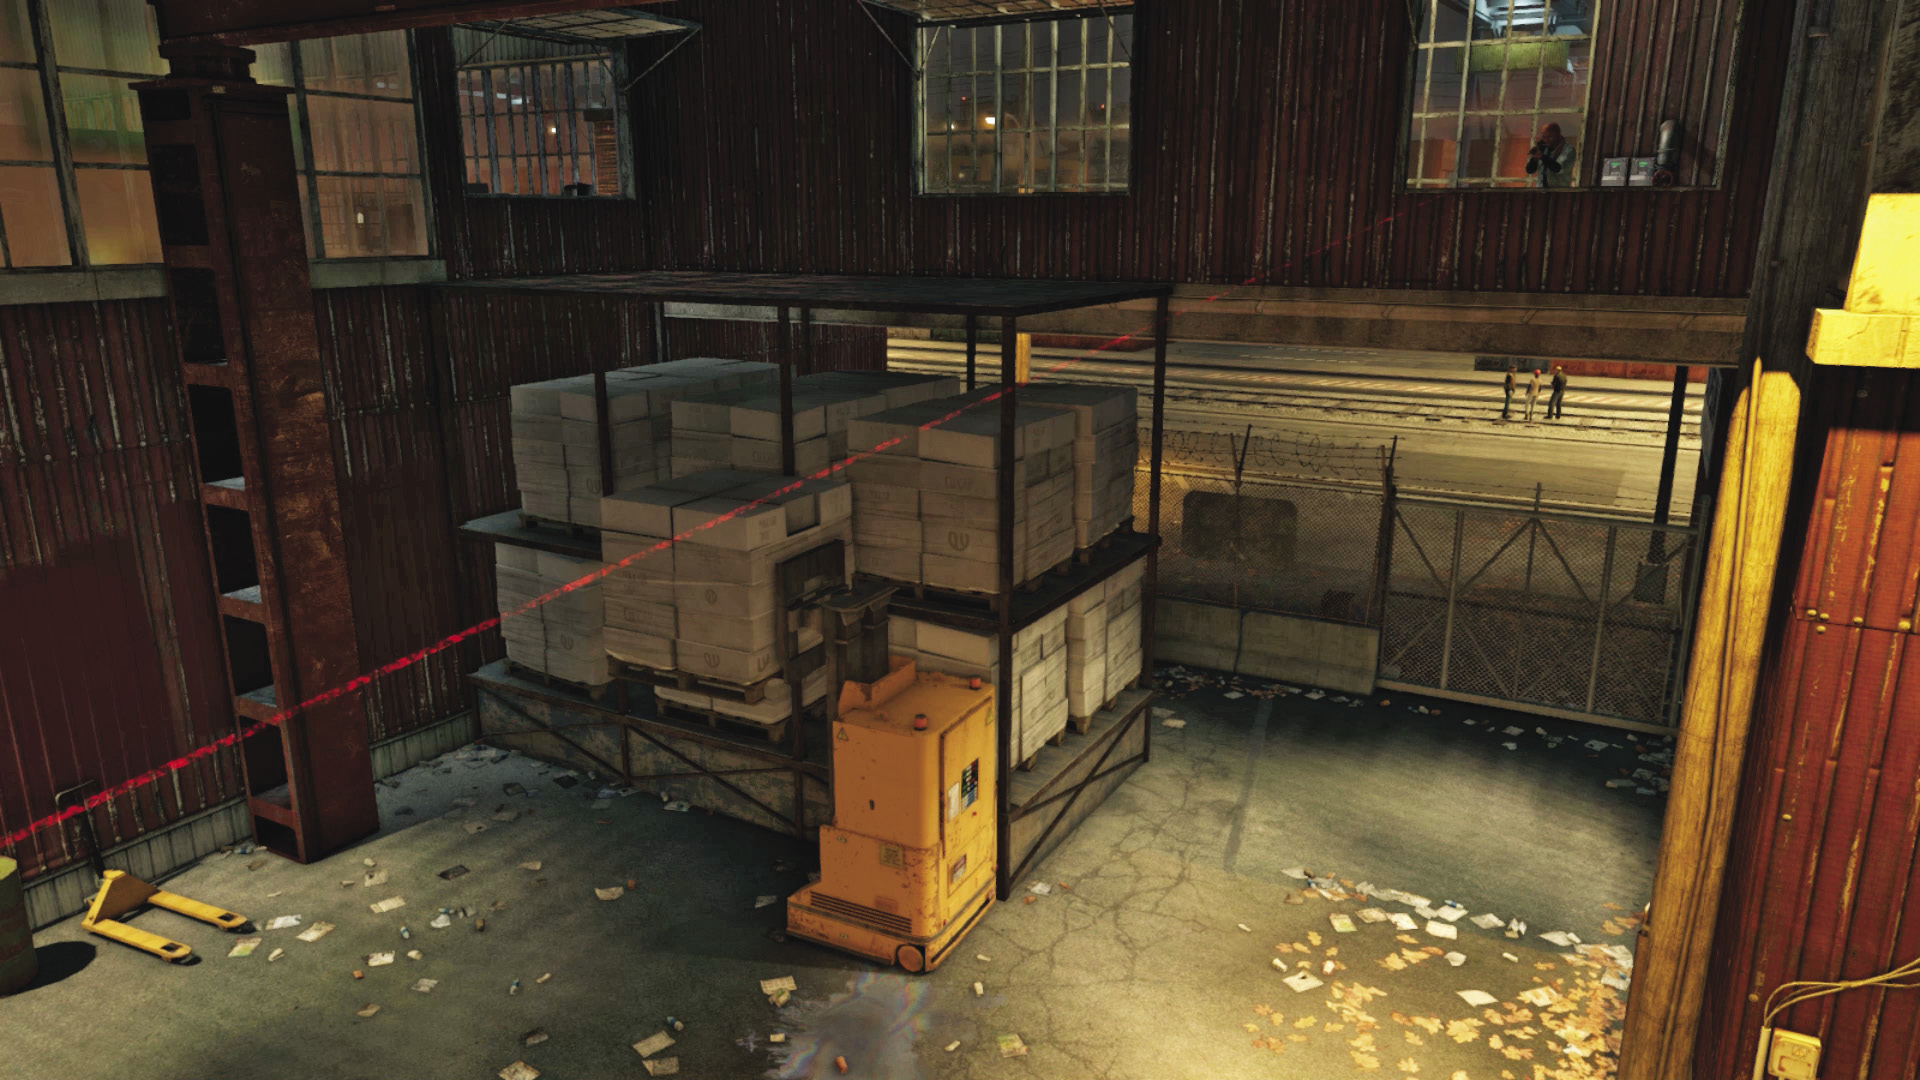
Accessibility Level: 
Lower the forklift in the main storage forecourt. Quickly scramble up to the open window and vault into the warehouse. The route is narrow, you’re susceptible to enemy attacks (especially from the sniper), and you need to watch foes coming in from the walkway to your right, but this offers good access to the balcony and to the crane lift.
Warehouse Entrance: Right Metal Building Walkway
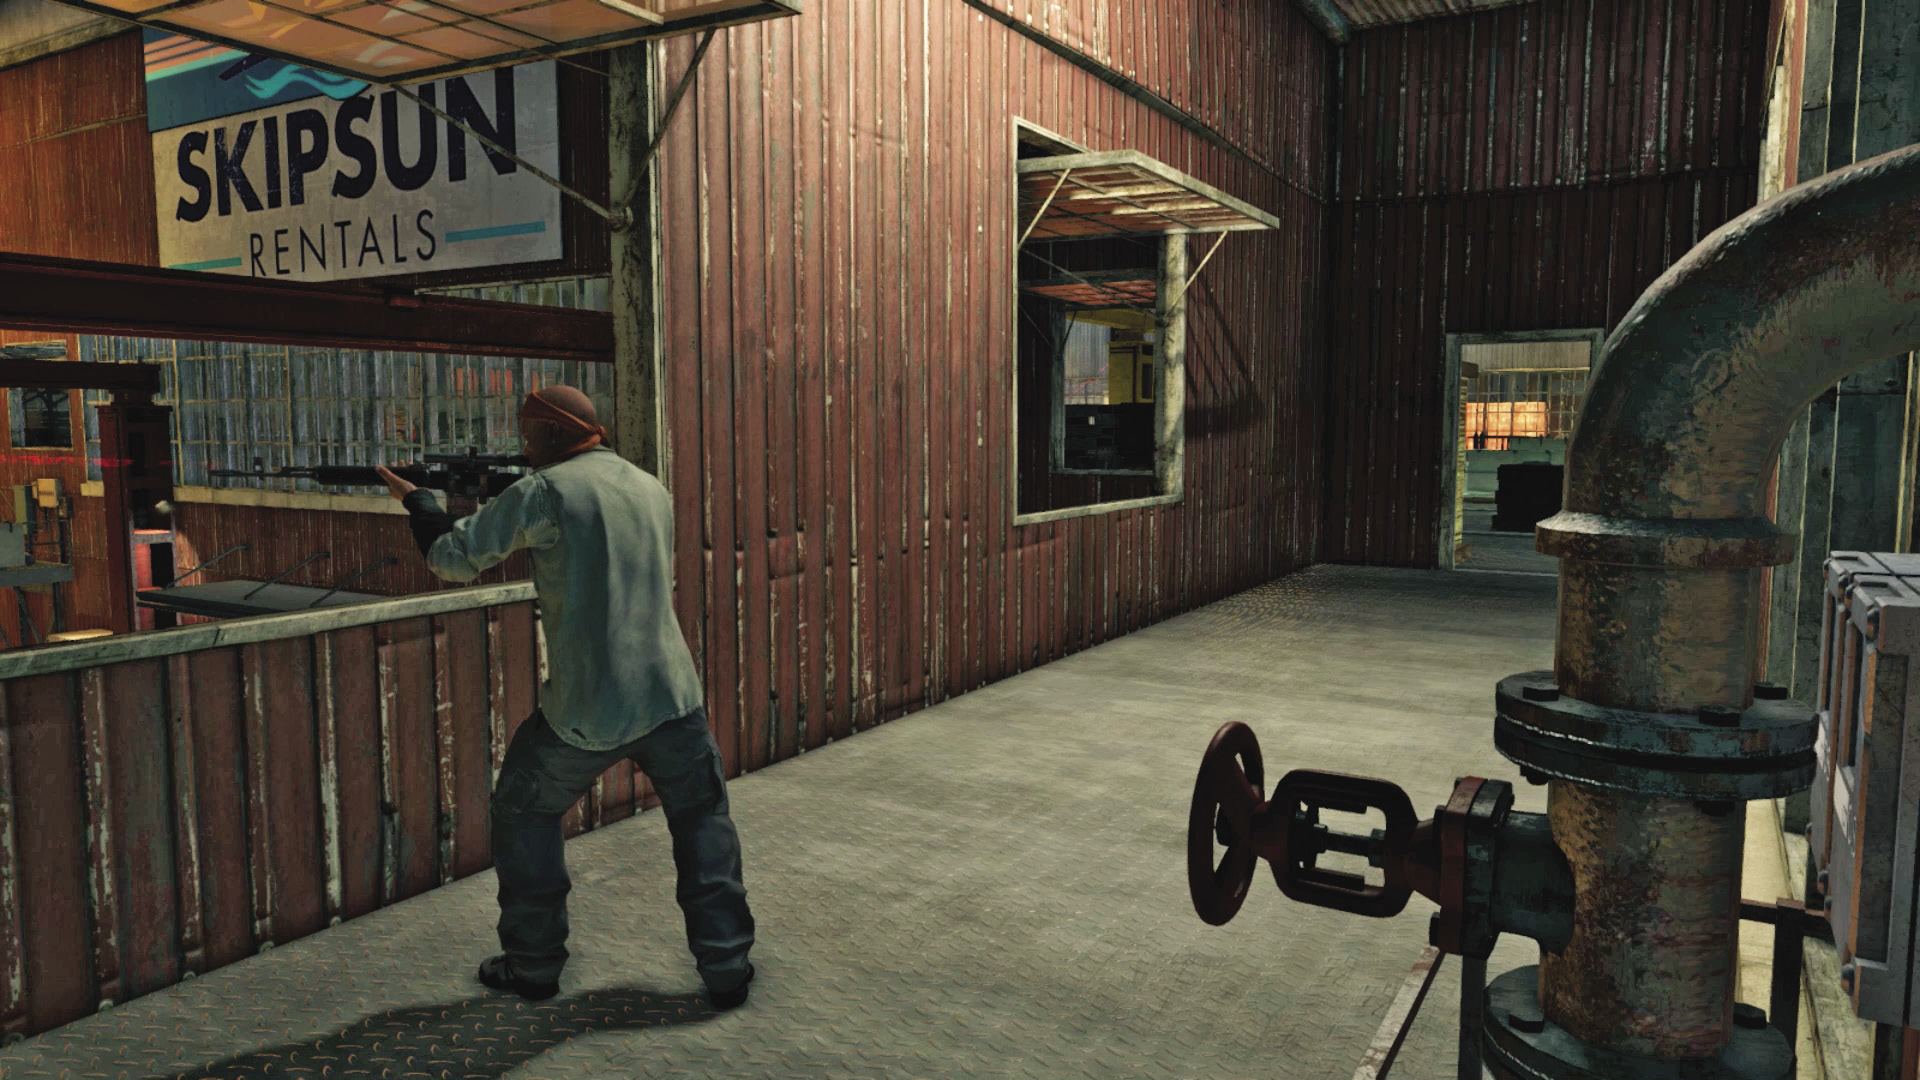
Accessibility Level: 
Assuming you’re maneuvering through the right metal building, continue along this walkway and enter the warehouse just to the right of the open window above the forklift truck. The route is narrow and enclosed, and foes in the warehouse are difficult to remove, but you have the same access to the crane lift and balcony once you’re through.
Warehouse Interior to Exit
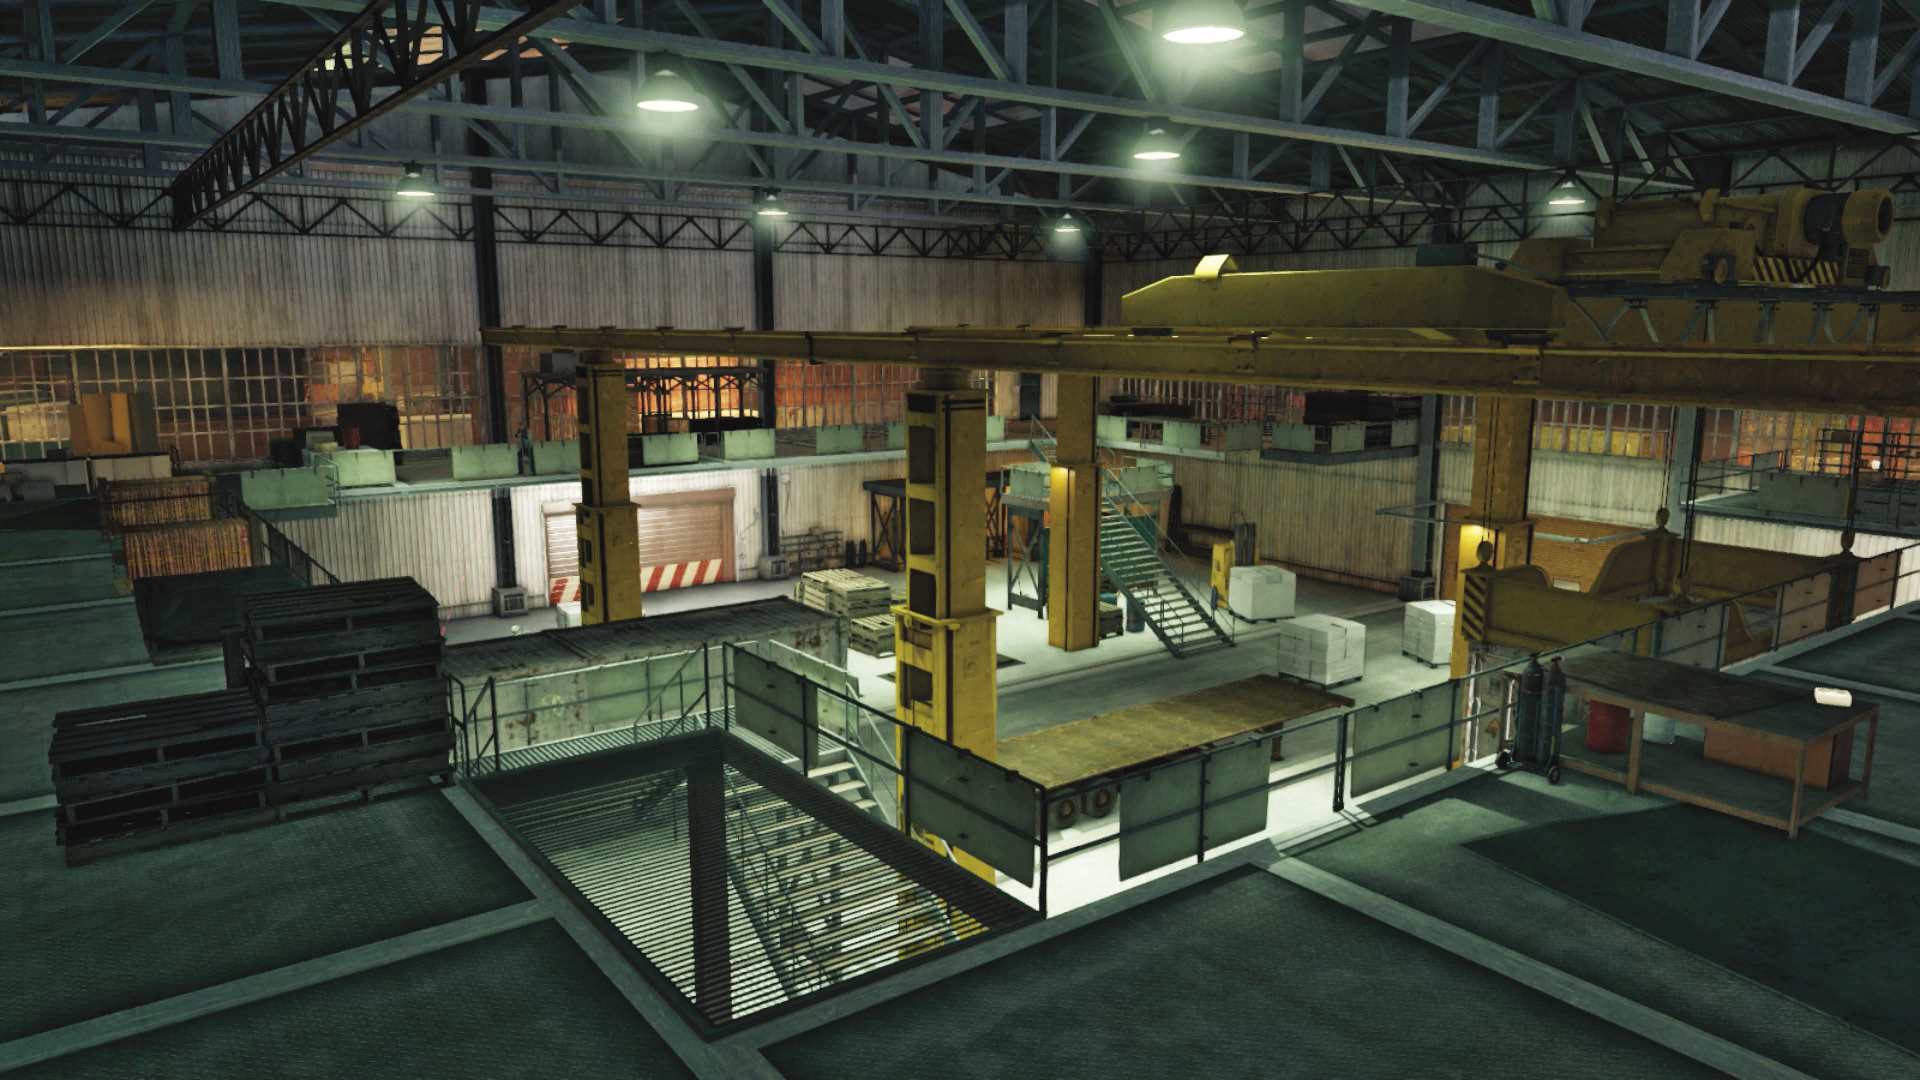
Accessibility Level: 
Study the many helpful facets of this warehouse, particularly the crane lift, which moves you across the warehouse and shields you from enemy fire while you drop projectiles. Otherwise, the top balconies are a good place to fire down or lob grenades, and the metal stairs to the ground are one way of accessing either floor. Remember there are protectors near the garage door exit to spring up and hide behind, too.
Progression Plans
Your continuing escape plan faces some minor setbacks due to the increased enemy presence and wider expanse of area you can be caught in. Use the following plans to gain the upper hand:
 Passive // Flee: Shrugging off the Pain
Difficulty: 
It isn’t a particularly safe or clever move, but if you plan on fleeing without engaging in combat, or if you need to lob a grenade to distract your foes before taking off for an escape sprint, you might as well open the garage door first, rush toward that area (or take the steps to the left or the right metal building stairs), run under the crane lift, and open the other garage door to make a break for freedom. Do this before all the enemies figure out where you are.
 Aggressive // Stealth: Swinging a Baton to the Brain
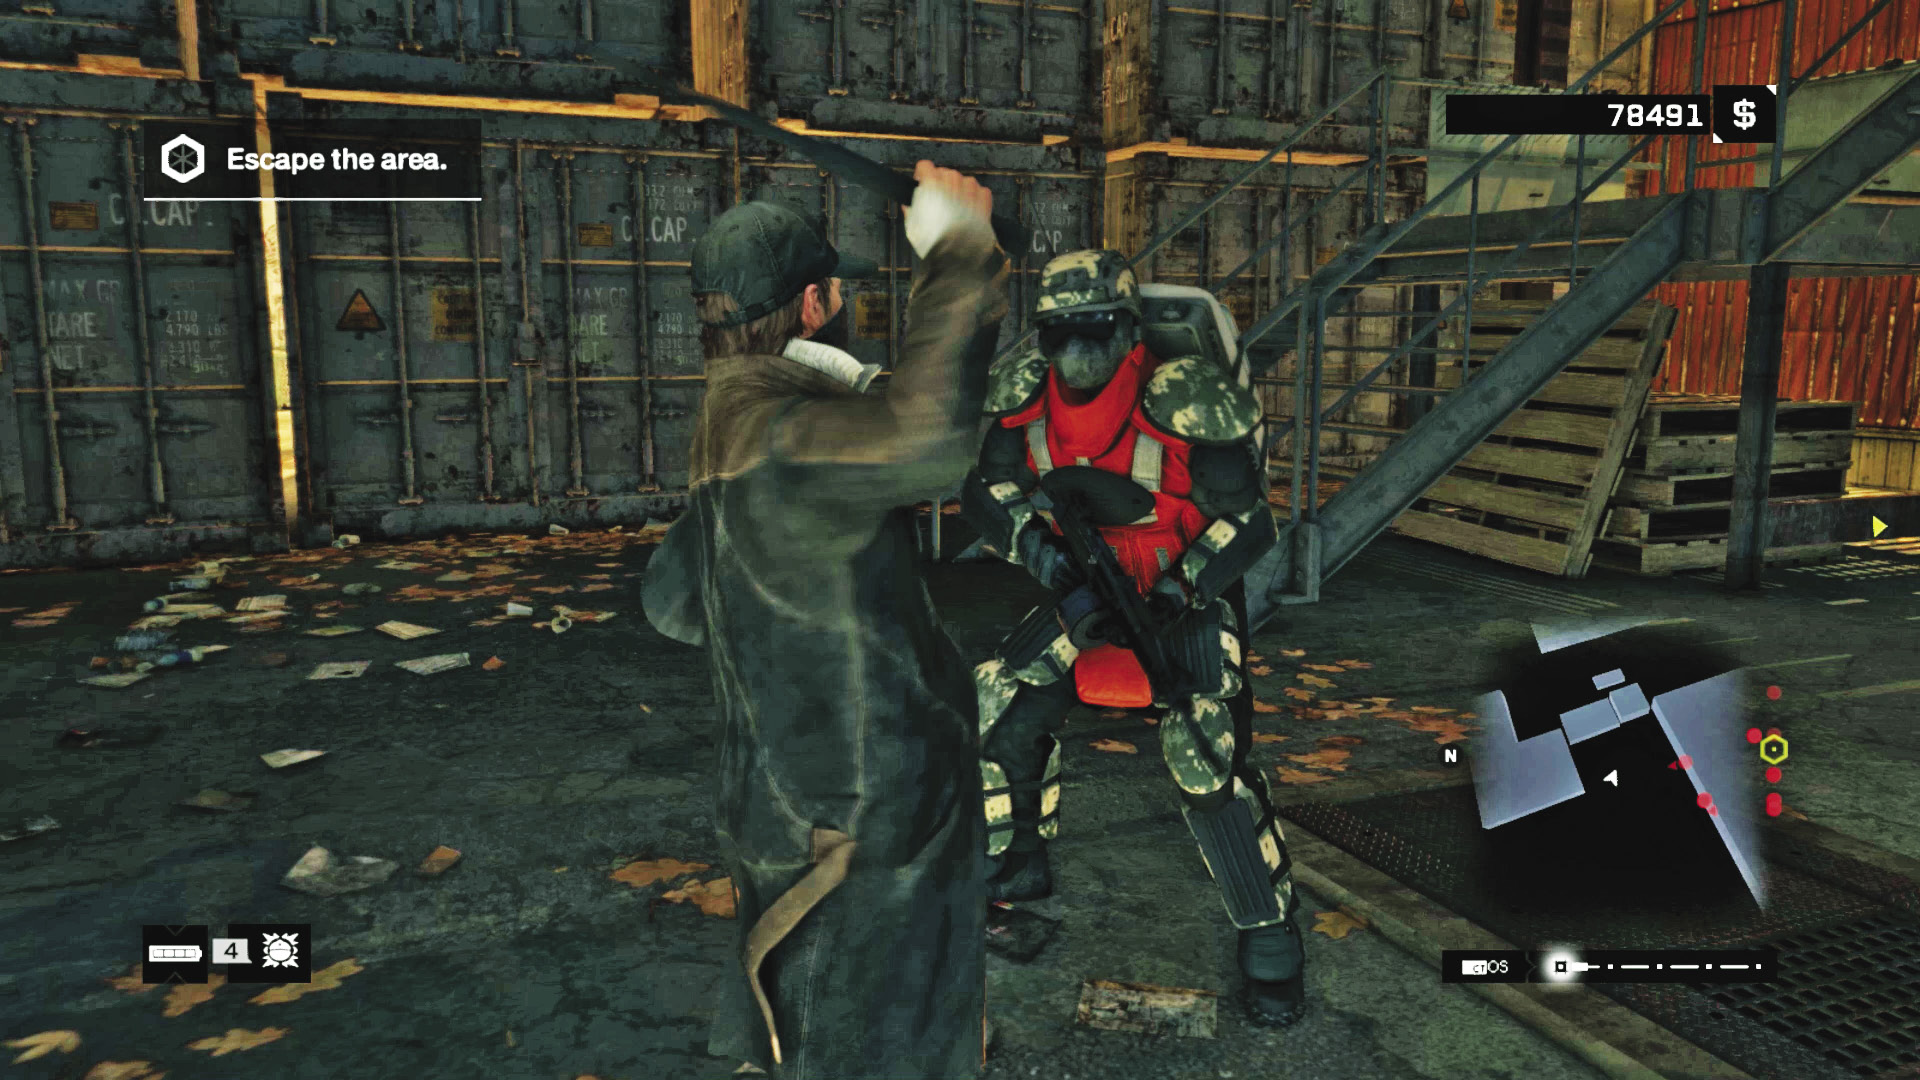
Difficulty: 
Relying solely on melee attacks is only recommended if you somehow managed to complete the previous warehouse run without raising the alarm. If the foes don’t have you in their sights, it is possible (but highly improbable) to sneak across the scissor lift, hop over to the upper floor, and maneuver through to the walkway and into the warehouse, strangling foes on your path along the way.
Once inside the warehouse, move left, trying to thwart the snipers on the left metal stairwell leading back outside. Finish any foes on the ground and in the storage scaffold (climb up into the scaffold). As always, insanely competent timing is required, as well as fixating your gaze on the direction everyone is facing on your minimap. And be sure you’ve bought the skill allowing you to bash in both the Enforcers.
 Aggressive // Smart: Riding on a Crane
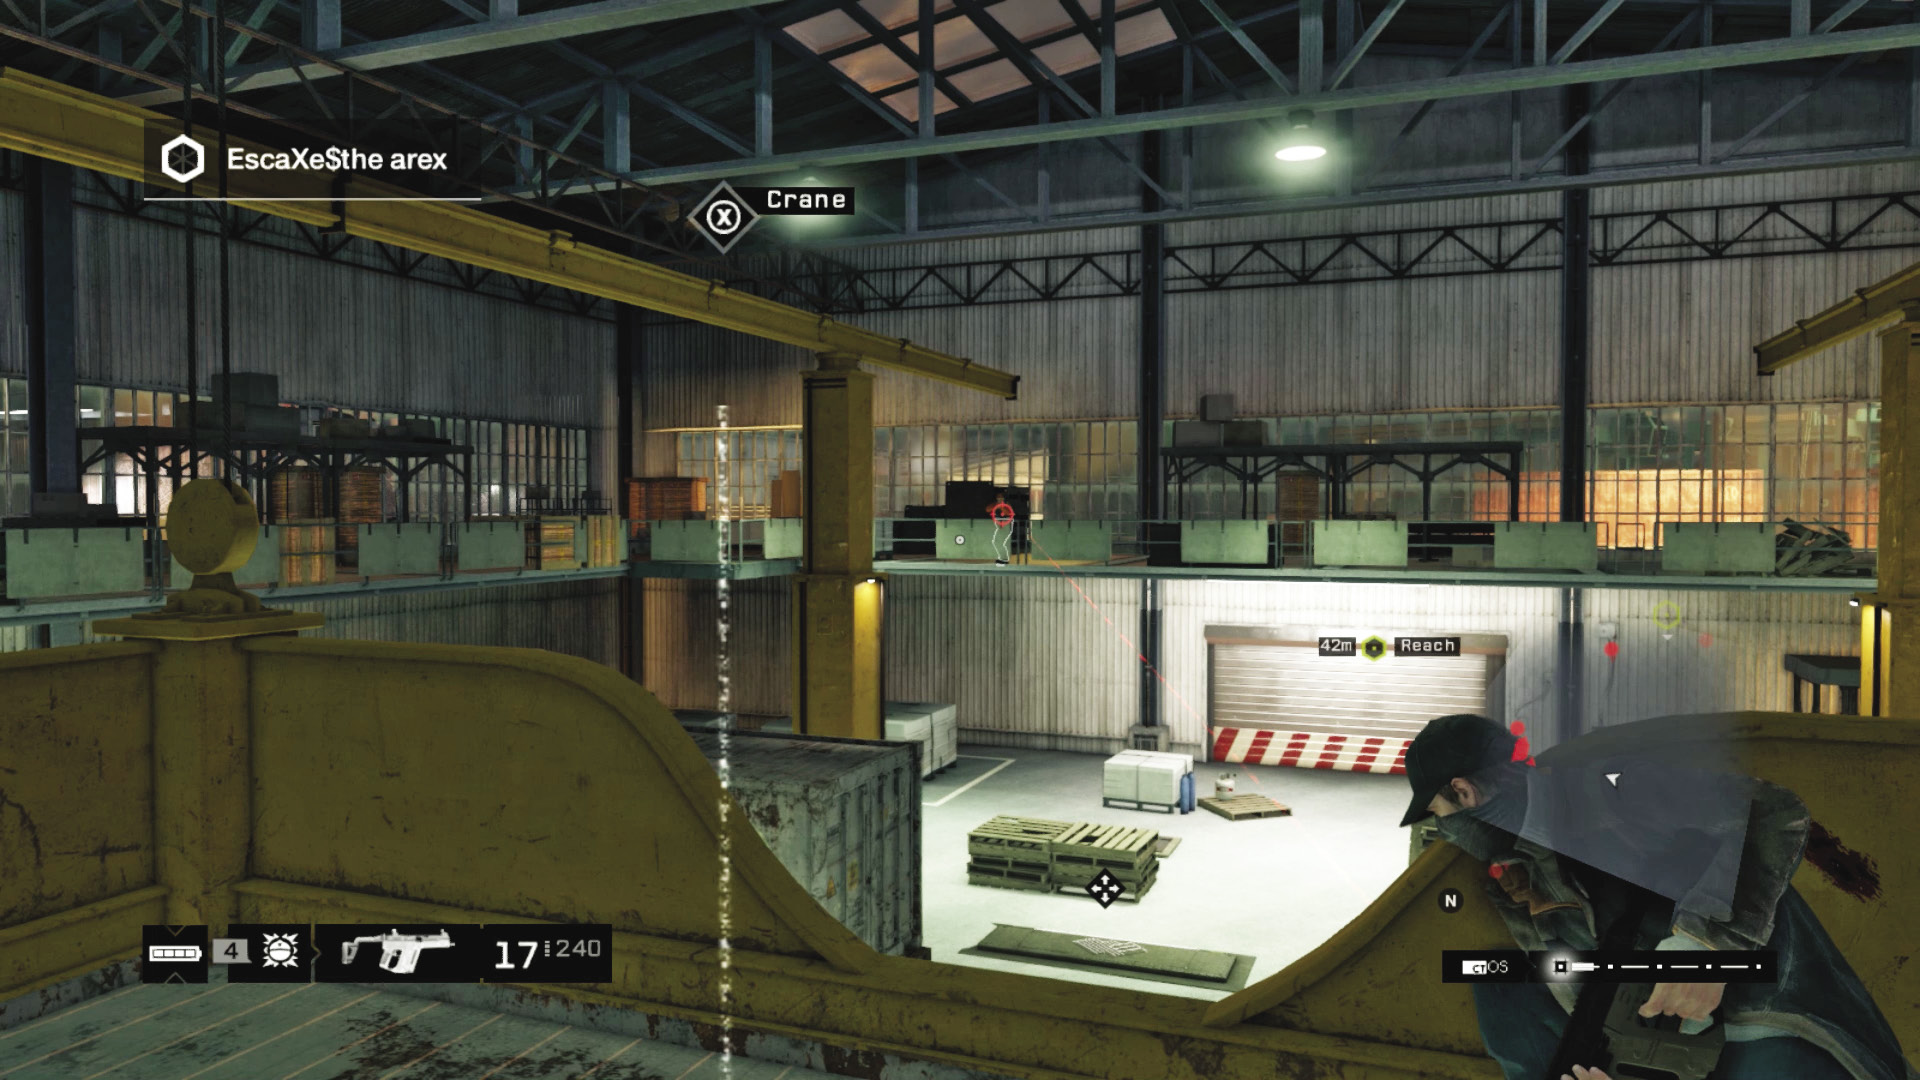
Difficulty: 
Assuming you’ve marked some foes using the cameras and studied the area for the best routes to take, there are other scenic advantages to use. It’s also extremely helpful to perform a ctOS scan on the area to pinpoint all your foes.
There are pipes on the walls and vaults on the ground that you can explode, but it’s even more difficult to line them up with patrolling guards while under duress.
Create distractions for foes to investigate, such as the forklift working, explosions in places where you aren’t stationed, and then make a break for it. This obviously works much better if the enemy doesn’t already know where you are!
Prep the garage door for insertion. Open it, even if you’re far away, or close it to stop enemies in the warehouse from heading outside. You can fire through at reinforcements if necessary, and you don’t have to use it in your escape route.
Drop the crane container on an Enforcer. Or coax one onto a vault transformer or near to junction boxes.
When you enter the warehouse, leap aboard the floating crane lift and ride it to victory! Or at least to the next objective.
The forklift is useful to lower so you can climb on it and reach the upper right warehouse window.
Remember there are protectors at the warehouse’s far end, near the second garage door and waypoint. Raise them to help in the next objective.
 Aggressive // Violence: Bringing Copious Amounts of Pain
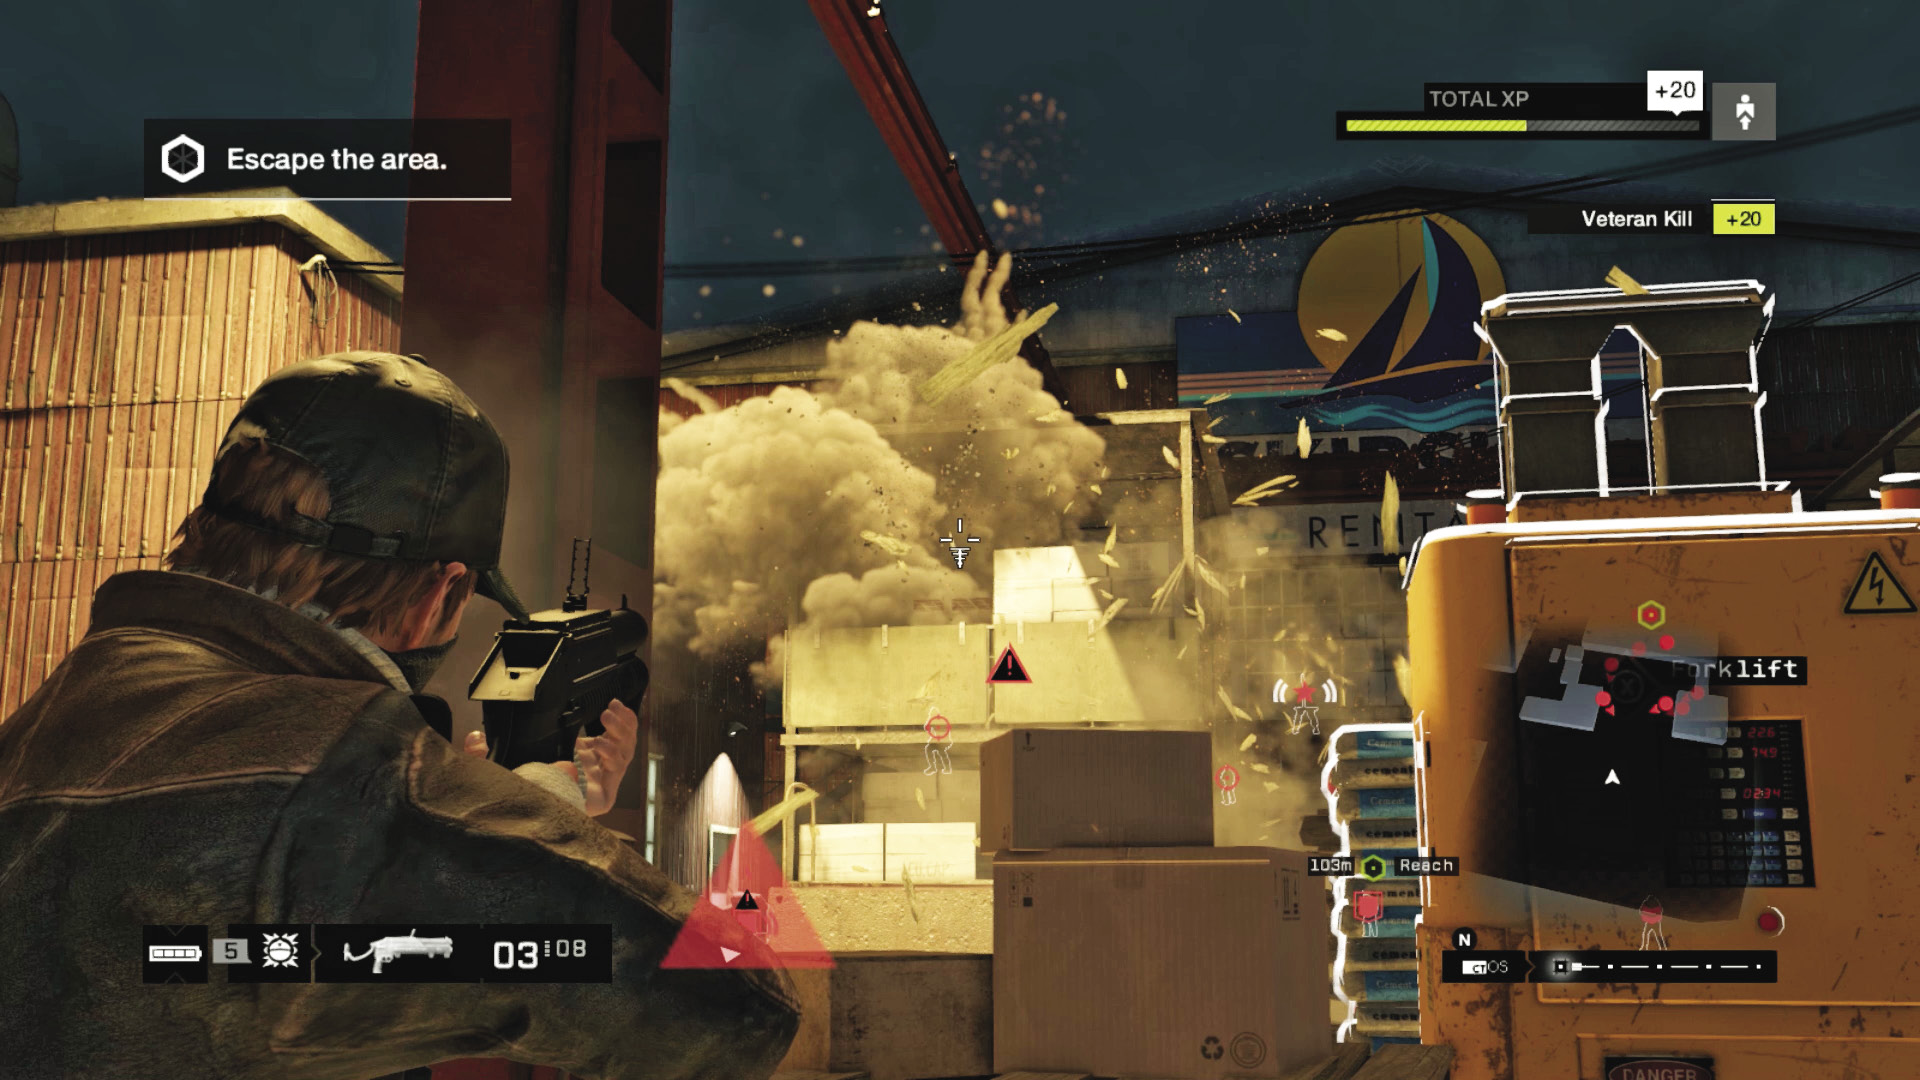
Difficulty: 
You usually have to resort to violence to push through the enemy line and out of the warehouse. With this in mind, and using pallets as cover while slowly advancing and dealing with the closest targets first, the following plans are also of use:
Try to remove snipers, then Shot-Callers. Expect reinforcements, as the latter plan is almost impossible (though Spec-Ops weapons help).
Hack comms and trigger grenade explosions; this is imperative to helping you execute enemies while you’re running and gunning.
Vault through the gaps in the scaffold storage to a hiding foe, and execute them.
Use the pallets in the main storage forecourt as cover, then move to more sturdy cover.
Creep around pallets to foes close by and execute from melee range.
Grenades and IEDs are useful for lobbing up at walkways, stairs, or foes in the storage scaffolding. Anyone behind the windows of the warehouse or behind cover could do with a grenade to surprise them.
Stay back, bring out a grenade launcher, and take a pop at anything that moves. Gradually work your way forward as you thin out the foes.
Stay on the move and be active at all times. Force yourself to move forward rather than being paralyzed behind cover.
Move to areas where foes can’t surround you, such as the walkway on the top floor of the right metal building, after accessing the scissor lift. You can more easily keep multiple foes at bay ahead of you.
Remember you have more weapon options as you gather more armaments from foes you’ve slain. Grab a sniper rifle early on, and use it if necessary.
Anything red or canister-shaped explodes with force; however, this warehouse has fewer opportunities to use the scenery against the enemy.
Don’t waste ammunition on Enforcers. Though it’s technically possible to kill them with a gun, use a dropped IED, lobbed grenade, or explosive infrastructure to drop them. Hiding and melee kills with the skill you’ve bought is also a great plan.
It’s also wise to stay outside the warehouse until you defeat the majority of the initial waves, as there are more inside the warehouse.
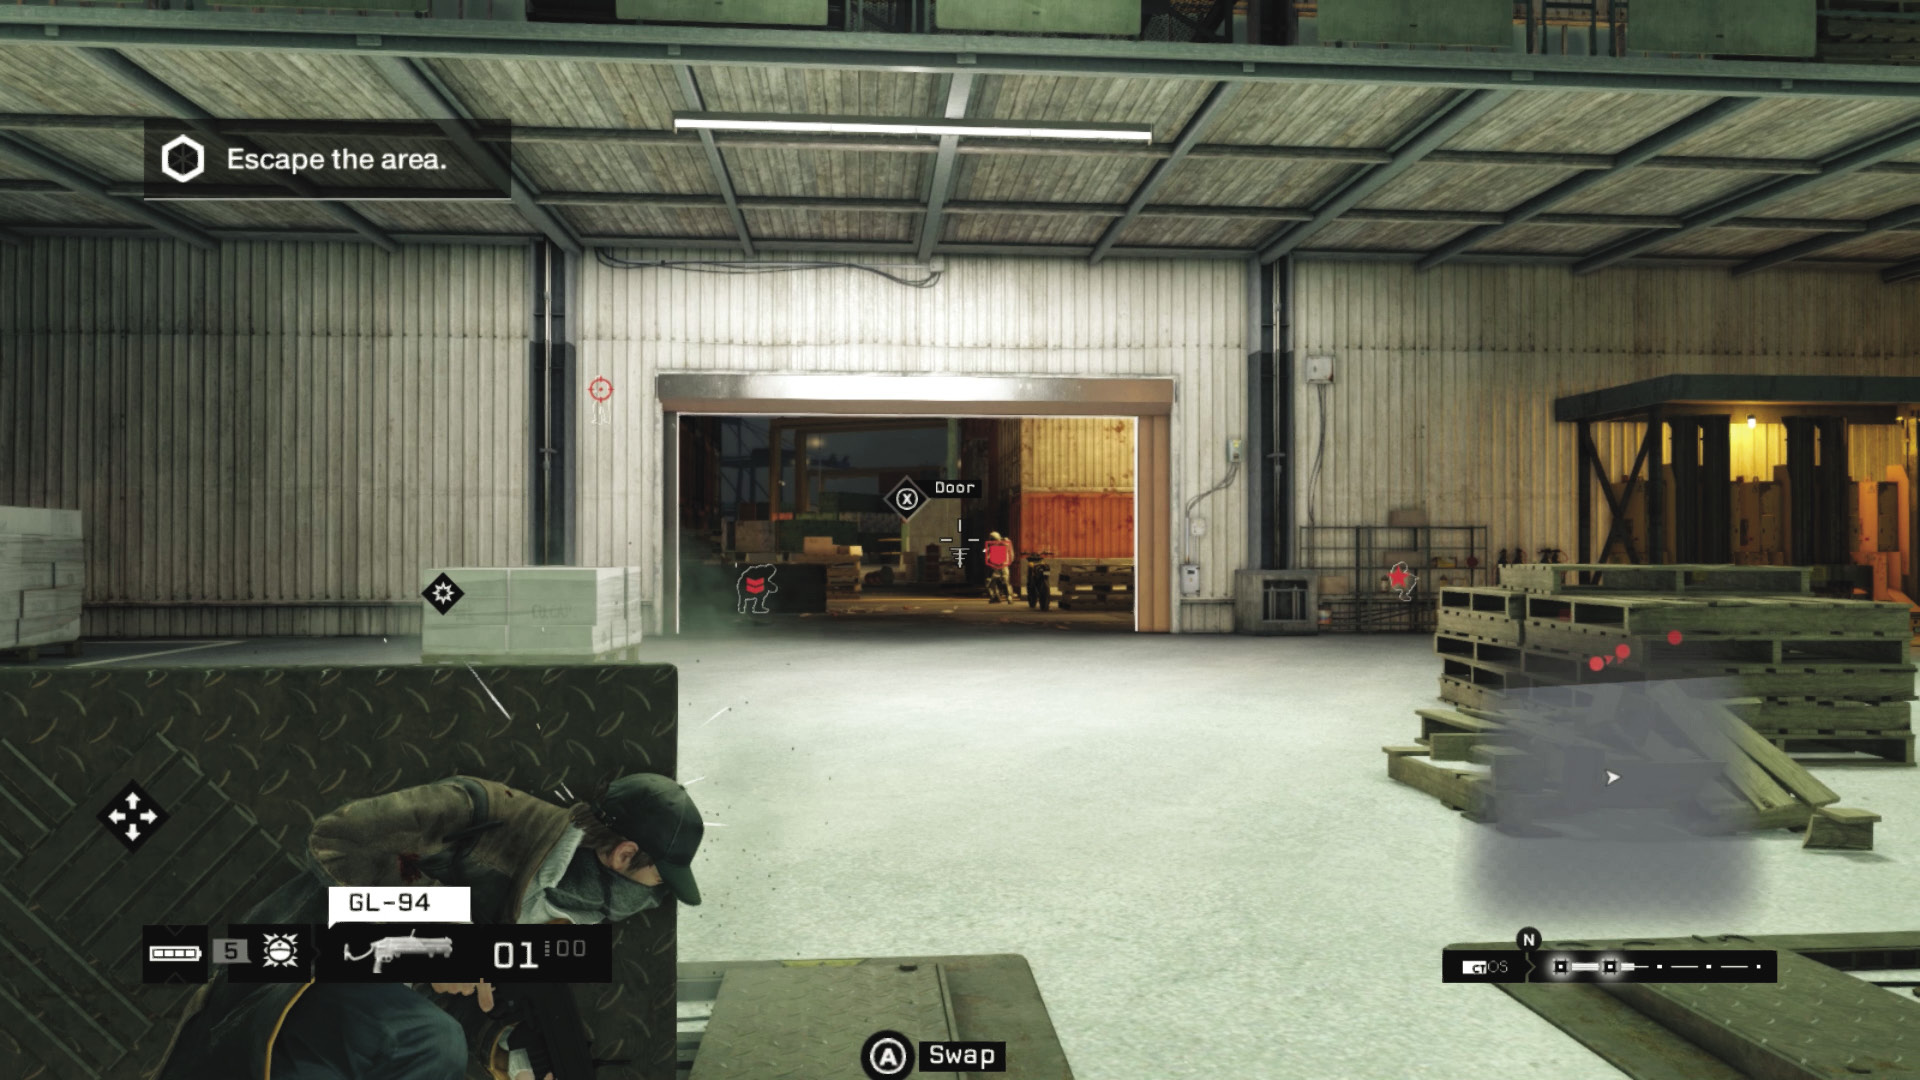
Should I stay? When you open up the far garage door, prepare for the final wave of enemies, including yet another Enforcer! Use the walls, pallets outside, or protectors as cover and drop him, or drop explosives on him from the moving crane lift or interior balcony. Also try exploding vaults as the Enforcer walks over them, and don’t be afraid to retreat back to the initial yard. Quickly remove the three other, lesser enemy threats (the Marksman first), choose one of the waiting vehicles, and flee to complete the mission.
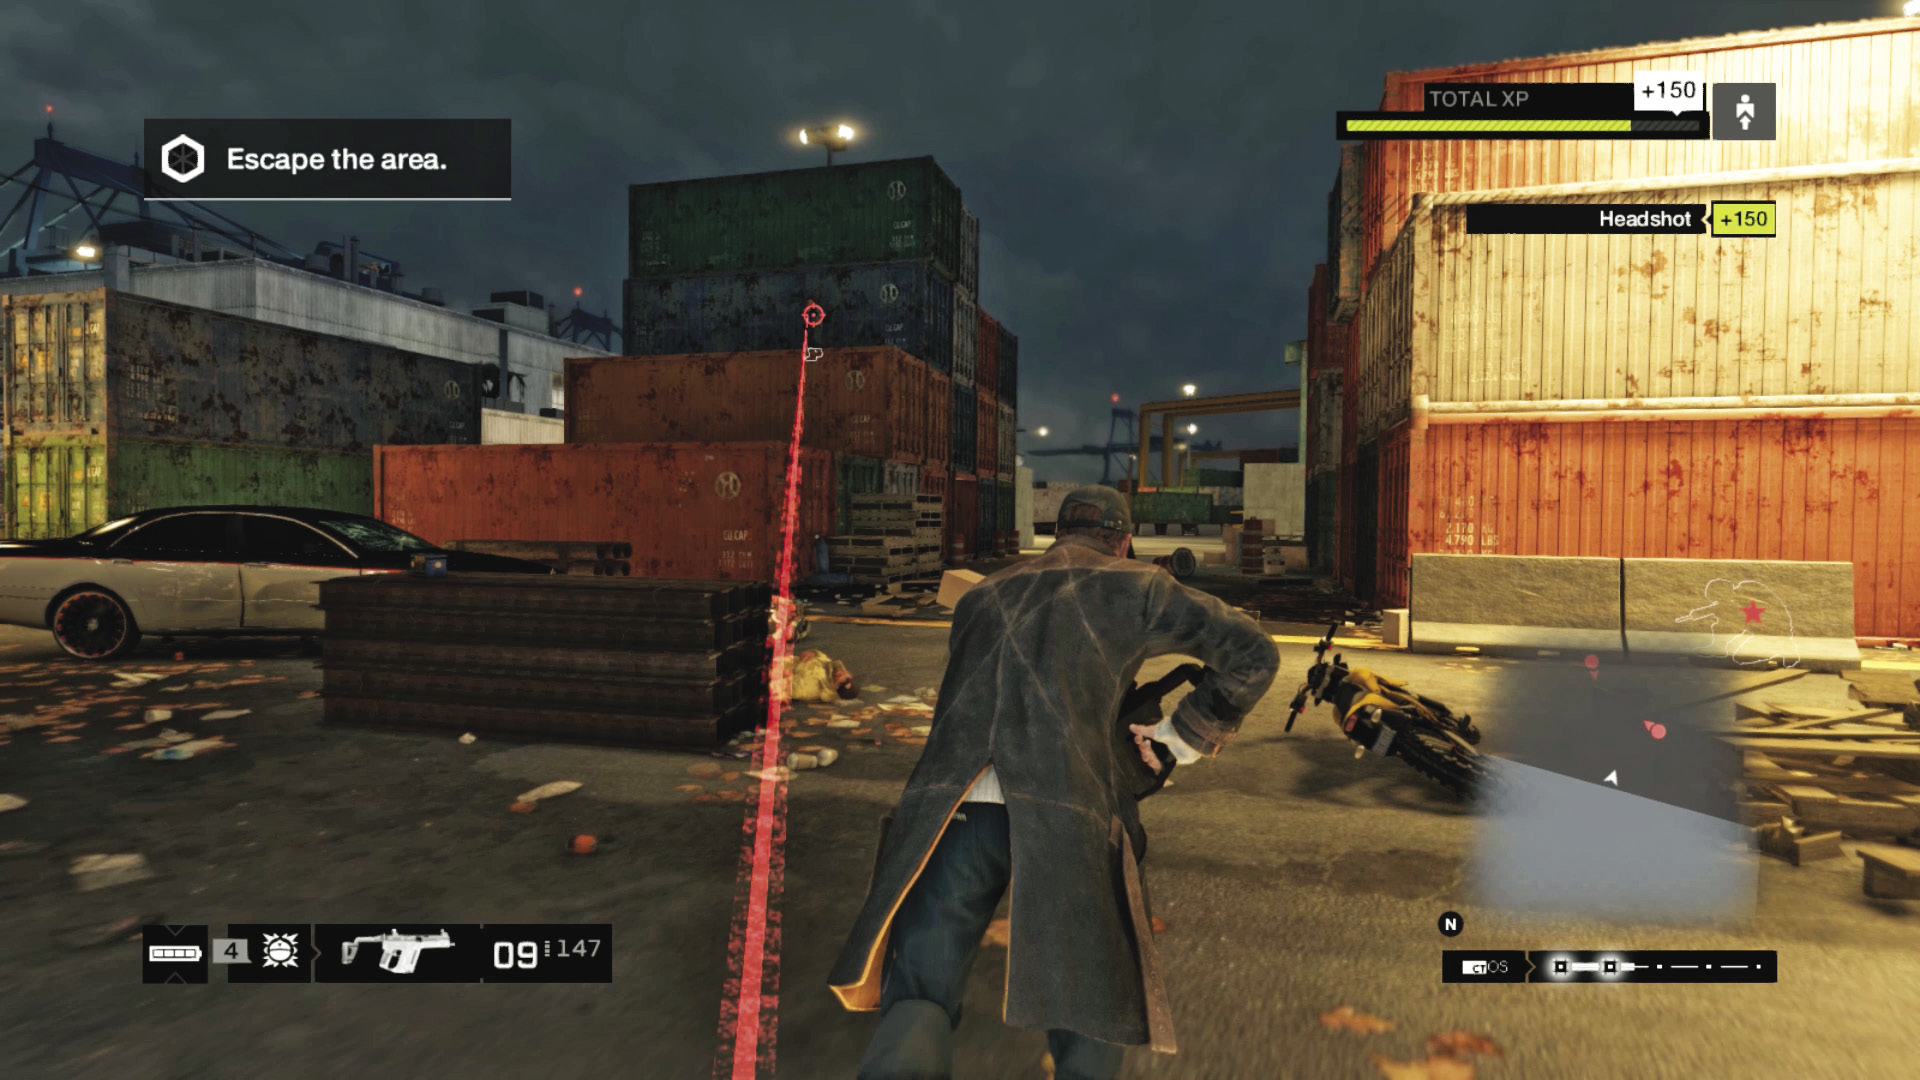
Should I go? It’s possible to open the far garage door and sprint to the right, around the side of the warehouse building, shrugging off enemy fire as you go. Flee toward the maze of container crates before appropriating a vehicle and fleeing or returning to run over the last of the Viceroys. Once you’re out of the Viceroy’s search area, the mission concludes.
MISSION REWARDSGained XP +1,000 INVESTIGATION: HUMAN TRAFFIC NOW AVAILABLE |