
Watch Dogs Guide SIDE MISSIONS
_INTERCEPTION CONTRACTS
|
OBJECTIVES
|
 Follow the target
 (Optional) Steal the data
 (Optional) Hack the vehicle to obtain GPS data
 Take down the target
 Driving Infiltration
 Vehicle Chase
 Data Hack
 Foot Chase
 Lethal Force Likely
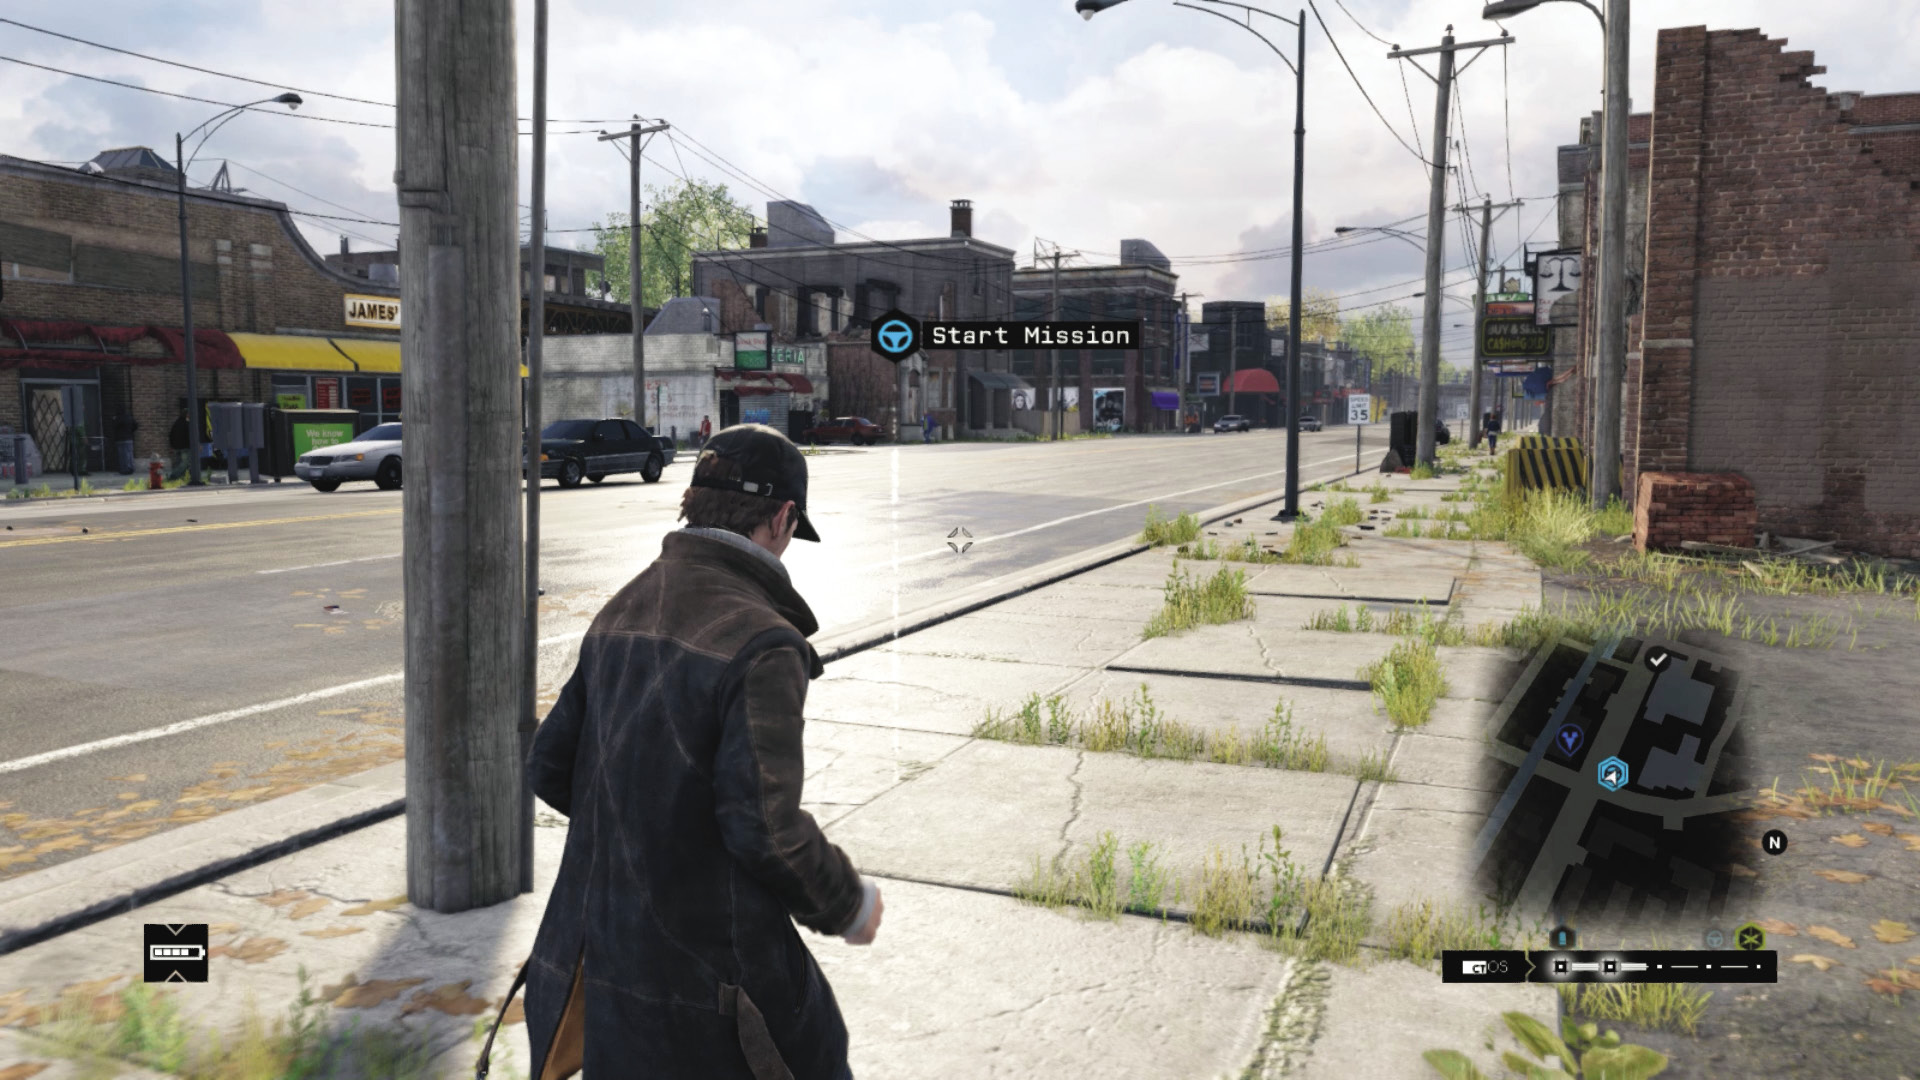
Your job is to head to a particular location, which could be anywhere close to a ctOS camera in one of the six districts, and activate the mission. Although there are variations, this mission type takes a similar form:
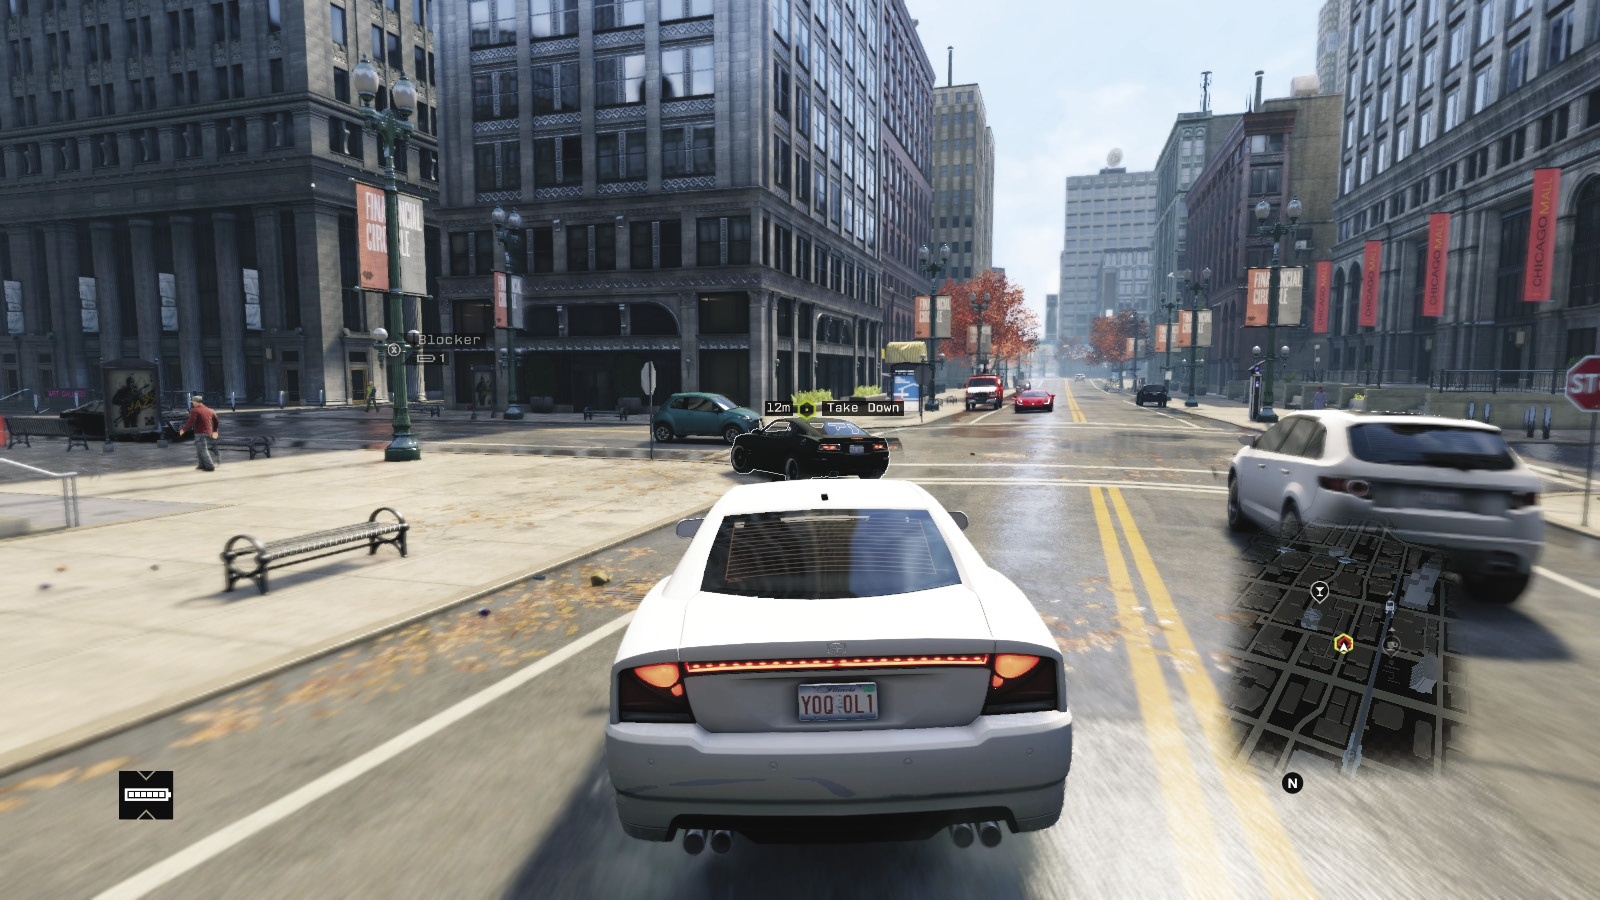
Locate the target, which is someone in a vehicle within a few blocks of your starting point. You can use any vehicle you want; bring it to the starting point. Drive the vehicle toward the target. Your foe usually follows a specific path, so replaying this mission type allows you to learn the directions the foe heads in. These are always a series of evasive maneuvers.
|
|
 (Optional) Steal the data
 (Optional) Hack the vehicle to obtain GPS data
 Take down the target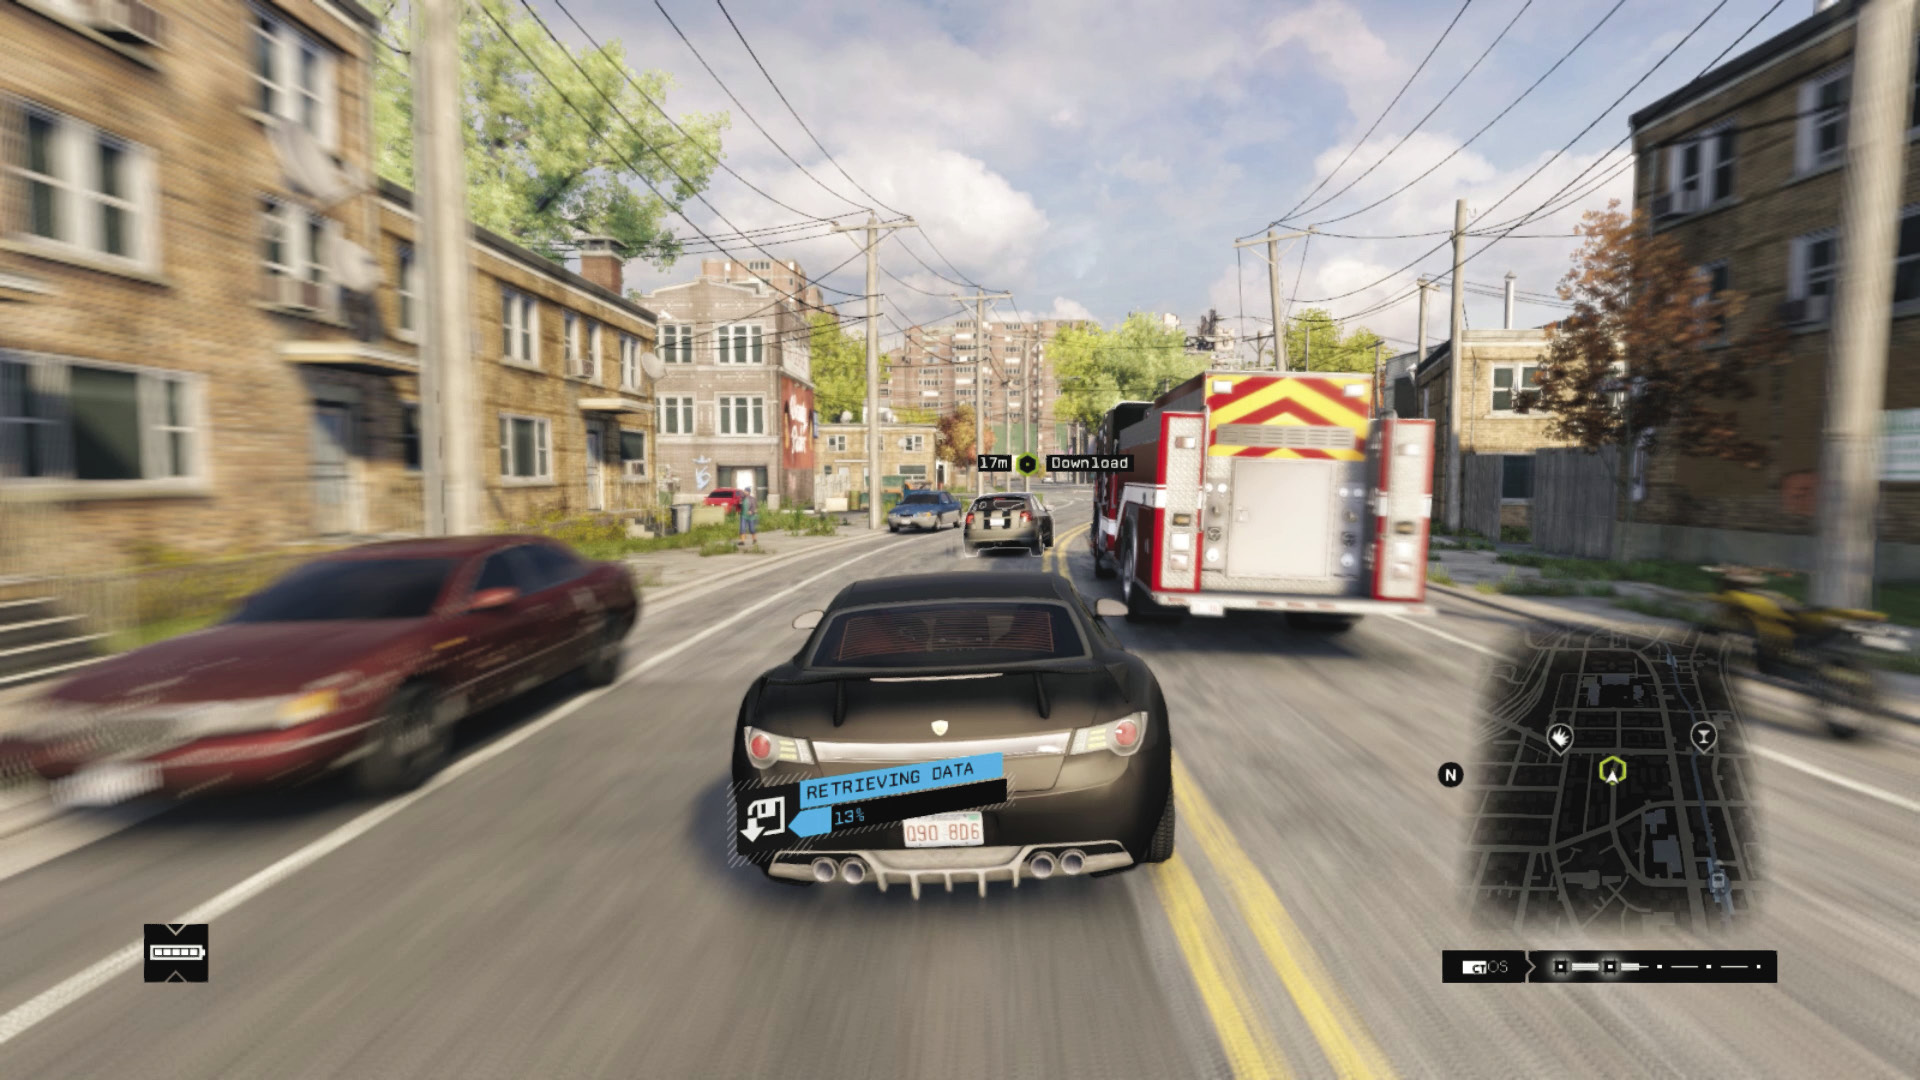
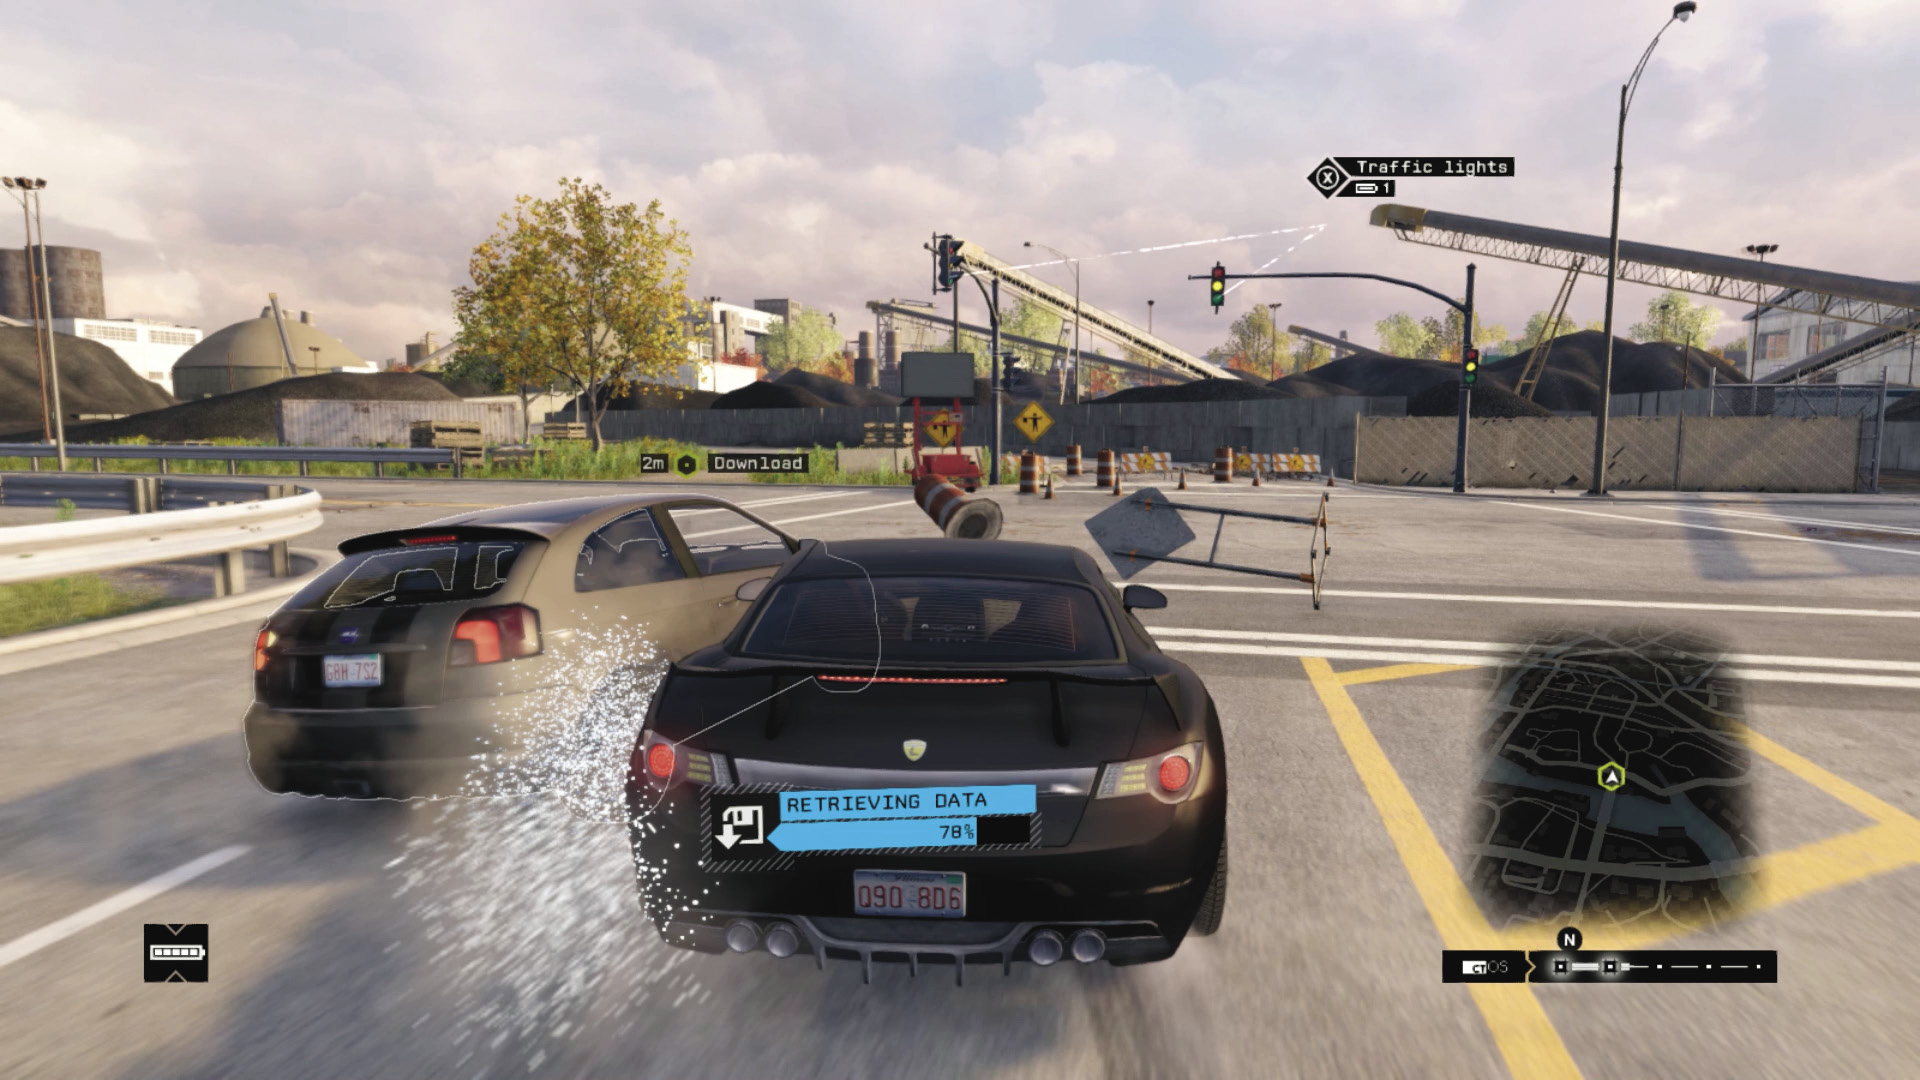
You may need to retrieve data from a target. You can:
Follow the foe until you retrieve the data and the objective updates to taking him down: This isn’t recommended, as it takes far too long, and results in minimal cash rewards.
Drive and take aggressive maneuvers, as if you were taking down your target. You don’t receive a penalty for this, and once the foe is dispatched, you can hack him for the data anyway. Use this plan all the time.
Once the foe is defeated, the mission ends or a second target appears, and the objectives must be repeated.
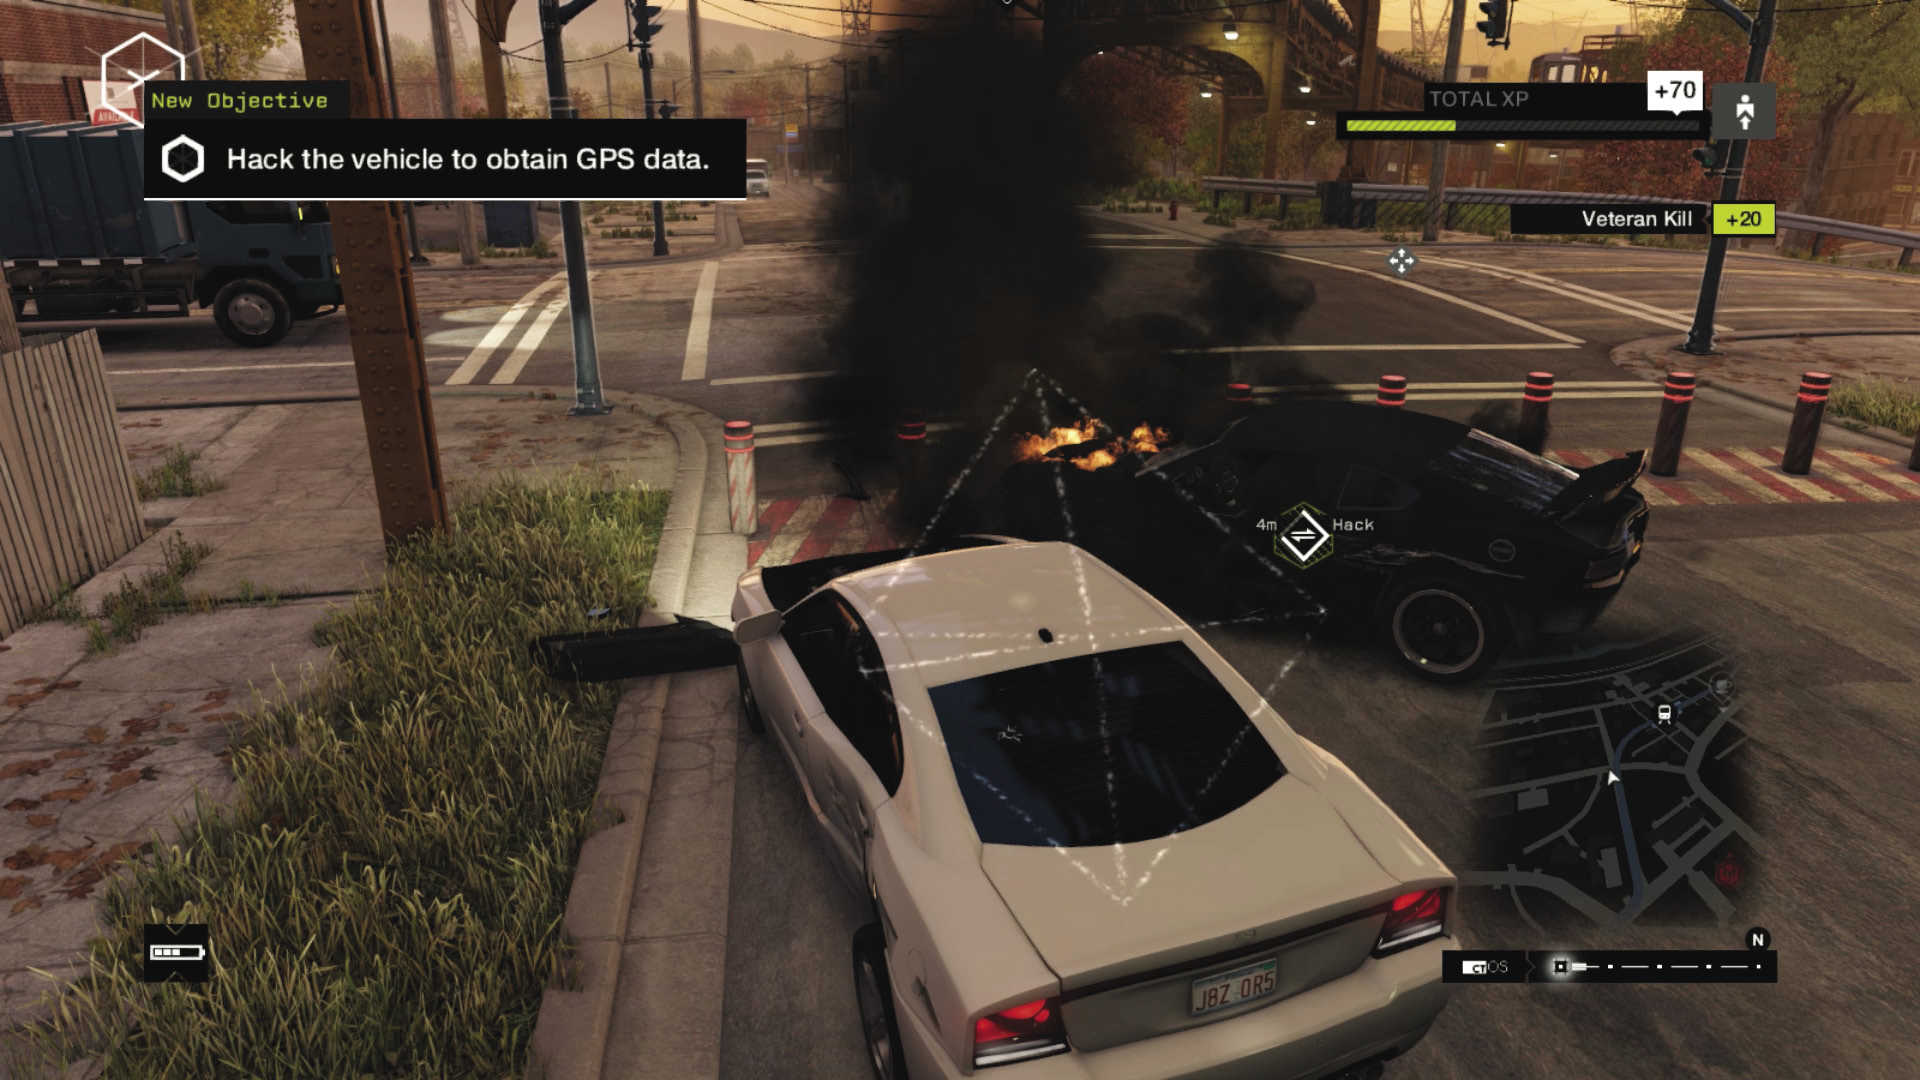
Certain data may be hacked on the person himself. Other information is GPS data, which must be obtained by hacking the vehicle, after immobilizing it. Remove your target using all your previously learned techniques. Reference the Training chapter to find out further information:
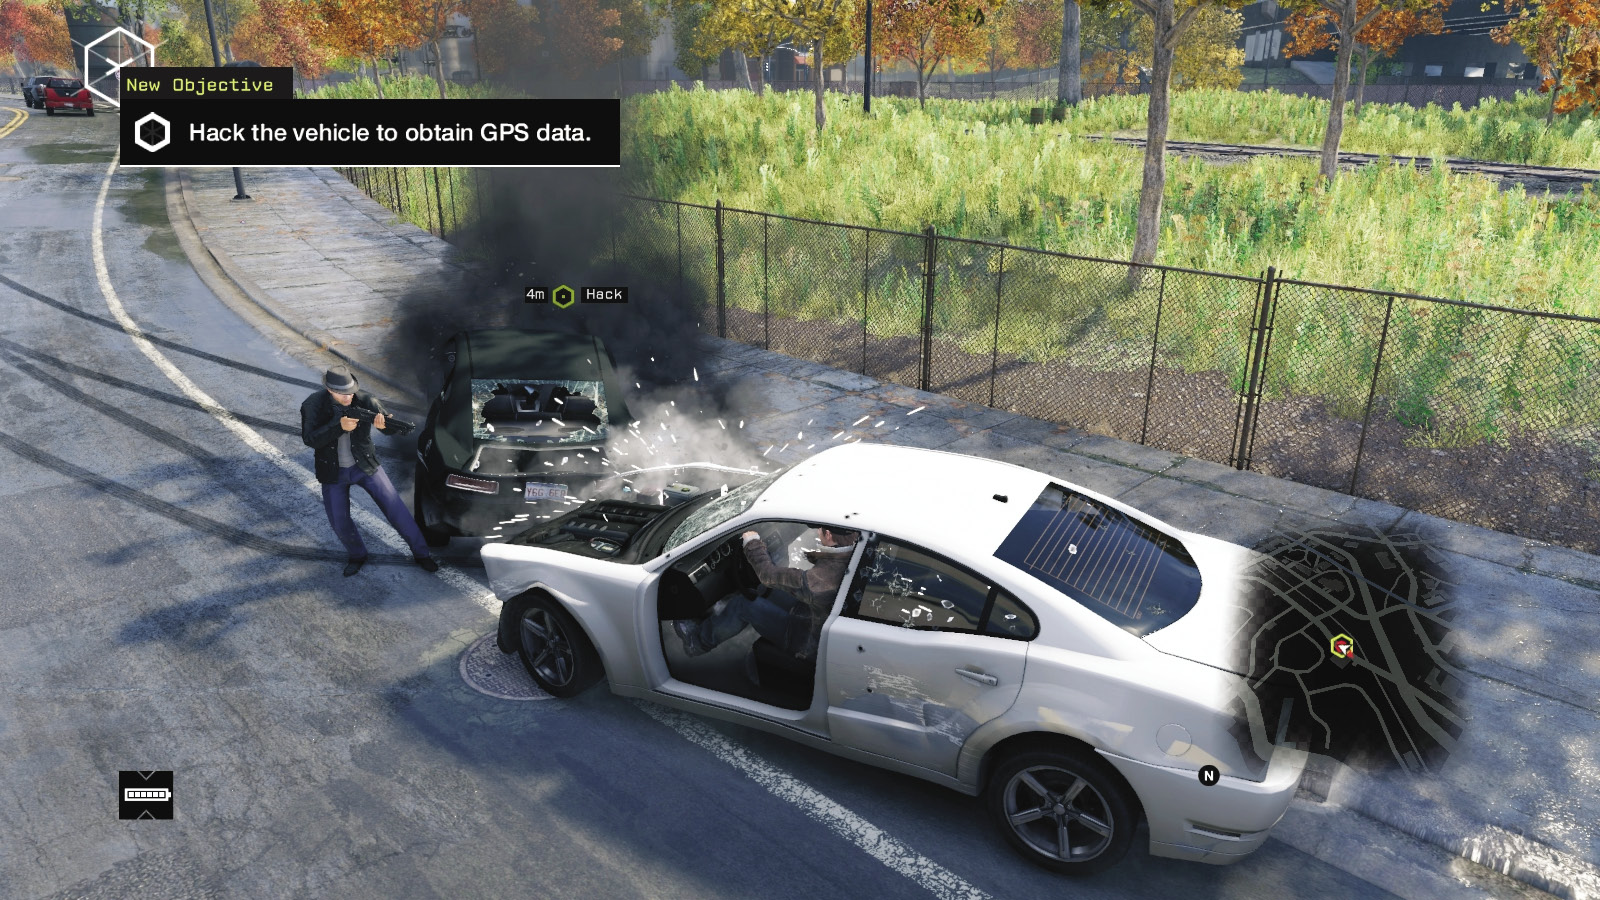
Vehicle Collisions: Attempt to shunt, sideswipe, or otherwise maneuver your foe into a stationary position, with the vehicle damaged beyond repair, so the foe escapes on foot or dies.
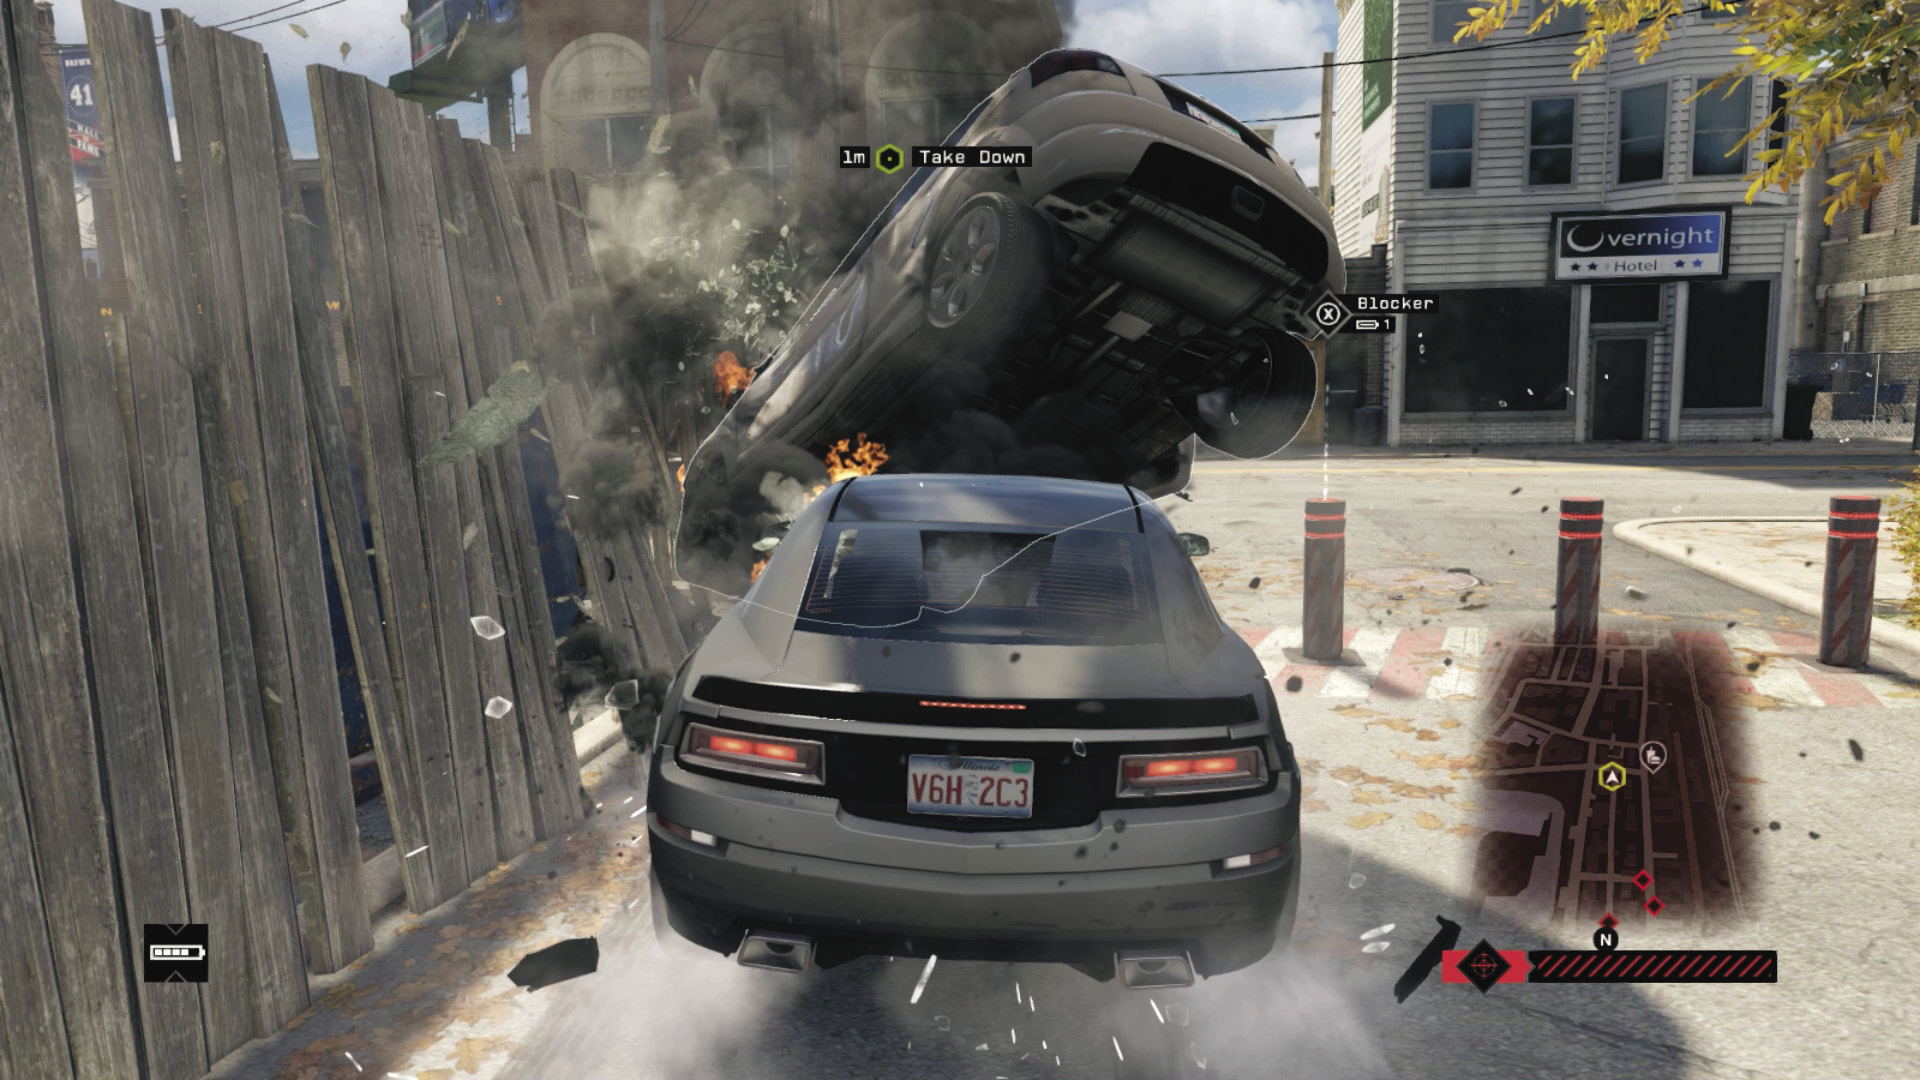
Technology Access: Utilize the traffic lights, spikes, bollards, blockers, bridges, steam pipes, and any other technological advantage to slow down the foe, as the chase continues.
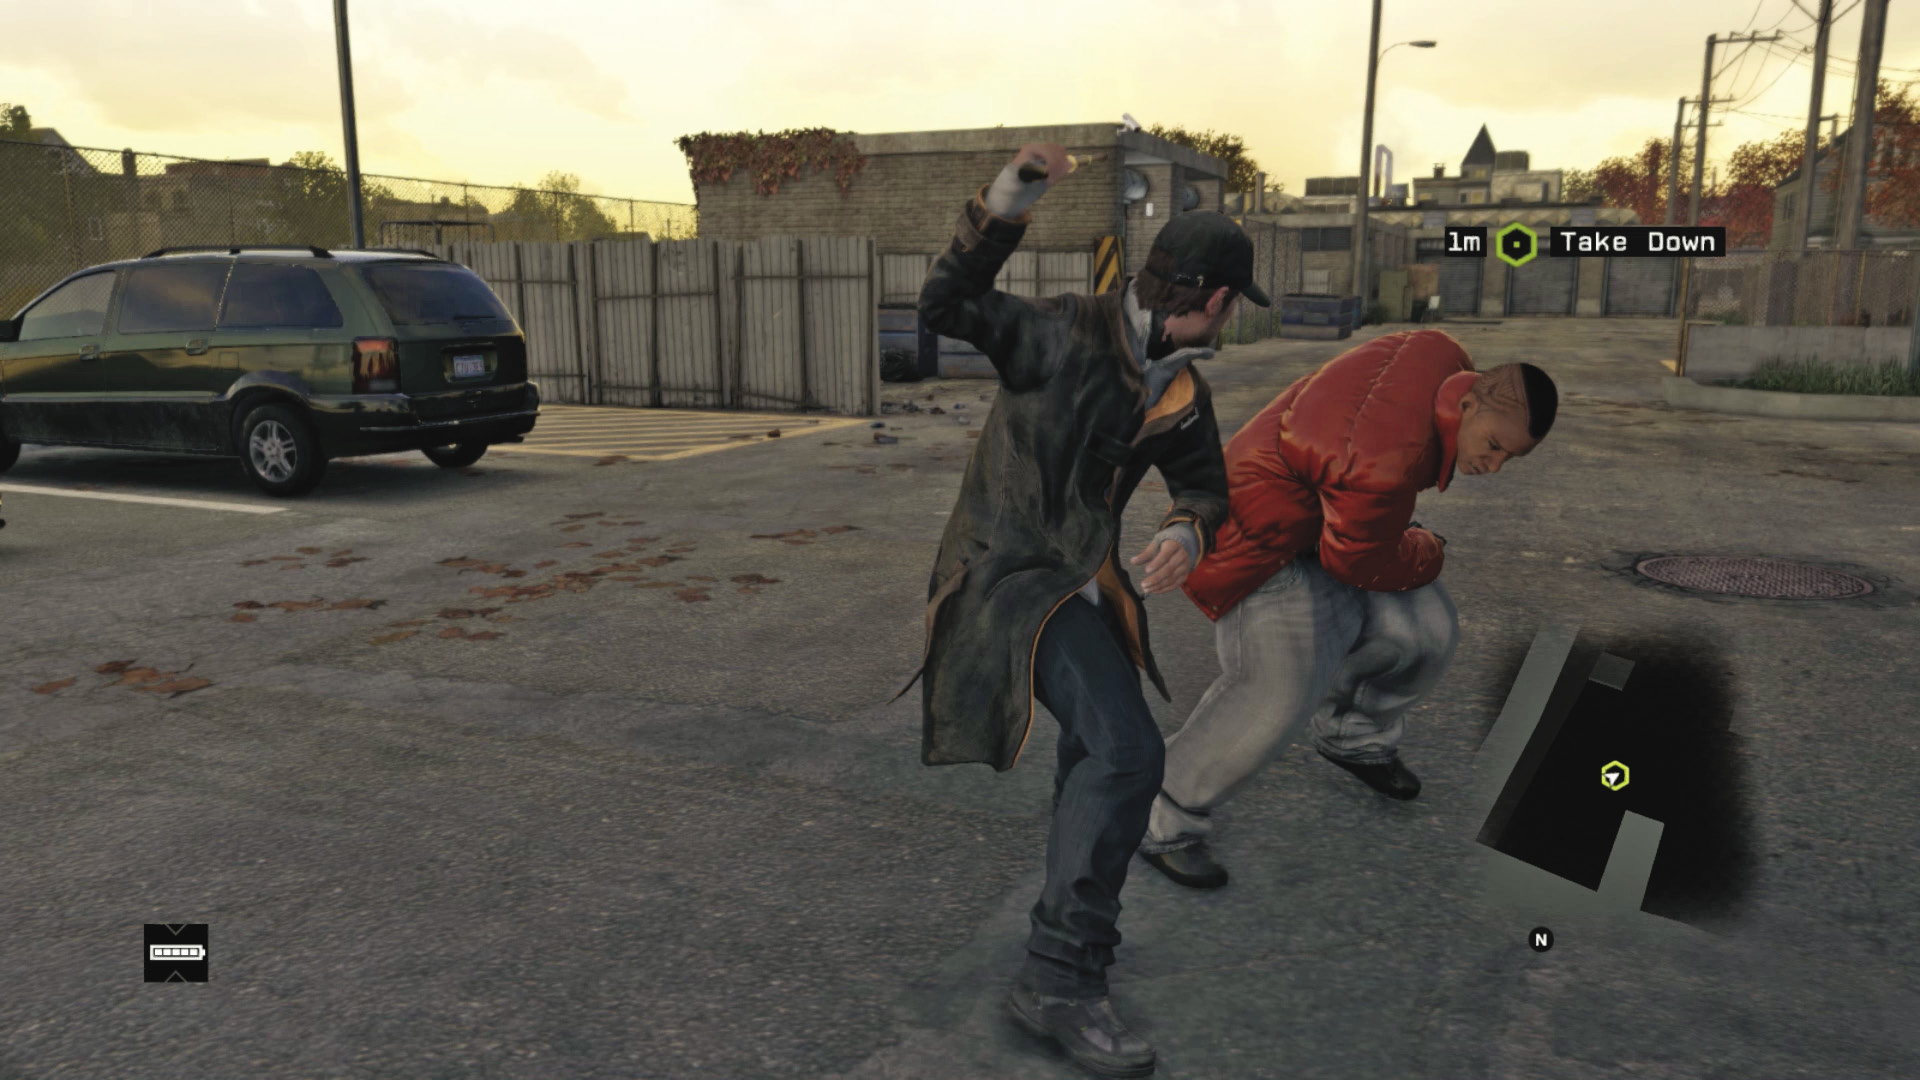
Lethal Force: Whether the foe is on foot or still in the vehicle, you can disable either target with your guns (particularly grenade launchers or IEDs) or a chase and melee strike. Either is advisable.
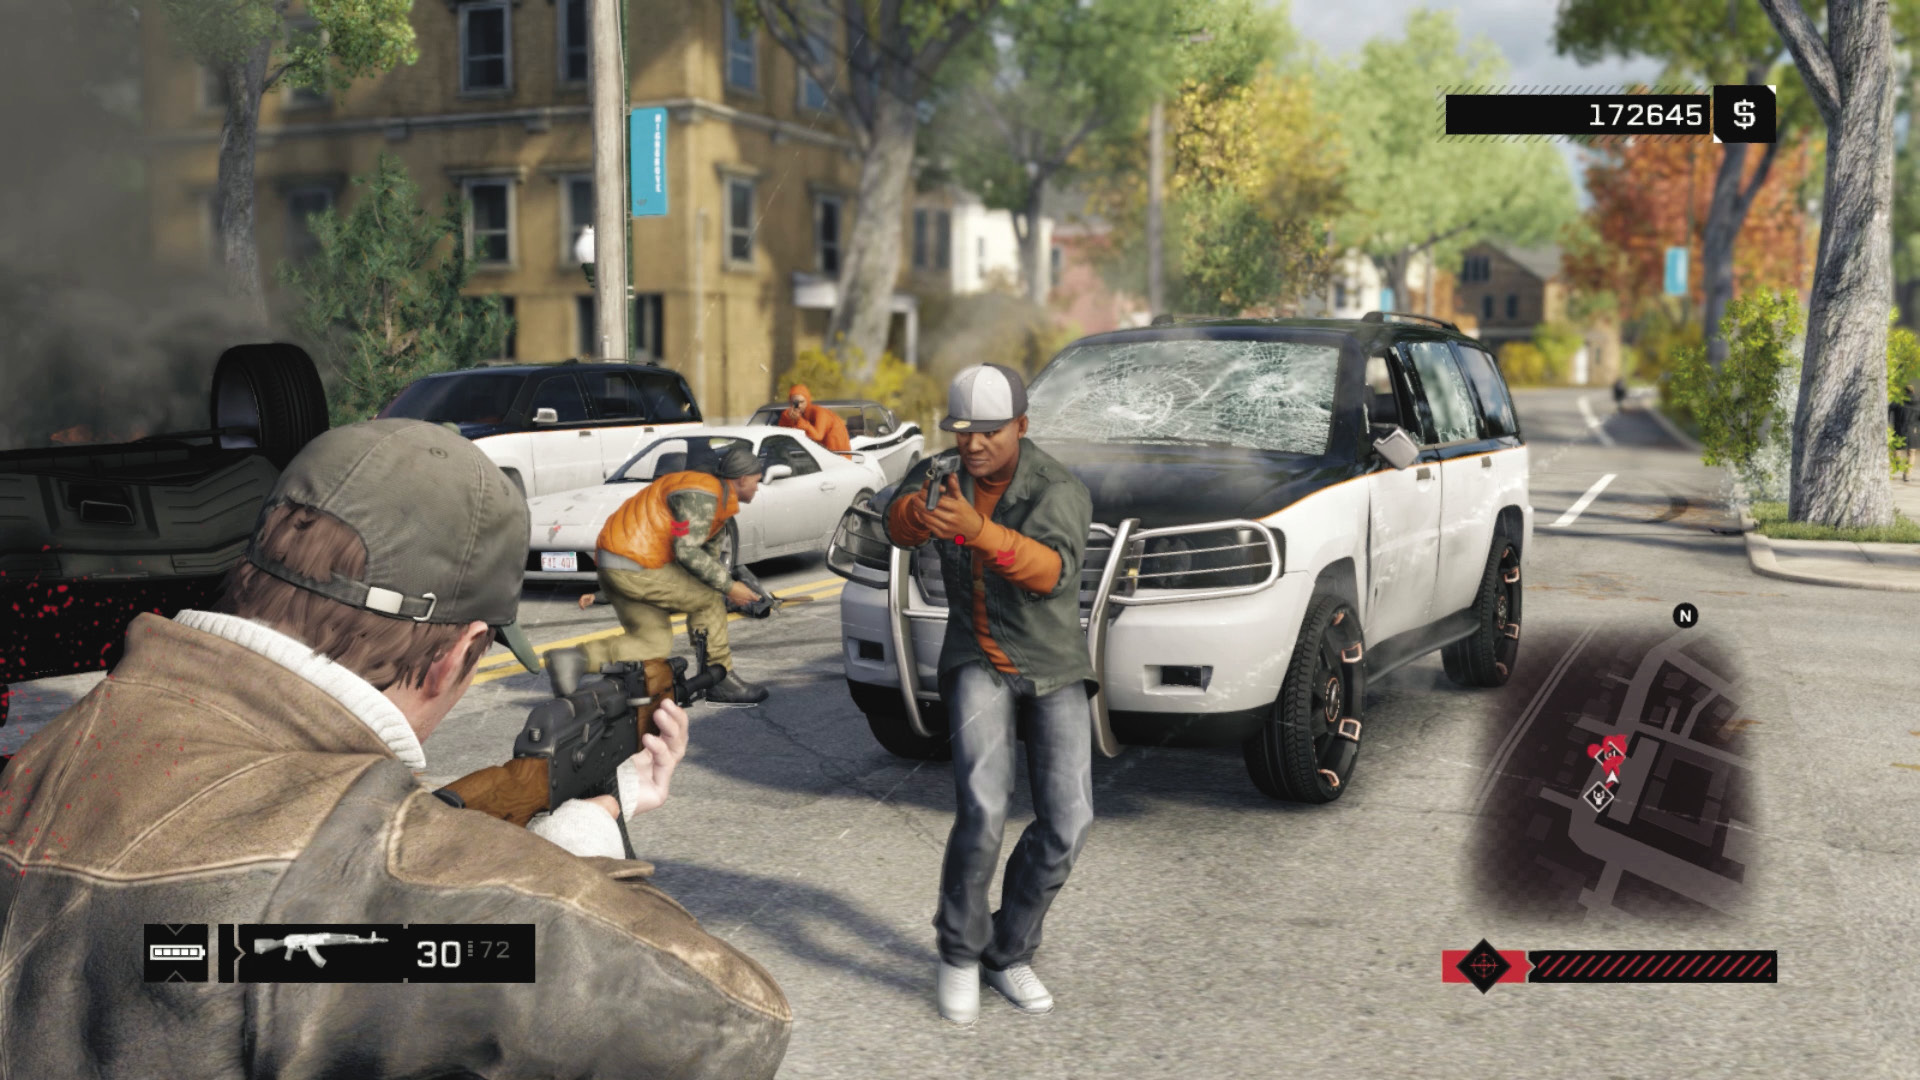
Mopping Up: After completing the mission, you may have pursuers to mop up or flee from. Decide whether to violently stop foes from ramming into you (or if you disembark, starting a protracted firefight) or passively escape their searches. Remember, though, that you gain more Experience Points (XP) from bringing down enemies, even though it is more dangerous.
PARKER SQUARE // INTERCEPTION CONTRACTS
01_THE HUNTER
Starting location: BODEGA, SOUTHWEST PARKER SQUARE
NEAREST VEHICLE: Rotor
ENEMY VEHICLE: Kirscher
Download Requested?: No
Target: Gunman x 1
ADDITIONAL Enemies: None
Difficulty:
 +01:30 // +$3,000
 +02:30 // +$2,000
 ∞ // +$1,000
BEAT THIS: 00:21:33 (Anthony Renomeron)
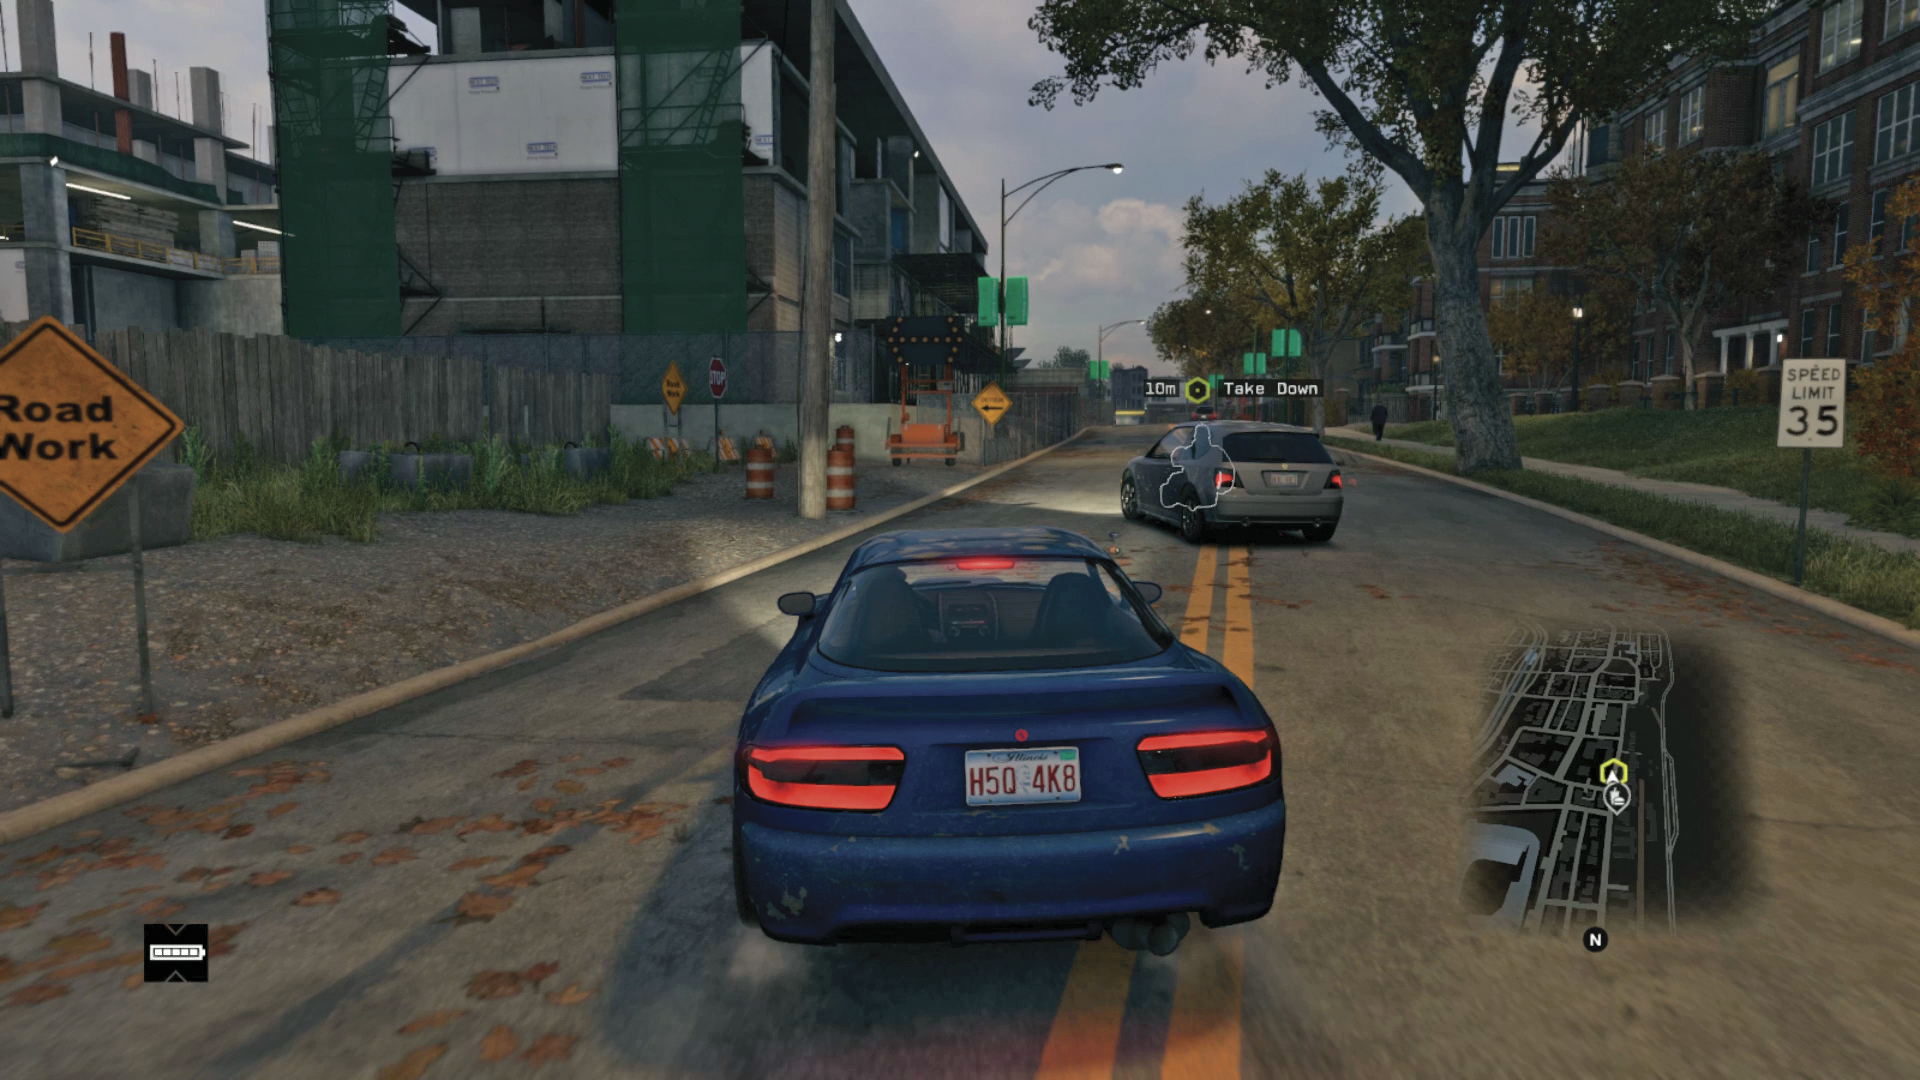
Takedown Opportunity 1: This one is as straightforward as they come; after weaving down a few streets (which you can damage or try to stop him on), he heads left into a construction yard; the narrow gaps and tricky exit are helpful in halting him.
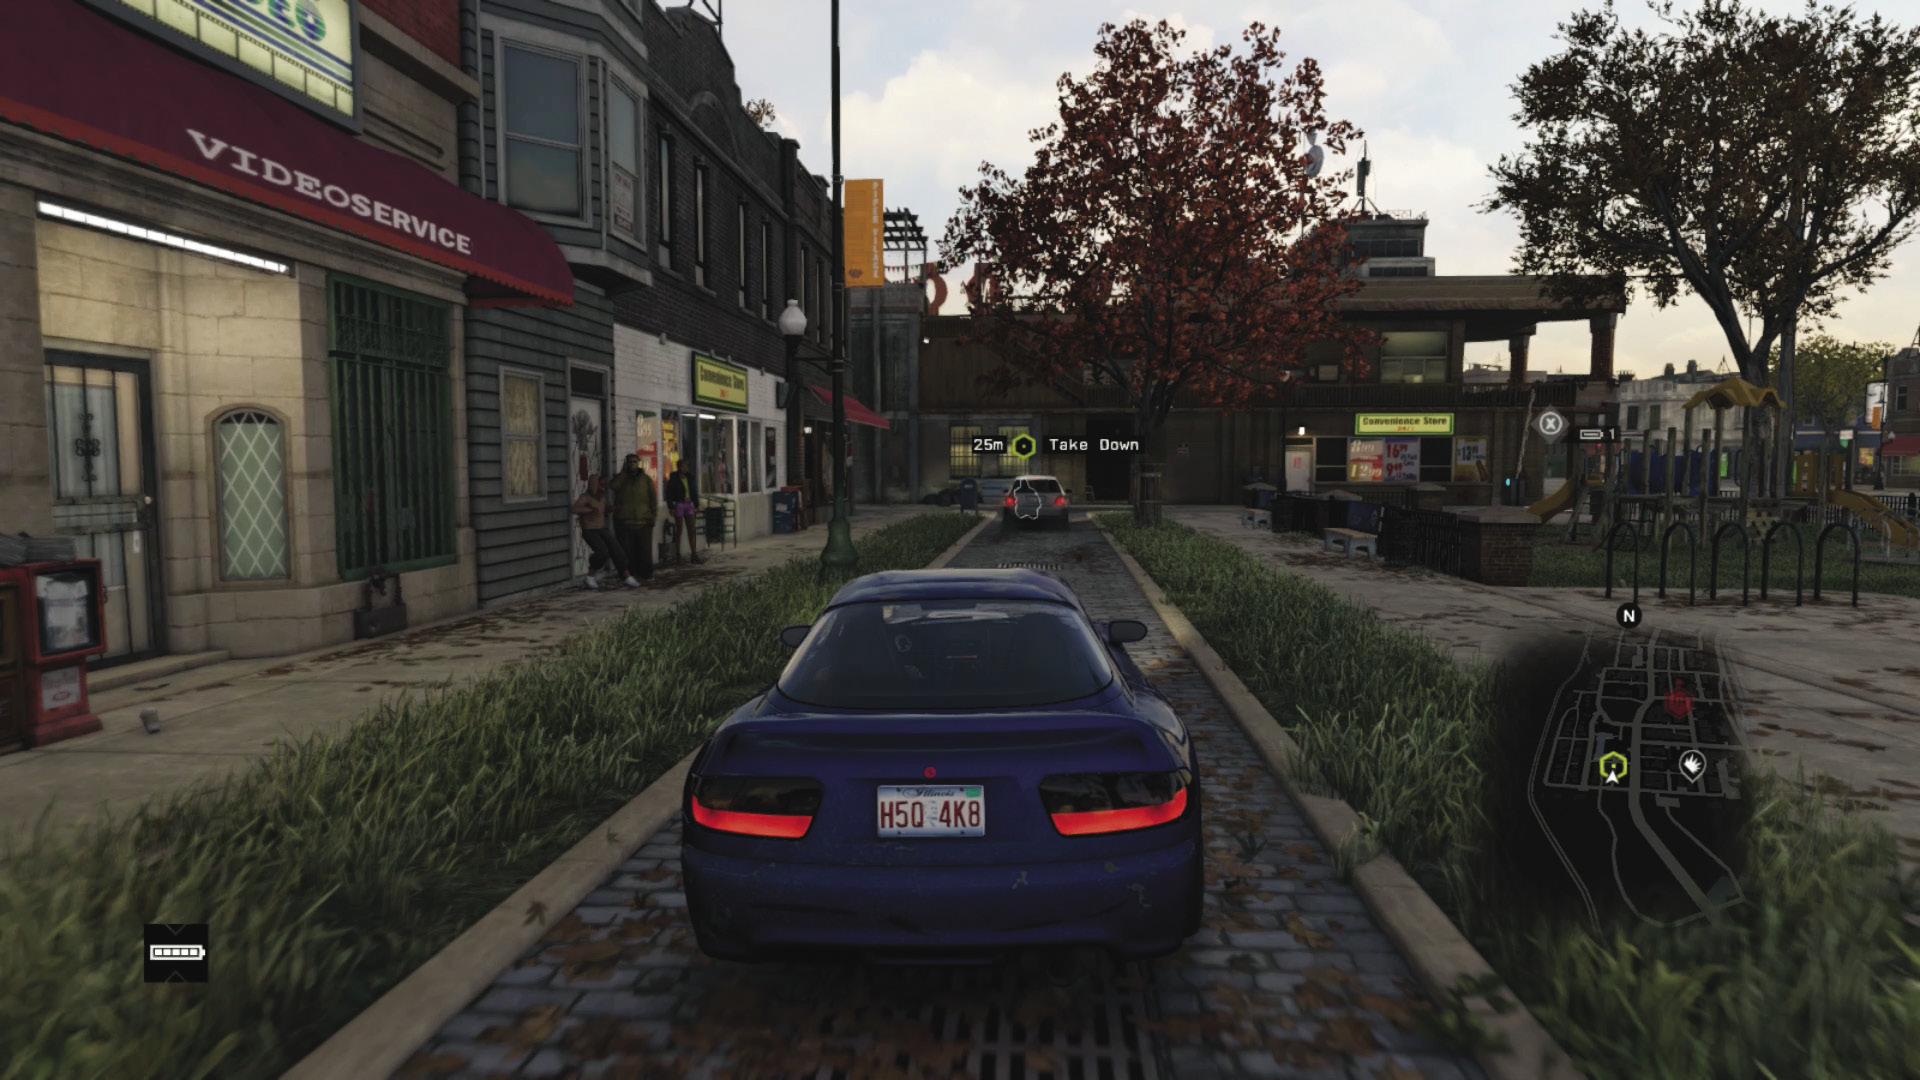
Takedown Opportunity 2: Missed him? Then continue to weave through the streets, which have multiple traffic light opportunities to take. He likes to weave down side thoroughfares like the one near the Owl Motel, so don’t get snarled up on obstacles or building corners. If you miss, there are spikes as he merges back onto the main road.
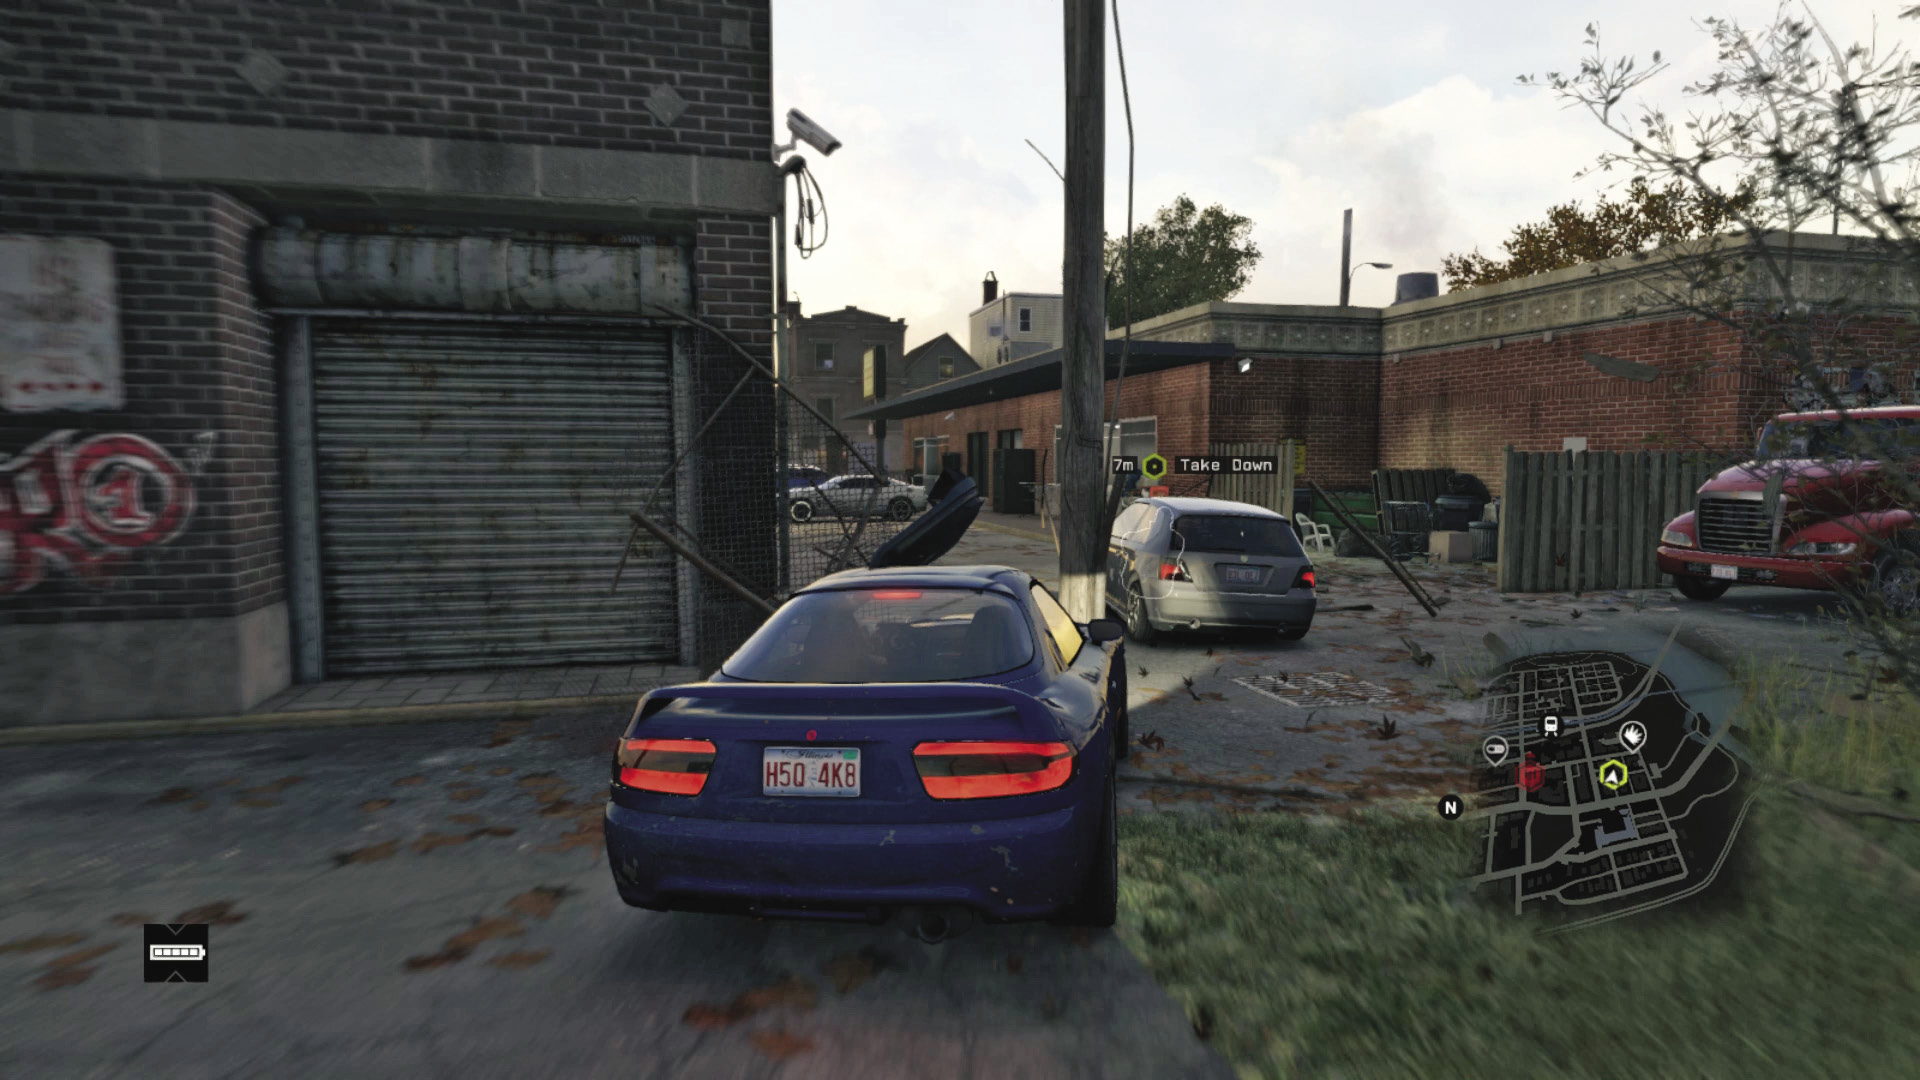
Takedown Opportunity 3: He continues weaving between streets and alleys before dashing for the freeway. He shouldn’t really get this far, as there are more steam pipe opportunities, including the one as you head up and onto the freeway, just past the train station.
02 _ROAD SOLDIER
Starting location: EAST PARKER SQUARE, SOUTH OF MARINA
NEAREST VEHICLE: Vespid 5.2
ENEMY VEHICLE: CORE-T
Download Requested?: No
Target: Veteran x 1
ADDITIONAL Enemies: VICEROYS (UP TO 6 VEHICLES, Gunmen and veterans, 2–3 per vehicle)
Difficulty:
 +02:30 // +$10,000
 +03:30 // +$9,000
 ∞ // +$8,000
BEAT THIS: 00:39:62 (Anthony Renomeron)
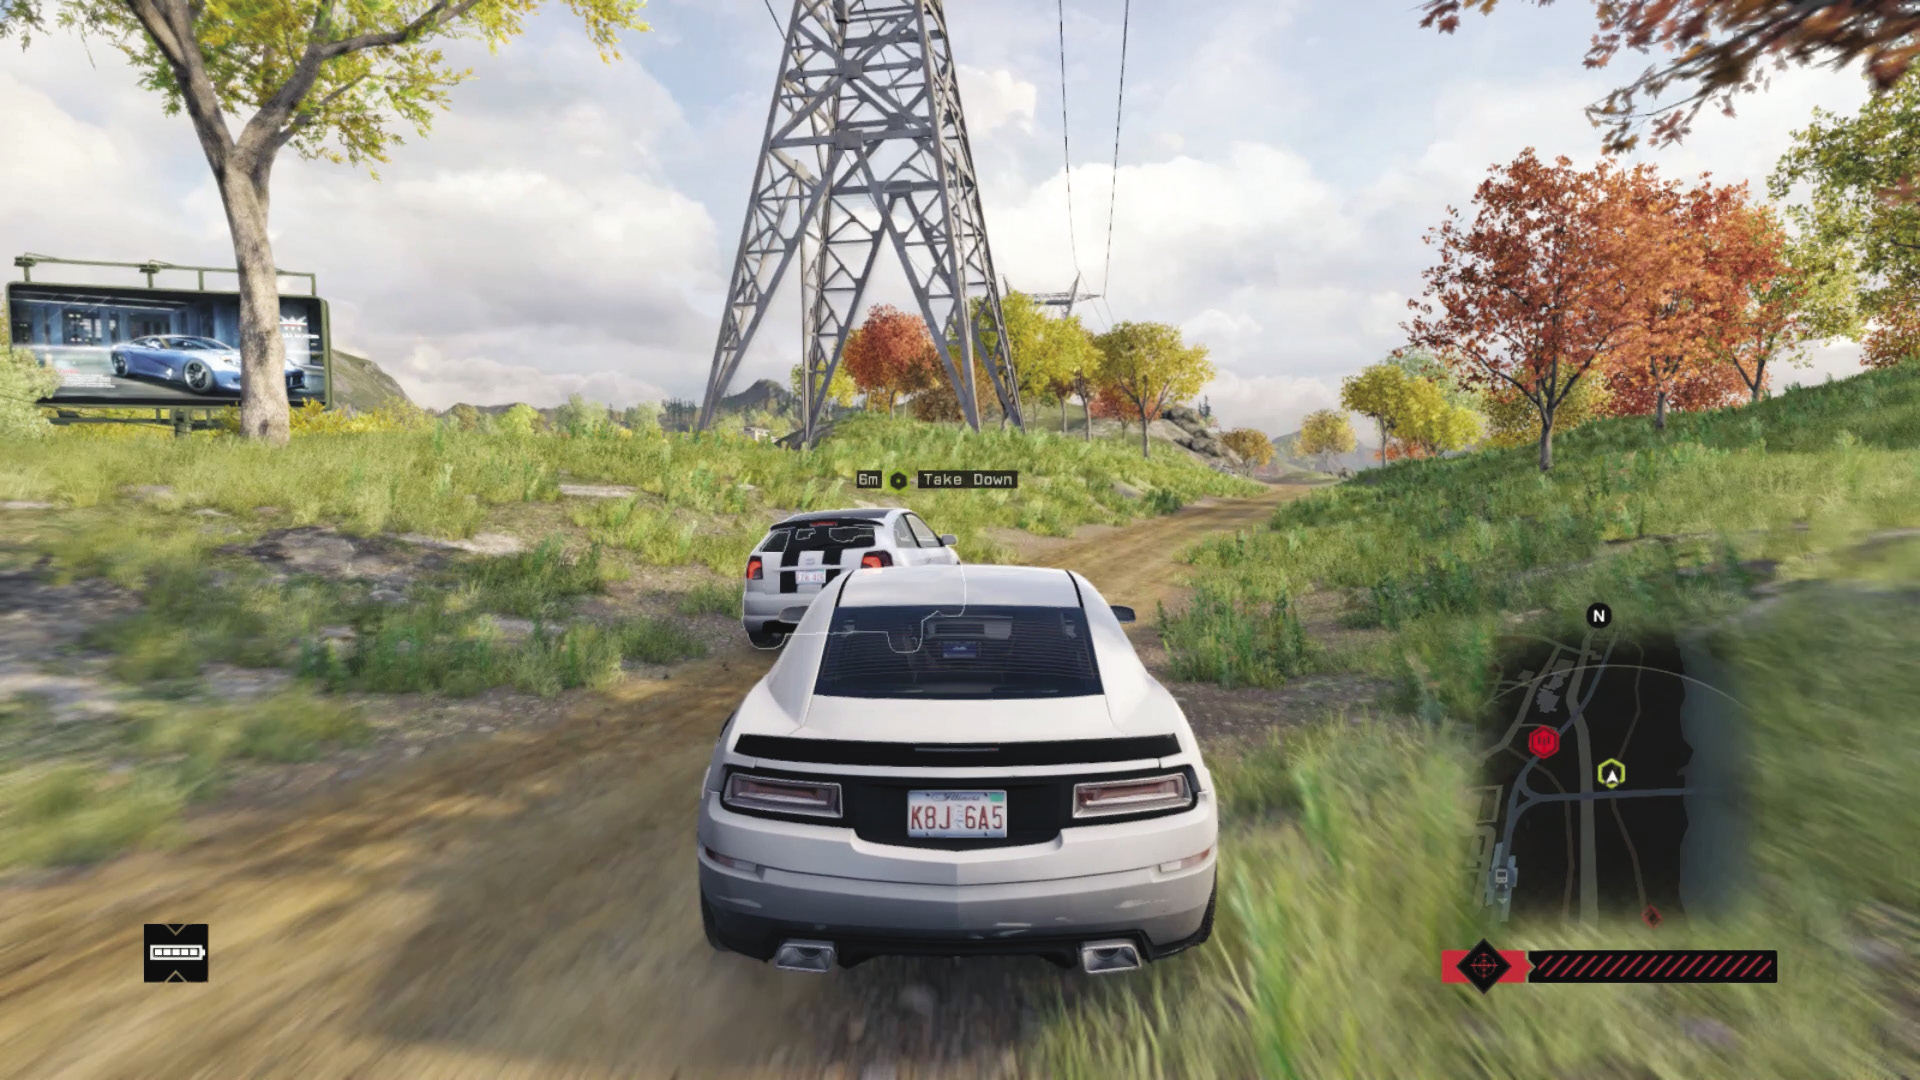
Takedown Opportunity 1: As you reach the dirt path by the river, heading roughly north, just as the reinforcements appear on your tail, there are numerous shunting opportunities as the foe skids around the trails.
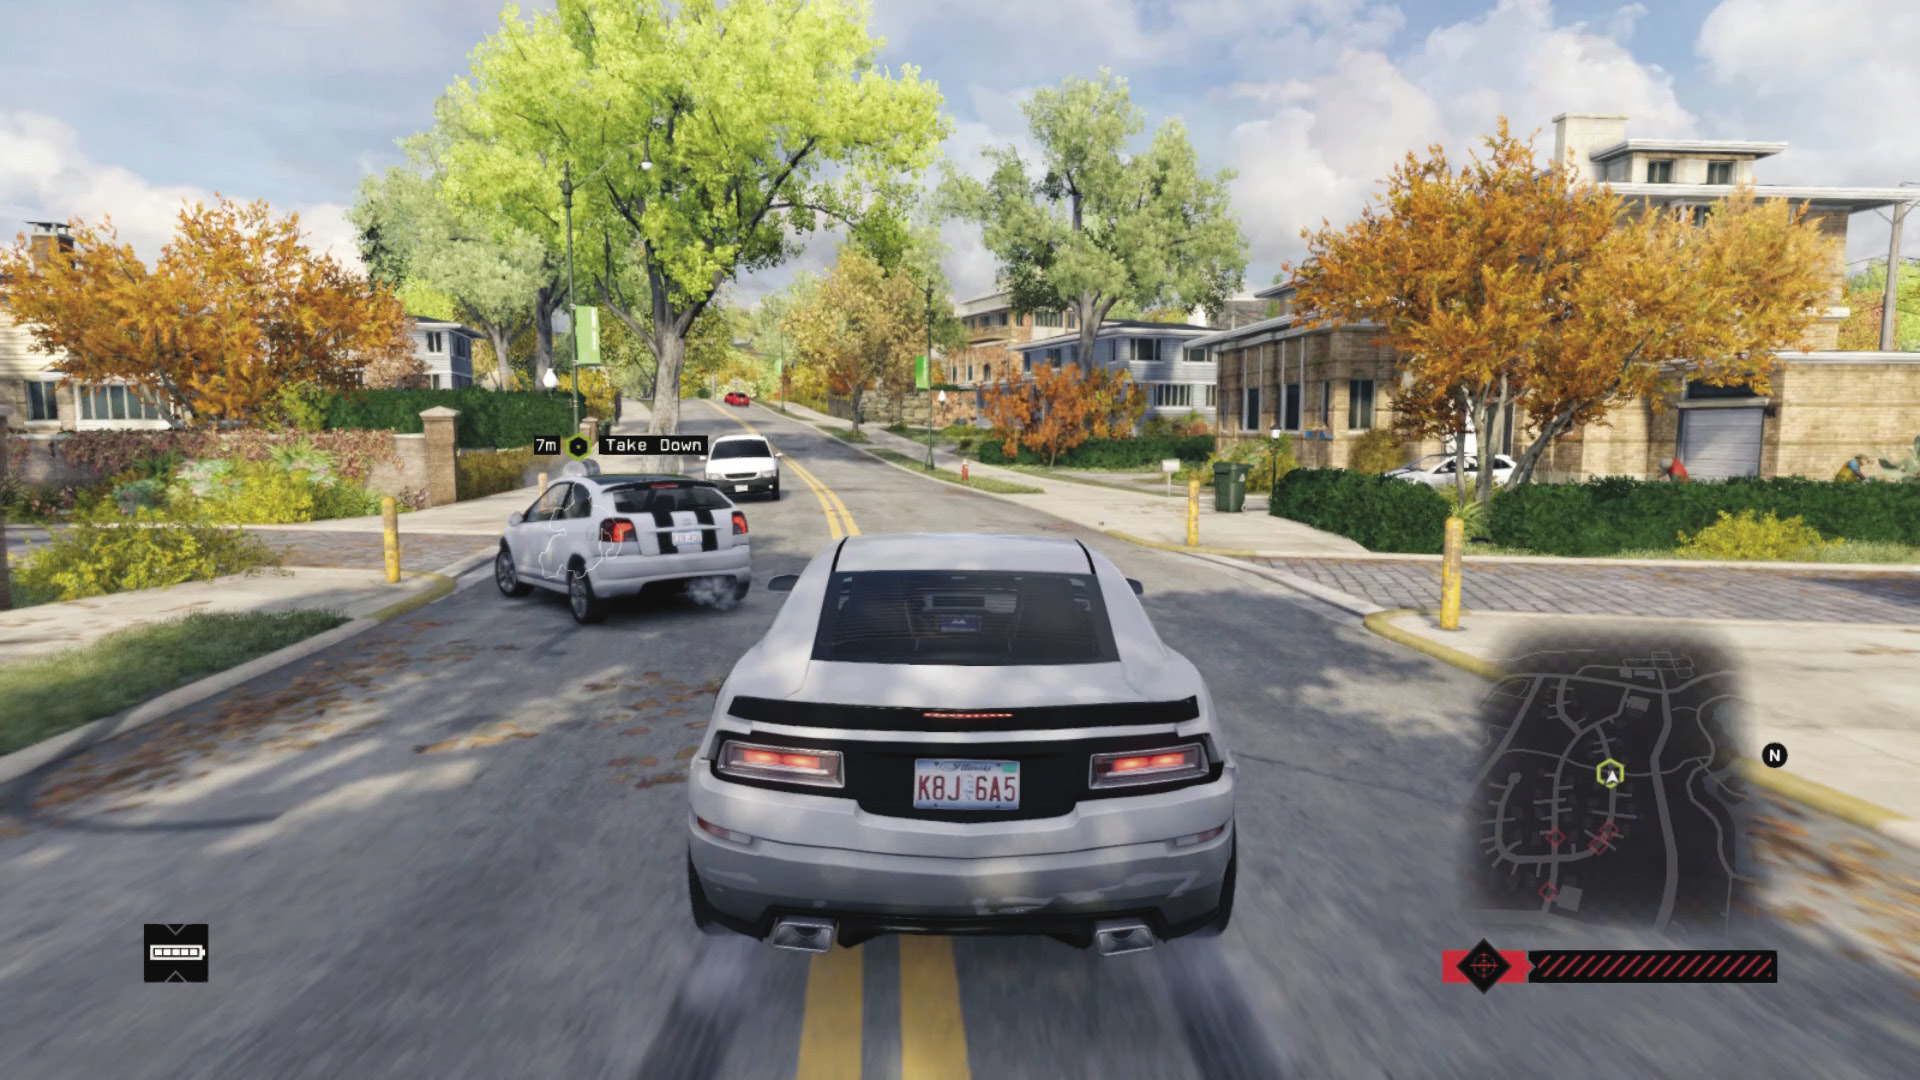
Takedown Opportunity 2: The foe speeds through the northern part of Parker Square, weaving around the fancy houses, so predict his sharp turns, and attempt to shunt or smash him off the road before he takes the cobblestone trail after a vicious left turn. This leads to the park.
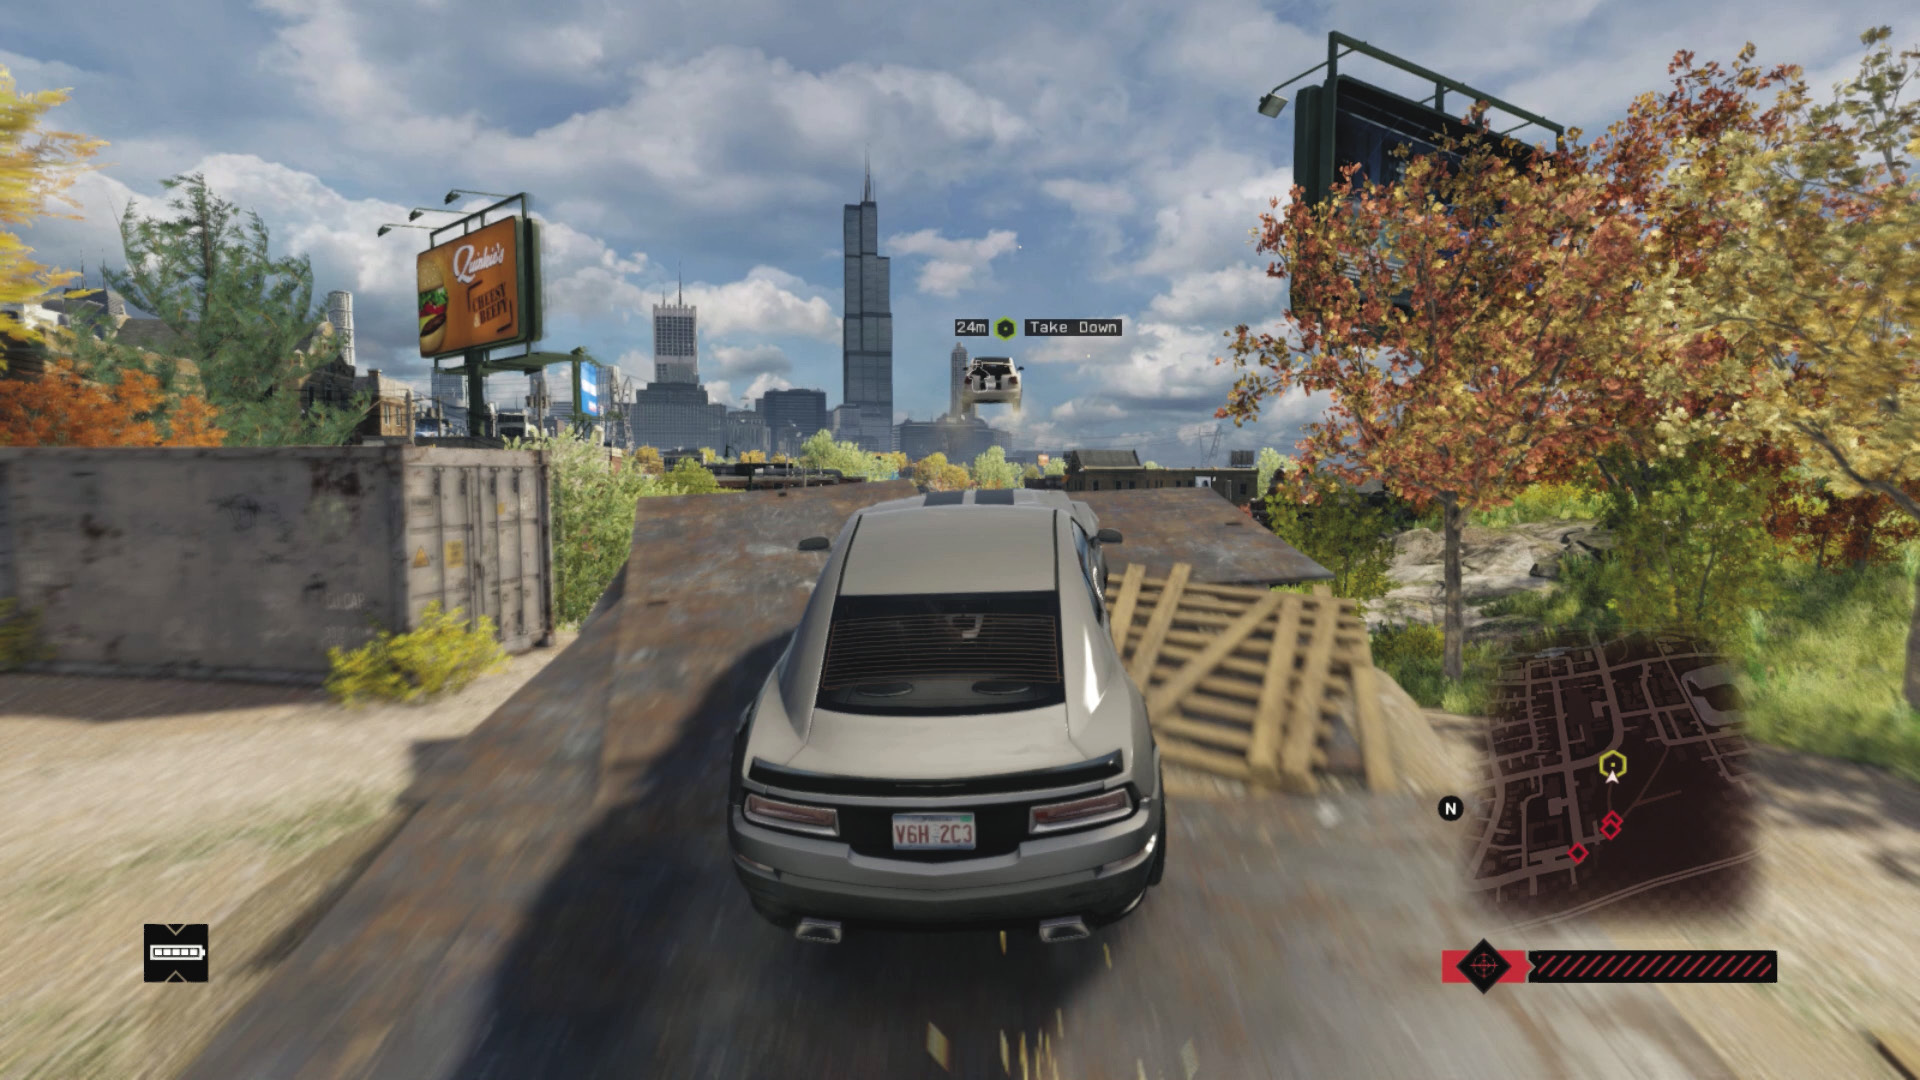
Takedown Opportunity 3: He follows the cobblestones around the baseball grounds near the park, then skids left, heading south to the bodega and the ramp down to the main road leading to the freeway. However, he winds around the baseball stadium and skids left into an alley with bollards at the far end. Raise them, and dash his hopes.
THE WARDS // INTERCEPTION CONTRACTS
03 _HARD SHOULDER
Starting location: WAREHOUSE GROUNDS, EAST CENTRAL WARDS
NEAREST VEHICLE: Hailkal R
ENEMY VEHICLE: Tributary 3500
Target: Gunman x 1
Download Requested?: No
ADDITIONAL Enemies: VICEROYS (UP TO 4 VEHICLES, Gunmen and veterans, 2–3 per vehicle)
Difficulty:
 +01:40 // +$6,000
 +03:00 // +$5,000
 ∞ // +$4,000
BEAT THIS: 00:34:08 (Anthony Renomeron)
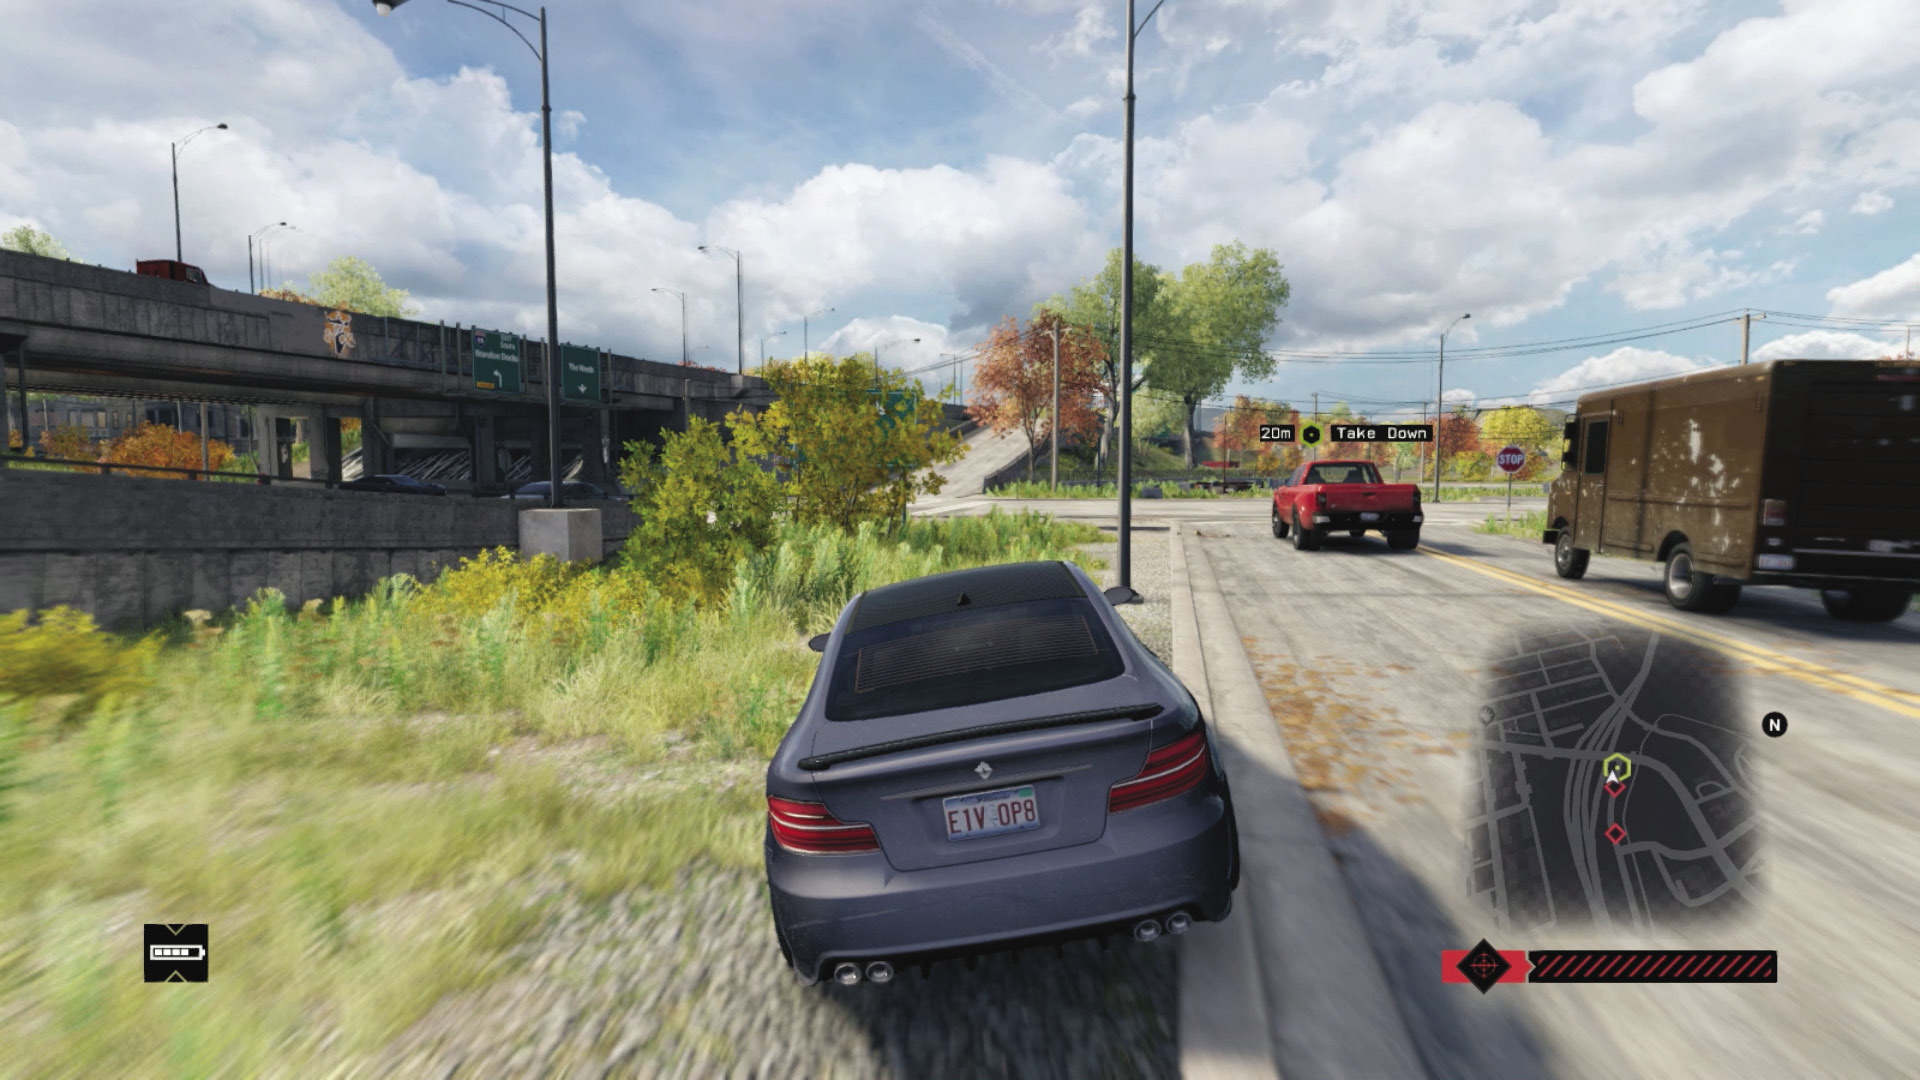
Takedown Opportunity 1: Aside from running the foe into the rail arch on the road to the freeway, the freeway entrance (and the initial corner) is a great place to block in the foe, shunt him, or get out and fire at him.
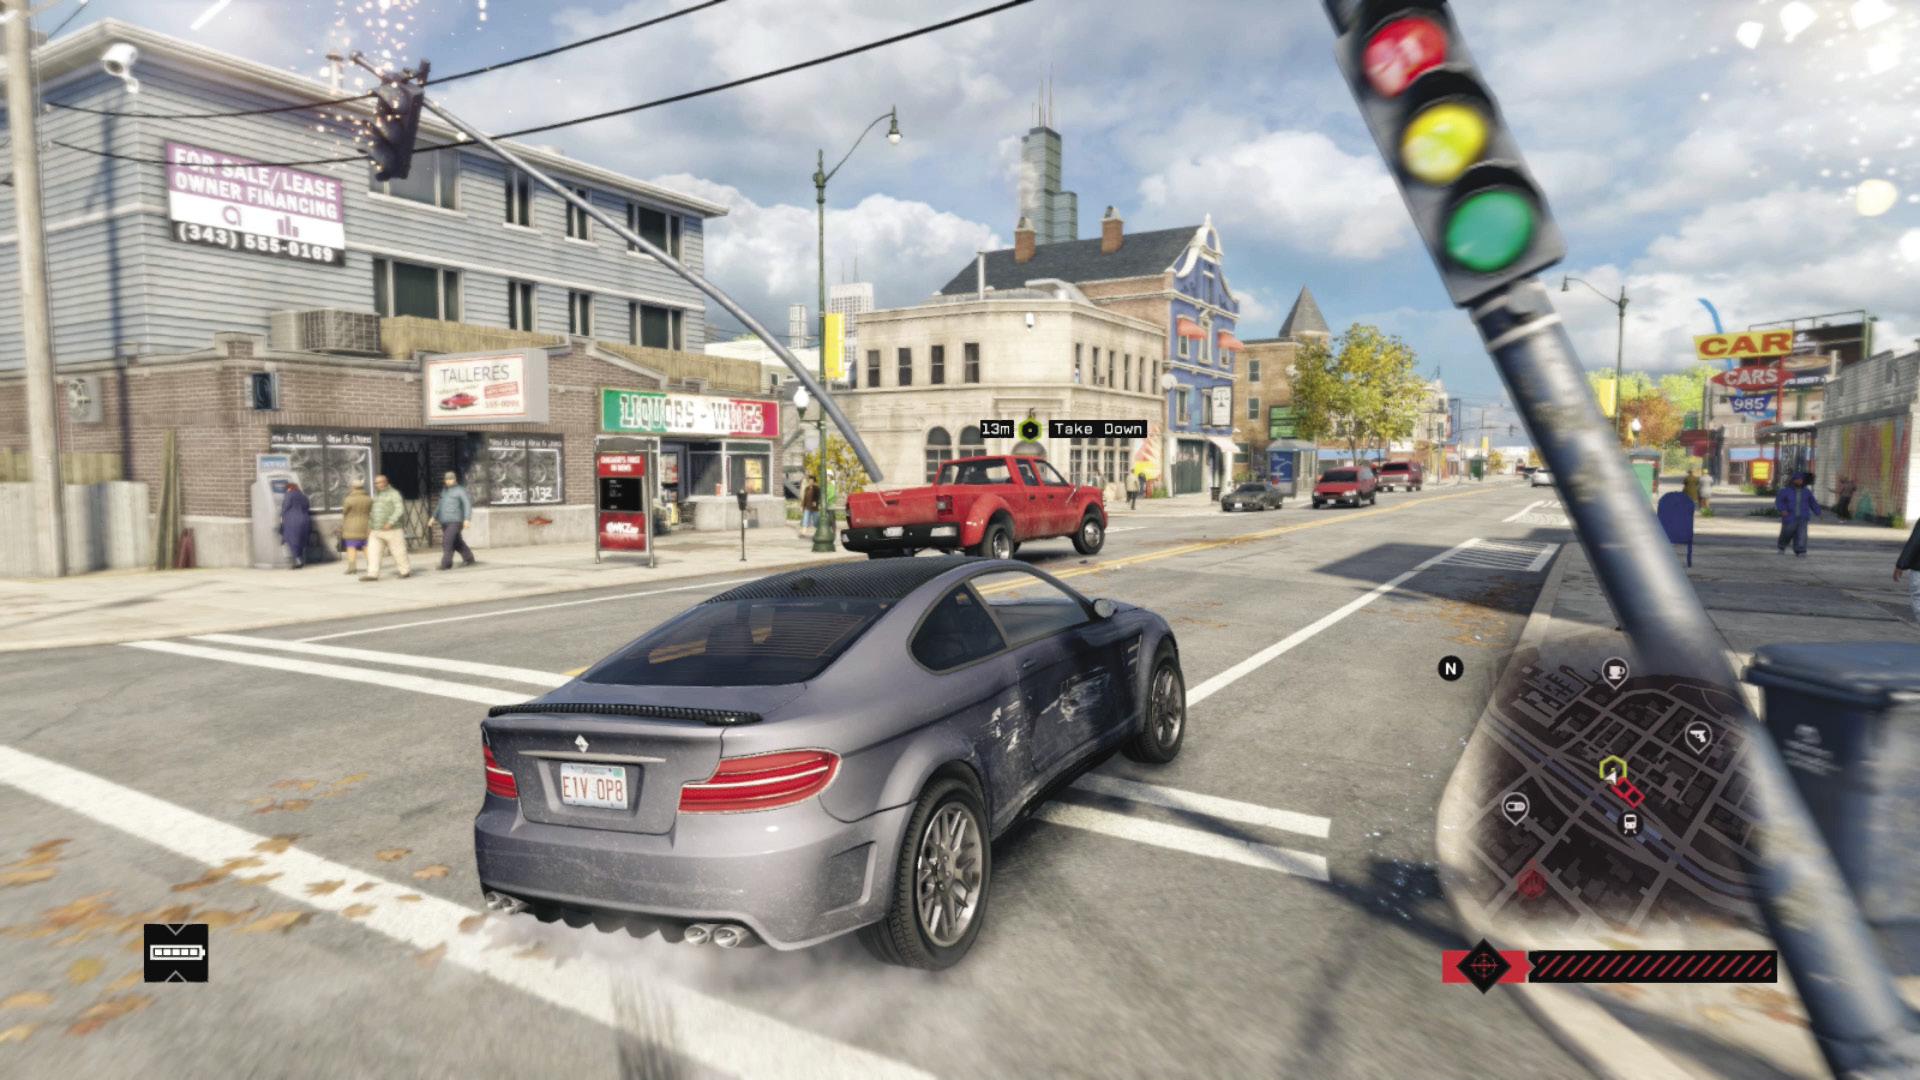
Takedown Opportunity 2: The enemy takes off down the freeway and makes the next exit into Parker Square, weaving through alleys and roads and then heading north. There’s numerous traffic light or shunting opportunities here.
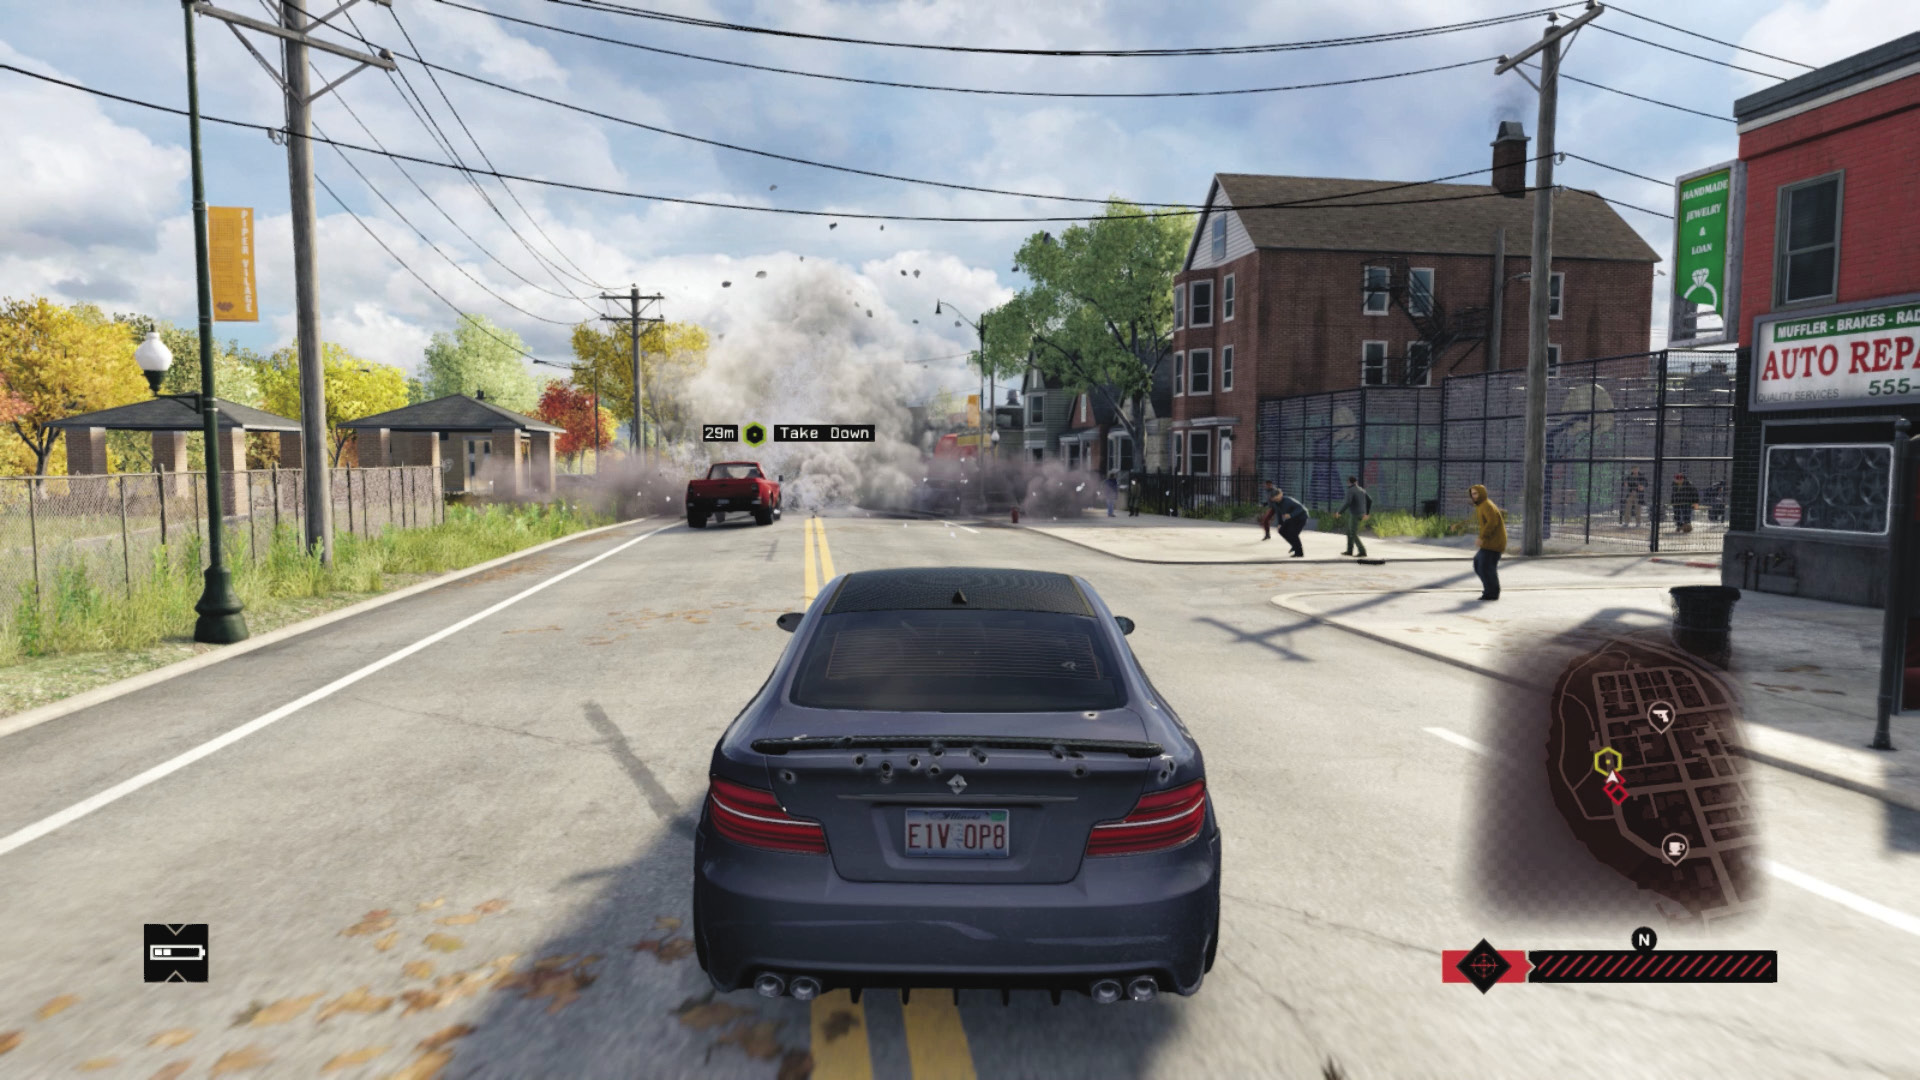
Takedown Opportunity 3: By now, you’re met with more Viceroy resistance, as well as your target trying to squeeze down some increasingly narrow alleys; block and shunt so he can’t get out, or wait until he emerges and heads down the street with the steam pipe.
04_CONNECTION INTERRUPTED
Starting location: DIRT GROUND, CENTRAL WARDS
NEAREST VEHICLE: Boxberg LE
ENEMY VEHICLE 1: Core-T
ENEMY VEHICLE 2: Tributary 3500
Target: Enforcer x 1 (Second Vehicle)
Download Requested?: YES (x 2)
ADDITIONAL Enemies: VICEROYS (UP TO 6 VEHICLES, Gunmen and veterans, 2–3 per vehicle)
Difficulty:
 +03:30 // +$10,000
 +03:00 // +$9,000
 ∞ // +$8,000
BEAT THIS: 01:01:00 (Jean Michel Lavinge)
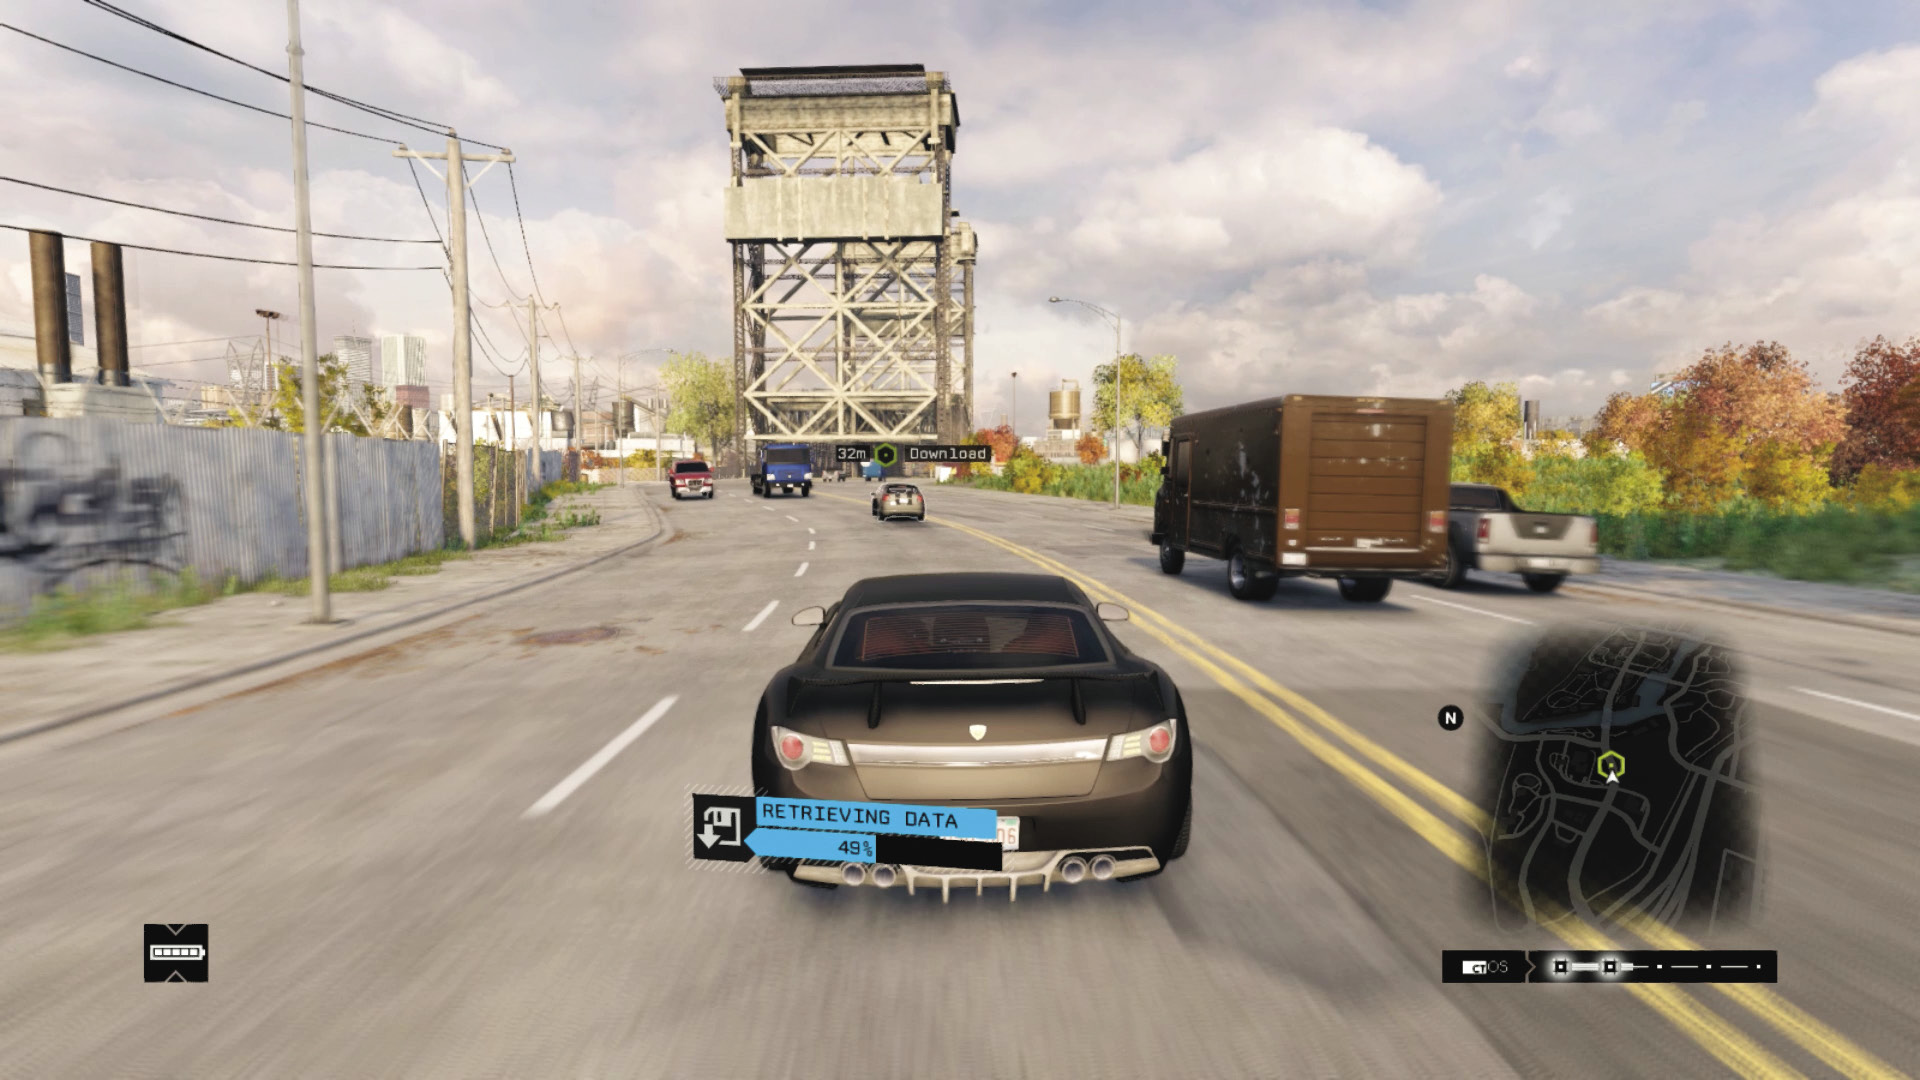
Enemy 1
Takedown Opportunity 1: You can follow the first target down the wider main streets, under the freeway and into Brandon Docks. Aside from any grenade-punting well ahead of time, you should really raise this bridge to stop the first progression from taking any longer.
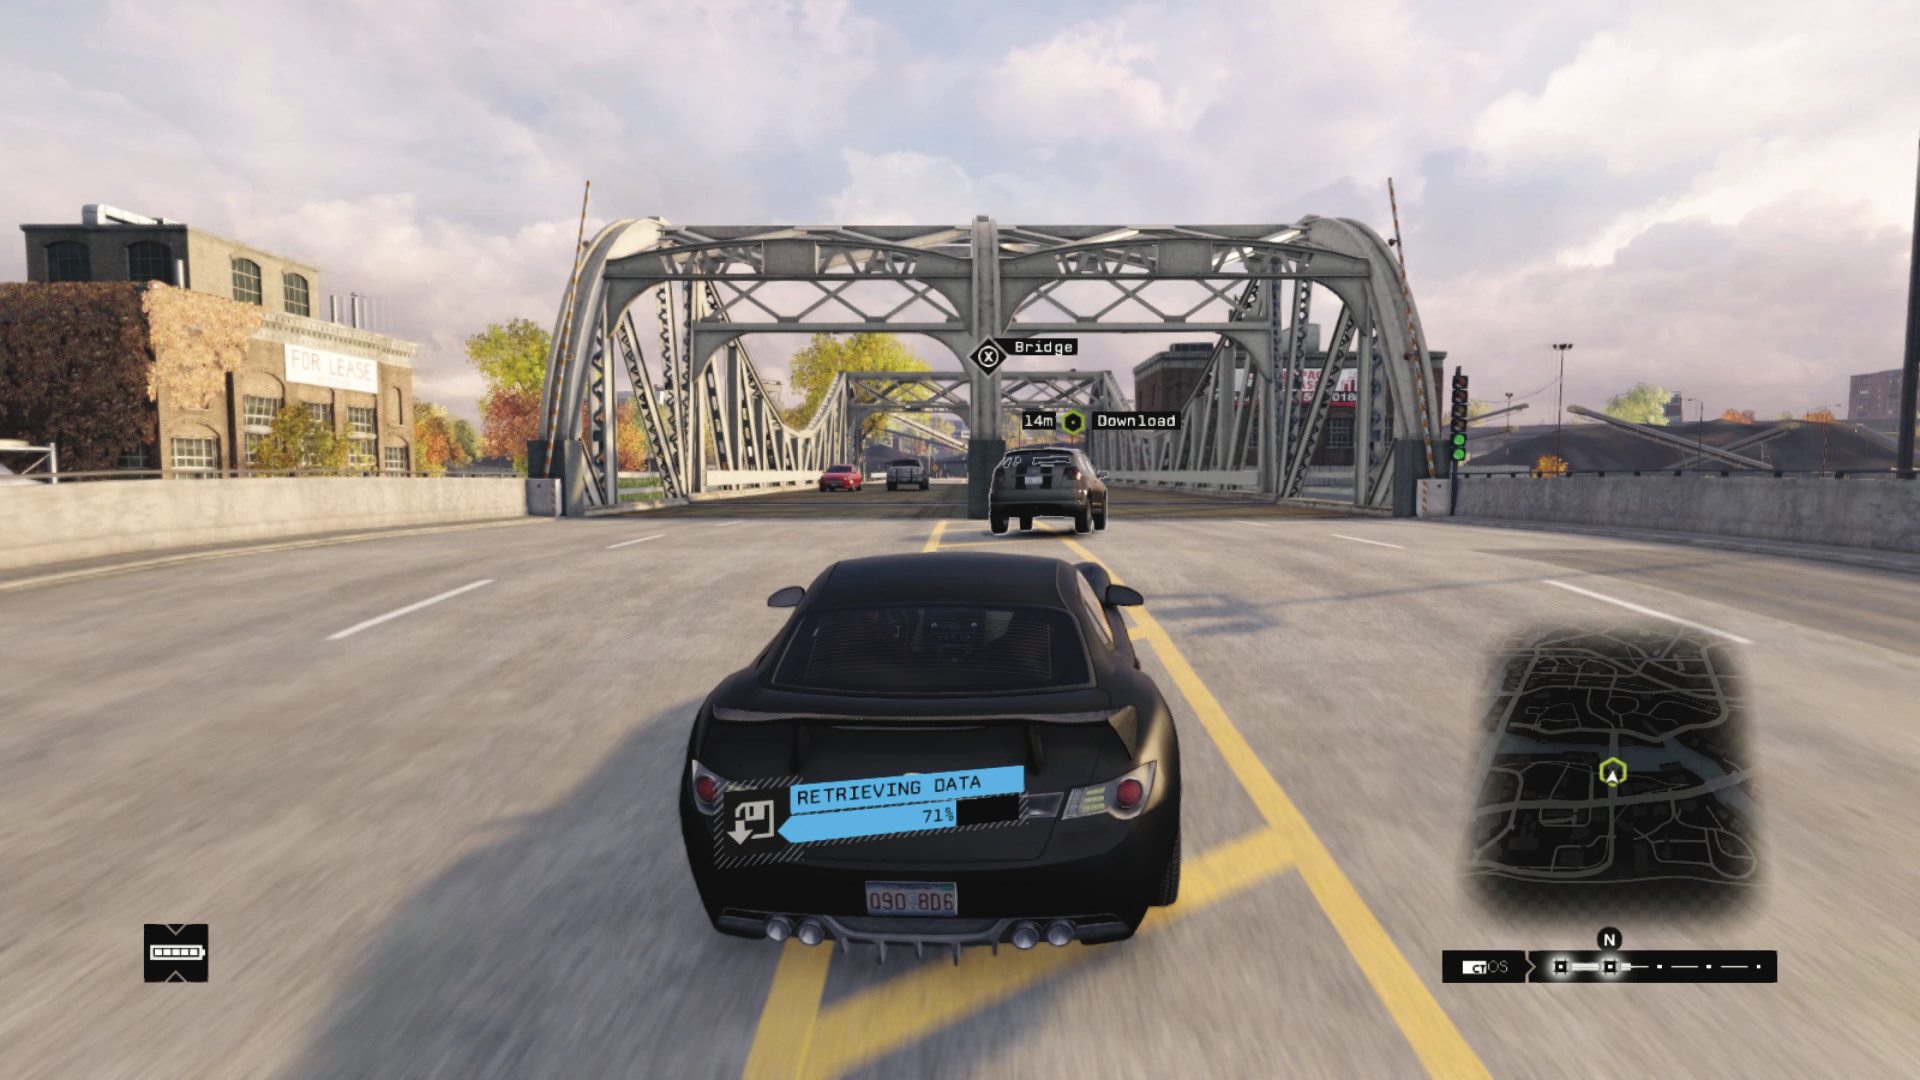
Takedown Opportunity 2: Still going? Then the foe usually takes a right turn a few blocks later and heads across a second bridge. That’s another place to snag him.
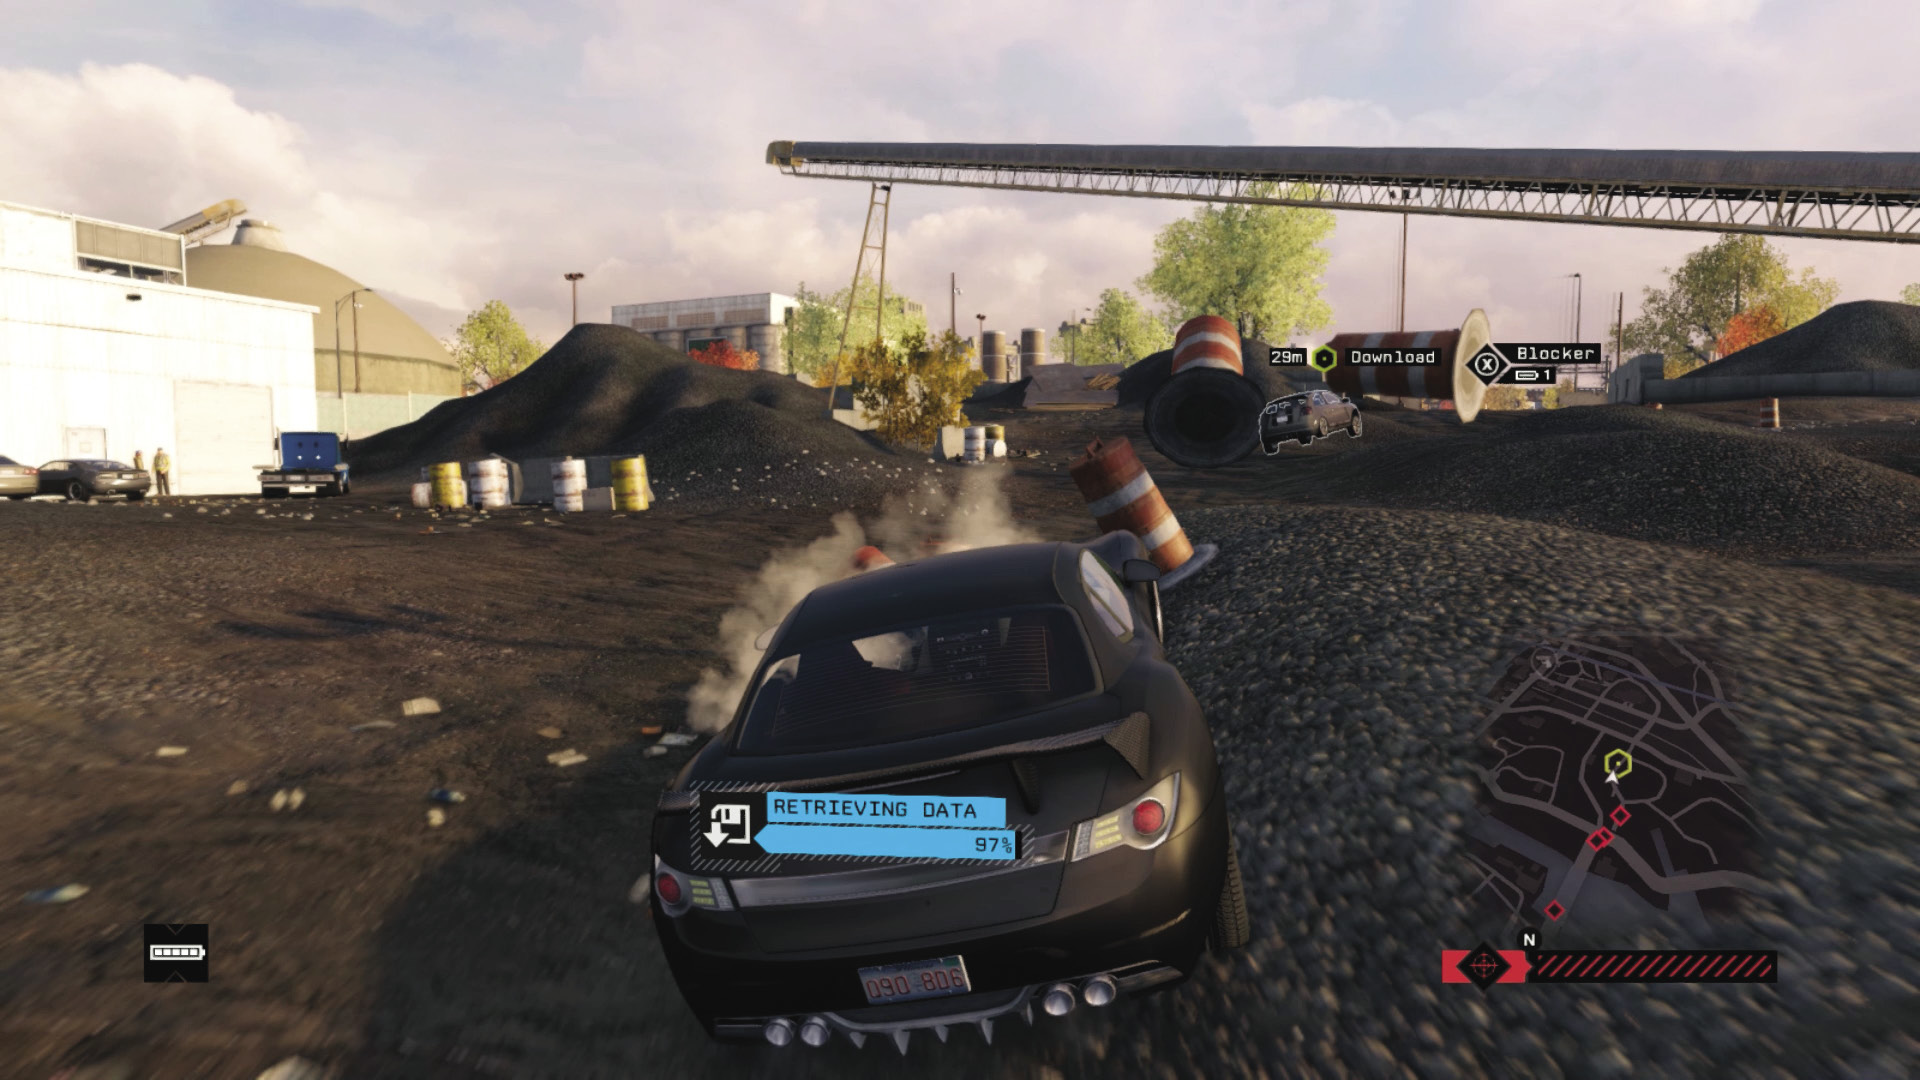
Takedown Opportunity 3: Then he makes a break for it, across the gravel yard, which ends with a blocker to raise. You should have finished downloading by now, but simply waiting for the download to end is a terrible plan. Shunt him, kill him, and hack that data, or he continues along the rail tracks.
Enemy 2
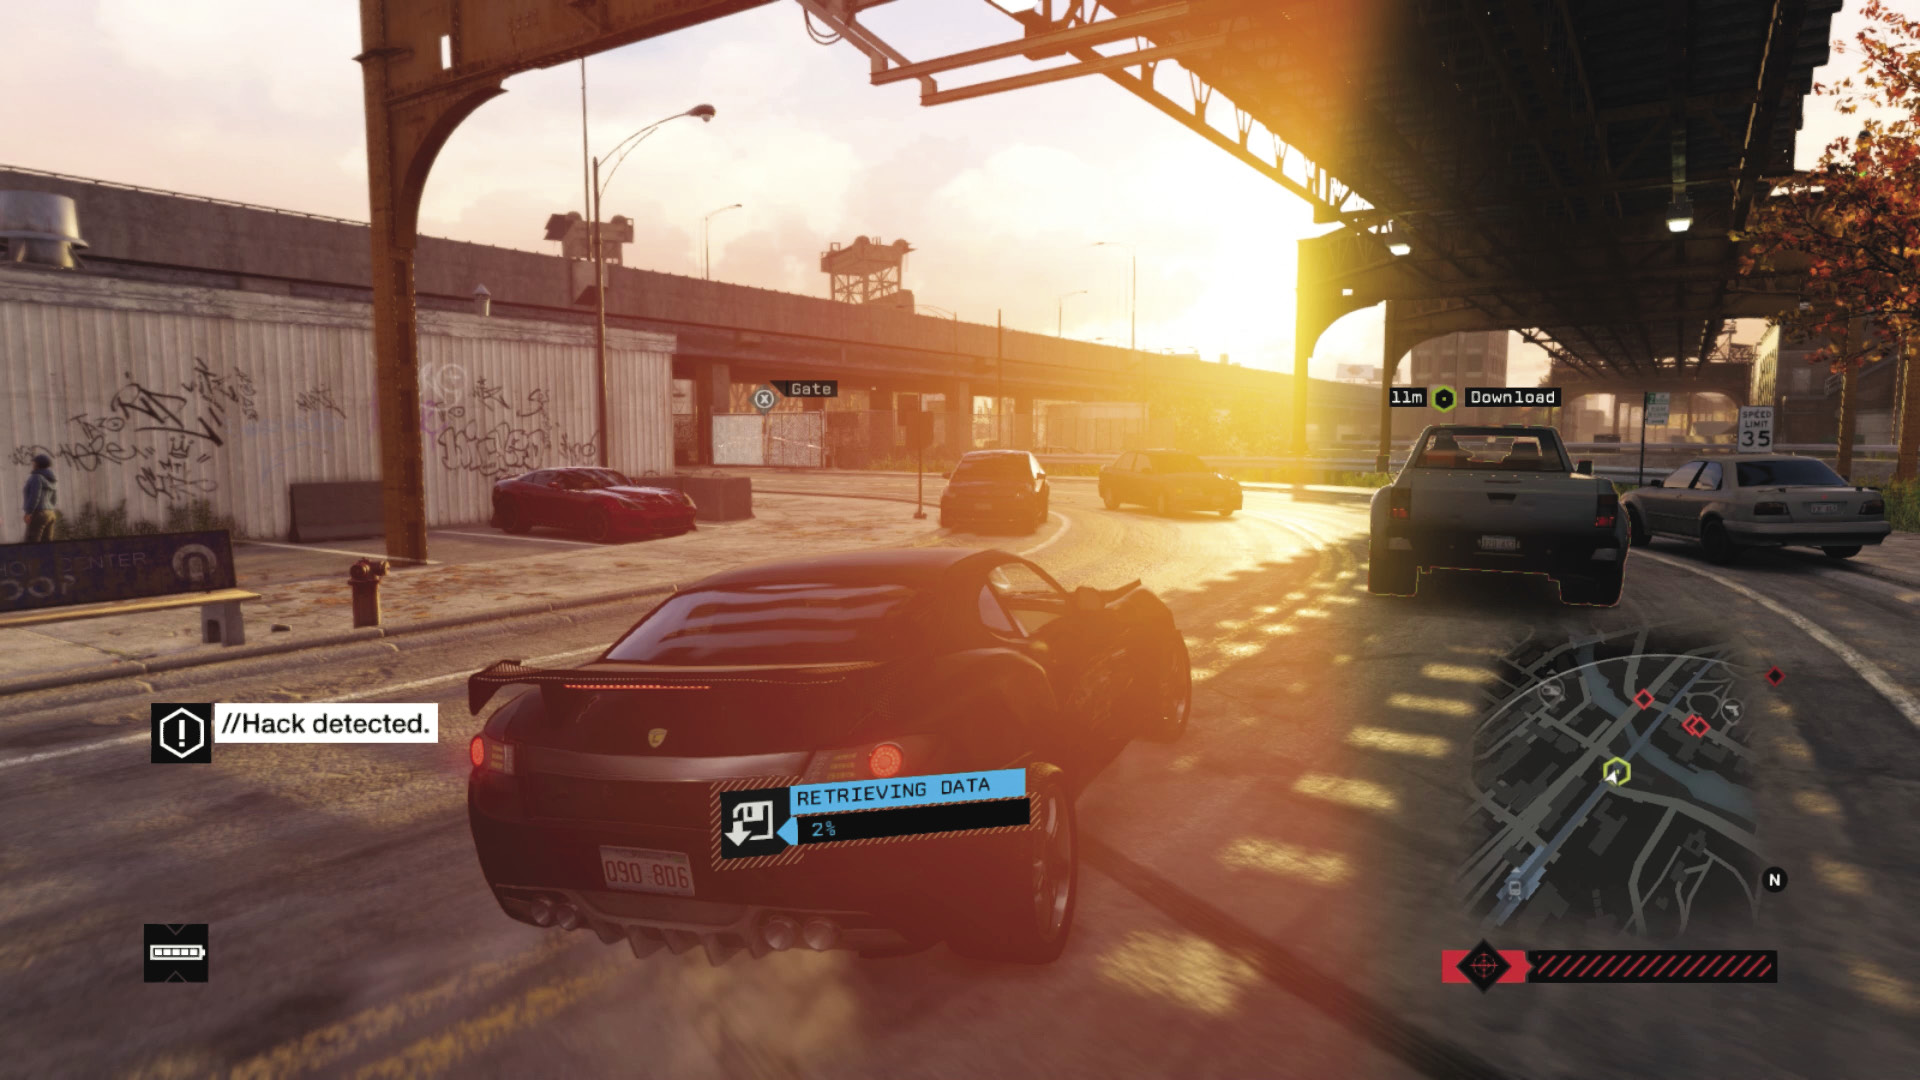
Takedown Opportunity 1: Head toward the second target that needs data downloaded; this guy is driving a truck that’s a little heavier. This is great for hitting him in narrow places but not for spinning him about easily. He begins at an underpass, then swerves into a parking lot before following the rail line east.
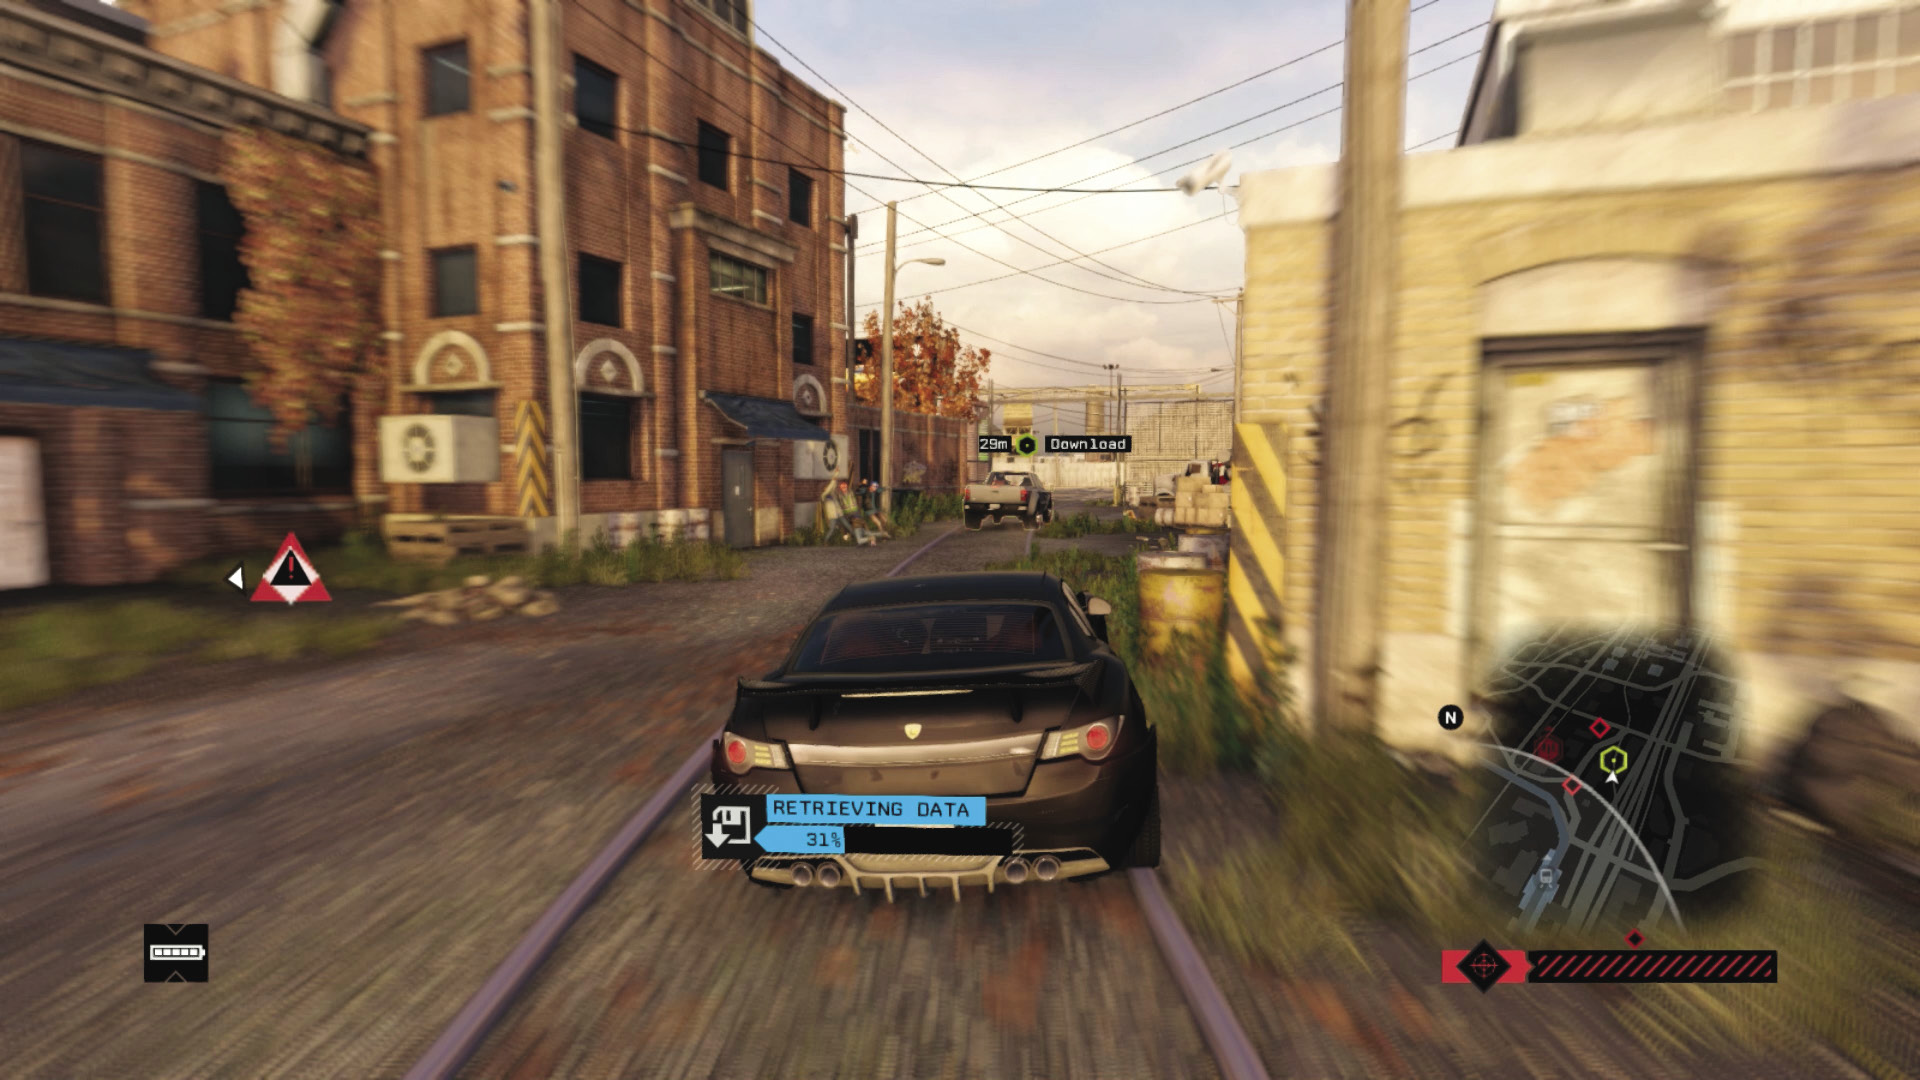
Takedown Opportunity 2: Watch yourself in the enclosed concrete rail tunnel. As you exit into “Ice Cream Van Alley,” you may be struck by enemy vehicles and it’s easy to get stuck or spun; try hitting the foe here to finish the mission early.
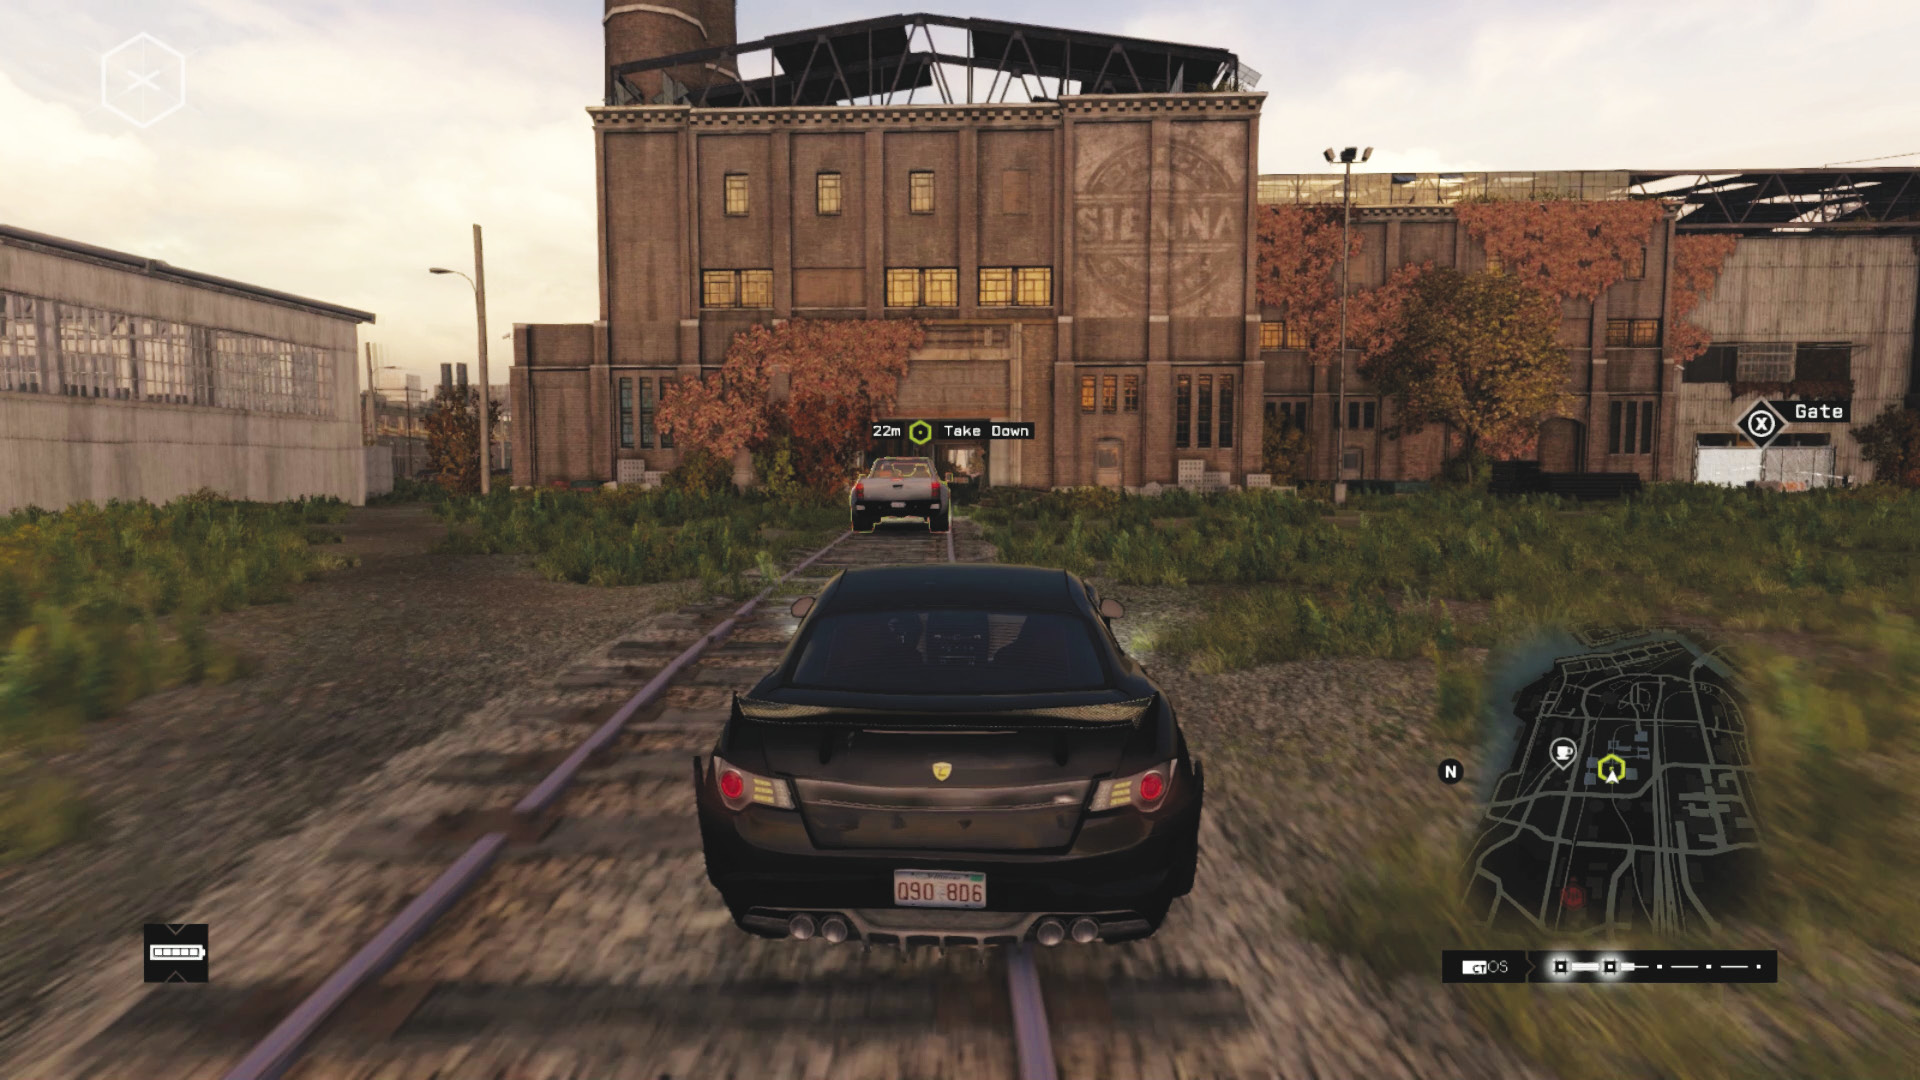
Takedown Opportunity 3: The truck continues down the rail tracks, winding down past the silos and into the brick factory, where you can usually stop him with a closed gate at the far end; finish this mission way before this point to claim any sort of major cash prize.
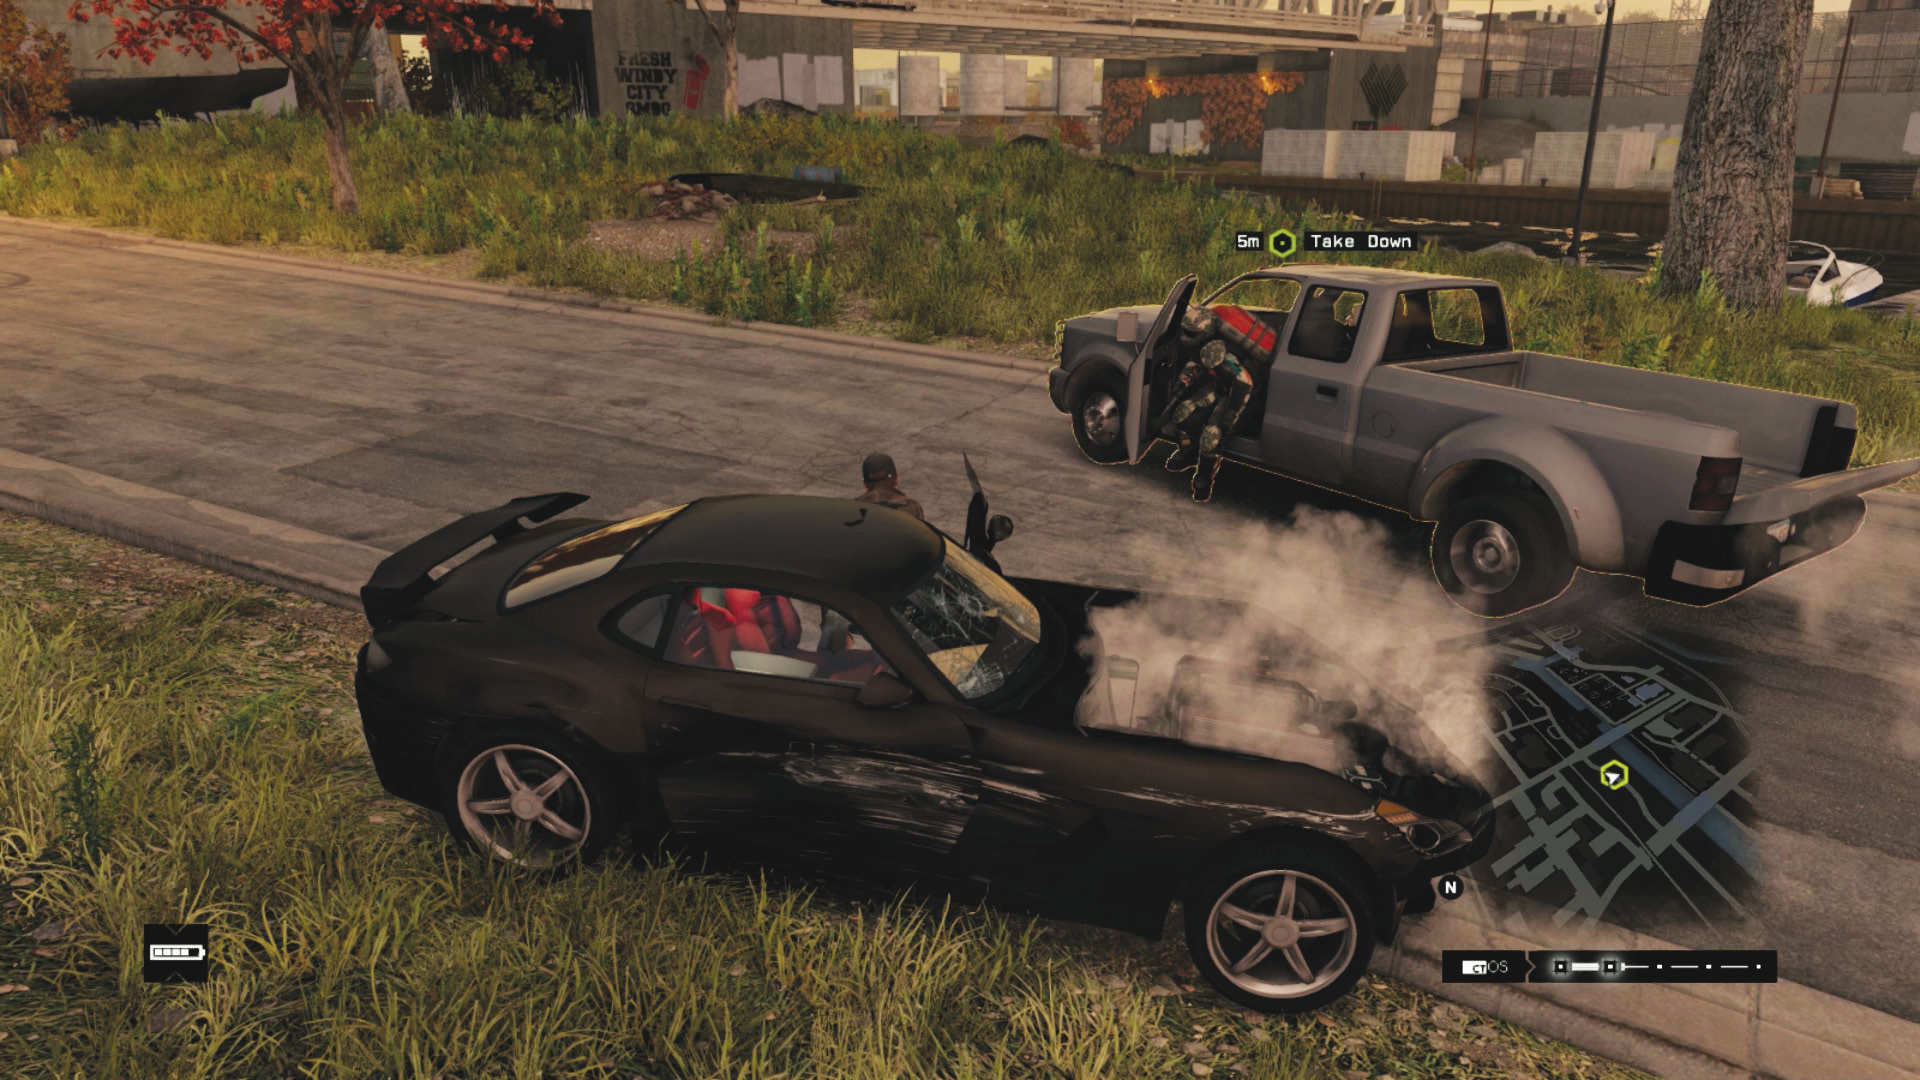
Beware! Enforcer!: Watch out! This target is an Enforcer and requires one of the following takedown methods:
- (Recommended): Running him over twice in your vehicle.
Tackling him with melee strikes if you have the Enforcer Takedown skill.
Using explosives or exploding infrastructure (such as steam pipes).
Firing at him incessantly in a horribly protracted combat.
BRANDON DOCKS // INTERCEPTION CONTRACTS
05_BANDWIDTH EXCEEDED
Starting location: INDUSTRIAL ENTRANCE, CENTRAL DOCKS
NEAREST VEHICLE: CORE-T
ENEMY VEHICLE 1: Sonarus LX
ENEMY VEHICLE 2: 3.9T
Target: Enforcer x 1, Veteran x 1
Download Requested?: YES (x 2)
ADDITIONAL Enemies: Viceroys (up to 6)
Difficulty:
 +03:15 // +$10,000
 +06:00 // +$9,000
 ∞ // +$8,000
BEAT THIS: 01:30:23 (Anthony Renomeron)
Enemy 1
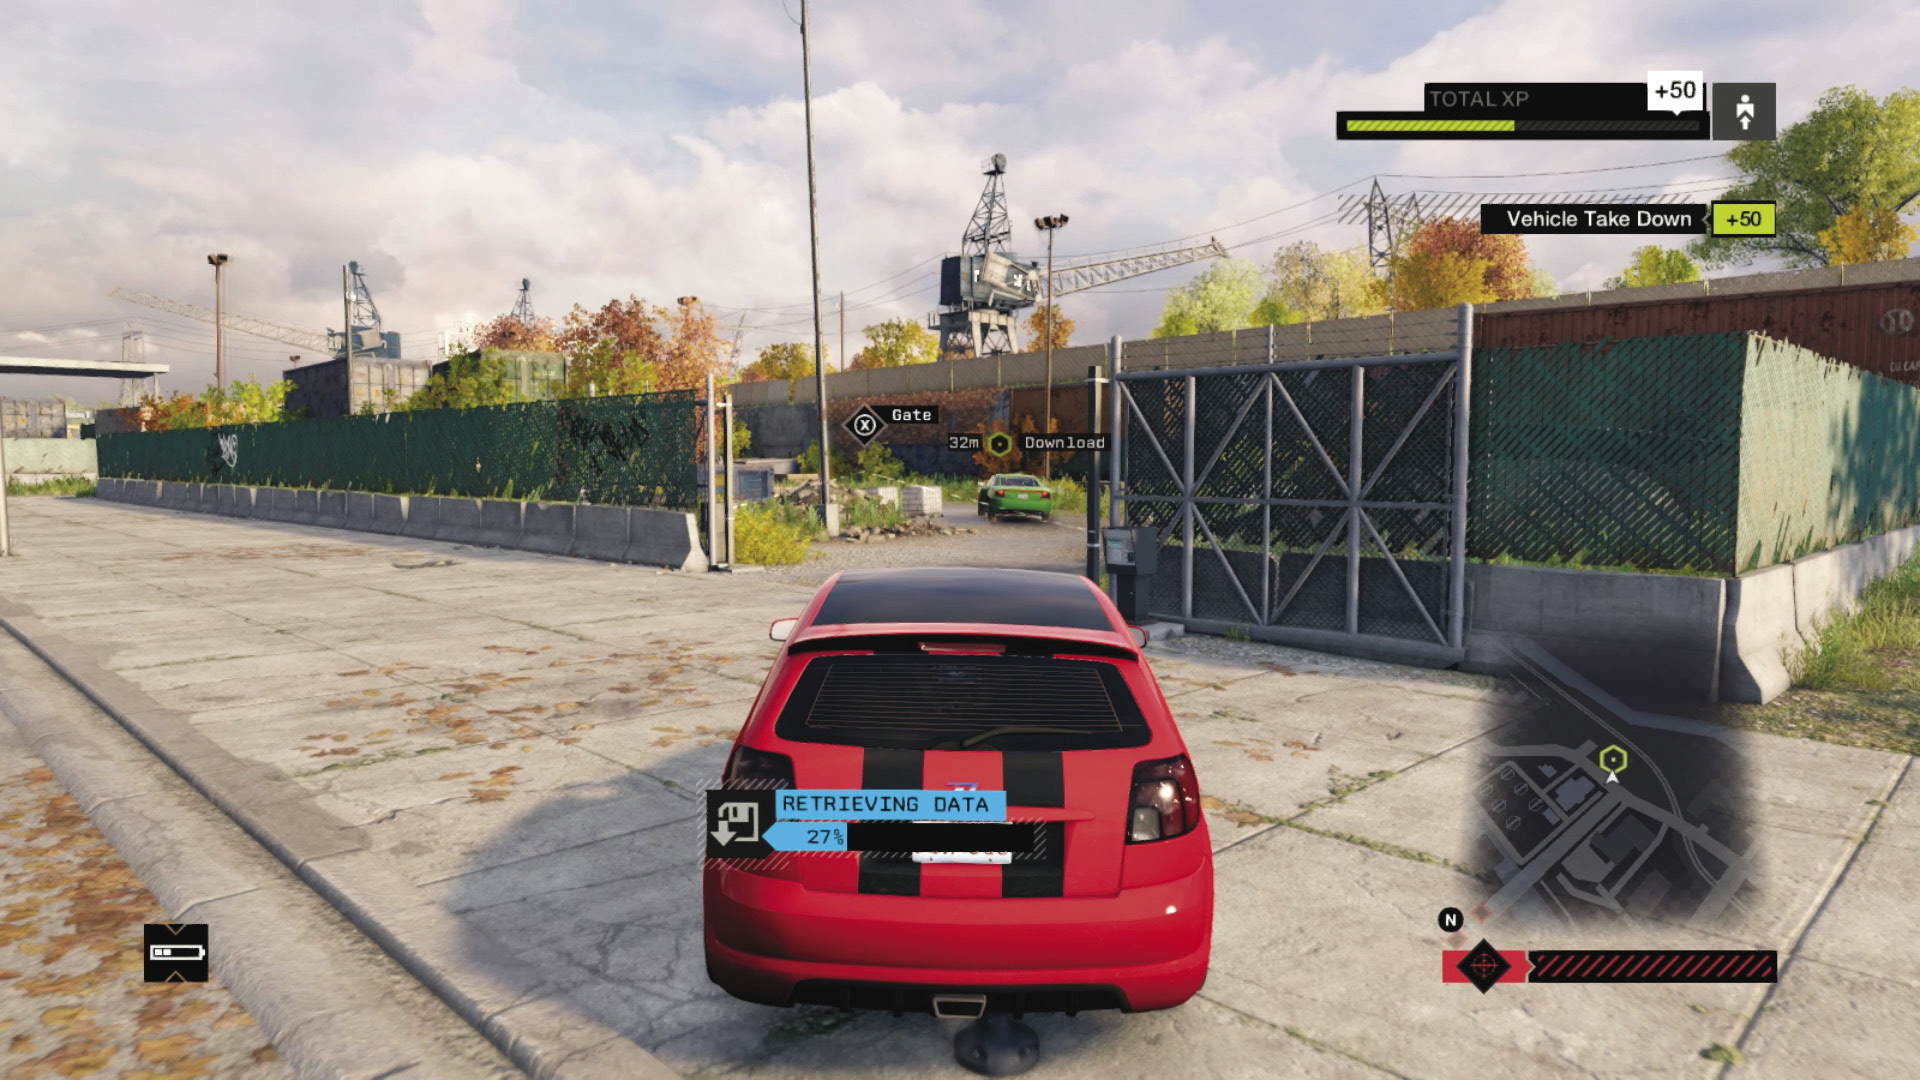
Takedown Opportunity 1: The foe takes off across a bridge, which is excellent for shunting the foe into. If you miss, he tries to head into the debris-strewn rail yard. Close the gate just as he gets there, and then ram him or shoot the vehicle and stop this chase early.
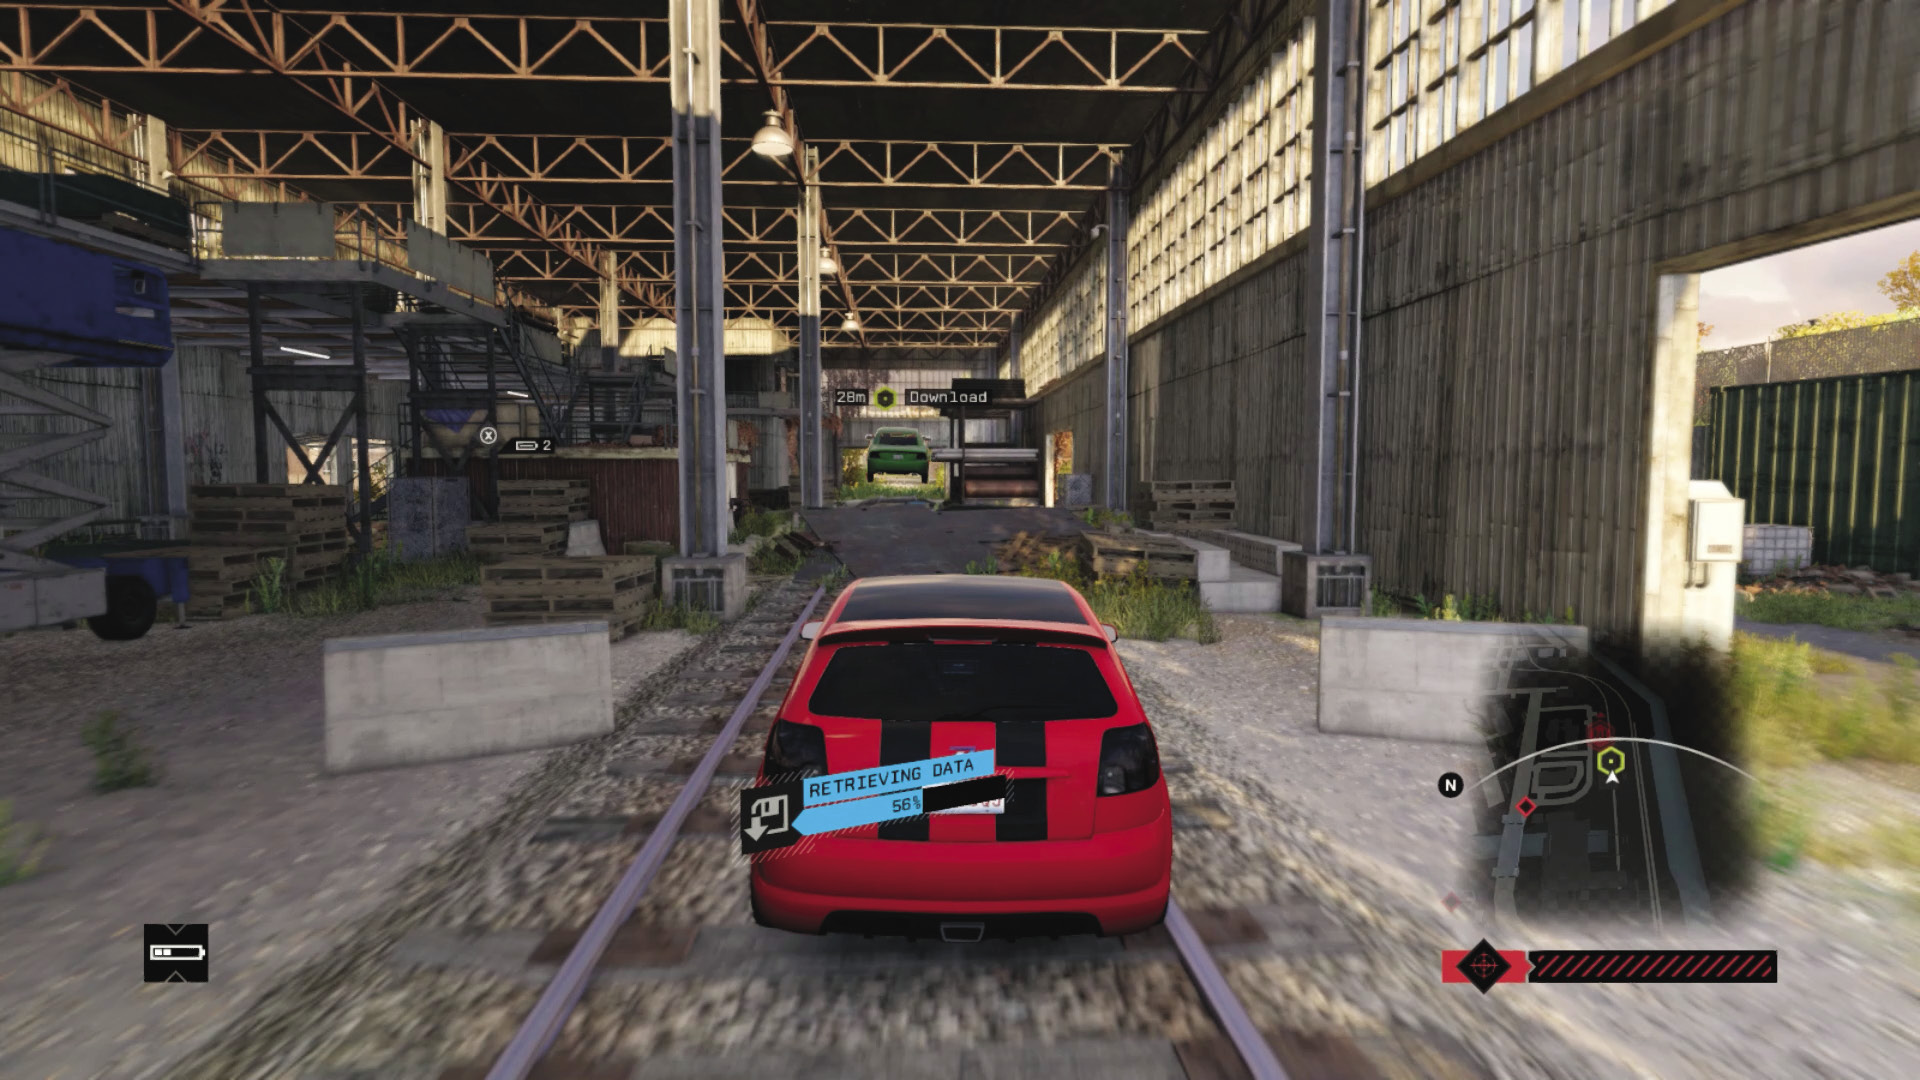
Takedown Opportunity 2: There’s another chance to stop this foe as you weave through the debris. Of course, ramming him into some containers is a plan, but he enters the small ramp and through the garage—just close the exit garage door so he can’t escape.
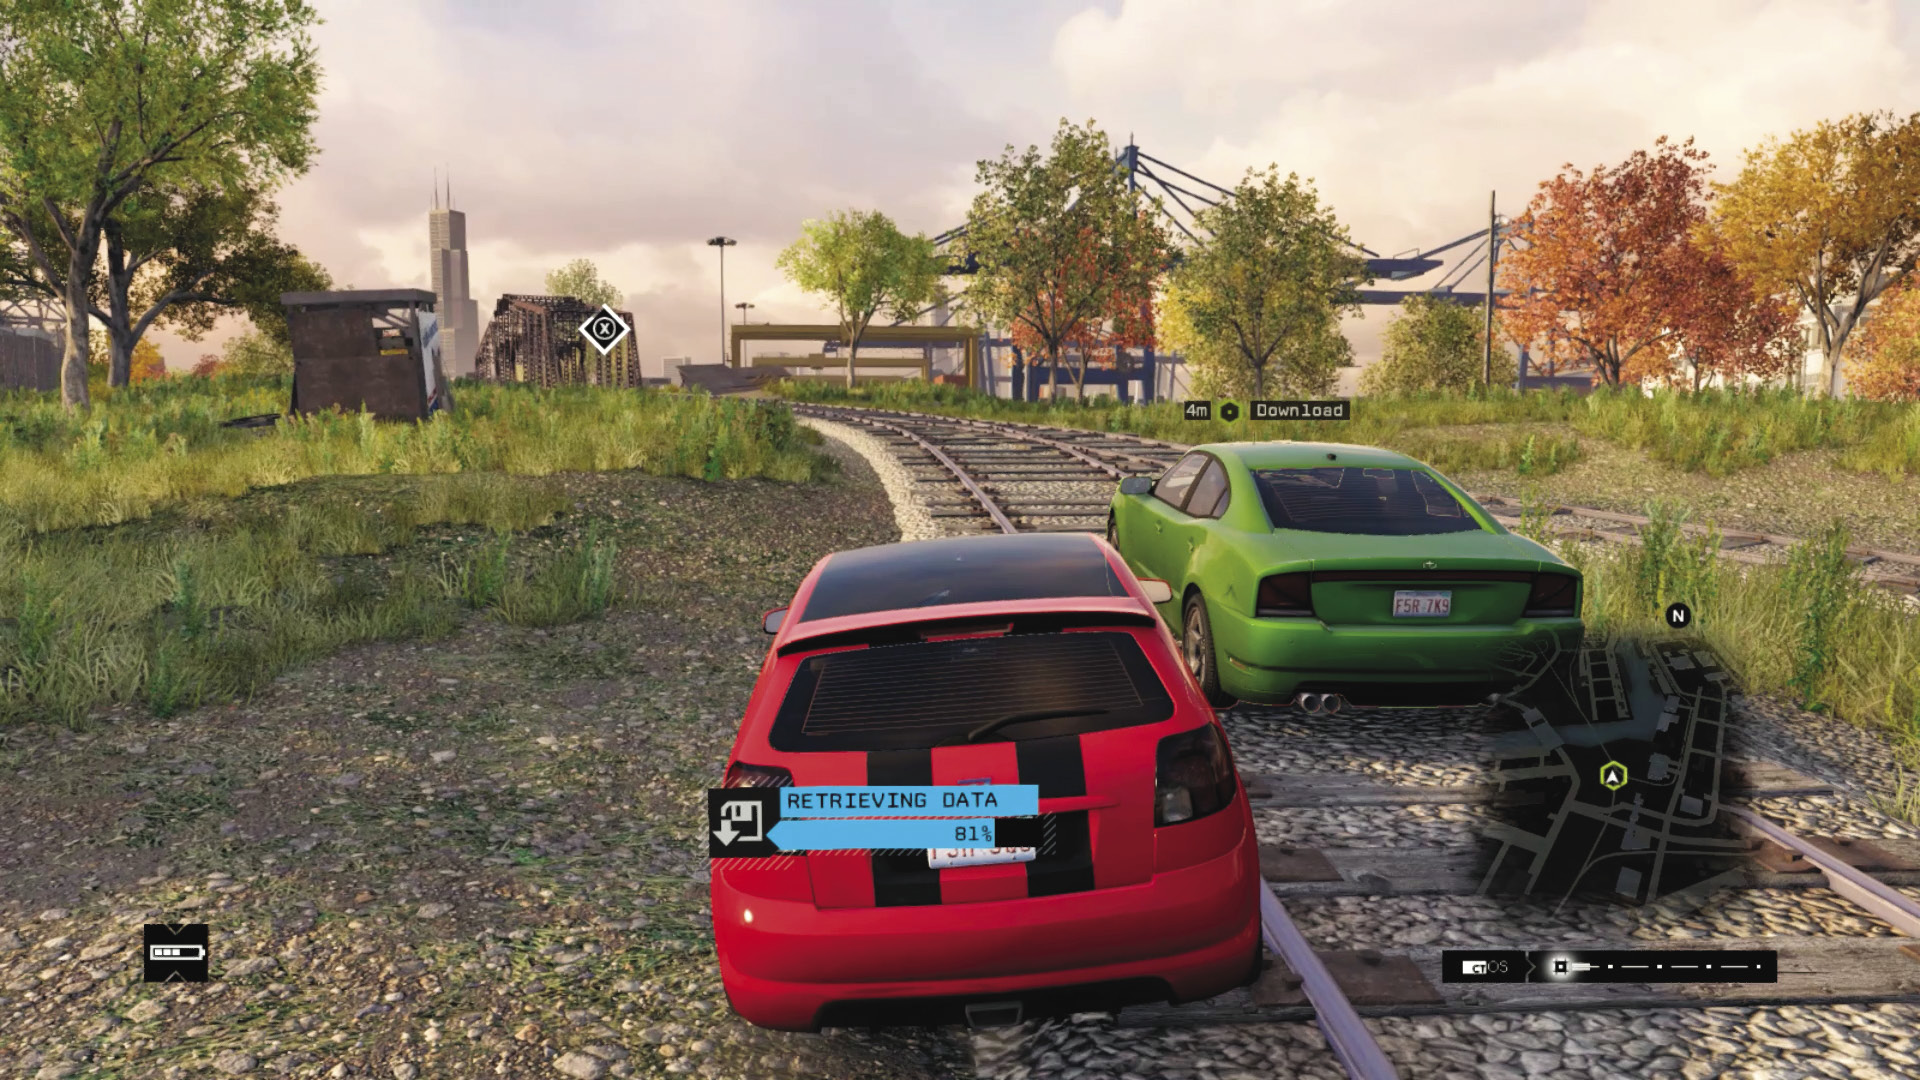
Takedown Opportunity 3: Wait, he escaped? Then you’ve got a drive along the rail track and a swing bridge to move as the foe is on it, trapping him or causing him to drop into the water. After that he stays on the rail tracks for a while before weaving north down the road, under the L-train. Forget your cash bonus if you’re at this point (which is when the download is likely to end).
Enemy 2
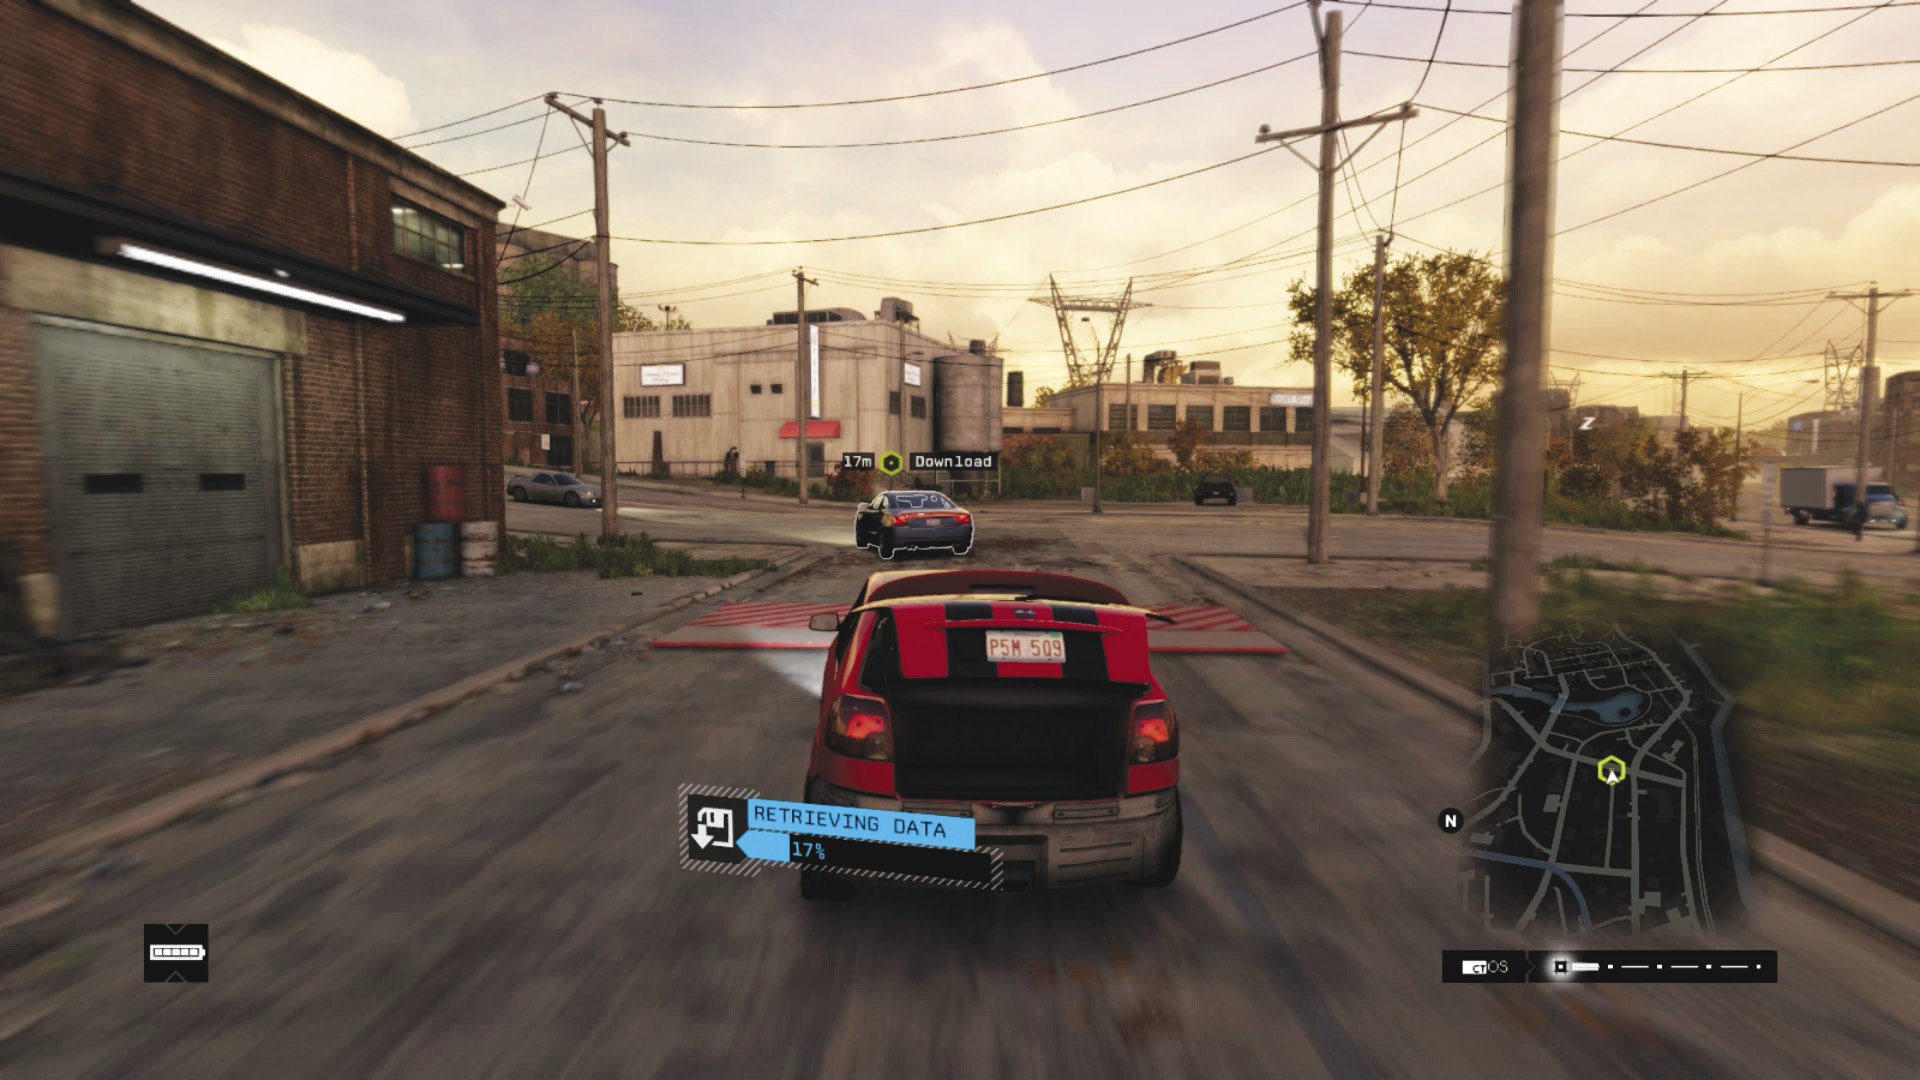
Takedown Opportunity 1: Start the next download at speed, heading west into the Wards. The foe takes a couple of sharp rights, over a blocker, which is your first opportunity to stall him. There’s a second blocker at the end of the narrow lane.
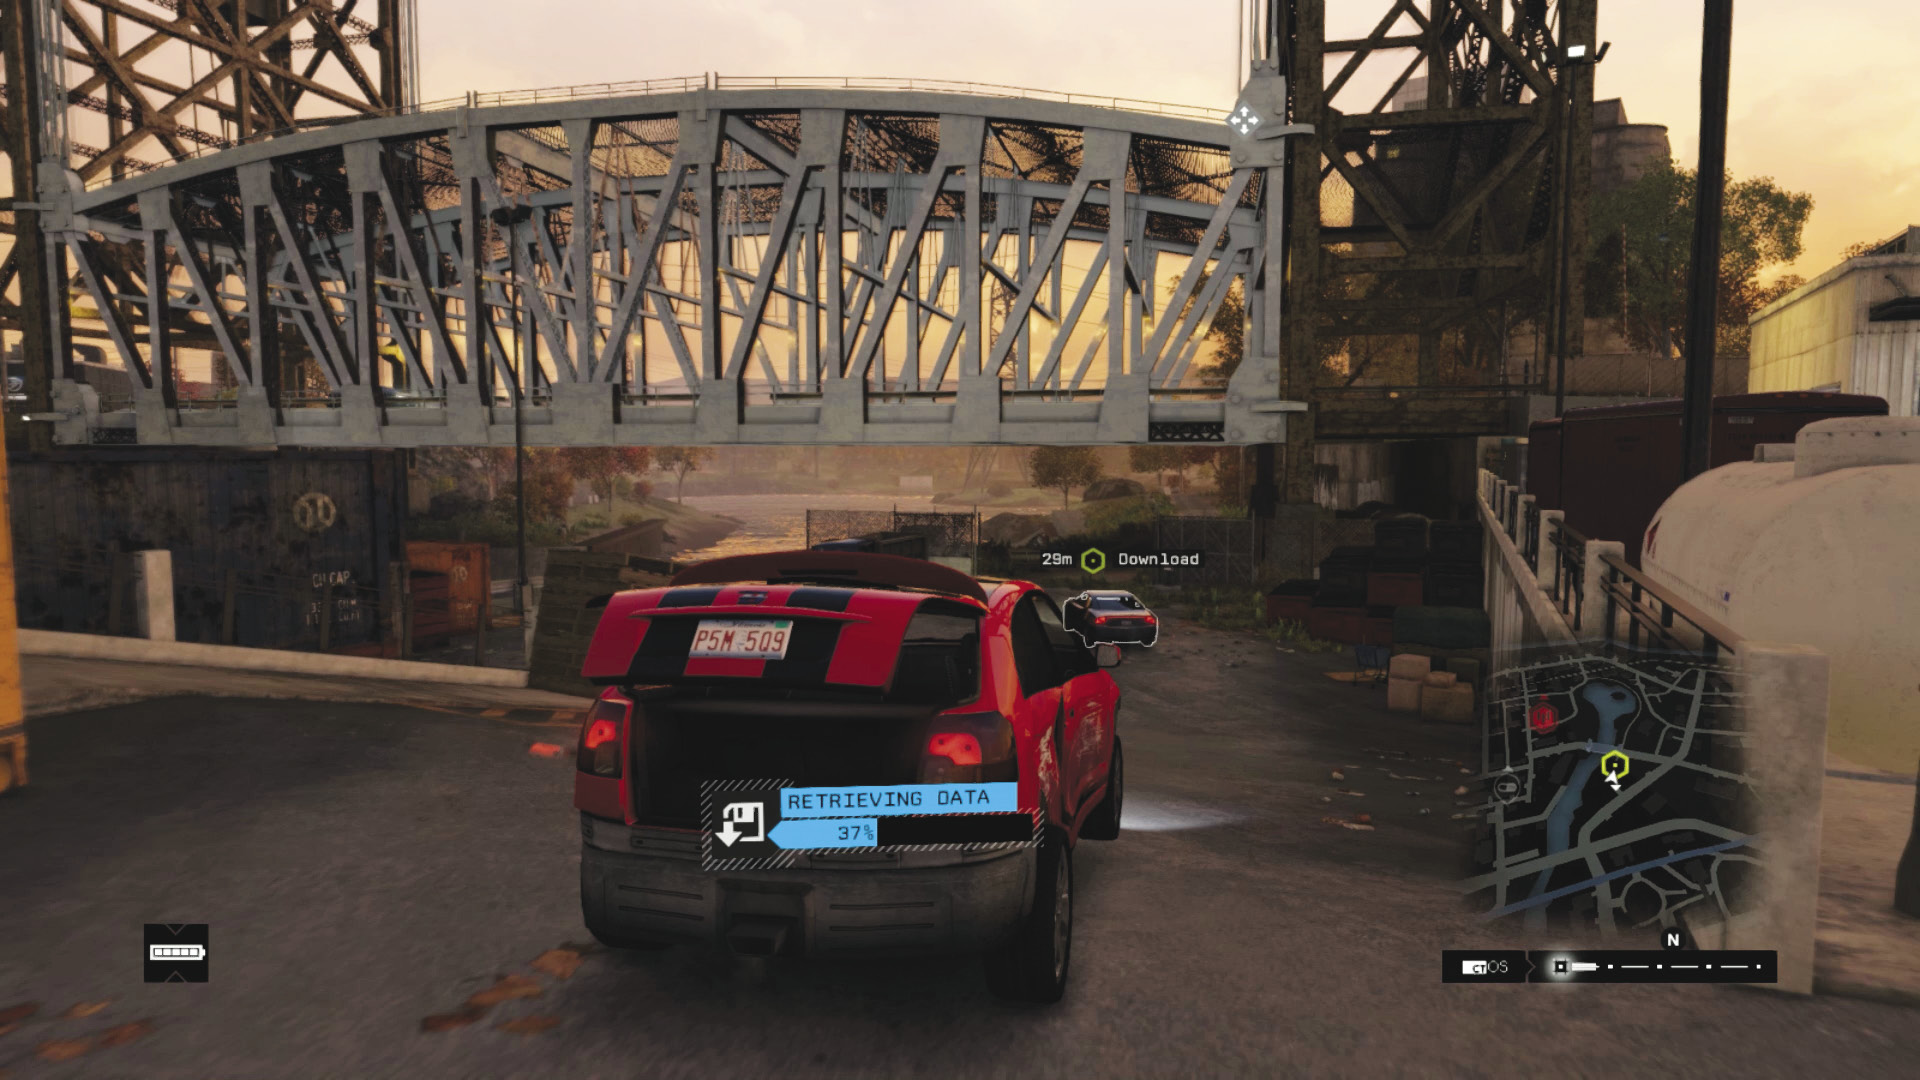
Takedown Opportunity 2: After some road weaving, the foe disappears into an industrial yard, then down to the river. There are gates to close if you’re quick, or a shunt into the river as you careen around the southern edge of the water.
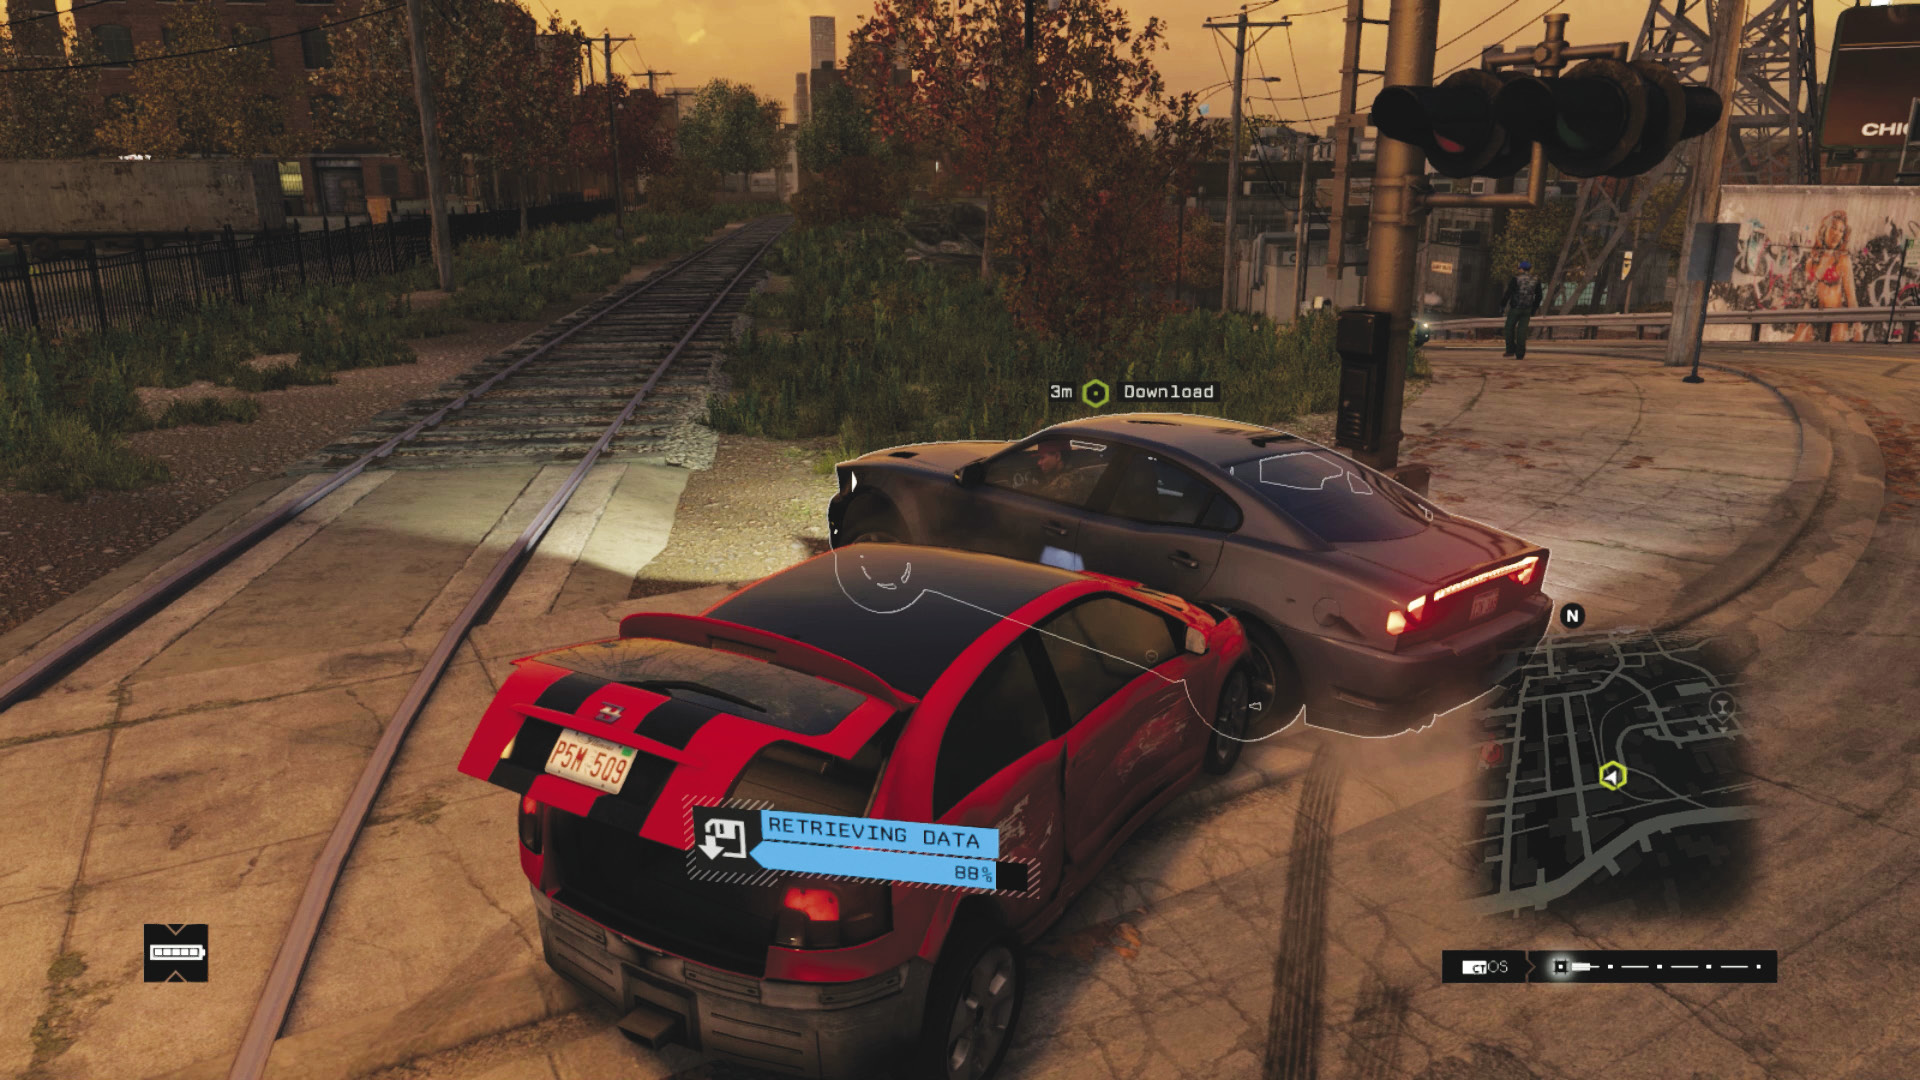
Takedown Opportunity 3: He’s off again! After gunning down the street, he makes a swift left onto the rail tracks. Your download is about at 60% at this point. The narrow tracks and bridge, as well as some concrete barricades as he heads back onto the road, are choice areas for a last-ditch effort. Or use the steam pipes on the road weaving to come.
06 _DERAILED
Starting location: PHARMINGTONS, EAST OF RIVER
NEAREST VEHICLE: Tributary 3500
ENEMY VEHICLE: Tributary 1500
Target: Gunman x 1
Download Requested?: No
ADDITIONAL Enemies: None
Difficulty:
 +02:00 // +$6,000
 +03:00 // +$5,000
 ∞ // +$4,000
BEAT THIS: 00:28:02 (Anthony Renomeron)
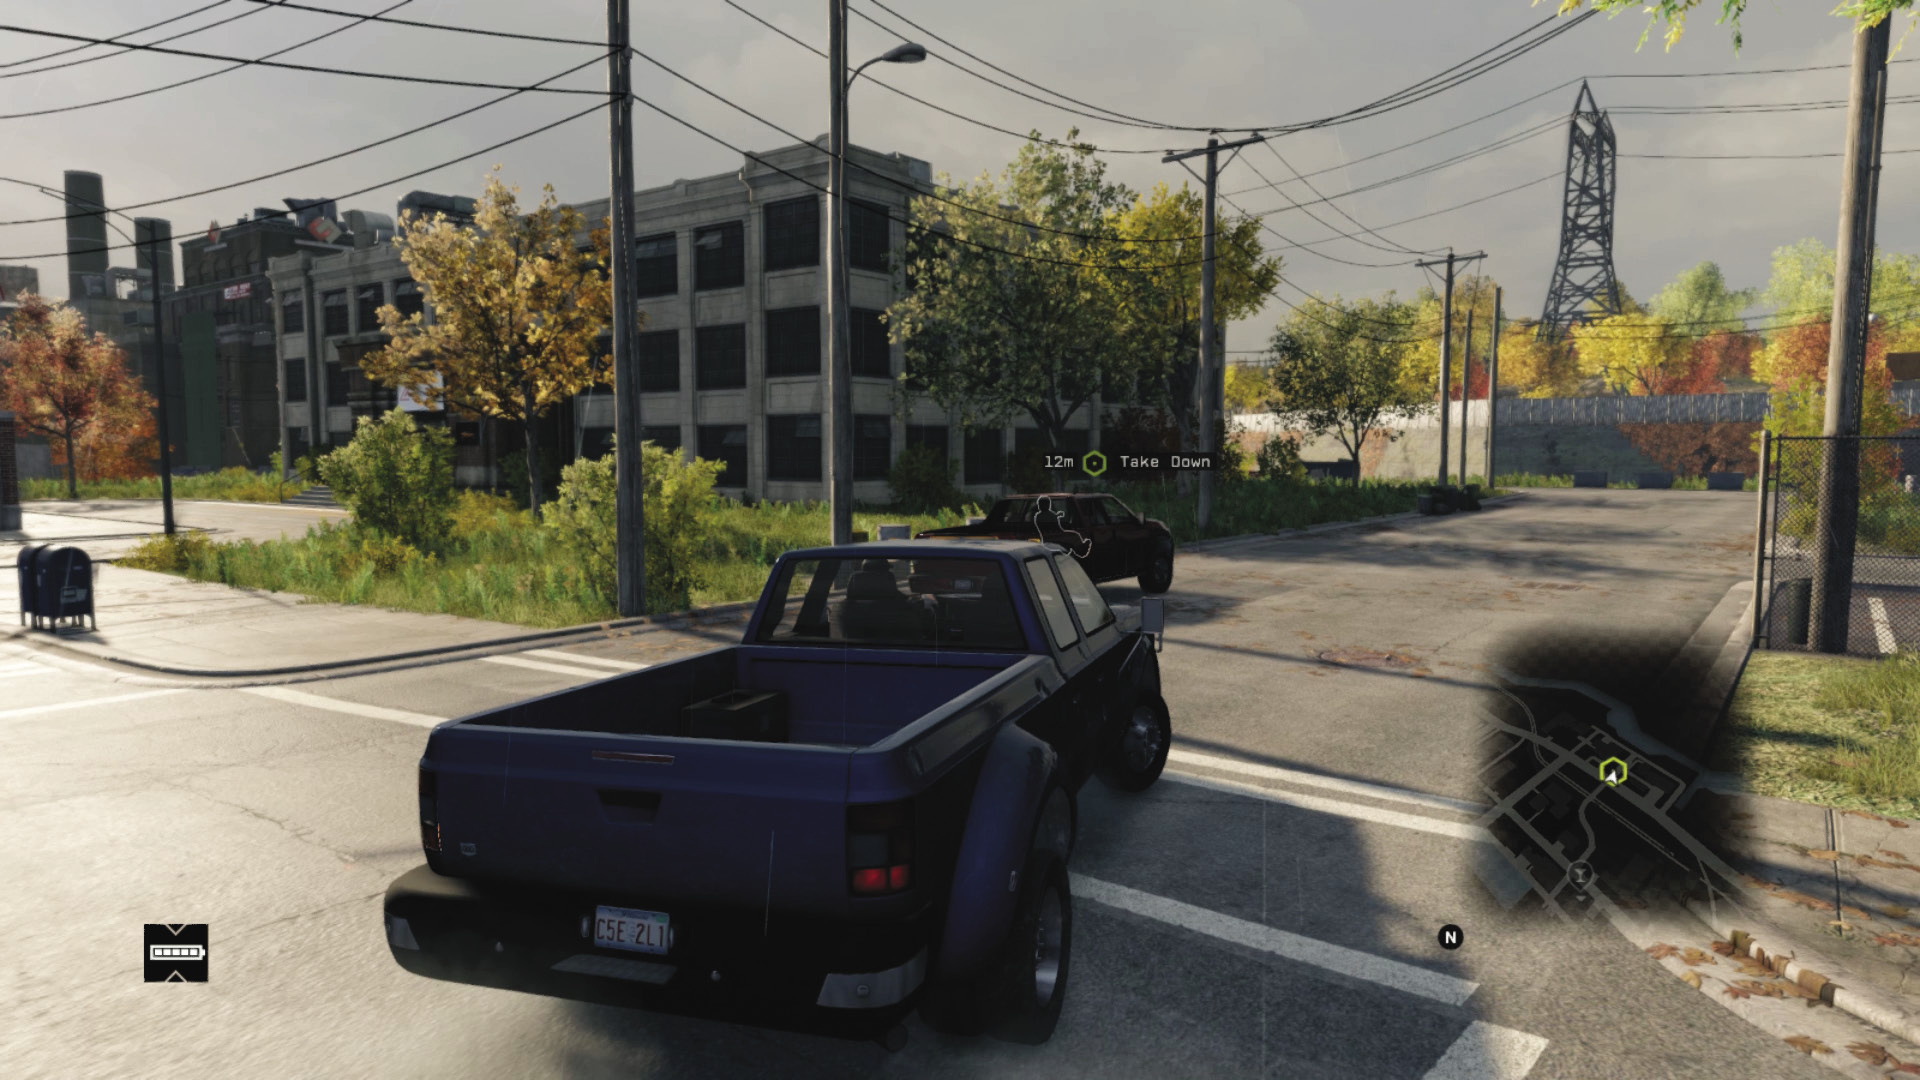
Takedown Opportunity 1: Your target starts off with some pretty adept cornering for such a big truck. Follow him around the streets until he makes a right turn, heading for a side road toward a river. Pushing him into the debris or the water works well here.
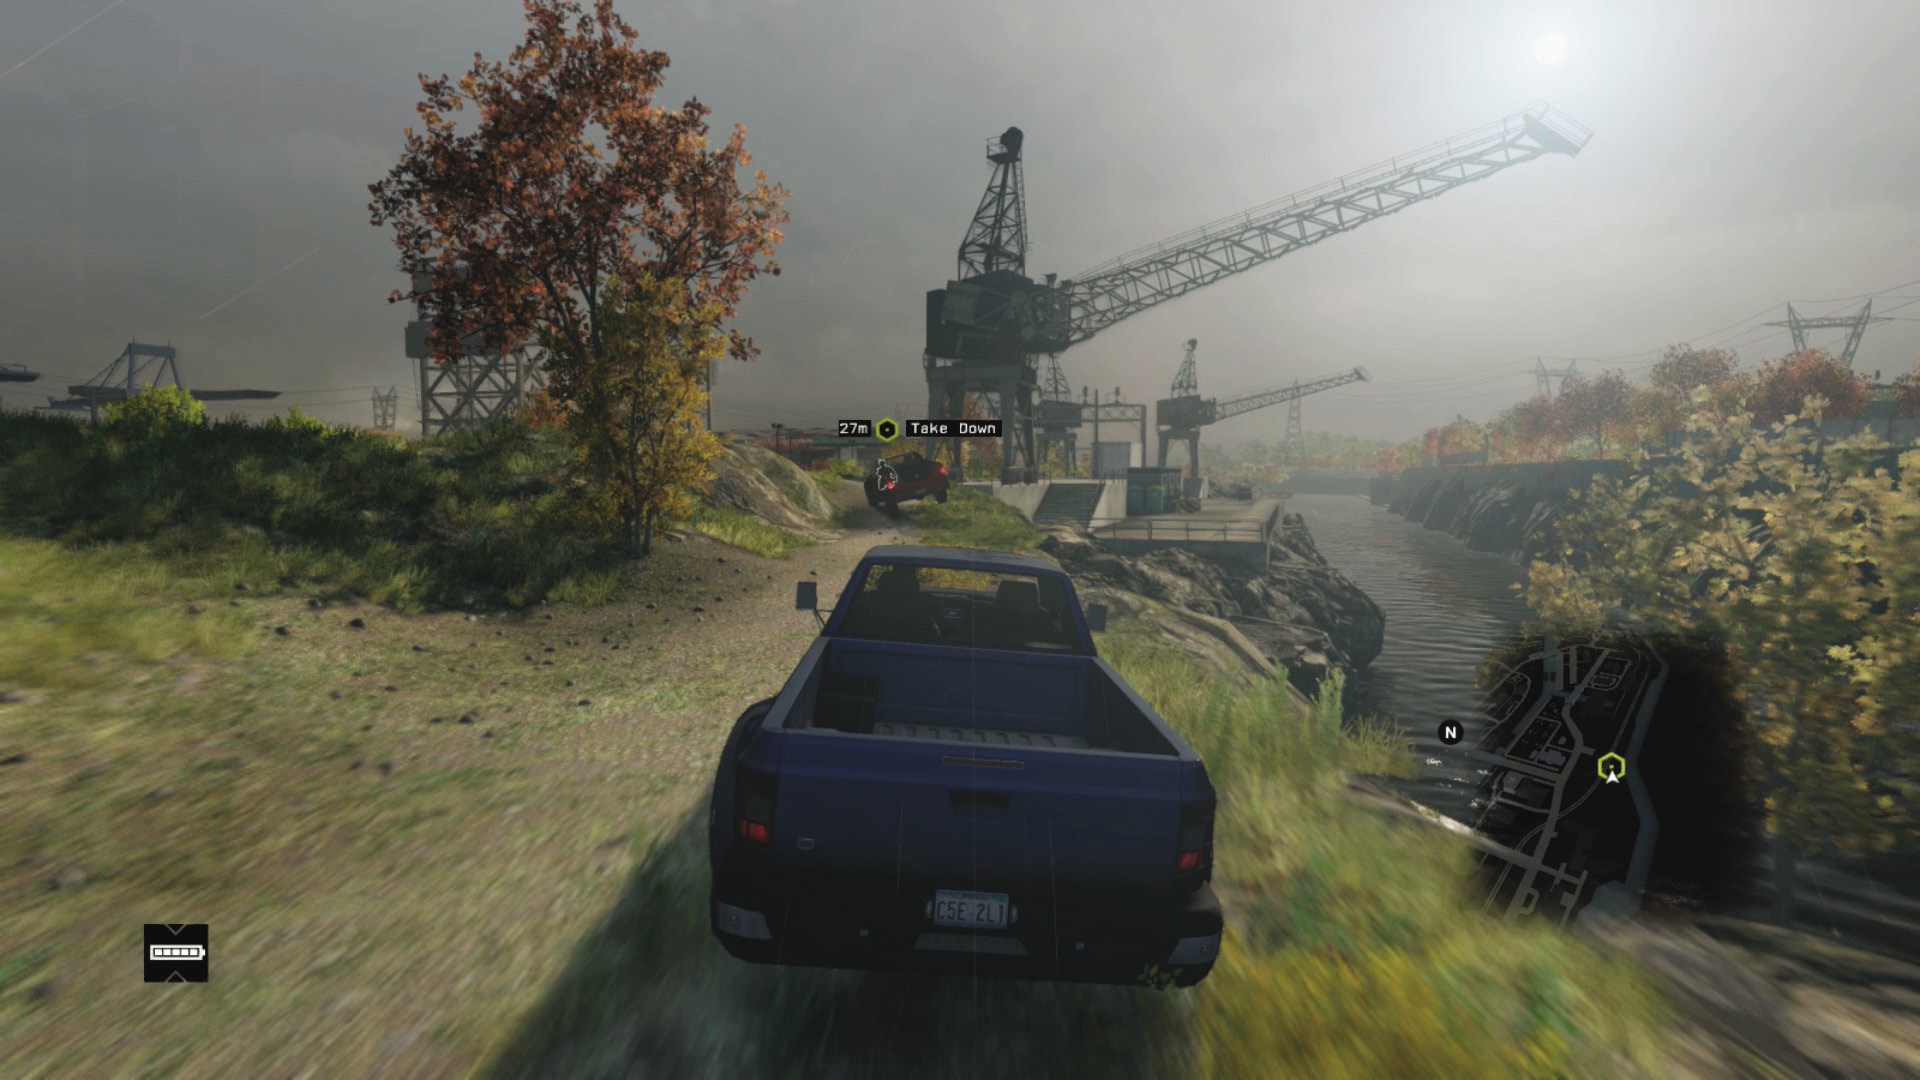
Takedown Opportunity 2: He takes off through the rear parking areas and then through a fence, along the rocky grass by the side of the river. Then he’s on the rails for quite a while; pushing him into the water or the stationary carriages are sound ideas.
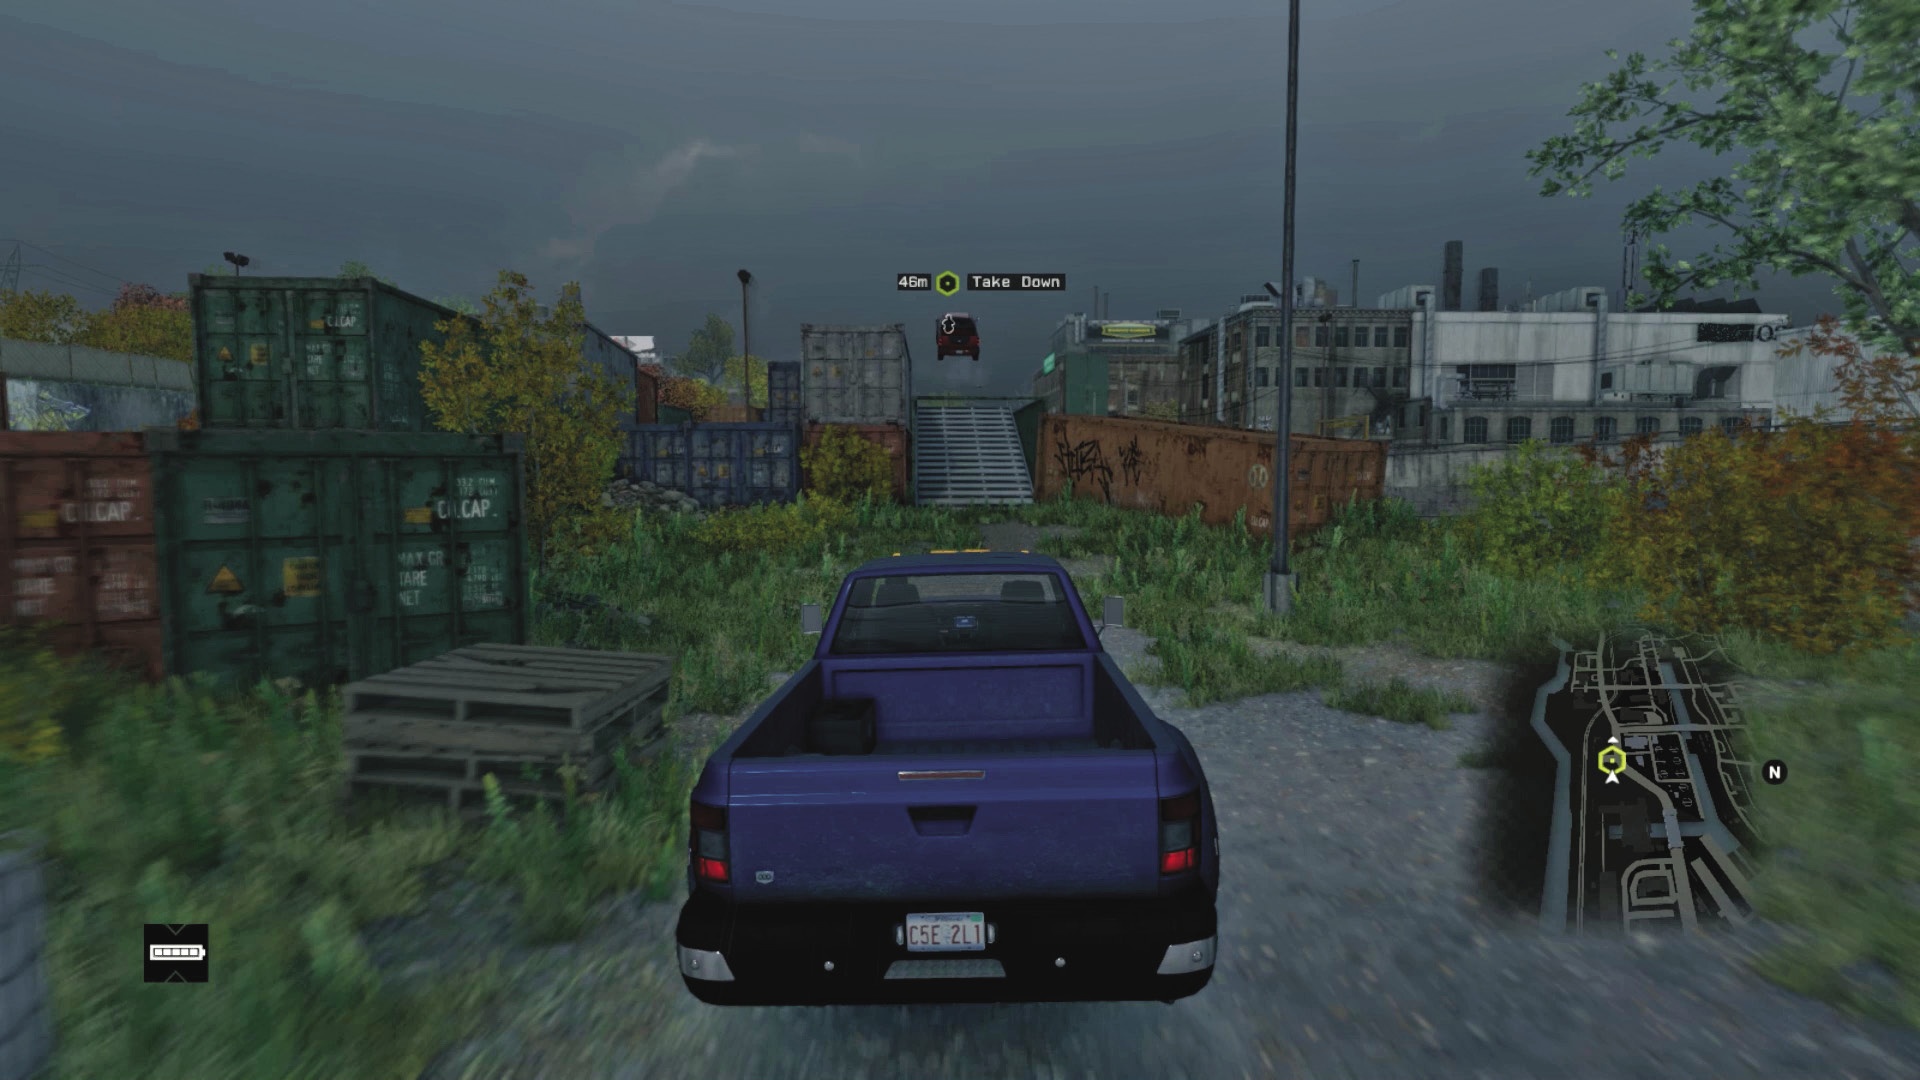
Takedown Opportunity 3: He makes a few errant turns, bashing through fencing and through a barrier (the spikes can stop him here) before he’s into the train yard, weaving through debris, and up over a jump. Crashing into him before this point nets you some cash. Or slam him into the bridge you’re raising once he’s back on the road.
07 _MUSCLE OUT
Starting location: RACINE MARINA, NORTHEAST ISLAND
NEAREST VEHICLE: Carrozza
ENEMY VEHICLE: 571
Target: Veteran x 1
Download Requested?: No
ADDITIONAL Enemies: THE CLUB (UP TO 4 VEHICLES, Gunmen and veterans, 2–3 per vehicle)
Difficulty:
 +03:00 // +$6,000
 +04:30 // +$5,000
 ∞ // +$4,000
BEAT THIS: 00:47:30 (Anthony Renomeron)
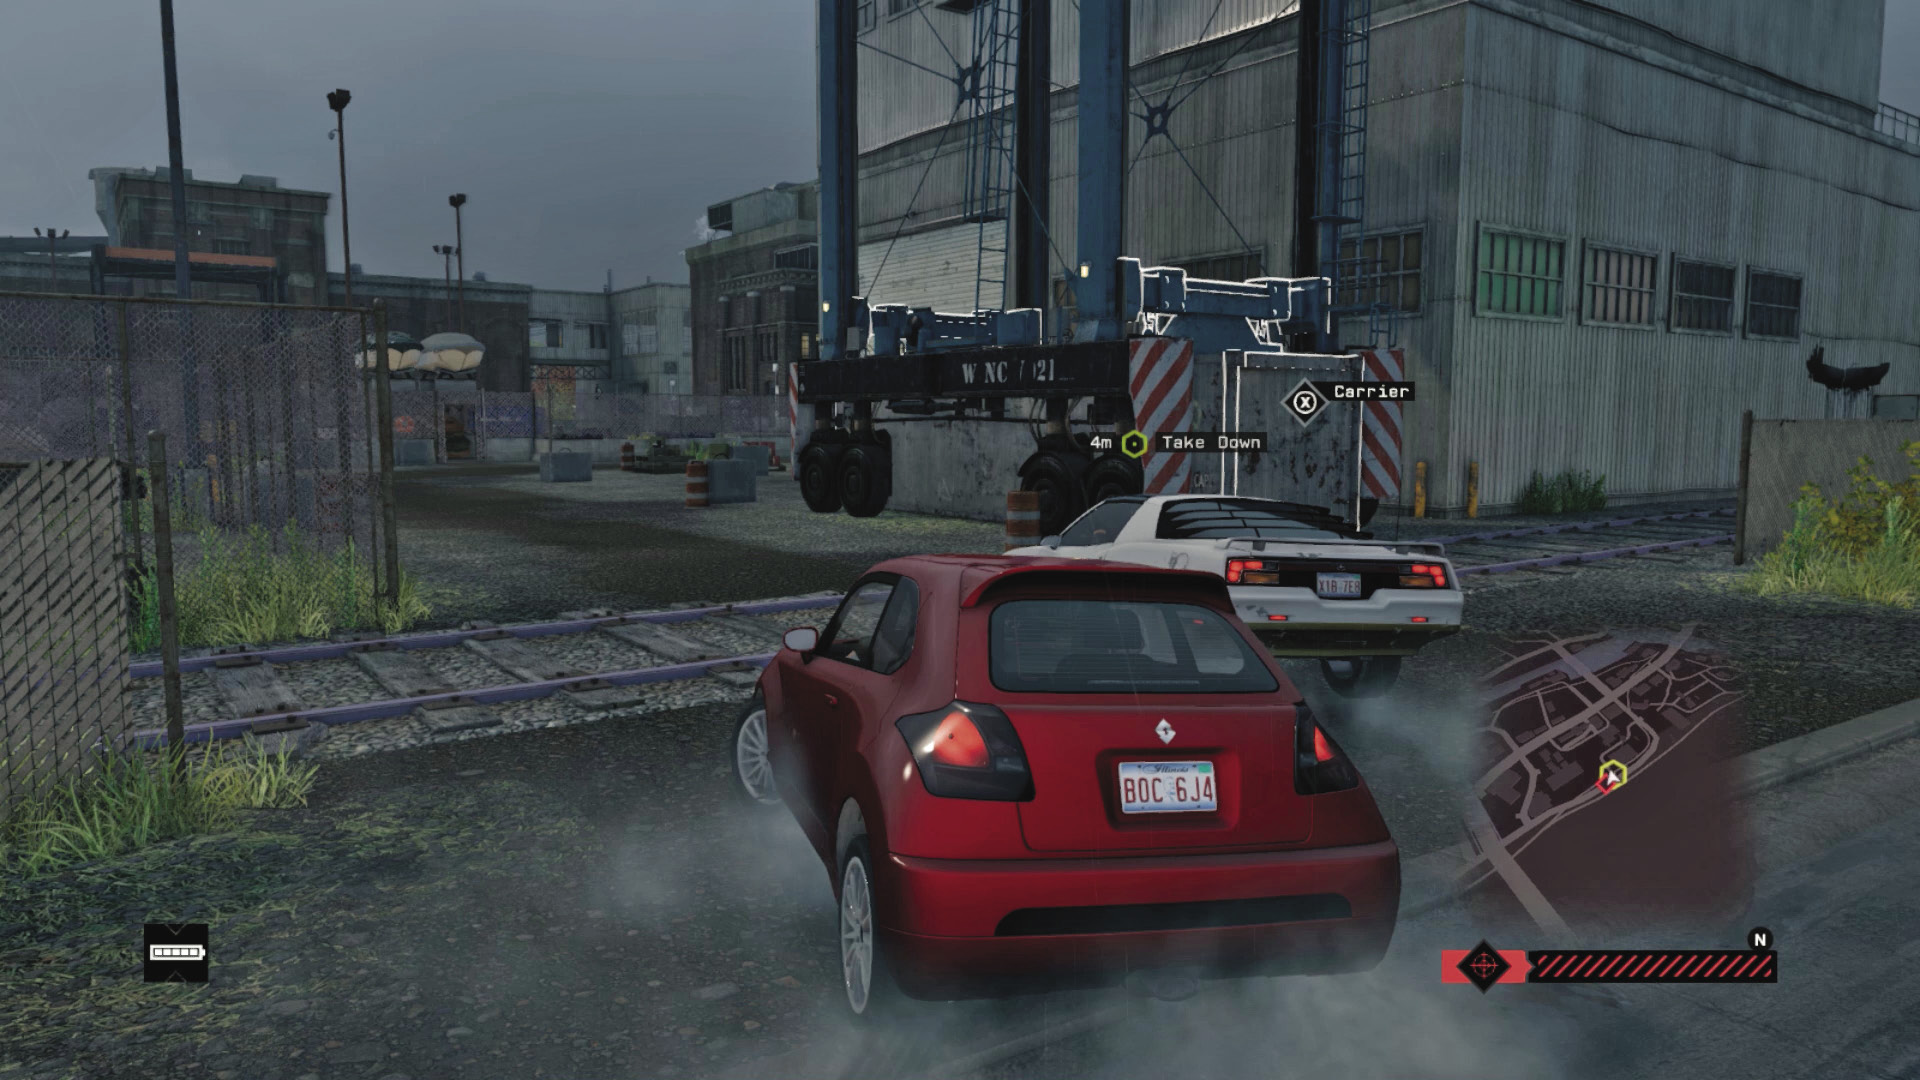
Takedown Opportunity 1: Set off down the wide road, following the foe as he heads near the freeway overpass, then skids underneath it. The first real opportunity for stopping him comes when he makes a left turn into the industrial estate, though if you’re quick, you can catch him at the first intersection.
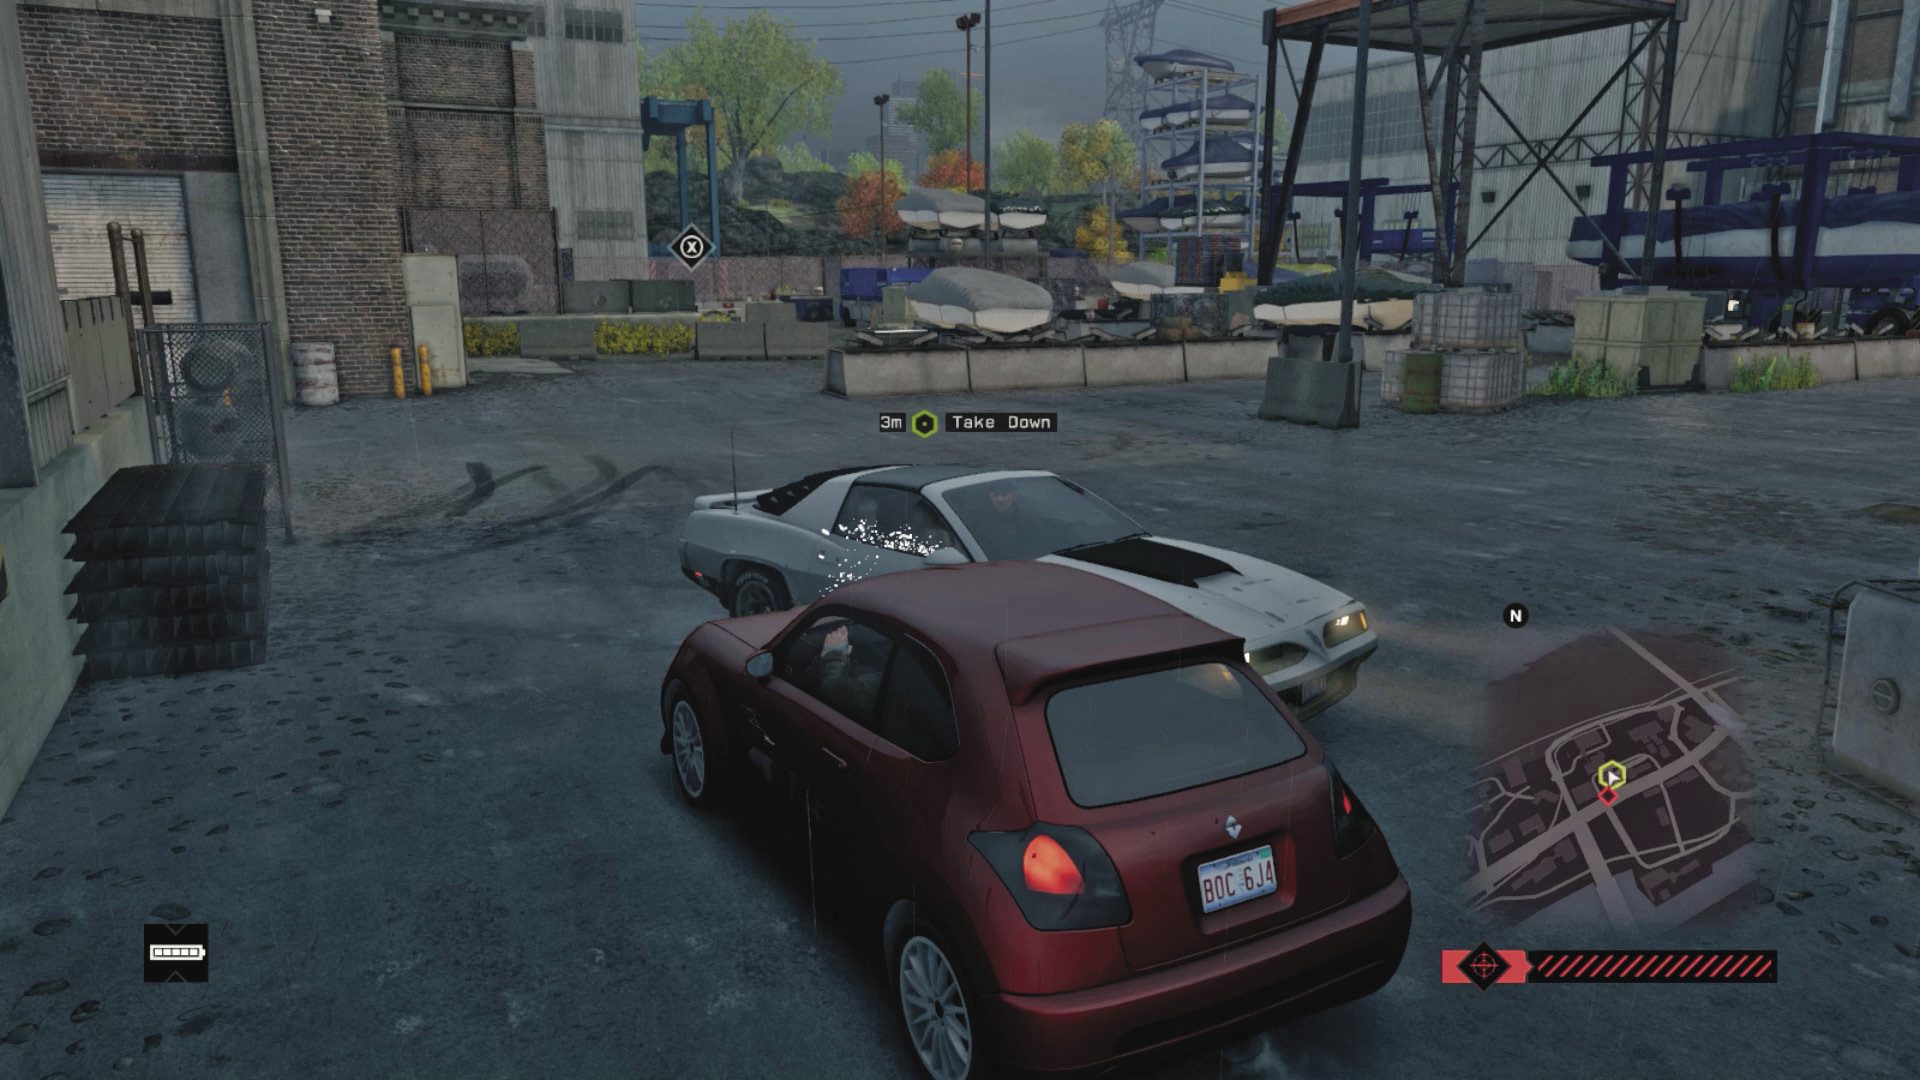
Takedown Opportunity 2: He winds back into the same area a moment later before stopping, reversing, and returning back to the road he was just on. His reversing antics take place near some gas canisters—a great way to end this chase! On the street just outside is a steam pipe; you have two explosive opportunities here!
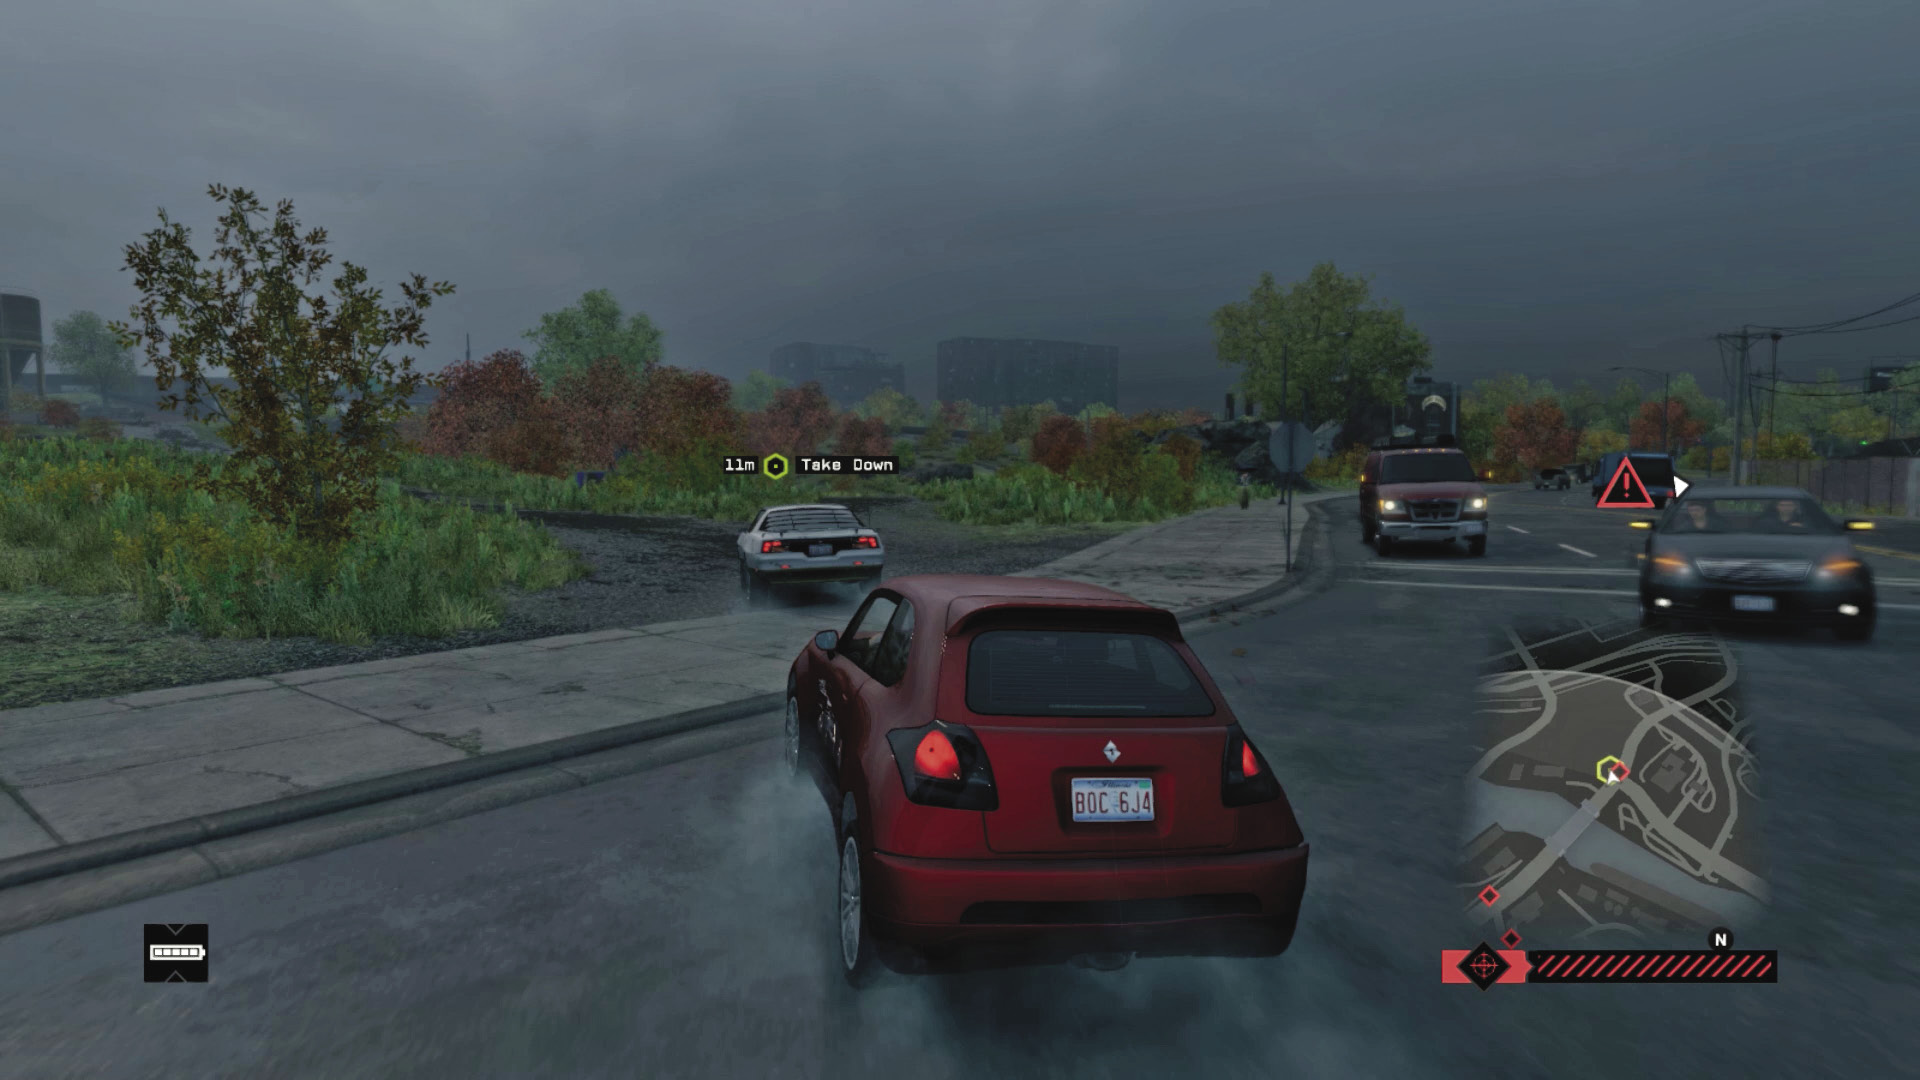
Takedown Opportunity 3: Head onto the nearby rail tracks for a while. The foe skids right, back onto the road, over a bridge (which you can open). He goes onto a hilly grass area, then makes a wild series of turns onto the road, back onto the grass and dirt, and then through a gravel yard with blockers to try. Then he’s back on the rail tracks; the gates usually do him in if you haven’t yet.
THE LOOP // INTERCEPTION CONTRACTS
08 _BUFFERING
Starting location: MARINA, EAST SIDE
NEAREST VEHICLE 1: Speedboat
NEAREST VEHICLE 2: Carrozza*
ENEMY VEHICLE 1: Speedboat
ENEMY VEHICLE 2: Sunrise
Target: Gunman x 1, veteran x 1
Download Requested?: Yes (x 2)
ADDITIONAL Enemies: The Club (UP TO 4 VEHICLES, Gunmen and veterans, 2–3 per vehicle)
Difficulty:
 +05:40 // +$6,000
 +07:00 // +$5,000
 ∞ // +$4,000
BEAT THIS: 04:49:41 (Anthony Renomeron)
* The Carrozza is only available if you restart the second part of the chase.
Enemy 1
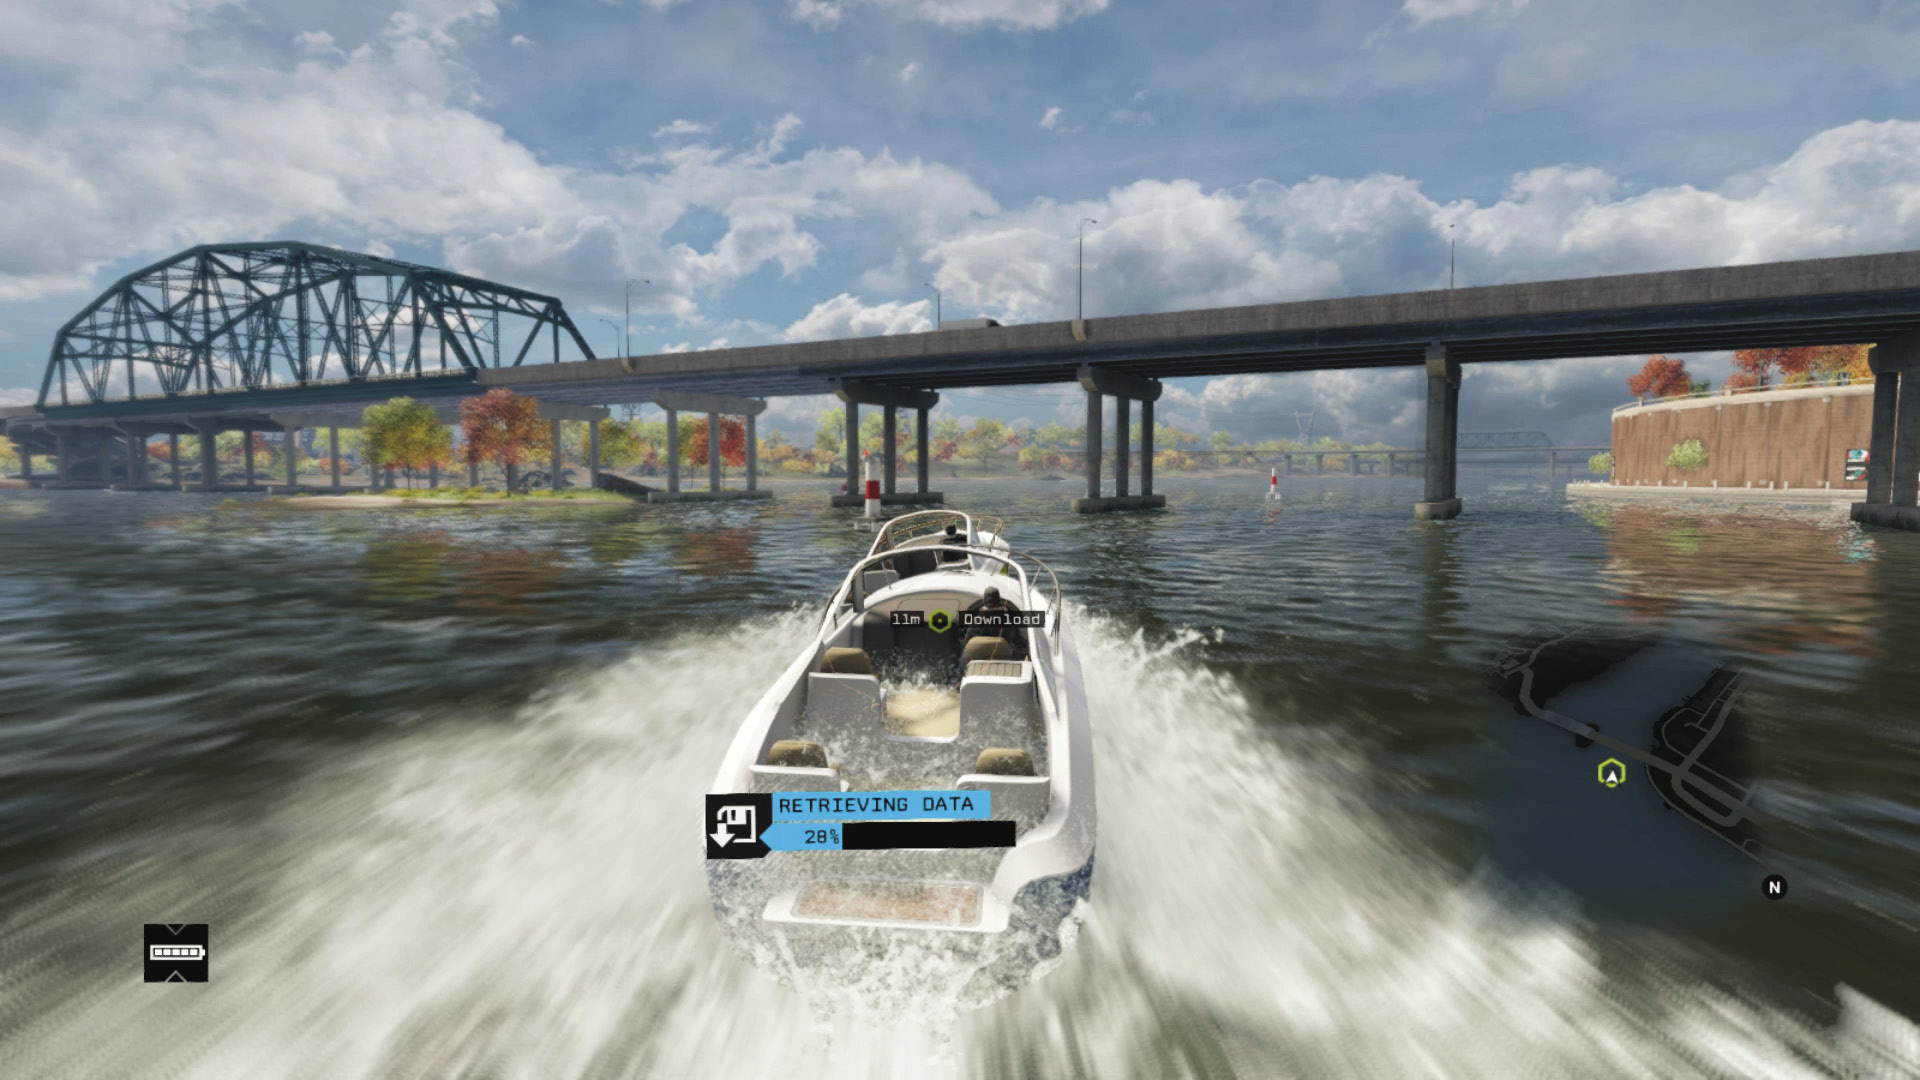
Takedown Opportunity 1: You begin following the target boat; get as close as you can and begin downloading the data requested. It isn’t particularly easy to ram or shunt the target boat, but you can do it at the first bridge you come to; strike so the boat hits the support pillars.
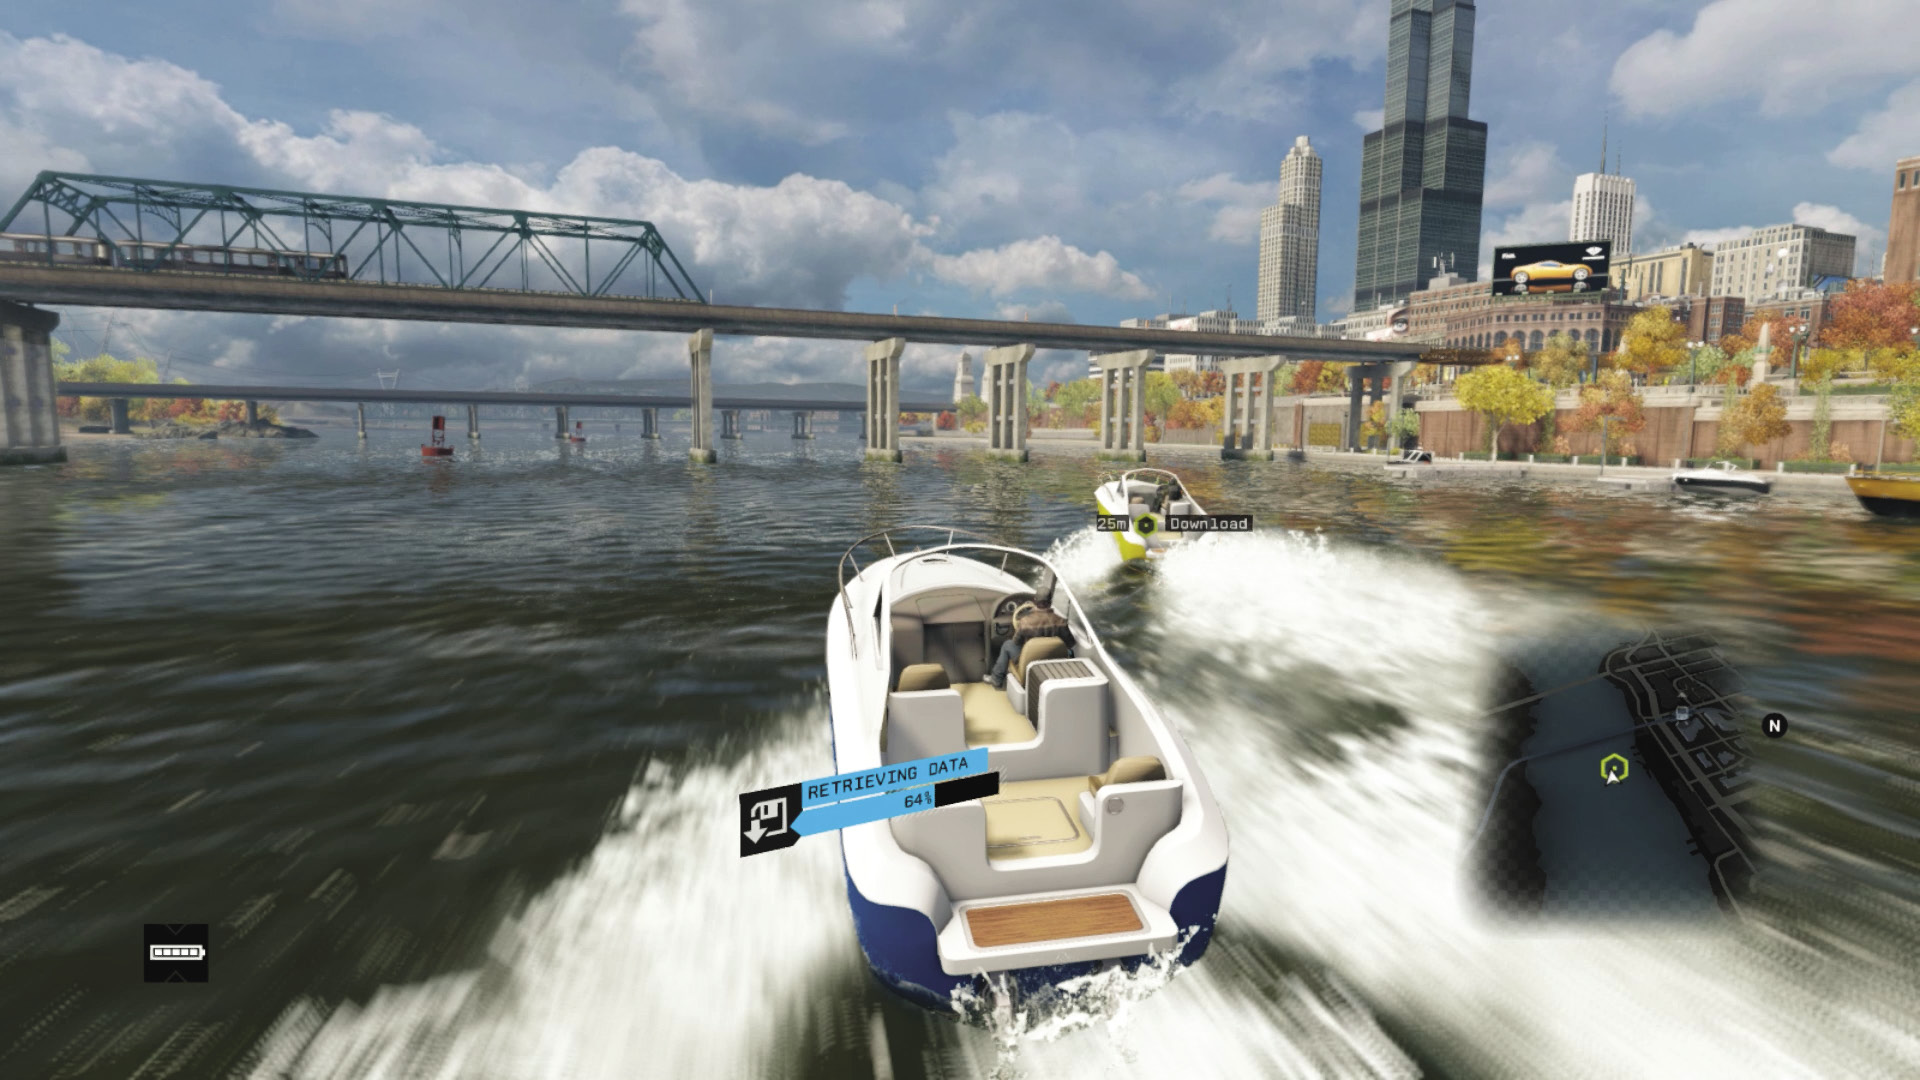
Takedown Opportunity 2: As you head northwest along the water, there are three additional bridges to try stopping your foe at. However, none are as helpful as blocking him in at Takedown Opportunity 3:
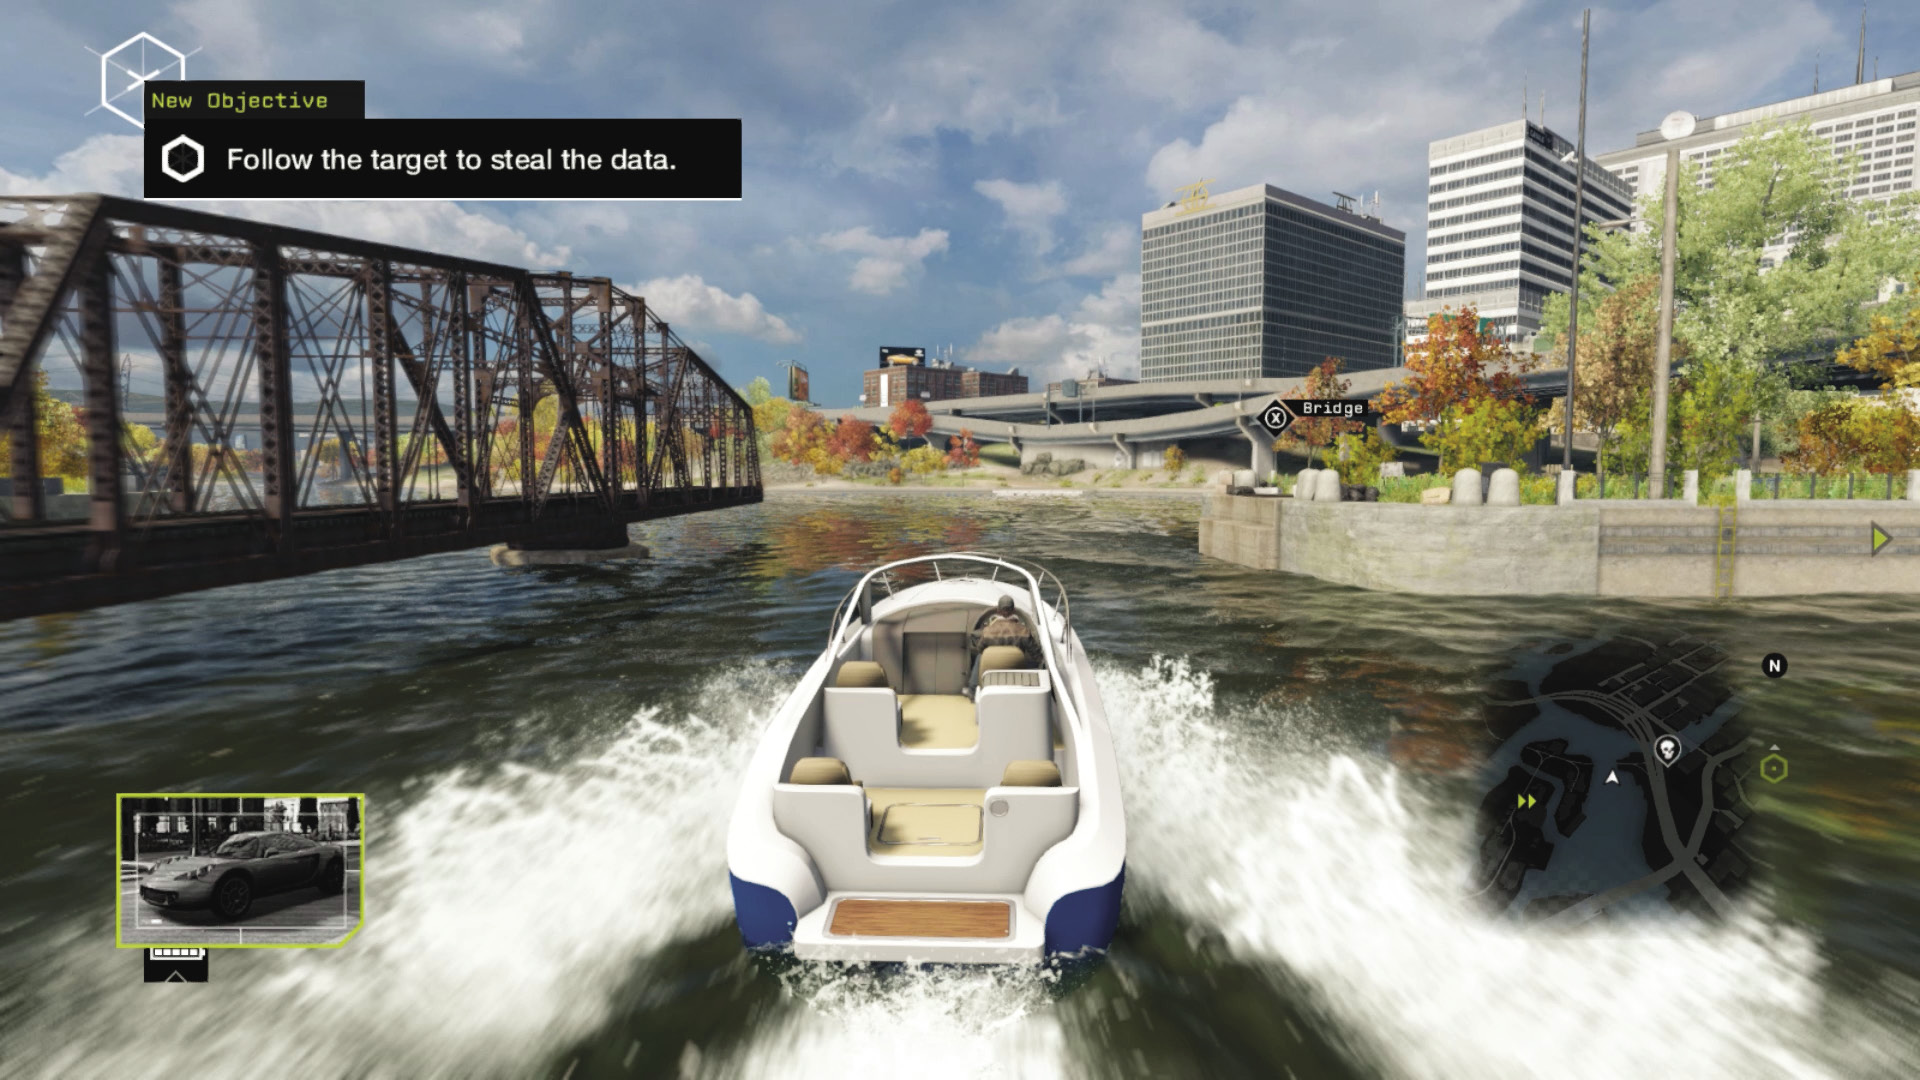
Takedown Opportunity 3: Just before your foe makes a sharp right turn and heads inland (north), there’s a swing bridge you can activate, blocking him and allowing you to gather the rest of the data more easily.
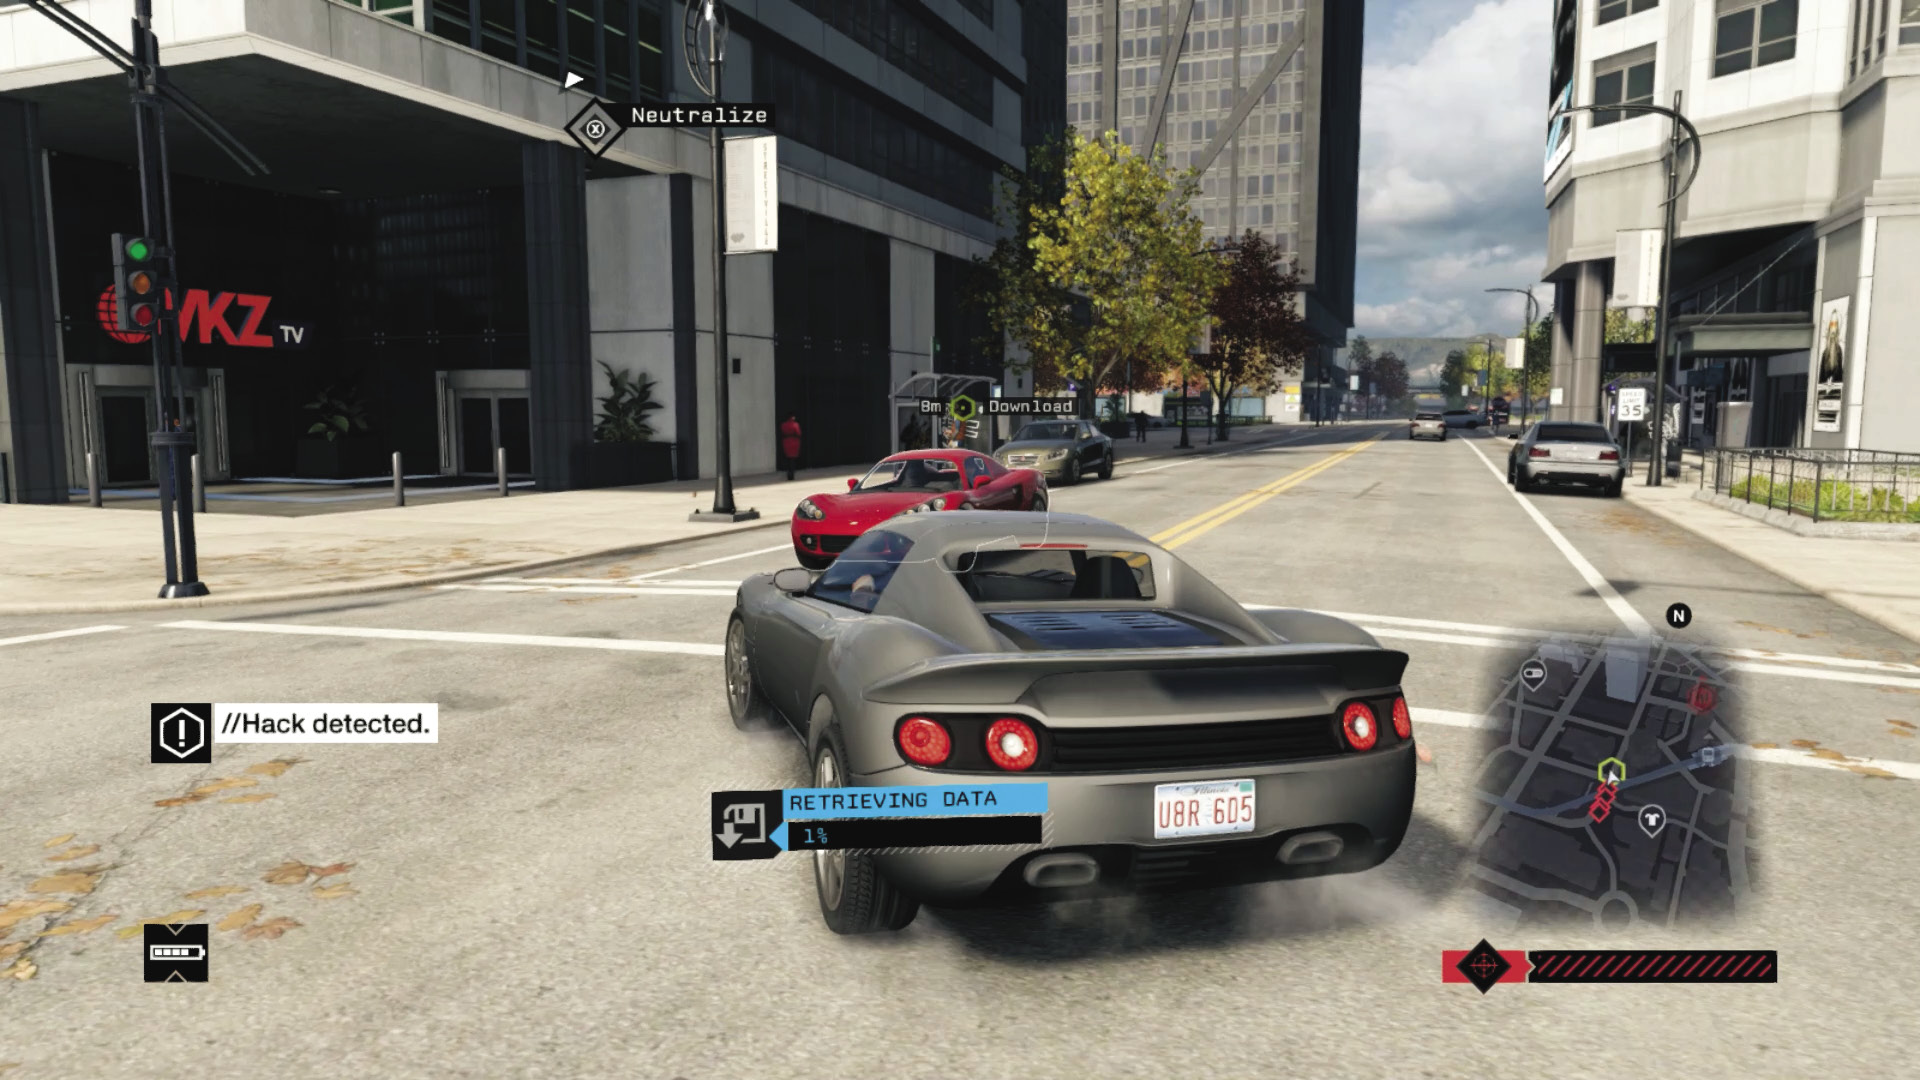
Enemy 2
Takedown Opportunity 1: Before you tackle this second foe, pilot your boat north, then right (east) along the river, to the coffee shop on the southern part of Mad Mile. Then jump out, sprint up into the traffic tunnel, and claim a vehicle before speeding to the target’s area. You can try a head-on collision before the foe gets going.
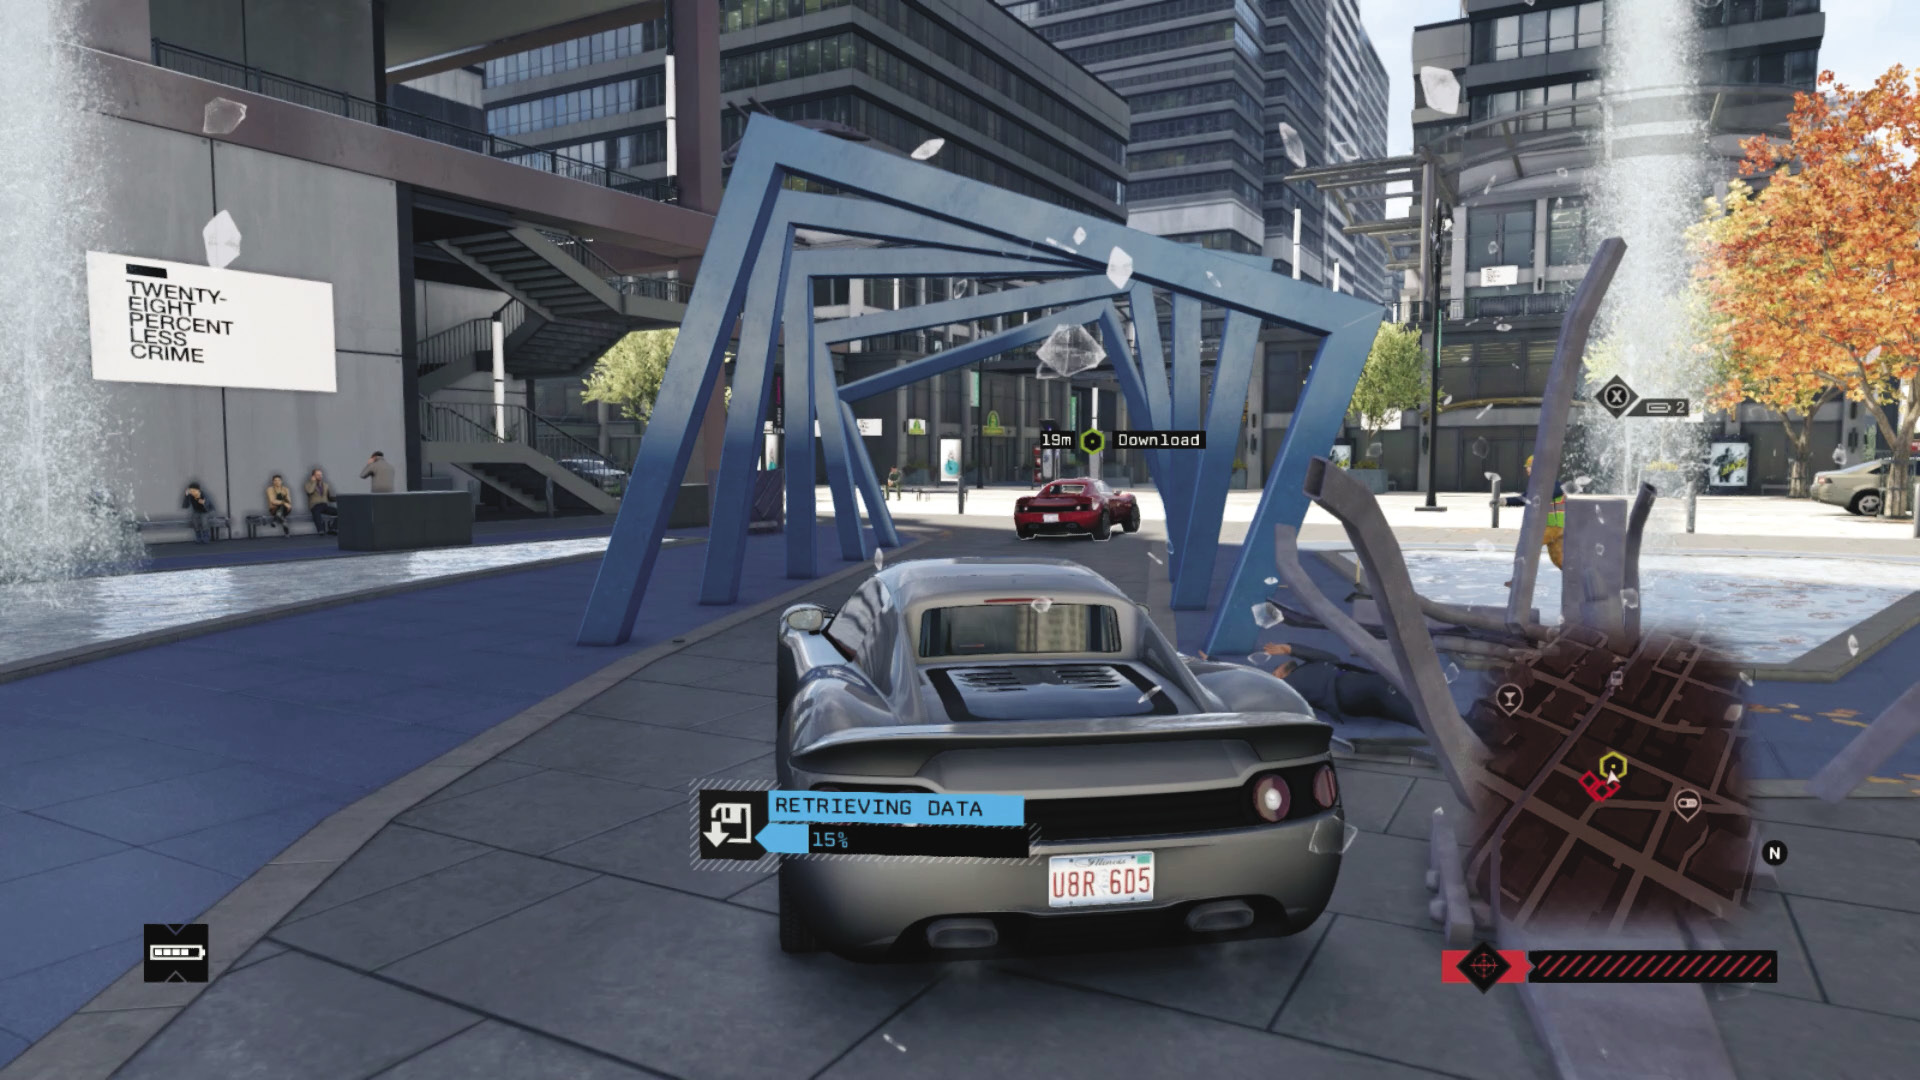
Takedown Opportunity 2: During this data hack (which you can always halt quickly by killing the target), the foe heads through some sculptures, down some alleys, and through a parking structure. Closing the garages here helps stop the enemy and lets you claim a sizable reward.
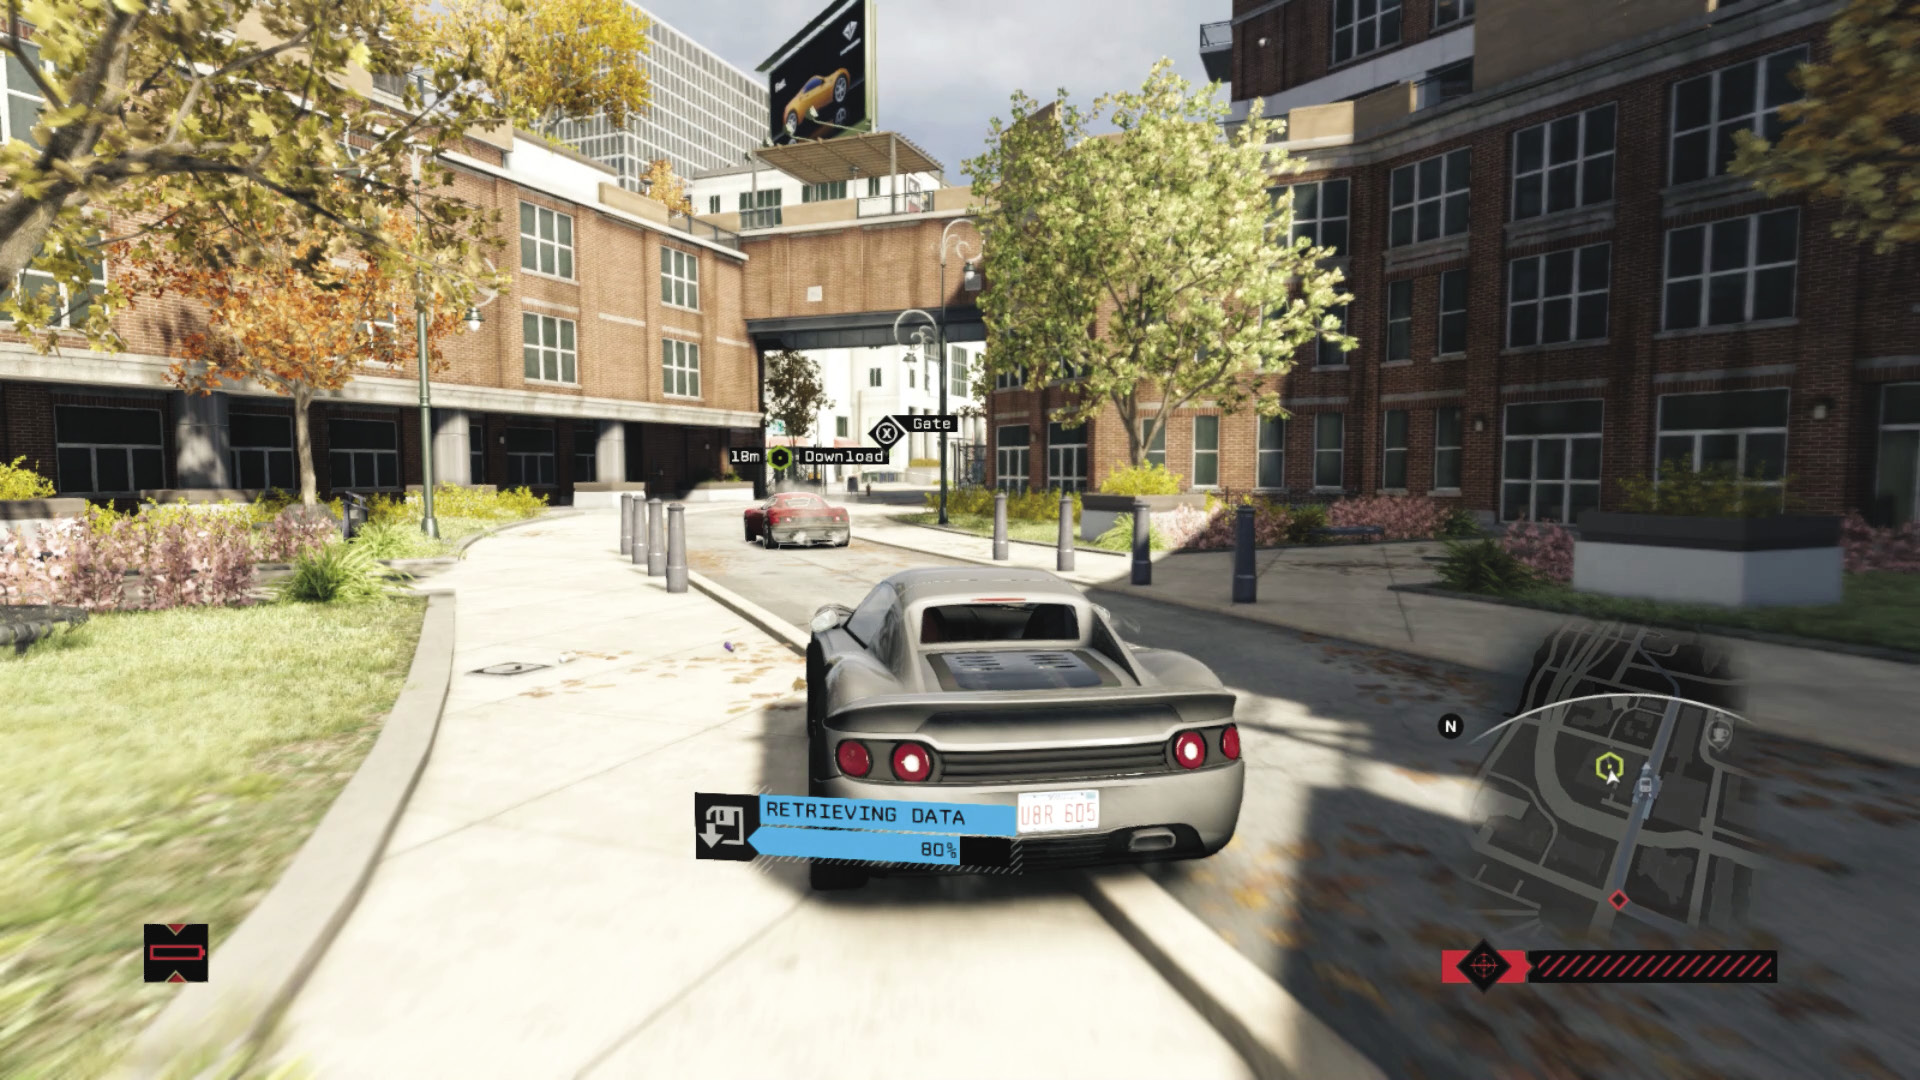
Takedown Opportunity 3: If not, there are blockers, gates, and steam pipes aplenty in the maze of side streets and pedestrian areas in northwest Mad Mile, where your foe is maneuvering before he tries entering the freeway.
09 _DATA LEECH
Starting location: CENTRAL LOOP
NEAREST VEHICLE: Sunrise
ENEMY VEHICLE: Rotor
Target: Gunman x 1
Download Requested?: Yes
ADDITIONAL Enemies: The Club (UP TO 4 VEHICLES, Gunmen and veterans, 2–3 per vehicle)
Difficulty:
 +01:30 // +$6,000
 +03:00 // +$5,000
 ∞ // +$4,000
BEAT THIS: 00:32:00 (Jean Michel Lavinge)
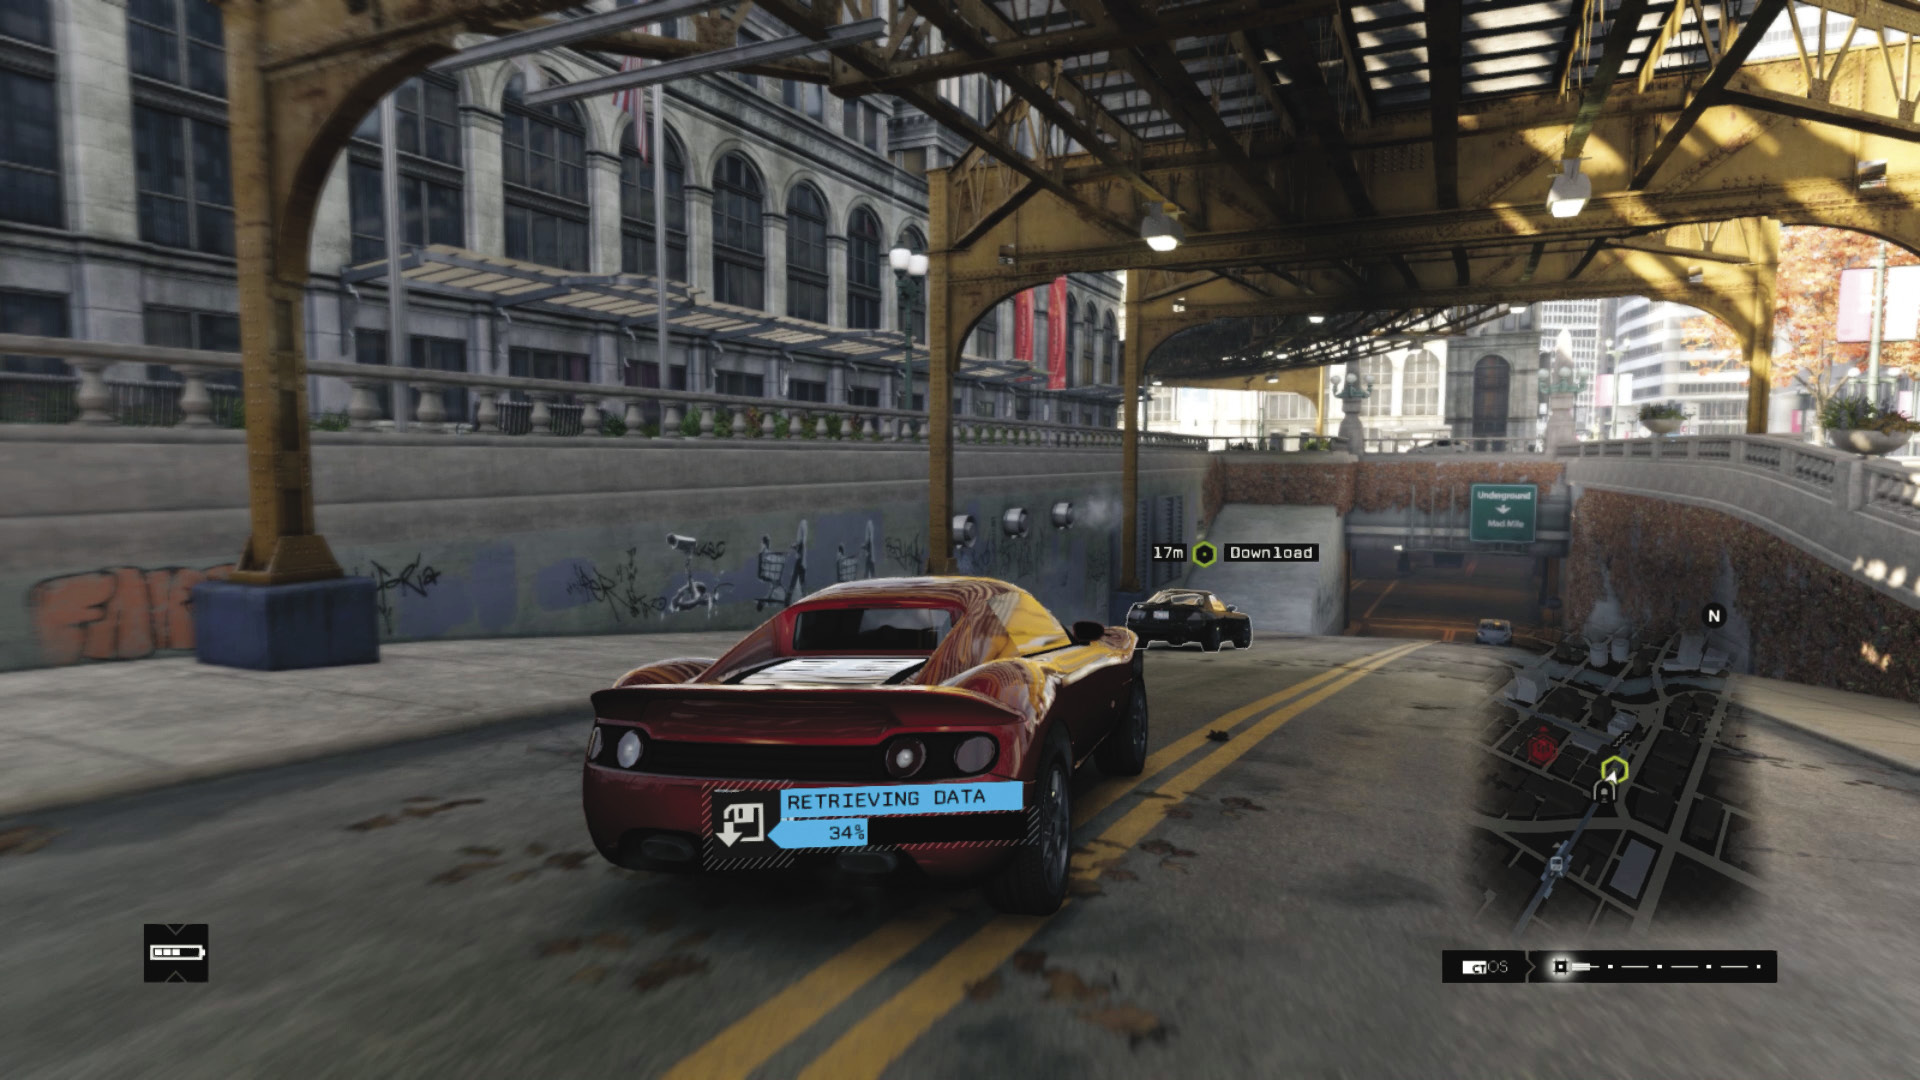
Takedown Opportunity 1: The target takes a large U-turn near the park and heads back under the L-train tracks and then swiftly accelerates into the traffic tunnels. The L-train pillars or the central barrier at the entrance to the tunnels are good places to shunt the foe and stop him.
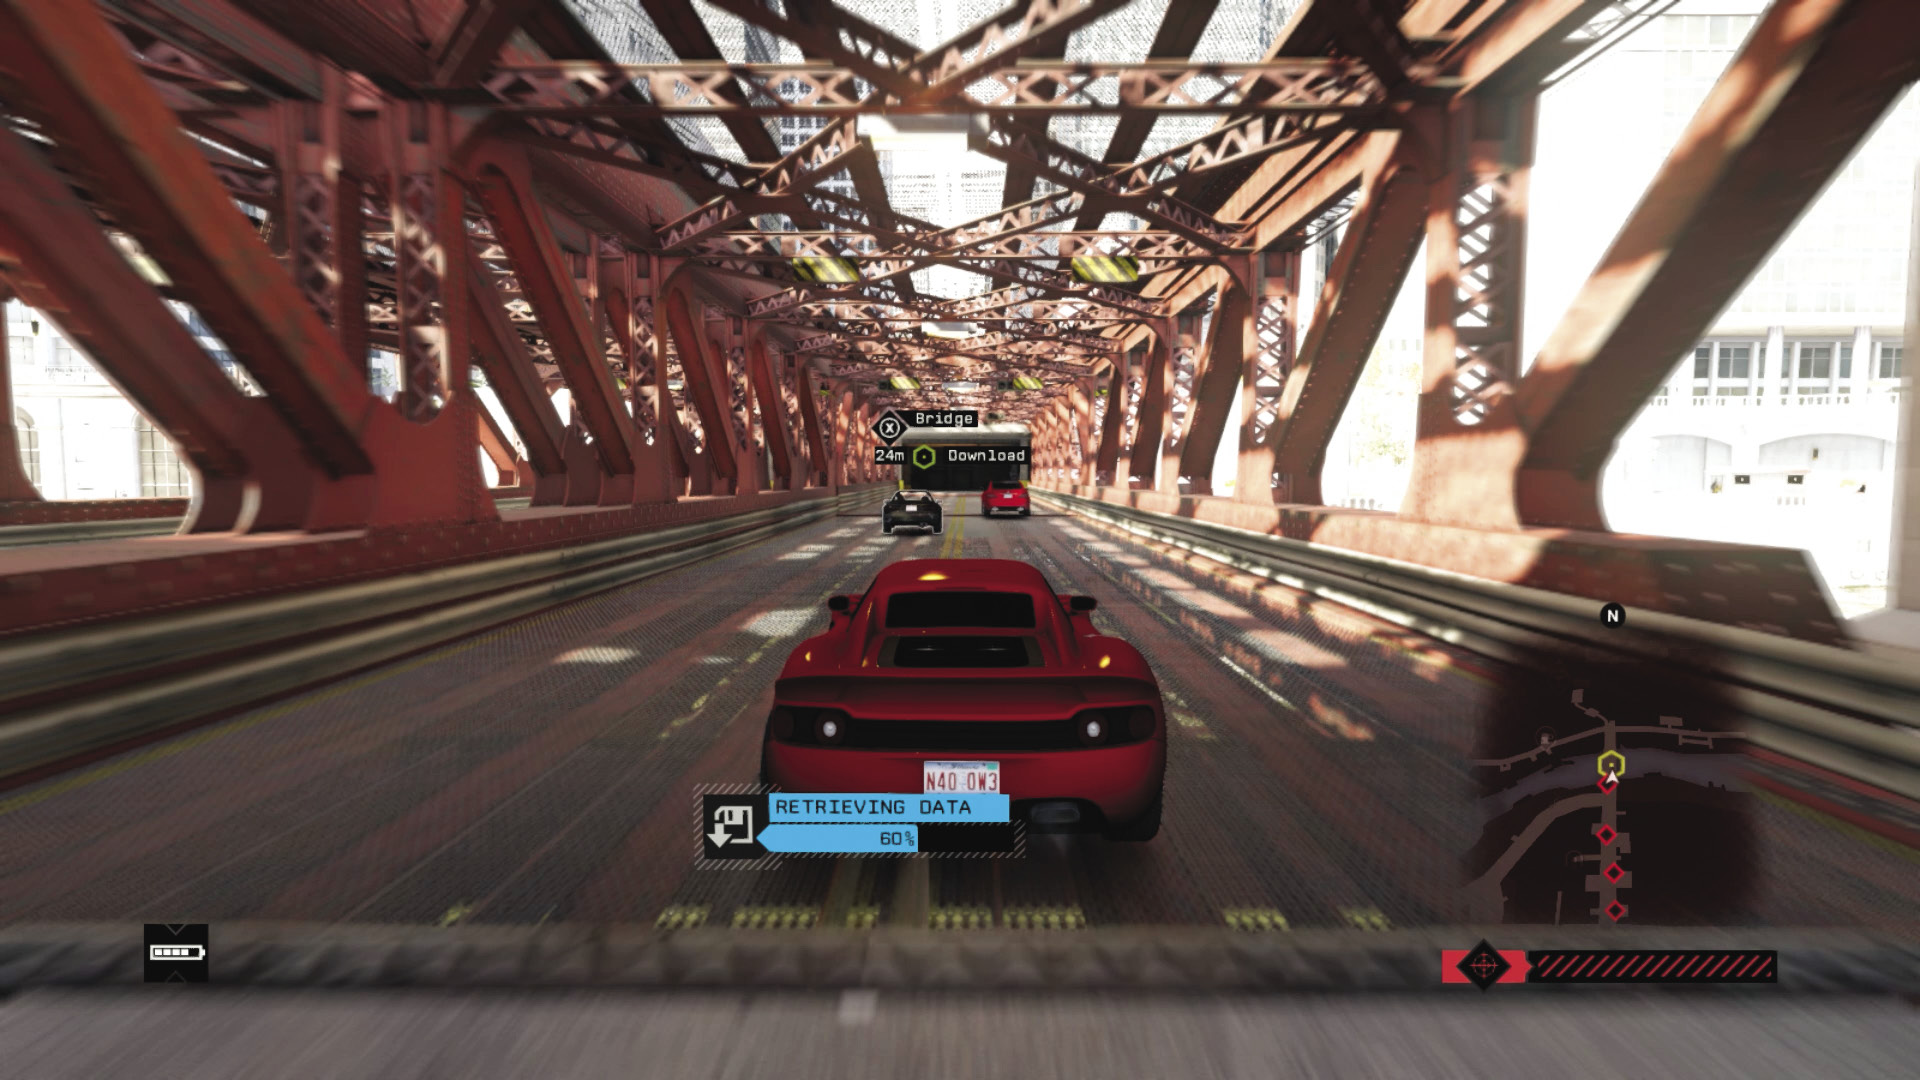
Takedown Opportunity 2: During the tunnel chase, there are numerous tight corners and a whole load of concrete and steel you can push the foe into. Or raise the bridge you both cross to slow him down enough to tackle him with weapons.
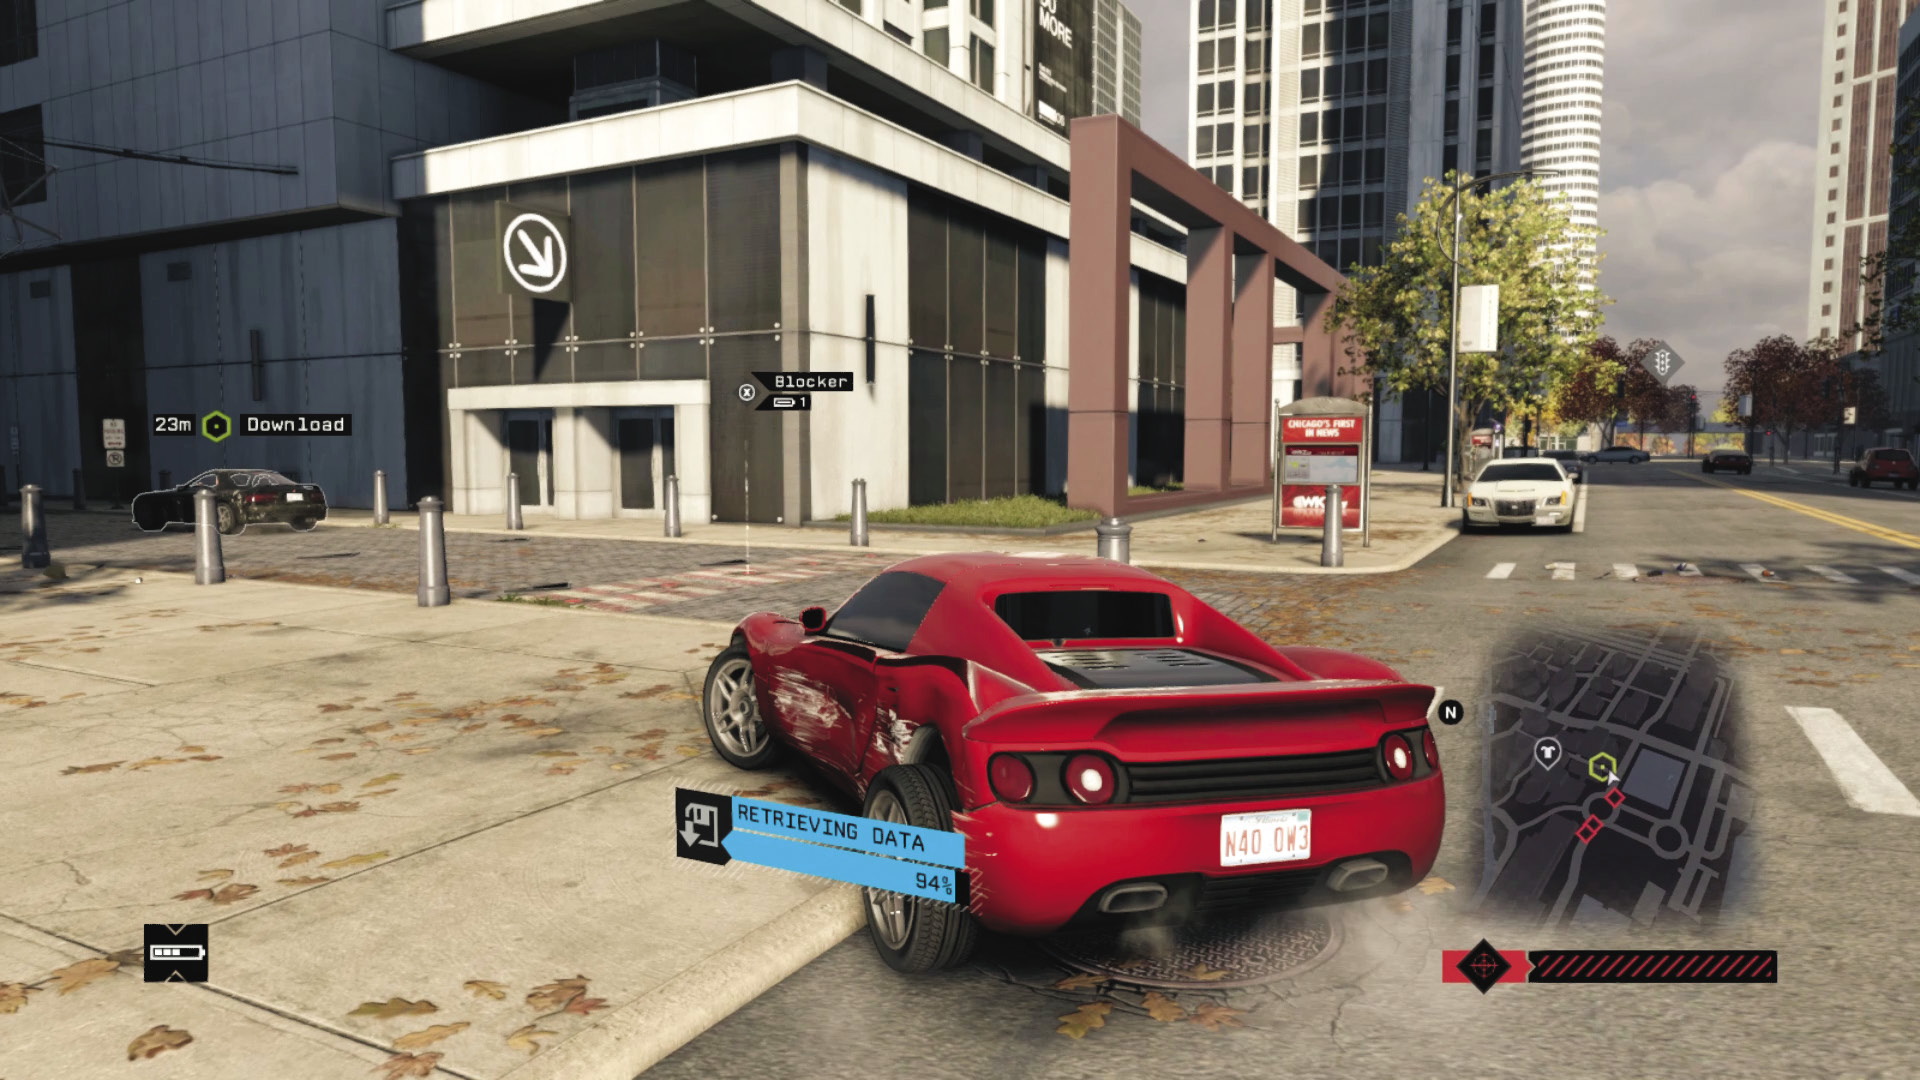
Takedown Opportunity 3: Once he’s out of the tunnel, he makes a savage right turn, heads around the tunnel entrance and the roundabout, and zigzags before heading down an alley with a blocker to raise at the start and end of it.
10 _DEADLY LOOP
Starting location: L-Train Junction
NEAREST VEHICLE: Rotor
ENEMY VEHICLE 1: 3.9T
ENEMY VEHICLE 2: 571
Target: Gunman x 2
Download Requested?: No
ADDITIONAL Enemies: None
Difficulty:
 +02:40 // +$3,000
 +04:00 // +$2,000
 ∞ // +$1,000
BEAT THIS: 01:04:99 (Anthony Renomeron)
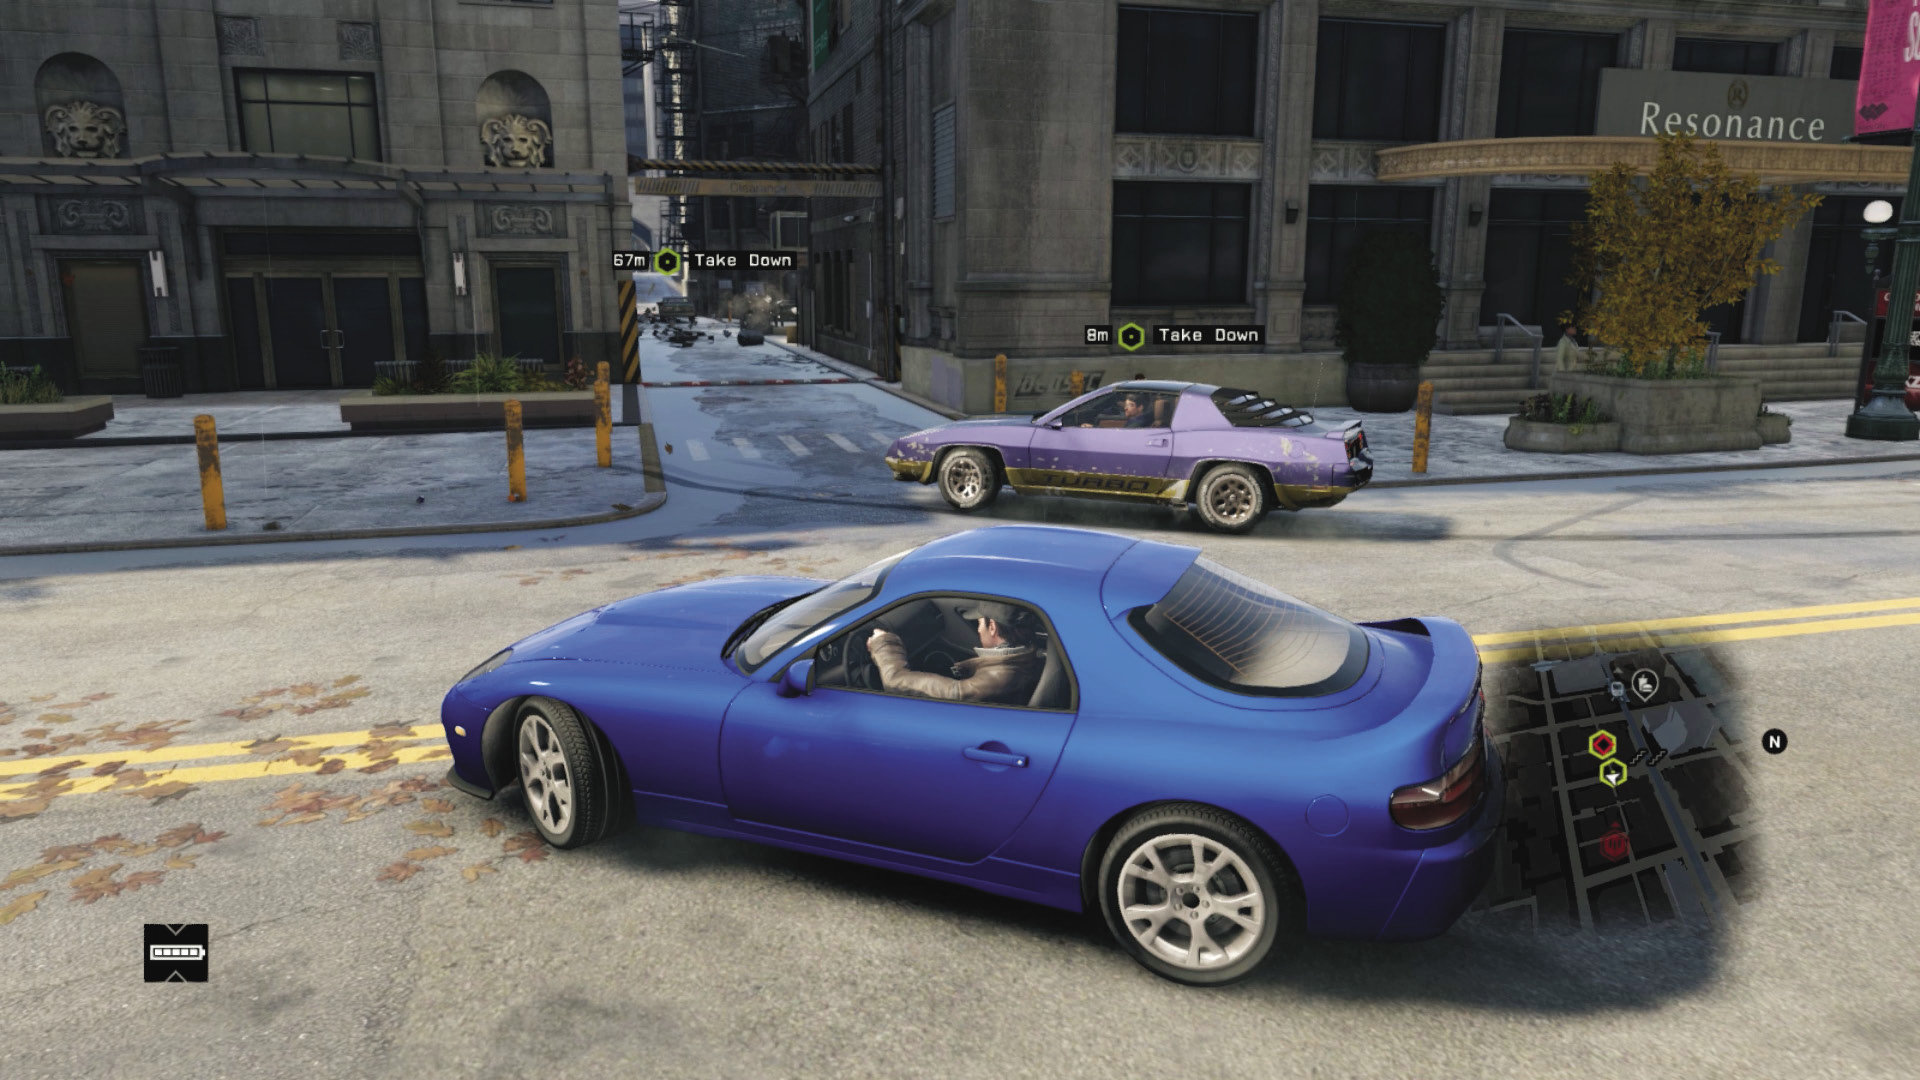
Takedown Opportunity 1: The vehicles head down the road with the L-train above, screech right, and right again into an alley. This is the first time you can mangle one of the vehicles, ideally getting ahead and blocking one, then blowing it up with a grenade launcher. If you miss this chance, blow up the power transformer at the end of the alley, just as they make the left turn past city hall.
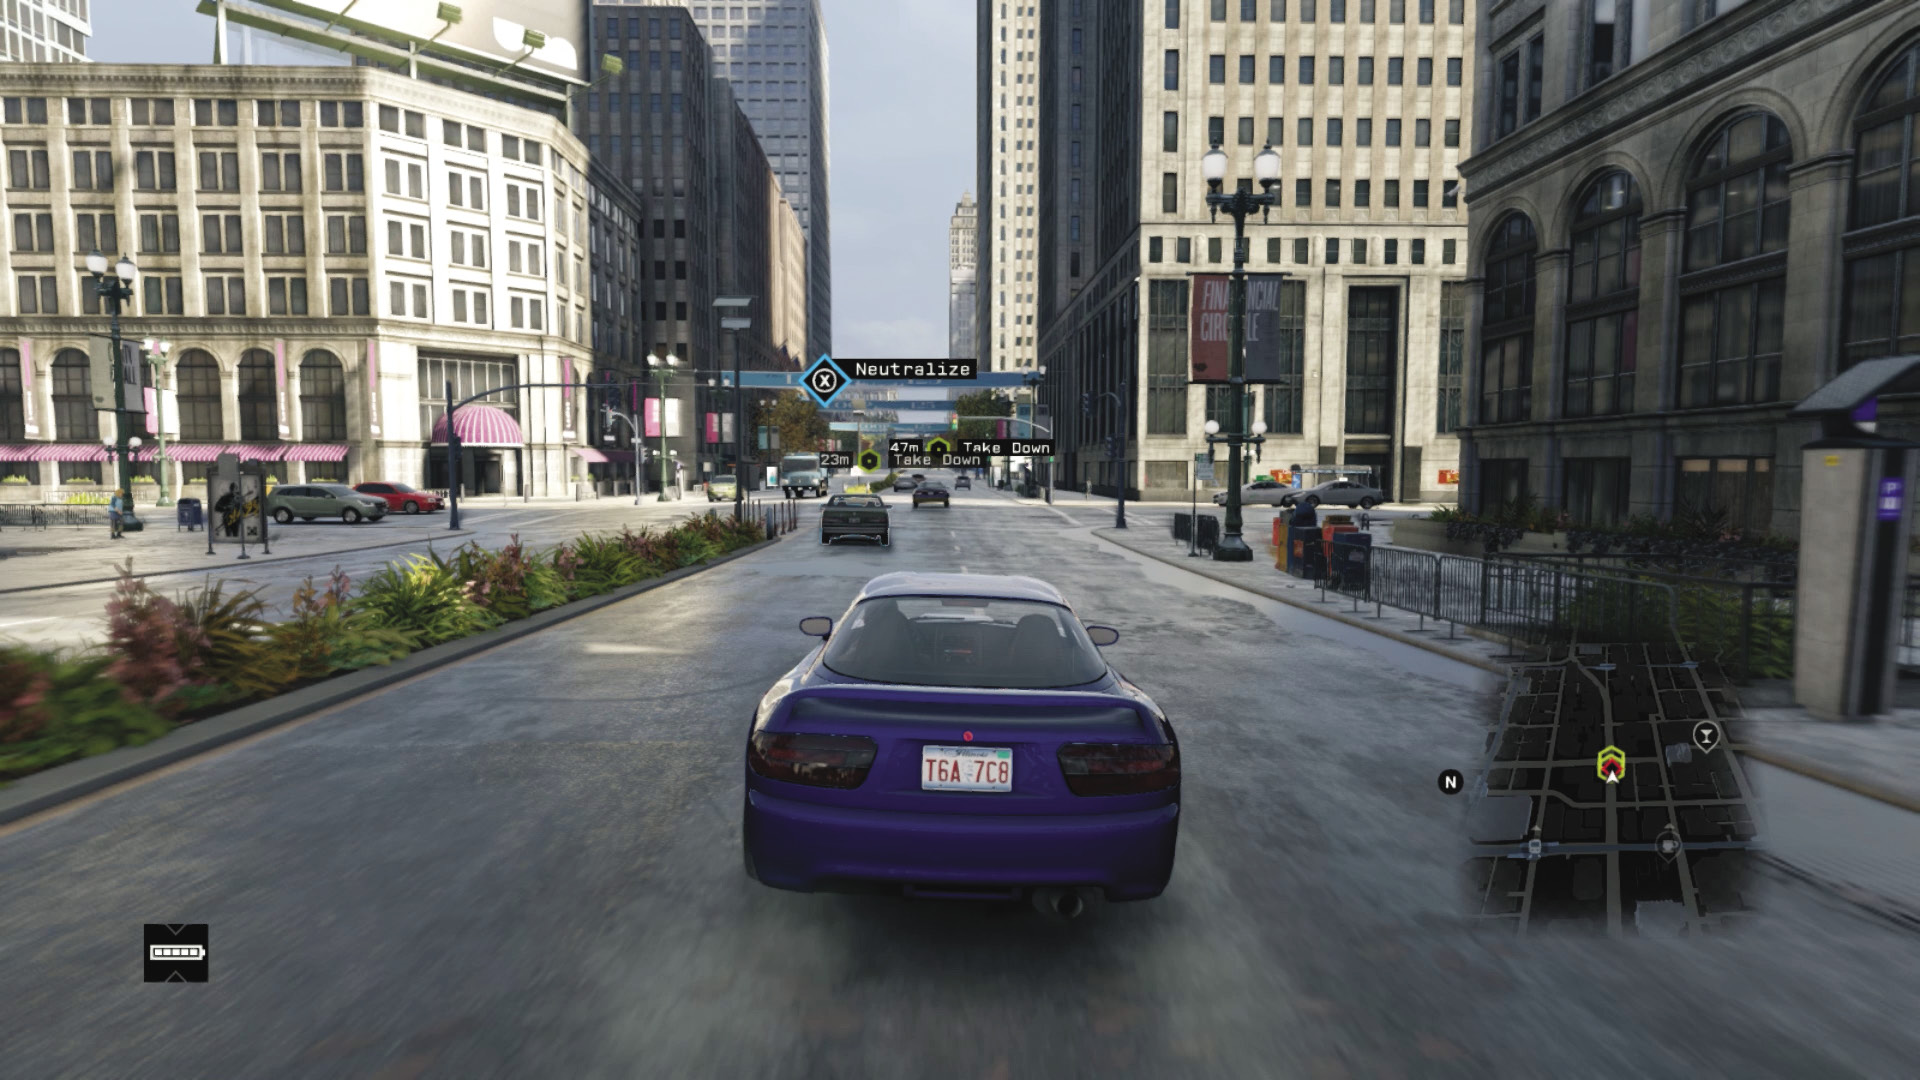
Takedown Opportunity 2: After some street weaving, they head down a road with planters in the middle of it. The traffic lights can help slow down these two idiots, so try that as you progress.
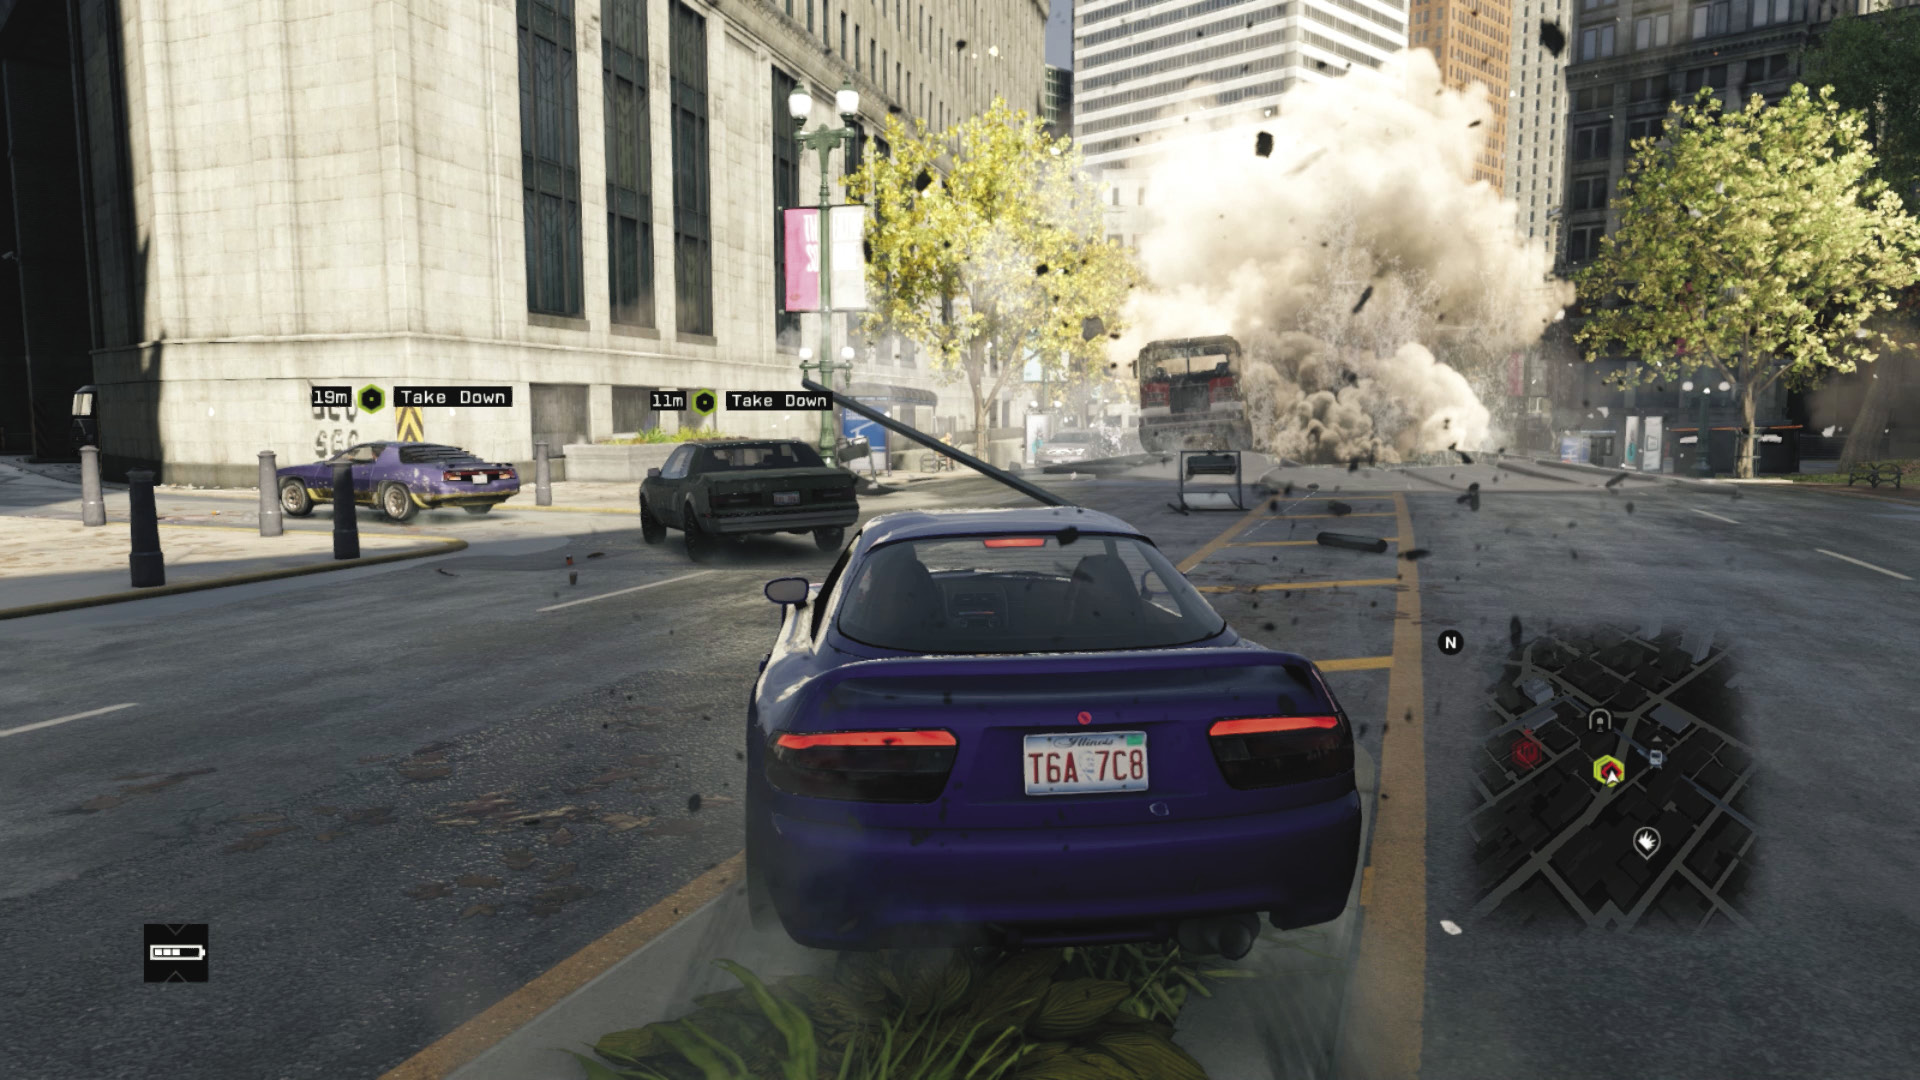
Takedown Opportunity 3: They turn just before a steam pipe. Though you can detonate it, the foes usually flee down the alley, but not if you shunt one just before the turn! Then try and scrape them into the alley wall afterward.
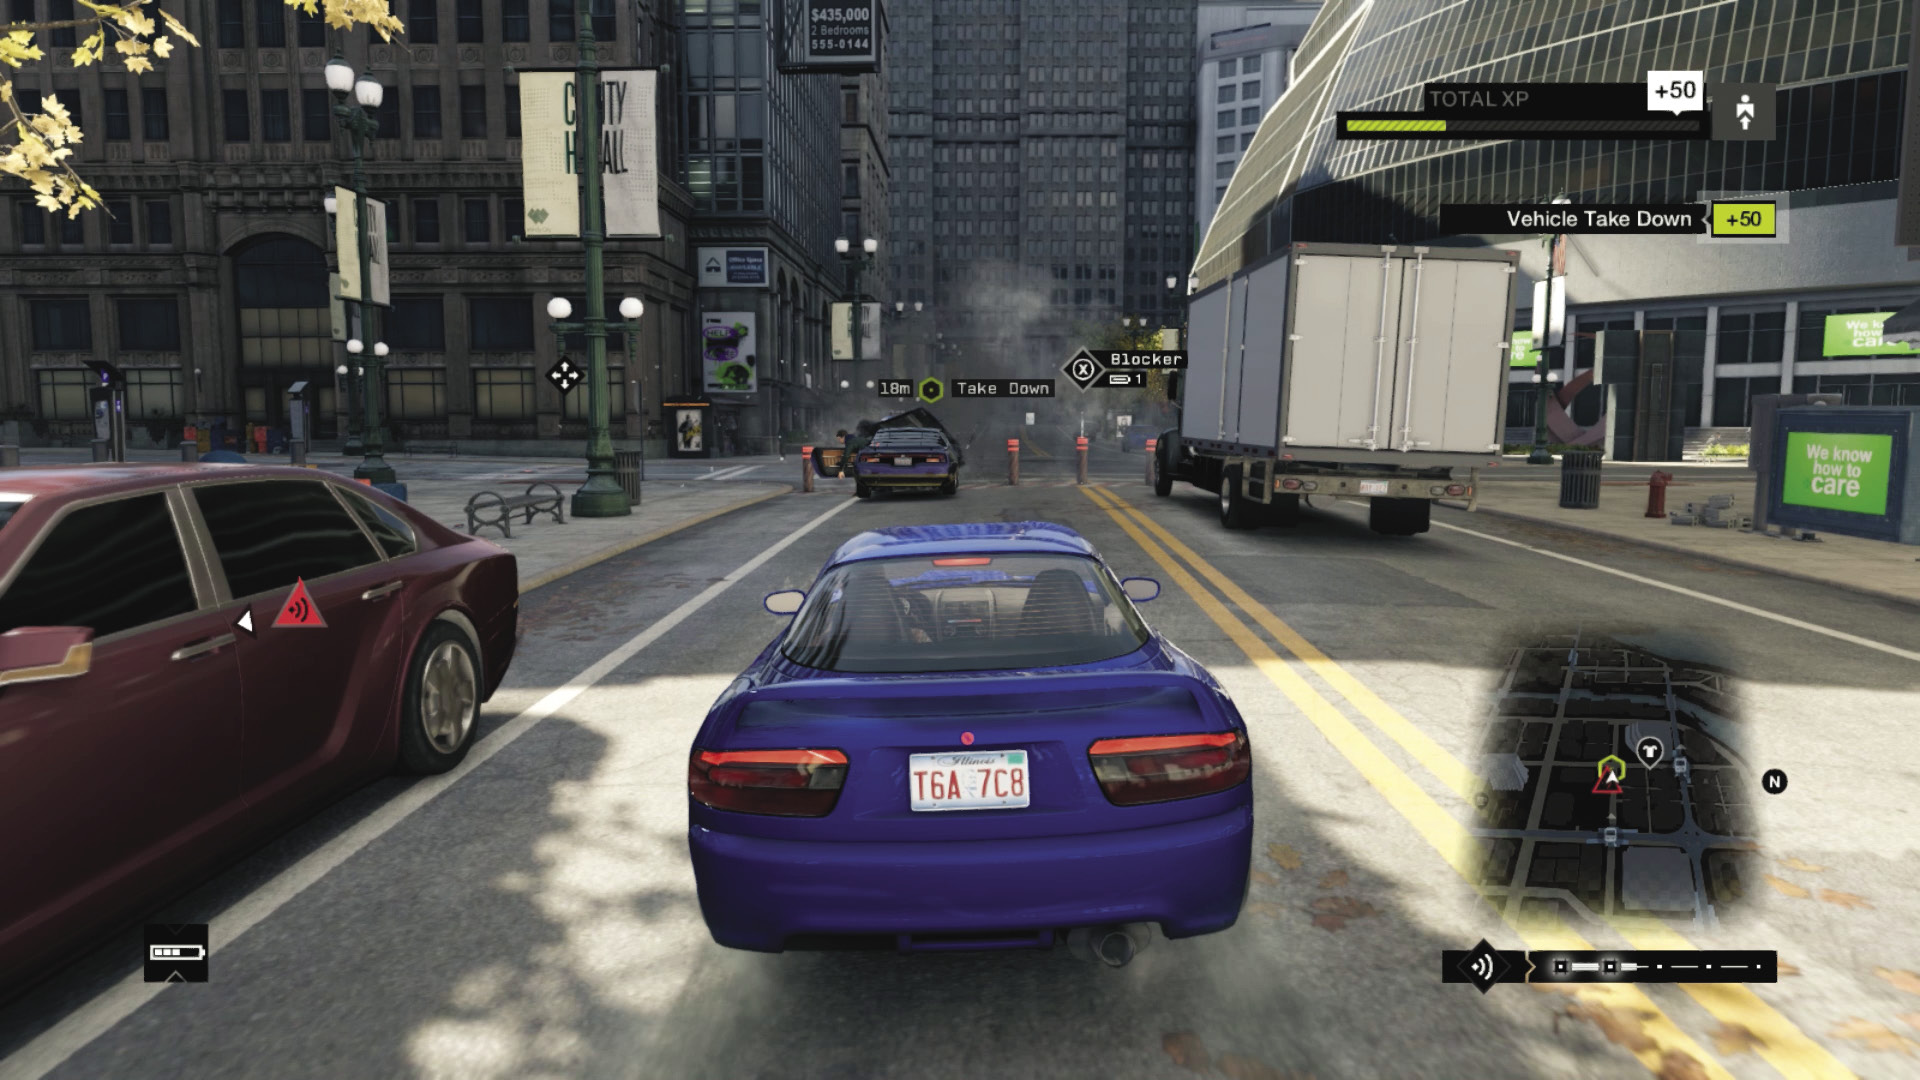
Takedown Opportunity 4: Expect to take a variety of alleys and main roads from this point on; there are two or three opportunities to use traffic lights and blockers, or ram the foes into the support girders of the L-train. But once the foes split up, you have little hope of catching them and claiming a significant cash sum.
11 _DOUBLE VISION
Starting location: NORTH LOOP
NEAREST VEHICLE: Sonarus LX
ENEMY VEHICLE 1: Vespid 5.2
ENEMY VEHICLE 2: 571
Target: Veteran x 2
Download Requested?: Yes (Hack Only)
ADDITIONAL Enemies: The Club (UP TO 6 VEHICLES, Gunmen and veterans, 2–3 per vehicle)
Difficulty:
 +03:30 // +$10,000
 +04:00 // +$9,000
 ∞ // +$8,000
BEAT THIS: 03:03:29 (Anthony Renomeron)
Enemy 1
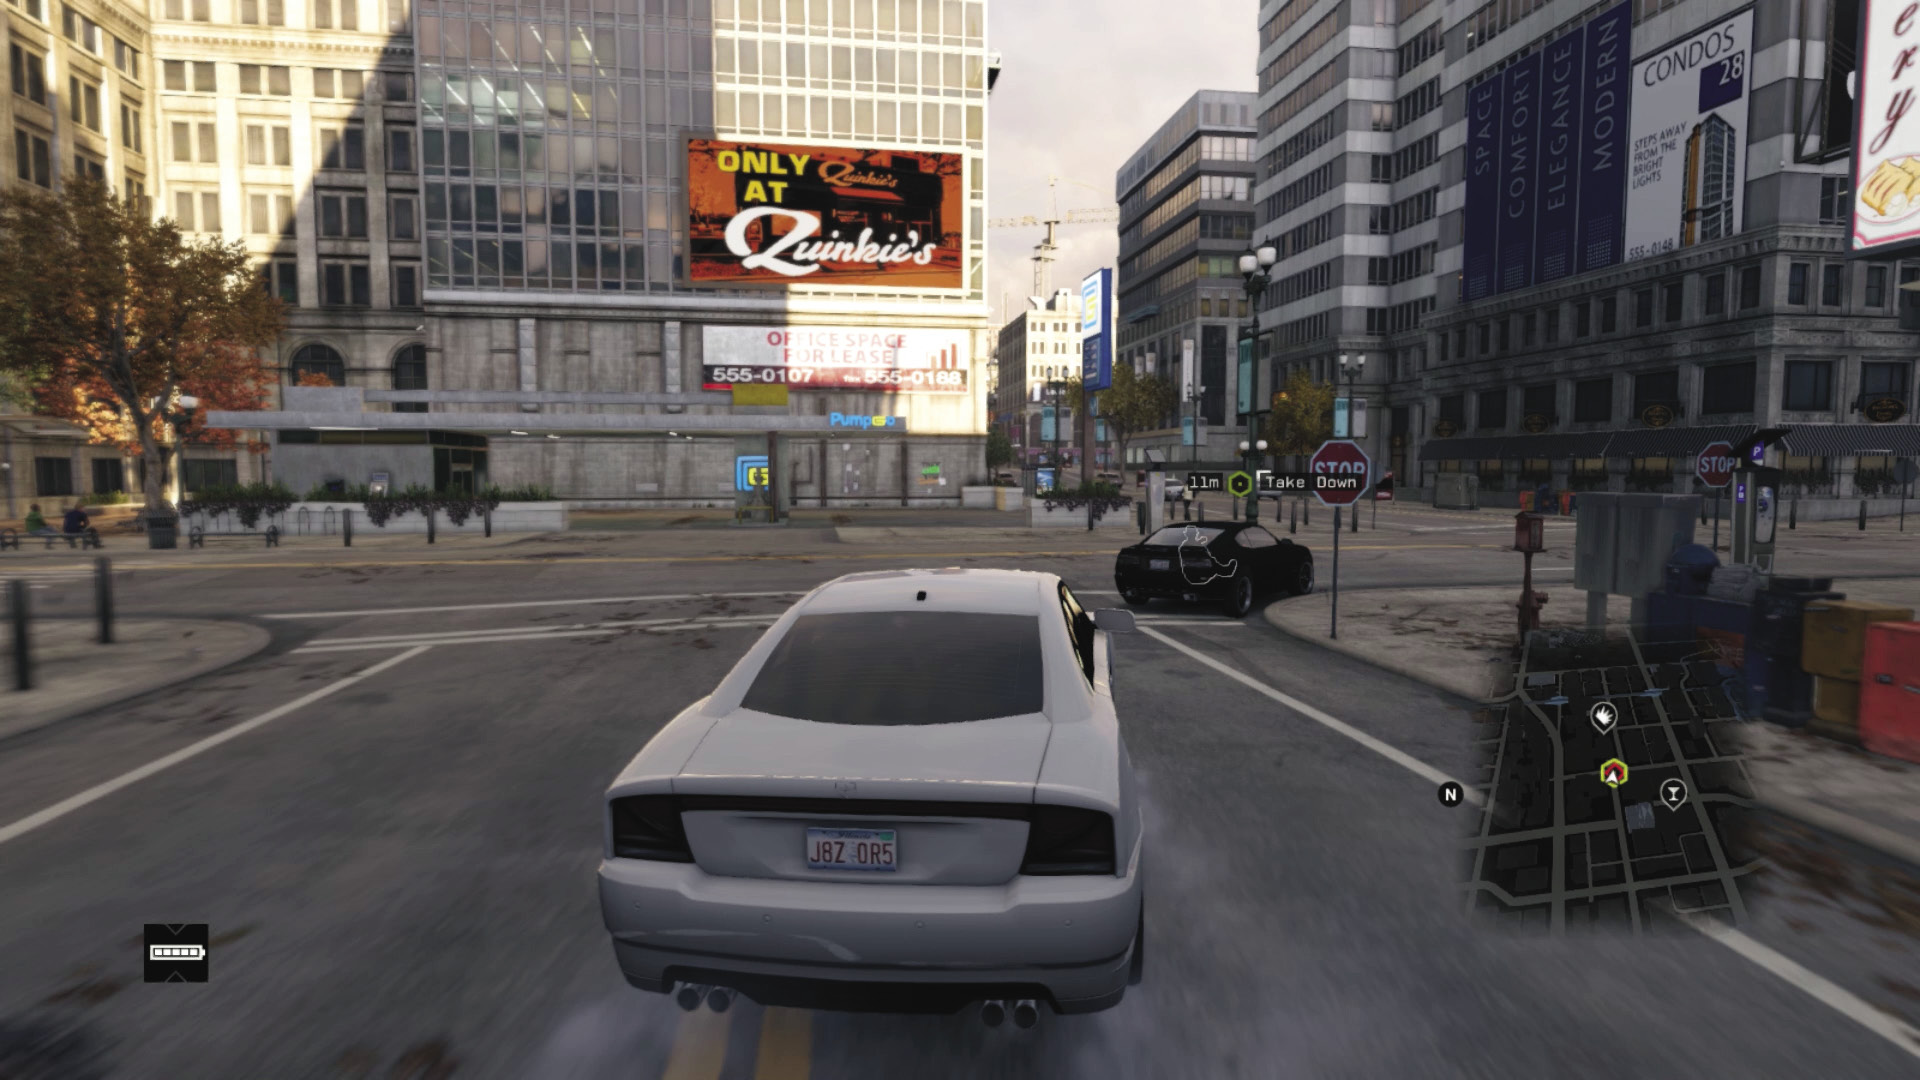
Takedown Opportunity 1: Your target takes to the wider streets, ignoring areas with blockers and steam pipes or narrow alleys. He’s difficult to keep up with, but there are three traffic light opportunities to try, slowing him down enough to tackle him.
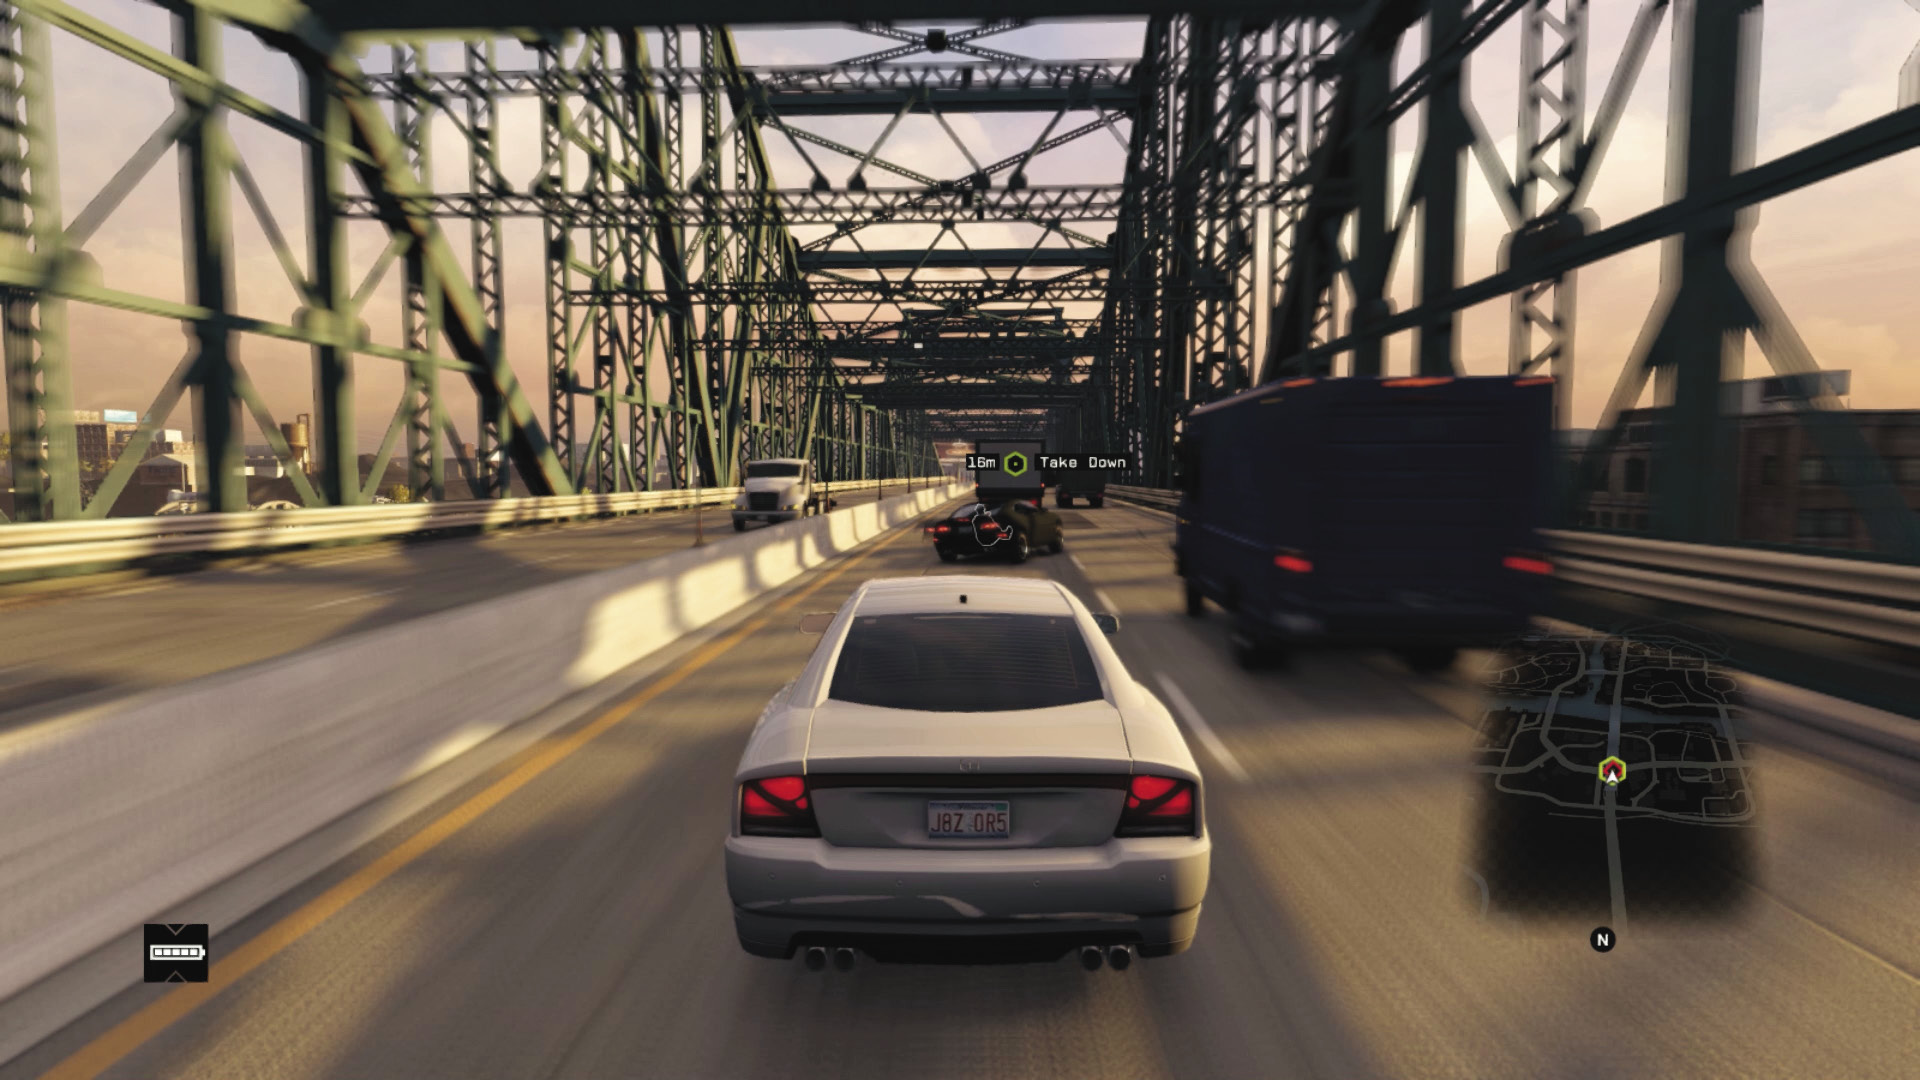
Takedown Opportunity 2: If you can’t catch him in the Loop, he heads straight (south) for the freeway to the Wards. As he enters the freeway, he may crash into the central divider; this is the single best time to remove him as a threat, as he can easily escape if you try and follow him into oncoming traffic.
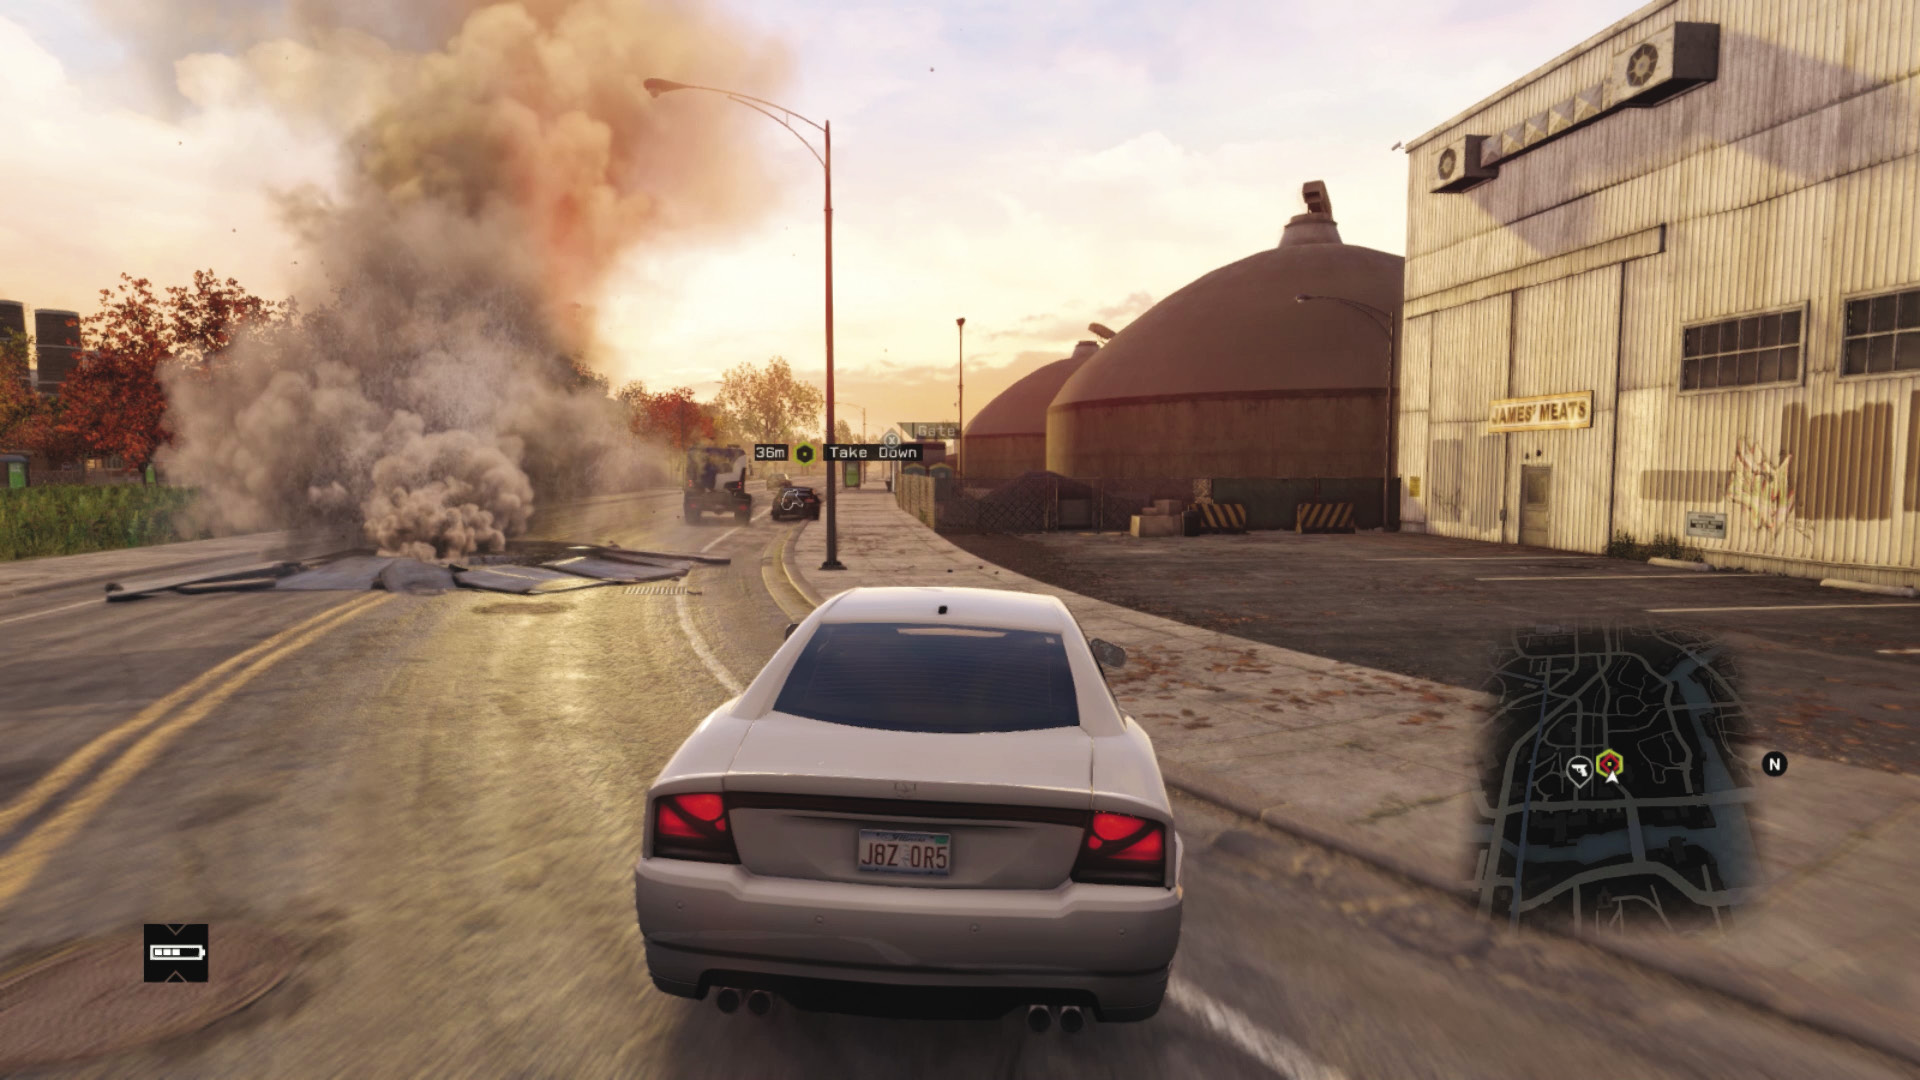
Takedown Opportunity 3: Don’t despair if the foe makes it into the Wards; he turns right after the freeway (traffic lights), and there’s a large steam pipe opportunity to stop him. Otherwise, he winds through the neighborhoods and under the L-train (where there are blockers to stop him). If you haven’t halted his progress by now, forget about a large cash windfall!
Enemy 2
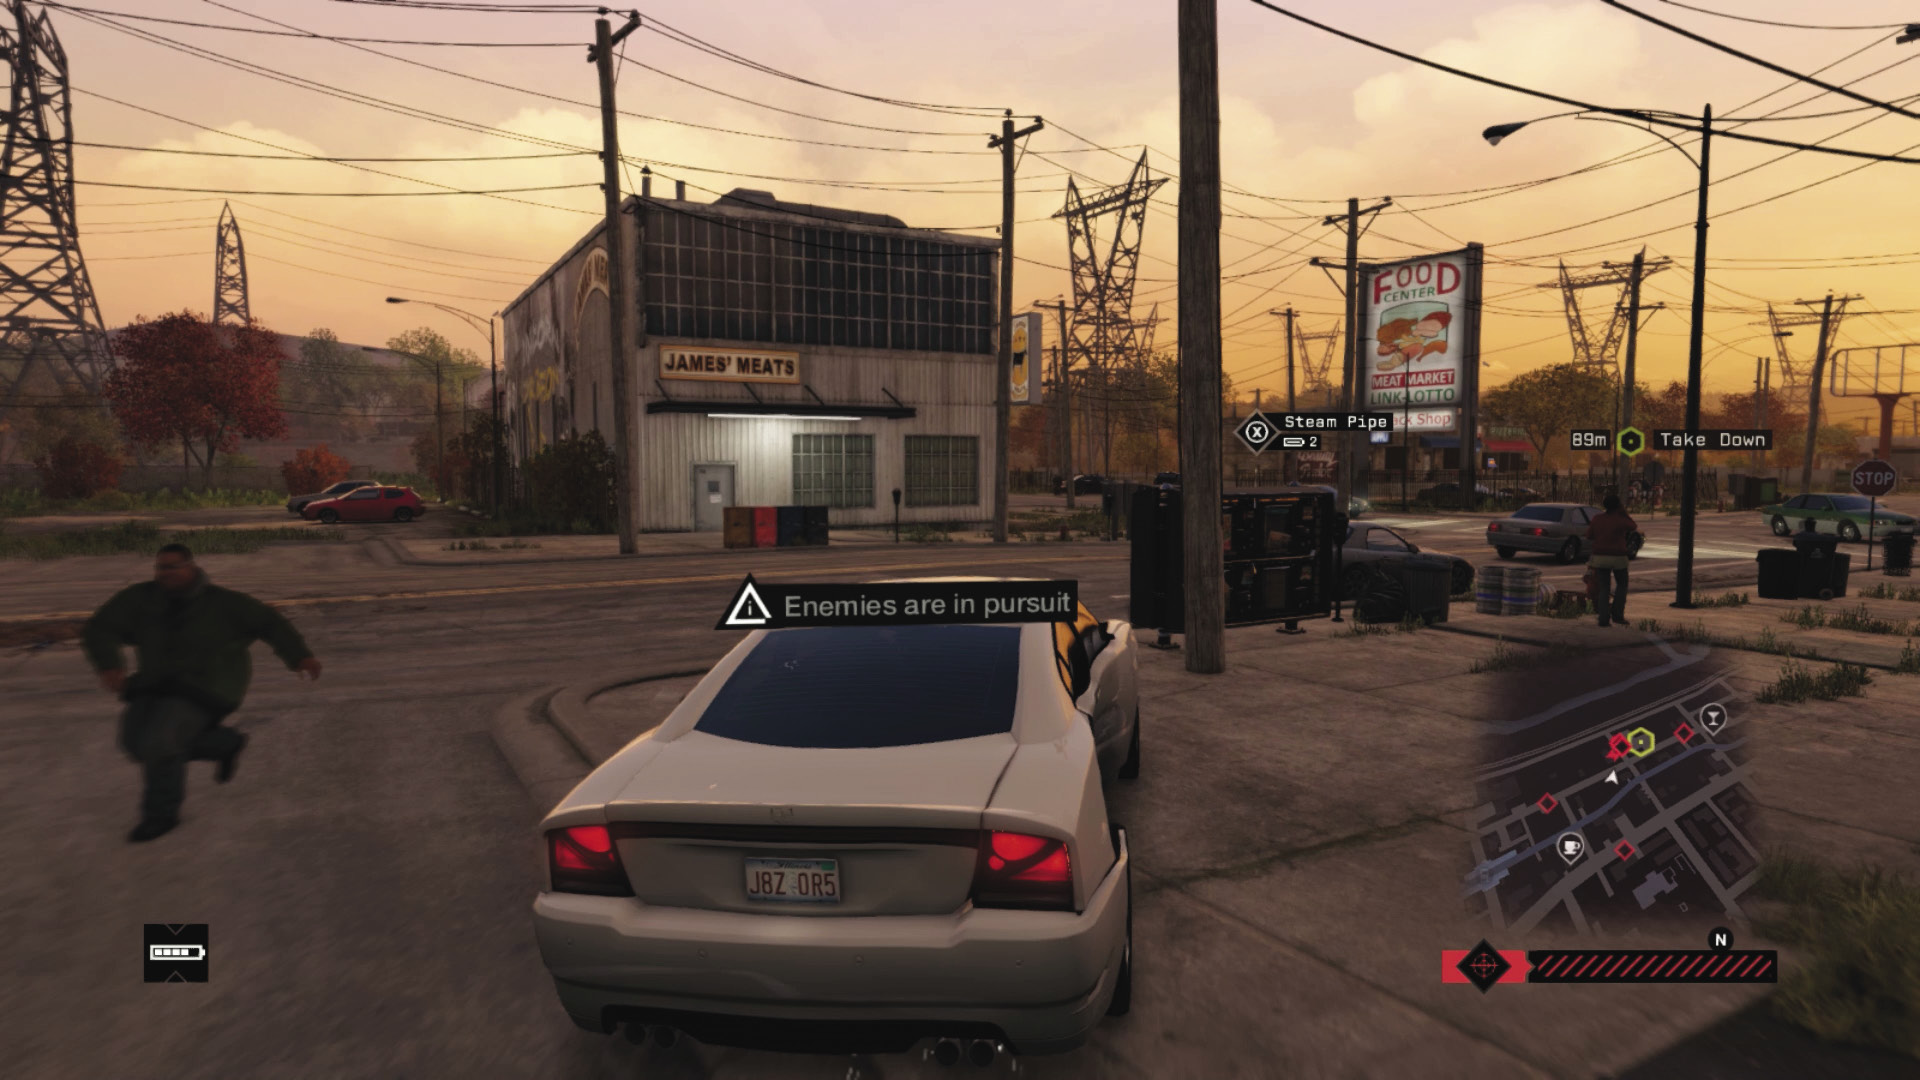
Takedown Opportunity 1: The second foe starts off on a piece of ground near the L-train line. Almost immediately (when he drives down the side road between the white building and the “Food” sign), there’s a steam pipe to stop him.
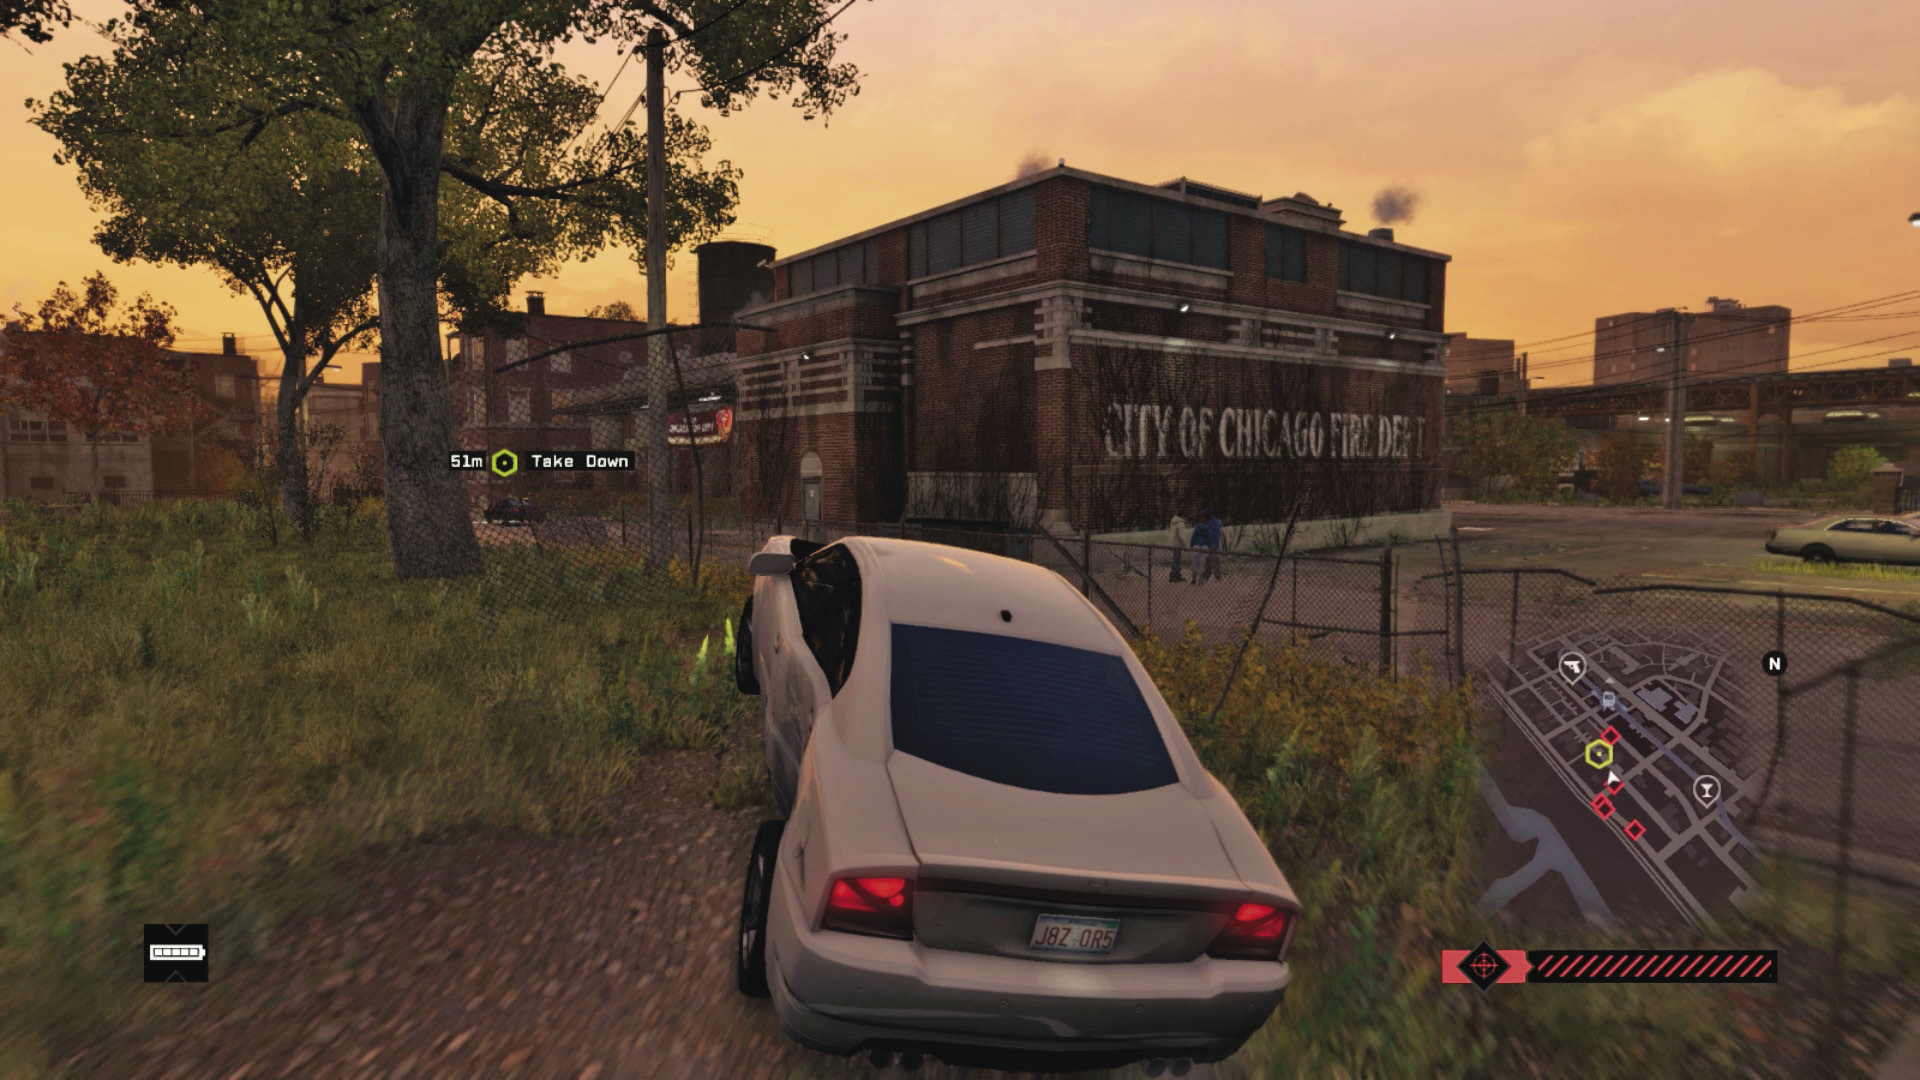
Takedown Opportunity 2: Ram your foe into the trash bins behind the brick building. Otherwise, pursue him through the side streets of the Wards, watching for reinforcements, especially as he takes a sharp right down an alley near the fire station.
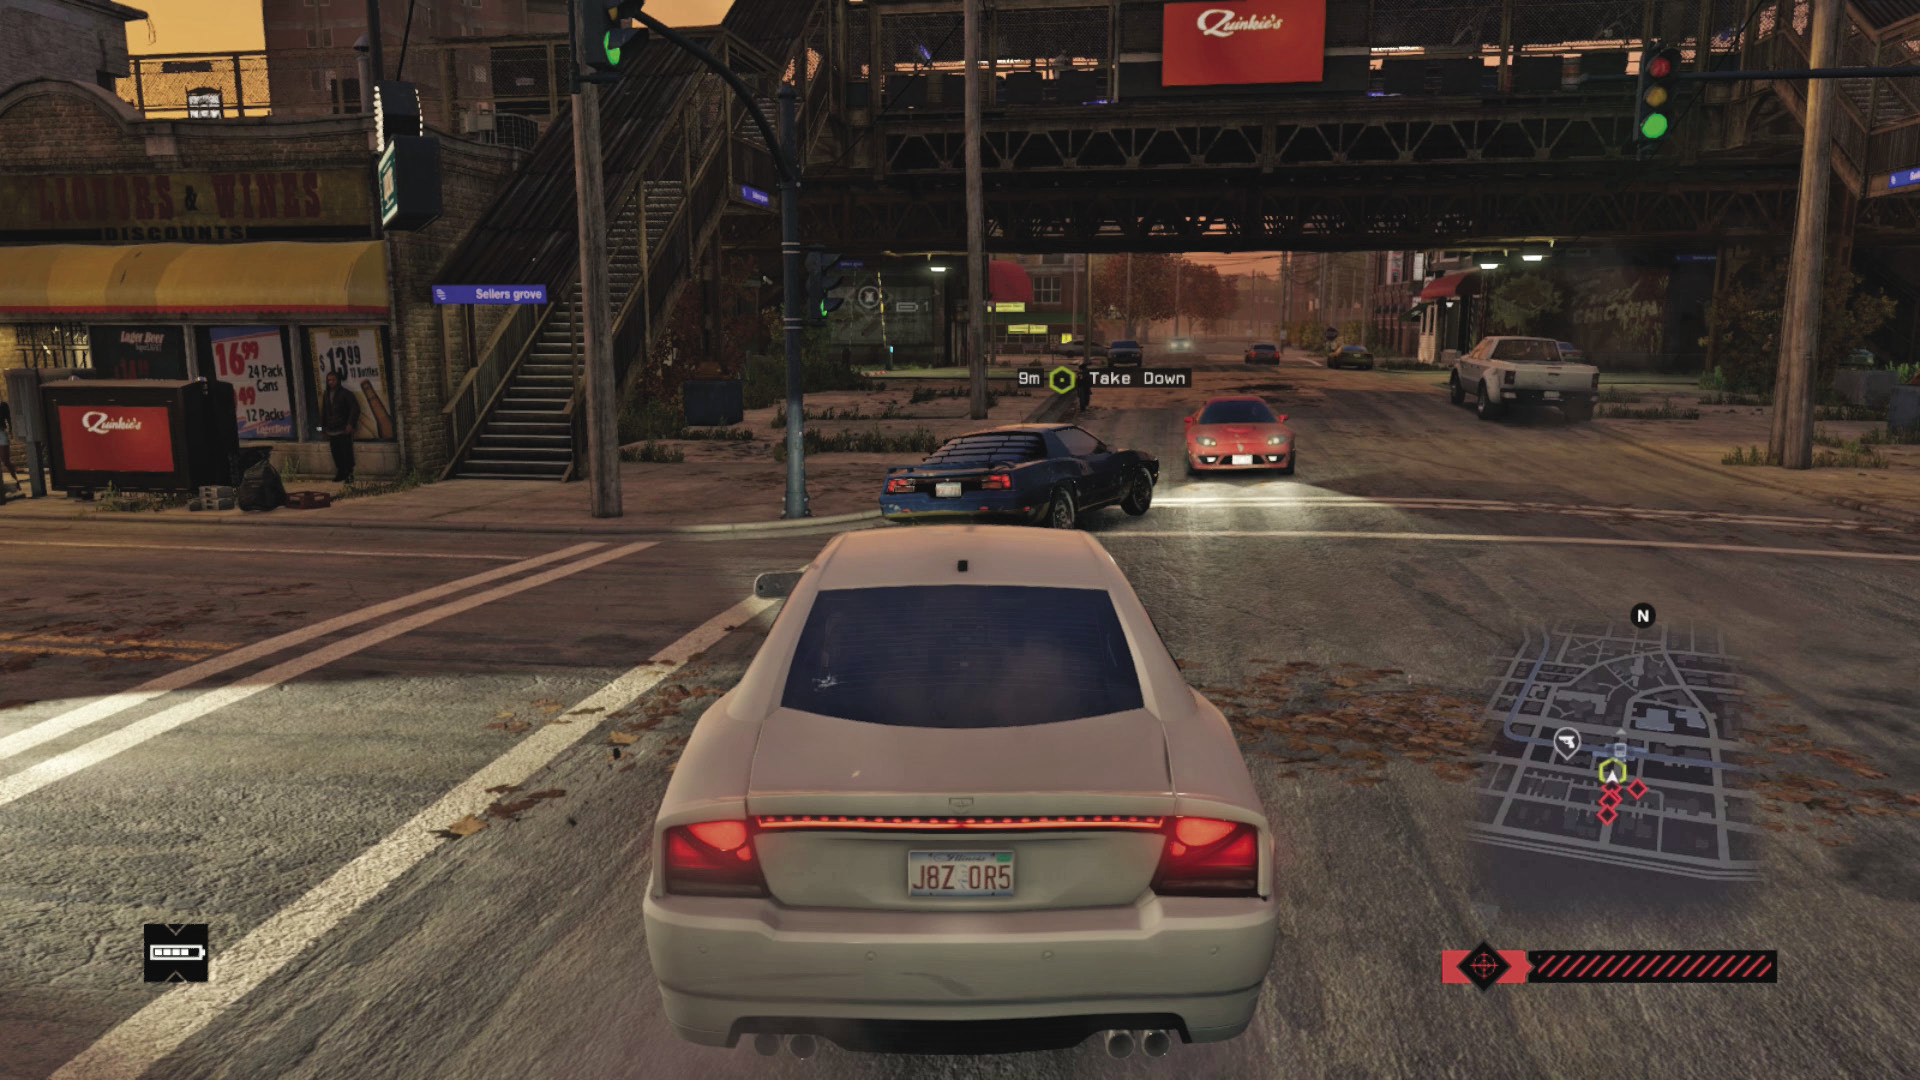
Takedown Opportunity 3: Hack the traffic lights near the rail station if you’re expecting a reasonable windfall. This reduces as he races through the tenement blocks, though there’s a steam pipe on the curved bit of road. After which, expect an off-road and alley chase near Rossi-Fremont, more industrial estate maneuvering, and a final break for freedom on the freeway back to the Loop. But tackle him way before this point.
12_GATEWAY TIMEOUT
Starting location: PARKING LOT, SOUTH LOOP
NEAREST VEHICLE: Sonarus LX
ENEMY VEHICLE: Kirscher
Target: Gunman x 1
Download Requested?: Yes
ADDITIONAL Enemies: The Club (UP TO 4 VEHICLES, Gunmen and veterans, 2–3 per vehicle)
Difficulty:
 +01:30 // +$3,000
 +02:30 // +$2,000
 ∞ // +$1,000
BEAT THIS: 02:14:45 (Anthony Renomeron)
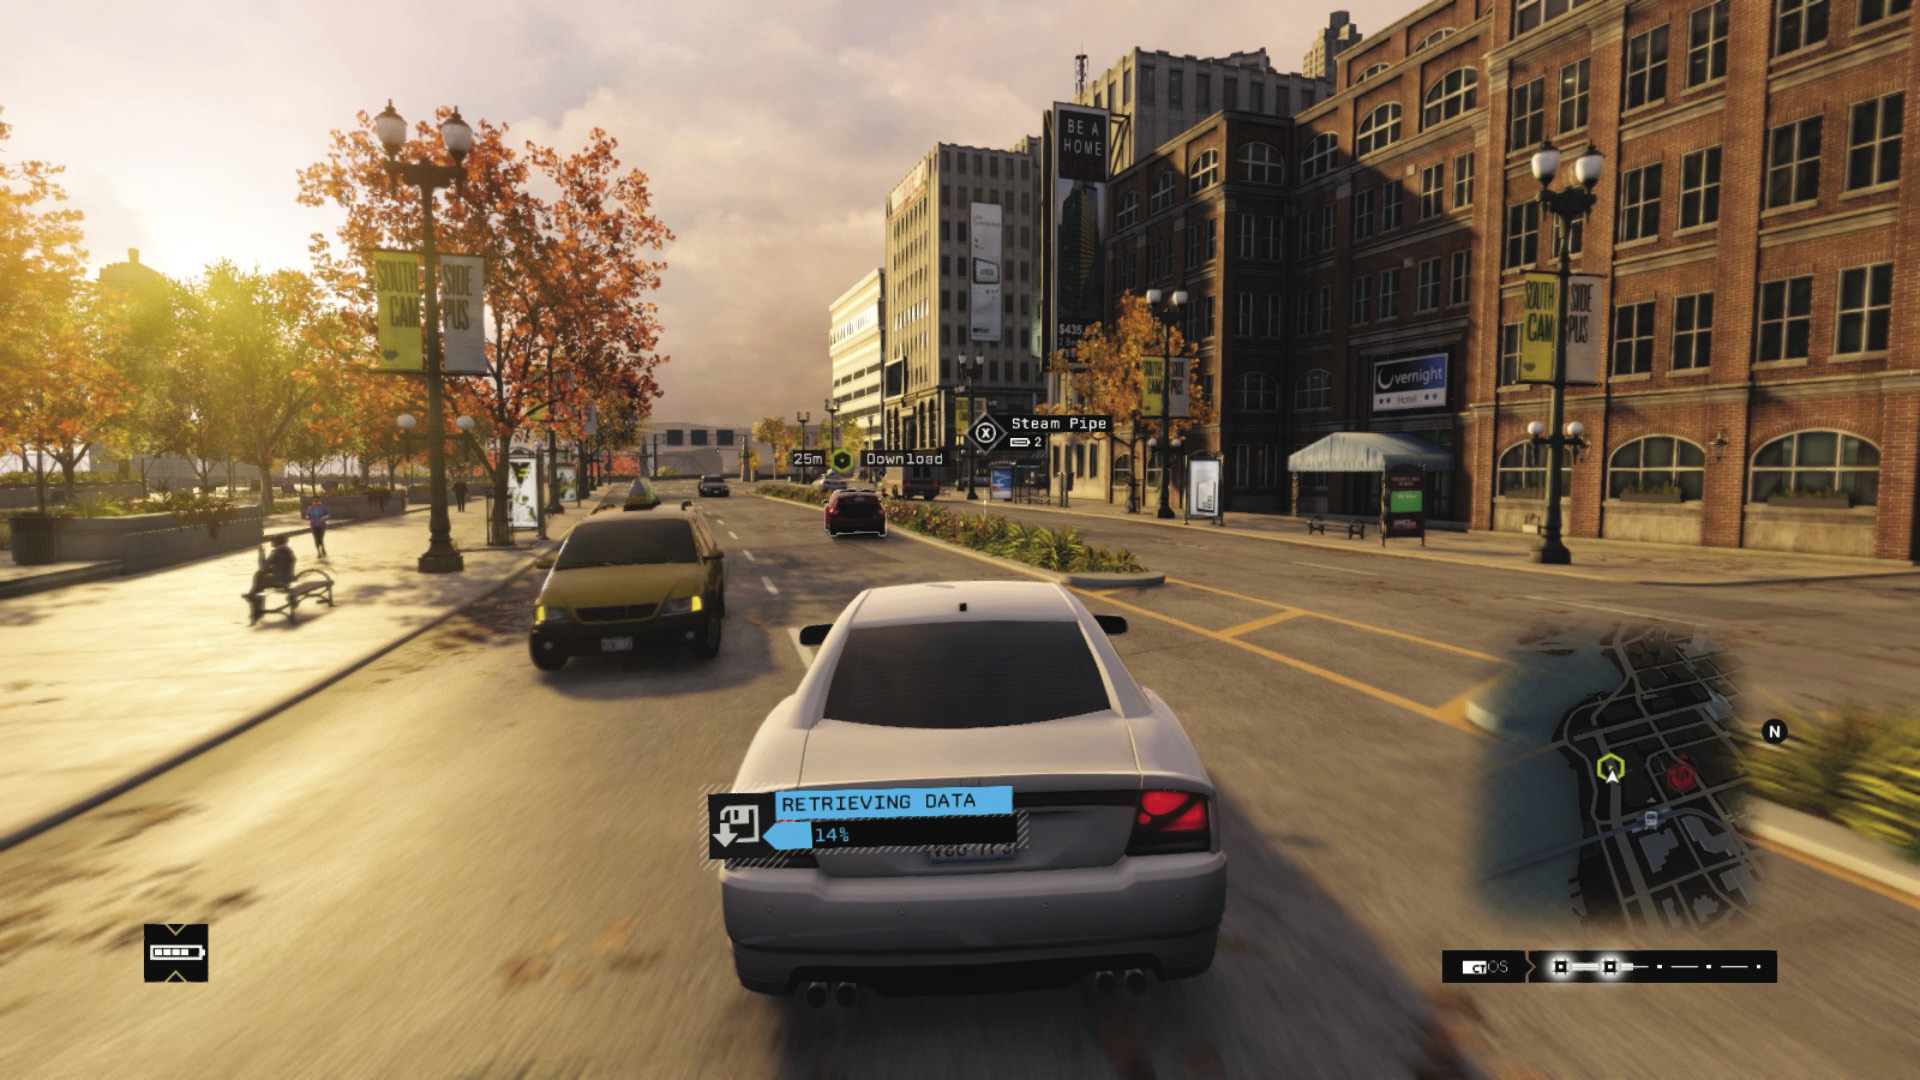
Takedown Opportunity 1: Assuming you’re following this foe, he makes a right turn, heading along the wide road with the planters and a steam pipe just before the traffic lights where he turns right. This steam pipe explosion can end the mission in seconds!
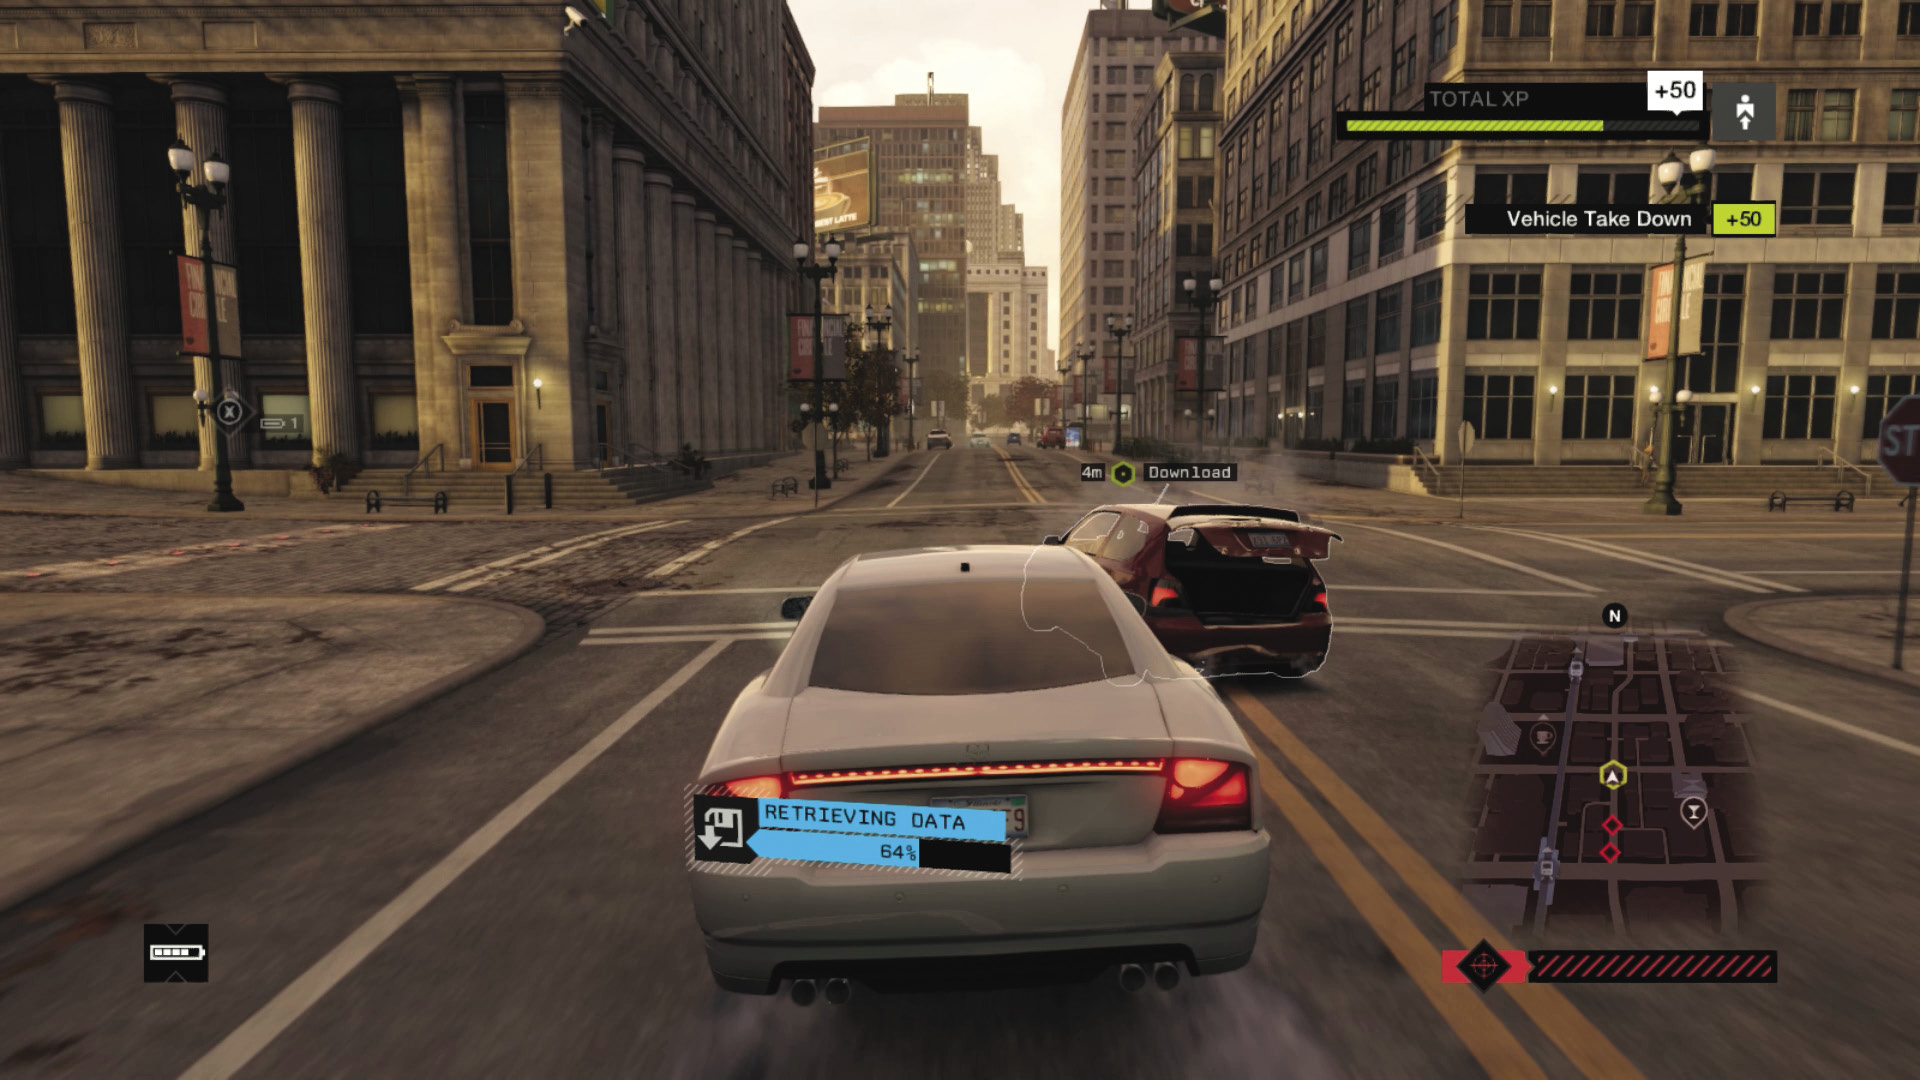
Takedown Opportunity 2: Your target keeps to the main streets for the next few turns (use the traffic lights to slow him down, quickening your download time). But he takes a left down a cobblestone street under the L-train, with blockers. Hit him here and hem him in. Or, continue to follow him until he reaches a second cobblestone street and wildly skids left.
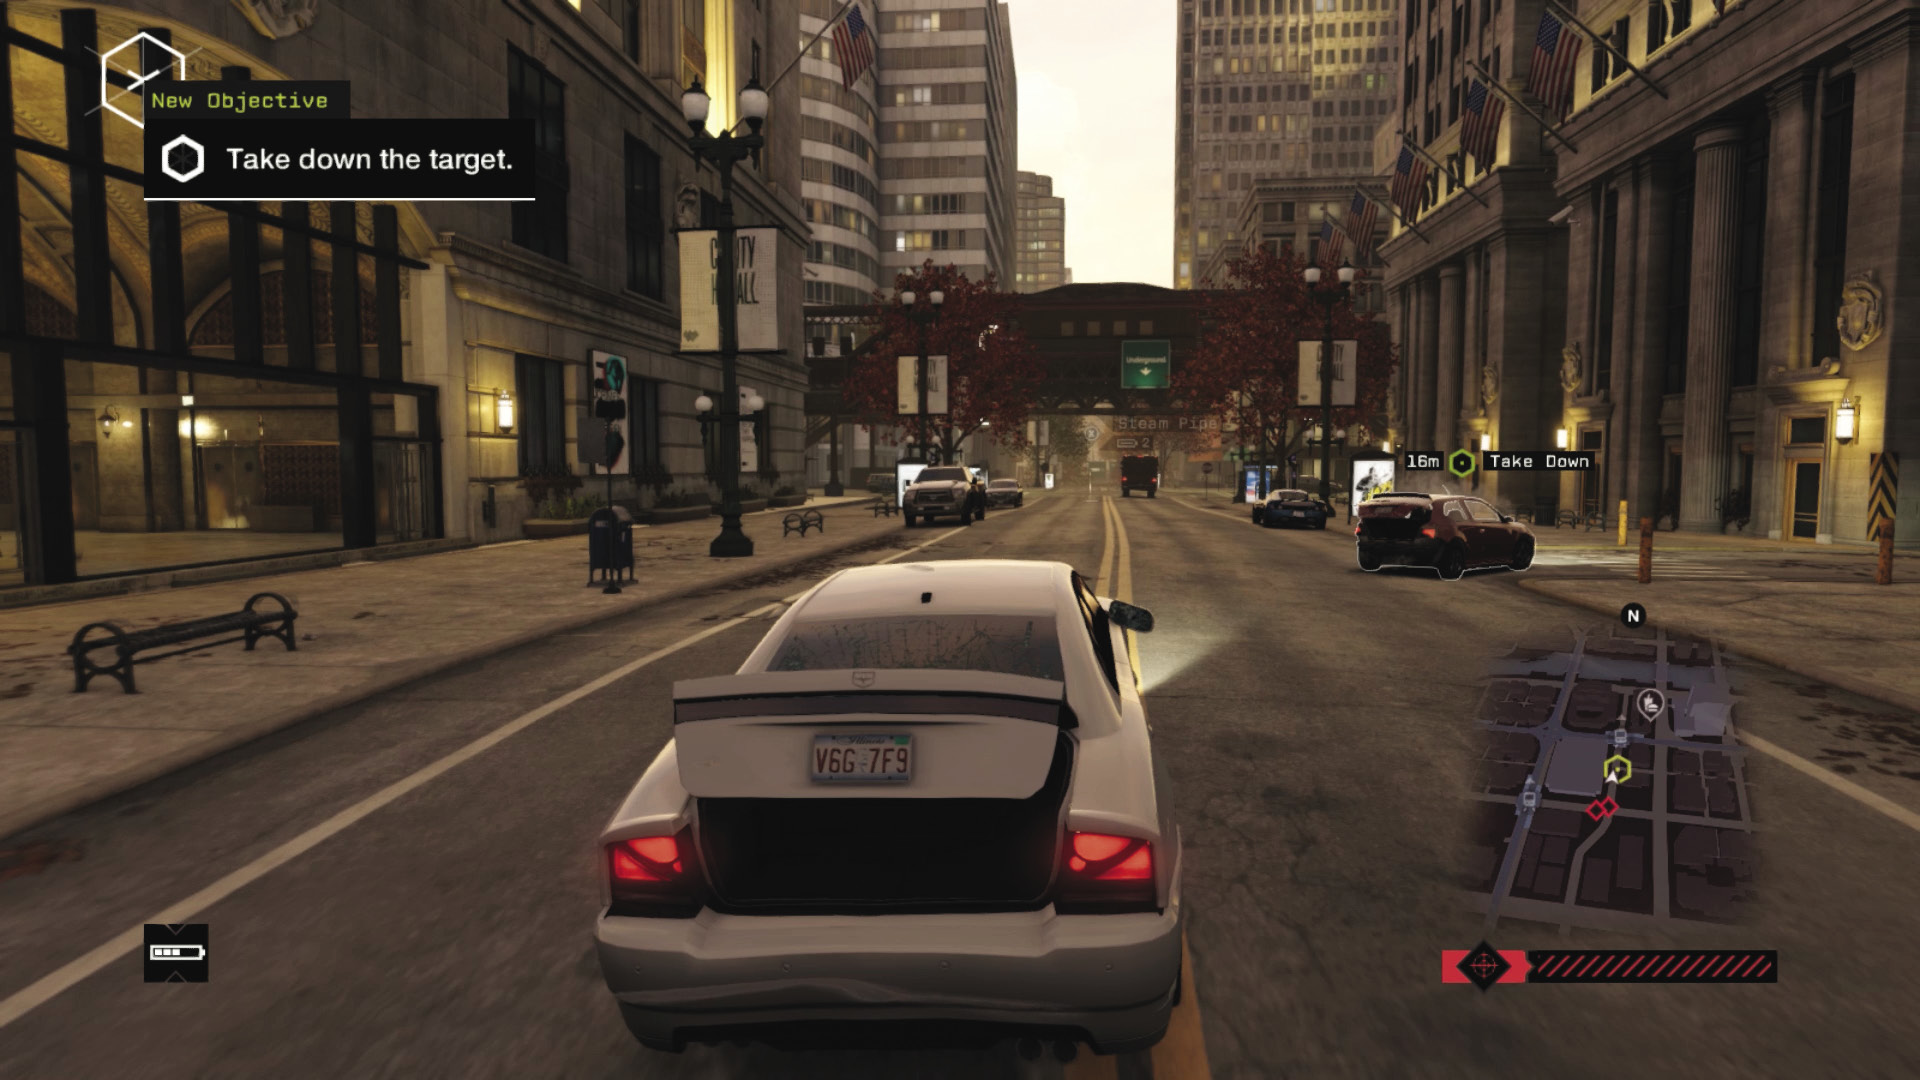
Takedown Opportunity 3: He attempts to lose you down several alleys heading east. Then he’s back on the main road, where there’s another steam pipe opportunity, before reaching the numerous traffic lights and intersections under the L-train.
13 _NUMBER CRUNCH
Starting location: St Jude’s Police station, north west loop
NEAREST VEHICLE: Zusume R
ENEMY VEHICLE: Hailkal R
Target: GUnman x 1
Download Requested?: Yes
ADDITIONAL Enemies: The club (UP TO 4 VEHICLES, Gunmen and veterans, 2–3 per vehicle)
Difficulty:
+02:00 // +$3,000
+03:00 // +$2,000
∞ // +$1,000
BEAT THIS: 00:47:00 (Jean Michel Lavinge)
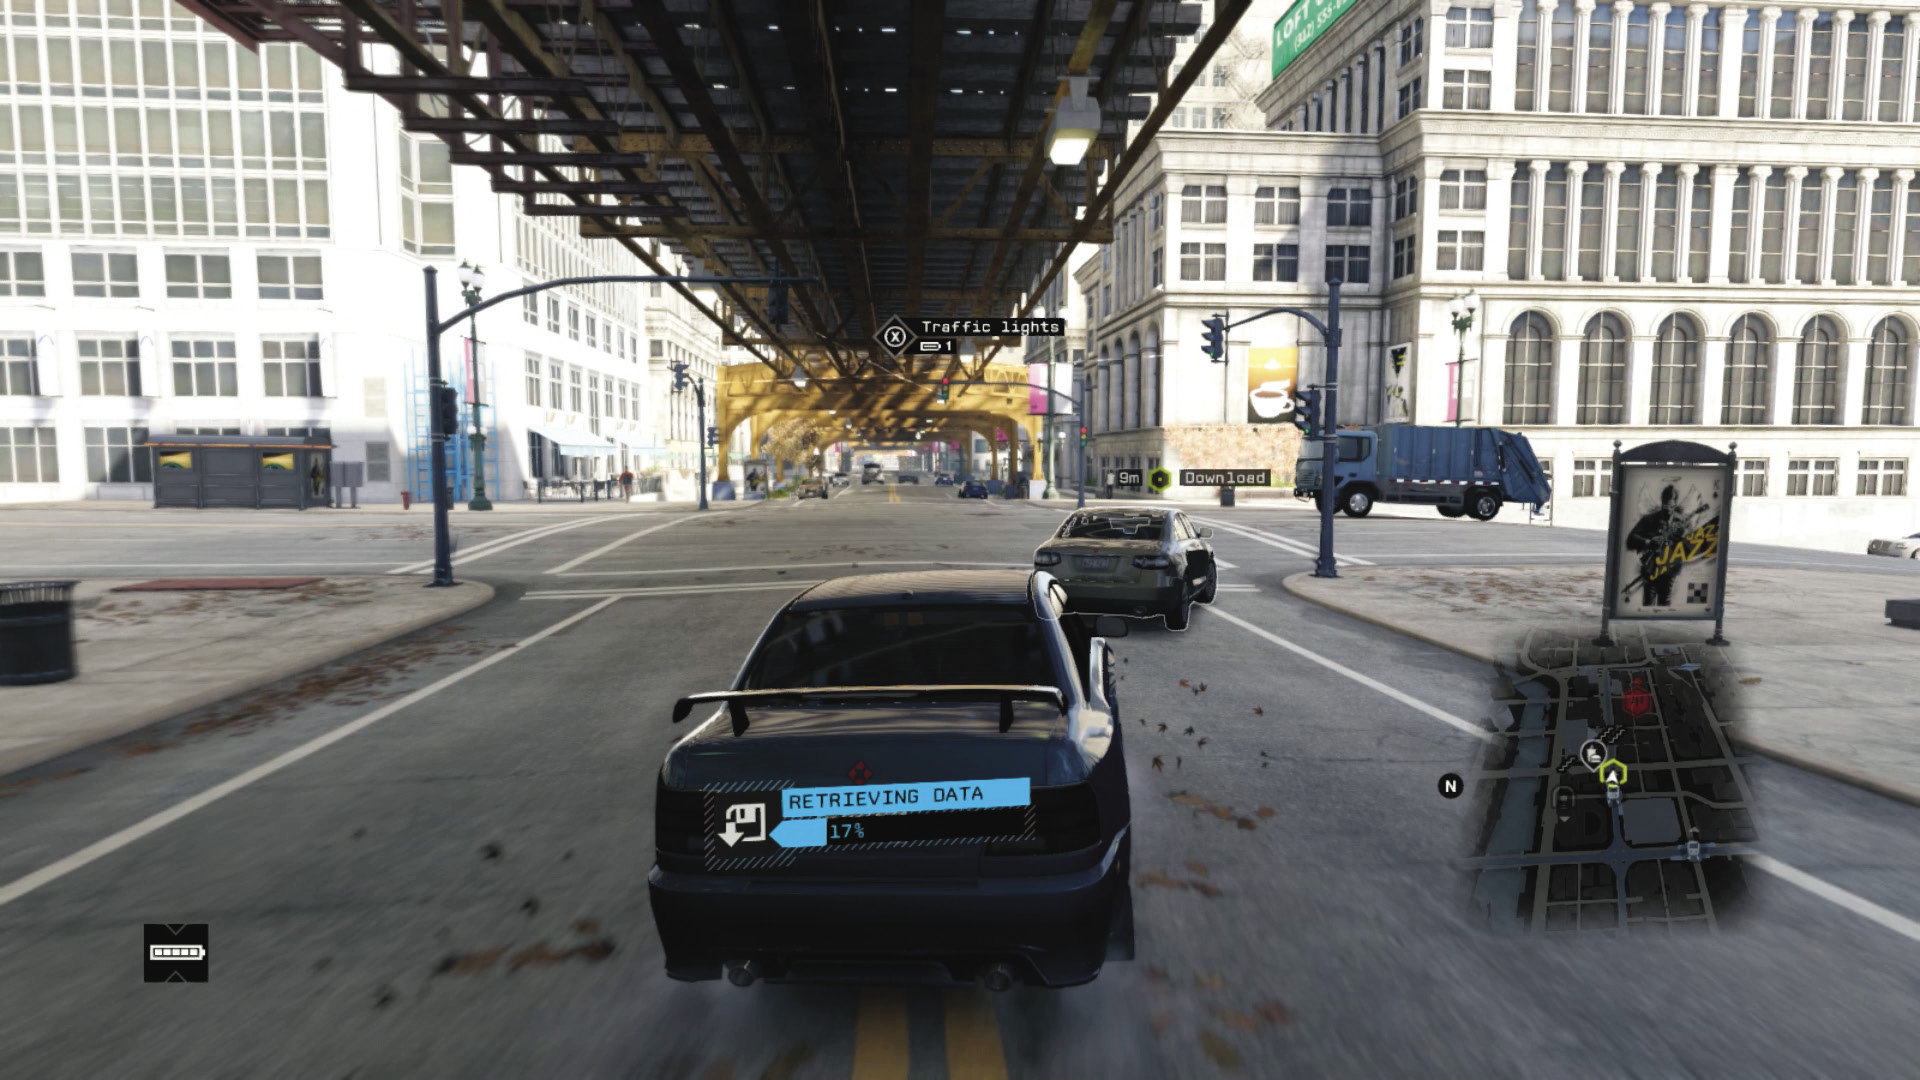
Takedown Opportunity 1: Your foe keeps to the main and side streets in this section of town, meaning shunting him or using the traffic lights are your best means of slowing him down.
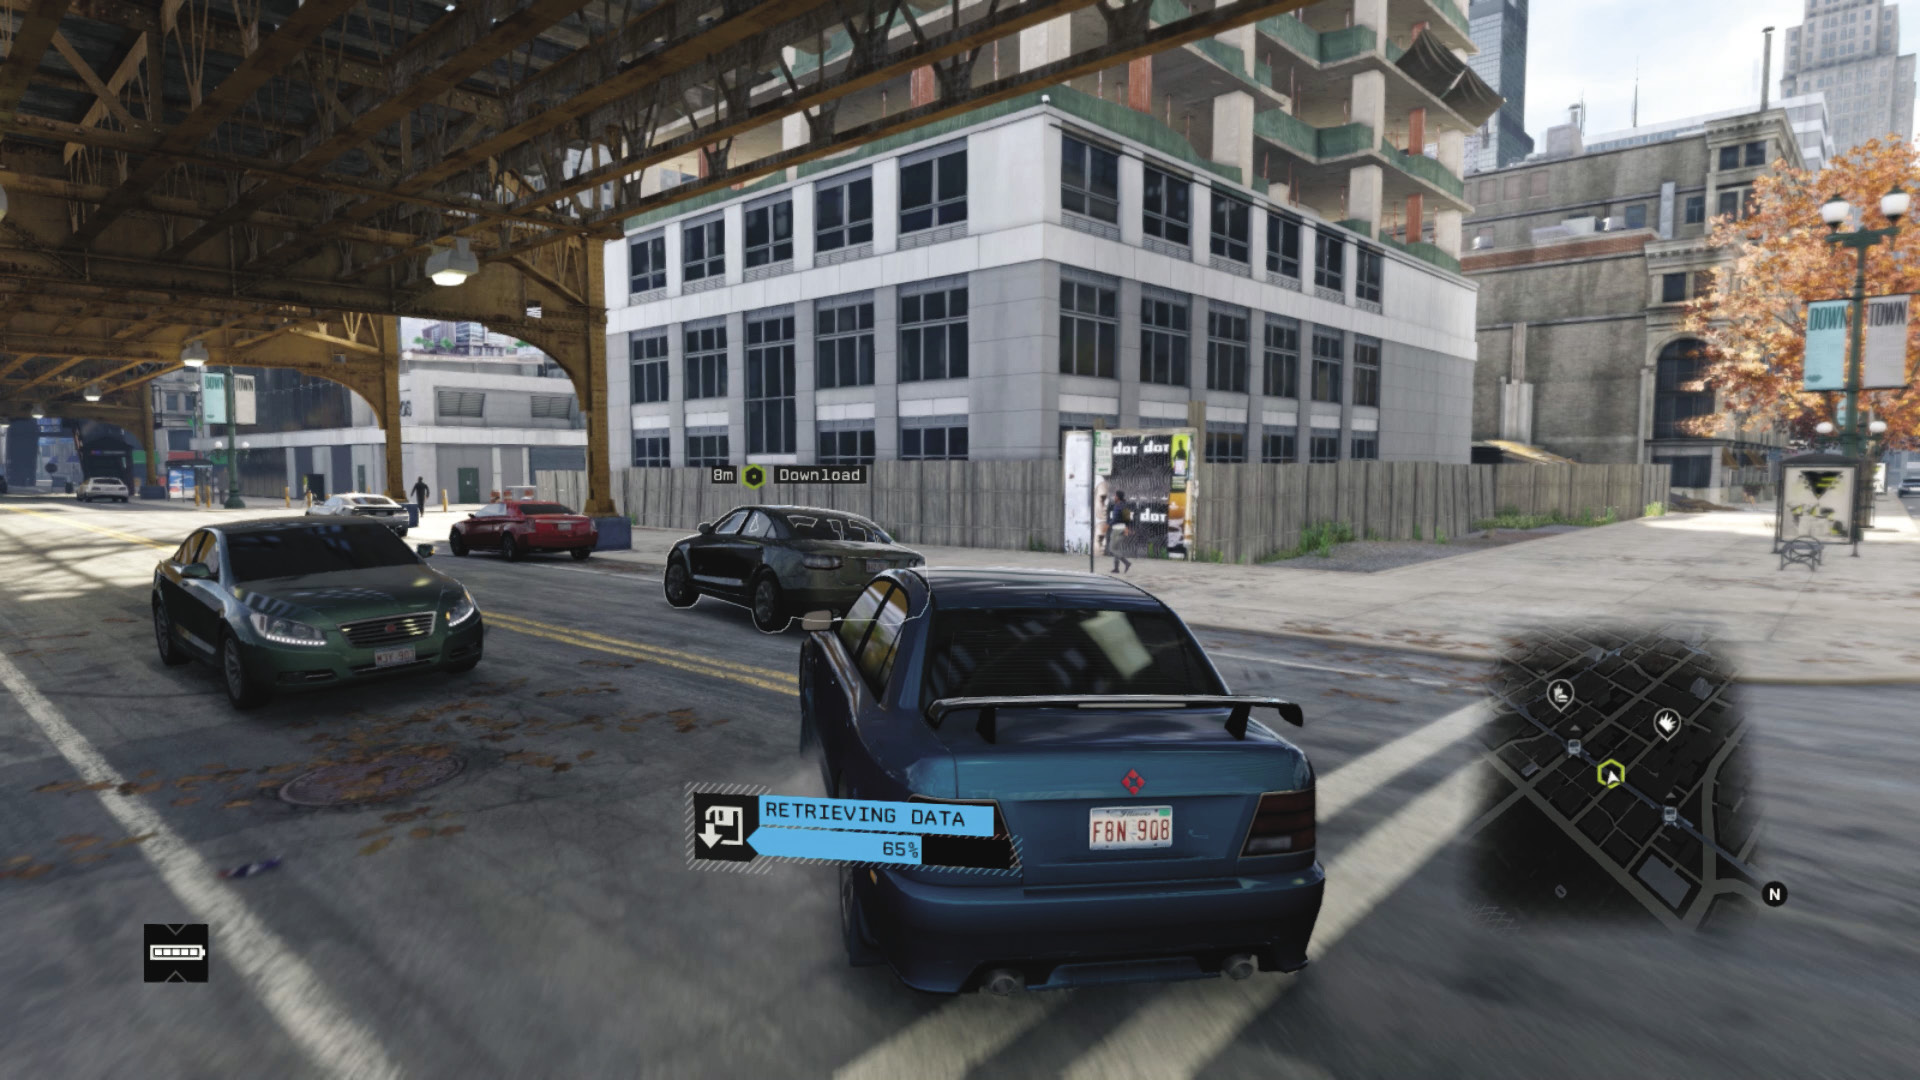
Takedown Opportunity 2: After a lark near the park, he eventually makes a left turn, heading down the road near the ctOS construction site. There’s a steam pipe a block farther along—your first real opportunity of mayhem.
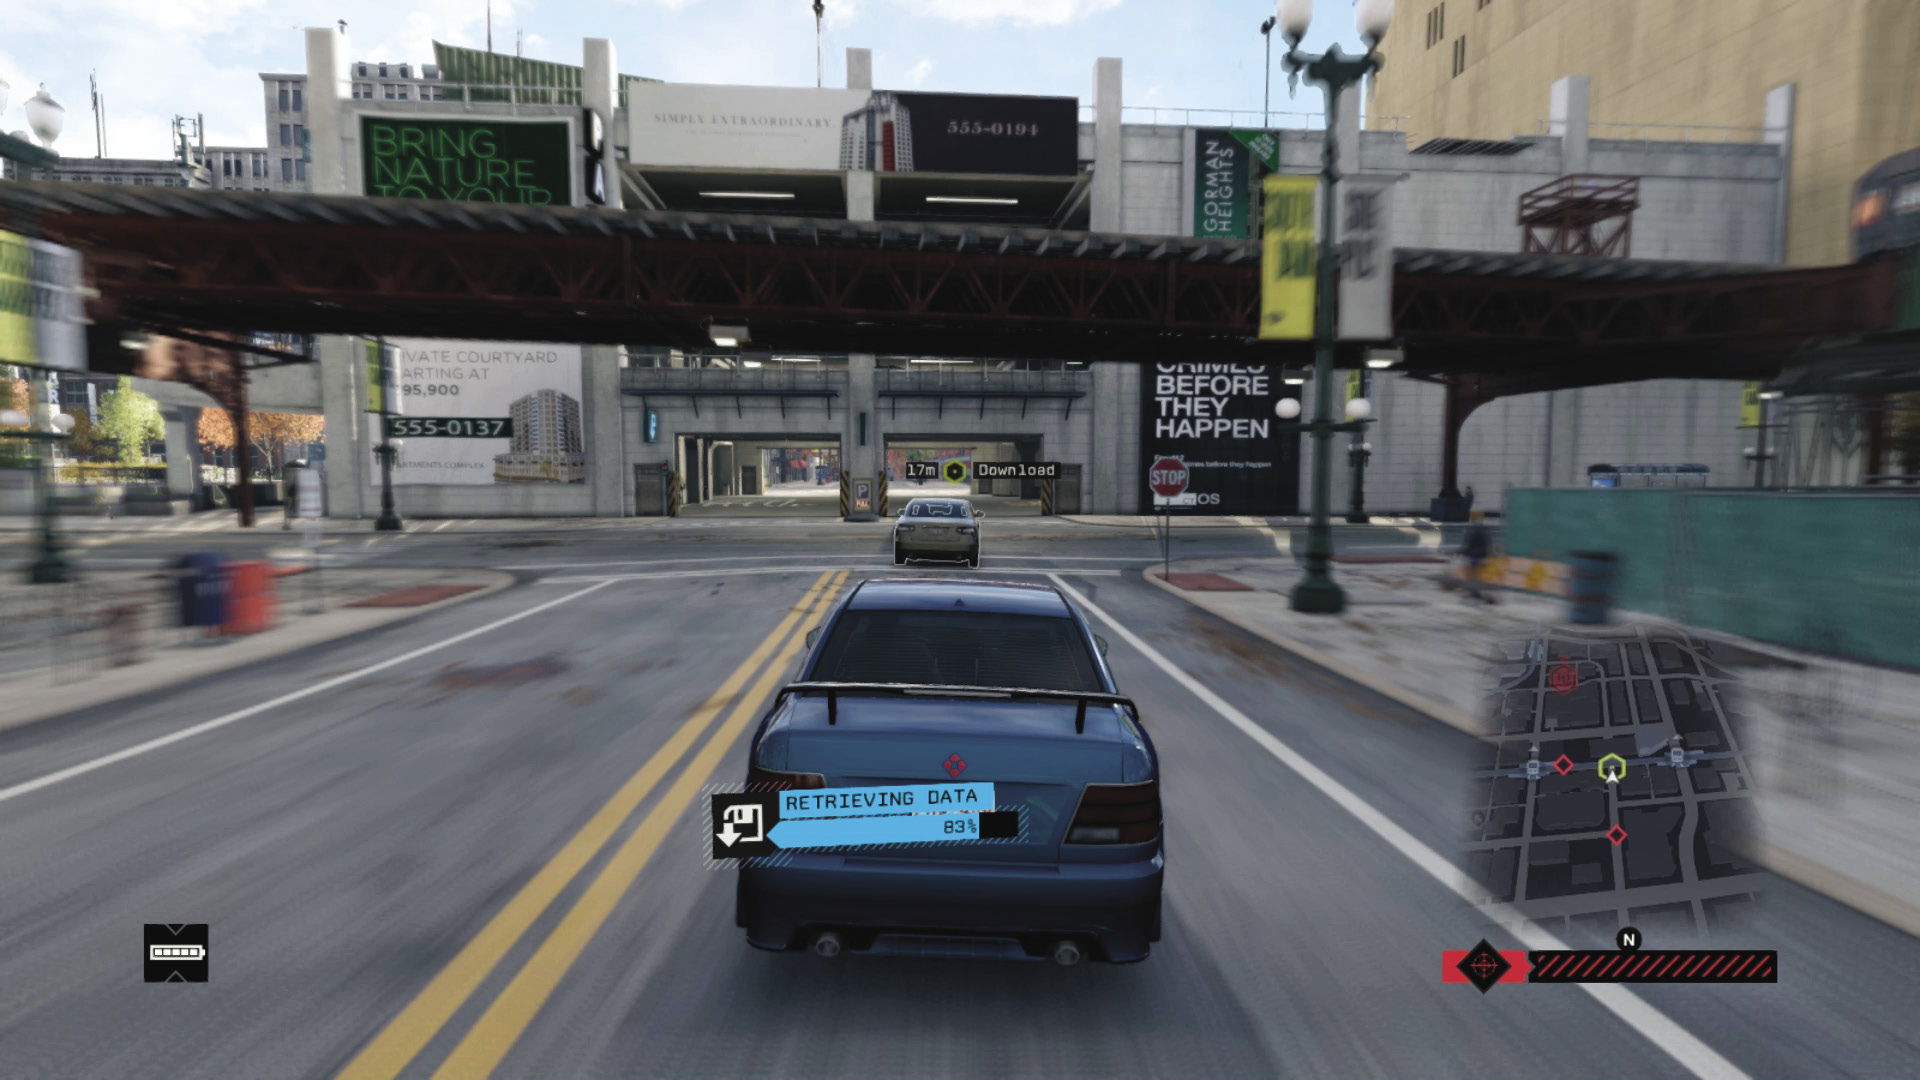
Takedown Opportunity 3: If not, the foe tries to head through the garage a few blocks later. Not if you close the doors he won’t! As he crashes, get out and finish him. If you miss him in the garage, there’s a steam pipe another block away that he usually drives over.
14 _ROGUE DATA
Starting location: Parking lot, southwest loop
NEAREST VEHICLE: Papavero
ENEMY VEHICLE: 550S
Download Requested?: Yes
ADDITIONAL Enemies: The Club (UP TO 4 VEHICLES, Gunmen and veterans, 2–3 per vehicle)
Difficulty:
+01:30 // +$3,000
+03:00 // +$2,000
∞ // +$1,000
BEAT THIS: 01:26:05 (Anthony Renomeron)
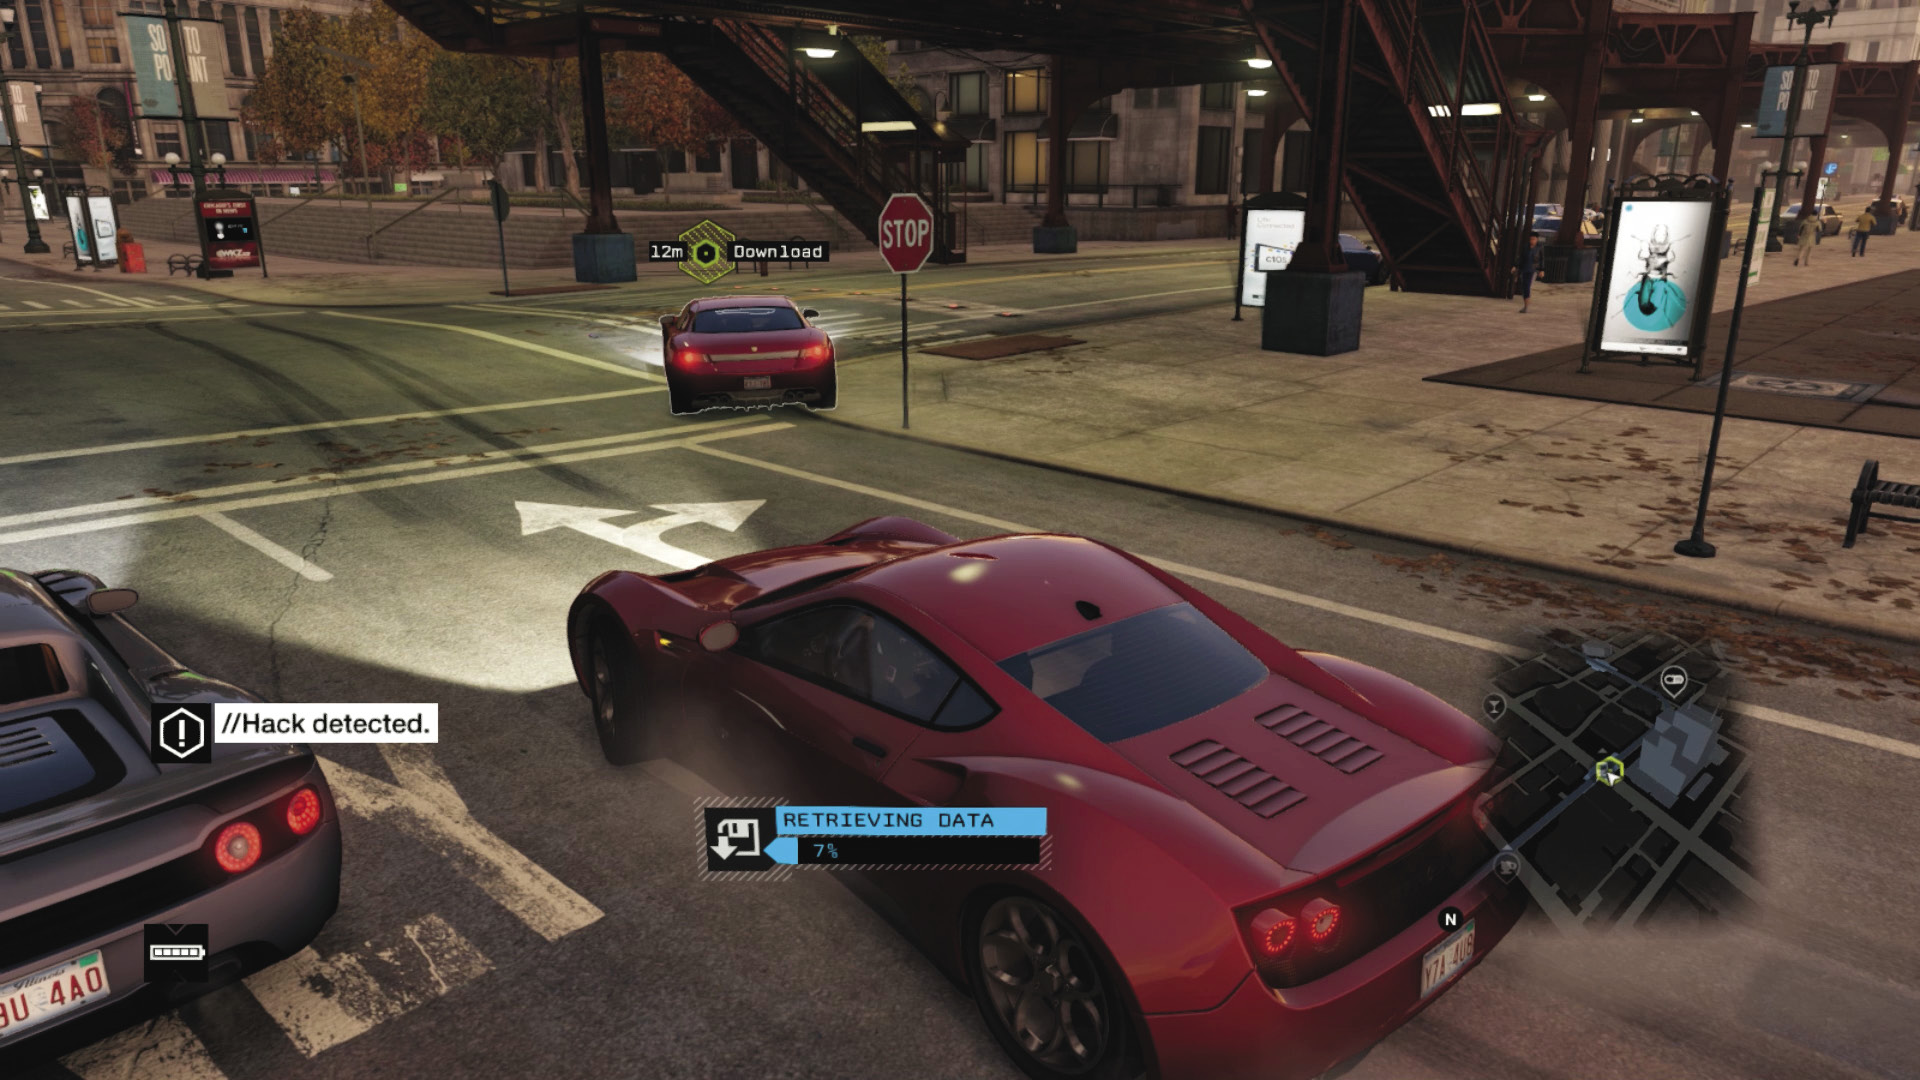
Takedown Opportunity 1: After the first right turn, there’s a set of blockers you can use to stop the foe. As he’s driving a fast car, make sure you keep up with him by predicting corners and keeping him in your sights.
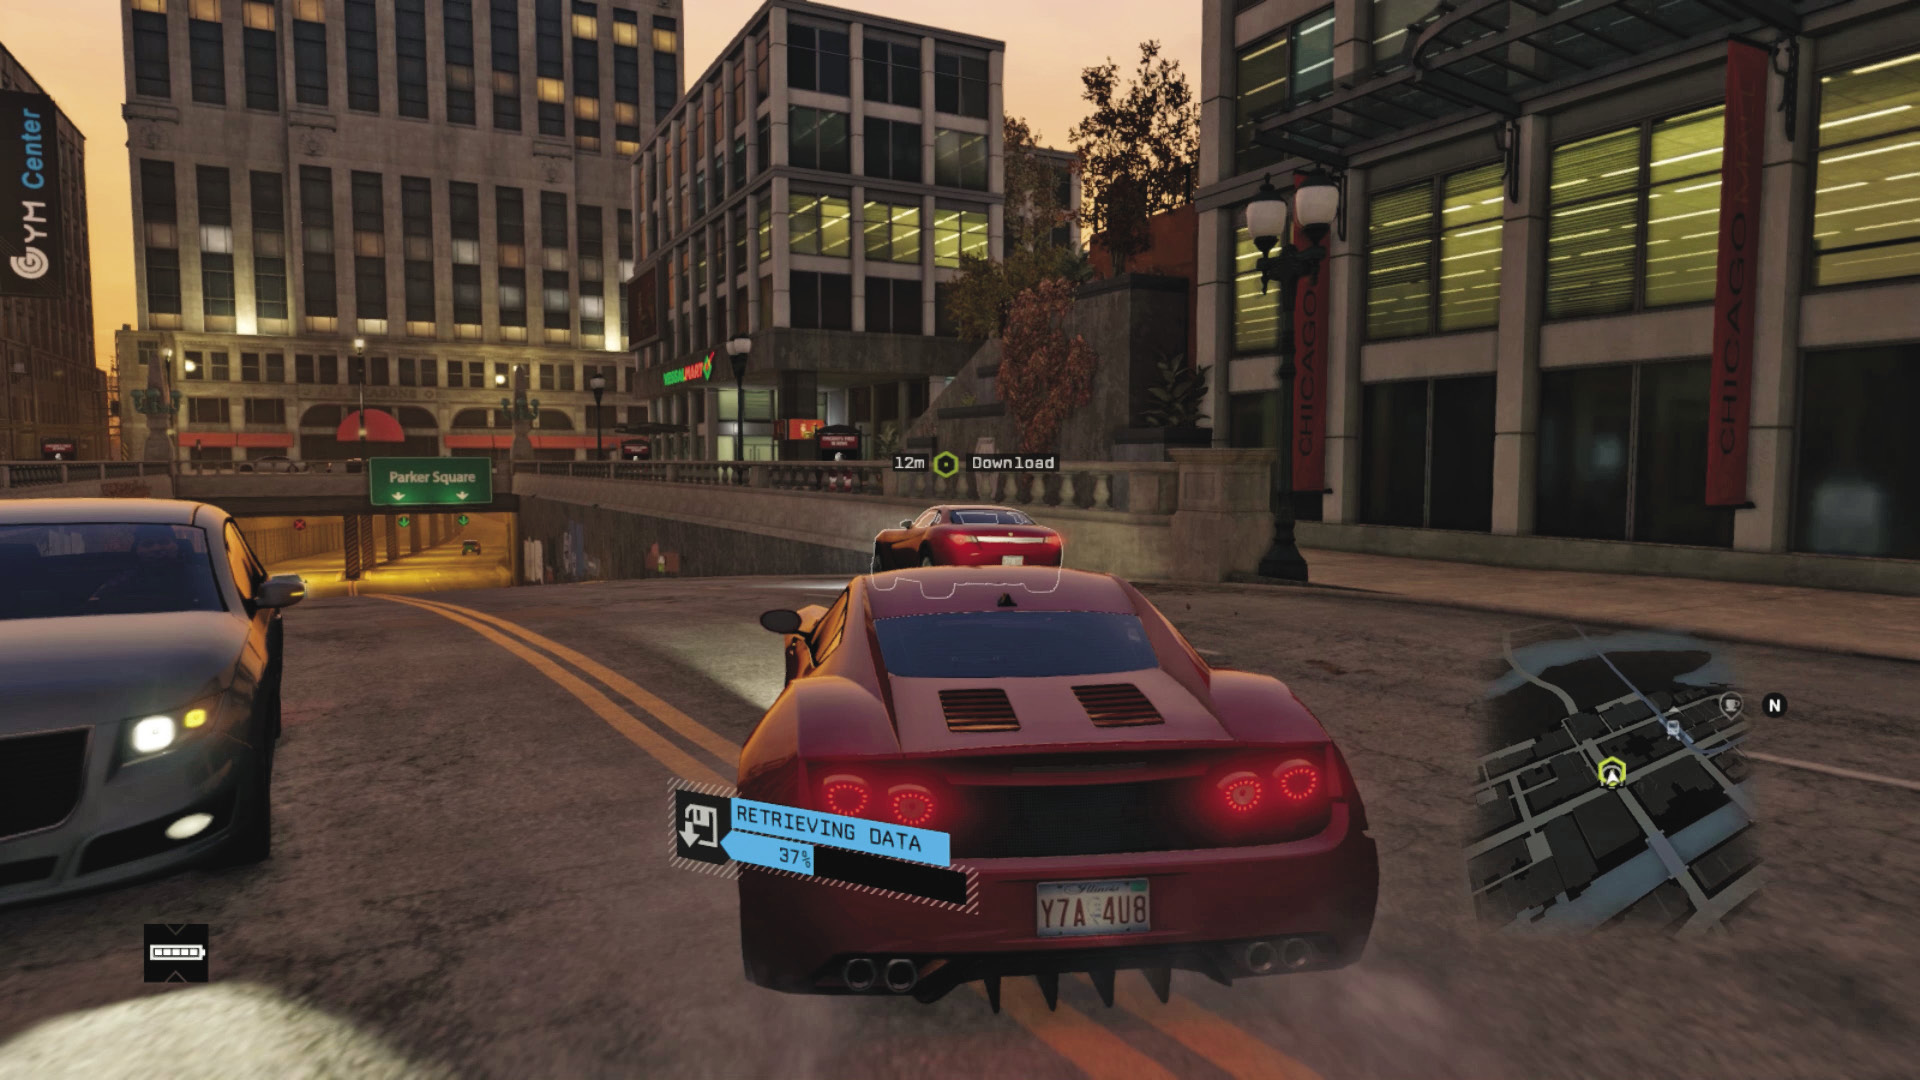
Takedown Opportunity 2: He heads across a bridge and a few sets of lights, before making a sharp left turn and entering the traffic tunnels. This is probably the last time to tag him before he escapes to Parker Square, so shunt him into a road pillar.
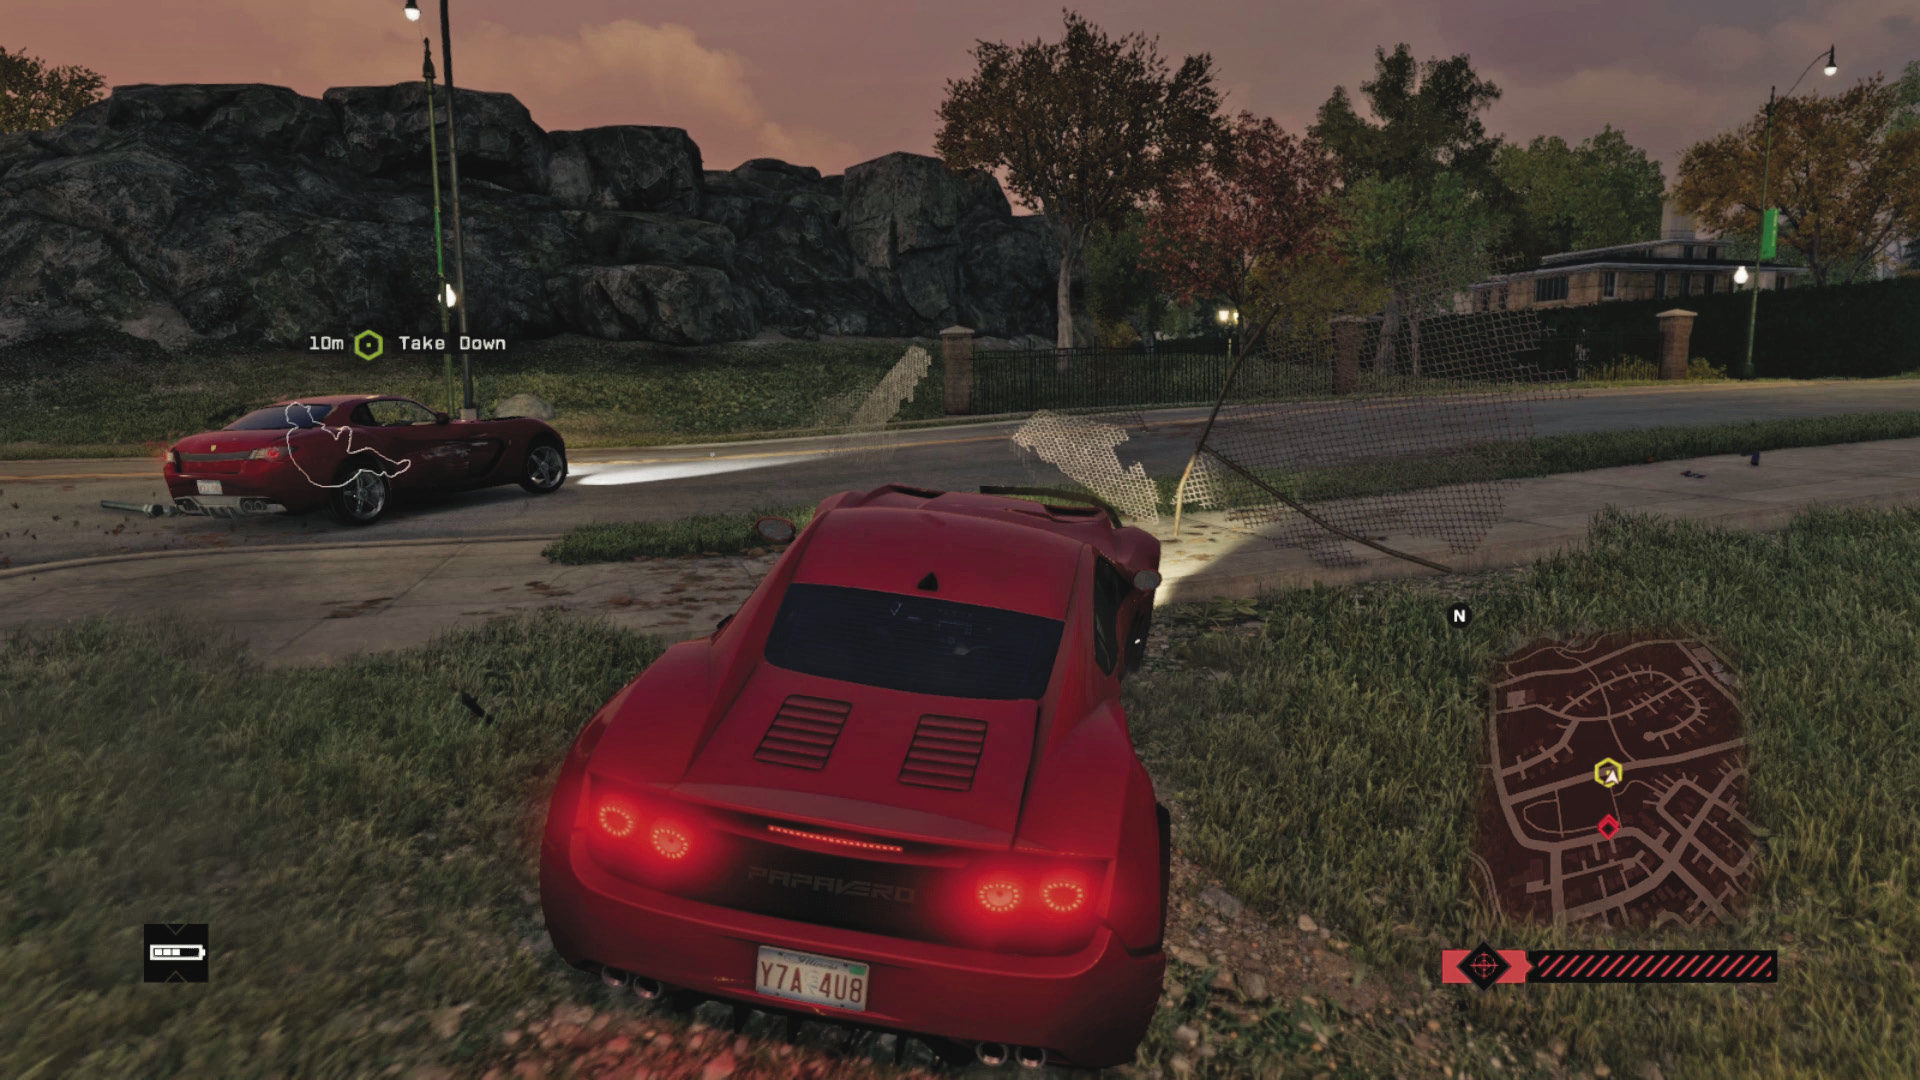
Takedown Opportunity 3: He moves through Parker Square at speed, then turns into the park, heading along the pedestrian paths. Shunt him here before cutting in by the Botanical Gardens and heading to Pawnee! If you haven’t stopped him by now, forget the big cash prize.