
Watch Dogs Guide MAIN MISSIONS MAIN MISSIONS /// Act V
_SOMETIMES YOU STILL LOSE
MAJOR SPOILER 
LocationS / CHICAGO // OBJECTIVE LOCATIONS
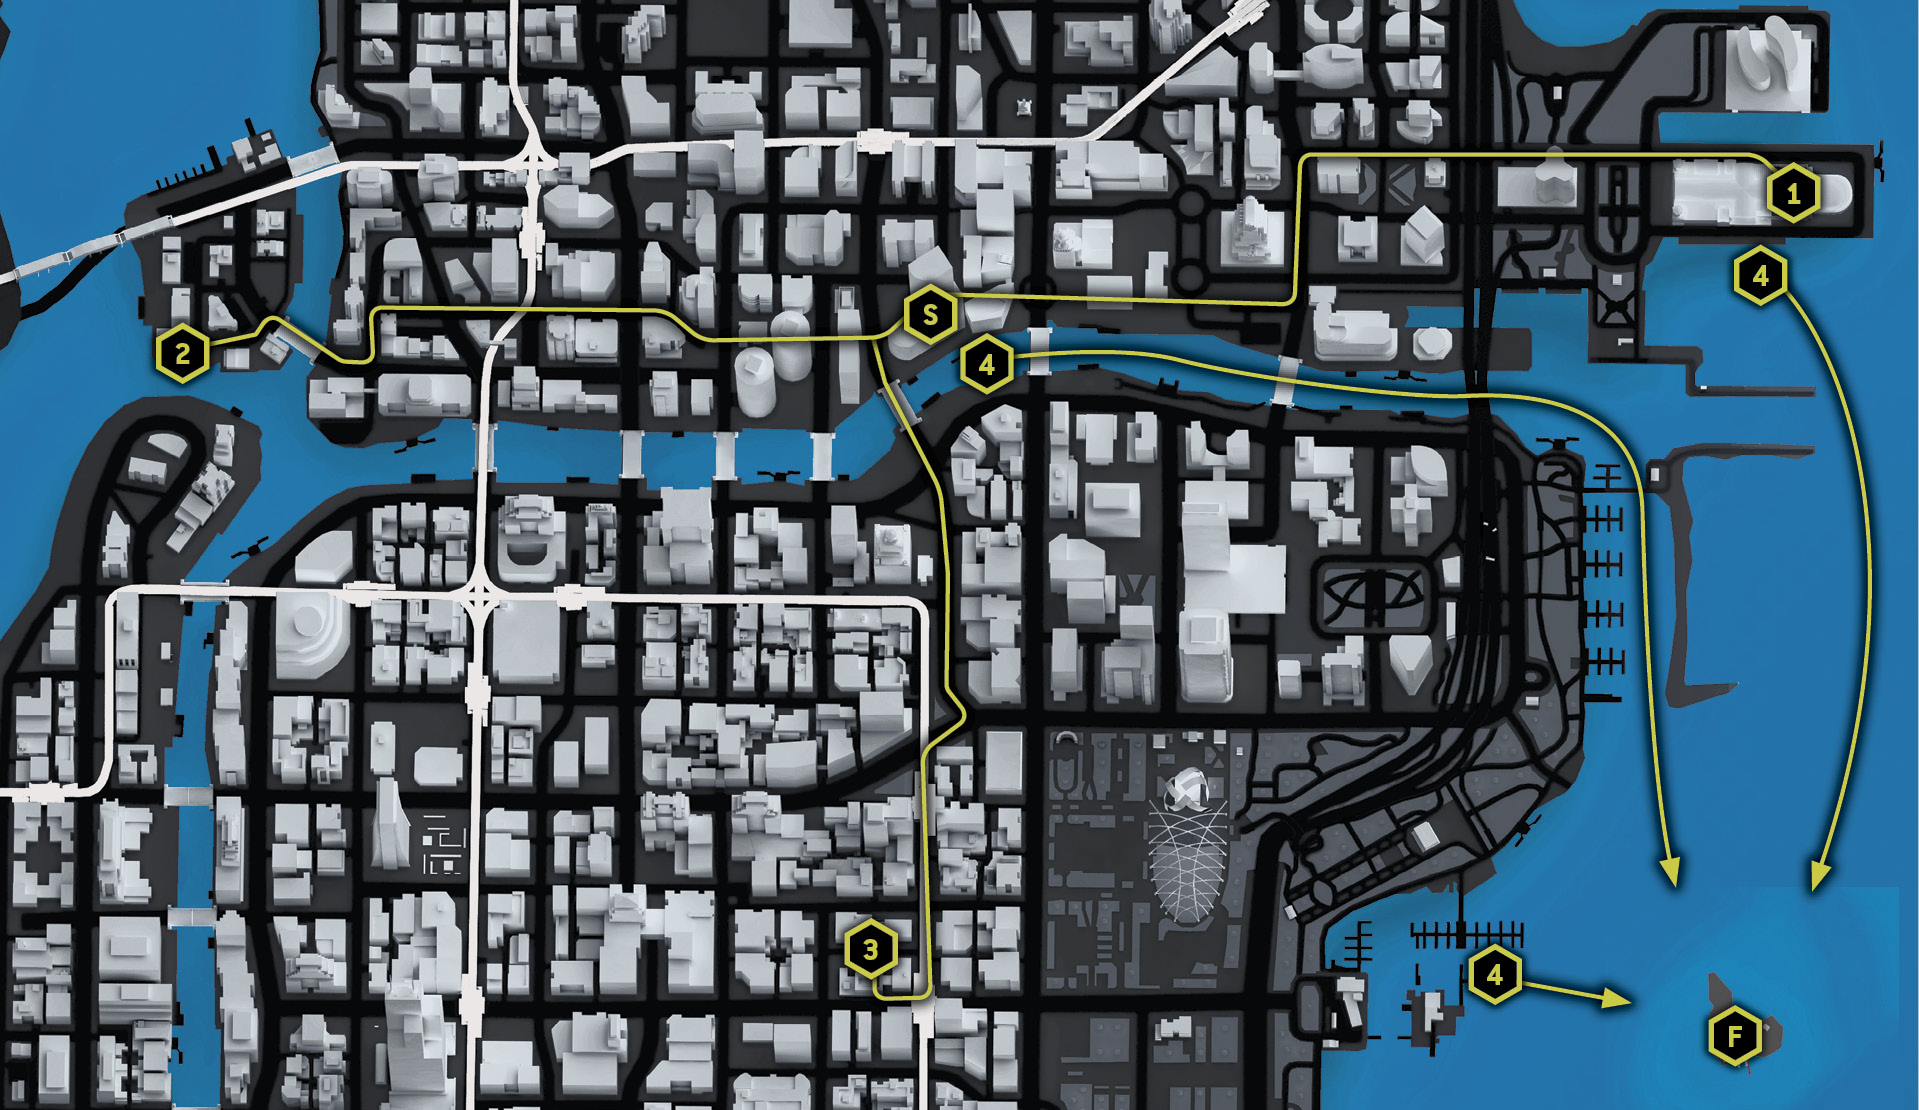

Location / Mad Mile // Bower Tower
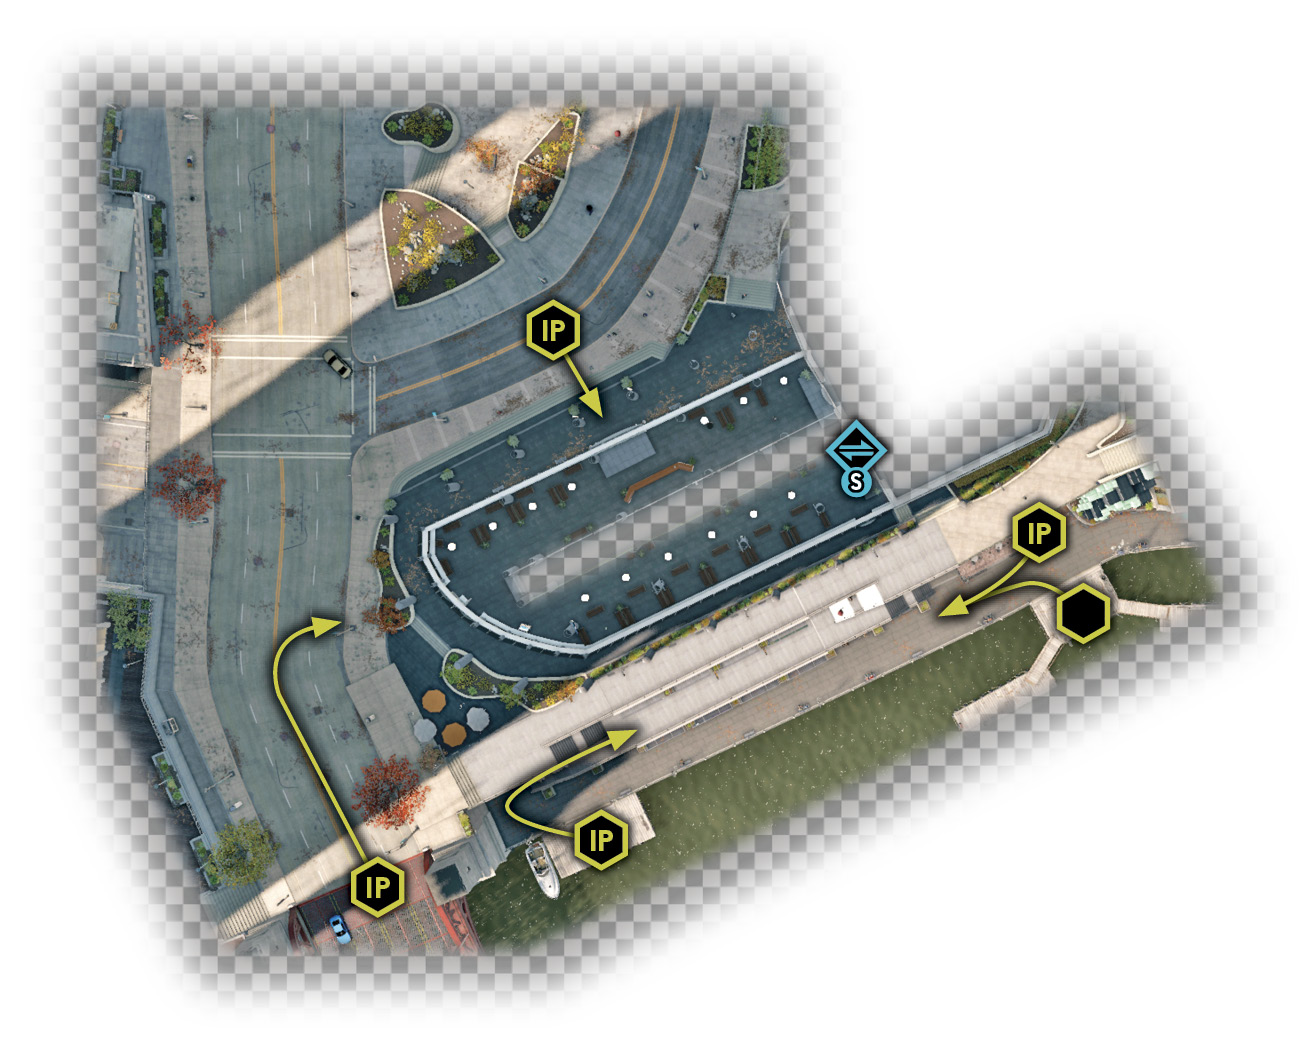

Location / Mad Mile // Navy Pier Building (ctOS Control Center)
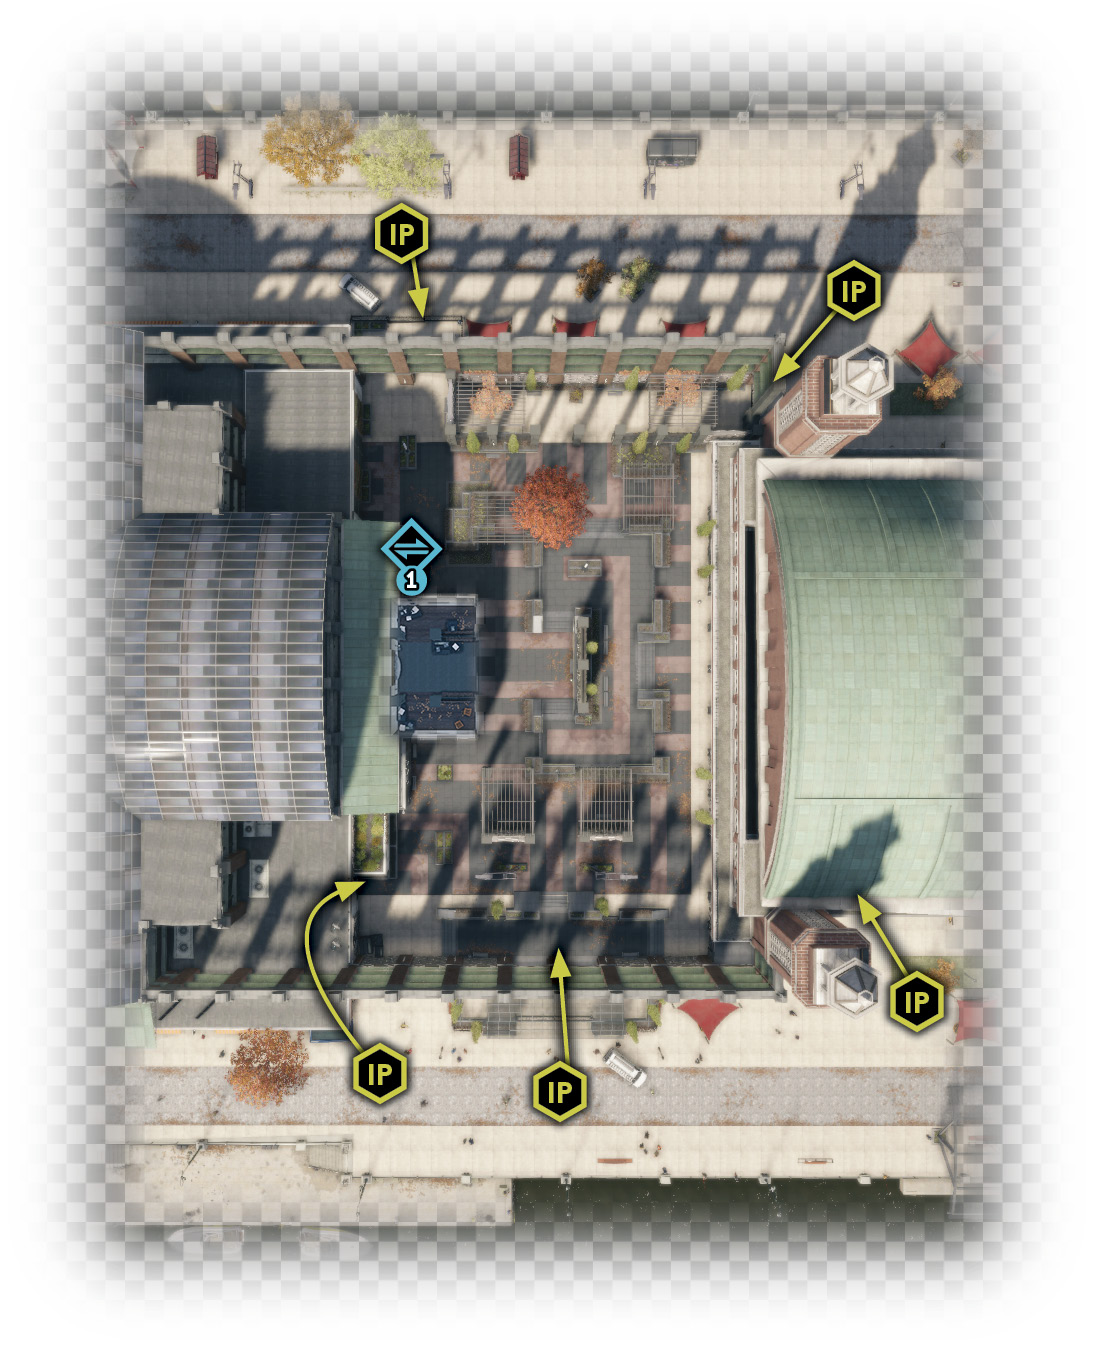

Location / Mad Mile // Parking Lot and Storage (West)
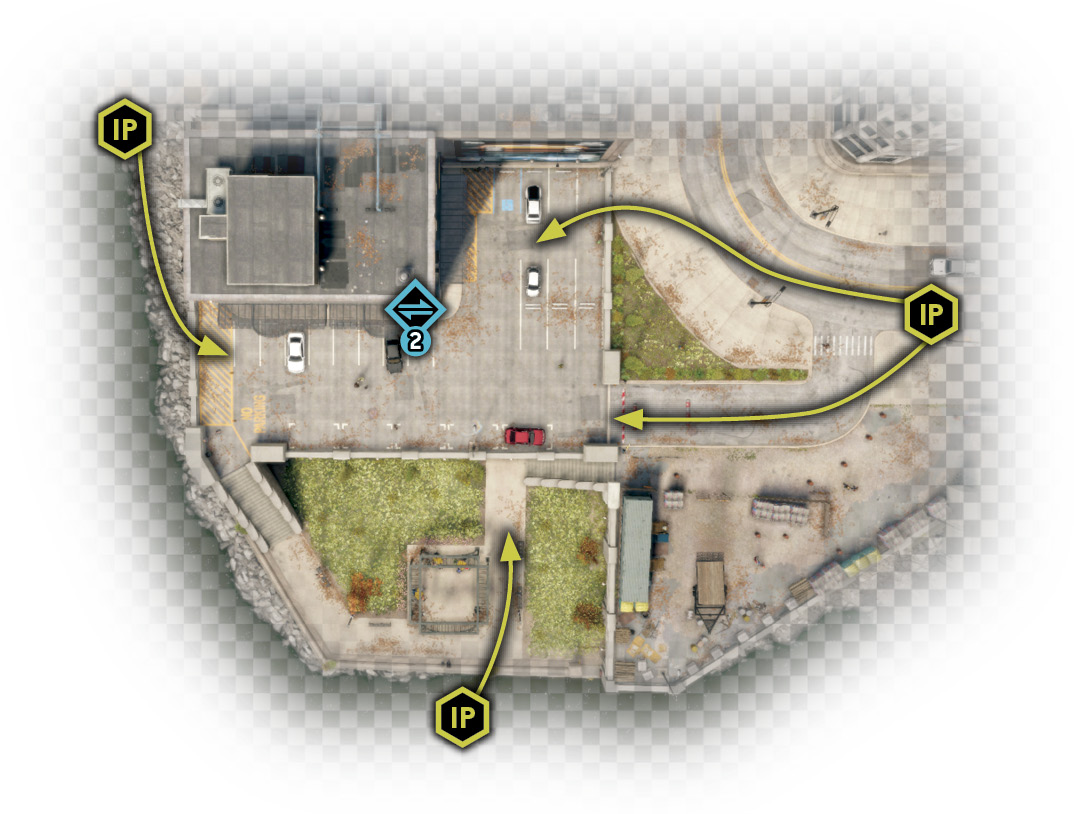

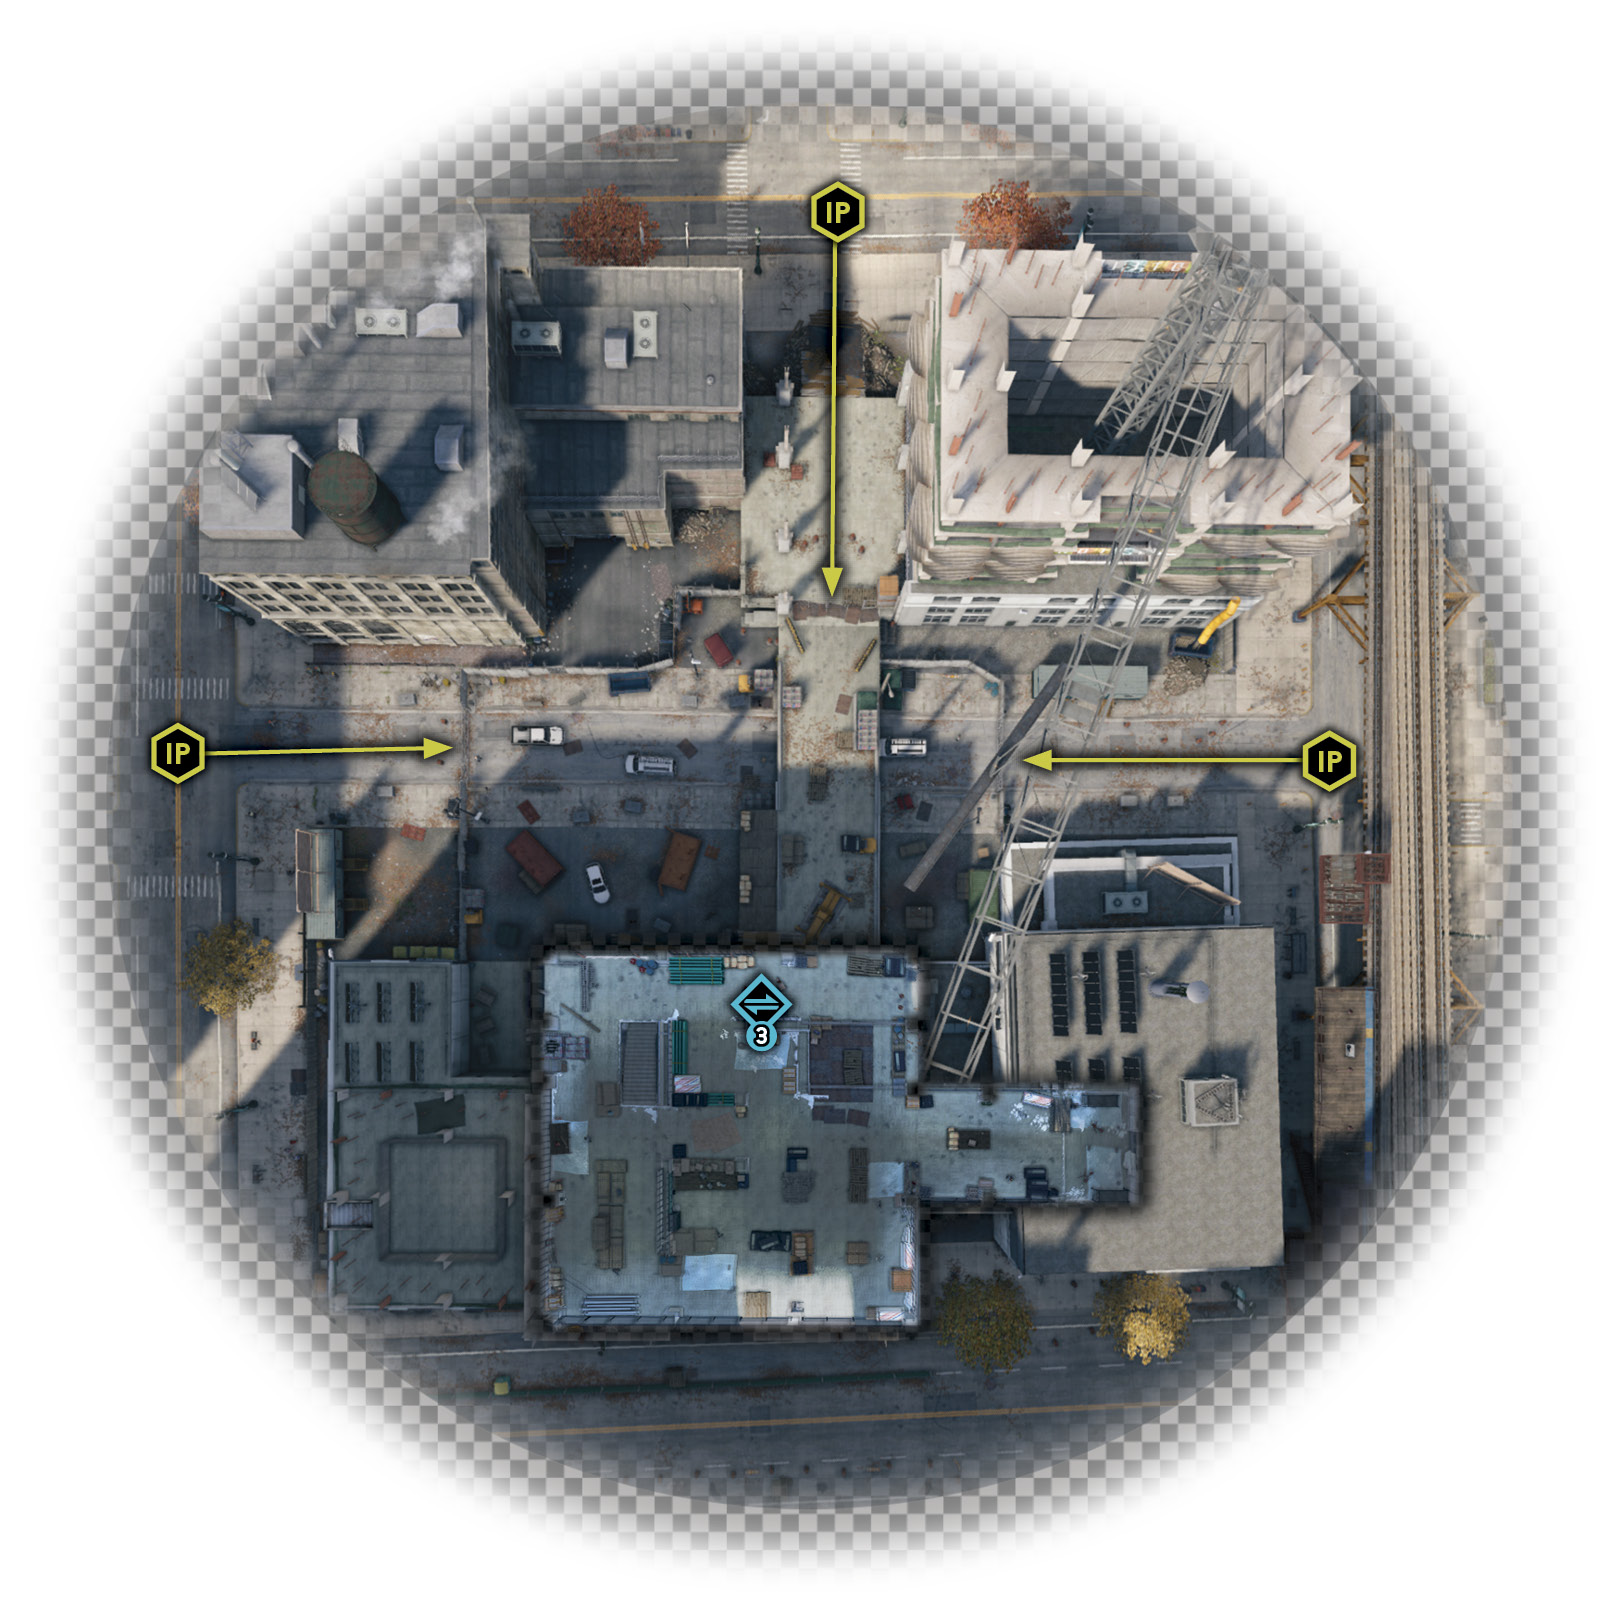
Location / The Loop // ctOS Control Center
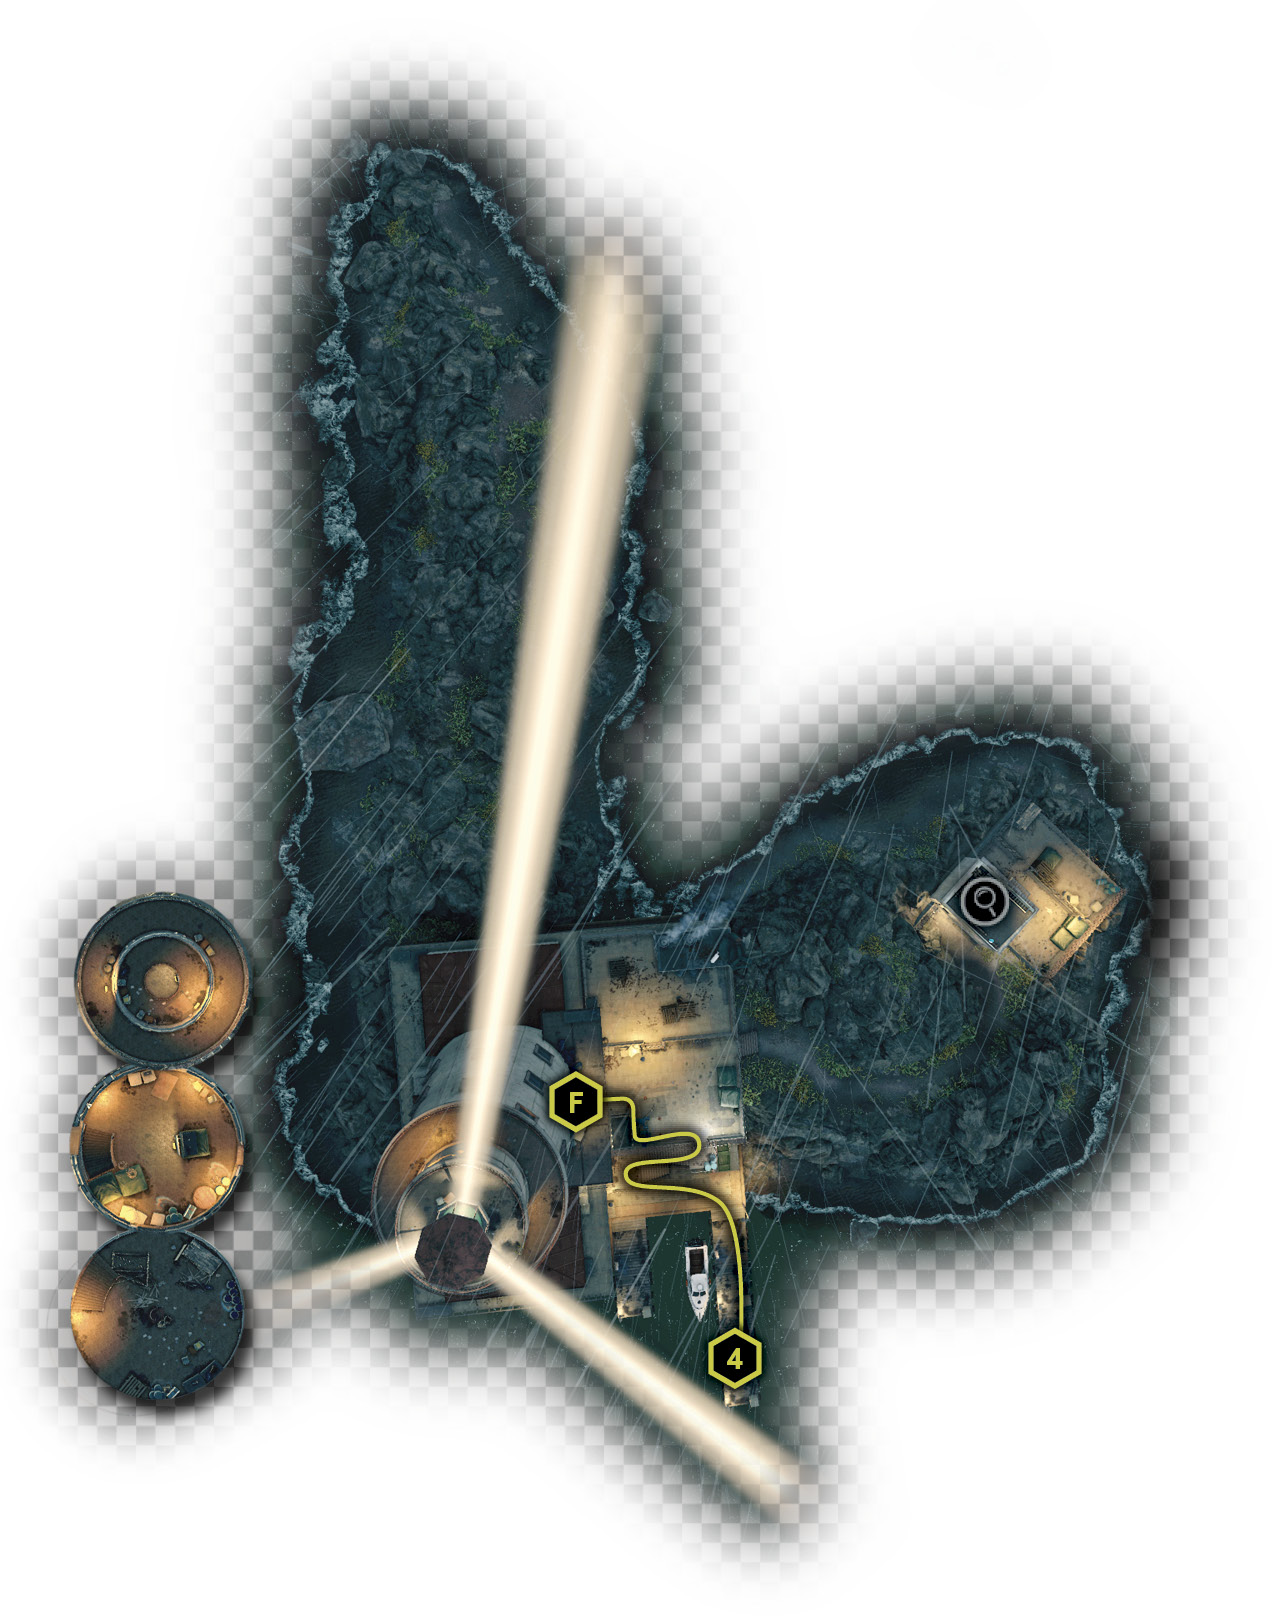
Location / The Loop // Windy City Lighthouse

|
|
 Reach the Bunker
 Locate Damien
1.1 WHEN THE LIGHTS GO OUT...
 Location / The Loop // The Bunker
 Investigation
 Driving Investigation
Difficulty: 
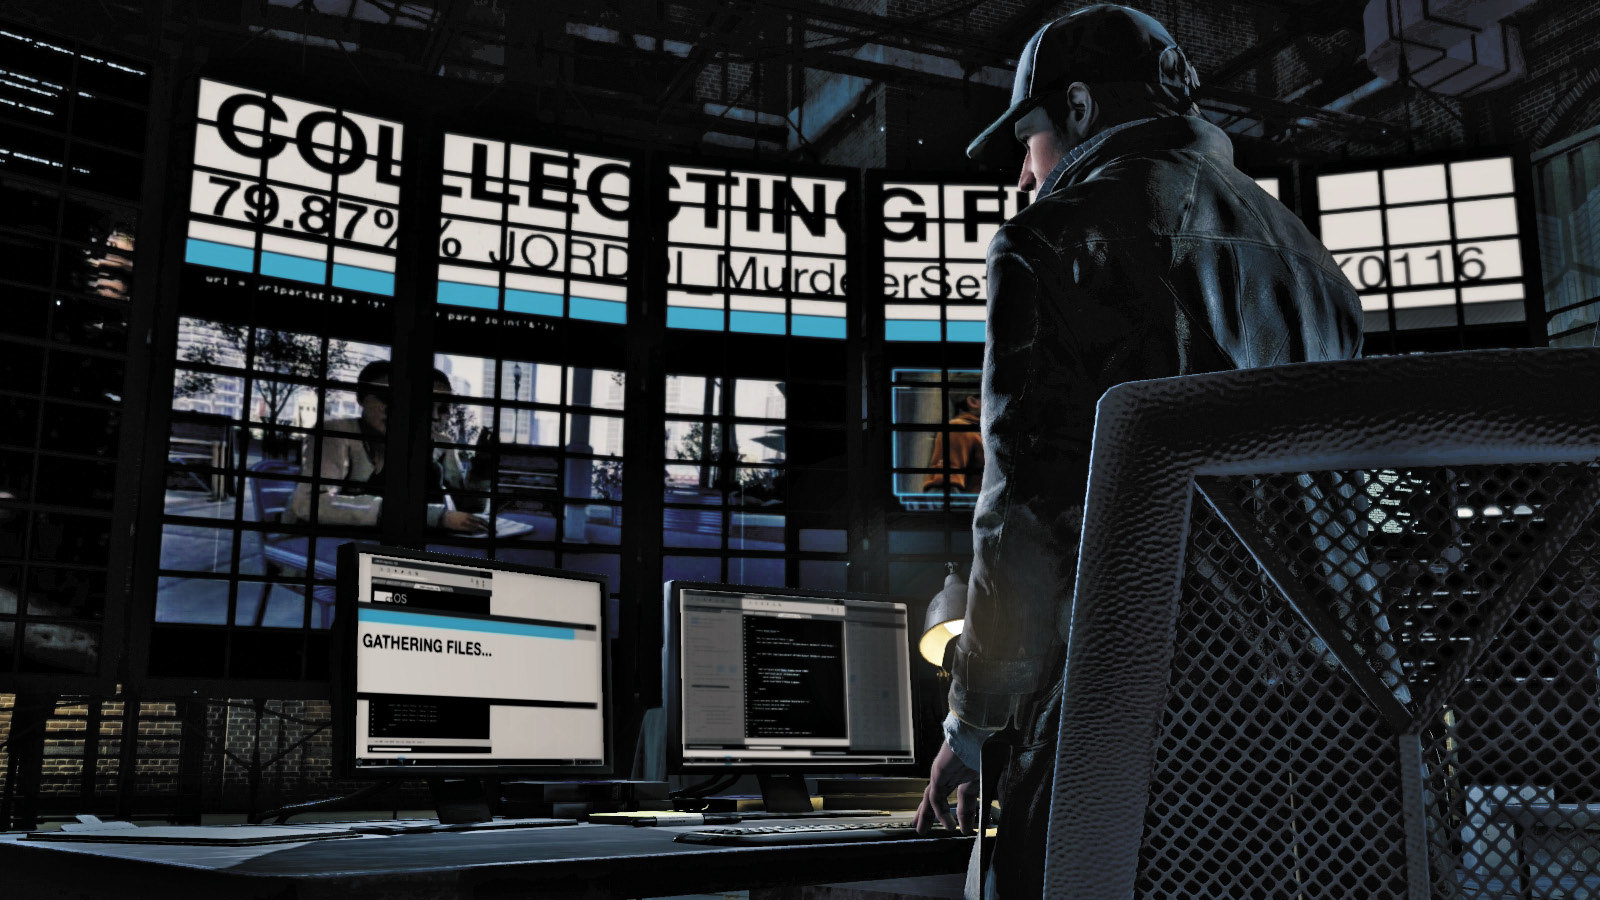
It’s with a deep sense of melancholy that you head back (or Fast-Travel) to the Bunker in the central part of Chicago. Activate the container, step inside, and reach the old ctOS base of operations. After you reach the computer terminal in the middle of the chamber, T-Bone walks over to gather some of your stock. You talk about Clara, dangerous code, and “Bell-something.” T-Bone advises you to burn the code and says good-bye. Your last act at the Bunker is to upload the masses of incriminating files and stroll out of there for good.
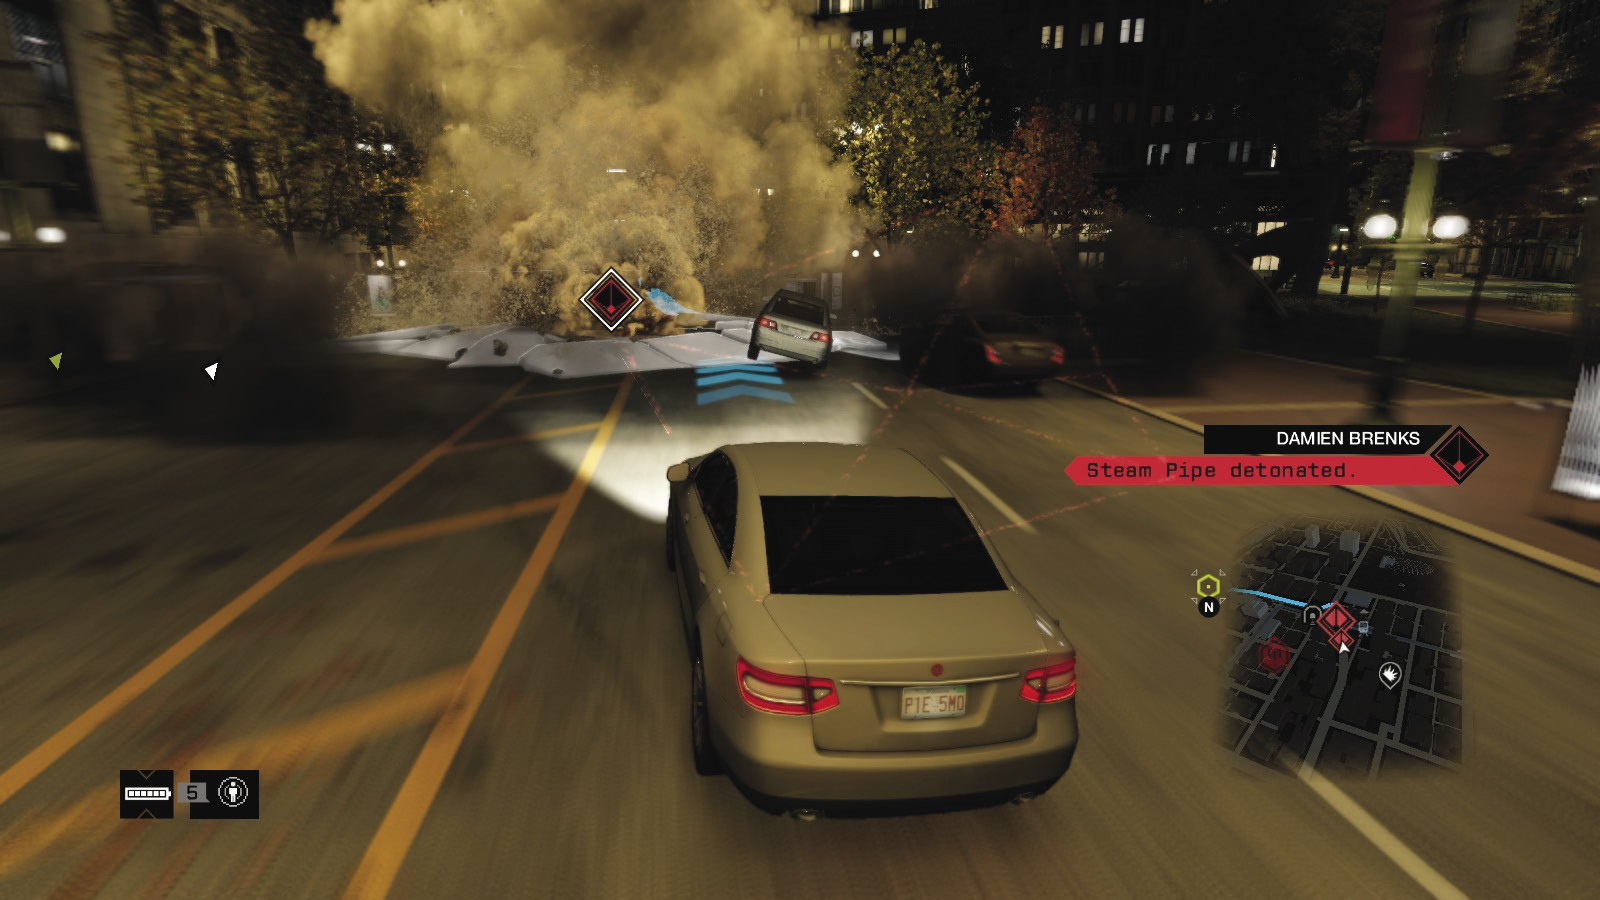
After your revelations hit the Internet, a media firestorm erupts. Sure enough, Damien phones you up, furious that you’ve given away everything he’s worked for! While you’re talking, access a vehicle and exit the Bunker area via the swing bridge, heading north into the Loop. Damien finishes his threats with an astonishing claim: He’s in the system; ctOS is under his complete control!
|
|
 Gain entry into the central ctOS building
1.2 ... BAD THINGS TEND TO HAPPEN
 Location / Mad Mile // Bower Tower
 Investigation
 Driving Investigation
Difficulty: 
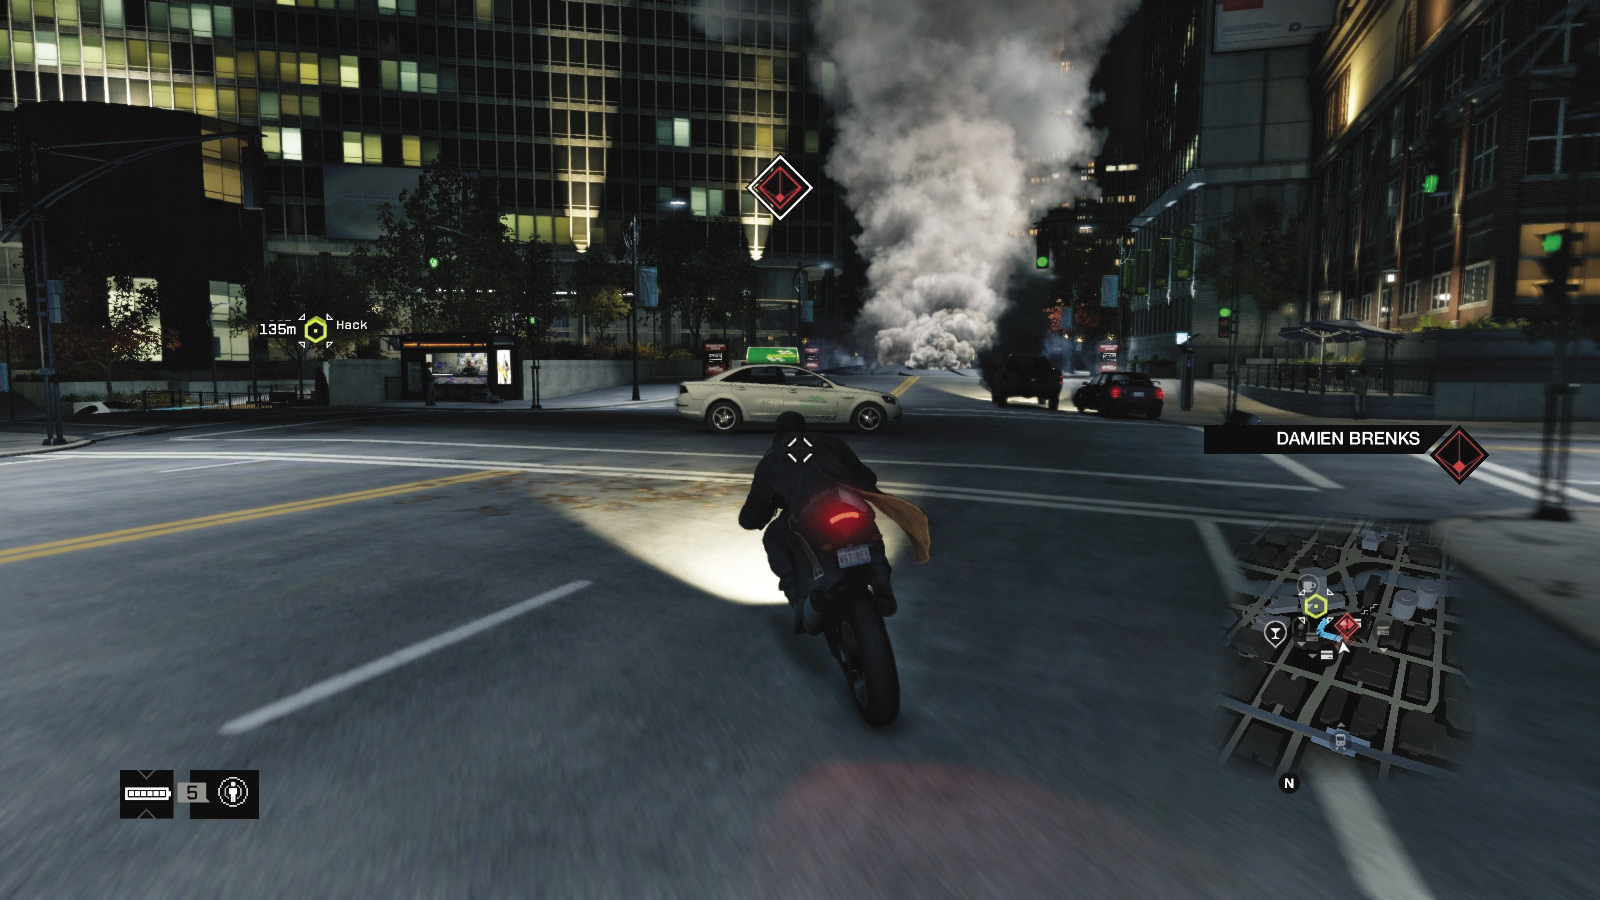
Though your objective waypoint hasn’t been pinpointed yet, set a GPS marker and follow the route north through the Loop, toward the Bower Tower; this is located above the coffee shop and adjacent to the Crowley Building, where you helped T-Bone escape from during Act IV // The Rat’s Lair. This allows you to reach there immediately, without waiting for instructions.
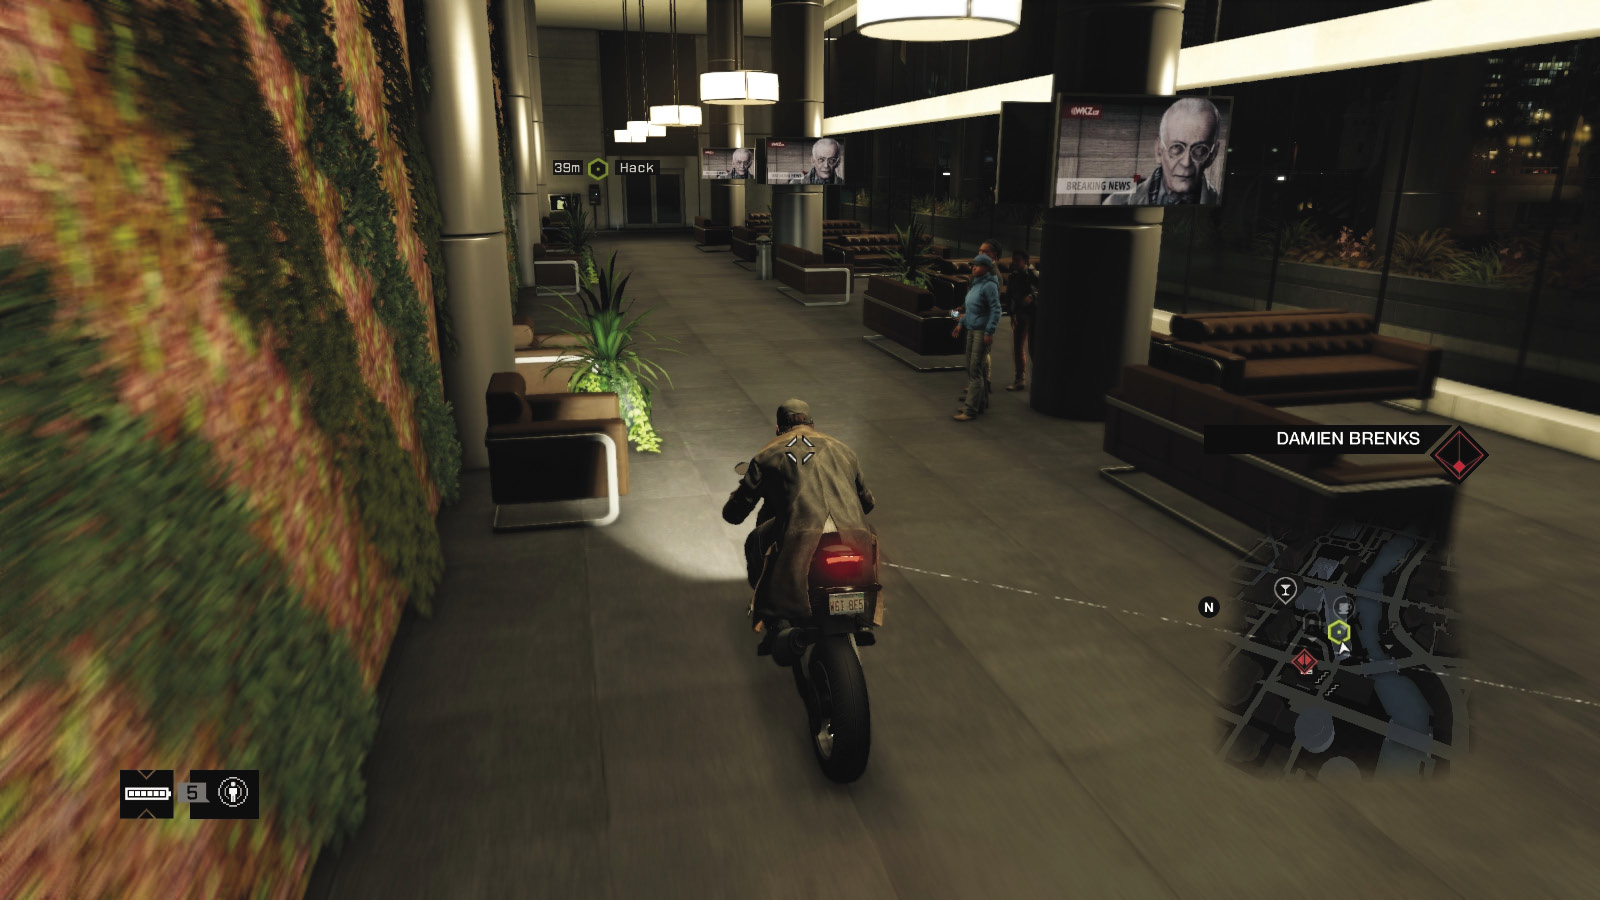
Watch out: Damien is showing his prowess over the ctOS system. Expect every steam pipe and other hackable objects to come alive at Damien’s touch. Watch out for the red diamond icon that signifies Damien’s control, and avoid interaction wherever possible. If you’re taking the main roads to the tower, you’ll be dealing with traffic lights, bridges, and steam pipes.
Overview
 Completion Point: Interior of Bower Tower, on the river’s north side, in Mad Mile.
 Dangers: Damien’s ctOS system control, but no actual enemies.
Insertion and Extrication Points
The following locations allow access into the Bower Tower. Figure out your favored route now, as you return here later into the mission under more pressing circumstances.
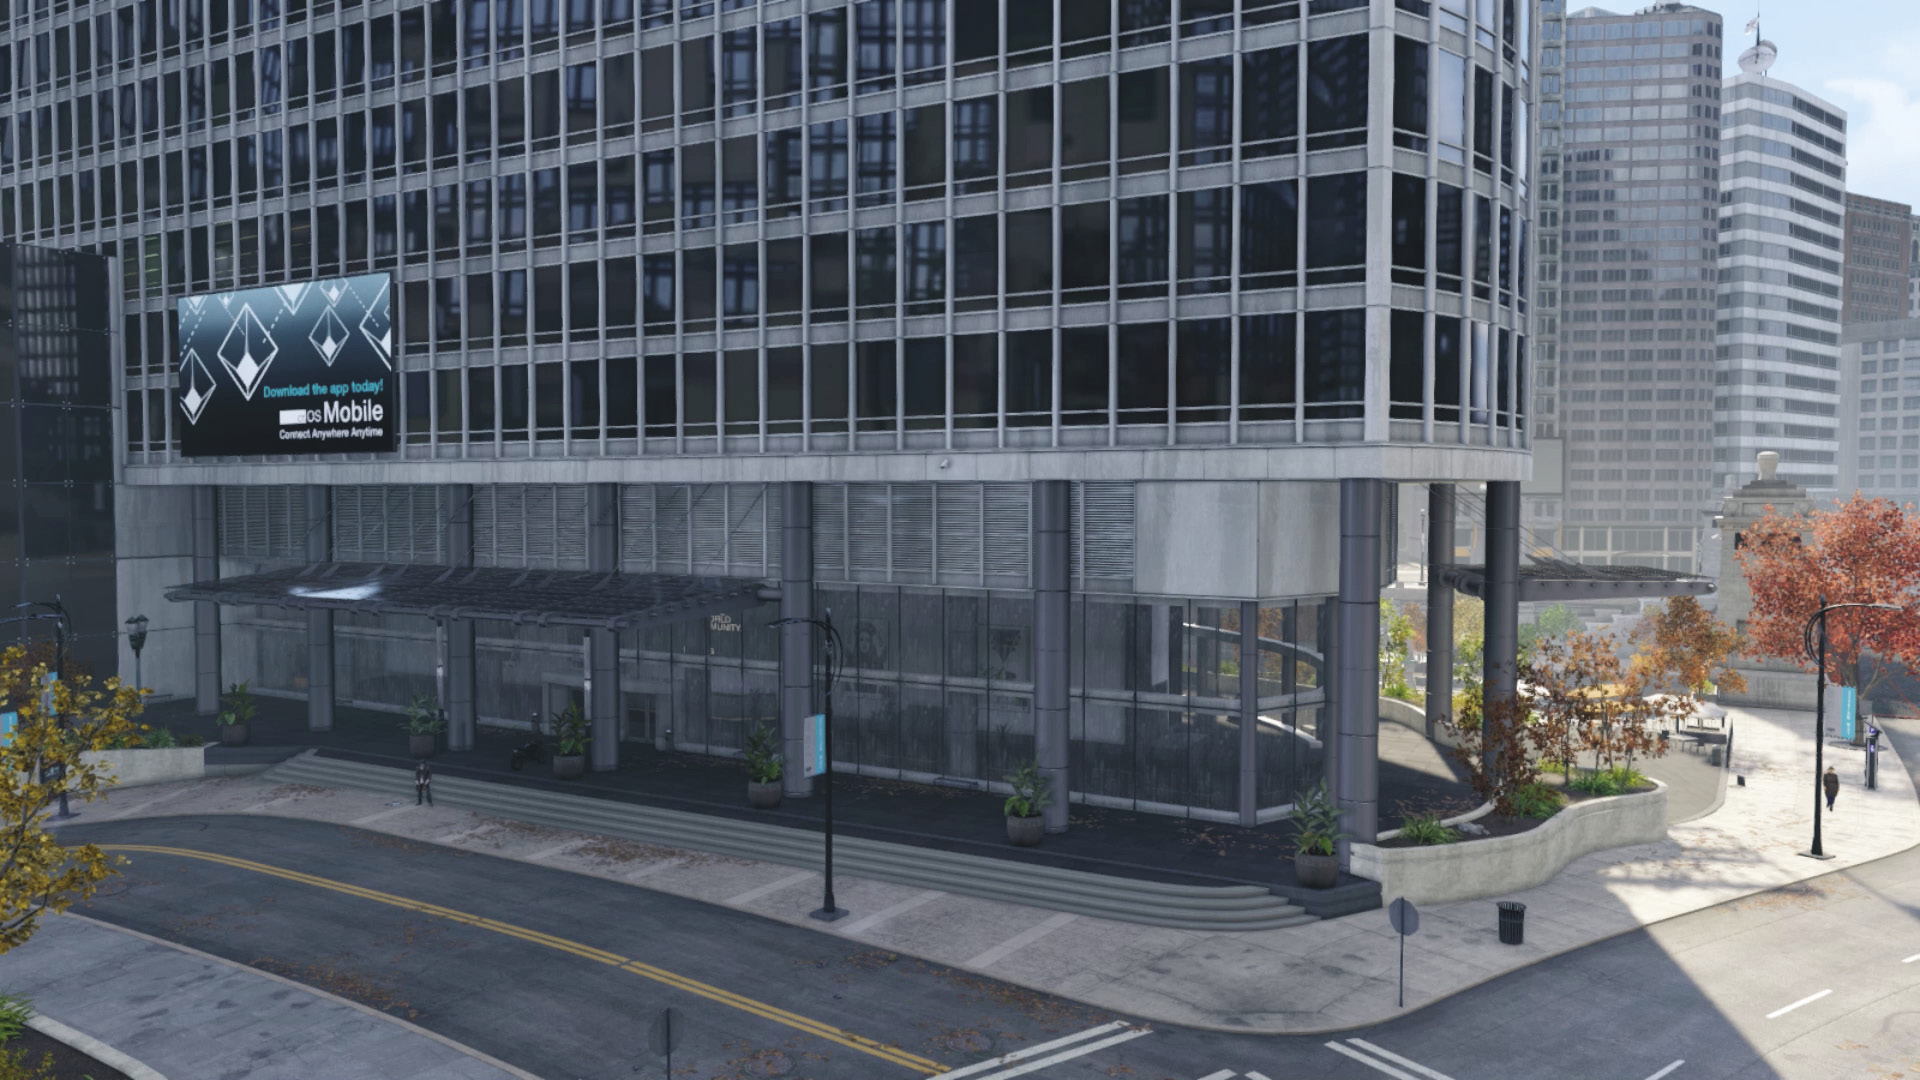
Main Surface Entrance (Northwest)
Accessibility Level: 
Exiting: Head through the windows (shoot them out or ram through with a bike or a small car) to easily reach the main arteries of the city. However, police presence and Damien’s hacking attempts are a little more intrusive than some of the other access points.
Entering: Similarly, use the steps close to the hotspot check-in and entrance, ideally bringing a bike up and through the foyer to reach the hacking spot. Don’t dawdle in this part of the foyer; follow the U-shape around to the hacking router on the wall’s other side.
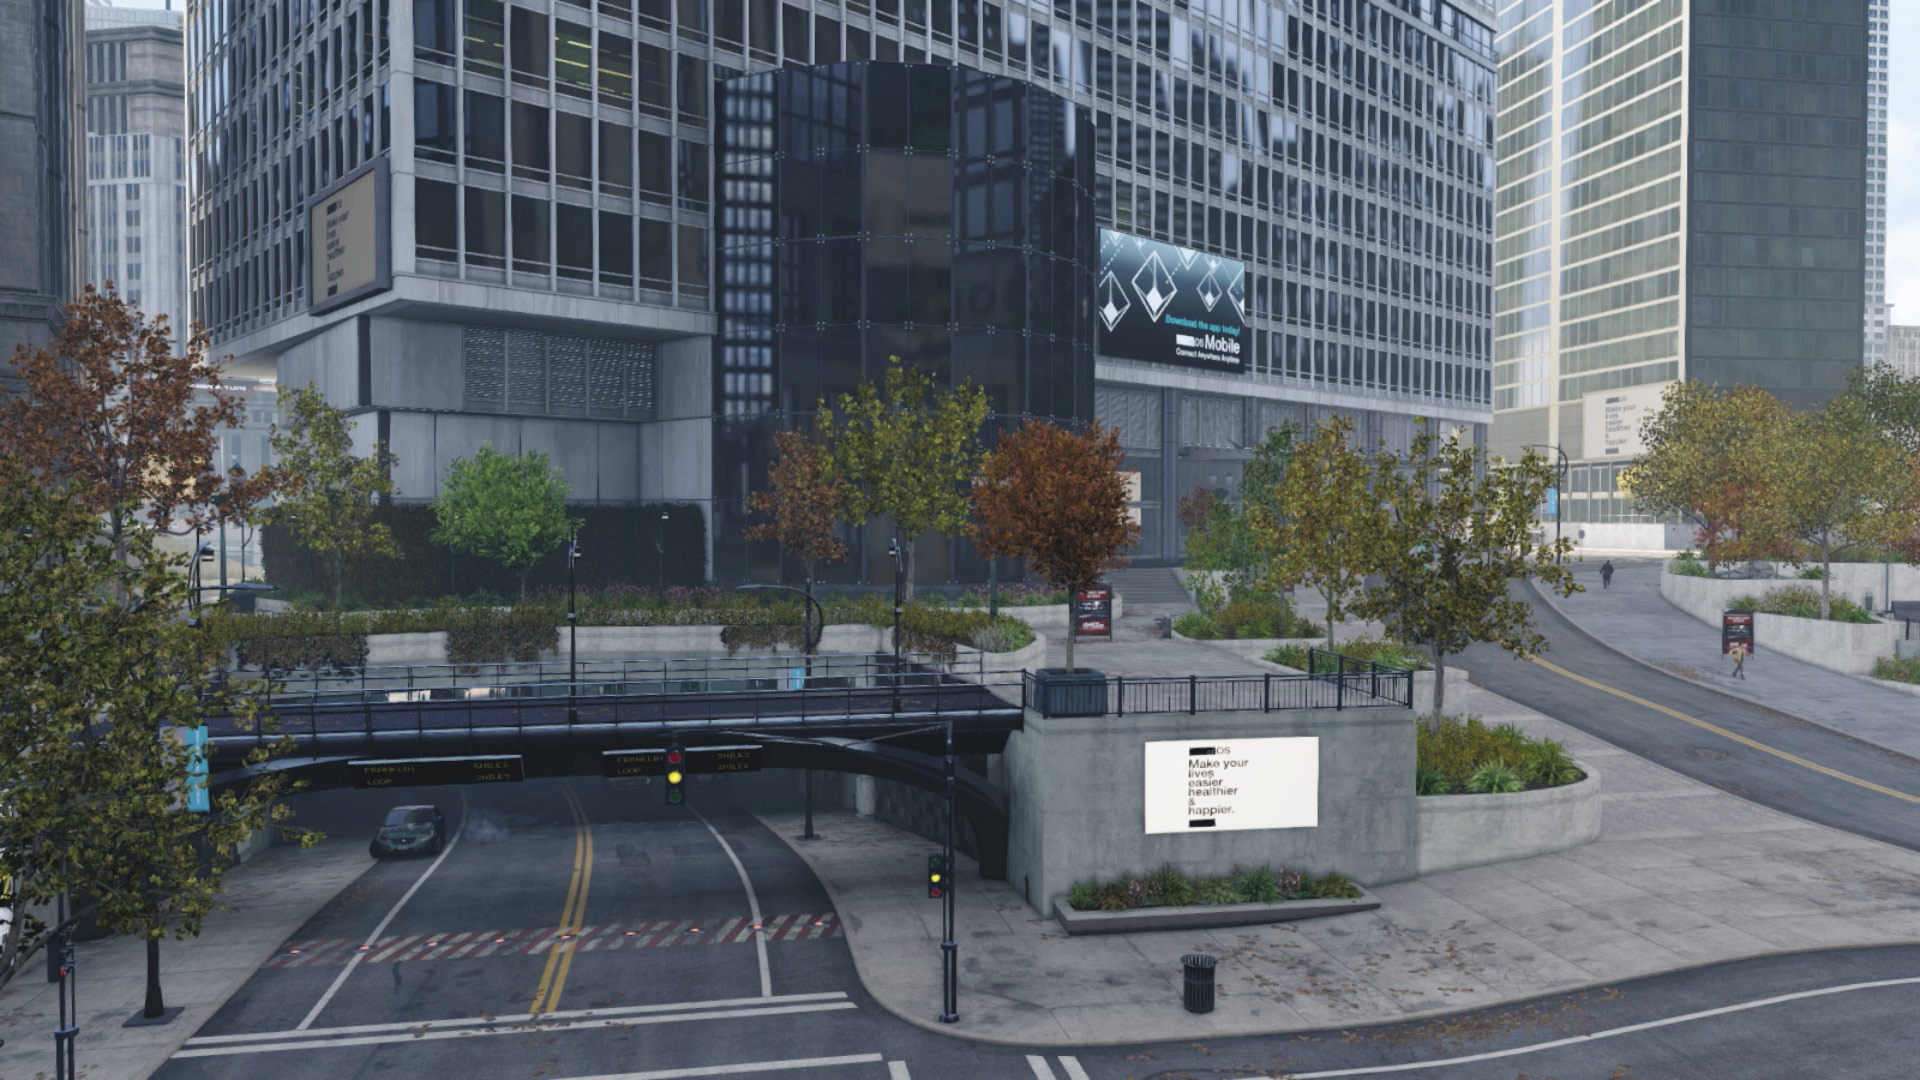
Traffic Tunnel (West)
Accessibility Level: 
Exiting: This can be helpful if you’re biking and use the pedestrian stairs down here; then you can weave through the traffic tunnels to reach your first upload destination. But study the map so you know how to reach this area: through the main doors, across the road to the metal pedestrian stairs, and down. Obviously, cars can’t access this area.
Entering: A great spot if you drive into the traffic tunnels to lose the cops during your uploading objectives. Exit here, go up the pedestrian steps (using a bike or exit the vehicle and run), cross the road, and open any of the entrance doors or drive through the windows.
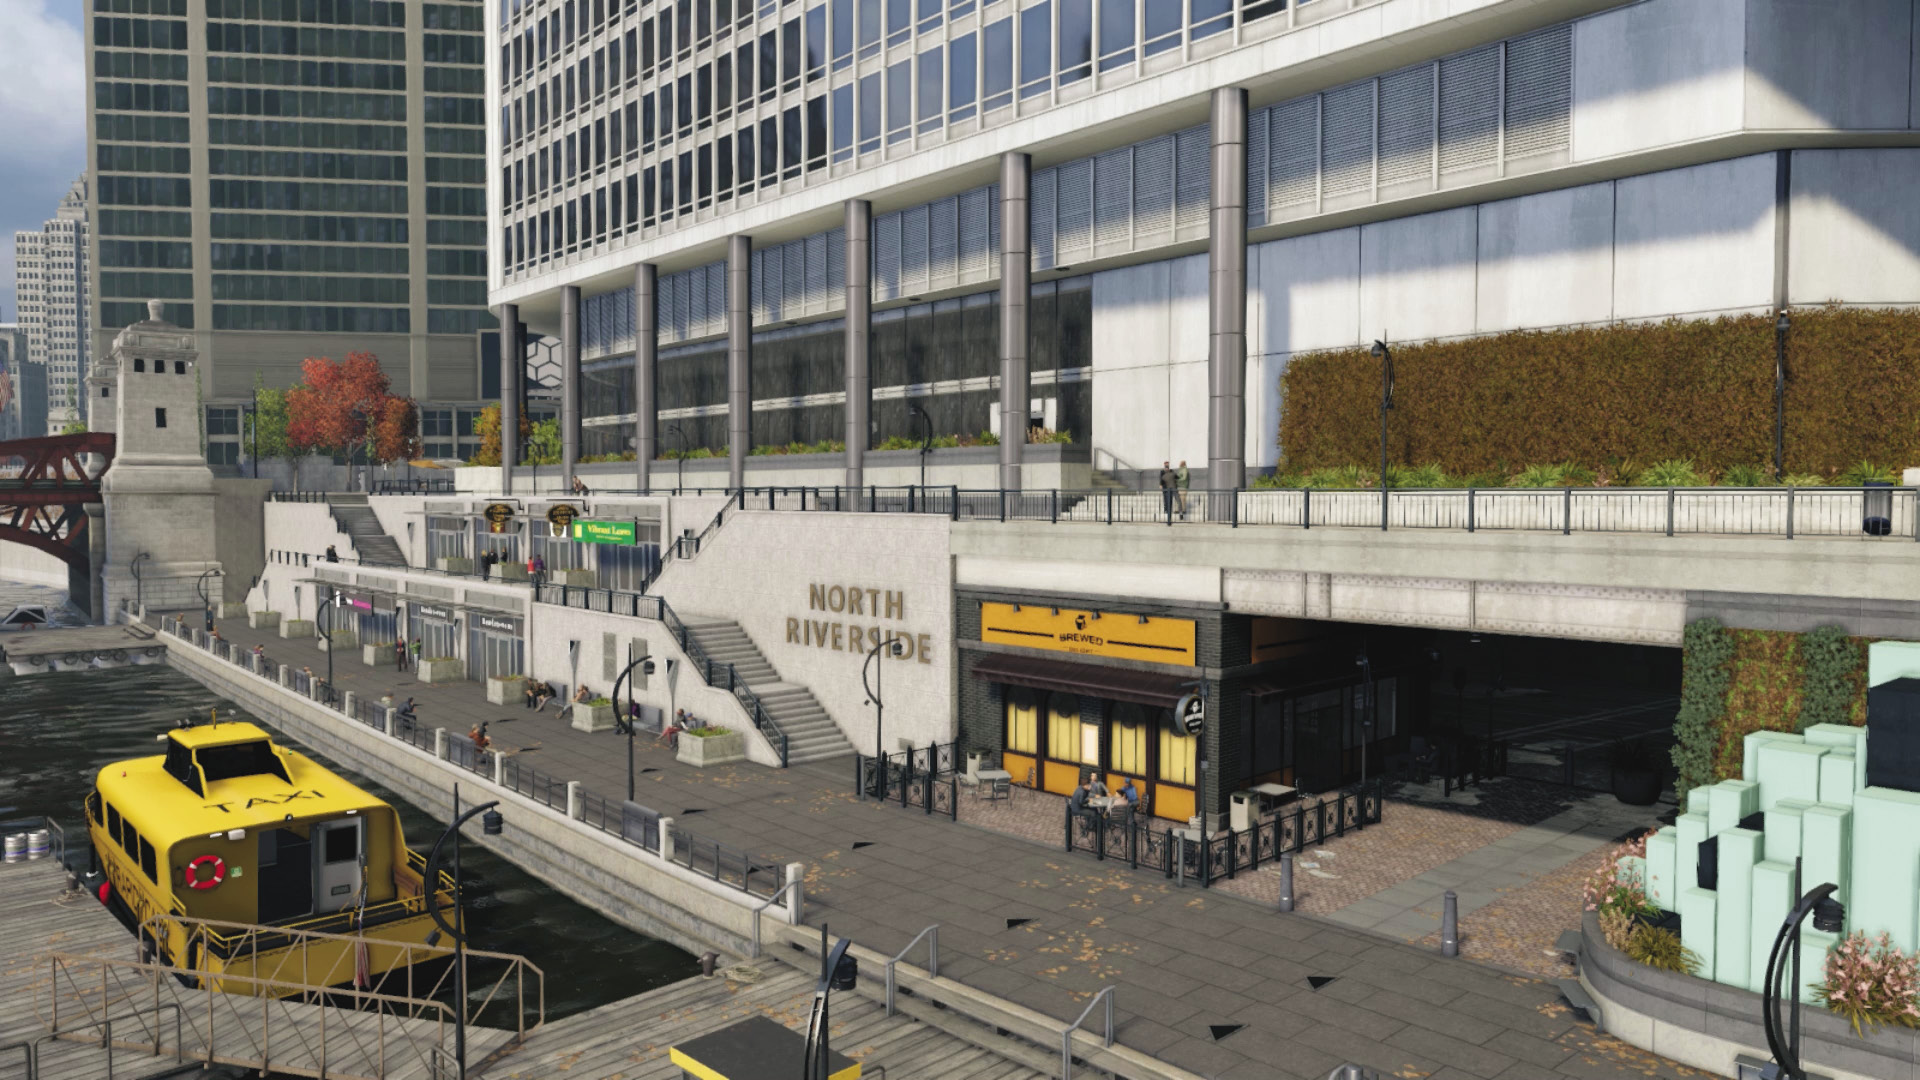
Traffic Tunnel (Coffee Shop: East)
 Accessibility Level:
Exiting: A good spot to reach, as you are already familiar with the area after helping T-Bone escape the immediate vicinity. You need to use the road to reach the main part of the foyer, or scramble through the concrete planters. But this is a good access point for both bikes and cars.
Entering: You may simply want to use the roads, but consider this traffic tunnel entrance, as it offers extra protection (especially from police helicopters) and there’s a tunnel to the east, halfway to the navy pier, where the first hacking can take place. Remember you have to descend a floor to reach this tunnel area!
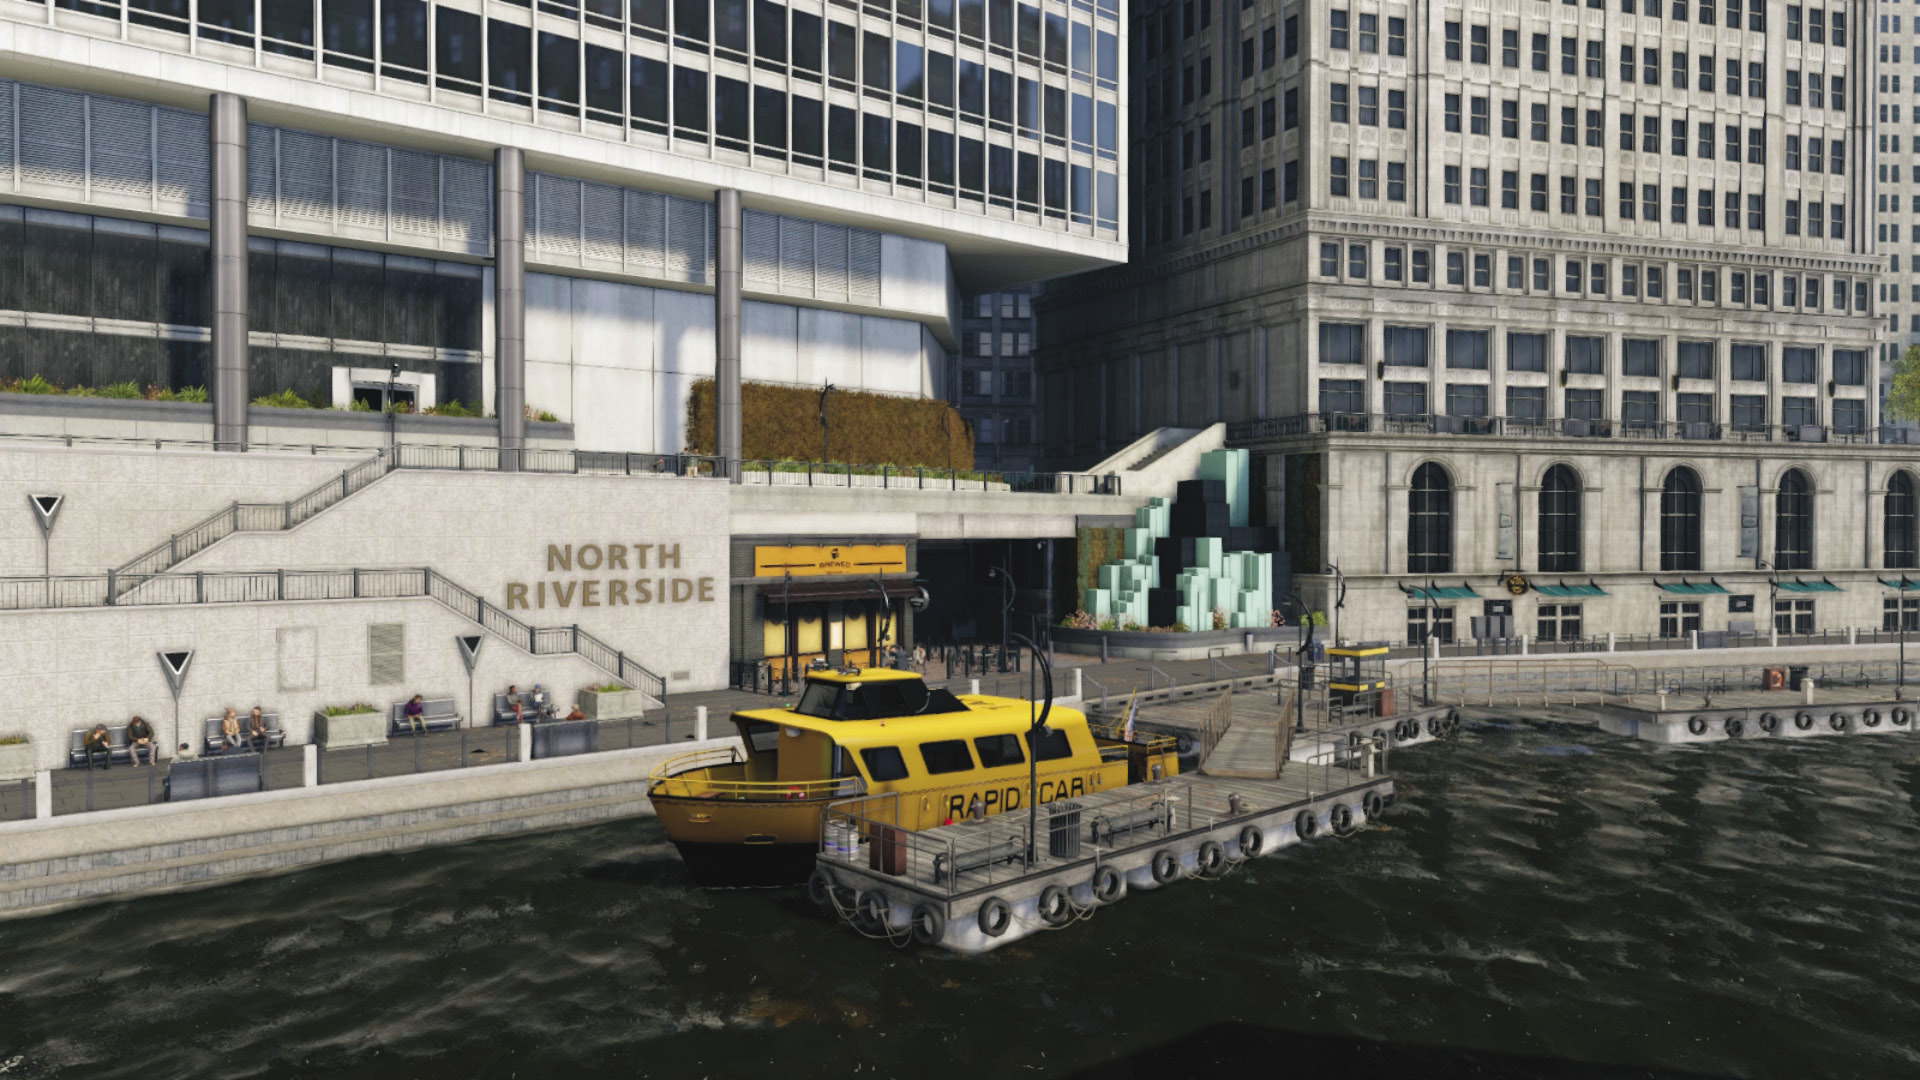
South River
Accessibility Level: 
Exiting: This pair of doors to the side of the hacking spot leads out to a dock area; perfect for fleeing and finding a boat during the objectives to come. It won’t be the location you should use if you’re driving here, though.
Entering: You have long narrow planters and a set of doors right next to the hacking spot, but reaching here by vehicle (other than a bike) is tricky. It’s great if you’re heading here from the river, though.
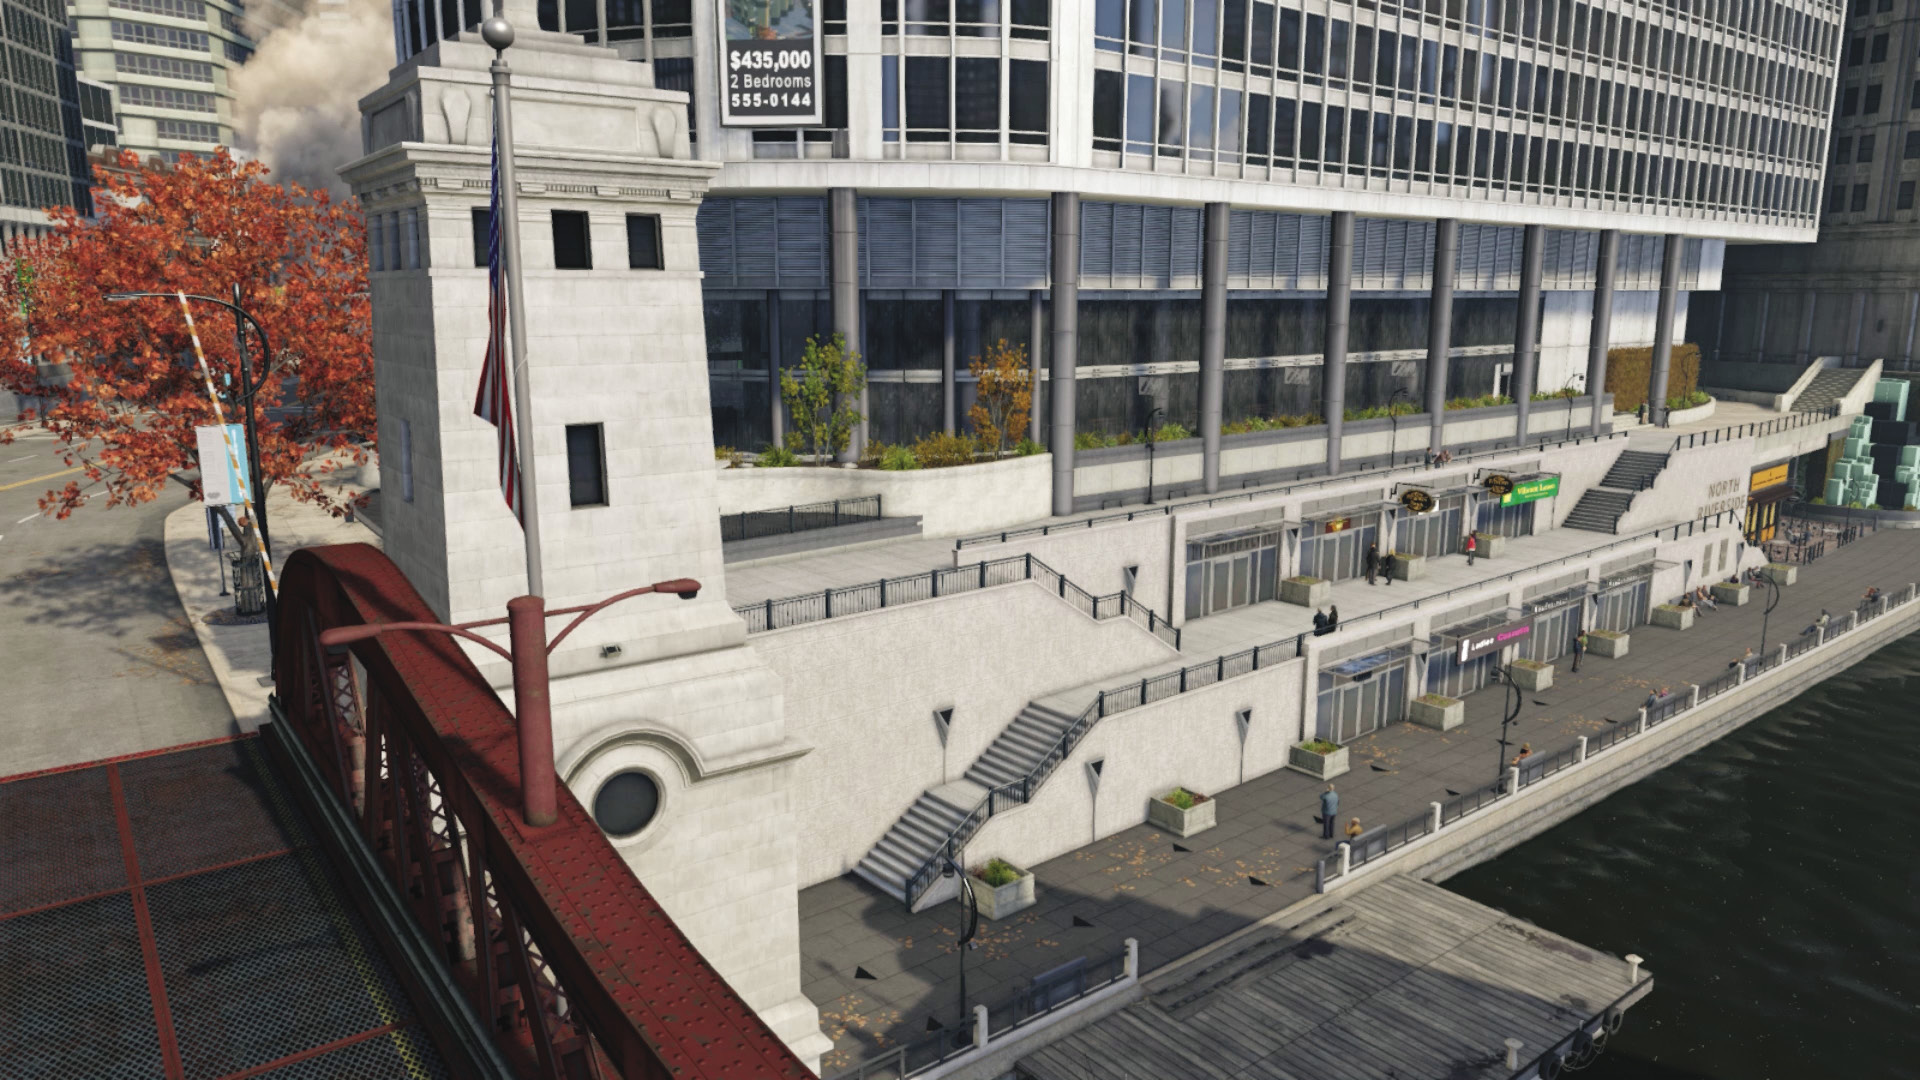
Southwest Steps
Accessibility Level: 
Exiting: This isn’t a great spot, as you’re close to the river and the Loop and your objective locations are usually more easily reached from a different point.
Entering: If you’re biking, this is a good place to drive up, through the windows, and head straight down to the access point. Approach from the bridge too; this is a direct path to try after uploading the virus from ctOS control center in the Loop (assuming that was your last upload point).
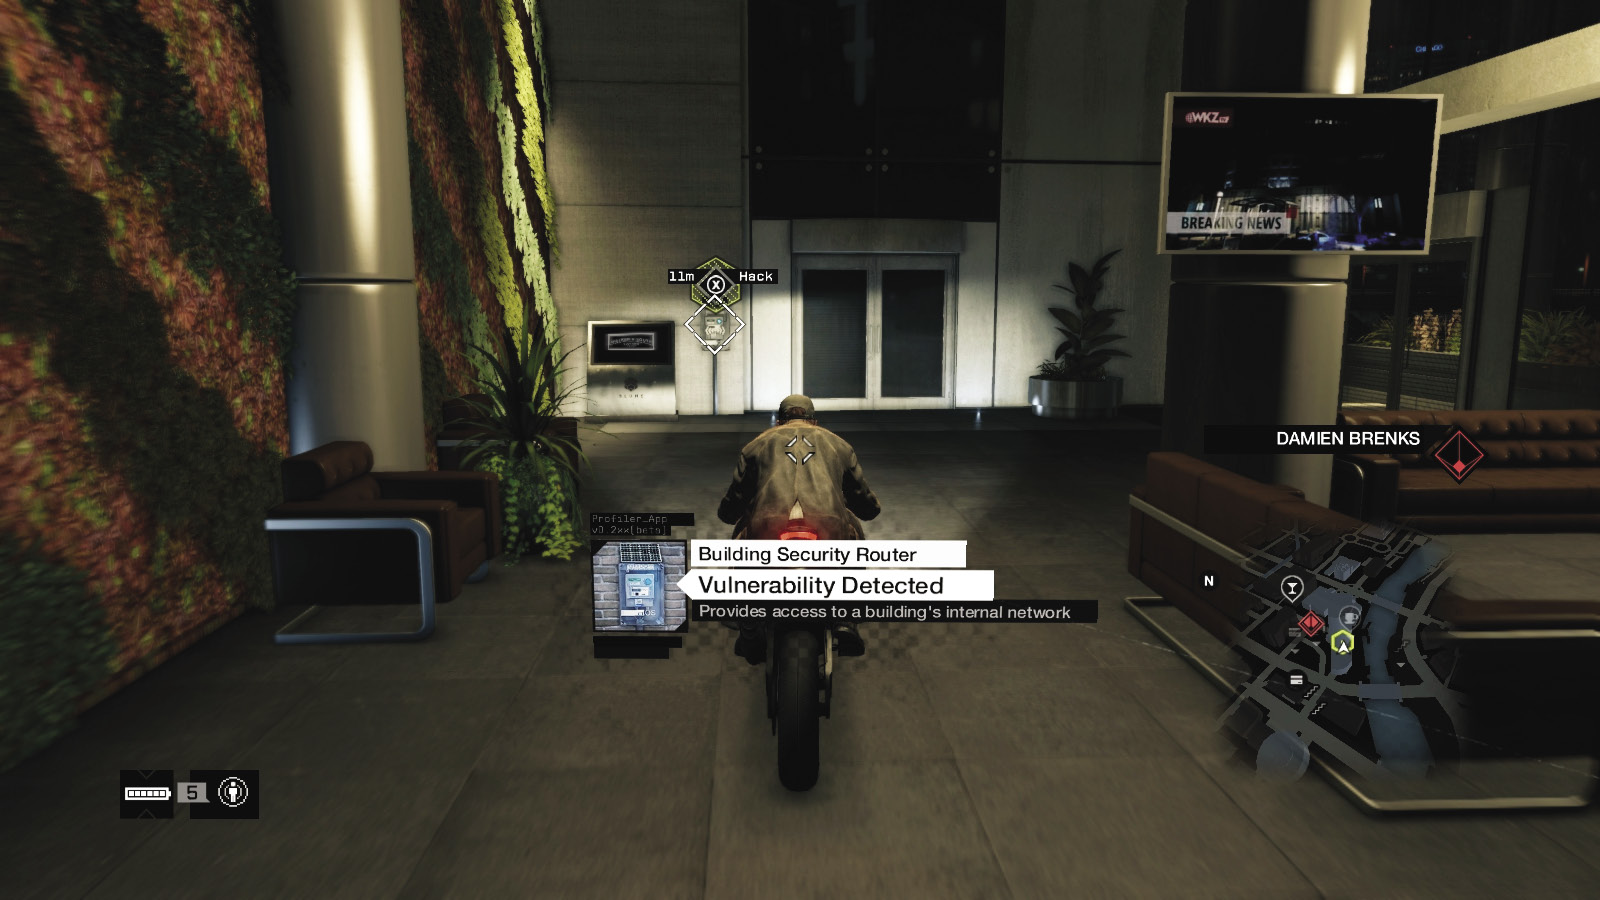
Access the building security router at this point, on the river side of the large, U-shaped foyer. As you work your way through the hotspot, you’re pushed out as your intrusion has been detected! This isn’t good.
Solution: Hotspot 1 // INTRUSION DETECTED!
T-Bone calls in to let you know Damien has blocked you out; he needs to be disconnected, and fast. T-Bone explains he’s installed a backdoor virus to shut Damien down, but it needs to be shut down from three separate locations. Call him back when all the viruses have been uploaded.
|
|
1.3 VIRAL PLANNING: ADMINISTERING THE UPLOAD
 Location / Mad Mile // Bower Tower
 Location / Mad Mile // Navy Pier Building (ctOS Control Center)
 Location / Mad Mile // Parking Lot and Storage (West)
 Location / The Loop // ctOS Control Center
 Infiltration
 Driving Infiltration
 Data Hack
 Vehicle Chase
 Foot Chase
 Escape
 Lethal Force Likely
 Melee Force Likely
Difficulty: 
Overview
 Completion Point: Each upload point (after the virus is uploaded), at the three ctOS-related locations.
 Dangers: Police (Heat Level 3, and rises to 5, depending on your actions), scenic disturbances, glitches.
General Progression Plans
This section presents the general set of threats you must expect as you head to each of the three locations to upload T-Bone’s virus. There are only a few methods of dealing with Damien’s abuse of power, and they are detailed here:
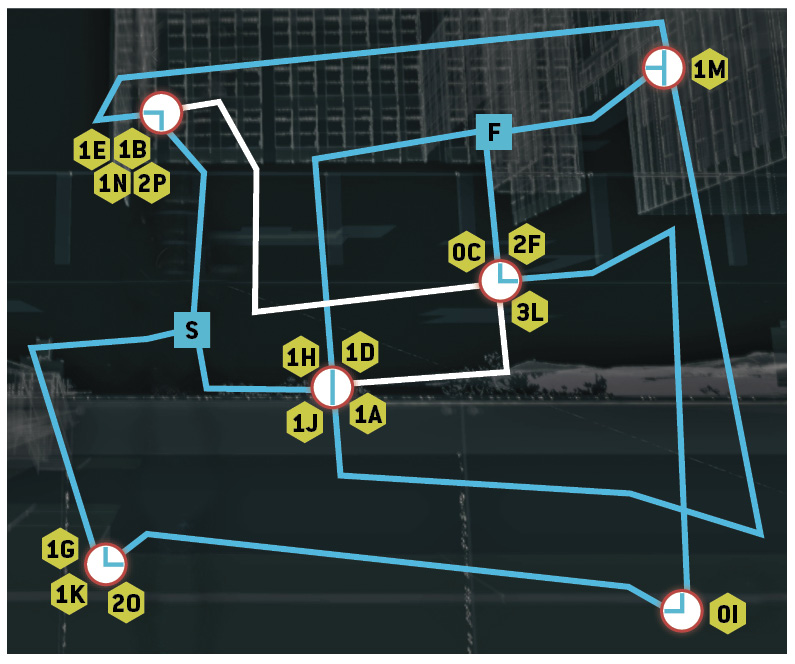
GENERAL PREPLANNINGQuick-Thinking: Weaponry is secondary through your race around the city; choose a vehicle, know when and where to change it, and focus on reaching each destination as quickly as possible. Stick to the Plan: You have to upload the virus at three locations. You don’t have to face down the cops, get mired in problematic combat, or otherwise delay the completion of this objective. Hack to the Future: You’ve made enough Blackouts and Jam Coms to help you out of any police pursuit problems, haven’t you? Make sure you’ve selected either of these, and use them to throw off the cops. Patience: After the general tactics, there are insertion points for each of the three locations. Learn them well, including the best place to hide while the virus uploads. Glitches: The three locations you need to travel to appear on your world map (and are listed here in this guide). When the glitches start appearing, you should already have memorized each location so you aren’t visiting a glitch instead. If you didn’t memorize, watch for the screen turning blue; the real locations are shown for a brief moment then, or if you quickly switch to your World Map just afterwards. Add a GPS marker on the world map for each of these when they appear so you don’t have to remember the location afterward. On Your Bike: It goes without saying that a bike can be more helpful than a vehicle, as it’s more maneuverable and you can more easily hide, as well as take the bike right up to the ctOS hacking point. |
 Passive: Getting a Head Start
 Difficulty:
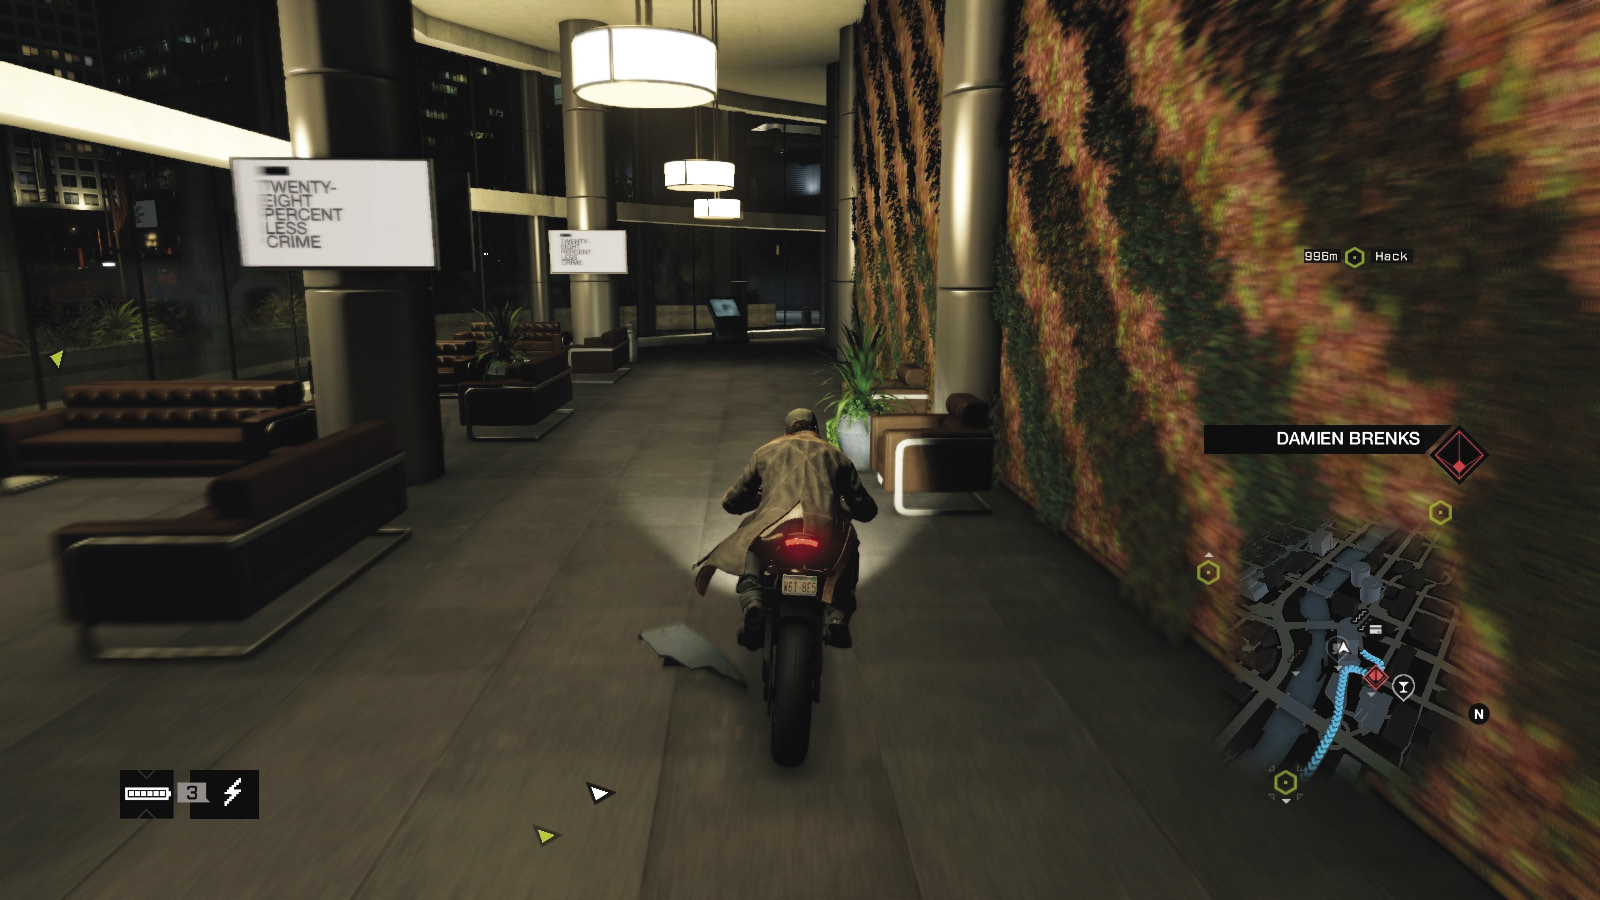
As soon as you’re stopped at the security router hotspot in Bower Tower, plot a course for the first ctOS virus upload location (even though it hasn’t appeared as a waypoint yet), and head there quickly. Damien doesn’t start abusing the ctOS power until after your T-Bone chat; if you’re fast, you can almost reach the first location without the police being alerted to your presence. This is extremely handy!
 Driving // Defensive: An Incredibly Fast Dart
 Difficulty:
Before you start hacking at Bower Tower, have your preferred vehicle picked out and waiting for you just outside (ideally, it should be an undamaged bike that you’re sitting on, in the foyer). Searching around for a fast car while Damien is in total control of ctOS and the police is an embarrassment to your skill level! If you can’t find or don’t want to use a bike, then pick a small or agile car. Big trucks are fine for shrugging off police sideswipes, but they aren’t great at avoiding Damien’s explosive steam pipes or blockers.
 Driving // Defensive: Damien’s Hacking Chart
 Difficulty:
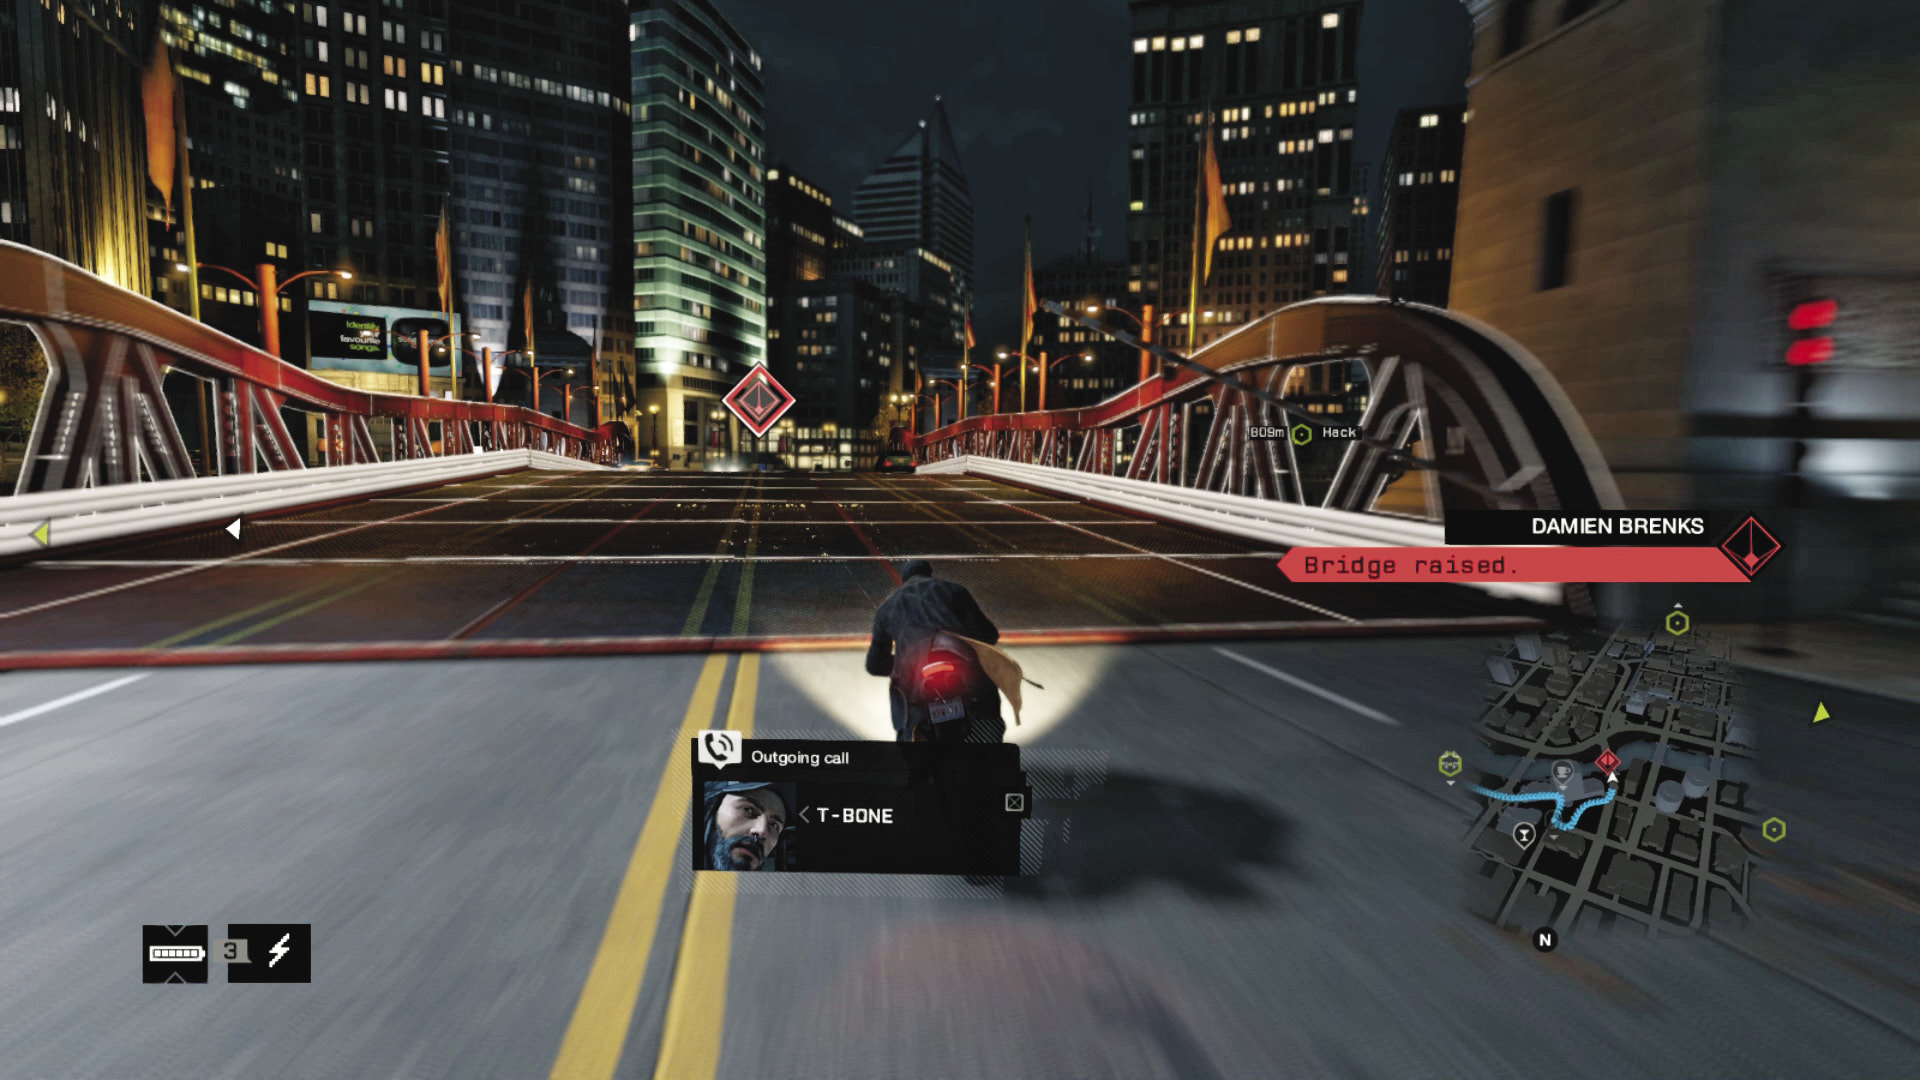
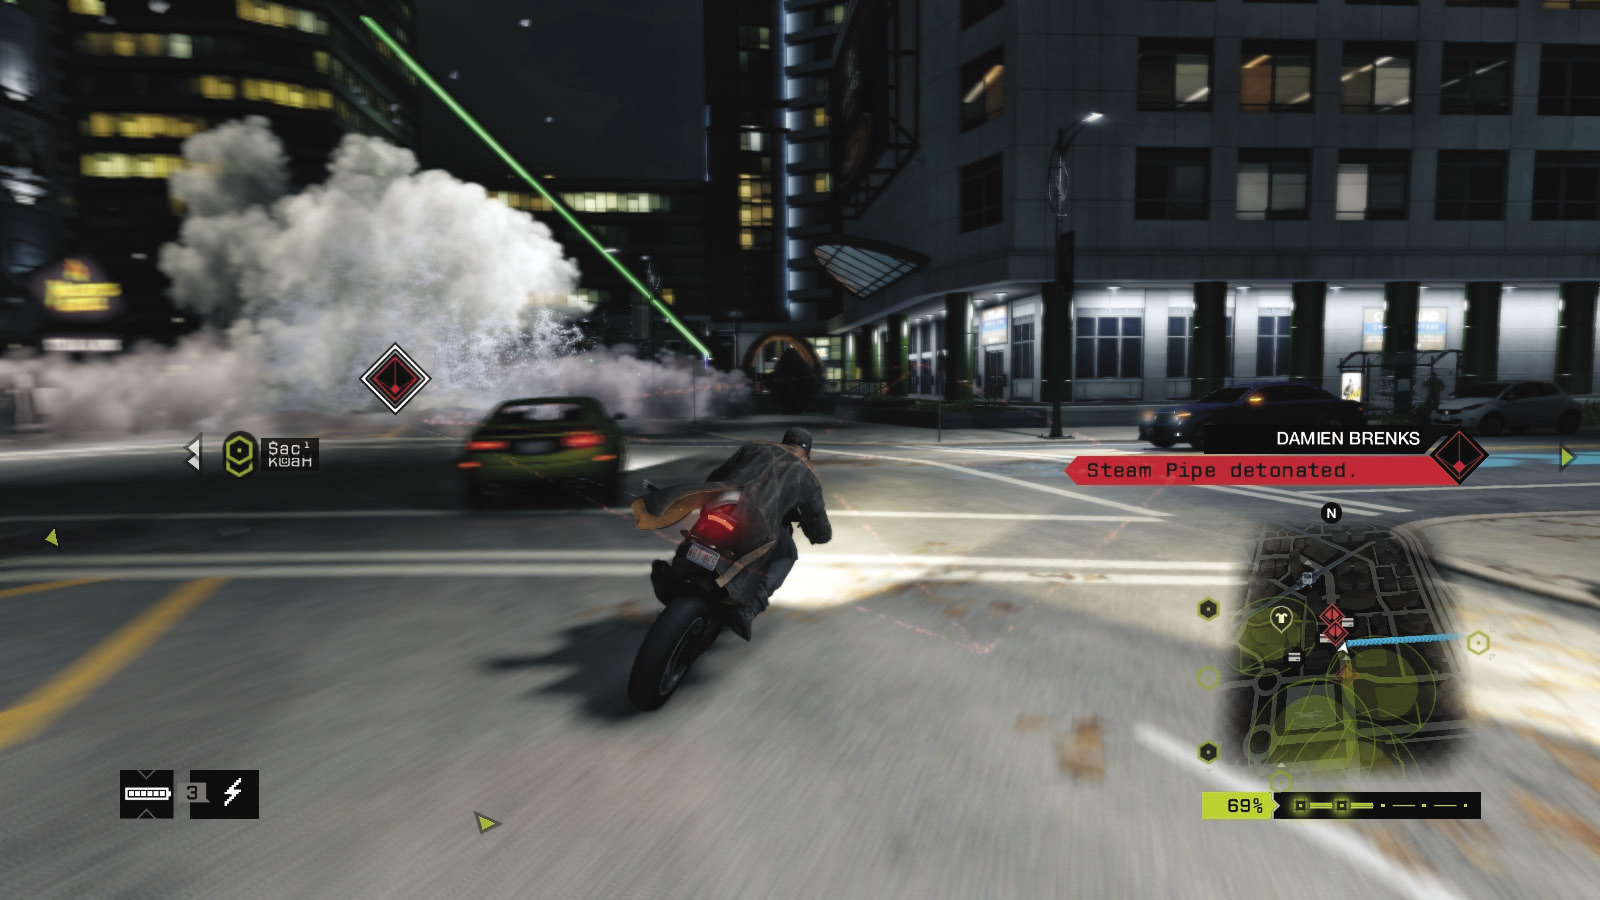
The first of the main threats are Damien’s complete control over the technology of Chicago. This means he almost always explodes steam pipes, raises blockers and bollards, fiddles with traffic lights, and raises bridges. While the latter isn’t too much of a problem, the others can severely impede your progress, especially if the police are on your tail in great numbers. Make sure you:
Look ahead while driving to pinpoint an incoming danger, and drive around it.
Use the sidewalk, cut corners, and actually slow down to a controllable speed. The danger isn’t usually the problem—it’s you jamming on the brakes and losing control a split second afterward.
Again, bikes and agile cars are better to quickly dodge these problem areas while staying on the path to each location.
Glitches appearing on your minimap are of little consequence; simply ensure you plot a GPS route and study this guide first to make sure you’re heading in the correct direction as swiftly as possible.
 Driving // Defensive: Boating Is Pretty Smart
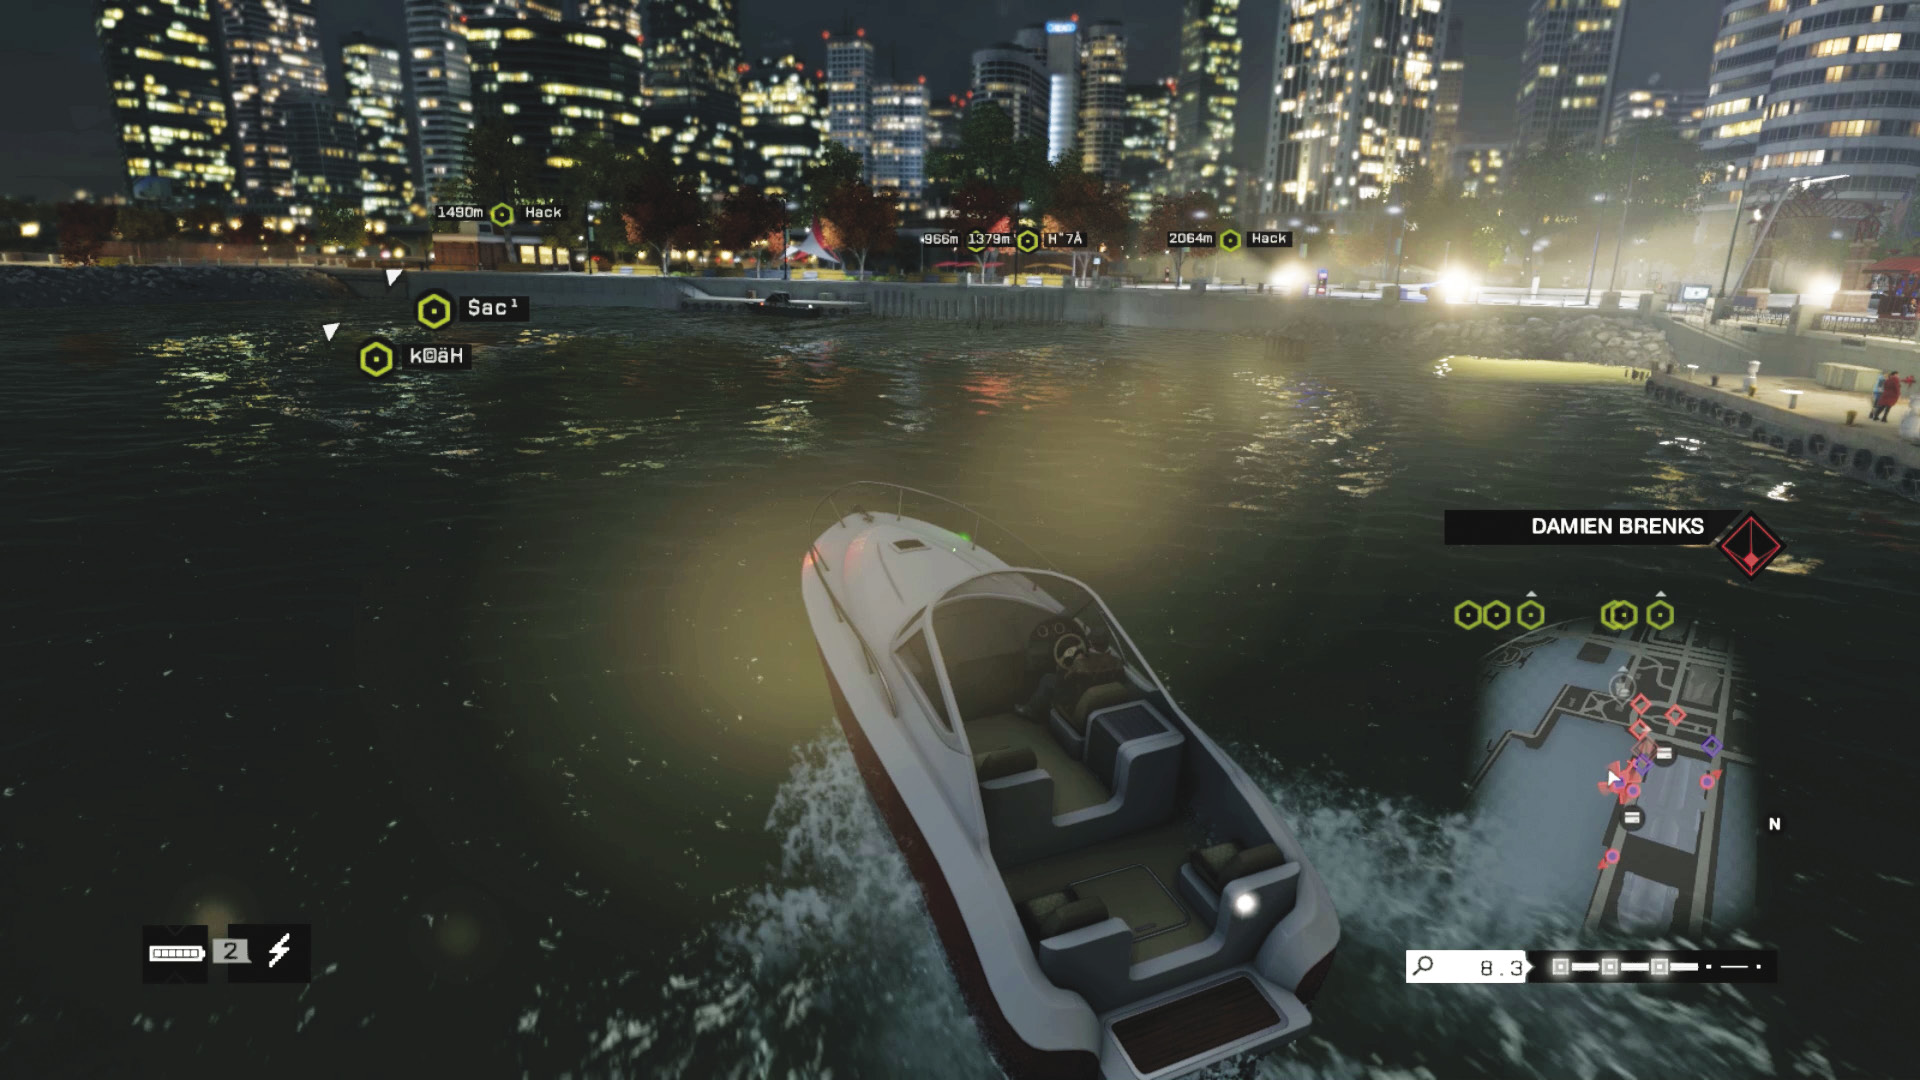
 Difficulty:
Two of the three locations are extremely accessible by boat. So you may wish to head directly from the Bower Tower to the river and journey to the east, then the west river entrances; the police presence and Damien’s interventions are much less pronounced, and you can save your ordnance for the last run.
If you wish to complete this objective by boat, journey (by bike or car) to the third location (ctOS Control Center in the Loop) first, hack it, return to the river having ditched your vehicle, and use a boat for the remaining locations.
 Driving // Smart: Hacking Is an Integral Part
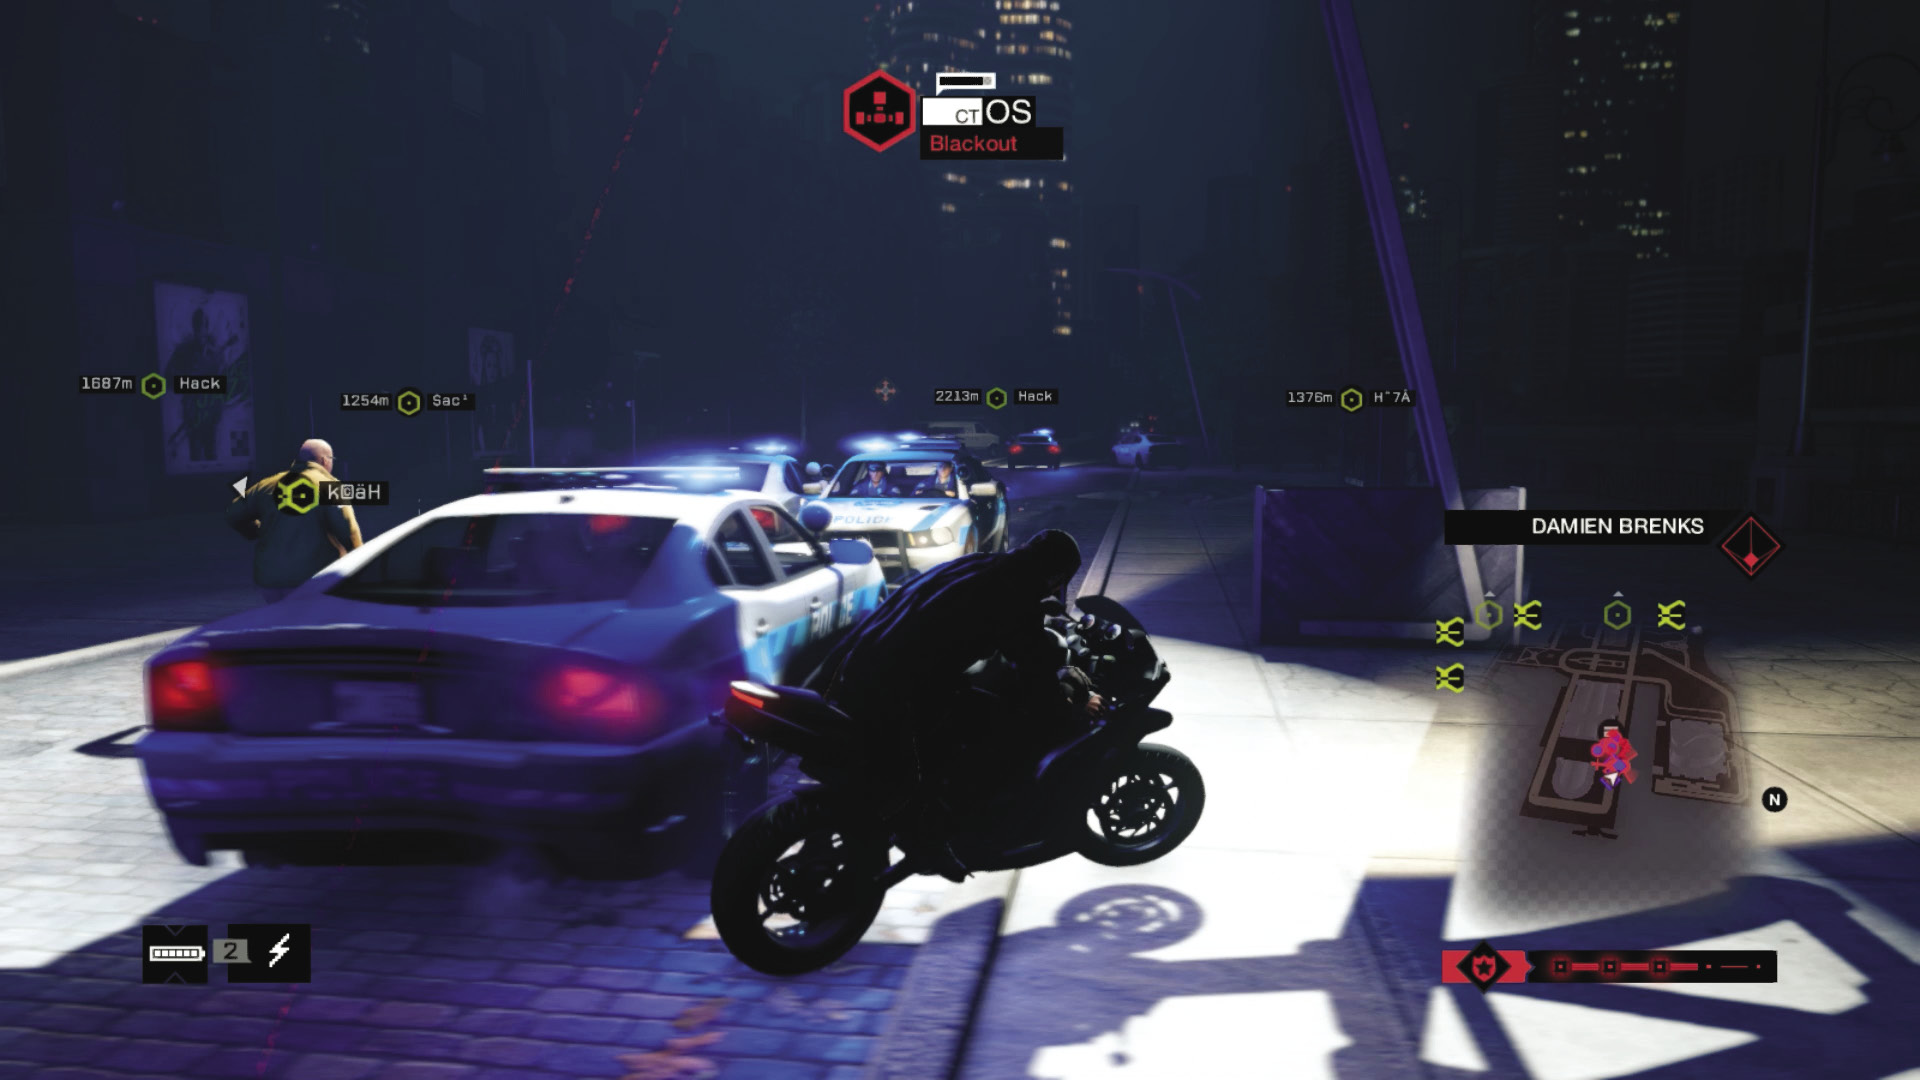
 Difficulty:
Your Jam Coms or Blackout crafting items, which you should have a full complement of, are extremely handy during this madness: You may be tempted to use it at the first sign of the police homing in on your position, but wait and trigger it at the last second, before the alert is triggered. As this occurs so many times, it may be wise to wait to use this until you’ve been pursued by the police already, lost them, and then been spotted once more, when you’re heading to your second or third location.
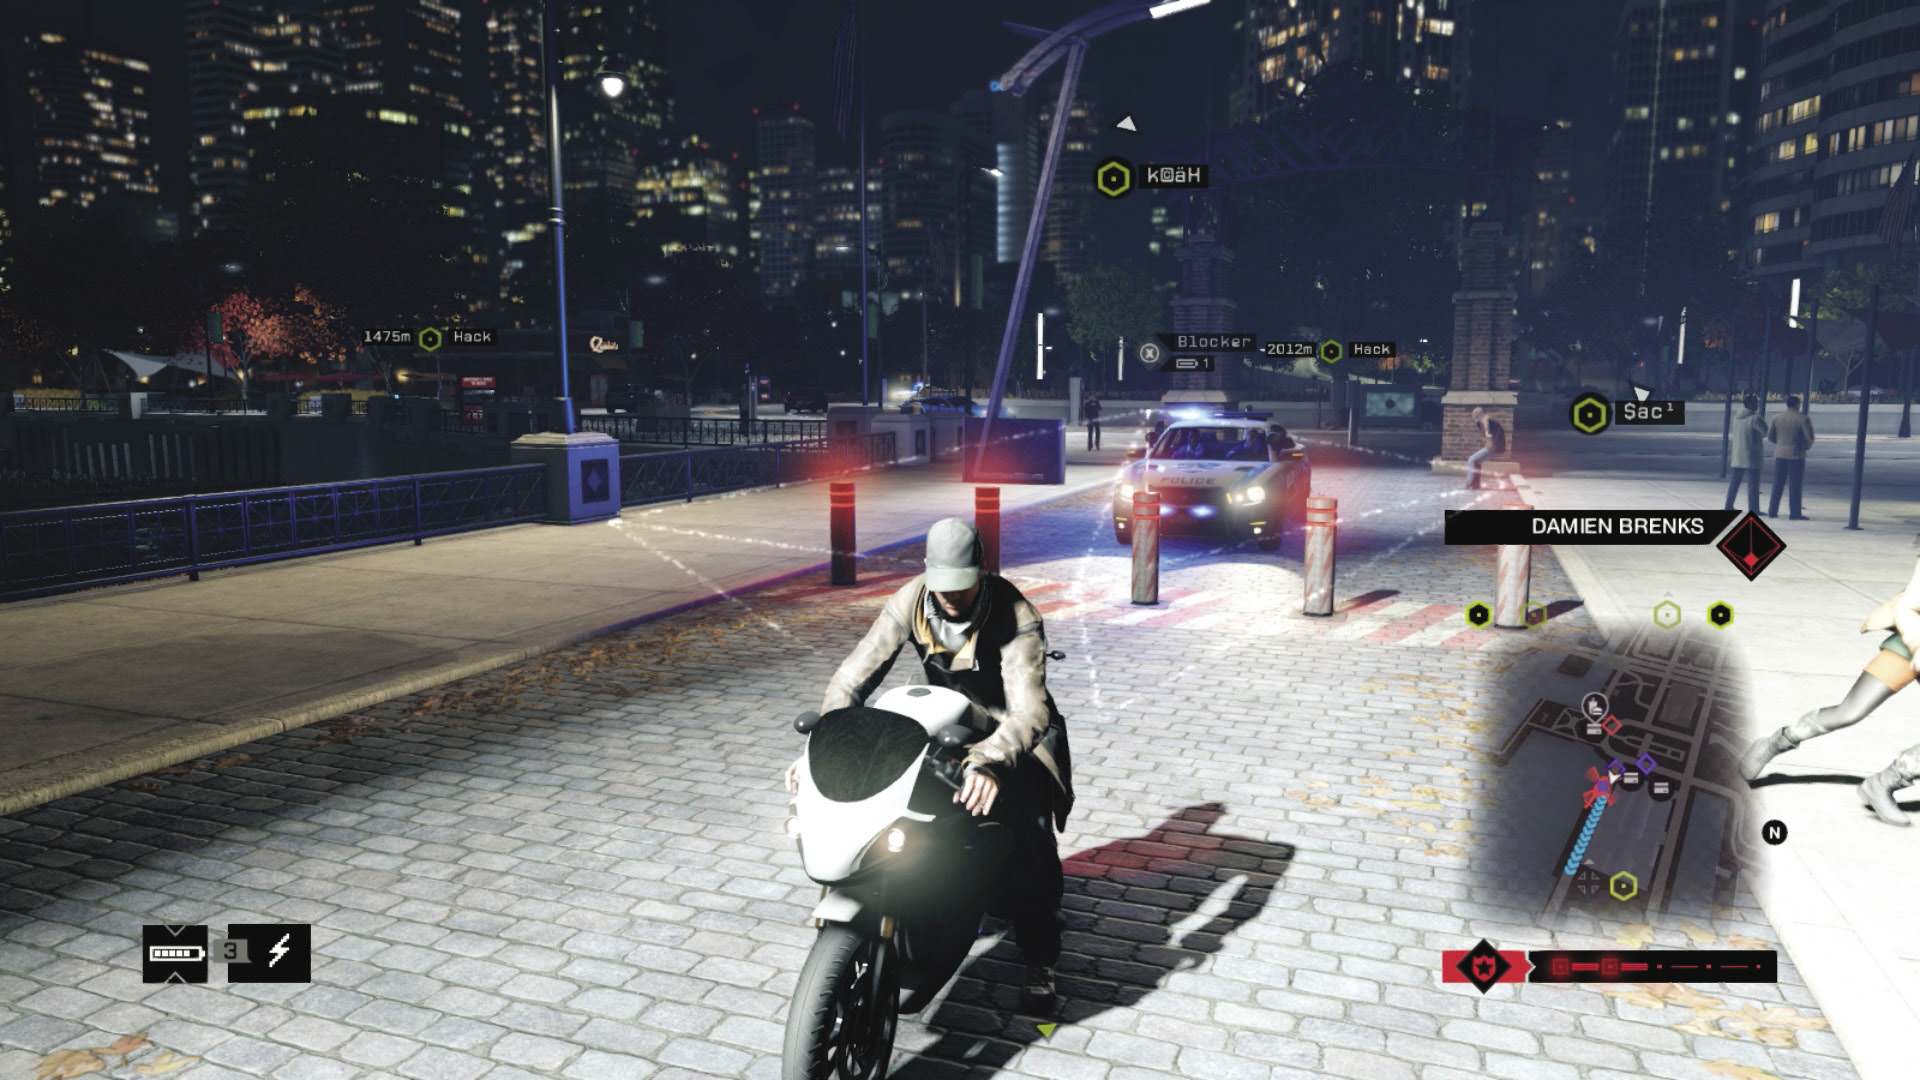
When you arrive at a location to hack, you usually have access to some protective measures, whether this is a blocker, a spike strip and barrier, or a gate. Use them! This is usually the best time to employ such countermeasures, as it adds an extra layer of protection to your hacking area.
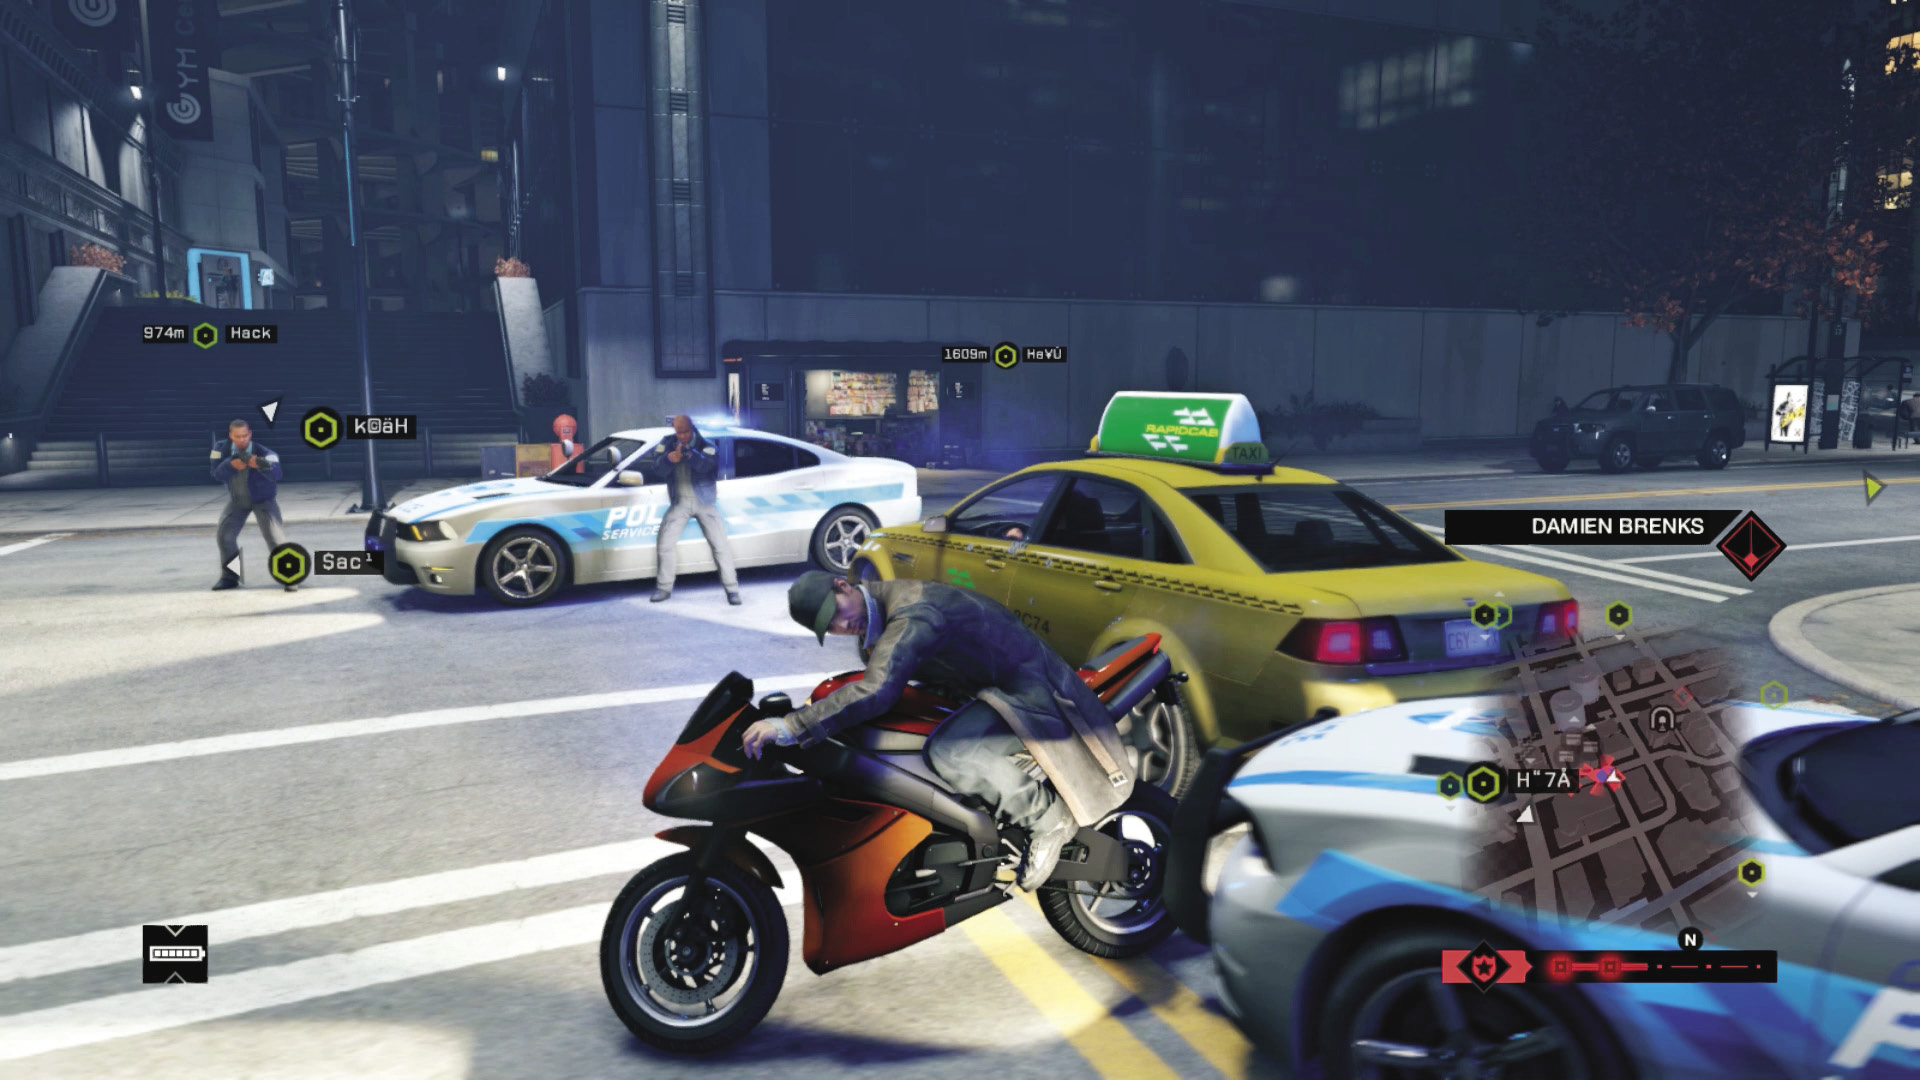
When you’re careening around the city, you also have the ability to raise barriers and spikes; this is a great way to prevent a police chase from getting out of hand. All other methods of avoiding the police are available, but don’t get too bogged down in skulking through alleys, as Damien soon calls in reinforcements. The best policy is to flee, directly to the next hackable location.
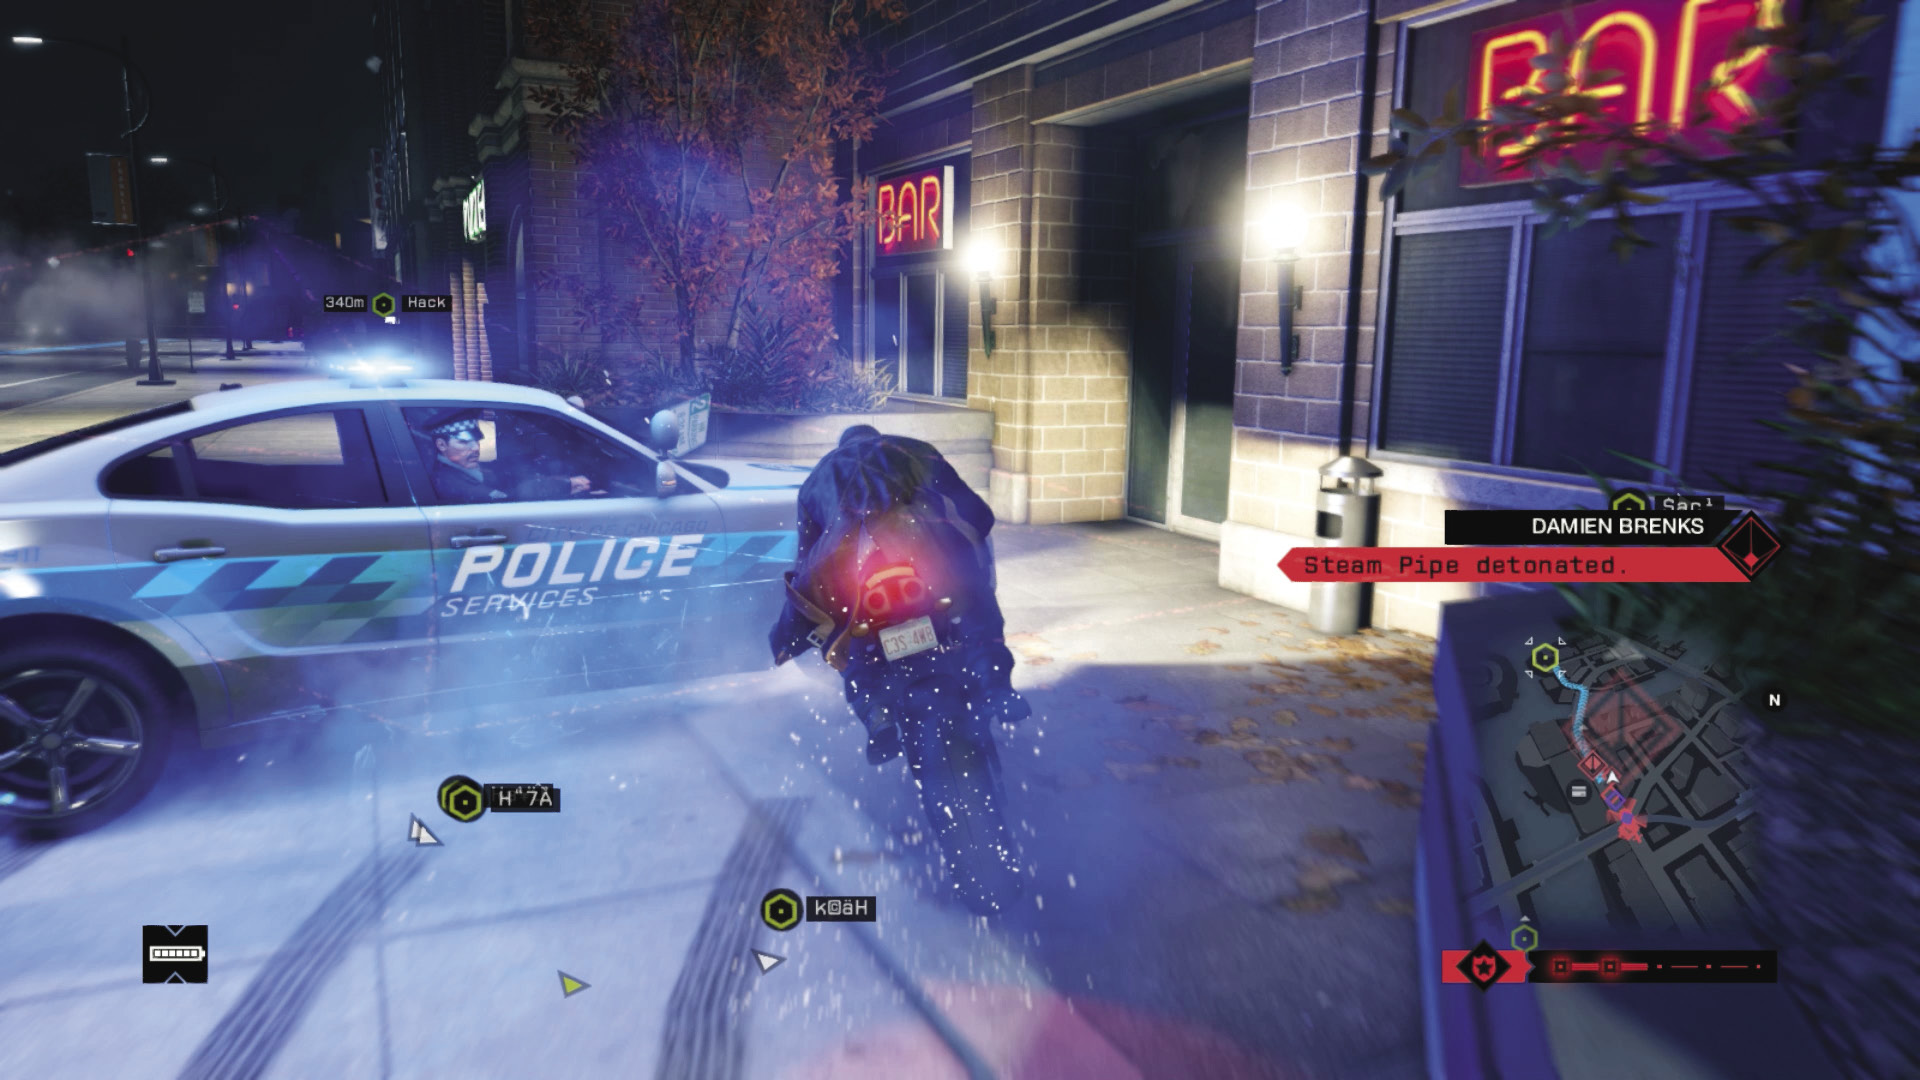
 Driving // Offensive: Attempting to Depart
 Difficulty:
Keeping the police at bay during your journey to each location is tricky due to the chaos, especially as Damien is using the city’s technologies against you. Here are the main plans for dealing with this insanity:
During police chasing, it’s usually better to ignore the cops as much as possible. Of course, swerving down streets to avoid the helicopter sniper, using the L-train as protection when racing under it, and the usual methods you’ve employed are all fine, but don’t let these overwhelm your objective.
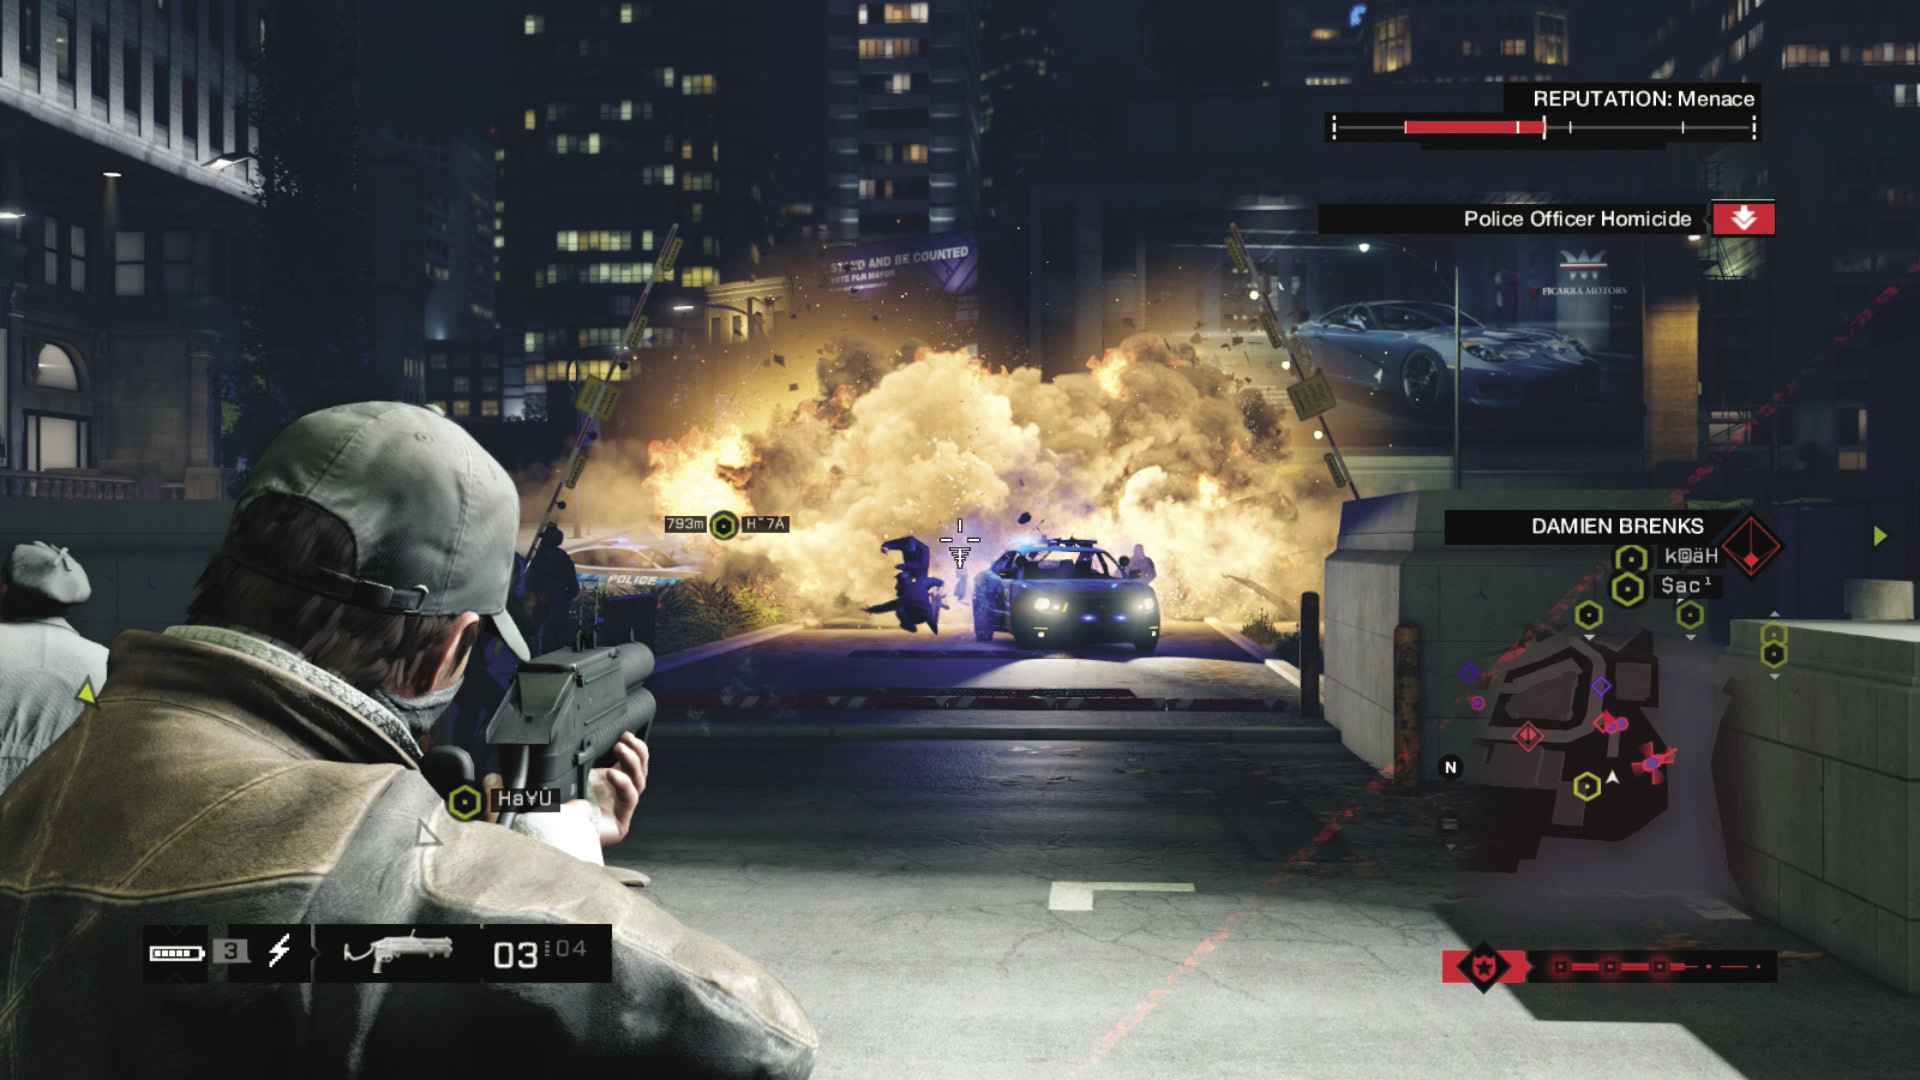
Aggressive // Violence: Tearing Adversaries Apart
Difficulty: 
Your grenades, IEDs, and general weapon stash you’re carrying is usually only necessary to employ when no other option is available. If you’ve blocked the police at each location, take up a hiding place as the virus uploads, and refrain from engagement (you ideally should have arrived and hidden before the police arrive in force). If you must, punt a grenade or two at the vehicles to impede the police’s progress, and wait until no other options are available to you. Prep the area with IEDs, too, if you aren’t worried about your Reputation.
1.4 (LOCATION 1 of 3): NAVY PIER UPLOAD
 Location / Mad Mile // Navy Pier Building (ctOS Control Center)
Insertion and Extrication Points
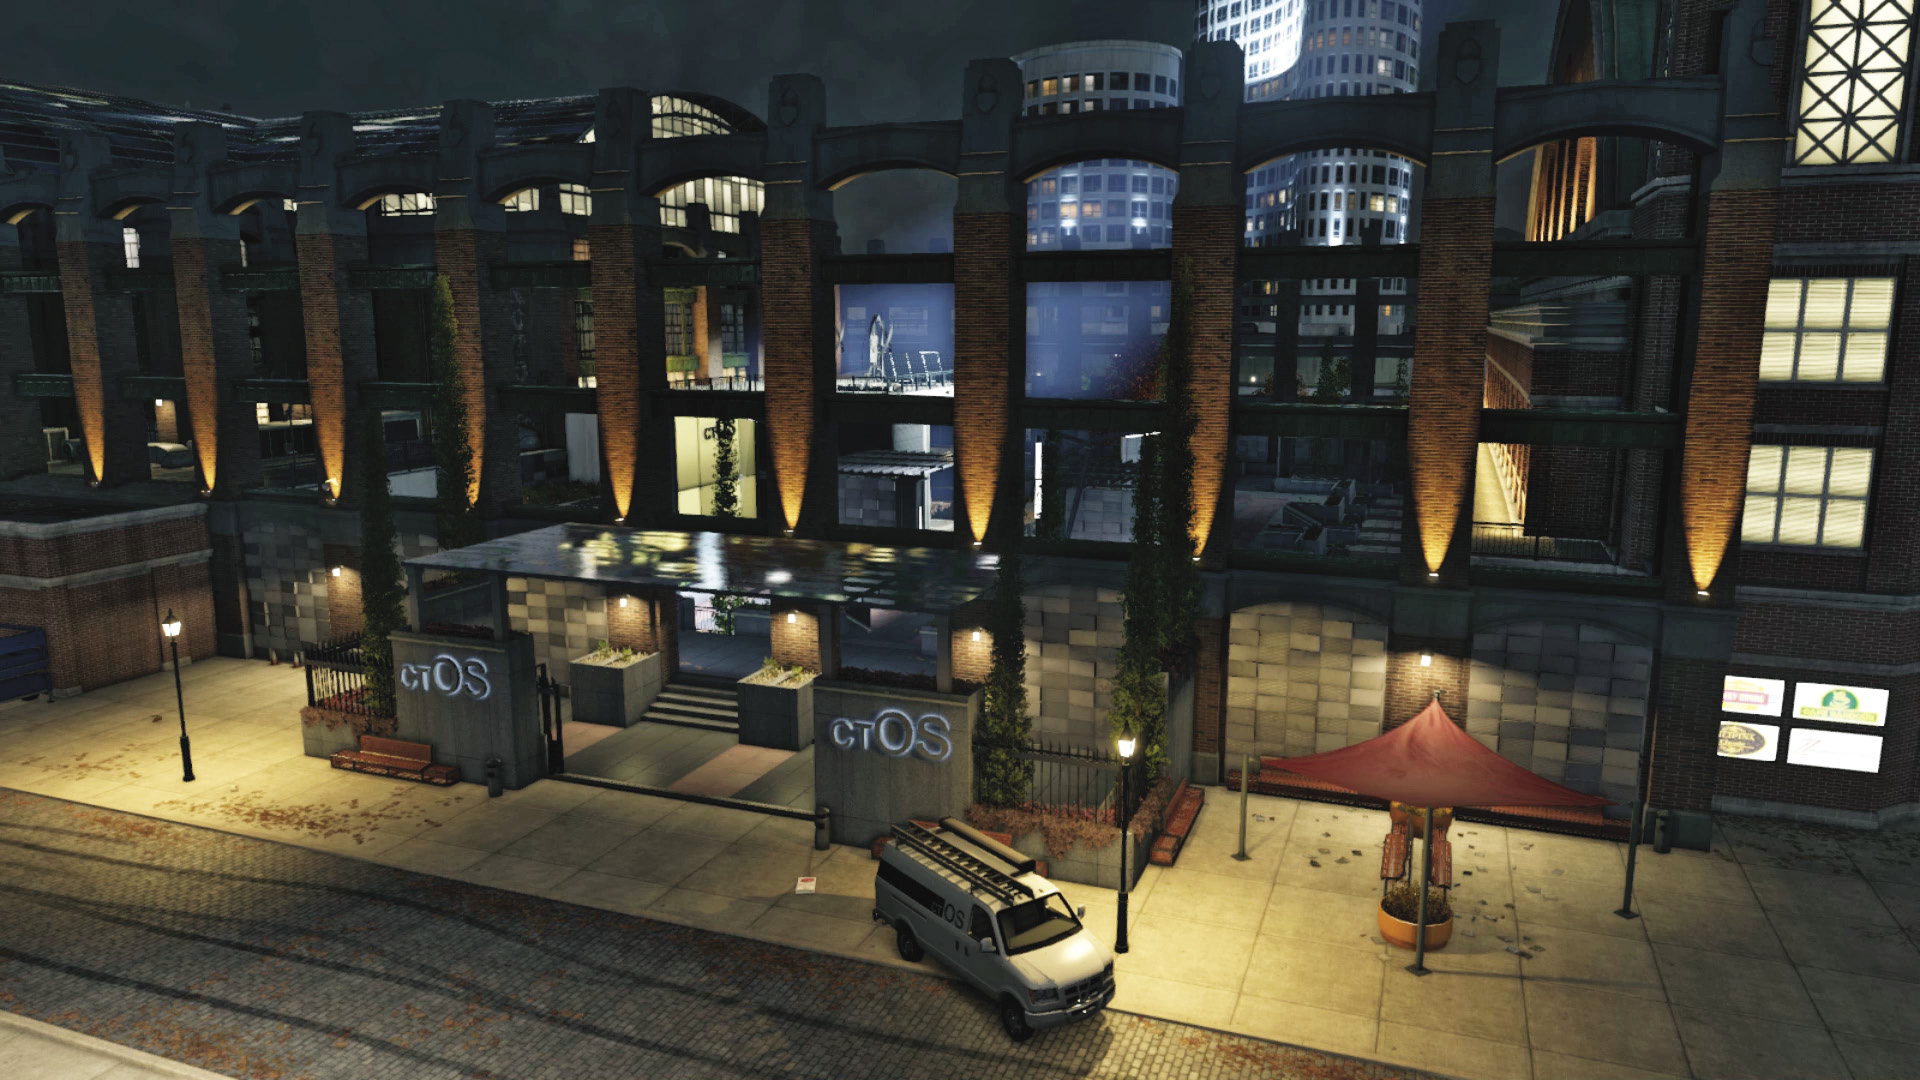
This was the Mad Mile ctOS Control Center, and you should have previous knowledge of this area. Study the following areas of interest.
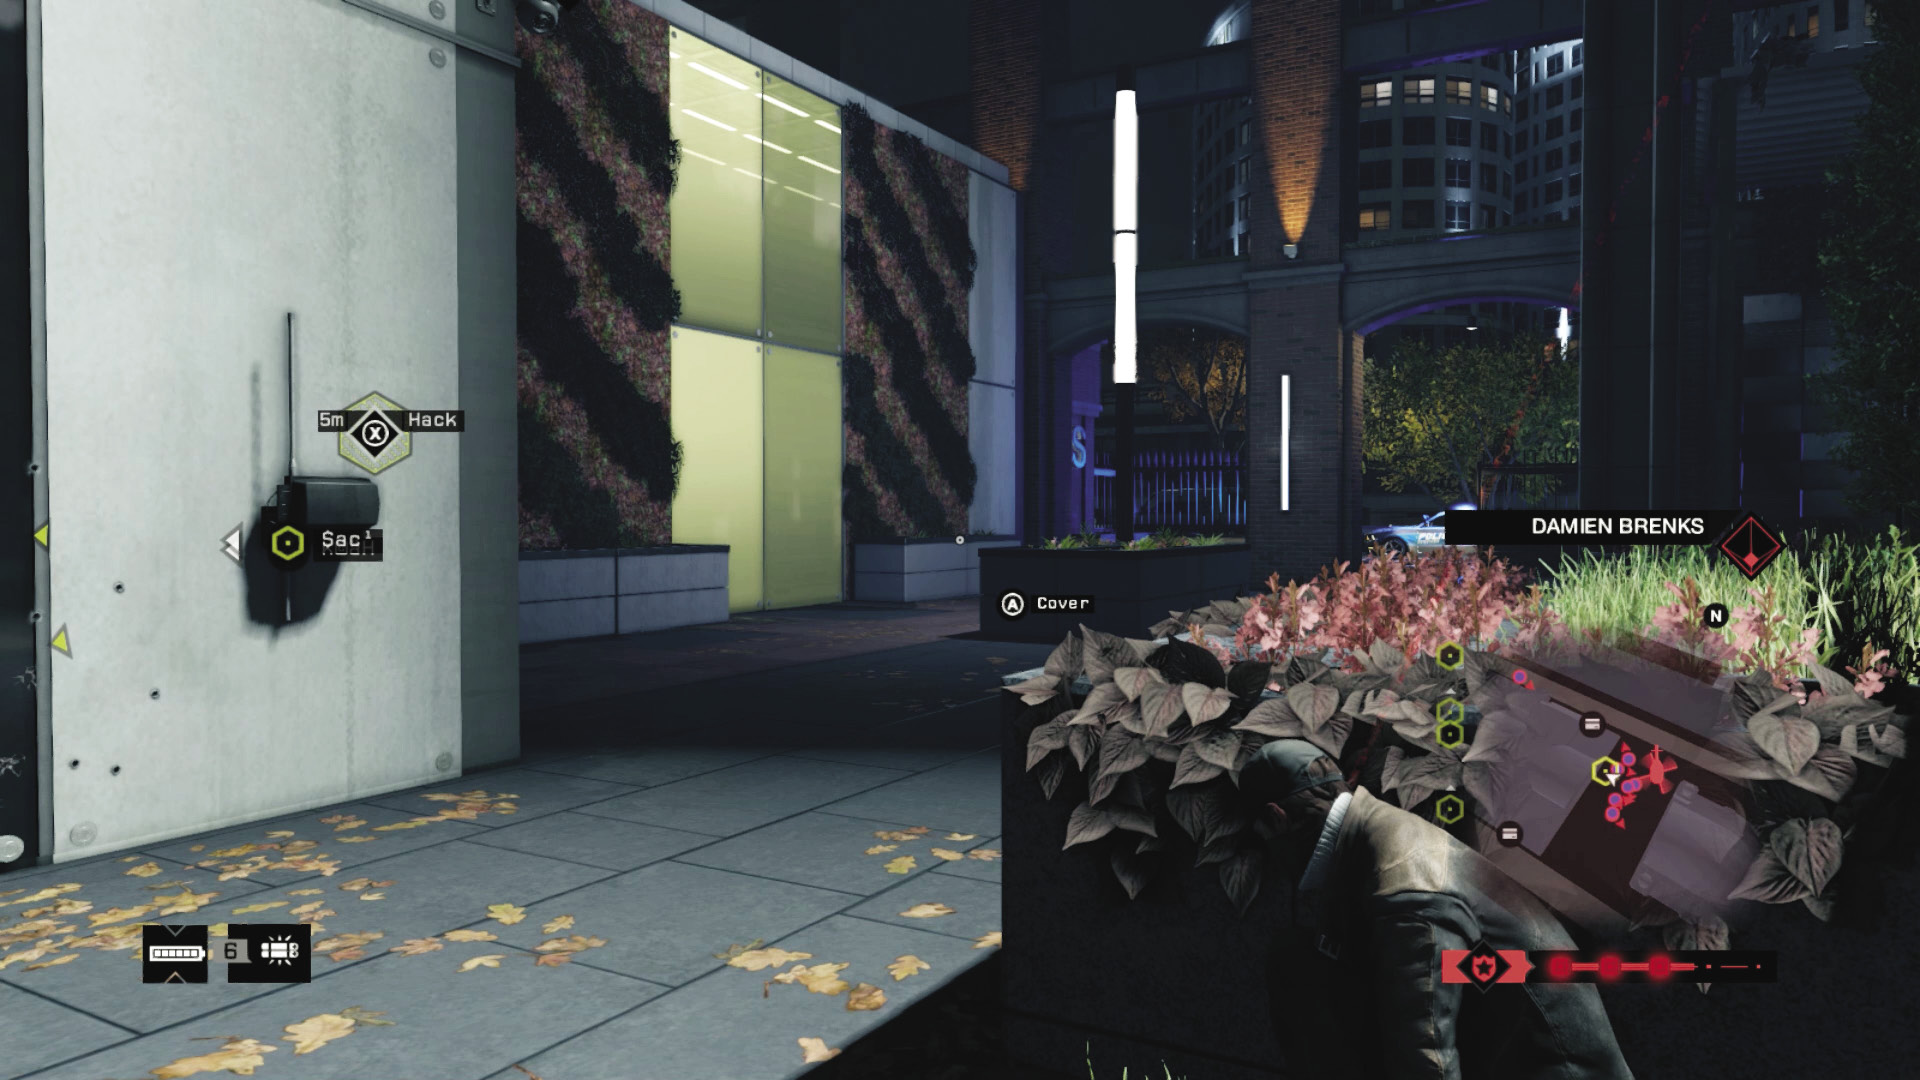
Navy Pier Perimeter Actions
Accessibility Level: 
By land: The U-shaped pedestrian path has bollards to help postpone the police presence.
By sea: If you’re using a boat, the south docks offer slightly easier mooring options, but both are a quick sprint across the pedestrian walkway to a gate or door.
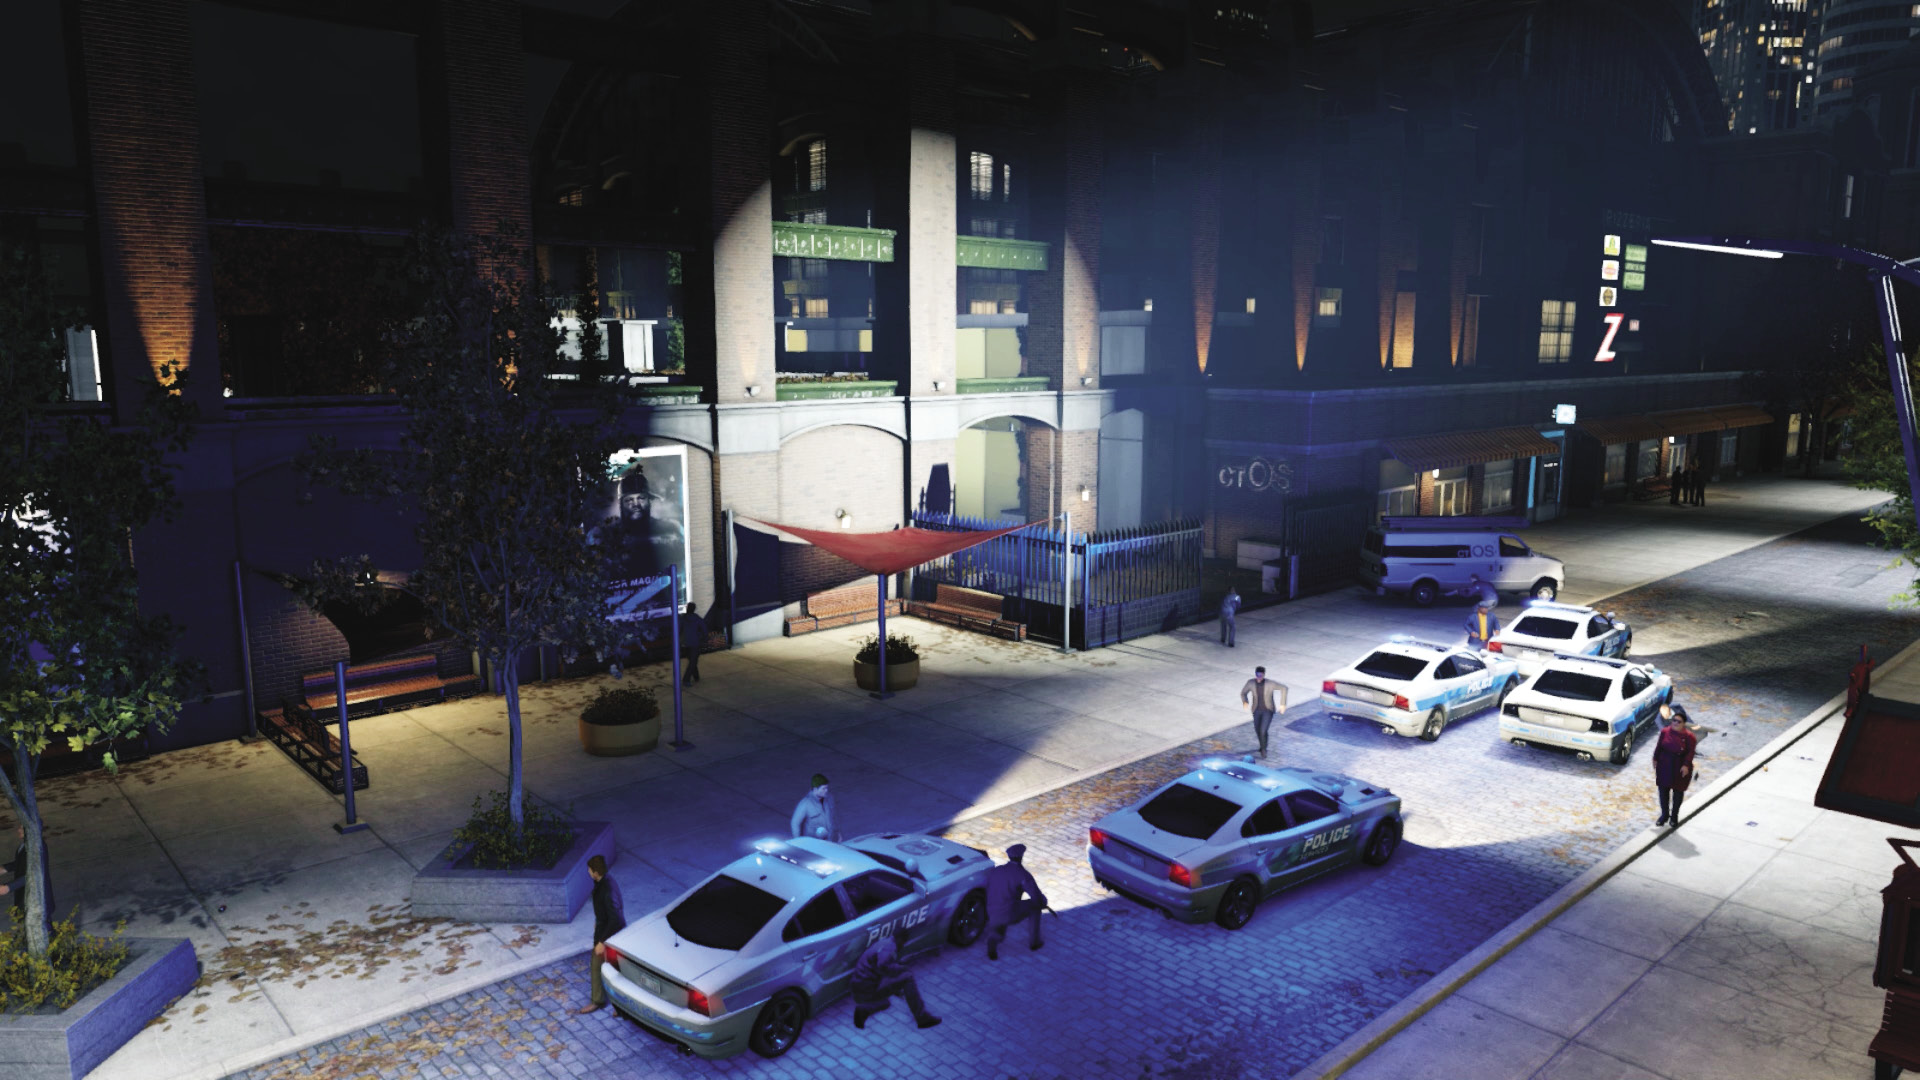
North Side (Gate and Door Switch)
Accessibility Level: 
Obviously, use these gates to gain access, ideally while riding a bike, and close them behind you to prevent the police swarming the area. The door switch on the northeast side offers quick pedestrian entrance if you’re heading in from the docks or a different vehicle. If you lead the police here, you have better views to thwart them with projectiles, explosive ambushing, or ranged weapons.
South Side (Main and Side Gates, and Lift)
Accessibility Level: 
The gate offers very similar plans to the north one. Ride a bike or enter through here and quickly reach your upload position. The side gate is around the brick wall on the southeast corner. Neither offer quite as helpful lines of sight when enemies arrive, but using either entrance is fine under most circumstances. The scissor lift (southwest) takes time to activate, but it’s another option.
Hiding Spots
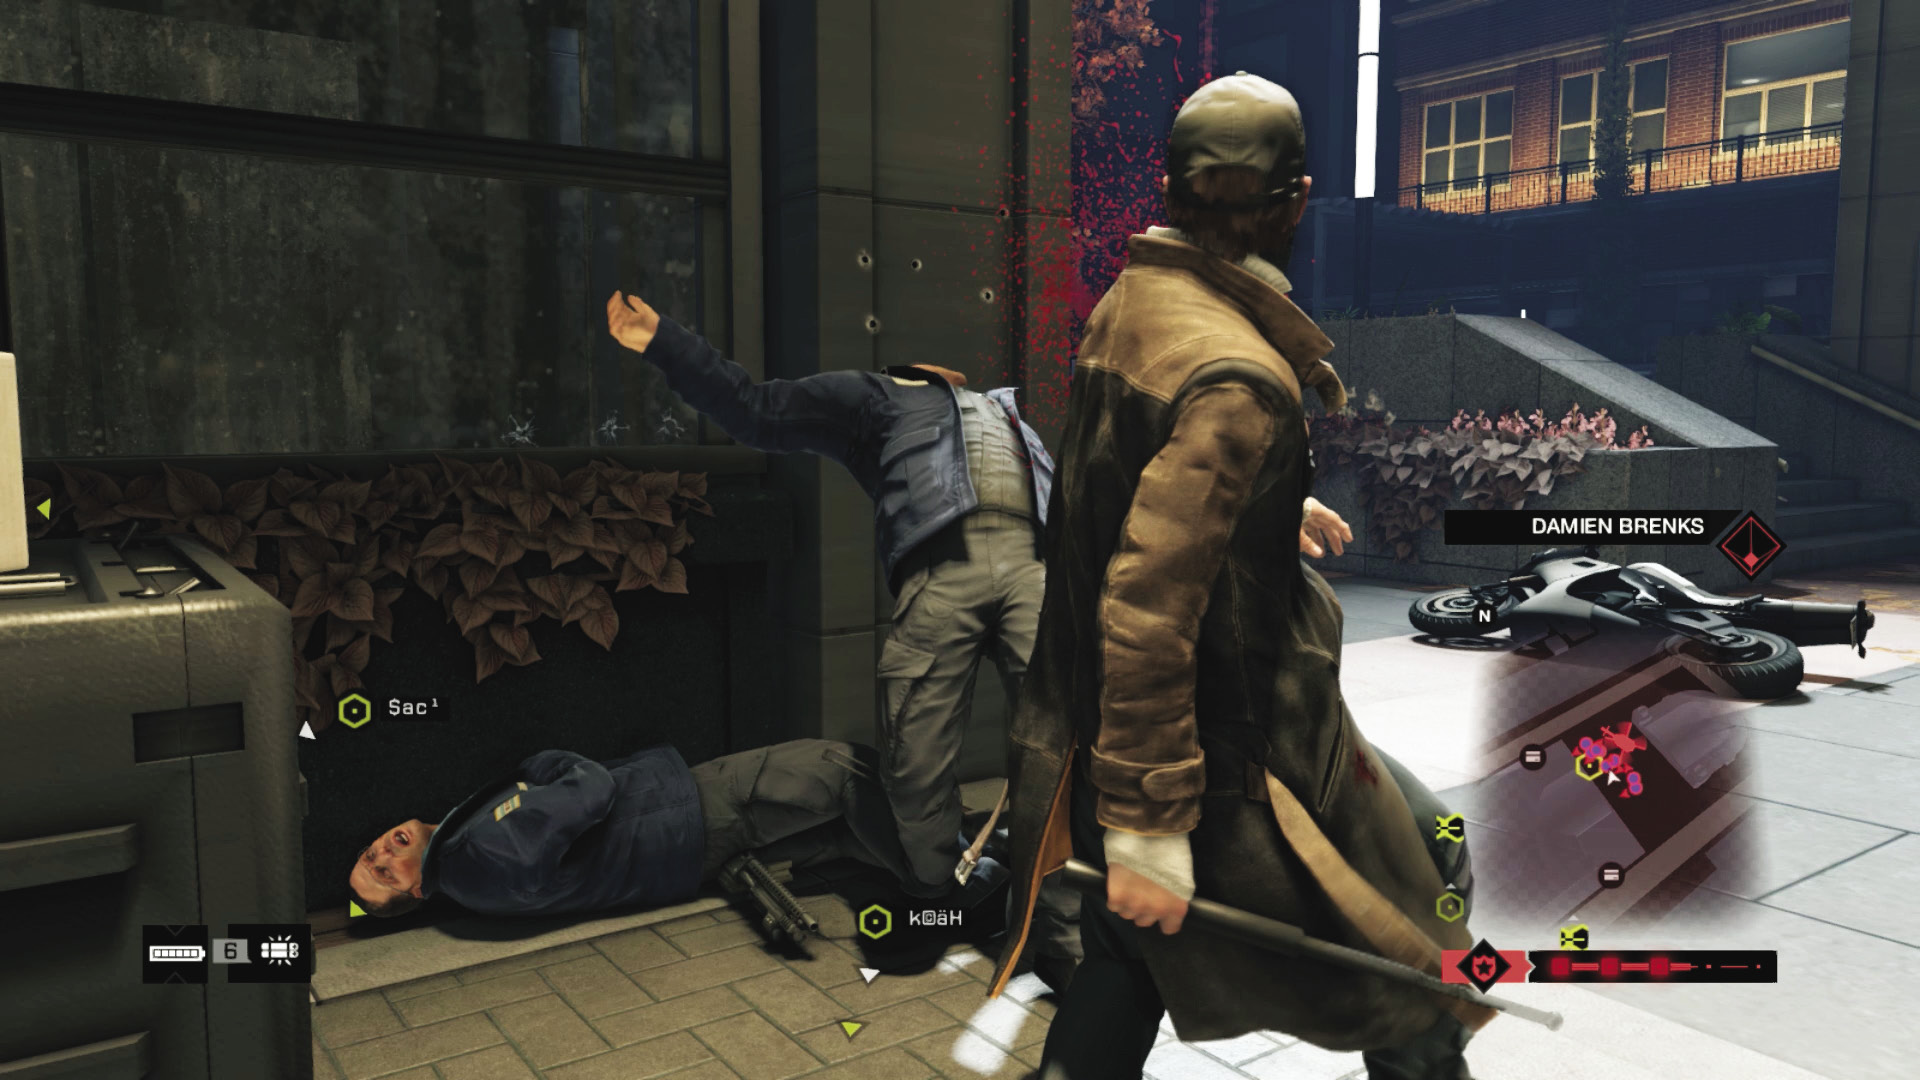
Quickly enter and begin the upload at this point. Then you can try one or more of the following:
Drive or walk to the limit of the upload radius, and prep for an escape; head in the opposite direction to where you entered and where the police are congregating.
Use the shutters and hide inside the glass-walled office on either side of the upload point.
Patrol or hide behind the large number of planters and stepped areas in this vicinity, checking the exits for the lowest number of obstacles.
Use regulators and other hackable objects to thwart any foes.
Climb the planter to get onto the low roof and solar panel area to the southwest, near the scissor lift.
1.5 (LOCATION 2 of 3): PARKING LOT UPLOAD
 Location / Mad Mile // Parking Lot and Storage (West)
Insertion and Extrication Points
This area isn’t likely to have been the focus of any previous investigation. It is at the river mouth in Mad Mile’s southwest corner. Study the following areas of interest.
Parking Lot Perimeter Actions
Accessibility Level: 
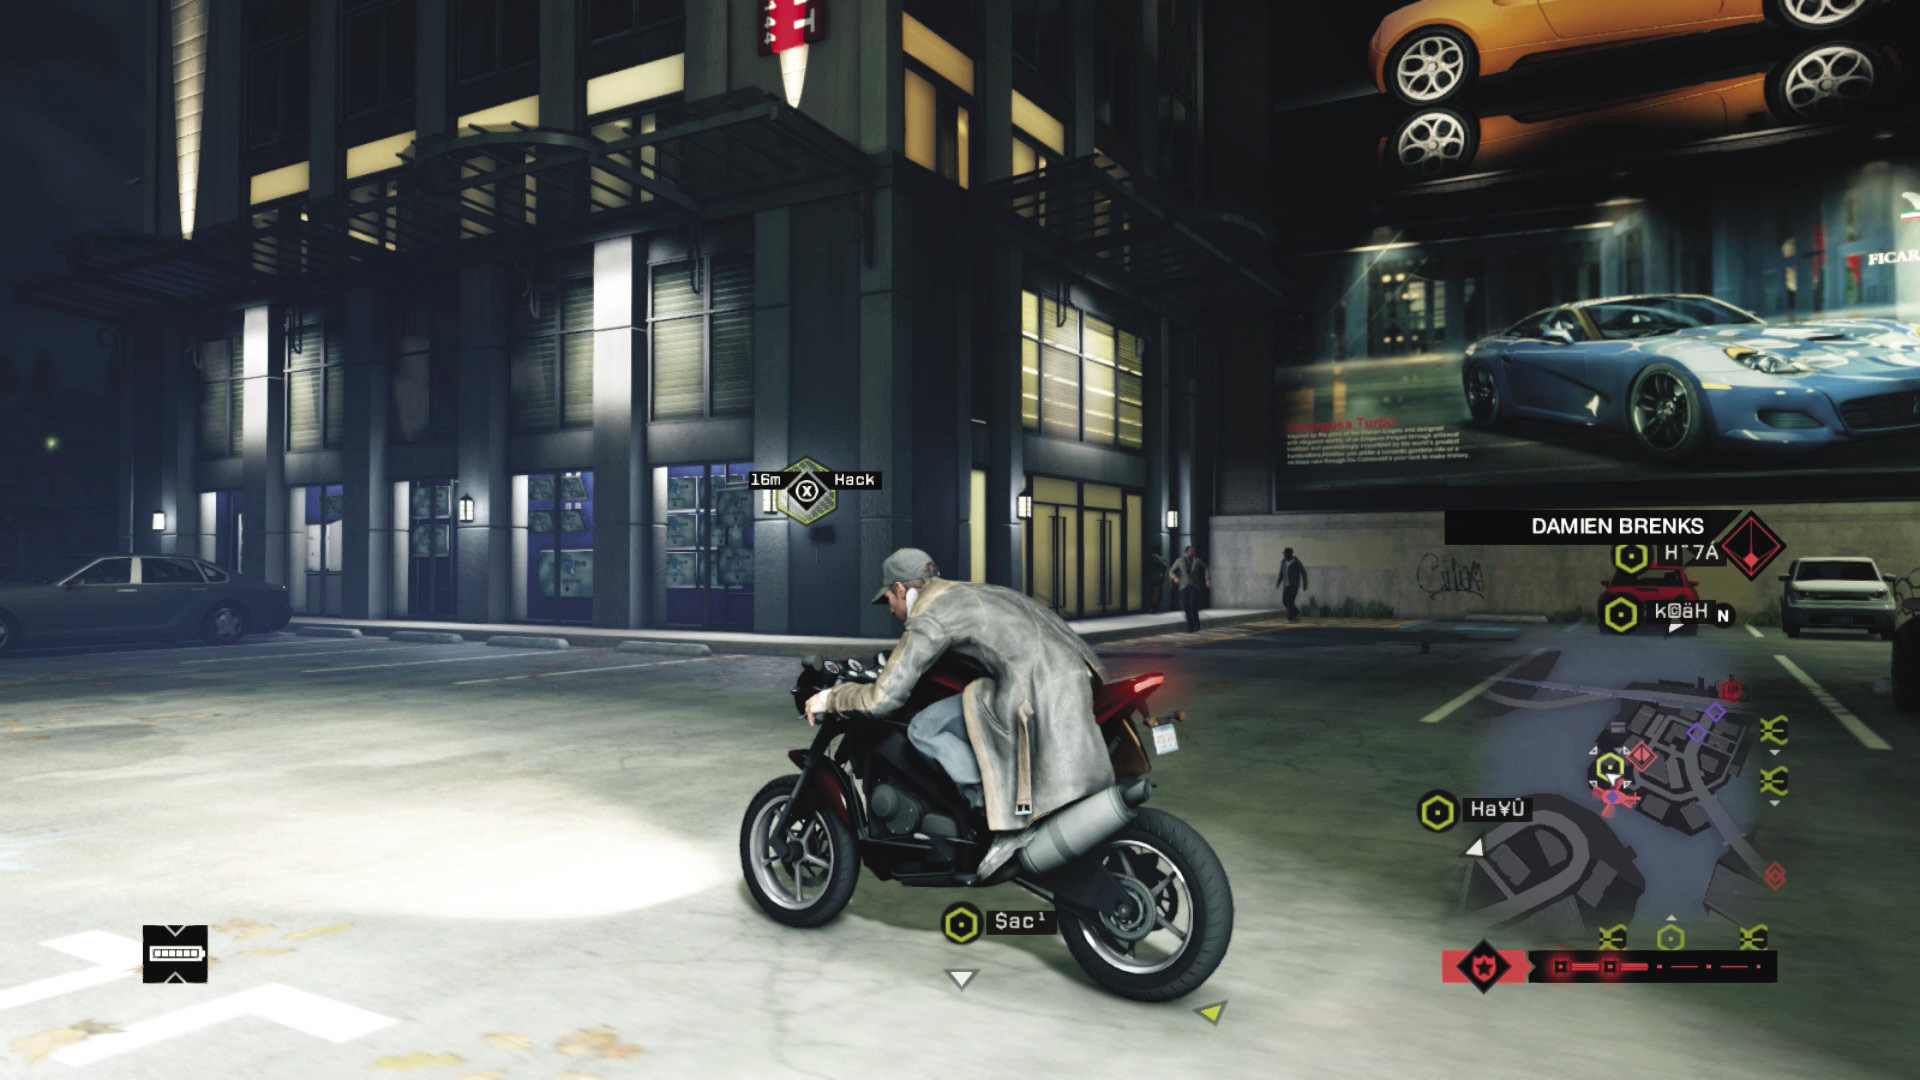
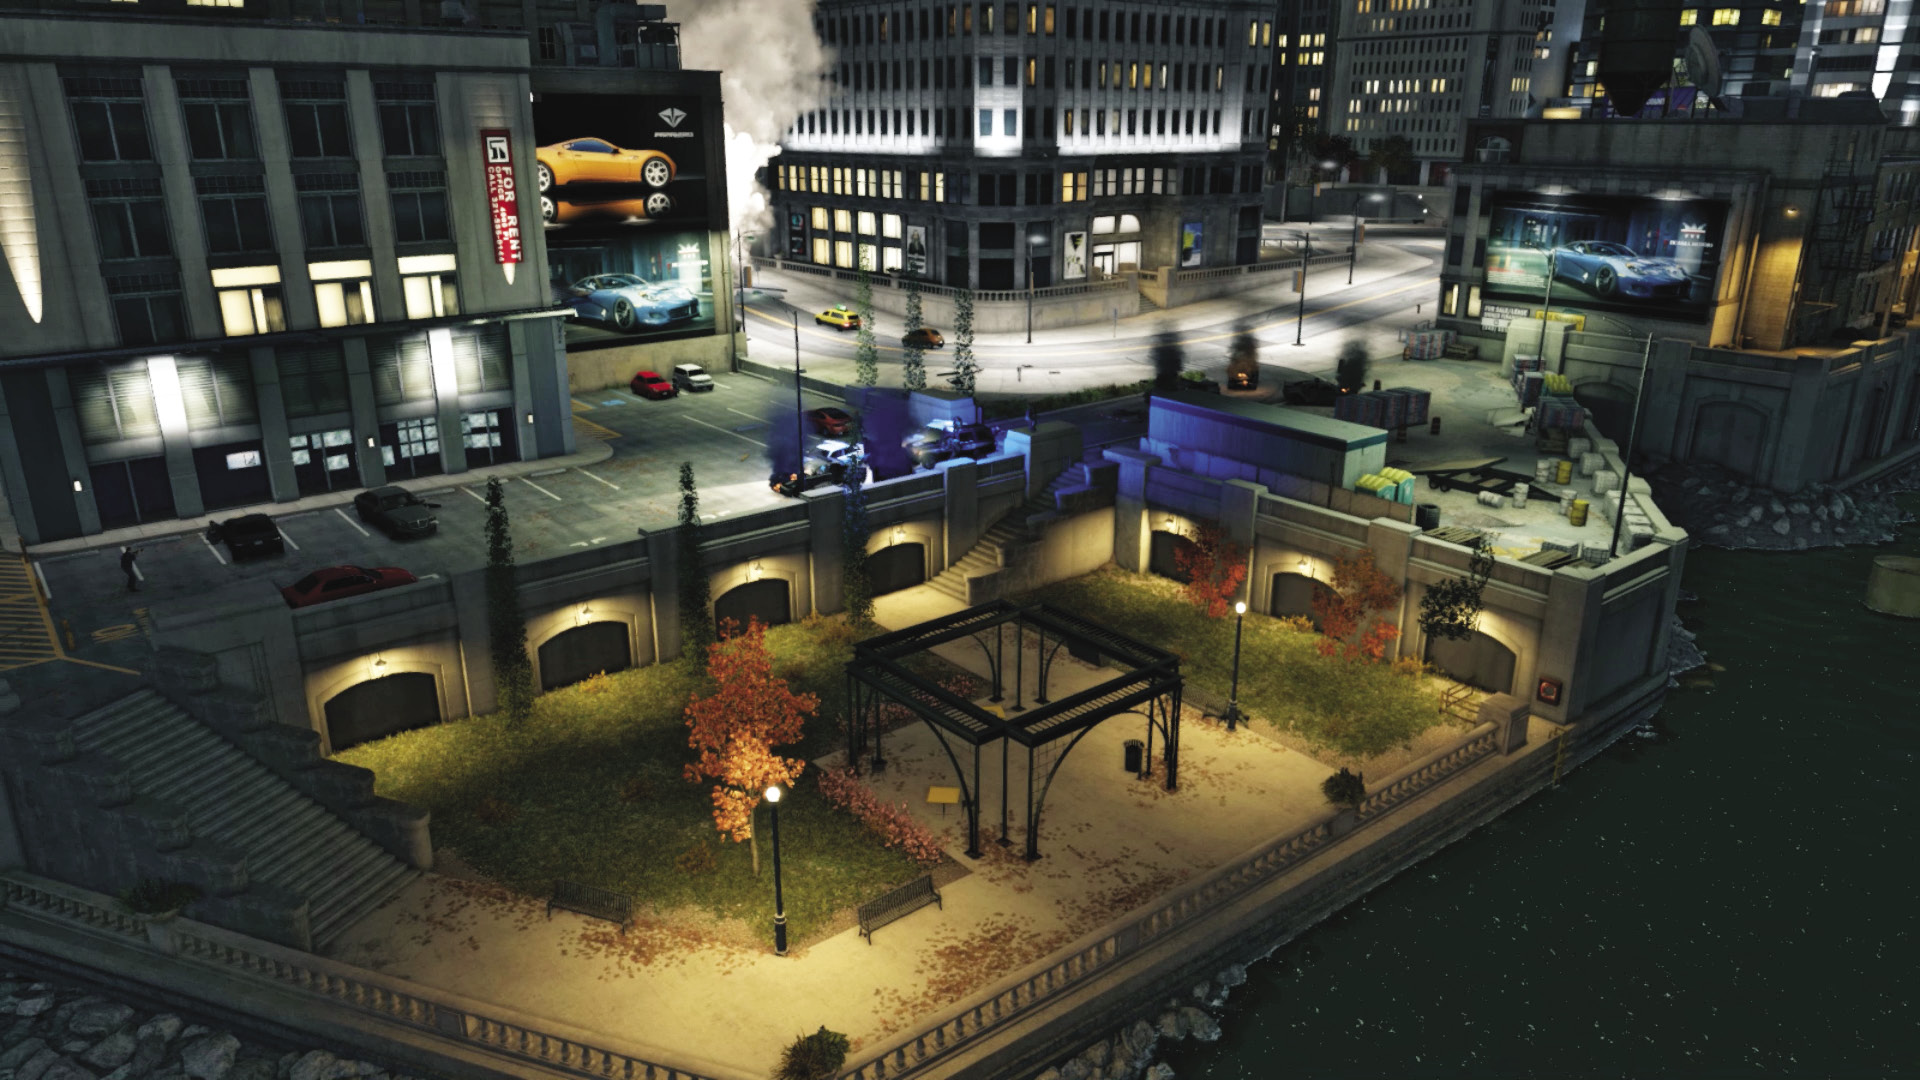
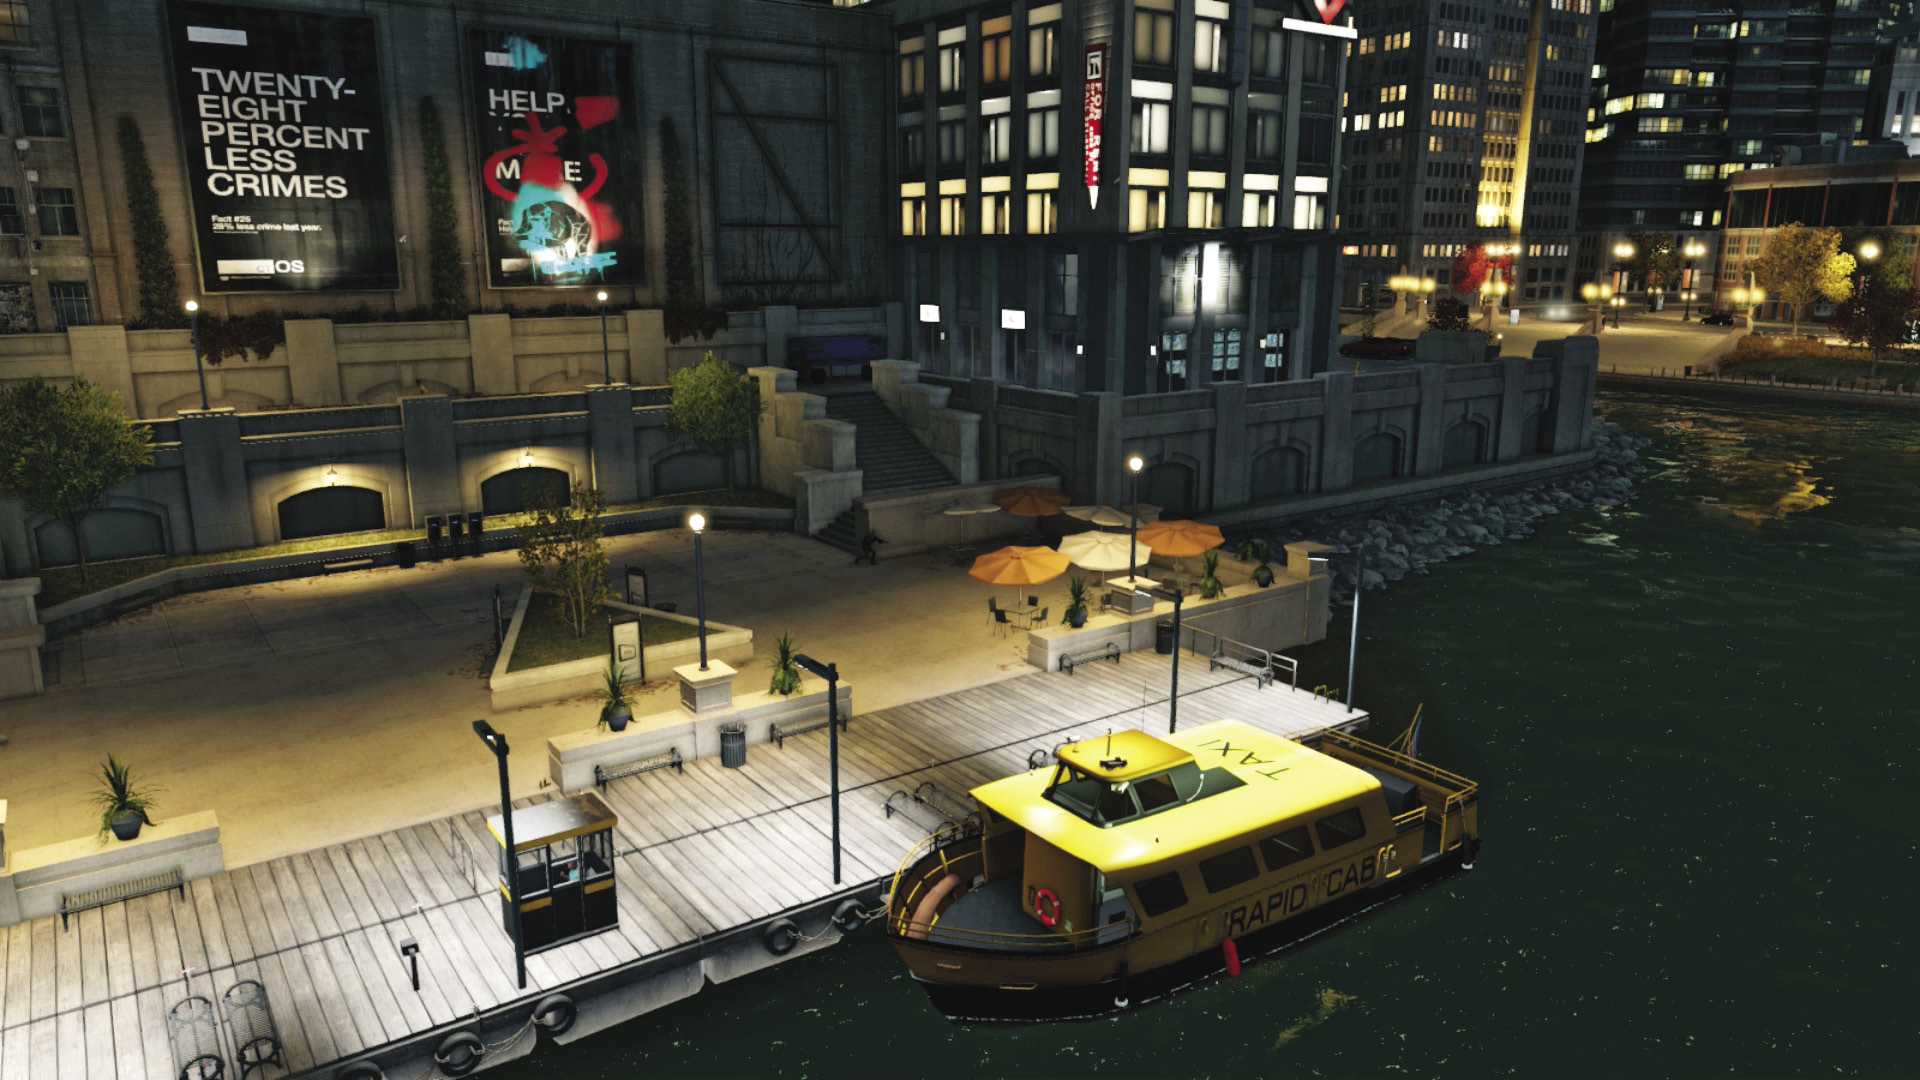
Surrounded to the west and south by water, expect the majority of the police threats to come from the main entrance to the east, with possible intrusions from the north, around the back of the structure by the water’s edge. Be sure to drop the barrier as you enter, raising the spike trap here and in the alley to the north (after the upload starts). If you use the road, don’t forget to remove the spikes before you leave, as driving over them isn’t wise!
River Side (West and South)
Accessibility Level: 
You don’t have to worry about the police arriving as quickly if you take a boat to this location; stop at the boulders by the giant concrete post and use the ladder, or head around to the west and step onto the docks. The low concrete column wall can be tricky to navigate, and while the docks take longer to reach, they are the safer option.
Road Side (East and North)
Accessibility Level:
An access road leads to the parking lot, which is open. The police usually congregate by the spiked barrier here, by the three tall conifer trees. A block to the north is the other entrance and exit, a narrow alley leading to a dock area and a walkway around to the parking lot. Often overlooked, this is helpful to reach, as the police have to exit their vehicles to follow you.
Hiding Spots
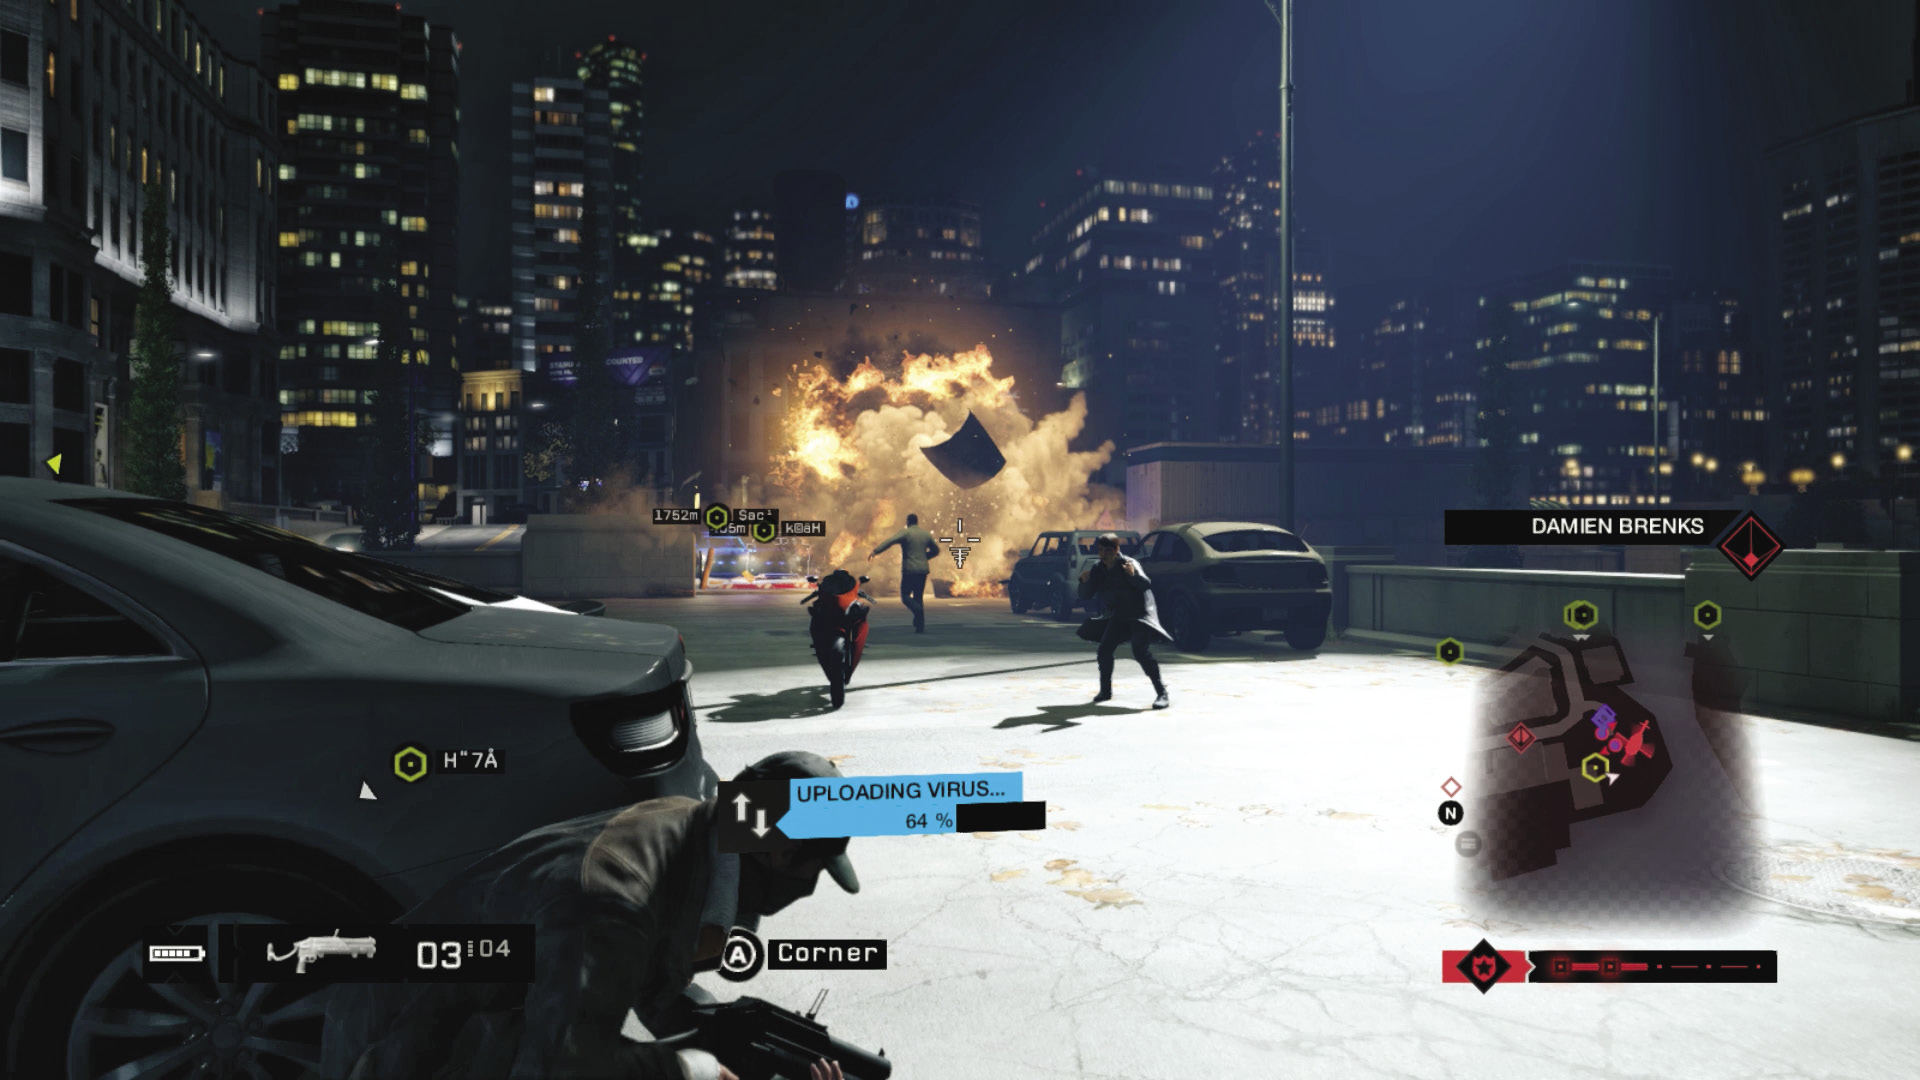
Quickly enter and begin the upload at this point. Then you can try one or more of the following:
Hide behind the parked cars and return fire to the police.
Drive your bike around the corner to the pedestrian walkway overlooking the docks to the west, ready to escape.
Head down (using a bike or on foot) to the lower veranda with the pergola, and hide by the foot of the steps; this offers a good escape option.
Hide behind the construction adjacent to the barrier, near the boulders in the river’s southeast area.
Flee via the north or east roads, or even take a dangerous dash south, accelerating through the mesh fence, up the ramp, and over the river! If you come up short, ditch the vehicle and swim to a boat.
1.6 (LOCATION 3 of 3): LOOP CONTROL CENTER UPLOAD
 Location / The Loop // ctOS Control Center
Insertion and Extrication Points
This was the ctOS control center for the Loop, and you should have previous knowledge of this area. Study the following areas of interest.
ctOS Control Center Perimeter Actions
Accessibility Level: 
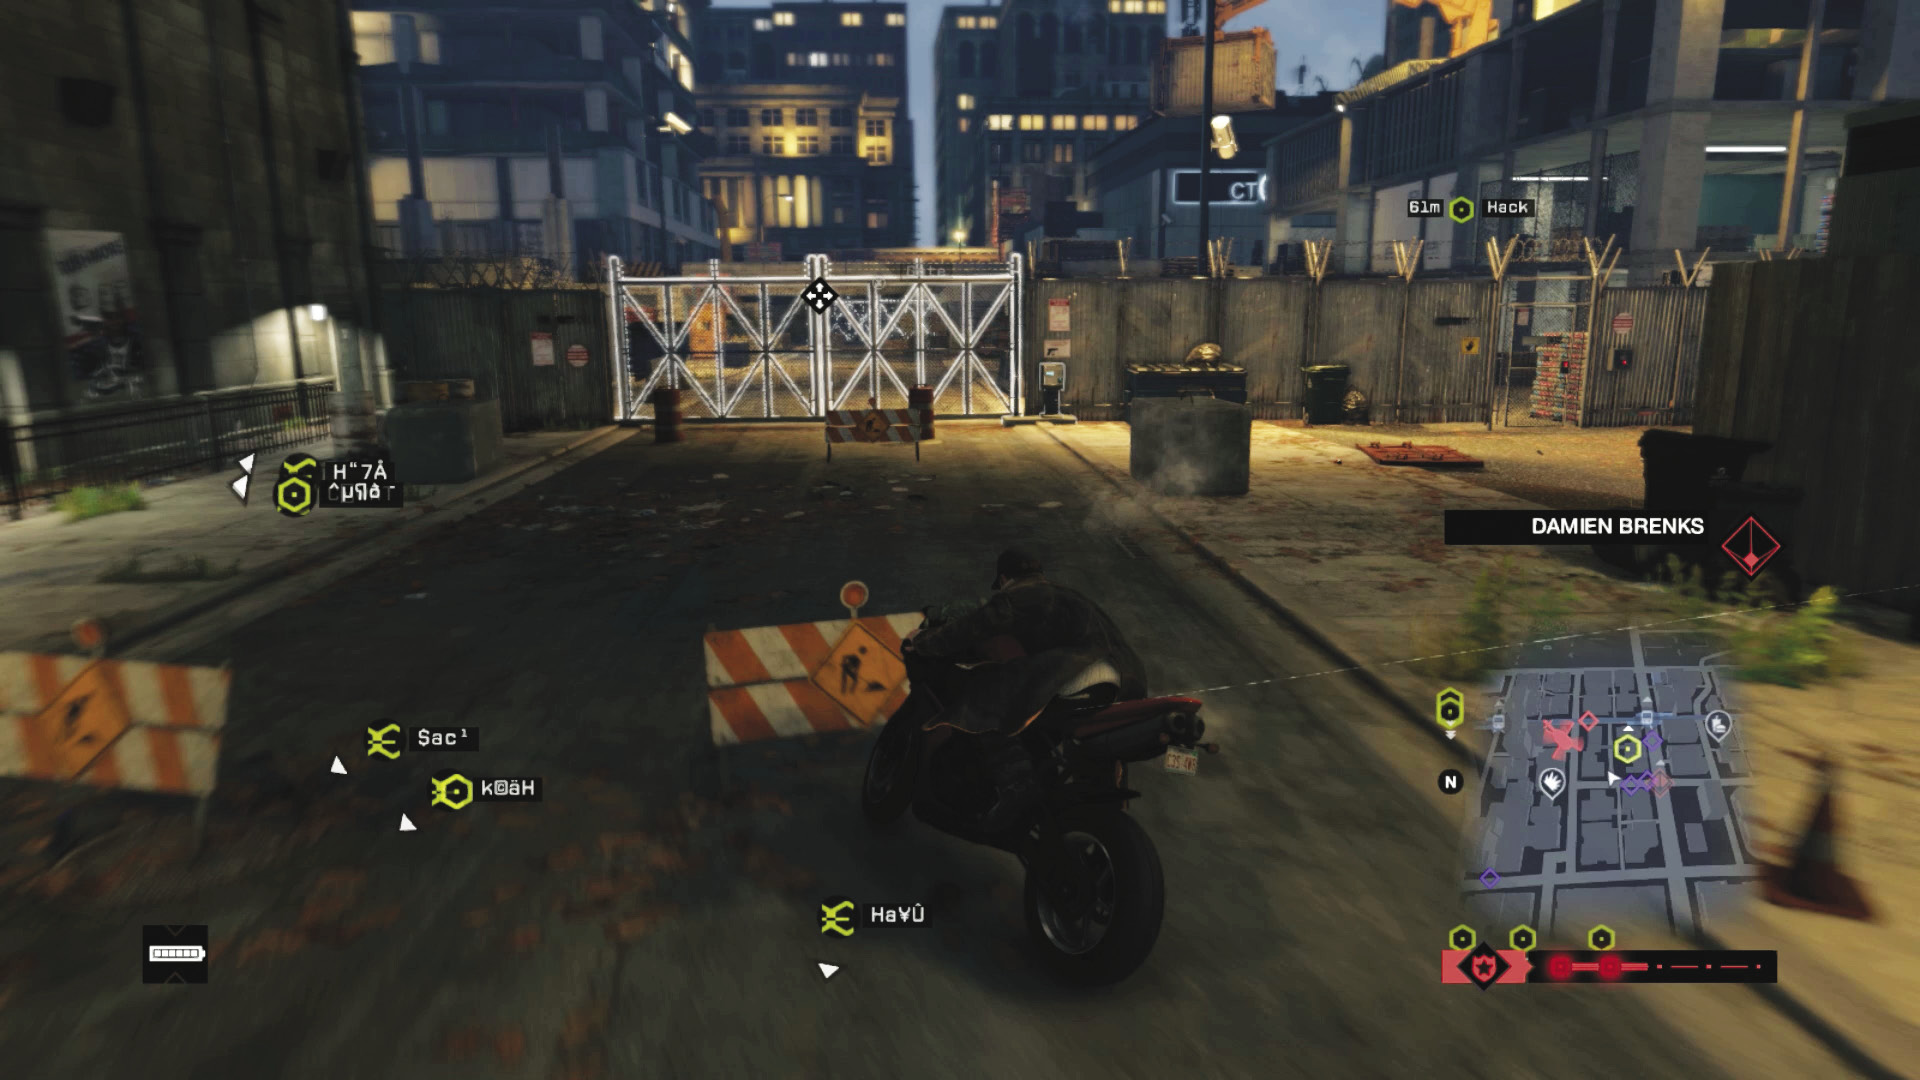
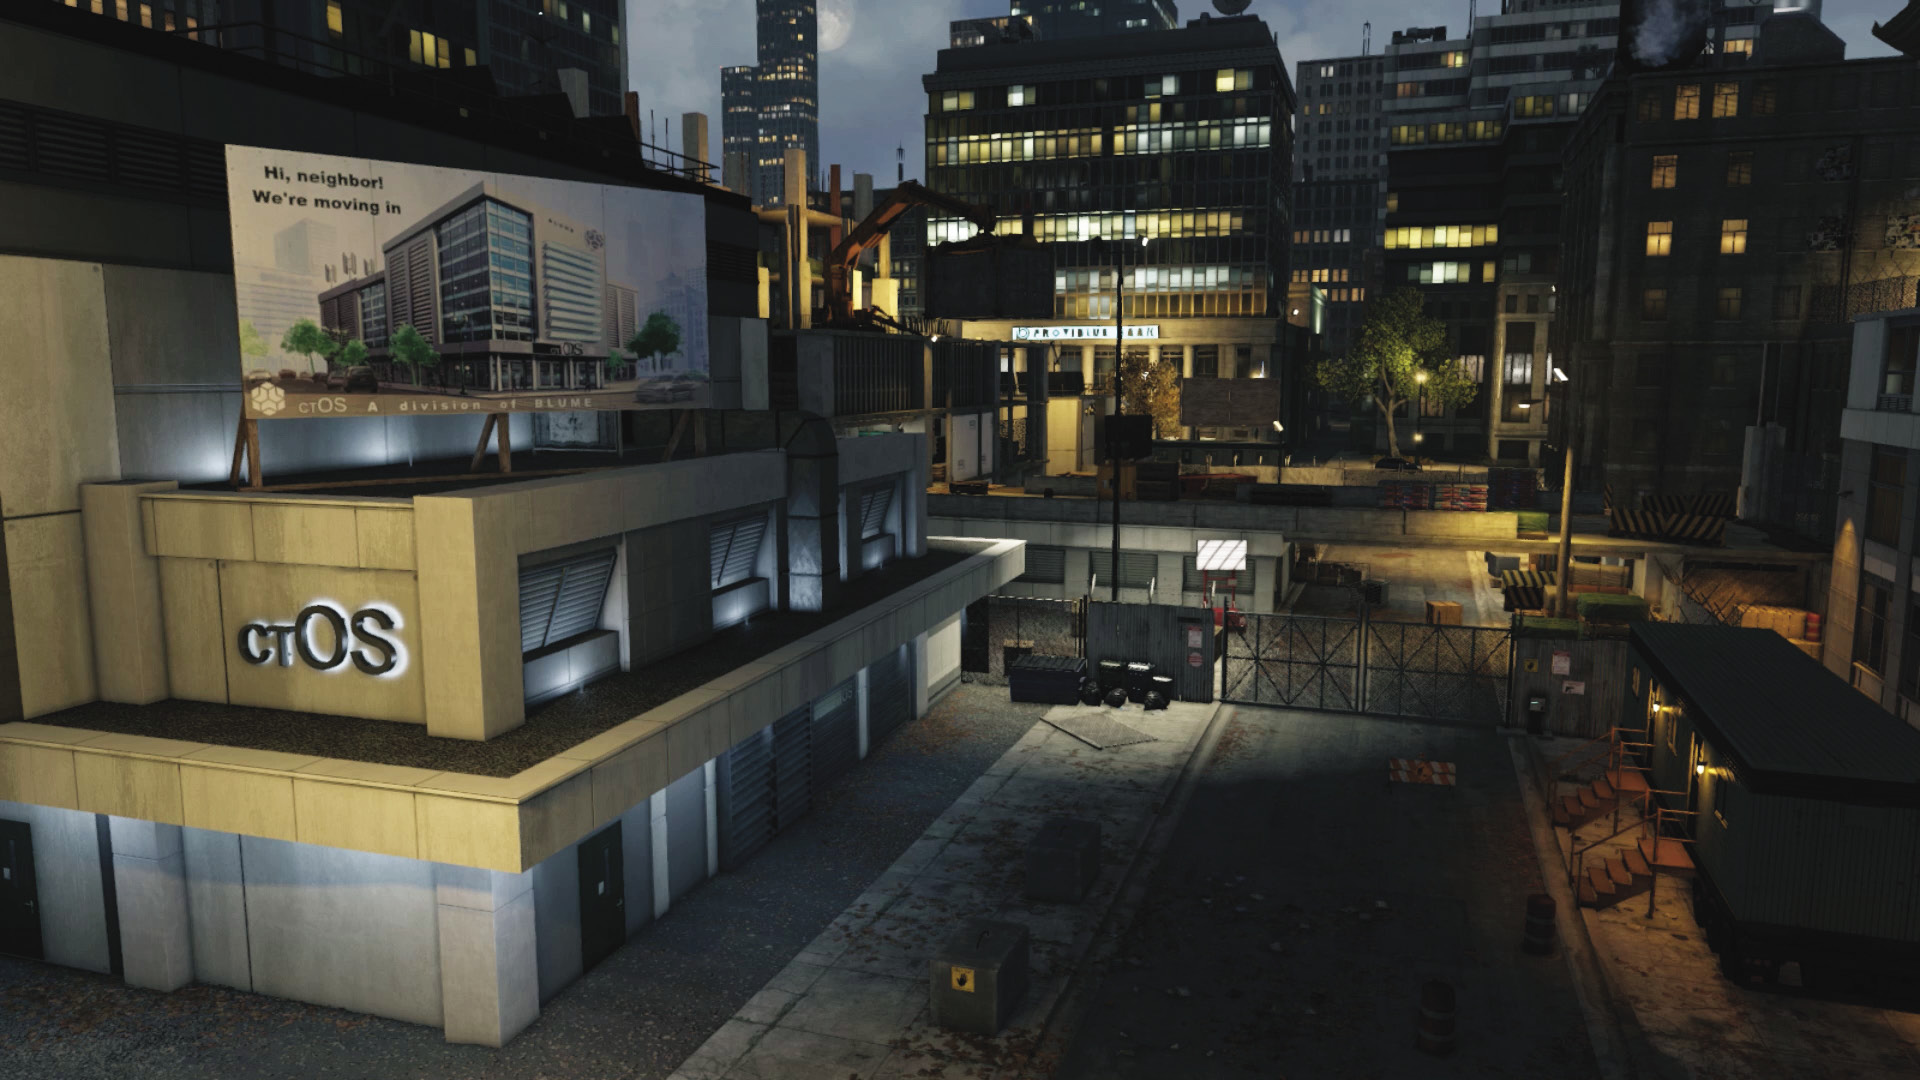
Your first ctOS infiltration point is still under construction and has three possible entrances. There is also an exit through the windows along the south wall, once the upload has occurred. There are enough places to hide within the yard and interior to help forgo any fierce firefighting.
Western Entrance Gate and Door
Accessibility Level: 
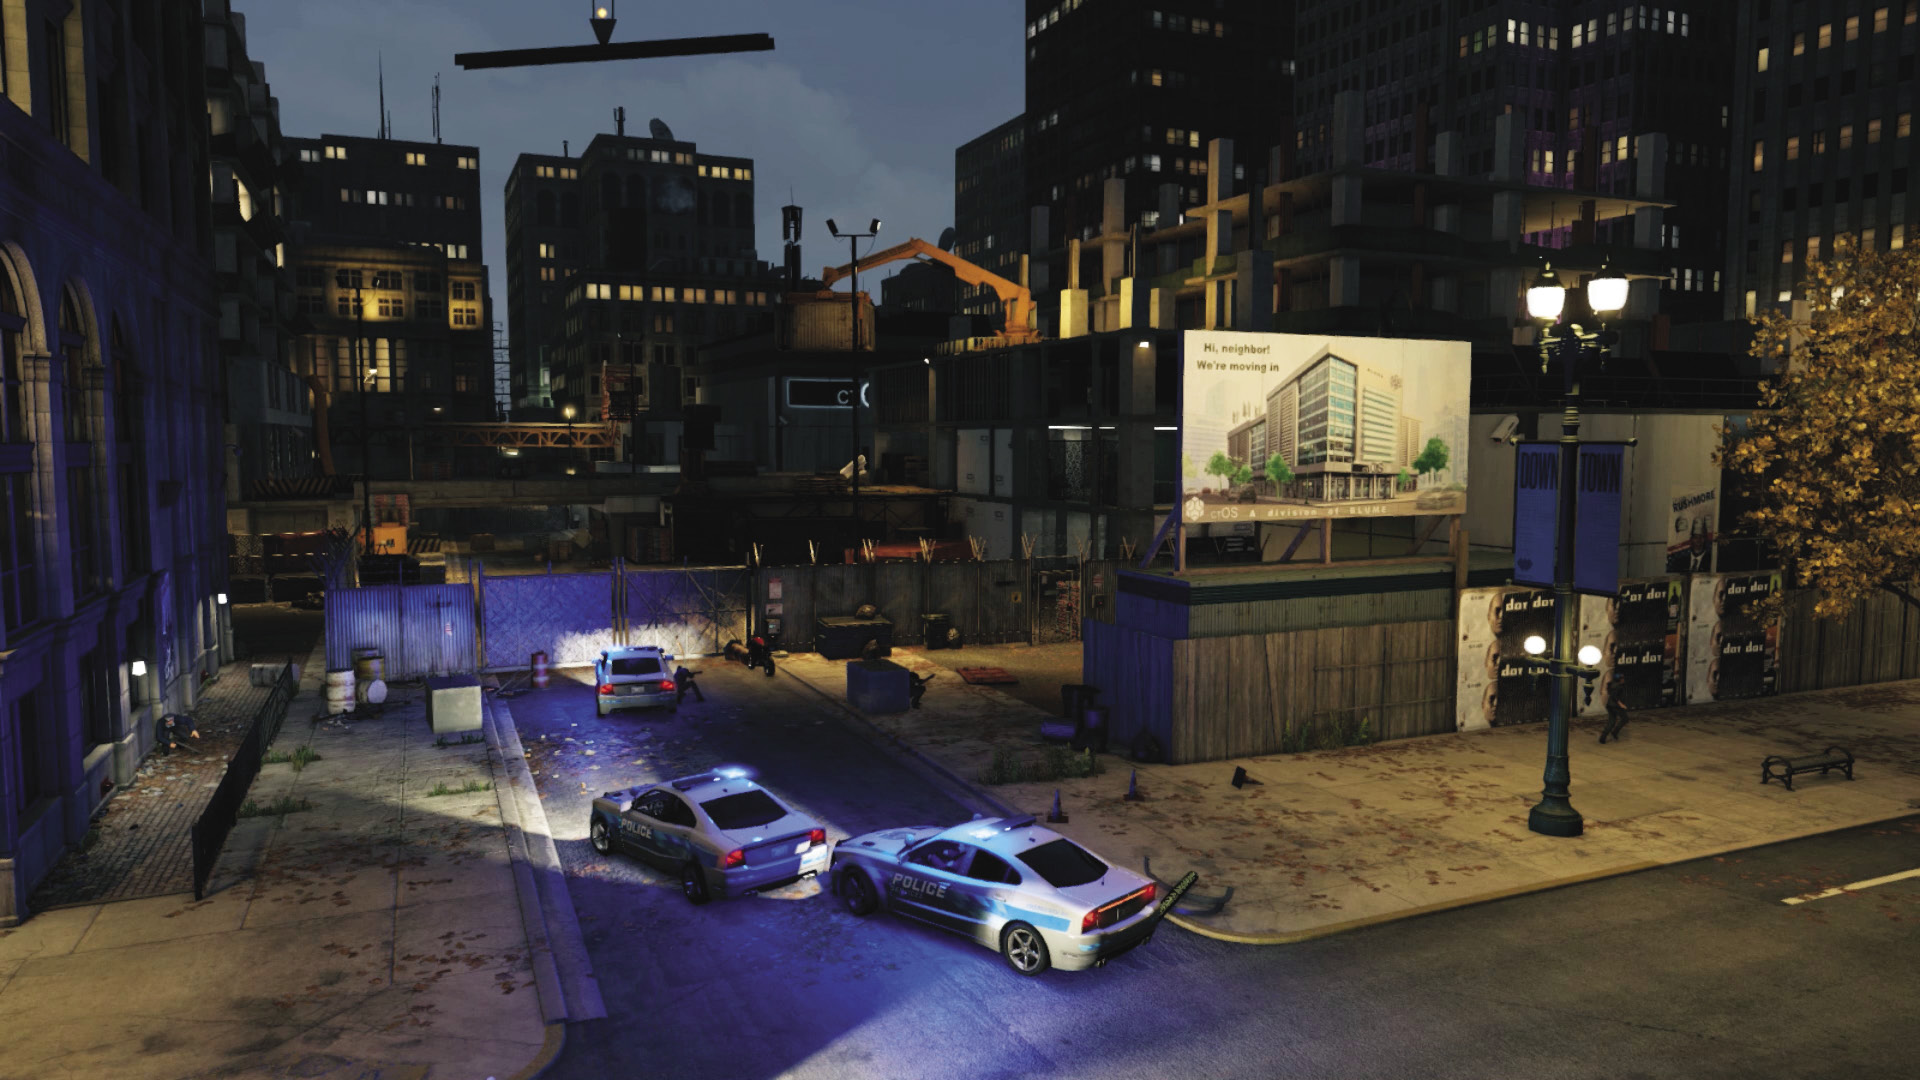
Hack the gate, or use the mesh door to the left (around the corner) or the right to access the interior of this construction site. This is the preferred entrance point, as it’s easy to reach from the street and allows quick access into the building and the upload point.
North Bridge Entrance
Accessibility Level: 
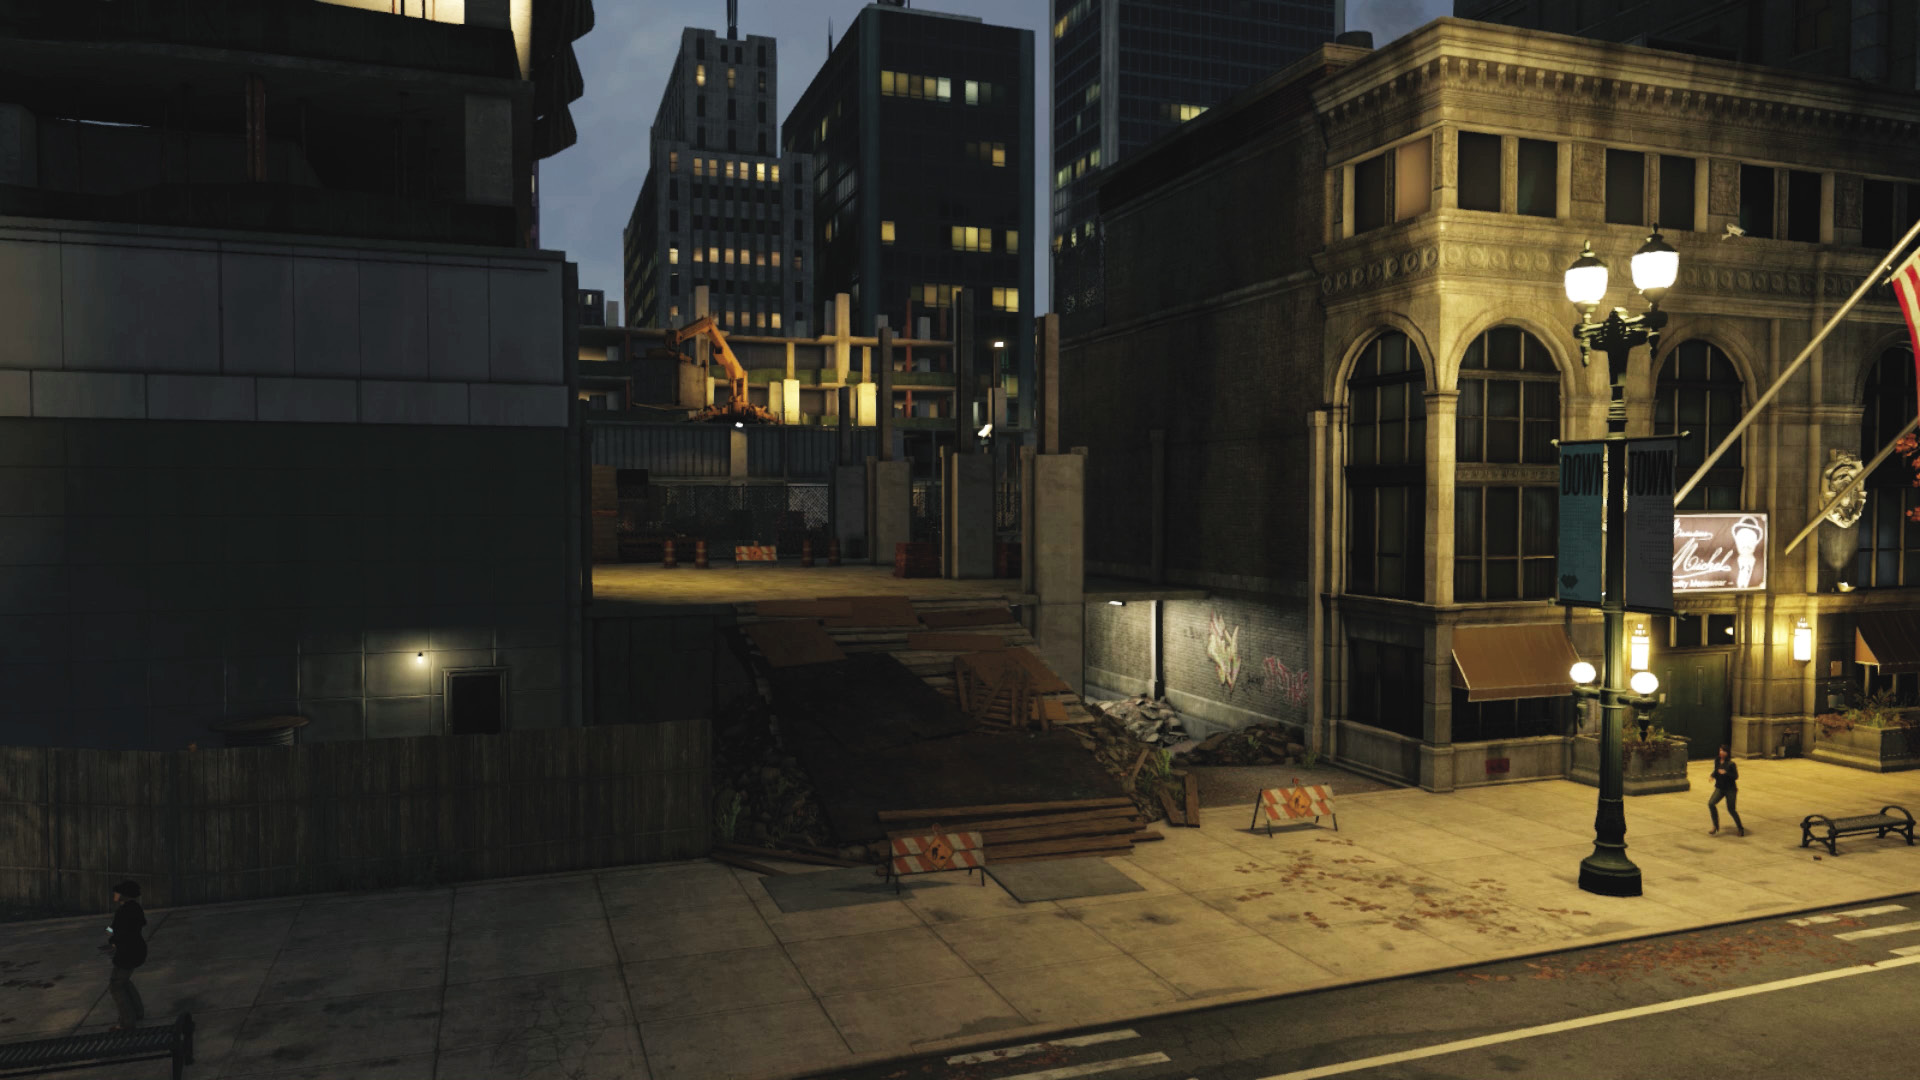
Although you may miss the entrance from the street, this ramped area allows the quickest access to the bridge. The upload point is on the opposite side, just inside the building under construction. You can also fan out to ground-level access points more easily from here, depending on where the police are heading in from.
Eastern Entrance Gate
Accessibility Level: 
If you’re using the L-train to hinder the police helicopter and help maintain your freedom, scoot in here (this is the easiest route to take without relying on your GPS). Though you’ll need to climb to reach the bridge, or cross under the bridge to reach the steps to the building interior, there’s some excellent cover potential.
Hiding Spots
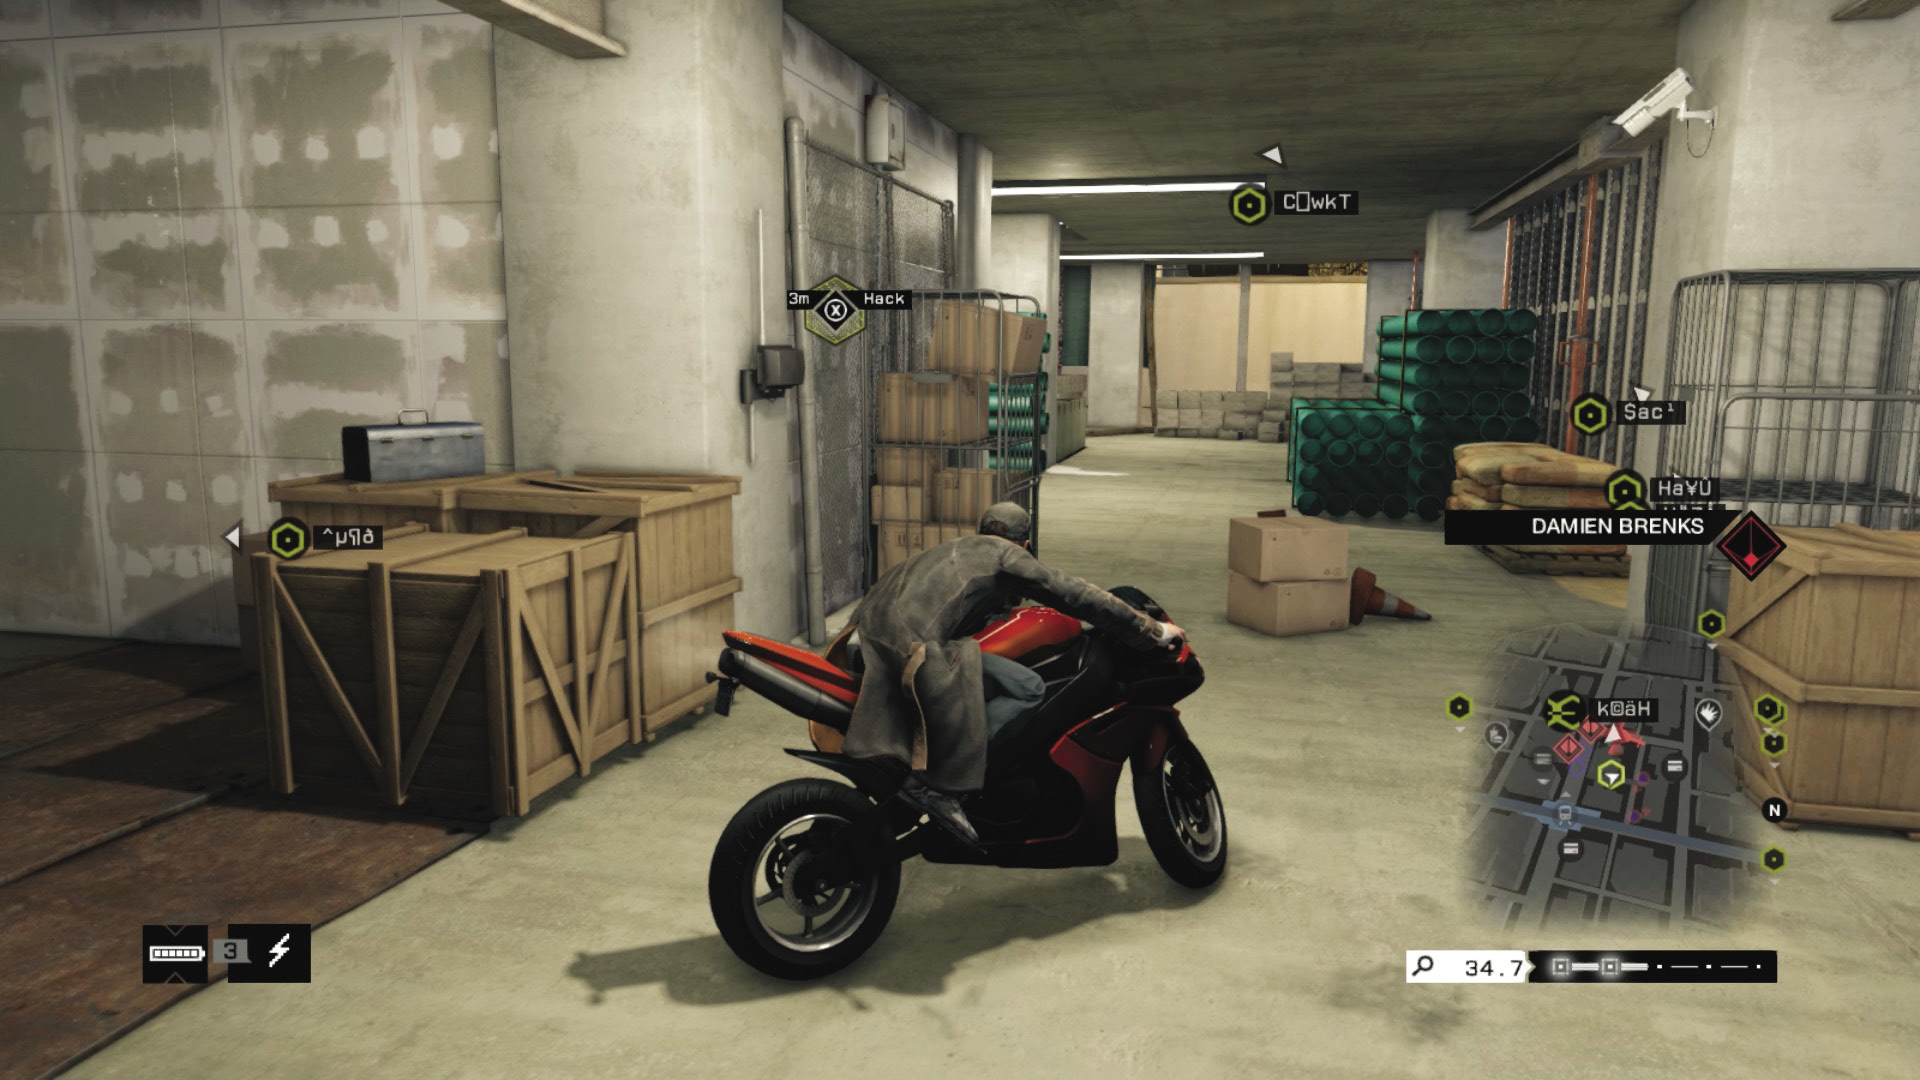
Quickly enter and begin the upload at this point. Then you can try one or more of the following:
If you’re entering by either gate, close them behind you to waylay the police.
Drive up to this point on your bike, then position yourself toward the south windows or toward one of the yard gates, ready to escape (either on foot or riding).
There are many concrete pillars and pieces of construction equipment to hide behind, ideally inside the building to minimize police interference during the upload.
You can be on the ground floor, hiding behind pallets or inside open containers, waiting for the opportunity to bolt.
1.7 NO LIGHTS, BIG CITY
 Location / Mad Mile // Bower Tower
 Location / The Loop // Windy City Lighthouse
|
|
 Shut down ctOS
 Use a boat to reach Damien at the lighthouse
 (Optional) Lose any pursuers before hacking into ctOS
 Infiltration
 Driving Infiltration
 Data Hack
Difficulty: 
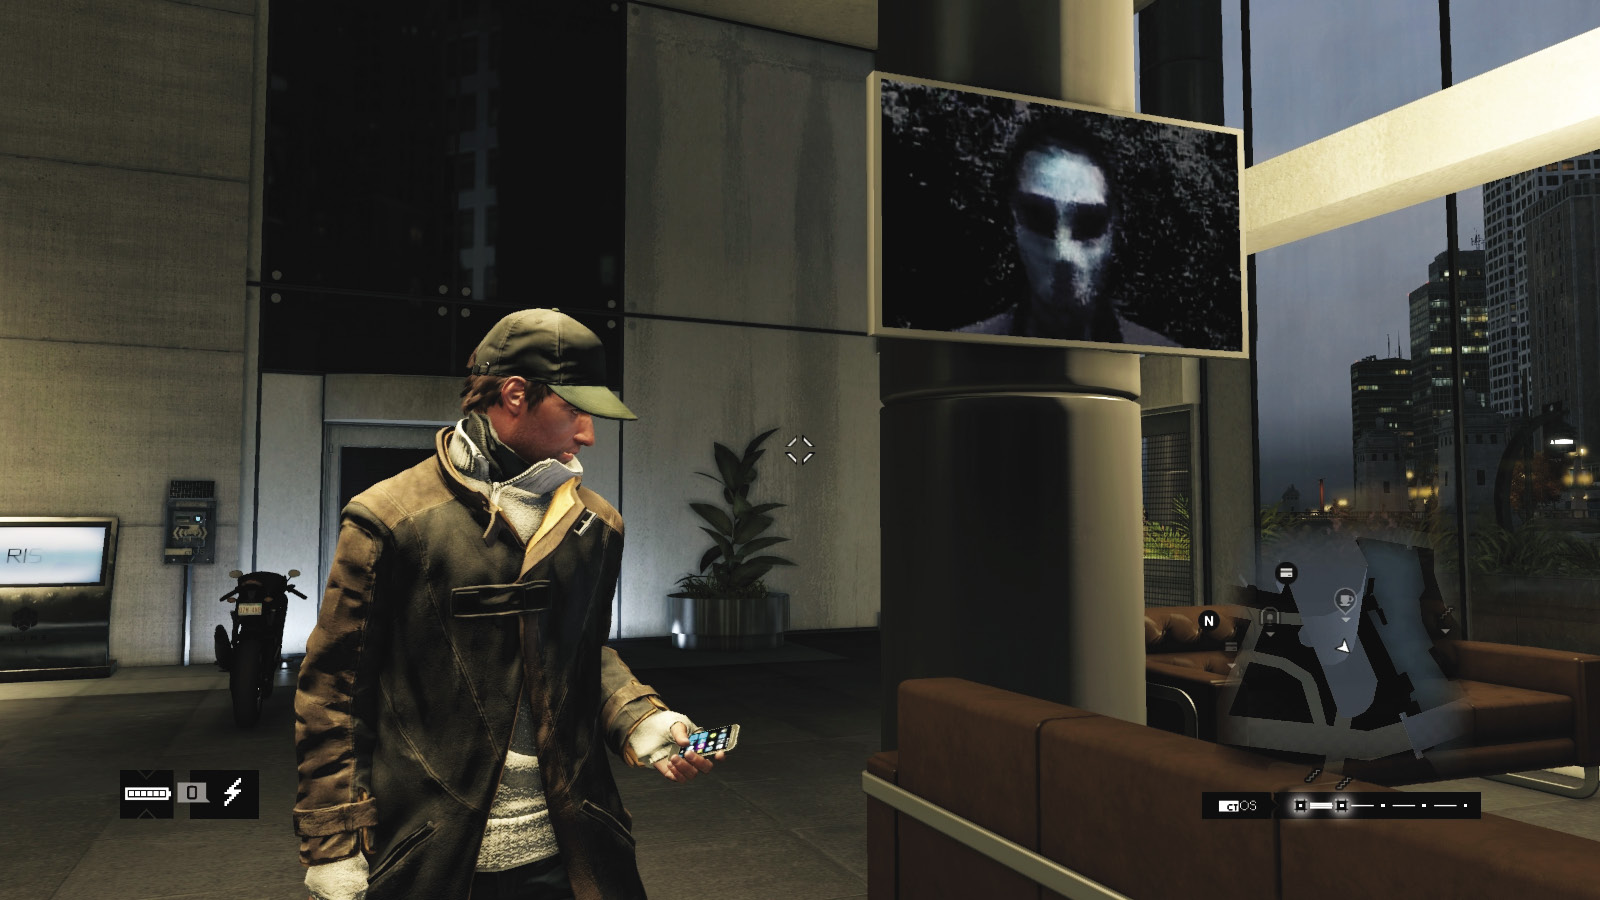
Once the police threat is over, the tide seems at last to be turning. Drive (or pilot your boat) back to the Bower Tower foyer. Now Damien no longer has control over the ctOS infrastructure, escape the police as normal (completing your optional objective), and access the same security router that you did earlier in this mission. After talking with DedSec, you’re presented with two hotspots to hack, the latter of which is particularly straightforward and offers the ultimate view of ctOS’s data flow tendrils!
Solution: Hotspot 1
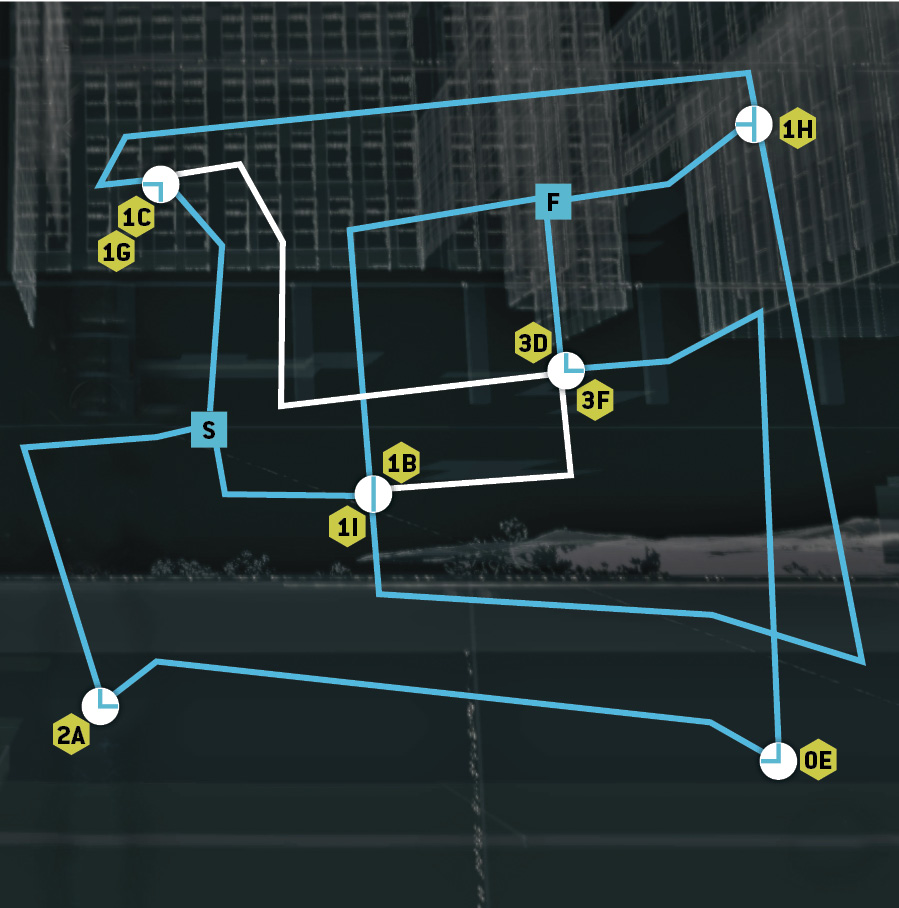
Solution: Hotspot 2
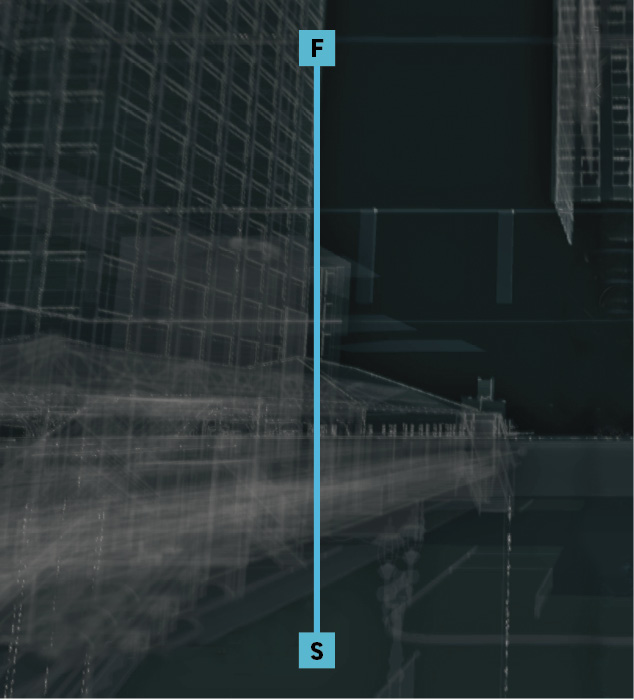
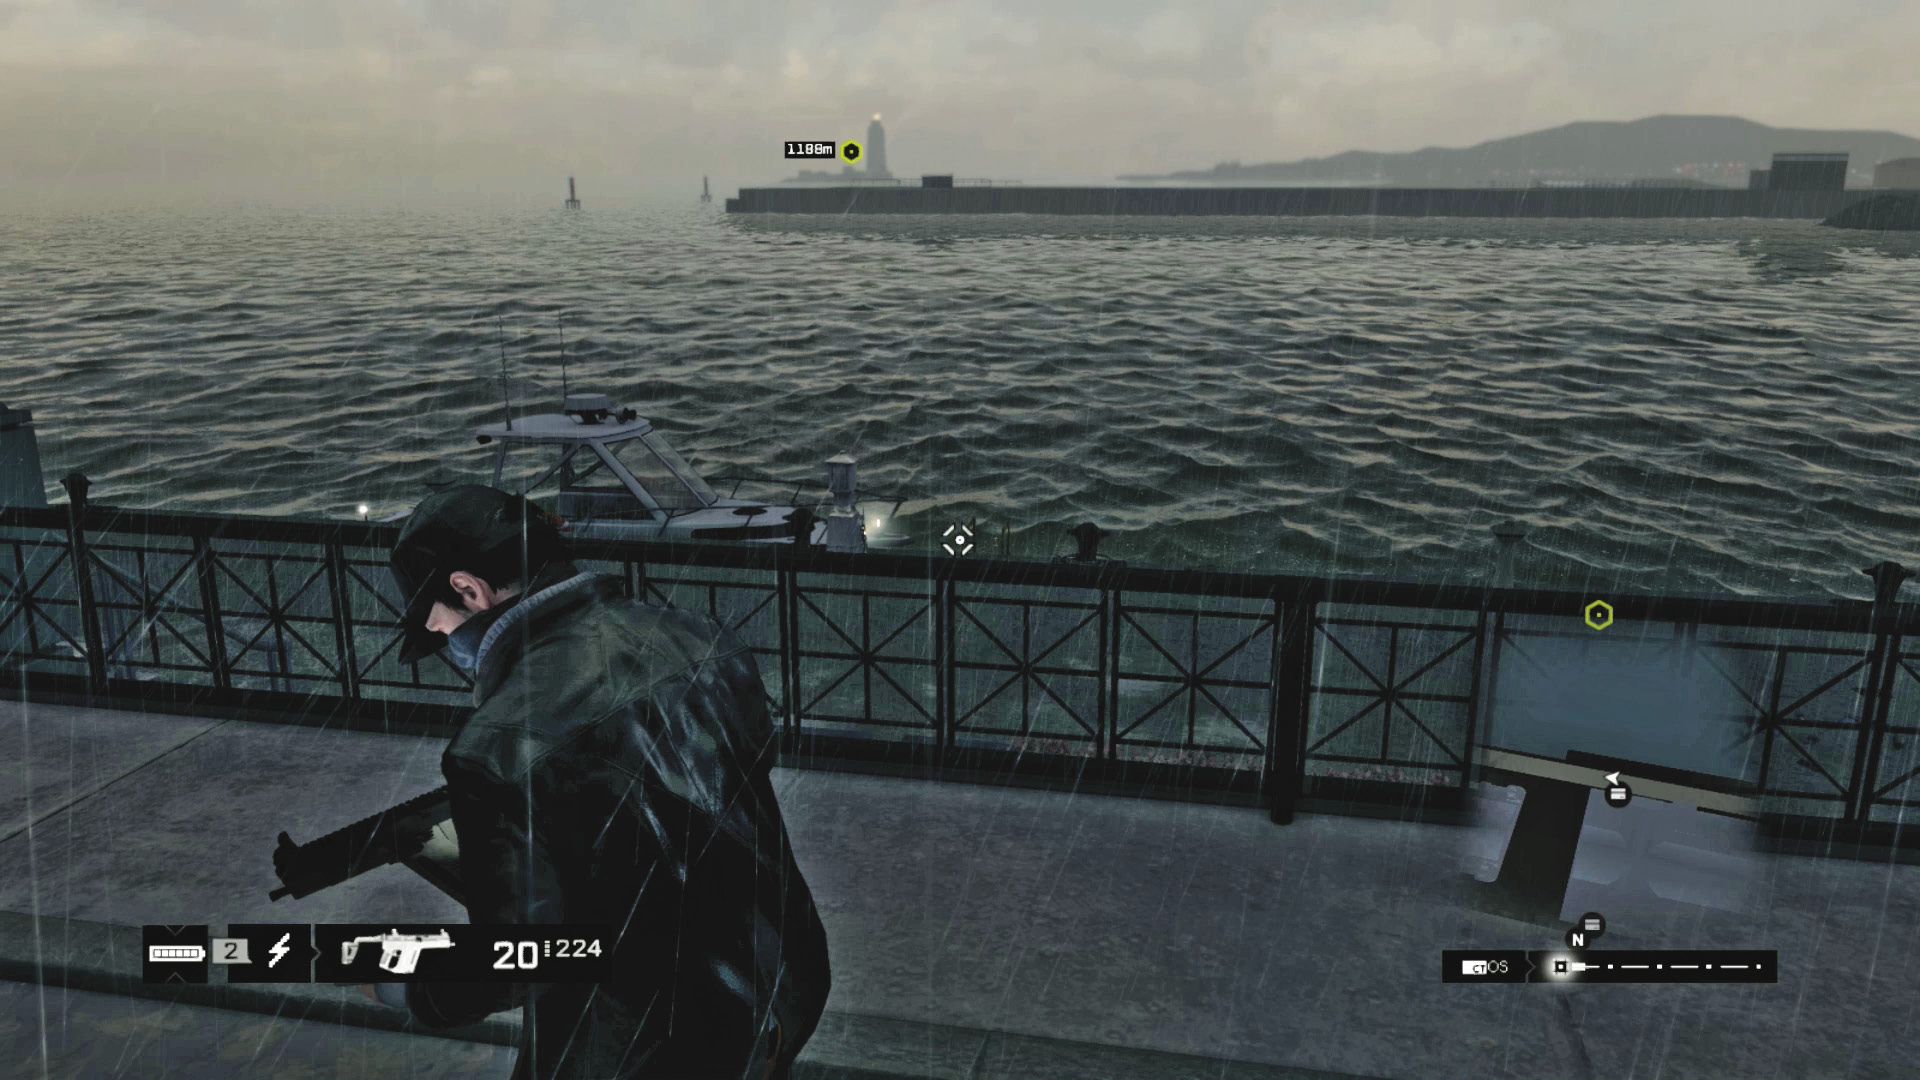
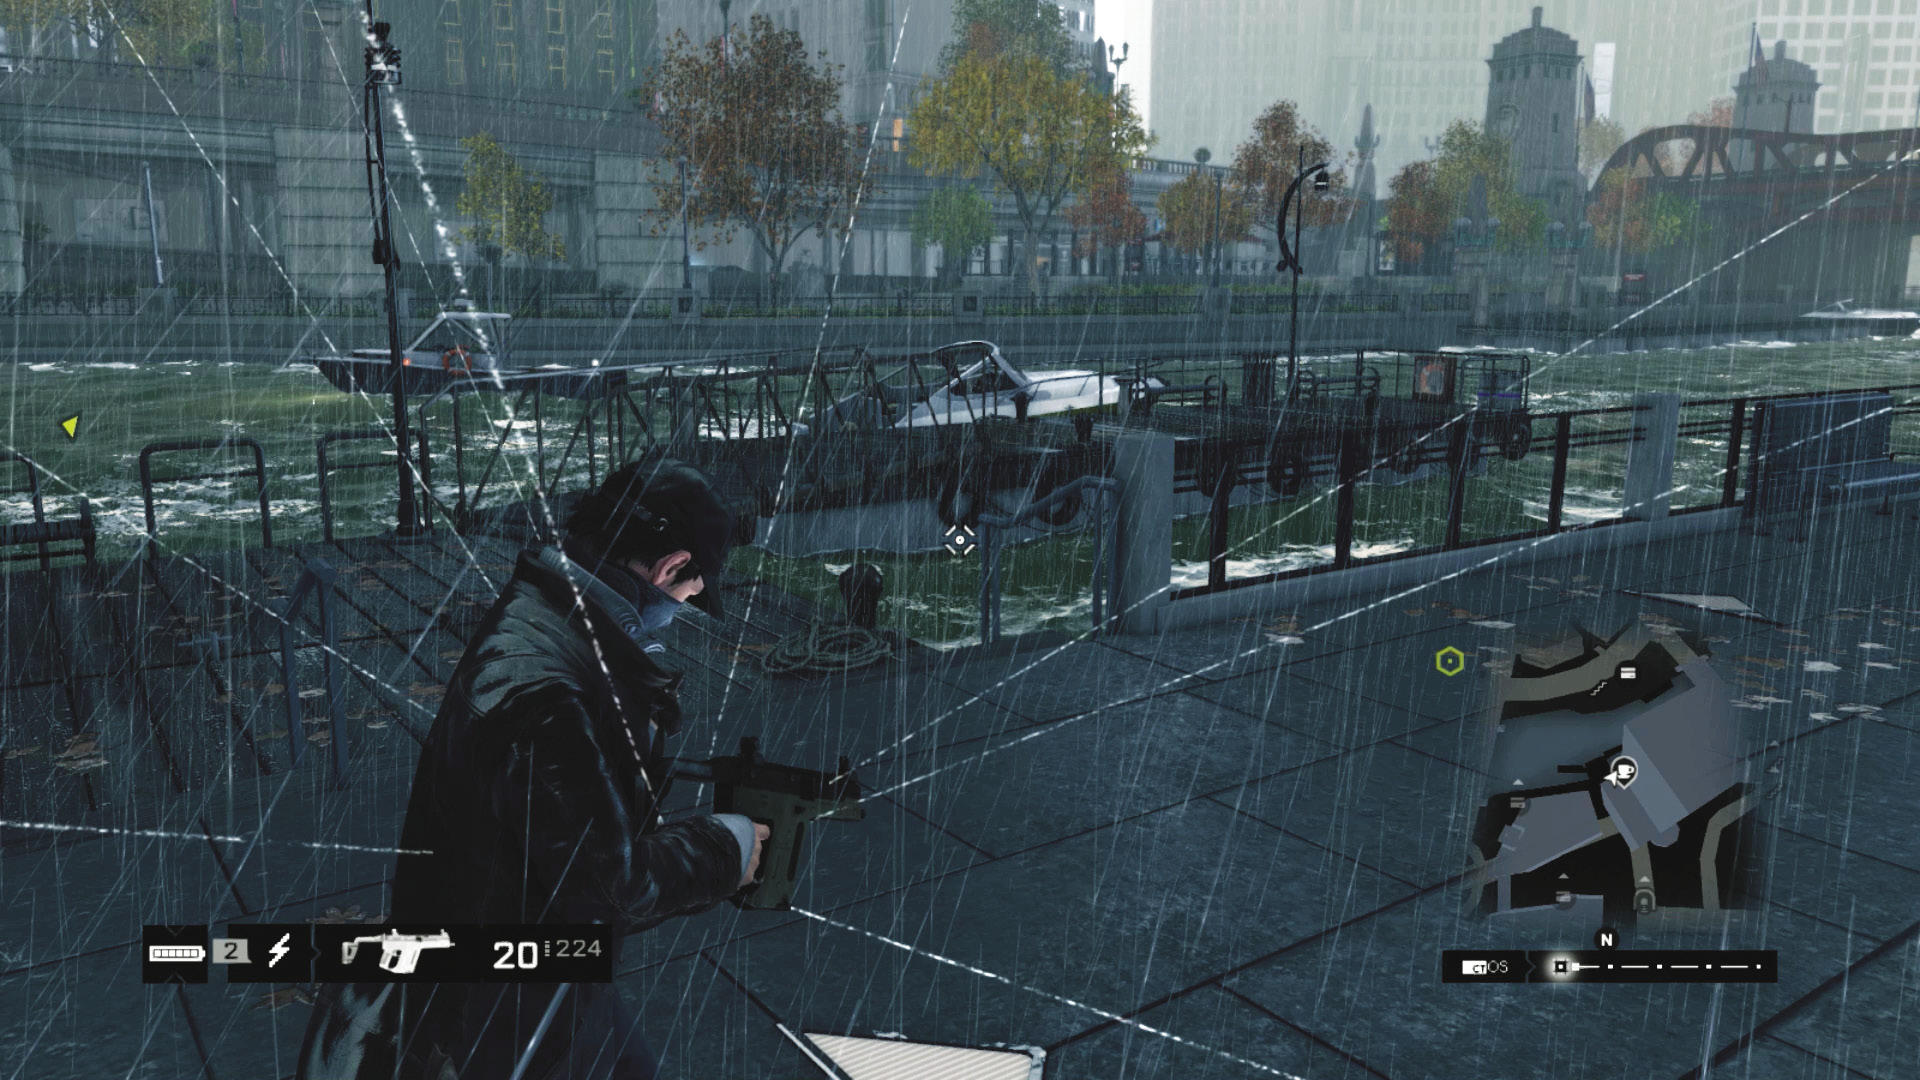
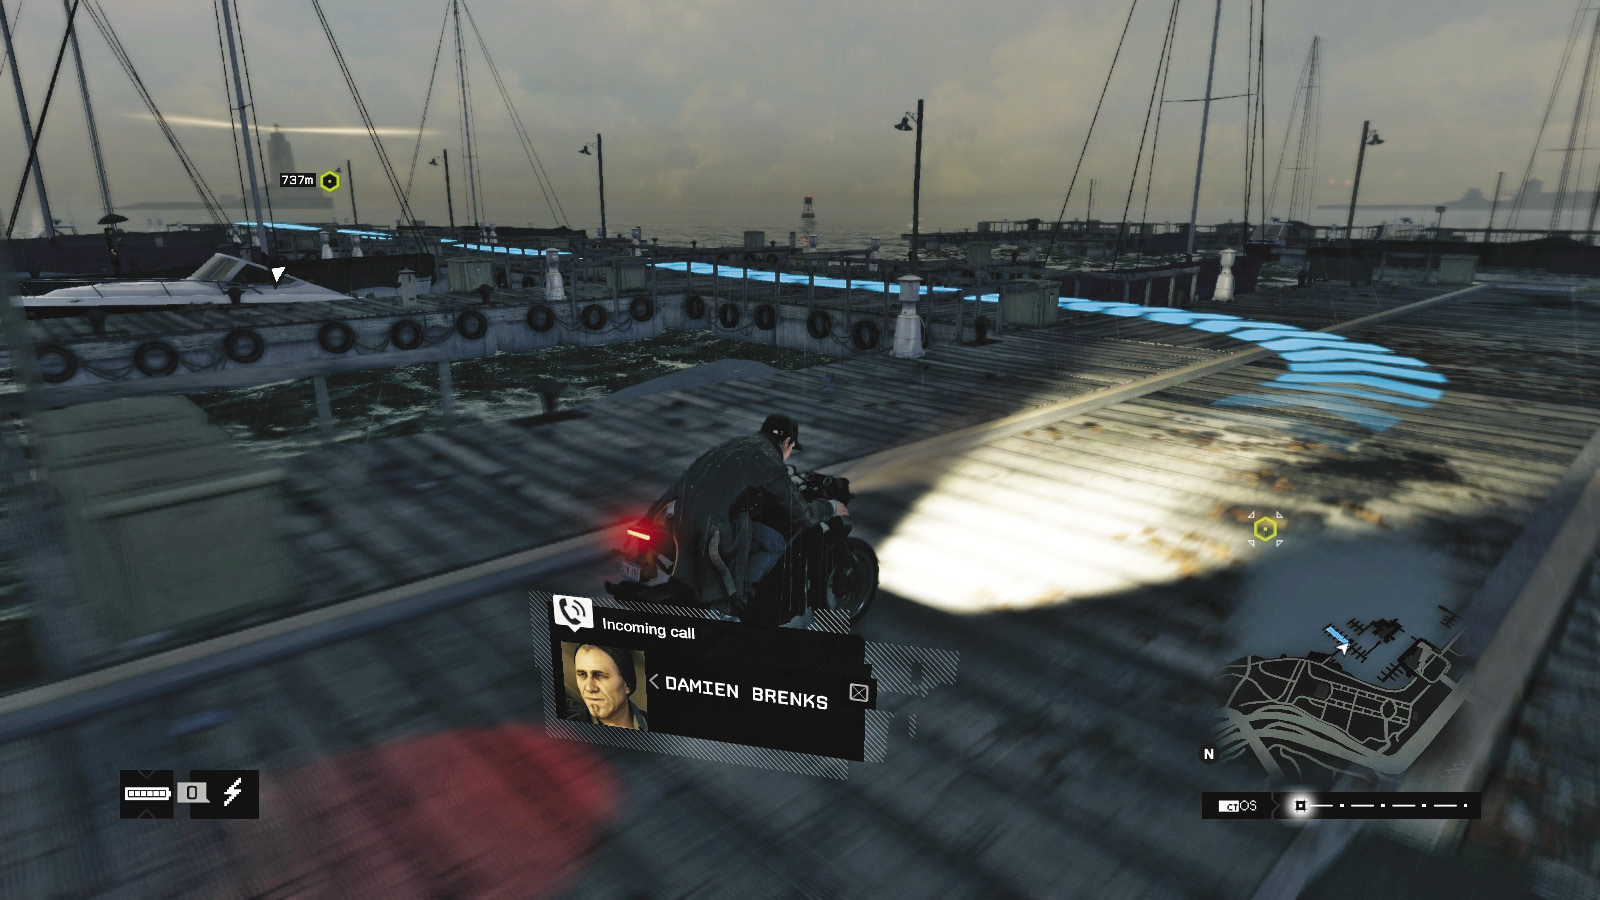
Yep, that did it! A swift and rolling blackout consumes the city, plunging you into darkness. Damien’s final position has been found: on the Windy City lighthouse due east of here. You need to reach this lighthouse by boat, leaving you three probable locations to find transportation:
Head out of the foyer to the southeast docks, and jump into a waiting boat.
Drive east, to the jetty by the ctOS Mad Mile control center, and find a moored boat in the harbor.
Drive south and west, to the city marina, and locate any moored boat close to the jetties.
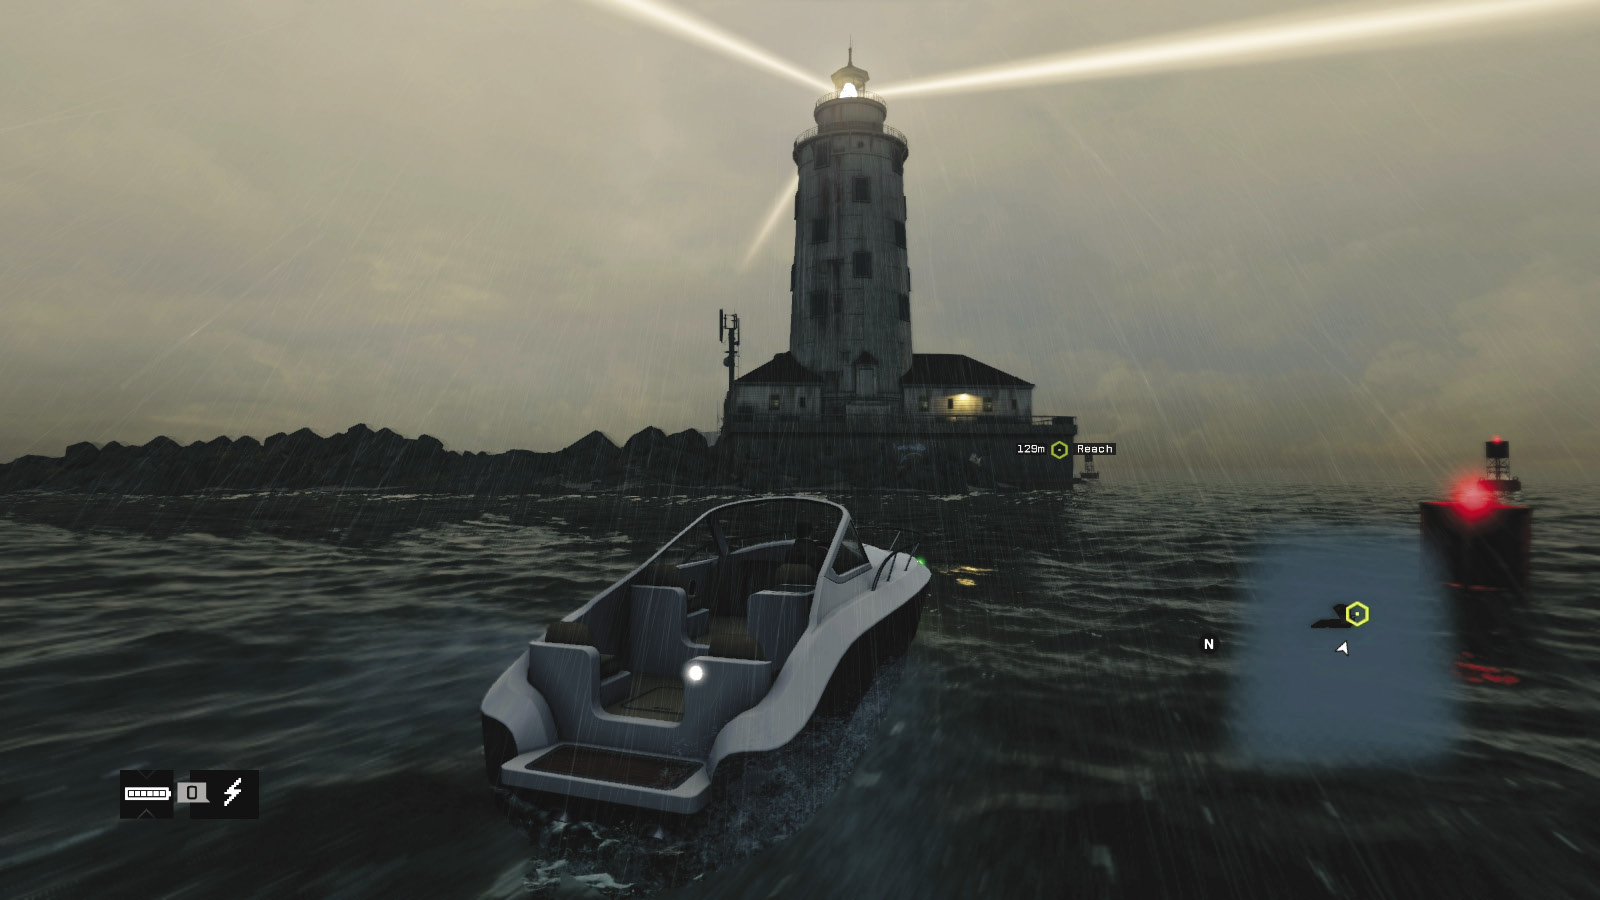
The lighthouse looms out of the rainy darkness. Maneuver your boat around to the small jetty, where the hotspot check-in is located, and leap out.
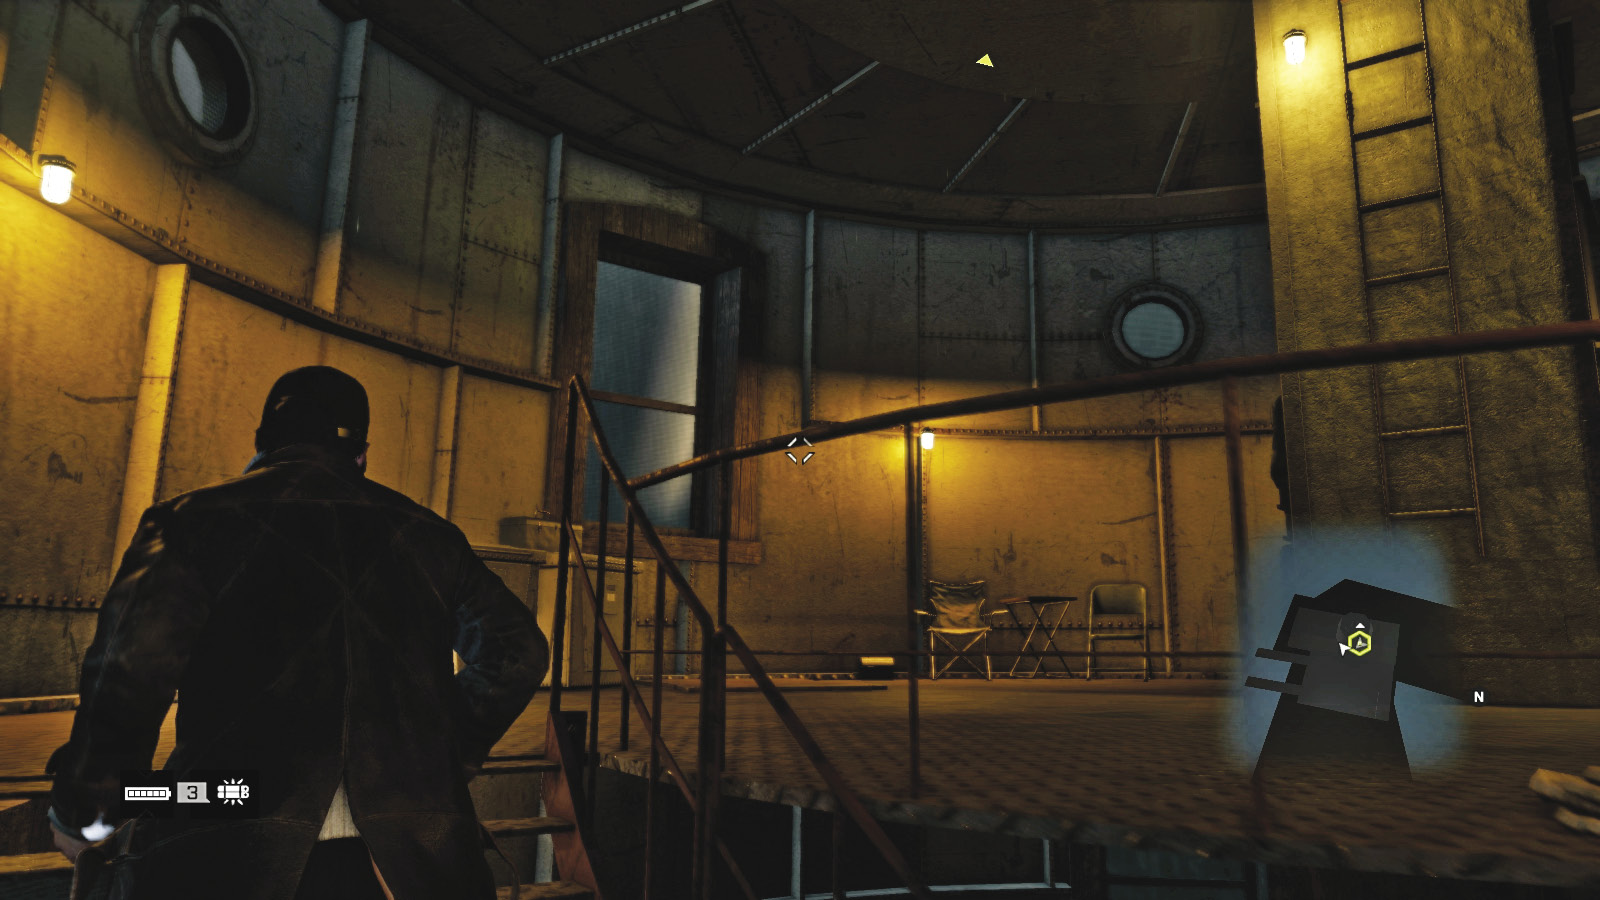
Head into the mesh-fenced area at the foot of the lighthouse, and locate the construction lift. Climb onto it and ascend to the lower tower balcony. Simply head left, and push open the door at the base of the tower, completing your objective.
1.8 YOU PLAY A BEAUTIFUL GAME
 Location / The Loop // Windy City Lighthouse
|
|
 Find Damien
 Infiltration
 Lethal Force Likely
Difficulty: 
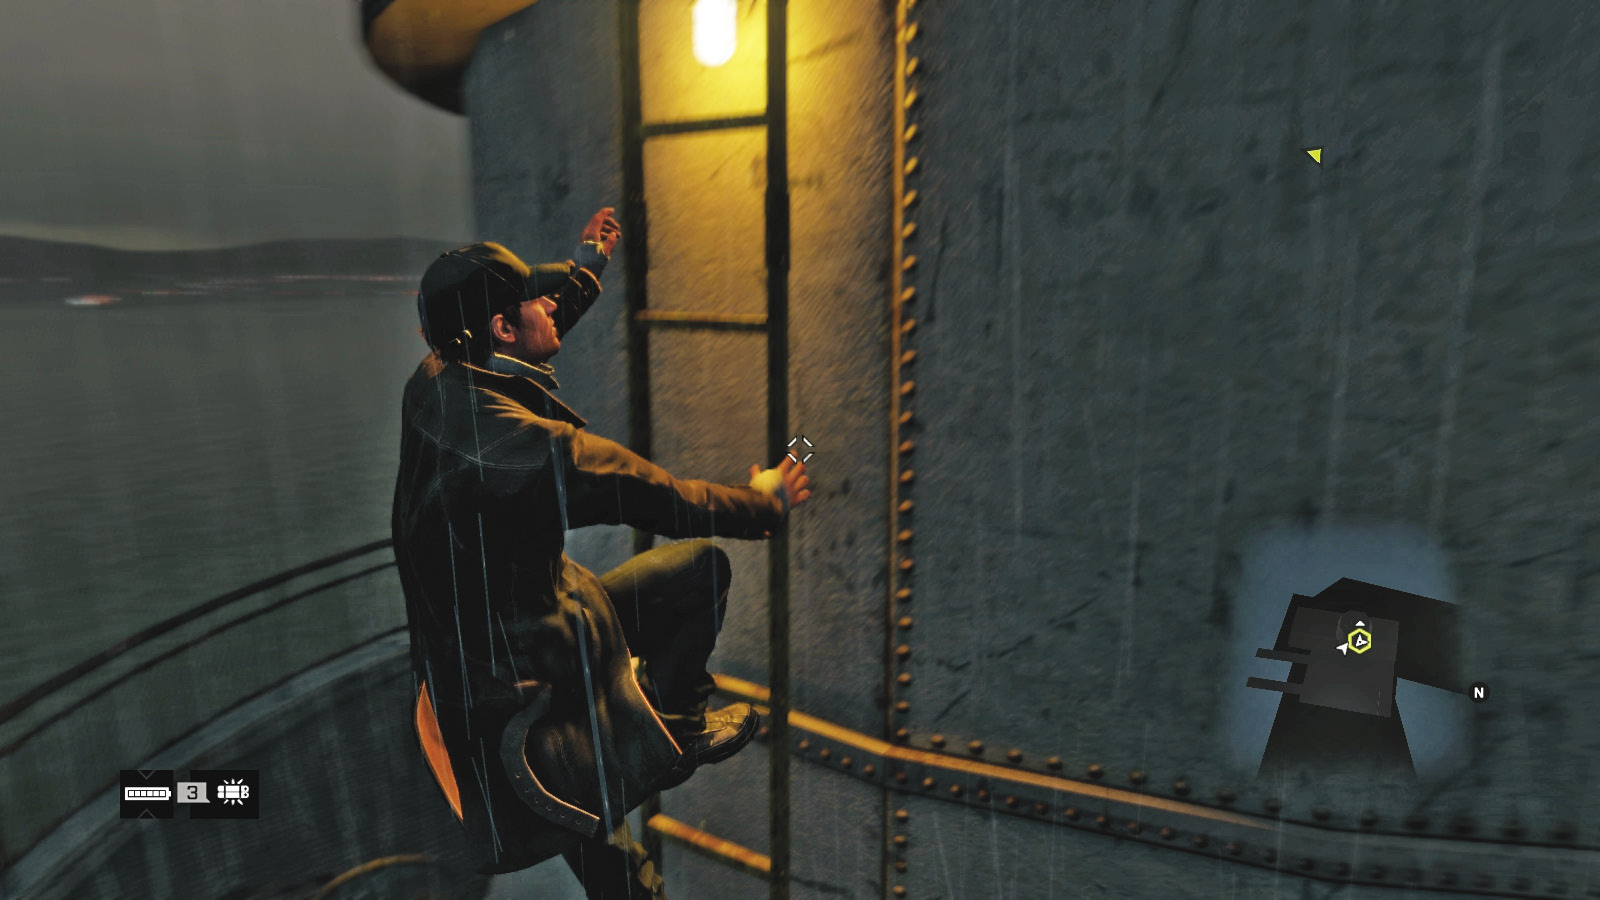
Climb up the steps inside the lighthouse tower as Damien moans about how his livelihood was taken from him. Take the ladder to the widow’s walk, and move around the top balcony to another ladder. Ascend this to the precarious lens platform.
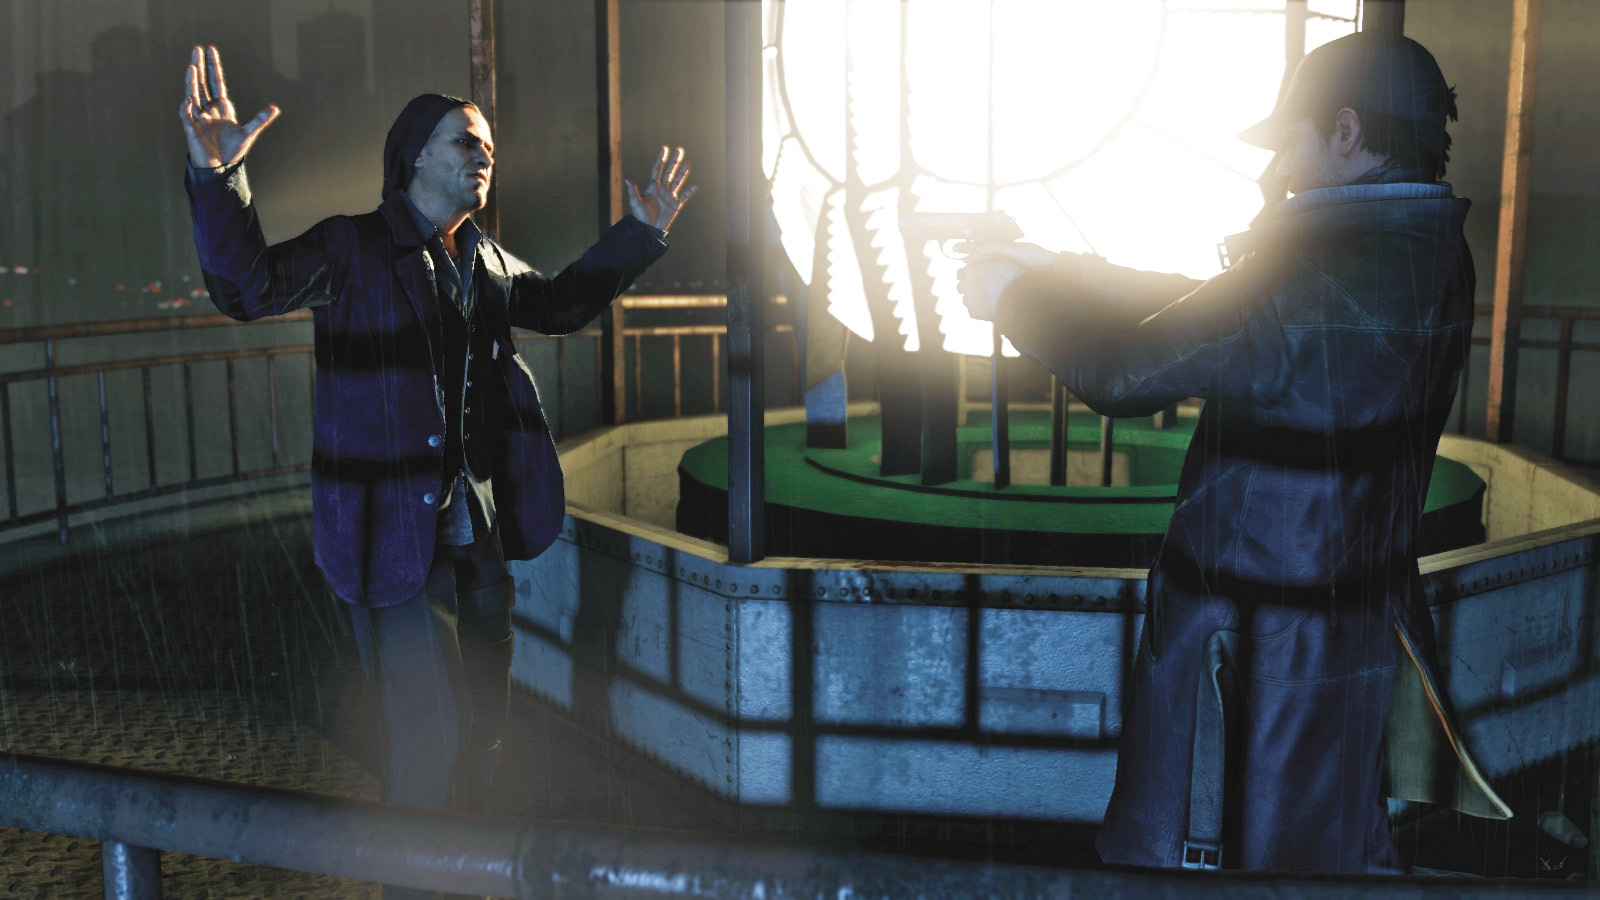
An argument. Home truths and accusations fly. Then an interruption from a Fixer, who halts your threats with a gun to your head. Your own armament is laid down, and your phone is brought out. The Fixer wants that too. At this point, you must act swiftly.
Action: Cracking the Lens Wall
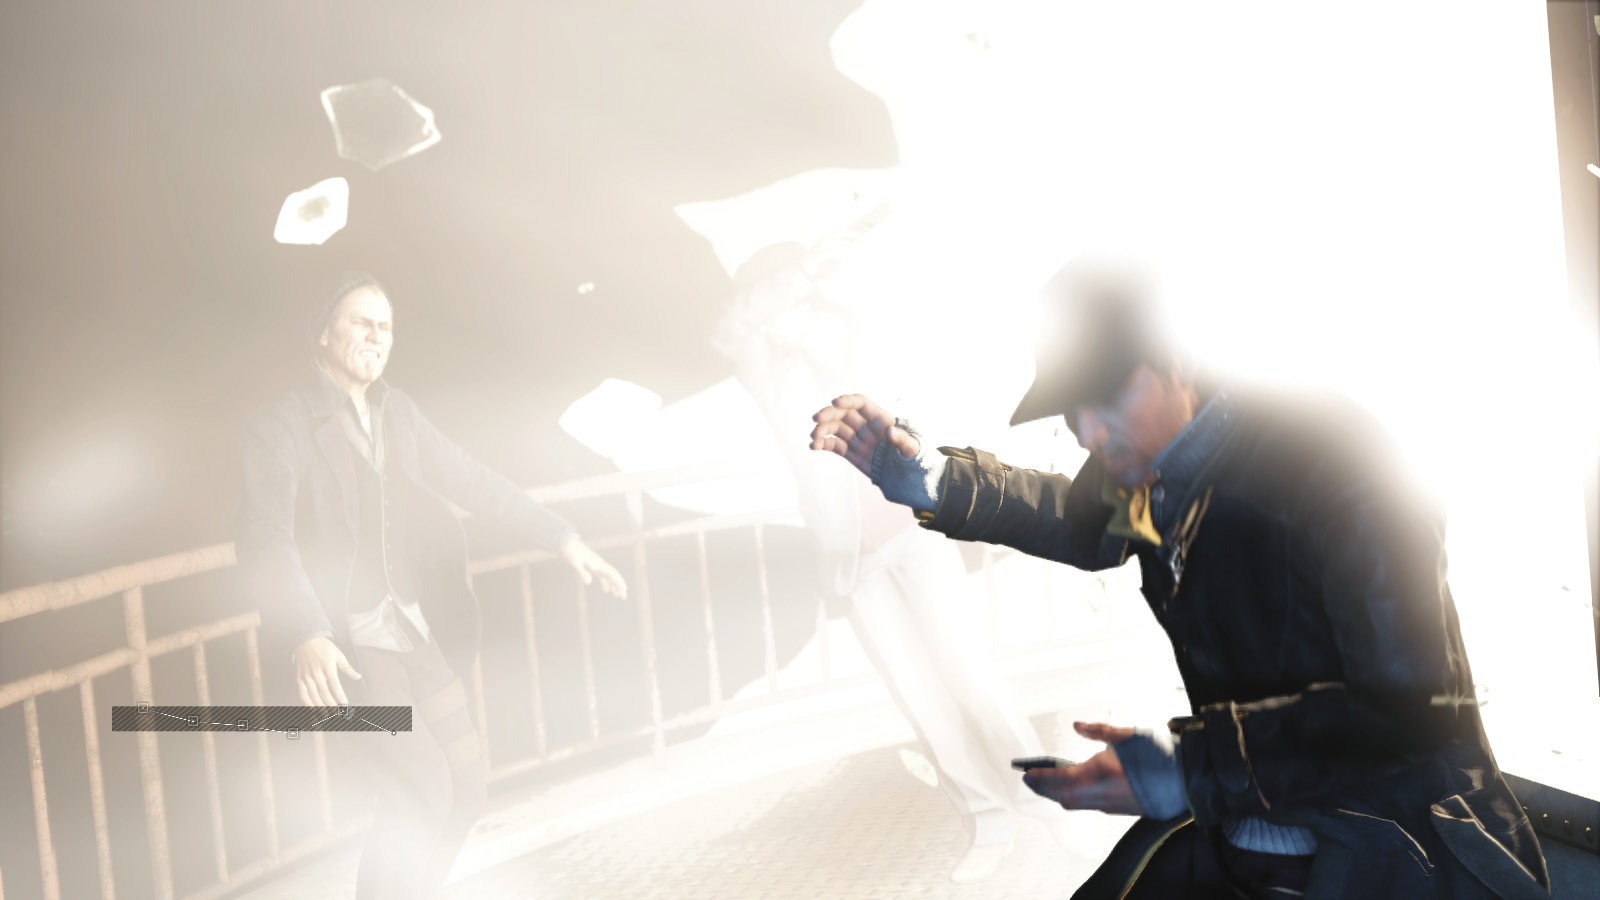
Hack the lens of the lighthouse so the glass explodes, sending shards flying and knocking both foes over.
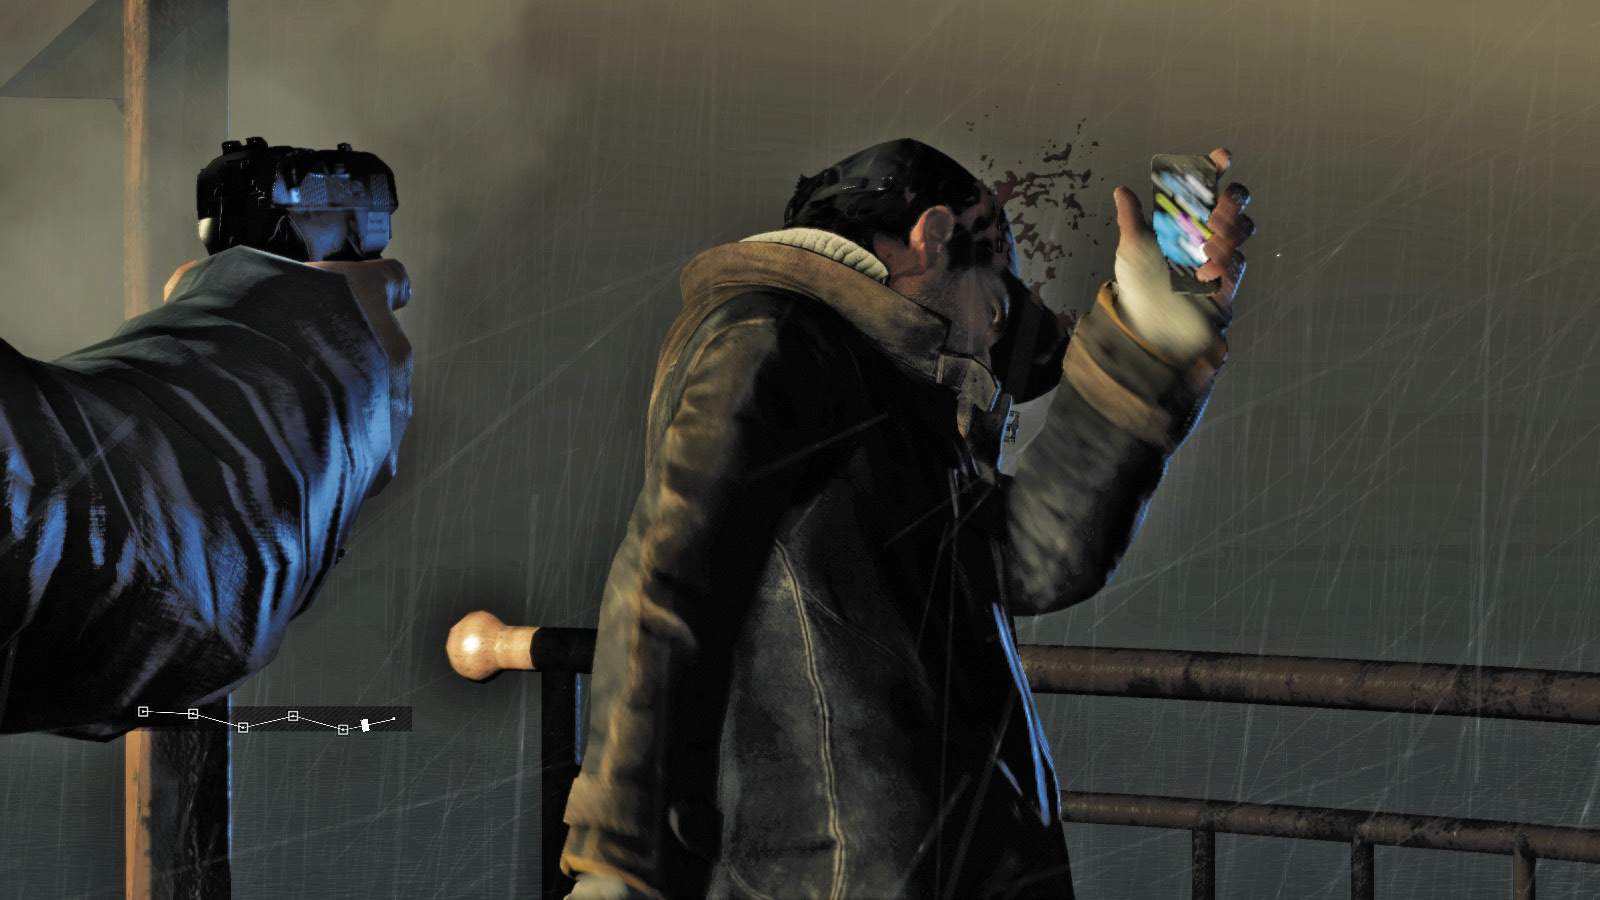
Ignore the hacking opportunity, face the Fixer, and receive a lethal shot, leaving you bleeding on the balcony.
Action: A Chaotic Fixer Brawl
Assuming you hacked the lens of the lighthouse, react quickly:
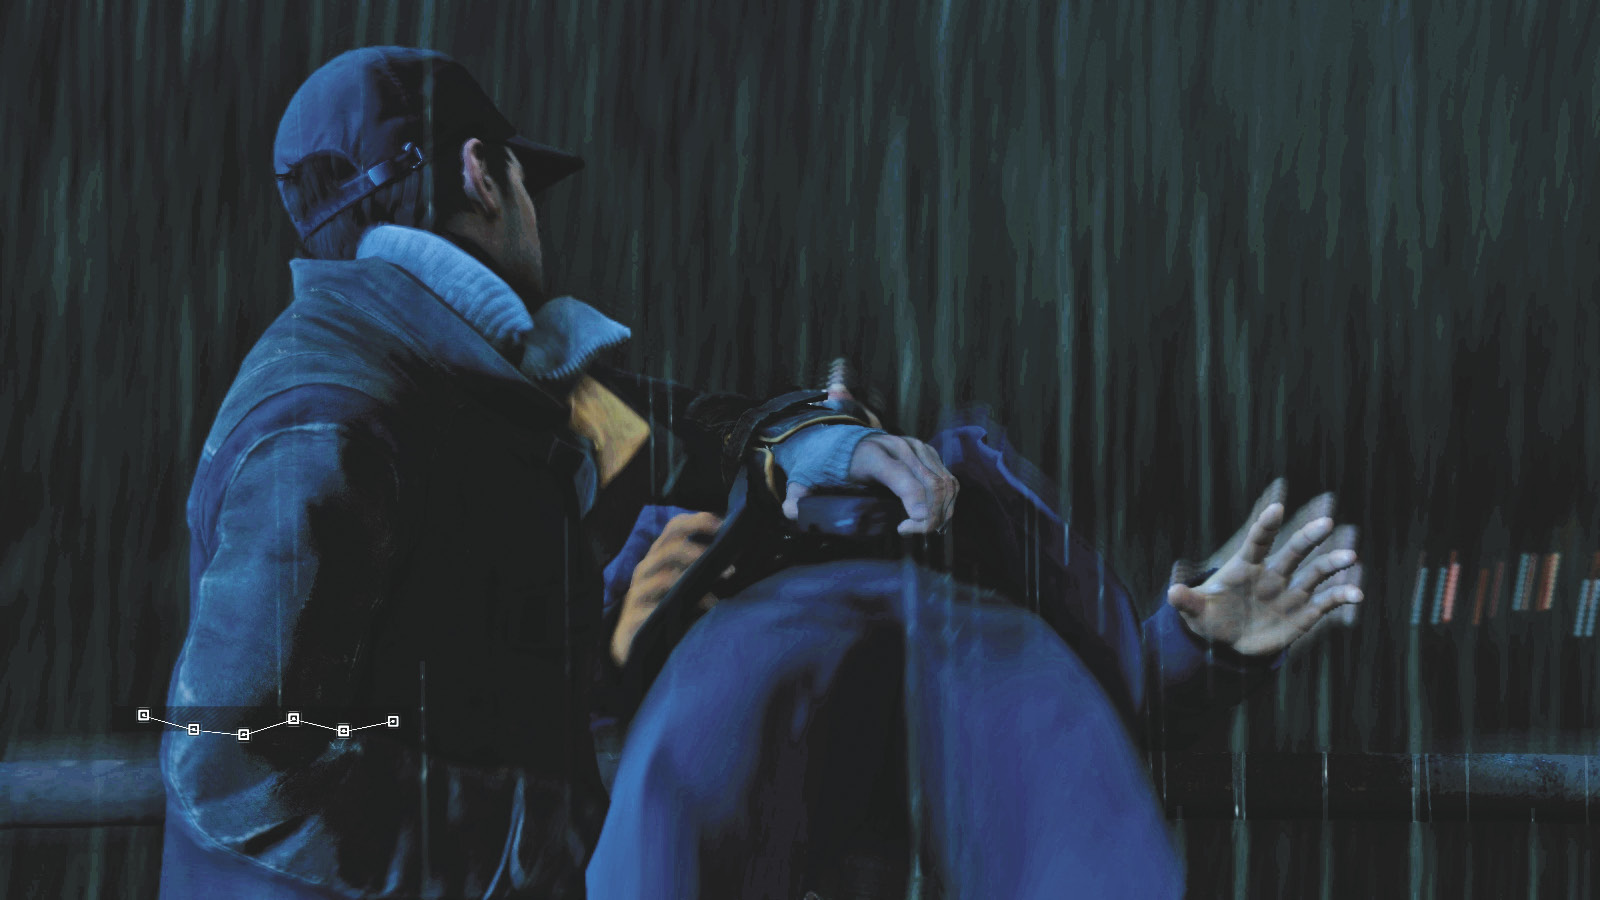
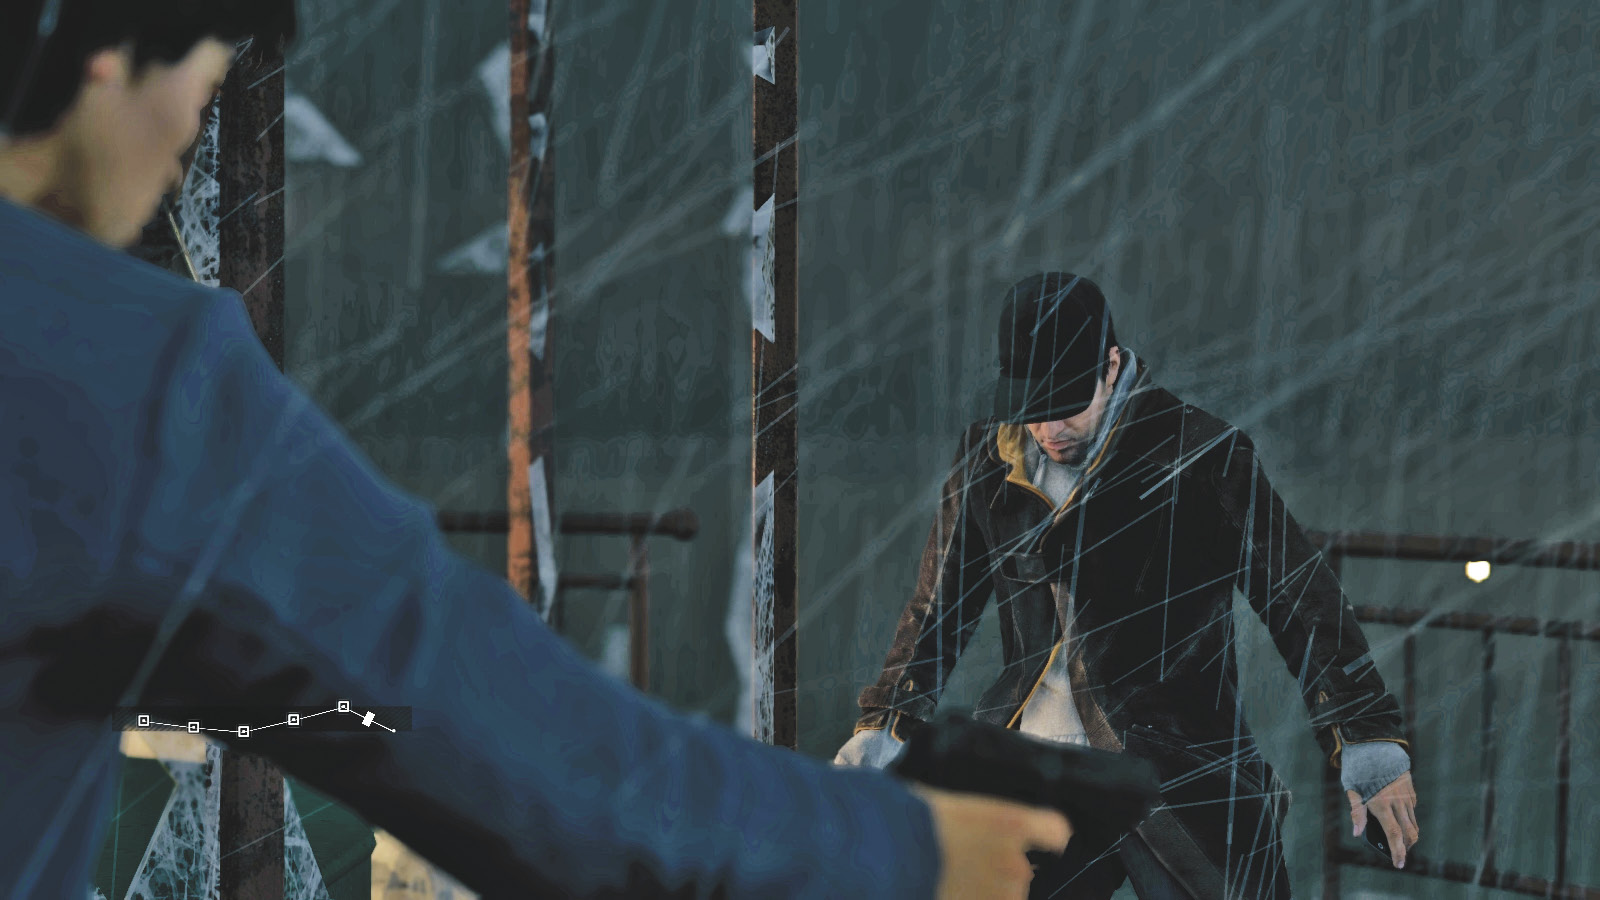
Press your Melee takedown button to launch forward at the Fixer, execute a swift right cross before he can shoot you, and flip over the balcony.
Ignore your Attack button, and the Fixer has time to adjust his aim, and you receive a lethal shot, leaving you bleeding on the balcony.
Action: A Final Fate to Befall
Assuming you flipped the Fixer over the balcony, react quickly:
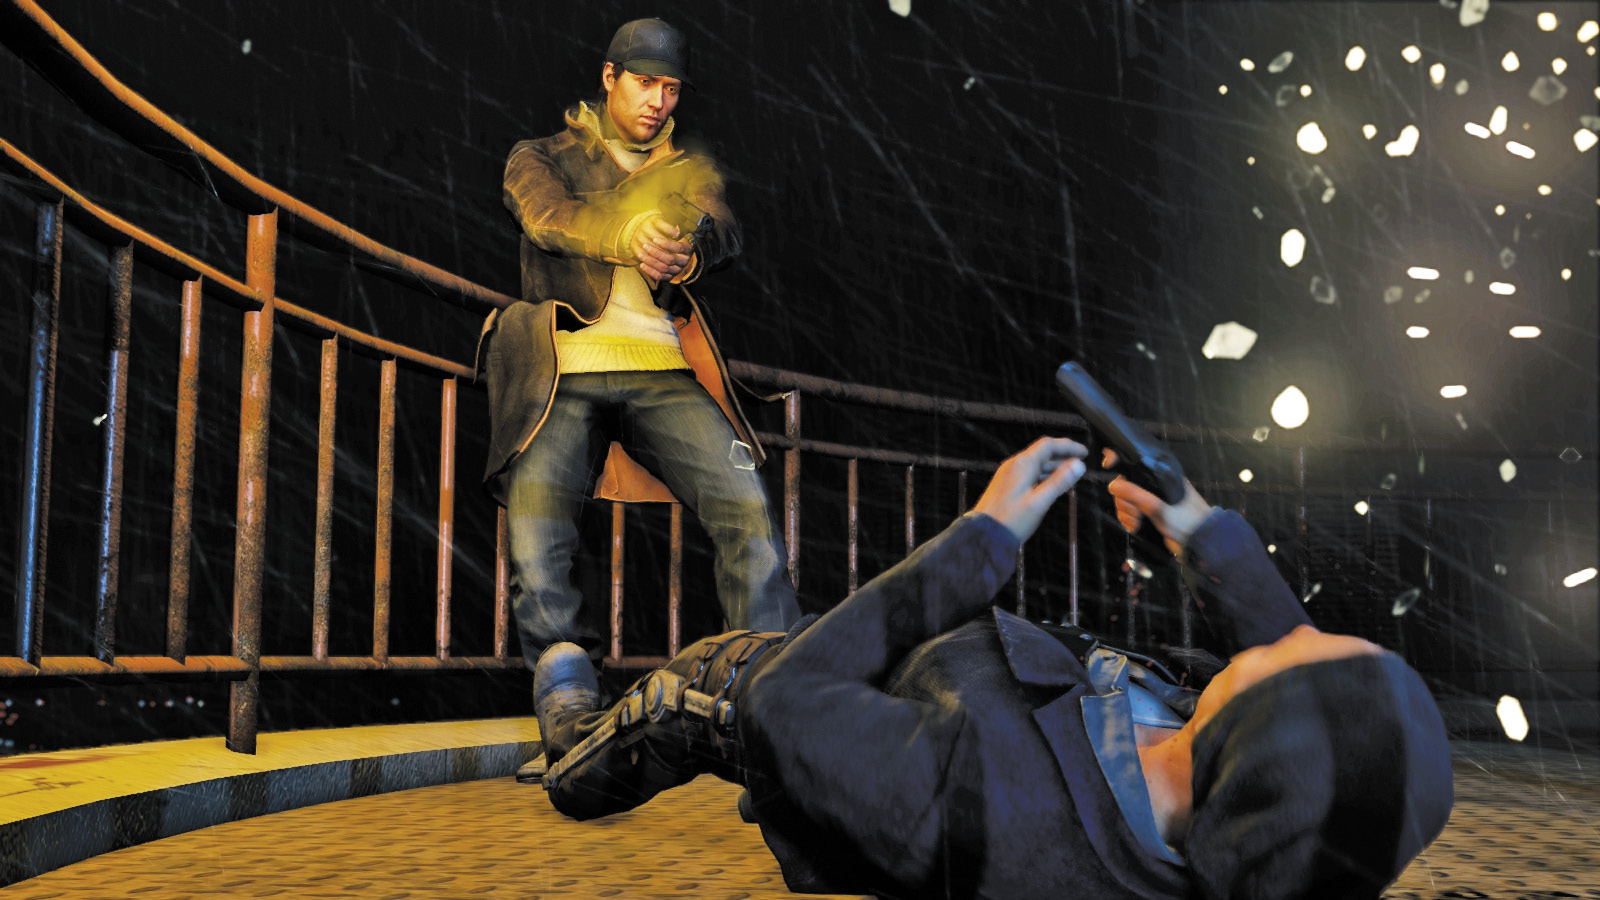
With the Fixer’s gun in your hands, shoot Damien in the head, ending his reign of terror. Vengeance is served.
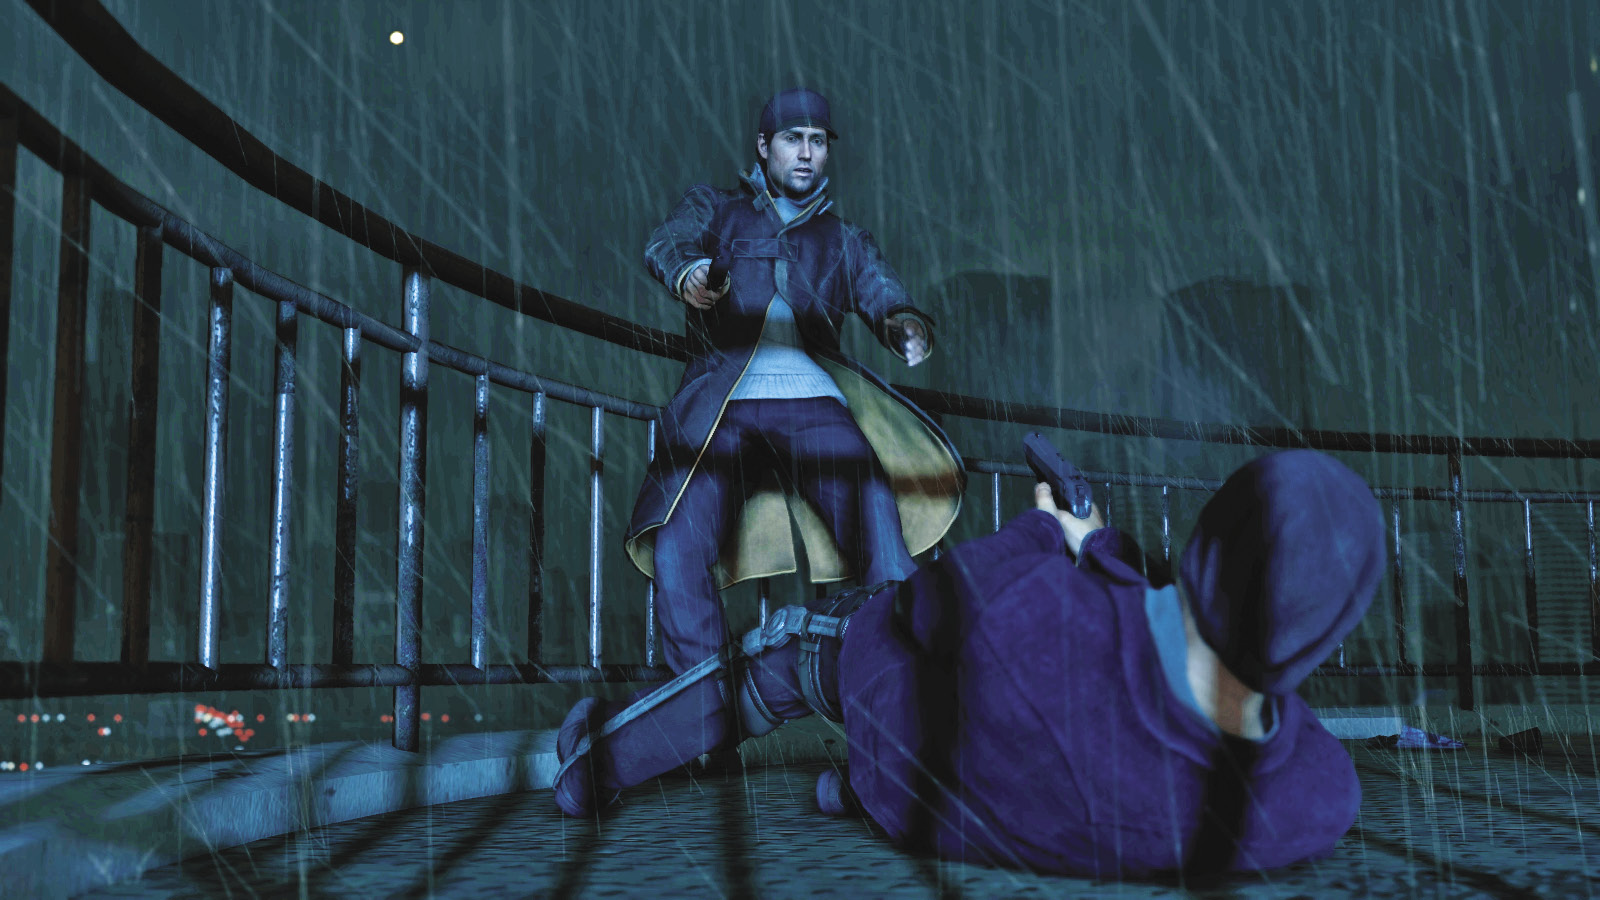
With the Fixer’s gun in your hands, you hesitate, giving Damien time to shoot you, ending your reign of vengeance.
MISSION REWARDSGained XP +3,000 |