
Watch Dogs Guide MAIN MISSIONS MAIN MISSIONS /// Act I
_A WRENCH IN THE WORKS
OBJECTIVES
|
 Use the Profiler to find Angelo Tucci’s niece
 Hack the niece’s phone
 Kill Angelo’s allies or escape
 Kill Angelo Tucci before he reaches the prison
 Kill Angelo Tucci before he escapes
 Kill Angelo’s allies or escape
LOCATIONS // MAP
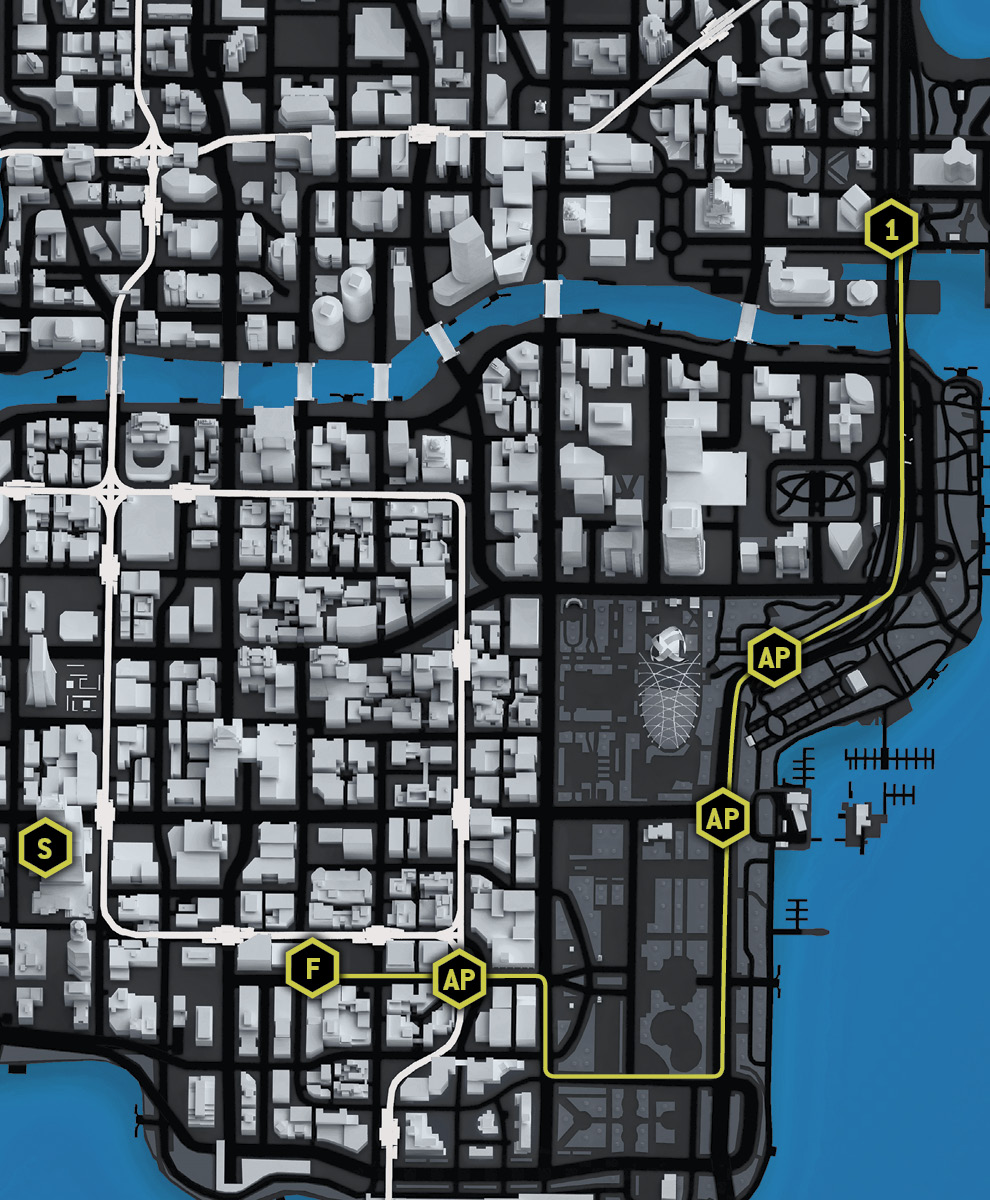
Location / The Loop // Convoy Route
8.1 PROFILING HELENA TUCCI
 Location / The Loop // Willis Tower
|
|
 Use the Profiler to find Angelo Tucci’s niece
 Hack the niece’s phone
 Data Hack
 Infiltration
Difficulty: 
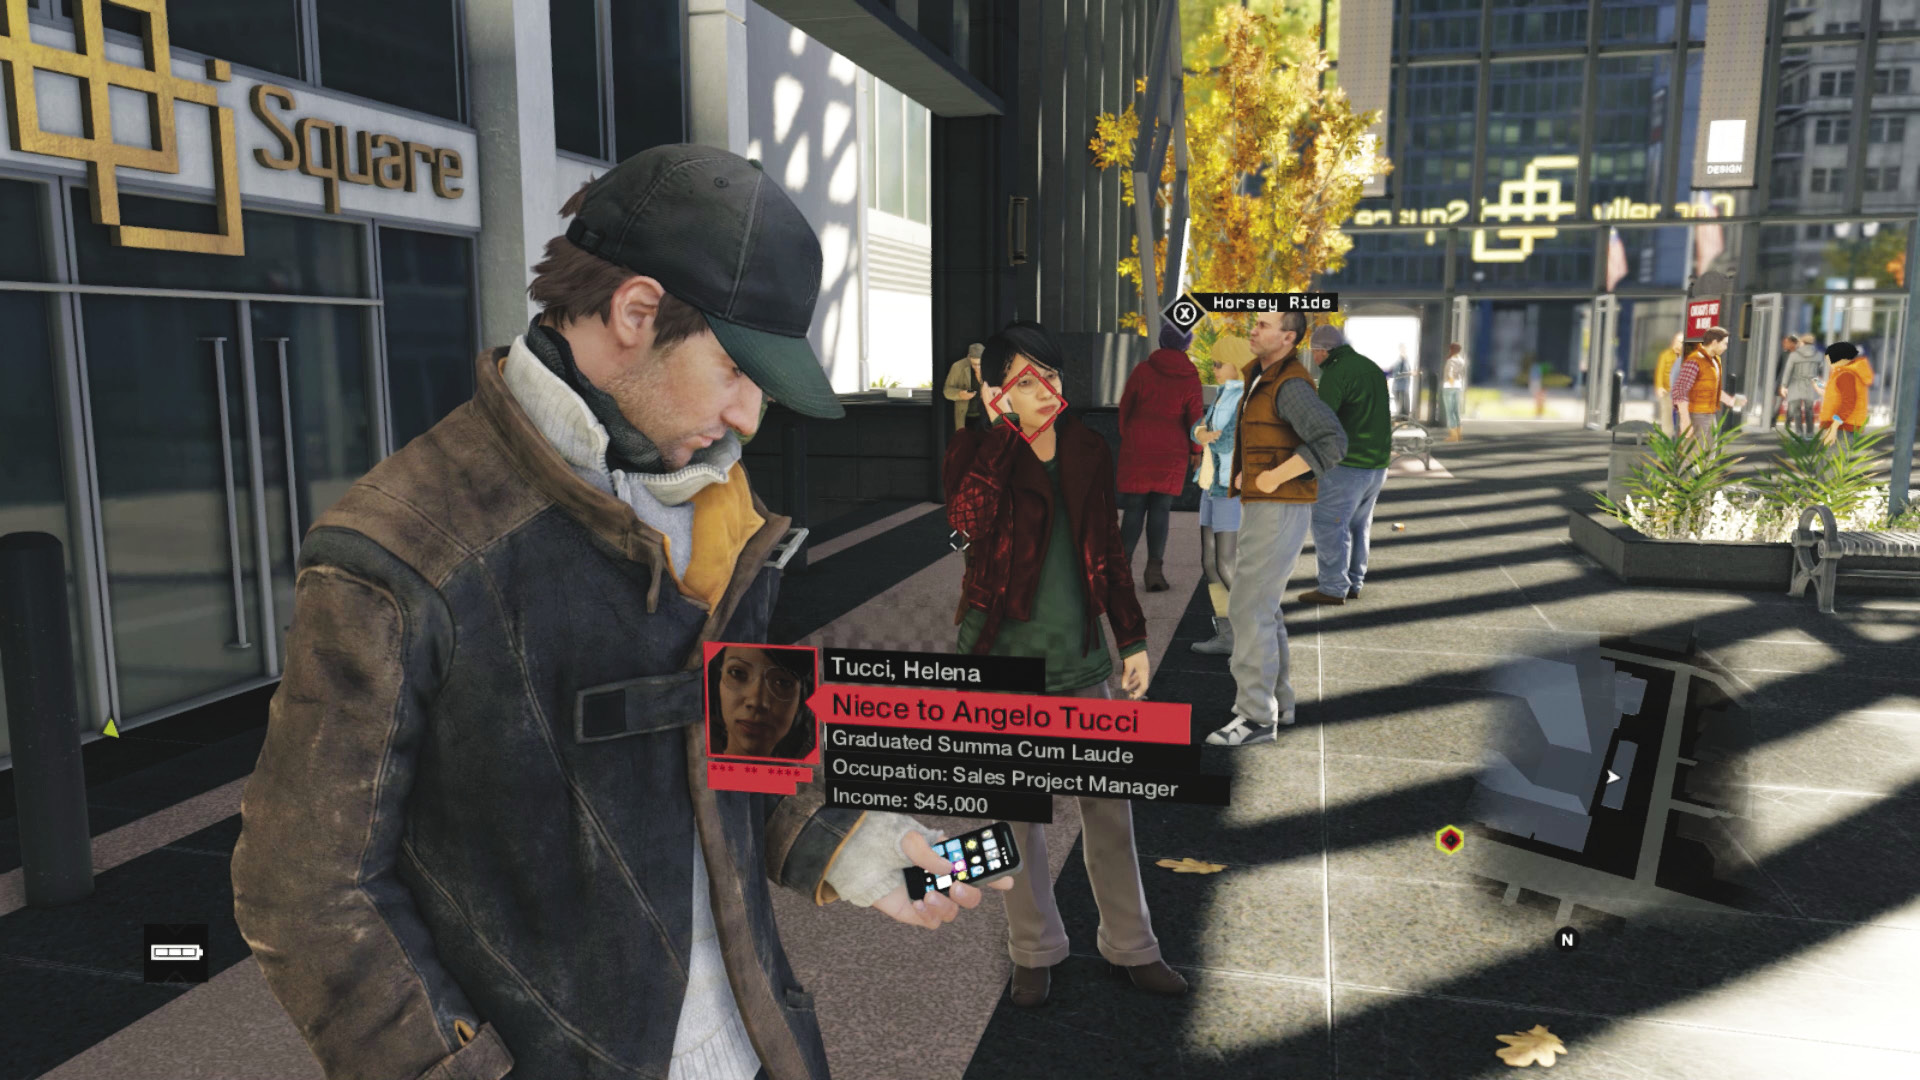
Bring your smartphone out as you run north toward the plaza at the base of Willis Tower. Step into the plaza, and scan the people milling about (including celebrity Aisha Tyler) until you find Helena. Clara helps track Helena by describing what the target is wearing, and the building she’s in. Hack Helena’s phone, pretending to be her Uncle’s doctor, and wait for her to make a call. Listen in on her conversation with her uncle Angelo. In a few moments you find out where the Fixer is. He must be cut off before he reaches the prison.
8.2 CUTOFF POINT
 Location / The Loop // Interception point
 Location / The Loop // Palin Prison
|
|
 Kill Angelo’s allies or escape
 Kill Angelo Tucci before he reaches the prison
 Kill Angelo’s allies or escape
 Vehicle Chase
 Lethal Force Likely
Difficulty: 
Overview
Completion Point: Any location on the marked route where you intercept the Fixer.
Dangers: Fixer convoy, three cars, and six enemies, with reinforcements.
Reinforcements: Between two and four enemy vehicles after leaving vicinity of the Fixer takedown.
Rush out of the plaza the moment you begin hacking Helena’s phone; this gives you vital extra seconds to locate a vehicle. Run ahead (north) or left (west) and appropriate a parked vehicle; hijacking one is much slower. Here are a few vehicles you may wish to consider using:
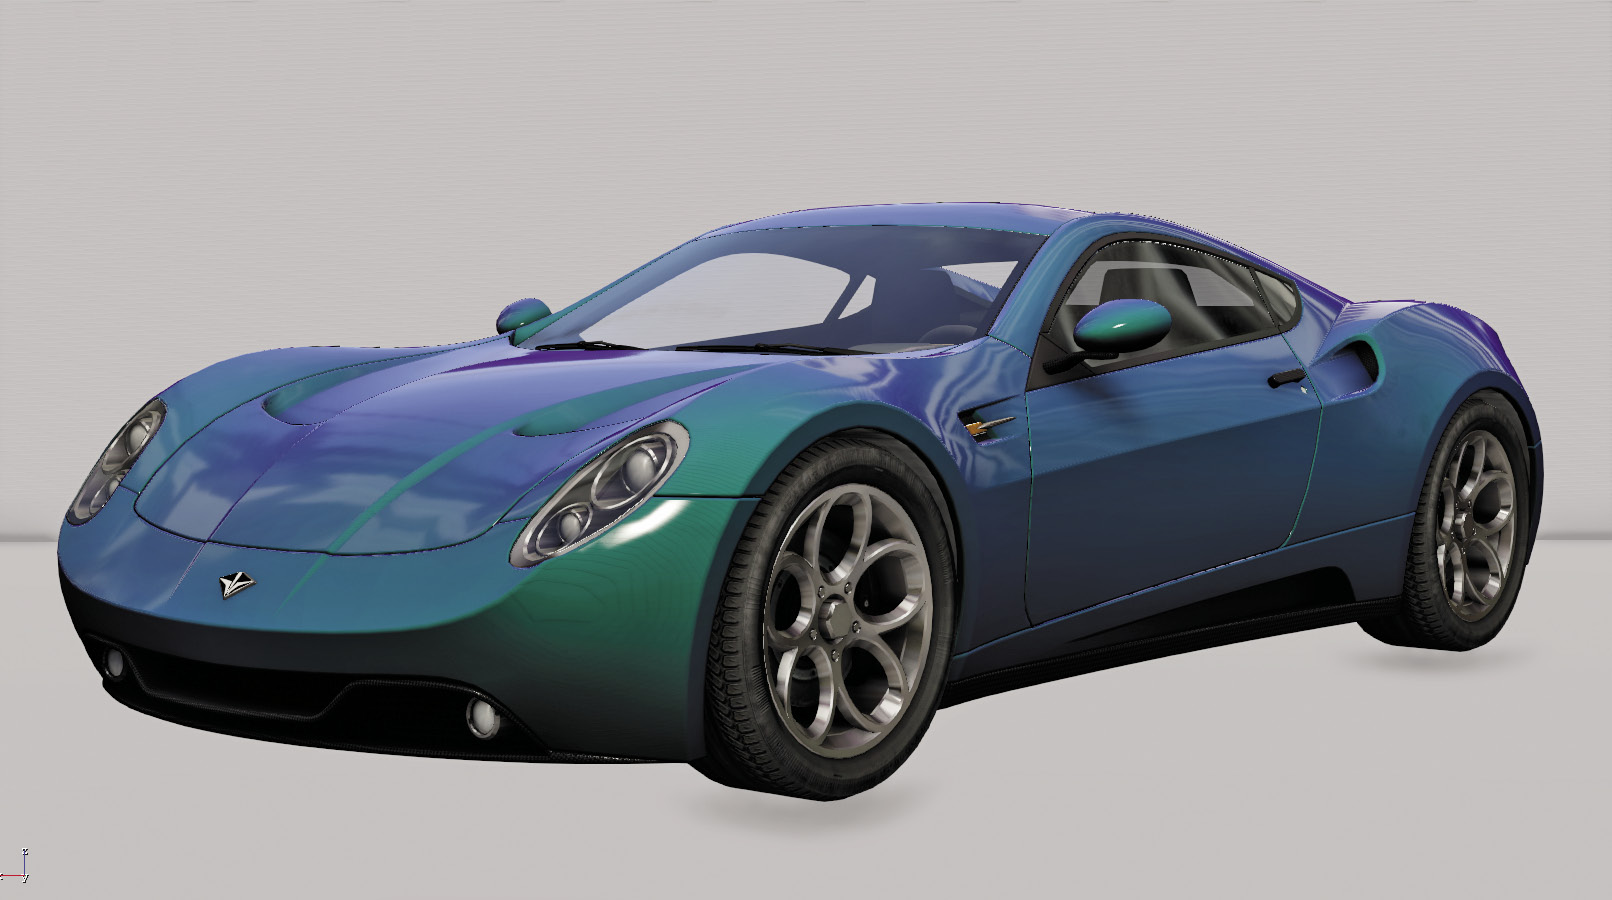
The Papavero: This sleek supercar provides the fastest acceleration and great cornering, allowing you to reach your target almost as quickly as a bike but with added protection.
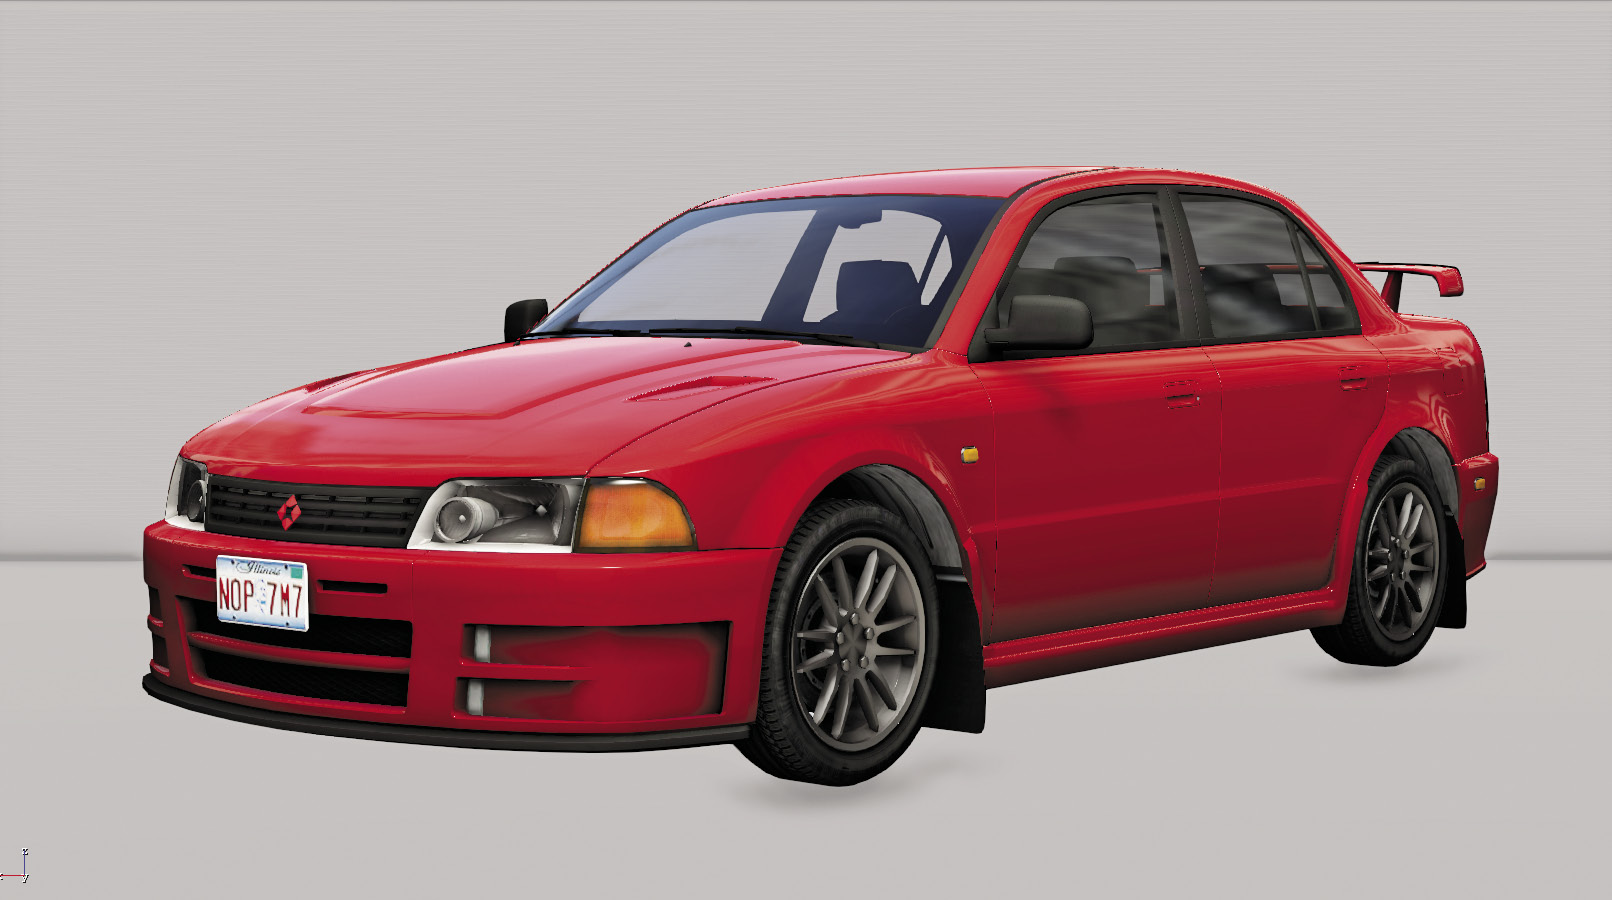
The Nakahawa Zusume R: You already used this in an earlier mission, so you know how well it accelerates and handles; this is a great vehicle for head-on collisions, helping form a blockade and chase down your foes.
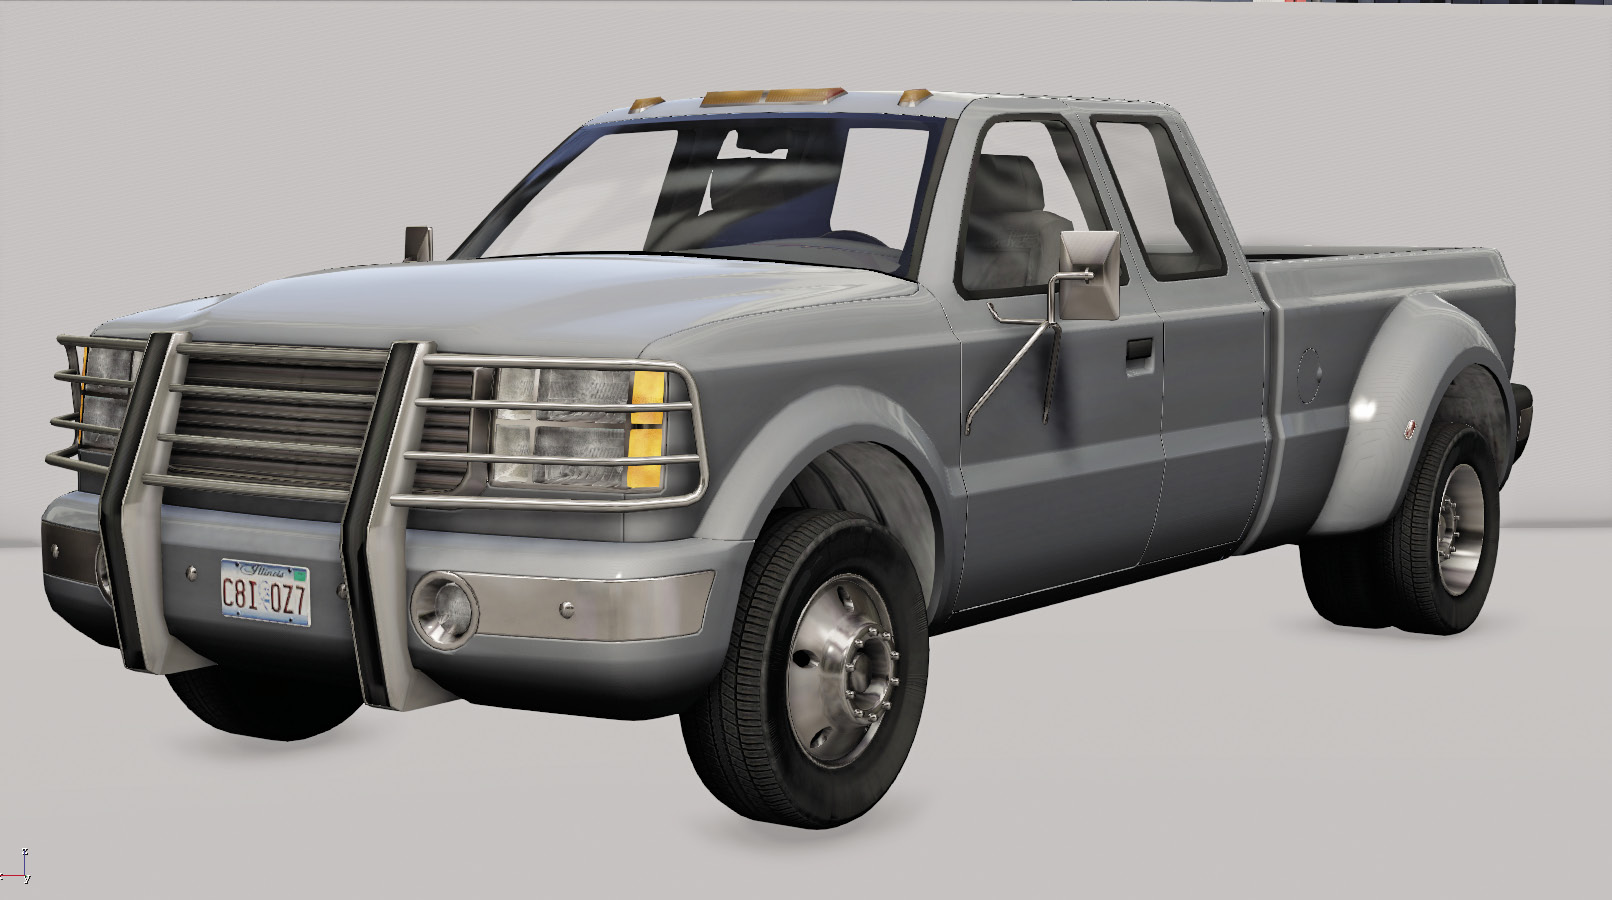
The Landrock Tributary: You can still reach any of the recommended insertion points (below) driving this truck (or perhaps something even bigger). It lasts longer before becoming inoperable and has better cover to hide behind, but it isn’t as agile during a chase.
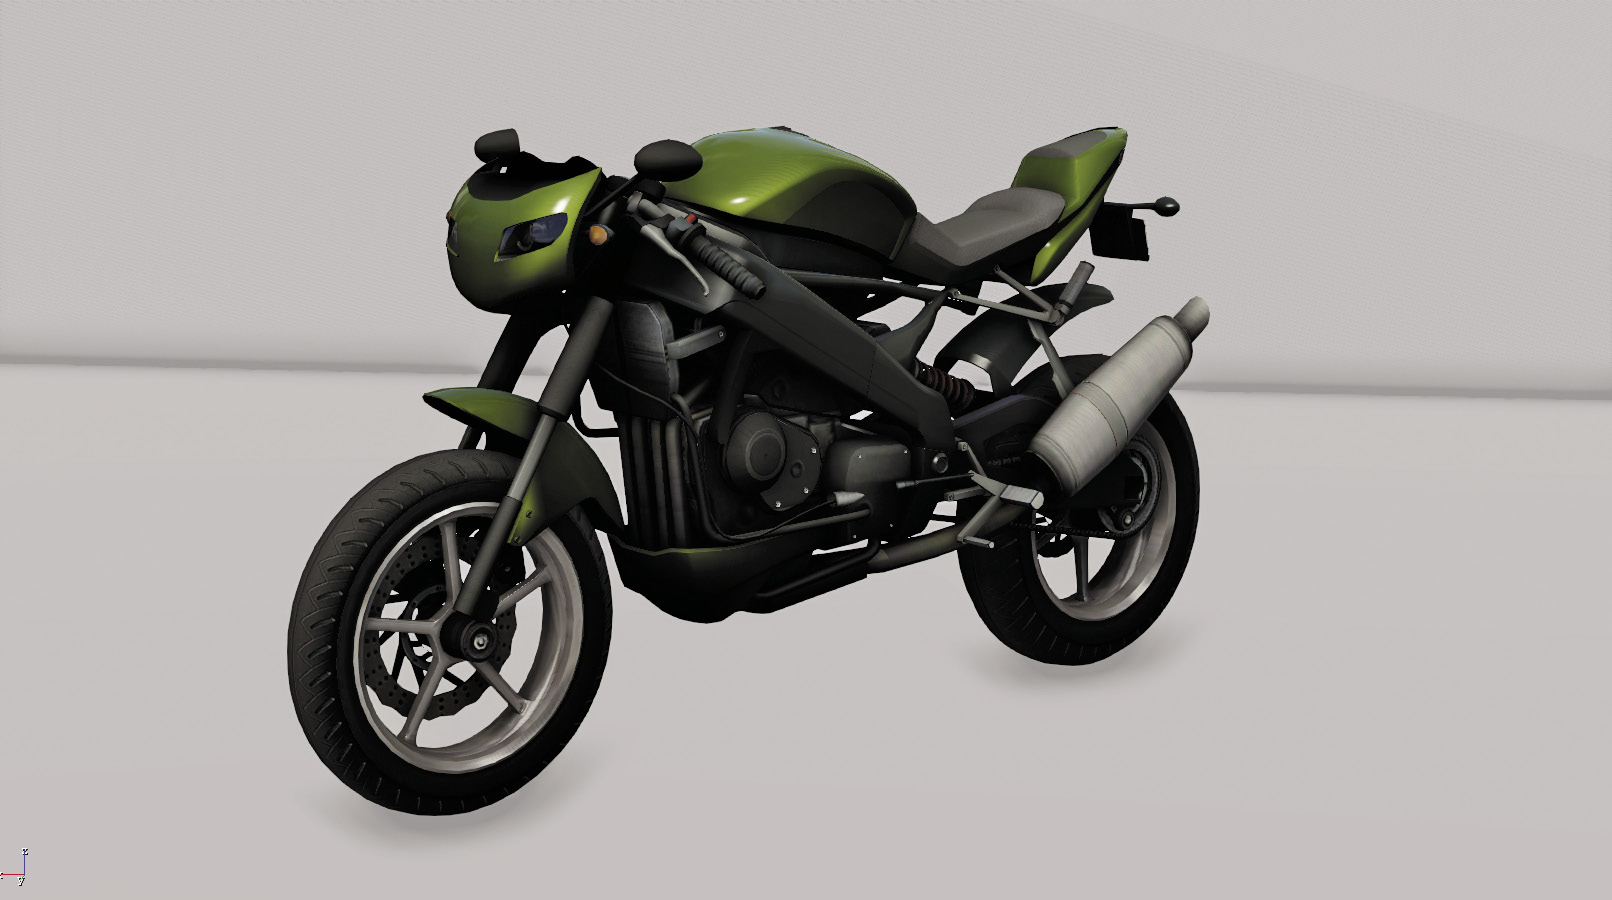
The Kuruhawa Kodachi: This, or any other sport bike, is a great choice if you’re setting up for a vehicle takedown with weapons, as you can reach your insertion point quickly. It’s obviously a poor choice if you want to ram or block your foes.
Ambush Points
To complete the next objective, you can intercept the Fixer convoy at any time before they arrive at the prison, after which the elimination objective begins. Once you’re spotted and execute an offensive maneuver—such as getting too close to the convoy, ramming any enemy vehicle, or firing a weapon—you may have to give chase and take down the target. Here are three preferred locations to intercept:
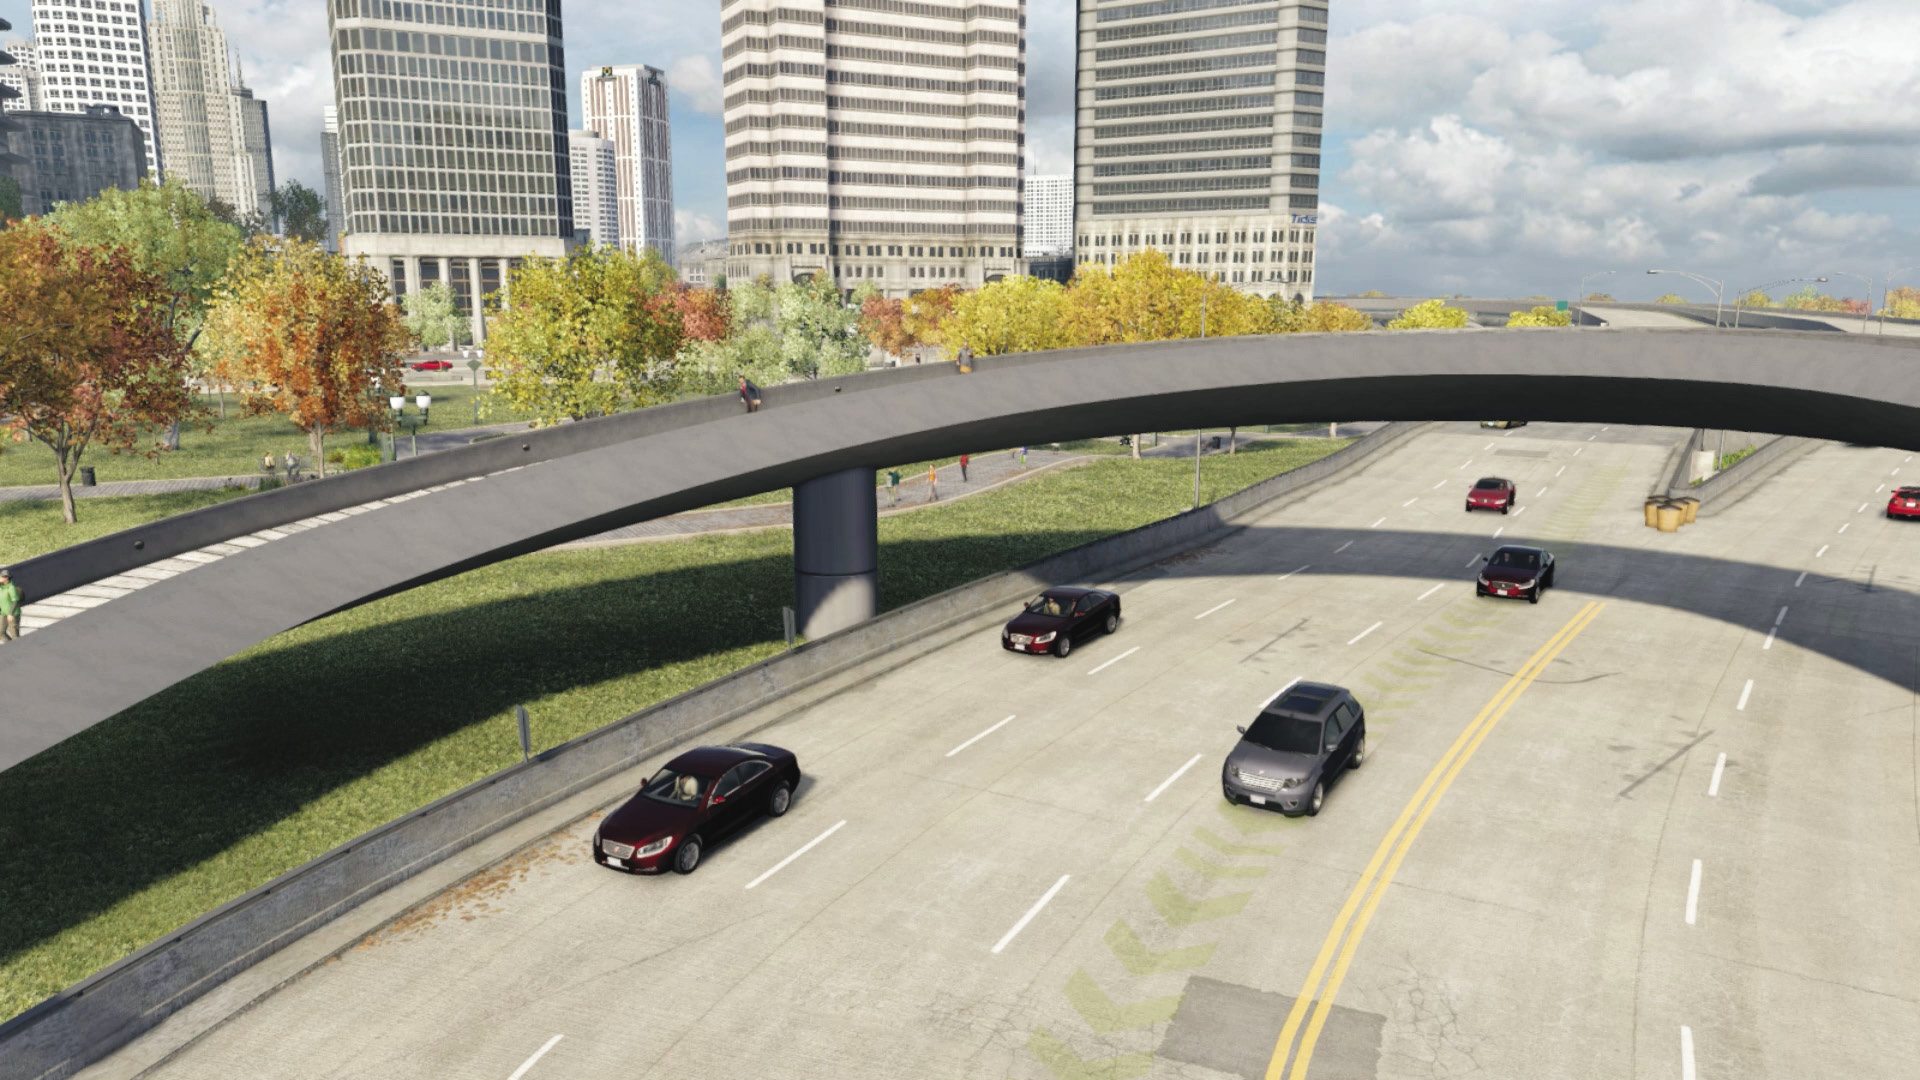
Freeway, Under Pedestrian Bridge, Just East of Bram Steffan Pavilion
Accessibility Level: 
To reach this freeway, head east from Willis Tower, then follow the convoy route to the freeway, just as it bends northeast, by the pedestrian footbridge. Ram the enemy vehicle with a large truck, or quickly prime the convoy route with IEDs. Then use the grassy area and footbridge to battle any foes; the park to the west is an easy escape option, too, especially if you came by bike. This is the earliest possible interception point, so be swift in reaching here!
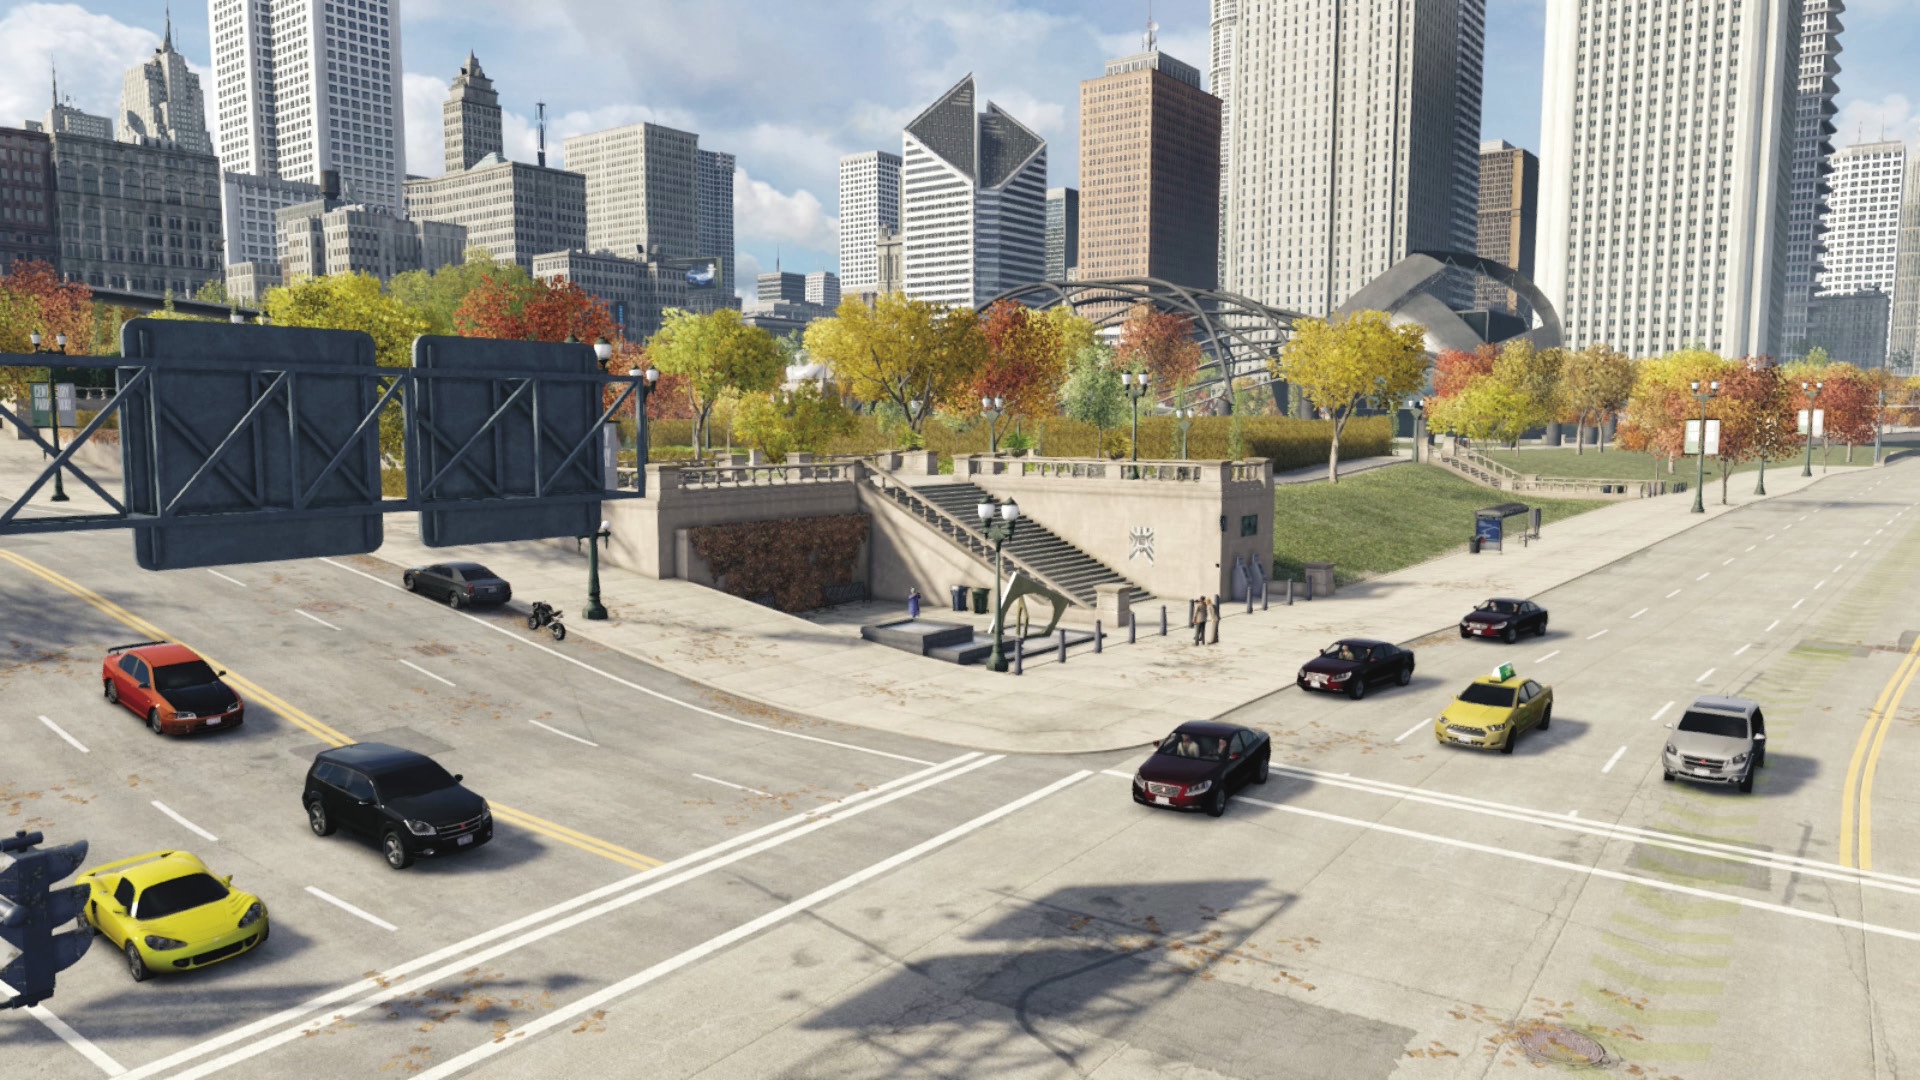
Freeway Junction, West of City Marina
Accessibility Level: 
This is a straight shot along the main west–east road from Willis Tower, making it extremely easy and quick to reach. There’s a lot of traffic, and you can set up an ambush at the corner steps, drop IEDs at the junction, or even drive a vehicle to act as a blockade to snipe or lob grenades from. Just be quick, as the convoy reaches here rather quickly.
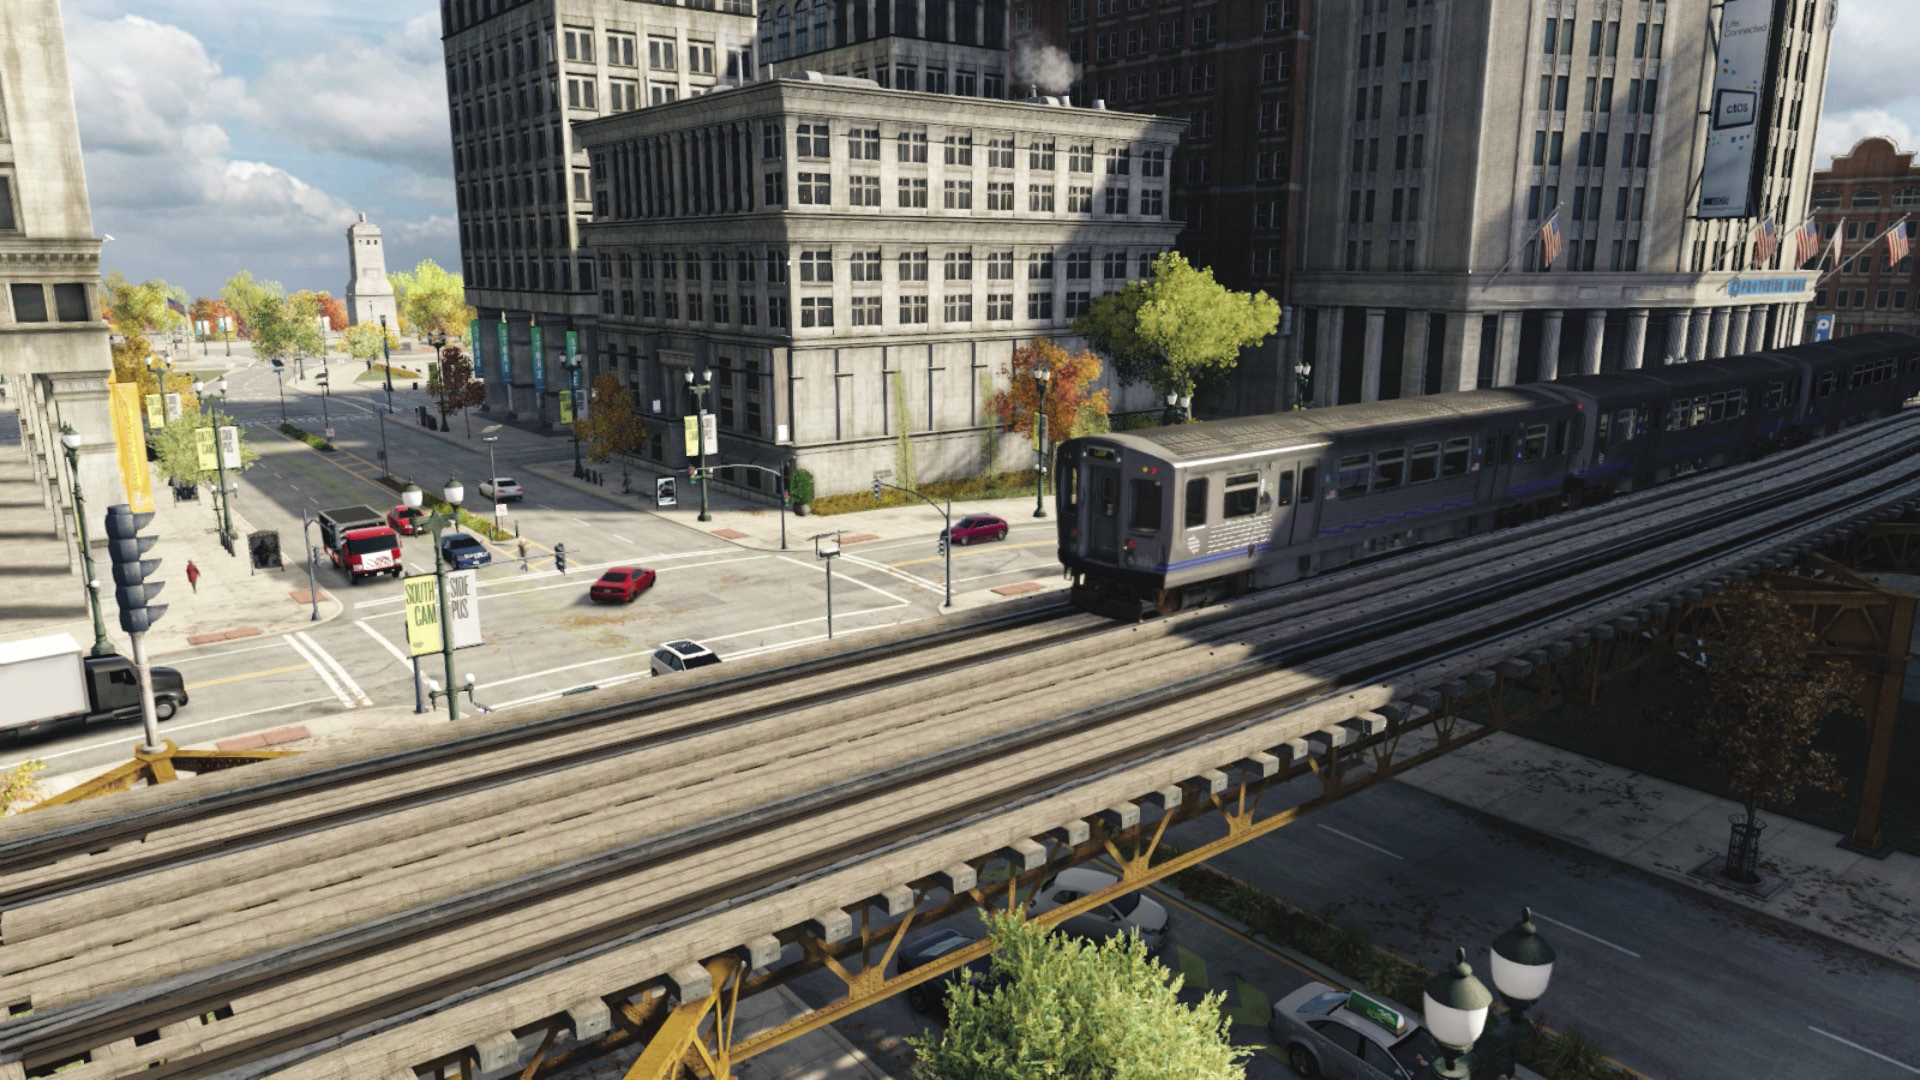
L-Train Tracks, South of Adams/Wabash Station
 Accessibility Level:
This is an excellent spot for an ambush if you drive your bike up and onto the Adams/Wabash station and head south to the elevated tracks overlooking the road of the convoy route. From here, drop IEDs (not proximity ones unless the convoy is in range), create a traffic jam, prime a sniper rifle or grenade launcher, and ambush from above! Just don’t miss, as chasing the foe from here is tricky!
Progression Plans
For the objective, there are a few methods of ensuring your victory and survival:
General PreplanningPresupposition: The following assumes you’ve already learned the elements referenced in all earlier missions and have studied the general tactics on convoys; consult the introduction to the Criminal Convoys chapter for more information. Flexibility: This interception may be an easy takedown or a lengthy vehicle chase. Be ready for either eventuality. Guns for Show, Cars for a Pro: The vehicle you pick to intercept the Fixer with, and the weapons you have at your disposal, greatly influence your chances of success; recommendations are below. |
 Driving // Offensive: Ramming Speed
 Difficulty:
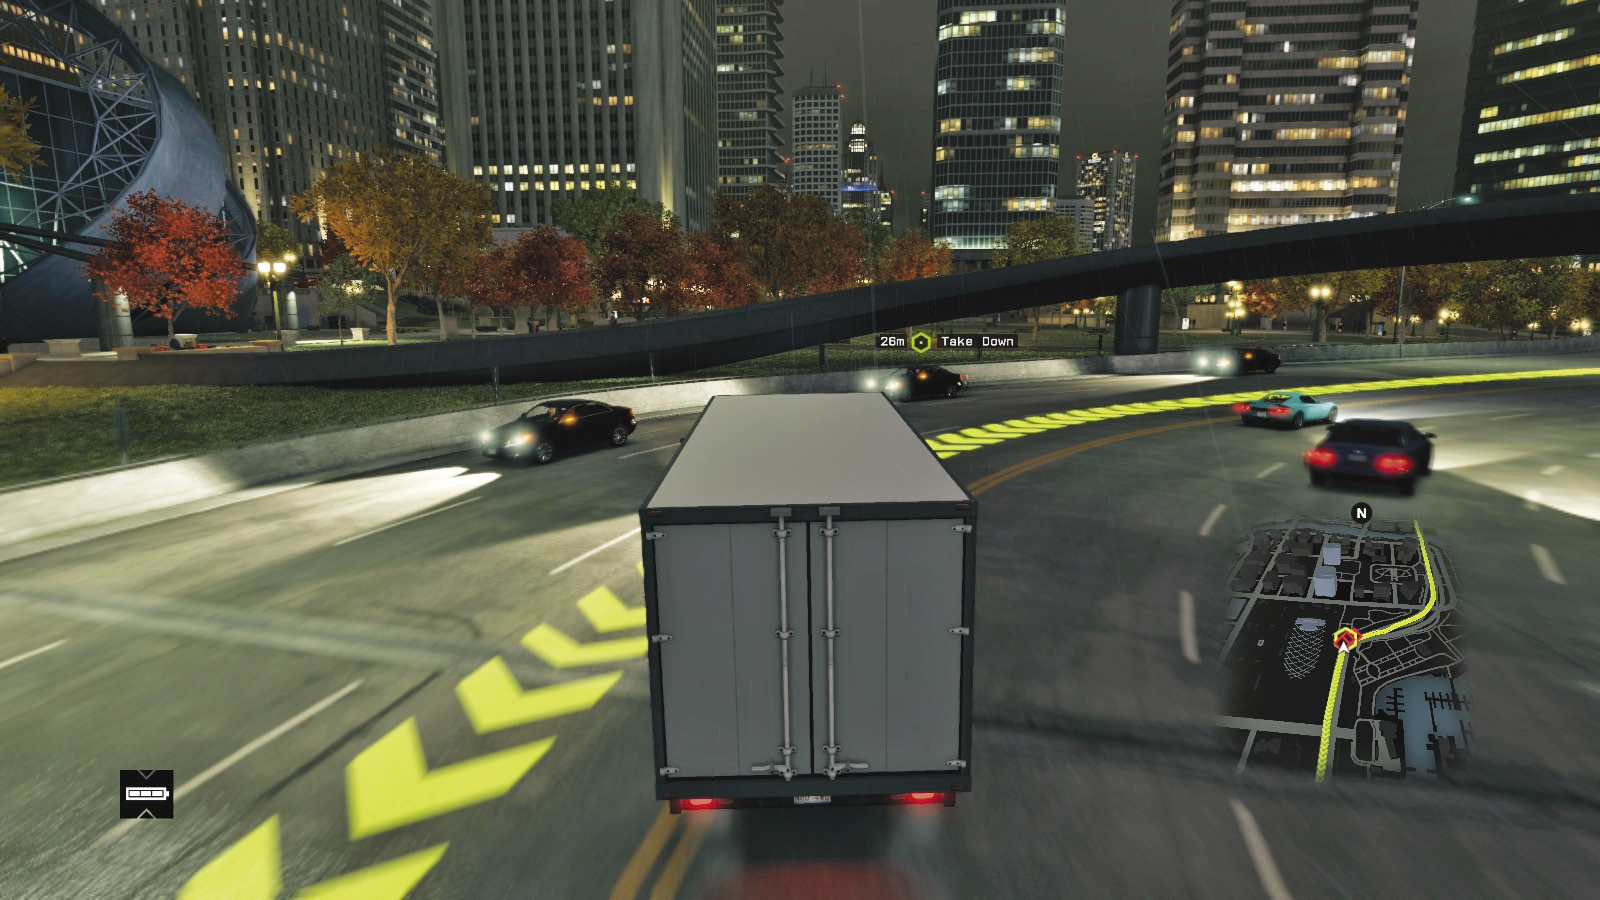
There’s a very quick way of ending the Fixer’s journey: drive along one of the main arteries until you see the three-car convoy, accelerate, and crash into the middle vehicle. Timing is critically important; glance or spin the Fixer’s car or miss it entirely and you risk your vehicle being wrecked by enemy gunfire and chasing down the Fixer automatically begins. Instead, ram the Fixer’s car head-on, then block it so it can’t move. Optionally get out and quickly shoot the Fixer in the head before returning to your vehicle. Take cover and attack the Fixer’s allies or flee the scene.
For a slightly less chaotic version of this plan, ram the Fixer’s car head-on but at a slower speed and in a bulky vehicle like a truck; then push it into a support pillar, wall, or corner of a structure to jam it. You may also wish to impede the vehicle from escaping by firing at its tires or strafing both foes inside to kill the Fixer.
 Aggressive // Smart: Technology to Impede
Difficulty: 
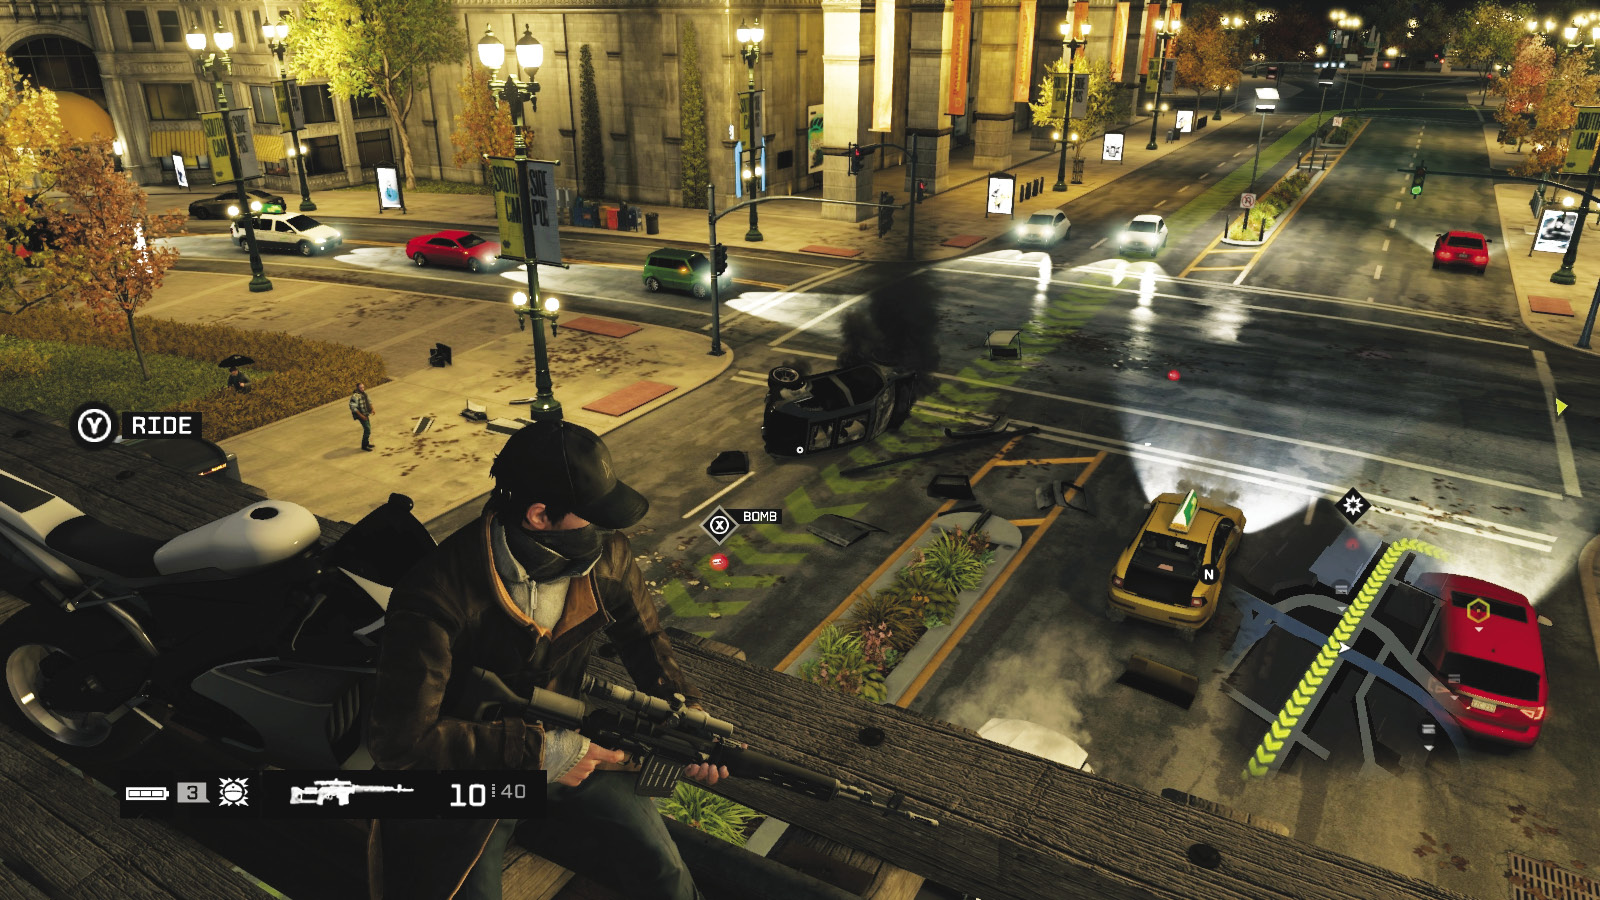
Find a location with traffic lights or a junction box and create congestion (or a suitable explosion or blackout): The trick here is to change the lights when the foes are around a block away so everyone slows to a crawl, and you can then employ whatever violent plan you may have (see below). Other options along this route include:
 Aggressive // Violence: Getting a Bead
 Difficulty:
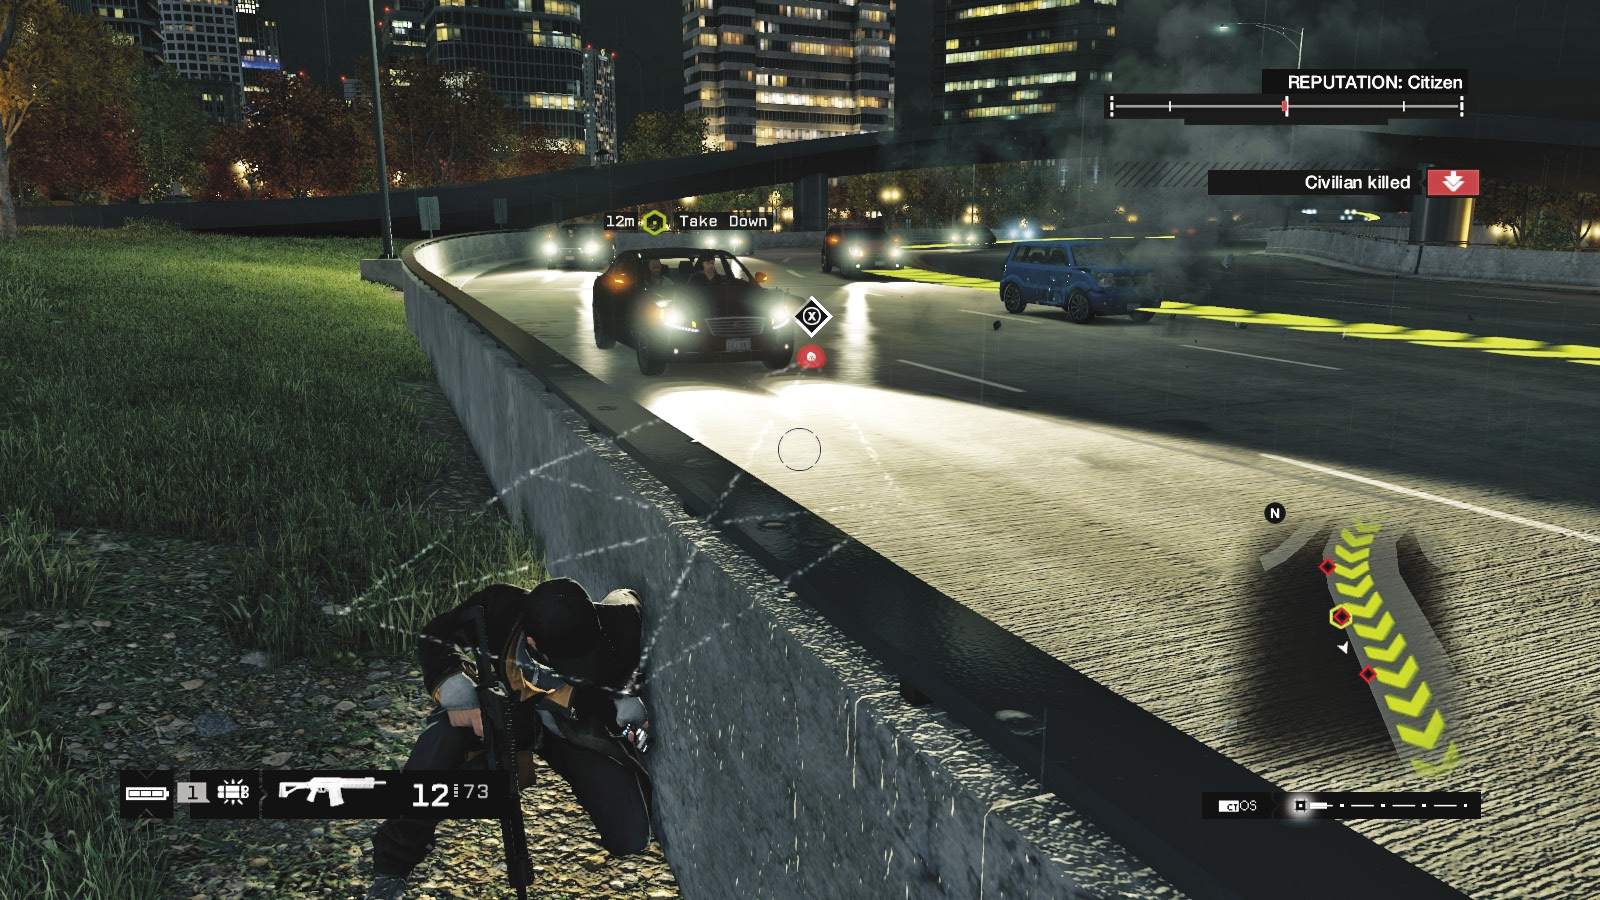
Set up an ambush spot at either recommended location by parking a vehicle (ideally a truck or long car) in front of the oncoming traffic. This creates congestion and a place to take cover from. The convoy now slows and sometimes stops about half a block ahead: time enough to bring out your favored gun and bring down the target. Some executions to think about:
Aim a sniper rifle at the Fixer from as far away as possible, and tag him in the head—one shot, then a swift escape with minimal destruction! Try using the pedestrian bridges or elevated L-train tracks along the route for added safety and height, but bring a bike in case you miss your target and need to pursue.
Step out from cover and spray the target vehicle’s tires and windshield with automatic gunfire until the Fixer is dead. Then flee to a vehicle you’ve already picked out or into an alley, away from the Fixers.
Hide or wait for the Fixer’s car to stop when you’re to the side of the vehicle, allowing you to aim through the passenger window at the Fixer.
Grenades and IEDs blow up cars real nice. Lobbing them accurately takes skill and practice, and the Fixer is more likely to bolt.
8.3 CHASING AND ESCAPING
 Location / The Loop
|
|
 Kill Angelo Tucci before he escapes
 Kill Angelo’s allies or escape
 Vehicle Chase
 Lethal Force Likely
Difficulty: 
If you couldn’t take down the Fixer at your preferred ramming location or ambush spot, he drives away at speed, and when his vehicle is impaired, he flees on foot. Much like any chase, there are two main methods of bringing down your target and avoiding the Fixers that are chasing you:
 Driving // Offensive: Evasive Maneuvers and Ramming
 Difficulty:
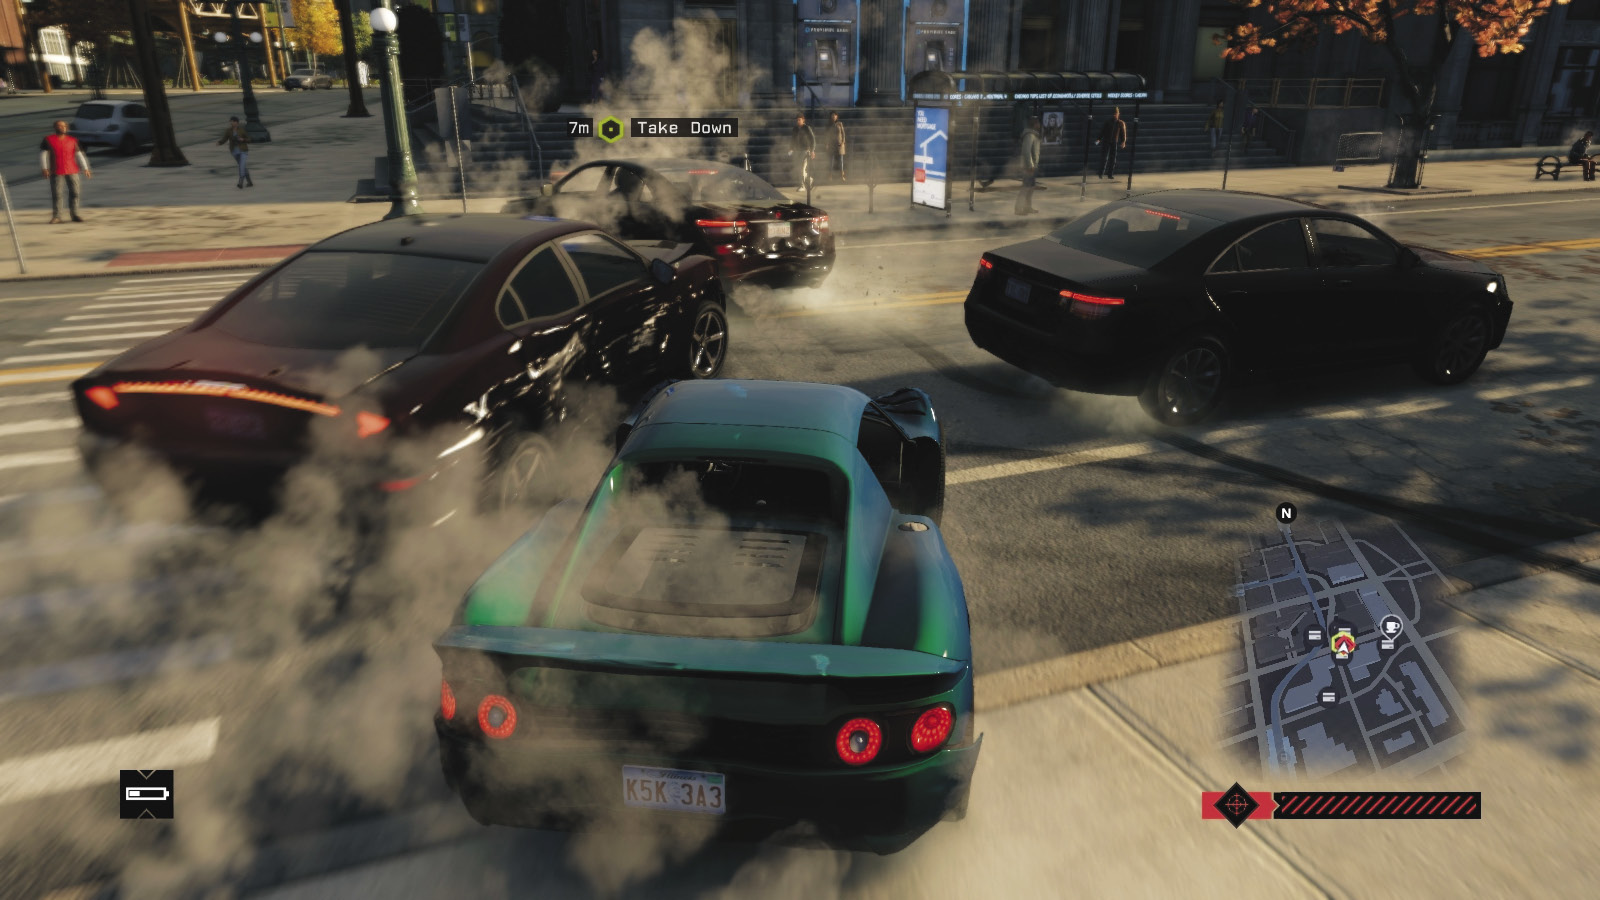
First, ignore any of the Fixer’s allies until the Fixer is down. Check the main map and minimap, and chase the target with extreme focus. Don’t race too quickly and take corners too sharply or you’ll crash and fall behind. When you eventually reach the Fixer’s vehicle, try any of the following:
Ram straight into the back of the car.
Attempt a PIT maneuver by striking the rear corner of the car, sending it fishtailing.
Sideswipe the vehicle so it crashes or grinds against the side of the road.
Predict where the car will be, and intercept it with a sideswipe.
Predict where the car will be, and intercept it with a head-on collision.
Push the target car into a narrow road or alley, where it can’t drive around you.
Ram the target car until it starts to billow black smoke and the target exits.
If your vehicle becomes inoperable, quickly locate a new one and resume the chase.
At any point you can block the vehicle, or slow it down enough for you to exit and begin raking the vehicle with gunfire (particularly the tires and windshield).
 Driving // Smart: Evasive Maneuvers and Jamming
 Difficulty:
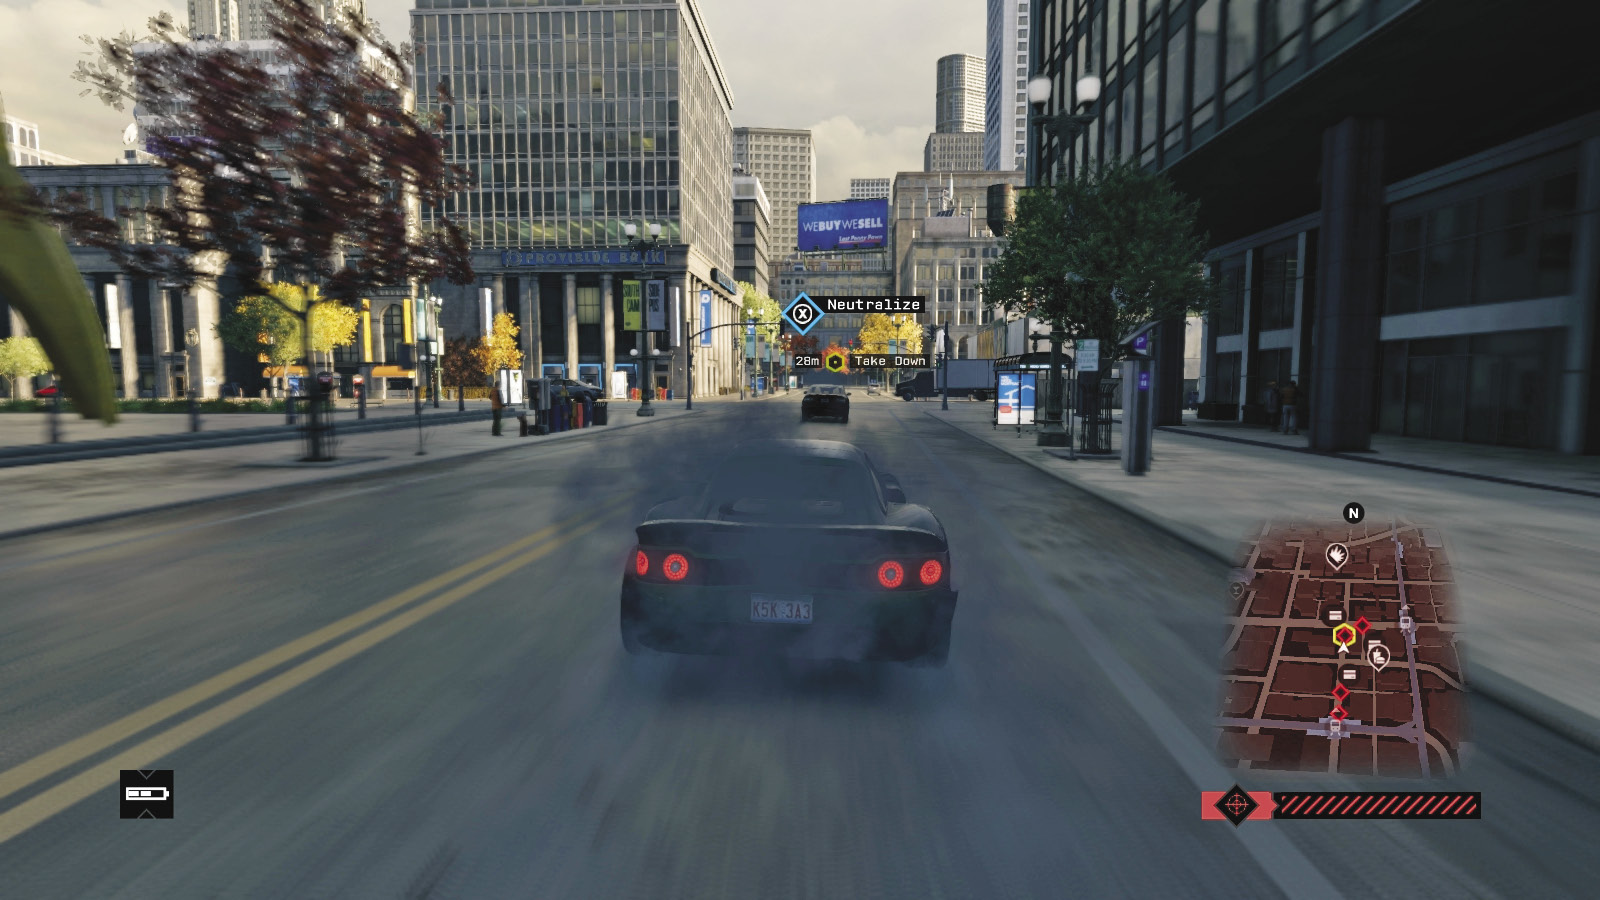
Along with all the general tactics for running down an enemy vehicle, you can stop the Fixer’s car by utilizing the many hackable objects around Chicago. If you’ve unlocked enough Skill Points to access certain hacks, try the following (and remember to avoid the ensuing accident if it occurs!):
Hack traffic lights to cause congestion.
Hack junction boxes so they blow, striking the vehicle.
Hack bollards so they rise, stopping the vehicle.
Hack bridges so they rise, slowing your Fixer’s vehicle.
Hack spikes so the Fixer’s car tires blow out.
Hack steam pipes so they blow, disintegrating the vehicle.
Then ram or block the Fixer’s car and destroy it or get out and slay the Fixer.
 Aggressive // Violence: An Execution That’s Damning
 Difficulty:
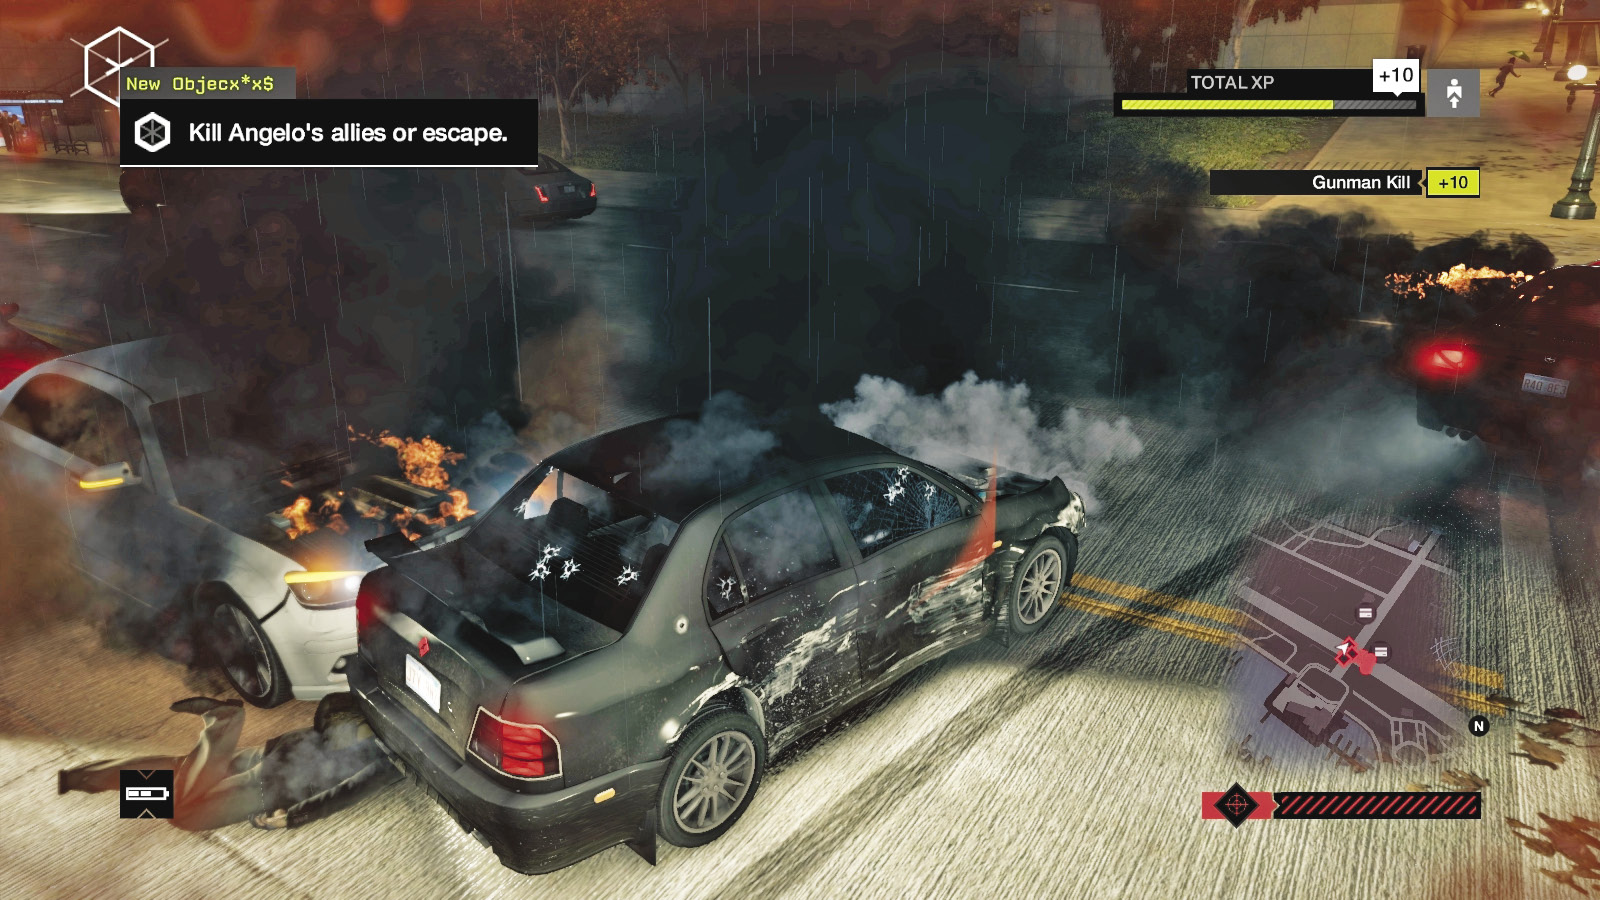
When the target tries to escape, there are various (and sometimes hilarious) ways to bring about his demise:
Drive over him in your vehicle.
Shoot him in the head with your pistol.
Strafe him with any automatic rifle or machine gun.
Watch him sprint off, then tag him with a sniper rifle.
Chase, leap, and tackle him to the ground.
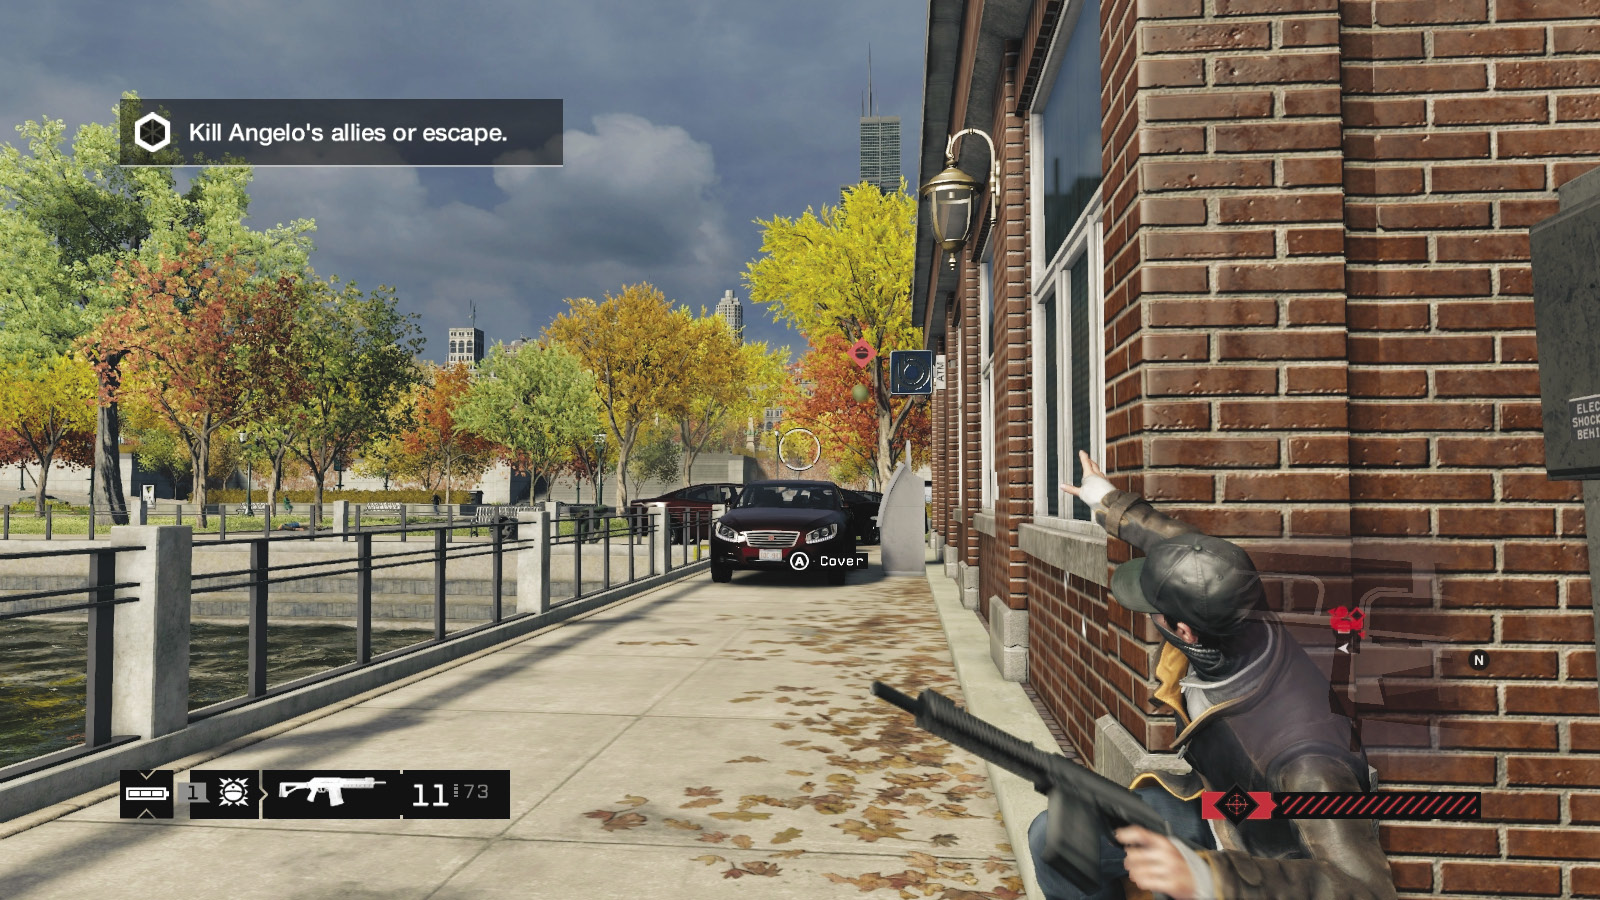
Once the target is down, the Fixer’s allies attempt to thwart you. Consult the general escape tactics, remembering what you did to lose the sphere of influence when fleeing the police (see the Training chapter). In this particular area of The Loop, you can employ any of the “Driving // Smart” tactics listed previously. In addition:
Open a garage door, head inside, close it behind you, and wait.
Flee The Loop to another district.
Weave in and out of alleys and main roads to confuse and lose your foes.
Use ramps to change height and locations quickly.
Hide under overpasses or bridges, away from city streets.
Seek cover in a location (such as the Marina) that you can easily escape from if you’re in danger of being overwhelmed, and battle back against the Fixers, defeating them all.
Once the Fixer’s allies give up the chase, this mission concludes.
MISSION REWARDSReputation GAIN or Loss Exclusive Contract: Breakthrough now Available Exclusive Contract: CTRL now Available Exclusive Contract: The Palace now Available Gained XP +500 |