
Watch Dogs Guide MAIN MISSIONS MAIN MISSIONS /// CTOS CONTROL CENTERS
_ctOS CONTROL CENTER / THE WARDS
LOCATION // MAP
Location / THE WARDS // ctos Control Center
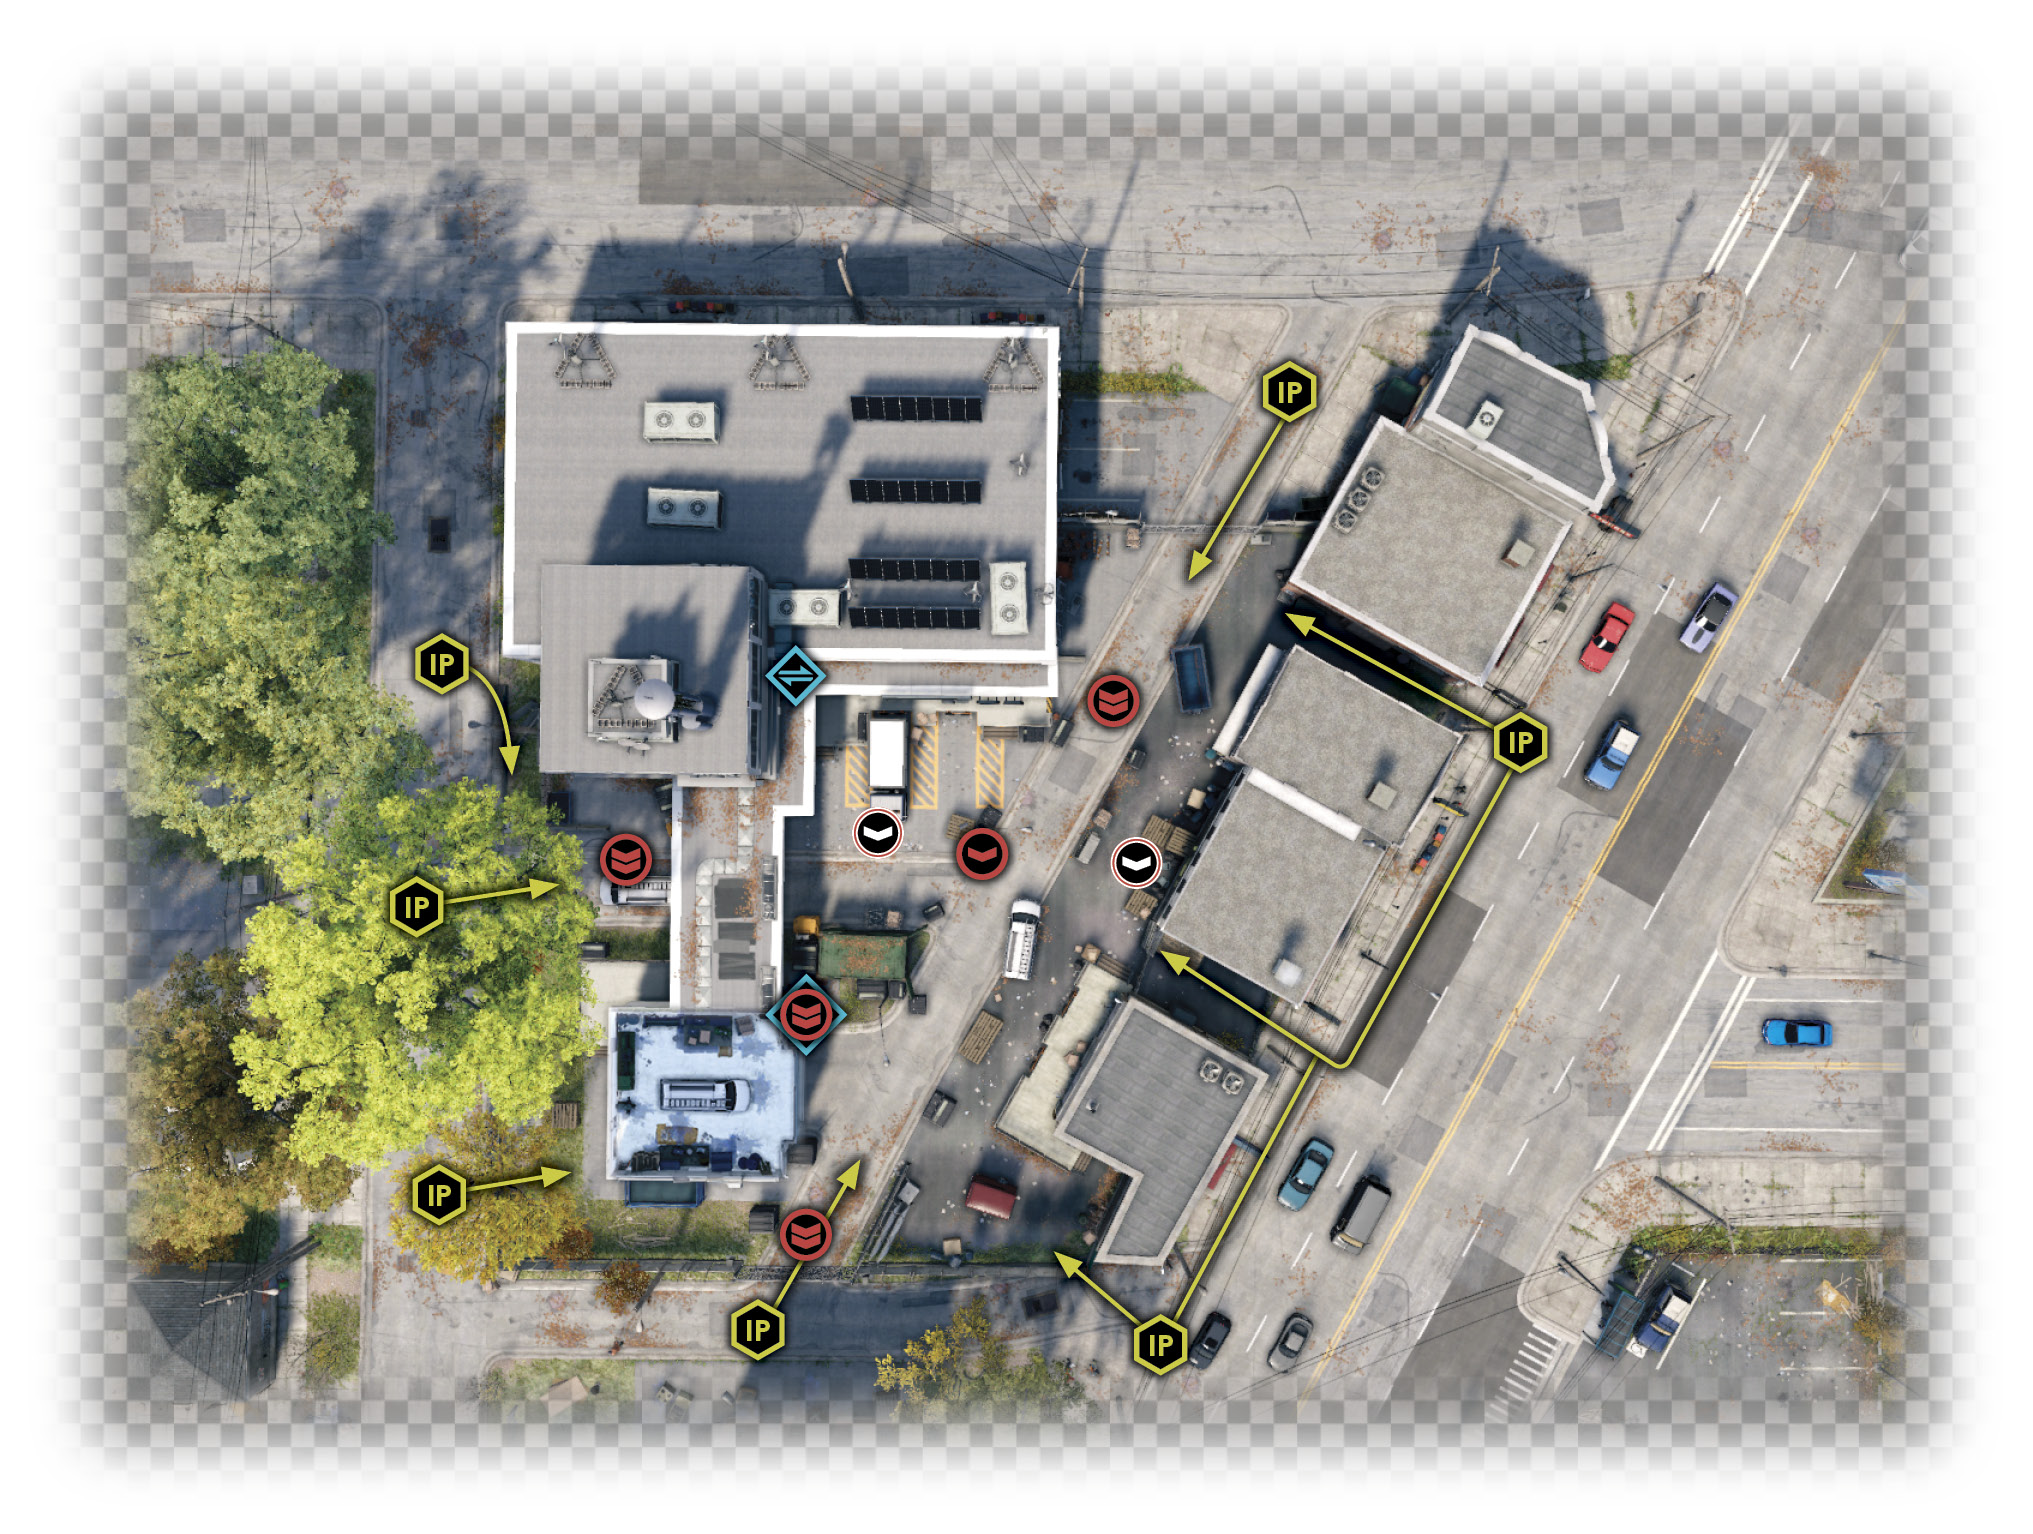
1. Rossi Fremont Fracas
 Location / The Wards // ctOS Control Center
Overview
 Completion Points: Data hack from patrolling guard, then hack into ctOS control center
 Dangers: Seven guards (Gunmen x2, Veteran x5), one hidden camera, armed with shotguns, machine guns, and sniper rifles. One guard with data to hack. Two Shot-Callers. Reinforcements usually called after you defeat three guards.
Reinforcements (up to four vehicles with one or two foes—Gunman or Veteran—per vehicle). Some reinforcements may appear on foot.
Insertion Points
A medium-sized silver and white ctOS structure has been built in the Rossi-Fremont area of the Wards and features a tall, barbed-wire perimeter wall. However, there are numerous weak spots to take advantage of, three gates (to the north, south, and west), and even some gaps in the boarded-up storefronts to the east. This may look impenetrable, but it’s actually quite porous.
Beauty Parlor Fence Gap (South)
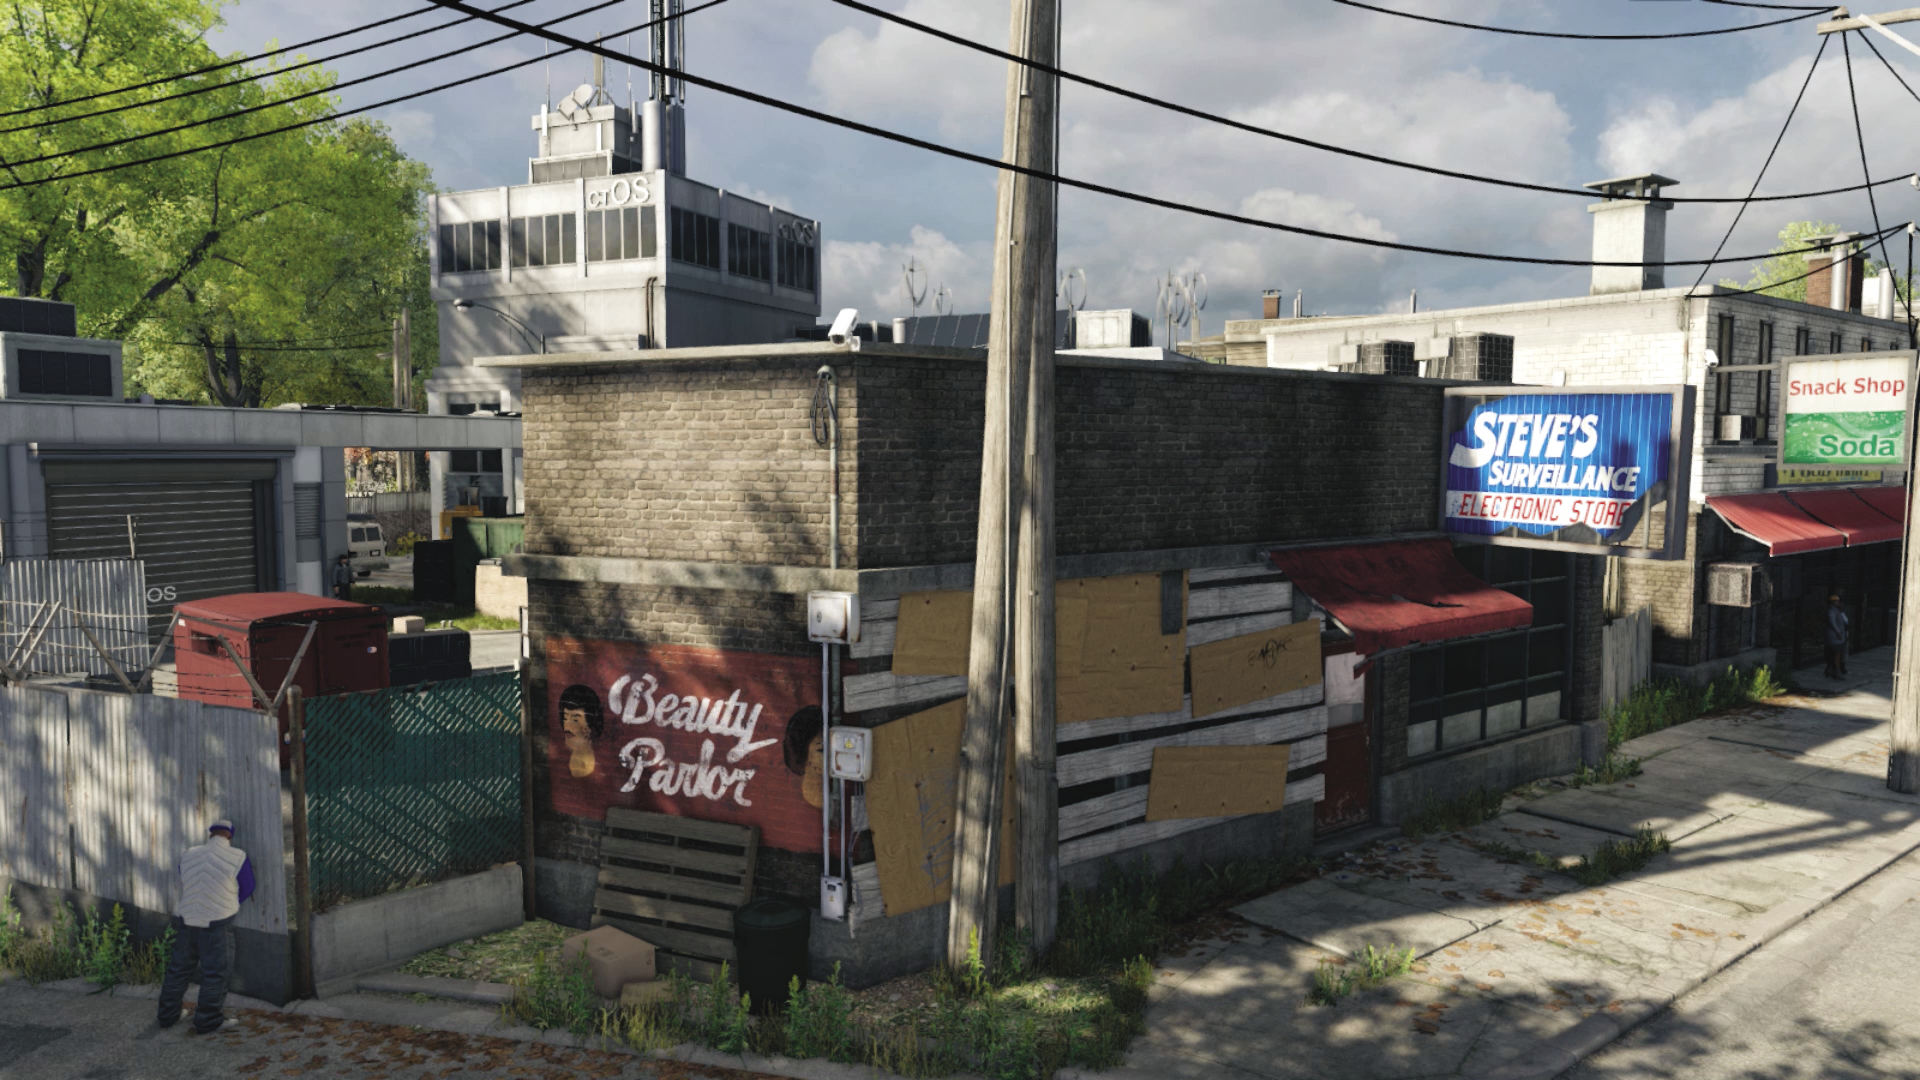
This shorter section of fence lacks the barbed wire, so you can vault over it and into the cover in the southern part of the grounds. Initially, you have only the guard at the south gate and the one you need to hack to worry about, and you aren’t seen when you make this move. Plus, there are cover opportunities along the east side of the grounds.
Gates (South)
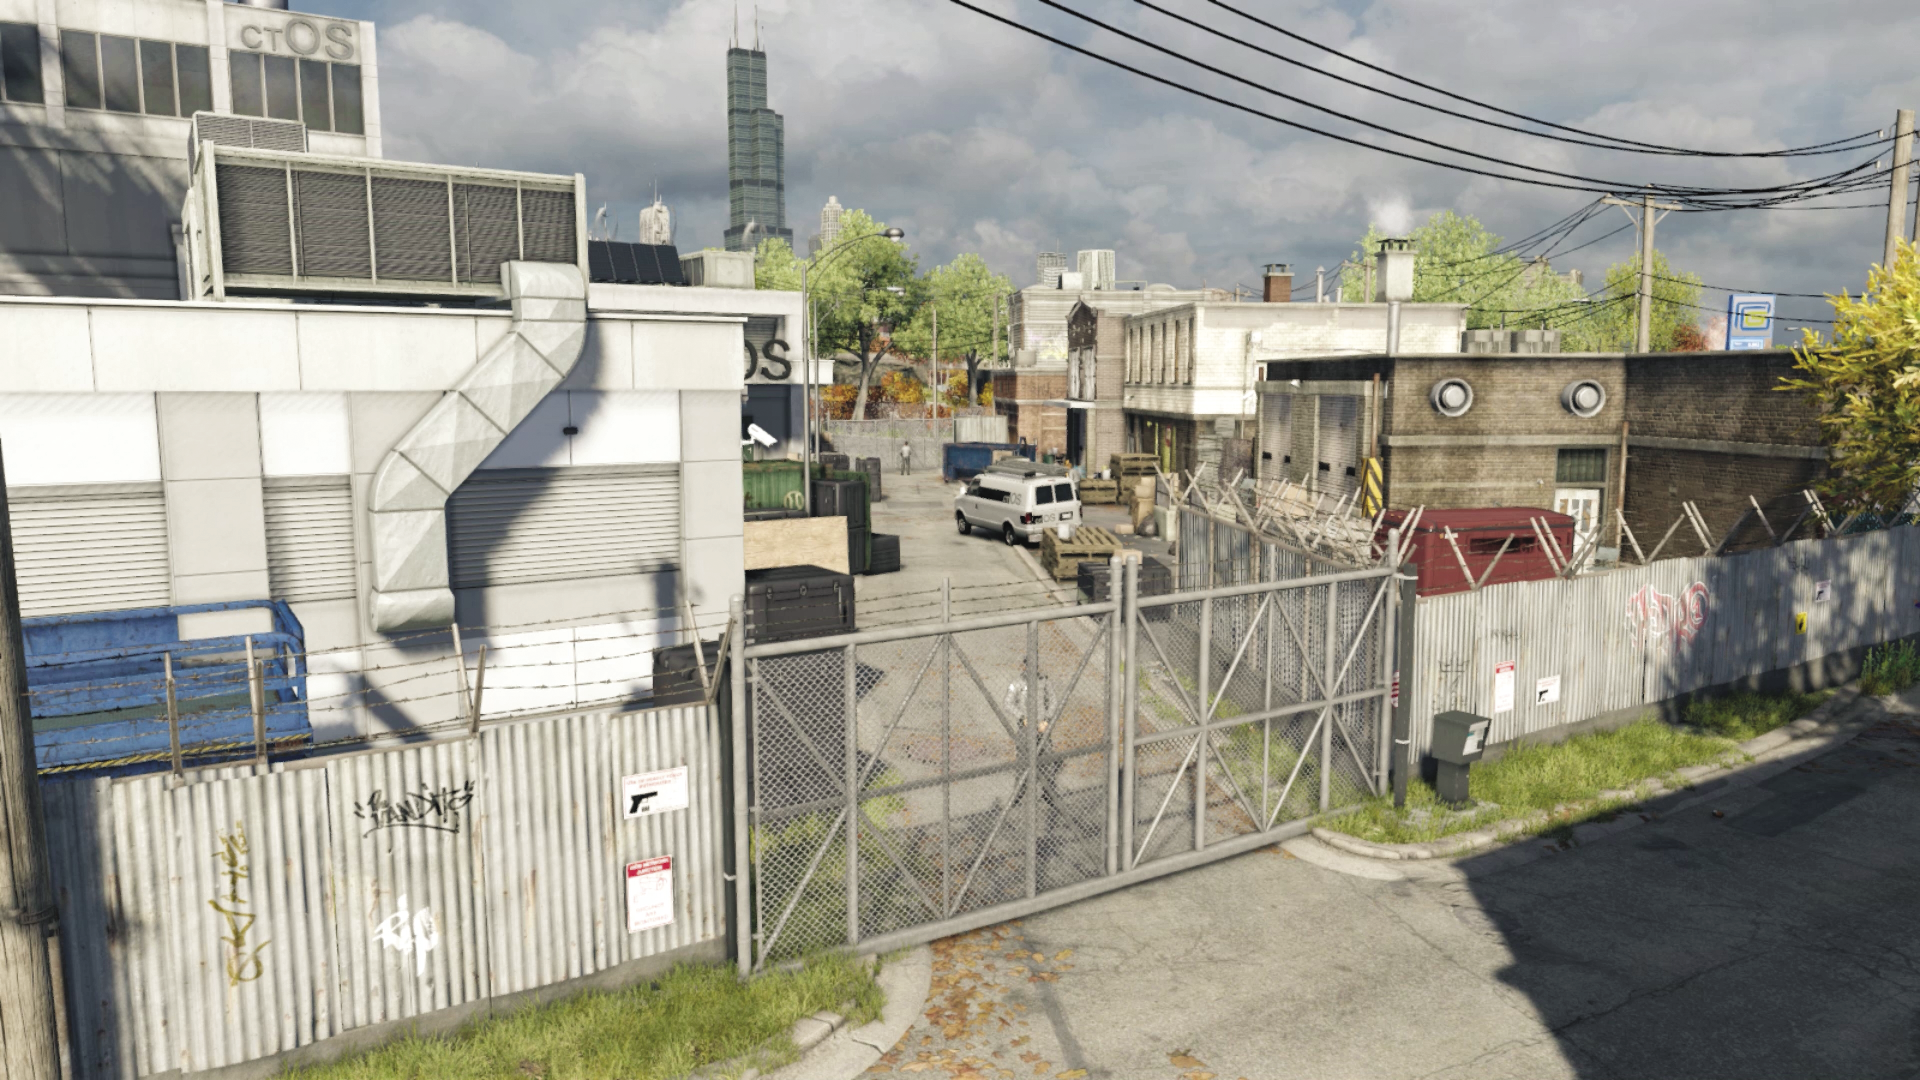
Simply hack these gates to open them, and trot in to melee-strike the guard. It’s better to wait for the guard to come out of the perimeter, as you’re easily spotted if you rush him. The gate has a great view of the main road through the grounds (great for sniping), but you’re exposed, so you might want to sneak left, toward the scissor lift.
Rusty Stove Fence Gap (Southwest)
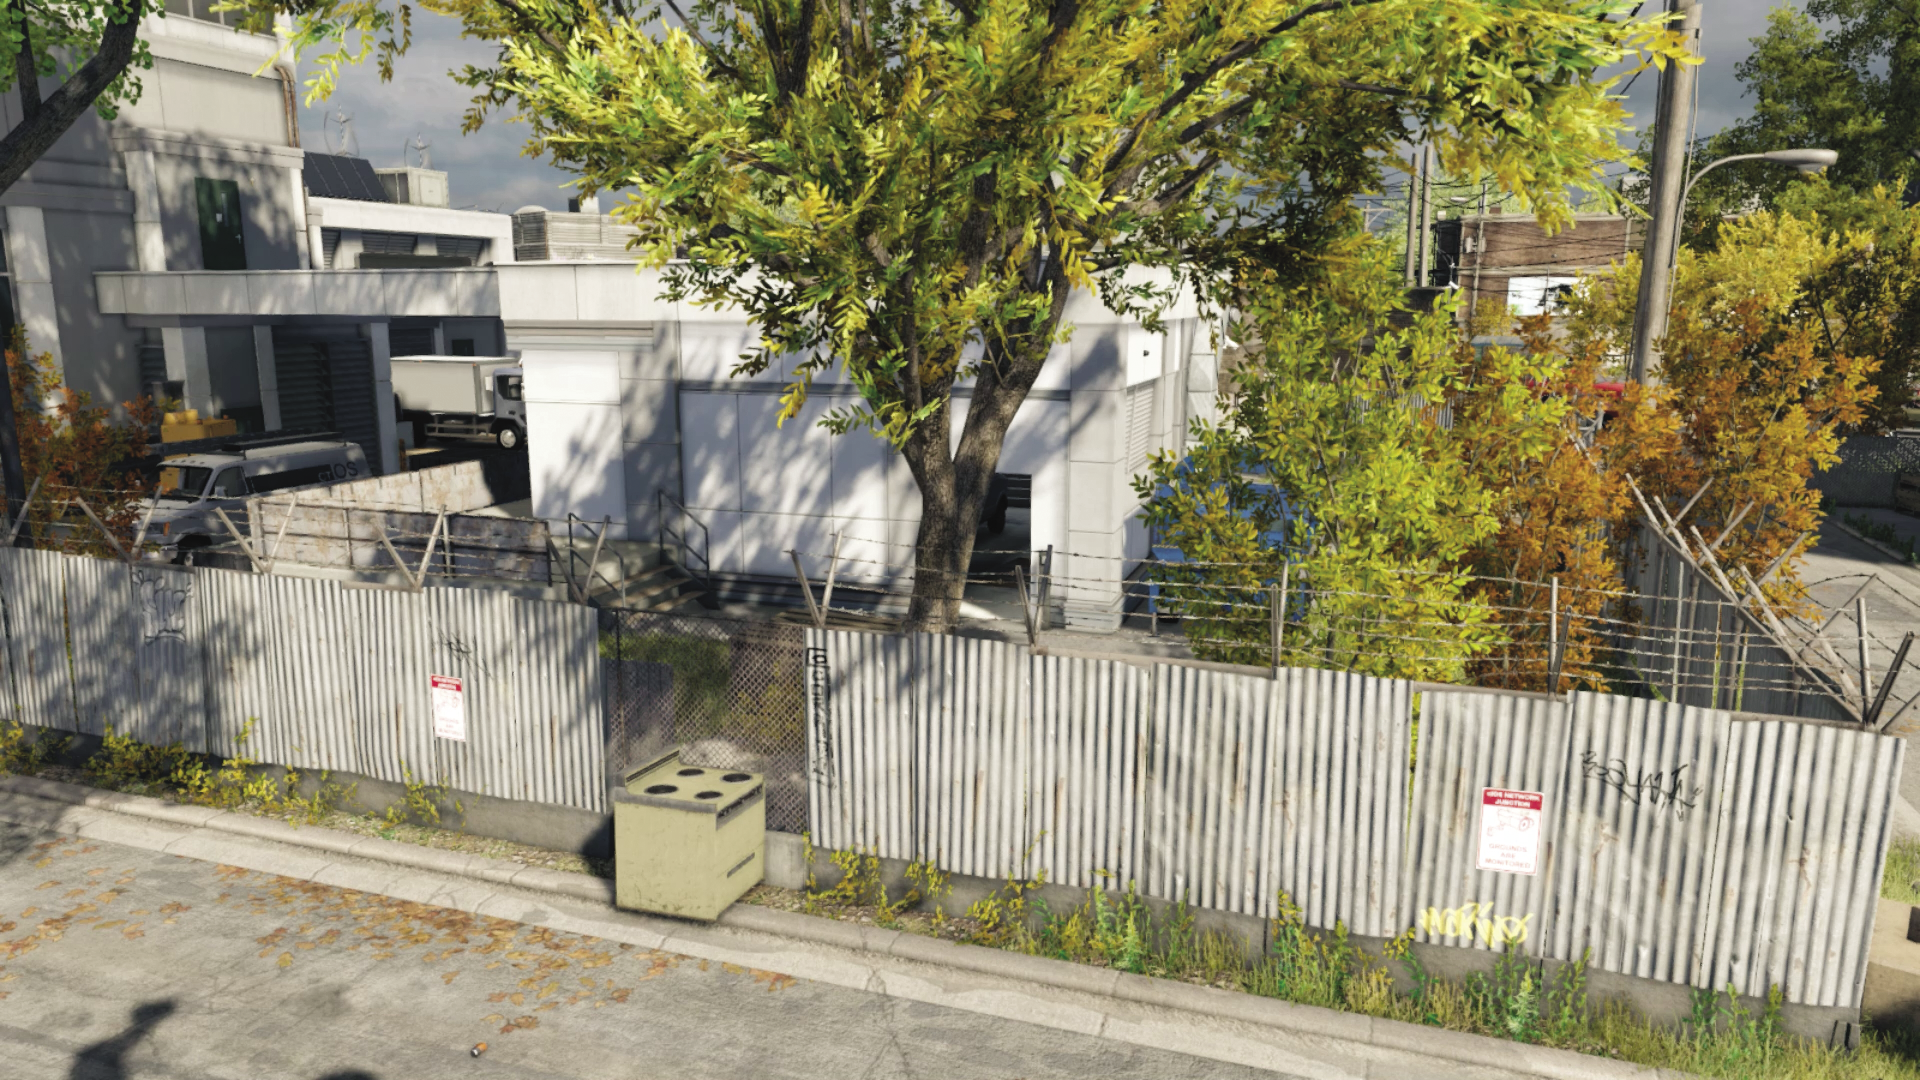
An excellent option if you value stealth, as you can climb over the fence and approach from the rear of the facility. Here you can use the scissor lift to reach the roof, bring down the guard with the camera near the west gates, and creep toward the guard to hack and the control center box.
Gates (West)
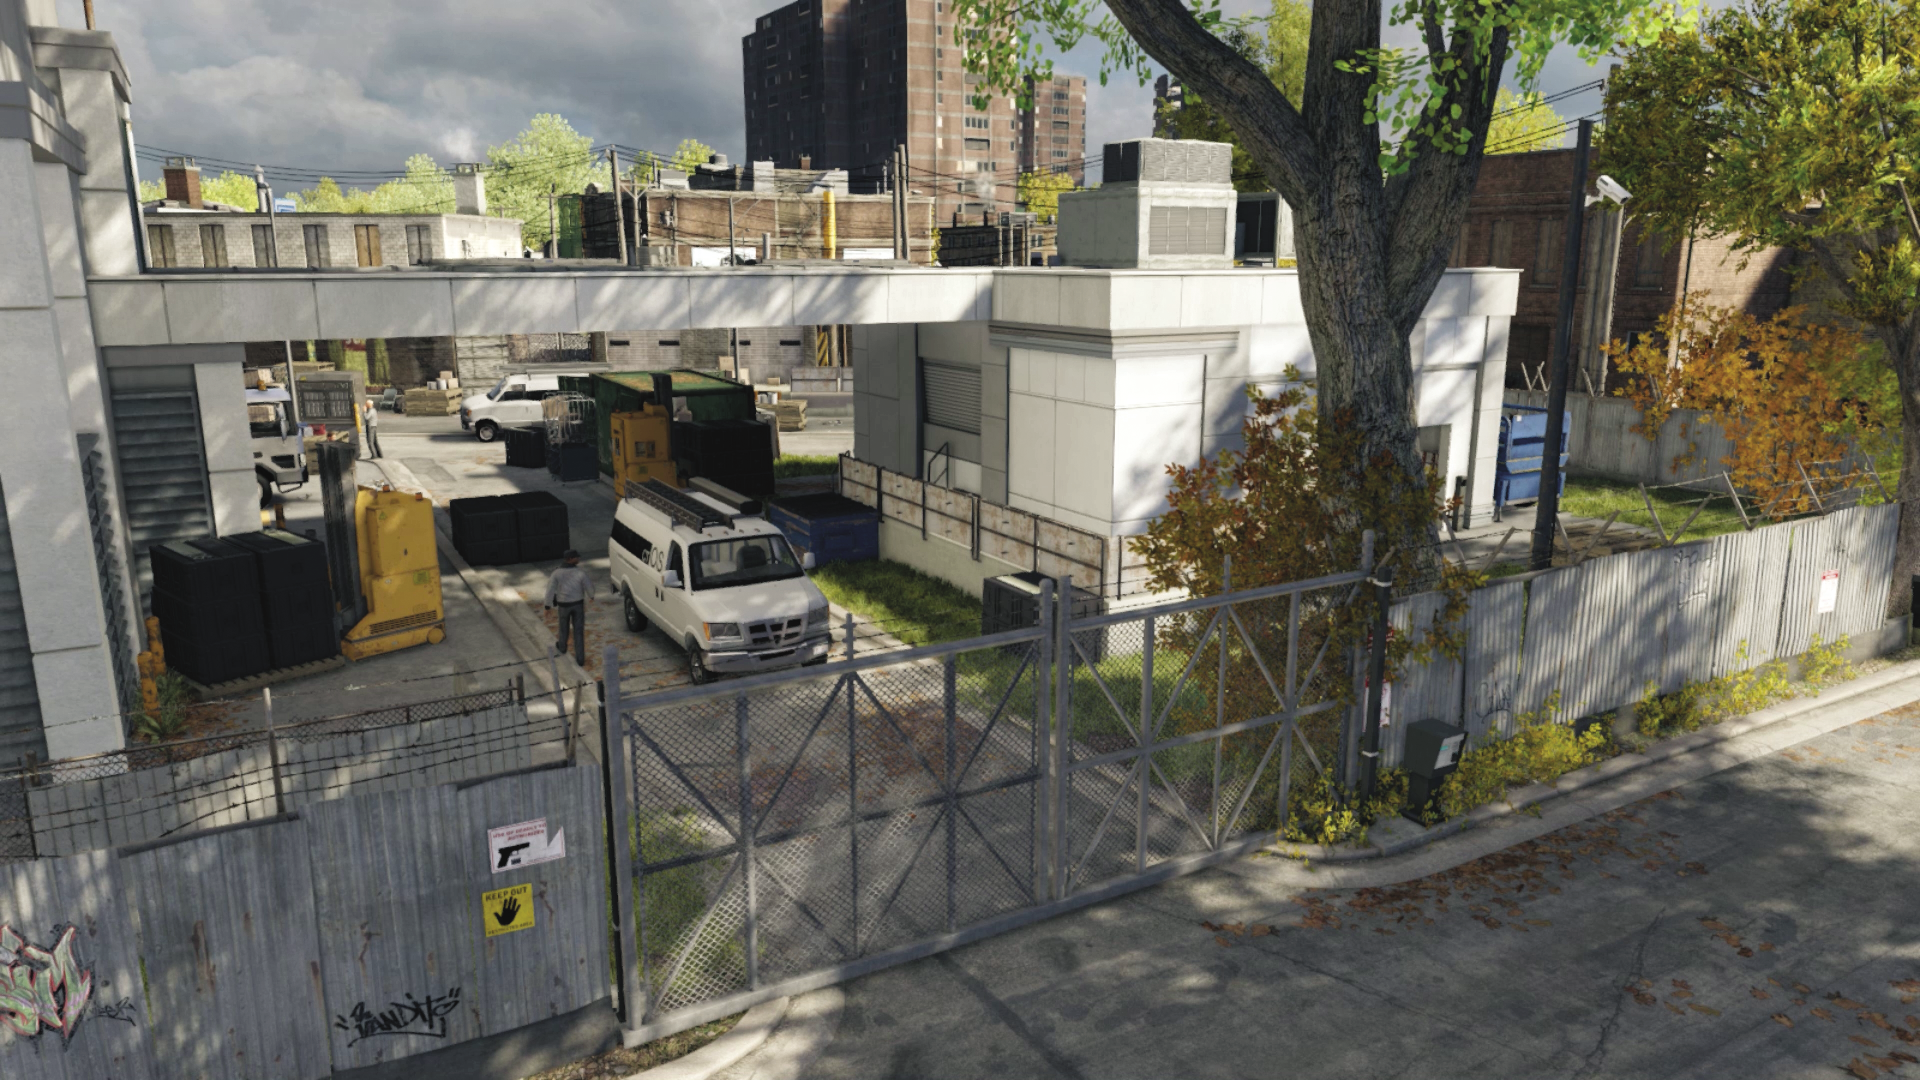
This is a reasonable option for stalking the enemy and is worthwhile if you’re bringing firepower to the fight immediately, as you can see into the central part of the yard; however, there are more routes to peel off down (e.g., running around to the scissor lift). Don’t be outflanked if violence is on your mind. Use the gates to attract foes too; then sneak in when they investigate the gate mechanism.
Fence Gap (West)
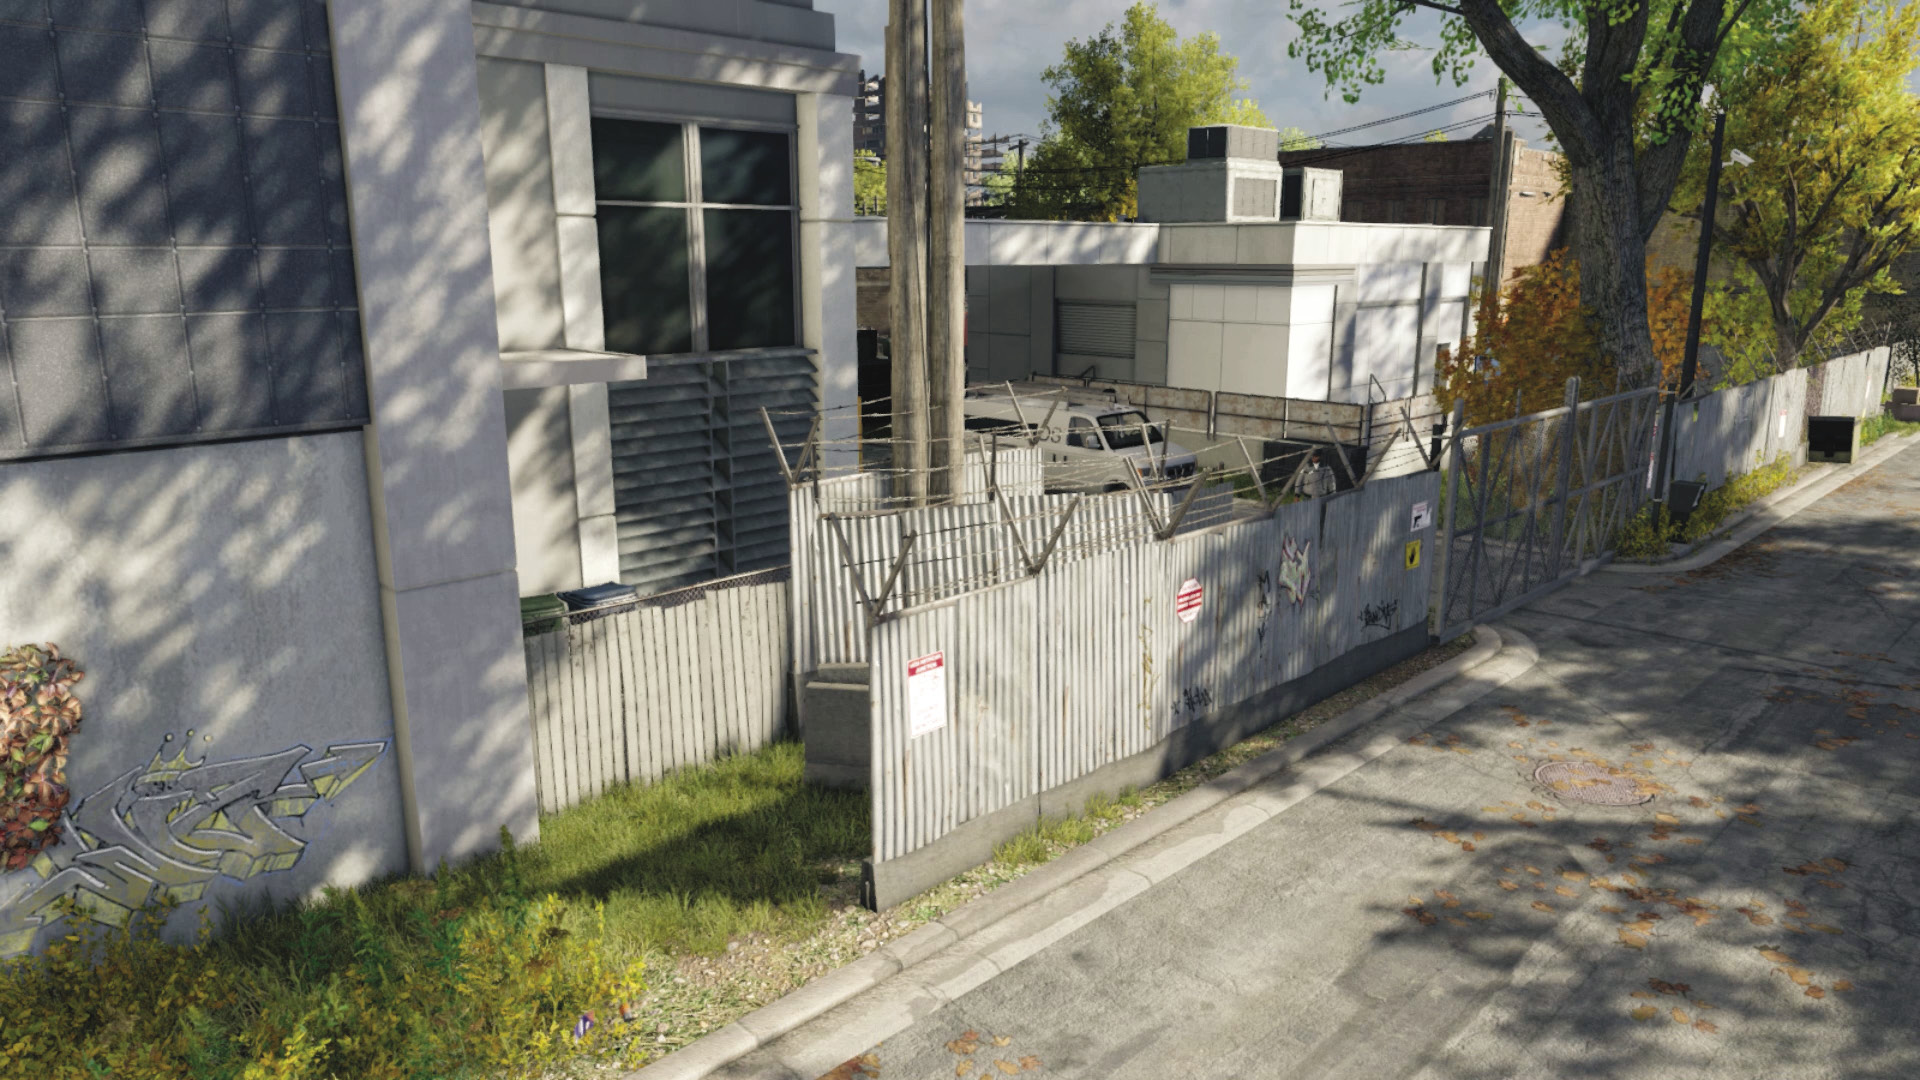
Just like the rusty stove fence gap, this section of broken fence allows you to creep into the grounds pretty much undetected. Using the forklift left of the van enables you to reach the roof easily and hack the guard in seconds without bloodshed. Or you can stay on the ground and work your way through stealth takedowns or something more violent.
Gates (North)
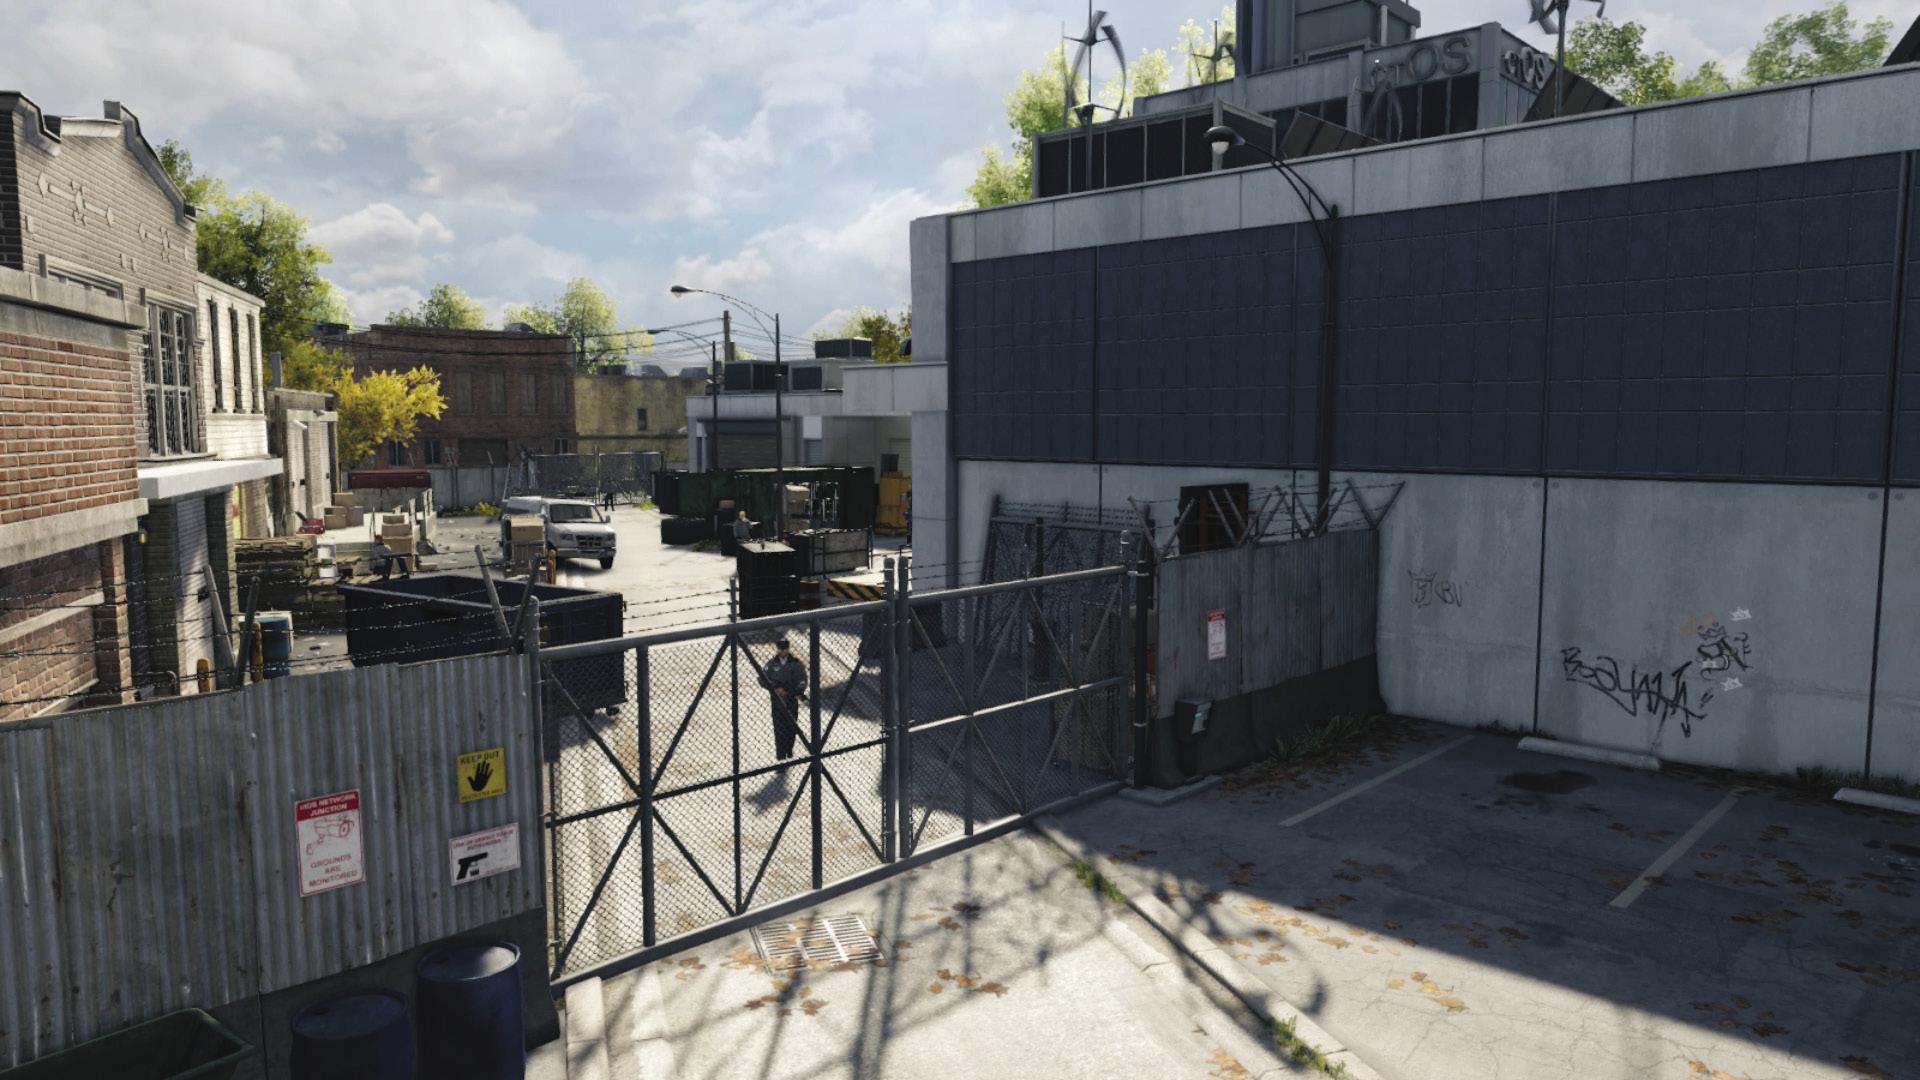
Just like the south gates, you can see most of the enemies here. Open the gates and let the guard come out to investigate, then deal with him silently. The problem comes when you enter the grounds afterward; the cluster of guards in the middle are difficult to deal with unless you use lures or firepower or use the forklift to coax them away. The road is narrow and you have fewer escape options.
Snack Shop Fence Gaps (East)
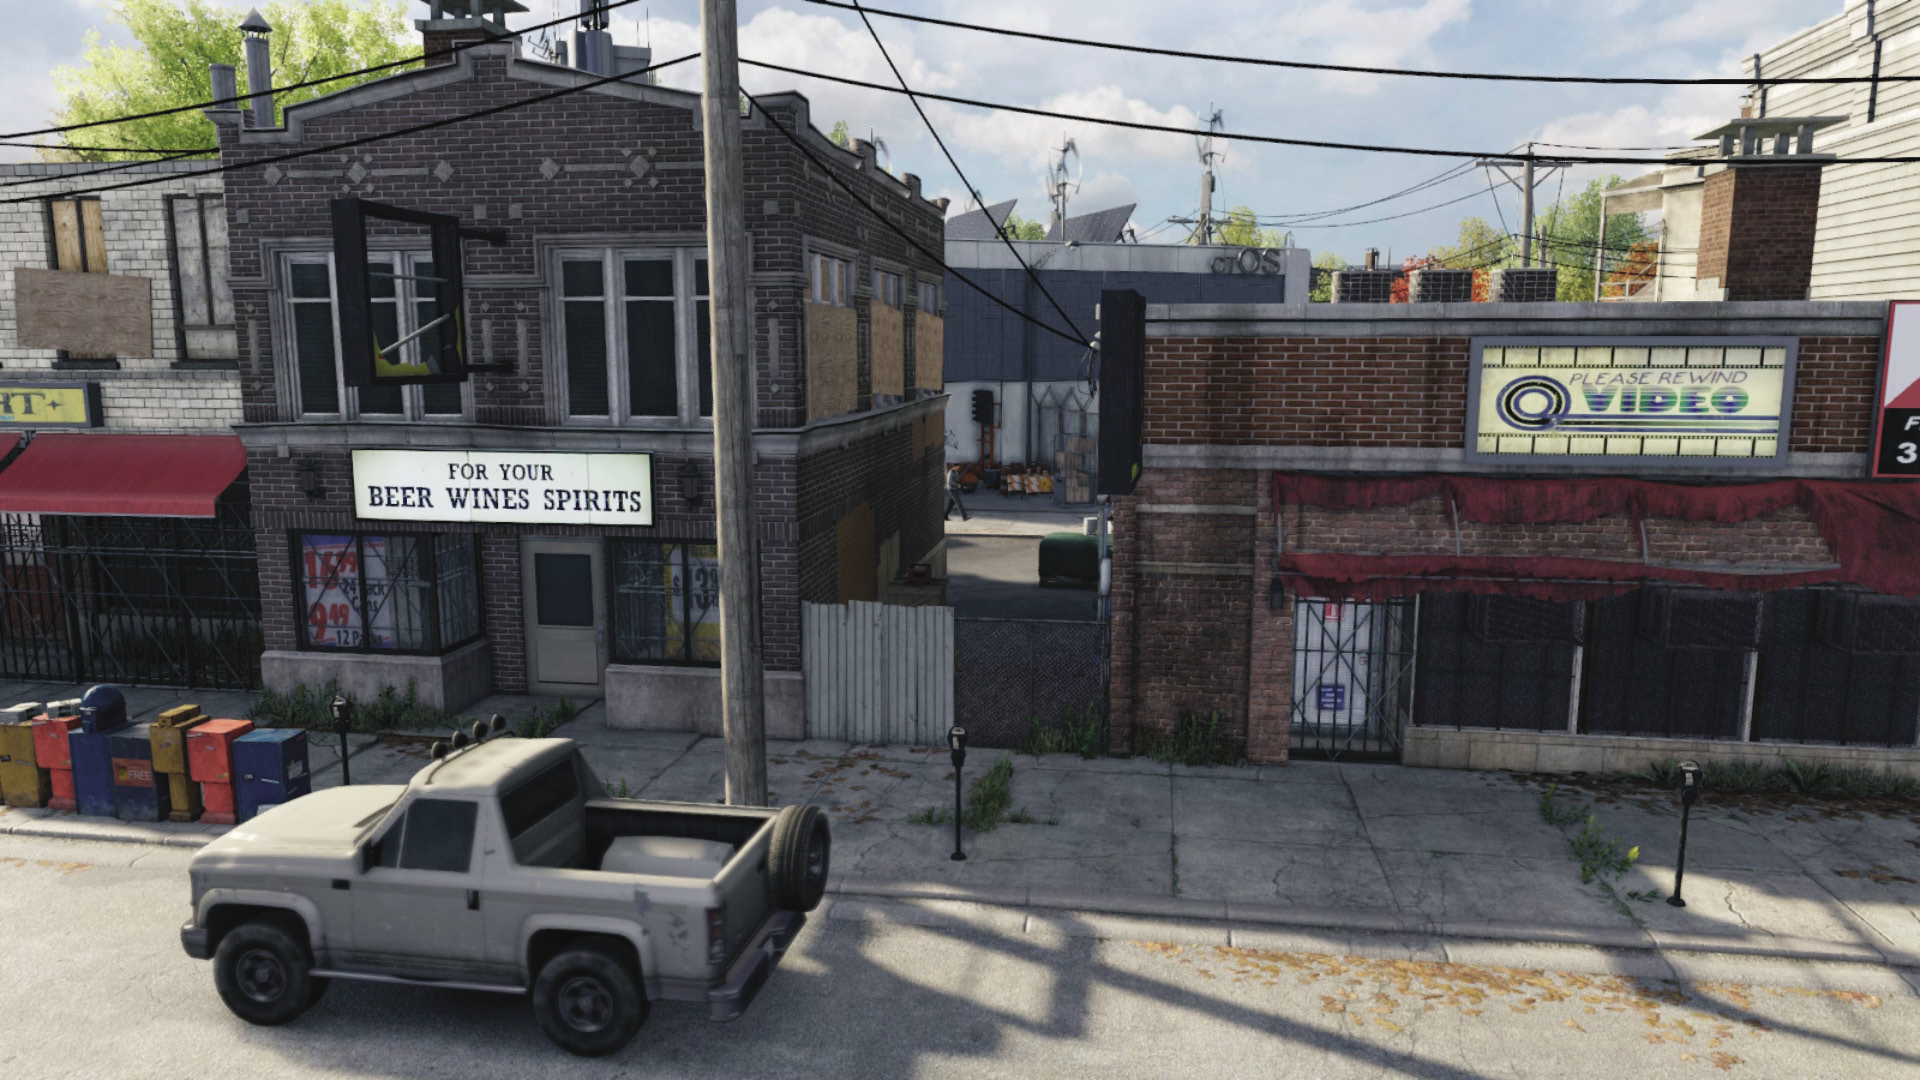
There are two alleyway insertion points between the central building along this perimeter side. The north one brings you out close to the gate guard, so you can easily tackle him. The central point allows you to hop the fence and hide close to the two guards in the center of the grounds. Or snipe from the low scaffolding platform. Both are reasonable points of entry and good escape routes if foes are at the three gates.
Interior and Control Center
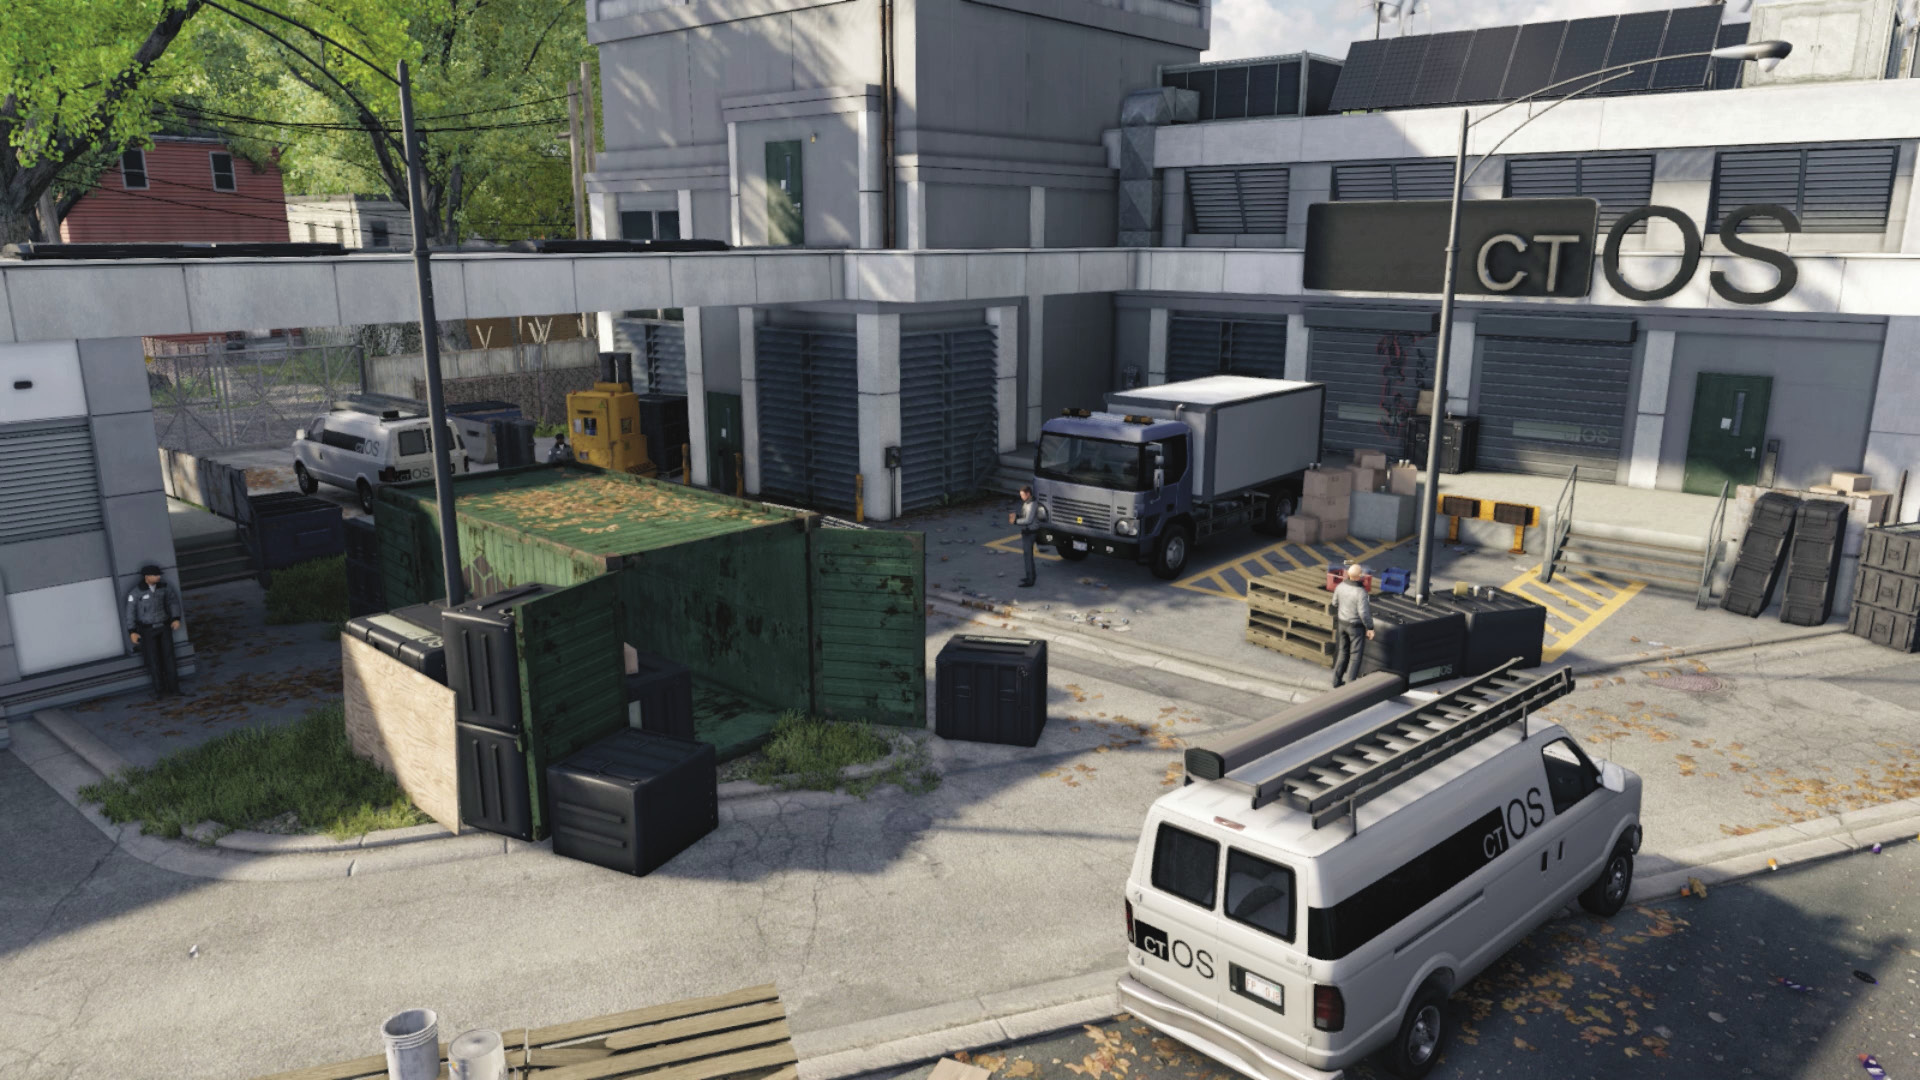
The grounds of the control center are packed with cover options, all adjacent to the T-shaped road that connects to all three entrance gates. You have a garage and a parked van to unlock, or enter from the rear (southwest) of the compound. There’s also two forklifts to hack and cause confusion. Use the vans as cover, for driving over foes, or in an escape bid. The roof has two protectors if you want to lob grenades down or snipe, but the hacking box is in the corner of the loading bay, below and left of the ctOS sign; it’s difficult to sneak there and hack without being discovered. Try to remove foes first.
Progression Plans
The place is tight for sneaking without being spotted, and it’s always handy to know the locations of the guard to hack and the router before you make a move: Fortunately, hitting both these data points can be done without resorting to violence.
 Passive // Smart: A Nonviolent Map Gift
Difficulty: 
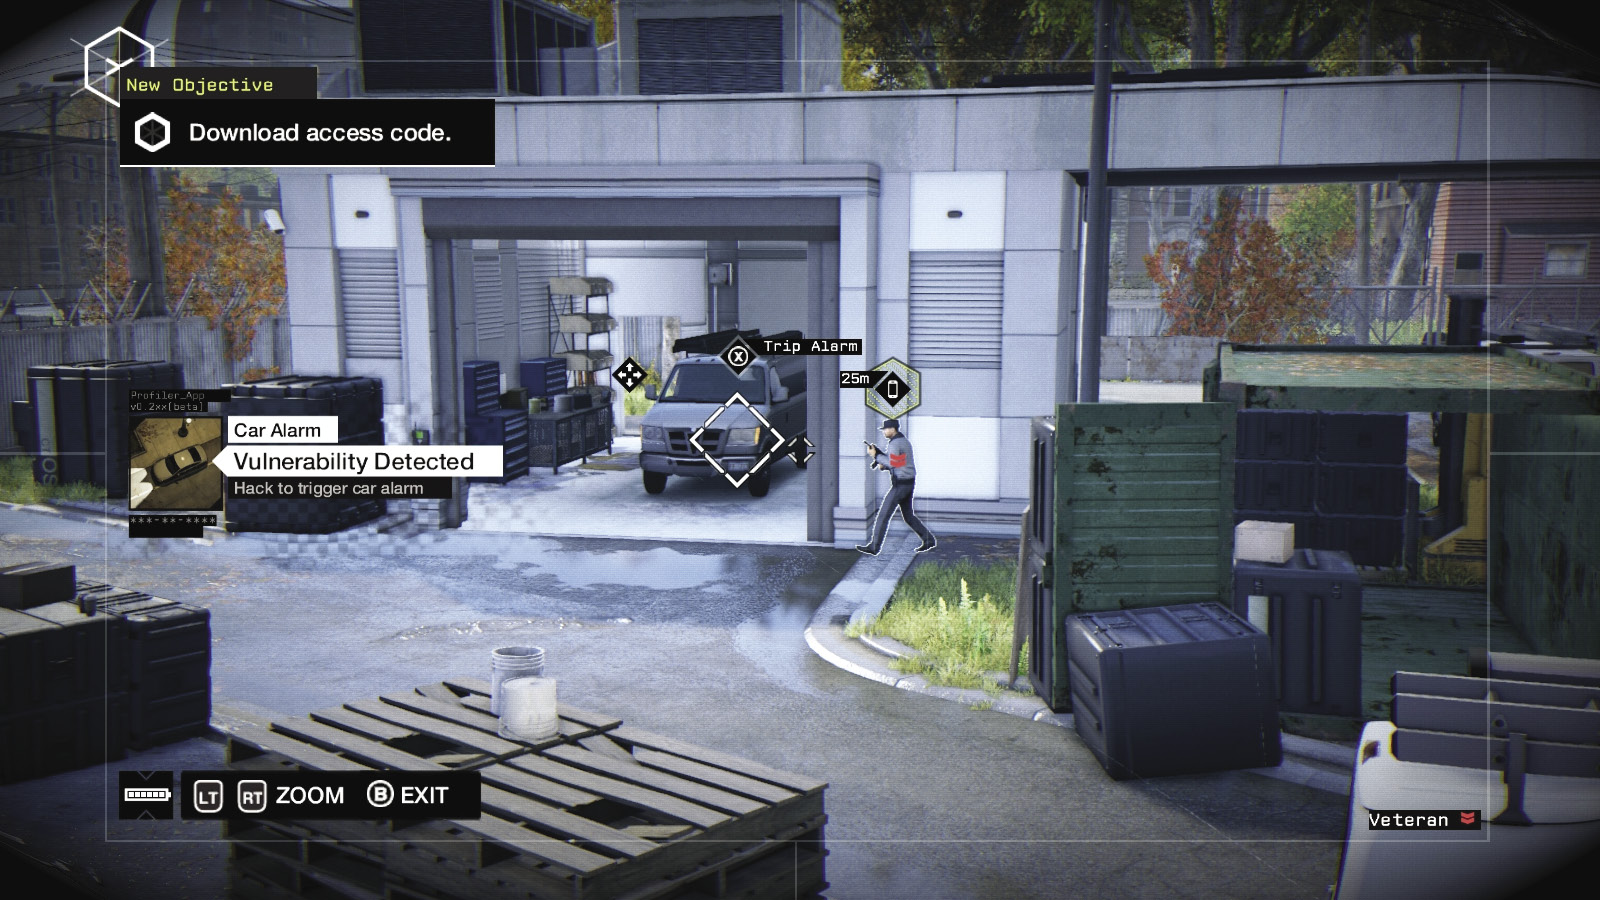
To reach the router without drawing blood or being seen, hop over the fence near the scaffold along the southeast side. Climb on the scaffold, and access the camera just to the left of you. Focus on the garage door; opening it so the access code guard walks left to inspect it. Stay on the low scaffold platform and look towards the center using the camera, at the guard standing by the truck near the junction box.
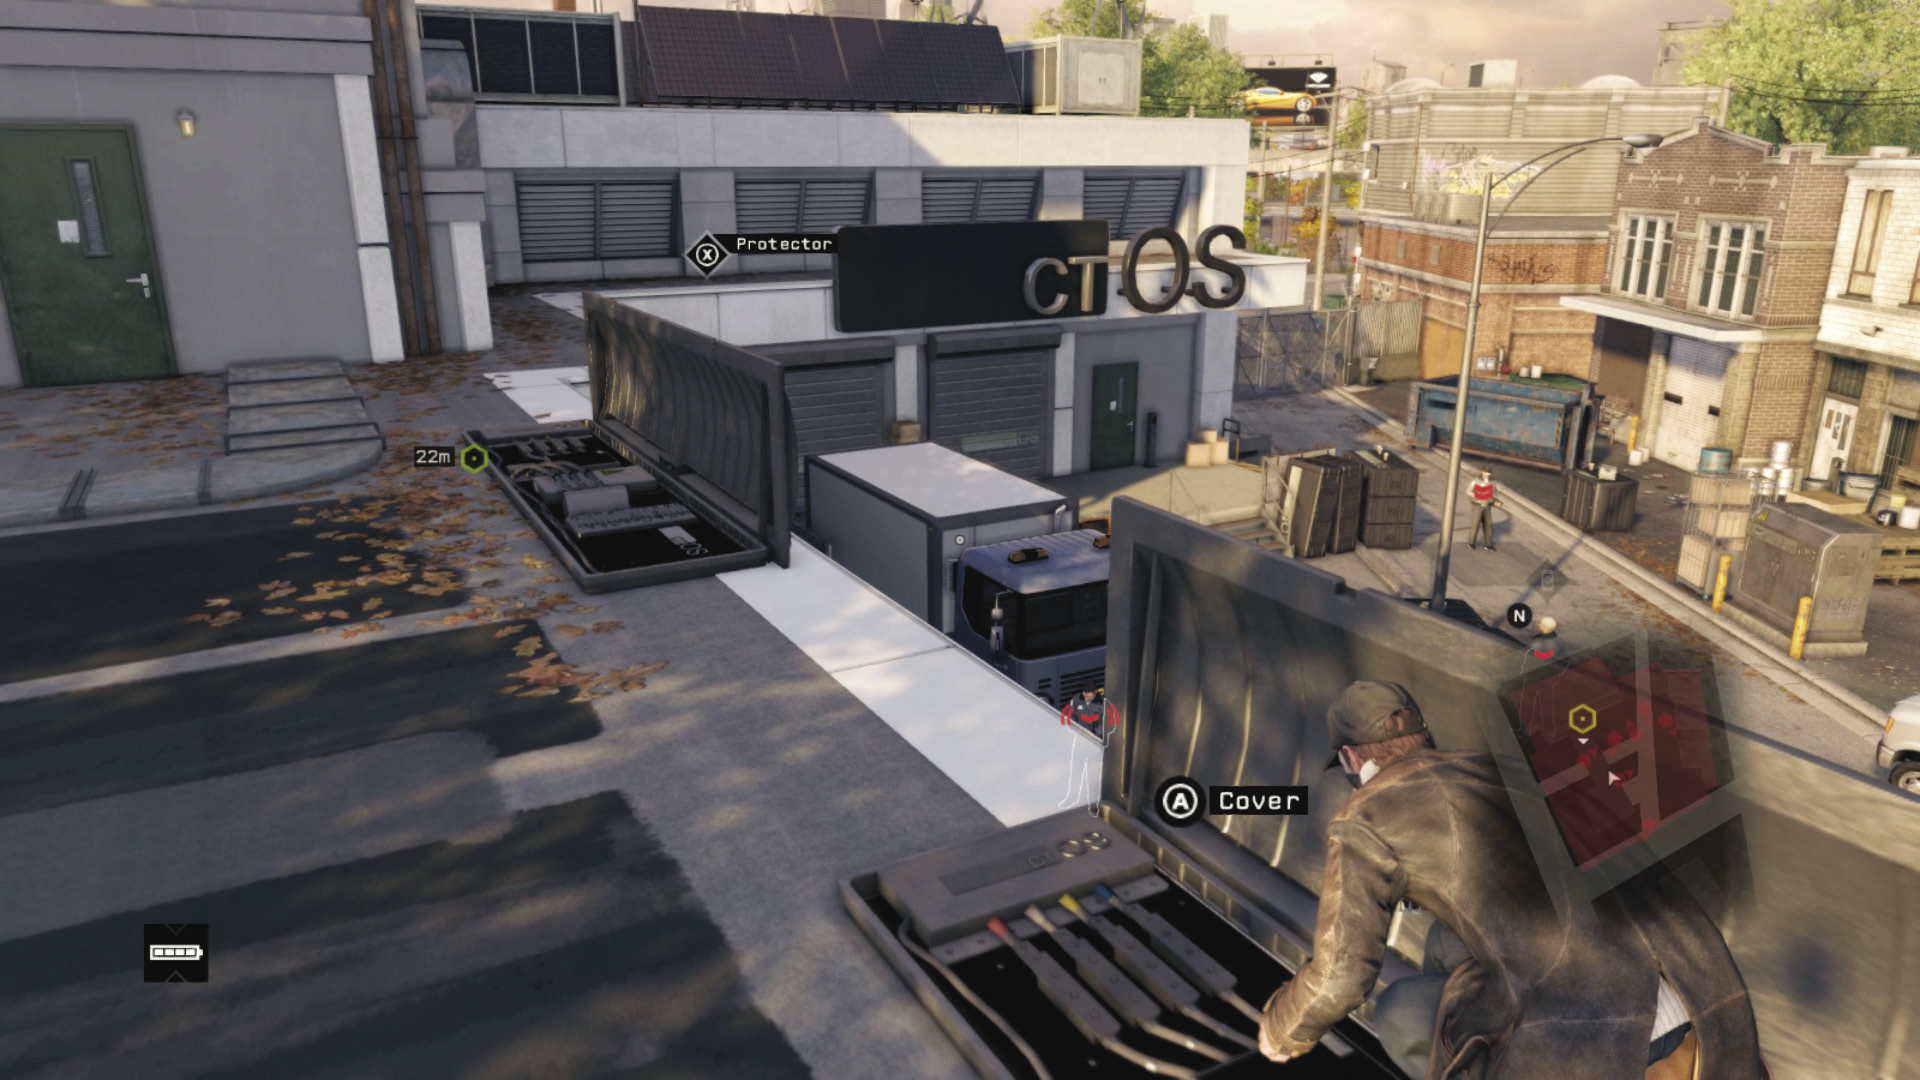
Look slightly left towards the forklift, and the guard in the distance by the west gate, who has a camera. Hack the camera so the guard moves past the forklift, then return to the wall camera. As soon as the camera guard reaches the area adjacent to the junction box, hack the box so it explodes, startling both guards. Quickly hack the camera guard so you can see his view as he turns; he looks directly at the router you need to hack. Problem solved with minimal violence!
Another option after hacking the access code is to encroach into the grounds via the gap in the southwest fence (stove), and maneuver to the scissor lift, riding it up onto the roof. Activate both the protectors as you creep across, avoiding the gaze of the enemies below you, until you reach the corner of the ctOS sign awning. Drop down from here, using the parked truck at the loading dock as cover. Then hack the hotspot and steal the data.
 Aggressive // Smart: Playing with a Forklift
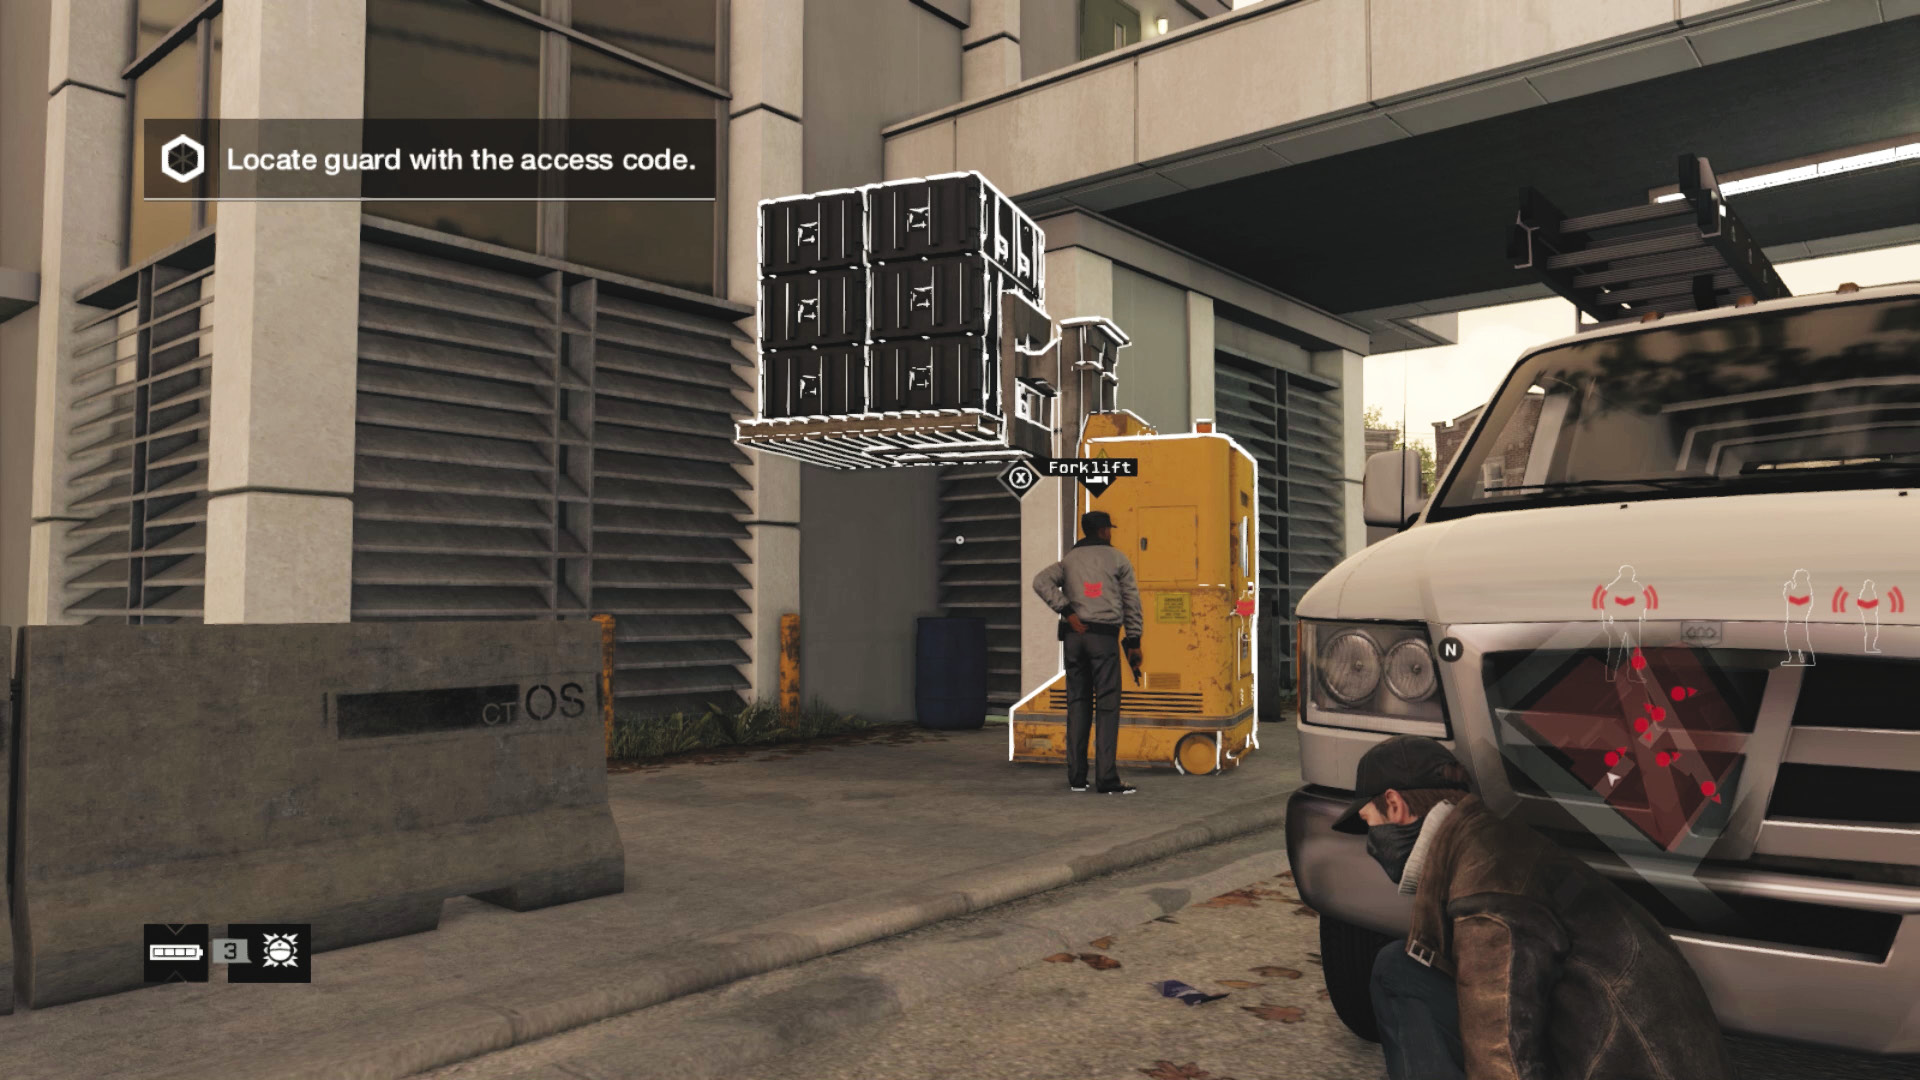
 Difficulty:
If you’re saving bullets, you can try for a stealth set of takedowns; you need only lure the group of foes in the middle away from each other. To begin with, approach each guard standing at a gate; dispatch them with a melee strike, then back out and move to the next gate, or creep around the inside perimeter if you can.
After you remove all three gate guards, coax the others into an alert status using the following plans:
There are two forklifts. The one near the garage is handy for moving up and down to coax the puzzled guards into investigating. When they do, lob in a grenade or move around the enemies to the router. Or do the same by tripping the alarm of the van inside the closed garage (after opening the door).
Lures work in the same way; coax a foe around a corner where you can strangle them. Keep this up until you dispatch three or four foes in the same general area.
Remember to distract foes or hack their grenades, though this causes them to go on more of an alert.
You can blow up the ctOS box (transformer) close to the two foes chatting in the middle of the grounds, plunging the area into darkness; as long as you’ve marked the foes first and don’t want to hack the router yet (as everything is offline for a minute), you can cut foes down afterward with your baton or bullets.
 Aggressive // Violence: Giving Foes Short Shrift
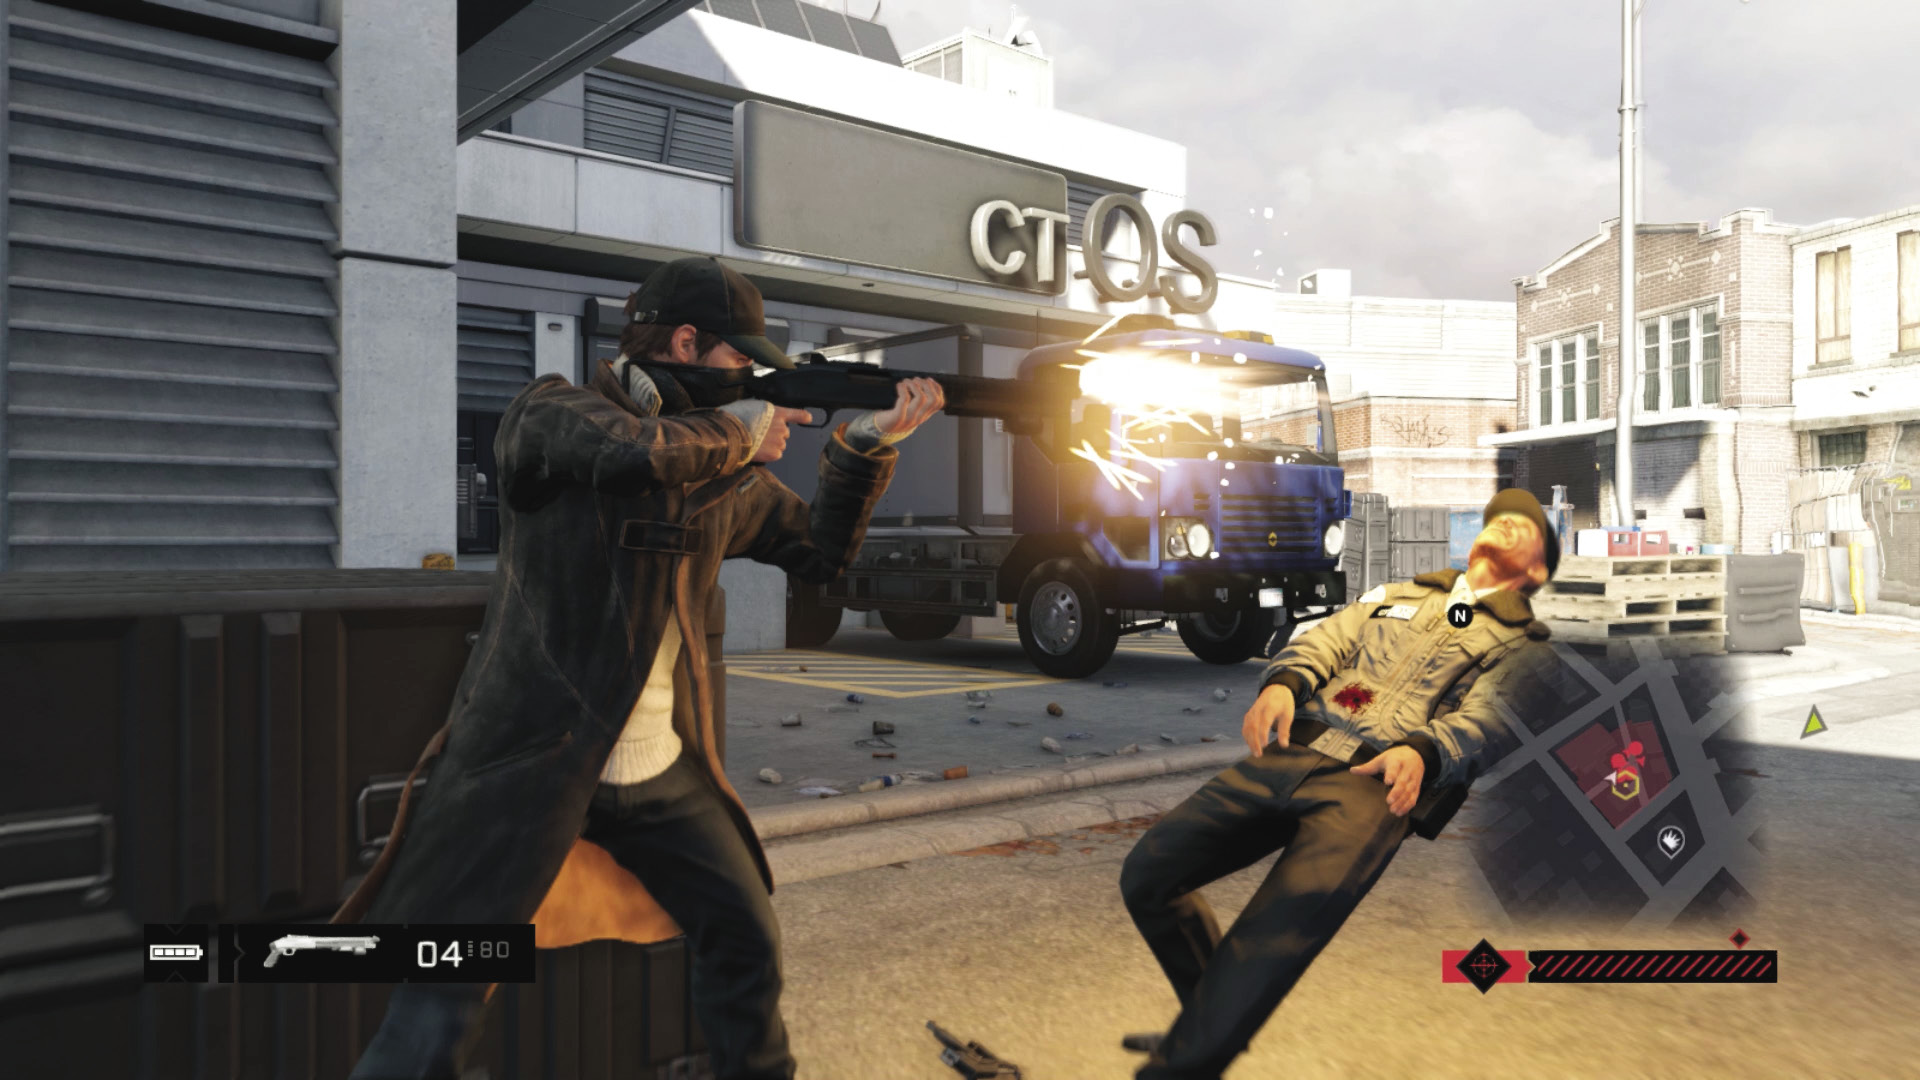
Difficulty: 
You can stroll in with an itchy trigger finger from any direction, but a good place to stand is left of the parked van near the west gate; hop over the fence gap in the northwest area, and line up your first shot with the foe you need to hack. You won’t be attacked from behind, as you can’t get outflanked; just watch for foes approaching from the right of the van, though the majority can be tagged as they mill about in the middle of the grounds. Stay by the forklift and van as cover, only moving to the middle area as you whittle foes down or if one tries to call for reinforcements. Other violent options include:
Sniping from outside the north or south gate; you have a good view down the main stretch of the grounds.
Use the forklift or scissor lift to reach the garage roof, activate the protectors, and rain death down from above in the form of bullets and grenades.
Place IEDs at the gate entrances and hope reinforcements arrive; stay on the roof to quickly look for incoming vans, and detonate them as the foes emerge.
Place IEDs on stationary vans, explosive canisters, or close to patrol paths, and detonate them.
Lure foes into the garage where the van is parked, then detonate it using an IED. With you outside to avoid disappointment.
Shotguns are handy in close quarters here, while assault rifles are better from the rooftop.
Instead of moving directly into the middle of the control center, stay on the edge, leaping back over the perimeter, then entering a different location so you don’t become trapped or outflanked.
Gaining Control
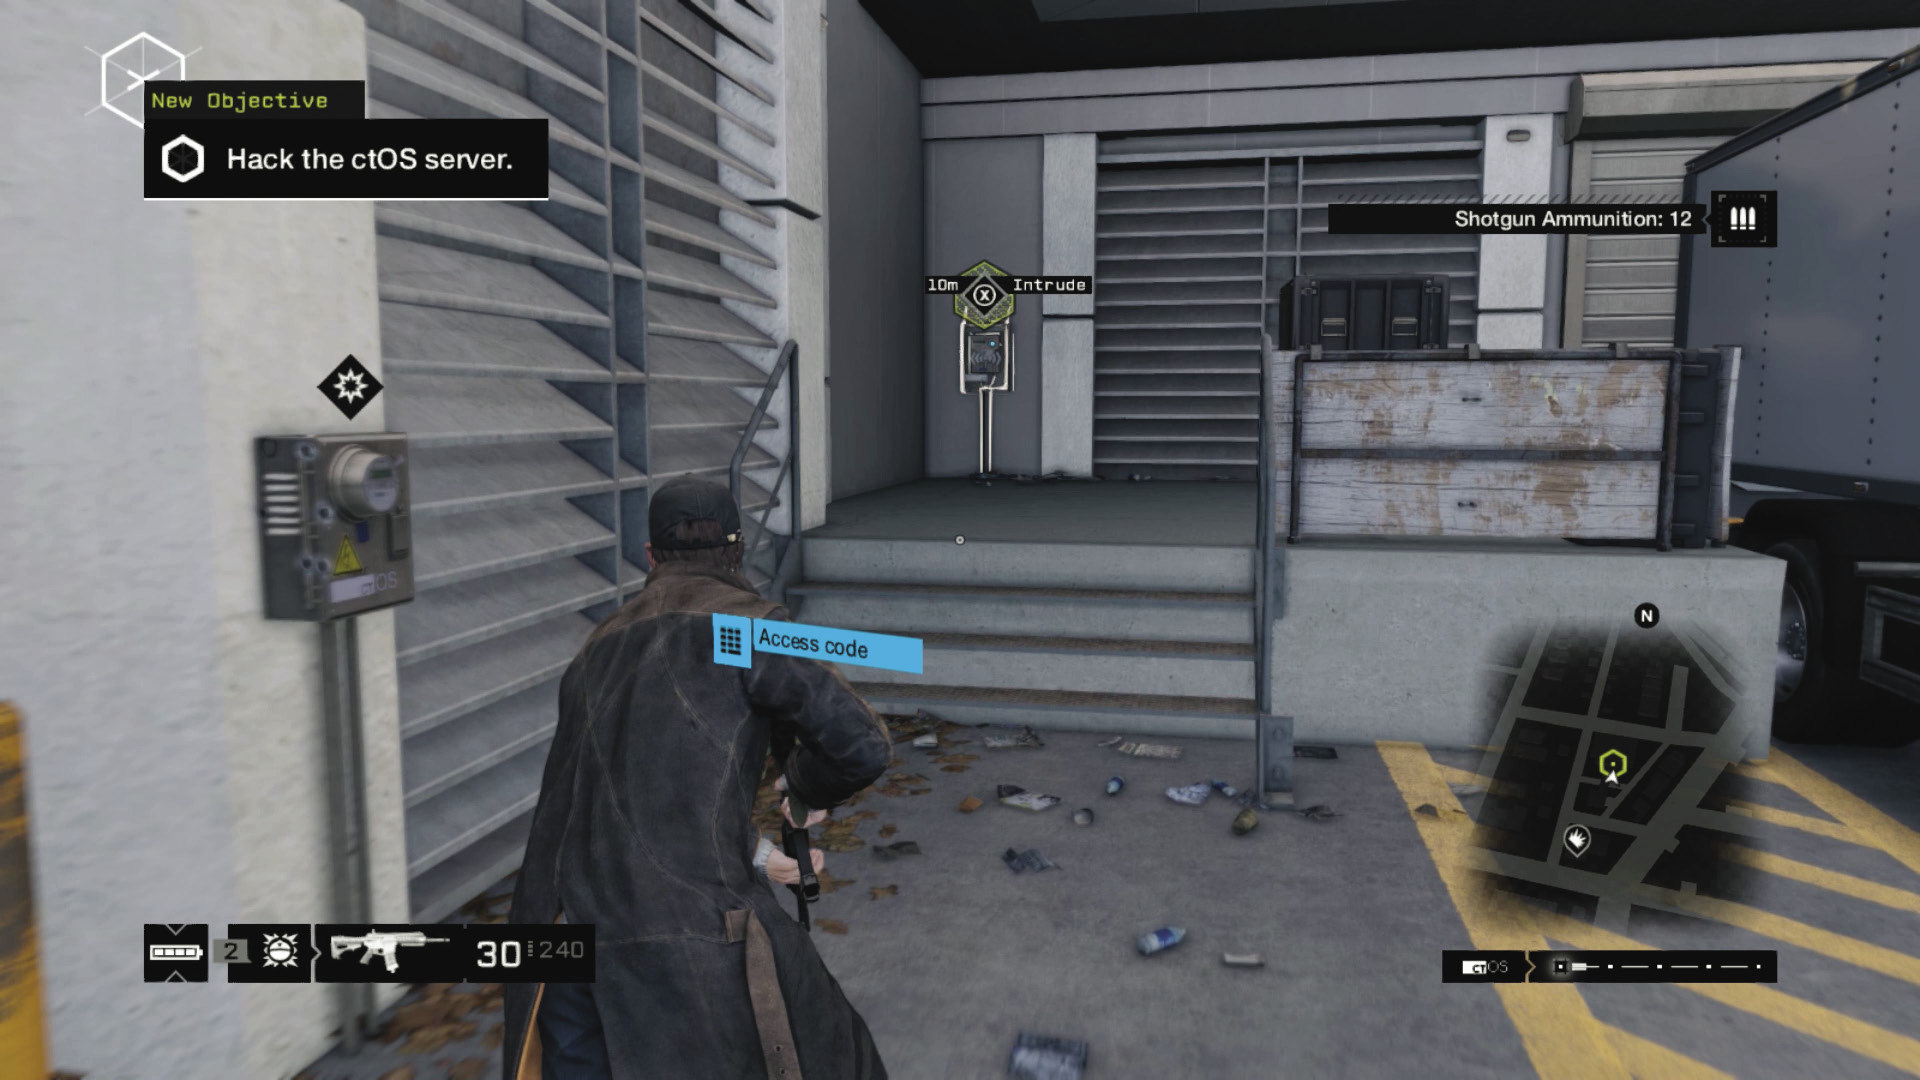
Once everyone is beaten down or shot up, move to the router box (physically) and hack it. After solving the hotspot, there are three Video Logs to hack and watch, the ctOS server to hack (via a quick camera change).
Solution: Hotspot
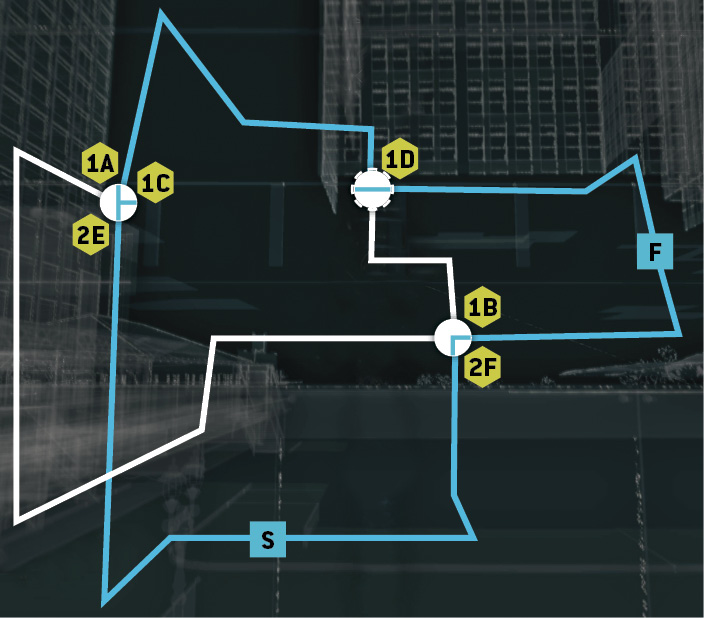
Once the data is yours, you can start a violent gunfight, use lures to steer the enemies away from your escape route (if they haven’t been alerted yet), hop into the truck at the loading bay and accelerate, or simply flee; use the alleys to the east or the west gate area for your exit point.
MISSION REWARDSGained XP: +500 District Access Unlocked |