
Watch Dogs Guide INVESTIGATIONS /// EXCLUSIVE CONTRACTS
_BREAKTHROUGH
1. UGLY DEAL
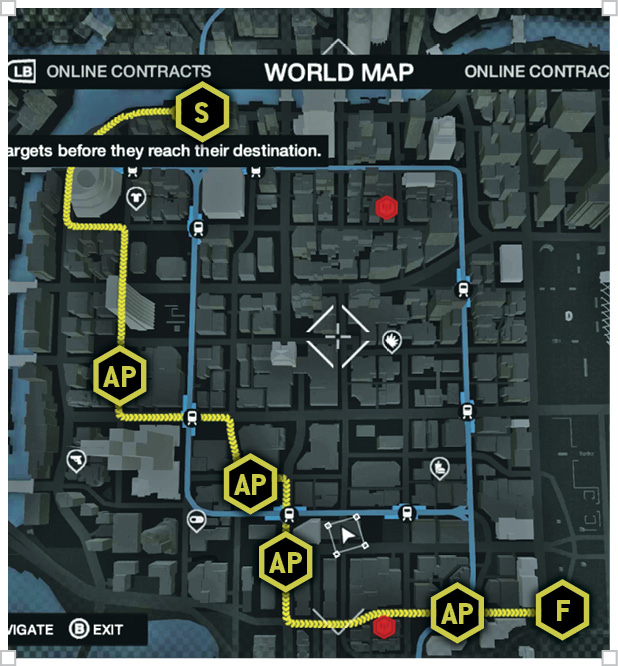
 Location / The Loop // Palin Correctional Facility Parking Garage
 Location / The Loop // South Tech University
|
|
 Immobilize the 2 targets before they reach their destination
 Knock down the target (2)
 Kill all pursuers or escape
 Vehicle Chase
 Lethal Force Likely
Difficulty: 
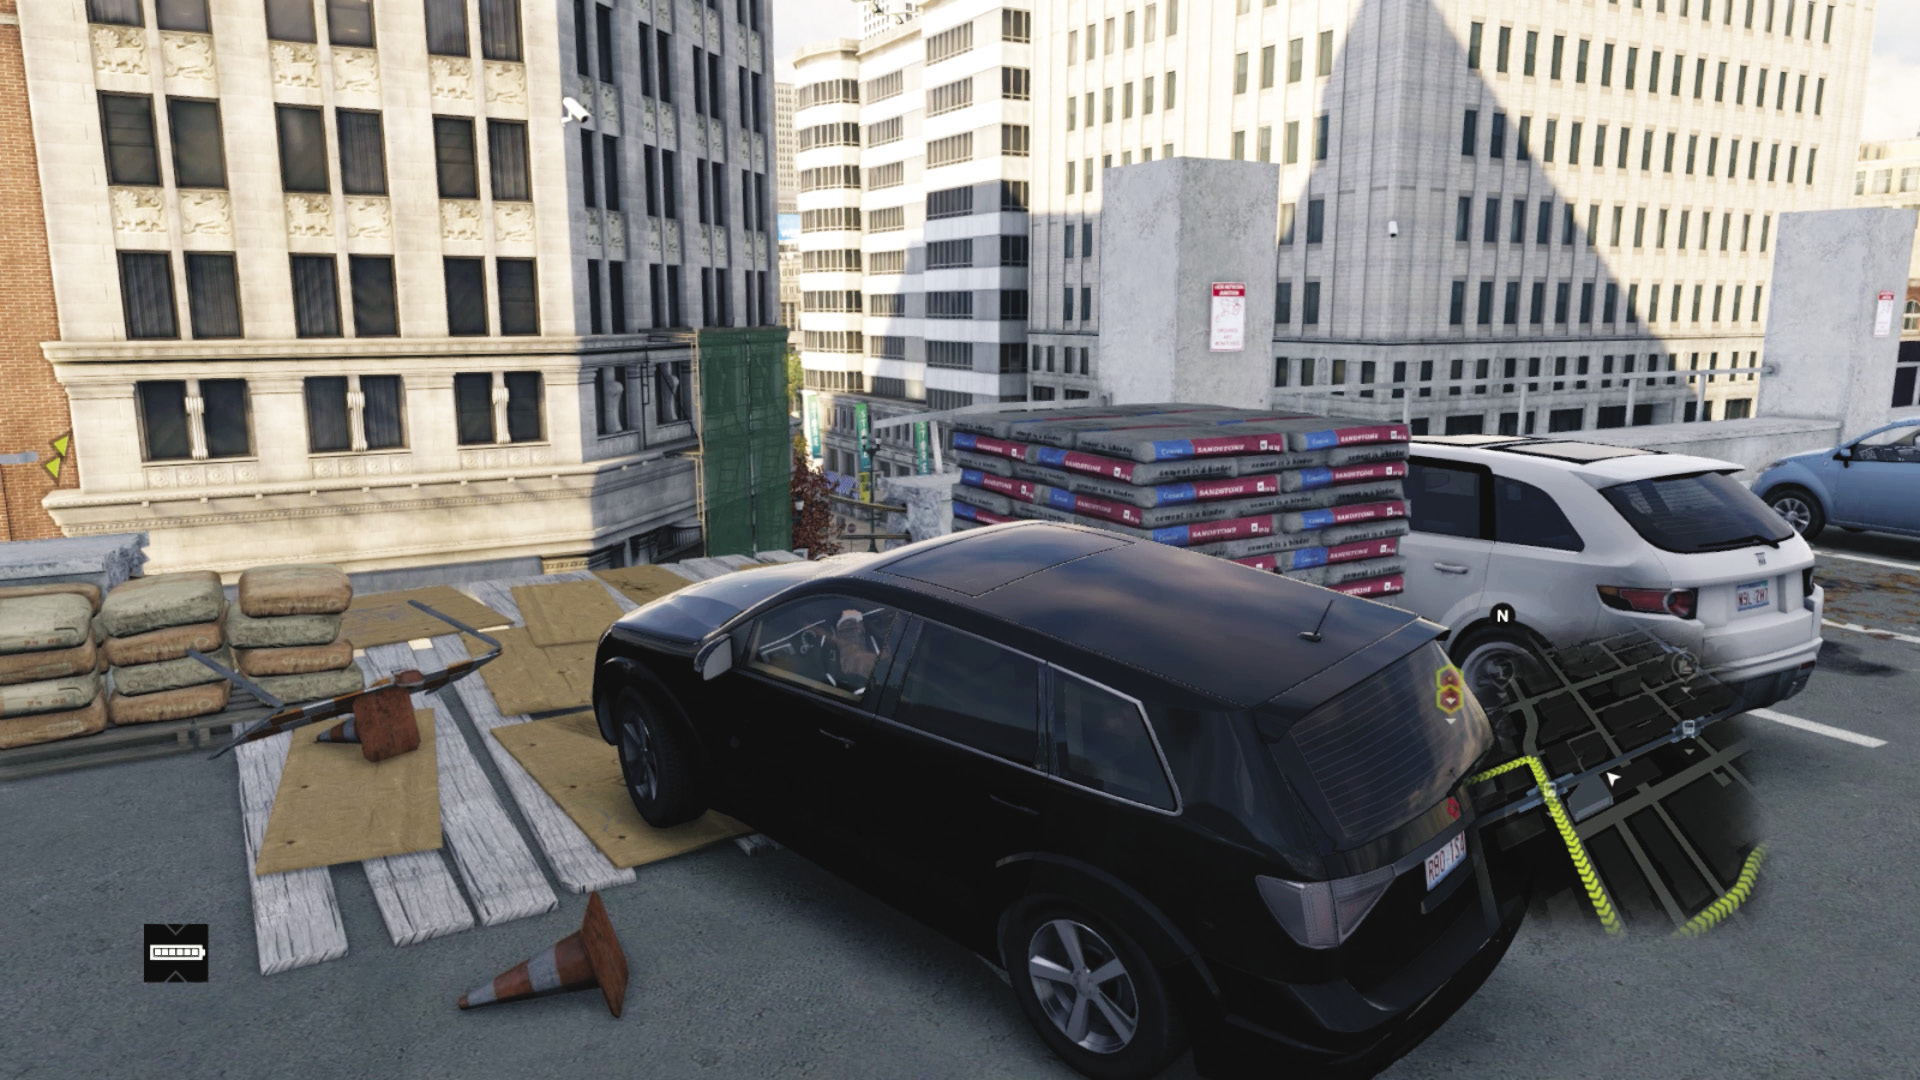
Climb onto the roof of the parking garage attached to the Palin Correctional facility in the southern part of the Loop. Listen to a message from DedSec, who tells you of a meeting between Corporate Chicago and the Club. There are two scrambler vehicles in the vicinity; you must remove them so DedSec can listen in on the meeting. You won’t be attending; you’re on vehicle-destruction duty.
Overview
Completion Point: Any location on the marked route where you intercept the two contacts.
Dangers: One Club convoy, four cars (Gunman x1 in each, total of 4) and two SUVs (Gunmen x2 in each, total of 4). Shot-Callers x4. Target x2 (one in each SUV).
Reinforcements:Up to six Club vehicles (car or SUV), each with Gunmen x2. Usually called one or two at a time.
Select one of the rooftop vehicles or another of your choice. The moment you see the DedSec message, speed to an interception point to deal with the convoy. Your targets don’t flee once the interception begins, so any vehicle is worth using—though the Carrozza is best at dropping from the roof (via the container ramp or gap), onto the train tracks and the convoy route.
Ambush Points
The convoy is heading to South Tech University, in the southwest corner of the Loop. Here are four preferred locations throughout the convoy route, where you might wish to ambush:
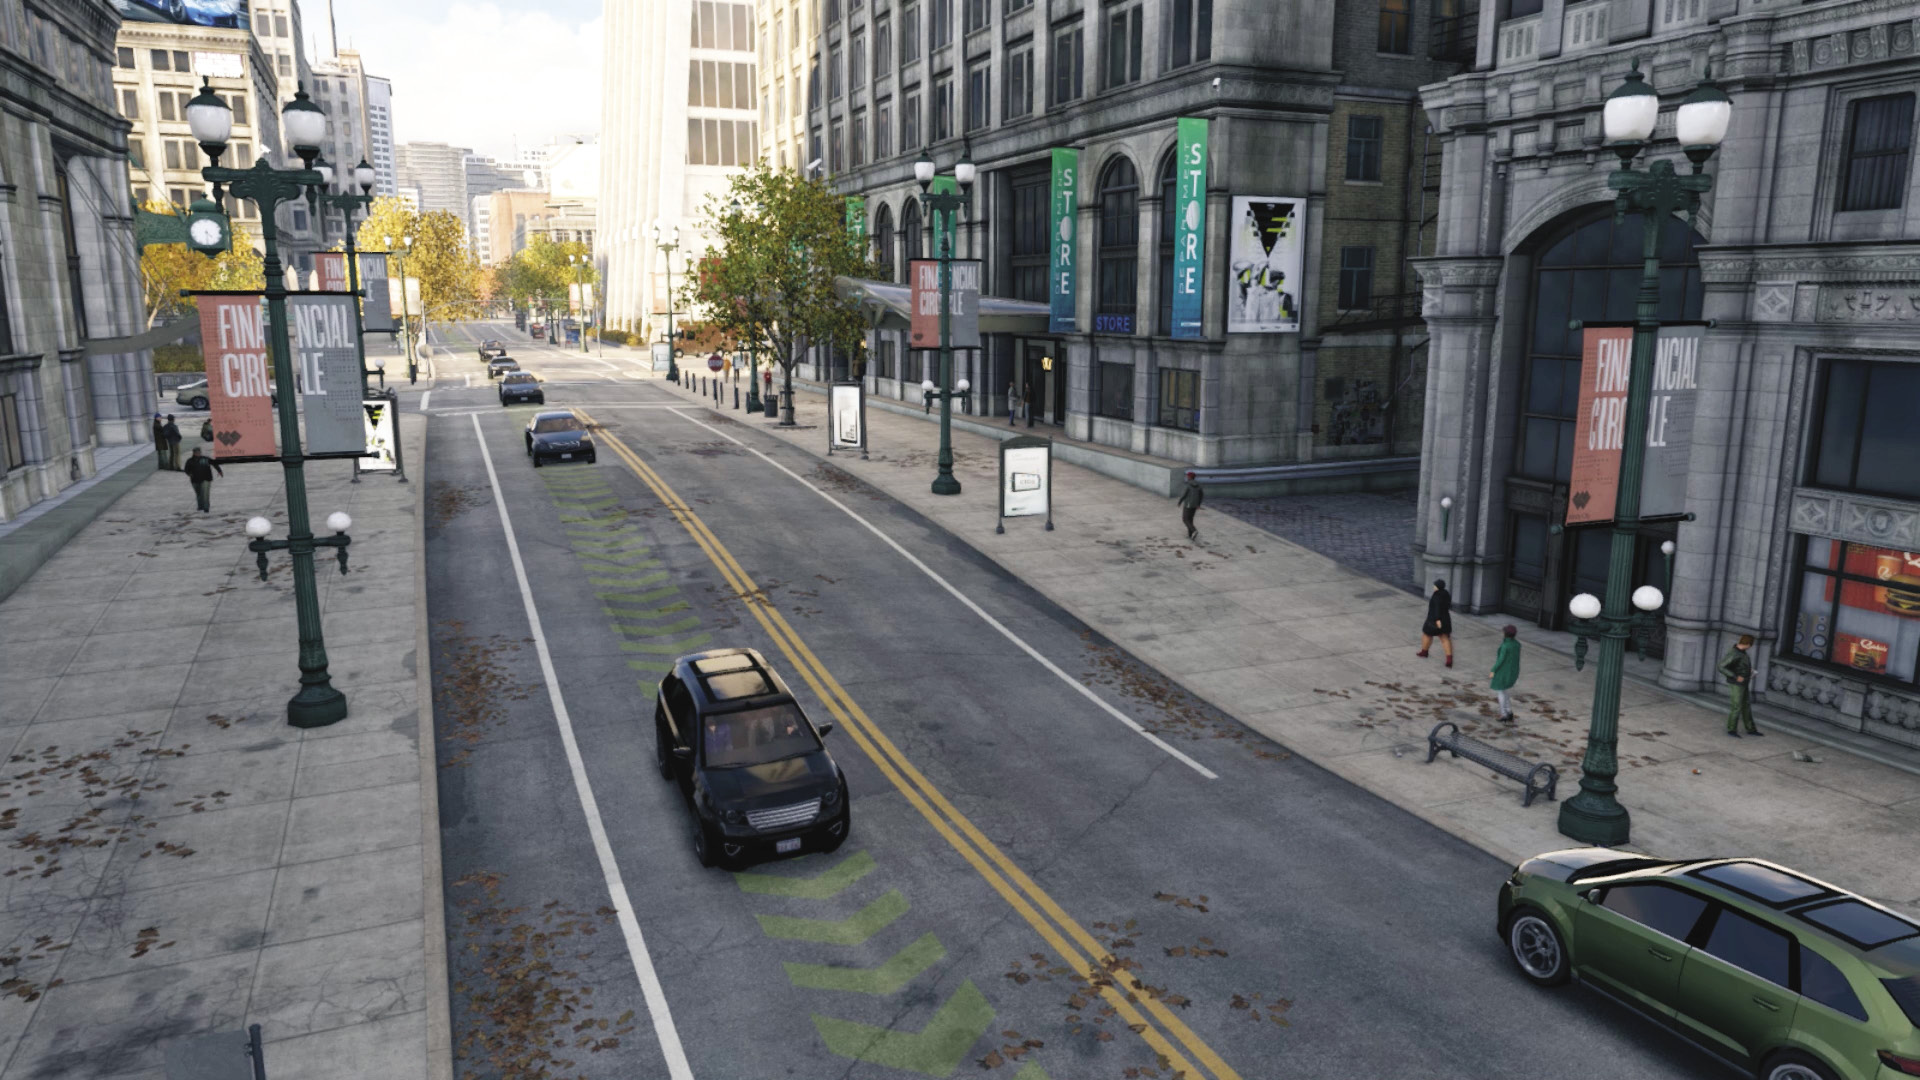
Initial North-South Road
Accessibility Level: 
This is the place to reach the convoy at the earliest possible moment: Just as the convoy turns south, there’s a length of street with a blocker at either end. Hem in your foes before getting out and blasting the SUV with gunfire or grenades (but not the targets, obviously!). Or, this is a fantastic spot for blocking using a vehicle and fleeing to defend a side alley, or simply finding a large vehicle and plowing into your foes. Farther south are sets of traffic lights as they turn east at the Willis Tower.
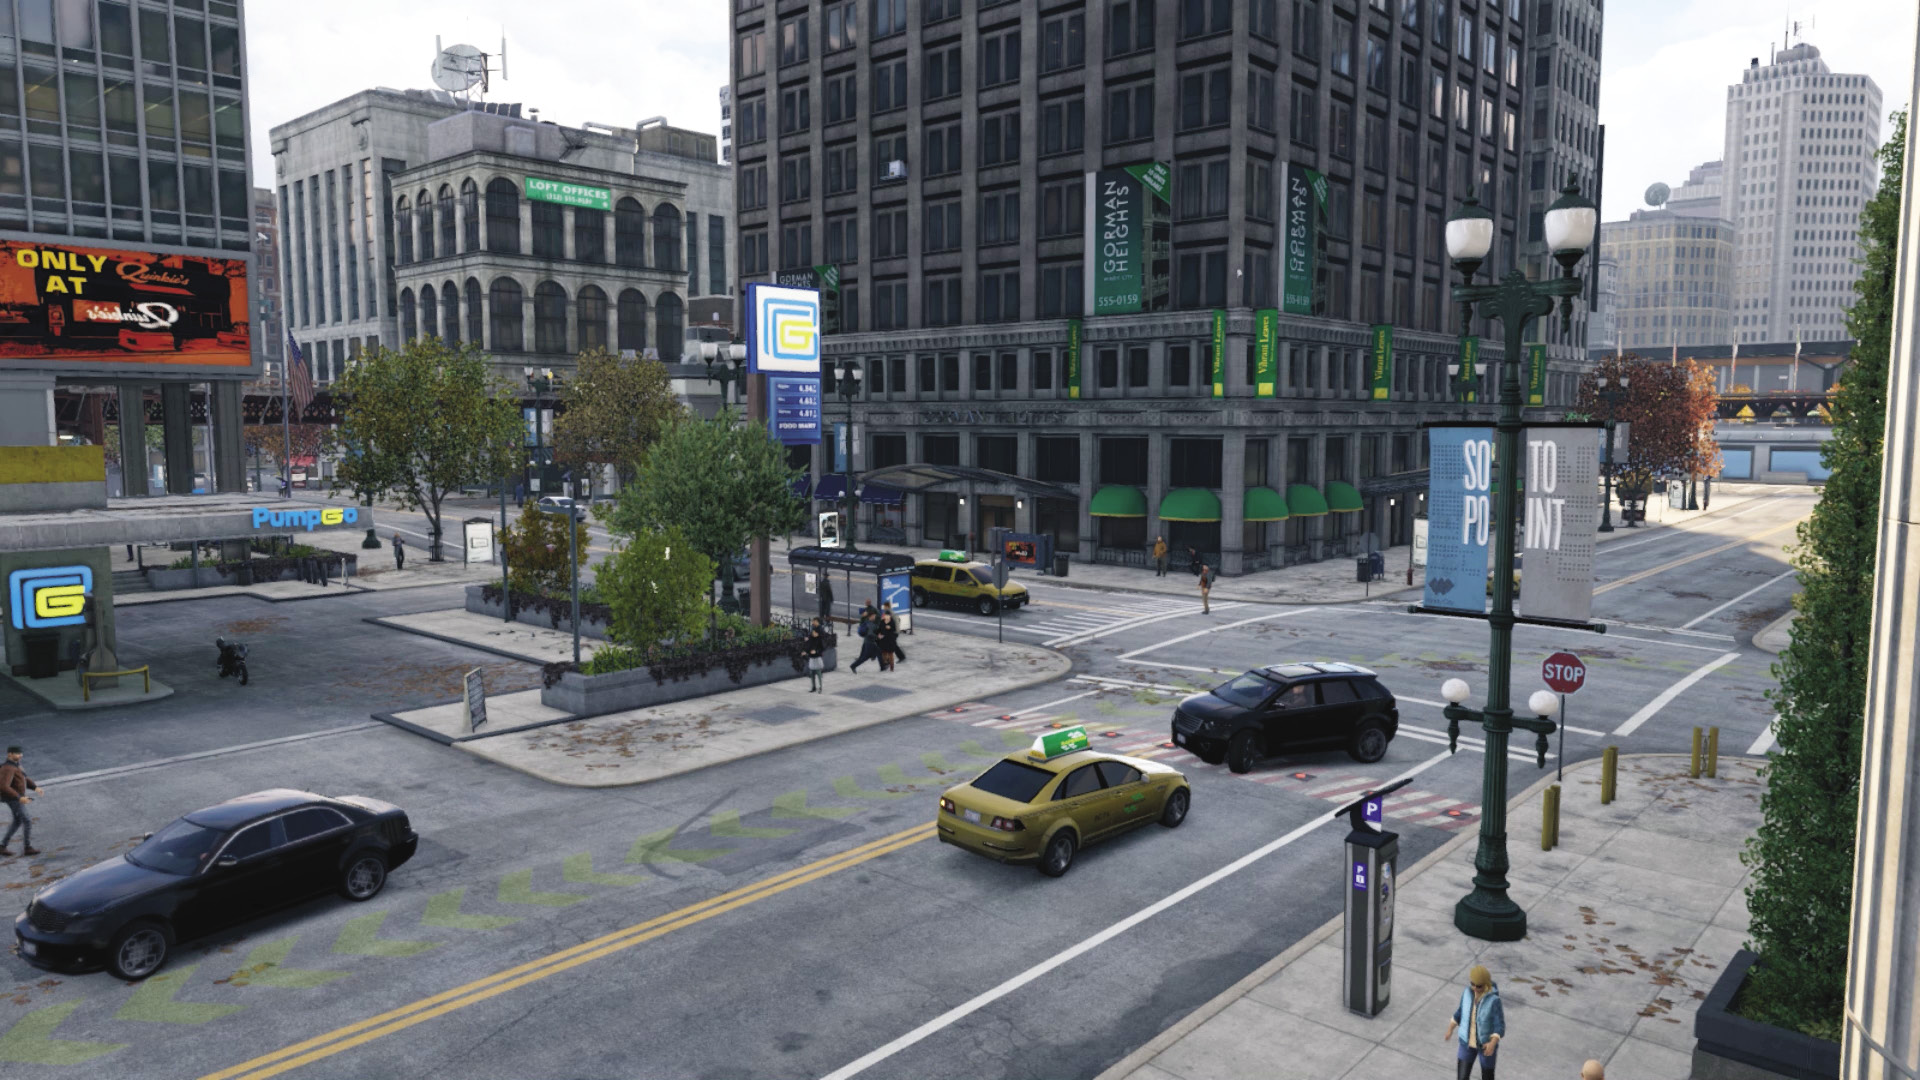
Northwest Convoy: Gas Station Blocker Corner
Accessibility Level: 
As the convoy makes a couple of turns, they pass a gas station, traveling a city block along another road with two blockers at either end. This is another perfect opportunity to jam them in and then ram them, setting up a sniper position beyond the blockers or even storming in from the gas station with a grenade launcher at the ready. If you’re following the foes by this time, you can ram them into the blockers and create all sorts of damage to the enemy convoy too.
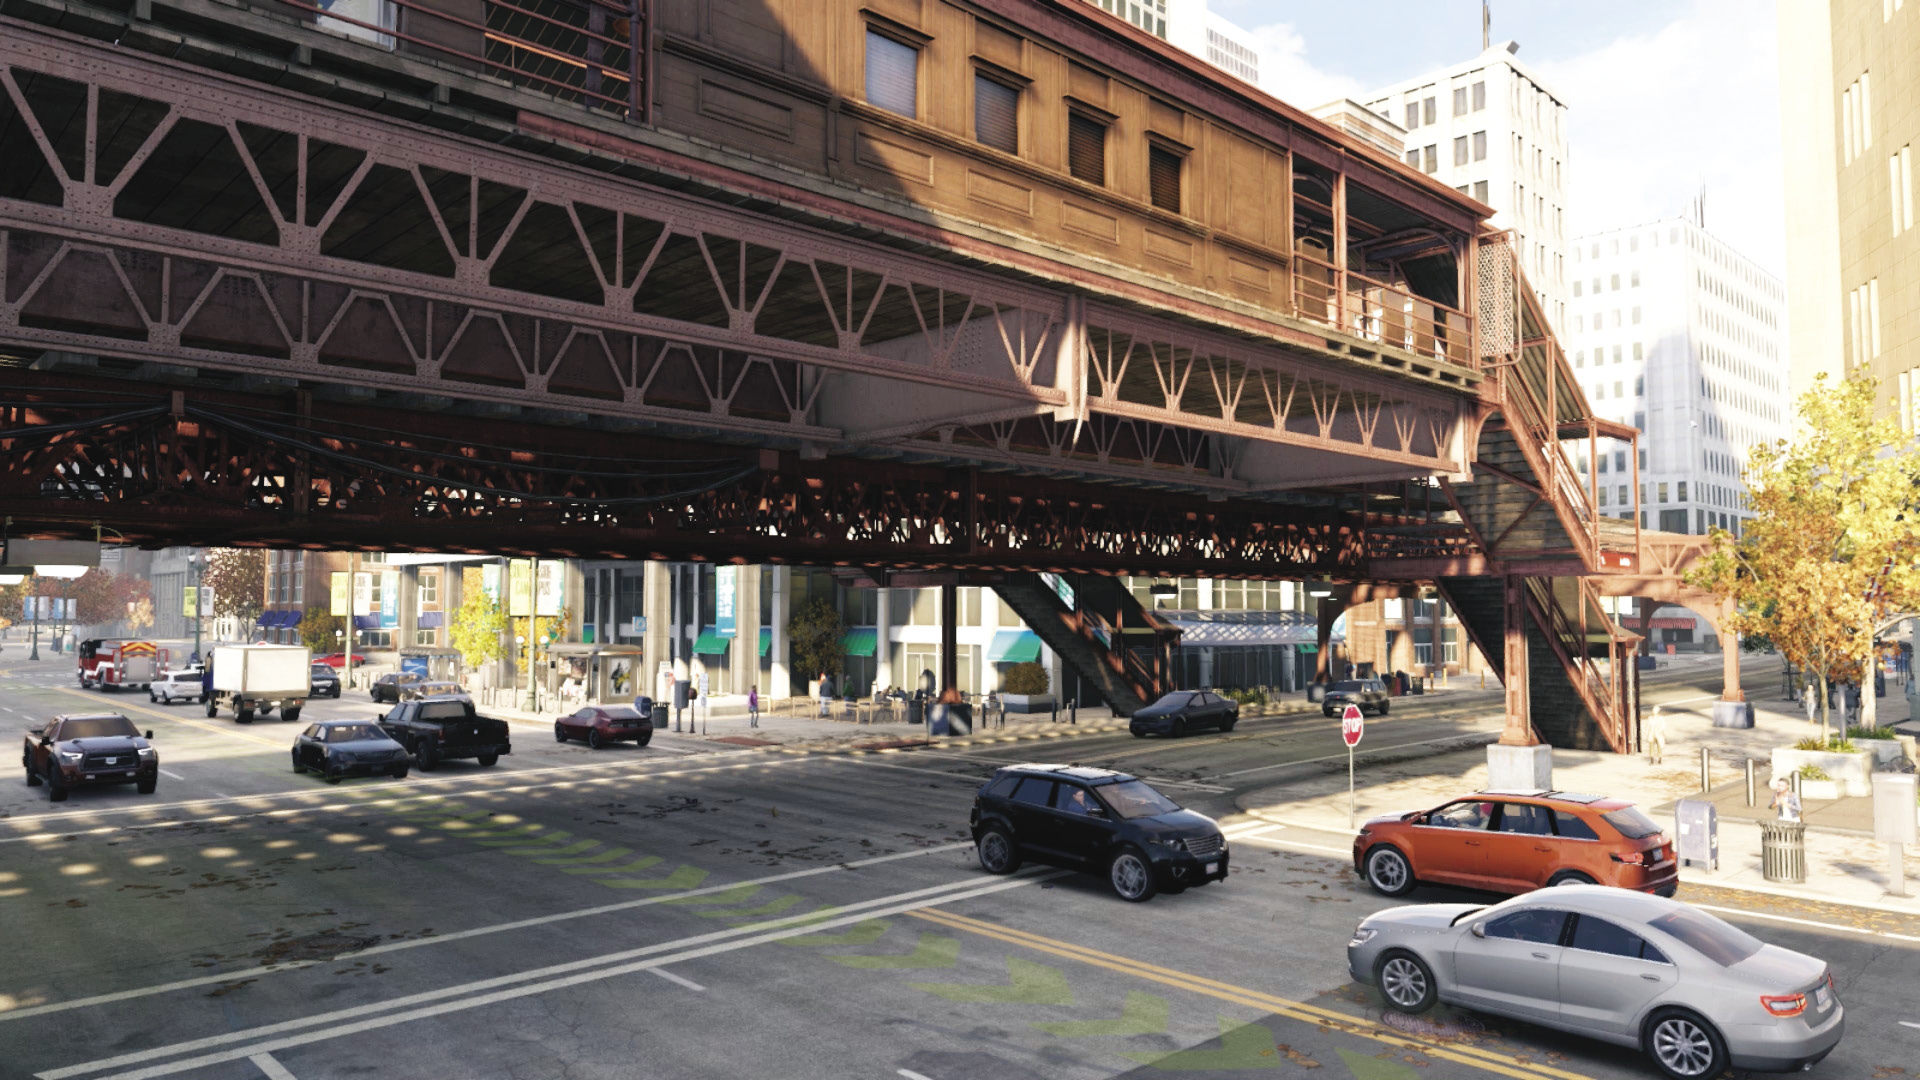
Northwest Convoy: Palin’s L-Train Sideswipe
Accessibility Level: 
The L-train tracks adjacent to the Palin Correctional Facility are ripe for a sideswipe as the convoy passes underneath the tracks. Though the road is wide, there’s a blocker to the side if you can push them that far west. Or you can jog up and onto the L-train bridge (or leap atop the roof) and peer over at the convoy, dropping IEDs or grenades or blasting them with rifle fire. Expect the police to show up if you’re planning this sort of tomfoolery.
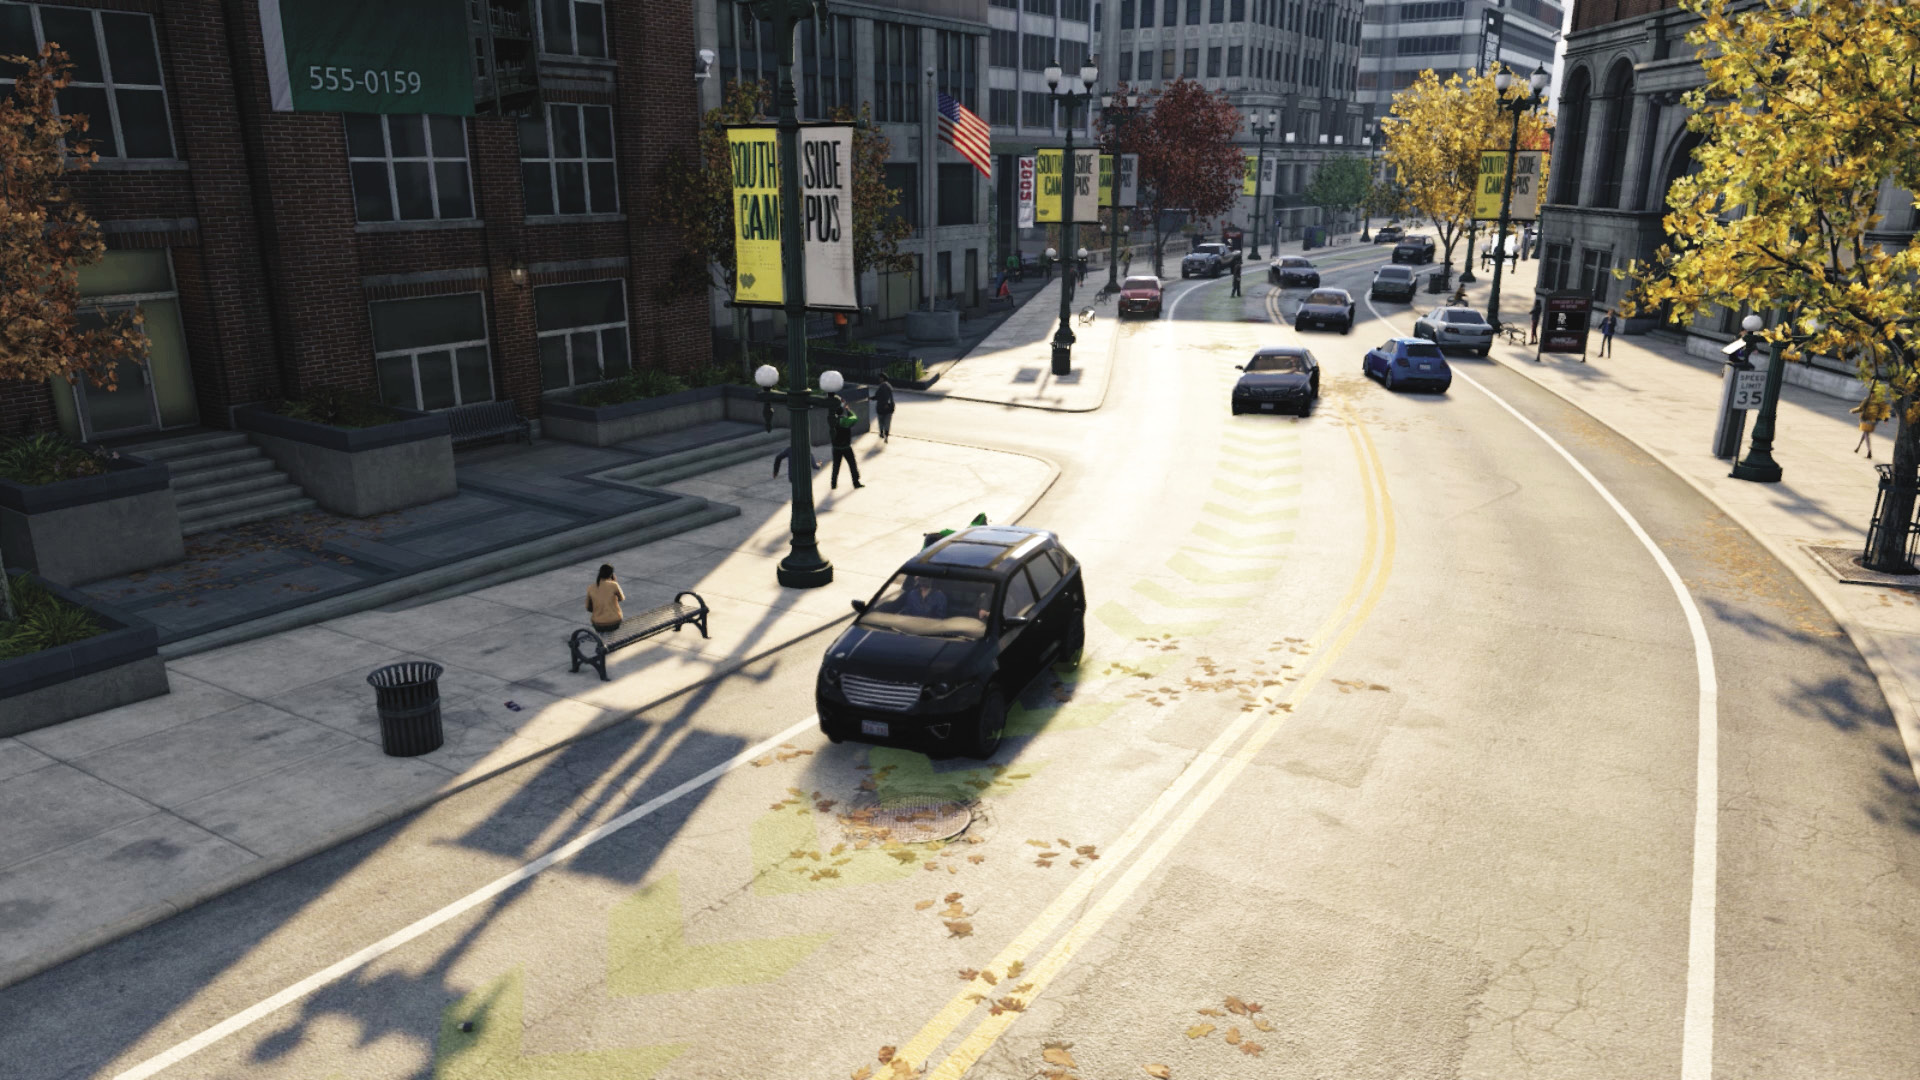
Northwest Convoy: Final Steam Pipe Chance
Accessibility Level: 
The last possible moment (the last street heading south toward the target location) is narrow enough to set up a blockade or a sniping spot behind your car. Try this after the steam pipe as the road curves a little before straightening. There’s nowhere really to run at this point, and it’s a good place to use your GPS to reach, if you require extra prepping time (to plant IEDs and find side streets and cover opportunities).
Progression Plans
For the objectives, there a few methods of ensuring your victory and survival:
General PreplanningPresupposition: Reading up on the general convoy tactics is most wise. However, once you engage the convoy, your foes disembark and a large number of reinforcements appear with alarming quickness. Don’t get overwhelmed! Flexibility: Don’t get trigger-happy, either! Although the unmarked Gunmen are fair game (and indeed, violence against them is almost imperative), the two targets must be removed with melee strikes. Don’t shoot them, run over them, or knock them down more than once with a vehicle, or your mission fails. Guns for Show, Cars for a Pro: Choosing the correct vehicle is important; the weapons you have are also key, as well as how aggressive you are on your approach. Fully Equipped: Don’t turn up with a couple of lures and a pistol; prepare by visiting pawnshops, gun shops, and Tobias’s Shop to secure a variety of cunning ordnance. Prepare all your weapons, hacking tools, and projectiles in your Weapon Wheel before you begin. Running the Route: Prior to this mission, it’s worth driving the route the convoy takes and learning which interactions you can use to your benefit (i.e., traffic lights, steam pipes, blockers, etc.). |
 Aggressive // Smart: Crafting Tools to Improve Your Luck
 Difficulty:
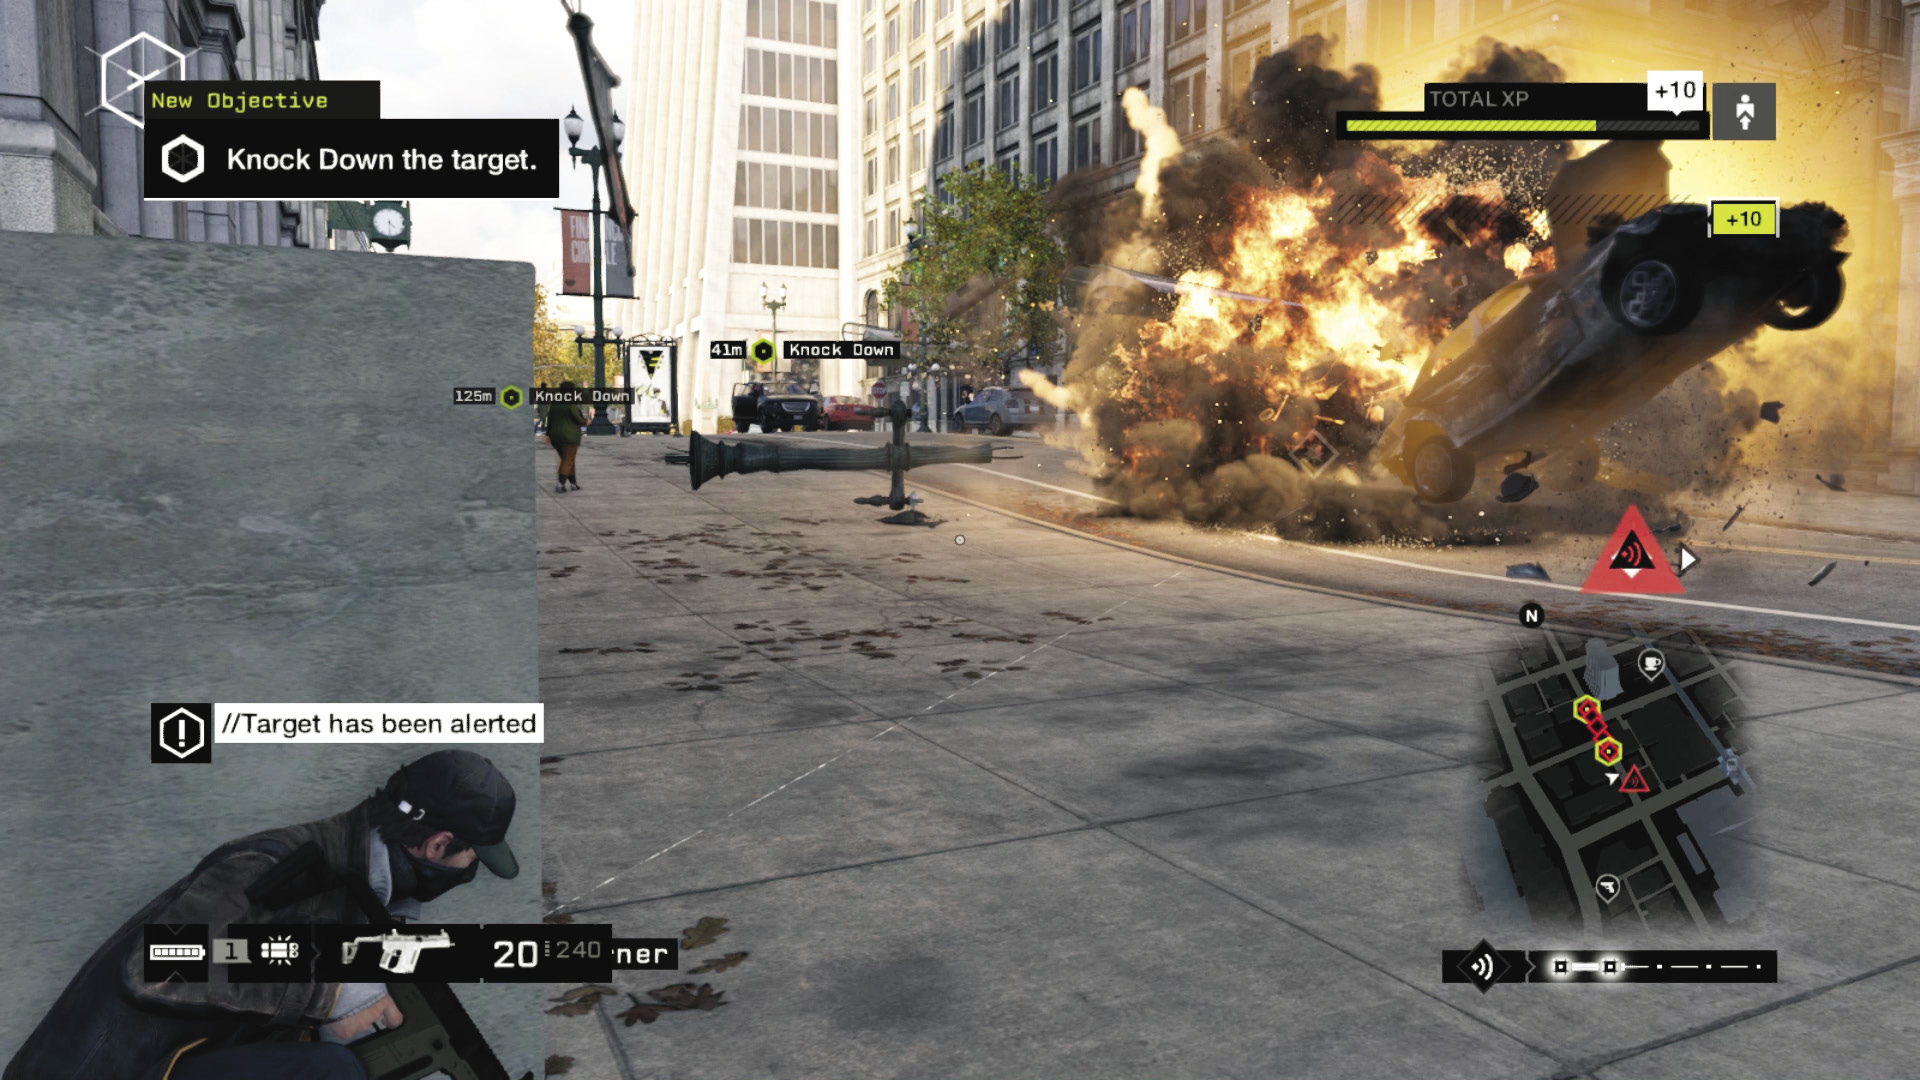
With a six-vehicle convoy, plus at least four more reinforcements to worry about as combat begins, you need to use your smarts instead of a blunt, ramming plan: So find a place to hide, such as a side street along the main north-south road, slow the convoy down (using traffic lights, blockers, or a well-placed vehicle), and begin a mixture of hacking and death-dealing:
Detonate an IED so any of the cars blows up. Immediately make a ctOS scan of the convoy, usually once the foes emerge. Do this while you’re in cover so the foes are hunting you but aren’t actively chasing you. With all remaining enemies tagged, you can more easily differentiate between your two targets (melee strikes!) and the rest of the Club (no mercy!).
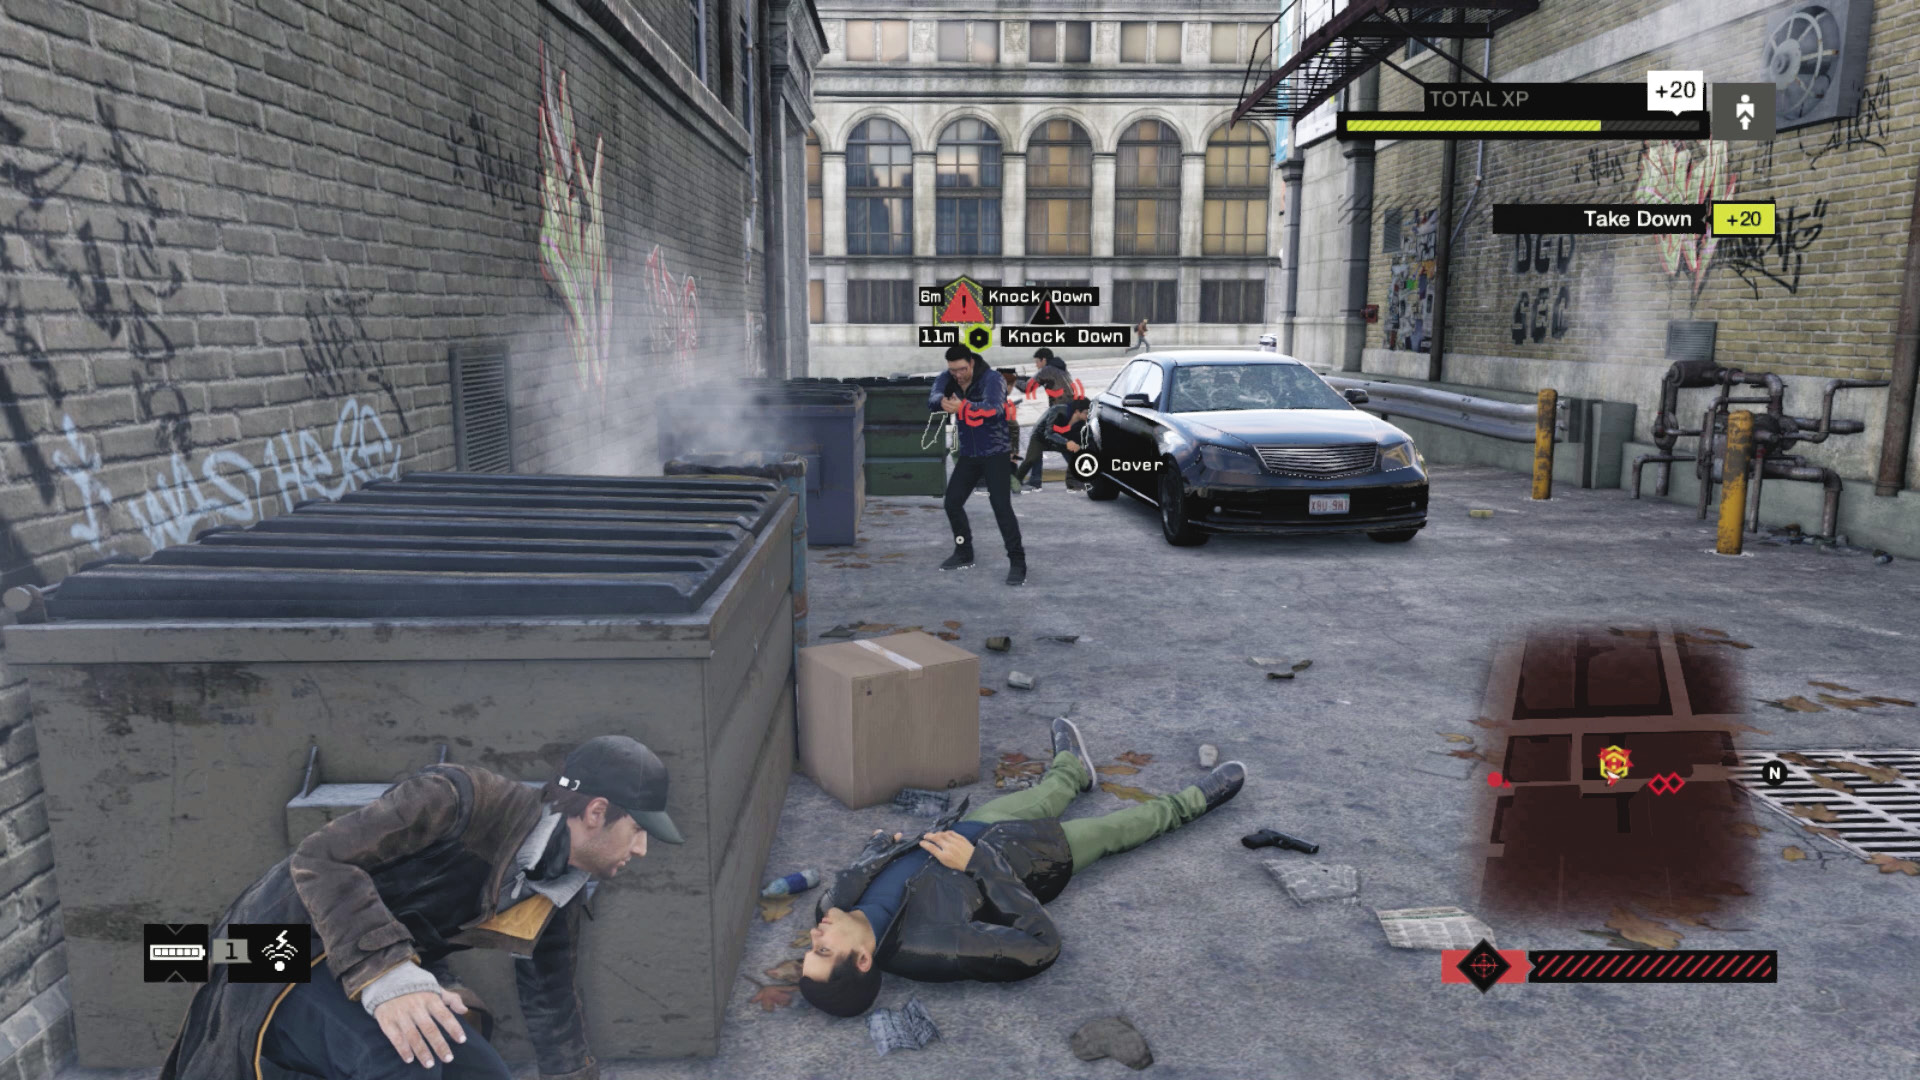
Now, when any of the Club tries to call reinforcements, you can use Jam Coms so no additional foes are called; it becomes a simple matter of mopping up the six Gunmen so that only the two targets remain. Then lure them down an alley so you can quickly step out and melee-strike each of them, one at a time, without being shot to shreds.
 Aggressive // Violence: Hoping Anyone but the Target Gets Struck
 Difficulty:
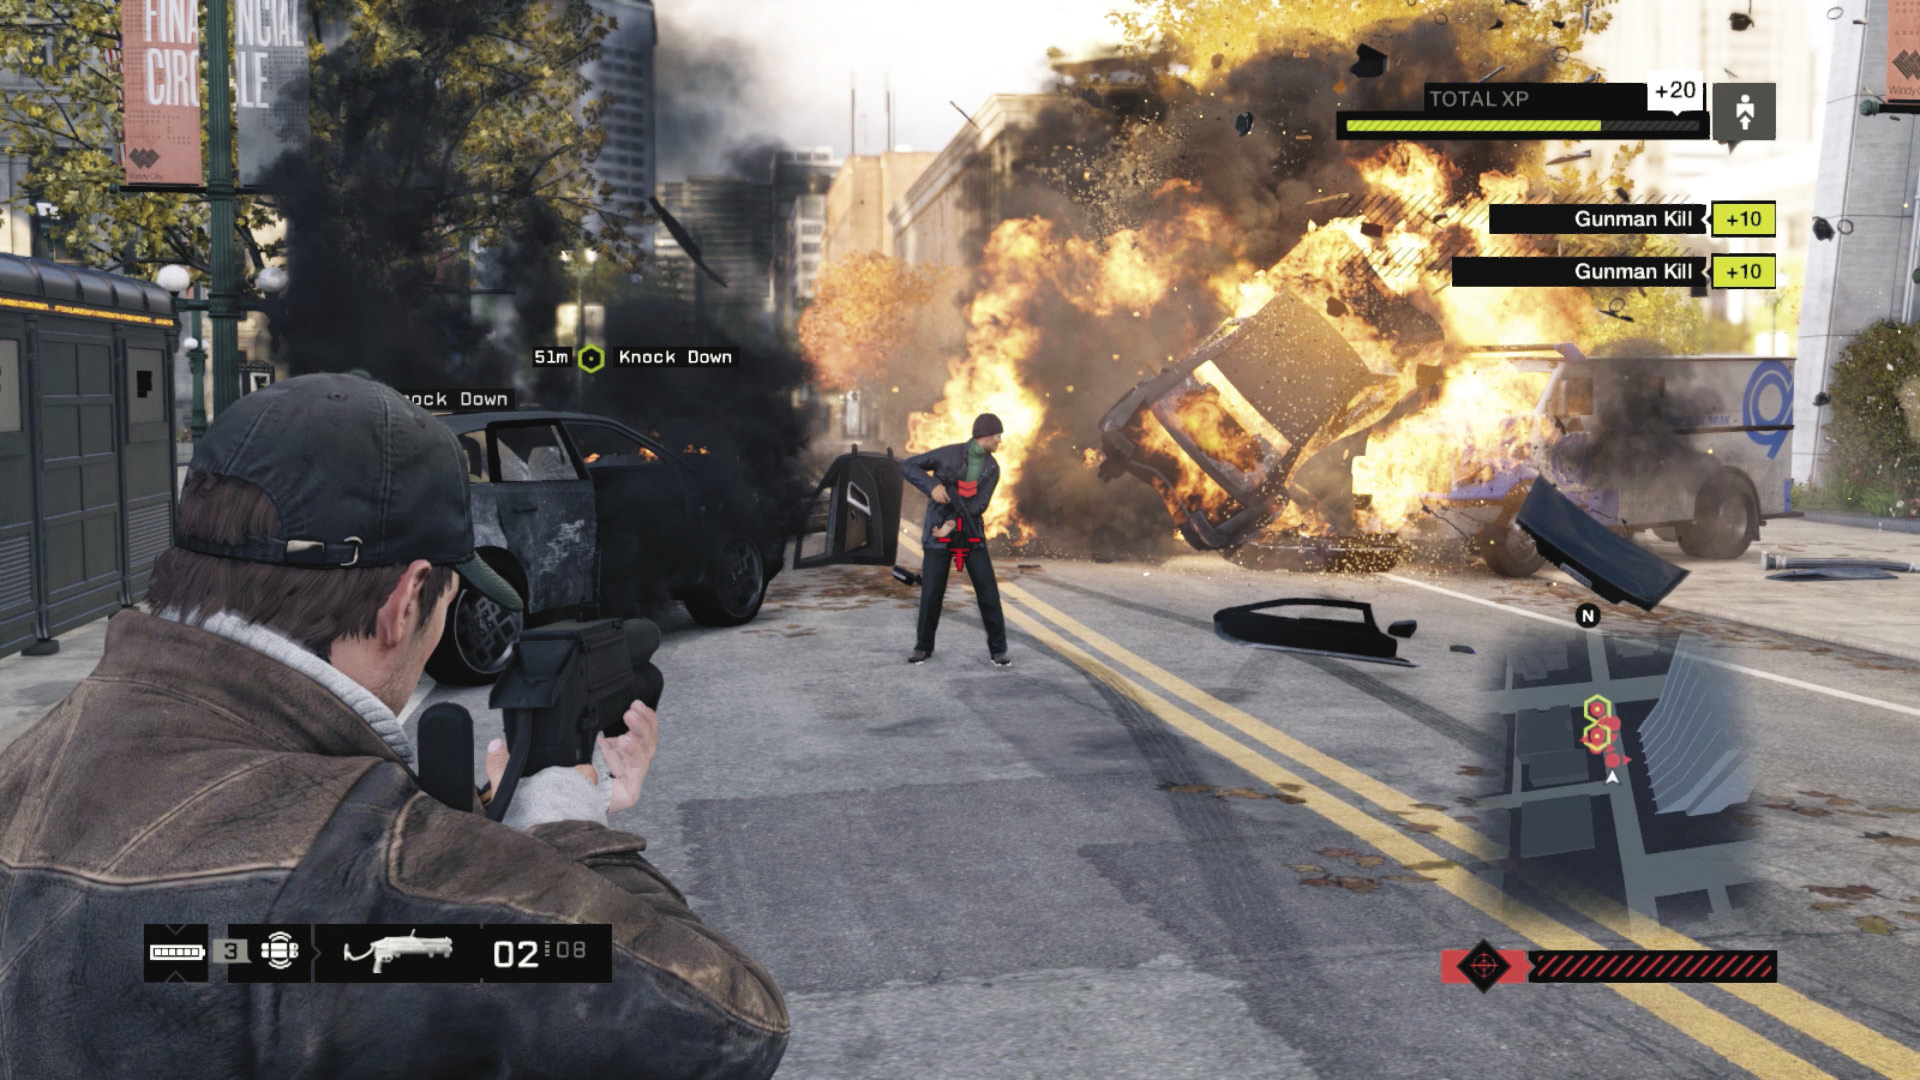
If you’ve found an ambush location and optionally blocked it using your vehicle or driven something bigger into the path, you can switch to your weapons and start targeting the Club.
A long-range sniping position is an excellent plan, ideally behind the car you’ve parked and set up to just tag the first convoy driver you see.
Check the path on the ground, and drop an IED, blowing it up in the same way as a steam pipe; then rush in with an automatic rifle (aim at the non-target Gunmen, and ignore vehicular damage, as your foes disembark as soon as violence begins). Also try stopping the lead cars with grenades or a well-timed grenade launcher projectile. But don’t explode the SUVs, as there’s a chance either target may expire!
You can also step out from a side street as the convoy passes (but hasn’t seen you) and mangle the lead car with explosives, followed up by gunfire in the same manner.
Once the foes are out, quickly determine where the two targets are and refrain from area-effect weapons near their location. The most violent you can be is punting a grenade near a vehicle they are close to. Then concentrate on dropping all the other enemies; an assault rifle or machine gun works well. Stay at mid- to long-range so you aren’t swamped. Retreat down streets, into plazas, down alleyways, and around buildings. Constantly watch your minimap so you aren’t outflanked (especially by reinforcements).
While you’re leading your foes to their deaths, one at a time, use IEDs (not proximity ones, as you don’t want to accidentally kill a target) and blow up foes advancing near to them. Continue to whittle down the enemy until only the two targets are left. Then drop each one with a melee strike.
 Driving // Offensive: A Little Bit of Metal-Scraping Luck
 Difficulty:
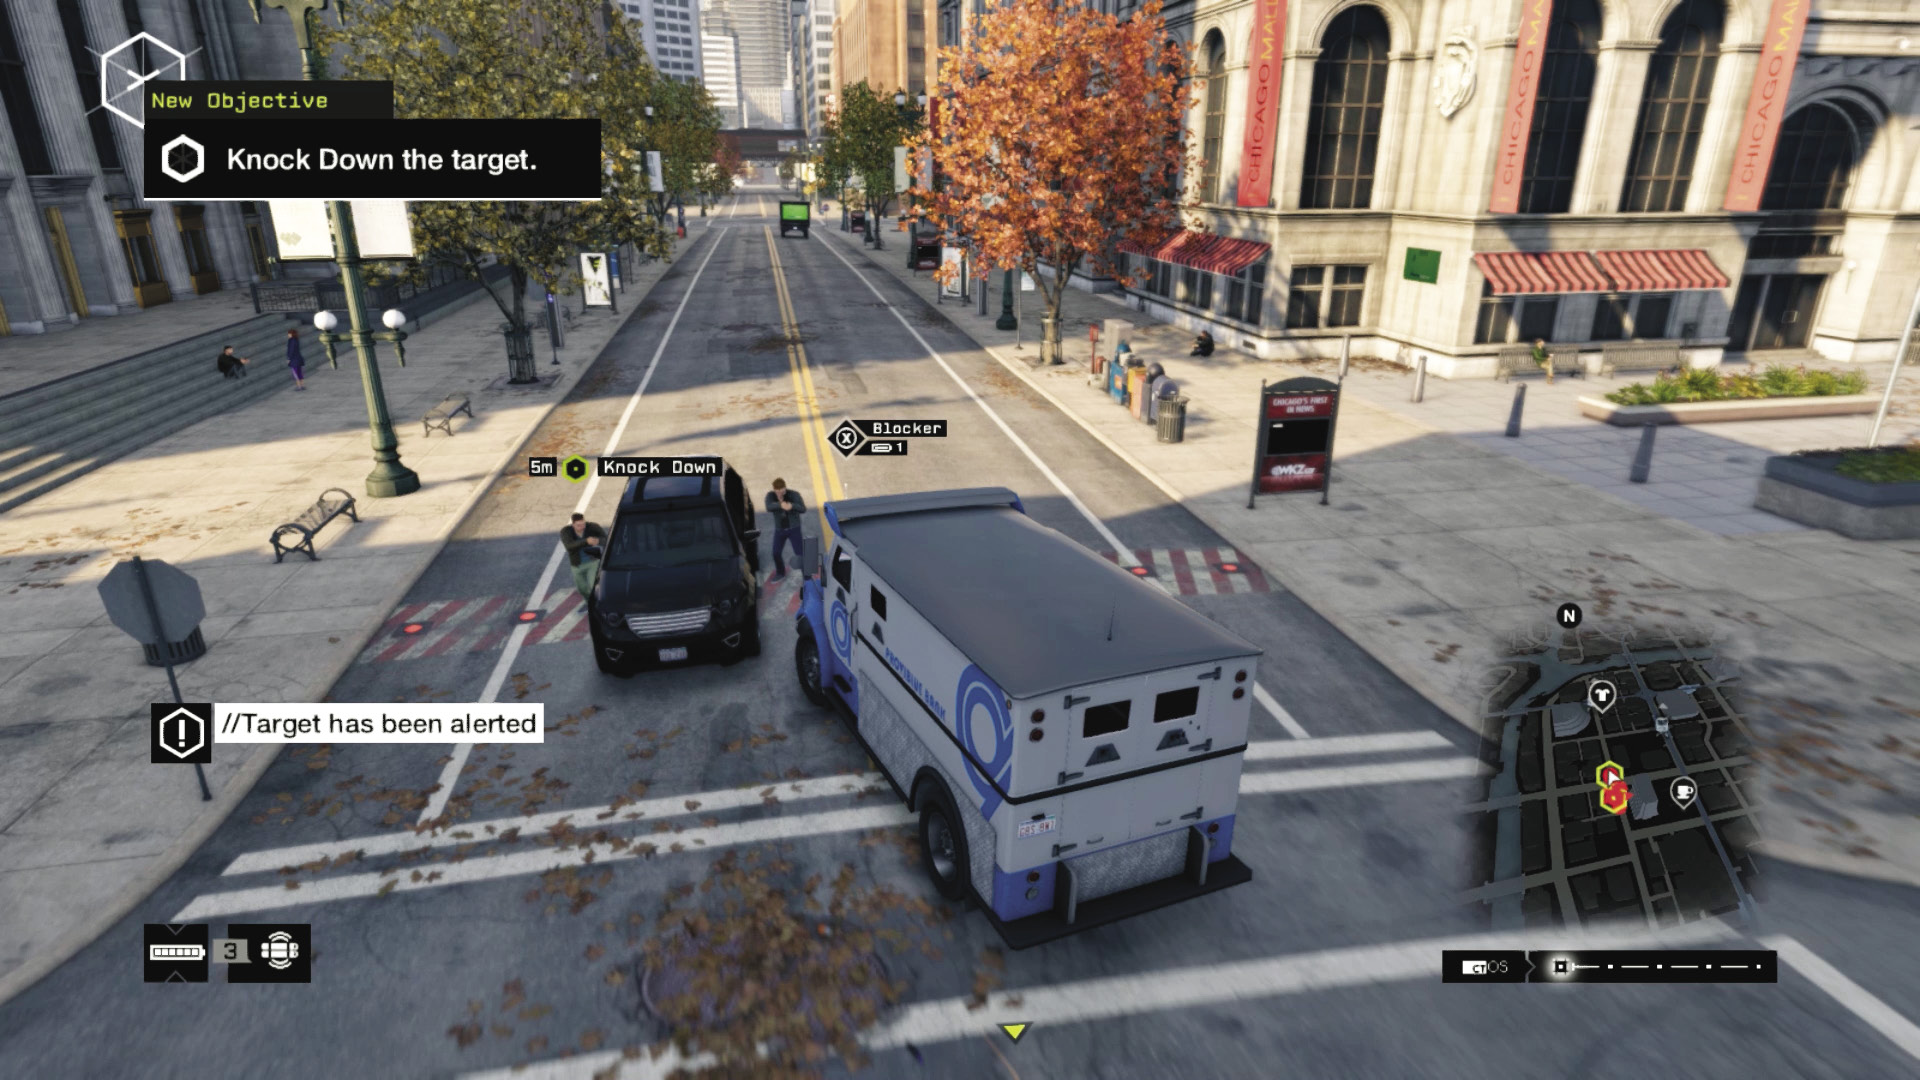
If you’re rapidly running out of time, ramming is pretty much your best option and is handy on the long north-south street. Increase your speed as you spot the lead car, and line up for a nasty head-on collision. Force the car into other vehicles, and attempt to cause as much maiming (running over non-targets) as you can before ditching the vehicle and switching to weapons for ground combat. The fire engine makes a particularly adept blunt instrument!
 Driving // Smart: This Convoy Is a Sitting Duck
 Difficulty:
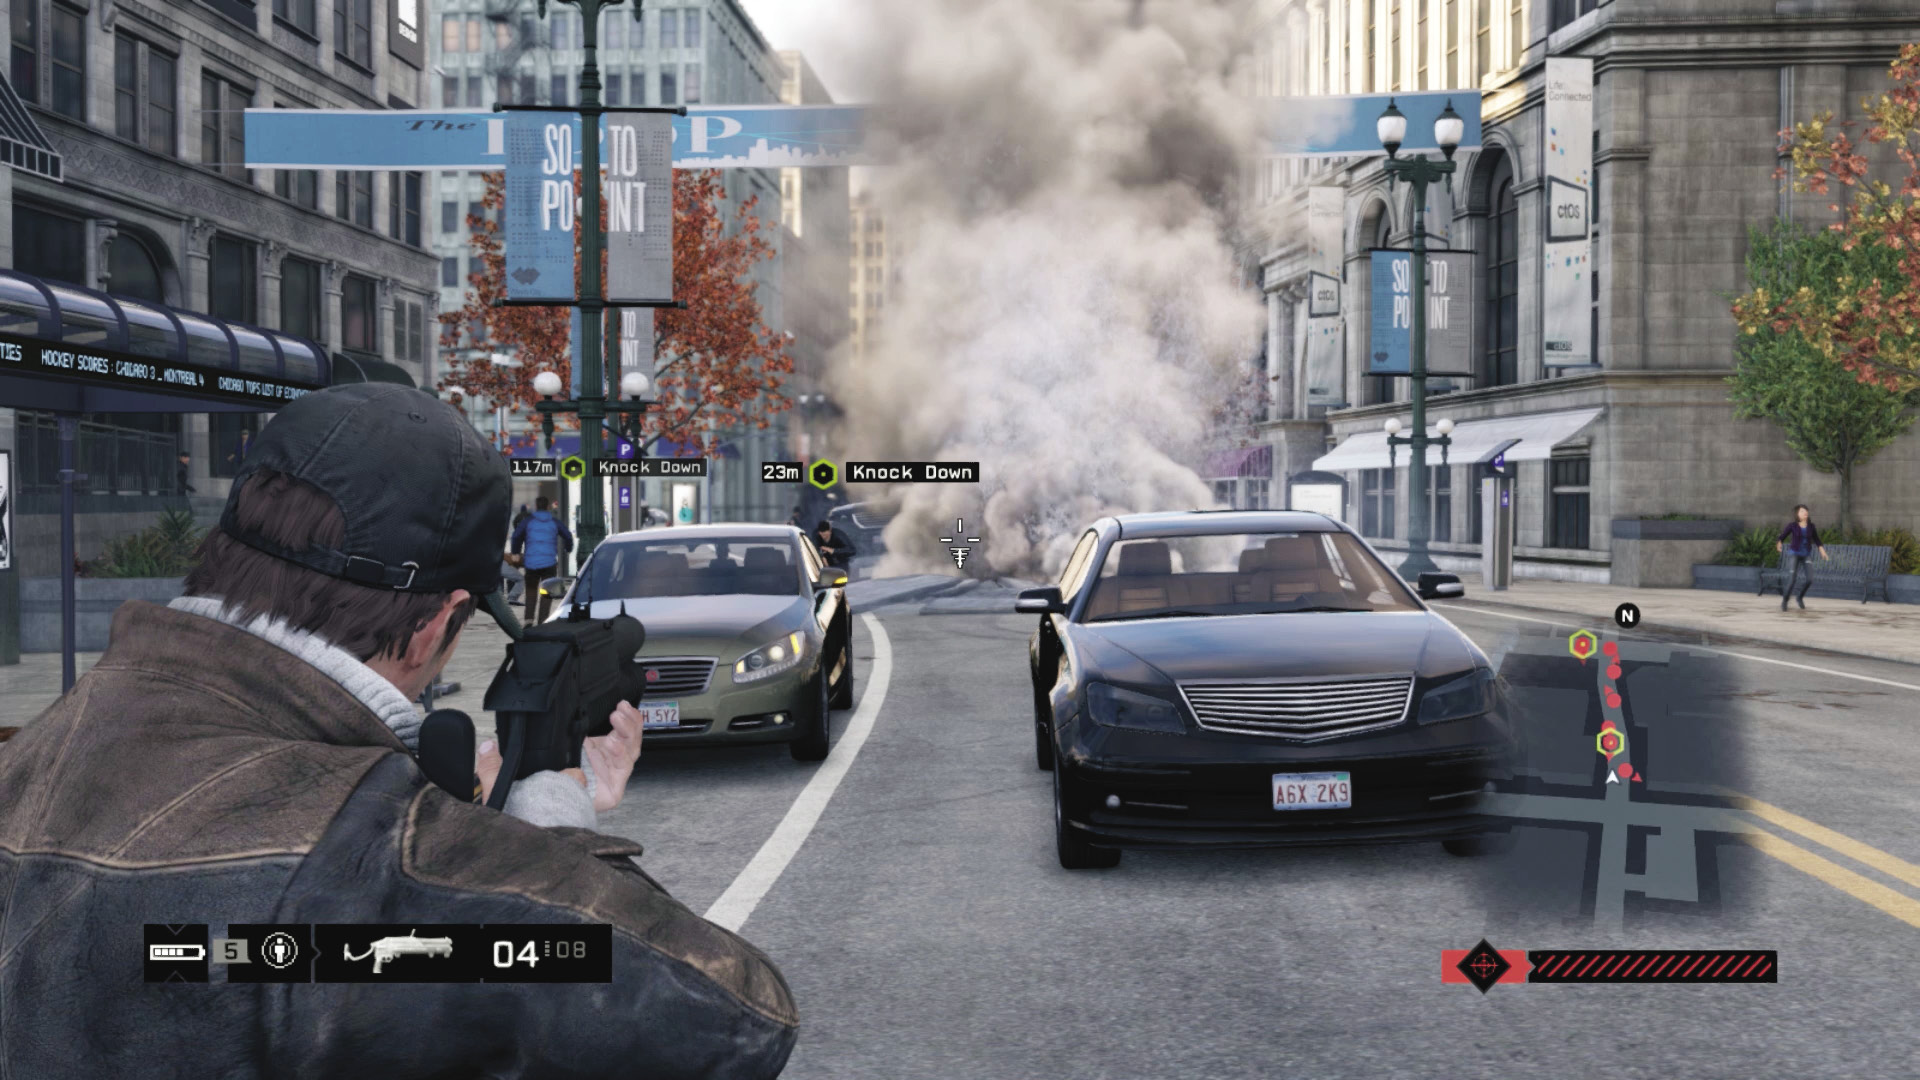
Utilize the hackable infrastructure: Traffic lights slow your foes, and blockers can prevent progress, but both of these can lead to the target escaping in their vehicle. Prevent this by using a steam pipe explosion—this cripples a vehicle but doesn’t usually kill the target. You can also drive ahead of the convoy, waiting outside your vehicle near a steam pipe, then explode it and immediately train your weapon at the target’s goons and drop them as they stagger from their vehicles.
2. TIDYING UP
 Location / The Loop
|
|
 Kill all pursuers or escape
 Vehicle Chase
 Lethal Force Likely
Difficulty: 
This mission fails if you kill either of the targets. Unlike the chases you’ve attempted before, don’t expect either target to flee or a chase to begin. Instead, melee-striking or vaulting into each target is the only method to ensure success. Do this after whittling down all the other Gunmen in the vicinity, as you gain more XP and grabbing either target in the middle of a firefight is very tricky. Or, you can melee-strike or vault into your targets and leave other enemies alive; it depends on how close you are to your targets and whether other foes are actively engaging you. If you see a chance to tackle a target, take it!
Once the targets are down, the remaining enemies attempt to hunt you. Either stay and slay, or consult the general escape tactics. In addition:
Open a garage door, head inside, close it behind you, and wait.
Flee to another district.
Weave in and out of alleys and main roads to confuse and lose your foes.
Use ramps to change height and locations quickly.
Hide under overpasses or bridges, away from city streets.
Once the Club reinforcements give up the chase, the mission concludes with a thank-you message from DedSec.
MISSION REWARDSGained XP +800 |