
Watch Dogs Guide MAIN MISSIONS MAIN MISSIONS /// ACT III
_BY ANY MEANS NECESSARY
OBJECTIVES
|
 Enter Rossi-Fremont
 Reach Iraq’s server room
 Download the server data
 Follow Iraq
 Leave Rossi-Fremont
MajOR SPOILER 
LOCATIONS // MAPS
Location / The Wards // Rossi-Fremont Tenements (Exterior)
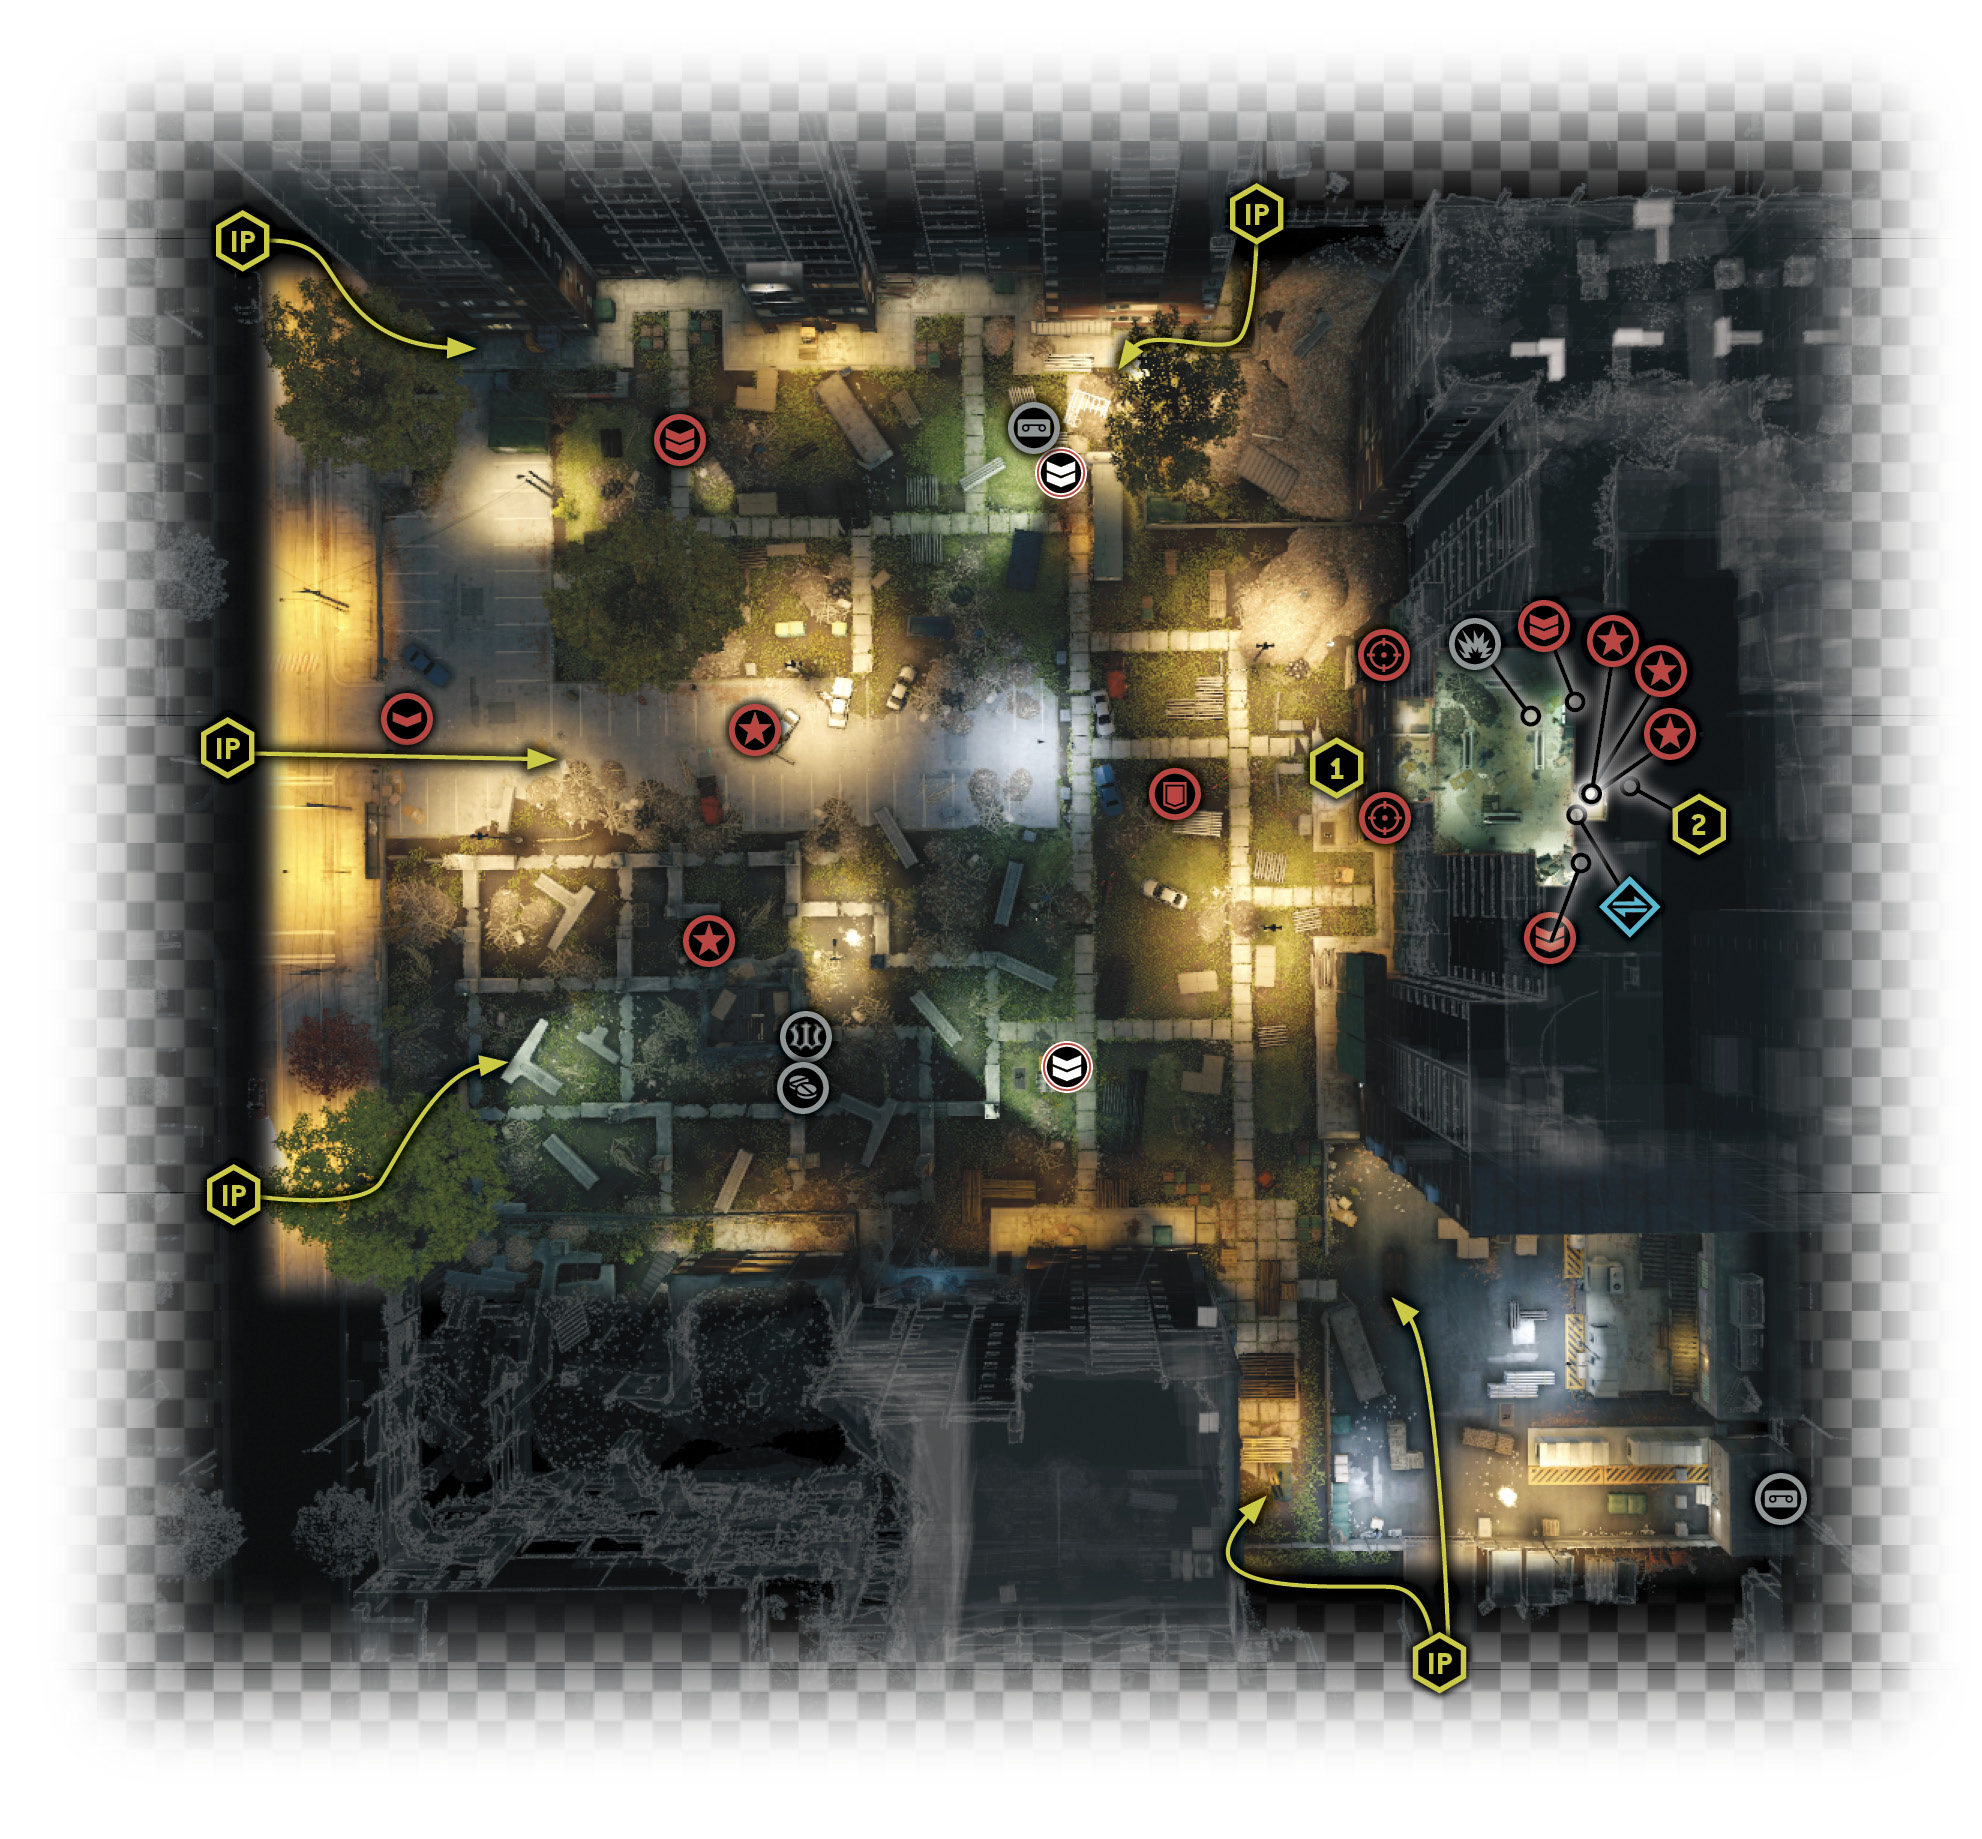
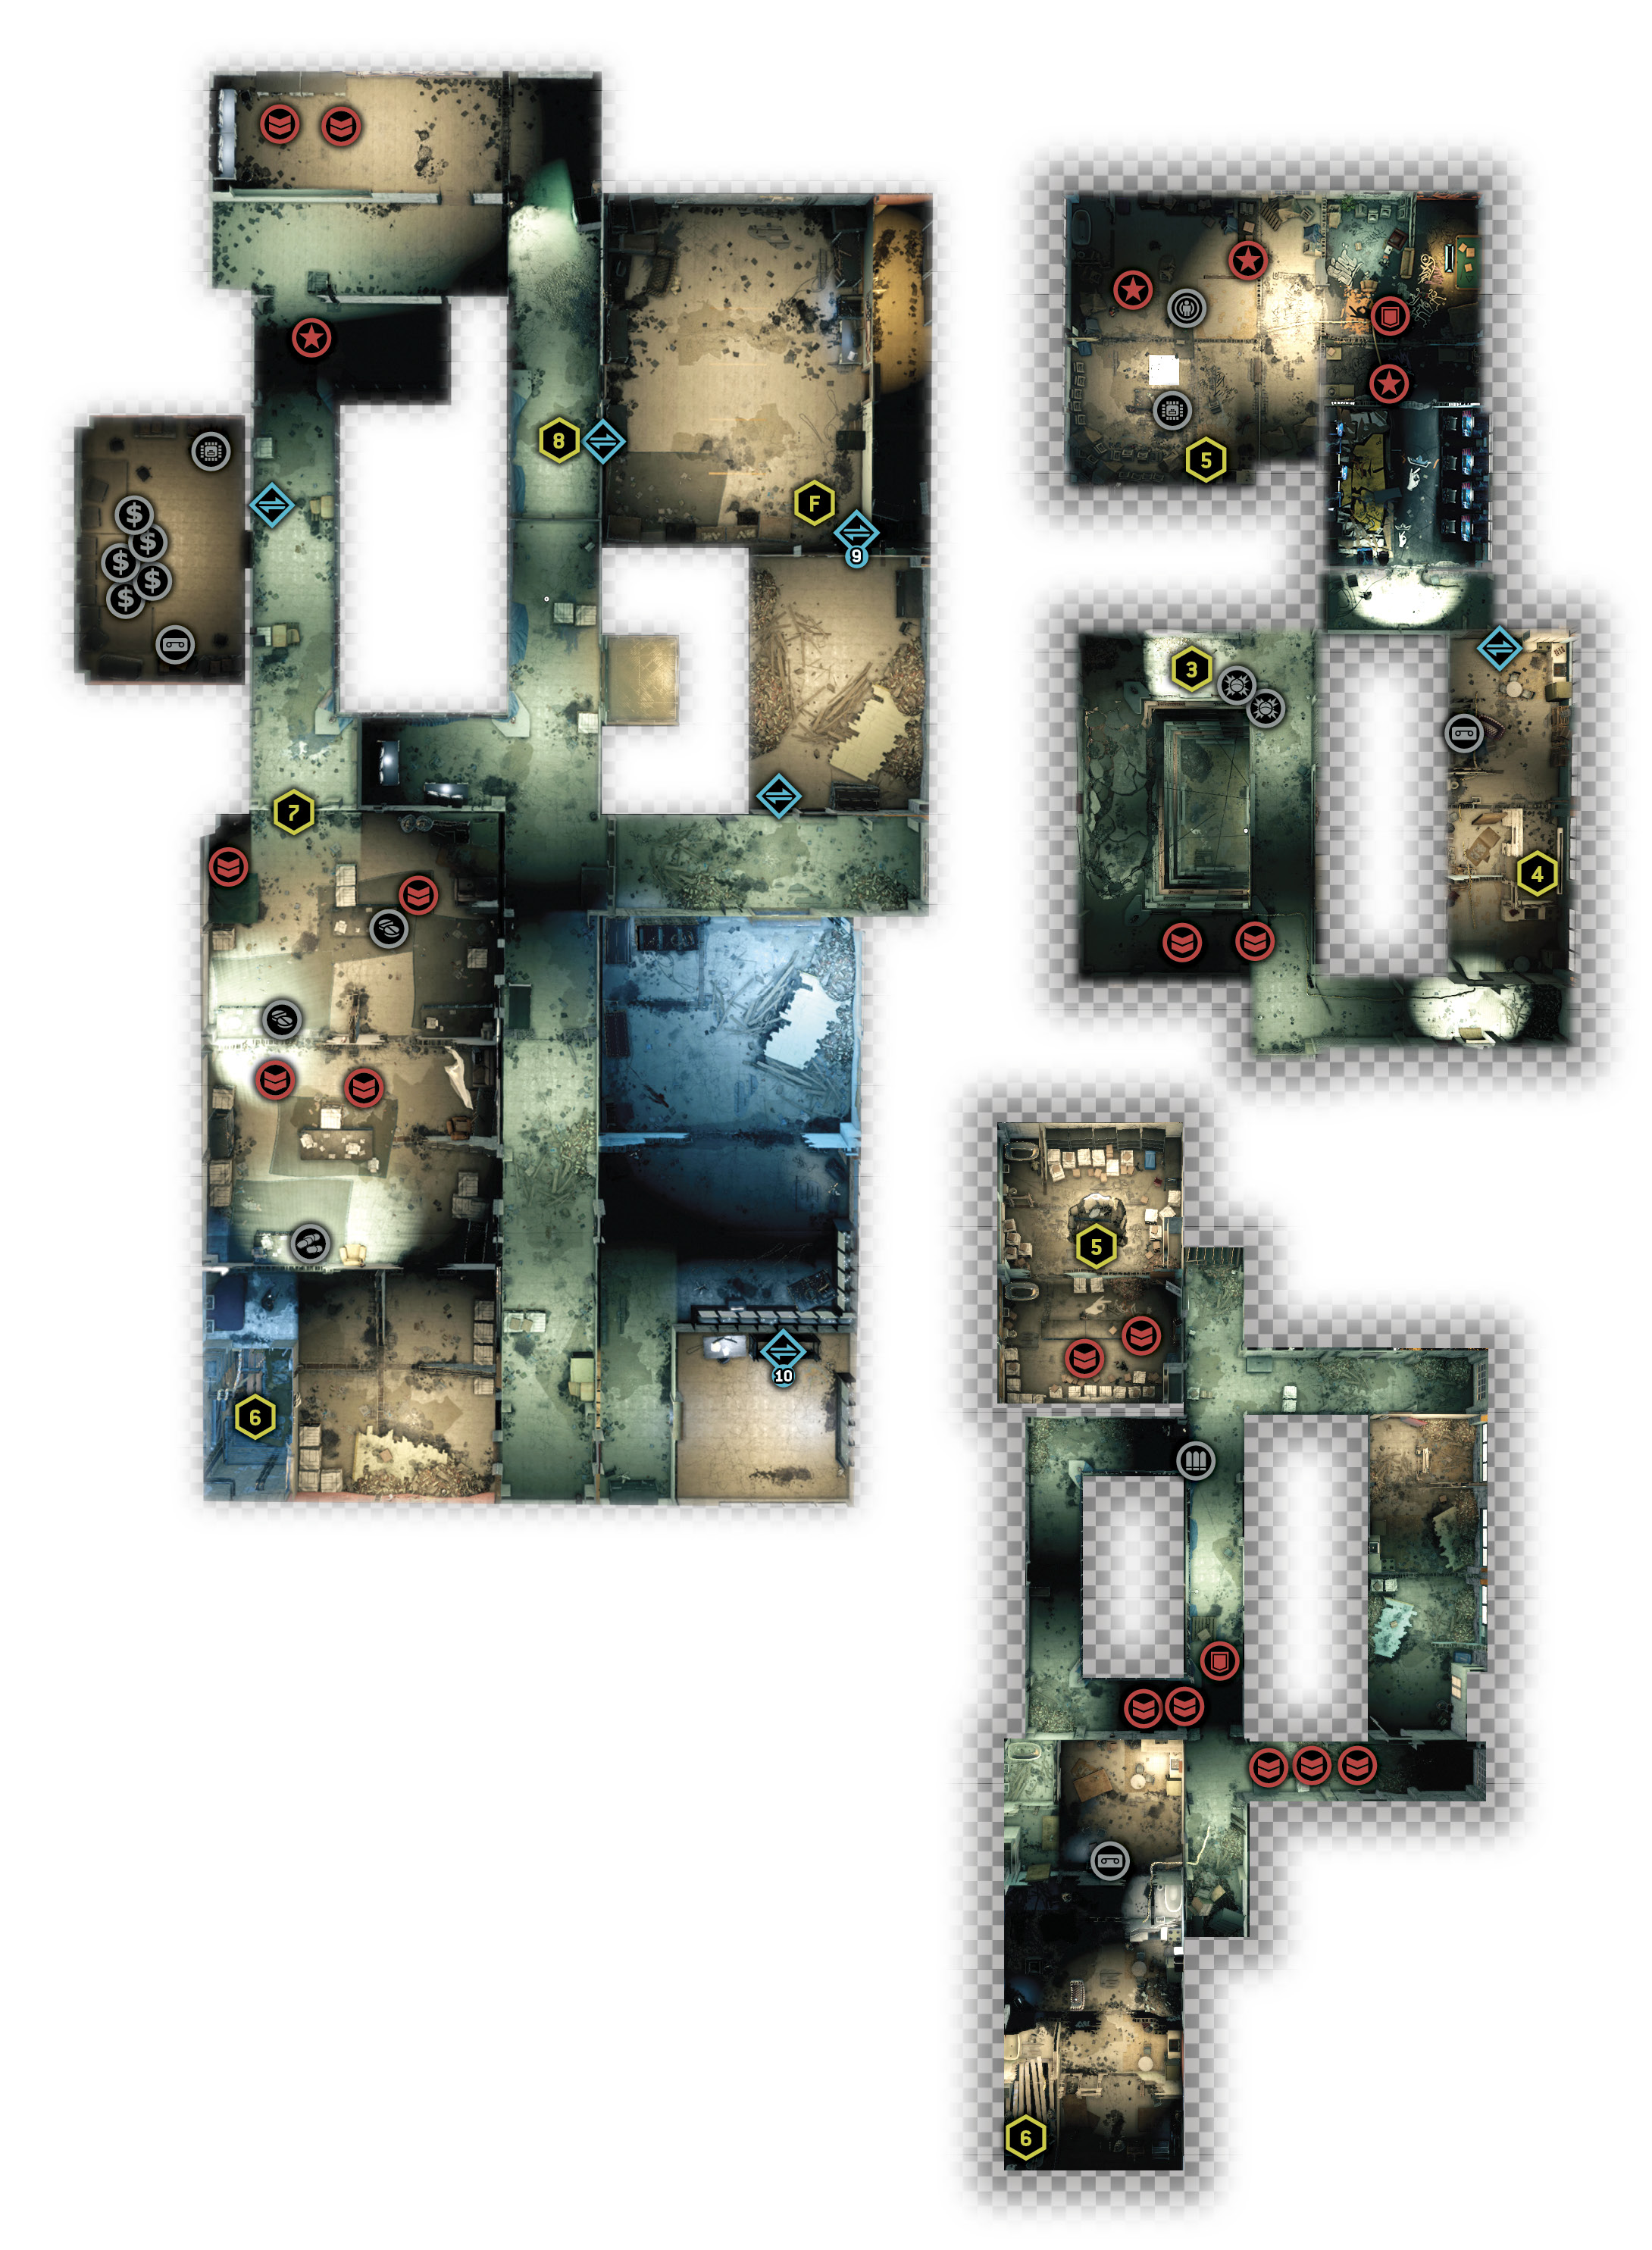
Location / The Wards // Rossi-Fremont Tenements (Interior)
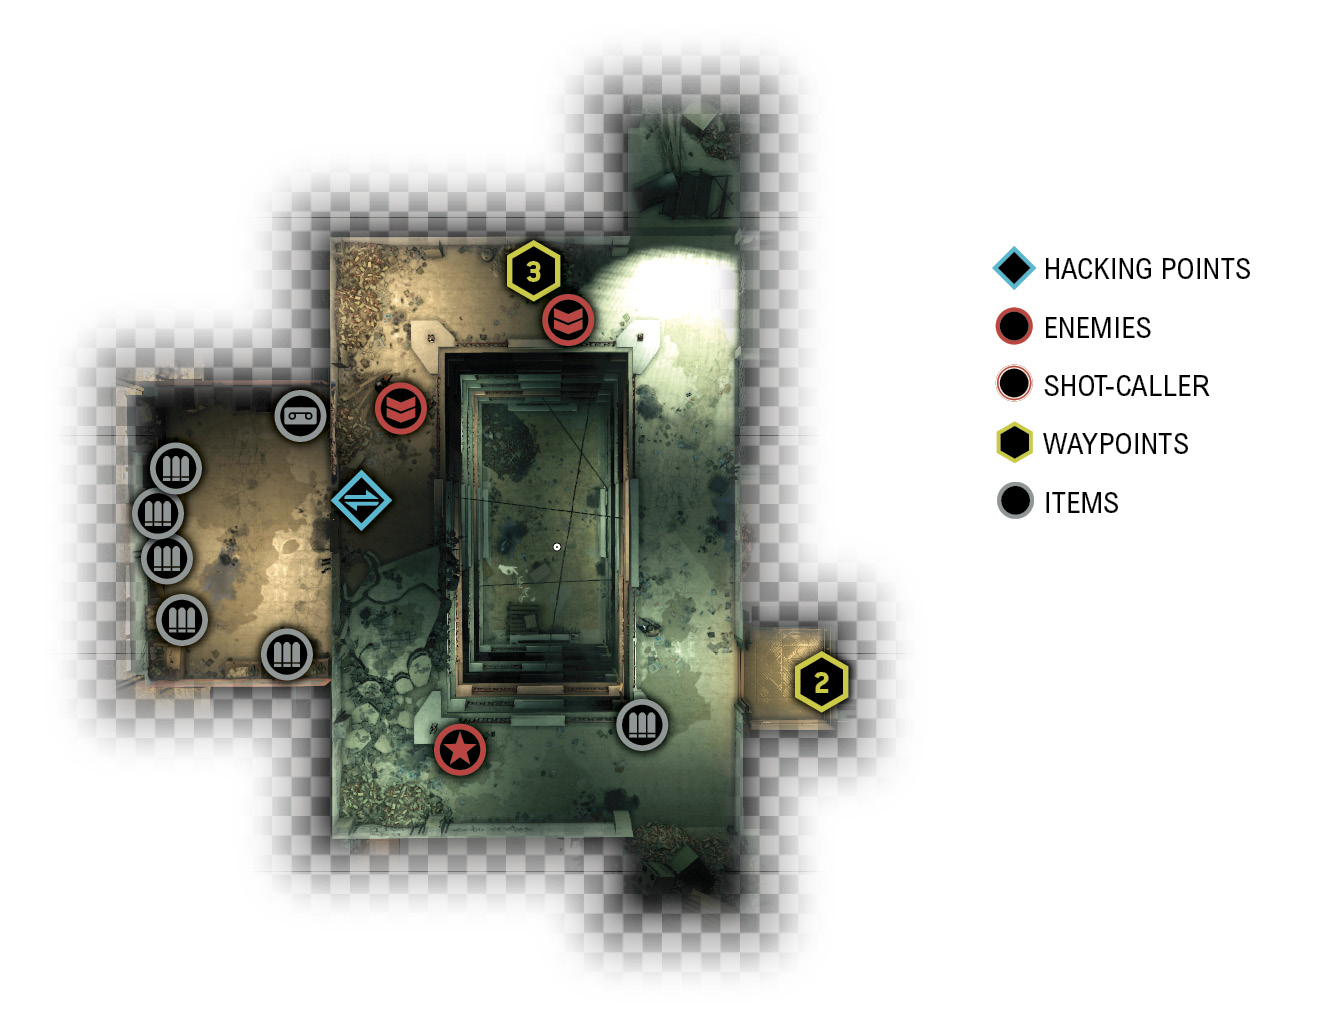
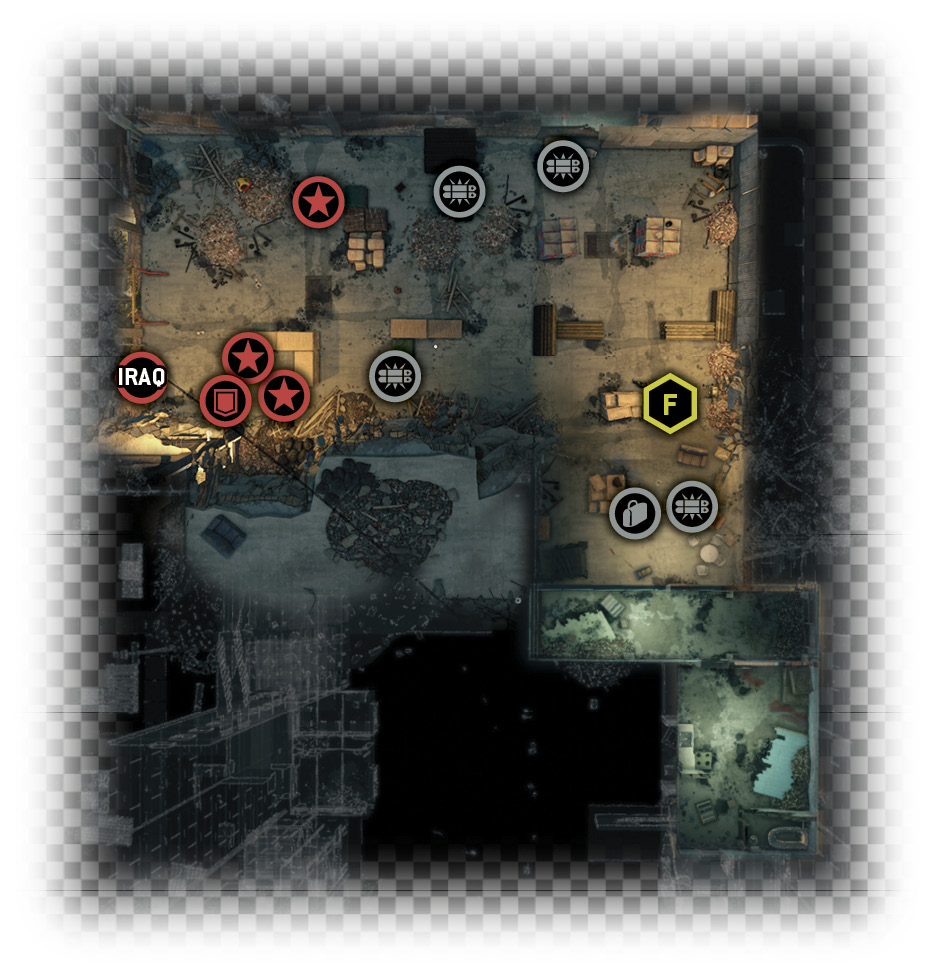
Location / The Wards // Rossi-Fremont Tenements (Rooftop)
|
|
 Enter Rossi-Fremont
6.1 THESE GUYS ARE ARMED LIKE A FIRST-WORLD NATION
 Location / The Wards // Rossi-Fremont Tenements
 Infiltration
 Lethal Force Likely
Difficulty: 
Jordi likes shooting stuff, so you get on the phone with him, and he agrees to meet you for the assault on Rossi-Fremont. When you’re ready for the first part of this fight, head to the street entrance (west), where you previously infiltrated Rossi-Fremont.
Overview
 Completion Point: The ground entrance to the middle or far (east) tenement block.
 Dangers: Nine Viceroys total (Gunman x1, Veteran x3, Elite x2, Elite Marksman x2, Enforcer x1), armed with machine guns, body armor, sniper rifles (east block). Two are Shot-Callers.
Reinforcements: Vehicle arrives with four foes (Elite x4) once four initial enemies remain and Shot-Callers are present.
Friendly: Jordi Chin, with a sniper rifle behind a balcony on the left (north) tower.
Insertion Points
Street Entrance (West)
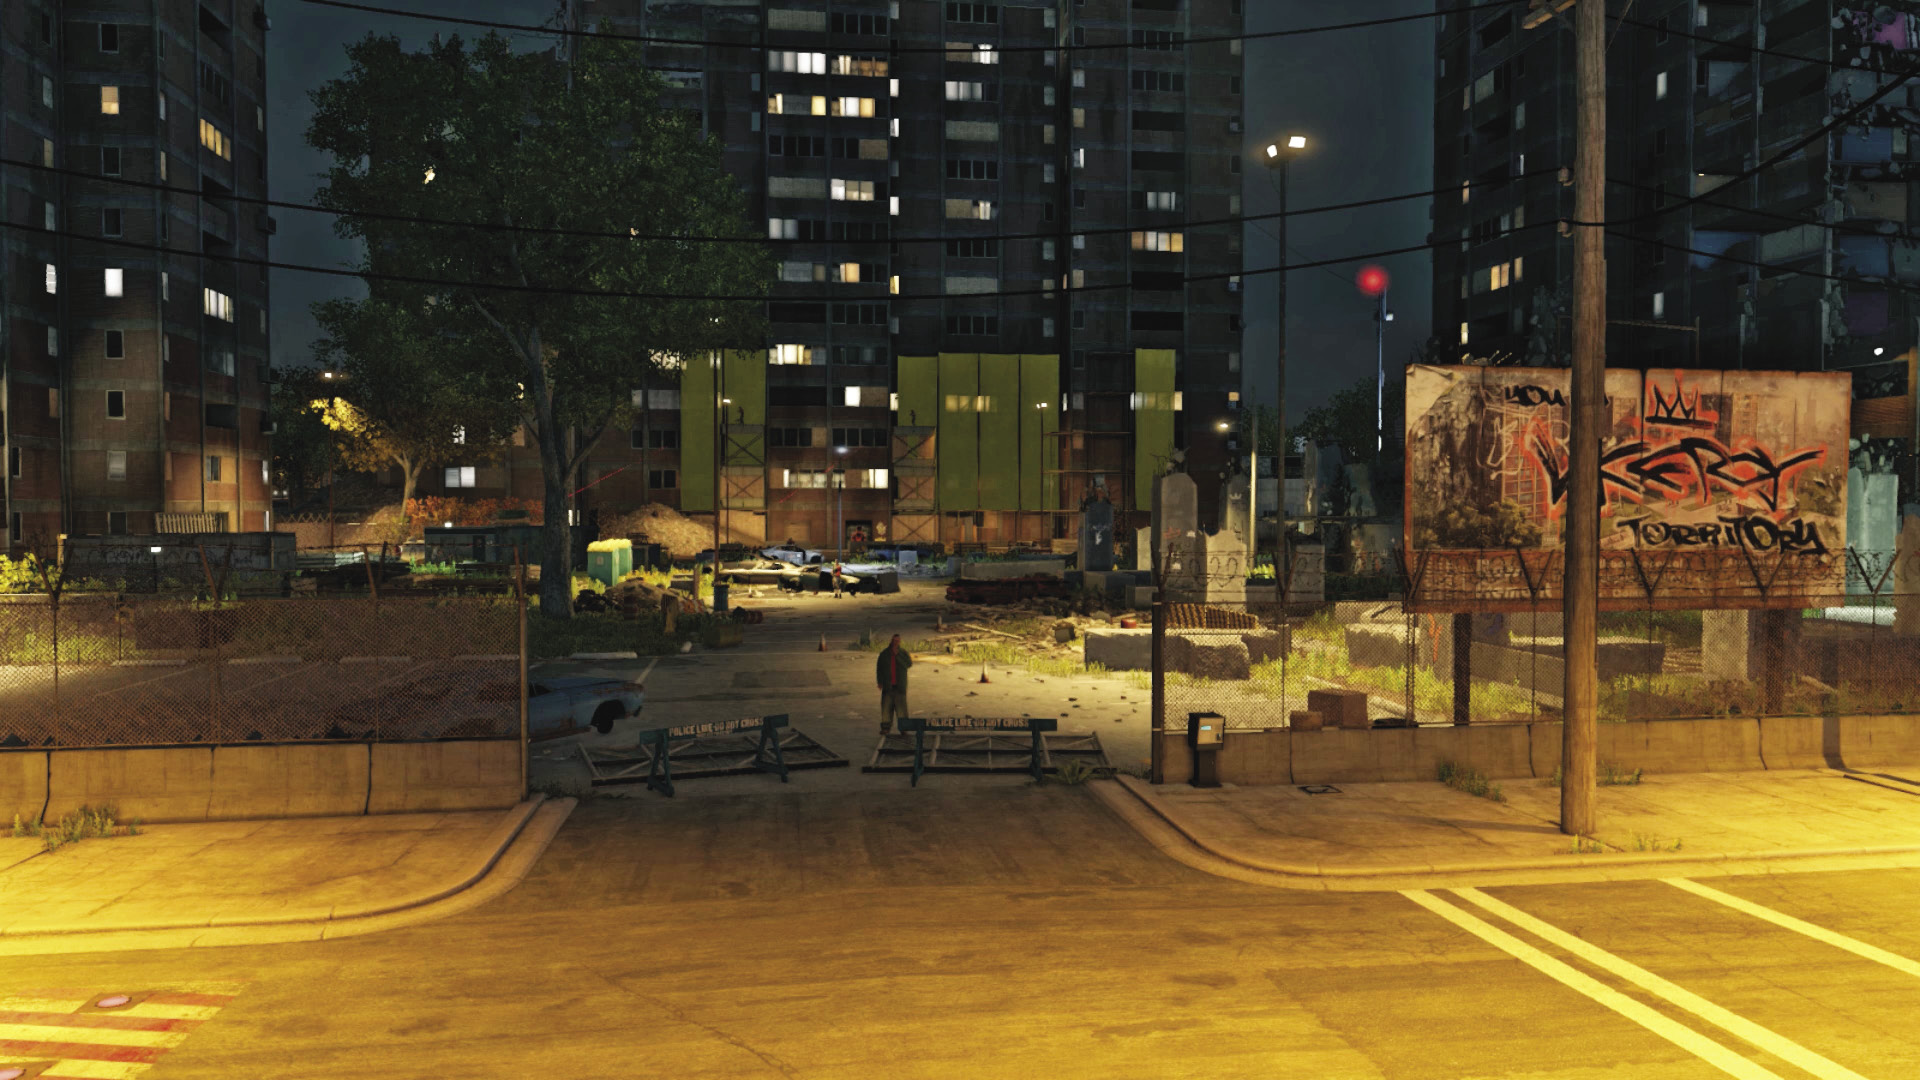
Accessibility Level: 
The parking lot is extremely accessible, but it’s also open, and the enemy is armed with more powerful hardware. Therefore, it’s usually safer to choose any other insertion point unless you can quickly down the first guard and get into cover without being spotted. Sneak along the perimeter or dash up the middle if safety isn’t important. Try blocking this entrance with vehicles prior to the mission start, so any reinforcements have a difficult time reaching the yard.
Left Tenement Fencing (Northwest)
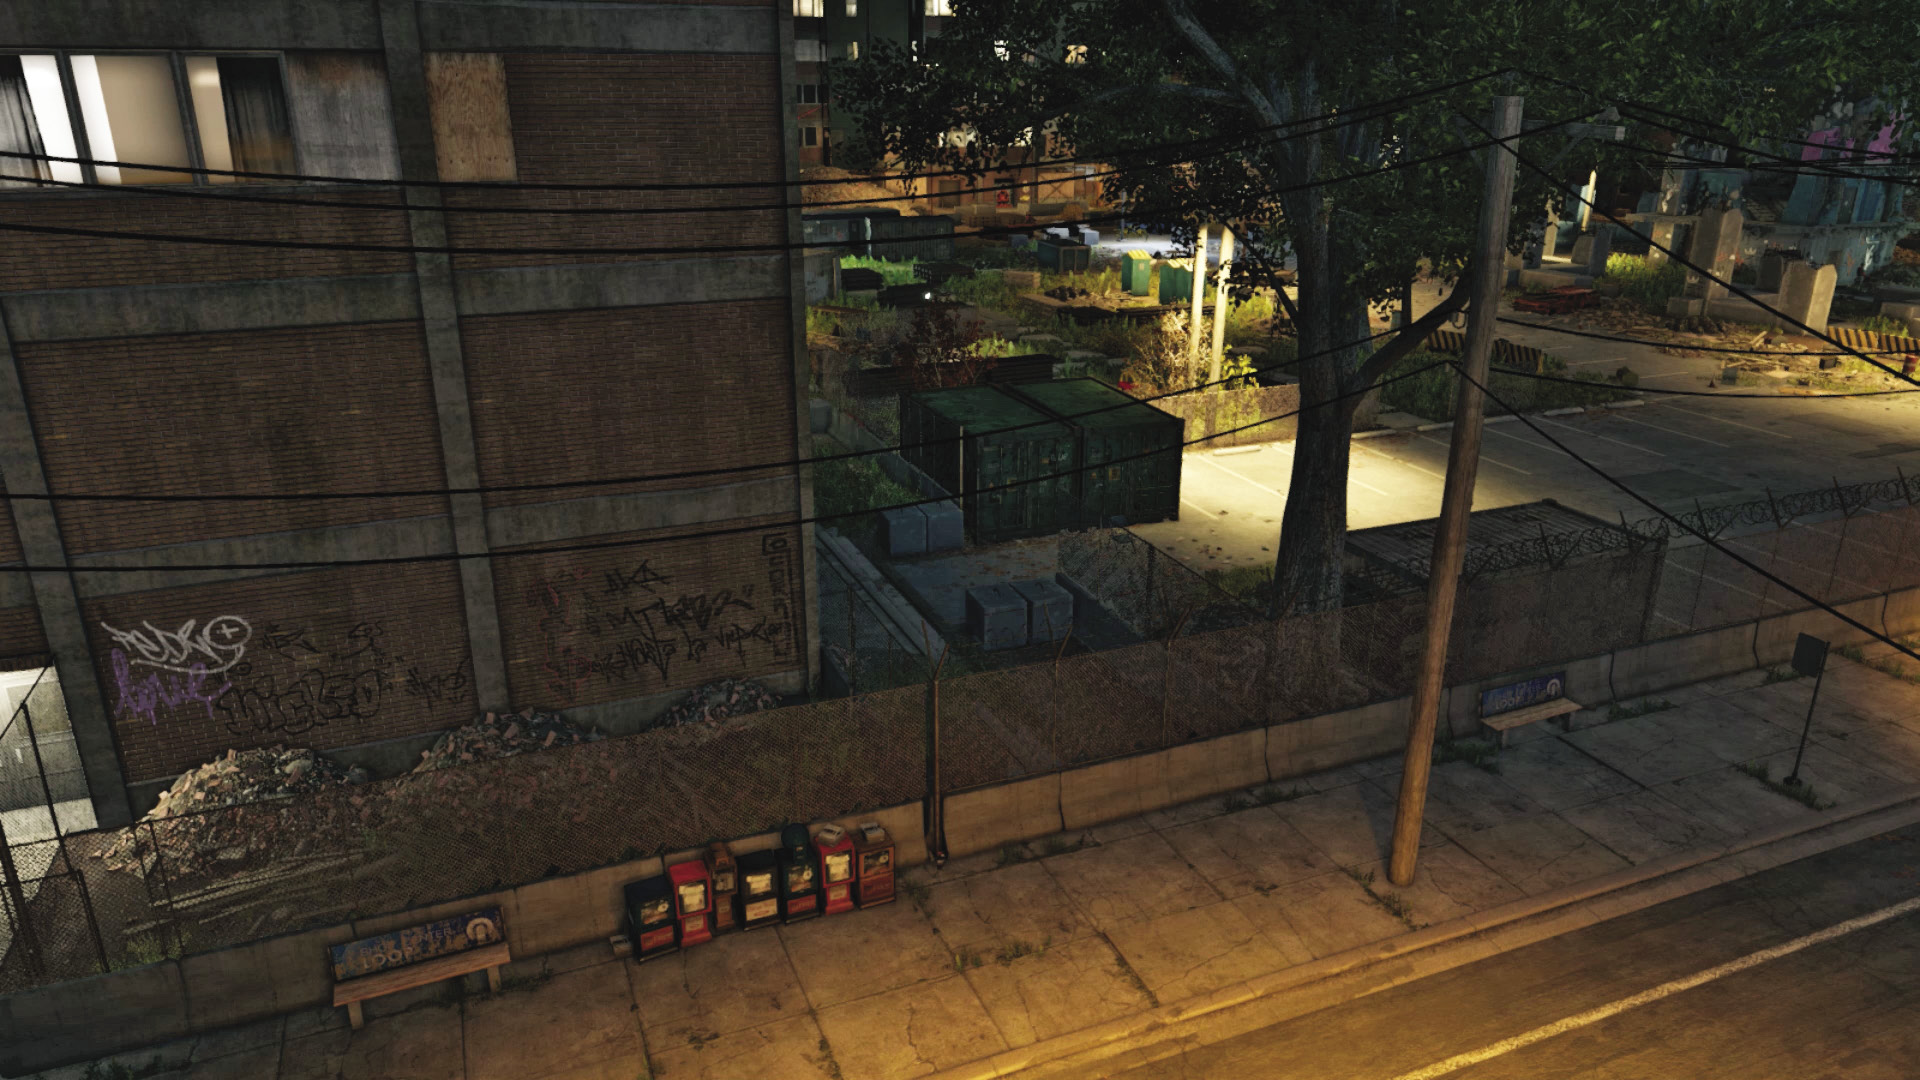
Accessibility Level:
Head left (north) along the street to where Jordi is stationed in the north tenement block. Pass through the open gate or leap the fence, then scale another two fences to reach the yard’s northwest corner. Beware of the enemy spotting you, but use this to creep in a clockwise path around the perimeter, ignoring the guard at the street entrance (west) and heading to the containers and propane tank. Beware of the snipers as you go. Also be sure to stop and hack the phone resting on one of the pipe stacks with an Audio Log to collect.

Concrete Ruins (Southwest)
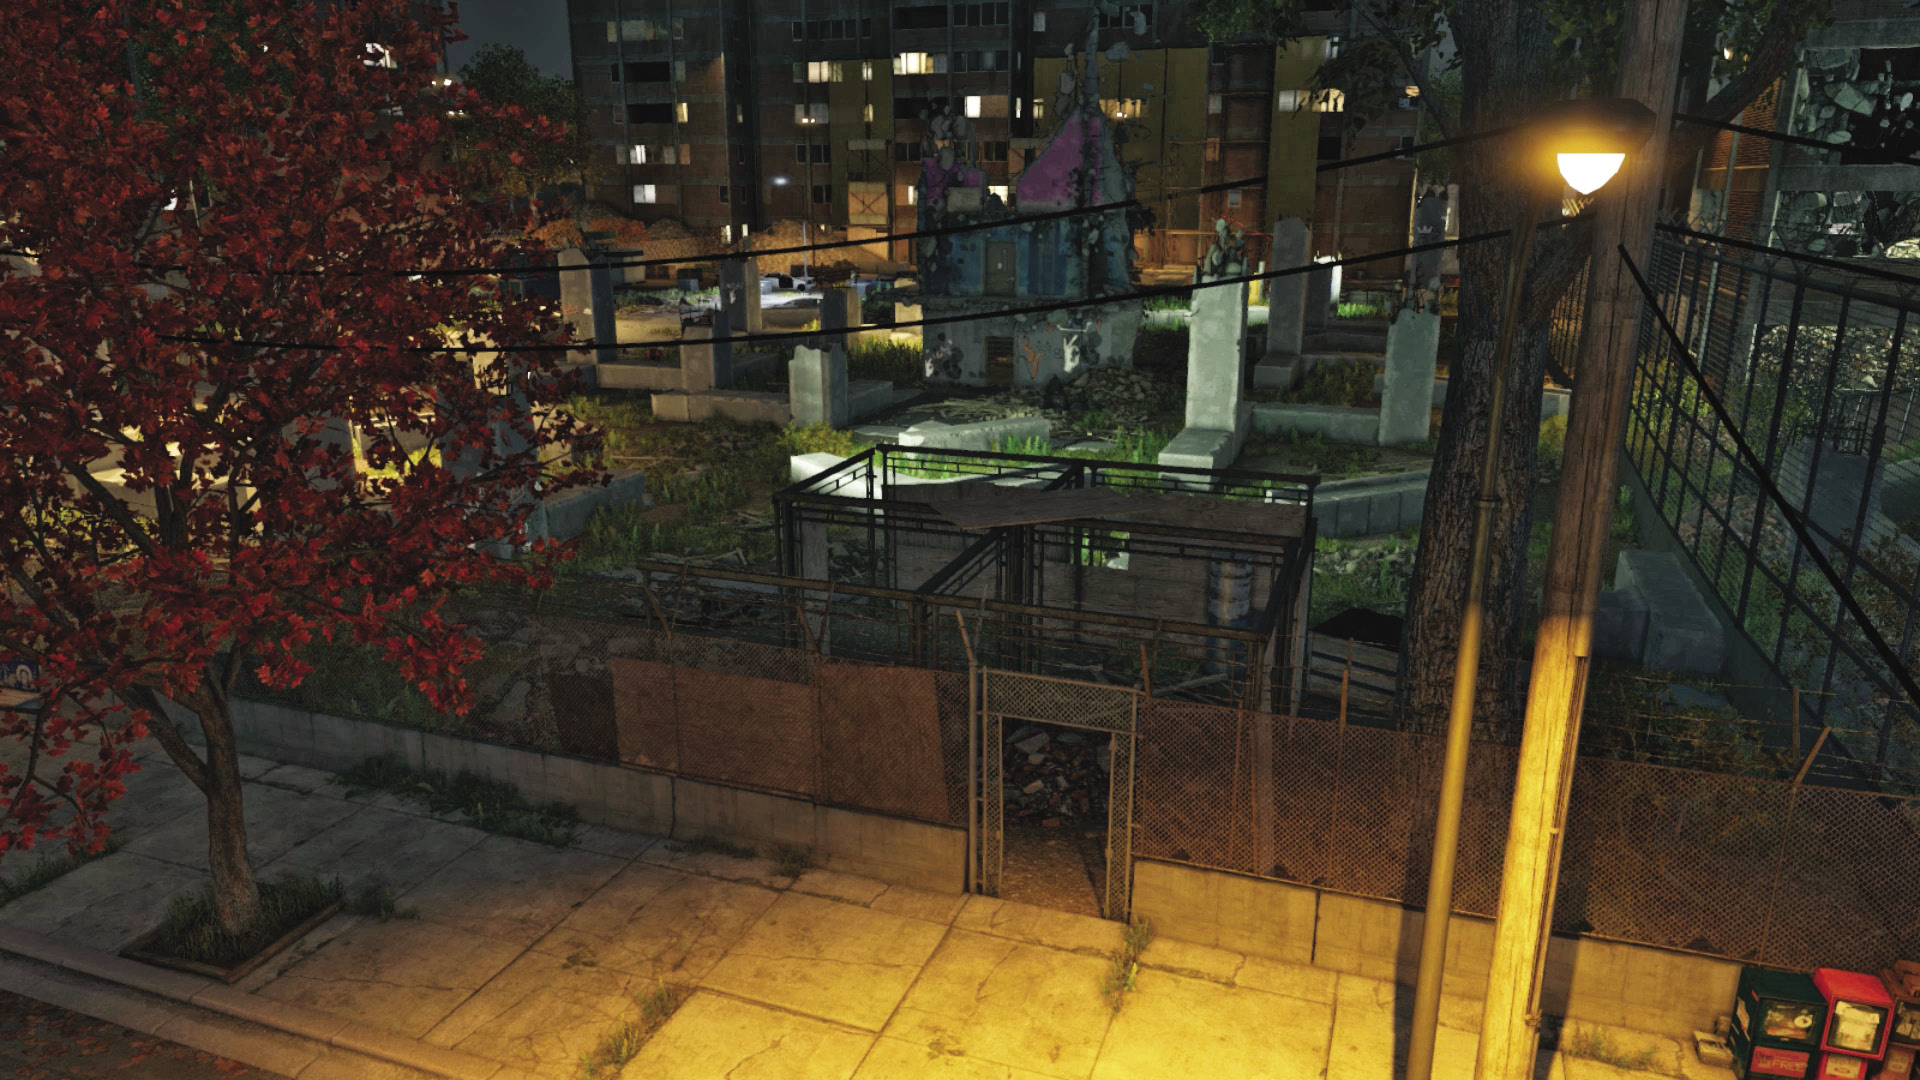
Accessibility Level: 
This is a more advisable option than the street entrance, as it leads to an area of excellent cover (just watch for Viceroy reinforcements from behind, if they are called). Head through the open gate leading to a wood-paneled shack and scattered concrete ruins with a crumbling tower of an old tenement. Use the cover here, especially inside the short tower; it can be a good spot for tackling snipers. This is a great method of sneaking counterclockwise, too.
Left Tenement Fencing (Northeast)
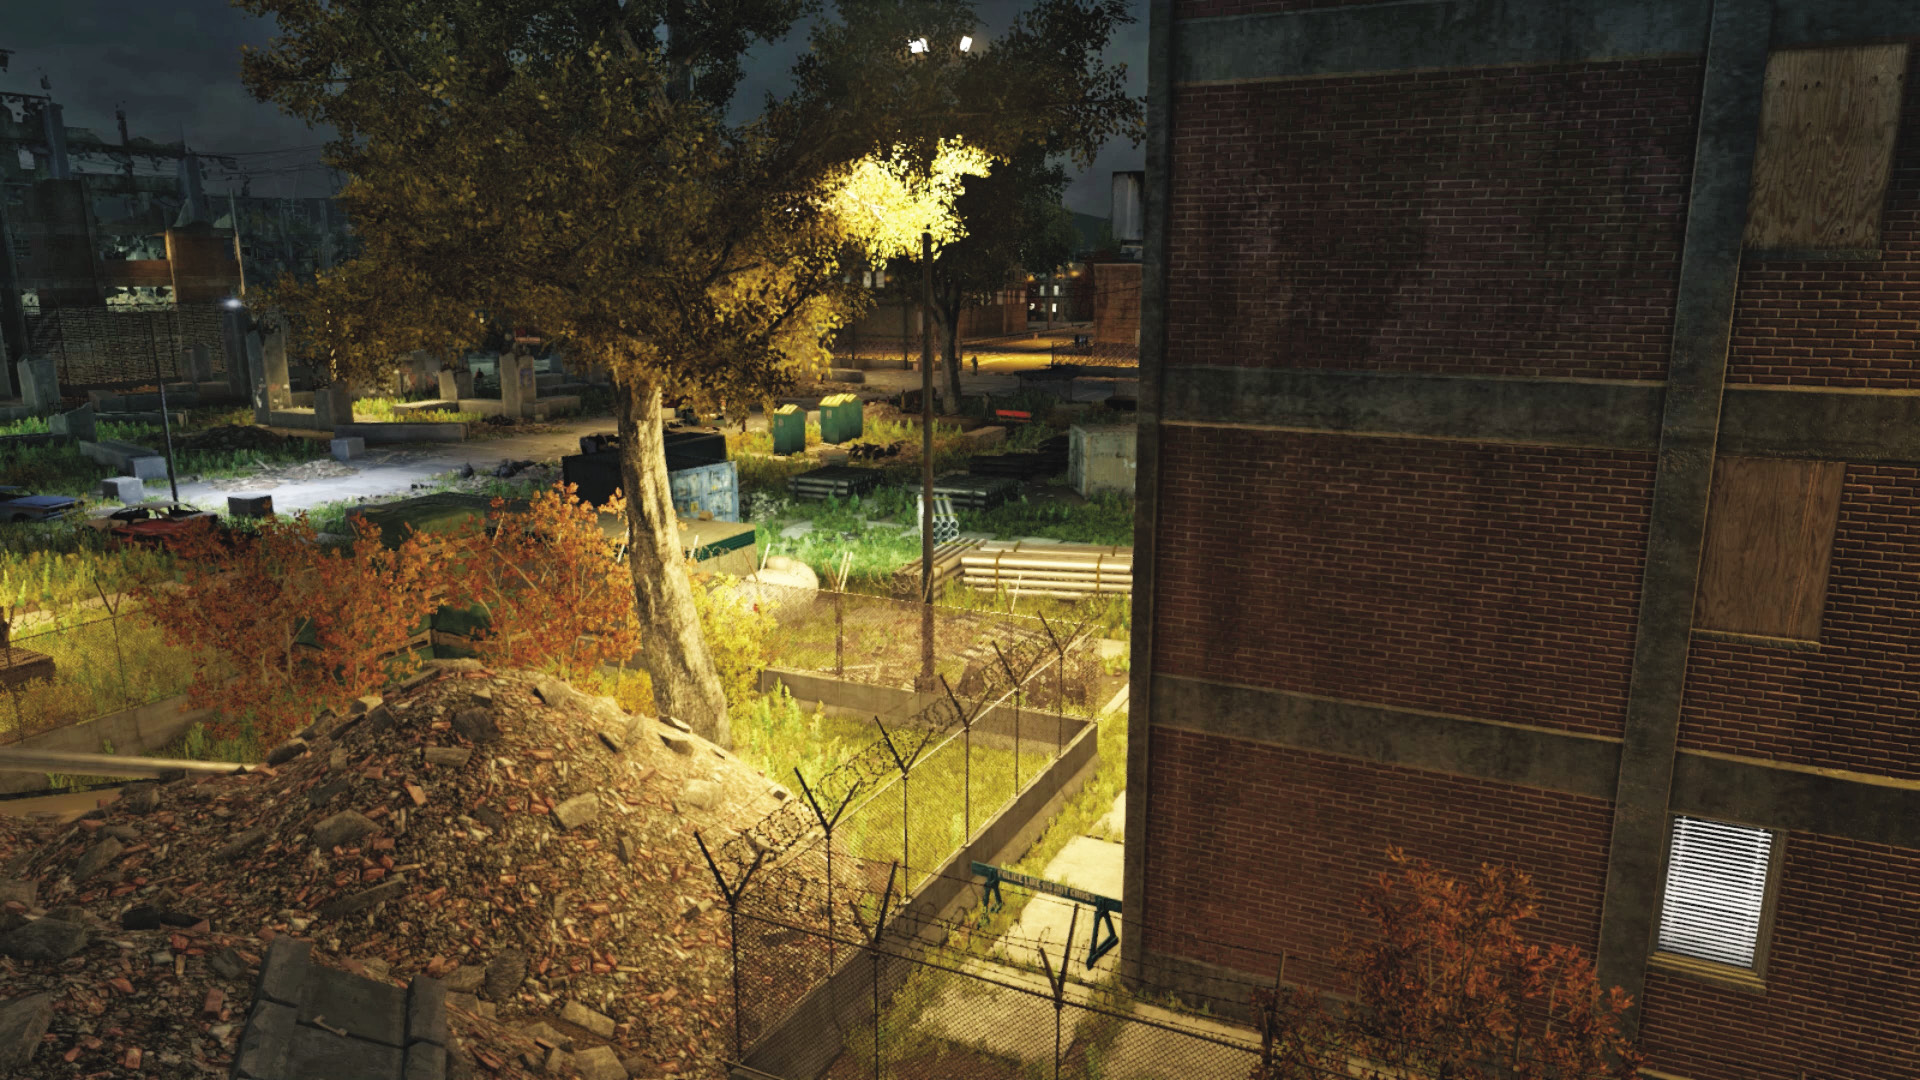
Accessibility Level: 
Head around to the rear of the left (north) tenement, passing an empty parking lot and eventually entering the yard’s northeast corner. If you’re after a massive and spectacular firefight, blast the propane tank here. Before arriving, look up at the sniper on the east tenement balcony, and drop him before venturing forward. Watch for the second foe on the opposite side too. This insertion point (with a quick perimeter creep) is a quick way to reach your objective.
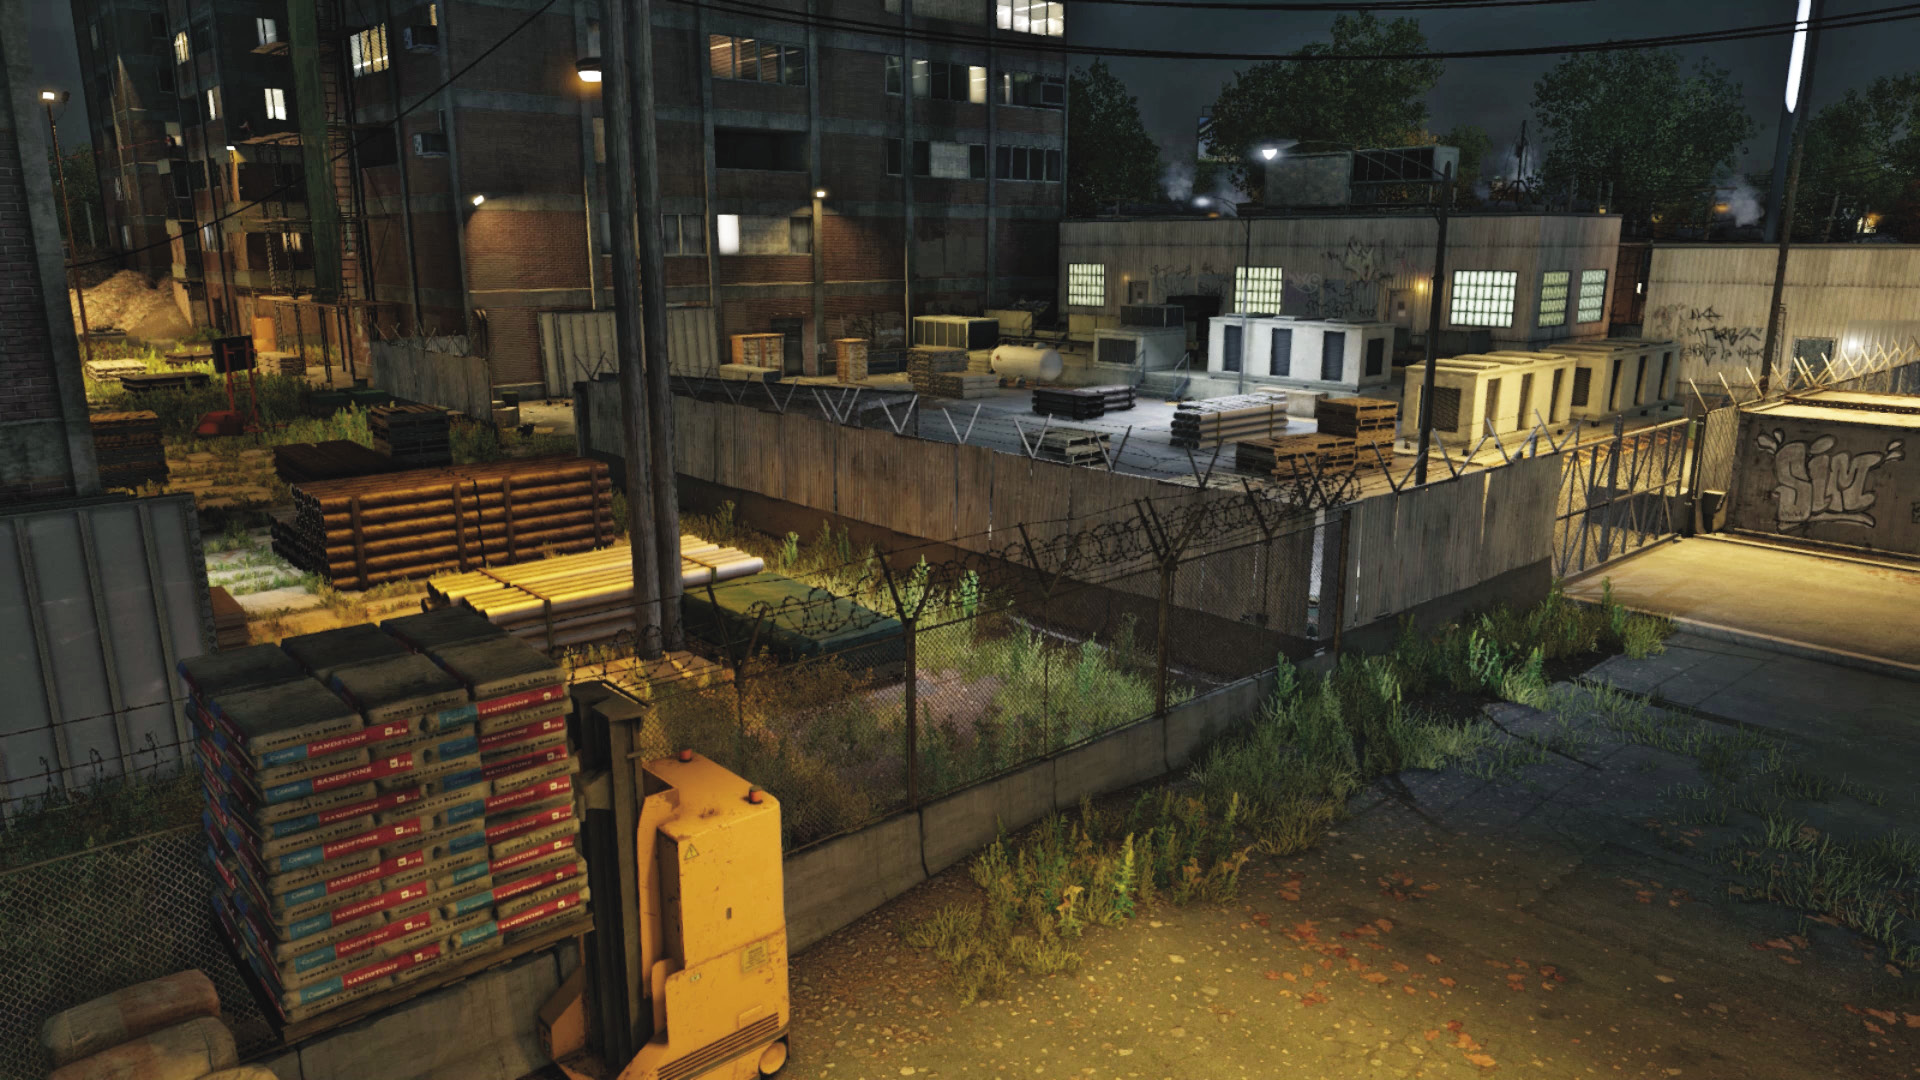
ctOS Tower Yard (Southeast)
Accessibility Level: 
The ctOS tower yard isn’t the focus of the fighting in this mission, but the area (or the forklift and fence) has great insertion points. You can easily enter the yard’s southeast corner, moving from cover to cover, and reach the objective without being seen. Remove the sniper on the east tenement balcony, and watch for the second one on the other side.
Progression Plans
You may now try one, parts of, or any combination of the following methods to defeat any foes and reach the front of the east tenement block.
General PreplanningNo Cameras: Although there’s a camera overlooking the tenement yard near your starting position, the yard is devoid of cameras, so marking the Viceroys is tricky. Rely on your minimap, and have your smartphone Profiling so you can mark within your phone’s radius. Better yet, conduct a ctOS scan just before moving into the restricted area, and tag everyone with a single sweep. Viceroy Routes: Aside from the foe at the street entrance, there are three more halfway through the yard and three to the rear, spread out and patrolling. Beware: two are Shot-Callers. Watch for reinforcements from the street entrance and ctOS tower area.Or, if you’re sneaking, time your movements so a nearby guard is facing the other way. Be Prepared: There are fewer smartphone interaction points (and once T-Bone kills the lights, no infrastructure hacks are available), so it is wise to carry your favored weaponry for this mission. Although it’s possible to finish this without combat, be sure you have at least a sniper rifle, machine gun, pistol, and grenades. |
 Passive: Sneaking So You Don’t Get Caught
 Difficulty:
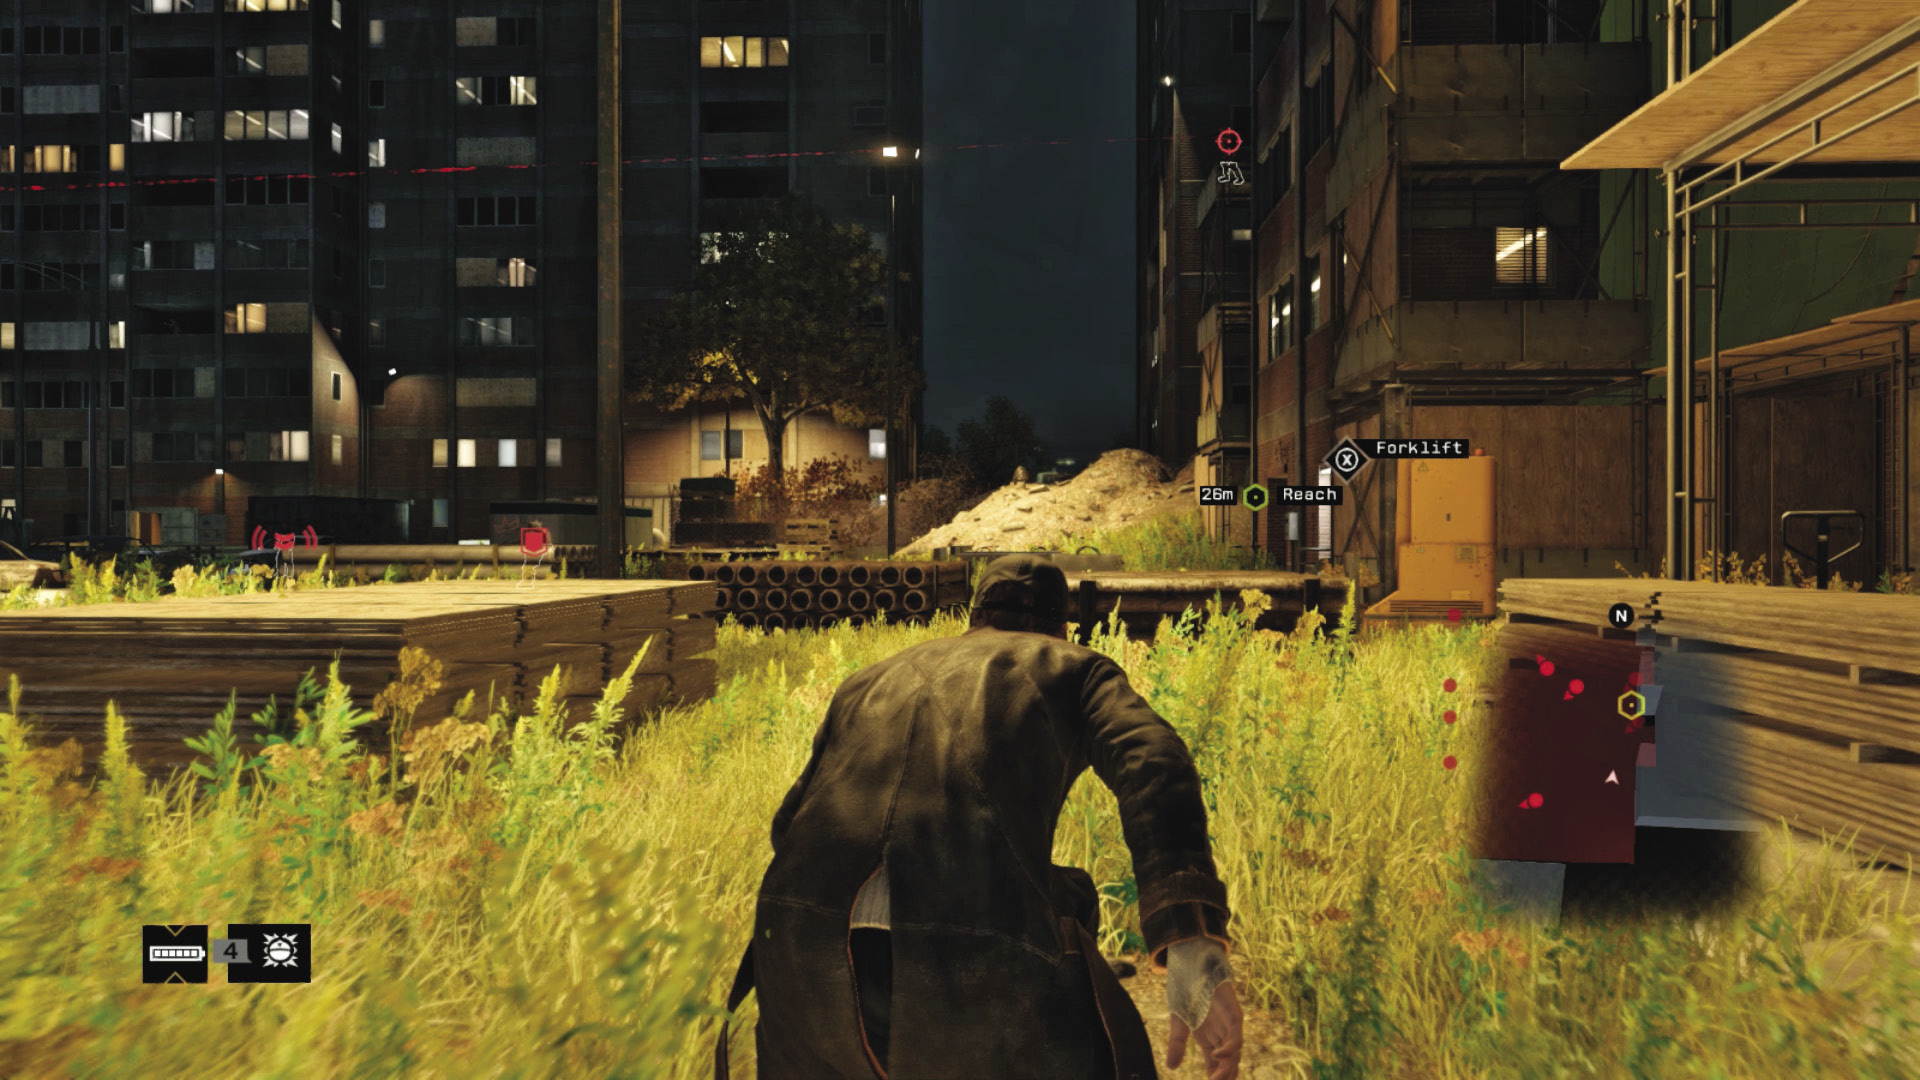
Unlike the previous time you infiltrated this area, finishing this objective without any foes even knowing you’re there is not only possible, but also encouraged! The trick is to pick the correct insertion point. Although skulking around the perimeter from other locations is fine, try the following path for best results:
ctOS Tower Yard: Approach from here, darting from cover to cover, under the snipers’ view, and watching for the three foes closest to the objective so you aren’t spotted. Simple!
 Aggressive / Stealth: Iraq’s Defenses All for Naught
 Difficulty:
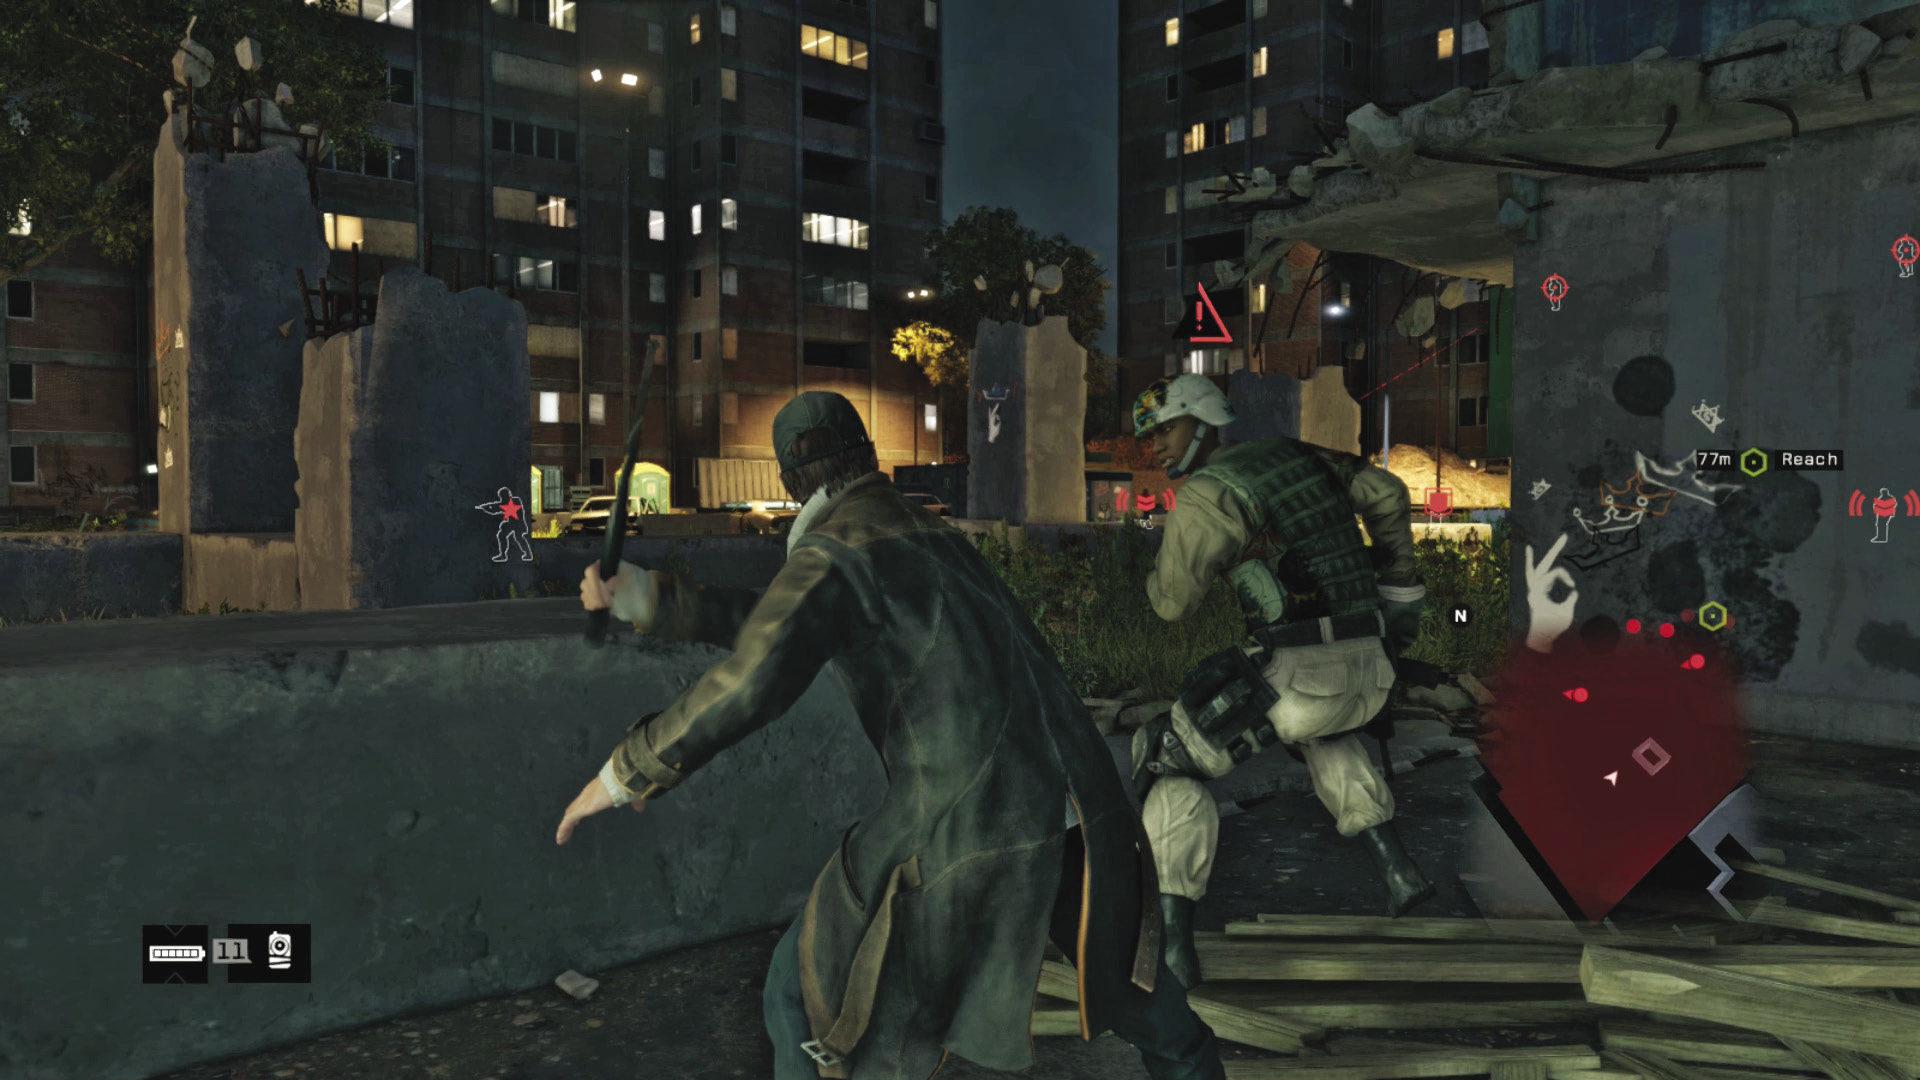
Despite the arms they are carrying and their torso protection, the thugs in this yard are still susceptible to a baton to the head (except for the Enforcer close to your waypoint, unless you’ve obtained the necessary skill to tackle him). It’s possible to remove all the ground threats (even with the snipers above) before reaching your objective. Aside from perimeter prowling, the following route is another option:
Begin at the street entrance (west). Step forward and melee-strike the foe guarding here. Slip behind the car for cover. The foe to the left (north) usually comes to investigate. When he arrives, dart out and drop him. Then the foe in the middle of the yard heads over. Take him down. Next, the foe in the concrete ruins strolls over (and if he doesn’t, head there and grab him from behind too).
This leaves only the three foes at the rear of the yard. Skulk around the perimeter counterclockwise, then work from south to north, roughing up the last three. Even if you need to bring out your guns or projectiles (to combat the Enforcer), it’s easy to drop these foes before they call for backup. Then run under the open container or behind a vertical concrete structure, or take cover and hit the snipers.
Another option is to equip a Spec-Ops weapon and off each foe with a headshot, creeping from cover to cover as you go. Even the snipers can fall without anyone else suspecting an attack.
 Aggressive // Violence: When the Situation Gets Fraught
Difficulty: 
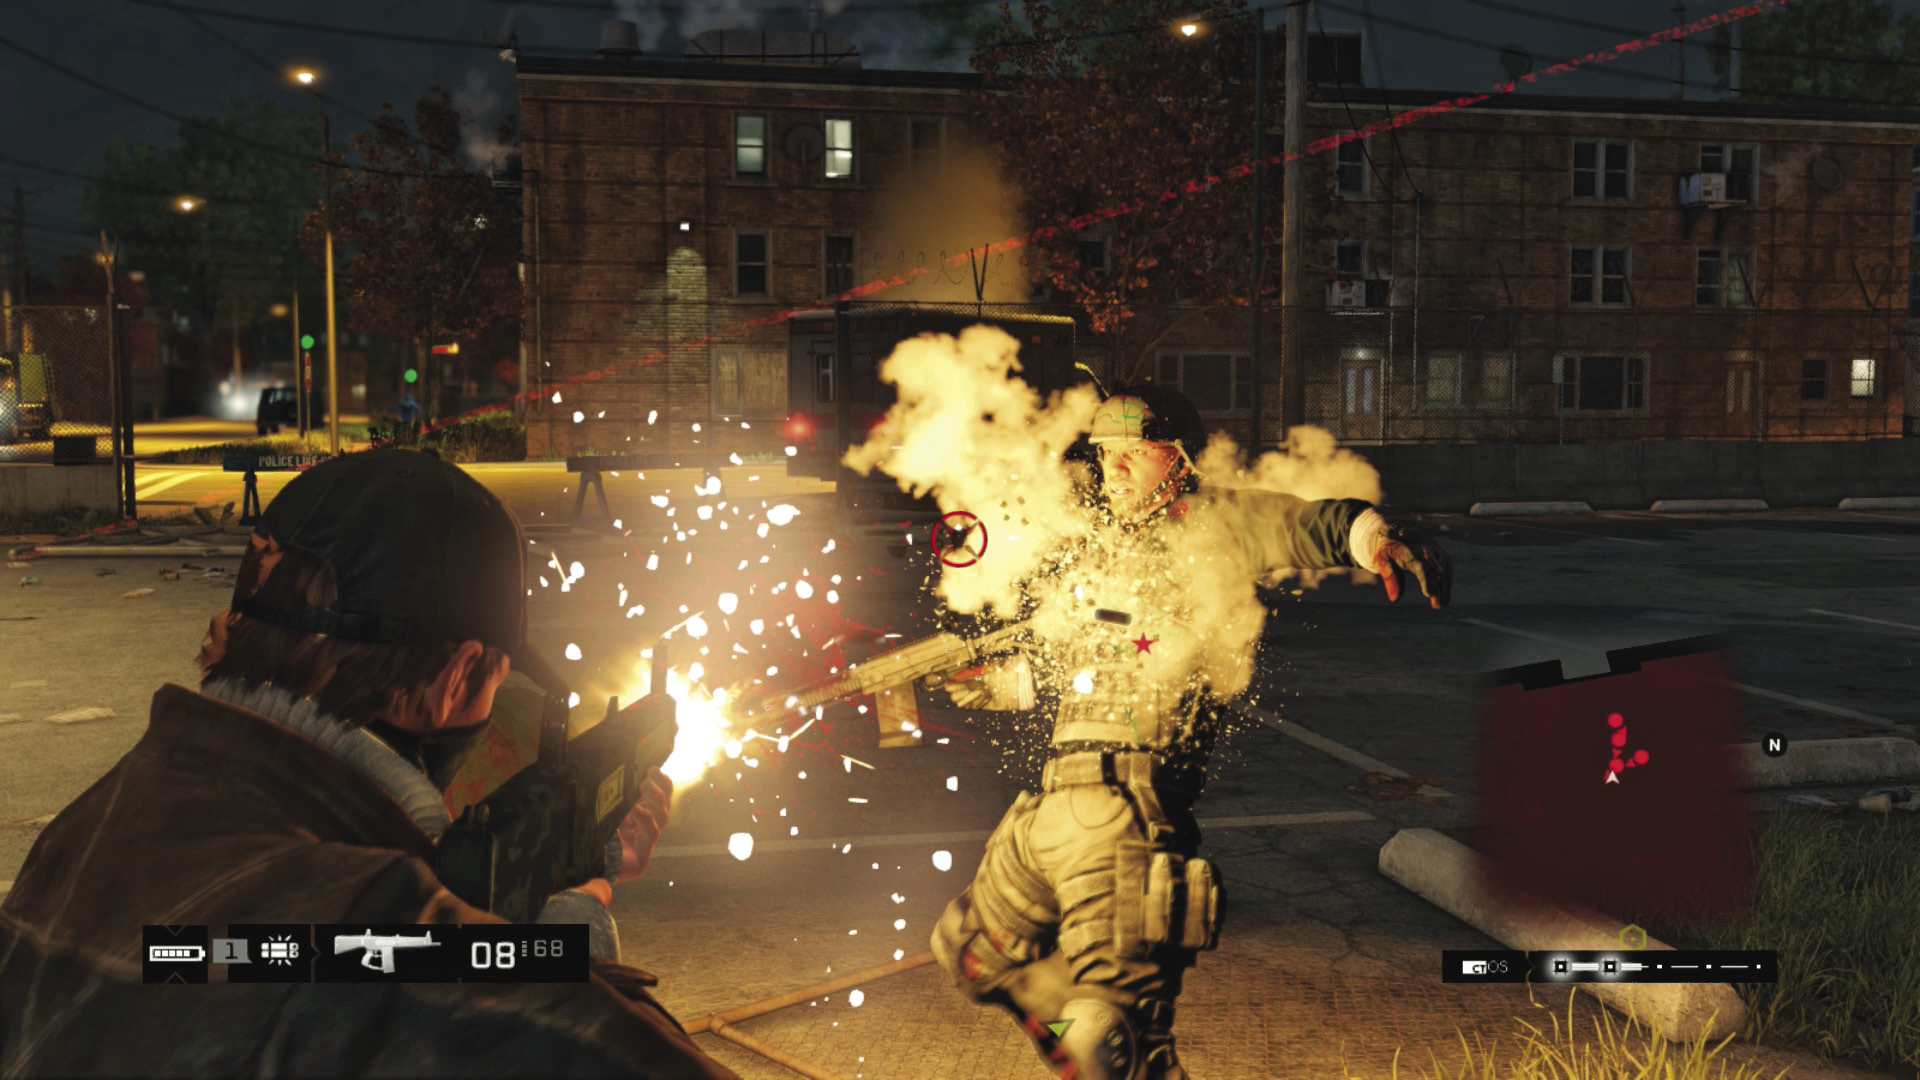
If your melee strikes or sneaking leads to you being spotted, the action heats up. Switch to your favored weapons, remember Jordi has your back, and dart into cover. Remember the following possible plans:
Street Sniped:Move to the street and set up a sniping spot behind a parked vehicle. Reinforcements usually arrive, so prepare to switch to rapid-fire weapons. Tag the foes in your immediate area, ignoring those at distance, and let the enemy come to you (without becoming surrounded). Advance only when all close threats are neutralized. This is a passable tactic, but not wholly recommended.
Snipers Away:You need to drop the two foes on the east balcony with sniper rifles, or they’ll tag and easily drop you. Other snipers may arrive with the reinforcements, so beware!
Shot-Callers:There are two Shot-Callers, and attempting to silence them both before the call for backup goes through is tricky. Try it if you can; the use of grenades, IEDs, or lures is helpful here.
Headshots:Be completely confident in your headshot abilities; you need to spend a second and a single shot plugging each foe, not shrieking and emptying a clip into their well-protected torso!
Jordi Chin:Your Fixer lives up to his name and helps tag foes approaching you. If you need to coax him into hitting a particularly troublesome threat, lob out a lure. But when the action gets crazy, you’ll both be attempting takedowns. Draw foes into the open (middle of the yard) so Jordi has a clear shot.
Concrete Jungle:It’s usually a good idea to take refuge in the southwest part of the yard by the tower. The fallen support beams make great hiding places, there’s minimal chance of being surrounded, and you can use the crumbling tower to gain height and tag foes behind cover at range. Another option is the northeast open container and low cover; you’re near an alley escape where you can coax foes to a slaughter or blast the propane tank for a great explosion.
ctOS SOS:If the battle is becoming problematic, you can always retreat to the starting point across the street, using pedestrians and parked vehicles as cover. Or, you can move into the ctOS tower area. Although reinforcements may enter from here, the area has better cover for you and fewer aiming opportunities for the enemy.
Viceroy Vehicles:Damn! The Shot-Callers have called in the cavalry! Well, ensure you know the foes are coming and that you’re prepared for them; as they appear from the ctOS and the western parking lot, you can move to the northeast area so you’re not surrounded. Try raking the vehicle just as the foes disembark so you can take them down before they spread out; a grenade or IED works wonders here!
 Driving // Offensive: Riding Over in the Bike You Brought
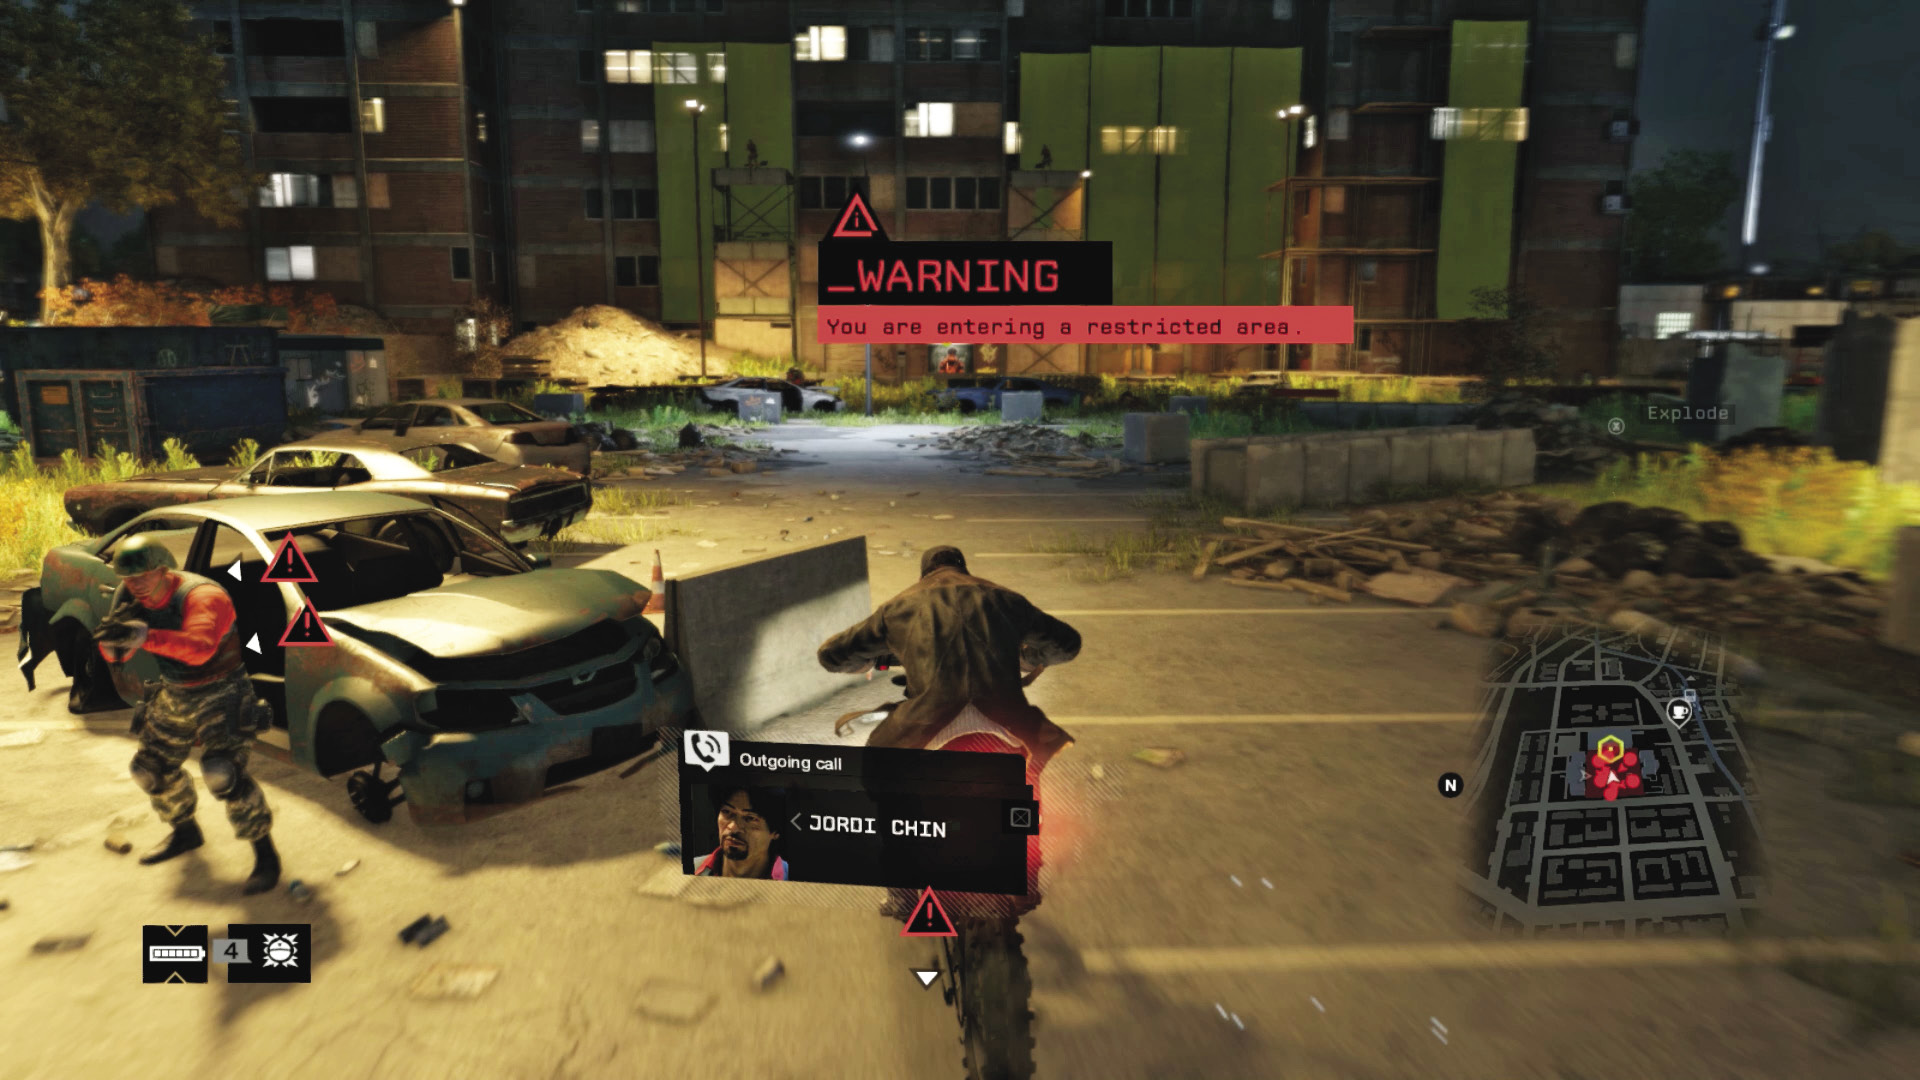
Difficulty: 
Ready to run the gauntlet again? Accelerate straight through the western parking lot, aiming at the far (east) door. Reach there just as the Viceroys realize what’s going on. Then exit your bike, drop behind cover, wait for T-Bone to call you and let you in, and flee inside before you’re murdered!
Blackout Insertion is Sought
When you reach the waypoint at the main door of the east tenement block, T-Bone calls and lets you know of a way to hack in. Bring up your Blackout on your Weapon Wheel and trigger it. During the darkness, T-Bone unlocks the door, allowing access inside.
|
|
 Reach Iraq’s server room
 Download the server data
6.2 IRAQ’S MILITARY COMPLEX
 Location / The Wards // Rossi-Fremont Tenements
 Infiltration
 Data Hack
 Lethal Force Likely
Difficulty: 
Overview
 Completion Point: Server room, penthouse level of the tenement block
 Dangers: Approximately 25 Viceroys throughout the building, most with machine guns and body armor.
Area 1: Foyer and Elevator
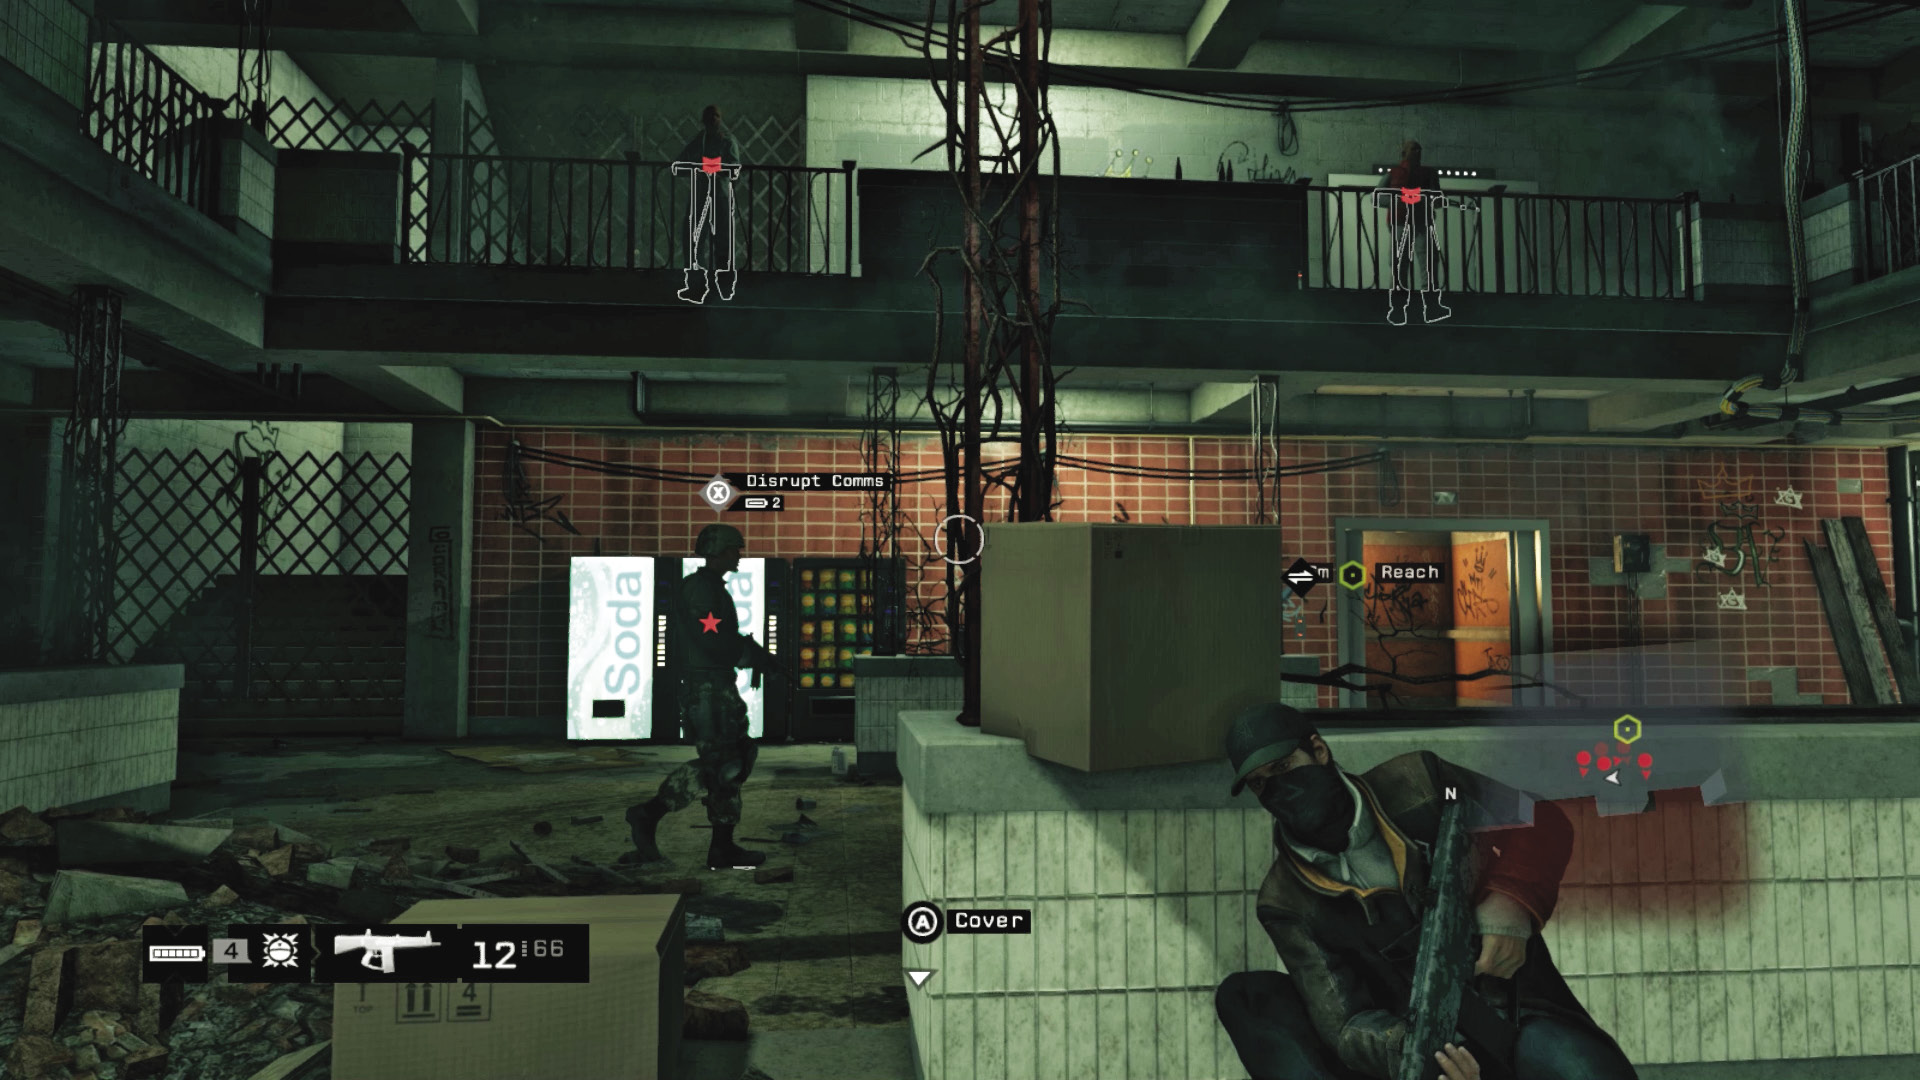
Dangers: Two foes (Veteran x2) on the upper balcony. Three coming from the elevator (Elite x3).
Enter the entrance T-Bone opens for you, and wait a second for him to unlock the door to the interior. Head into the foyer. Scoot to the concrete planters and wait for foes to poke their heads out from the balcony above. Drop them. Lob a grenade at the opening elevator, rake it with automatic gunfire, or explode the junction box near it. Or, close the elevator and send it back up before they disembark to give you more time with the balcony foes.
Area 2: Crumbling Balconies
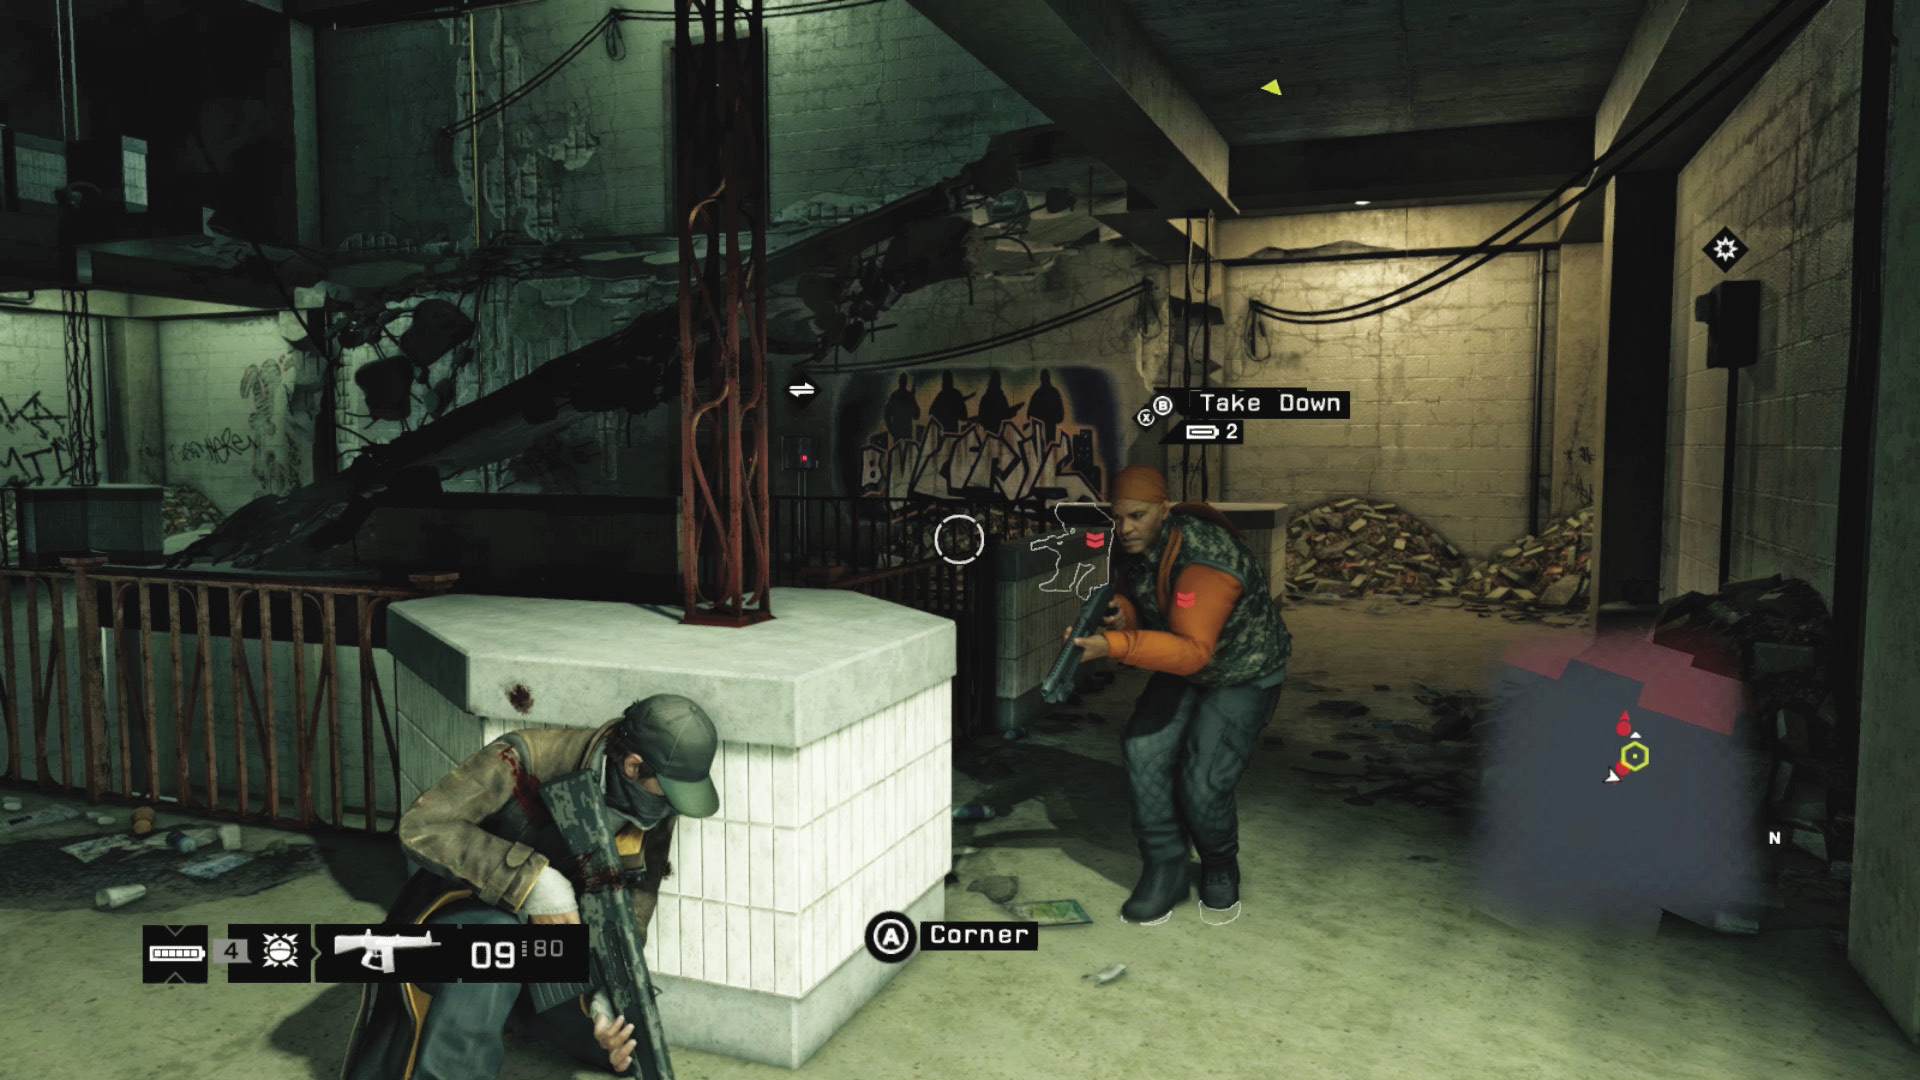
Dangers: Three foes on the balcony (Veteran x2, Elite x1).
Activate the elevator, ignore Iraq’s taunts, and drop to the balcony in front and left to avoid the incoming fire. Quickly drop the foe and dive left before a second foe on your right offs you. Slay the foe on the balcony near the elevator and the one on the opposite balcony, or explode the junction box, sending the third foe tumbling down to the foyer (as there’s a canister that strengthens the explosion).
Areas 2 and 3: Weapons Storage and Upper Balcony and Corridor
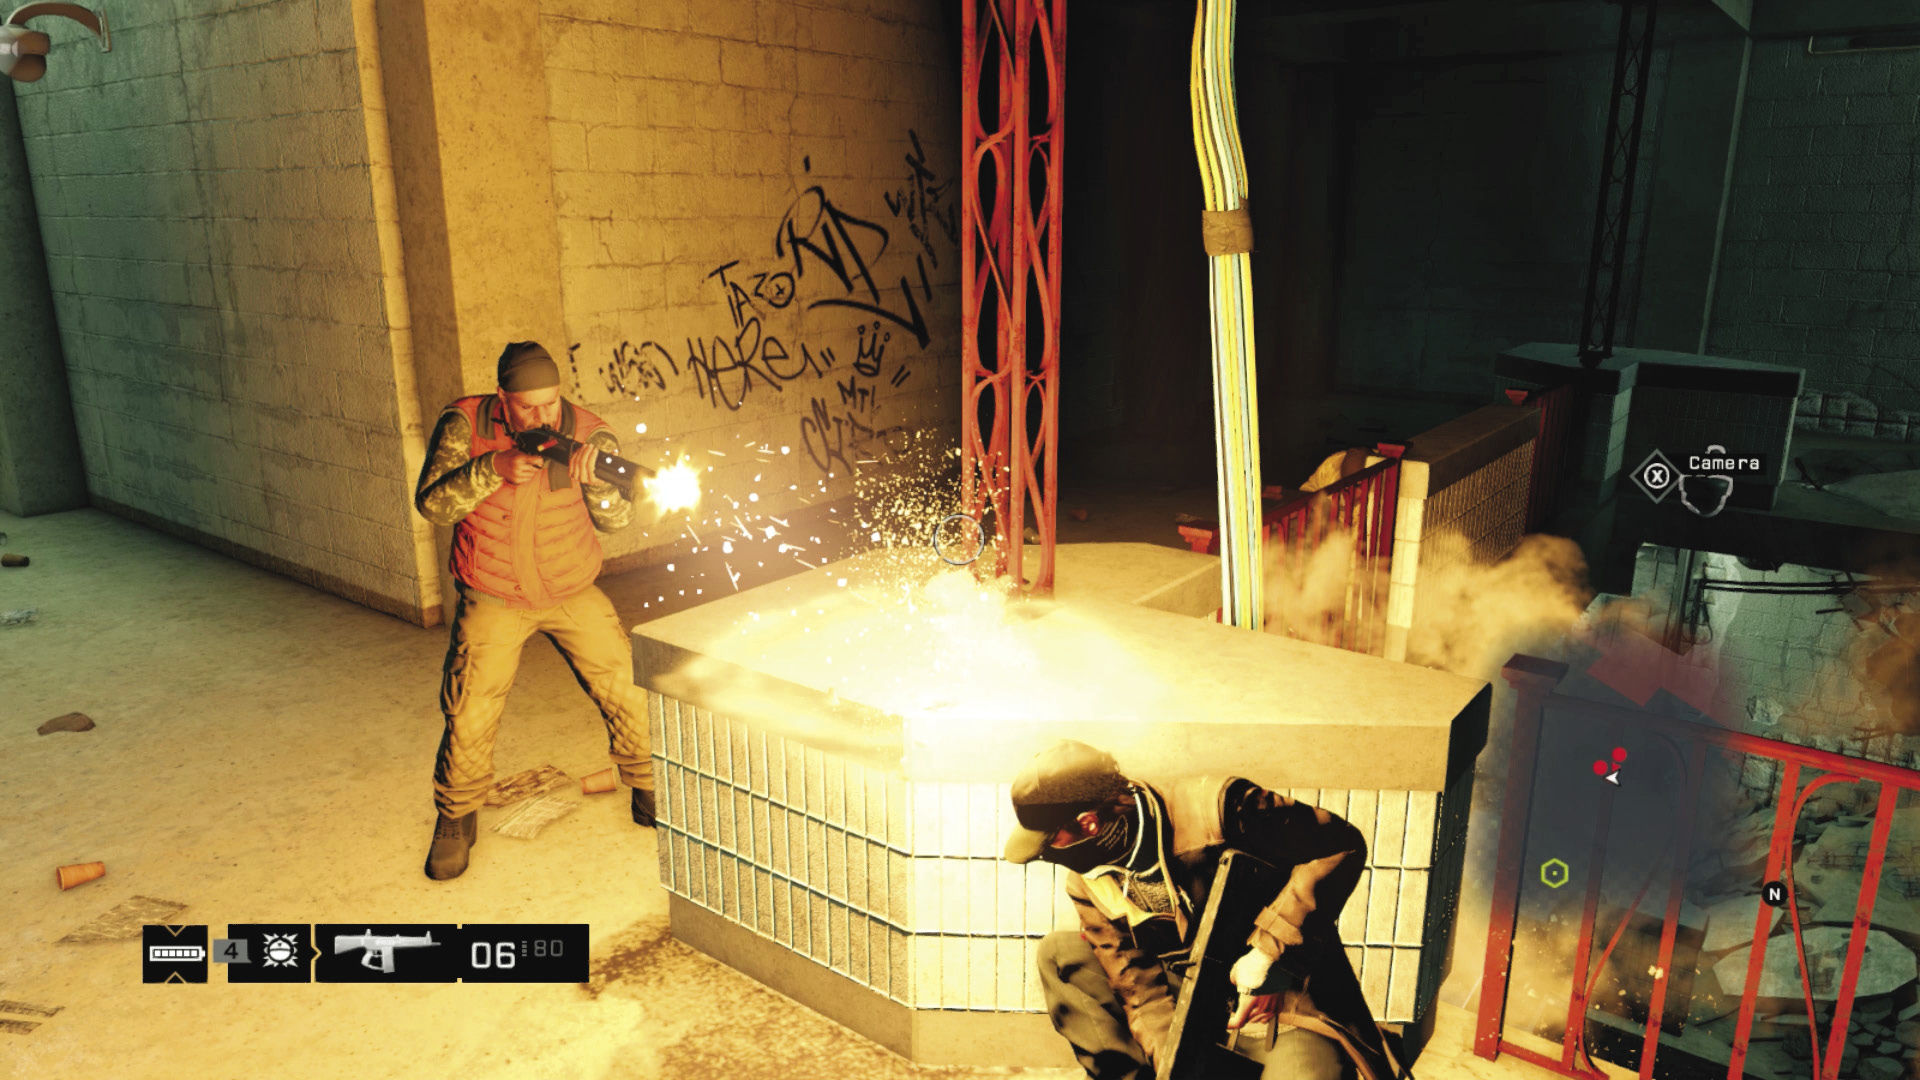
Dangers: Two foes on the upper balcony (Veteran x2).
Don’t head up the ruined balcony ramp yet; grab any ammo and then move to the area underneath it, with a lock to hack. This leads to a wealth of weaponry, including ammo, an ammo bag, and an Audio Log on a laptop. Collect what you need, then head up to the waypoint on the next floor. Head past the closed elevator, make a left, and reach the doorway with the waypoint. Then move to the top of the balcony, grabbing two grenades and removing two more Viceroy threats on this upper floor.

Area 4: Ruined Rooms and Arcade
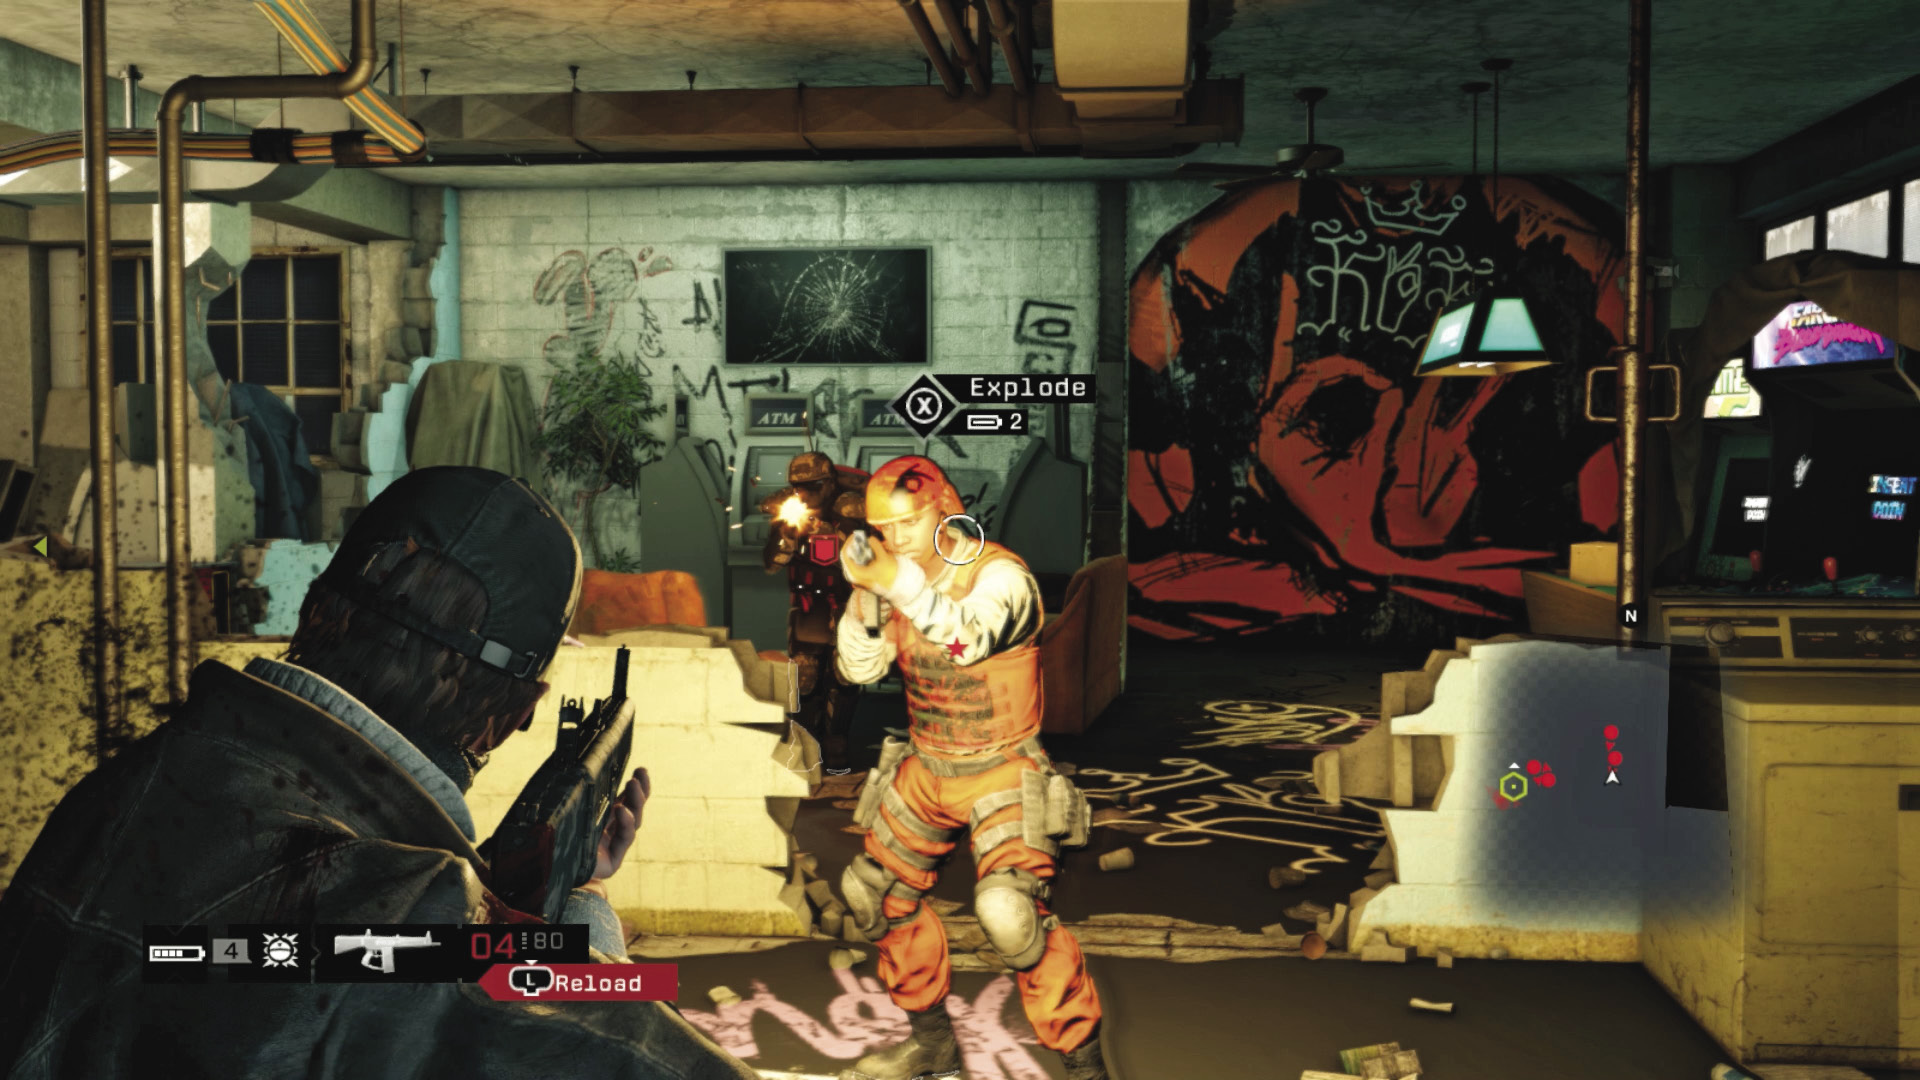
Dangers: Two foes in the arcade area (Elite x1, Enforcer x1), two in the ATM room (Elite x2).
Work through the ruined walls, unlocking the door at the far end and hacking the phone on the leather chair before you head through (for an Audio Log). Step into the small connecting corridor and into the arcade. Stay at the hole in the wall, at the entrance. Use the cameras to mark all three foes (one in the secondary part of the chamber). Drop the two by the arcades from cover, using grenades to defeat the Enforcer if possible (or lure him near the junction box). Head across to the pool table light and drop behind cover. When a third foe runs out, drop him. Then return fire until the fourth is dropped, or advance in cover and use melee takedowns. Then gather a ctOS scan (handy soon!) and search the two chambers for dropped items.

Area 5: Narcotics Storage
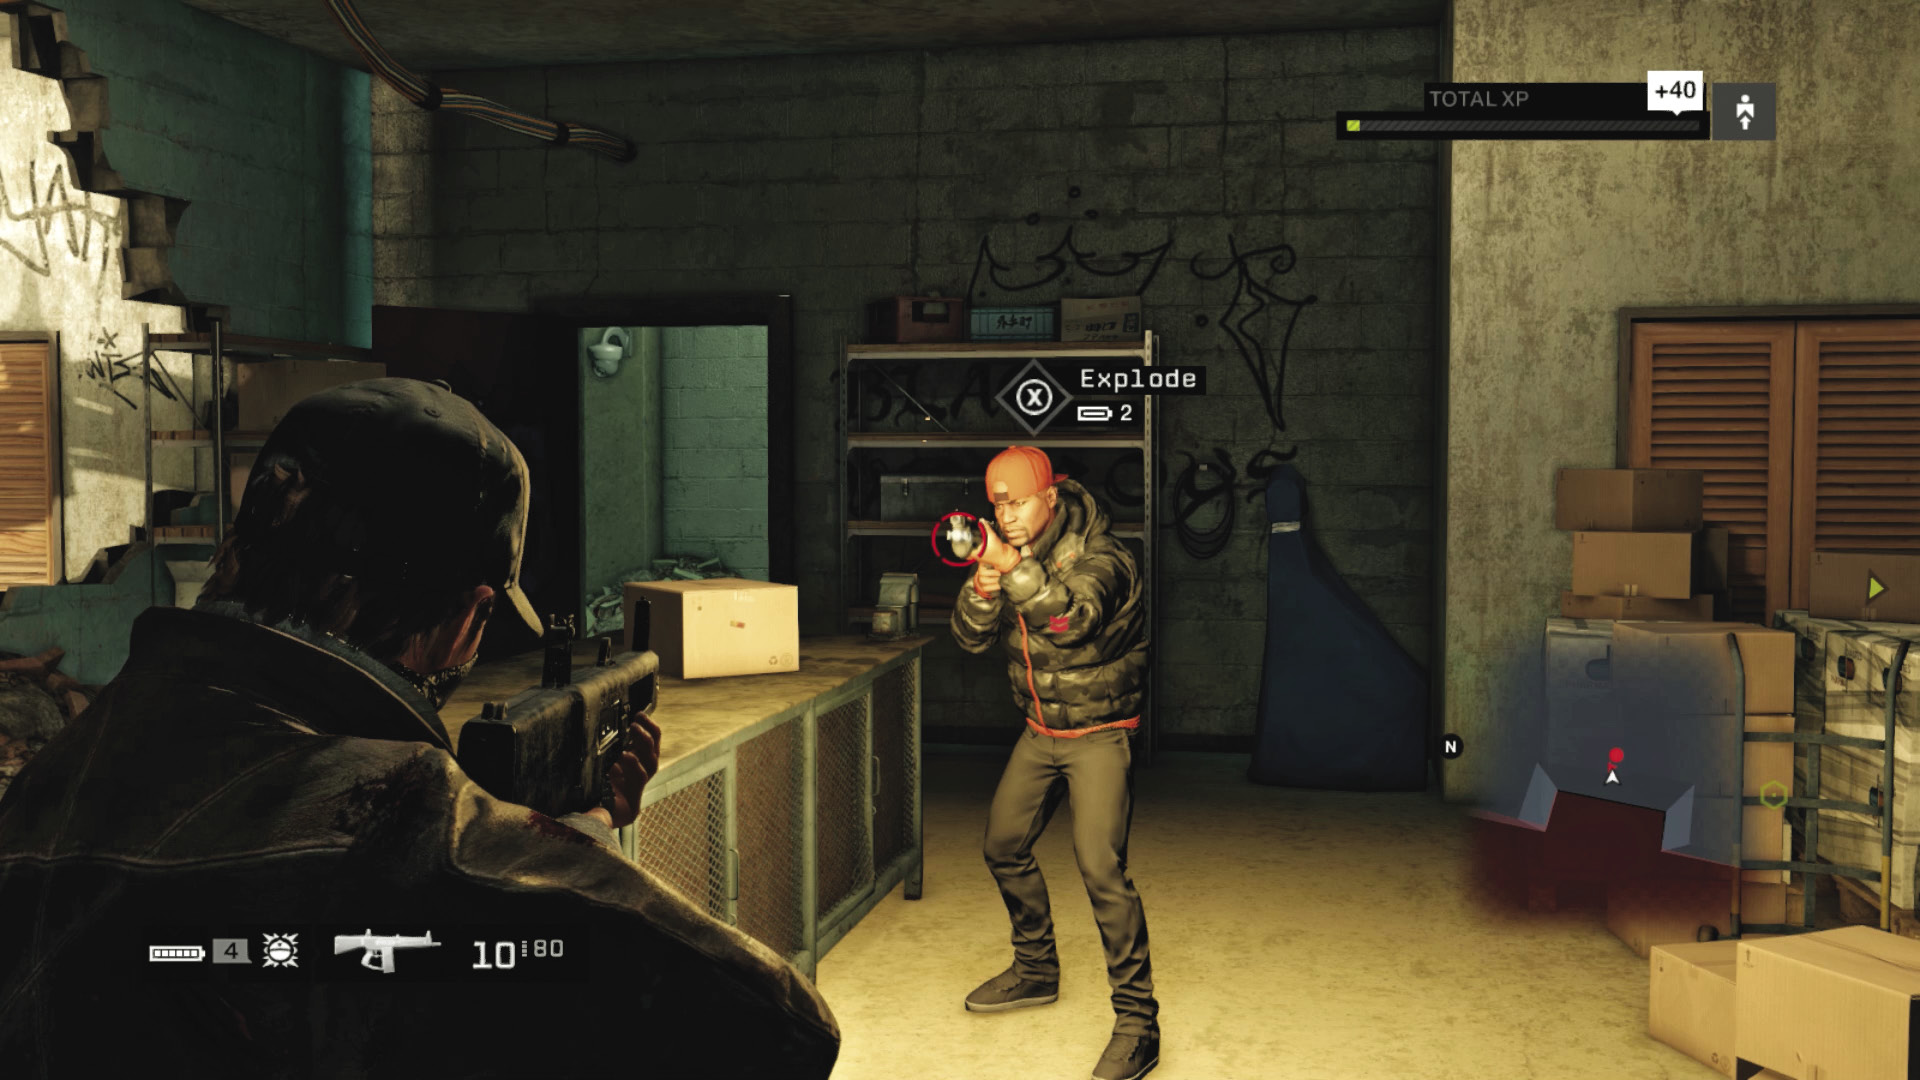
Dangers: Two foes in the room (Veteran x2).
Climb the ladder from the ATM room and immediately drop to cover at the ruined concrete wall. Watch out; you can’t hide behind the low concrete area. Two foes are tricky to coax out, but a grenade does the trick, as does hiding behind the table and gunning them down from close cover.
Area 6: Three-Passage Corridor
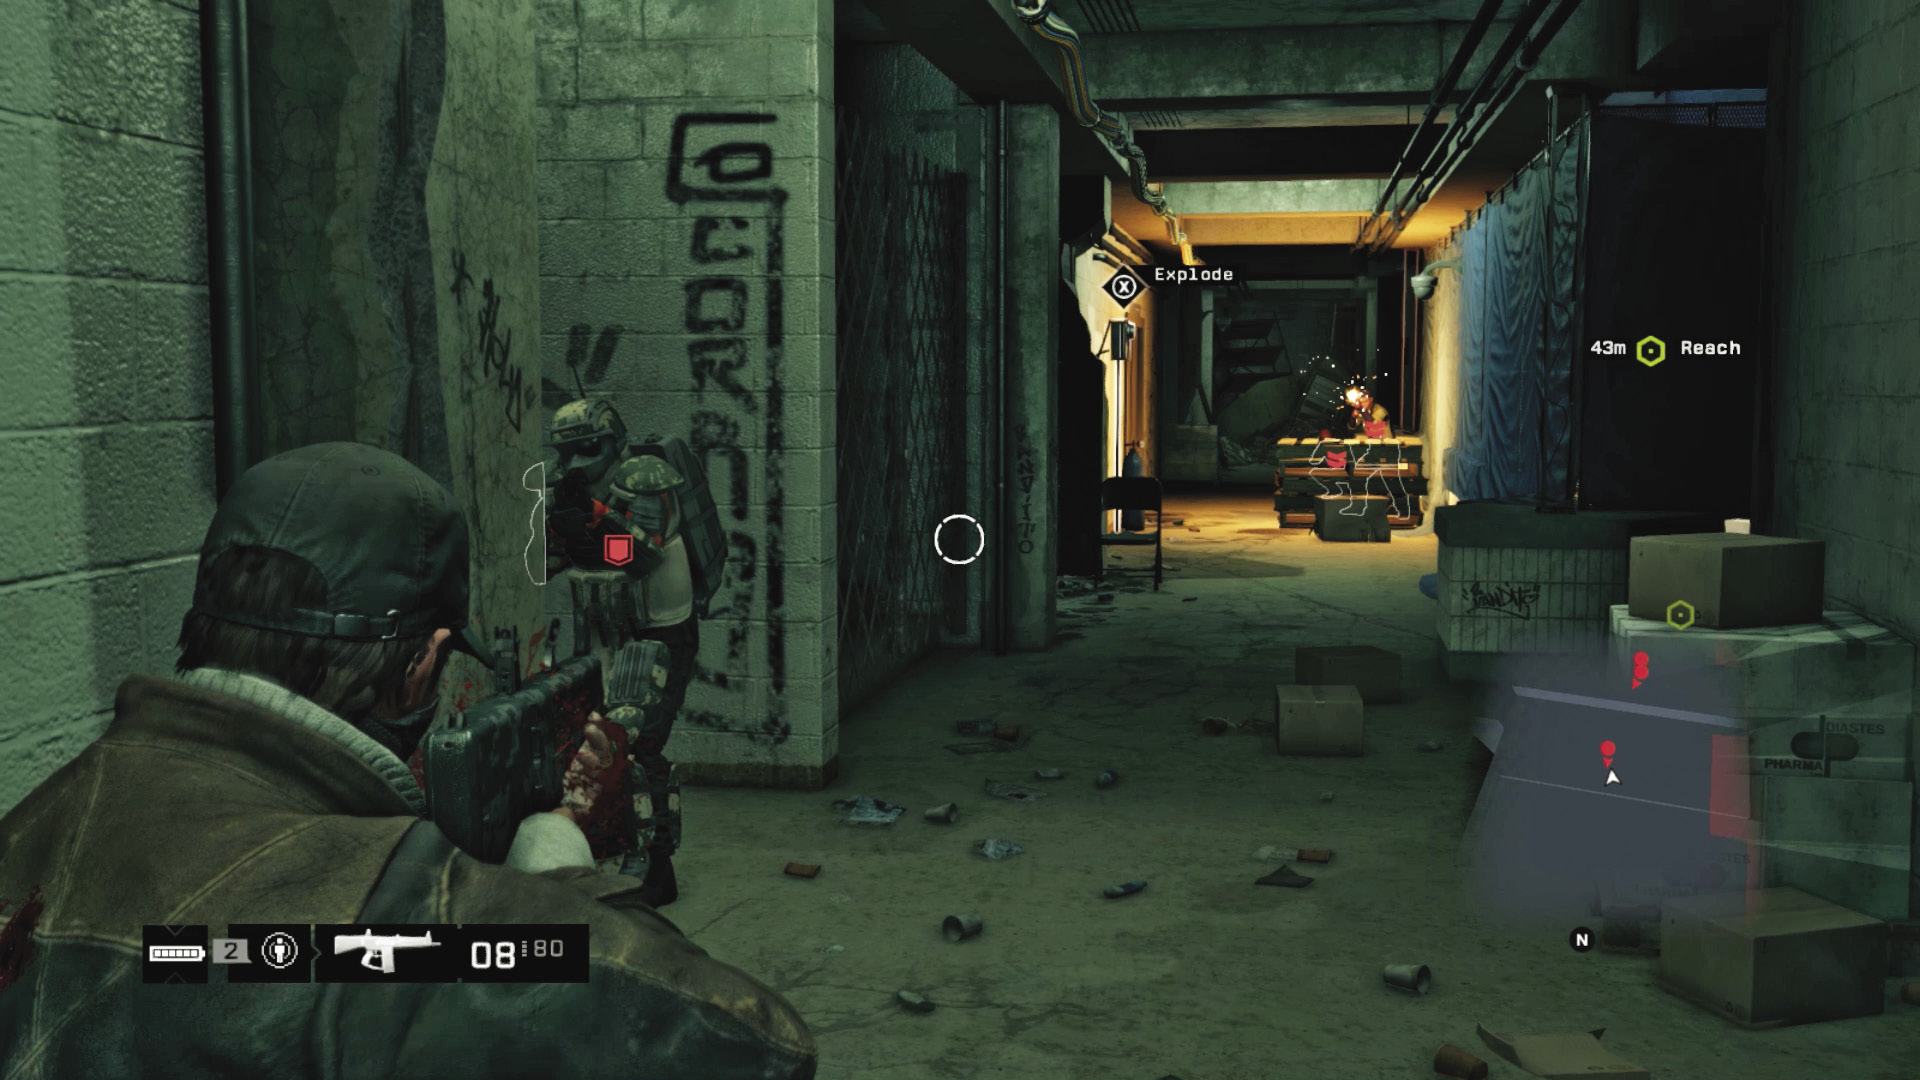
Dangers: Two foes in the corridor and four more from the side passages (Veteran x5, Enforcer x1).
Before stepping into the main corridor, use the camera (or a ctOS scan) to tag the two hiding foes. Kill the Enforcer with a junction box and grenades lobbed down the main corridor. Then attempt one of the following:
Charge down and melee-strike the remaining foes behind the pallets, passing the ambush from the side corridors. Drop into cover, then turn and finish the foes.
Sidestep into either of the side corridors; the one on the left leads to a connecting room with more space to move. Wait for two more foes (a total of six in this area) to appear inside each side corridor, and blast them. Then sweep for stragglers.
Area 7: Derelict Apartments
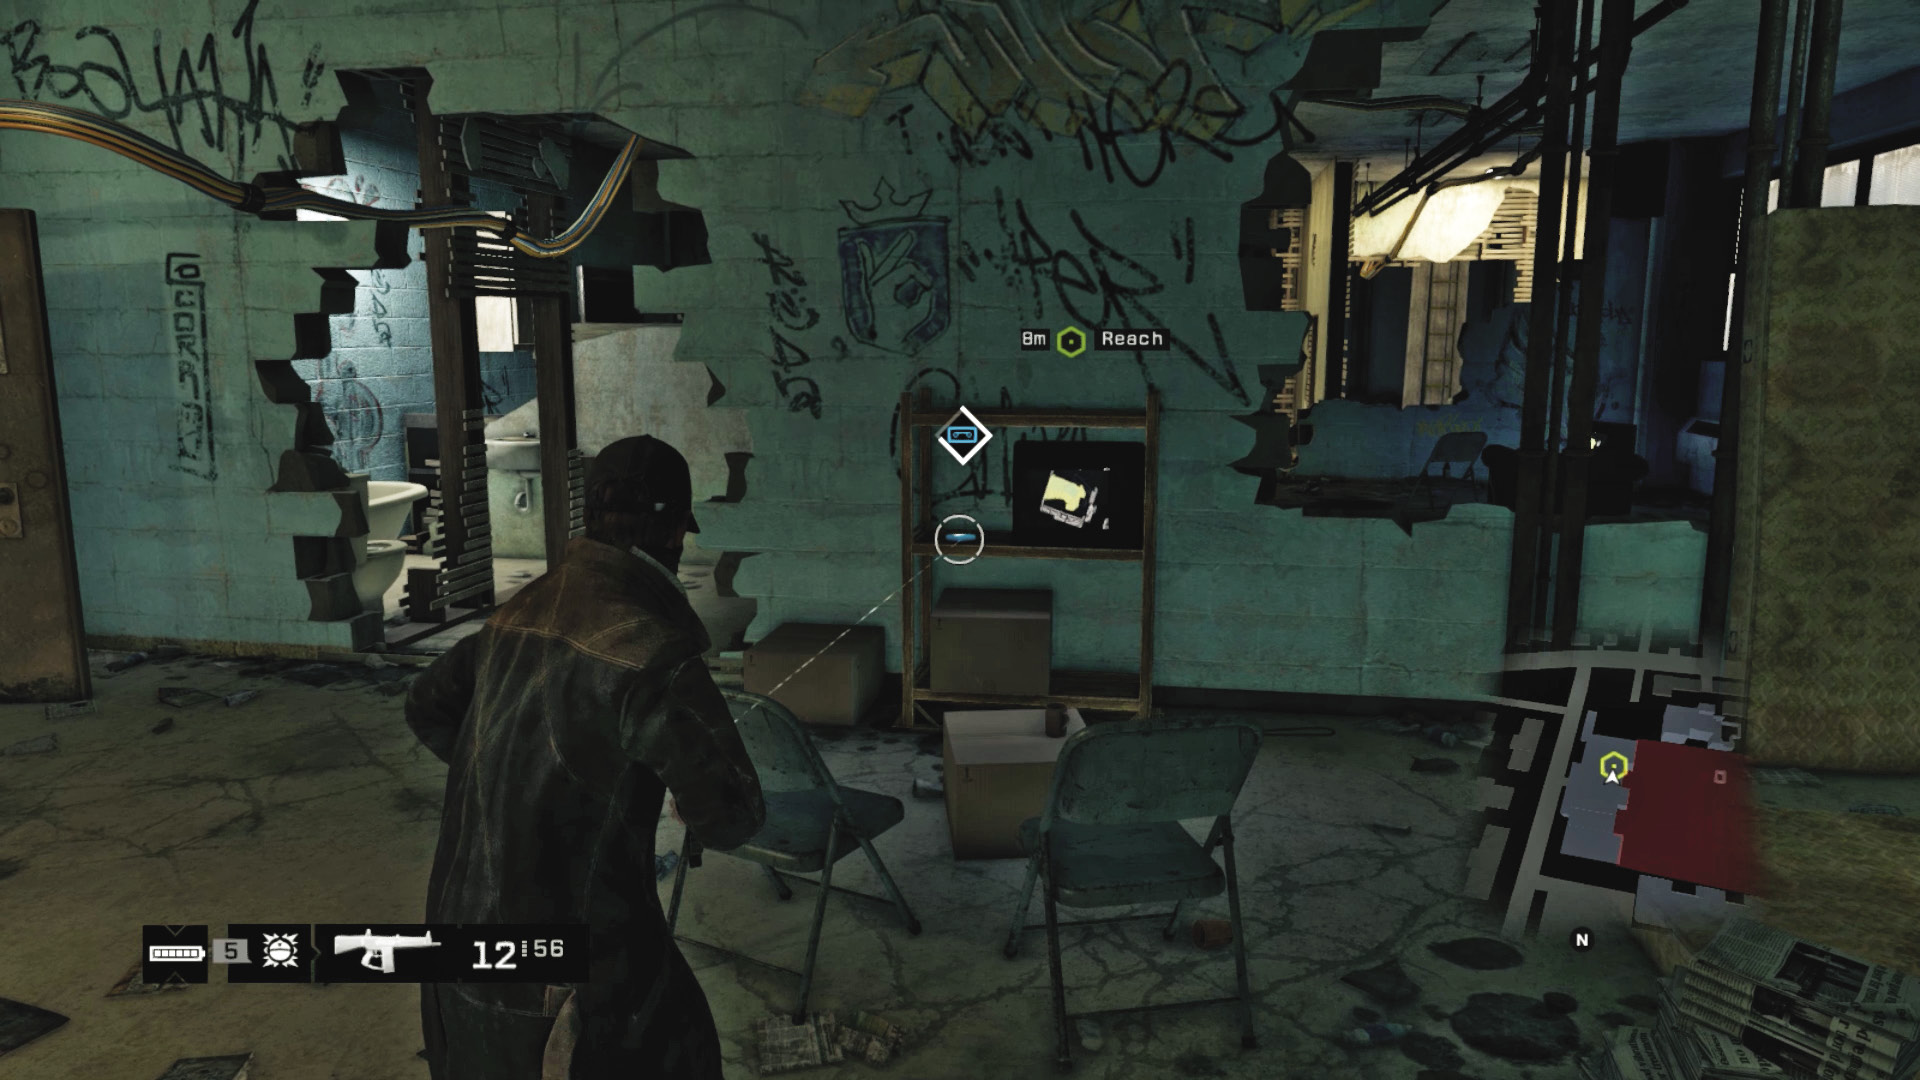
Dangers: None.
Though there’s movement and enemies above you, only Iraq’s taunts are problematic to your mental state as you weave through the ruined rooms (check shelving for a phone with an Audio Log on it). Head for the light of a bathroom ahead and right (check the waypoint on your map). Climb the ladders in the blue-lit shaft. This is a great time to utilize a ctOS scan and locate the foes on the floor you’re climbing to.

Area 8: Viceroy Pharmacy Distribution
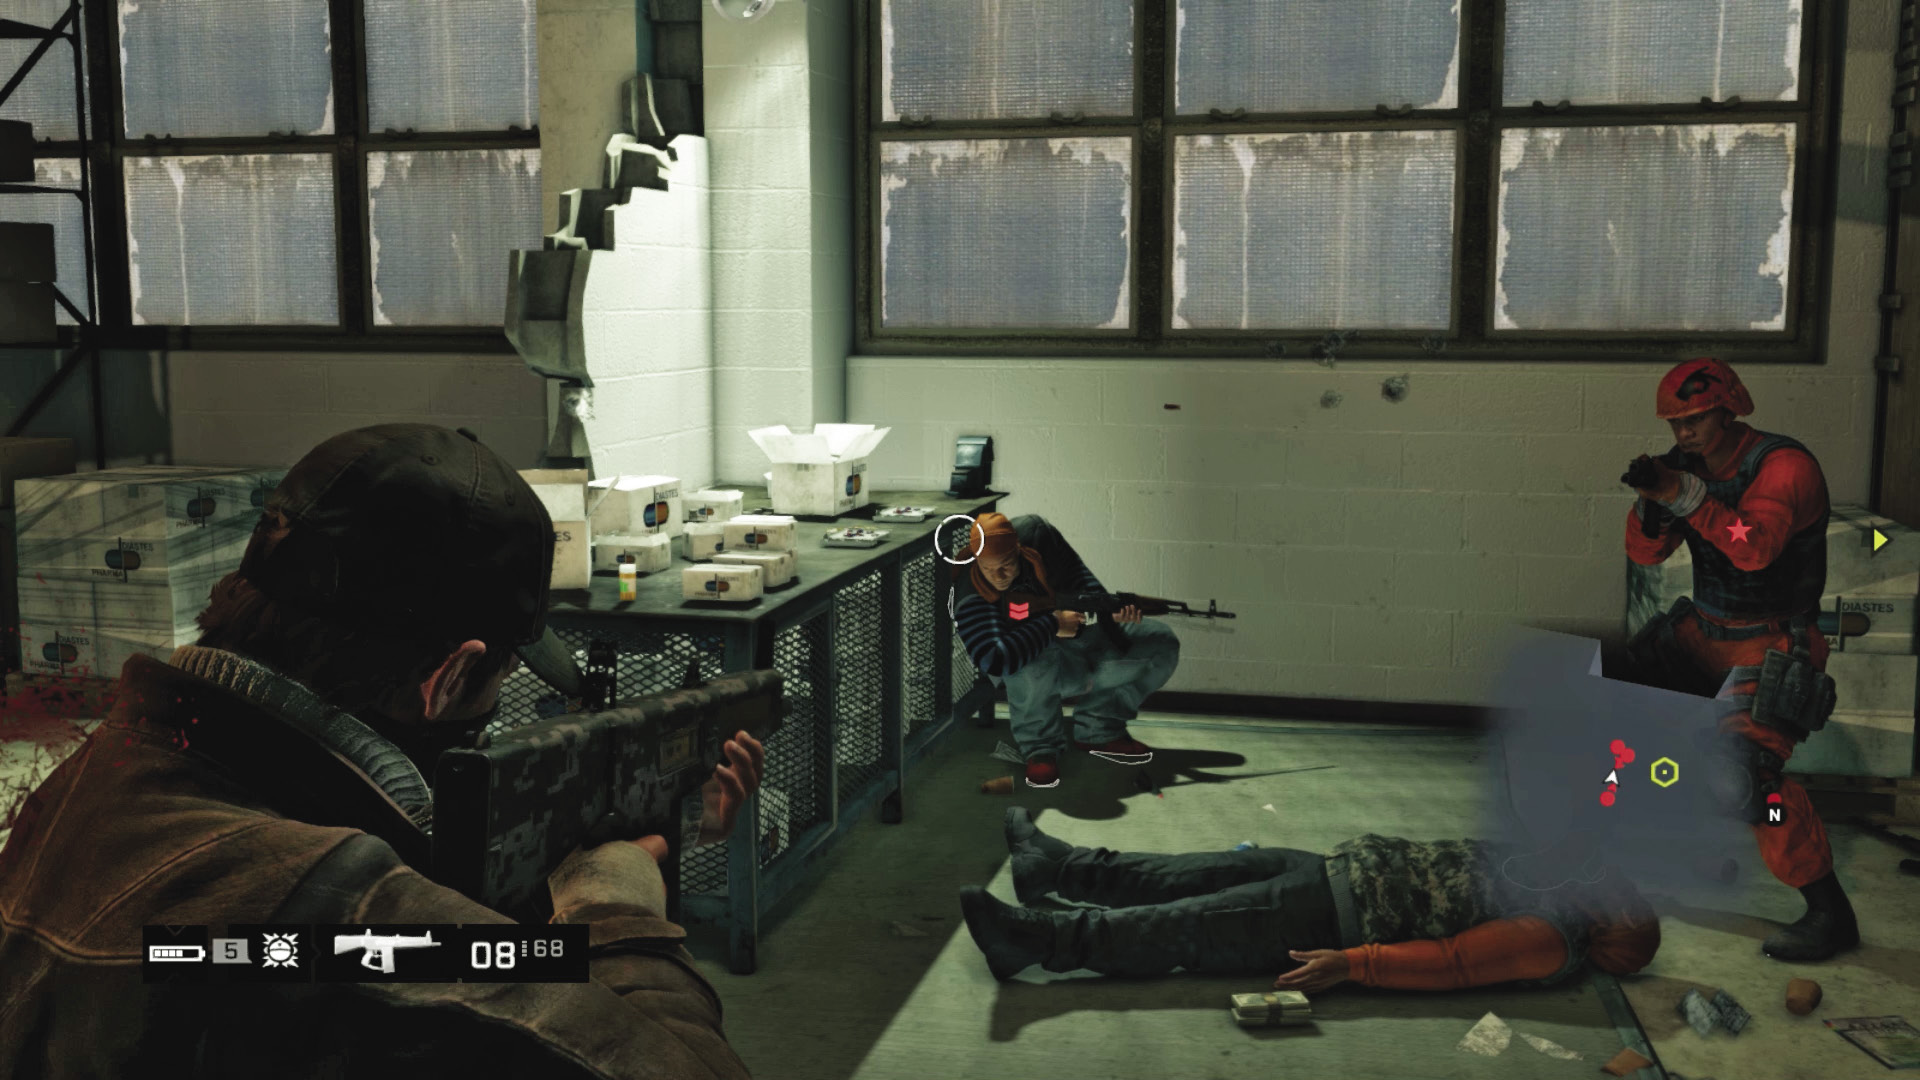
Dangers: Six foes in the main area (Veteran x5, Elite x1), one or two more incoming from the far corridor.
Quickly drop into cover and scan through the cameras, tagging the four foes in the room with the boxes of pills. There are two junction boxes; explode the rear one to flush out a hiding foe, then use the other one as you start a gun battle. A grenade or other projectile is a good choice here. Move methodically from cover to cover, watching for additional foes in the corridor ahead. Before you reach the waypoint, grab any meds you wish.
Area 9: Corridor and Shutter Room
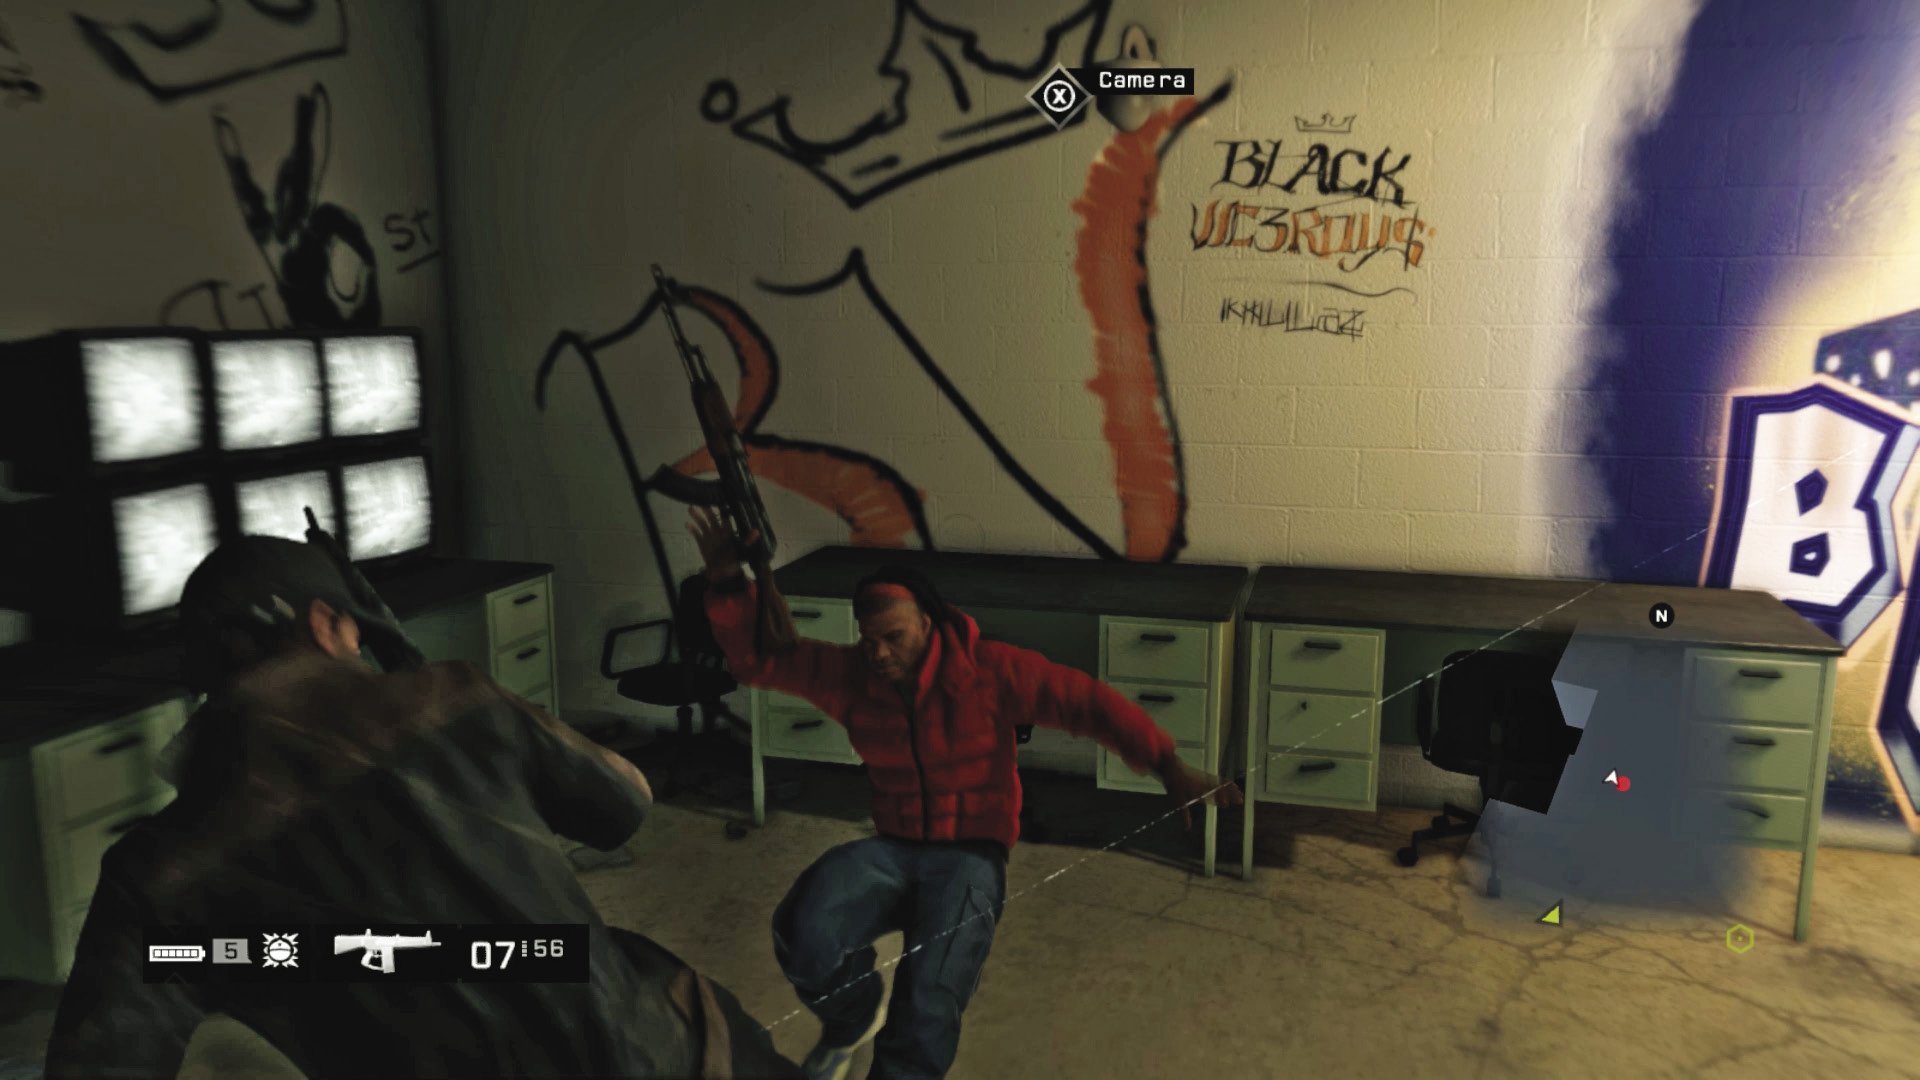
Dangers: A foe (Veteran) in the shutter room.
Have a little fun here after dropping to the cover position at the dark corridor entrance. Unlock the door to the side, then scan through the cameras and into the shutter room. You can activate the shutter, forcing the foe to move around into the corridor and your firing line. You can also wound him with a junction box explosion. Otherwise, it’s slightly more difficult to bring down the foe behind cover (unless you can lob in a grenade, of course).
Area 10: Viceroy Safe Room
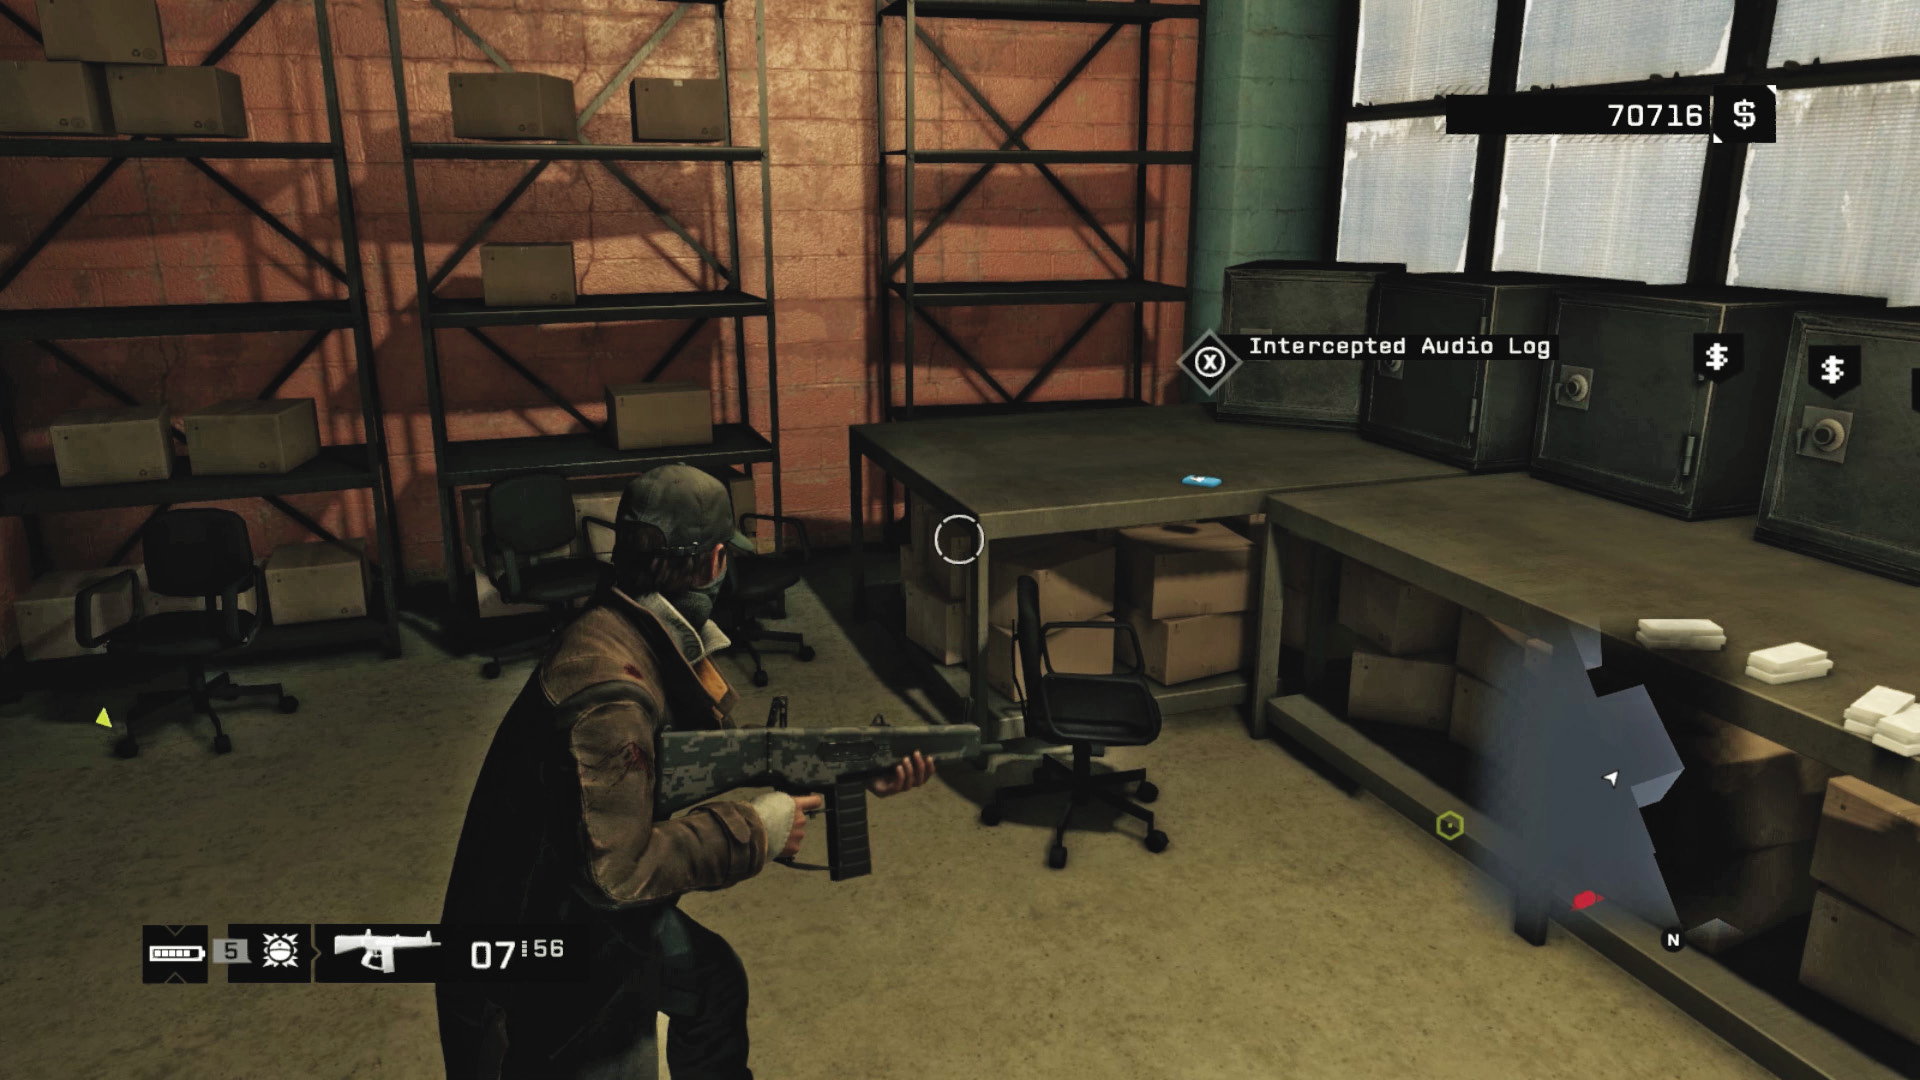
Dangers: None.
Wait! Be sure you’ve unlocked the door in the dark corridor before the shutter room, so you can access it and rob the Viceroys of a serious amount of cash, a crafting item, and another Audio Log!

Area 11: Inner Sanctum and Server Room
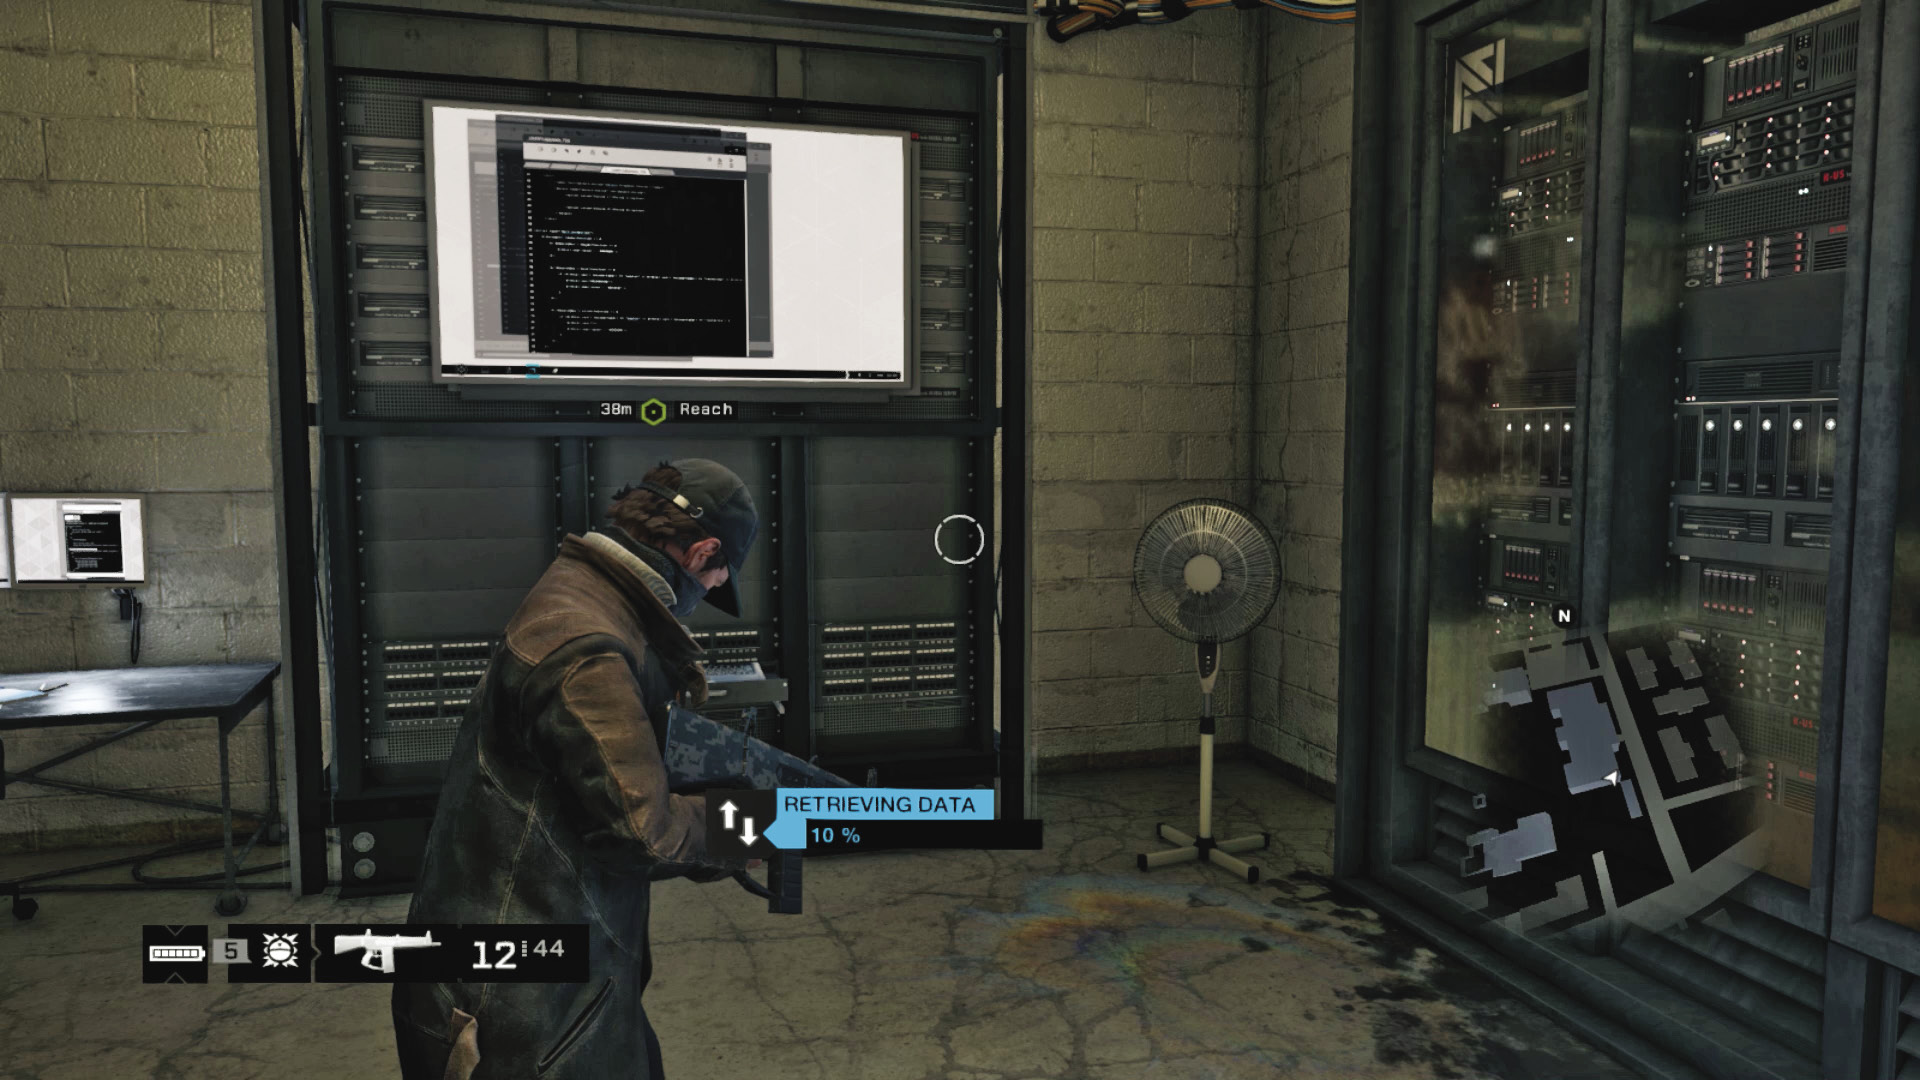
Dangers: None.
Unlock the door you watched Iraq exit during Mission: Grandma’s Bulldog, and move into his inner sanctum. Move through the empty rooms, unlocking a door to a waypoint. Unlock a second door, and you finally reach the server room. Head behind the front of the server and hack it. That’s the data you need! Now flee the way you came.
|
|
 Follow Iraq
 Take down Iraq
 Leave Rossi-Fremont
6.3 YOU THE SHIT RAINING DOWN ON ME?
 Location / The Wards // Rossi-Fremont Tenements
Infiltration
Data Hack
Lethal Force Likely
Difficulty: 
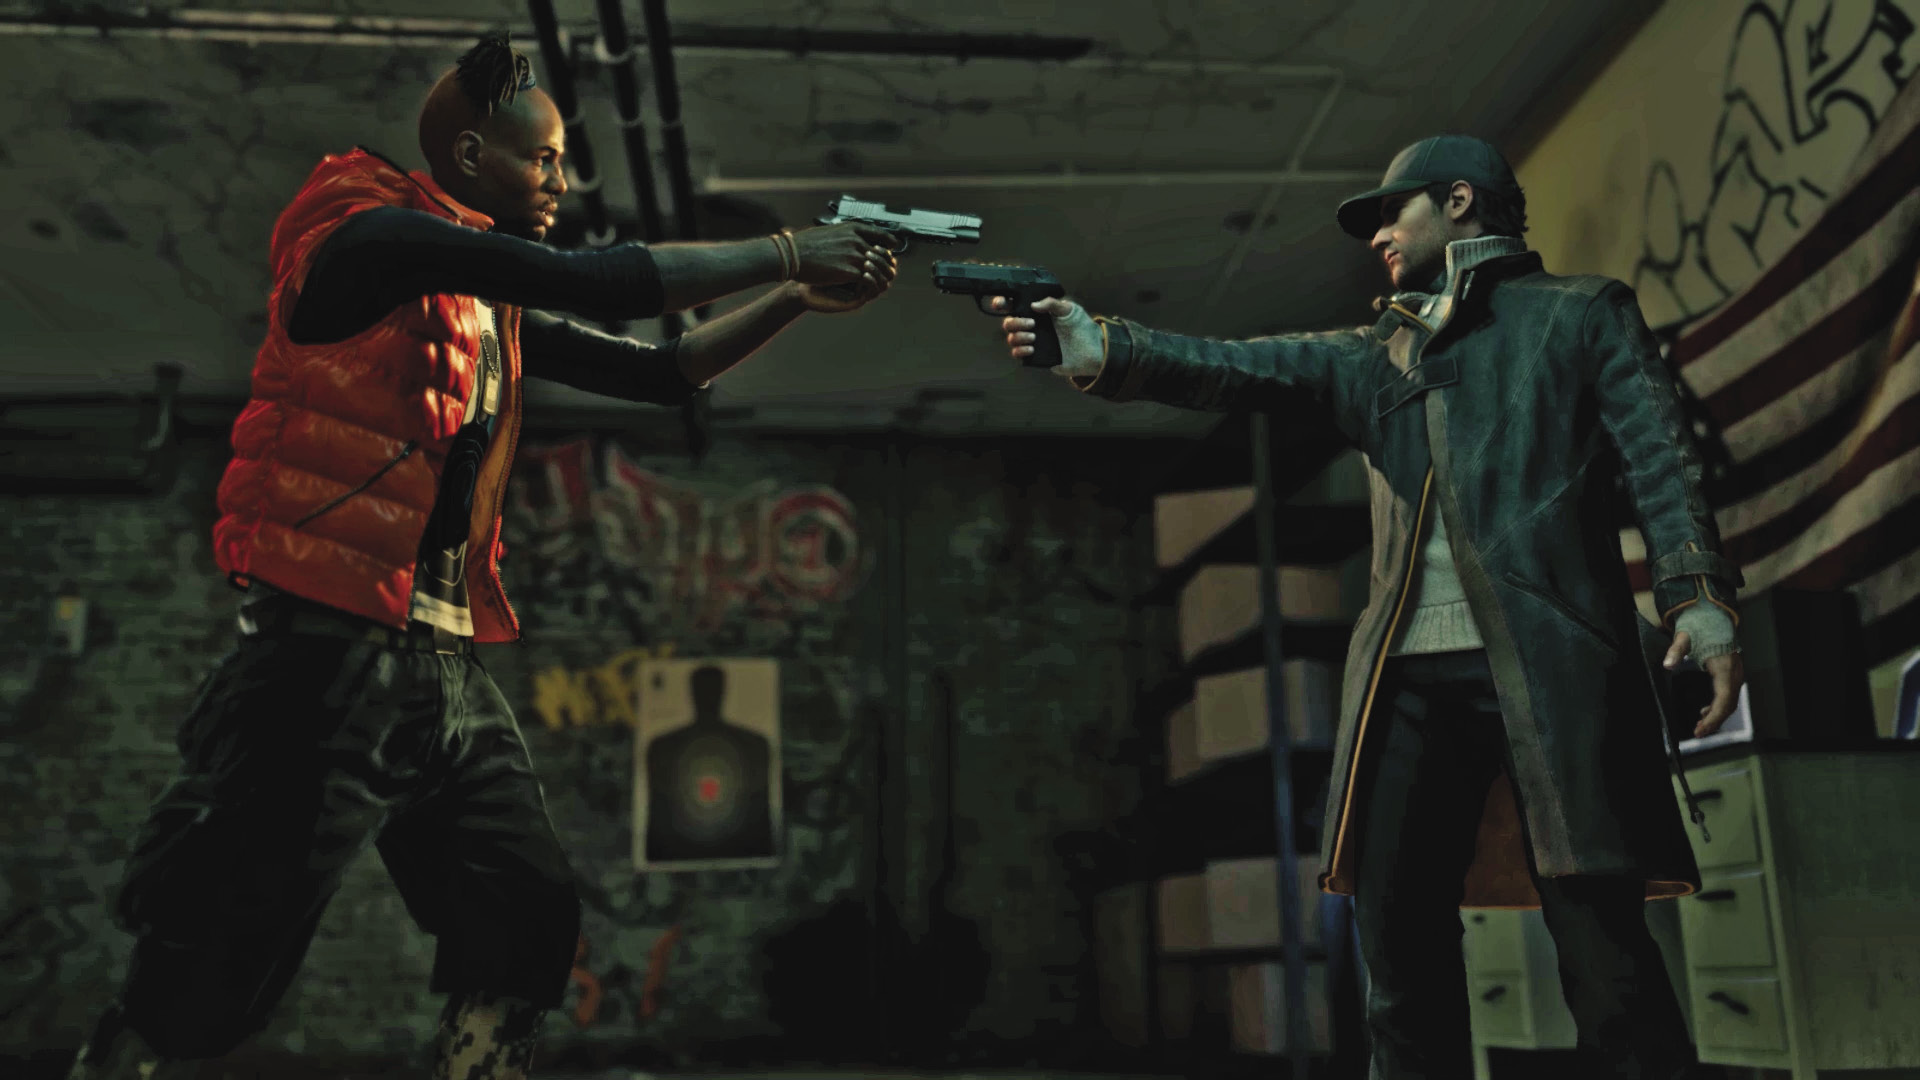
On your way back from the server, Iraq steps into view, brandishing a pistol and a few choice questions for you. Revelations are uncovered, though Iraq hasn’t acquired the full picture. He will soon, but a lackey interrupts the face-off, allowing Iraq to flee to the rooftop.
Follow Iraq through the smoke, and drop down onto the rooftop. Let’s not fall to our deaths, shall we? Instead, continue the conversation, cluing Iraq in on the stolen secrets and threatening his livelihood. During breaks in this conversation, you have some quality opponents to defeat.
Area 12: Rooftop
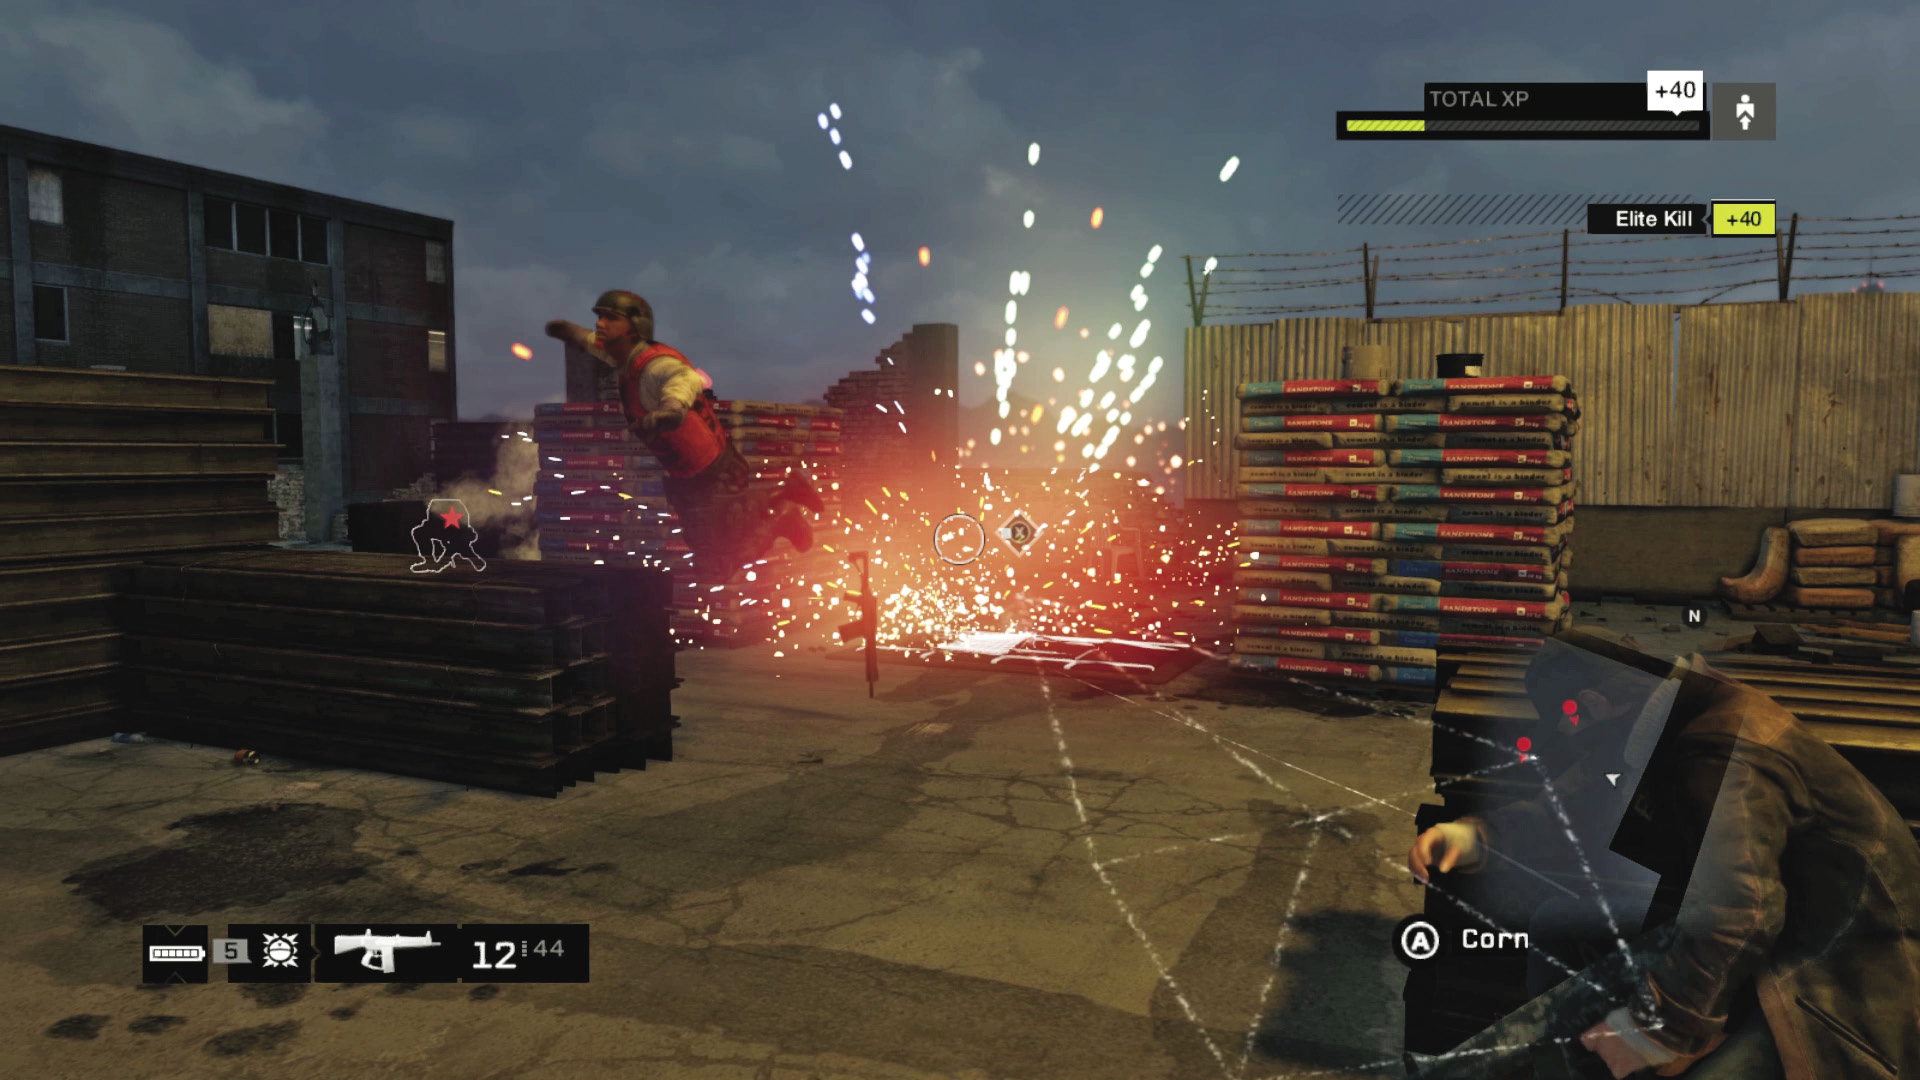
Dangers (First Wave): Elite x3
During the one-sided conversation with Iraq, scour the rooftop for a couple of IEDs (if you’re out of them), and resupply at the ammo bag by the waypoint. Once the chat concludes and enemies storm the rooftop, switch to an offensive posture. Start by tackling the three Elites he summons, beginning combat near the ammo bag, where there’s the most cover.
Save your projectiles and dart out, drop each Elite with headshots, and duck back into cover. Watch for incoming grenades, but don’t venture too far into the left (western) edge of the rooftops, as there’s poor cover. Blast foes, or rush and melee-kill them. Save the transformer vault explosions and projectile lobbing for future opponents if you can. And remember that you can hack two of these foes to stop them firing on you (so you can shoot or tackle them easily).
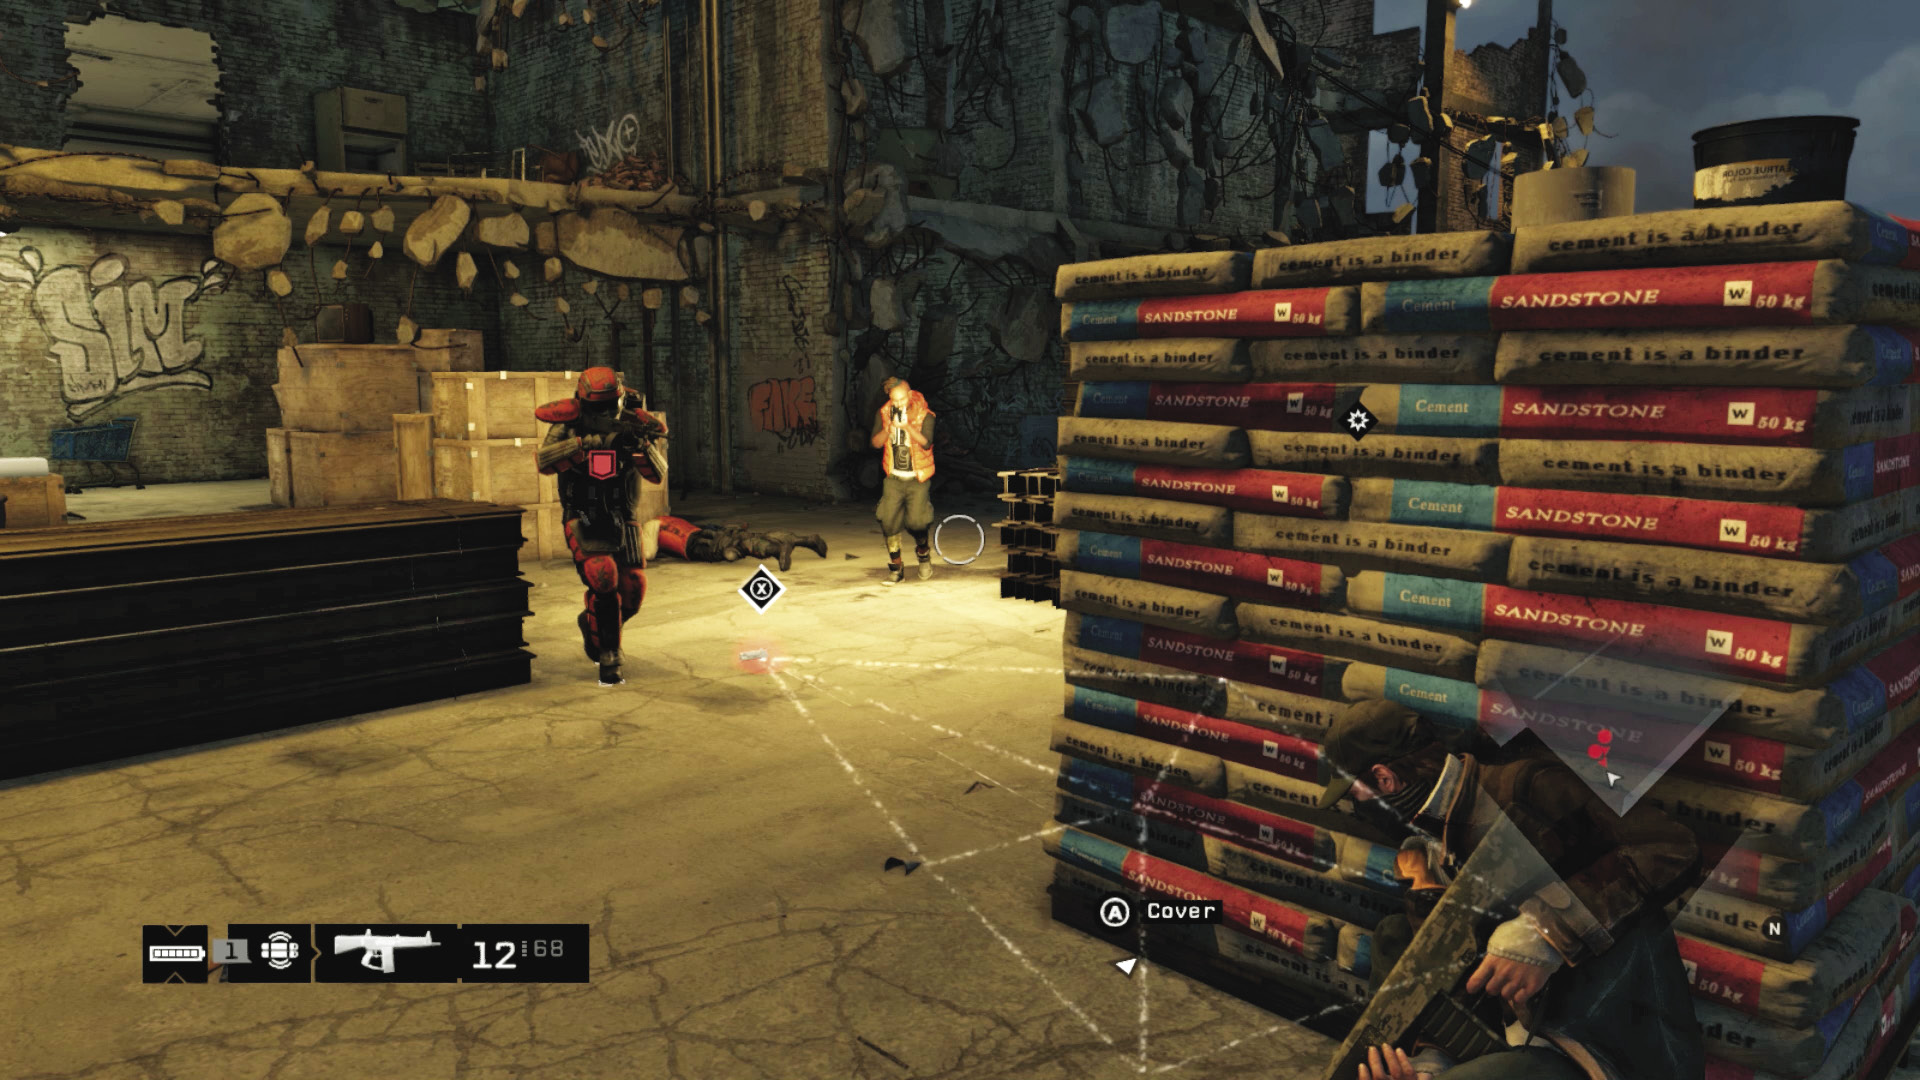
Dangers (Second Wave): Enforcer x1
An Enforcer appears from the west side of the rooftops. Now is the time to unleash your IEDs and any saved grenades and dive behind cover to coax the foe over a transformer vault. It takes two or three direct explosions or dozens of rounds of ammunition to fell this foe. When the Enforcer is wounded (but not dead), Iraq appears.
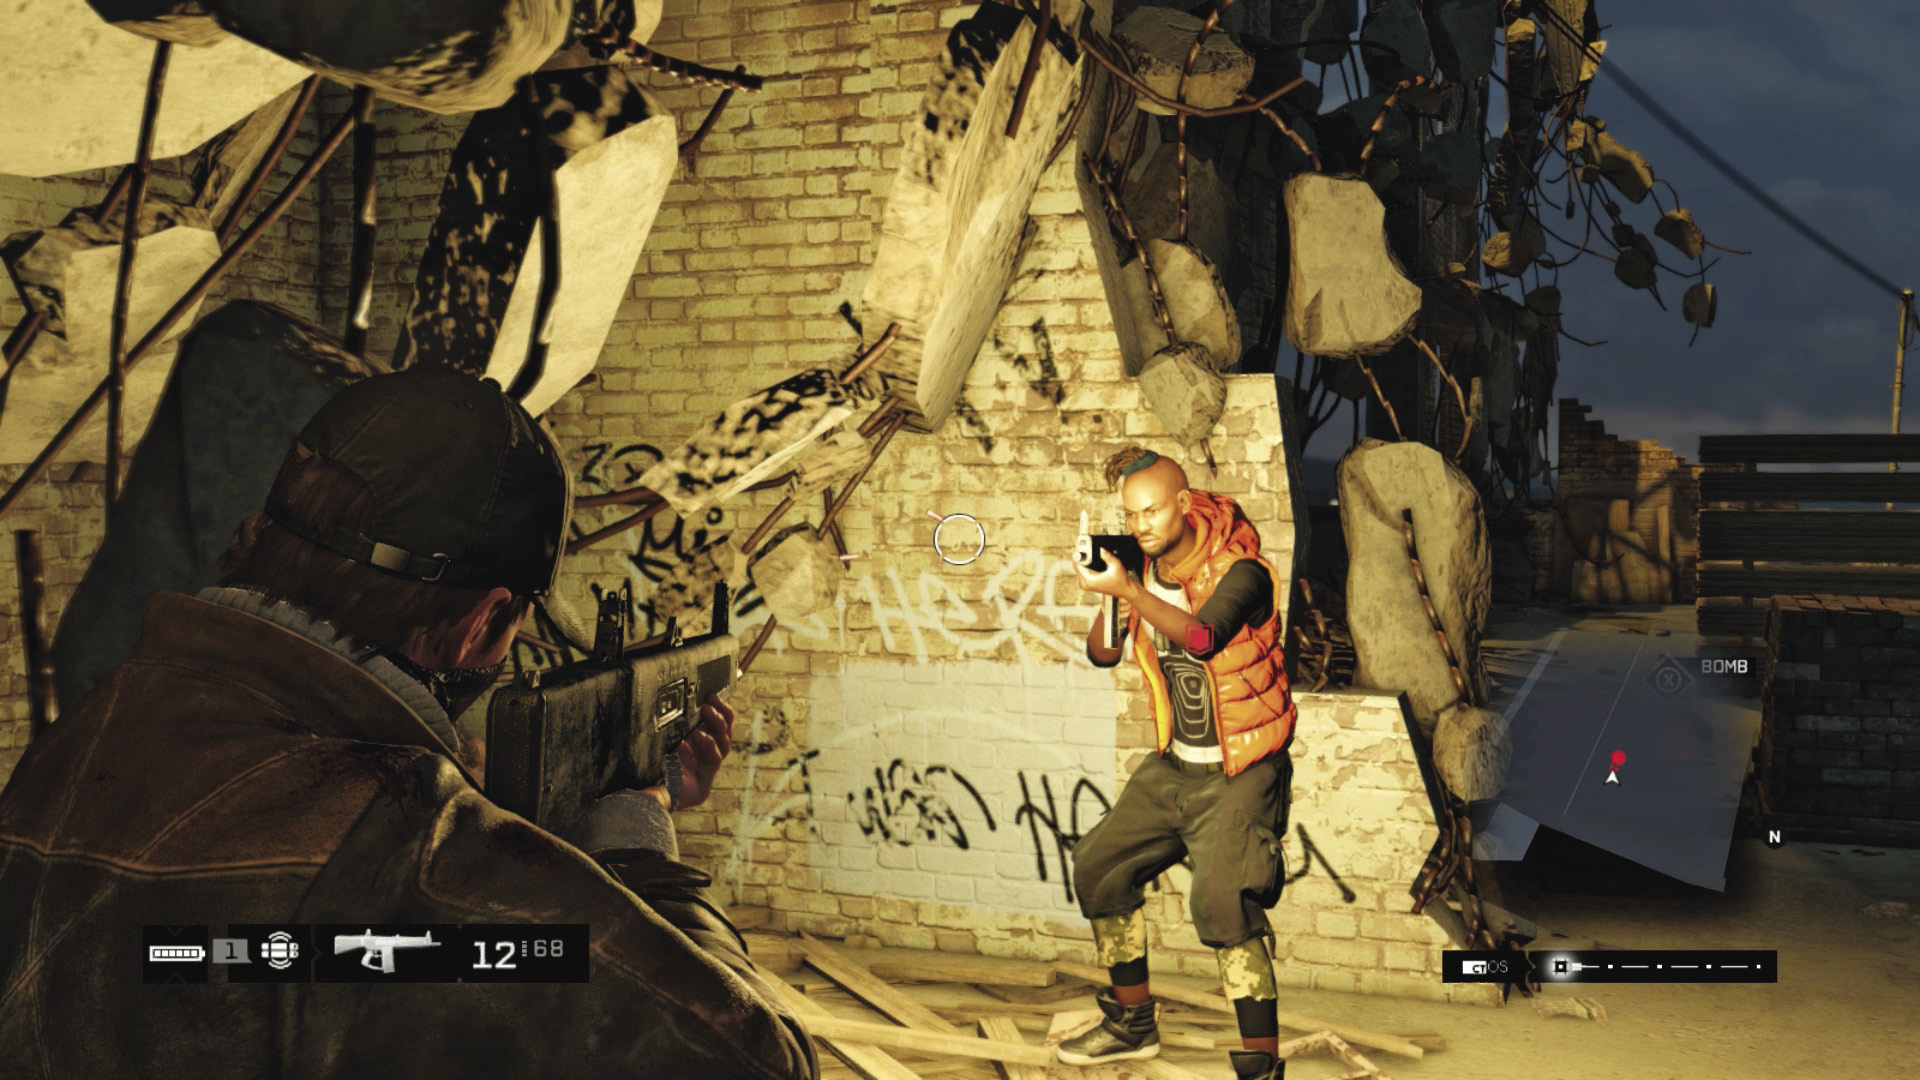
Dangers (Third Wave): Iraq
Treat Iraq as an Enforcer but with less armor; pepper him with shotgun blasts from cover, backing this up with grenades, IEDs, and transformer vault explosions until the Viceroys leader finally falls. You automatically leave the building, appearing in the yard where you started this carnage. Spend a few minutes gathering any crafting items you wish and the mission concludes.
MISSION REWARDSGained XP +2,000 Act III Complete: Family Man Achievement Awarded |