
Watch Dogs Guide MAIN MISSIONS MAIN MISSIONS /// ACT III
_FOR THE PORTFOLIO
OBJECTIVES
|
 Hurry to T-Bone’s junkyard
 Eliminate the militia
 Regroup with T-Bone
 Follow and defend T-Bone
 Defend T-Bone
 Regroup with T-Bone
 Eliminate the enemies to help T-Bone escape
 Regroup with T-Bone
 Follow T-Bone to the boat
 Escape Pawnee with T-Bone
MINOR SPOILER 
LOCATIONS // MAP
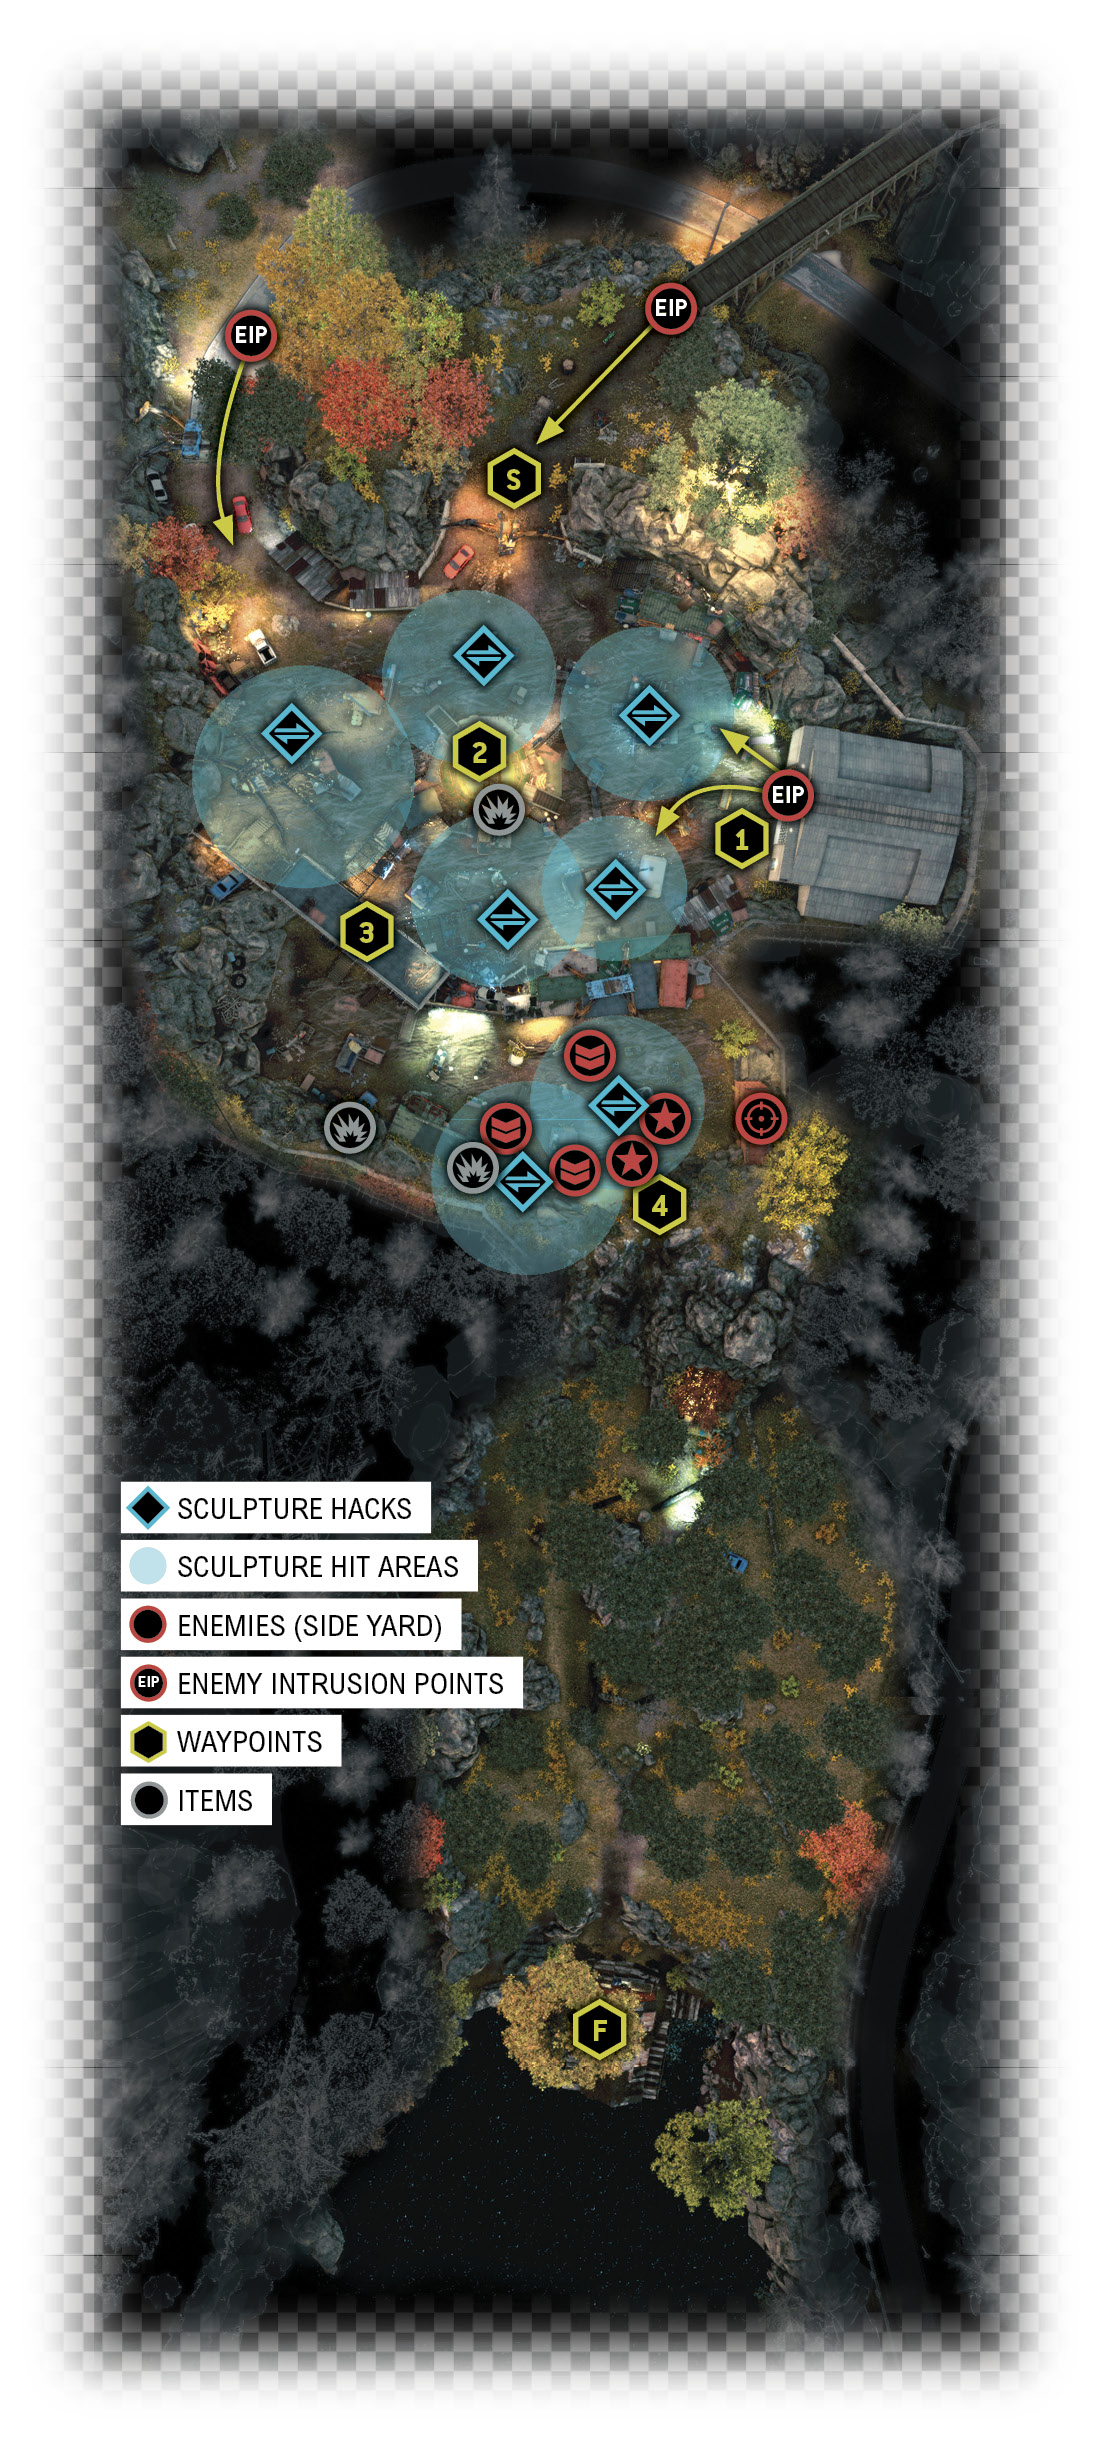
Location / The Loop // Junkyard, Side Junkyard, Woodland Path to Boat Shack
5.1 THIS AIN’T WHERE I WANT TO DIE, MAN!
|
|
 Hurry to T-Bone’s junkyard
 Location / Pawnee // Blume
 Location / Pawnee // Junkyard
 Driving Infiltration
Difficulty: 
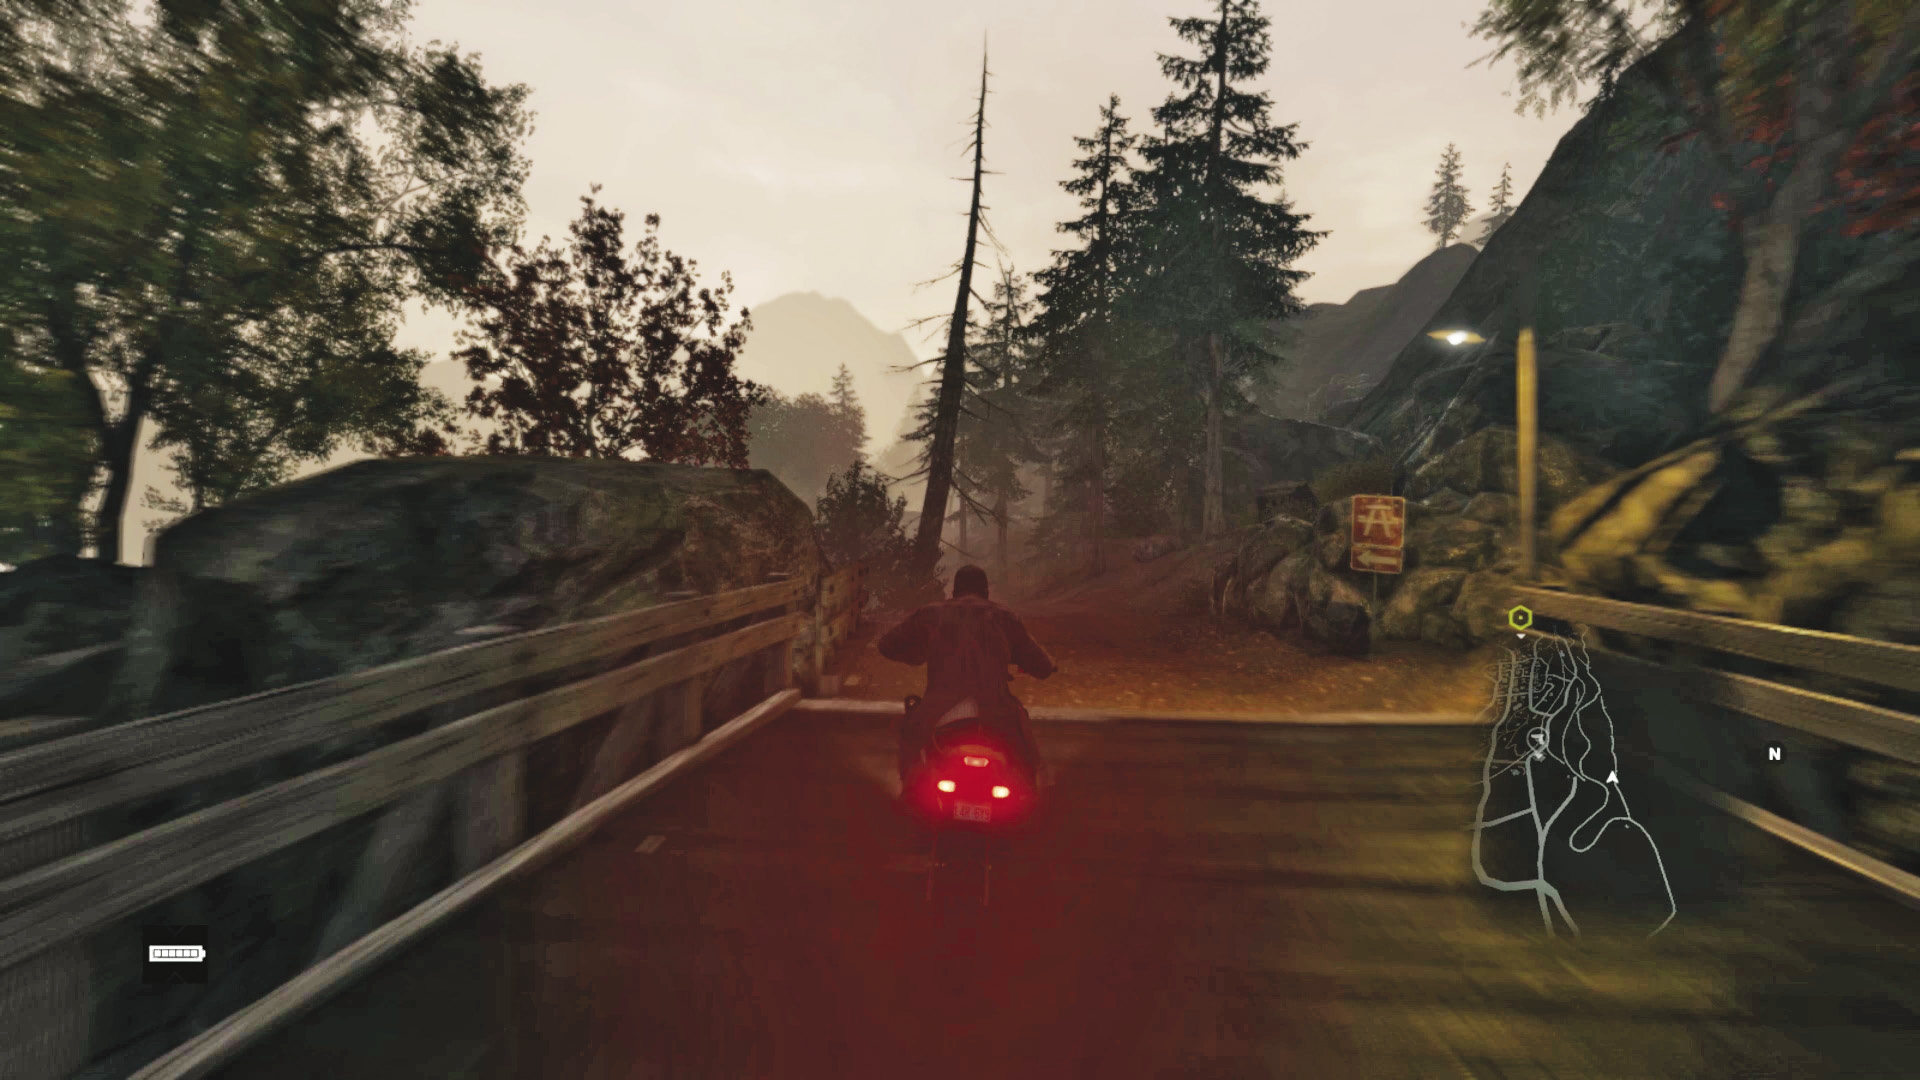
You begin this mission at the trailhead to the left (west) of the Blume facility. Though you can take the main roads to the junkyard, these trails offer entertaining jumps and not-so-entertaining crashes if you don’t ease up on the throttle. T-Bone phones you asking for help—he’s got half of Pawnee’s militia forces on his lawn!
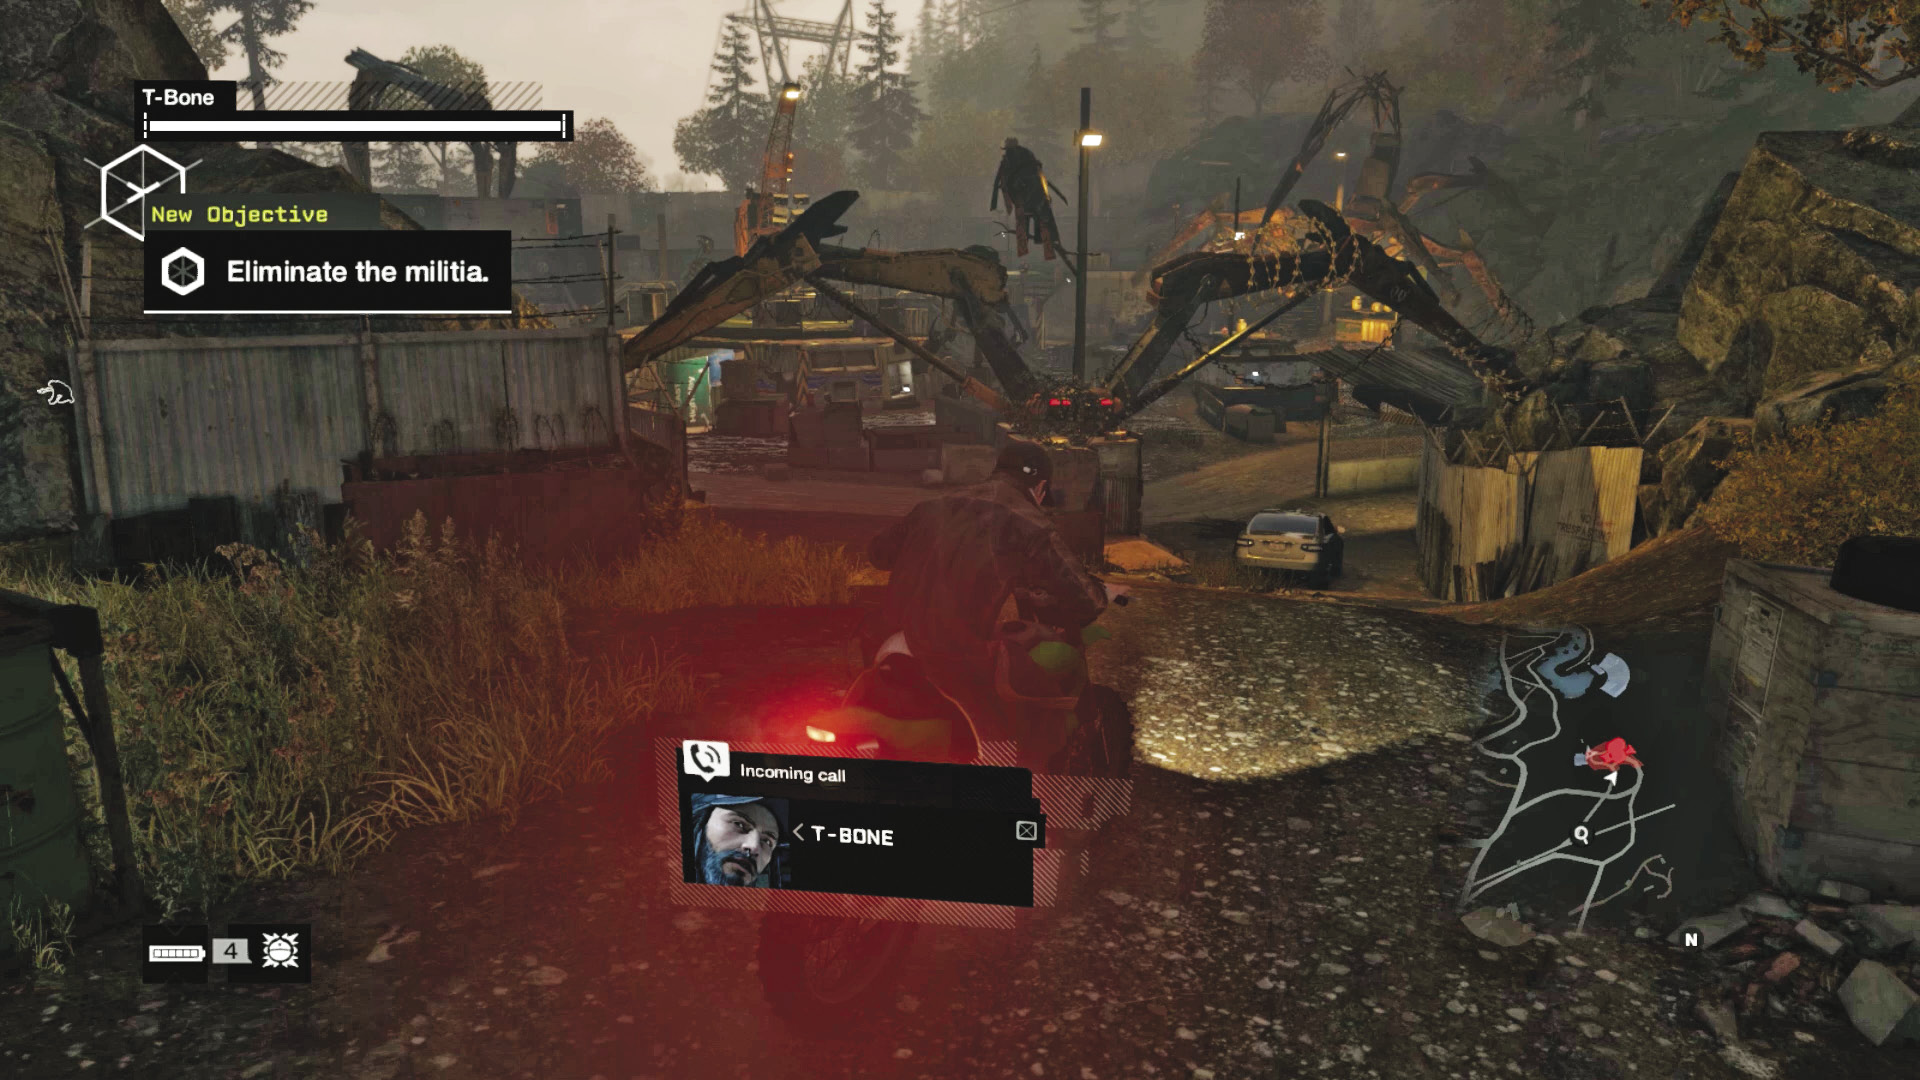
Maneuver down the dirt trails, following any of the paths that are generally pointing in the correct direction. Expect jumps and a couple of rough landings if you accelerate too strongly. Eventually, you reach one of the three insertion points to the junkyard, and the battle immediately commences!
5.2 GOT SOME MEAN-LOOKIN’ KIDS ON MY LAWN, HERE
|
|
 Eliminate the militia
 Regroup with T-Bone
 Location / Pawnee // Junkyard
 Infiltration
 Data Hack
 Lethal Force Likely
 Melee Force Likely
Difficulty: 
Overview
Completion Point: T-Bone’s location, as you progress through the junkyard.
Dangers (Wave 1): Seven Militia (Marksman x1, Gunman x1, Veteran x1, Elite x4) armed with shotguns and assault rifles. One is a sniper.
Insertion Points
There are two main entrances into the junkyard and one secret way in. Either of the main entrances are handy for retaliating against the militia already attacking T-Bone’s compound. It’s also helpful to know the entire junkyard before you begin your battle.
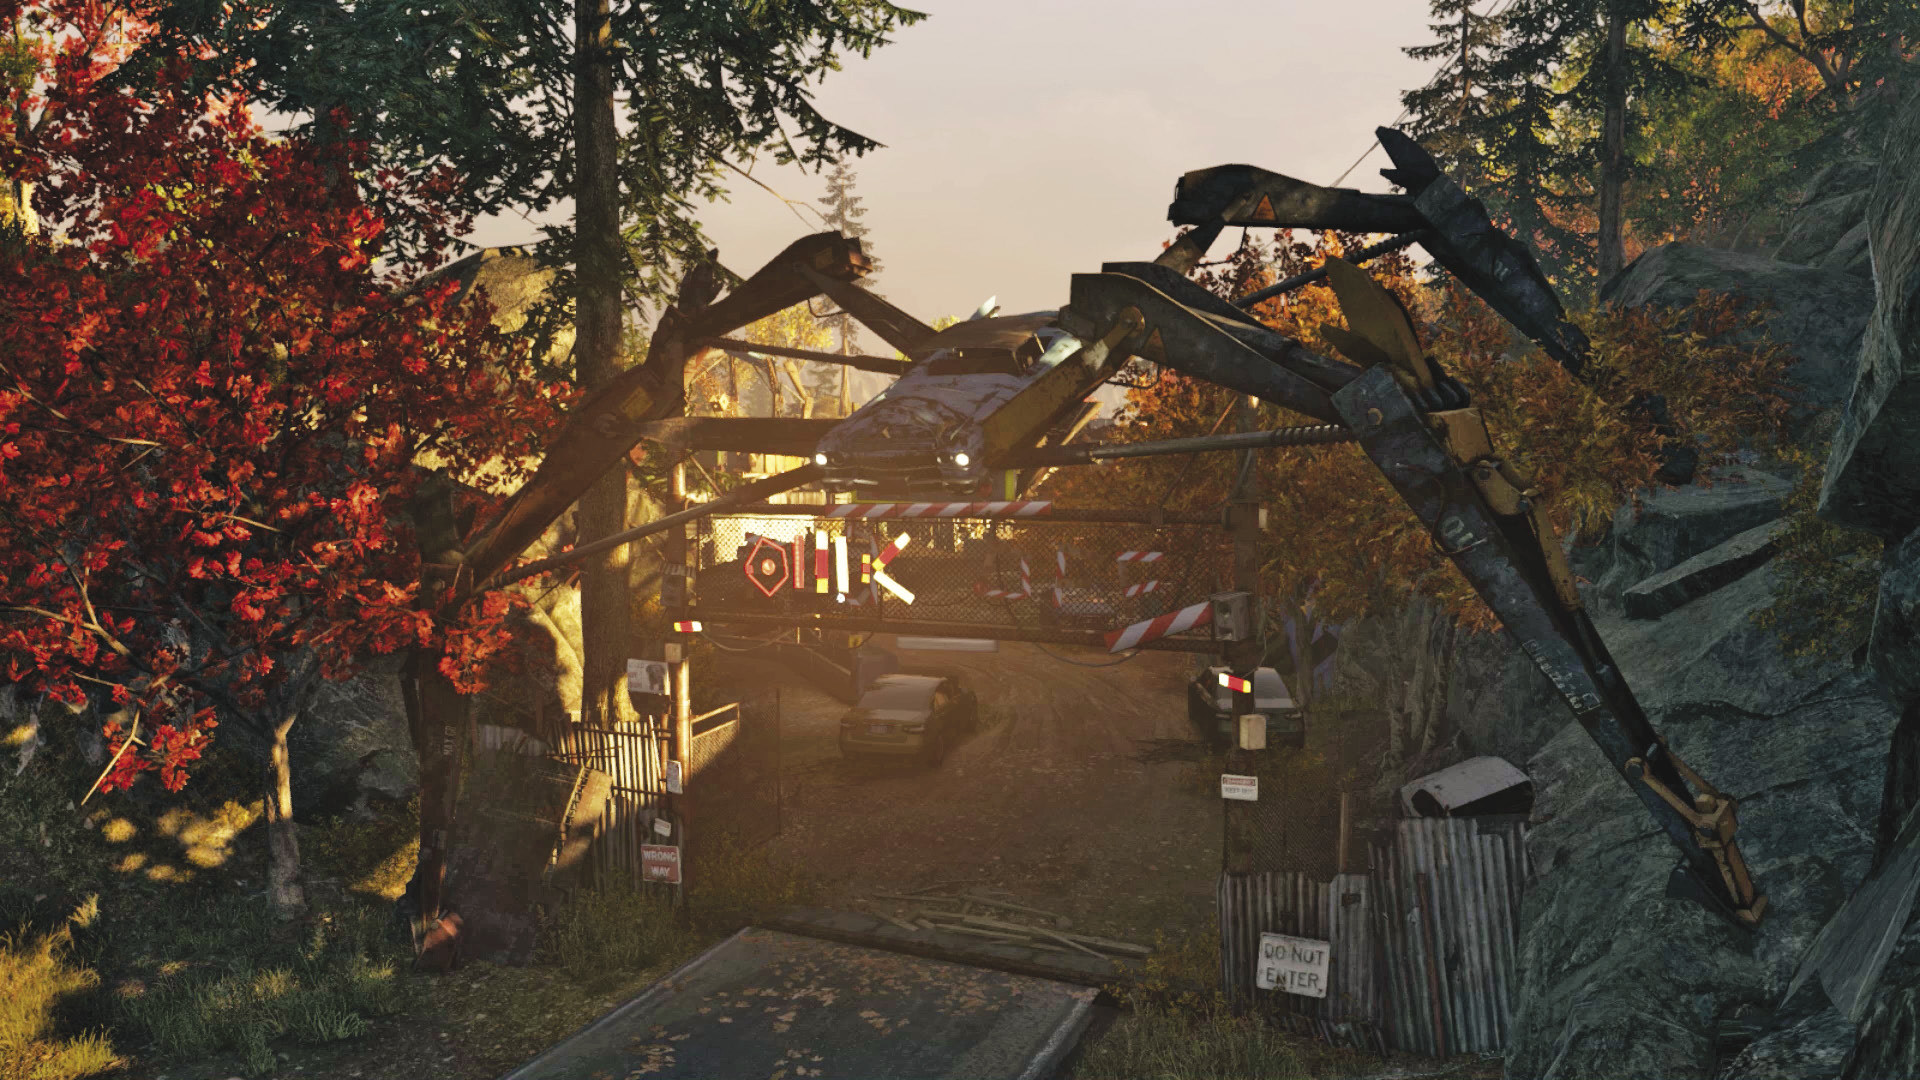
Northwest Road (Spider Car Entrance)
Accessibility Level:
This entrance offers a narrower threshold and quicker cover opportunities than the dirt trail entrance. However, you don’t have a particularly thorough view of the entire yard, which is vital if you’re using T-Bone’s machines against the enemy. Head here if you enjoy hunting your prey instead of frying them with giant sculptures. Remember this is one of the two paths that reinforcements arrive from during the next couple of stages of this mission.
North Dirt Trail (Two-Legged Entrance)
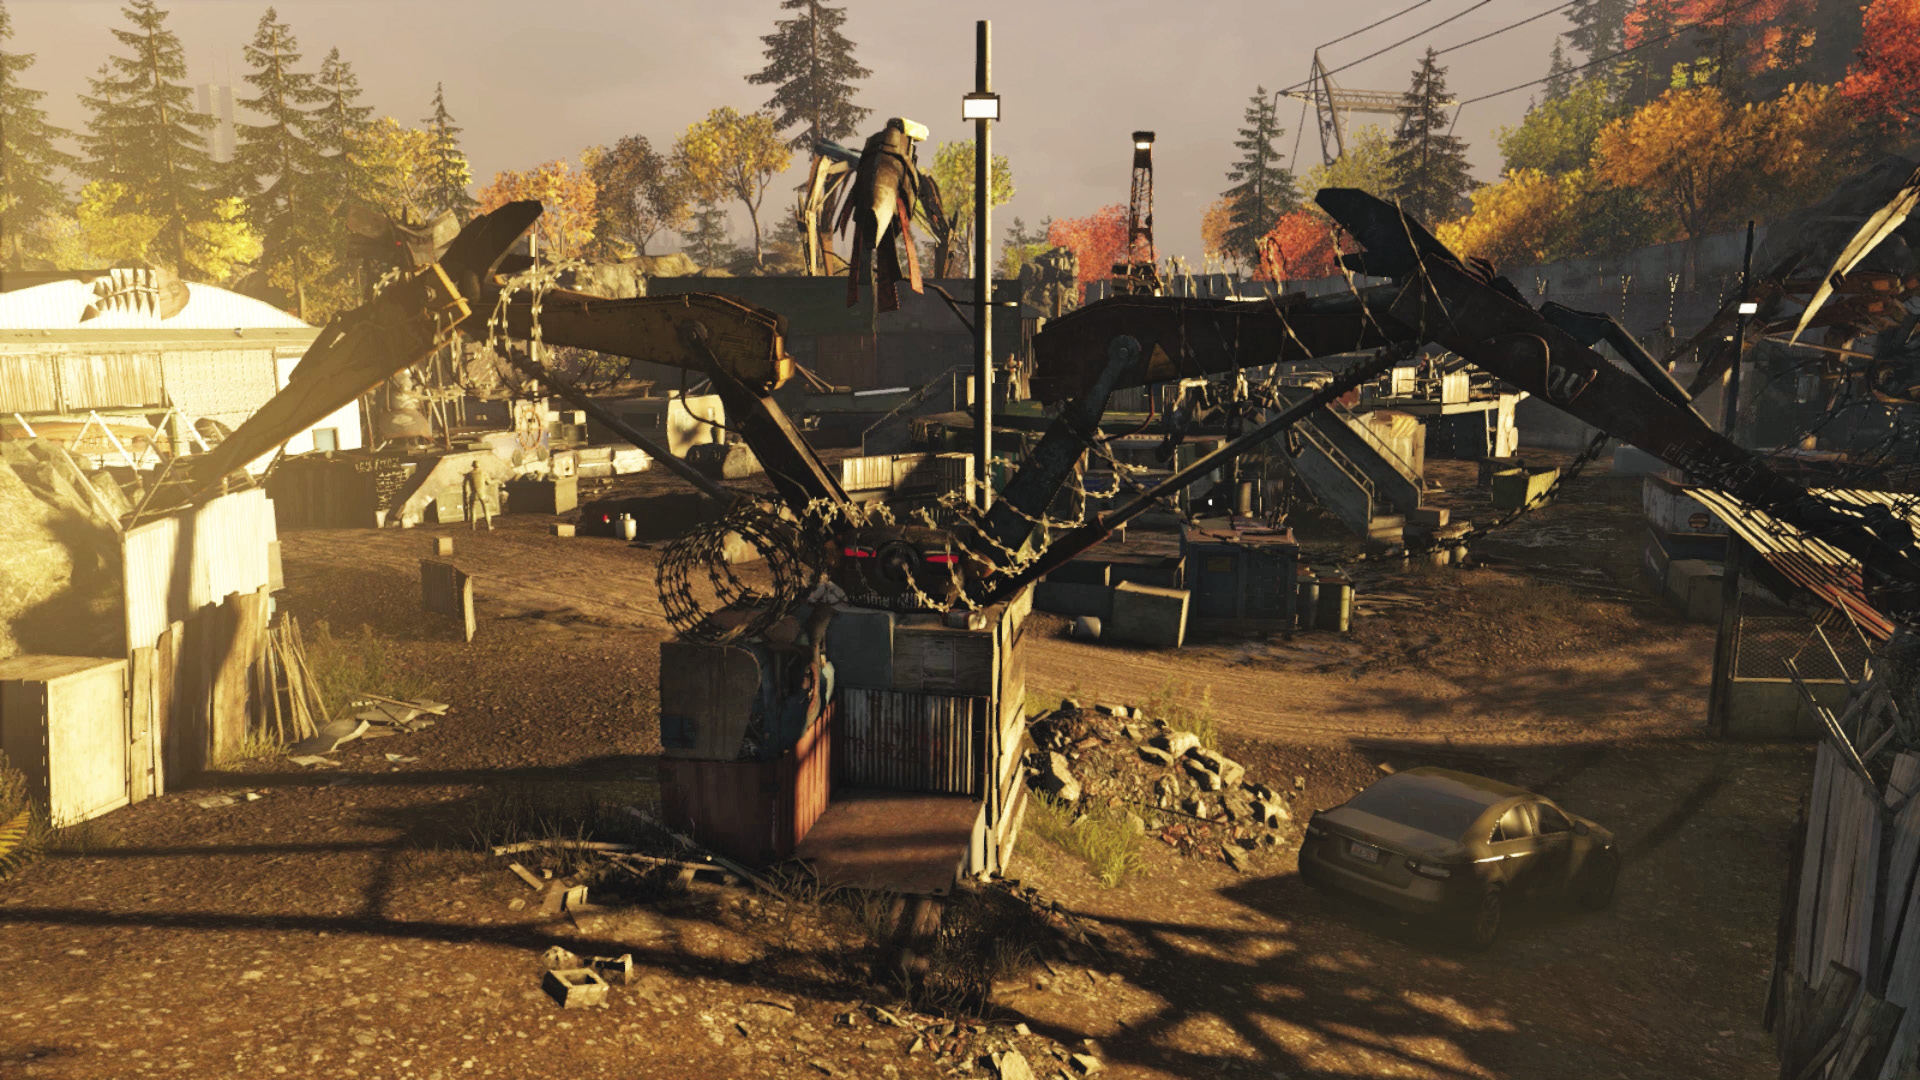
Accessibility Level: 
This is the entrance marked by the waypoint, just southwest of the bridge. It offers access to covered perimeter areas of the junkyard, including the balcony to the left (east), close to T-Bone’s sealed warehouse. This enables you to reach T-Bone more easily than the road entrance, and you gain additional height on your foes. Remember this is one of two routes reinforcements arrive from during the main stages of this mission.
Dam Shack Tunnel (No Entrance)
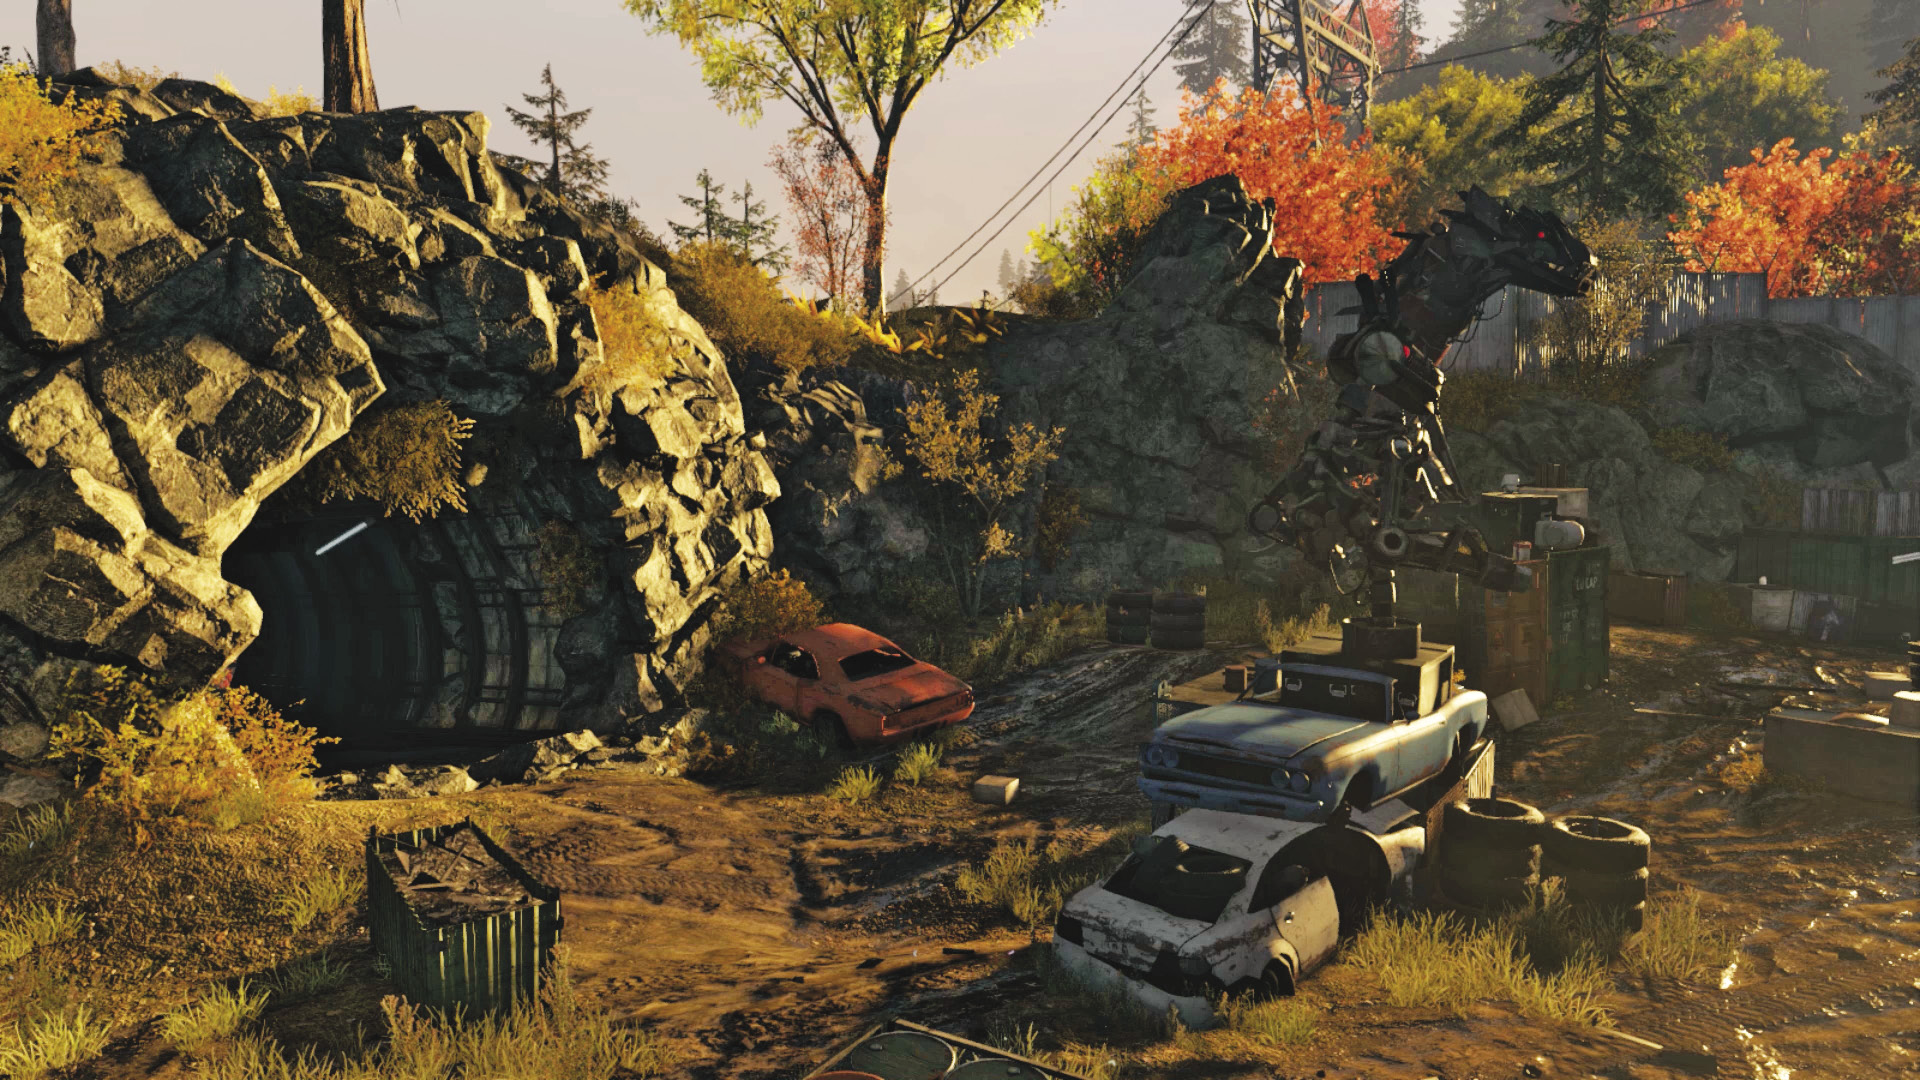
Accessibility Level: 
While it’s true that you can locate the Pawnee dam to the south and the ramshackle hut on the lake, and you can explore the woods leading into a short tunnel that dumps out into T-Bone’s side yard (see below), the gate into the main compound junkyard is locked. You can’t access it until the very end of this mission. Don’t infiltrate this area thinking you have a cunning way to reach the upper part of the yard.
Junkyard Locations
T-Bone’s junkyard is a mass of rusting machinery, towering sculptures of violence, and makeshift walkways and balconies. The following details the most helpful locations and all the sculptures. Note that the “Danger Level” refers to how many foes congregate in this area and their threat to you.
My Ex-Wife (Northwest Scorpion Sculpture)
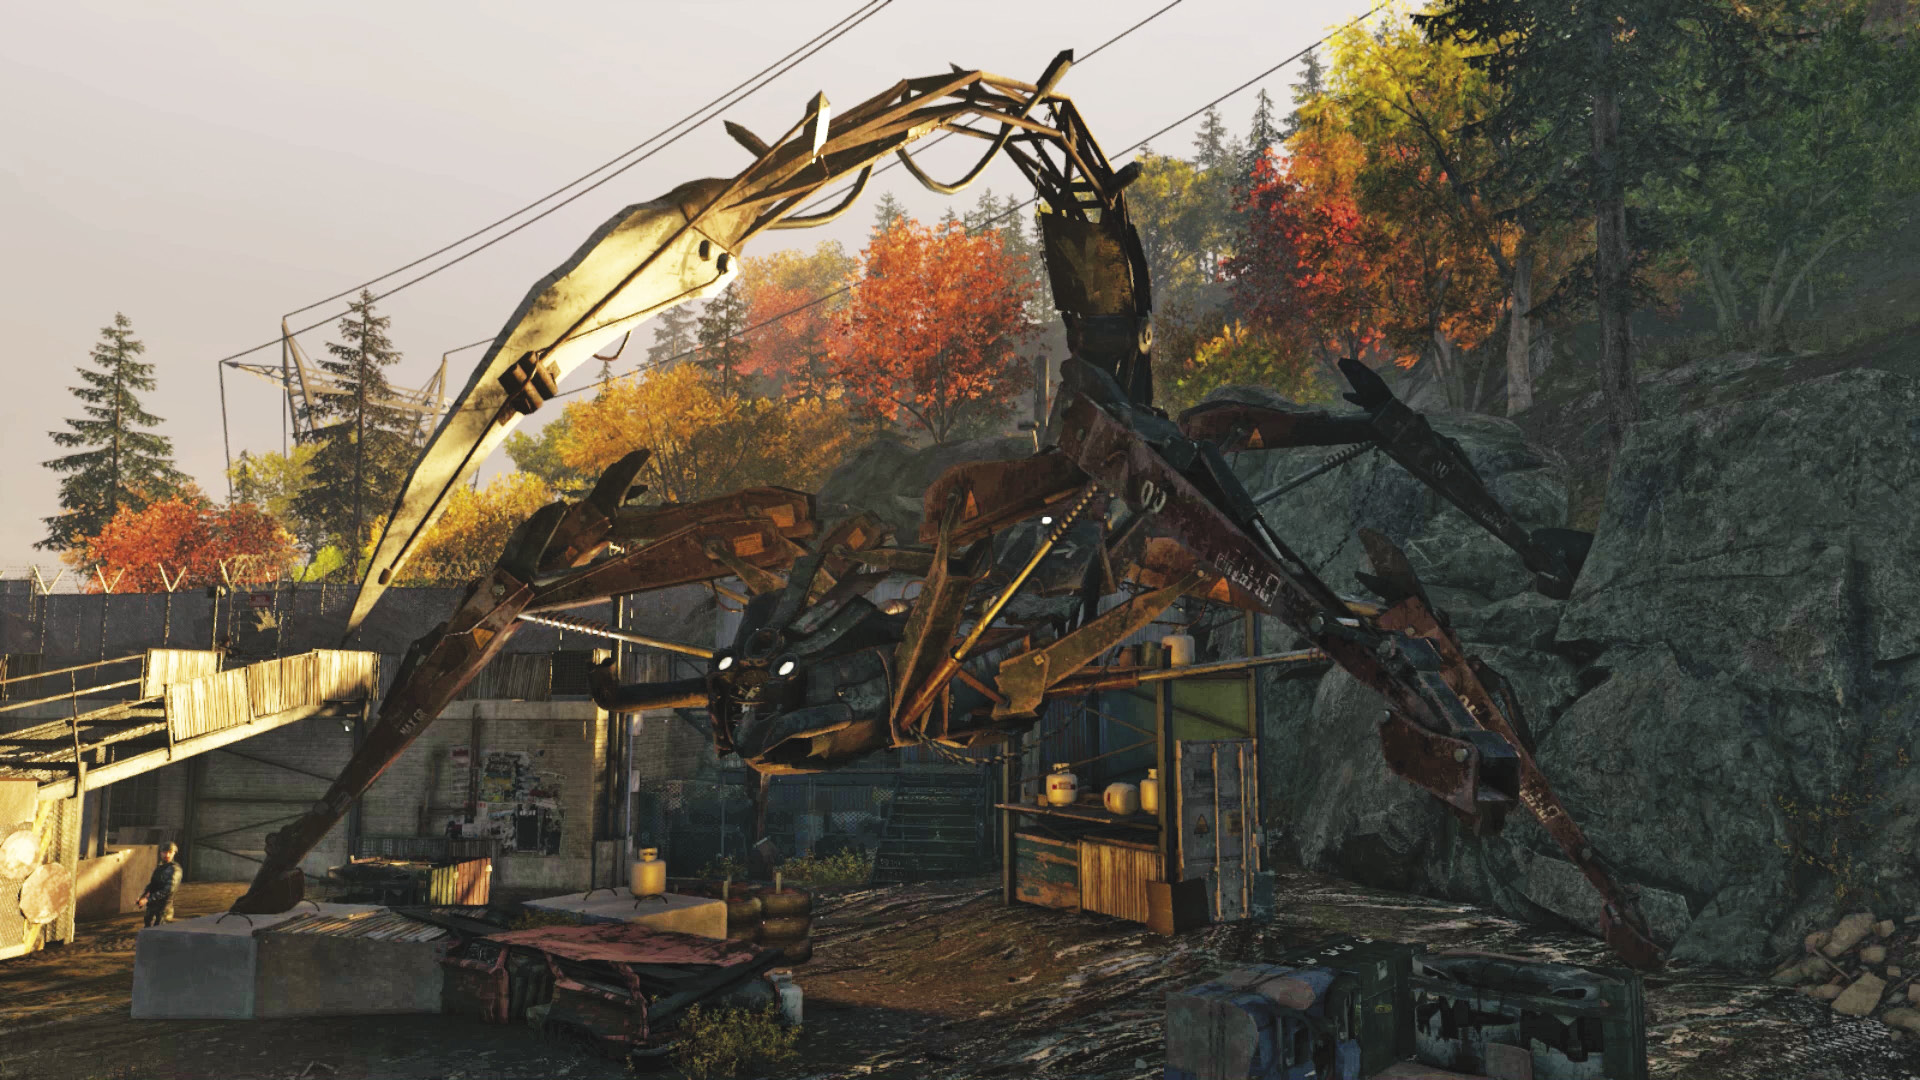
Danger Level: 
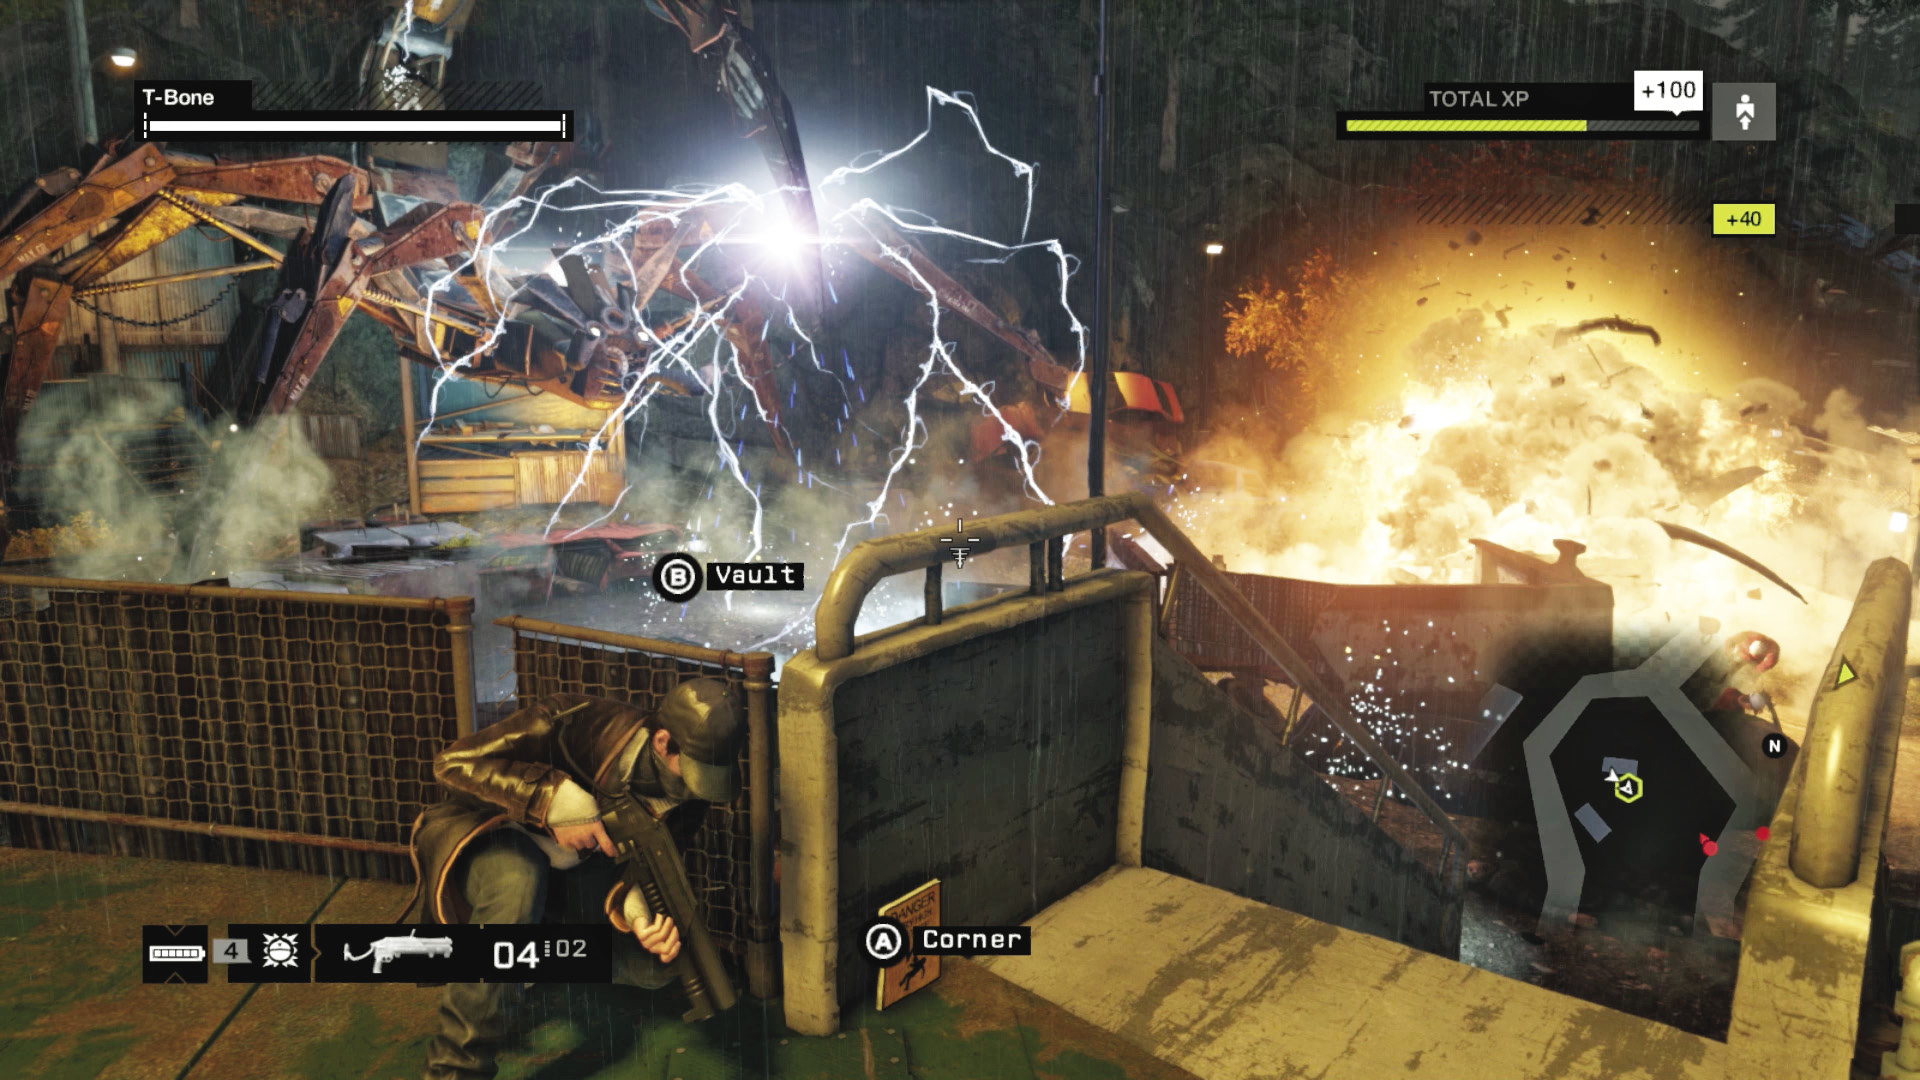
Under the legs of this scorpion are numerous hiding spots, and the area is close to the incursion point for the militia. Fortunately, the blast of electricity the sculpture releases is widespread, and there are canisters on much of the debris to detonate to flush foes out. Unfortunately, the power required for such widespread devastation causes a small ctOS Blackout, which lasts around ten seconds; switch to conventional weapons during this time. Focus a good deal of your attention here, when foes are congregating or arriving from the entrances.
Eat Crow (North Robot Sculpture)
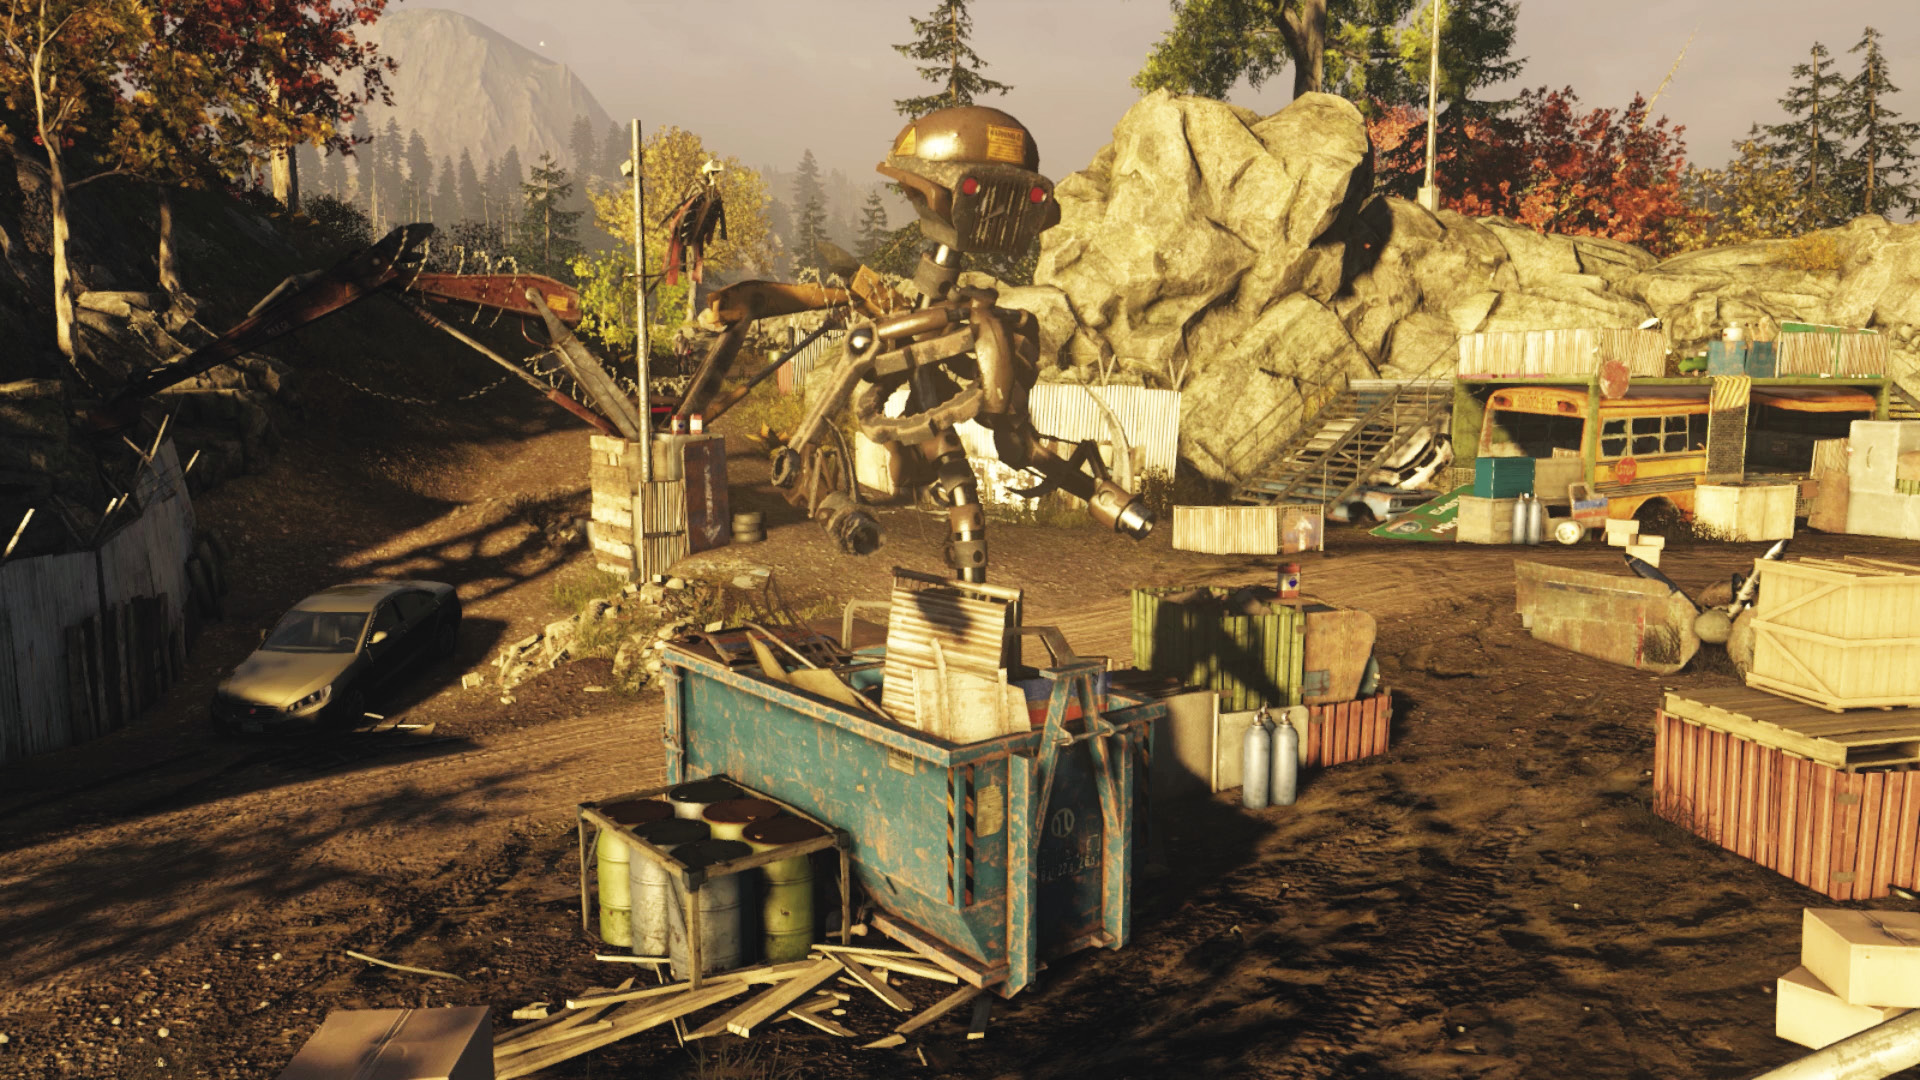
Danger Level: 
This spinning Gatling-gun monstrosity can make short work of foes, which is handy because this is where all the enemies park their vehicles during the reinforcement phases of combat. Blast apart the canisters, as this can destroy some cover, and watch for foes jogging in and scaling the steps to the helipad from here; a lot of the fighting takes place in this quadrant, so it’s vital you keep this sculpture spinning.
Galloping Gerty (Northeast Dragon Sculpture)
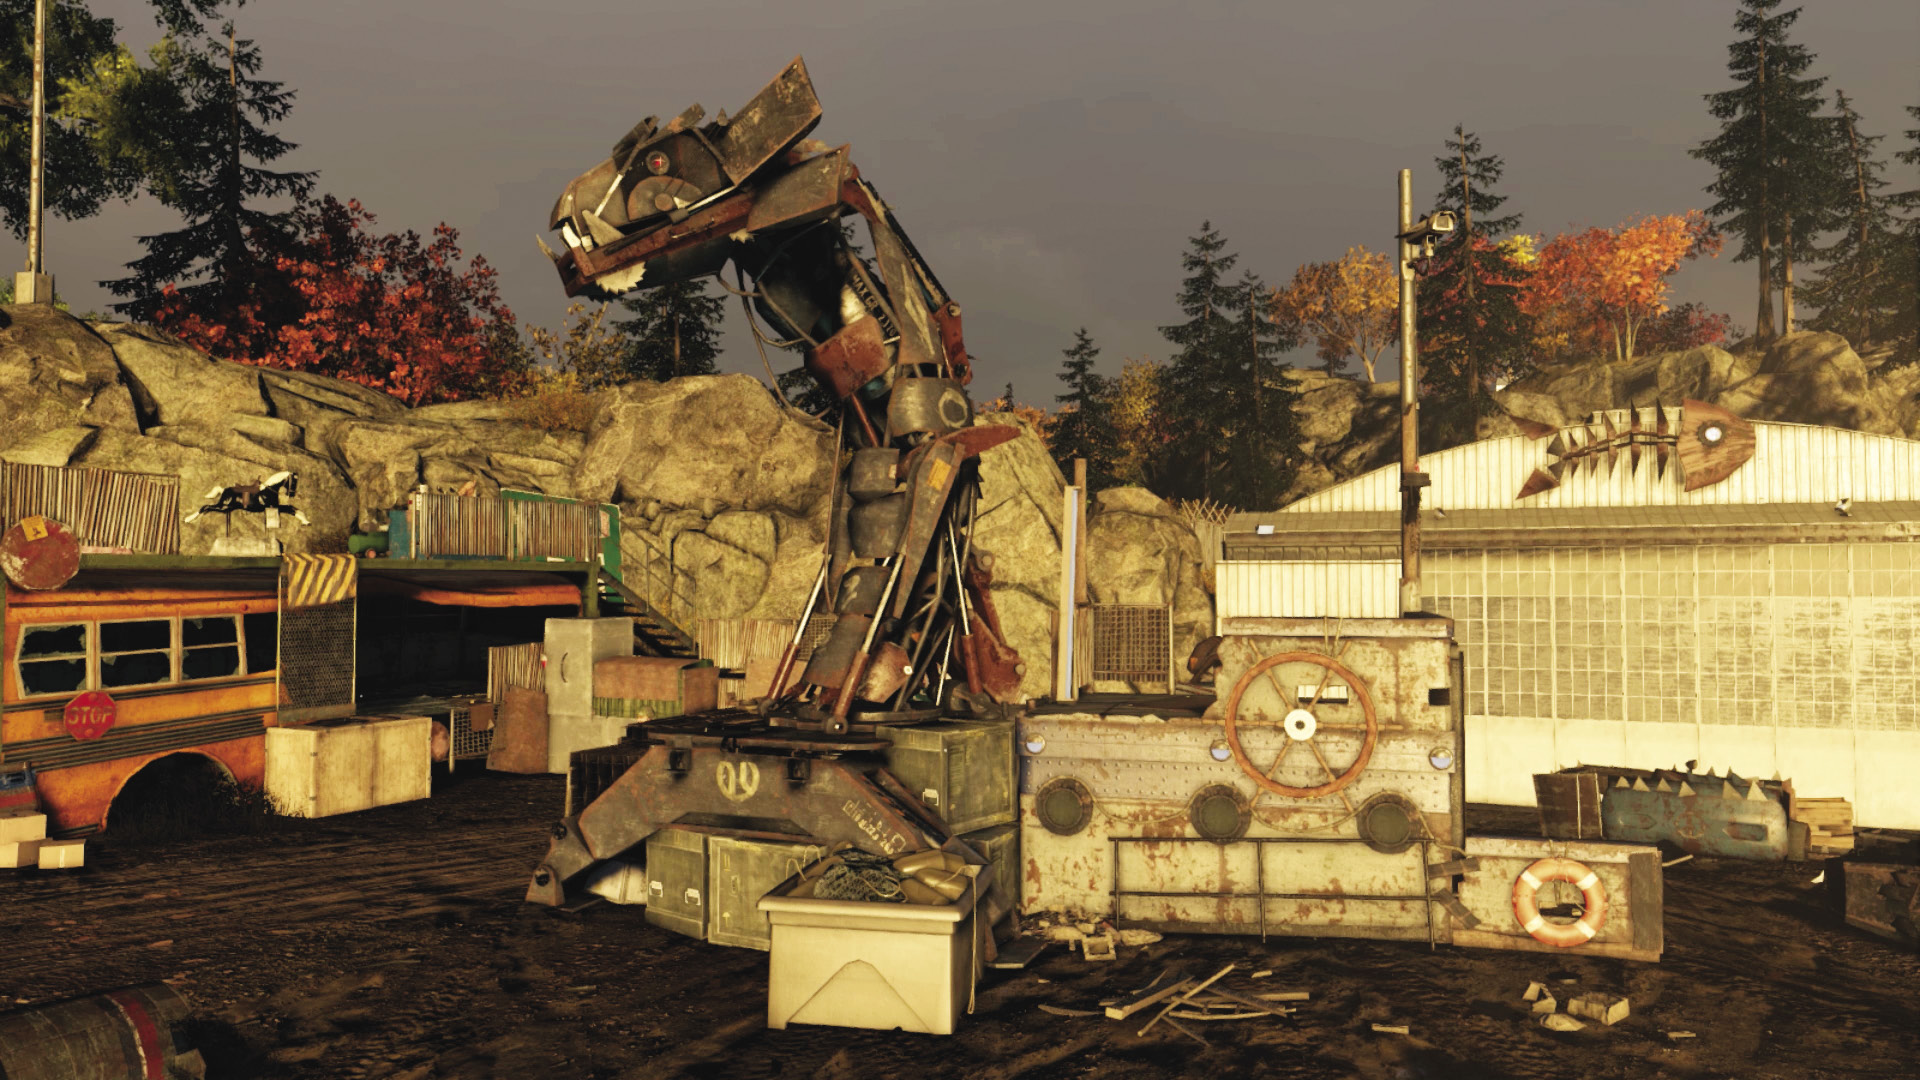
Danger Level: 
Watch for foes remaining healthy around this dragon; though its breath is devastating, it can’t hit foes behind it. The more cunning of the militia know this and stay by the debris cover opportunities to the east. However, this sculpture is great for roasting enemy vehicles as they pull in; just watch for foes ascending the steps to the helipad.
Bus Balcony (Northeast)
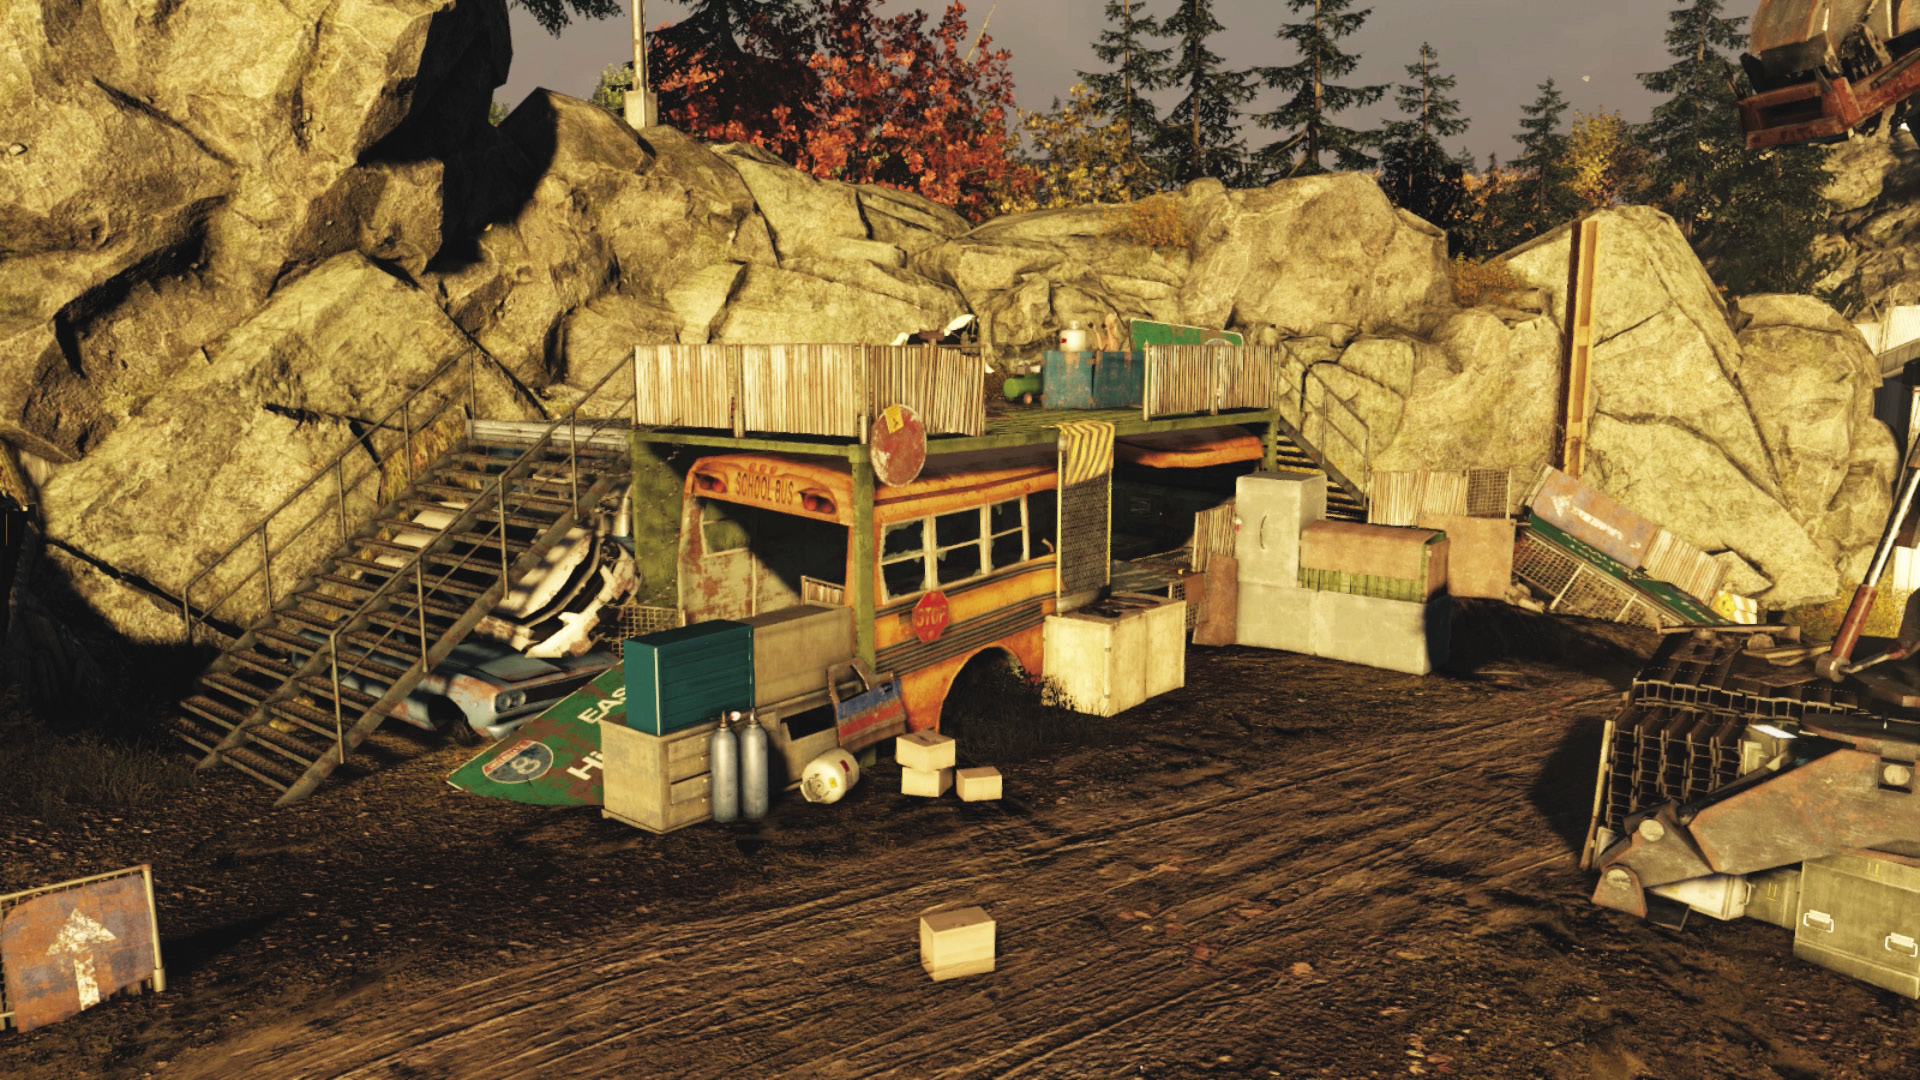
Danger Level:
This is a great place to survey the junkyard from during the first foray into battle with the militia, and you can easily drop foes with sniper shots from here. There are two sets of stairs the enemies can reach you from, but this is out of the way compared to other elevated positions. However, don’t stand here when you’re defending the helipad; you can’t reach the sculptures on the opposite side of the junkyard and T-Bone can be overwhelmed.
Arachnascrewya (Southeast Spider Sculpture)
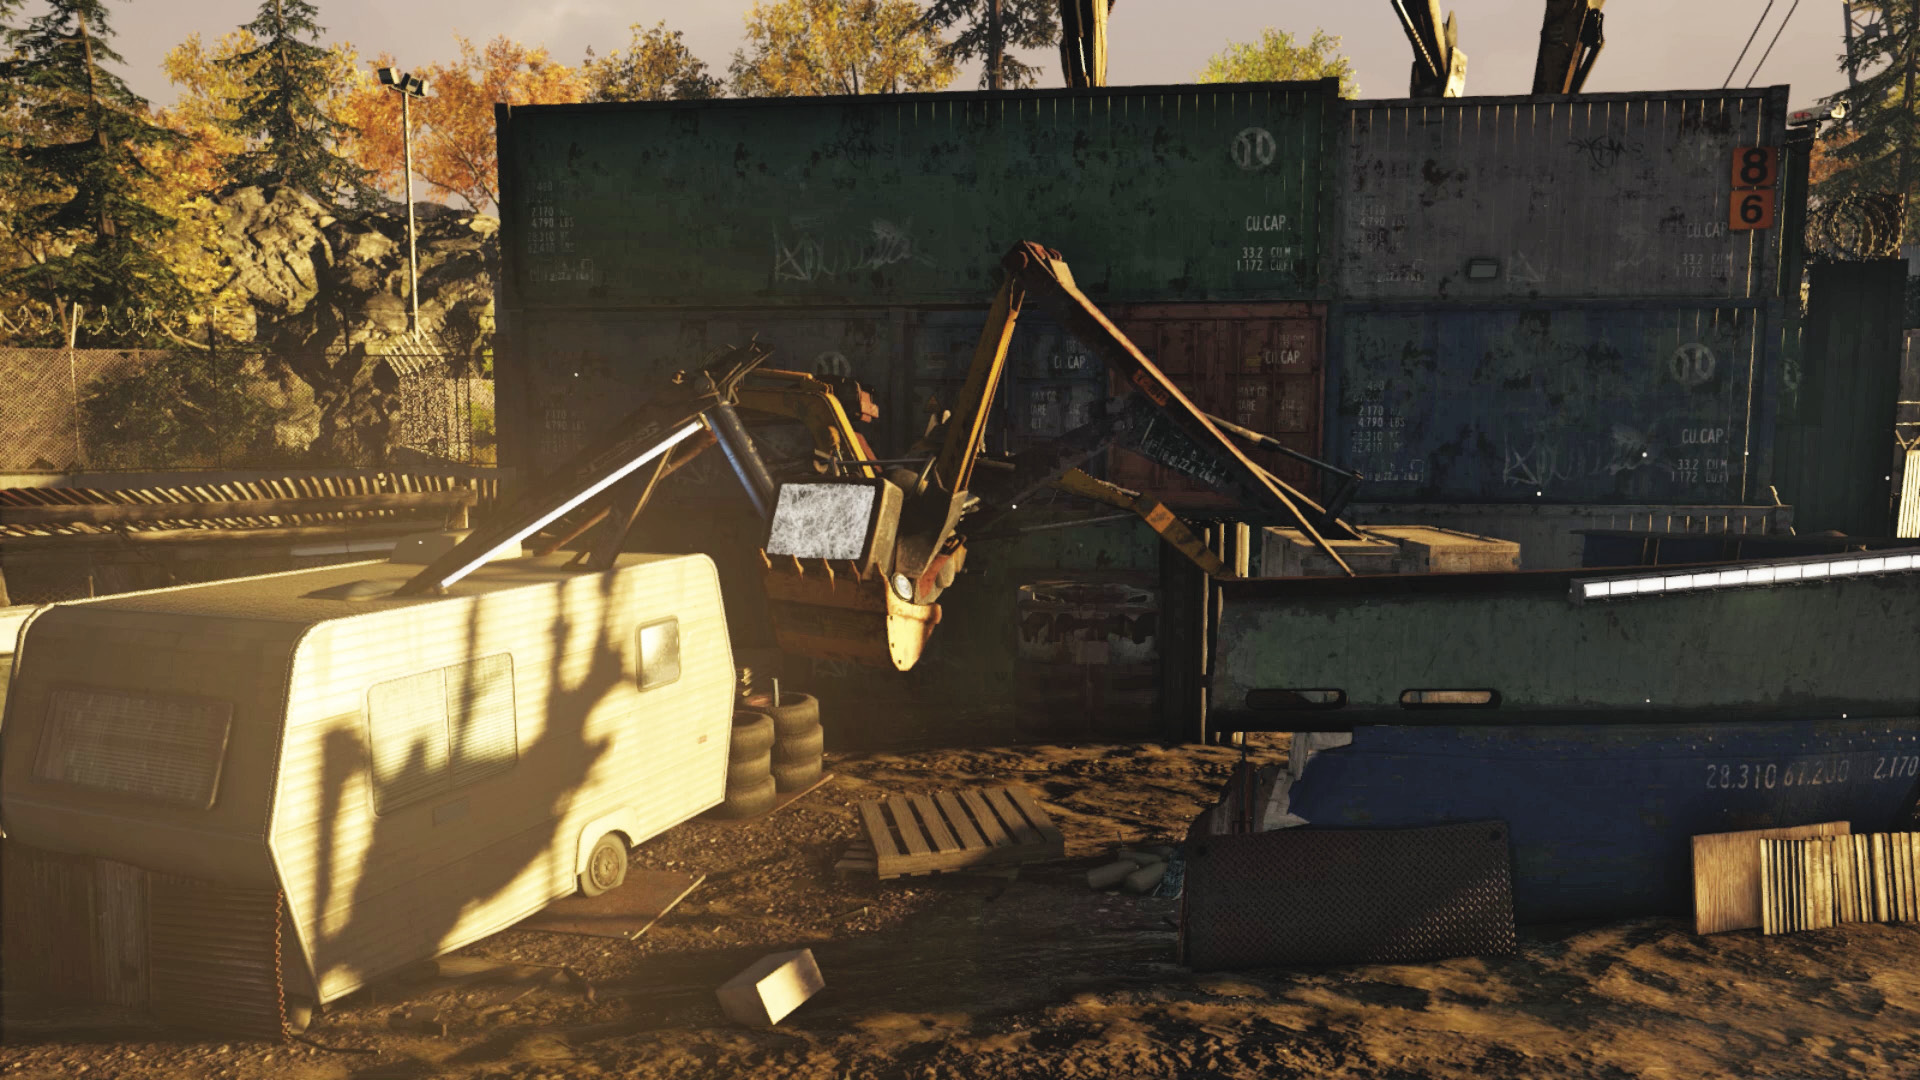
Danger Level: 
Despite its smaller stature, this spider packs the same nasty electrical discharge as its larger scorpion cousin. Though you aren’t attacked initially from this location, foes like to move behind Galloping Gerty and the South Eat Crow to swarm this area; be mindful and activate this from time to time. Expect stair intrusions onto the helipad from here too.
Eat Crow II (South Robot Sculpture)
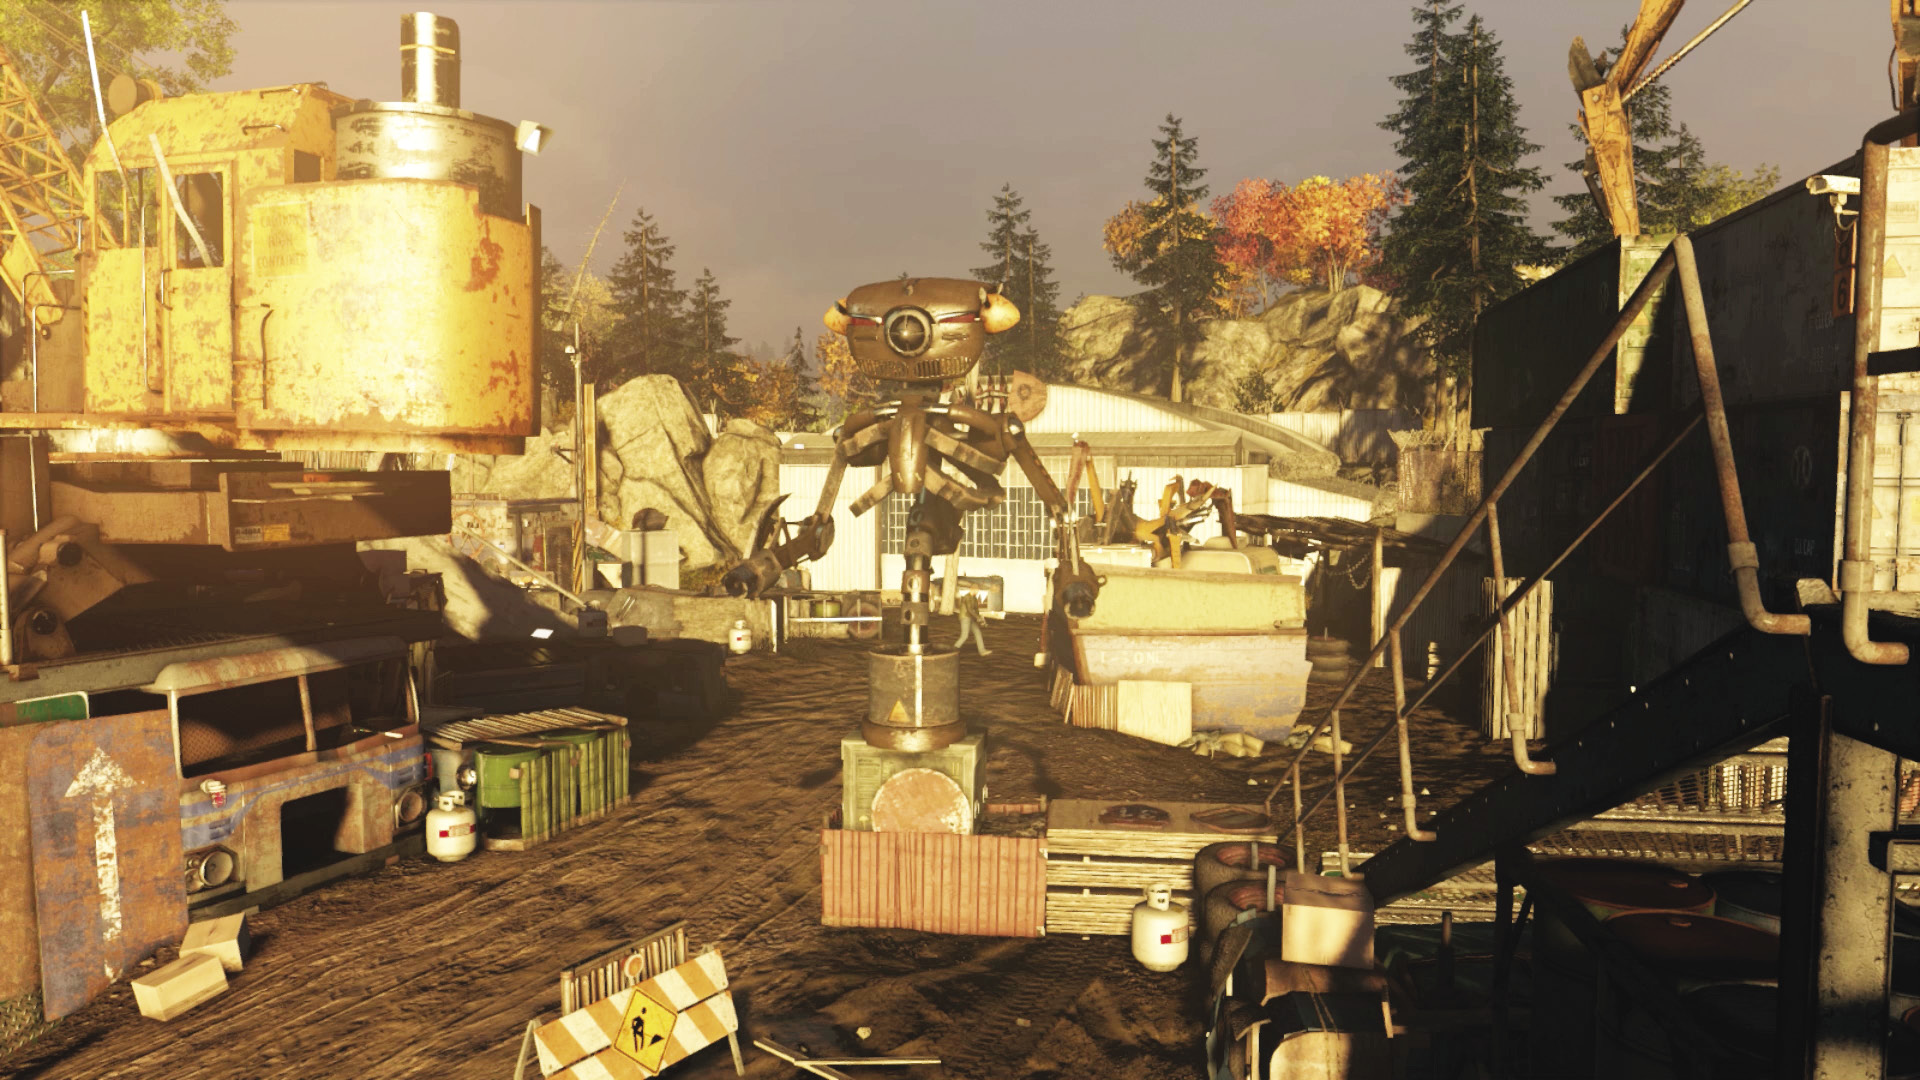
Danger Level: 
The wall and crane attached to the helipad protect you from foes moving around in this area, but they like to use the tunnel entrance under the helipad too. Flush them out with Eat Crow. This robot is pretty effective, so remember to use it.
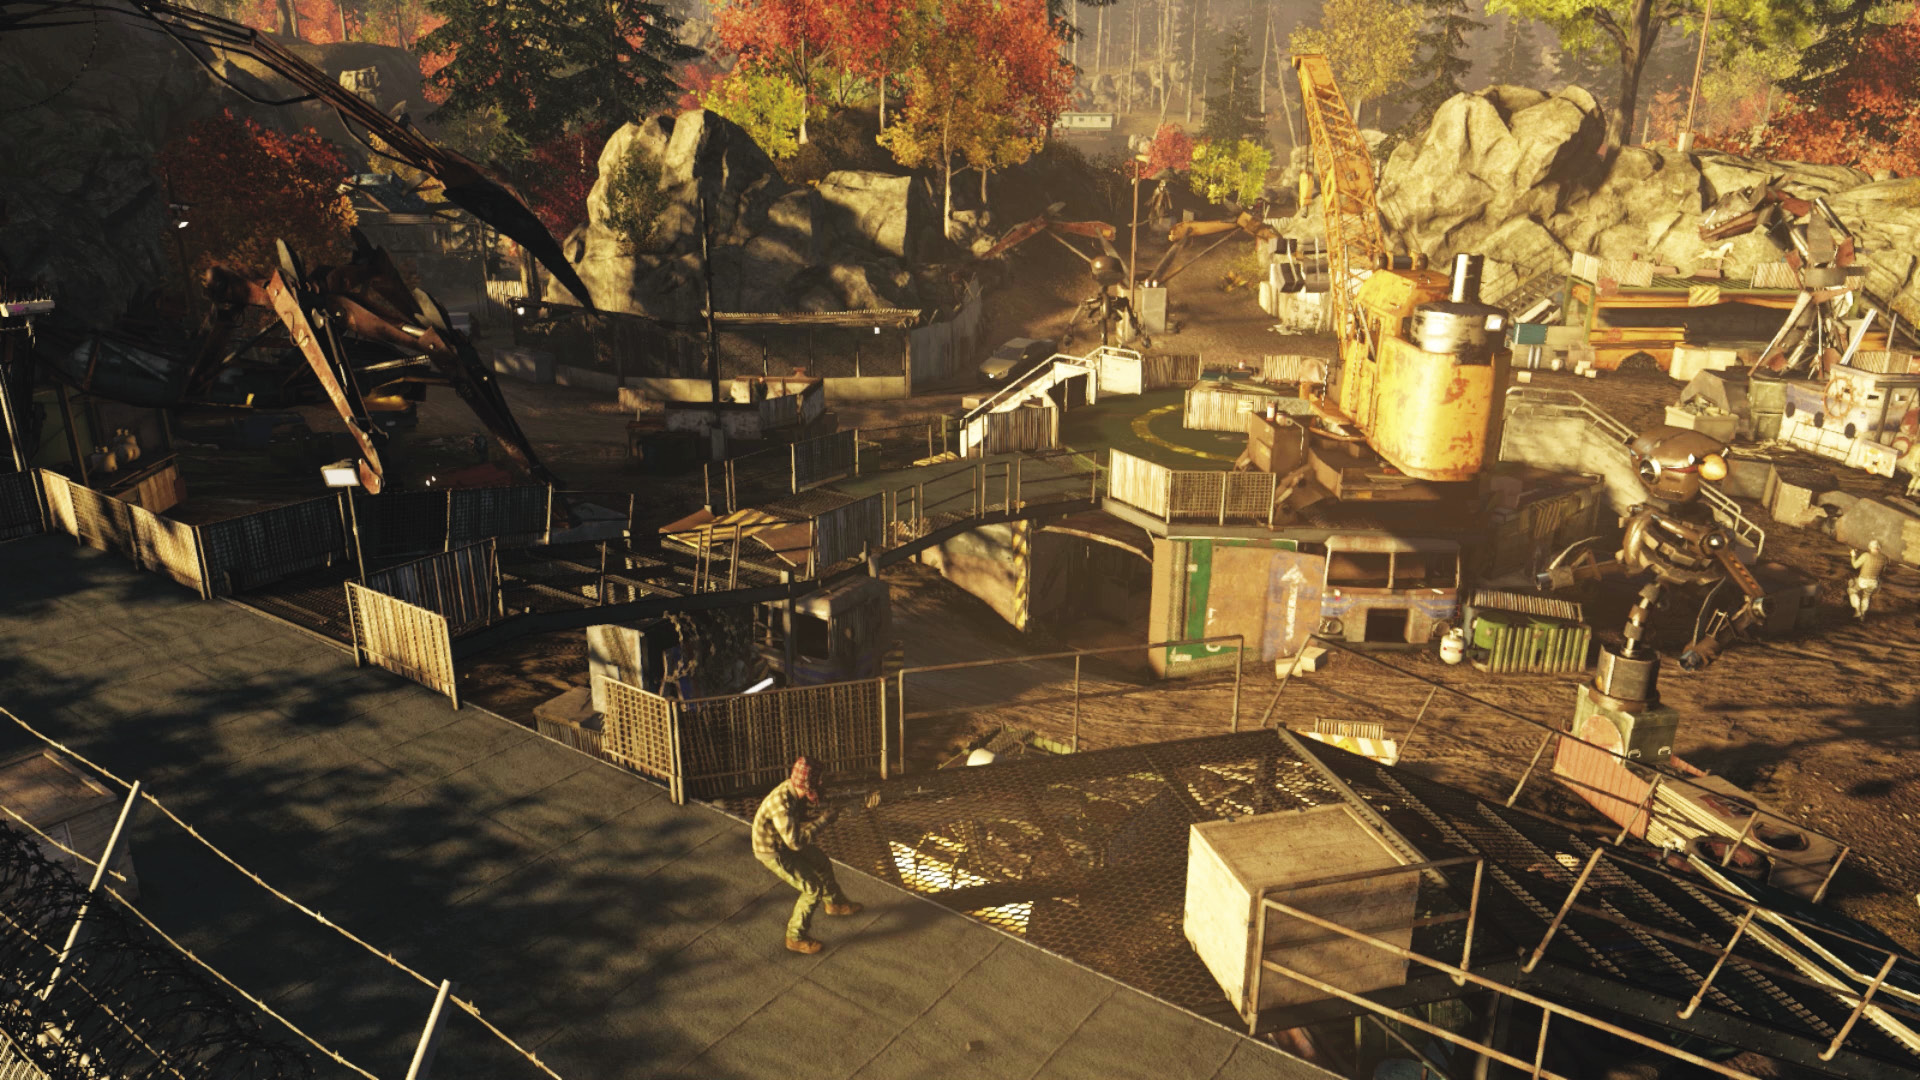
Western Balcony and Walkway
Danger Level: 
Running along most of one side of the junkyard, this has two connecting bridges: one to the helipad and one down to the south. This is a good place to run to and from if the helipad gets too dangerous or if there are only a few enemies left. There are numerous cover positions, and you can more easily reach foes dug in around the scorpion or south areas of the yard. This is also the entrance to the side yard.
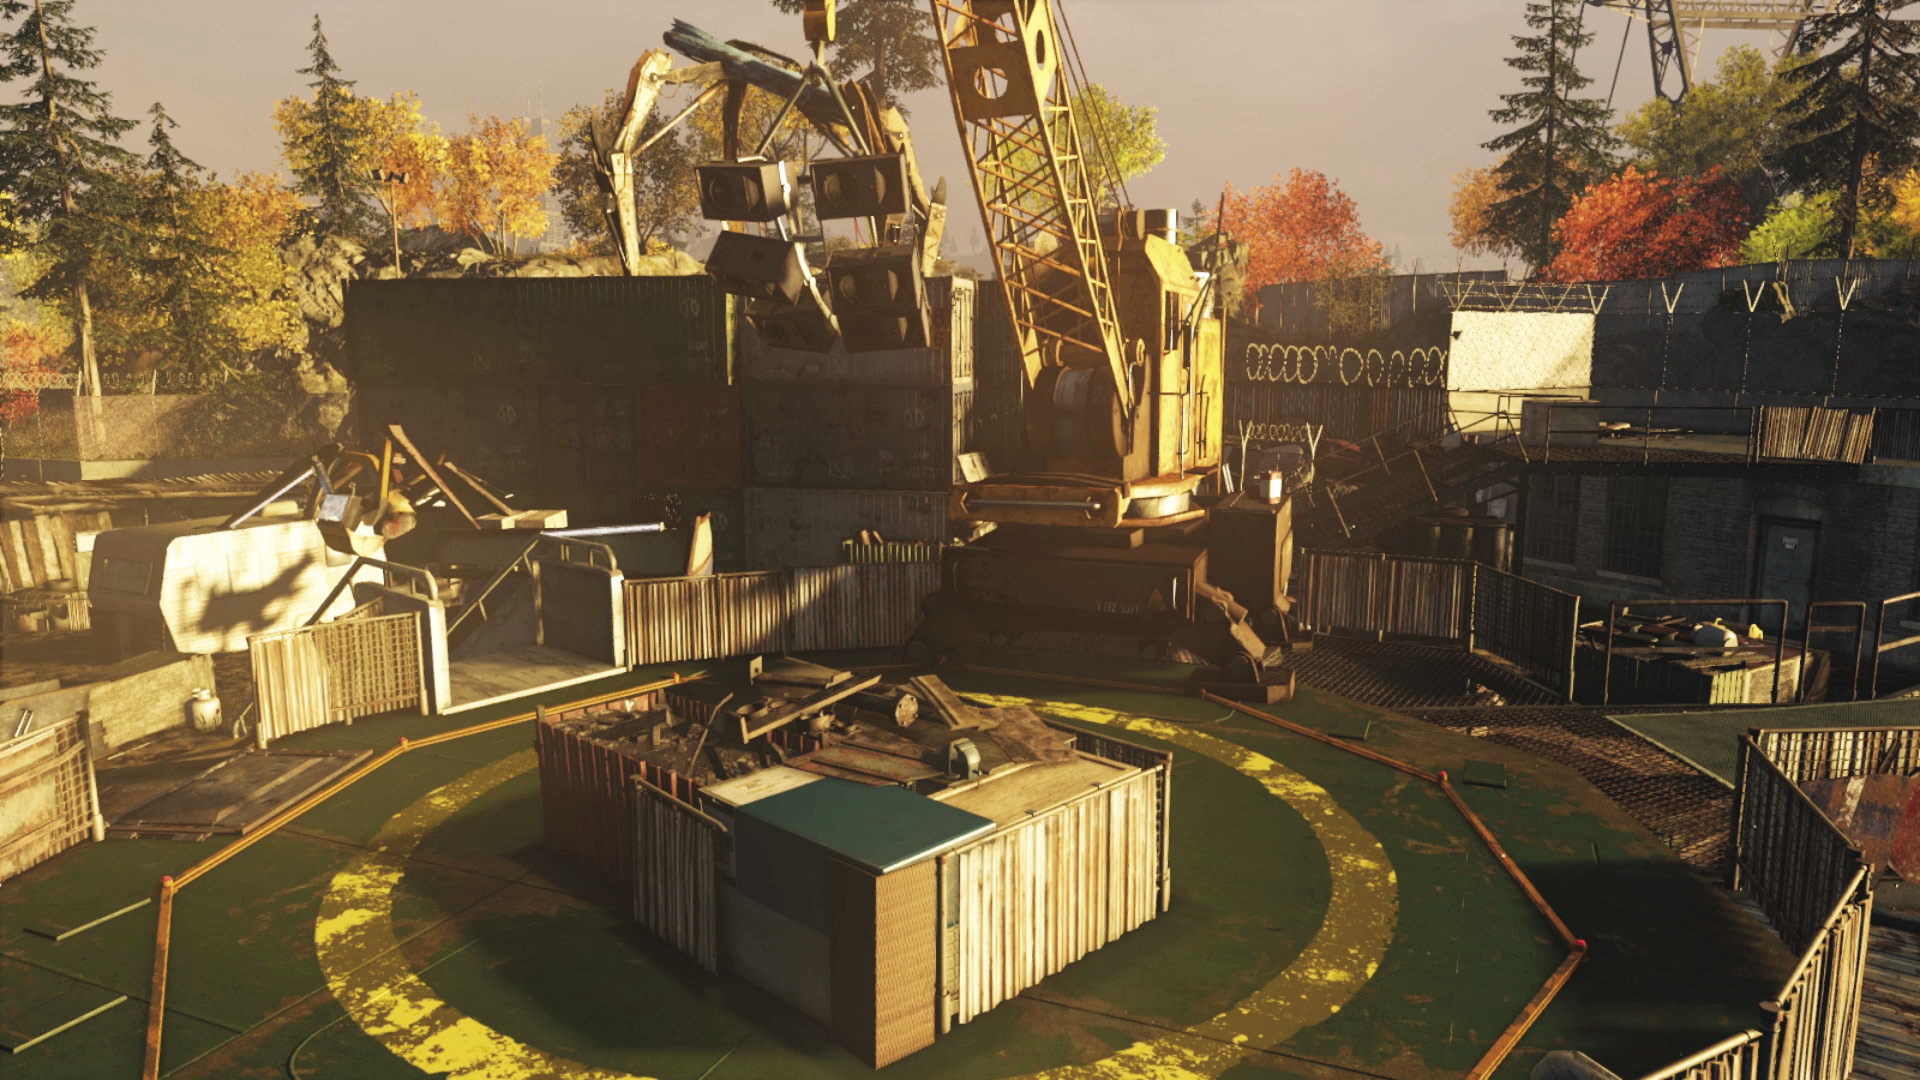
Crane and Helipad (Center)
Danger Level: 
This is where most of the action takes place; expect frantic, chaotic combat that will really test your reactions! Remaining here is vital, as you must protect T-Bone and this is the only area where you have quick access to all your sculptural defenses. The biggest concerns you face are foes breaking through the sculpture fire and climbing the two sets of stairs or onto the outer perimeter; constantly check your minimap for them. Also note the tunnel under here, which isn’t visible unless you’re looking remotely or on the ground. Come here for the IEDs. Stay for the carnage!
Progression Plans
Now that you know the various areas, try any or all of the following plans when reaching and then defending T-Bone in this main part of the junkyard.
General PreplanningConserving Ammo: Remember T-Bone has a variety of lethal sculptures to dissuade invaders, and this is the chance to use all of them! While you’re removing these threats, you can conserve ammo and deal with foes out of the blast radius of all the mechanical monsters. Cameras: The entire junkyard is surrounded by cameras. Using them allows you to quickly spot foes and activate sculptures and other scenery. But you’re usually able to follow enemy locations on your minimap or use a ctOS scan if you need foe outlines to target. Monsters Don’t Discriminate: Remember that the sculptures’ weaponry is devastating, but you’ll be damaged, too, if you wander into its line of fire! Stay at a distance when the monsters unleash their fury. |
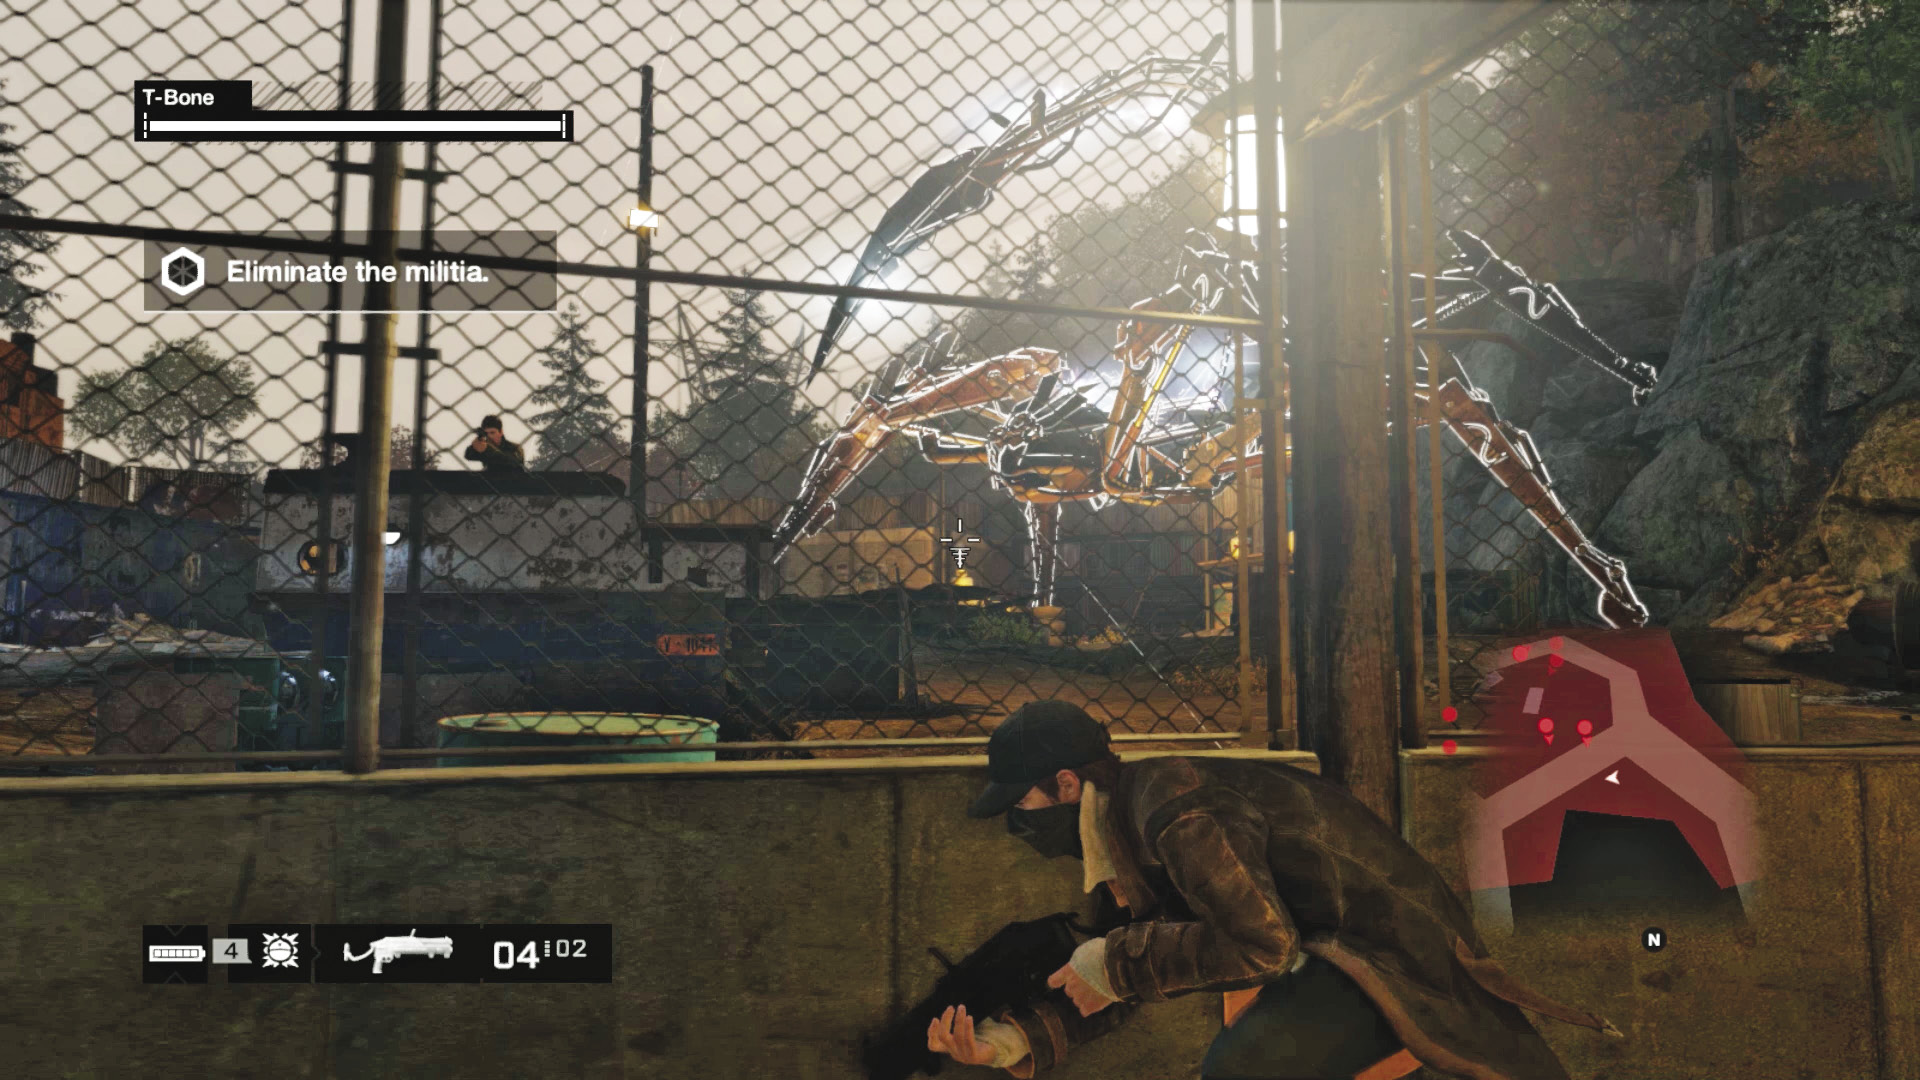
Aggressive // Smart: Some Mechanical Tricks
 Difficulty:
Quickly move toward the bus balcony as soon as possible; it’s much more secure and you have a better field of vision than the mesh fence near the northwest entrance. You can also properly see—and dispatch—foes approaching T-Bone’s location. Now quickly access the sculptures, and use their firepower to whittle down the enemy. Having multiple sculptures firing at a time is helpful. If you can’t hit all the foes with sculpture fire, mop up the rest with gunfire or projectiles when only two or three remain.
For foes on the junkyard’s opposite side, occasionally use cameras to find them and remotely control the sculptures.
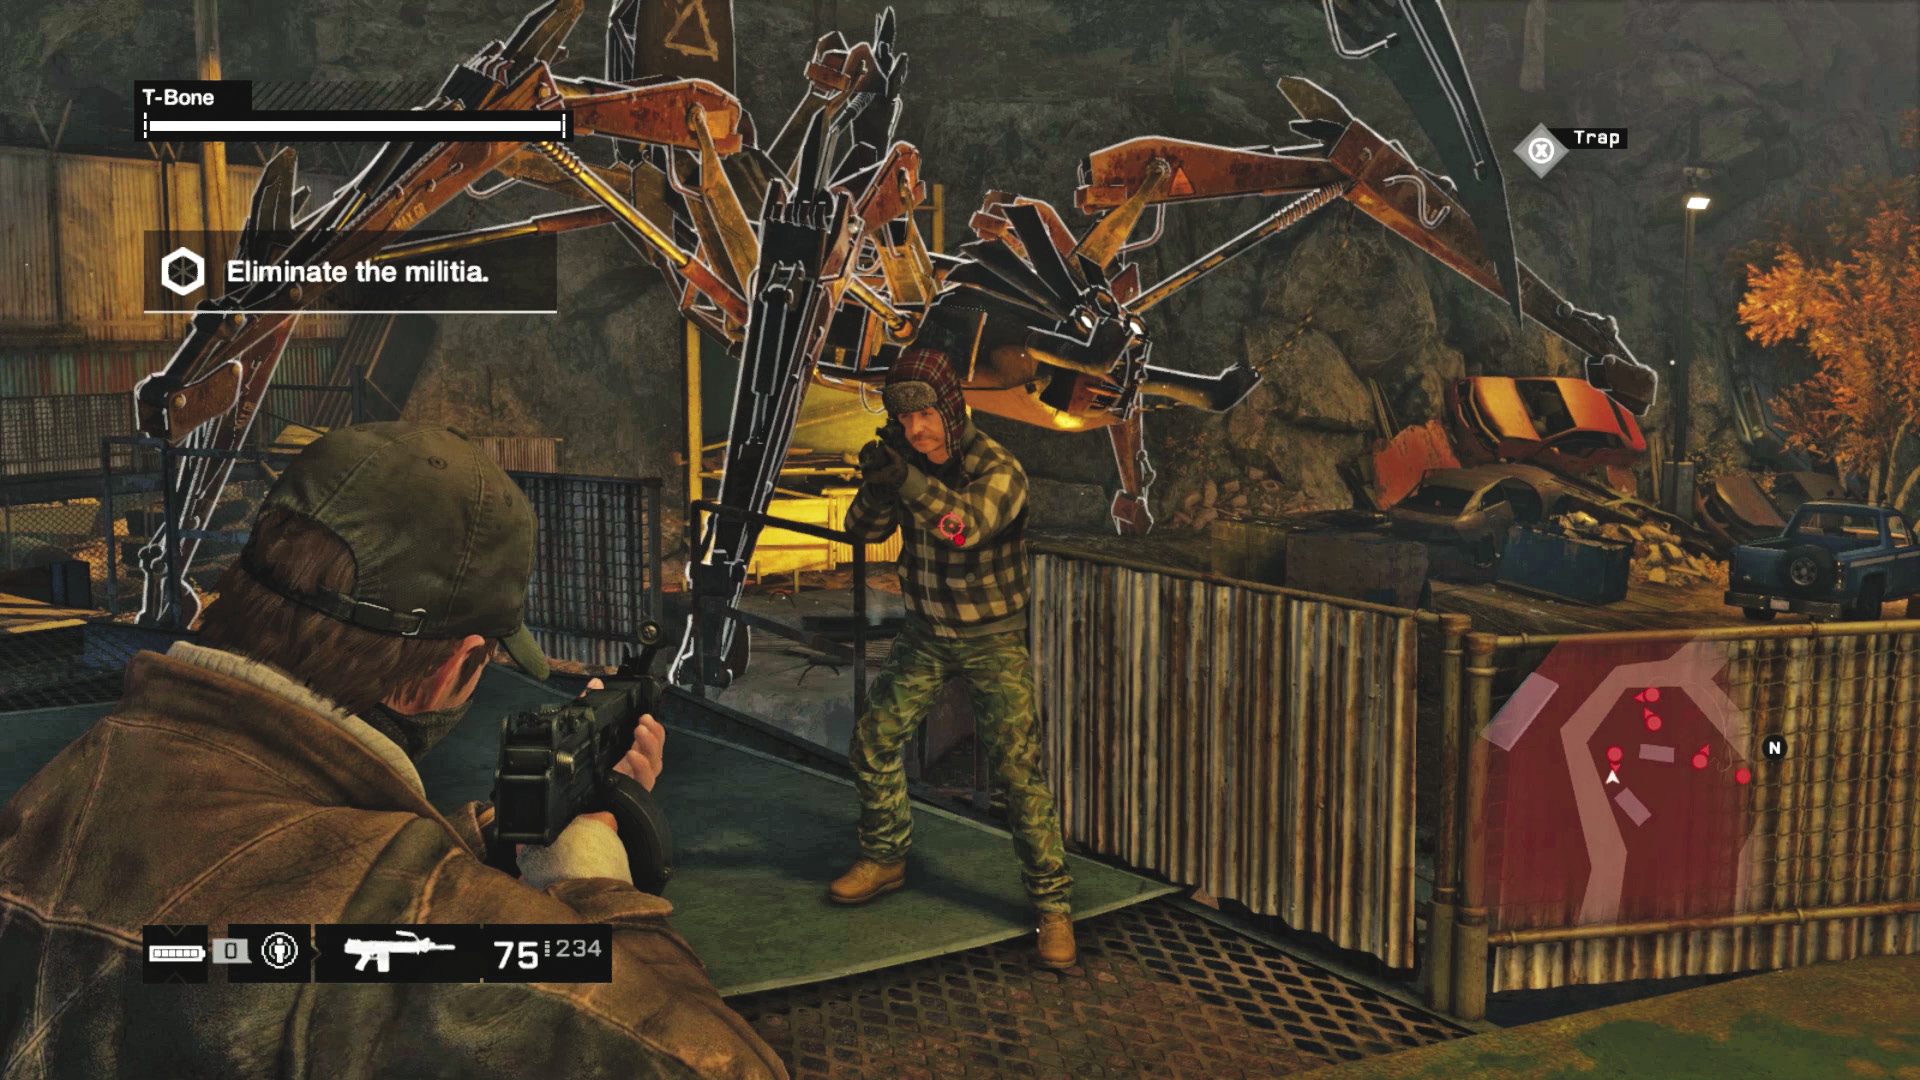
 Aggressive // Violence: Massacring Some Hicks
Difficulty: 
Some of the foes are under the helipad or stuck behind cover that T-Bone’s sculptures can’t reach with their fire. This is where you step in:
Dart from cover to cover, and bring an assault rifle, machine gun, or pistol to the heads of each militia foe.
If a foe is hiding behind debris, lob grenades into cover or punt them in with your launcher.
Snipe from the bus platform.
Run in with quick shotgun blasting, but this is dangerous.
Step around corners to execute melee-range takedowns with your weapon.
 Driving // Offensive: Ramming Militia for Kicks
Difficulty: 
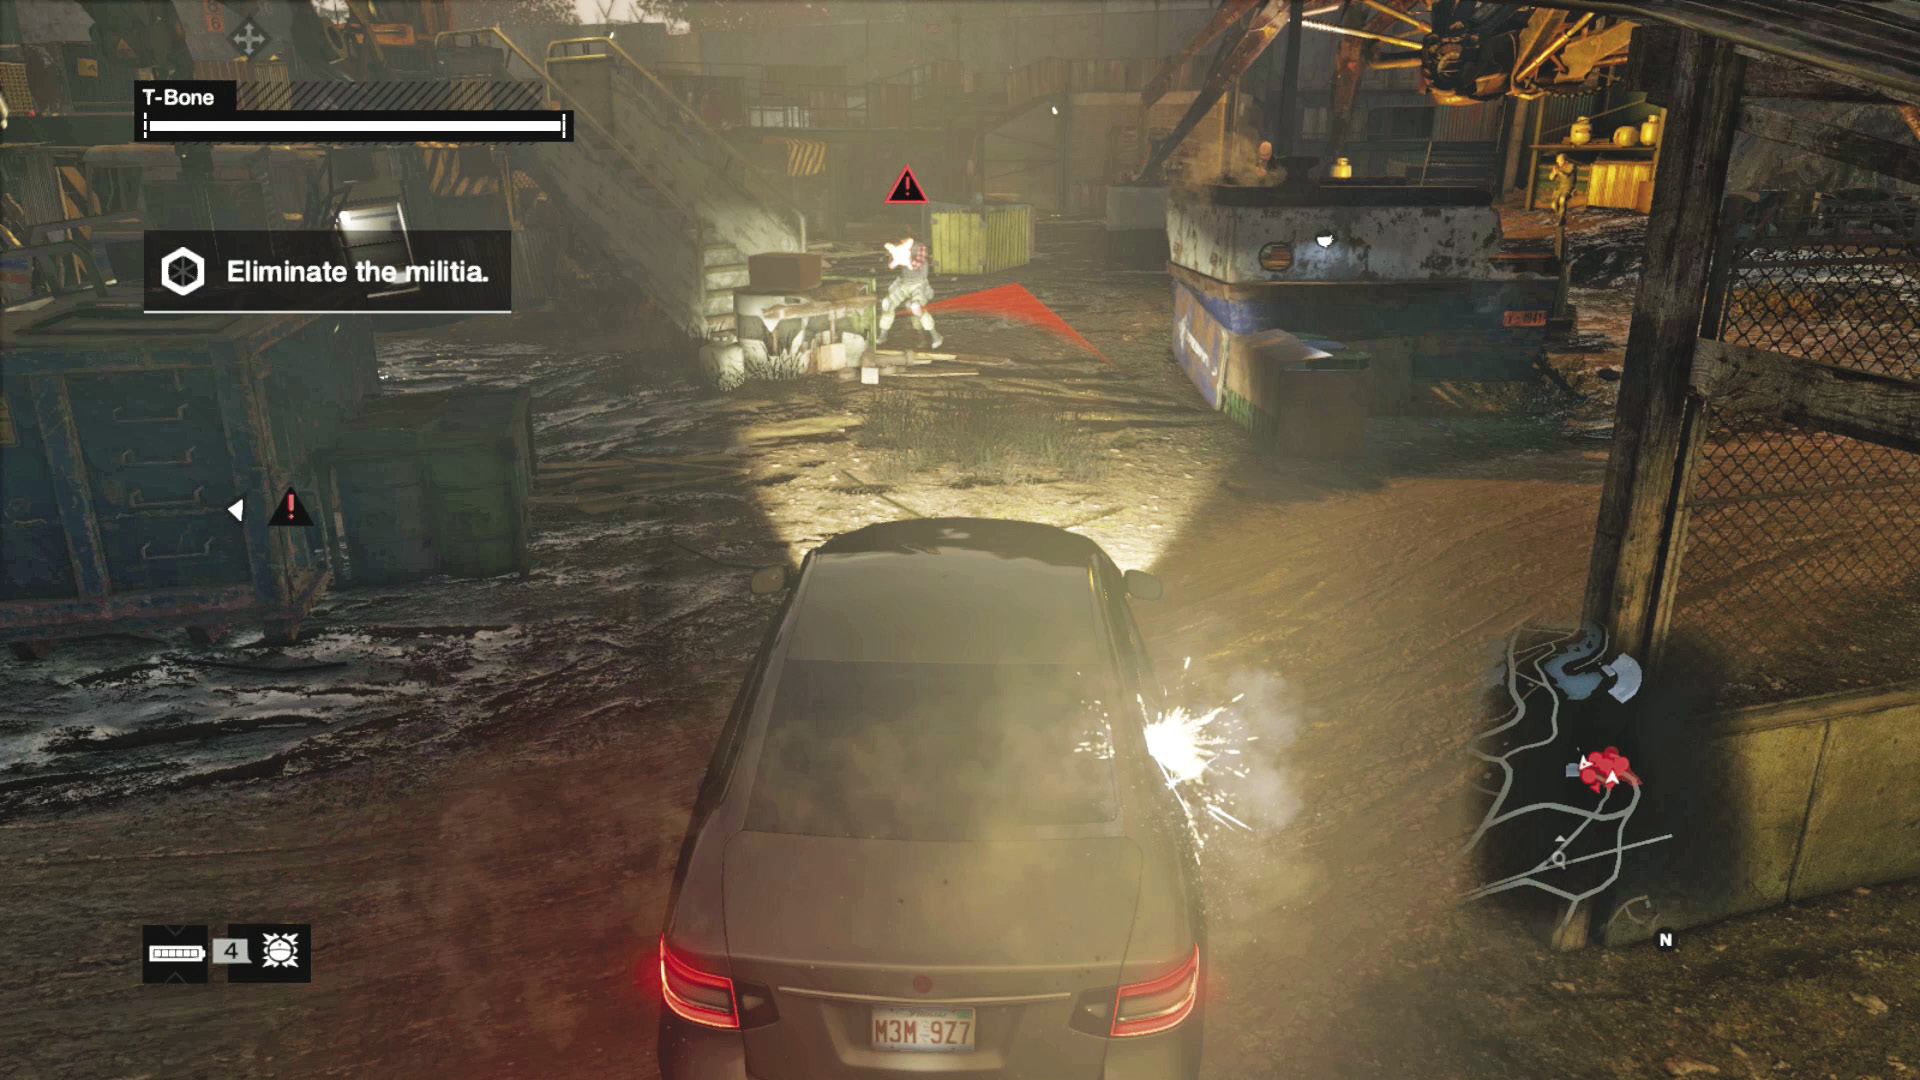
In this or any of the later militia assaults, you can stay to the main circular dirt track between the sculptures and drive through the place, stopping from your movable cover to remove threats or run them over without getting out. However, this isn’t really feasible during the next (crazy) part of the proceedings, as you’re easily stuck and easily spotted and attacked.
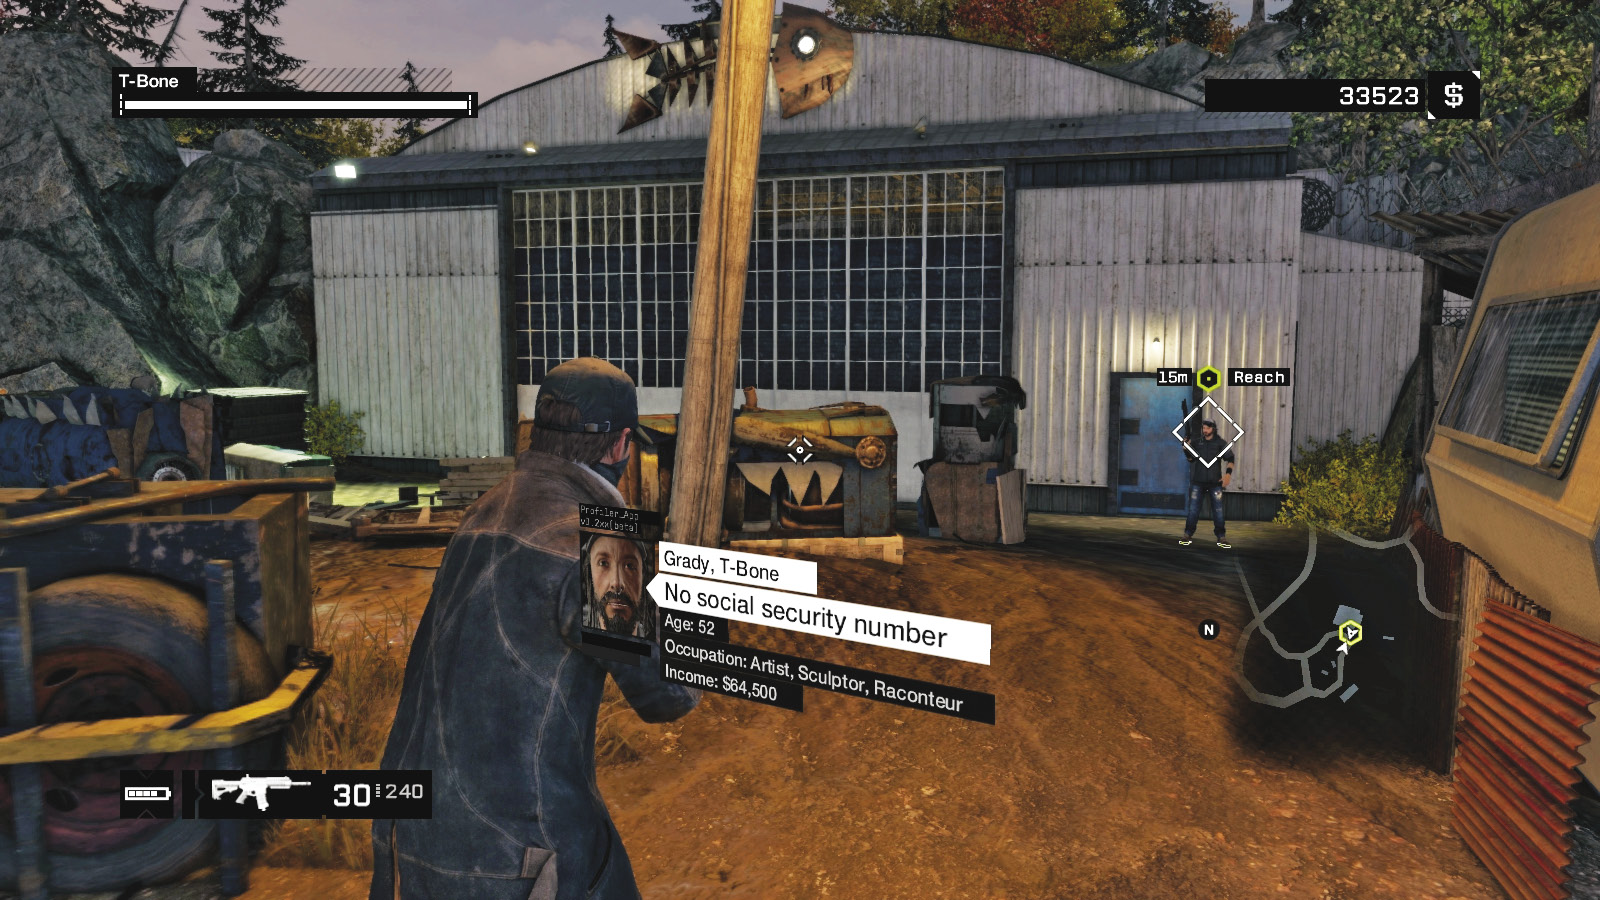
When you remove all threats, the objective updates. Reach T-Bone, who is close to the corrugated warehouse exterior, which bears his fishy insignia.
5.3 S#!T! I’M GONNA HAVE TO BLOW THE WHOLE PLACE UP!
|
|
 Follow and defend T-Bone
 Defend T-Bone
 Location / Pawnee // Junkyard
 Escort
 Data Hack
 Lethal Force Likely
 Melee Force Likely
Difficulty: 
Overview
Completion Point: T-Bone’s location, as you progress through the junkyard.
Dangers (Wave 2): Three militia (Gunmen x2, Elite x1) en route to central platform.
Dangers (Wave 3): Three militia vehicles, each carrying two foes (Veteran x3, Elite x2, Enforcer x1) parking to the north. One is a Shot-Caller.
Dangers (Wave 4): Four militia on foot (Gunman x1, Veteran x1, Elite x2) approaching from the north and east.
Dangers (Wave 5): Six militia (Gunman x1, Veteran x3, Elite x2), four on foot and two in truck, approaching from west and north.
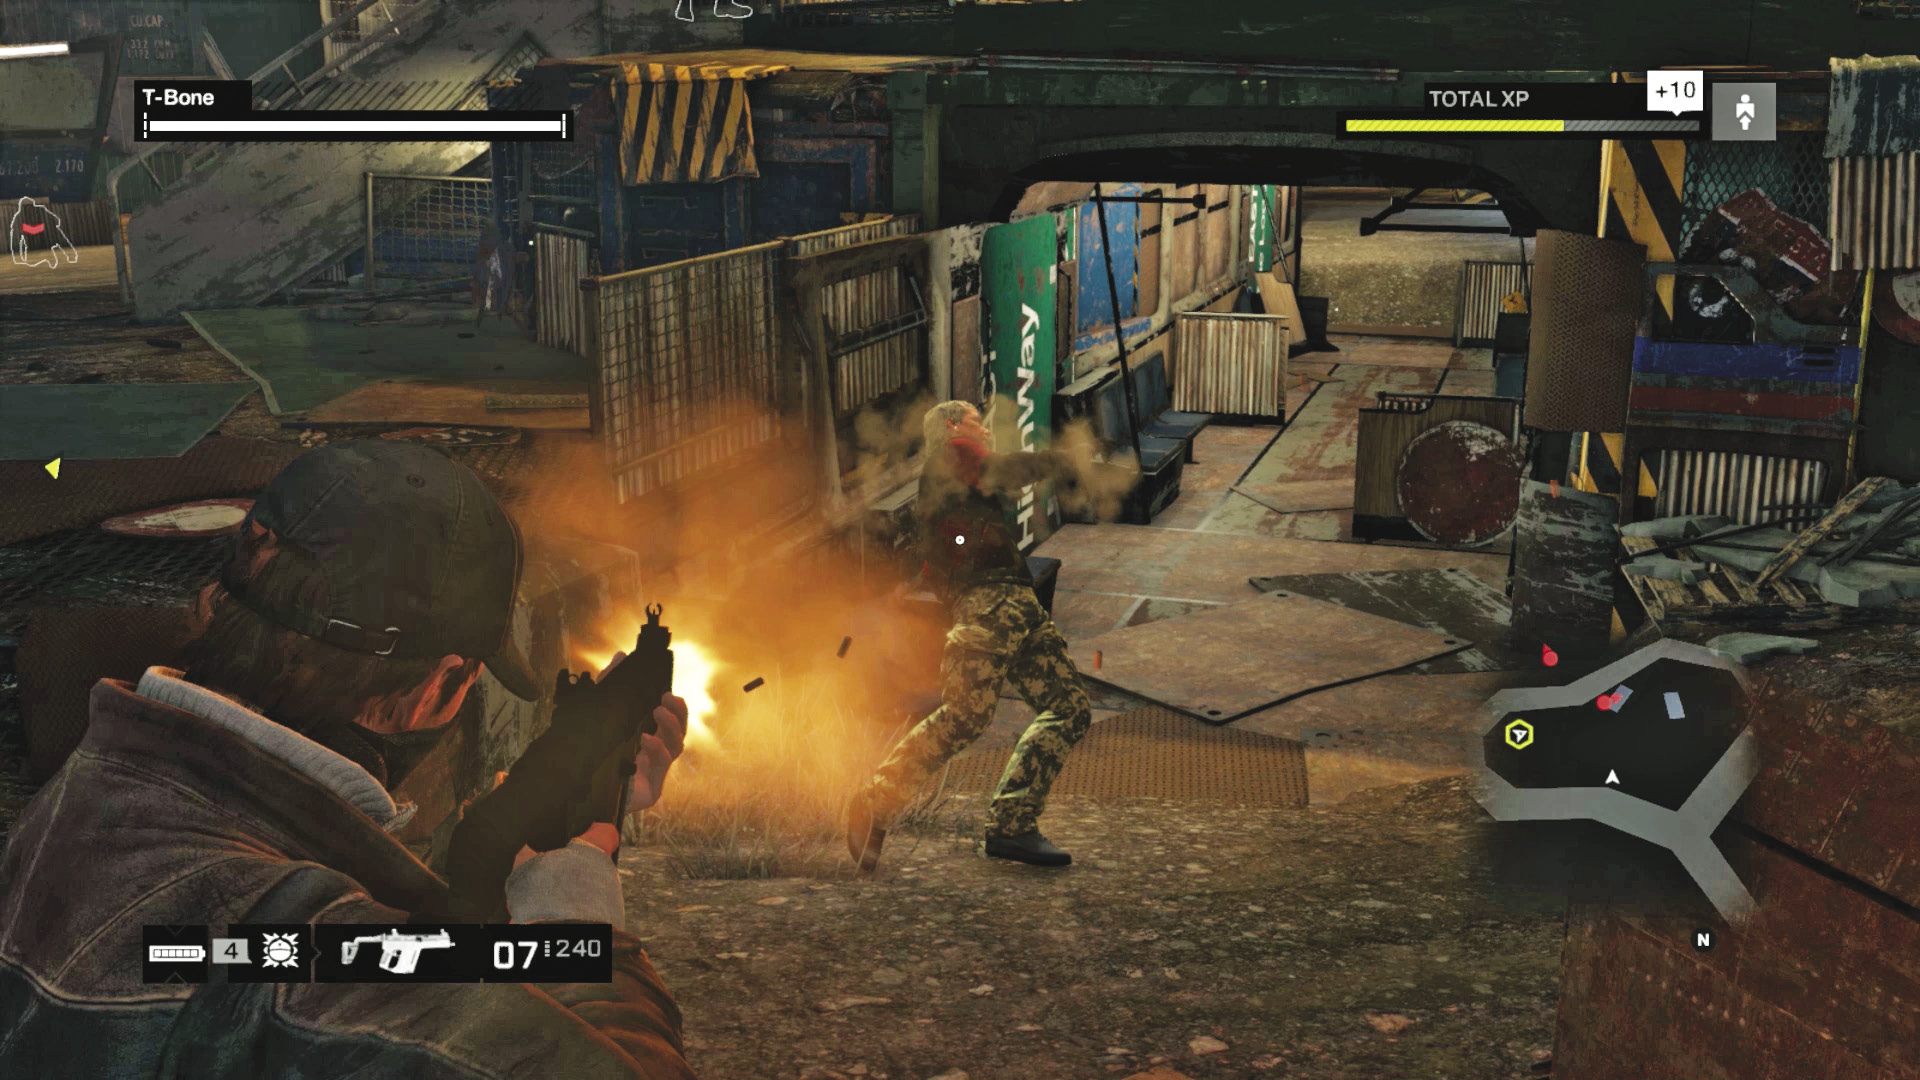
Once T-Bone starts to move from the rendezvous point toward the central helipad platform, tag along, bringing an automatic weapon (or brandish a pistol with a deadly aim). Profile as you go so that when three militia scramble from behind their metallic cover (one right, one atop the helipad, and one left on the ground), you can drop behind debris and quickly finish each one in turn. Save other weaponry for the bigger fight to come.
Progression Plans
At this point, everything goes nuts. Militia units begin arriving from the two entrances, multiple foes spread out and begin to surround you, and you need to fight for your life and defend T-Bone’s. Fortunately, there are methods to survive this madness:
 Aggressive // Violence: Takedowns in the Name of T-Bone
 Difficulty:
These militia are waving more than their manifestos at you, so it’s important to prepare for their arrival as swiftly as possible:
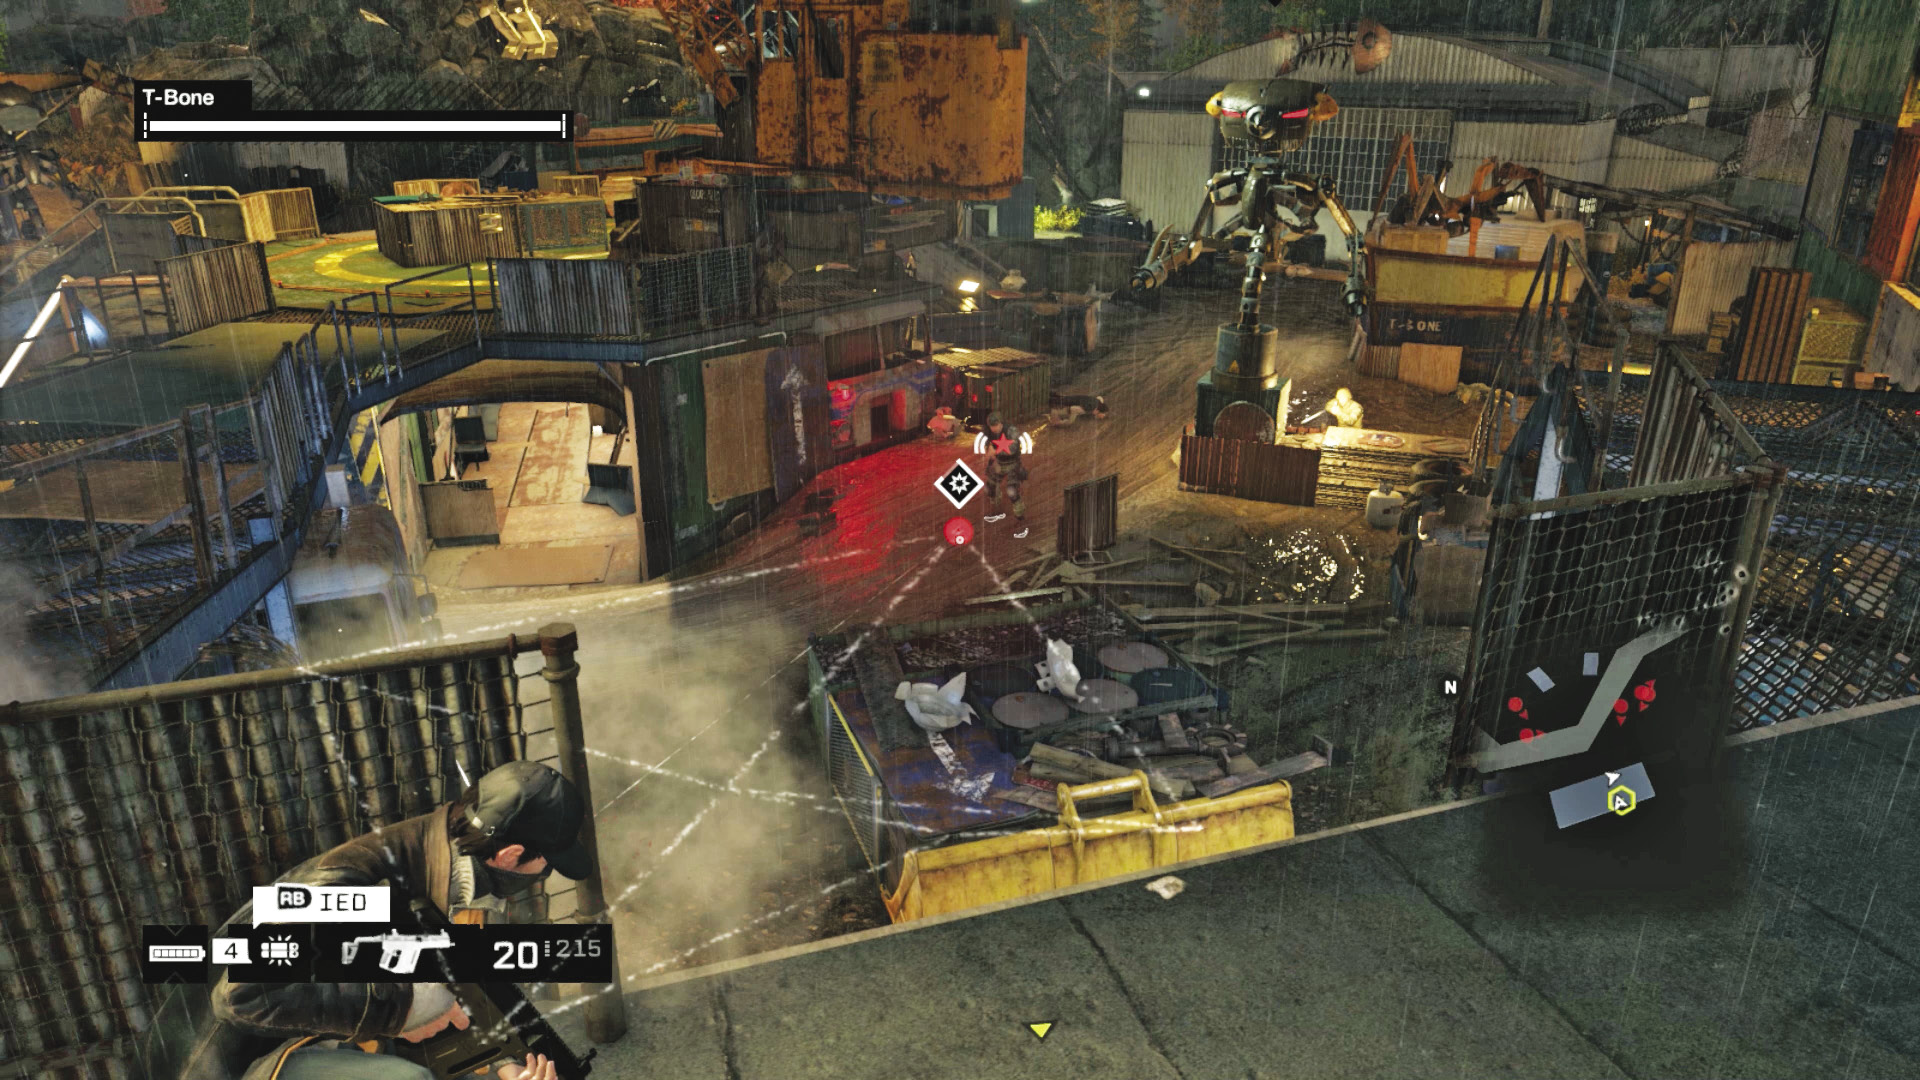
You should already have a full complement of IEDs on you. This is the time to utilize them. Rush the road area where the foes park—anywhere between the scorpion to the dragon sculptures along the junkyard’s north side—and drop up to three bombs. Or expertly lob them from the helipad platform. When the enemies arrive, make sure they have exited the vehicles before you detonate (they can still survive if you detonate before they exit), and blow them up if you aren’t using proximity IEDs! Remember to lay more IEDs for subsequent vehicle arrivals, and remain vigilant, especially on your minimap, as the red diamonds indicate their vehicles showing up.
You can also drop IEDs at the bottom of either set of steps, so foes that break through the sculpture fire have a final problem when they try to scale the steps. This is effective, but takes out only one or two foes at a time. However, it can save your life if you’re primarily hiding and using cameras to detonate sculptures and IEDs remotely.
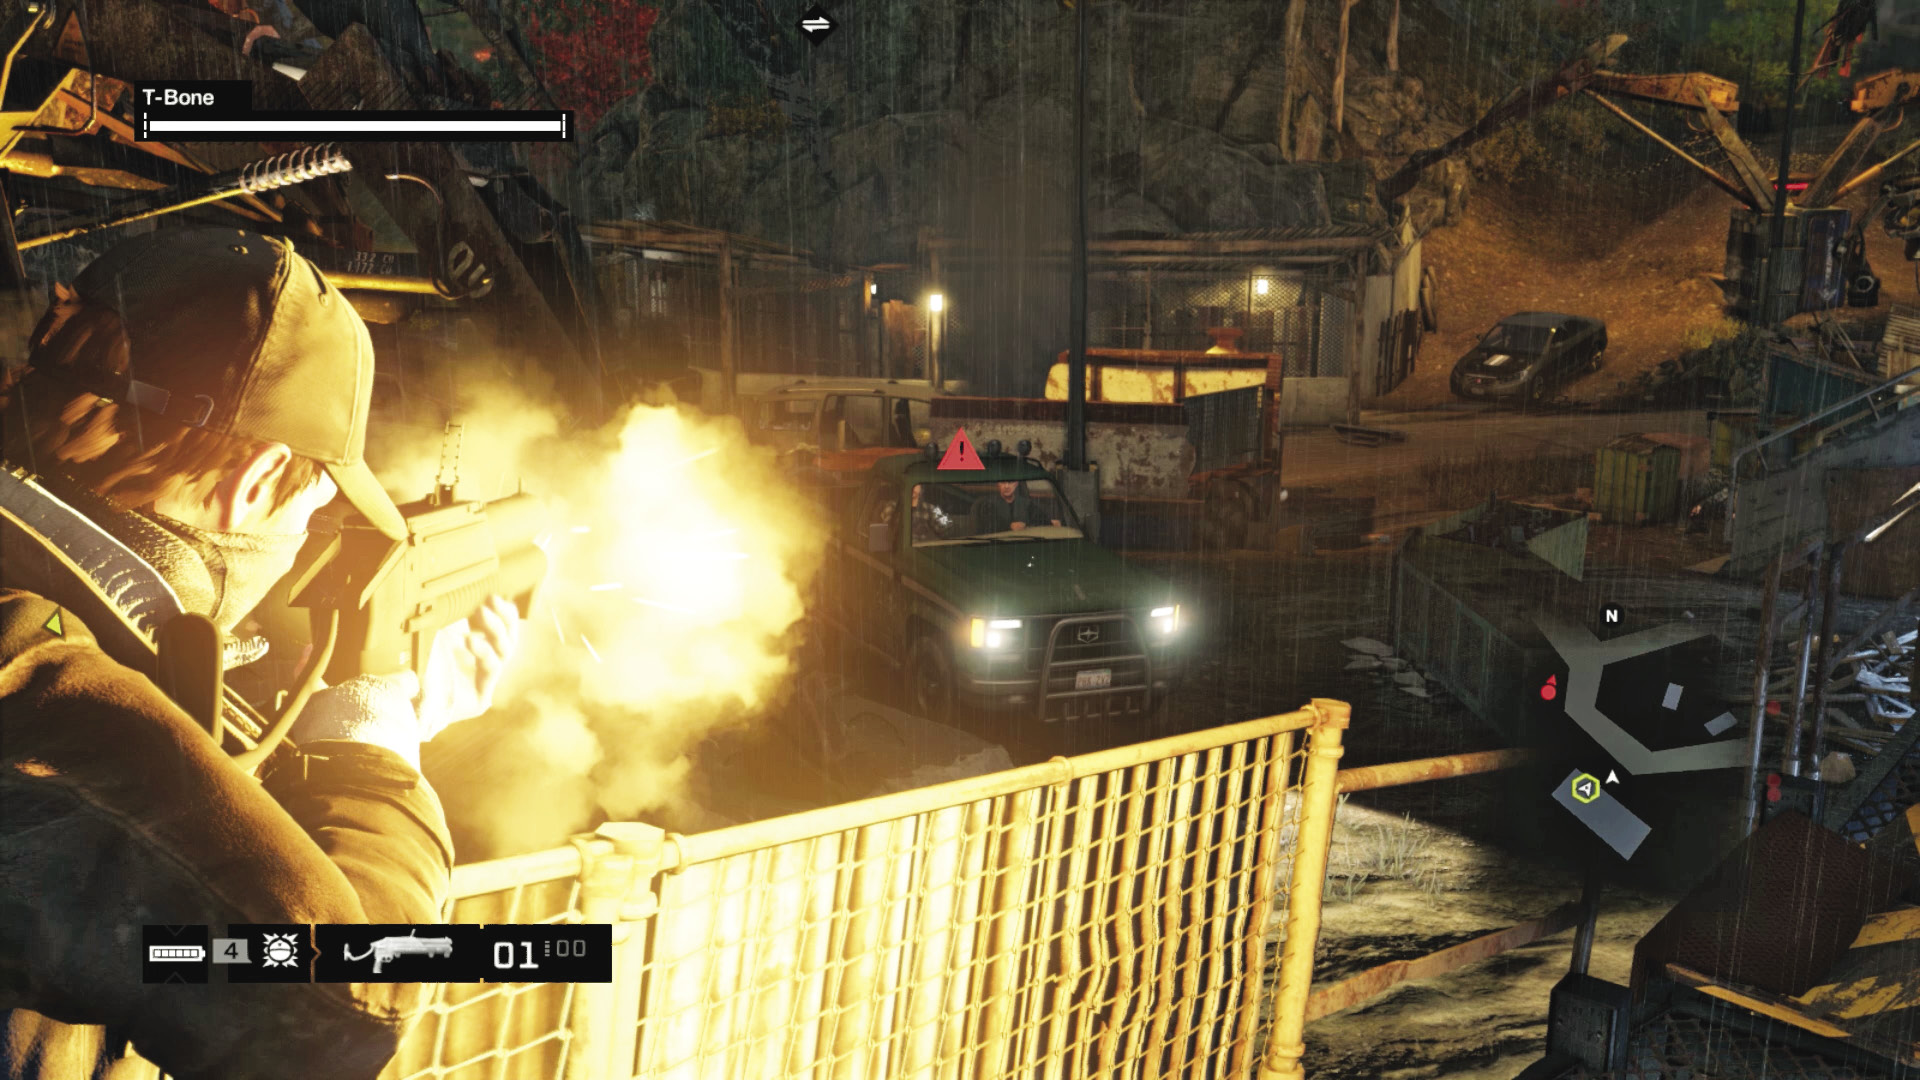
Got a grenade launcher or gathered some frag grenades? Great! Have both? Even better! Because a similar tactic can work extremely well if you scramble down to where the vehicles are parking or stay on the metal bridge overlooking the scorpion, and arc in grenades just as the foes exit their vehicles.
Keep more frag grenades for flushing enemies who have successfully avoided the metal monsters and are hiding in cover you can’t easily access.
 Aggressive // Smart: Calling Heavy Ordnance from Your Phone
 Difficulty:
Once the enemies leave their vehicles and spread out around the junkyard, T-Bone’s sculptures come into play. In fact, they are vital! Use the scorpion, robot, dragon, spider, and second robot to massacre the militia. Drop to cover behind the table with the IEDs. You can:
Slowly spin clockwise around the helipad platform you’re standing on, activating the sculptures in turn and firing at any foes the attacks might miss or those encroaching on your stairs or platforms.
Check your minimap for the highest concentration of foes, and then access the sculpture nearest the cluster of enemies and activate it. This thins out the enemies so you’re not overwhelmed.
Utilize the cameras and remotely activate the sculptures (along with any IEDs you’ve laid); this isn’t quite as safe as doing it from Pierce’s own perspective, as foes can storm the stairs and you lose vital seconds moving back into Aiden’s body to react to them.
As the fight progresses, the energy required to activate the machines becomes intermittent. Now is the time to fall back on violent tactics, then start up the machines as soon as power is restored.
Use the sculptures as often as you can; this makes battling the waves of foes almost straightforward!
Don’t overlook the two Protectors on the helipad; use them to stop incoming fire and hide behind, but lower them for a better view down to foes milling about.
 Aggressive // Violence: Protecting Your Throne
 Difficulty:
Now that the full force of Blume’s militia is engaging you and T-Bone, there are more violent techniques to try:
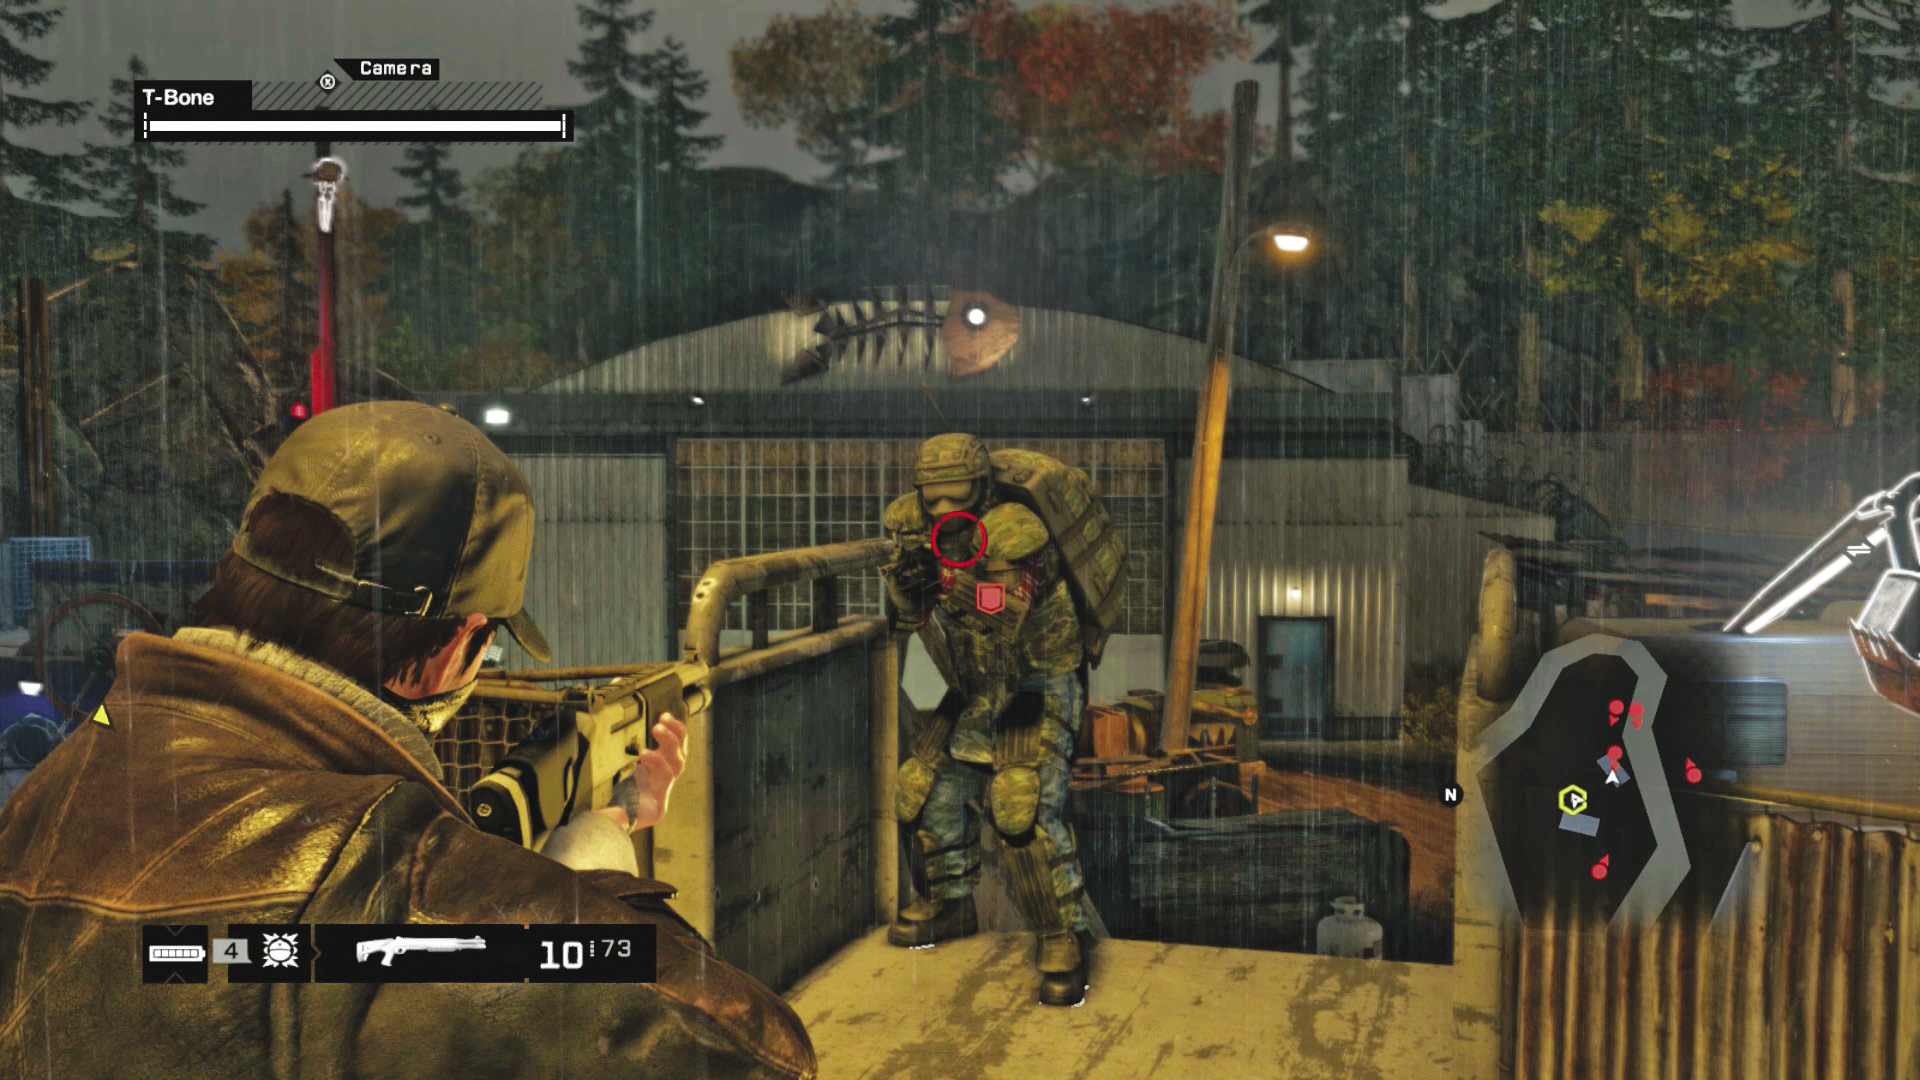
Roam the metal walkway to the west balcony for a better view of enemies, and cut them down from here. But watch T-Bone, as he’s more exposed back on the helipad. A powerful shotgun is the best weapon to wield here.
You’re likely to be severely wounded while activating machinery and not seeing enemies at extremely close quarters, such as a shotgun-wielding lunatic with a plaid armor vest sauntering up the helipad stairs or crouching on the helipad’s perimeter. Constantly check your map for foes very close to your location, and give them priority (as well as headshots).
There are canisters aplenty scattered throughout the yard; blast them to create small chain reactions and damage foes dug in behind cover.
The sniper rifle isn’t called for here; there’s simply too many enemies requiring your peripheral vision to find.
Only venture to the ground as a last resort—to hunt stragglers or flush out enemies when just a few remain. Otherwise, you’re likely to be surrounded, and possibly damaged by T-Bone’s machines if you activate them near you.
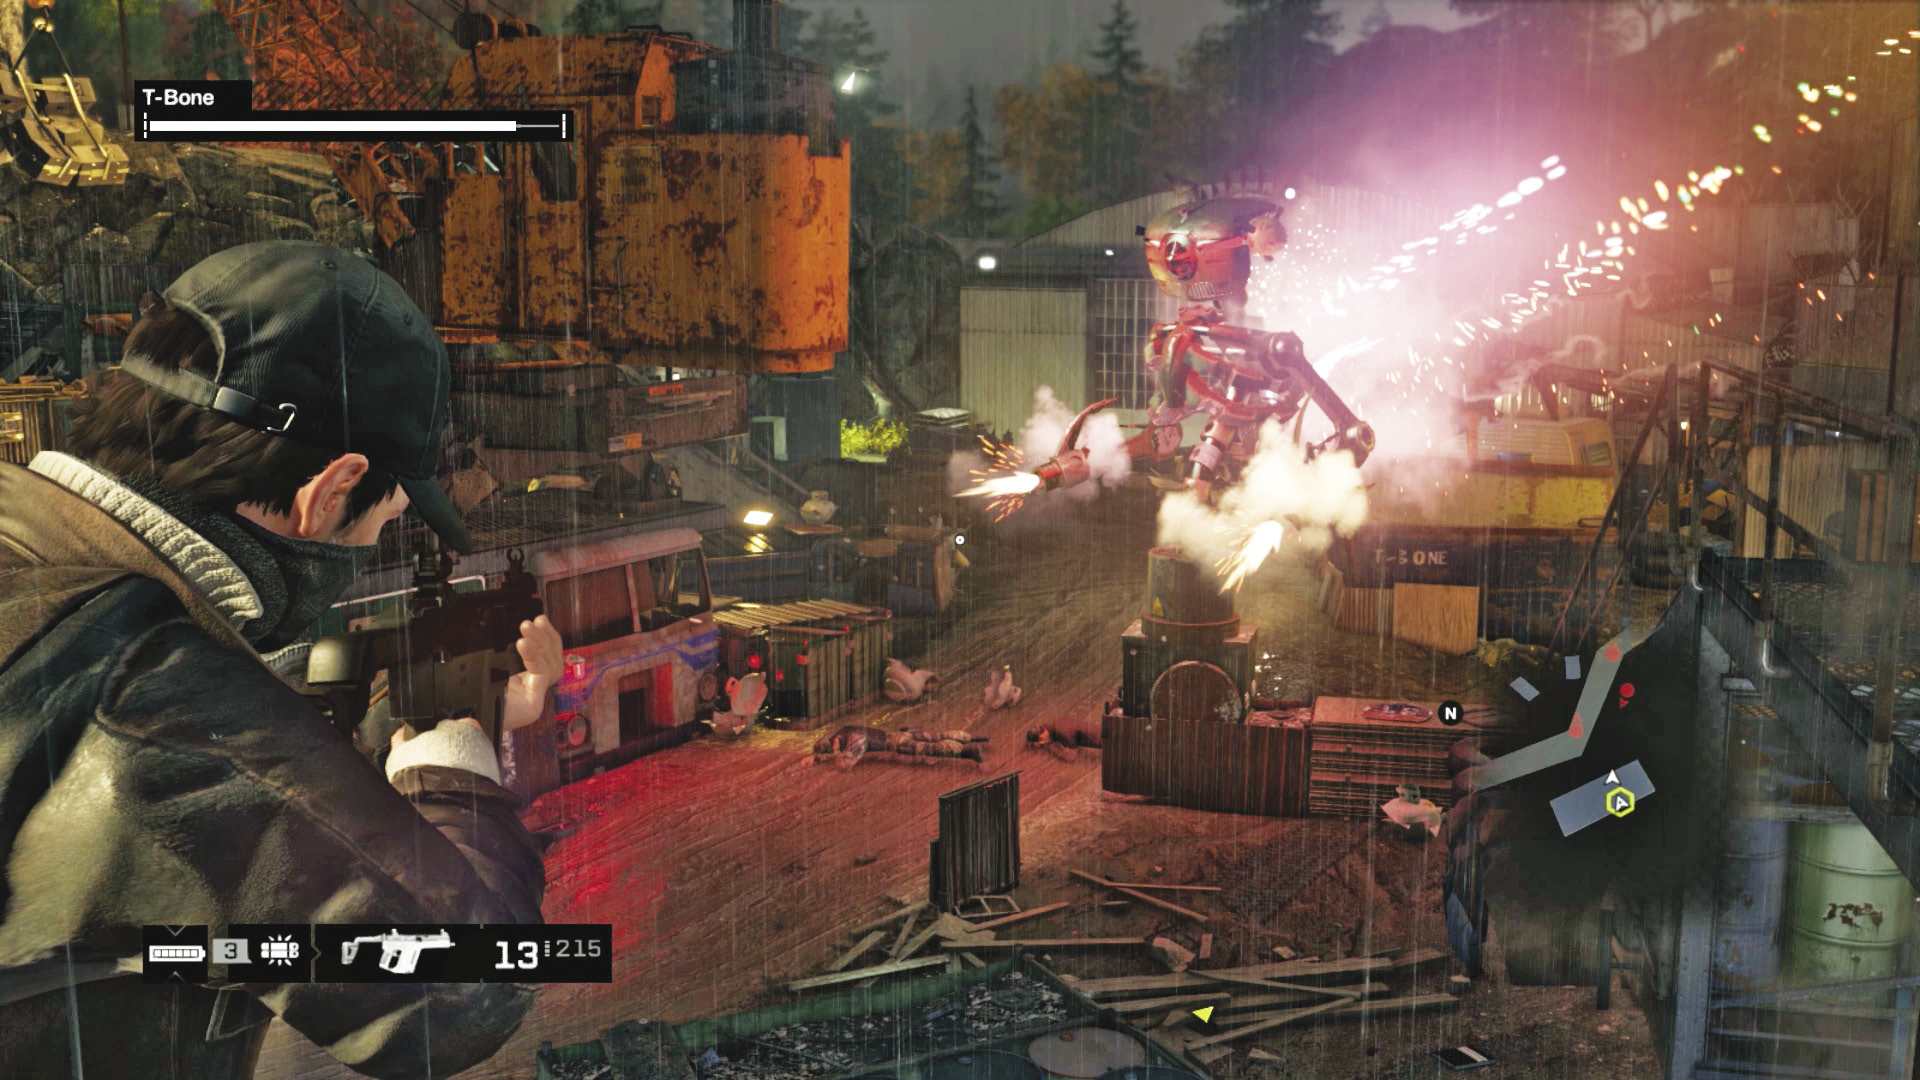
As combat progresses, T-Bone heads to the western balcony to prep his bomb, which needs additional time to “percolate.” Then wave four and five of the enemies start to arrive. Your tactics to deal with them are similar to before. Keep yourself and T-Bone alive at all costs!
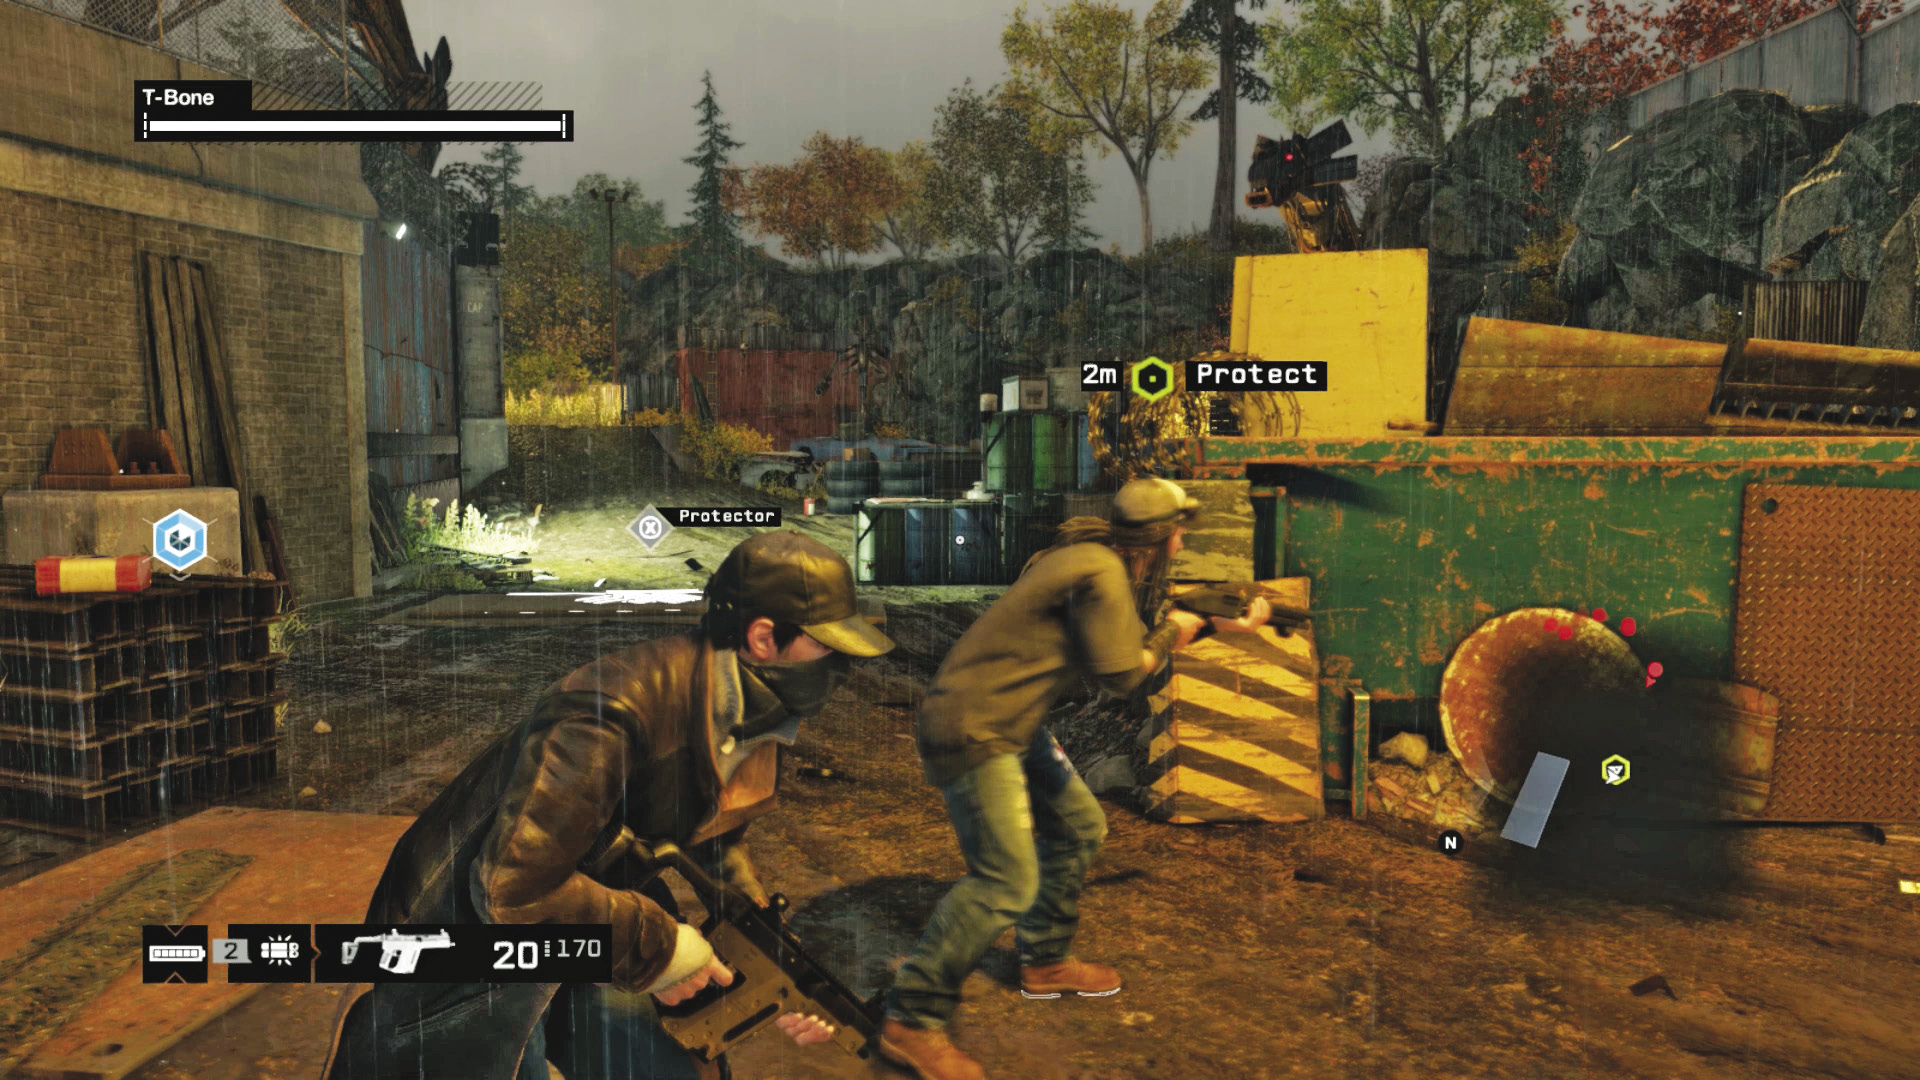
When the last militia of this wave falls, gather anything you can (IEDs you haven’t picked up yet) and follow T-Bone up the metal bridge, through the previously locked mesh gate, and into the side yard. The combat isn’t over yet!
5.4 HERE. YOU WANNA DO THE HONORS?
|
|
 Regroup with T-Bone
 Eliminate the enemies to help T-Bone escape
 Regroup with T-Bone
 Location / Pawnee // Junkyard
 Escort
 Data Hack
 Lethal Force Likely
 Melee Force Likely
Difficulty: 
Overview
Completion Point: T-Bone’s location, as you progress through the side junkyard.
Dangers (Wave 6): Six militia (Veteran x3, Elite x2, Marksman x1), all on foot. Sniper on far container stack.
Junkyard Locations
The side junkyard is thin and features a multitude of debris neatly piled together in cover-friendly stacks. There is a balcony on the right (west), a raised area on the left (east), and a stack of cargo containers at the far end (south) where the sniper annoys you from.
Galloping Gerty II (Side Yard)
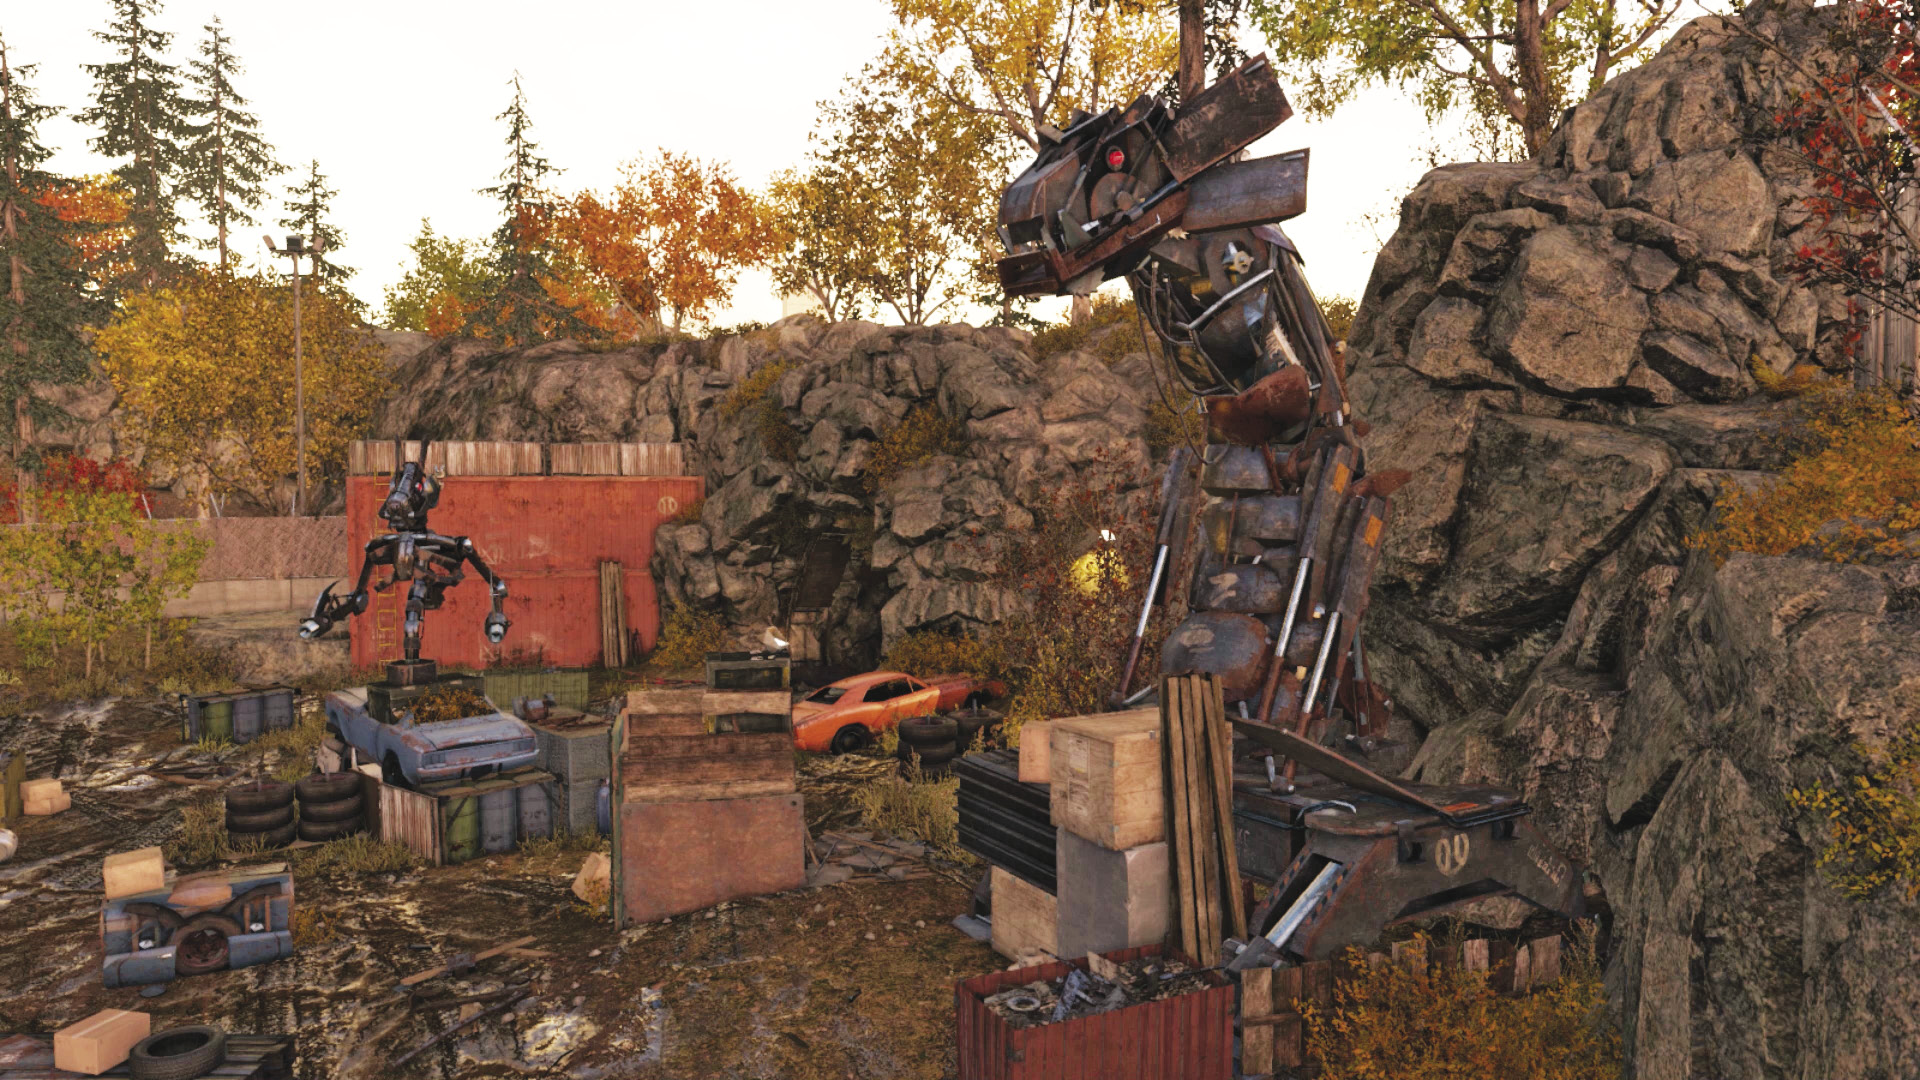
Danger Level: 
This dragon statue features the same devastating salvo as the one in the main yard. Access it as needed during this last battle, but be quick, as the enemy tends to race away from its area of effect as you appear.
Eat Crow III (Side Yard)
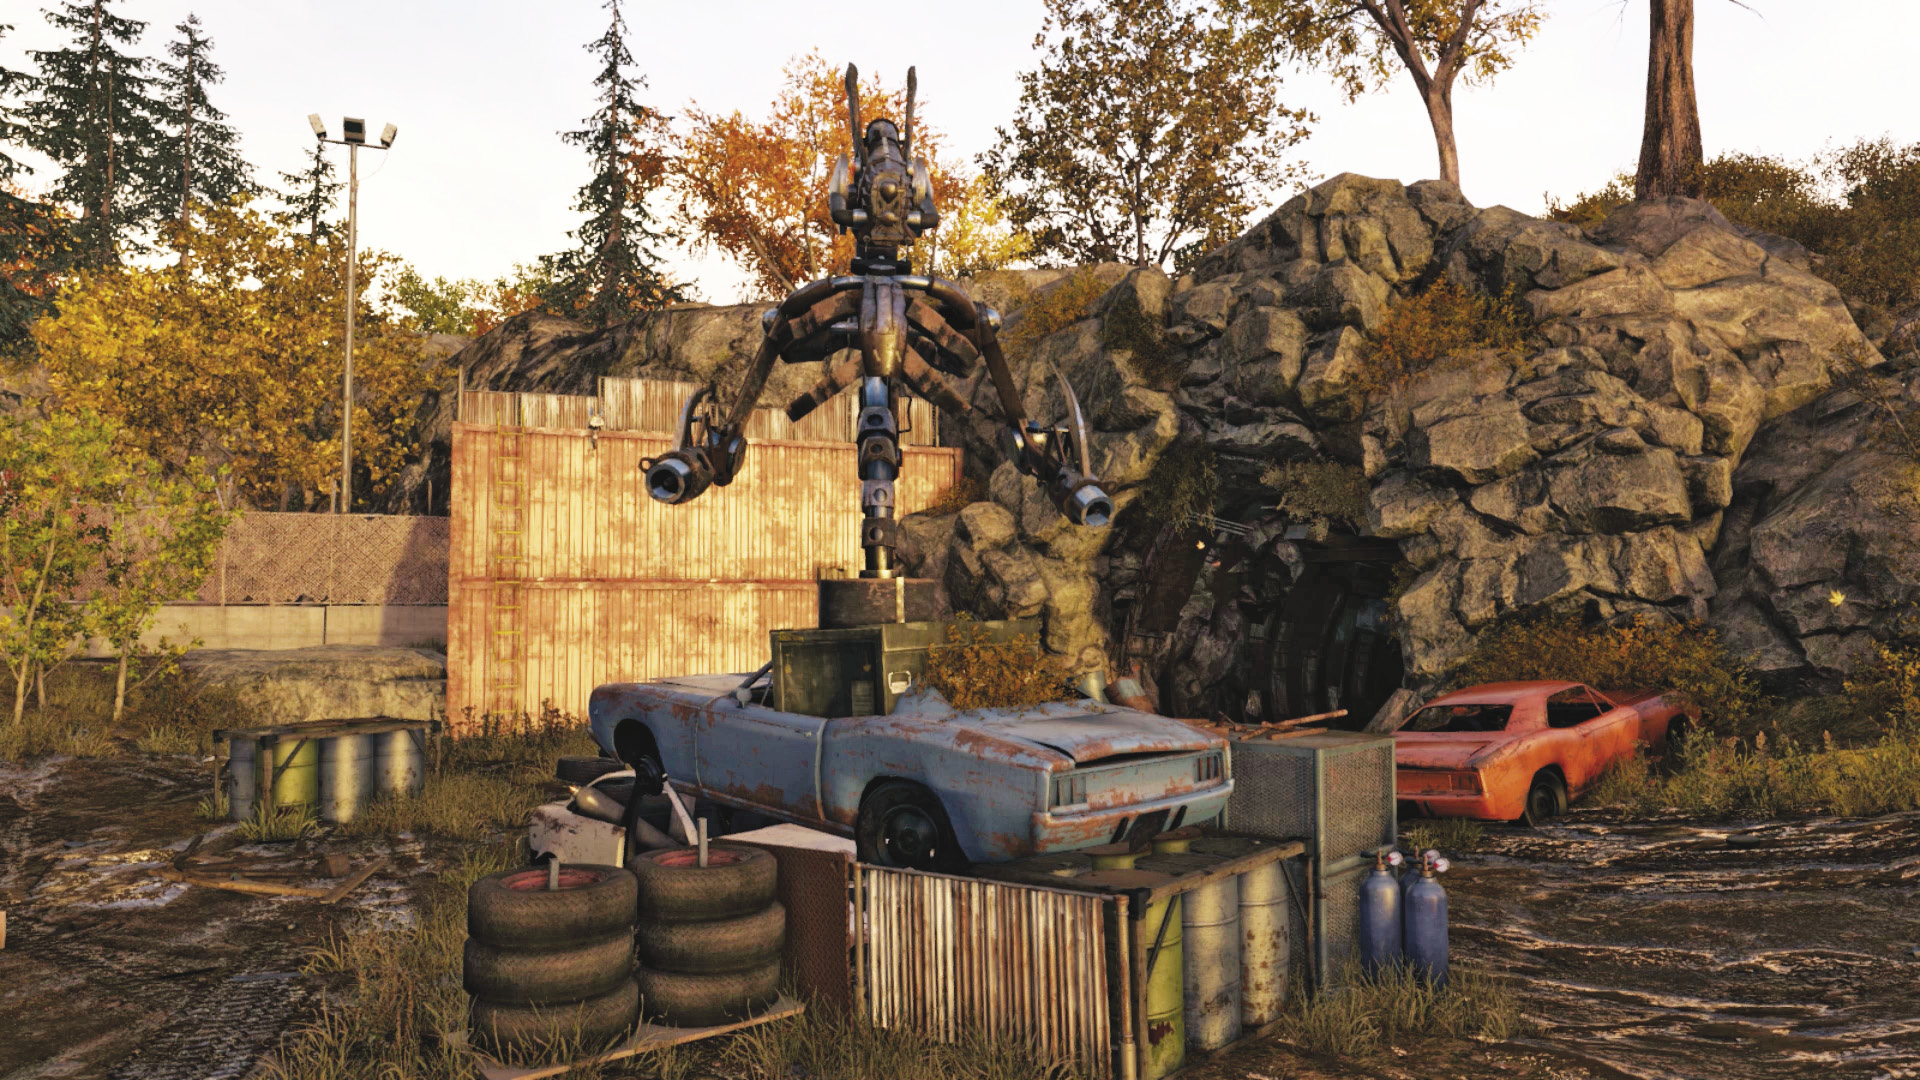
Danger Level: 
This sits at the yard’s far end, and as all the enemies tend to charge you, it becomes far less effective. Unless you’re accessing it immediately or can catch the sniper with it, avoid using this sculpture.
Progression Plans
Let’s not fall at the last hurdle here. Here are ways to prevail:
 Aggressive // Smart: Raining Down Death from Above
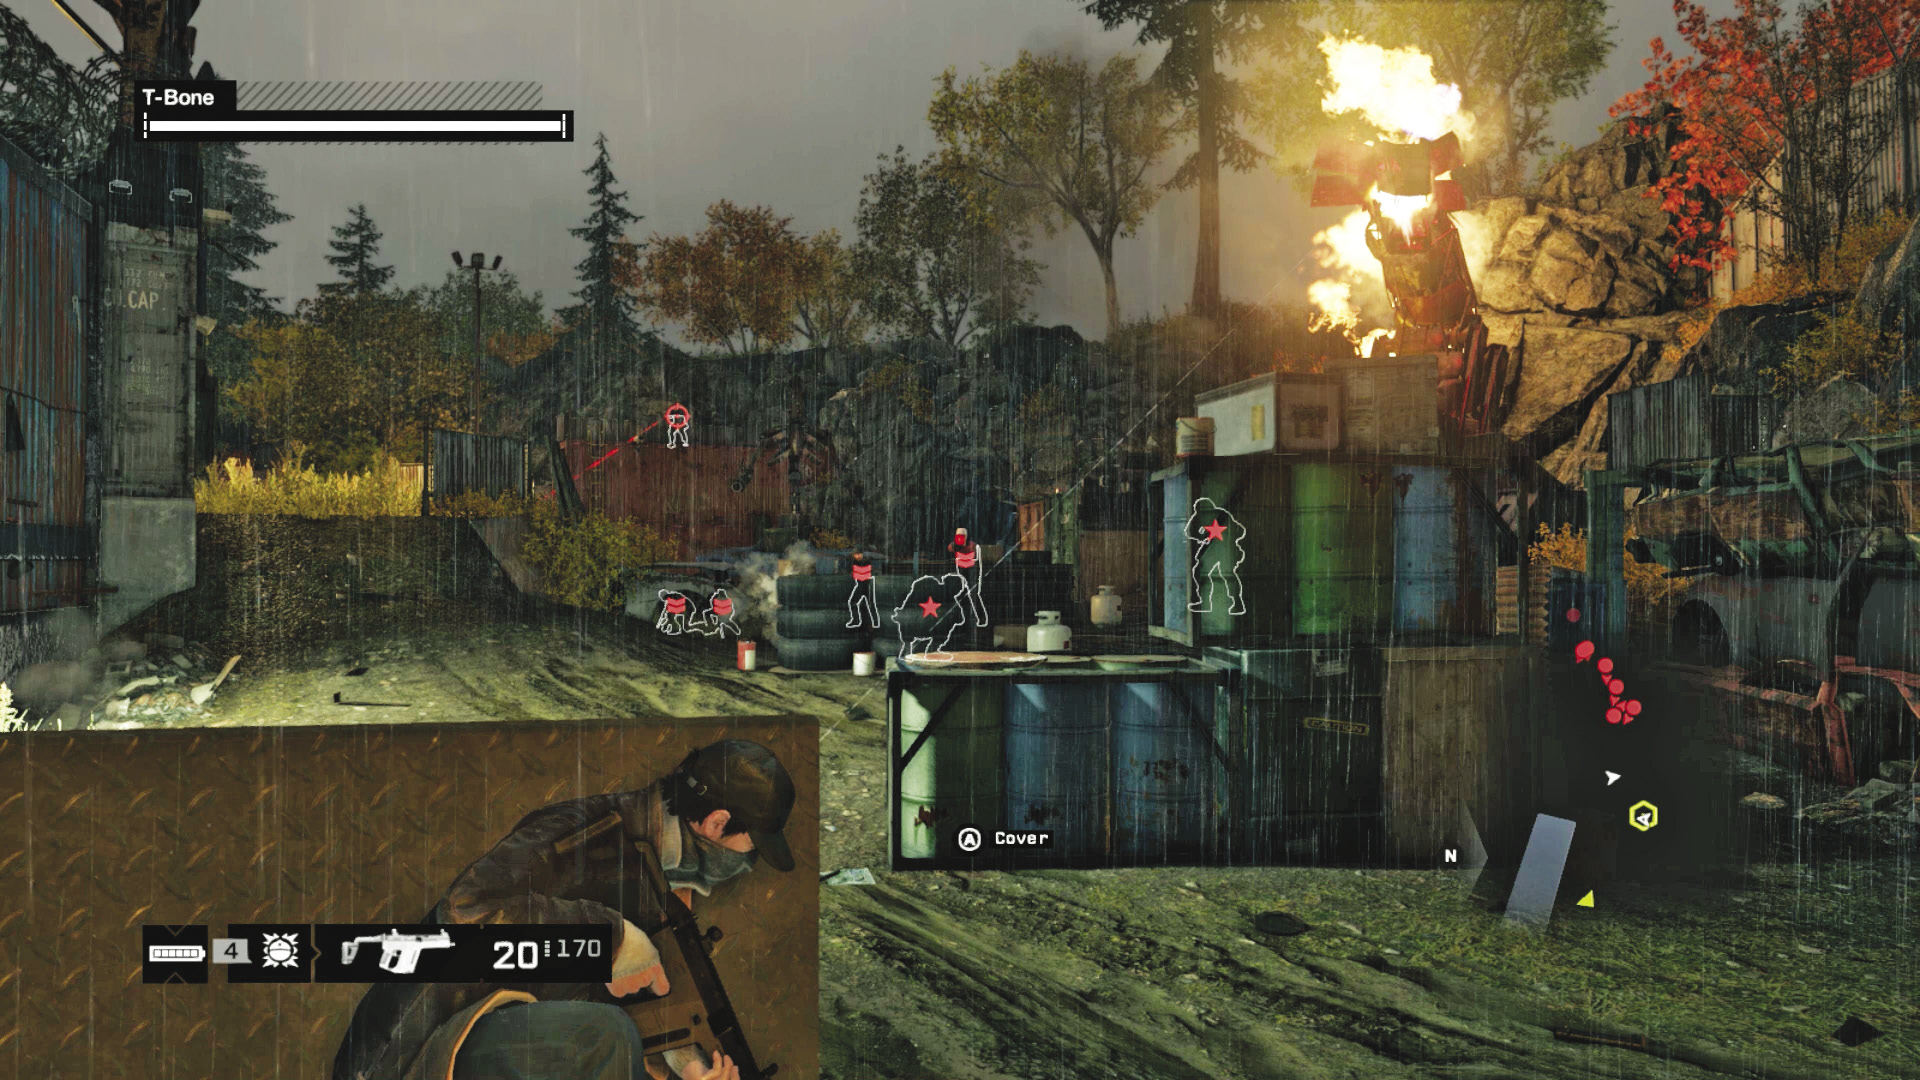
Difficulty: 
This area contains a Protector, cameras, and the two aforementioned sculptures. Immediately access the Galloping Gerty sculpture and thin the herd of foes charging your way (all are taking up defensive positions and advancing on the north end of this yard).
The Protector is reasonably helpful, but foes use it, too, so simply activate it, deactivate it if a foe is waiting behind it, and tackle them.
There’s no real time to use the cameras to mark foes or start any sculptures moving; you’re usually cut down by swarming foes. So fall back on blind, ugly violence.
The platform and upper ground on the edges of this gully are reasonable places to fire down on foes. However, combat usually is over so quickly, there’s little time for tactical planning. Get up here if you can.
 Aggressive // Violence: Gunfire and a Shove
 Difficulty:
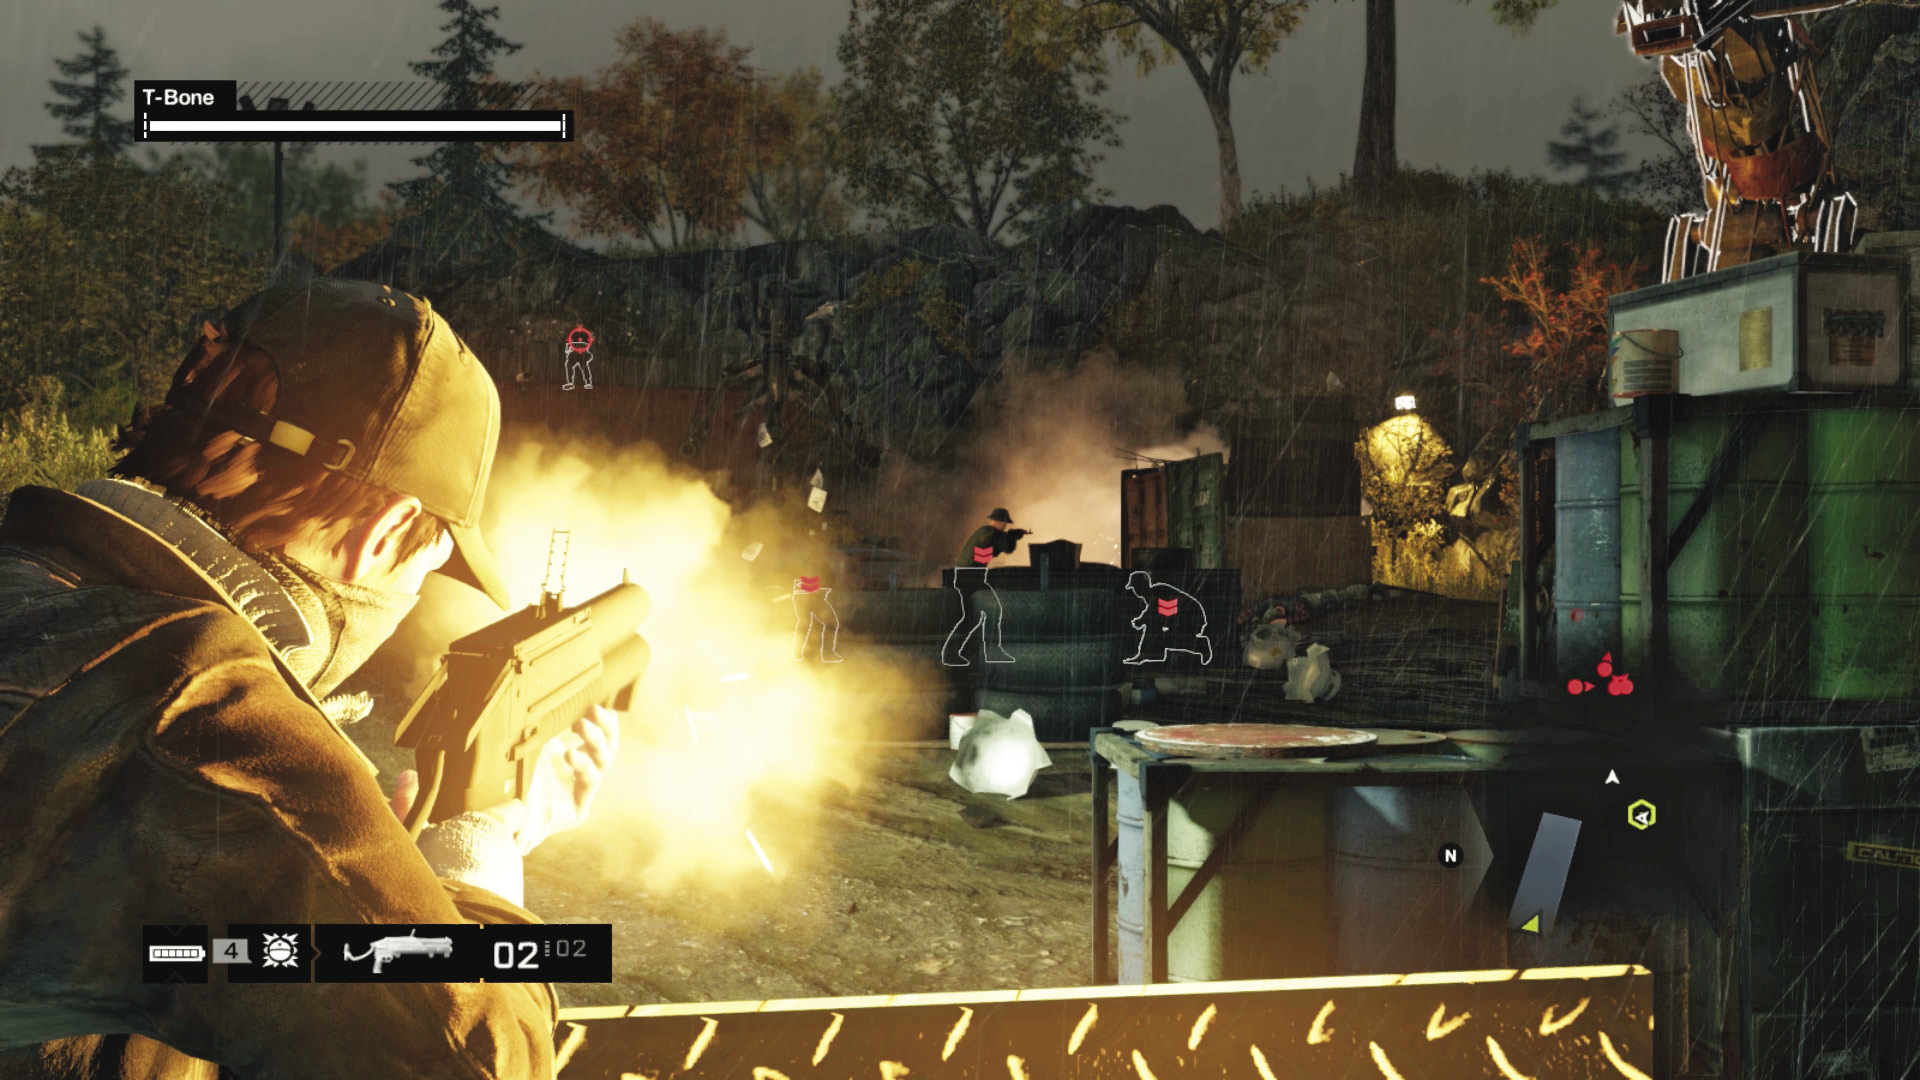
Drop behind the large pile of metal crap at the bottom of the steps, pausing only to activate Galloping Gerty. Spend the remaining time popping the heads of the incoming foes. Pistols, rifles, and pinpoint accuracy are recommended.
Grenades are also a great way to move foes out from cover. But they are secondary to a rifle with a full clip and your hiding spot.
The biggest problem is the sniper on the far containers; he effectively prevents you from rushing the enemies, meaning a defensive posture is far safer.
Dart from cover to cover and use melee gunning.
Gas canisters are also scattered everywhere; shoot at anything cylindrical, or canister shaped.
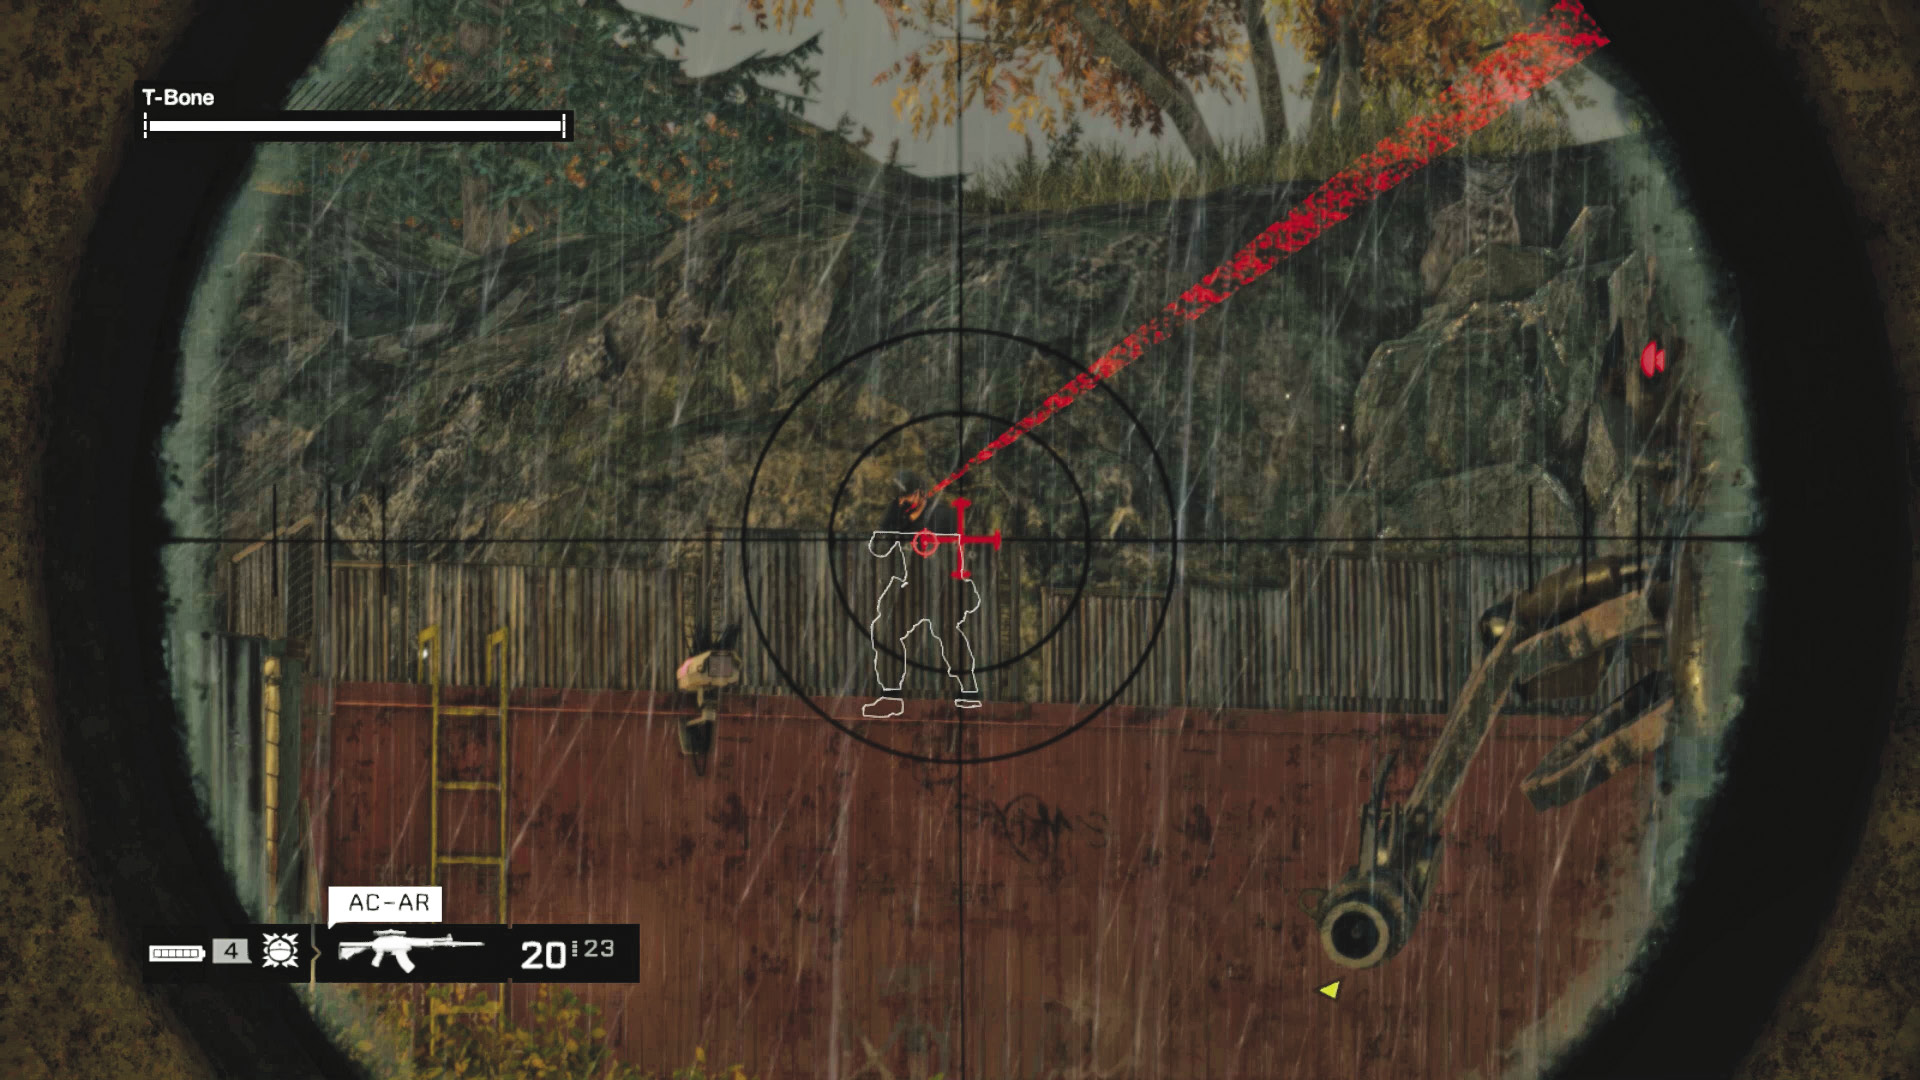
When you’ve dealt with all immediate threats, focus on the sniper. Quickly rush from cover to cover as you advance south, and shoot him from range. If you can’t get a bead on him, scale the container ladder and drop him from melee range.
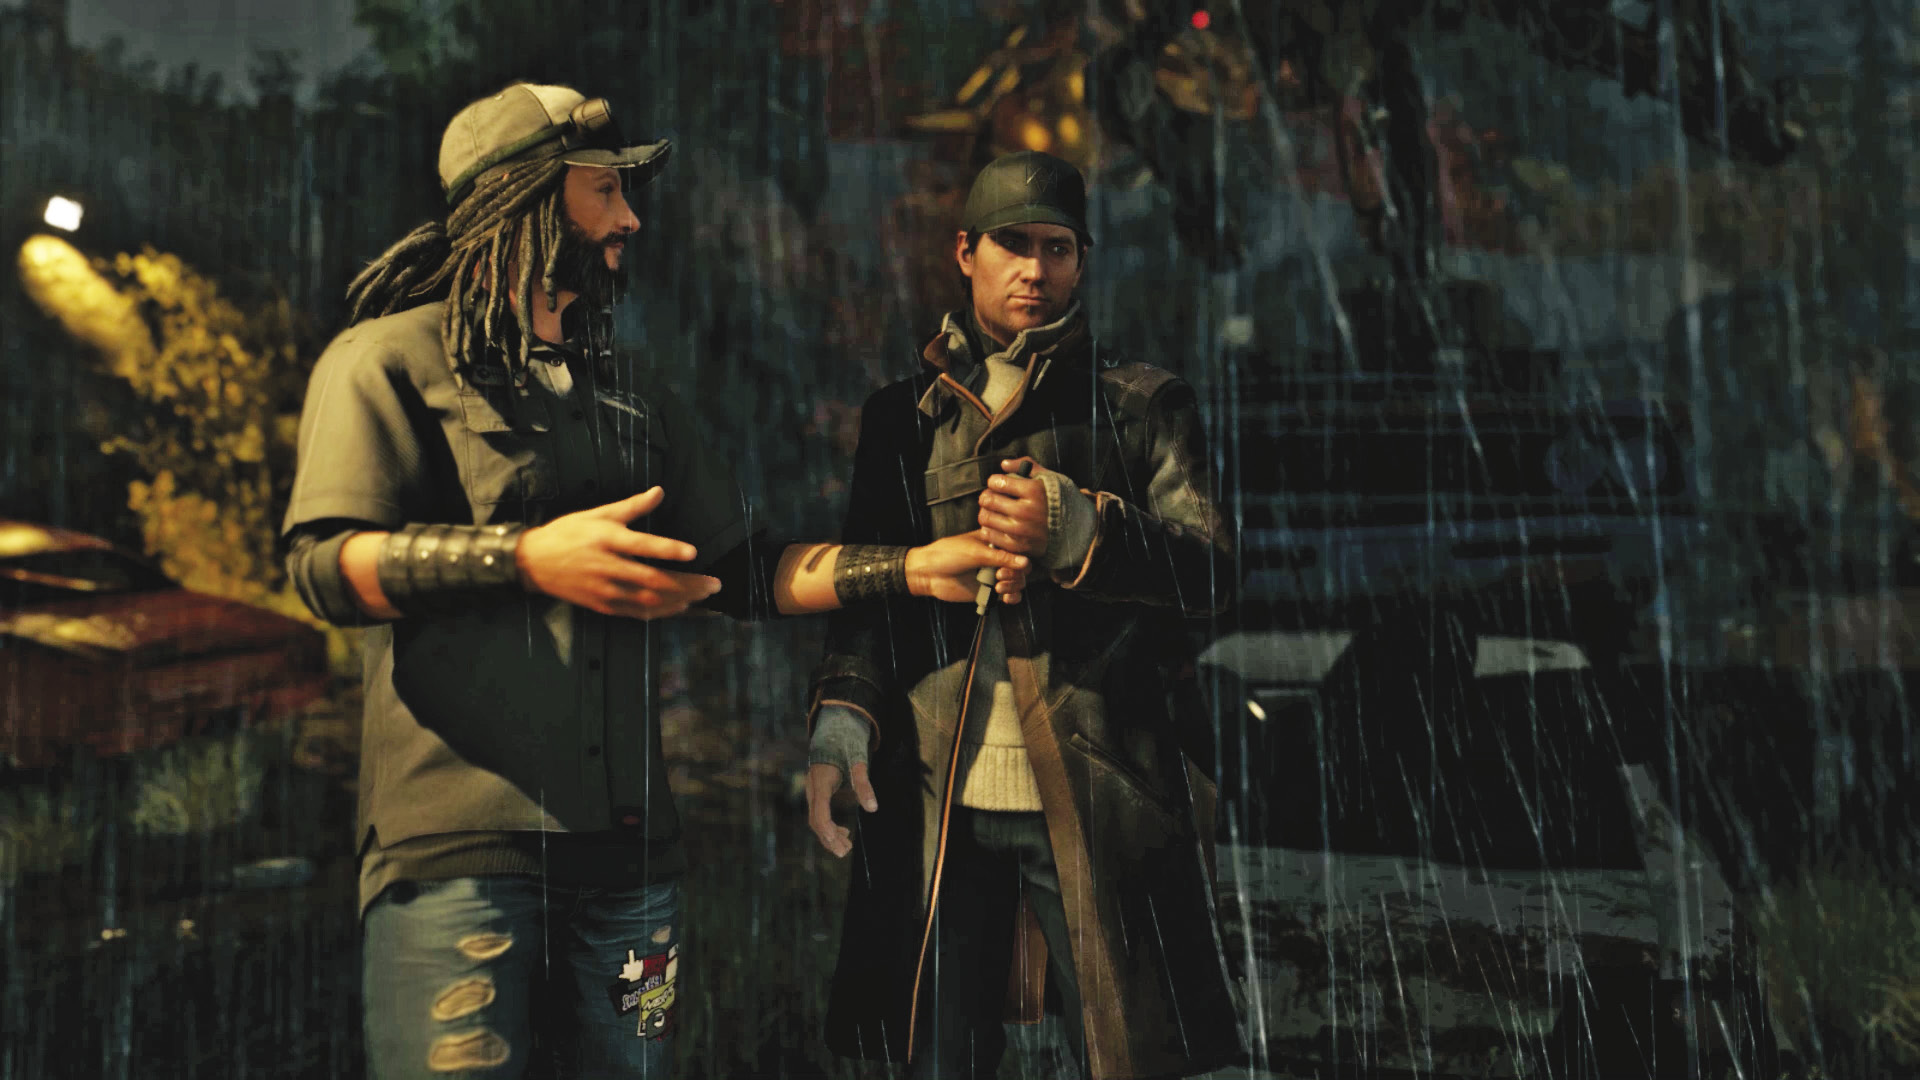
Move back to T-Bone’s position, and follow him to a small tunnel entrance, where he produces a remote detonator and stops for a moment to look back at his junkyard. Pausing to grab his phone to film the imminent explosions, he allows you to do the honors.
5.5 WE CAN’T ALL BE PRETTY IN THIS GAME, HONEY
|
|
 Follow T-Bone to the boat
 Escape Pawnee with T-Bonet
 Location / Pawnee // Junkyard
 Location / The Loop // The Bunker
 Escape
 Driving Investigation
Difficulty: 
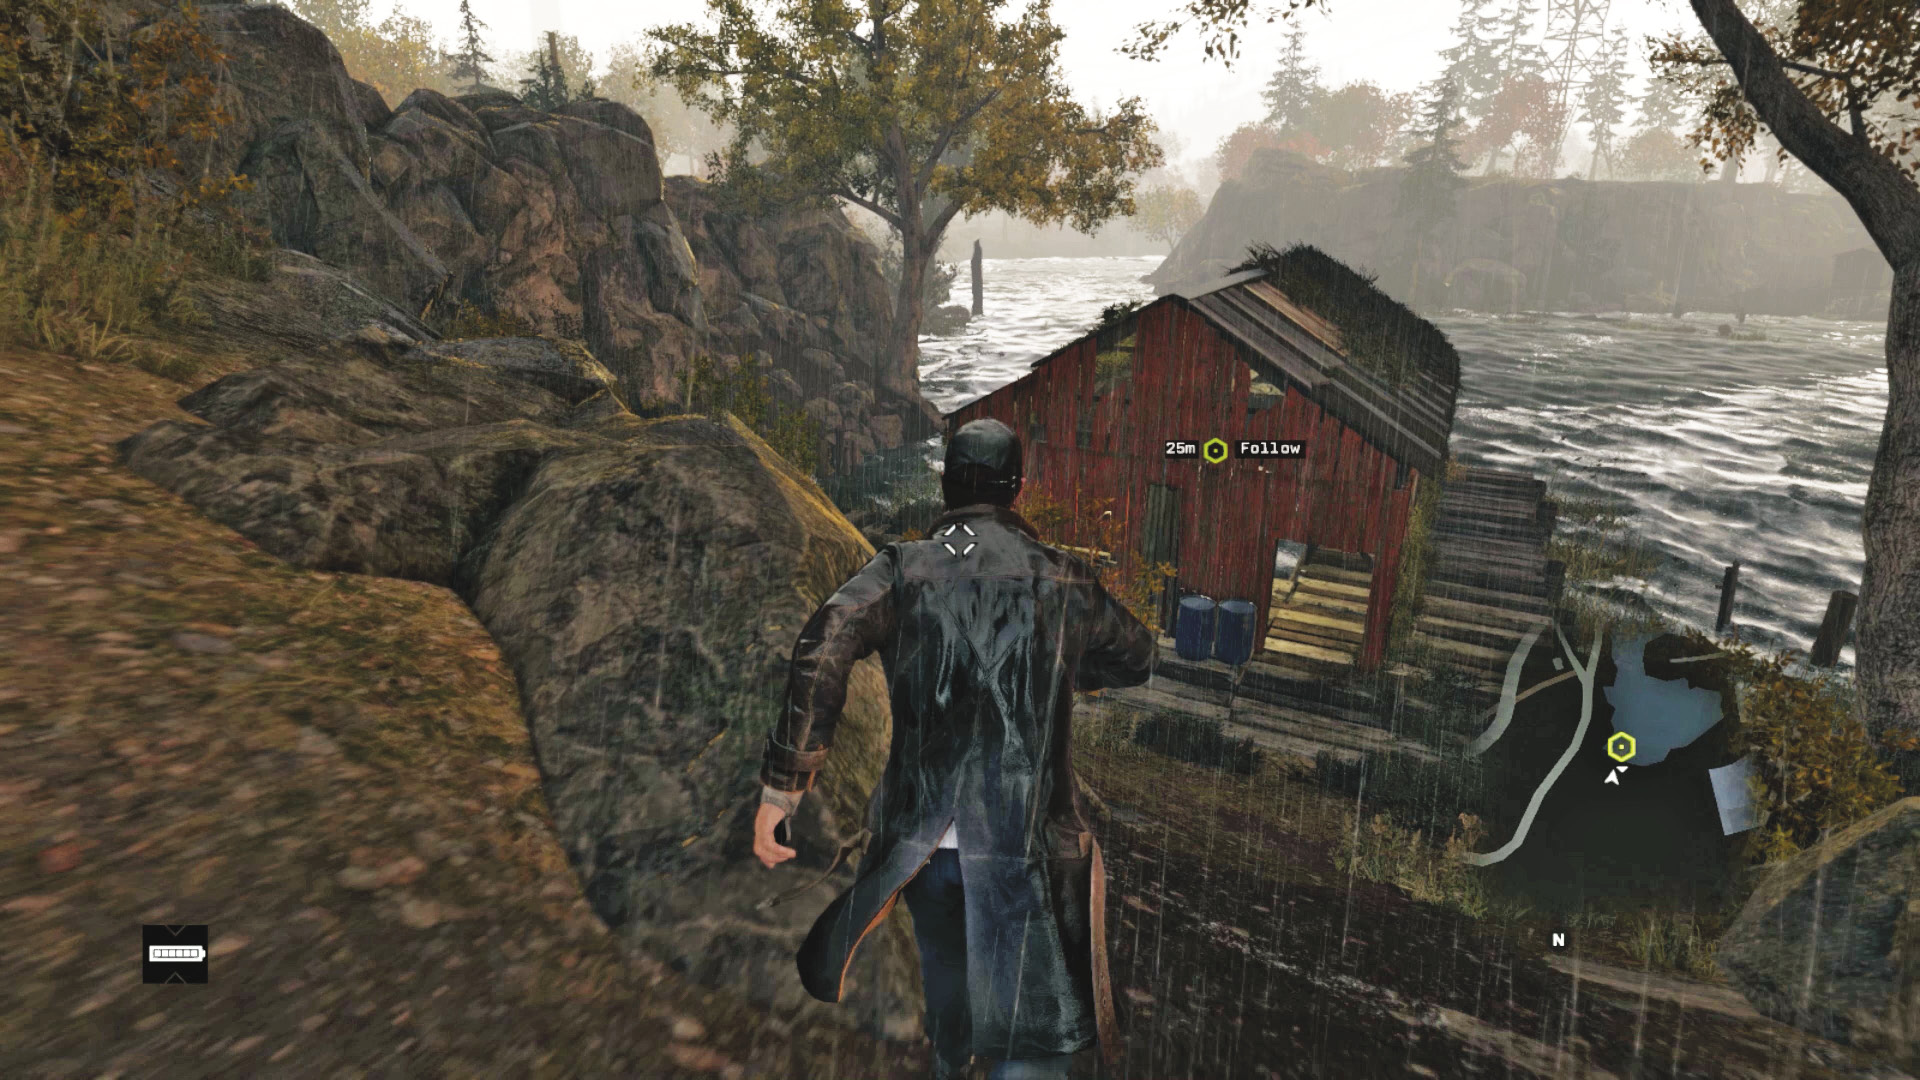
Turn and dash through the rock tunnel, holding down the vault button so you easily leap the fallen tree trunks as you scramble down a wooded embankment. You’re headed roughly south to a dilapidated red shack where T-Bone’s boat is moored.
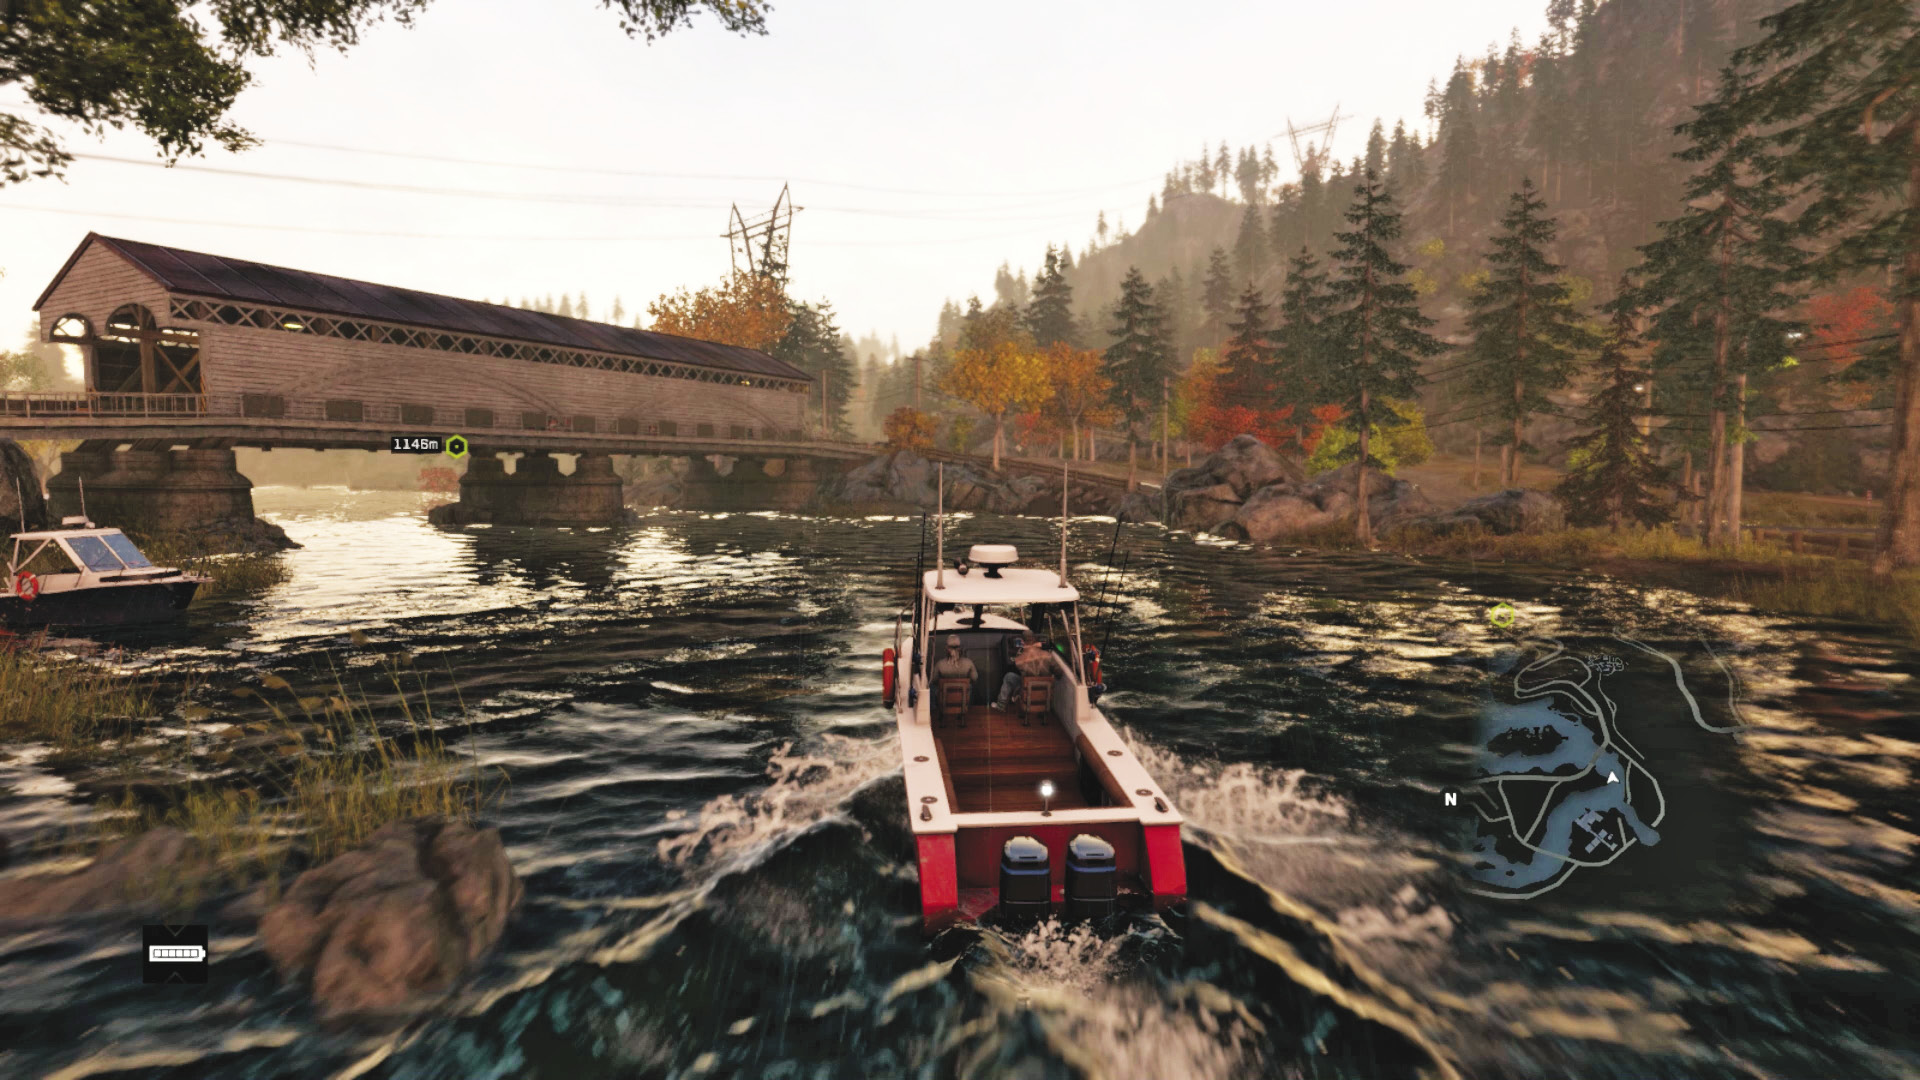
Open the door before leaving to avoid embarrassment; then set off, following the river inlets into the bay toward Chicago. Use your minimap to help stay on the water; running aground is a terrible way to fail this mission. The mission effectively ends when you reach the edge of Pawnee.
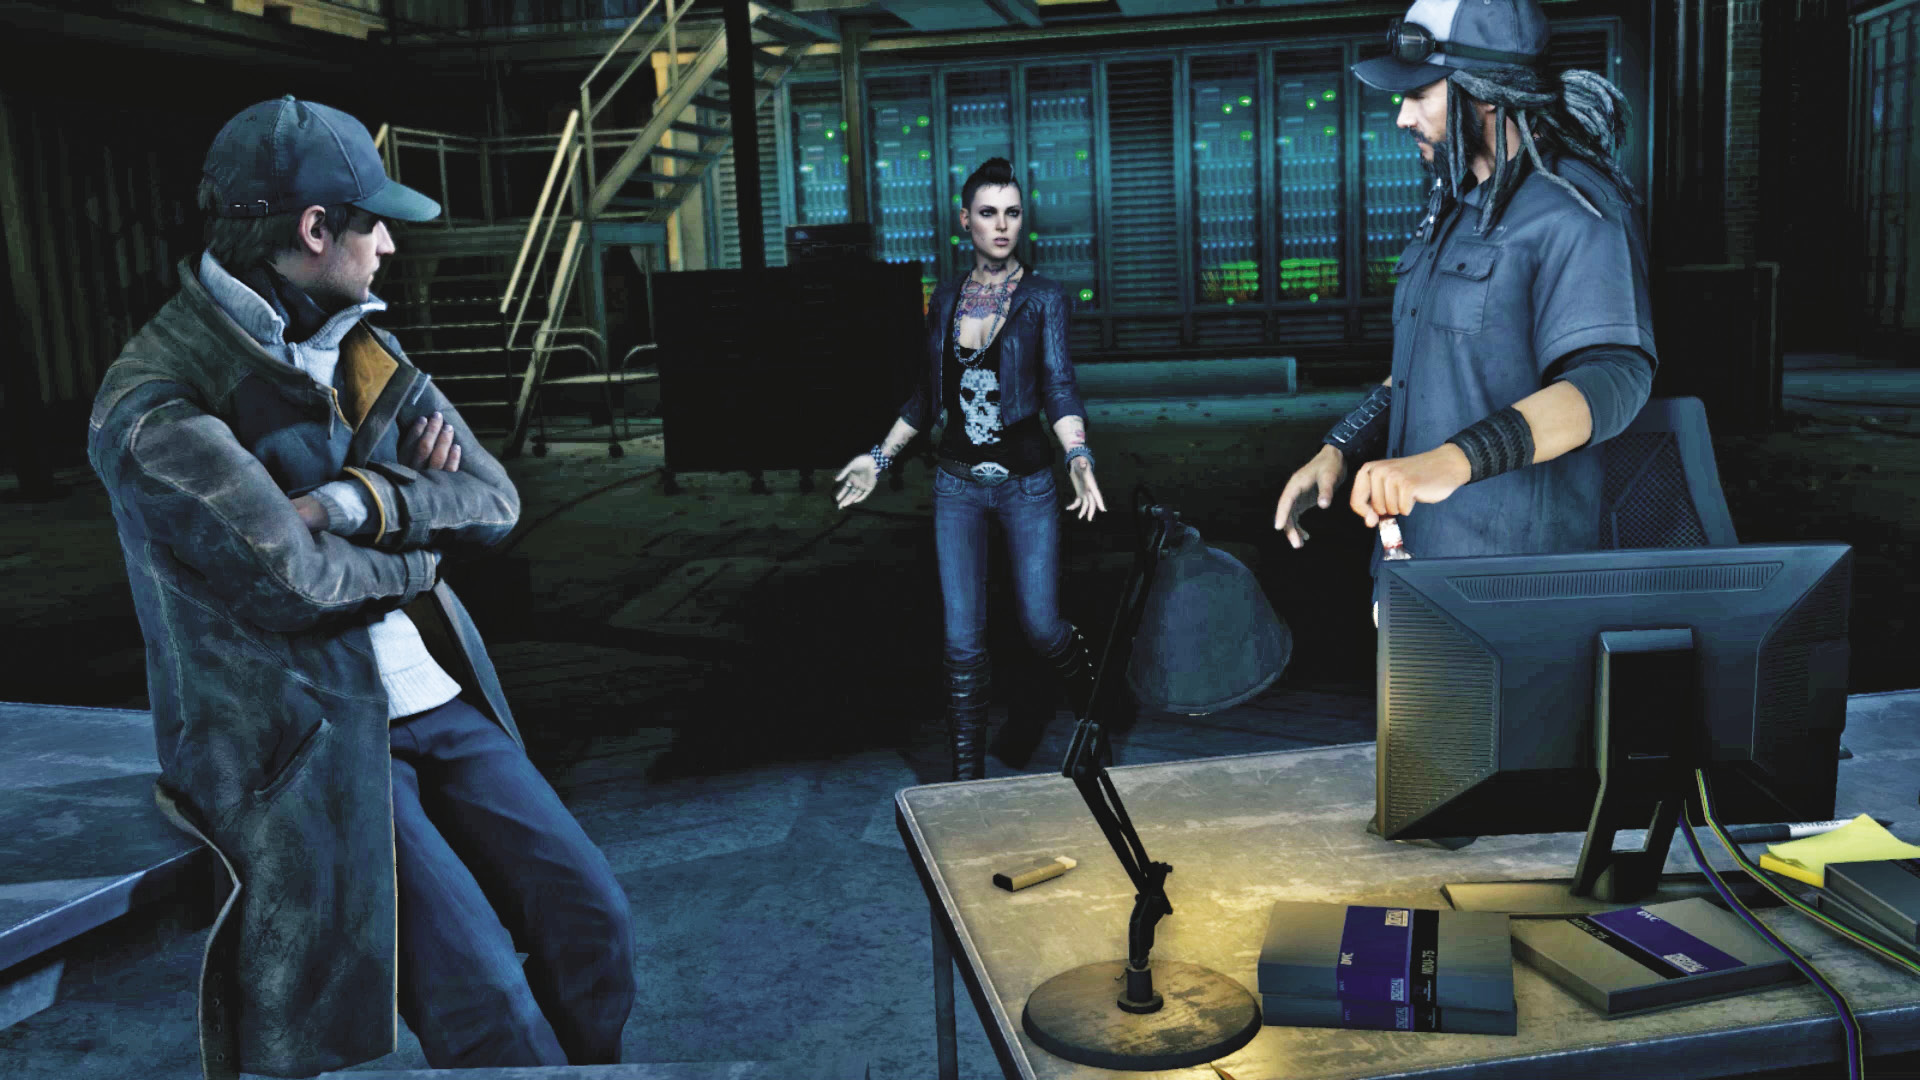
Back at the Bunker, T-Bone asks what you’re trying to solve. After kicking open a drawer with a stash of whiskey, T-Bone is extremely happy to make the acquaintance of Clara. You ruin the atmosphere somewhat with talk of Damien’s appearance at Blume. Clara calms the situation while you take a breather and a call from Jordi. There’s some tidying up in Rossi-Fremont to do.
MISSION REWARDSGained XP: +2,000 SongSNEAK: Jesus Built My Hot Rod By: Ministry |