
Watch Dogs Guide MAIN MISSIONS MAIN MISSIONS /// CTOS CONTROL CENTERS
_ctOS CONTROL CENTER / BRANDON DOCKS
LOCATION // MAP
Location / BRANDON DOCKS // ctos Control Center
1. CLEANING OUT THE EFFLUENT
 Location / Brandon Docks // ctOS Control Center
Overview
 Completion Points: Data hack from patrolling guard, then hack into ctOS control center
 Dangers: Nine guards (Gunmen x4, Veteran x2, Marksman x3), armed with shotguns, machine guns, and sniper rifles. One guard with data to hack. Three Shot-Callers (reinforcements usually called after you defeat three guards).
Reinforcements (up to four vehicles with one or two foes—Gunmen and Veterans—per vehicle).
Insertion Points
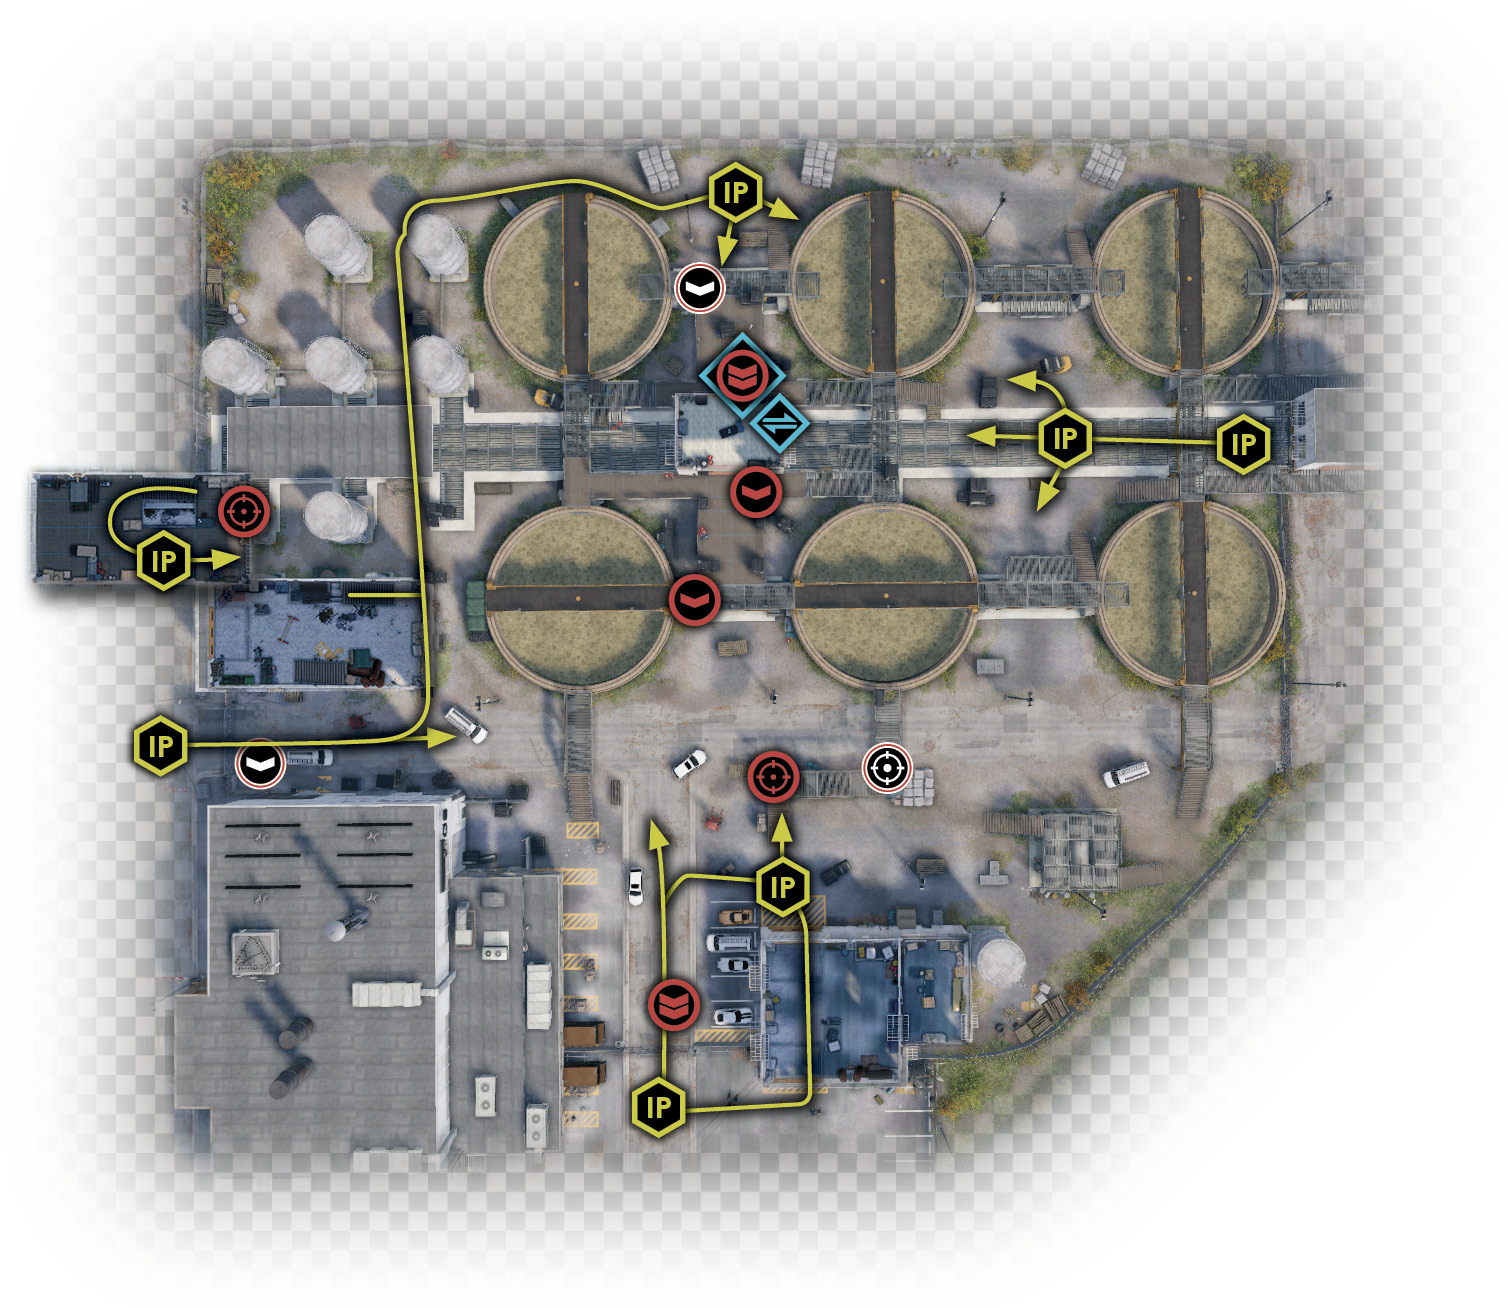
Of the control centers you’re infiltrating, this one is the largest, as it encompasses a large sewage treatment facility (the perimeter encompasses six of the eight circular vats). The place is reasonably secure; the fence is high and barbed except for three intrusion locations, but the interior yard can be a confusing maze, so study the map carefully.
West Gates and Garage
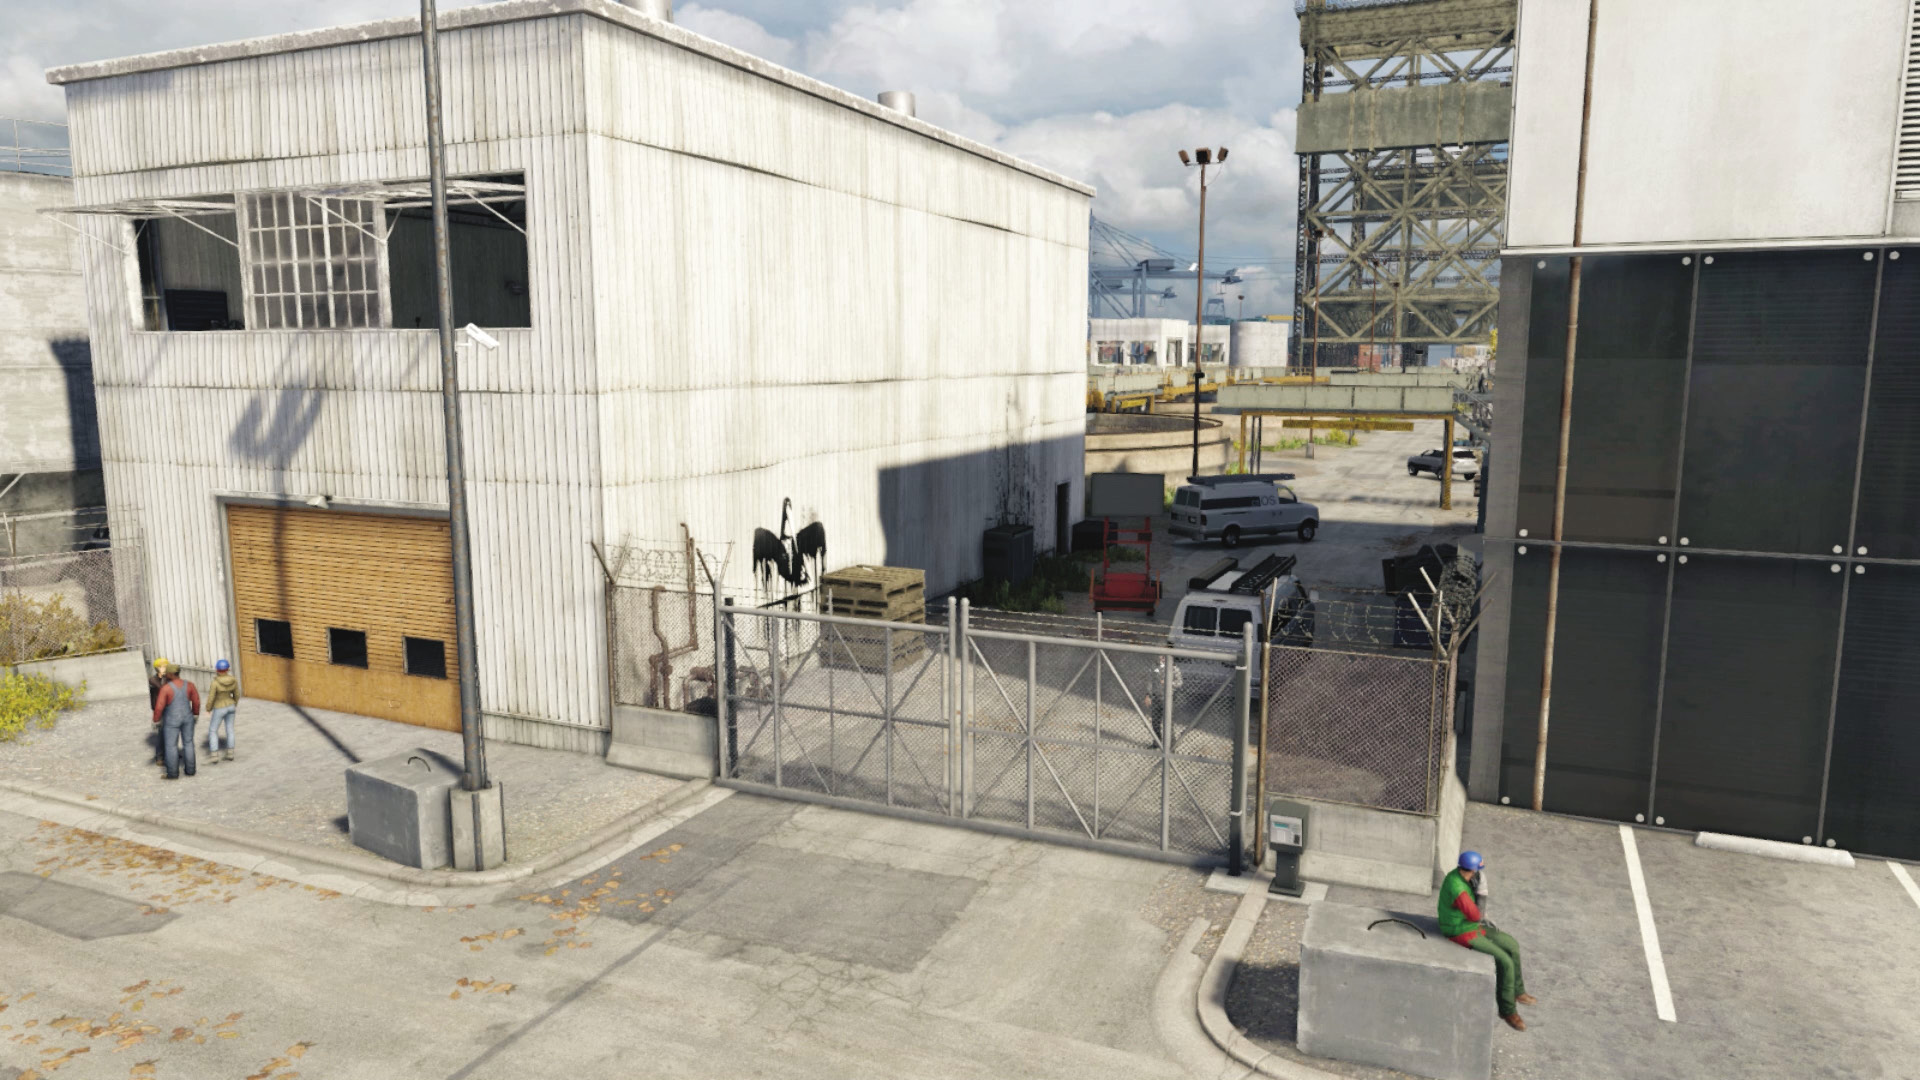
This is the usual insertion point, as there’s a gate with a patrolling guard, a garage to the left (north), and a second gate (north) leading to the road that bisects the facility from west to east. The high buildings on either side of the main gate and having easy access to neutralize one of the three snipers here make this a good entrance point. You can then go to the north or south interior, or head across the vats into the thick of it.
West Interior (Sniper Building)
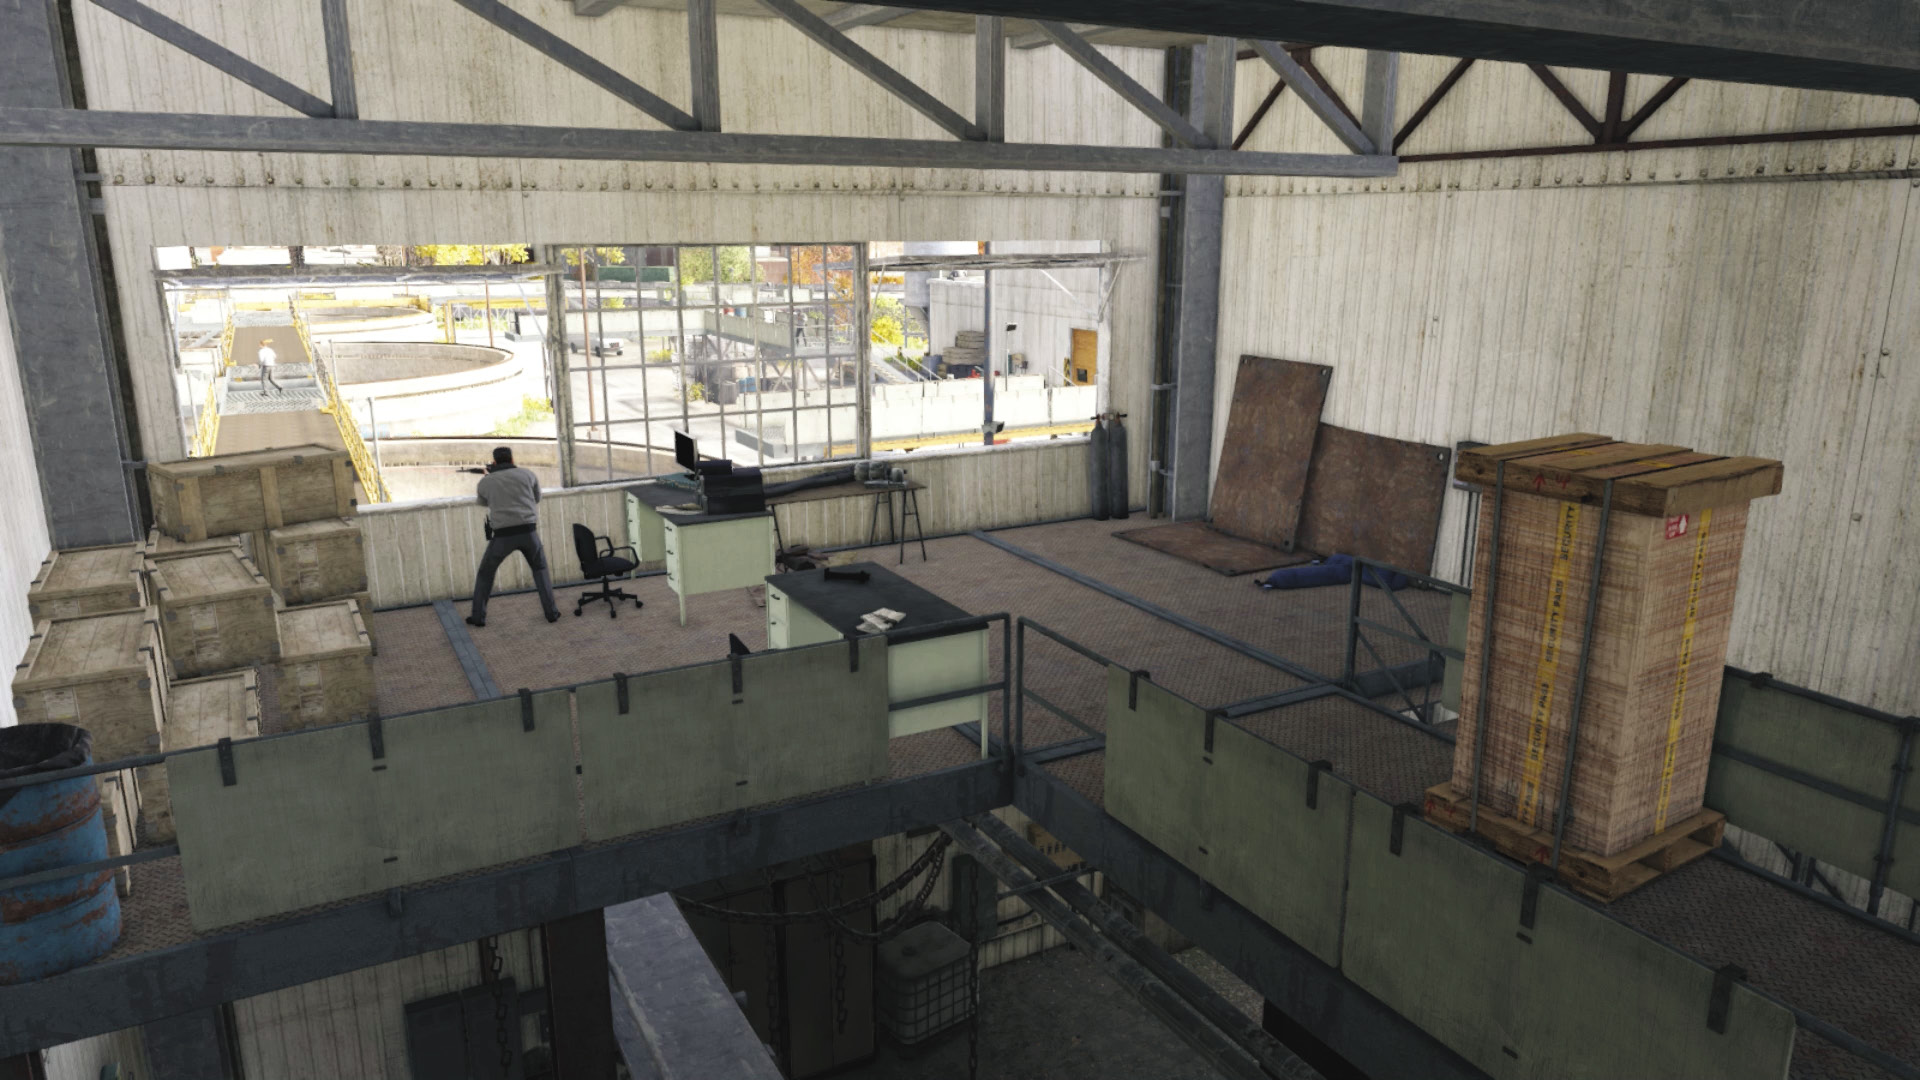
There’s a sniper atop this building who you must neutralize (ideally from behind, though sniper fire from across the yard works too). Watch for foes flanking you up the stairs and checking the area if alerted. Below the sniper’s window is a ctOS box to destroy and kill all technology for a minute. Around the vat is a protector, and you can climb the covered “clearance” area between the silos and use it as a camping spot. Climb on the pallet stacks or the forklift’s crate to reach the walkways (if you’re unconcerned about being discovered).
East Vats Gates
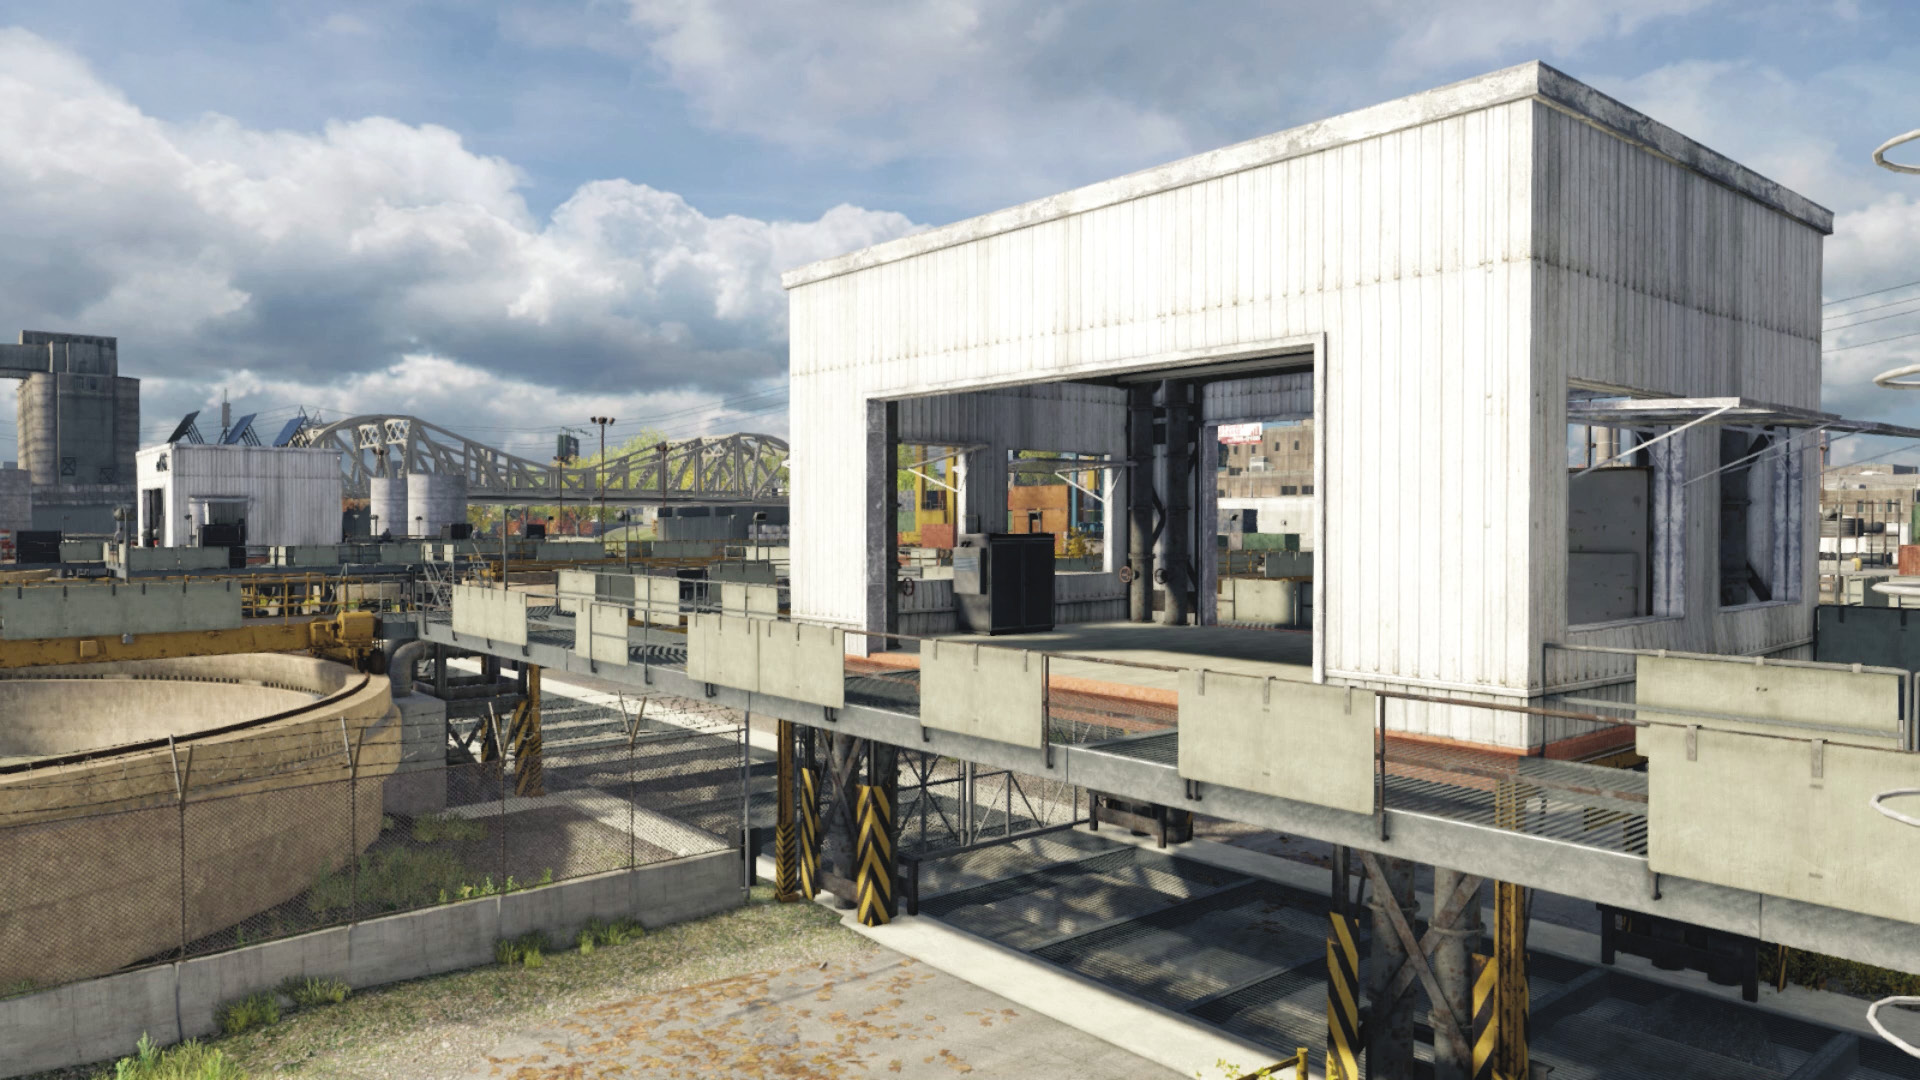
On the other side of the facility (which requires a jog or drive clockwise from the east gate to reach if you aren’t inside this facility) is a gate under a covered mesh road with a massive pipe underneath. This continues east to a ramp over a river—a classic escape route if you’re fast enough! Otherwise, this leads to a couple of nearby vats and walkways; you can easily enter here, but you need to maneuver around to the south to start tackling the snipers, or face being caught in their cross fire.
East Interior (Vats and Walkways)
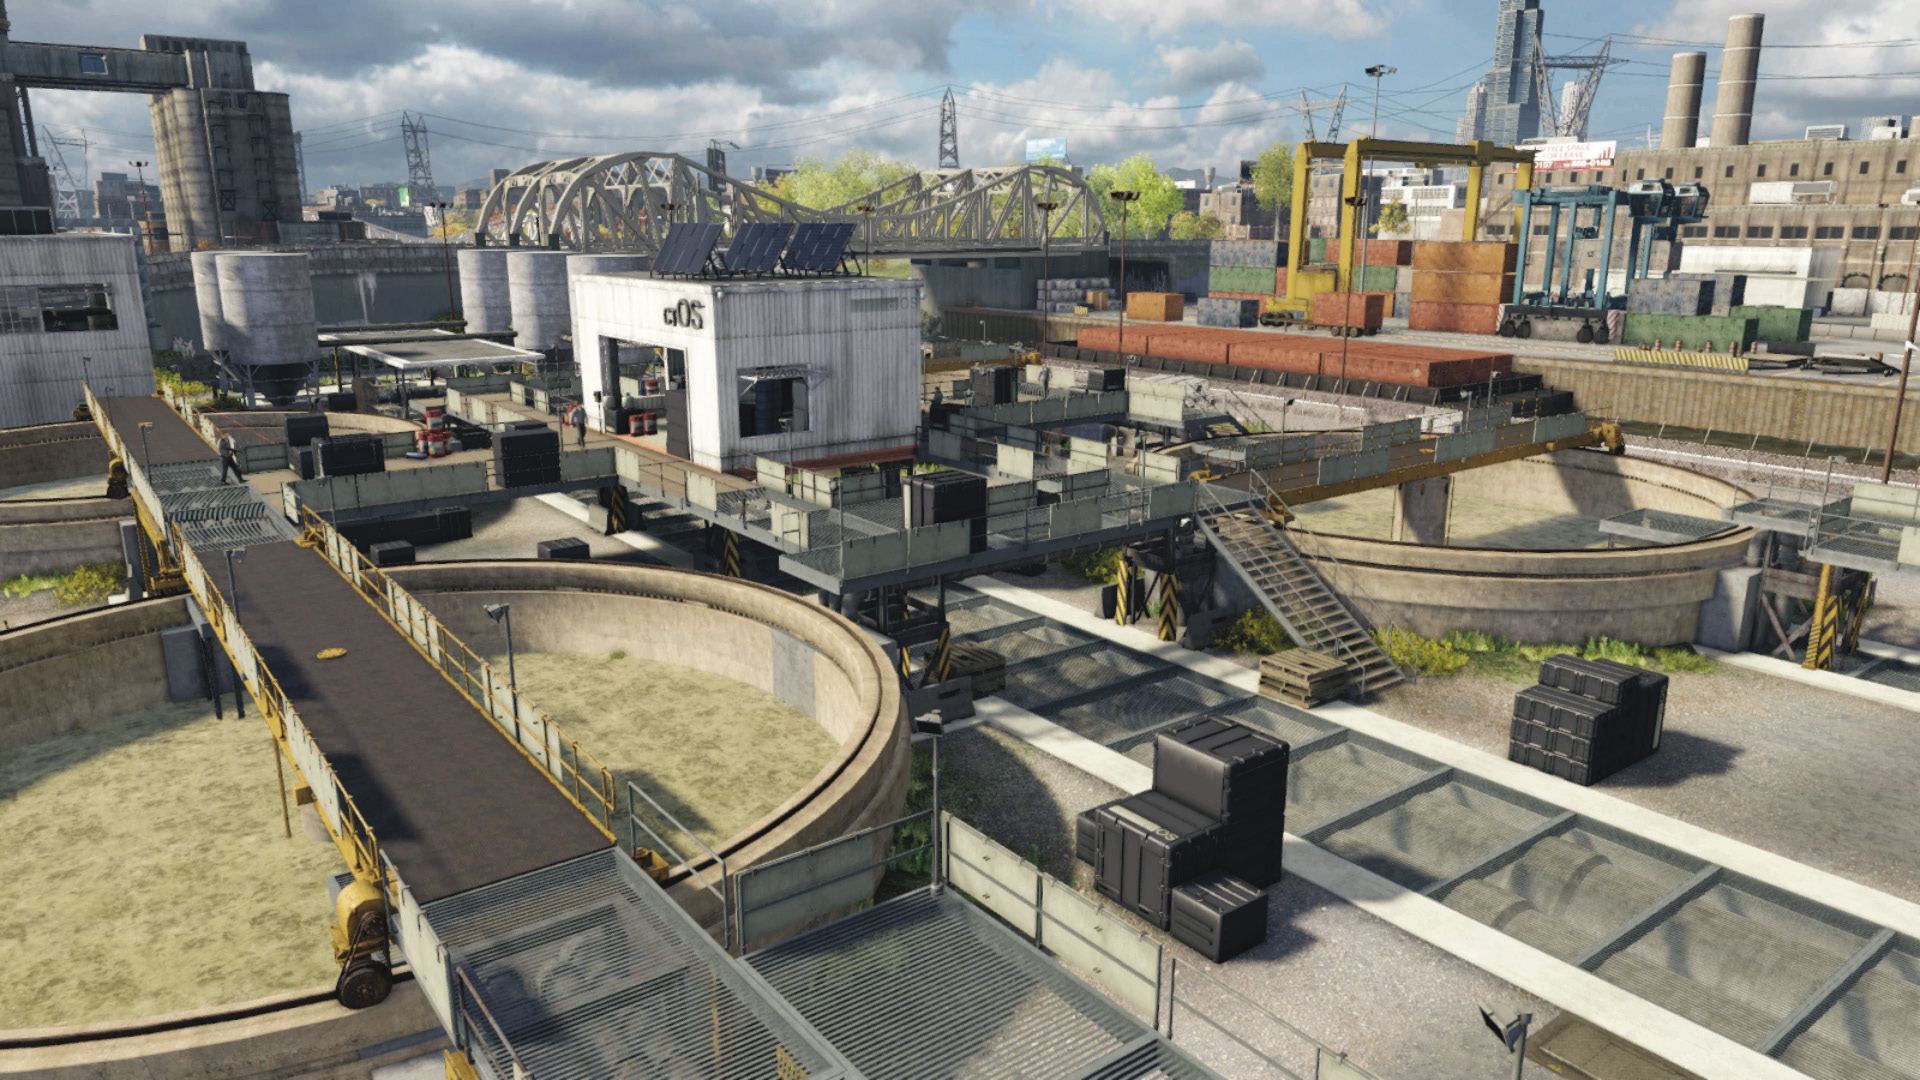
You have some choices of routes to take depending on your modus operandi; if you’re sniping, you can hang back in the metal shed and camp here. Or take the walkways around to the south to start removing foes. Or head around to the north, along the vats or under the walkways to reach the guard with the data to hack and the data box. There’s a forklift and a junction box in this area (as well as vat walkways to move), but it’s hard to utilize them because the foes are spread out.
North Interior (Vats and Control Box)
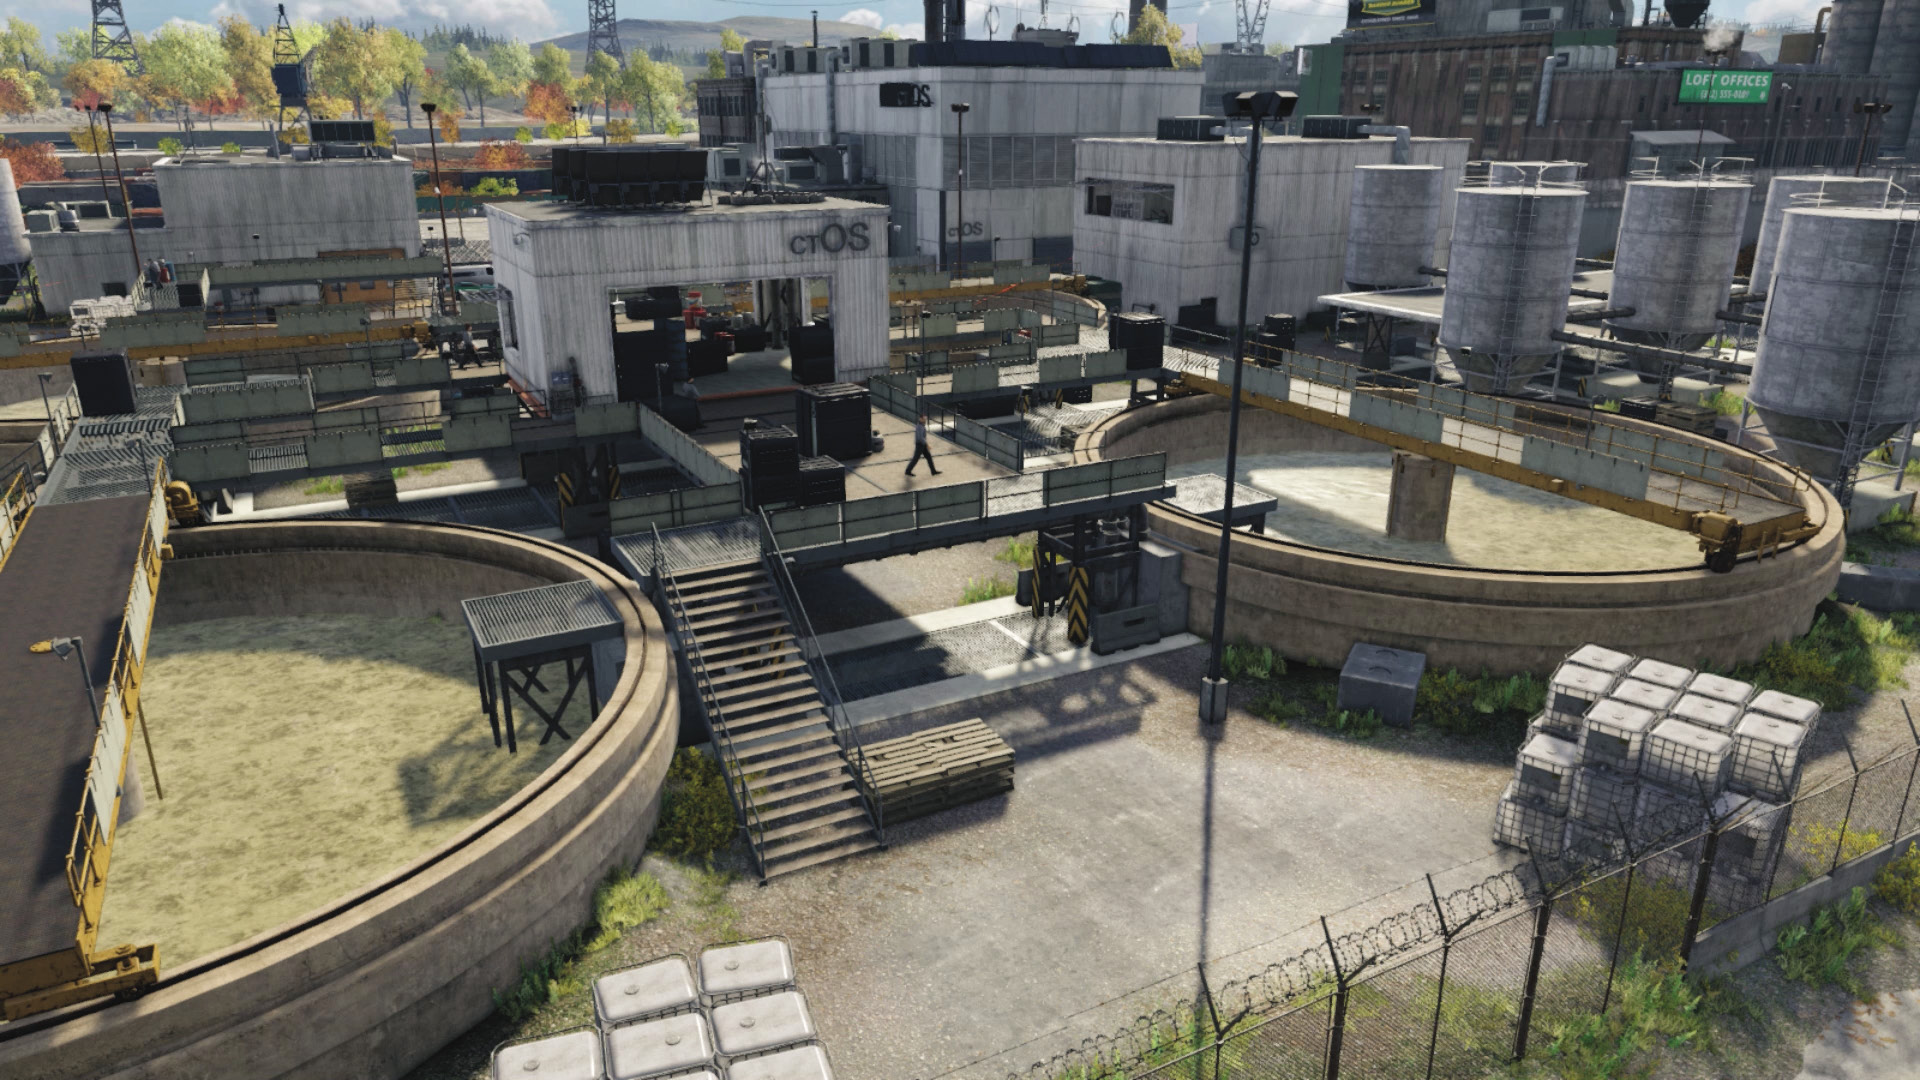
This is the focus of your mission; you need to reach the guard just north of this metal shed, and the control box is just inside the shed. The numerous explosive barrels dotted around here help remove foes if you aren’t using stealth, and there are steps close to each vat to reach here. There’s a laptop with a camera in the middle of the shed, which helps with a passive hack too. Expect foes to the south, so it’s usually a good idea to remove all threats first, or fight from north to south, removing foes as you go.
South Gate and Garage
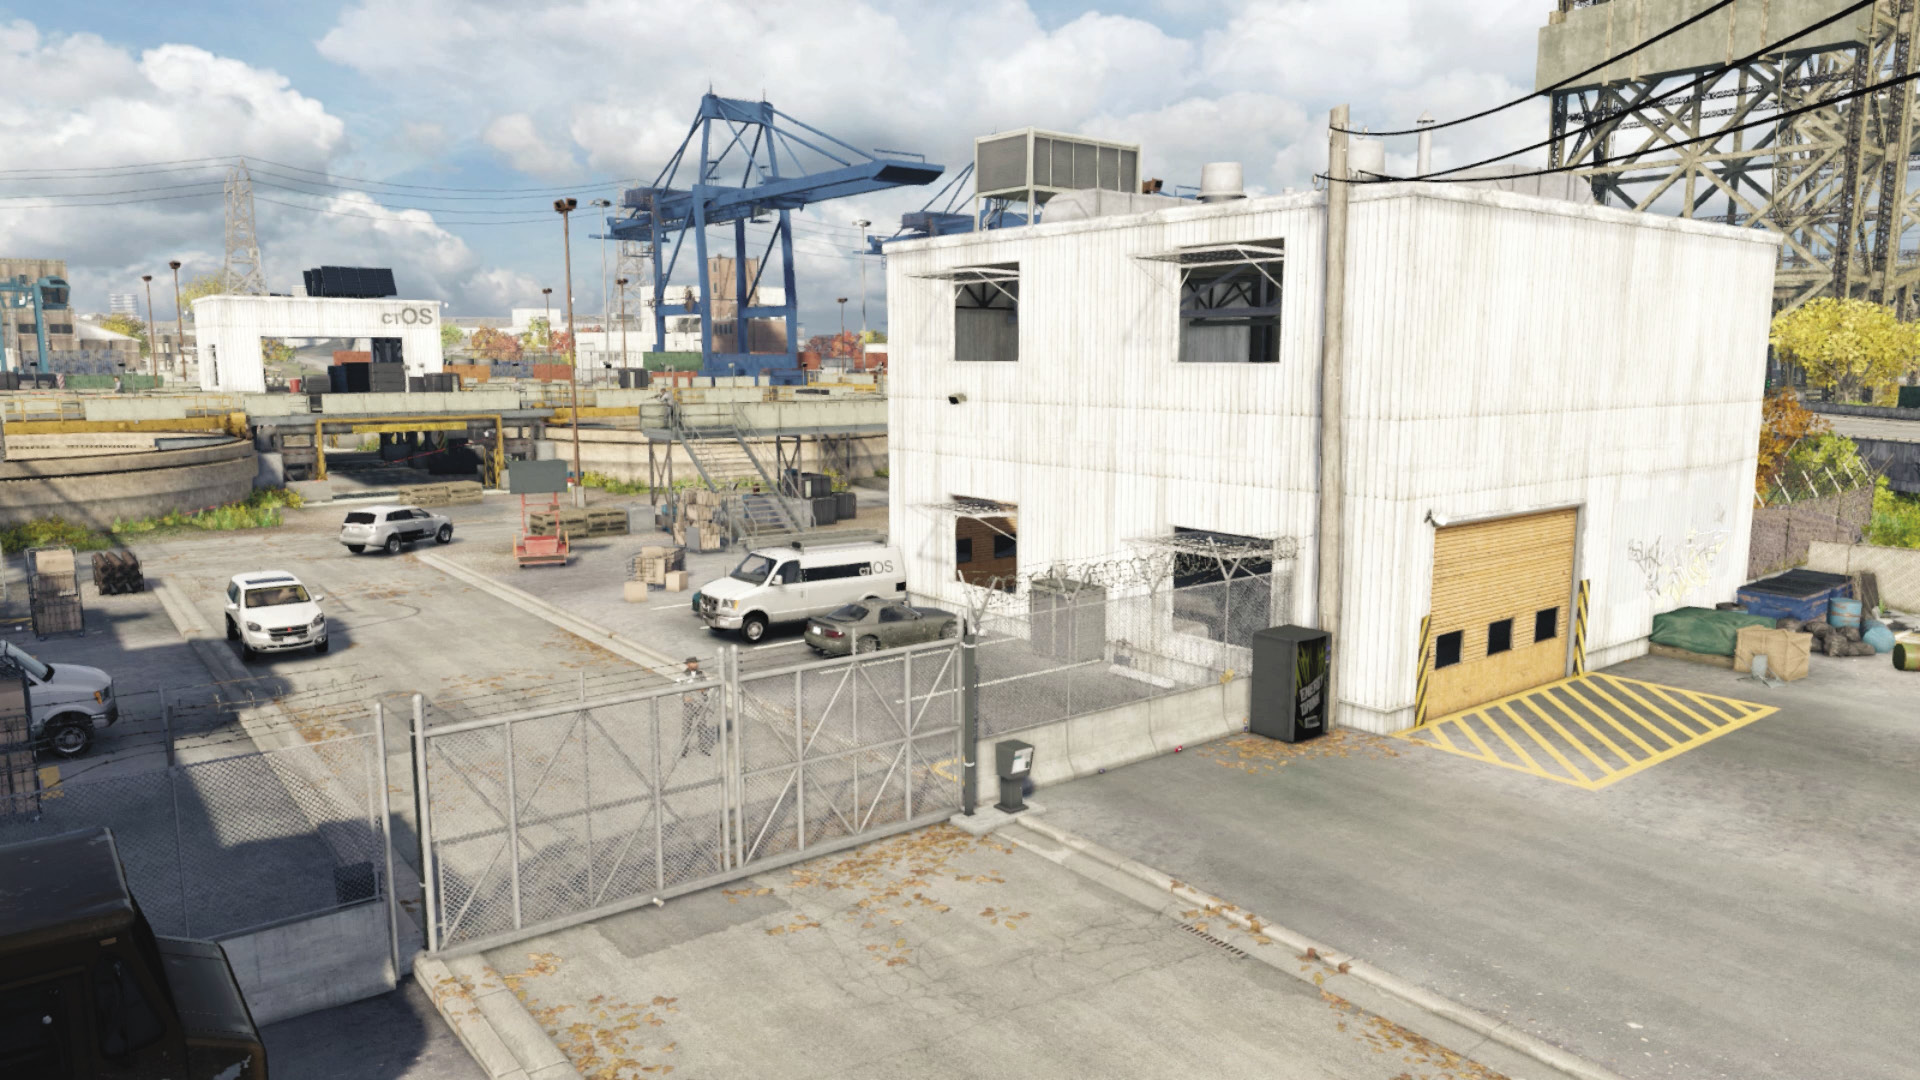
This is a good second choice for an insertion point, as the gate and adjacent garage allow easy access into this area and the removal of the guard at the gate. You can neutralize two snipers on the south walkway using melee strikes without raising the alarm, after which you’re free to figure out the best route and how much gunfire to employ. The gate area near the loading bays is wide open, but only the sniper at the west building is a cause for concern after you deal with the south snipers.
South Interior (Building, Tanks, and Walkways)
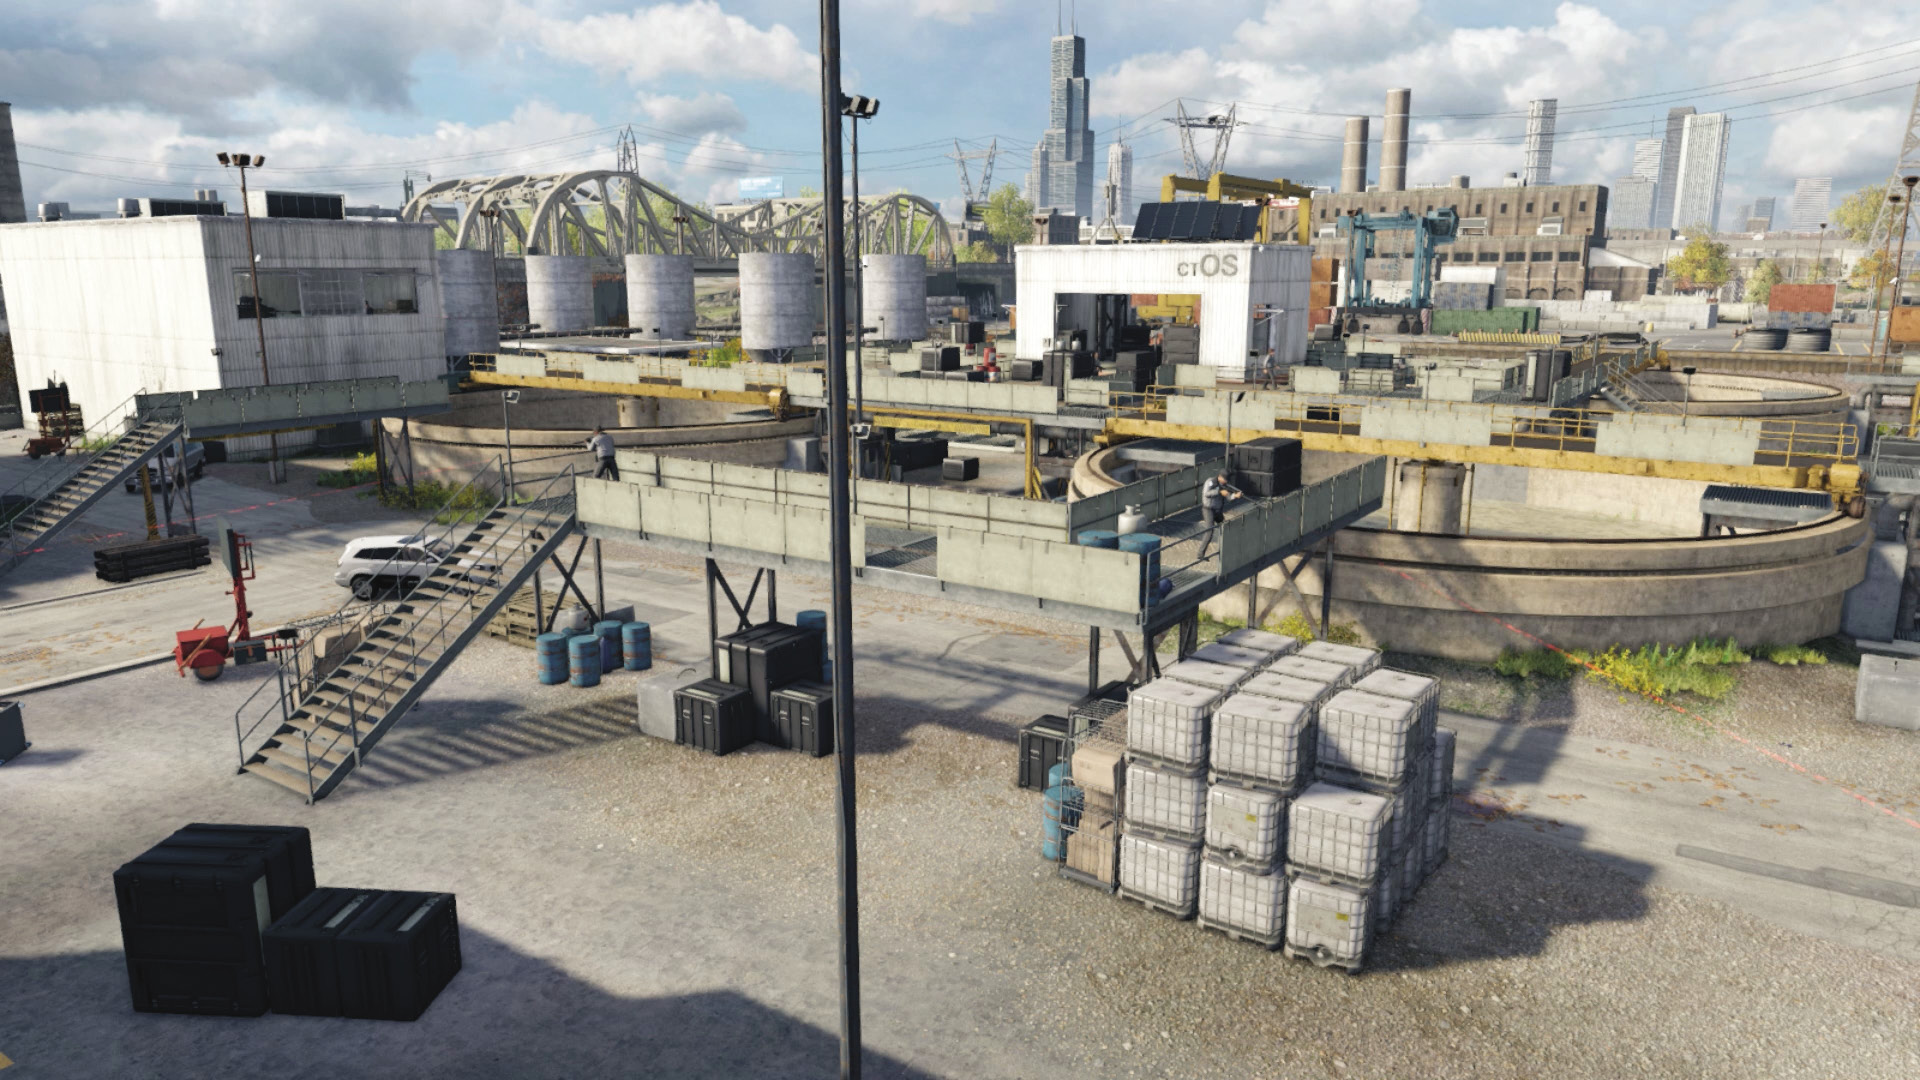
The farther southwest you move, the less action you see, so you can utilize the building attached to the garage as cover, especially if reinforcements are on their way. You can also climb onto the building roof and snipe from here. This is a good area to infiltrate, as you can encroach between the vats along the ground, heading north to the control box, or you can activate the vat walkways and engage the guards.
Progression Plans
Although the guard to hack and the router box are close to each other in the north shed and walkway area, there are too many patrolling foes to make hacking the box without removing enemies viable. However, the amount of carnage to cause can vary wildly.
 Passive // Smart: Stealth in the Sewage Center
 Difficulty:
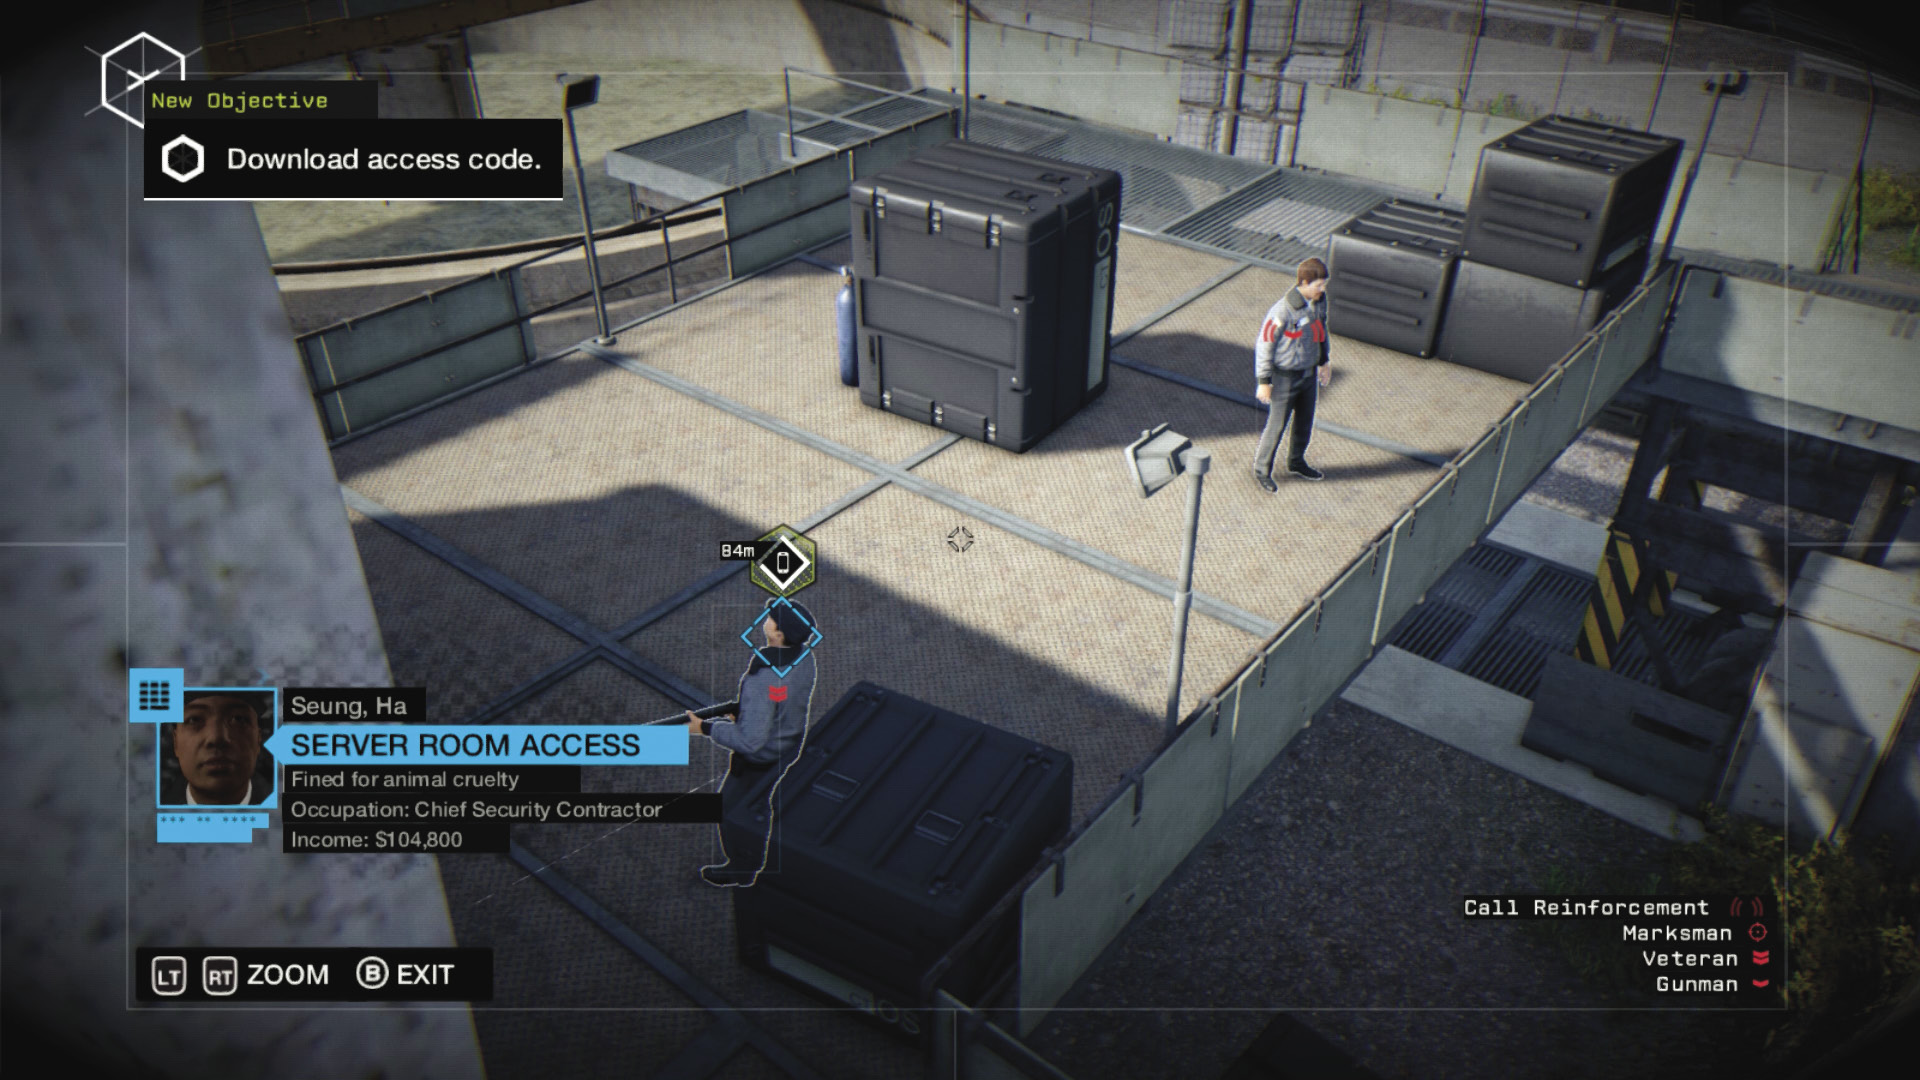
If you don’t want to enter the control center, simply jog around the perimeter until you find one of the security cameras, and cycle through them until you find the one attached to the shed above the guard to hack. Rotate the camera to locate the guard, hack him, and then move to the camera above the two snipers to the south. This allows you to peer into the white shed.
The camera attached to the laptop in this shed has a stack of barrels blocking the intrusion point. But if you blow up the junction box attached to the shed, the blast usually topples the barrels over. Now simply hack into the laptop camera and intrude into the ctOS server: Simple!
 Aggressive // Smart: Stealth in the Sewage Center
 Difficulty:
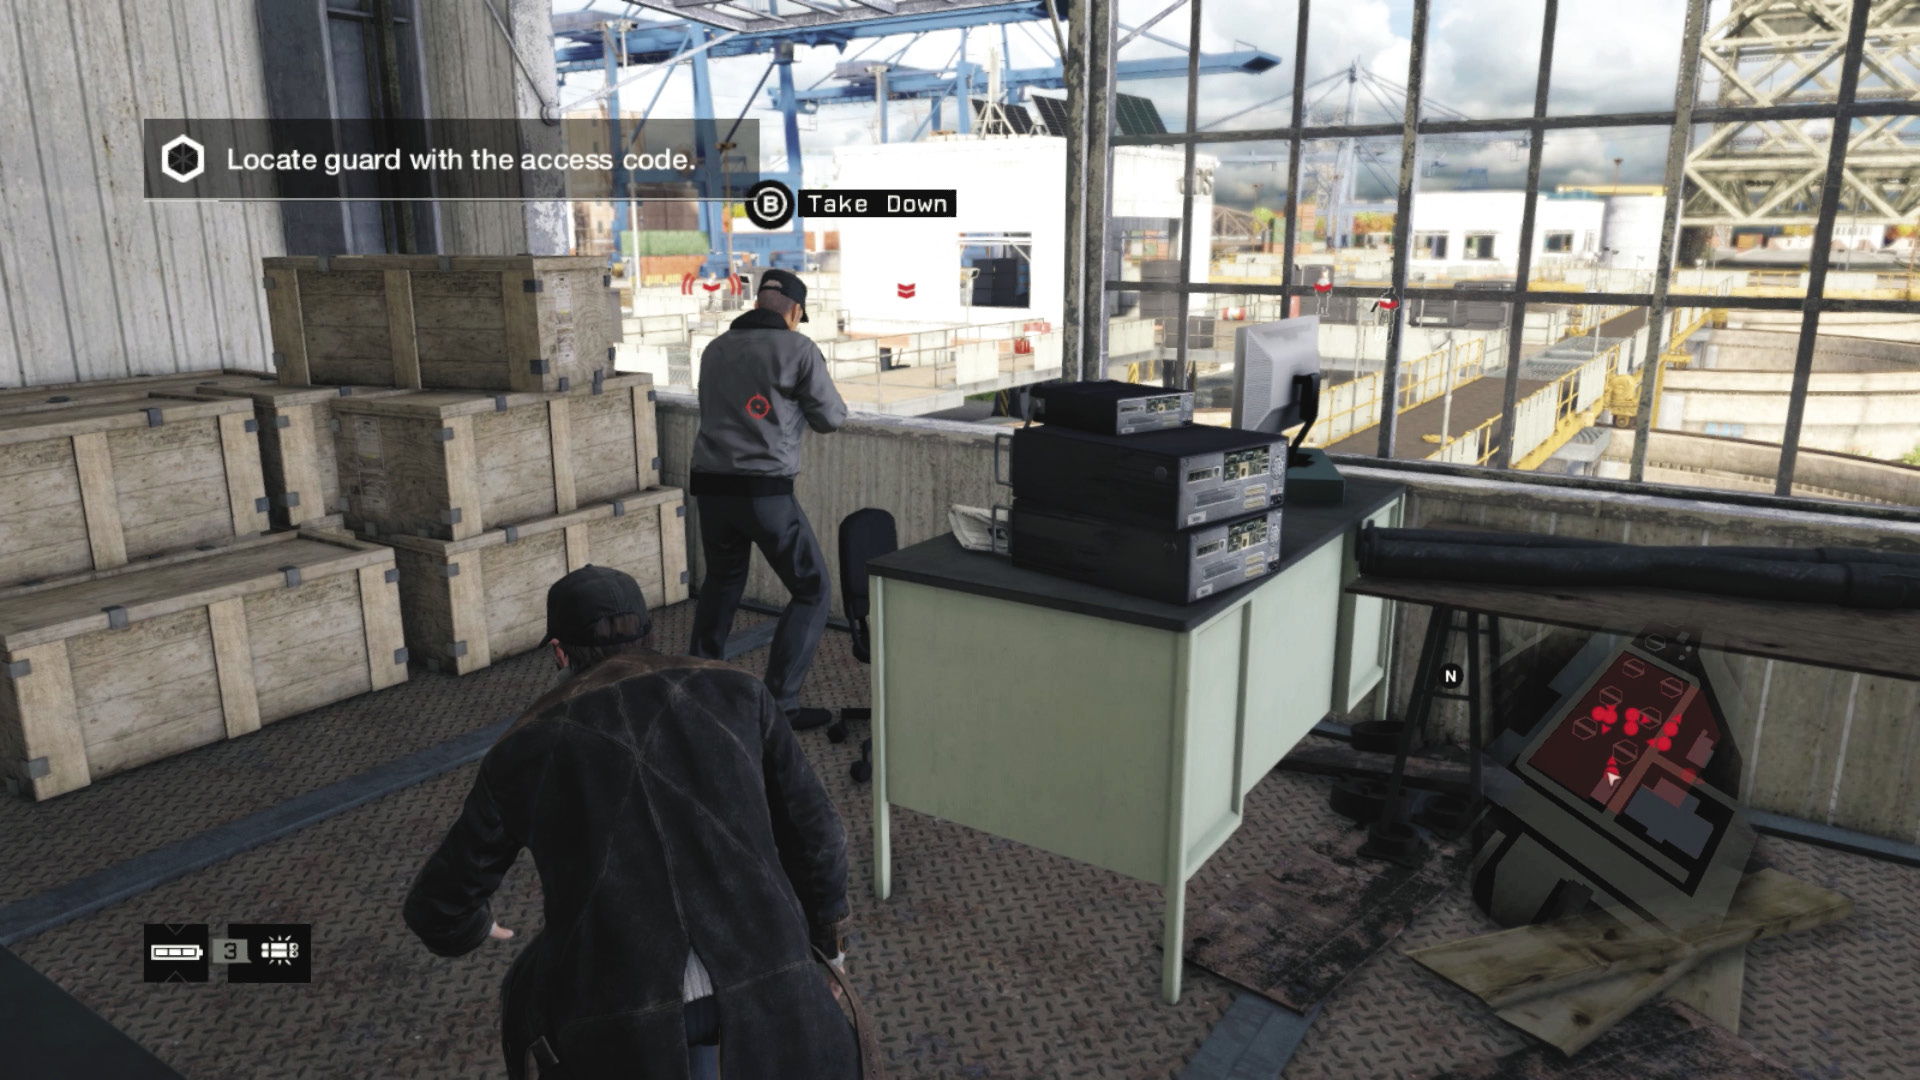
There are some excellent routes that allow you to neutralize foes while reaching the router box. Start at the east gate and open it, forcing the guard to come out and inspect the mechanism to the gate’s right. As long as you’re far enough away, you can approach and melee-strike him. Then head through the open gate or open the garage, climb either interior set of stairs, and remove the sniper from the window. Now wait at the window, access a camera, and cycle through, marking all remaining foes. Download the access code remotely at this time too.
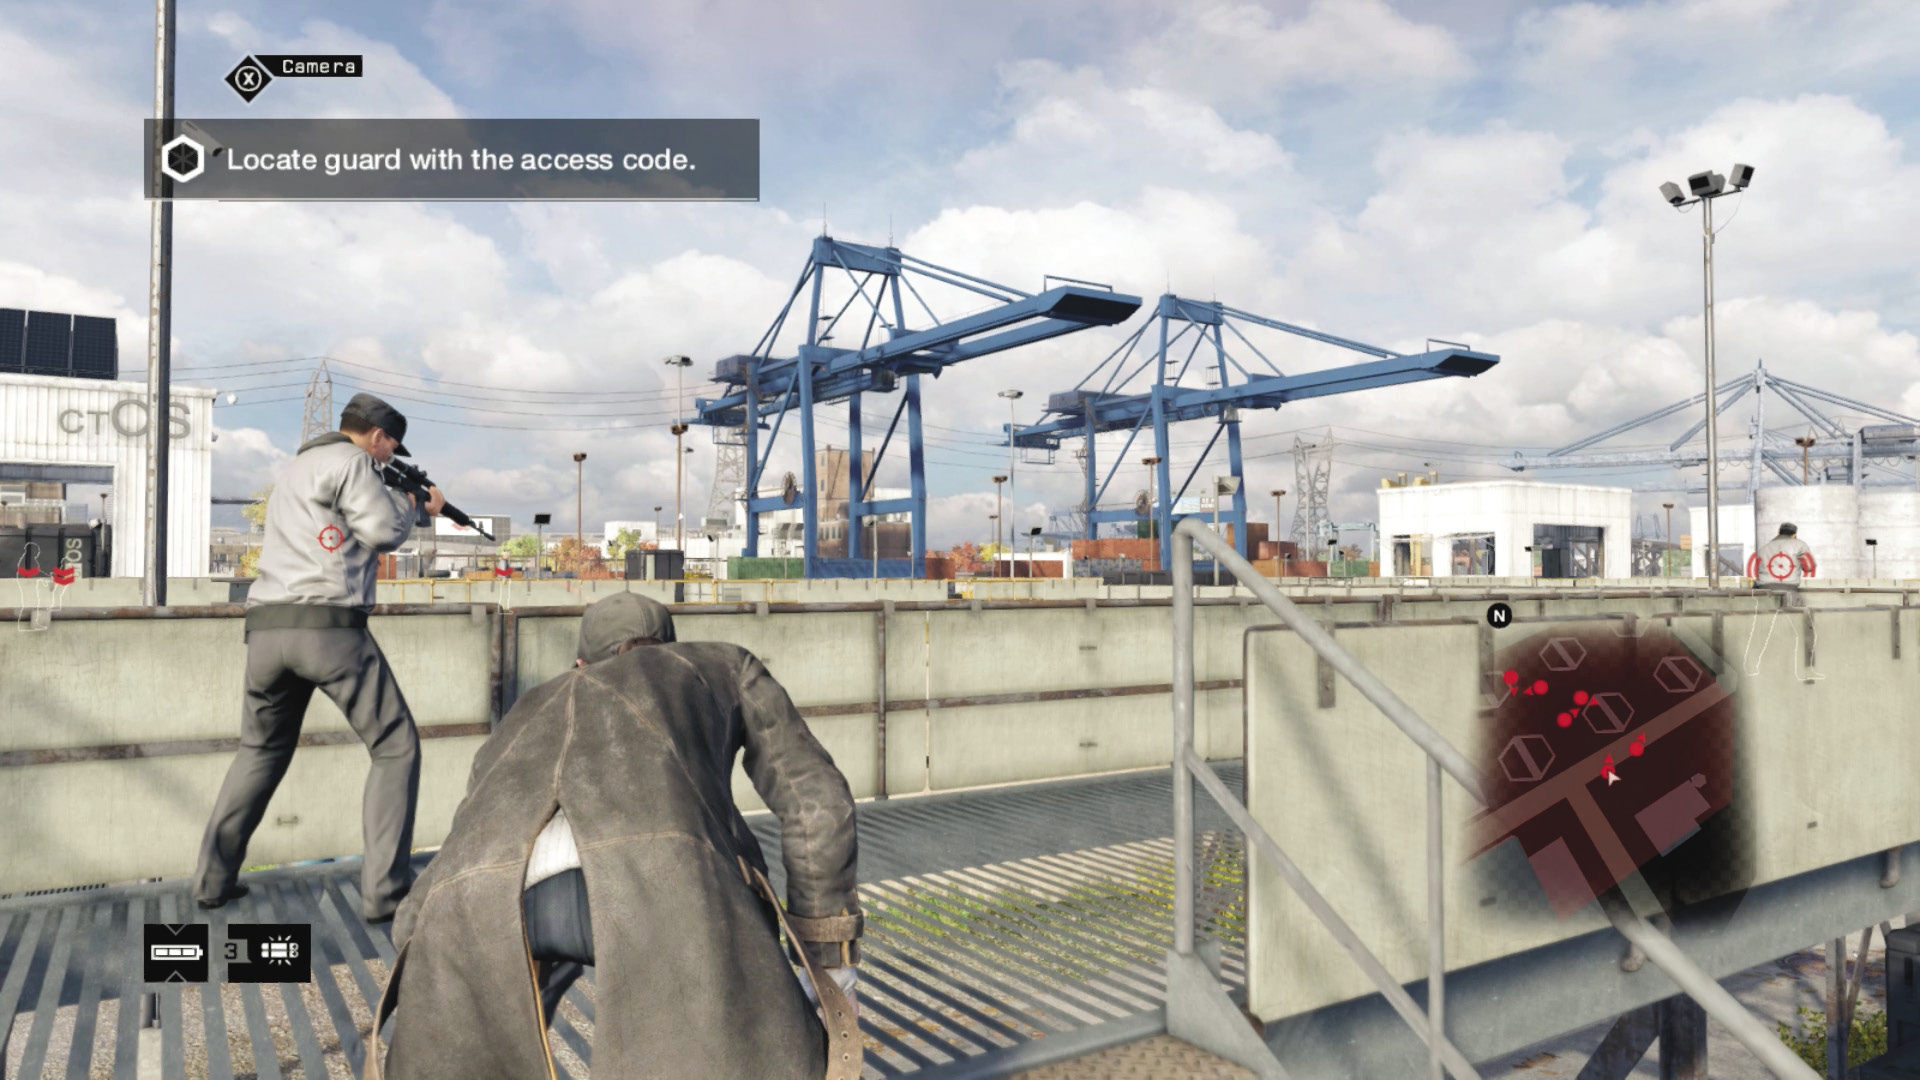
Head out of the facility and around the perimeter to the south gate (or use cover and maneuver through the interior, though it’s more difficult with the foes seeing you easily). Open the gate, remove the guard here in exactly the same way, and then move to the south stairs and walkway where the two remaining snipers (of the three) are stationed. Melee-strike the first, then the second in quick succession.
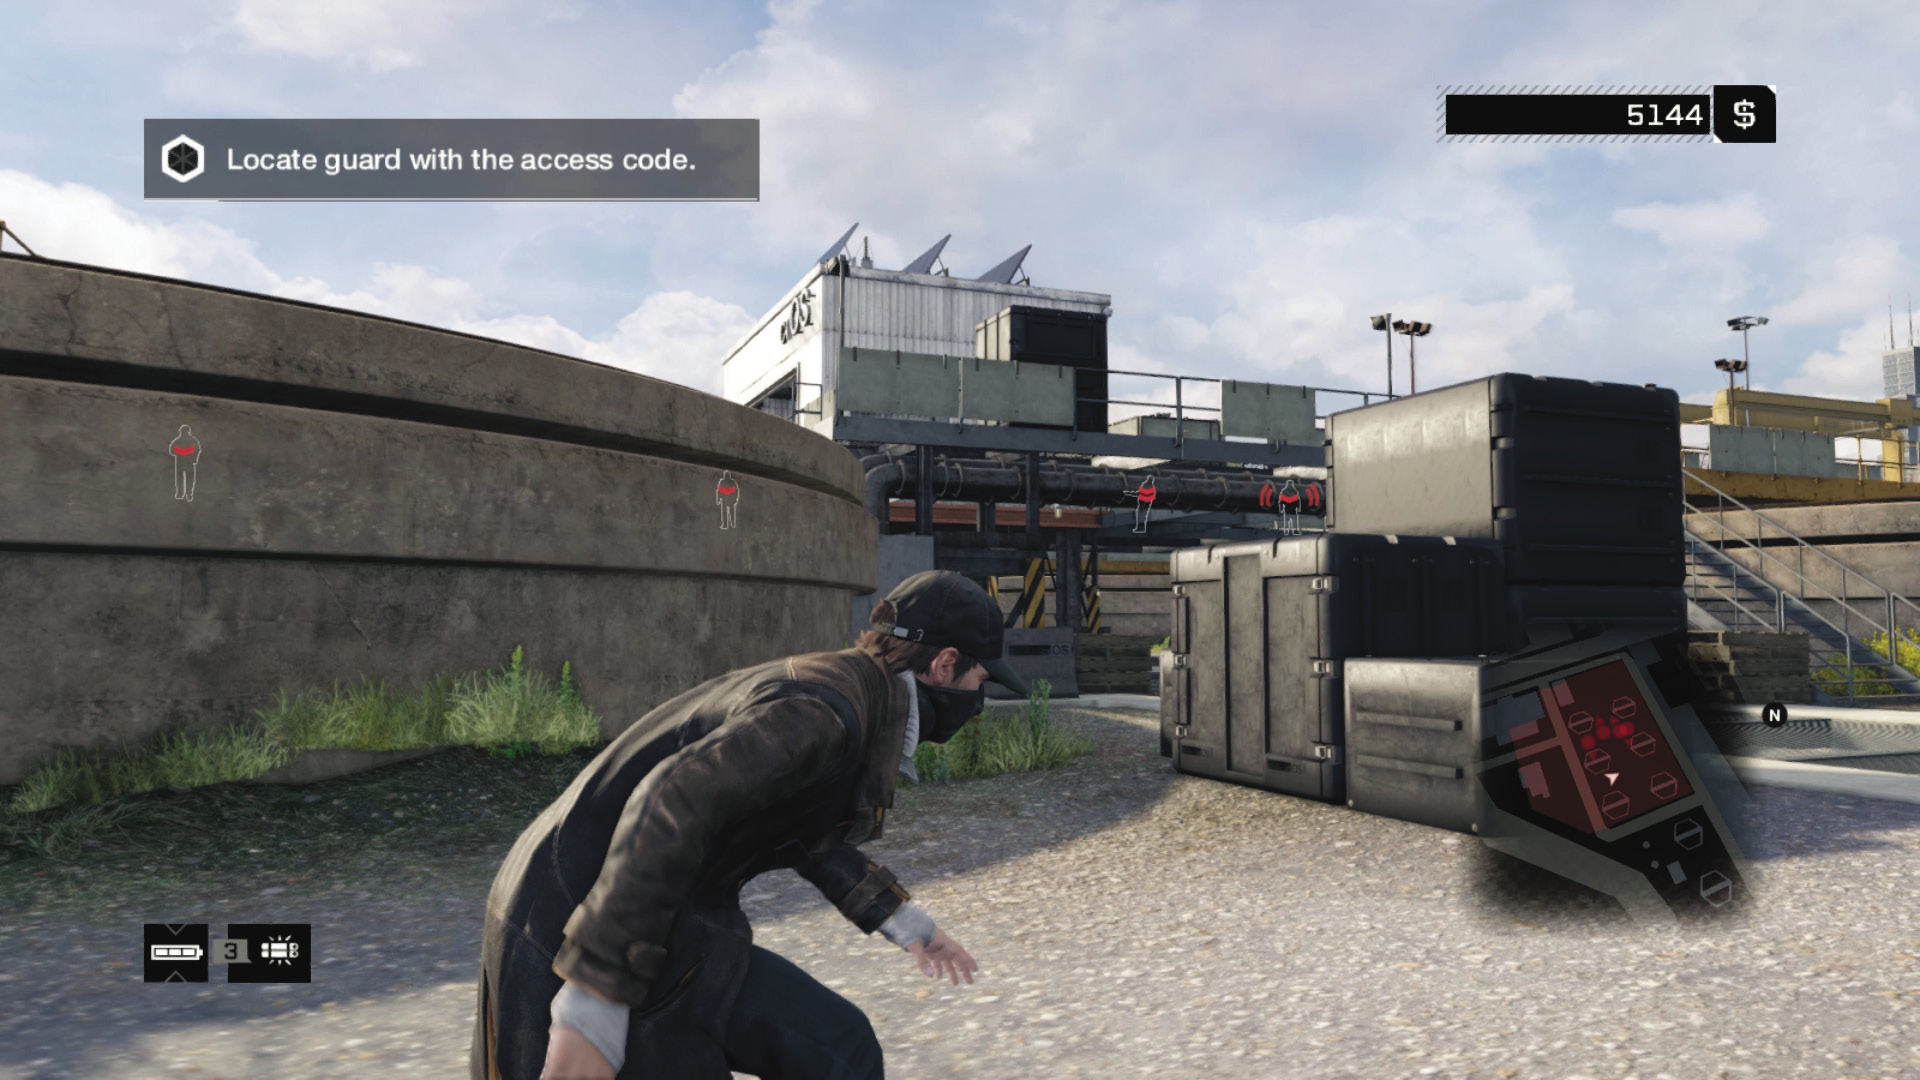
Now that you’ve cut down the enemy’s long-range attacks, you can move toward the raised metal hut with the ctOS sign on it. Here the routes diverge:
You can creep along the ground to the forklift truck or the steps to the left (east) of the walkway to reach the hut.
You can move to the vat just below the window of the garage where the first sniper was stationed and summon the vats walkway. Wait for the puzzled guard to turn his back on you, then creep in and remove him.
You can maneuver around the northwest or northeast corner of this facility, behind the hut, and climb the steps up to the guard with the data.
Or, you can remain on the south walkway, summon the vats walkway, and when the nearby foe walks away, scurry over and knock him out.
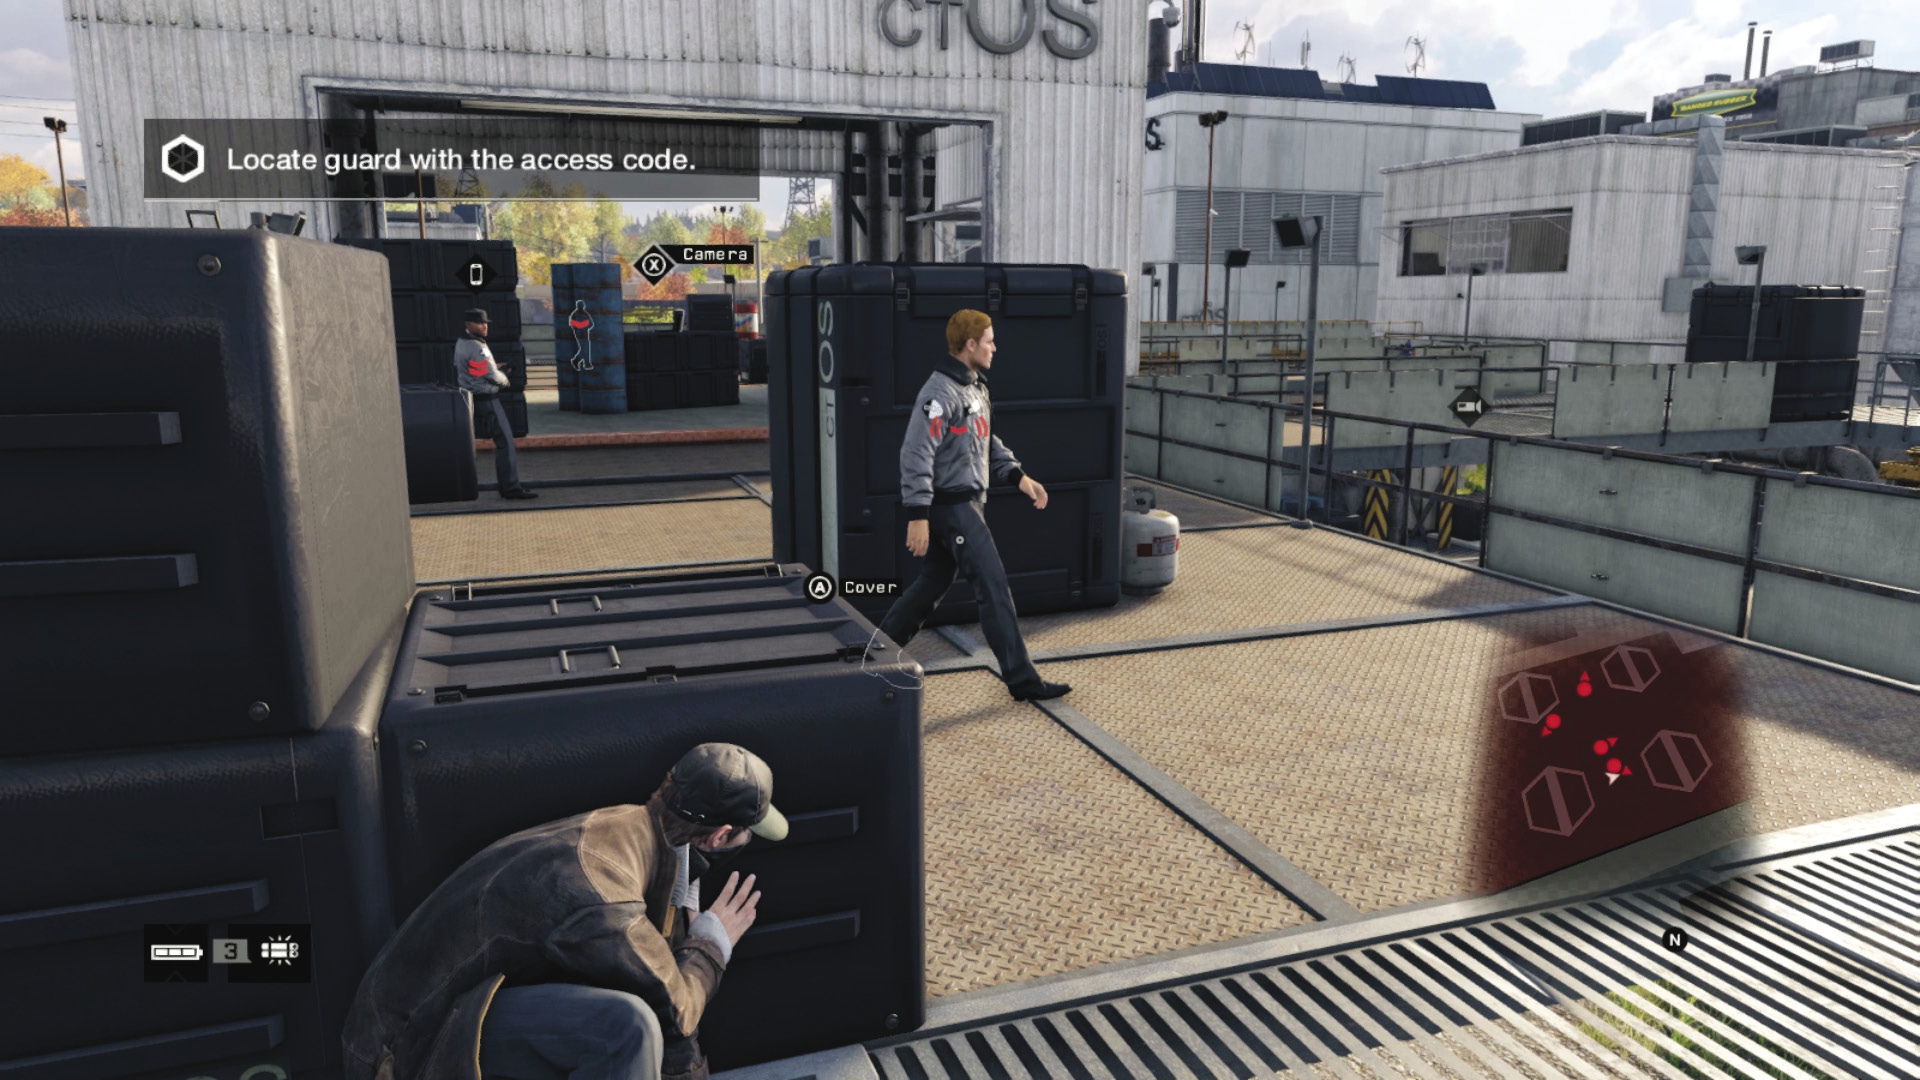
With around four guards left, all in this hut section, you may wish to drop down and work around from the rear (north) steps, dropping the foe patrolling first, then the enemy leaning near the hut entrance with the data, and finally the two patrolling guards in the middle of the vats area.
 Passive // Smart: Using a Minimum of Strikes to Enter
Difficulty: 
If you’re ignoring the enemy as much as possible, deal with the sniper in the east garage first, then work your way north, using lures if necessary and melee-striking the foe patrolling on the upper walkway just north of the metal hut. Bring the foe down with the data, but without being spotted. Hack the router while in hiding. This means you only need remove two foes before accessing this part of the city’s map.
You can also freak out the enemy by constantly rotating the vat platforms. They usually go to investigate, so this or forklift movements can help you rid yourself of a foe blocking your path.
 Aggressive // Violence: Removing All Threats and Dissenters
 Difficulty:
Unlike many of the other locations where the ctOS has a control center, this place is wide open and ripe for sniper fire. But there are other ways to remove your foes using violent techniques too:
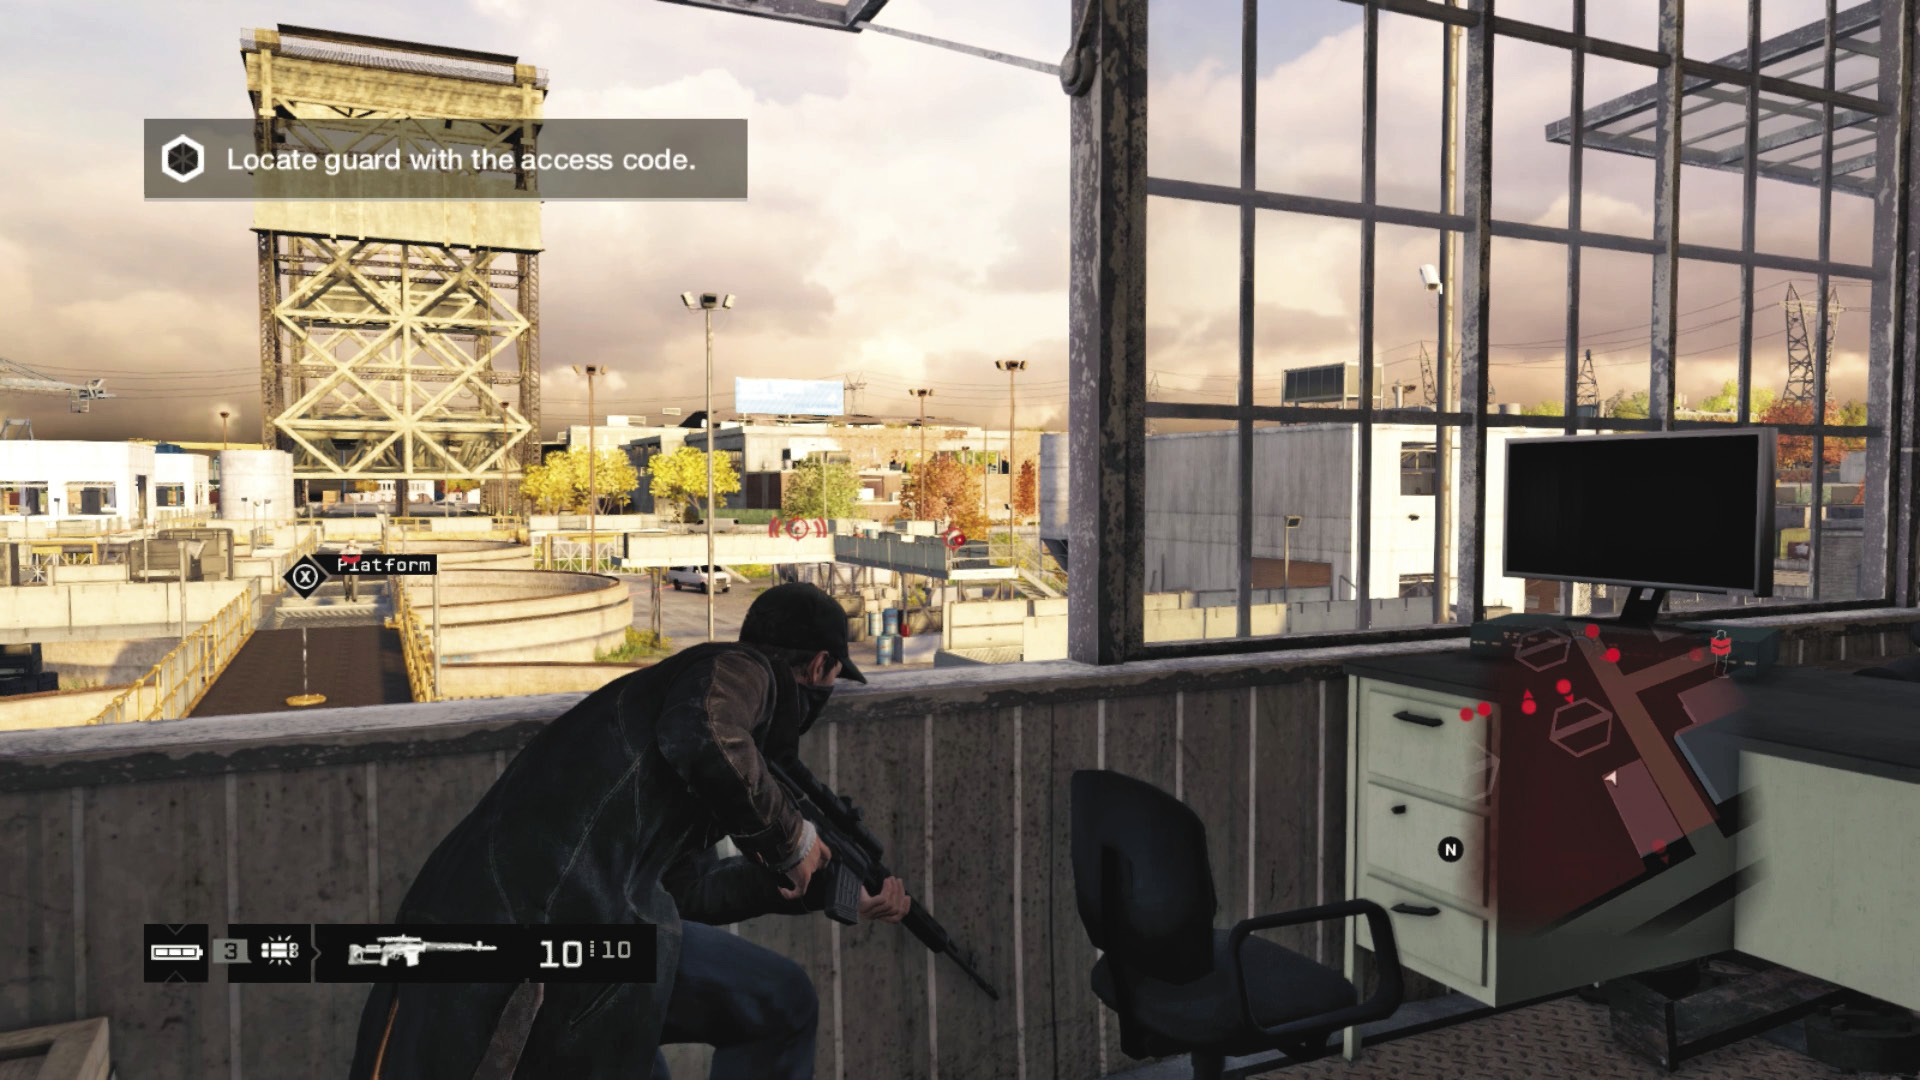
Concentrate on the three snipers first, then anyone thinking of calling reinforcements. For this you need height and a sniper rifle. Strangle the foe on the upper garage window area, then use this location to fire out at the foes.
Another possible sniping area is the metal hut on the perimeter’s eastern edge.
Another excellent location is the roof of the southern building overlooking the walkway with the two enemy snipers. You can hide on the walkways and inside the garages, too, but your vision is impaired.
There are several stacked explosive barrels close to the metal hut with the router and the two snipers on the walkway; setting them to blow up is a great way to thin the numbers.
Place Proximity IEDs near the gates, rigged to explode when reinforcement vehicles arrive. This really helps you manage your enemy threats, as you can hear when reinforcements have arrived (as their vans explode!).
Shotguns are less helpful compared to pistols or automatic rifles. Grenades are a reasonable option but are prone to bounce off walkways and hit the ground, away from the target; so throw with precision.
Use the vans as moveable cover. You utilize the protectors on the ground only occasionally, as you don’t usually move about in these areas. Also use the plates on the platform railings as cover, especially if you’re fighting snipers.
Gaining Control
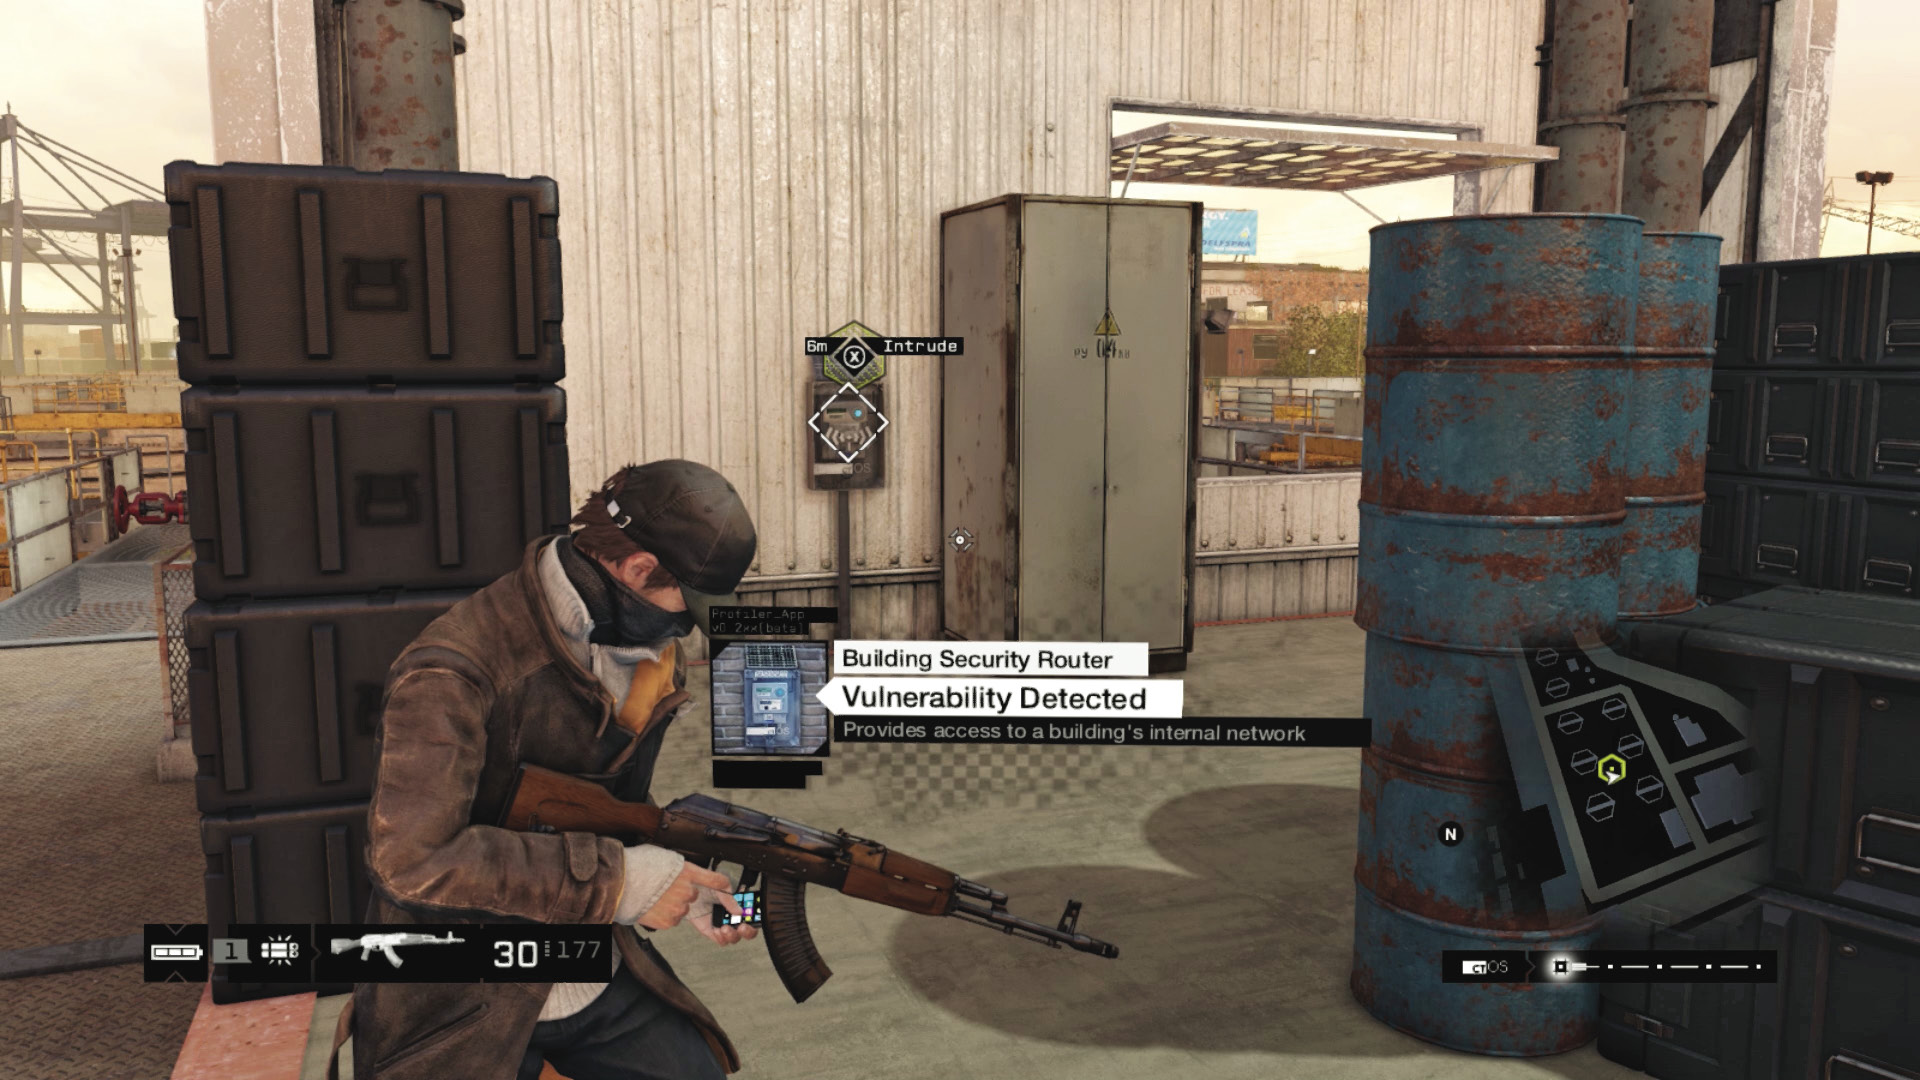
Once everyone is out of the picture, move to the router box (remotely or physically) and hack. After solving the hotspot, there are three Video Logs to hack and watch, the ctOS server to hack (via a quick camera change).
Solution: Hotspot
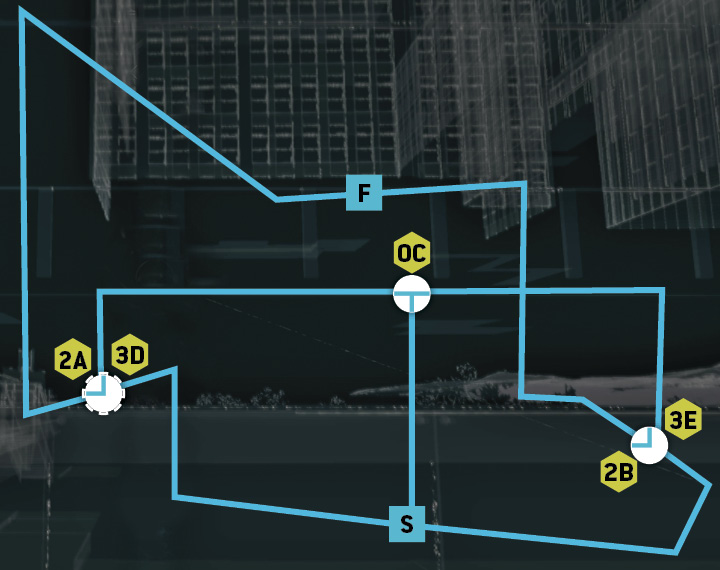
Now you have the data, you can simply leave; for a bit of fun, take one of the faster ctOS SUVs and drive it along the mesh floor with the pipe under it. With a big enough run-up, you can clear the river to the east and escape. Or fall in the water and end this otherwise faultless infiltration in abject embarrassment.
MISSION REWARDSGained XP: +500 District Access Unlocked |