
Watch Dogs Guide MAIN MISSIONS MAIN MISSIONS /// Act II
_PLANTING A BUG
|
OBJECTIVES
|
 Get into position and contact Bedbug
 Leave no witnesses alive
 Guide Bedbug to the server room
 Unlock the server room for Bedbug
 Escape the Viceroys
MINOR SPOILER 
LOCATIONS // MAP
Location 01 / The Wards // Rossi-Fremont ctOS Tower
Location 02 / The Wards // Rossi-Fremont Interior
|
|
 Get into position and contact Bedbug
 (Optional) Leave no witnesses alive
14.1 HE’D SELL OUT HIS OWN MOTHER IF I ASKED
 Location / The Wards // Rossi-Fremont ctOS Tower
 Infiltration
 Data Hack
 Lethal Force Likely
 Melee Force Likely
Difficulty: 
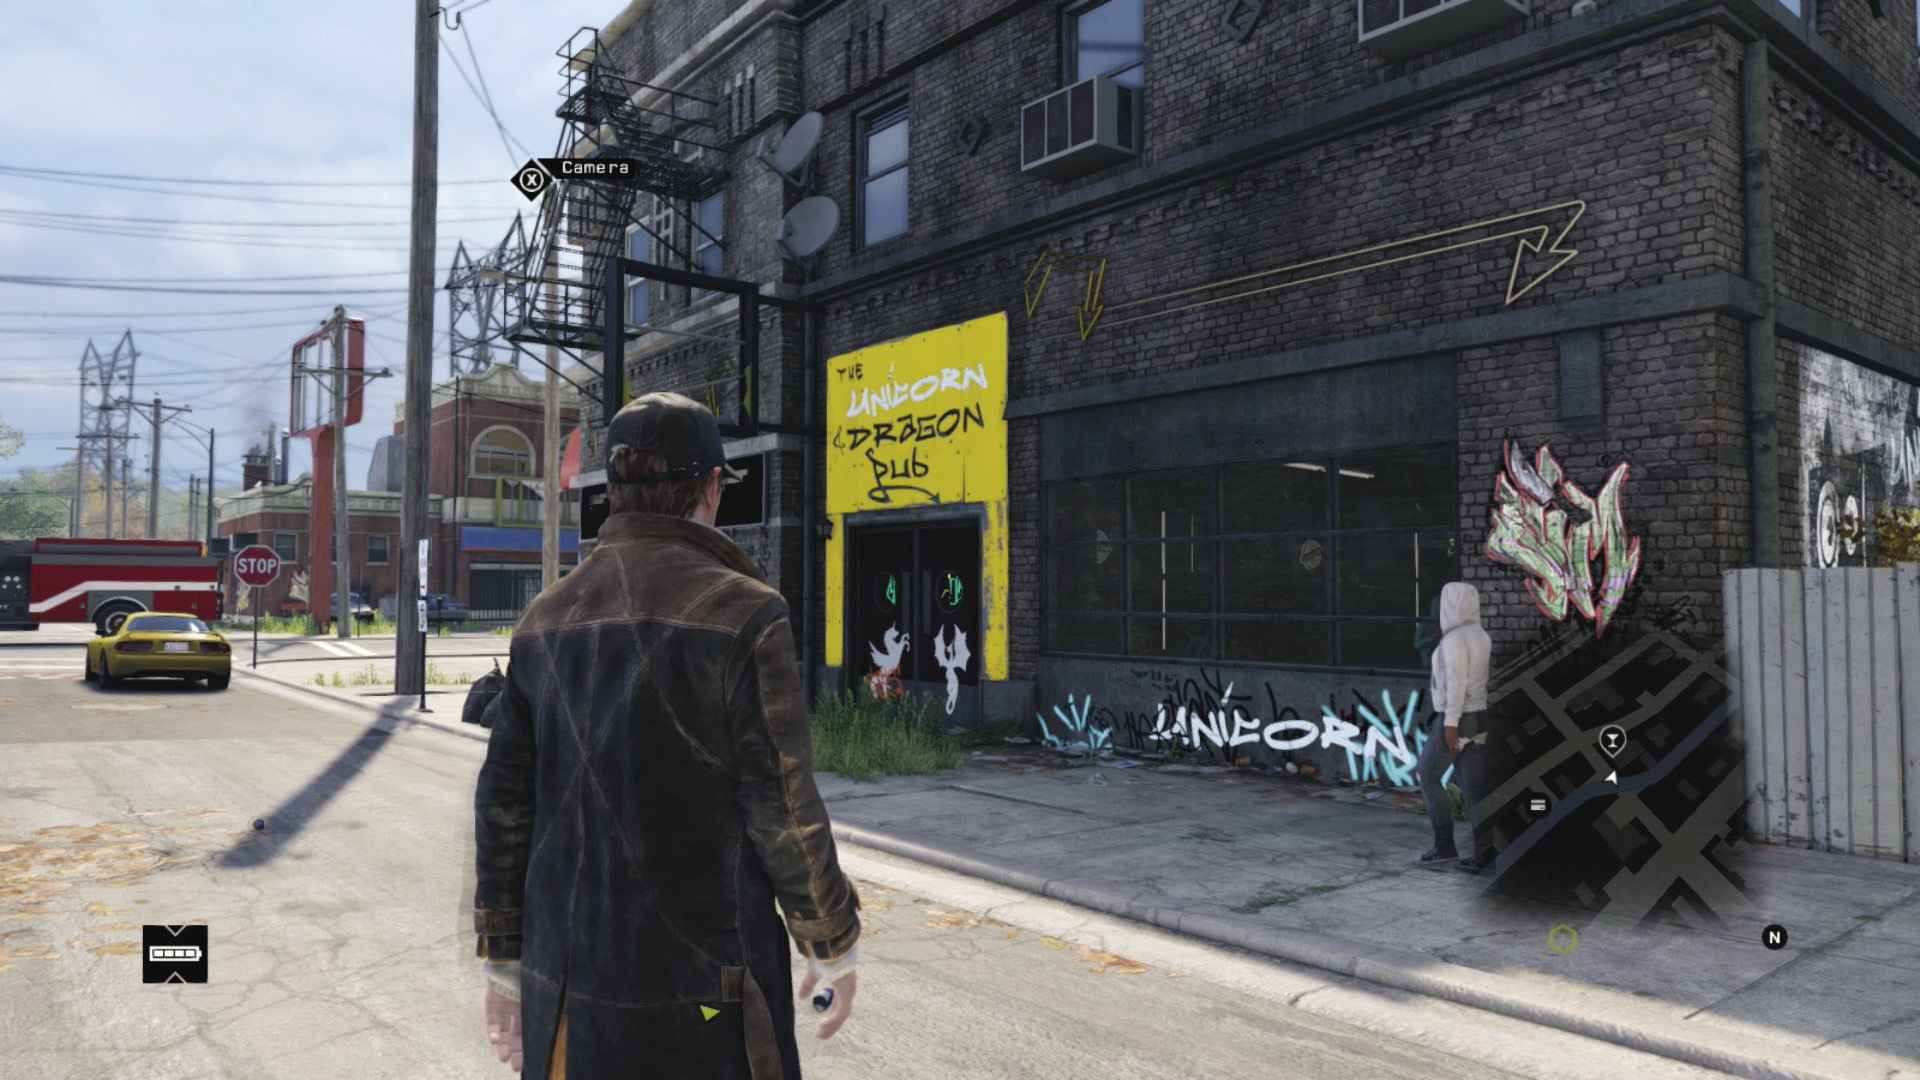
Once you explain to Clara that you’re going to wire up Bedbug and send him into Iraq’s base, head to the Unicorn and Dragon Pub in The Wards, secure another Audio Log from the bar counter, then place the bugging device for Bedbug to pick up. Once you’ve called your Plant, drive over to the Wards and park outside the Rossi-Fremont ctOS tower yard. Getting into position involves accessing the tower yard once again. You should already be familiar with the following insertion points.
Overview
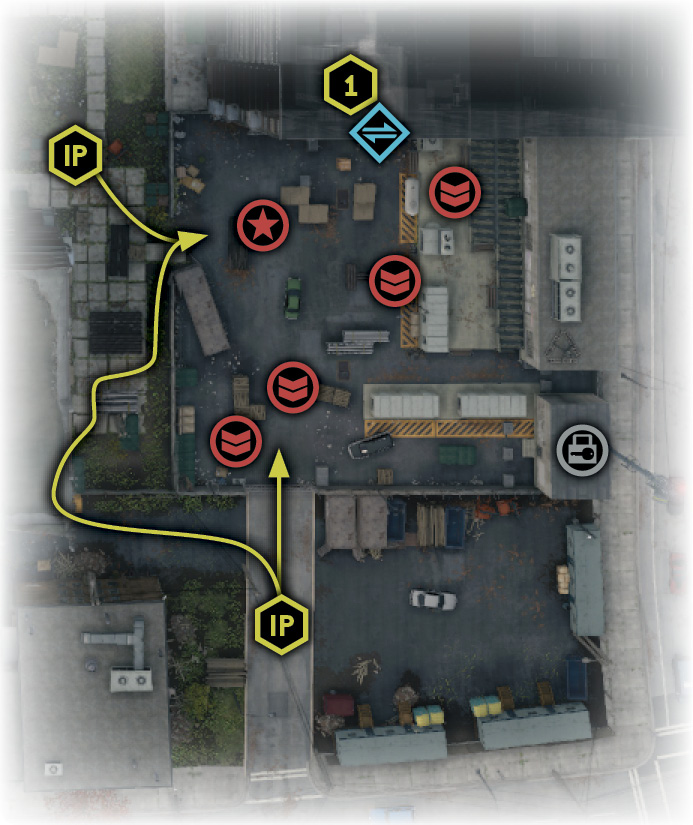
 Completion Point: The hackable door at the yard’s north end, at the base of the tenement block.
 Dangers: Five Viceroys (Veteran x4, Elite x1), with pistols, shotguns, and machine guns.
Insertion Points
Yard to Yard (West)
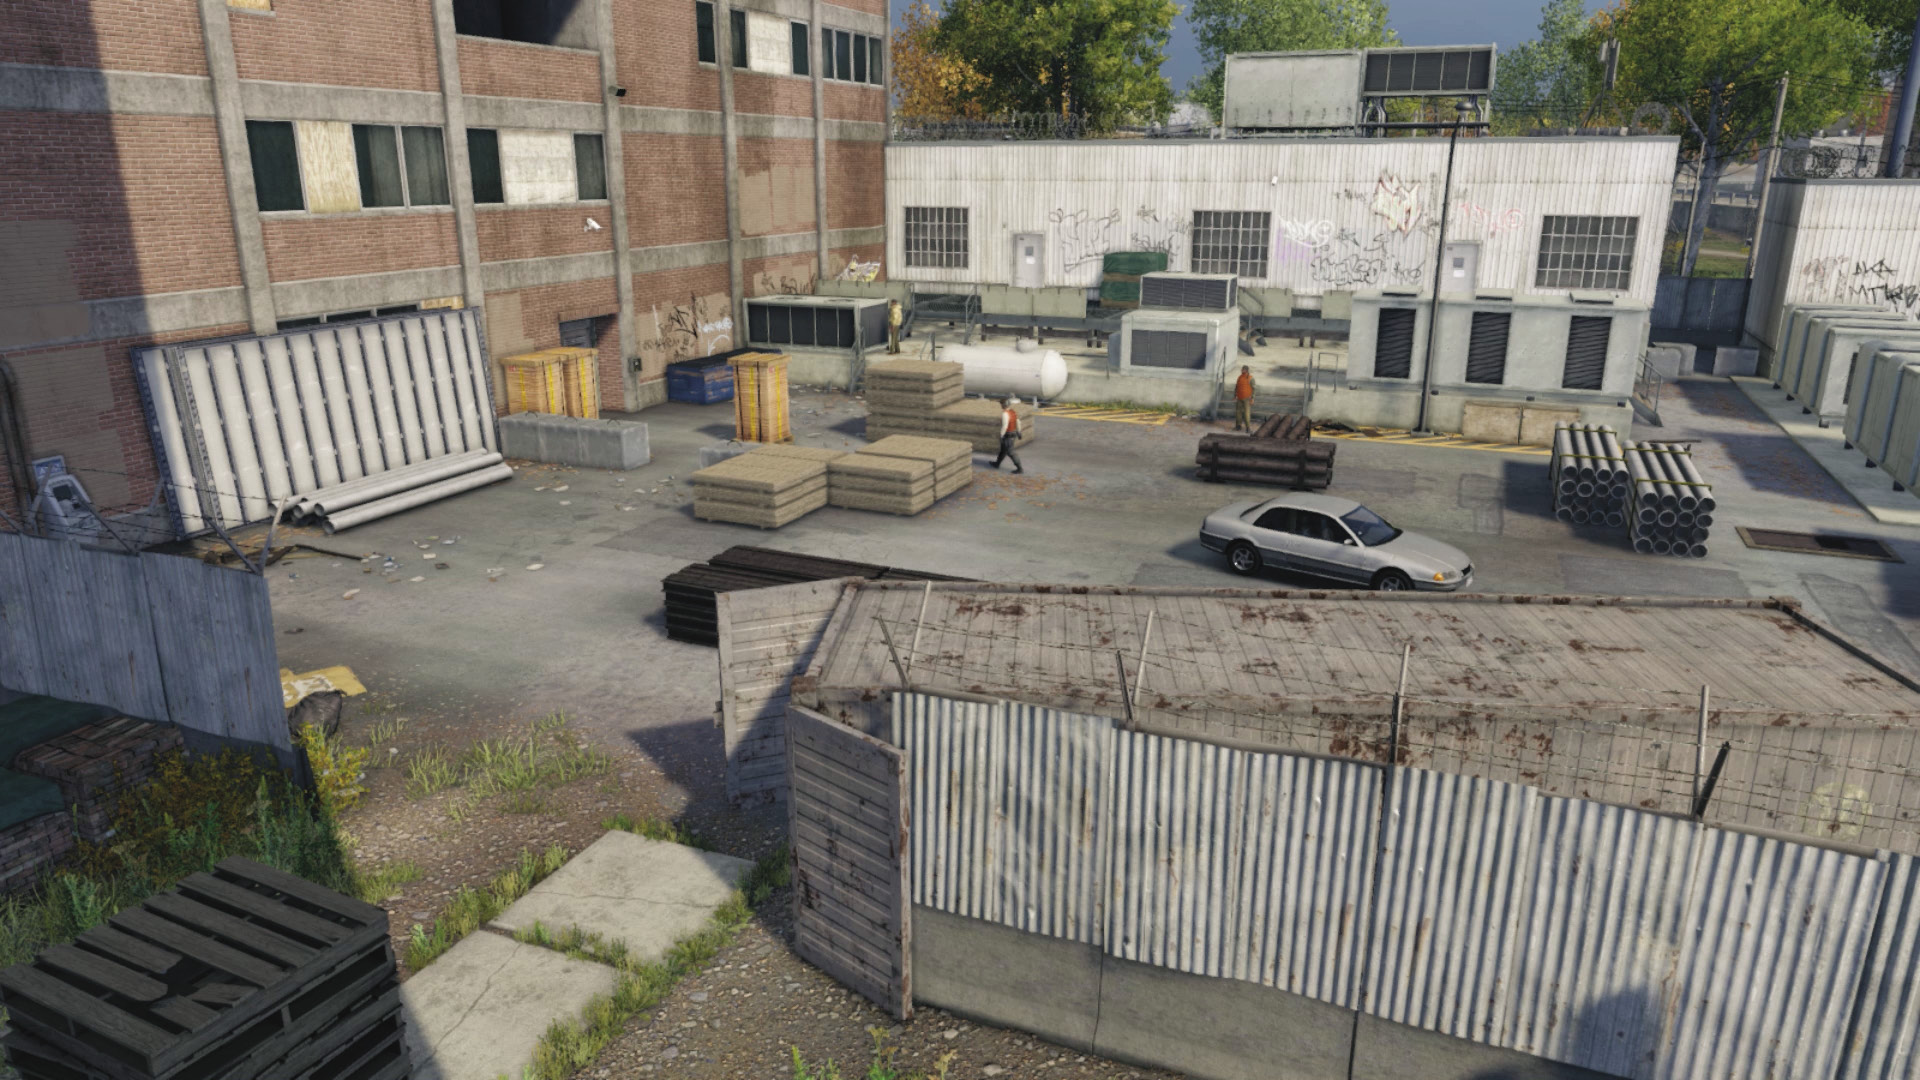
Accessibility Level: 
To access the gap between the southeast corner of the Rossi-Fremont yard and the tower yard, jog around to the Rossi-Fremont yard or summon the forklift to the gate’s left, stand on it, and drop over the high fence. The side gap into the yard is narrow, but there are numerous cover opportunities (such as the open container) as you insert yourself and run for the north door or begin a series of guard takedowns.
Tower Yard Gate (South)
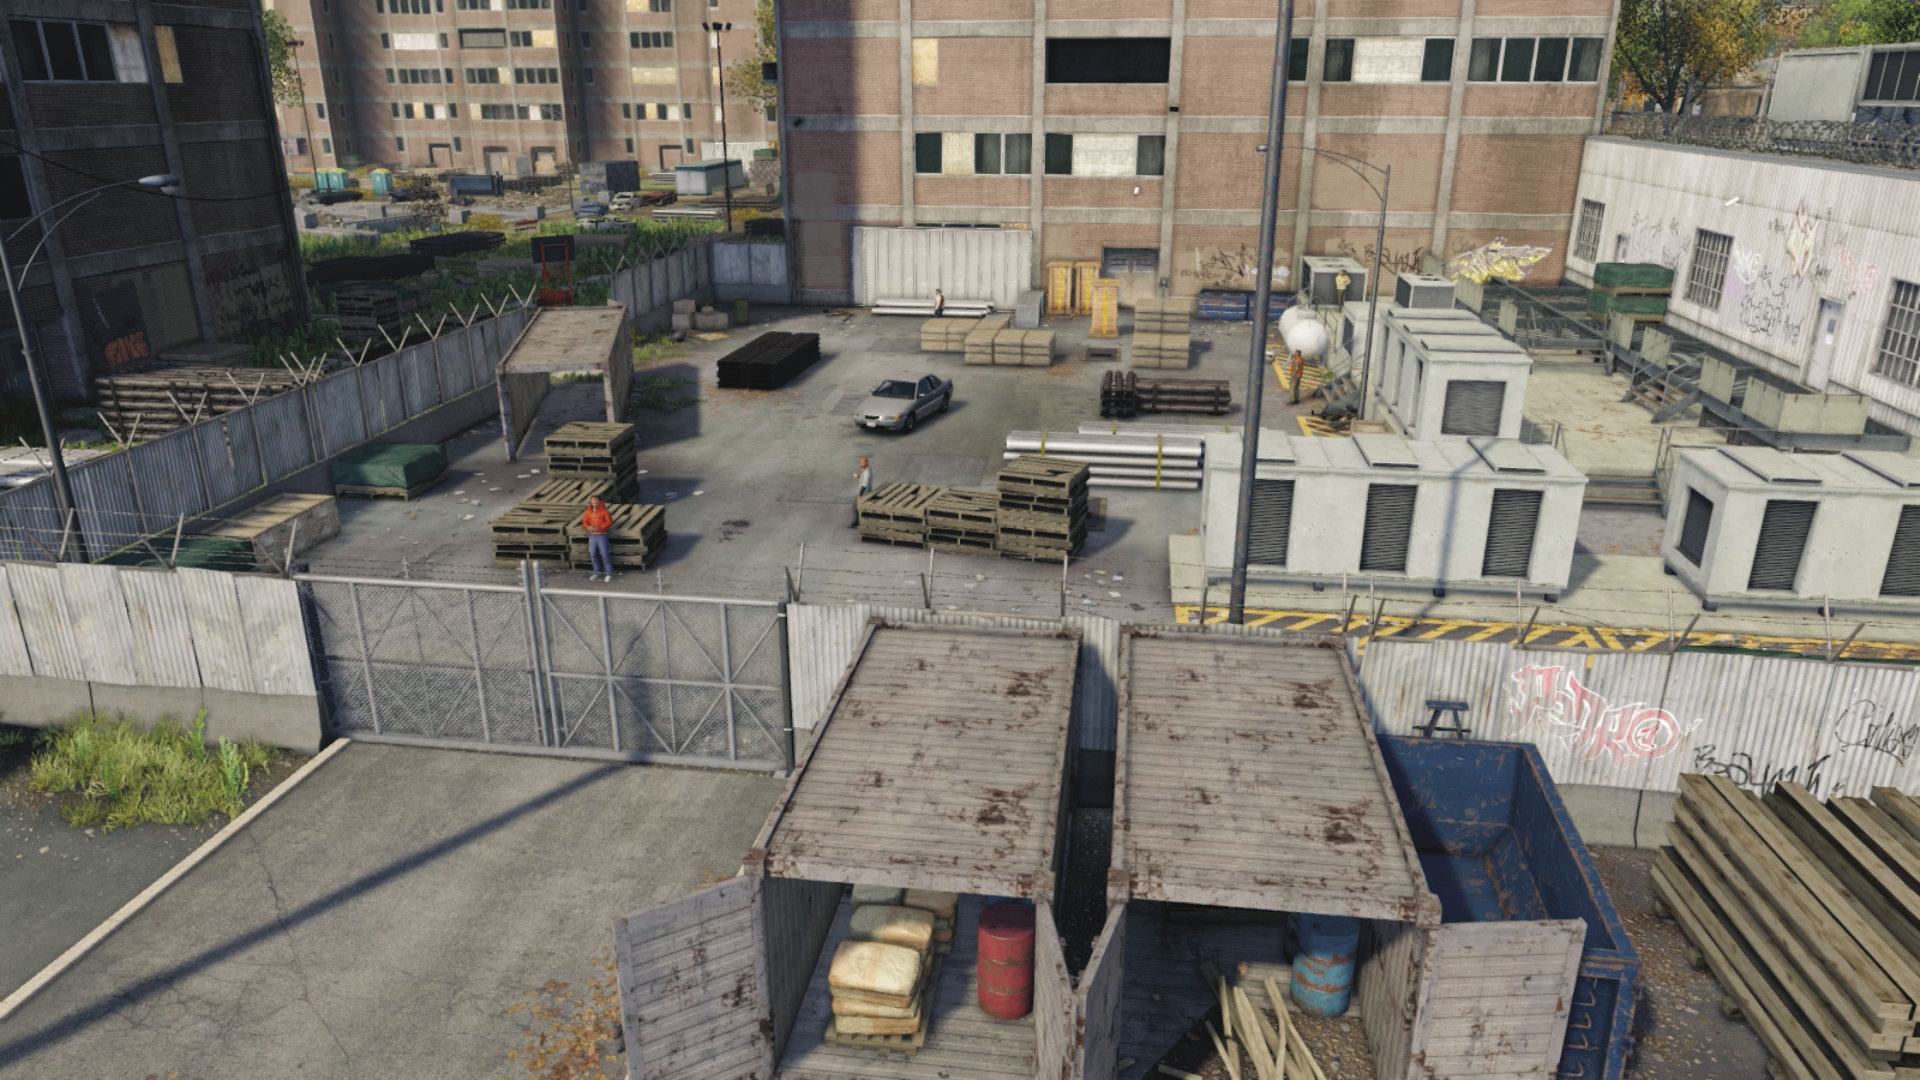
Accessibility Level: 
The other method to gain entry into the tower yard is via the gate leading from the street and your starting point. There are foes guarding this gate. Profile and tag them, and study the patrol paths of all five foes before you decide on your best infiltration action. Or, with a bit of skill, you can sneak through the gate and hide along the raised concrete area to the right (east). Just watch that flammable propane tank!
Progression Plans
You may now try one, parts of, or any combination of the following methods to insert yourself into this yard.
General PreplanningSmart Camera Work: There are two easily accessed cameras to mark all five enemies and to get a good look at the yard you’re infiltrating. That propane tank with the gas canisters nearby looks flammable.... Minimal Resistance: There are only five Viceroys and no reinforcements. While a firefight may be fierce, it won’t take long. Setting up for Getting Out: When you remove foes, be sure you’ve already figured out which way you’ll flee—via the gate or across the Rossi-Fremont yard. Bring a vehicle and position it facing the street too. |
 Passive // Smart: Avoiding the Viceroy Guards
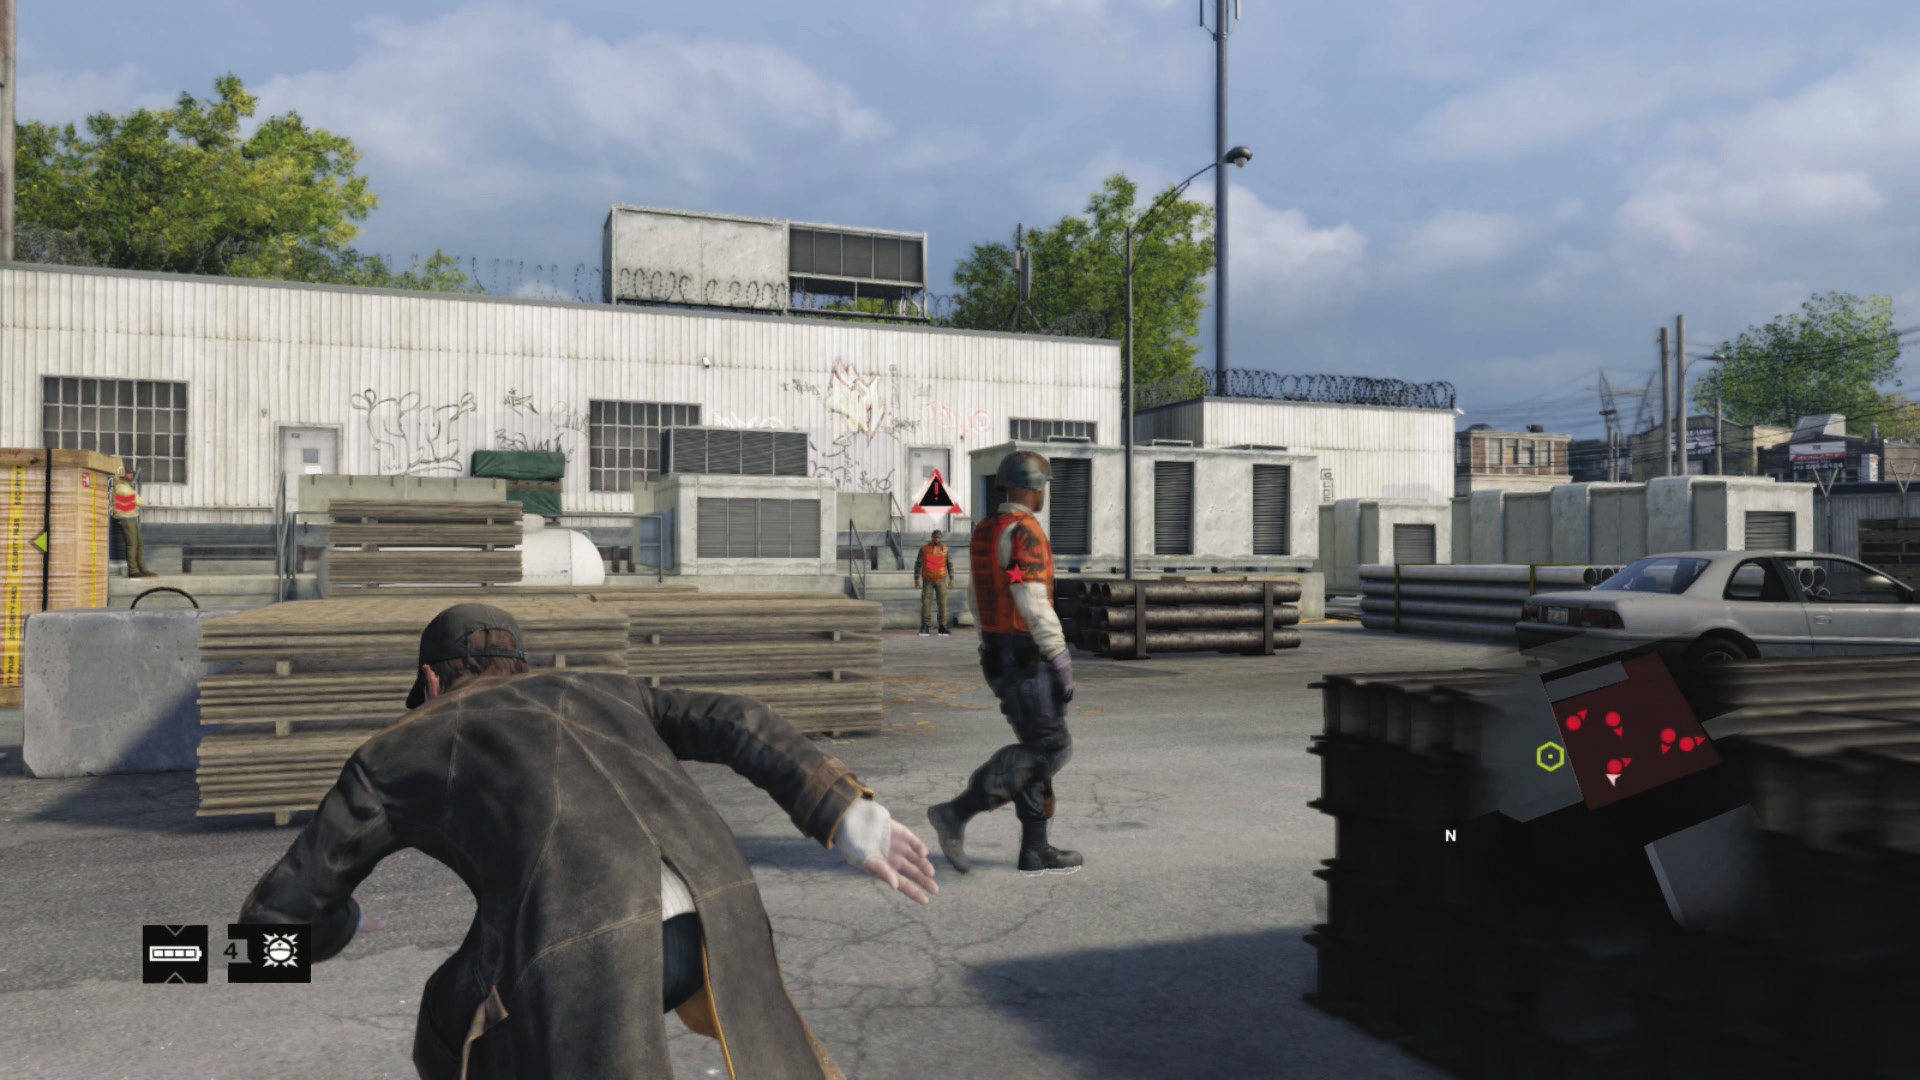
 Difficulty:
If you scale the forklift and head through the gap in the side wall, you can quickly hack the door from behind the girders. If you time your movements correctly or utilize lures, you can scurry to the concrete blocks and into the door without being seen.
 Aggressive // Stealth: A Gun-Free Takedown on the Cards
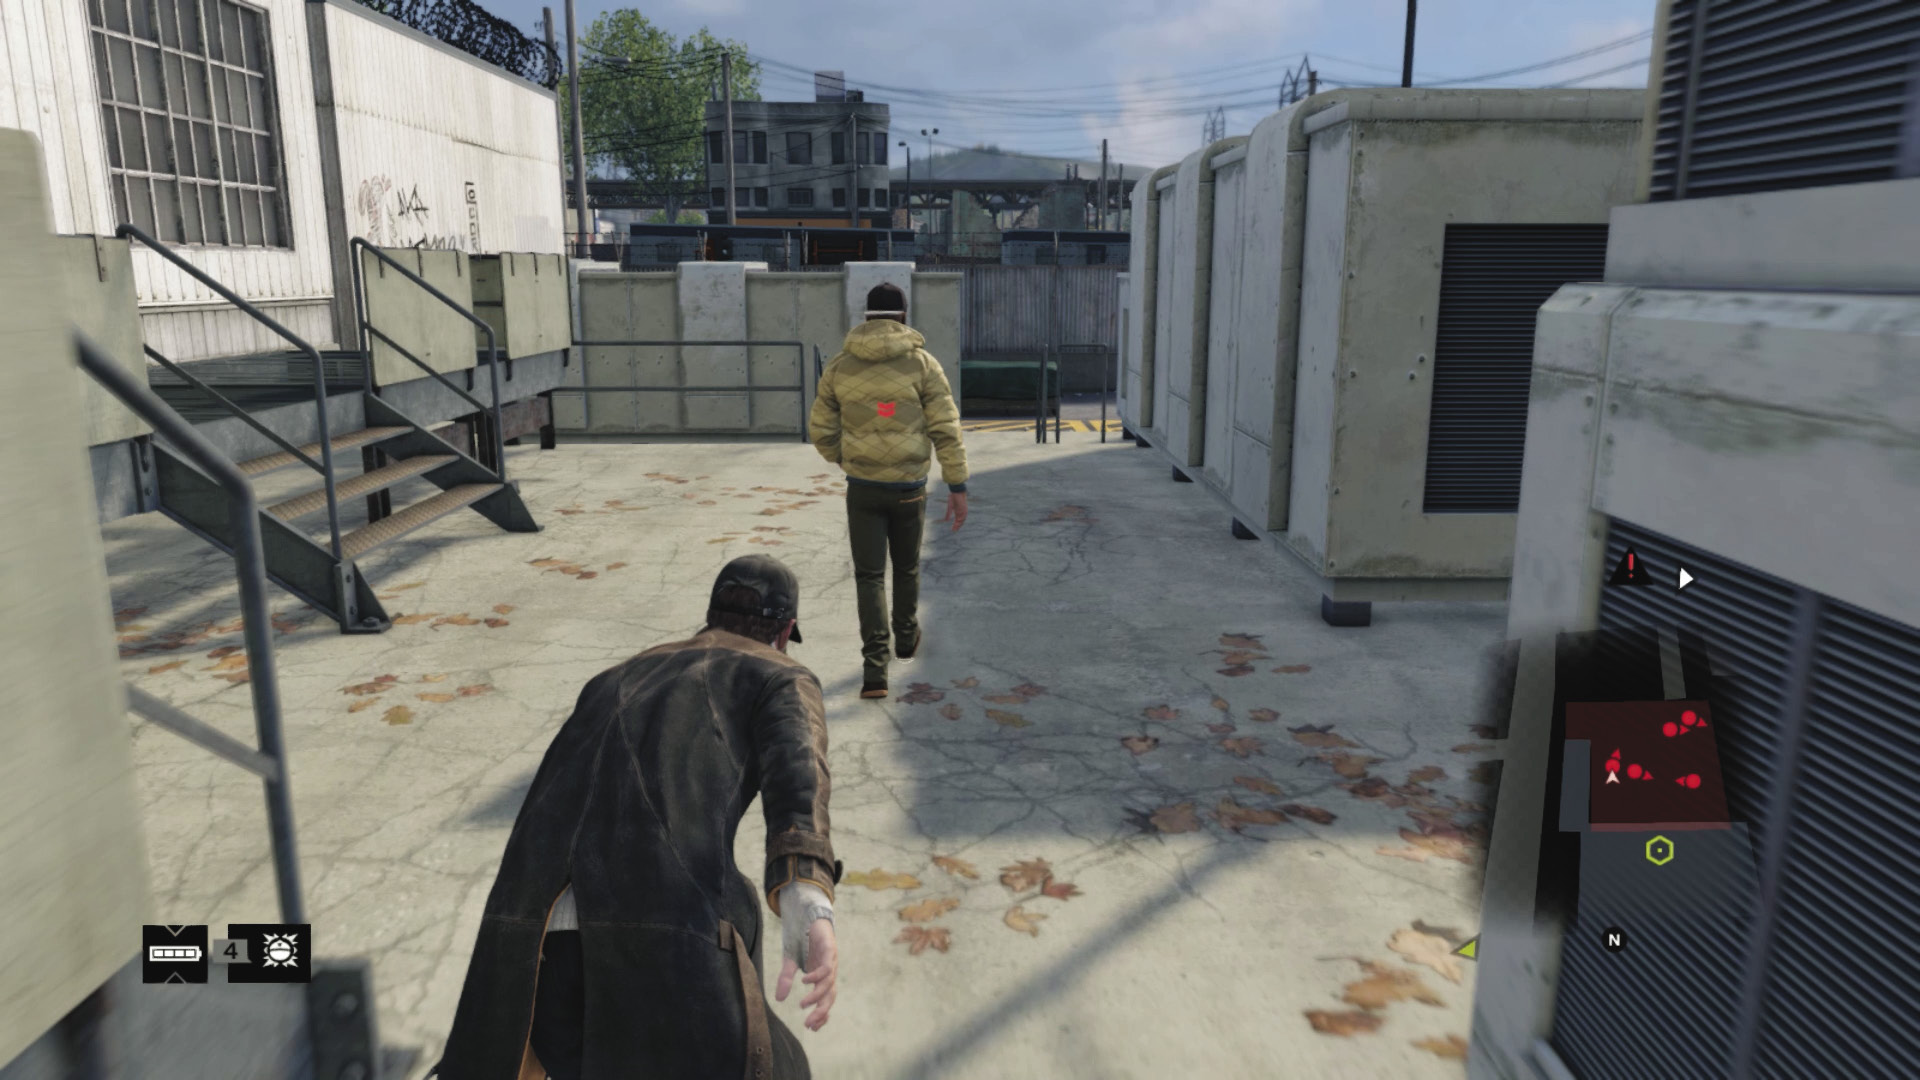
 Difficulty:
If you want to try out your stealth baton, approach from the side entrance. Head through the gap and move clockwise around the yard, dealing with the two foes by the gate last. Study the guard’s pattern and strangle only when others aren’t looking. Lures are also useful here, as is the open container to hide in.
How about a Spec-Ops takedown? Try climbing on one of the two open containers along the perimeter just right of the gate. The foes don’t immediately notice you, and you can tag enemies from up here with silent gunfire.
 Aggressive // Violence: Embedding Foes with Exploding Shards
 Difficulty:
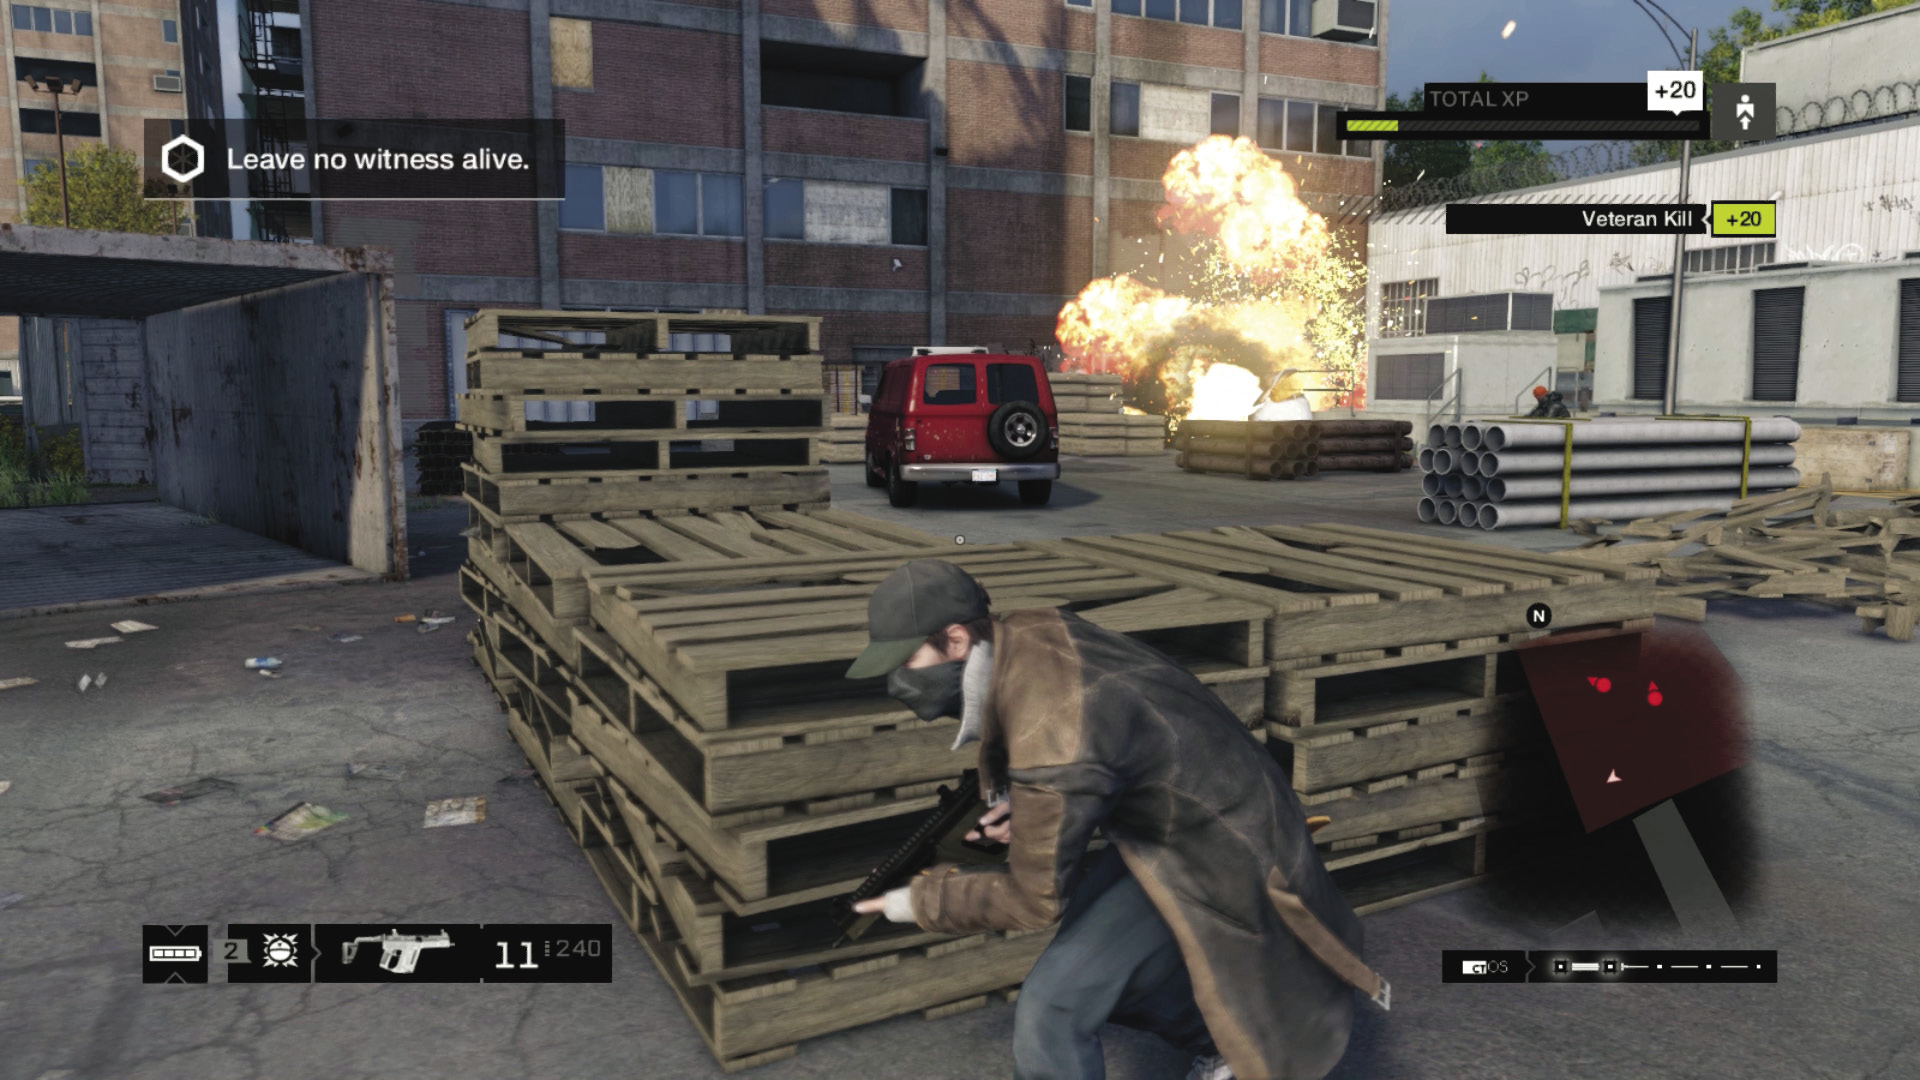
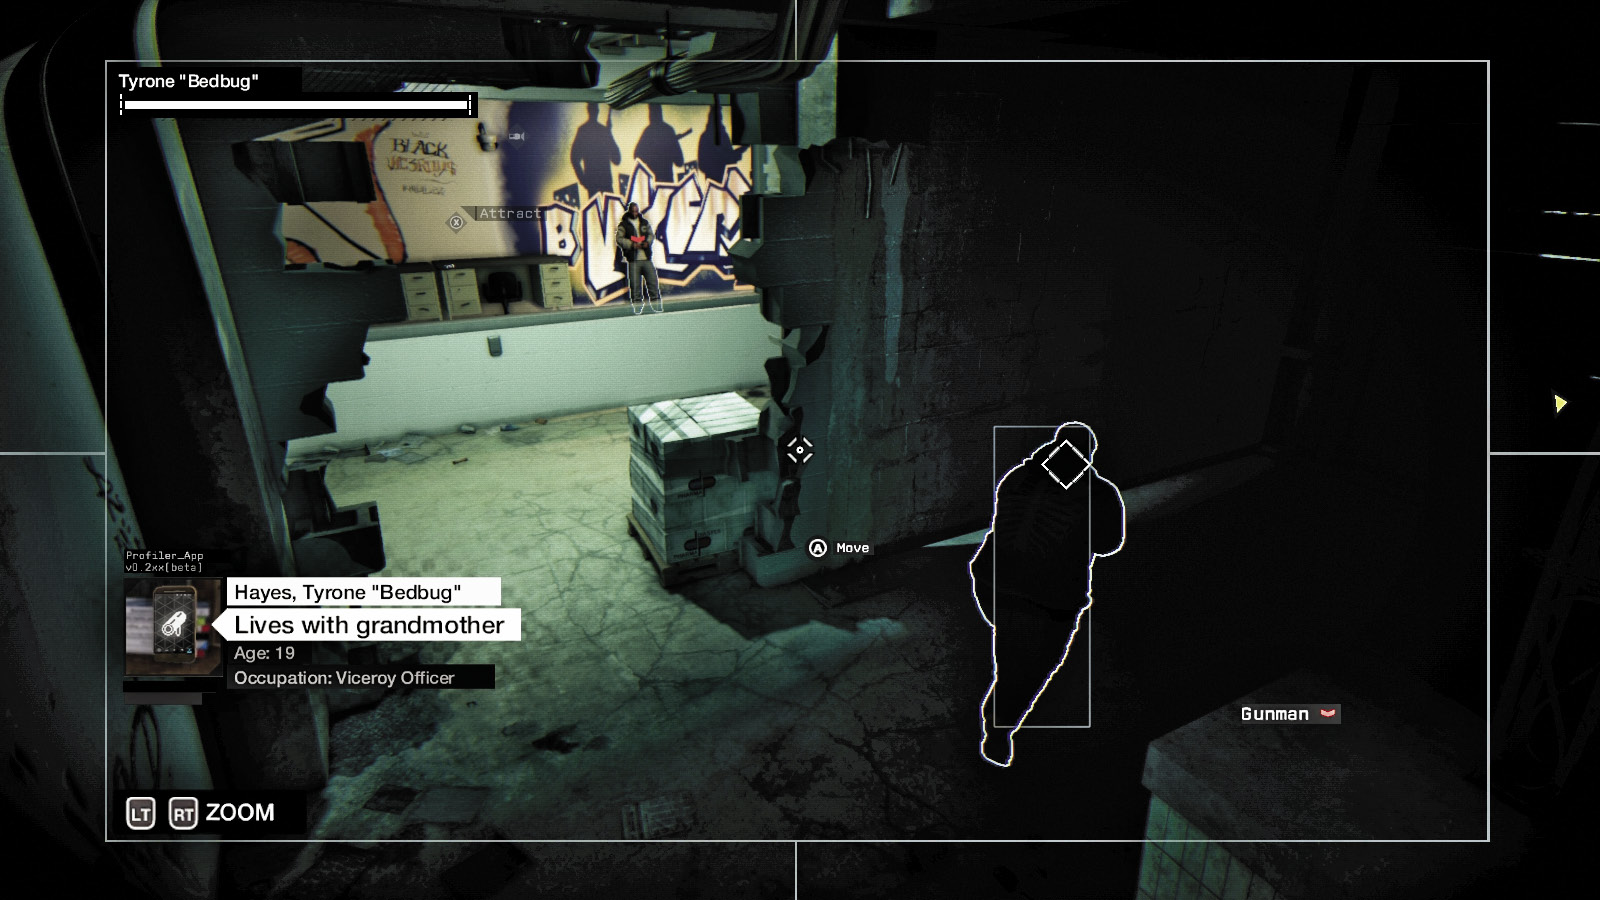
In addition to grenades and IEDs, shotgun blasts from close range, automatic weaponry, or sniping from a distant position through the side yard or from atop the forklift, you can shoot the propane tank. This removes two patrolling foes as the canisters explode. Grenades are also a great way to cause a firestorm.
 Driving // Offensive: Ramming and Sending Regards
 Difficulty:
If you have a vehicle you’d like to abuse, drive it through the open gate, crushing one or more of the waiting guards; then use it as movable cover, hopping out and blasting at the enemies you can’t run over.
|
|
 Guide Bedbug to Iraq’s locked server room
14.2 A SCURRYING BEDBUG
 Location / The Wards // Rossi-Fremont
 Escort
 Data Hack
Difficulty: 
Progression Plans
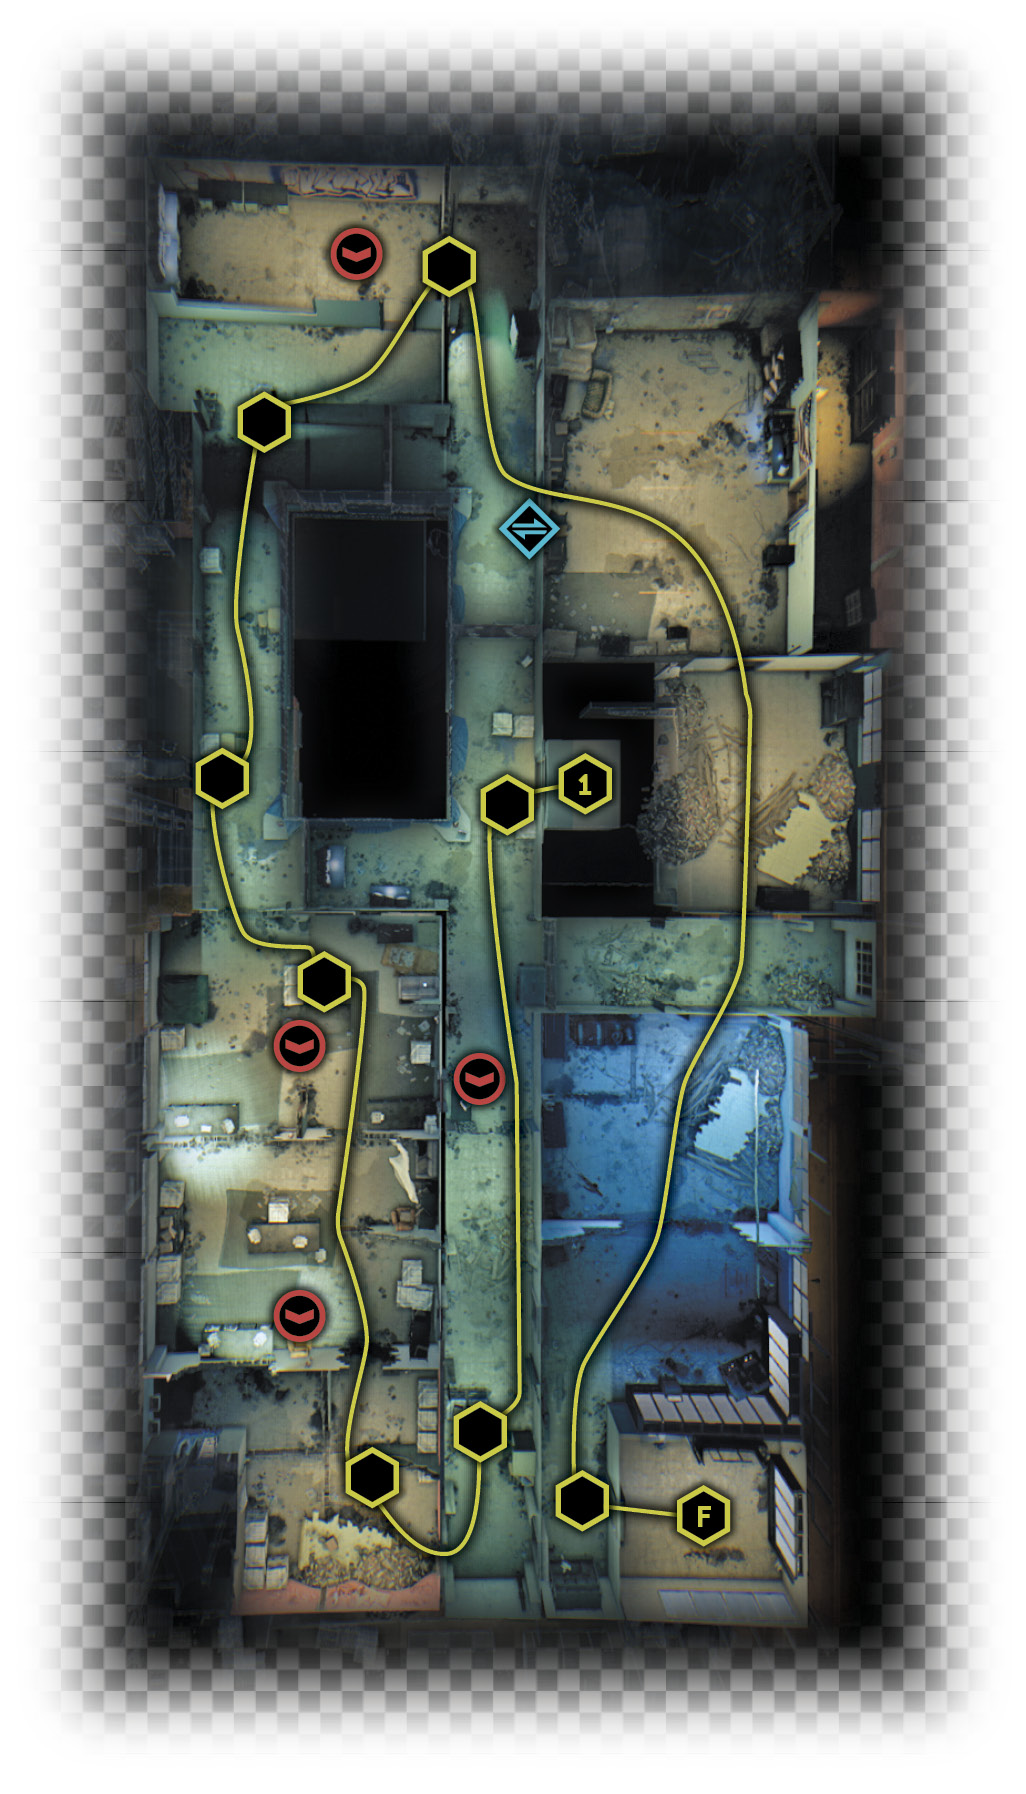
The next part of this mission involves you remotely prompting Bedbug as he infiltrates Iraq’s Rossi-Fremont compound. Use the guide map and the camera angles shown in the screenshots, and move Bedbug to where he is positioned in the screenshots.
General PreplanningNo Friends Here: The patrolling Viceroys aren’t Bedbug’s friends, as you’ll discover if one spots him. Make sure he’s out of sight. Scouting Ahead: You should already be familiar with this place, but it’s also good to leave Bedbug in a safe location and scout ahead via cameras. Mark all Viceroys in subsequent rooms and utilize any technology you can hack. One Main Route: It’s worth knowing that there’s one optimal path to reach the server room, described below. |
Bedbug Escort // Elevator Entrance
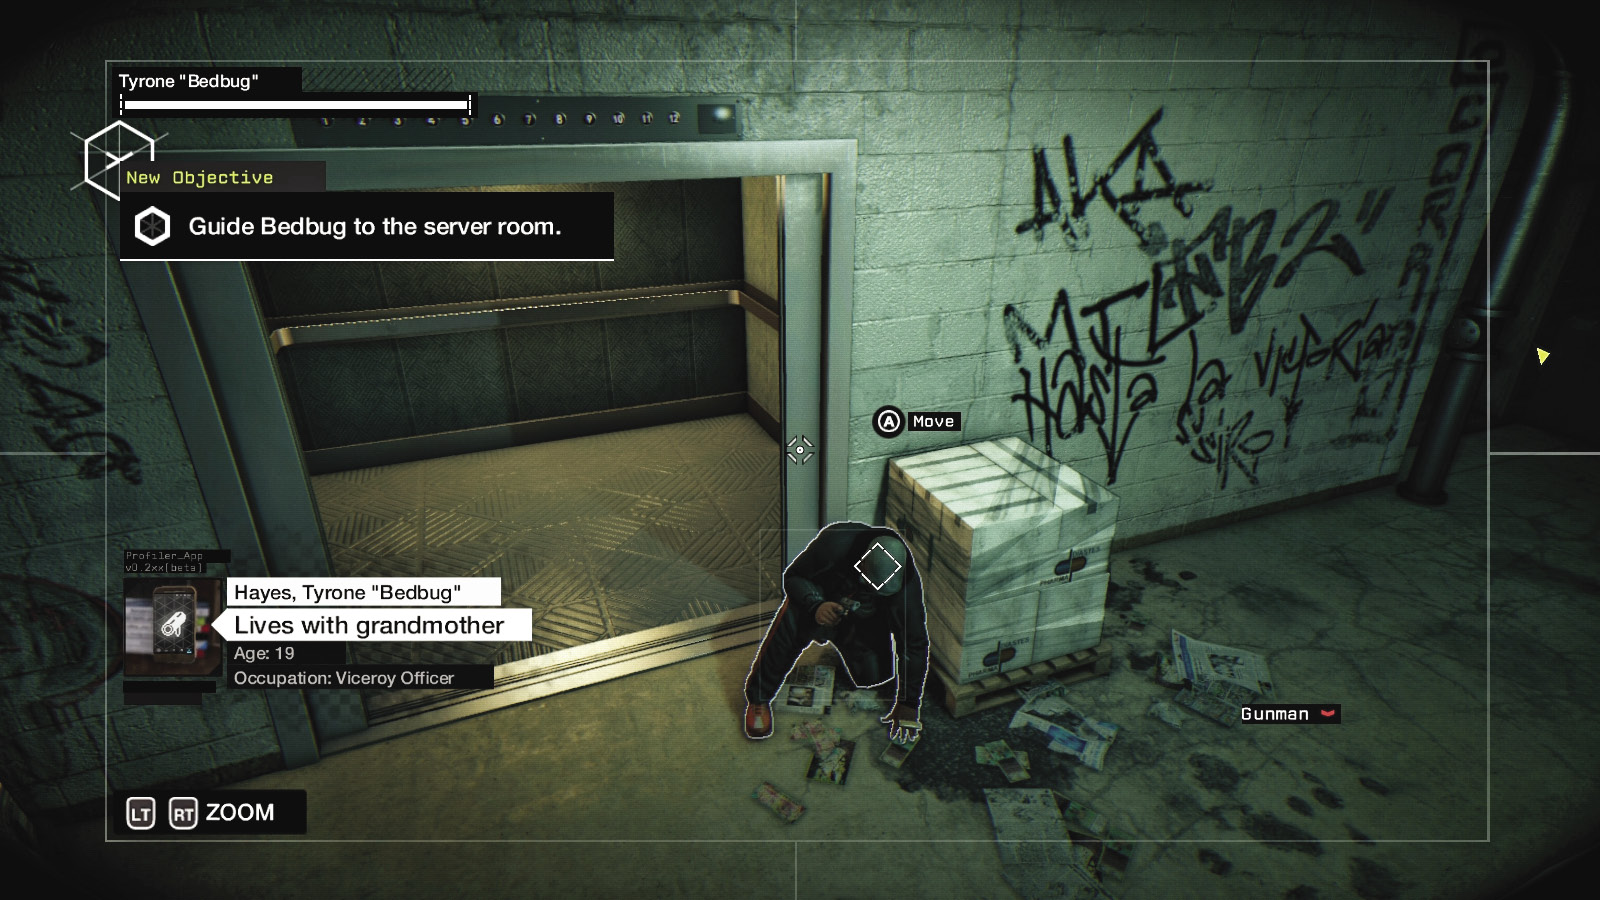
Bedbug steps out of the elevator, and he’s not happy with this predicament. He drops to a cover position, allowing you to survey the corridor ahead, which has one patrolling Viceroy.
Bedbug Escort // Narcotics Corridor
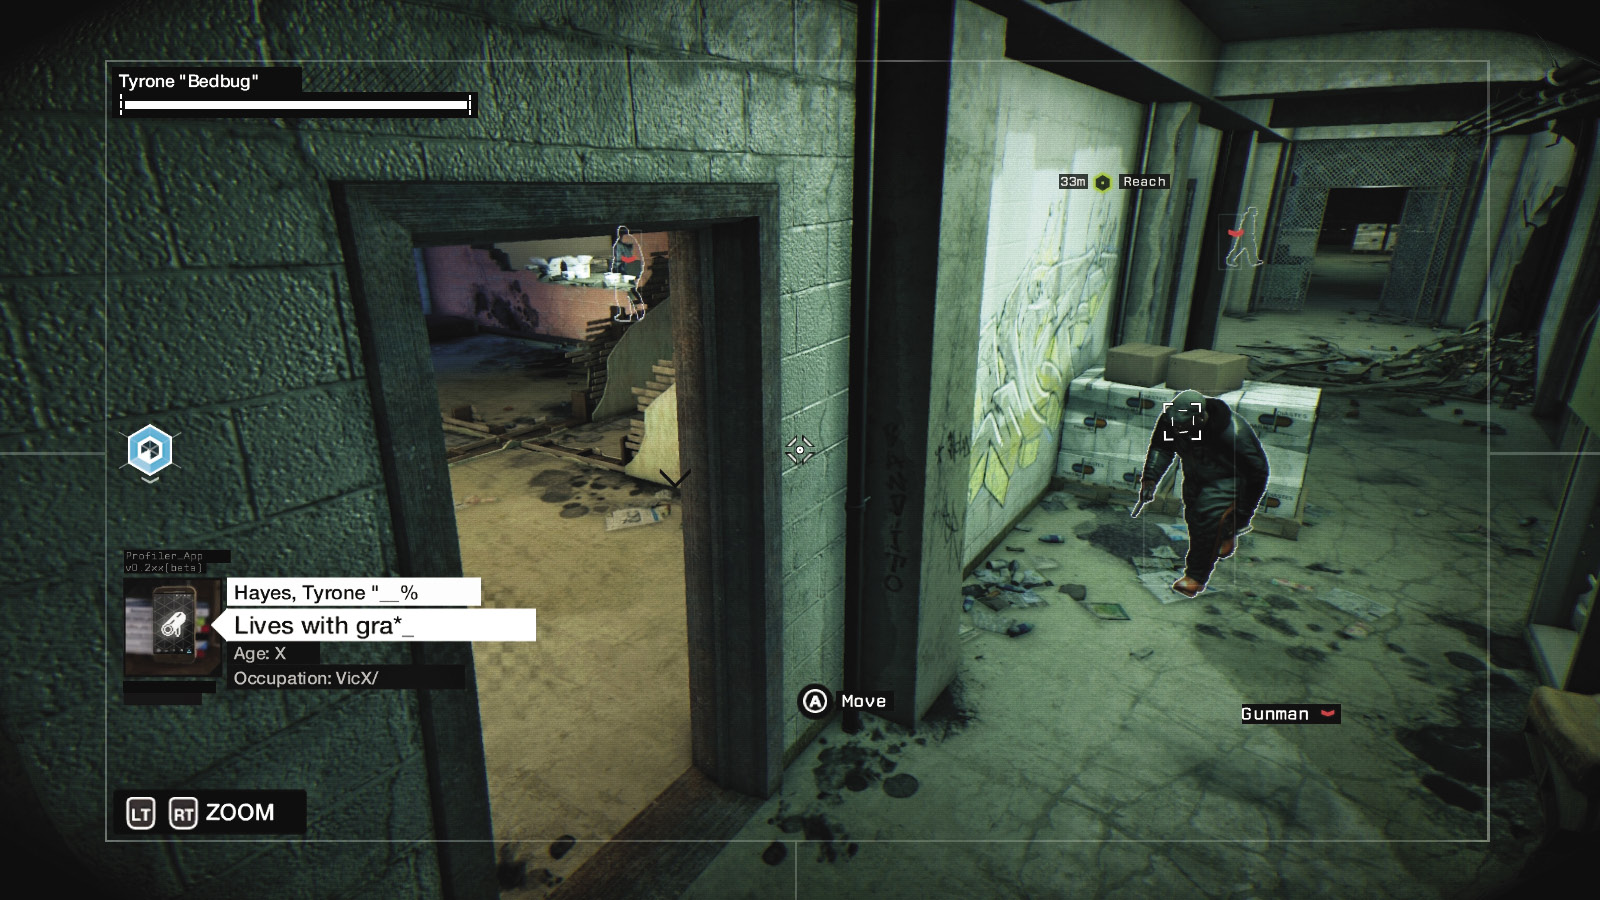
Pan right, optionally hack the laptop, then move to the camera shown here. Wait for the Viceroy to enter the side corridor, and place Bedbug down the corridor, by the pills crate, on the side closest to this camera.
Bedbug Escort // Ruined Wall
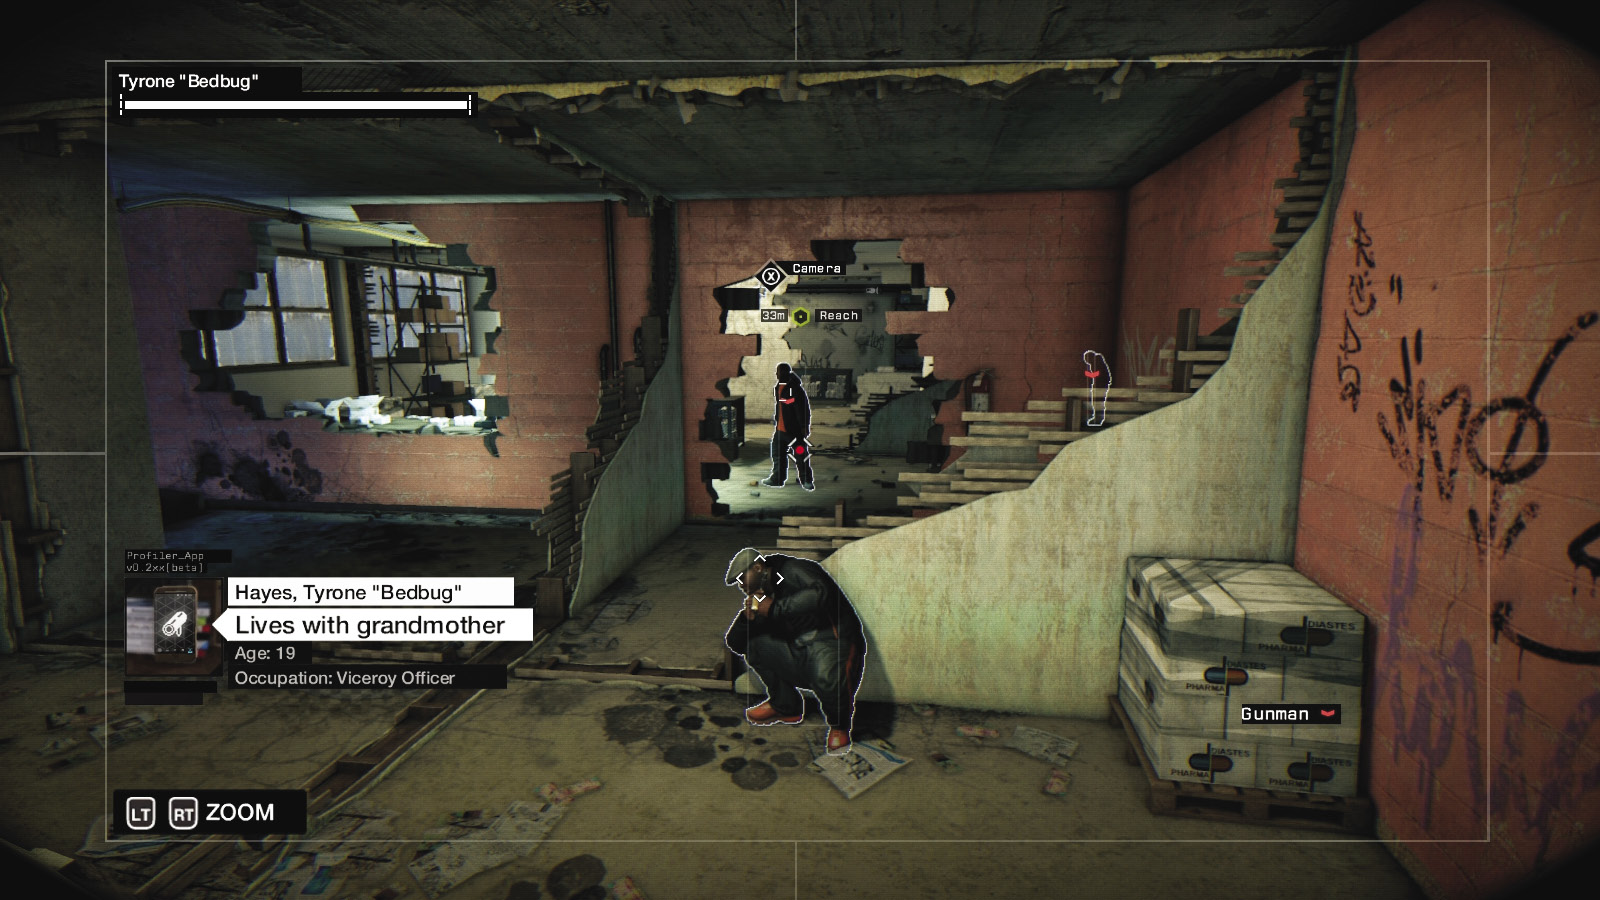
Hack the webcam on the notebook computer, then move to the camera in the salmon-colored drug storage rooms. Place Bedbug just inside, behind the ruined wall.
Bedbug Escort // Middle Room
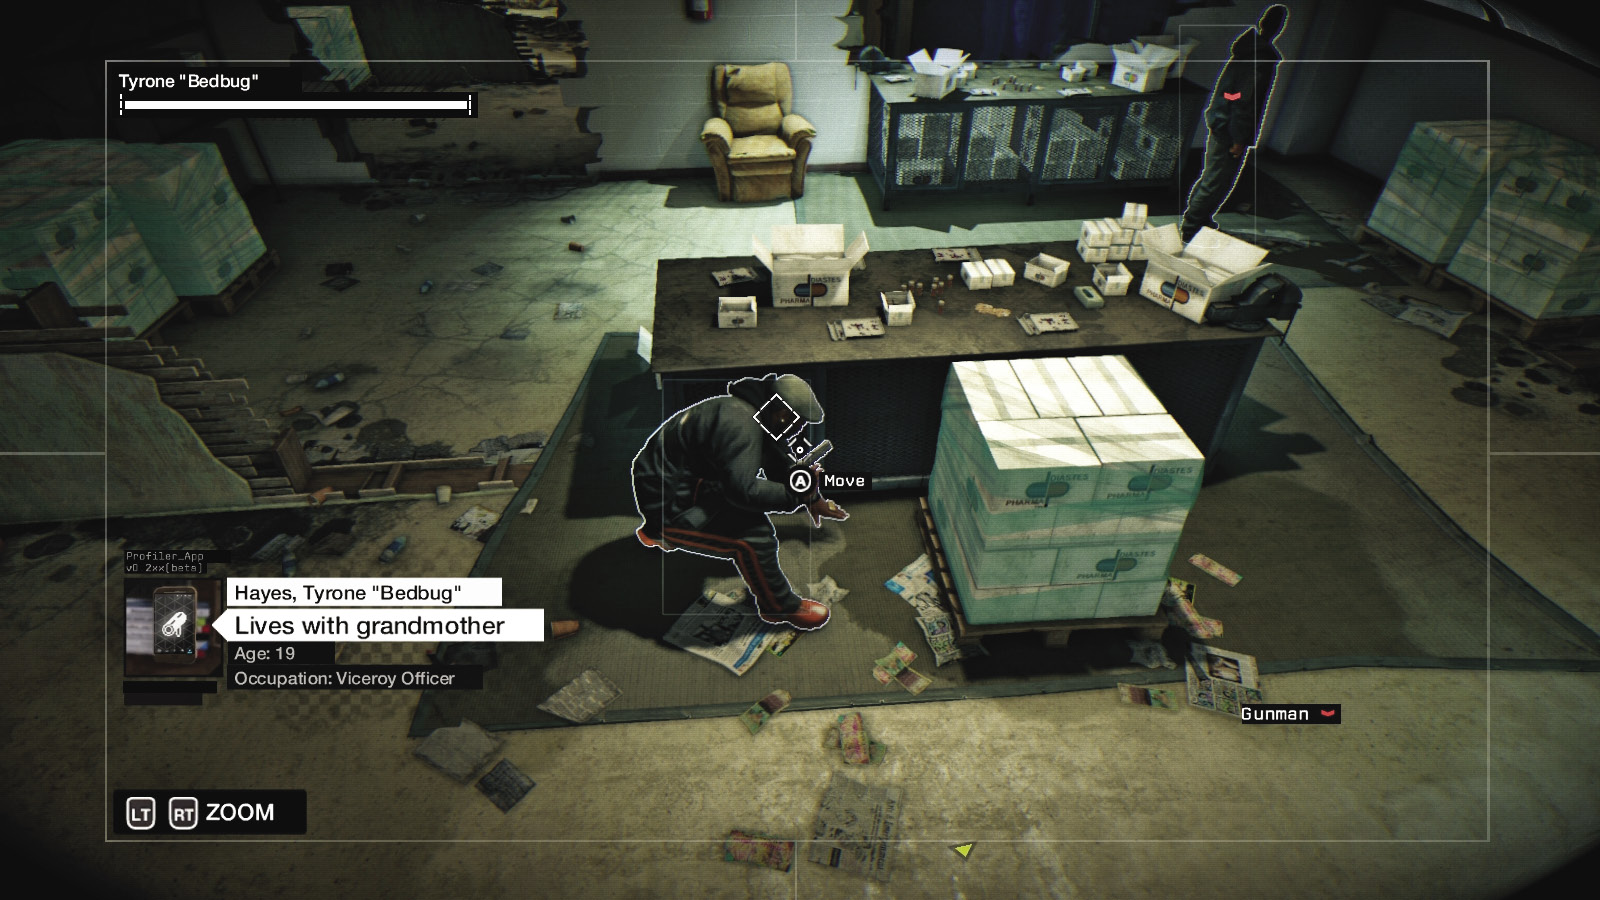
Move to this camera, and wait for the patrolling Viceroy to turn and head right, away from the hole in the wall. Immediately move Bedbug behind the stack of pills, on the side opposite the center table from the soldier.
Bedbug Escort // Far Room and Corridor Entrance
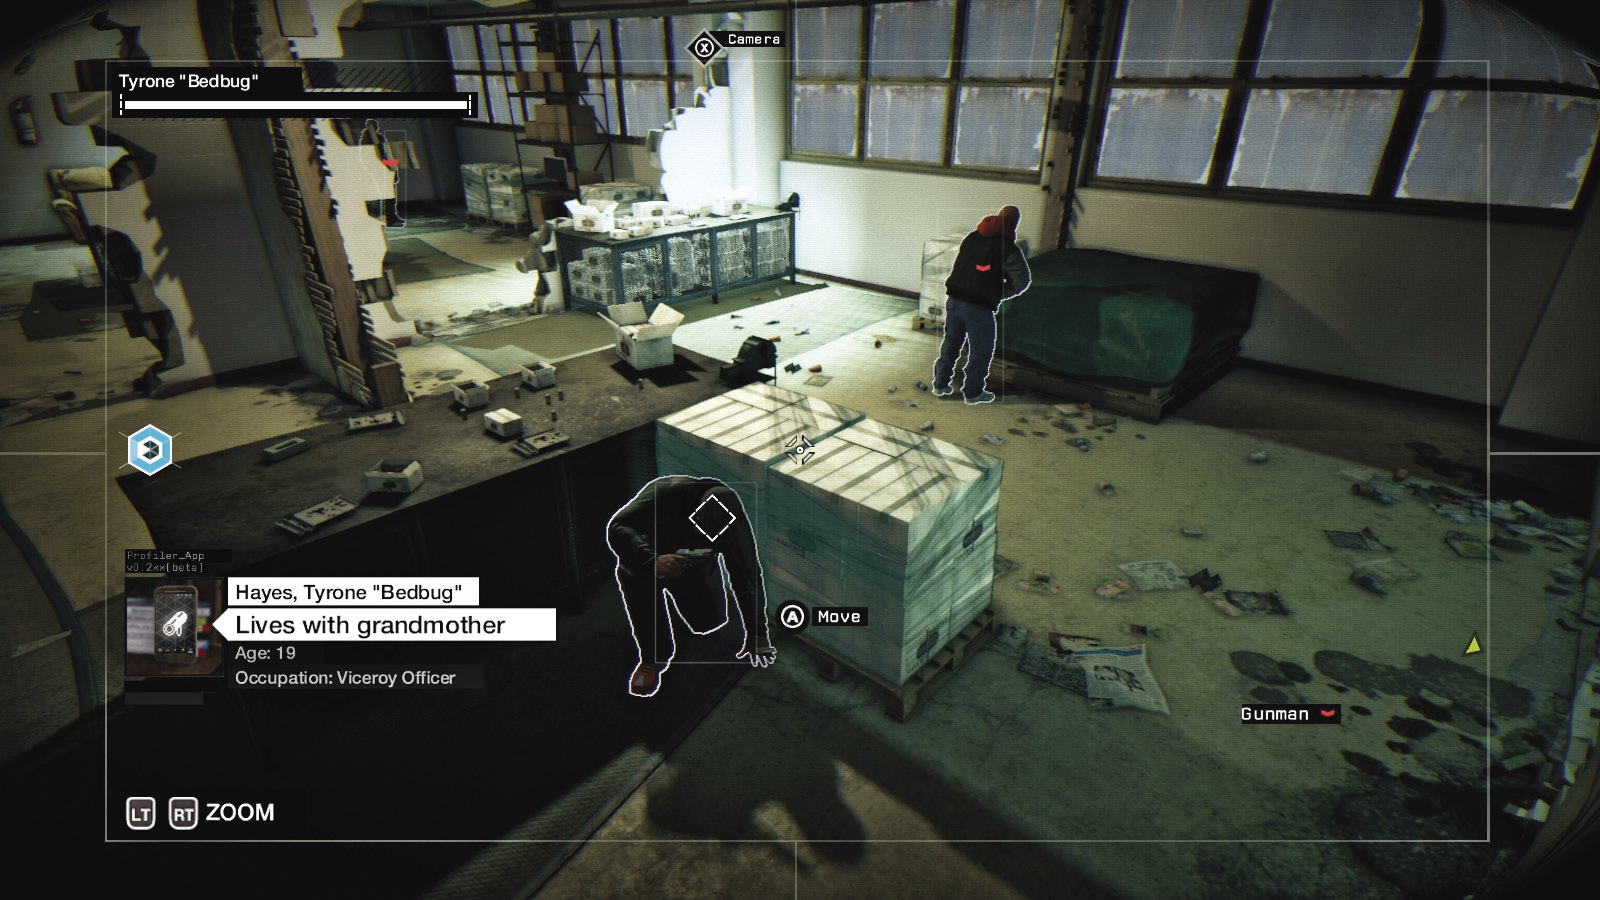
Move to this camera and wait for the Viceroy in the middle room to head left, toward the hole Bedbug ran through; then attract the enemy in this room so he moves to inspect the phone to the right. Quickly move Bedbug here, in the inside corner of the L shape of the middle table and drug pallets.
Bedbug Escort // Corridor to Shutter Room
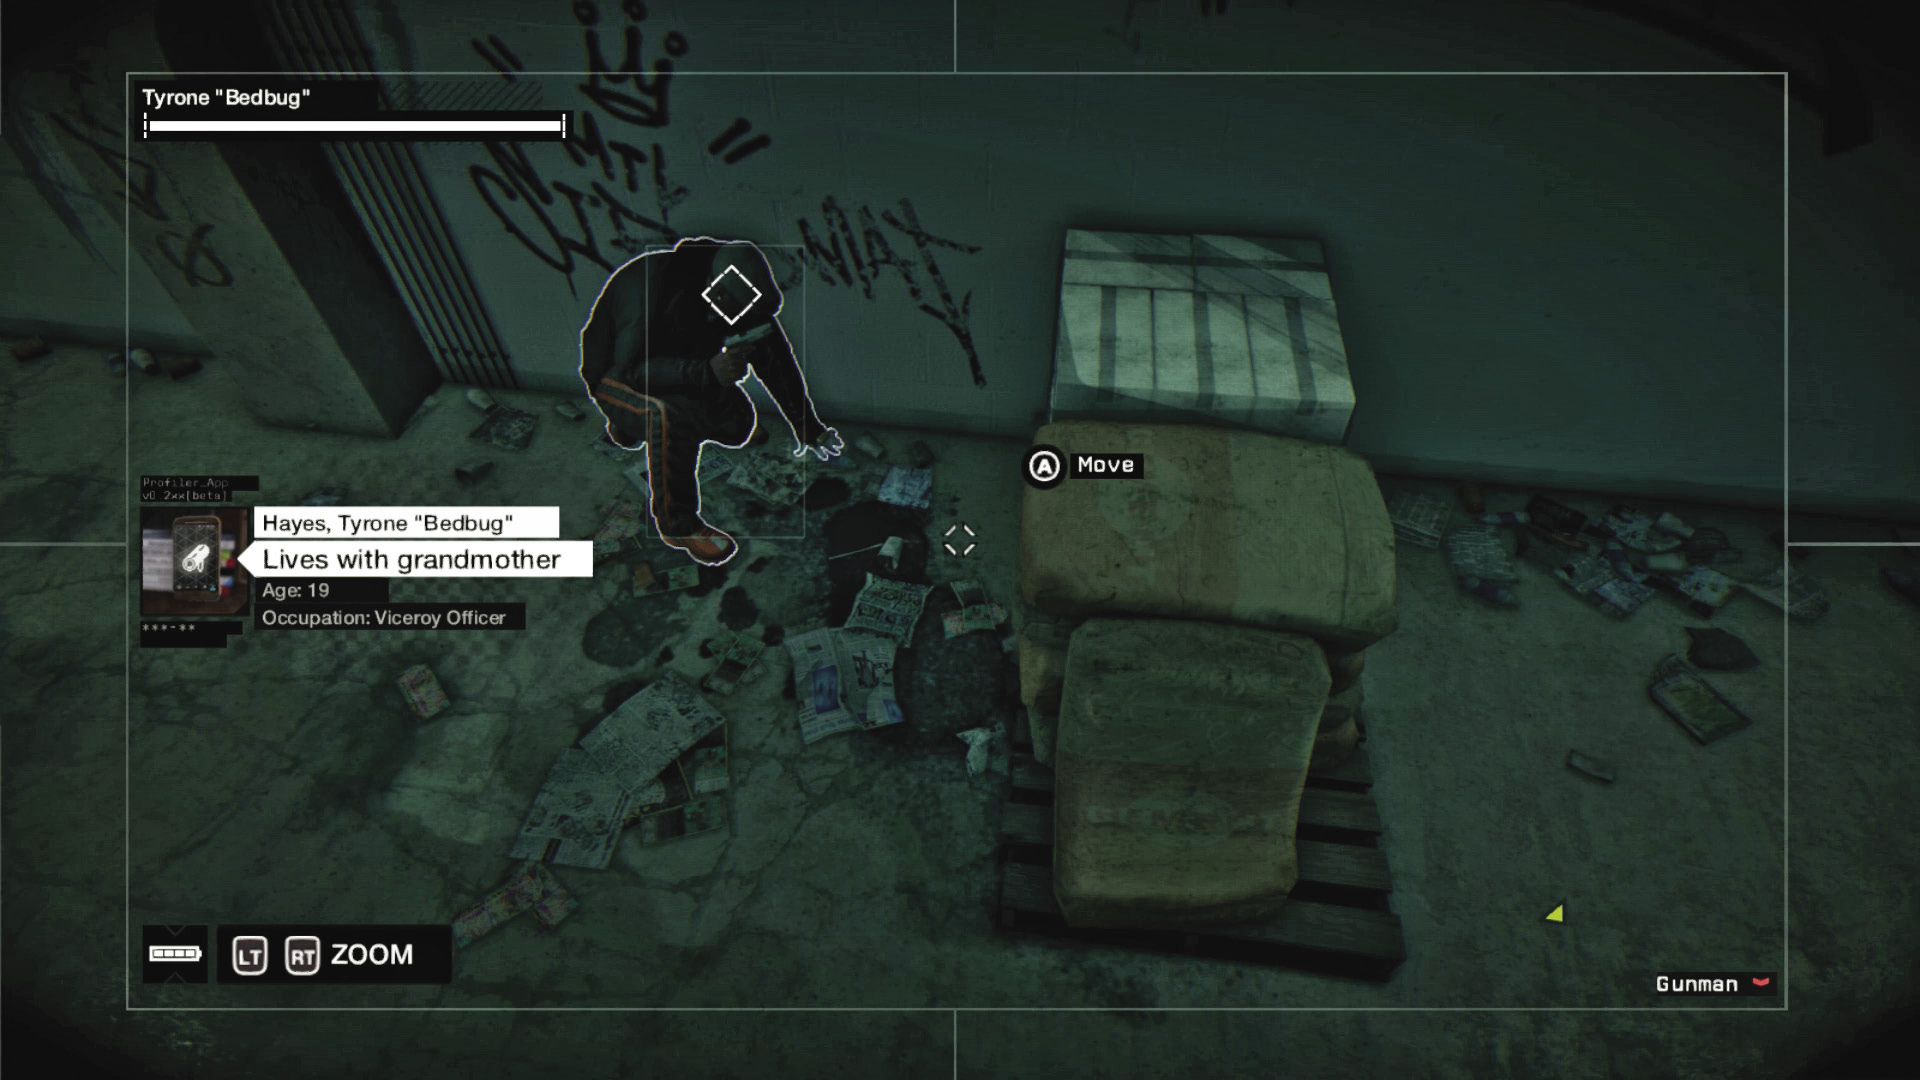
When the previous enemy moves away from the phone, move to this camera and position Bedbug to the left of this crate stack.
Bedbug Escort // Shutter Room
Move to this camera and watch the guard moving left to right; position Bedbug in this dark corner by the broken wall when the soldier heads right.
Bedbug Escort // Shutter Room Shutdown
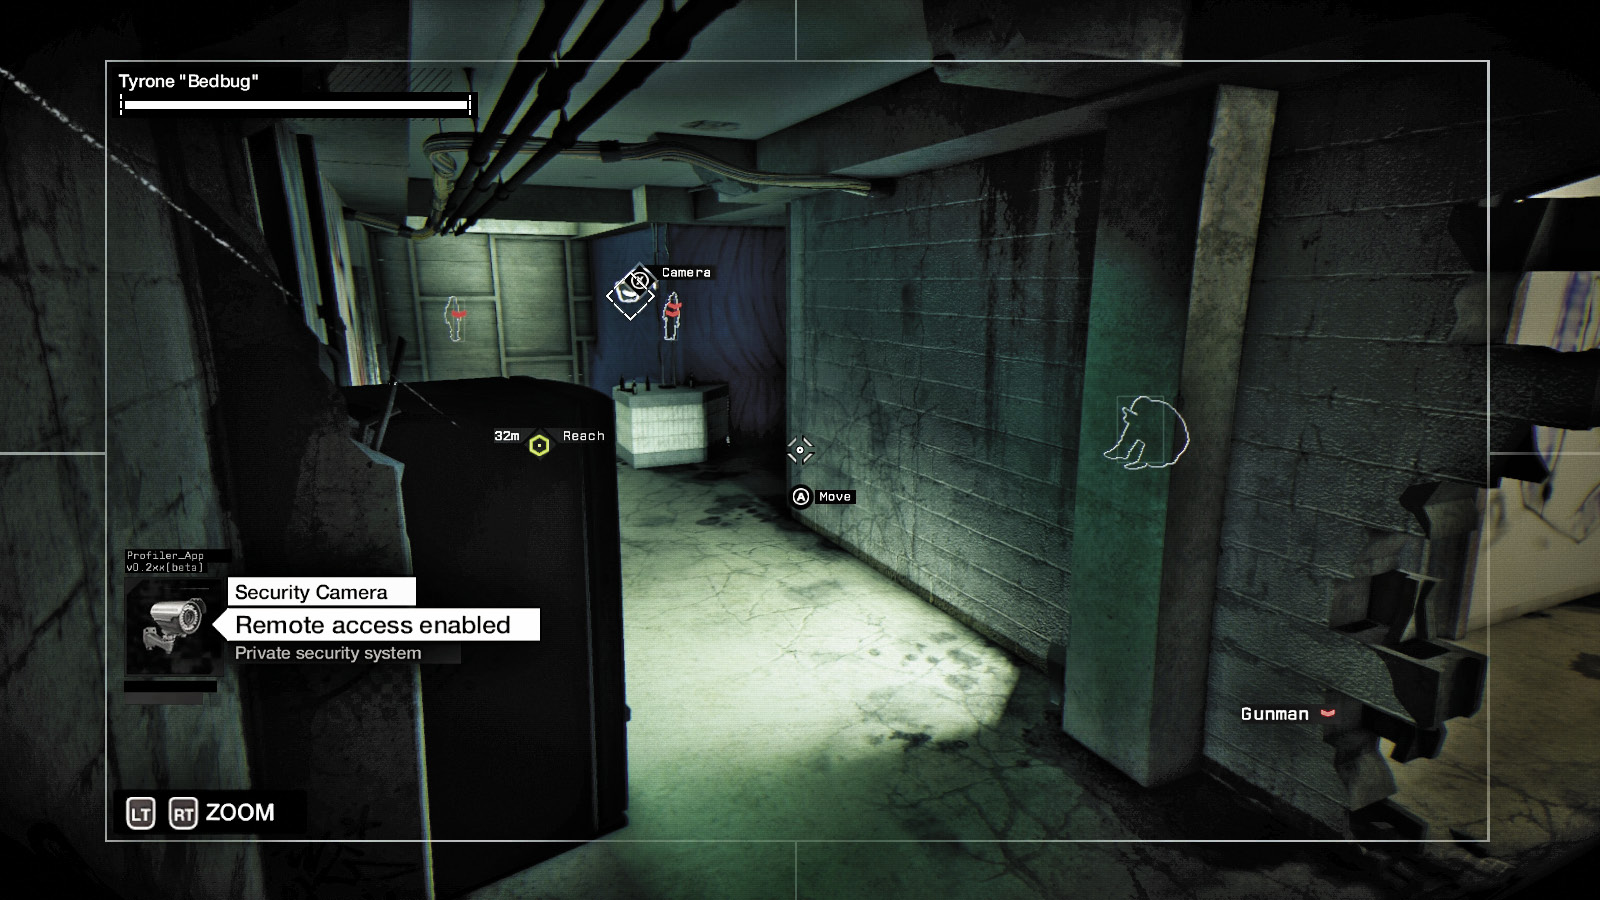
Although you can access the camera in the shutter room and close the shutter so Bedbug can easily sneak past, it isn’t necessary. However, you do need to access the laptop camera and the camera across the corridor you haven’t seen yet.
Bedbug Escort // Locked Door
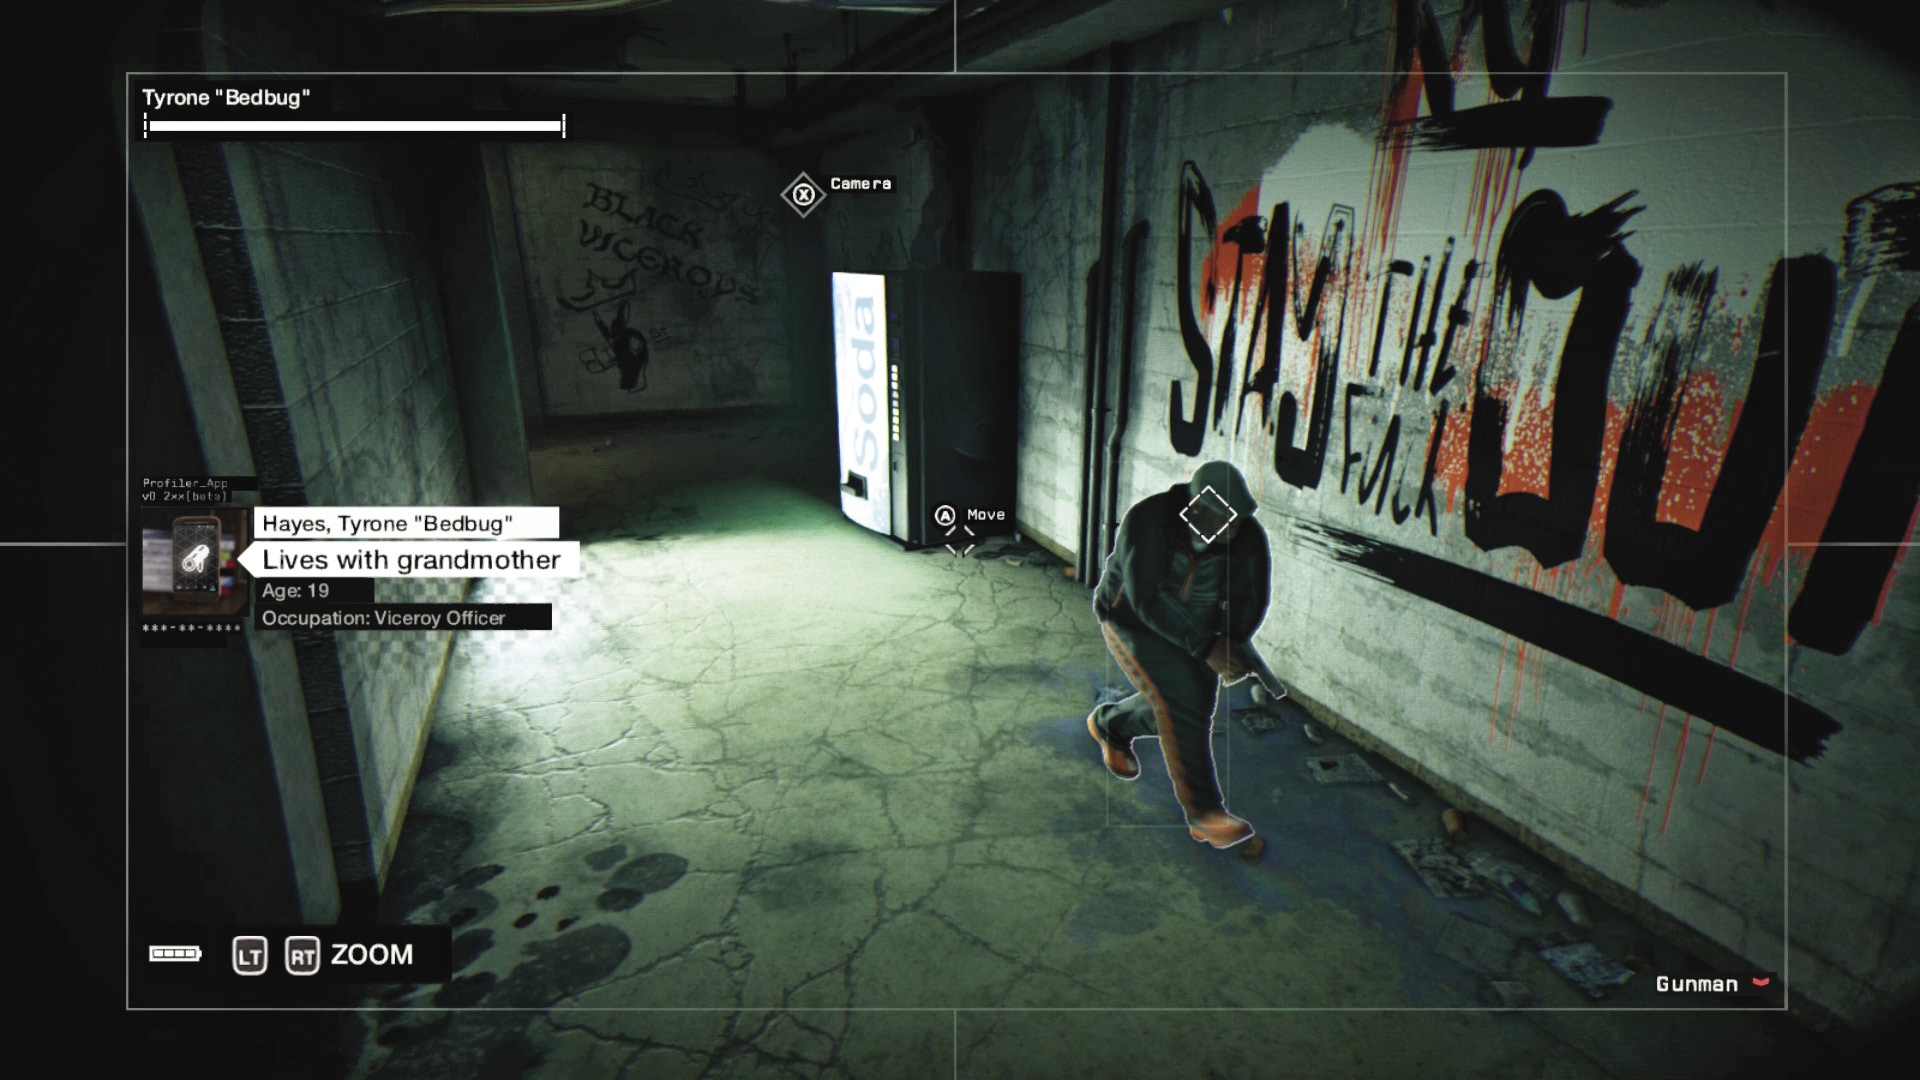
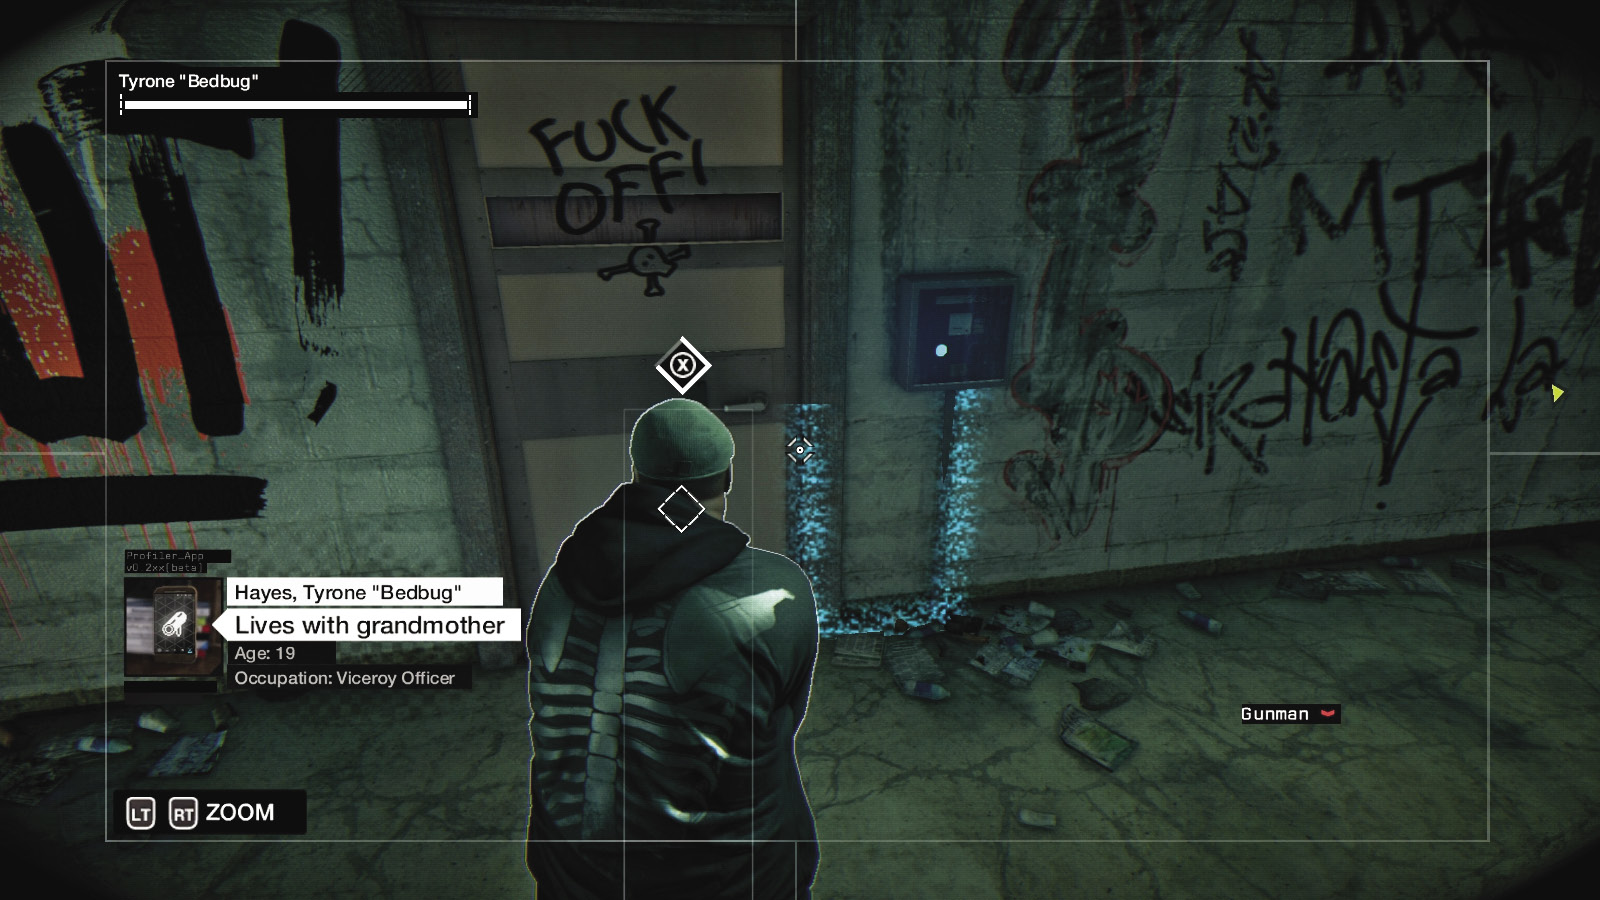
Move to this camera, ensure the guard in the server room isn’t looking, and head to the second camera. Move Bedbug toward the soda machine and pan right, positioning him by the locked door. The tricky part of the escort is over!
|
|
 Unlock the server room for Bedbug
 Escape the Viceroys
14.3 DON’T DROP ME, CUZ! DON’T DROP ME!
 Location / The Wards // Rossi-Fremont
 Escort
 Data Hack
 Escape
 Lethal Force Likely
Difficulty: 
Bedbug Escort // Server Room
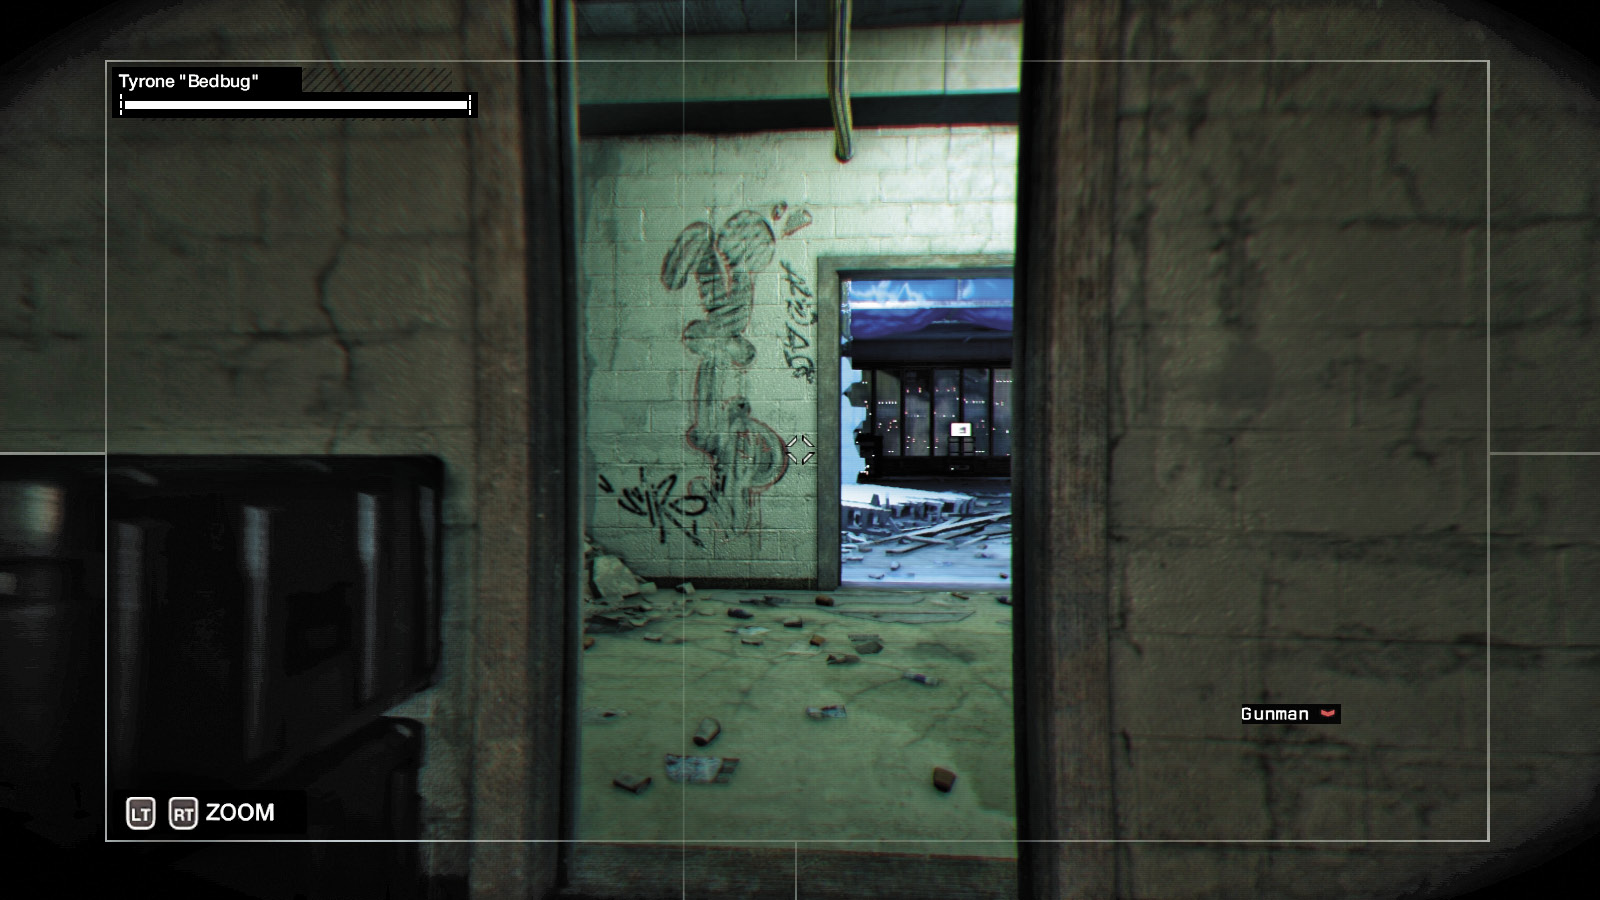
After unlocking the door Bedbug’s standing by, access the camera on him. He walks into a room with a draped flag and heads right. Unlock the door, allowing him to move past the broken walls and into the server room.
Server Access
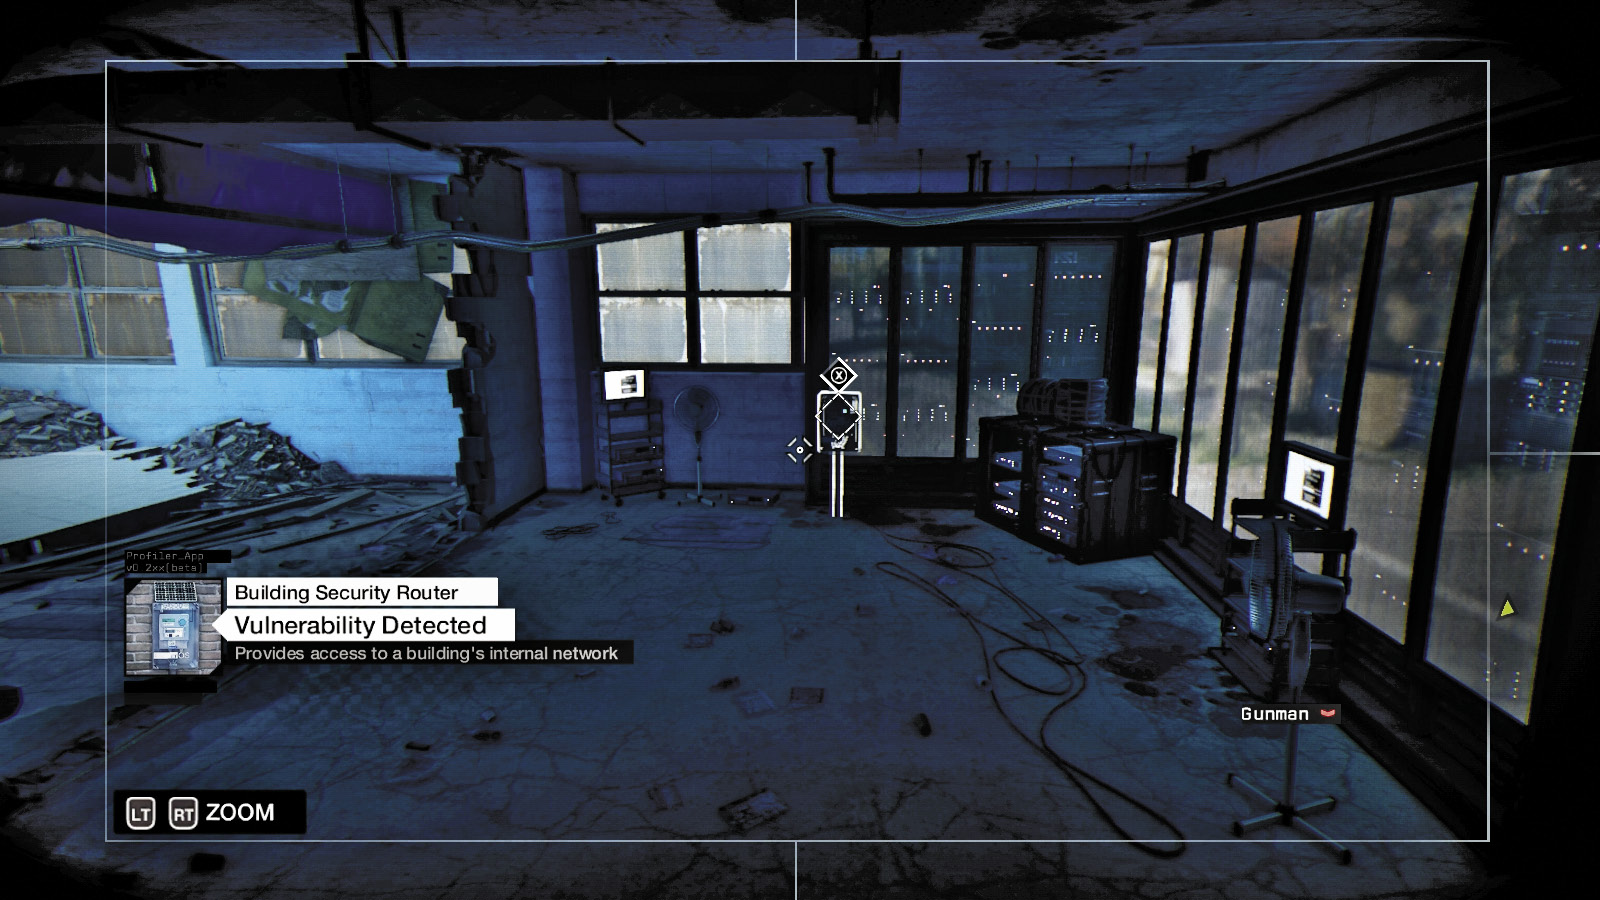
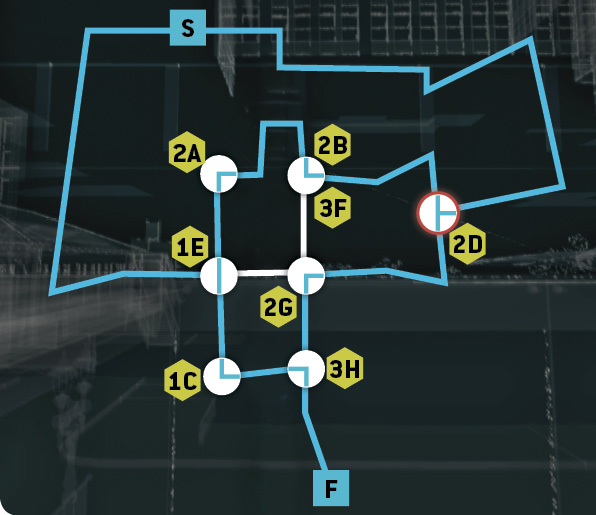
Move to a different camera, overlooking the server, and intrude into Iraq’s server. While Bedbug protests at being left exposed, solve the two Hotspot nodes.
Solution: Hotspot 1
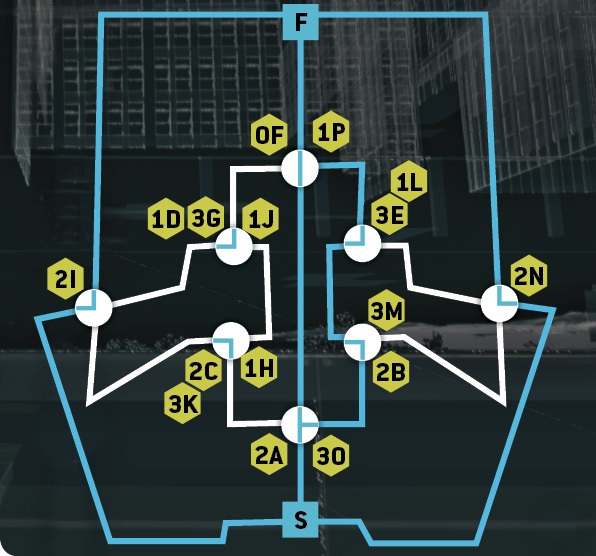
Solution: Hotspot 2
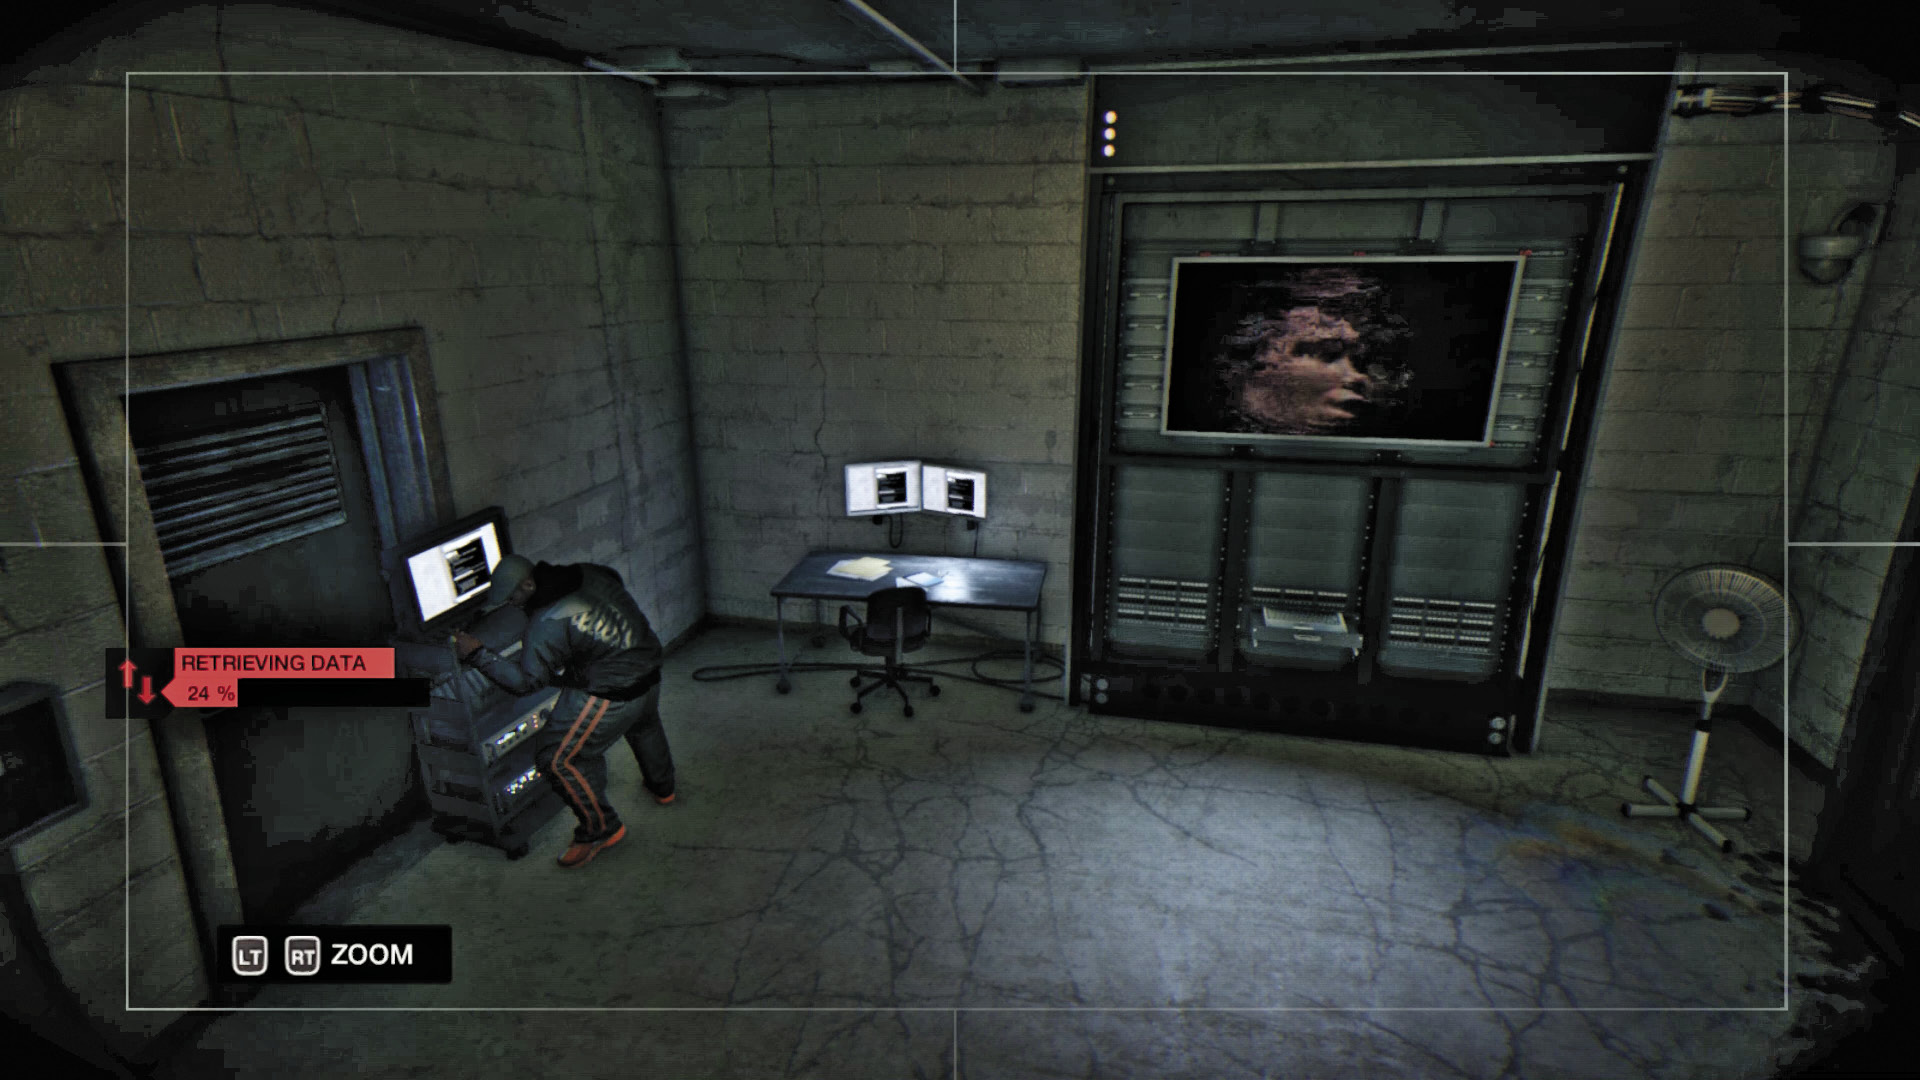
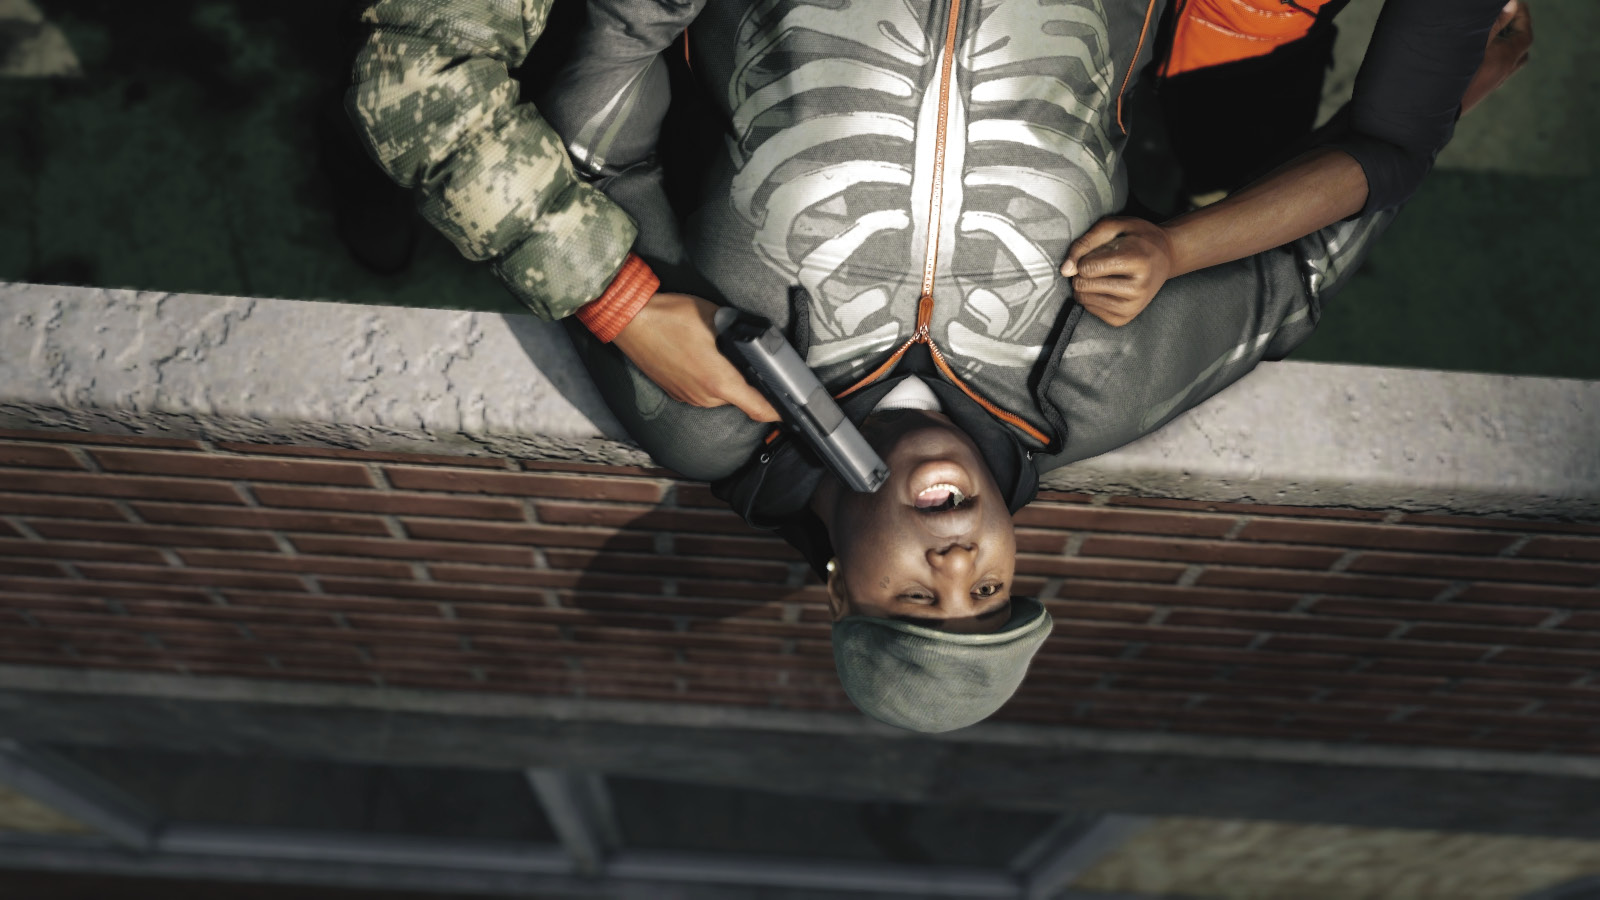
You’re in! Well, the room anyway. Pan the camera left and hack the door switch so Bedbug can enter the server area and begin retrieving data. This upload gets to 5 percent before Iraq bursts in, berating his cousin for this betrayal. As Bedbug hangs out of a window, pleading for his life, Iraq spots a camera on him. You watch as it plummets to the sidewalk below. Was Bedbug attached to it?
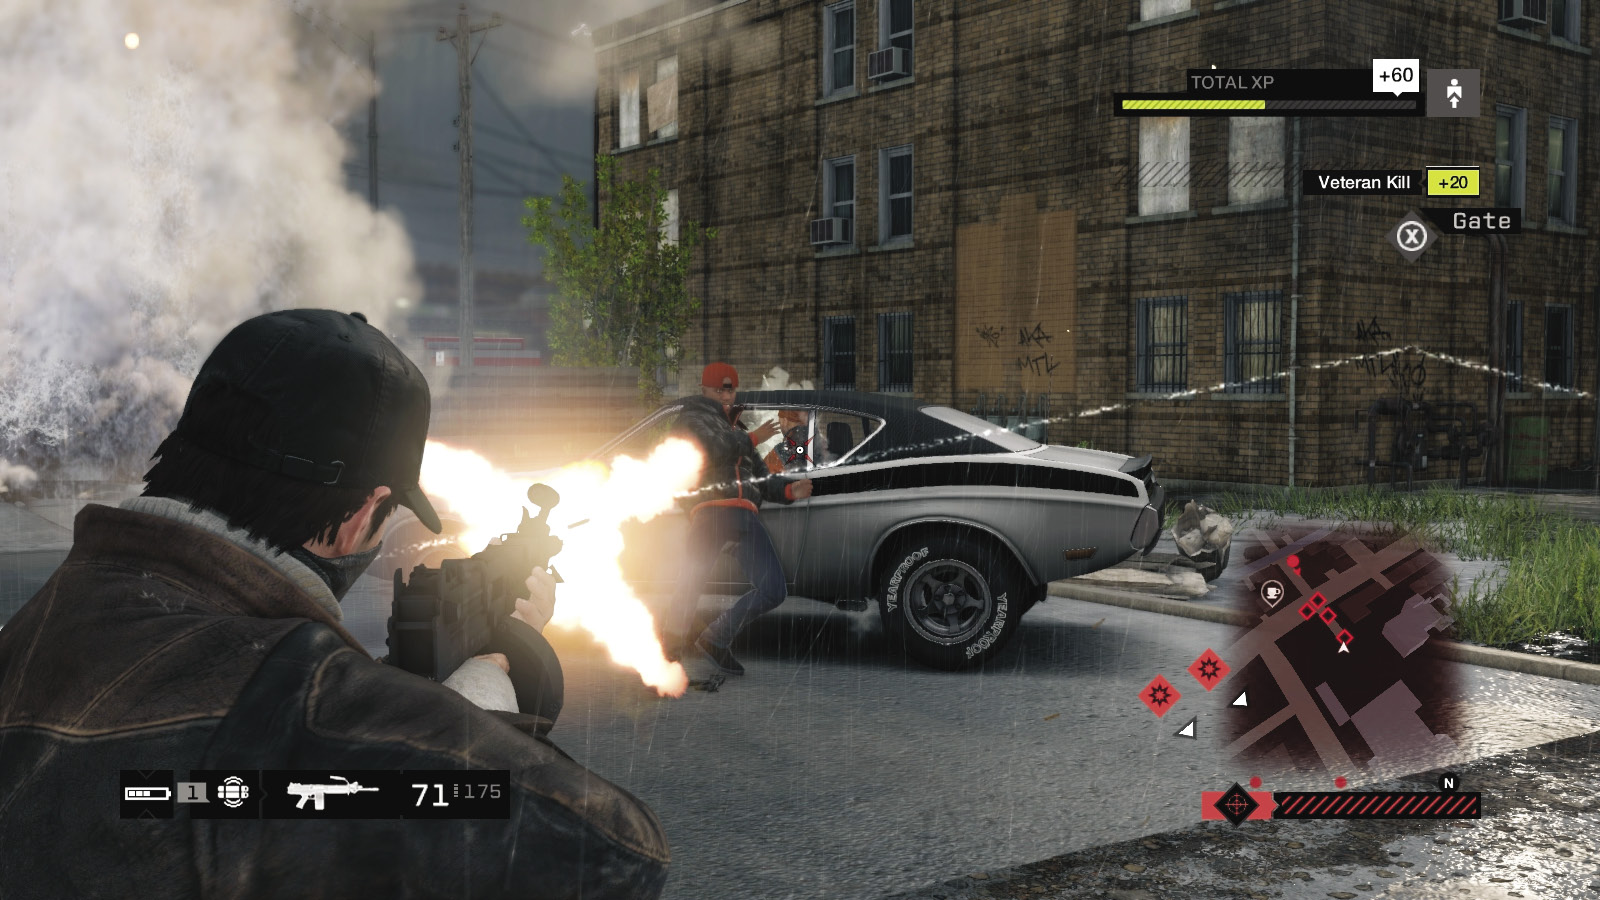
You’re out! The camera (and possibly Bedbug) is offline, and your cover is blown! From your position at the base of the tenement block, you have two options: fight or flee!
Overview
 Completion Point: Outside the Viceroy’s sphere of influence after escaping or gunning everyone down.
 Dangers: Approximately four Viceroy vehicles, each with four occupants. With reinforcements.
 Driving // Defensive: Don’t Come a Cropper
 Difficulty:
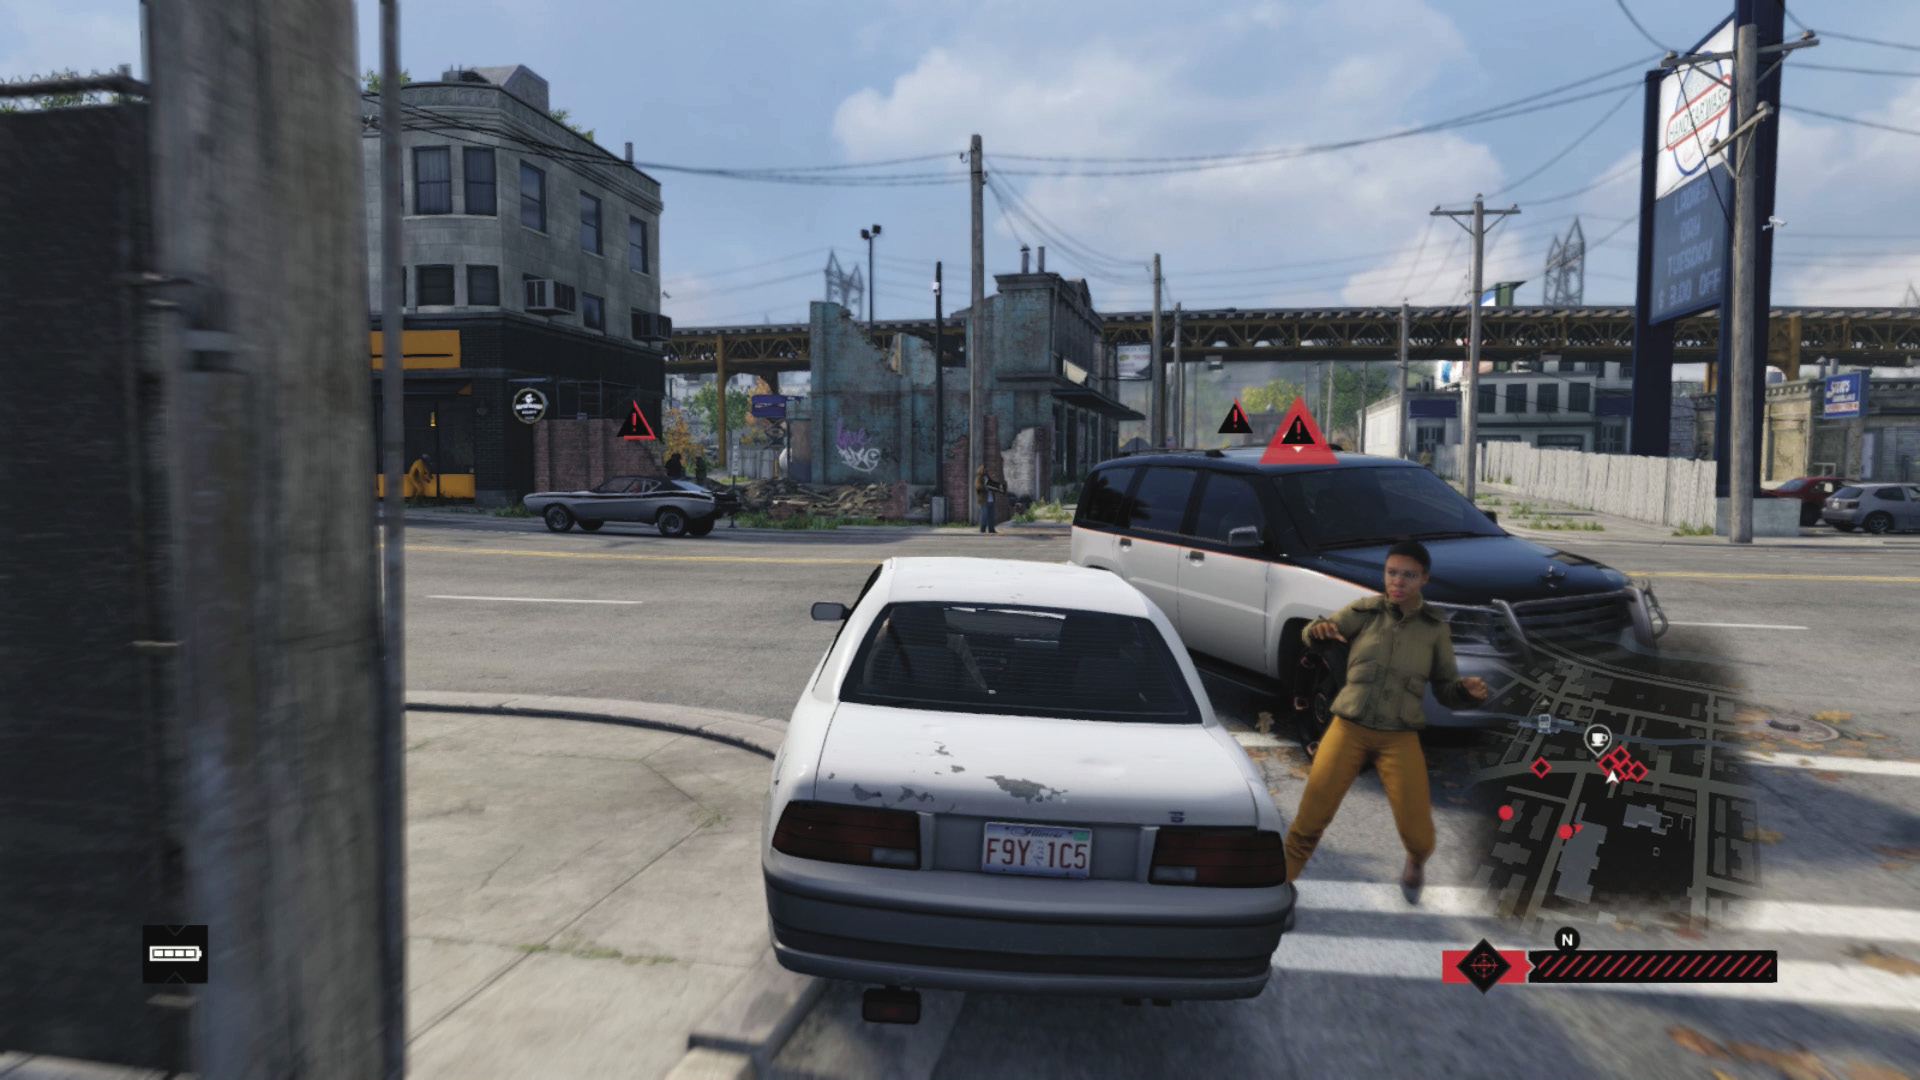
Hopefully you’ve located a vehicle and positioned it facing the gate, heading south (or you came here on a bike, parked nearby). This is your escape vehicle. As soon as the reinforcements are triggered, rush to the vehicle, get in it, and speed away. You can even use the vehicle parked near the gate. At this point, use the usual plans of driving to hide from foes searching for you within their search area. Simply head as far from the tenement blocks as you can, varying your route.
 Aggressive // Violence: Big Poppa
 Difficulty:
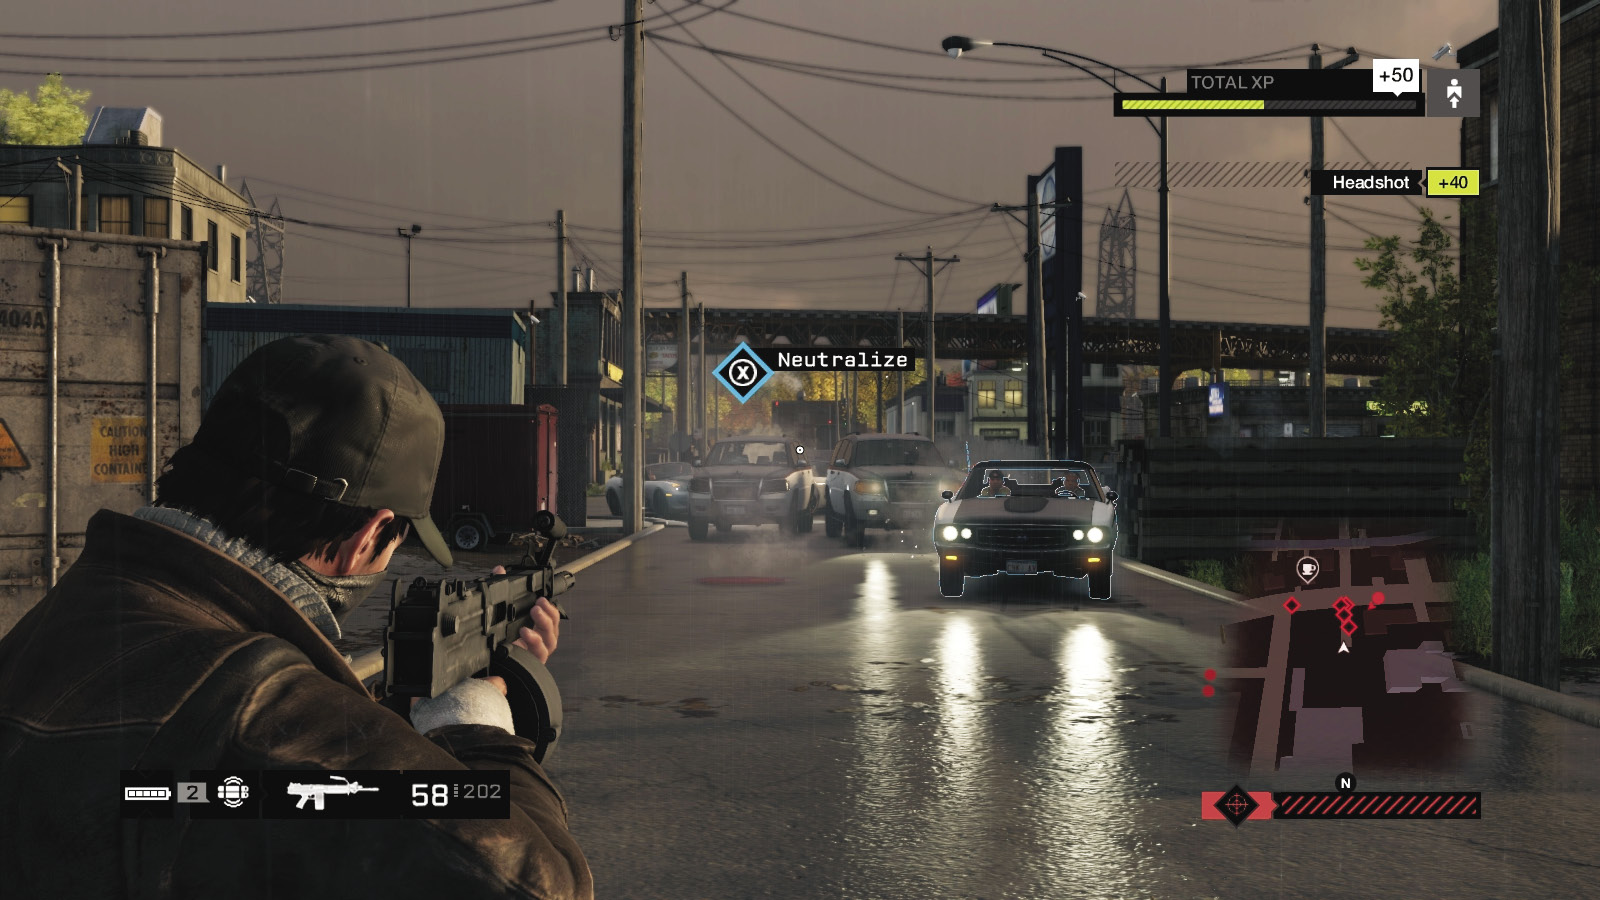
Packing some serious heat? Or didn’t plan your escape? Then prepare for three to four vehicles filled with foes. They all pull up around or through the gate, allowing you numerous combat possibilities:
Step toward the gate and detonate a steam pipe in the road to remove at least one vehicle.
Close the gate so the foes can’t access the tower yard, then shoot them through the gaps in the gate.
As the vehicles pull up, lob a grenade or IED into this packed area and hope for multiple casualties.
Pull out a sniper rifle or automatic weapon and retreat to the opposite (north) wall behind the parked truck and stacked wood or pipes. Then start blasting.
Vary your location from the rear of the yard to the threshold of the two yards, retreating back if you’re being swarmed.
As soon as you slay all the Viceroys in the immediate vicinity, or you flee from them and lose them in a driving chase, the mission concludes. Be advised to tone down the aggressive driving at this point, or you may need to evade the police too.
MISSION REWARDSGained XP +1,000 |