
Watch Dogs Guide SIDE MISSIONS
_GANG HIDEOUTS // THE WARDS
_COMPLIMENTS FOR THE COOK
location: Viceroy Yard
Enemy: viceroys
NUMBER OF TARGETS: 1 (Veteran) / HE CAN flee
NUMBER OF ENEMIES: 10 (Veteran x2, Elite x7, Marksman x1)
Shot-Callers x2 (Veteran, Marksman)
Difficulty: ($5,000 Reward)
REINFORCEMENTS: two vehicles (Gunmen x 2, veteran x 2)
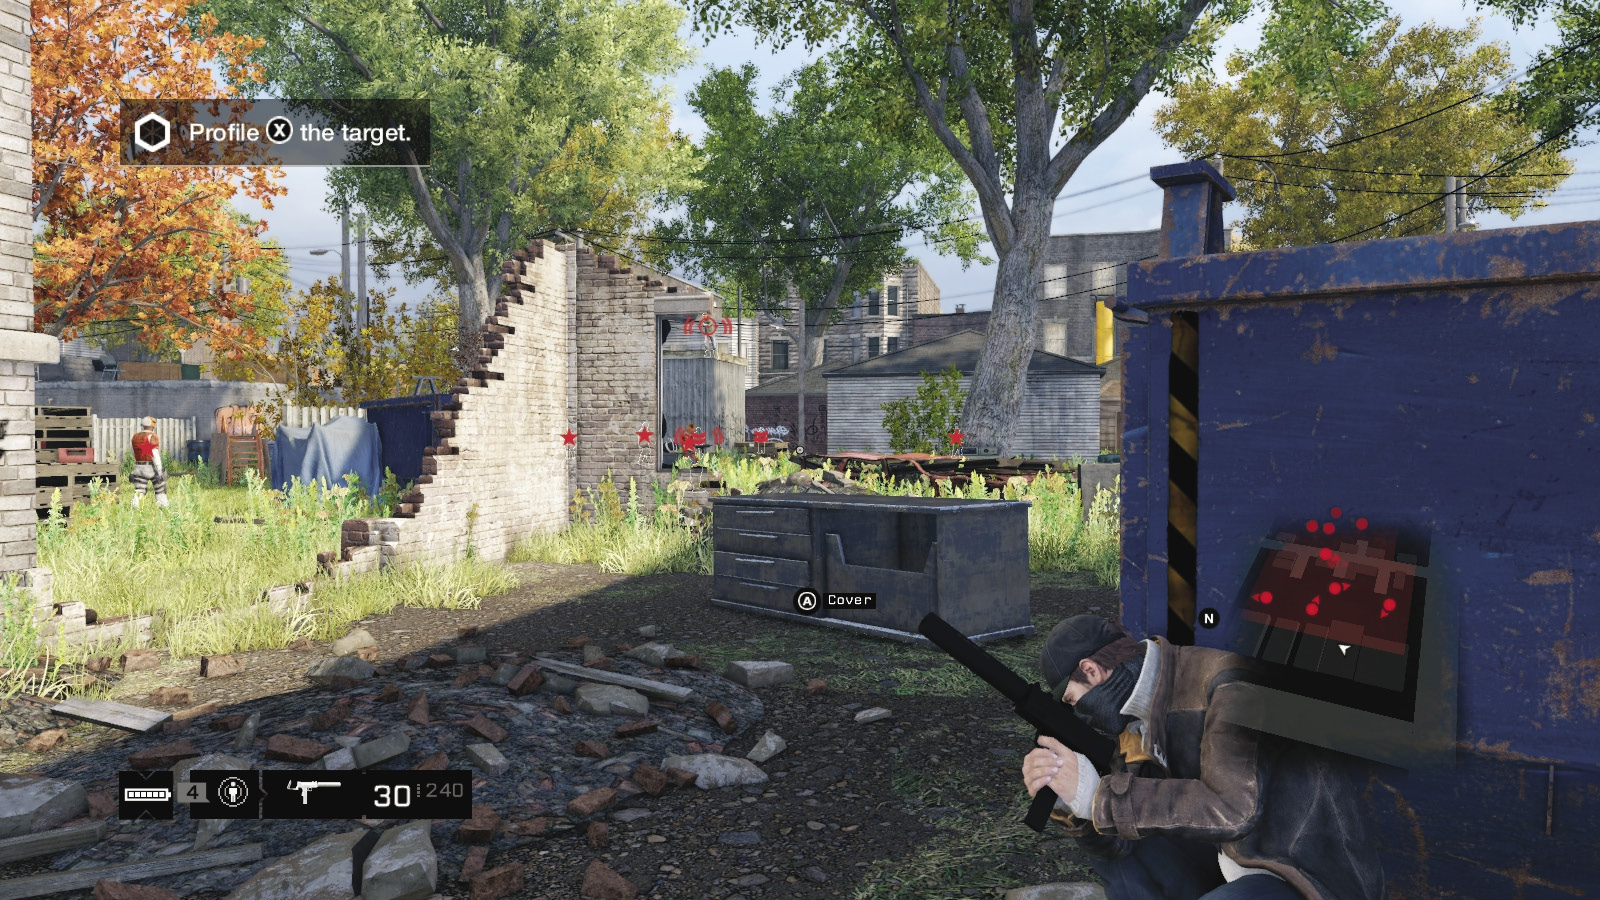
Start on the patch of overgrown grass in this blighted neighborhood. Listen to your instructions before heading across to the dilapidated row houses, behind which a Viceroy squad of soldiers is waiting. Your target is to the east, and all are armed and dangerous.
Insertion Points
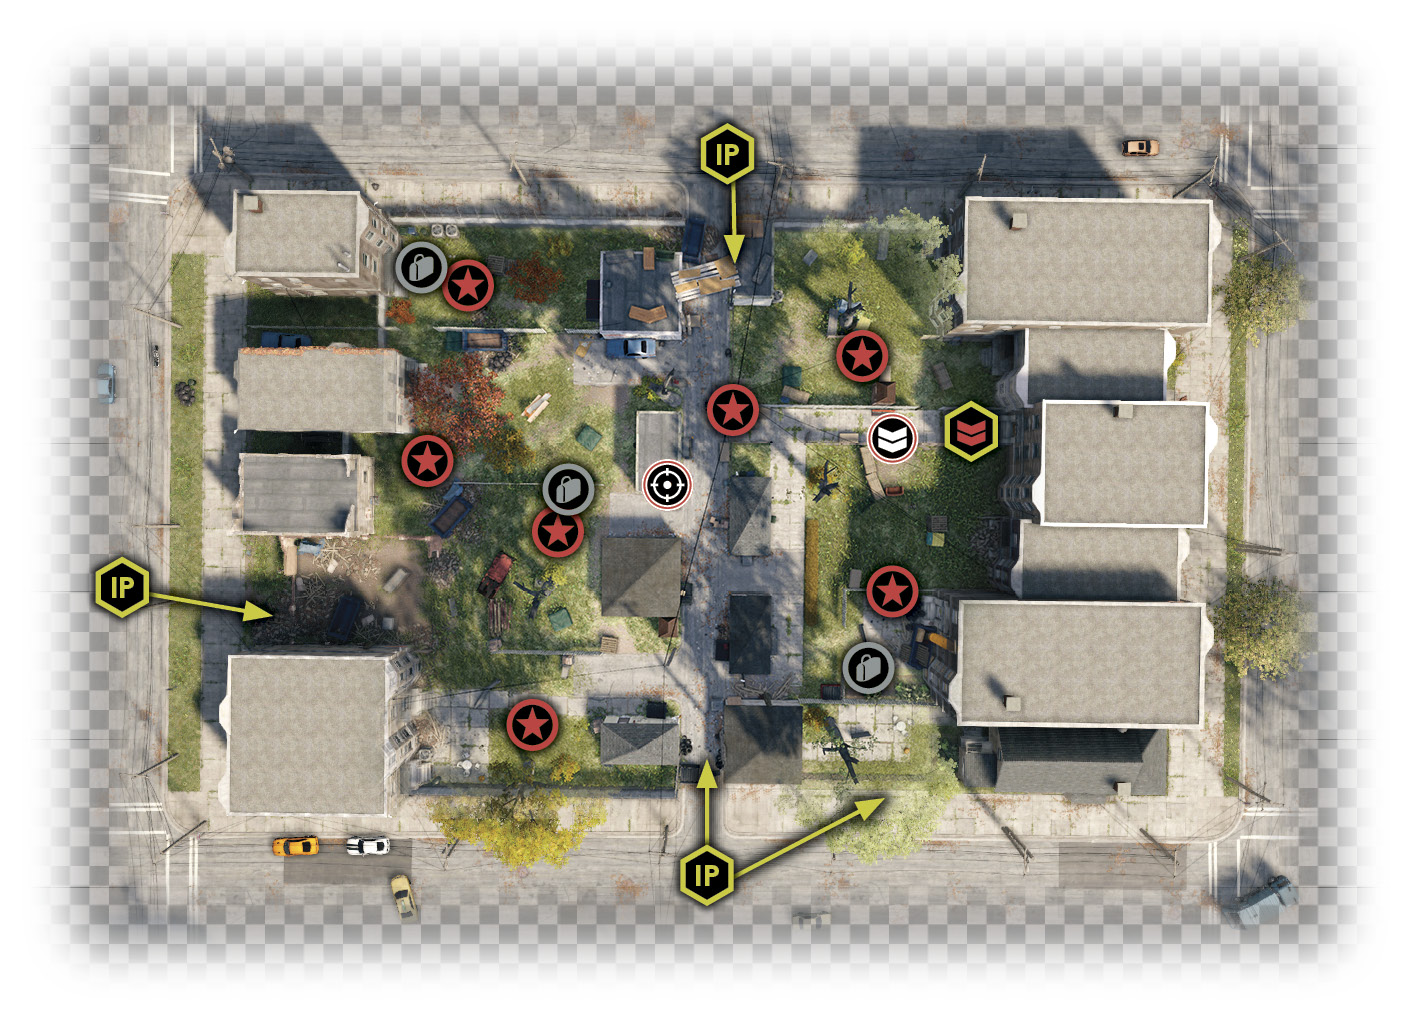
There are only three insertion points, as this is one of the most tightly controlled locations you’ll ever infiltrate. It’s important to spend extra time using all the cameras and marking every foe (except the one you can’t reach, in the northwest backyard), and figuring out an exit in case everything goes nuts, which it usually does.
Western Rubble
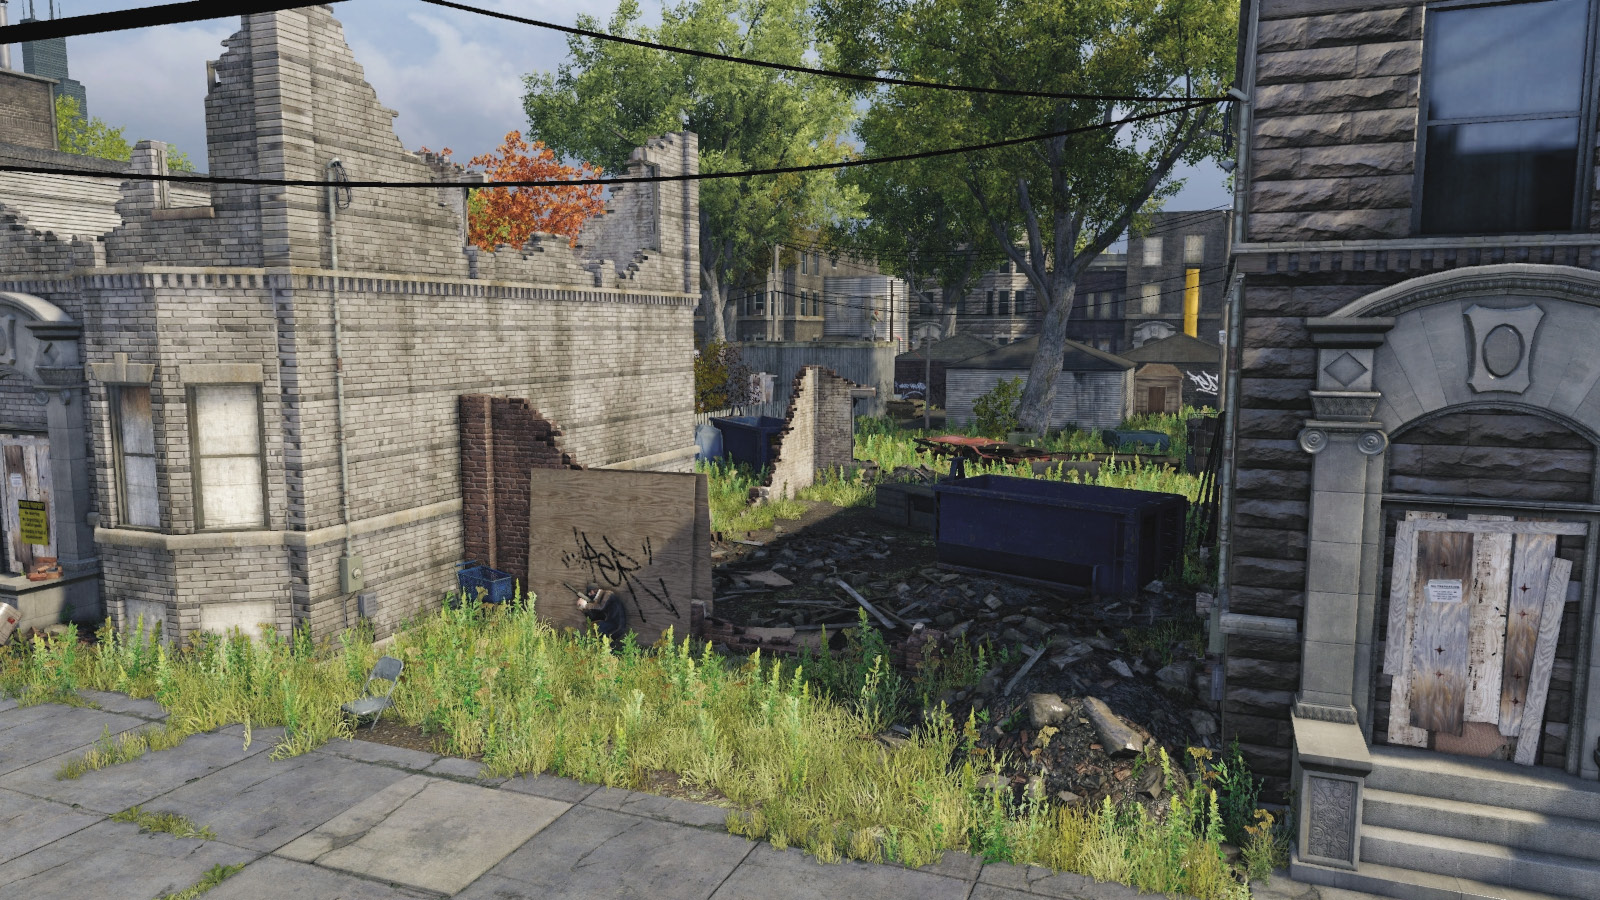
All that remains of a row house is a crumbling wall and a blue Dumpster. The parked vehicles on the street are used by the target (and you) if he escapes by car. This is a reasonably wide access point, allowing for takedown routes in either direction. Just watch for that damn sniper.
Northern Alley (Refuse Bin)
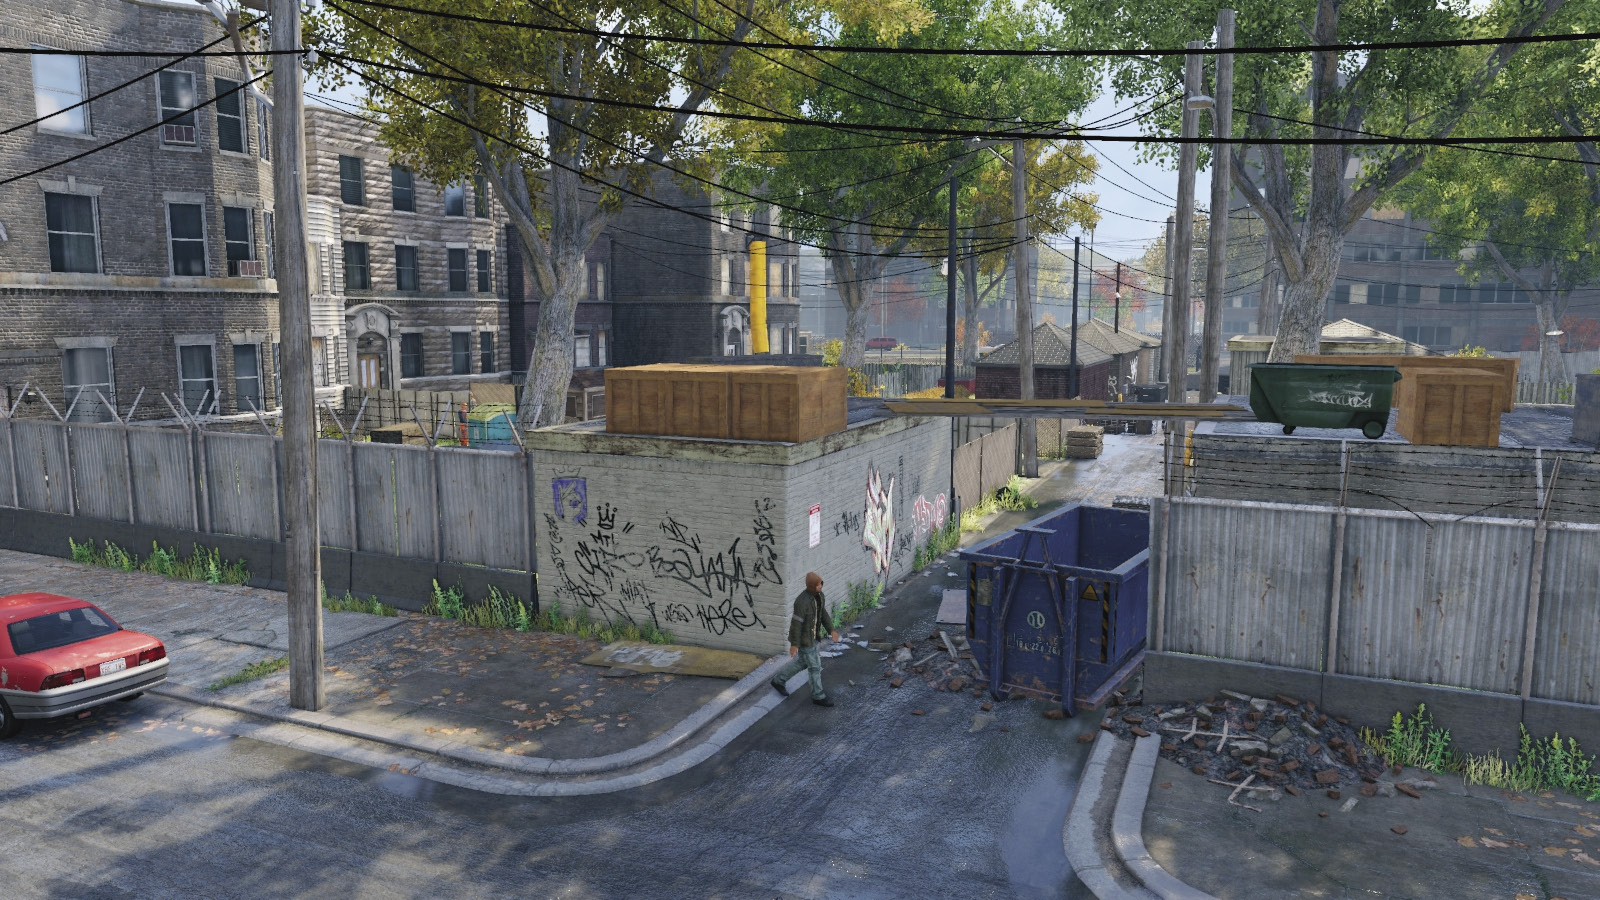
It’s not hugely helpful to enter here, as the alley is so narrow and there’s a patrolling foe who you must wait to face south. But you can reach the target reasonably easily, and there are fewer foes at this end of the alley. Just don’t wander down the main alley, as you’ll be spotted in seconds.
Southern Alley (Barricade and Fence)
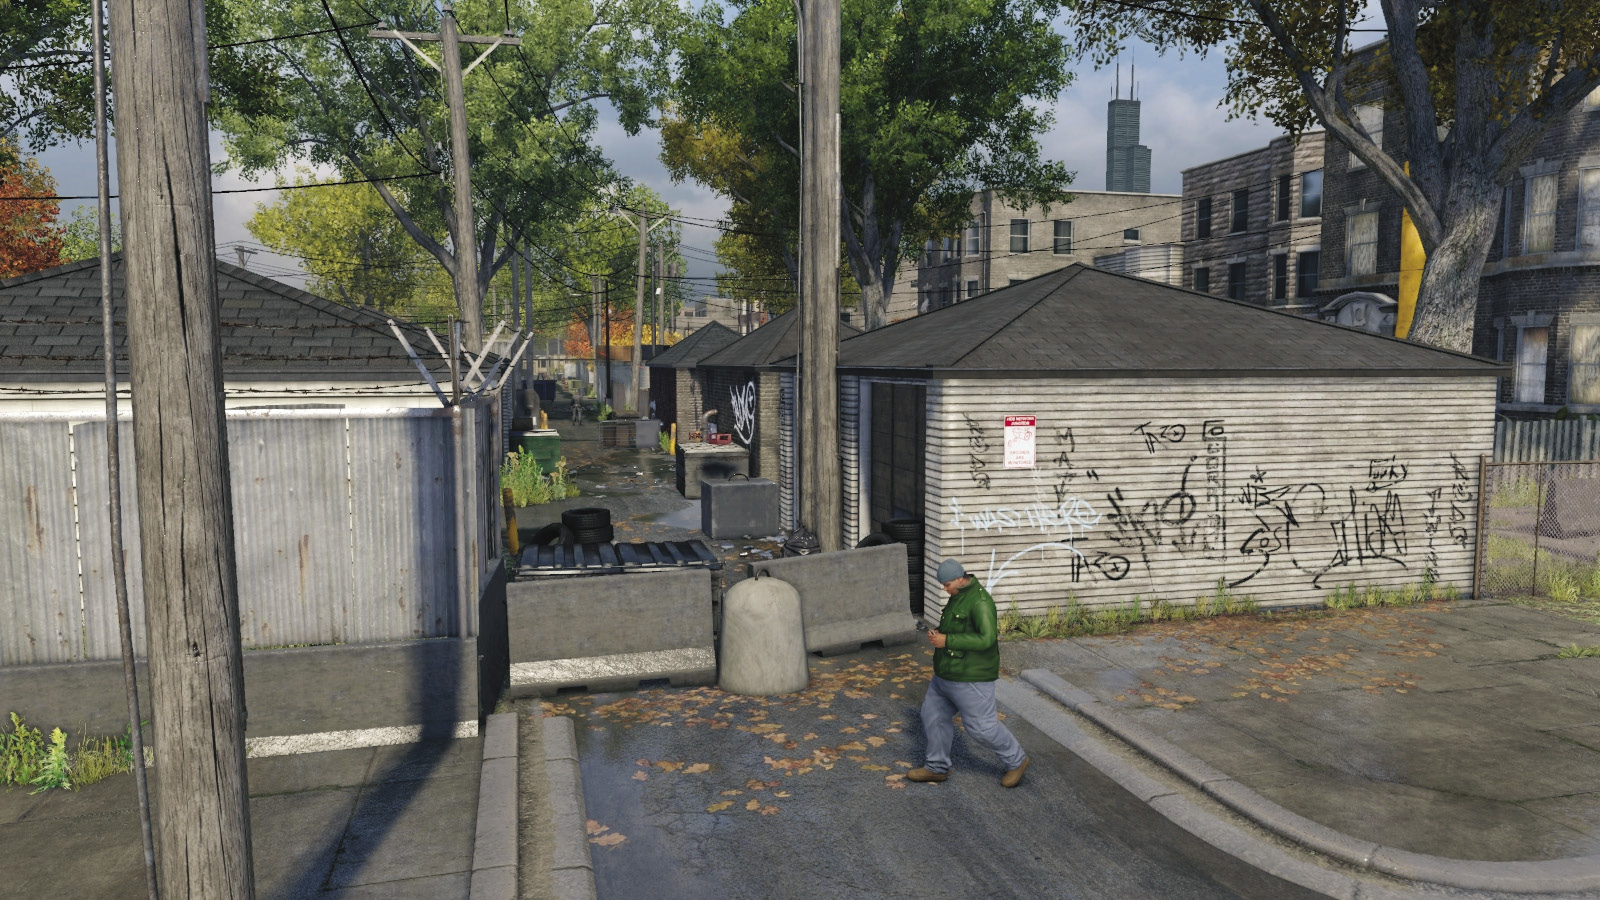
This is the most accessible of the three insertion points; the concrete barrier leads to the southern alley, with a few foes to defeat, while the lower fence in the southeast is three back gardens away (and only two or three foes) from your target, if you’re attempting to ignore the majority of the enemies.
Viceroy Yard (Interior)
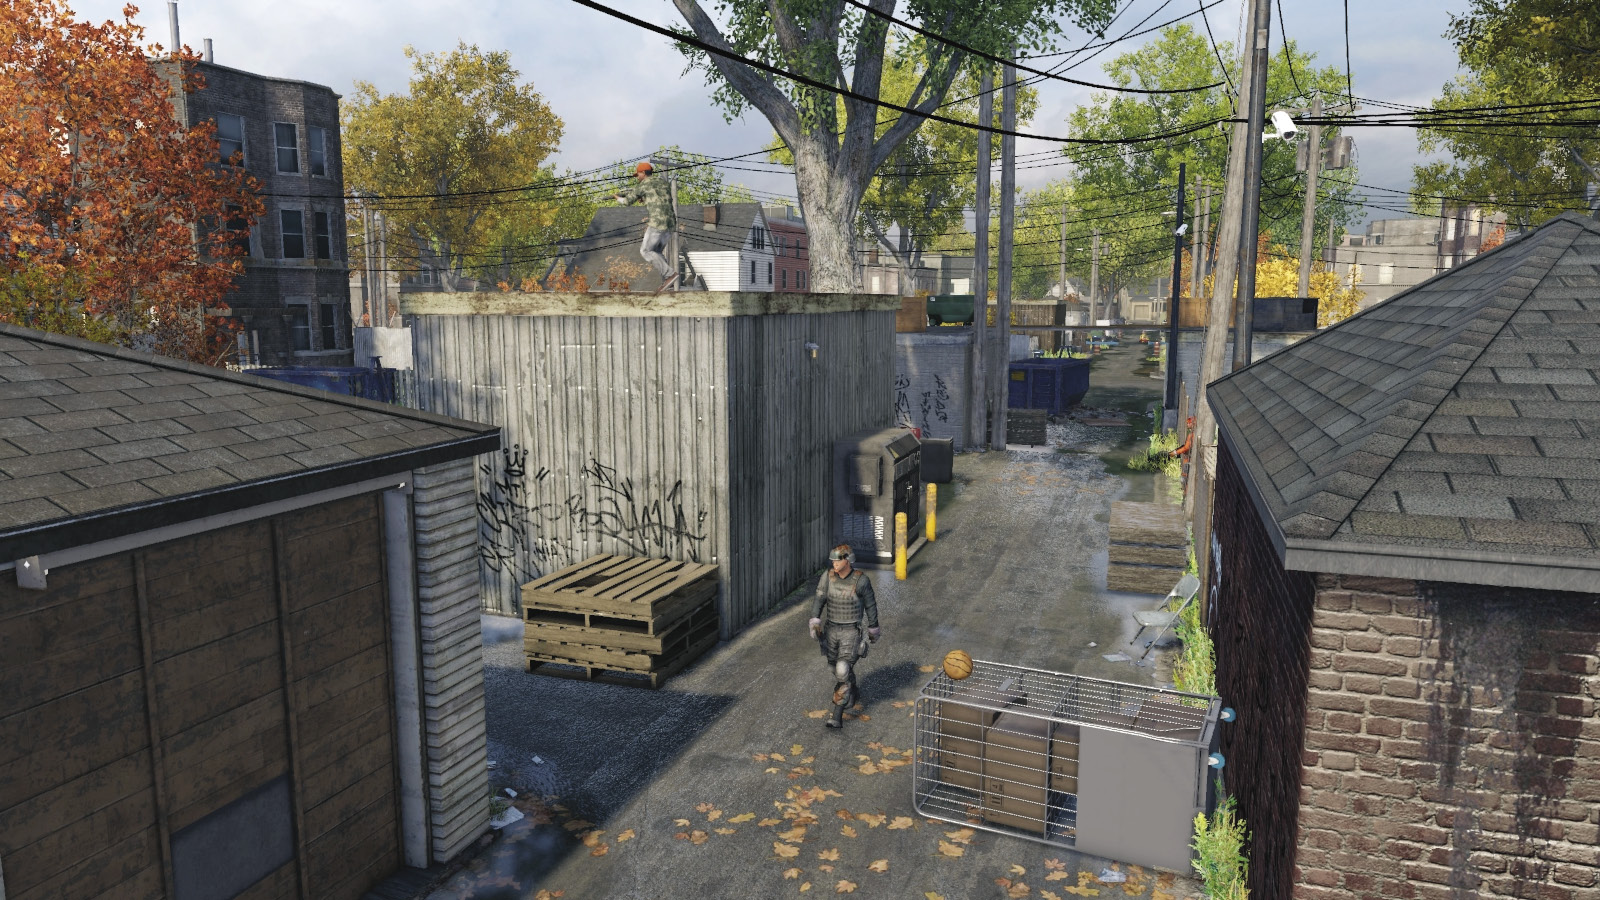
There is a main alley running north to south. On either side of it are eight sheds (four each side), one with junction boxes to detonate. The flat-roofed one close to the middle has a prowling sniper who makes sneaking incredibly difficult. There’s a transformer (plunging the area into darkness at night) below the sniper’s hut. Most of the back gardens have gaps to move through (you don’t want to climb the fence, as you’re easily seen), and there’s at least one foe per garden, except to the northeast.
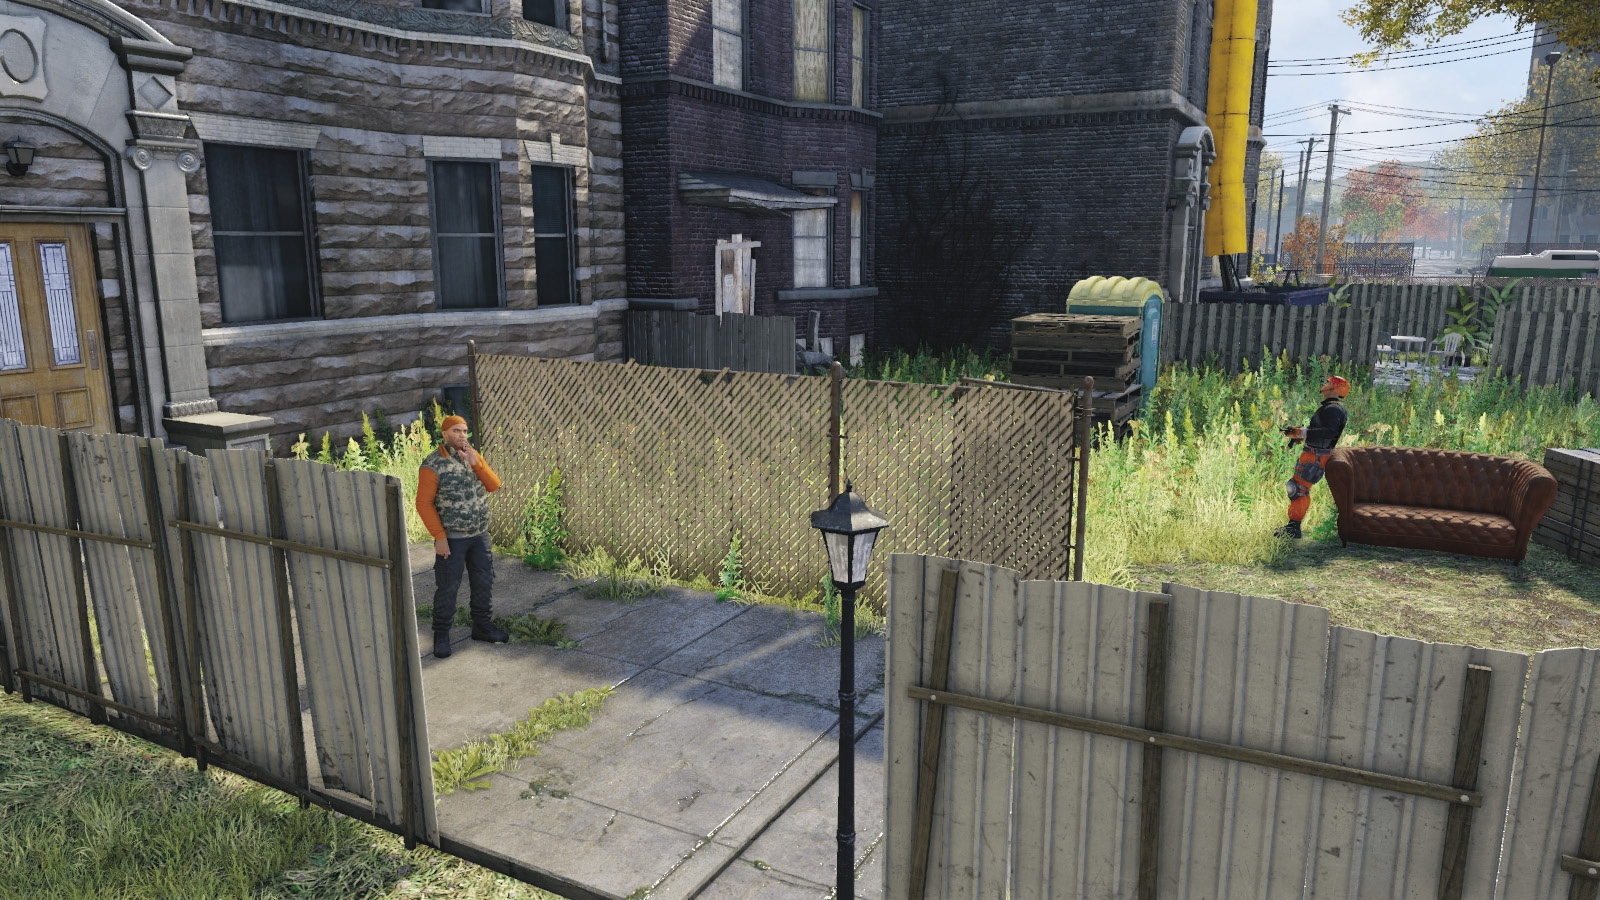
To the east, the target is by a back door with a phone to attract him. Don’t overlook the makeshift plank bridge between the two brick sheds on the alley’s northern edge; hop up here from the AC unit (east) or red trash bins (west) and take up a sweet sniping spot when things go south.
Progression Plans
This place is locked down tight. In fact, it’s almost impossible to try a completely stealthy run, especially as the sniper on the roof scans the area and alerts foes when he spots enemies you’ve already dropped. So learn a few different tactics instead.
 Aggressive // Stealth: Sneaking Among the Throng
Difficulty: 
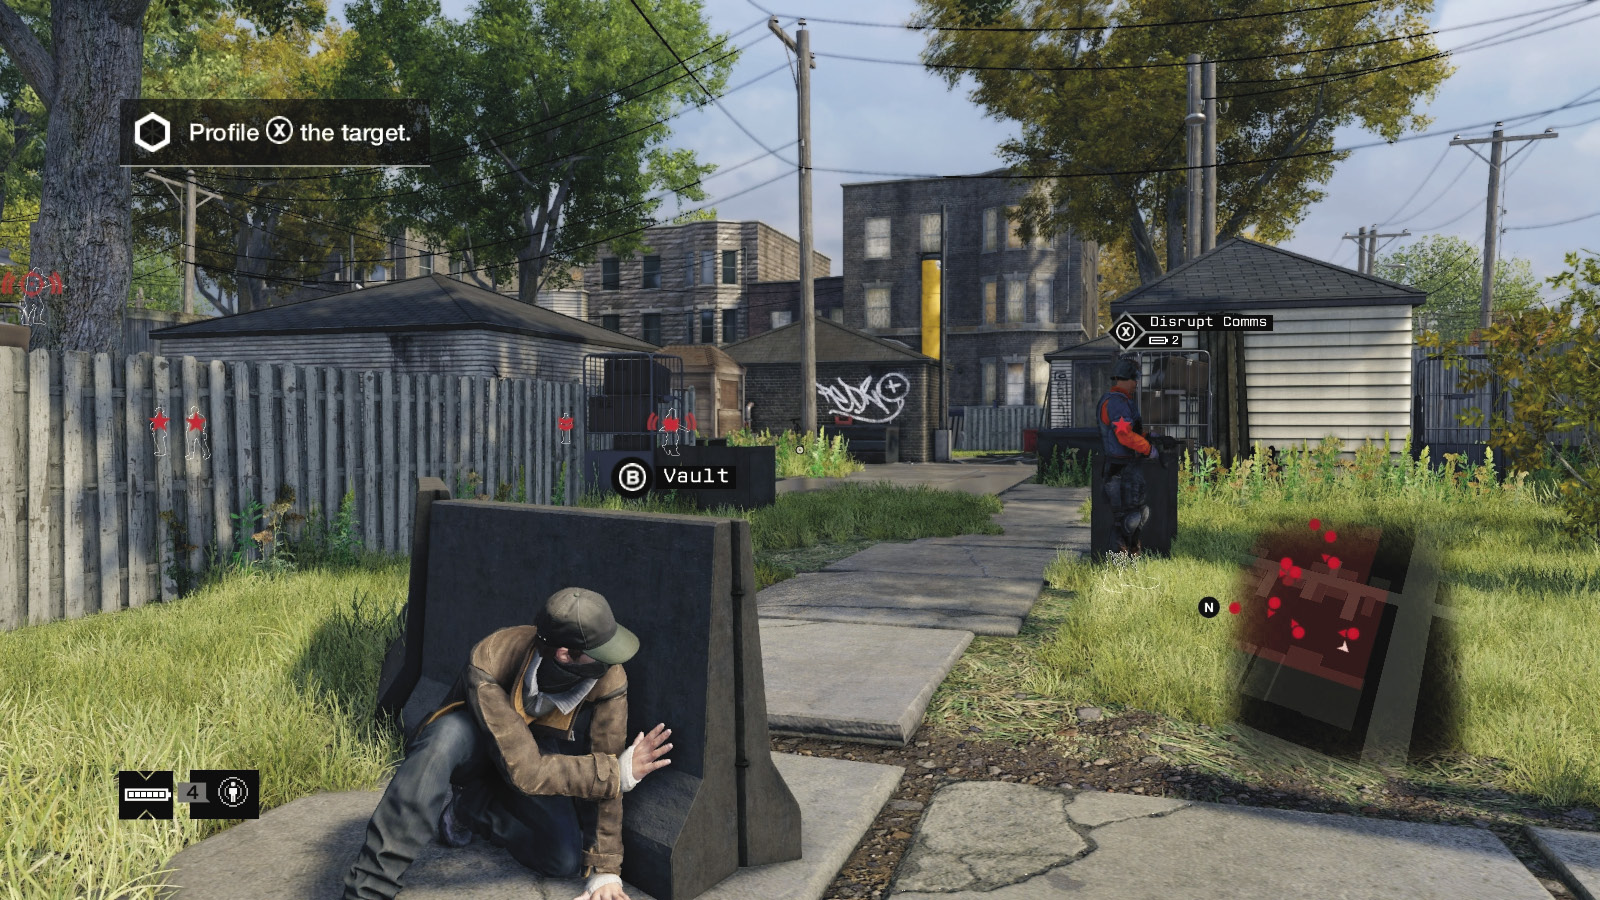
Can you tackle the enemies using stealth only? Yes, but it’s pretty close to impossible. The best place to start is the rubble to the west. After marking all but one of the foes with cameras, sneak left into the back garden and bring down a foe. Then retreat. Head into the southwest garden and drop a second foe. Then drop the Shot-Caller patrolling the pavers near the alley, and the foe in the alley, when he reaches the south part of his route.
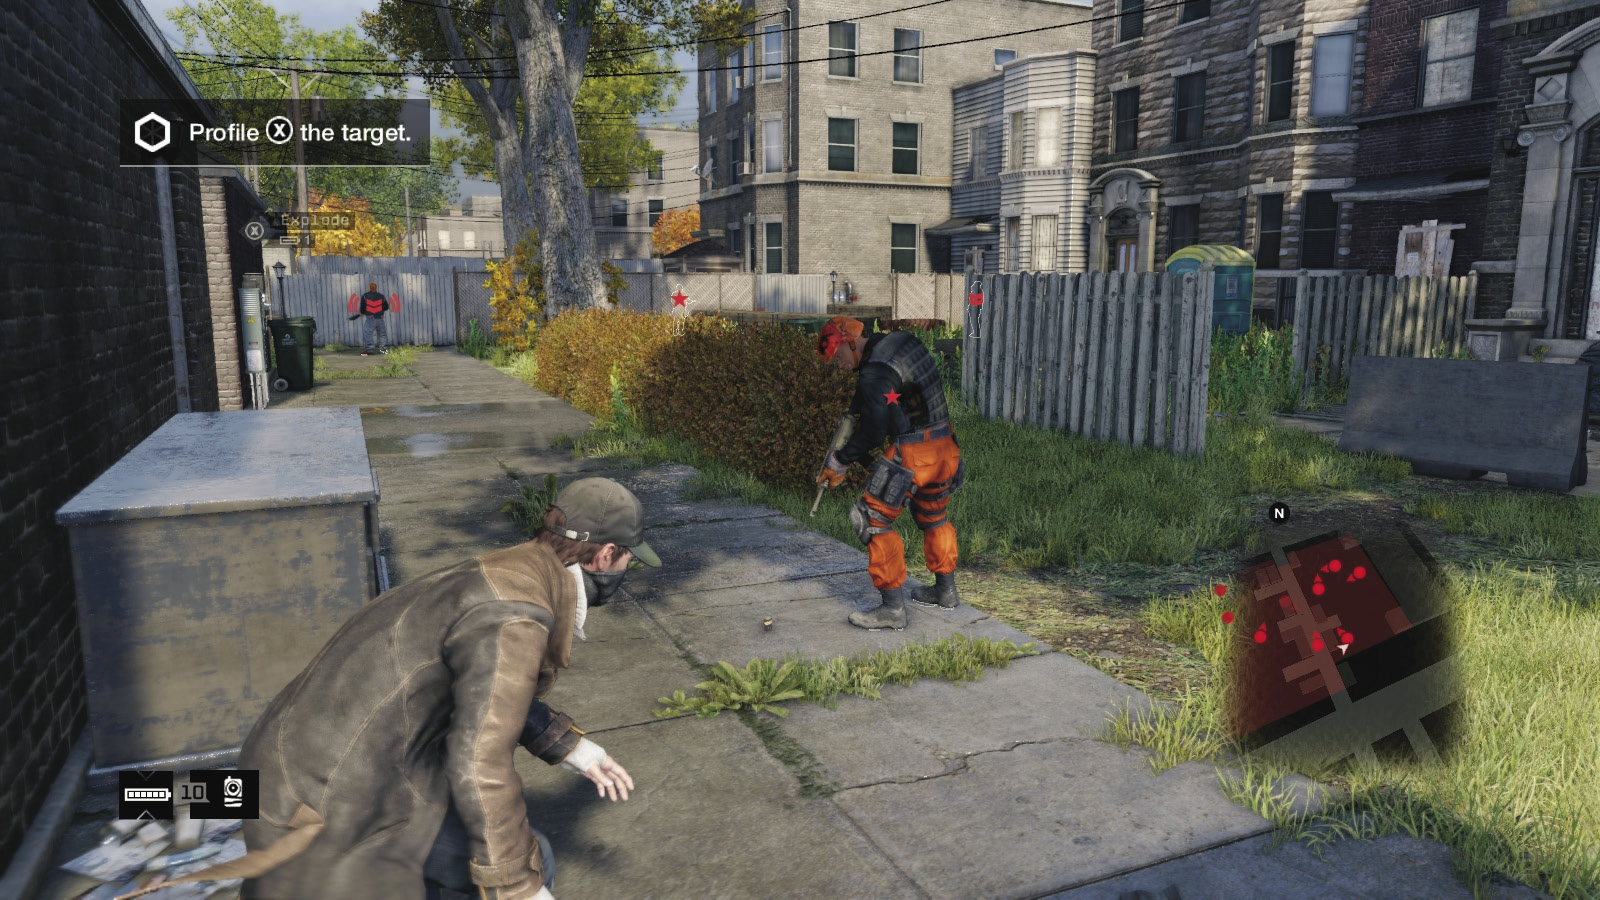
You’re usually waiting for the sniper to alert foes at this point. Shooting the sniper simply turns the fight into a gun battle and the target tries to escape. So if stealth is on your mind, try using lures, lobbing them into areas the sniper can’t see (around corners of sheds); tackle the guards who wander in to investigate.
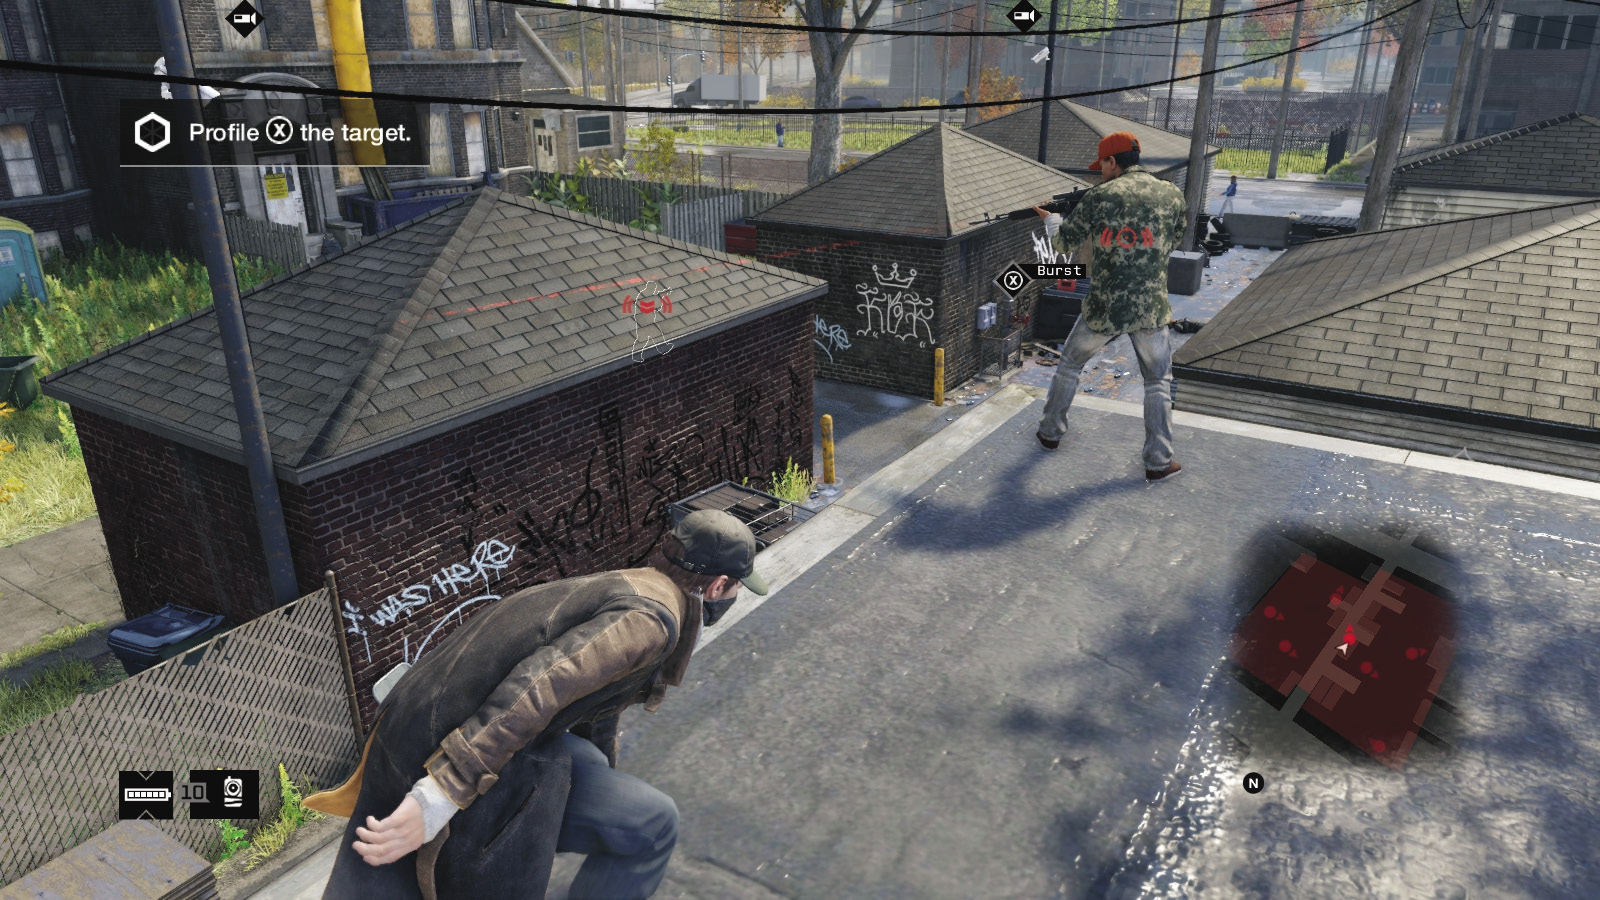
Continue to dart in and out, running around the perimeter and changing direction with each takedown: This takes a very long time, but eventually you’ll be left with the sniper and the target. If you want to strangle the sniper, the only way to reach him is to climb the ctOS transformer in the alley, attached to his shed. After that, drop down and rush the target.
 Aggressive // Stealth: Your Target Takedown Is Strong
 Difficulty:
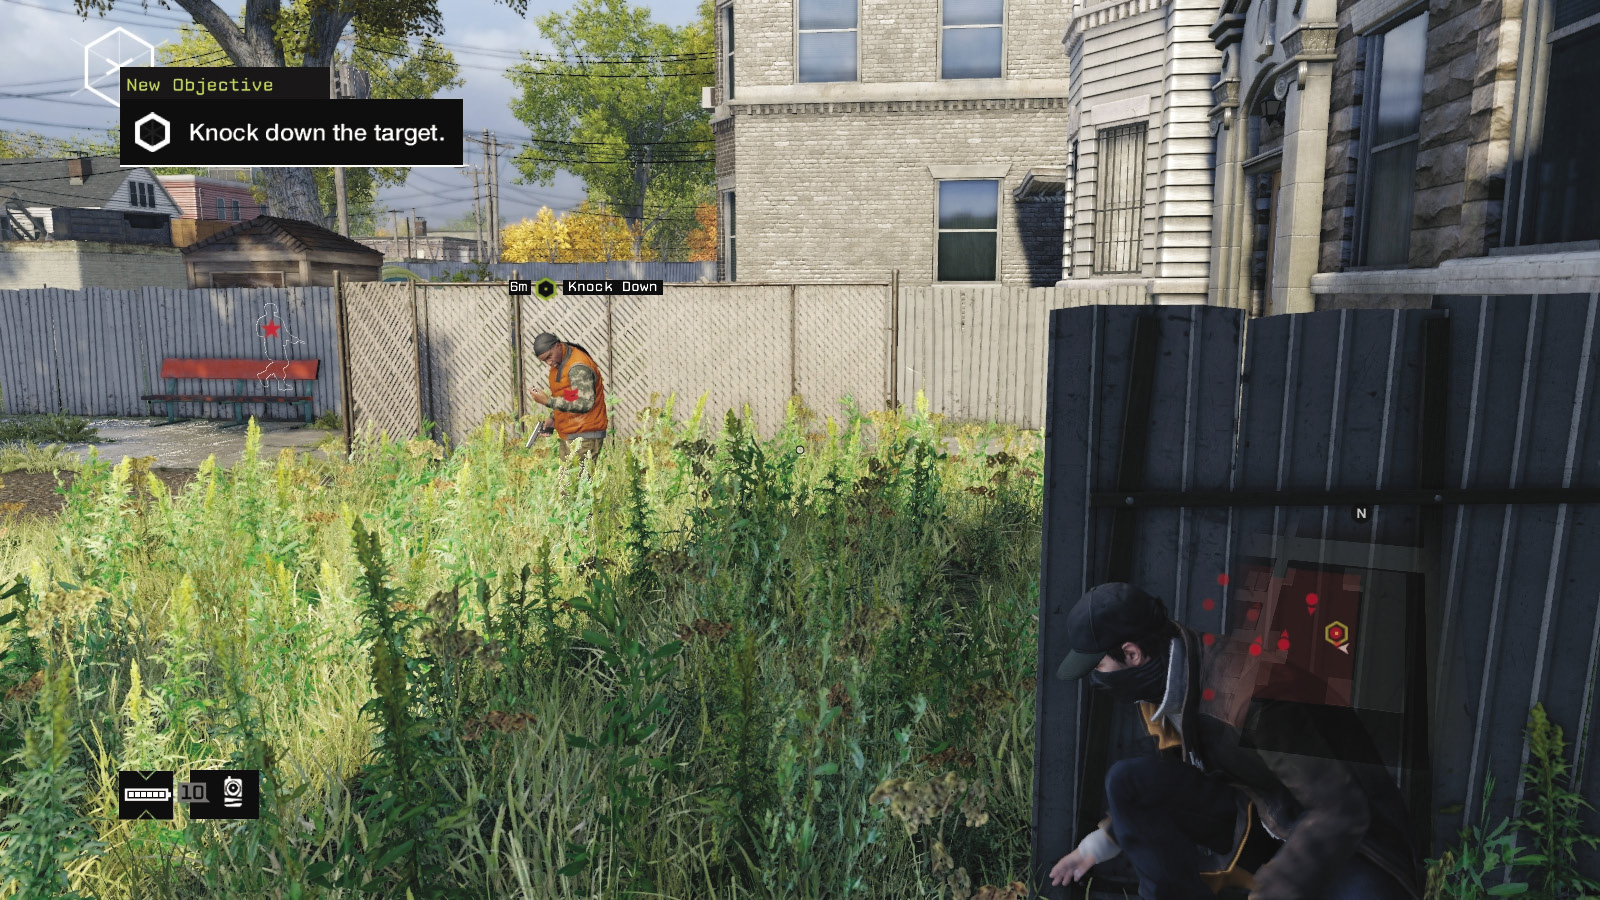
It’s really much easier to move to the southeastern perimeter fence, hop over, and hug the houses to your right (east) side. Maneuver to your first foe, then the Shot-Caller if necessary. Ignore the sniper and all foes in the alley or west of it. Then attract the target using the phone on the stoop behind him, before running in and melee-striking. Retreat the way you came, or start a gun battle.
 Aggressive // Violence: That Sniper Won’t Last Long
Difficulty: 
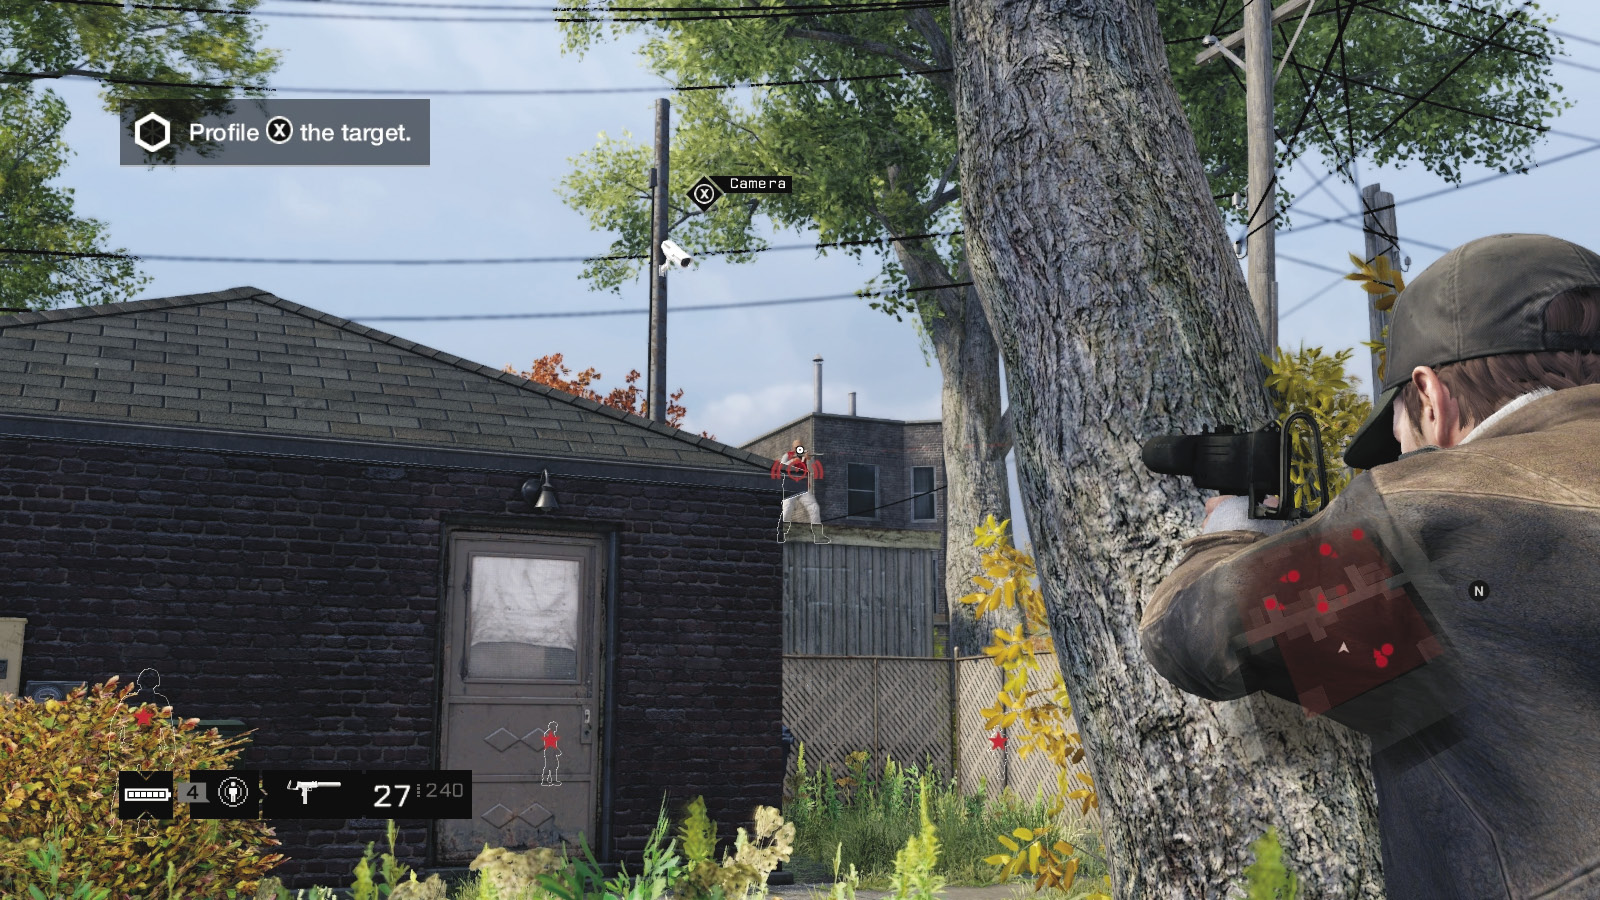
Though stealth is next to impossible, the Viceroys have one major weakness: there are only two Shot-Callers (the sniper and the Veteran foe on the paving slabs east of the north-south alley). Move to the southeast perimeter fence, leap over, and bring the Shot-Caller down to the ground first. Then plant a bullet into the sniper next. The target will flee at this point, so be prepared to rush to the rubble (west) before he reaches his vehicle and escapes. After that, start a firefight:
You can shoot through or lob grenades around most of the fences. Shoot or explode the junction boxes on the houses to take out enemies in the gardens. The ctOS box makes a massive impact, so fire at it when foes are near and remove light sources (and hacking infrastructure).
Use the roof cover on the north sheds by climbing up from the gardens (as previously described in the Insertion Points). Start lobbing grenades down from this excellent height and cover.
Drop IEDs around corners. Proximity IEDs are almost as entertaining, and there’s always the shotgun, which is excellent when stepping out from cover and blasting at close range.
 Driving // Offensive: Serenading Your Target’s Swan Song
 Difficulty:
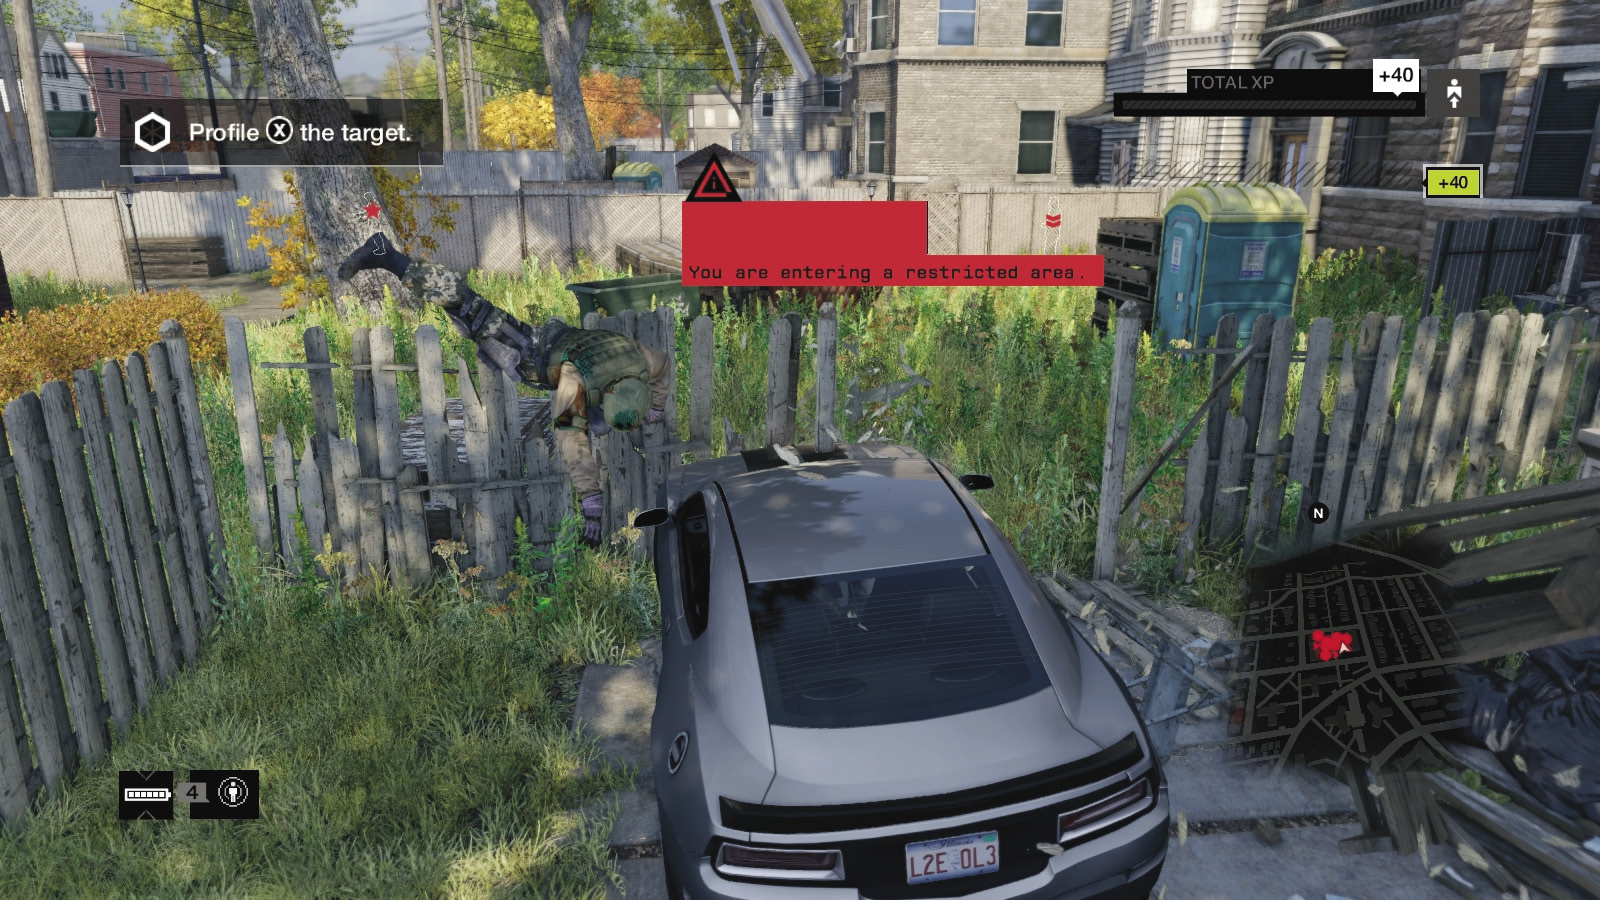
It’s strange, but driving a vehicle into a mob of enemies in most other missions is hilarious but foolish. But in this case, it’s the easiest way to flush out your target! Bring a vehicle around to the southeast fence, and drive through the fence, reasonably slowly. Shrug off enemy fire and run foes over as you head north toward the target.
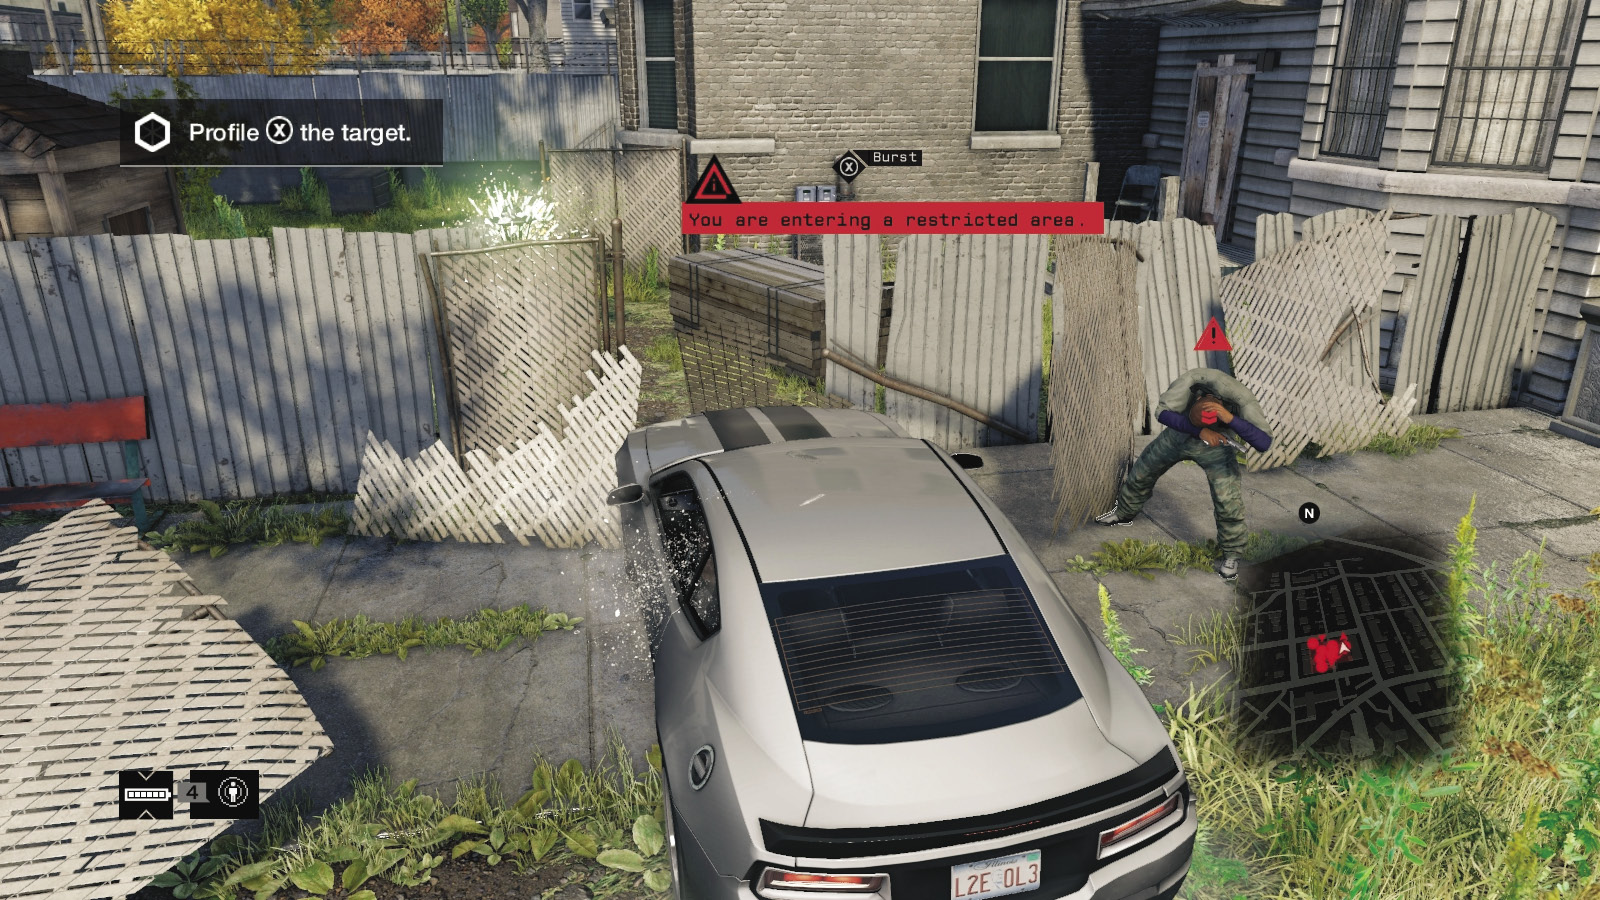
Crash through the fence, but don’t run into the target. He takes off on foot, and you can actually drive after him, across the main alley, and over the rubble to the waiting car. If you’re quick, you can leap out and end the craziness now with a melee strike.
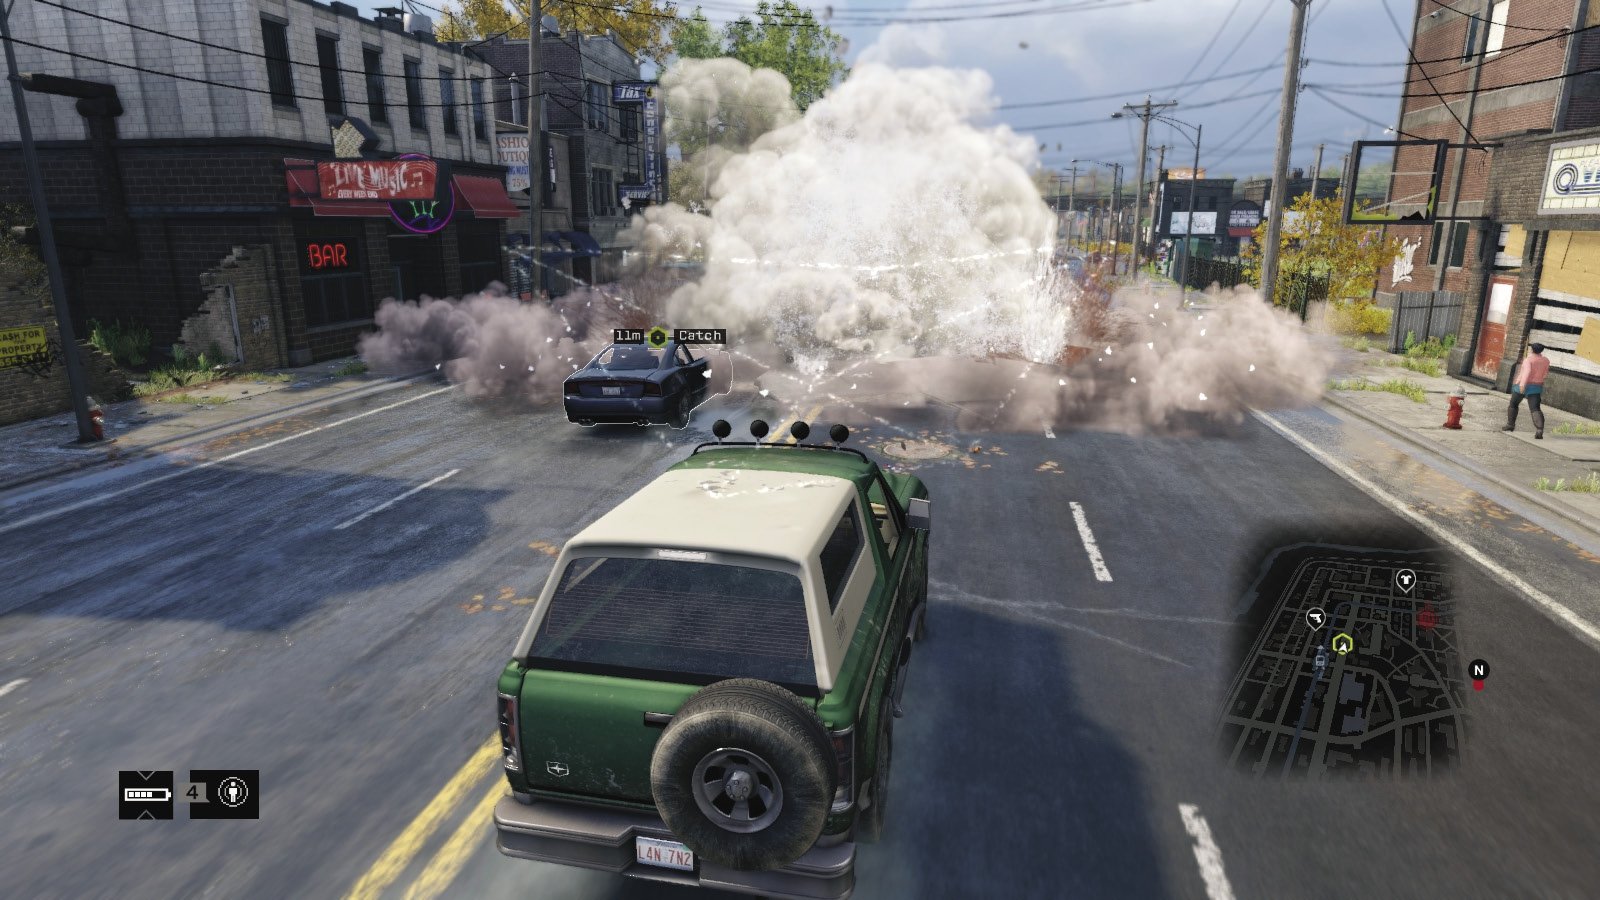
Usually, though, you engage in a chase through the Wards, then onto the freeway heading toward Parker Square. All your usual driving takedowns are available this time, as long as you don’t run over the foe; your objective is to knock him out, not kill him!
_SWAP MEET
location: Construction Yard under Corland L-Train Station
Enemy: viceroys
NUMBER OF TARGETS: 1 (Veteran) / HE MAY FLEE
NUMBER OF ENEMIES: 10 (Veteran x4, Elite x6)
Shot-Callers x3 (Veteran, elite x2)
Difficulty: ($2,500 Reward)
REINFORCEMENTS: Three vehicles (Gunmen, veteran x2)
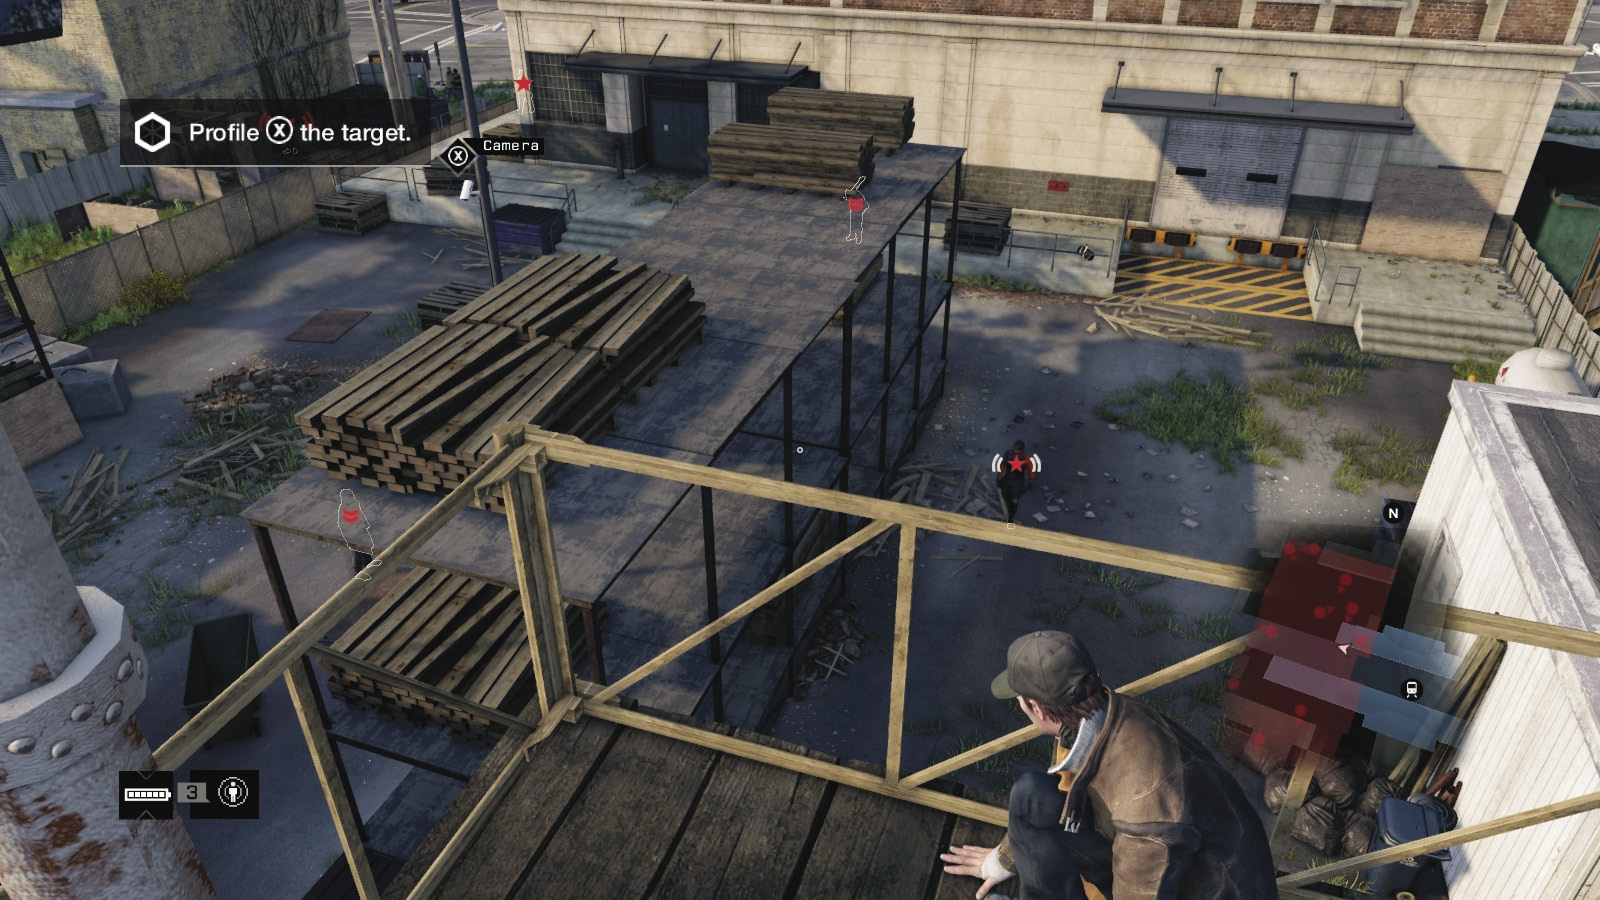
Your missions starts in the parking lot to the right of the check cashing place, near the Overnight Hotel. Jog northwest a block toward a Viceroy yard with all manner of pallets, shelves, and outbuildings to roam through, in search of a single target.
Insertion Points
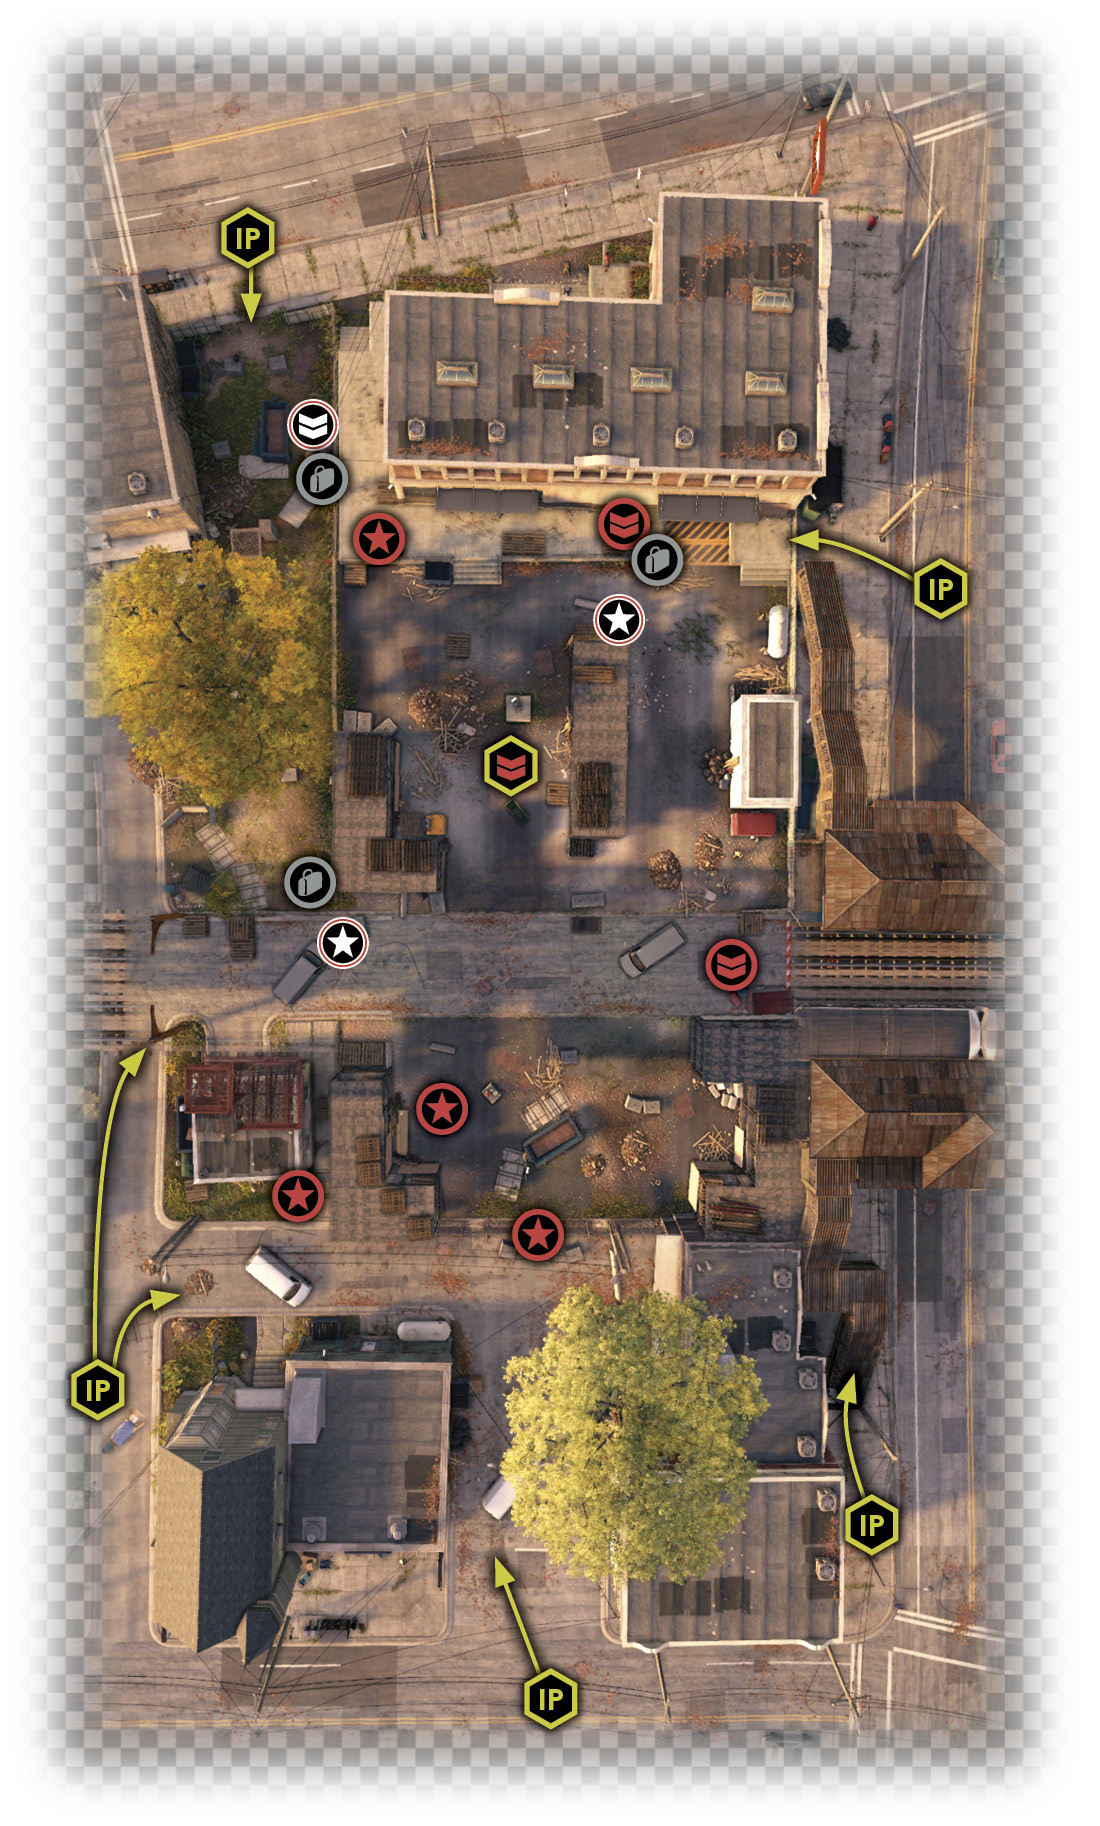
The yard is teeming with foes, but the restricted area isn’t as large as you might first think, and it features a huge number of insertion points, including from above.
Corland L-Train Station (Upper, East)
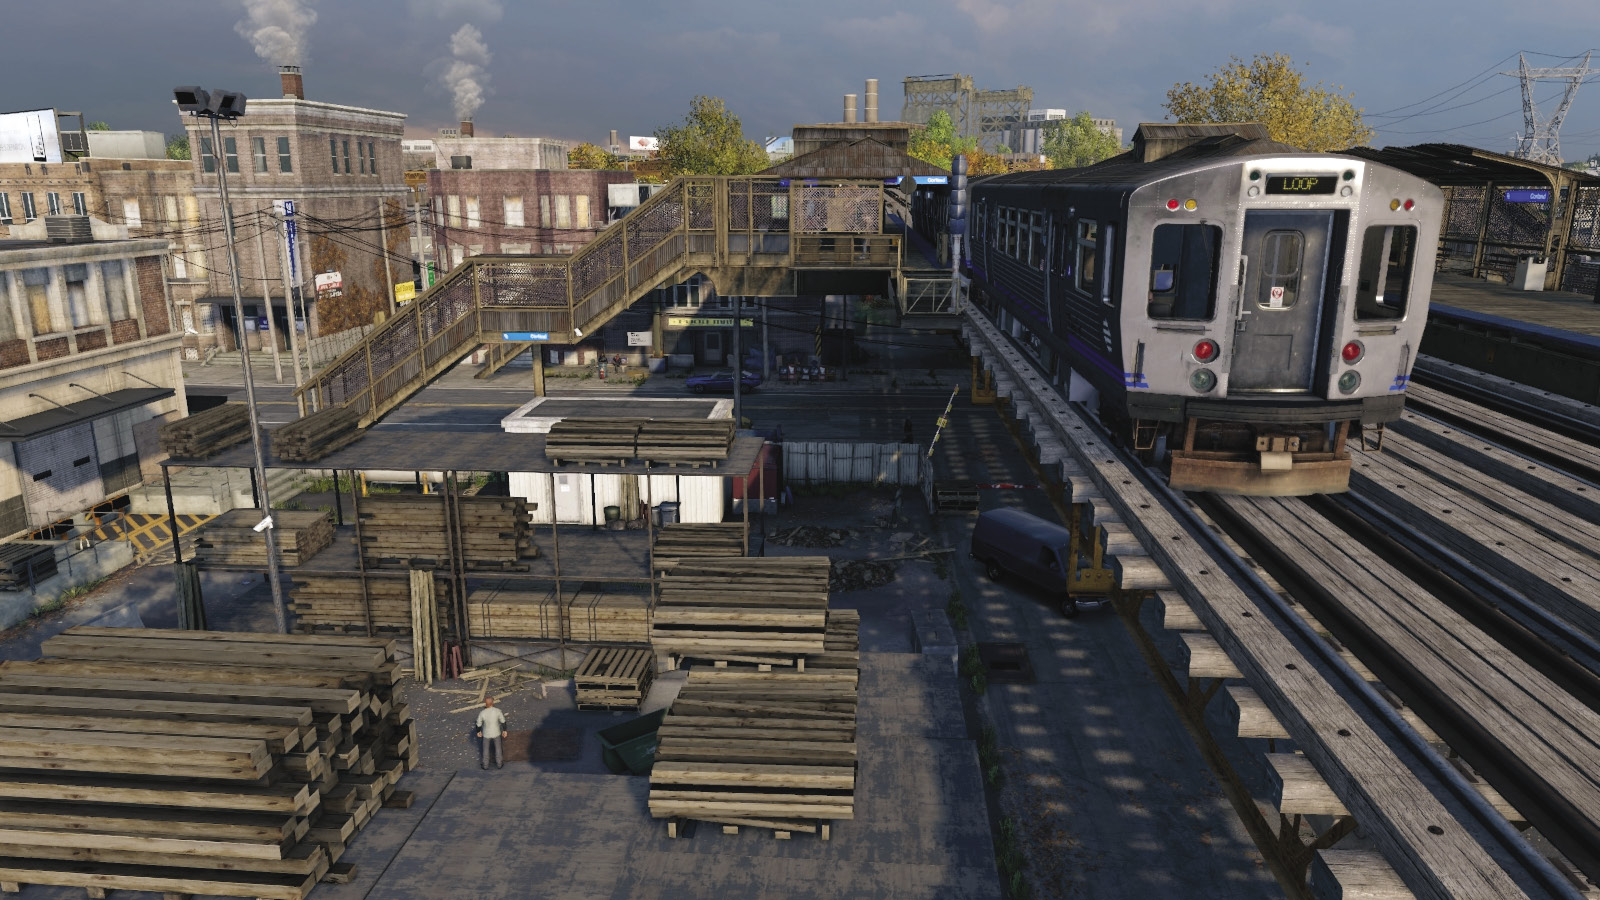
This is arguably the best way to infiltrate the premises; simply use the train stairs, cross the platform to the north, and you can peer into the center of the yard and even jump down onto the pallet shelves. If you stay to the south and head west, look down at the white-brick building; you can land on the roof here too (when scouting, marking, or attempting to find a location where foes can’t easily shoot you).
Corland L-Train Station (Ground, East)
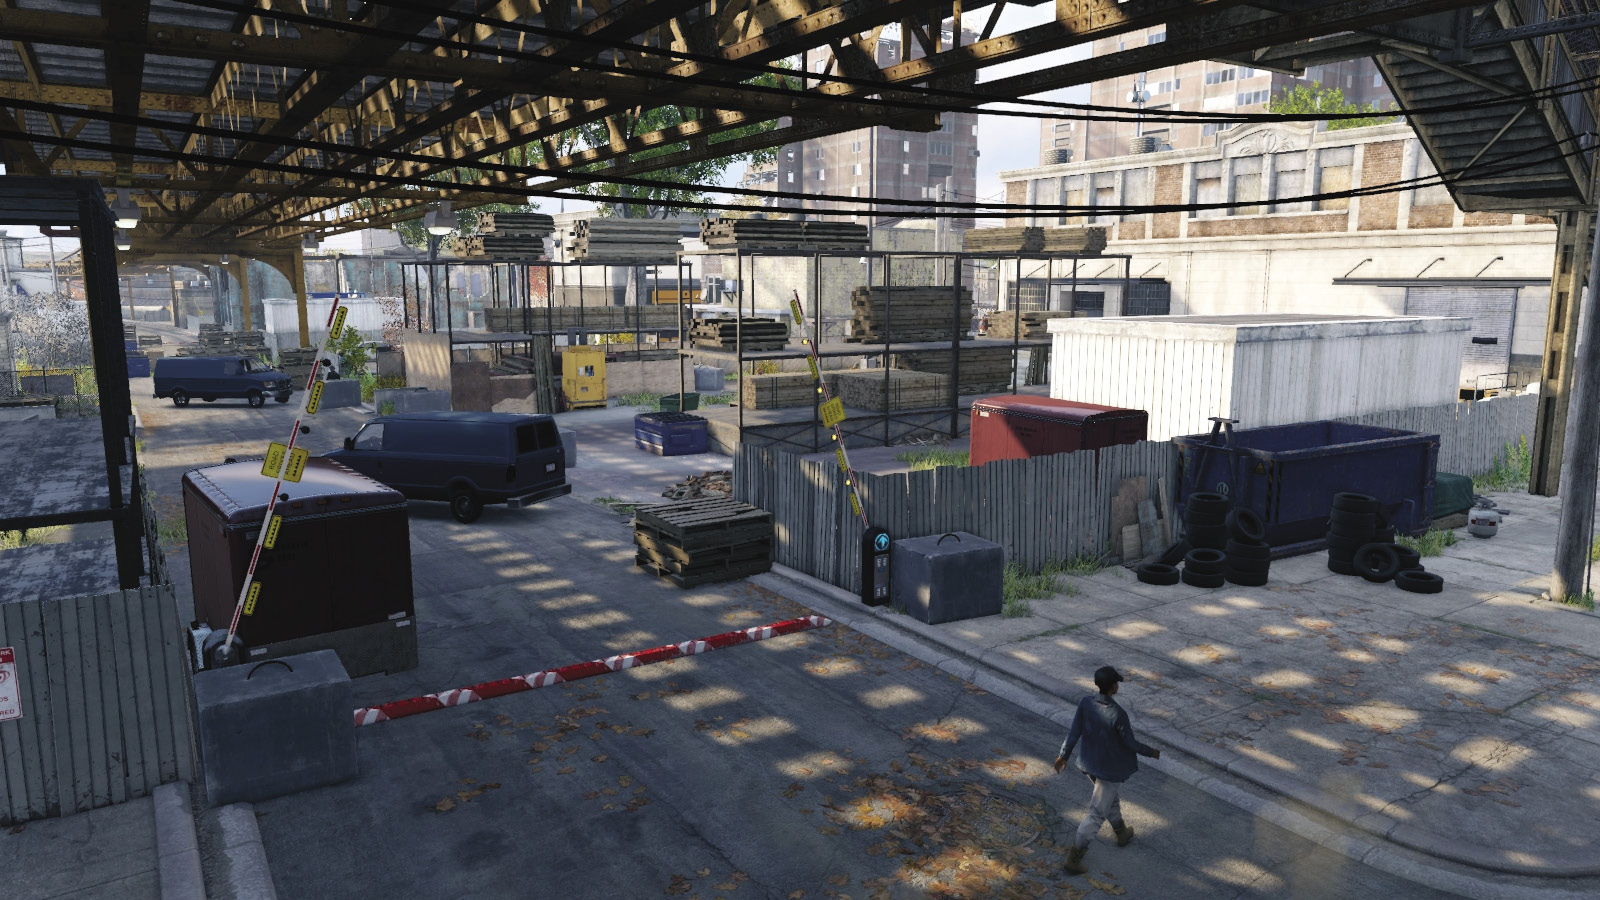
Under the train station are several infiltration opportunities. Vault out of the blue refuse container and onto the metal shelving. There’s a main gate with spikes (drop that in case the Viceroy reinforcements enter here). The fence is easily vaulted over, including the area just north of the newsstand near the steps. Unfortunately, if you try using insertion points along here, you’re easy to spot, so tread with care.
Between the Bar and Barbers (South)
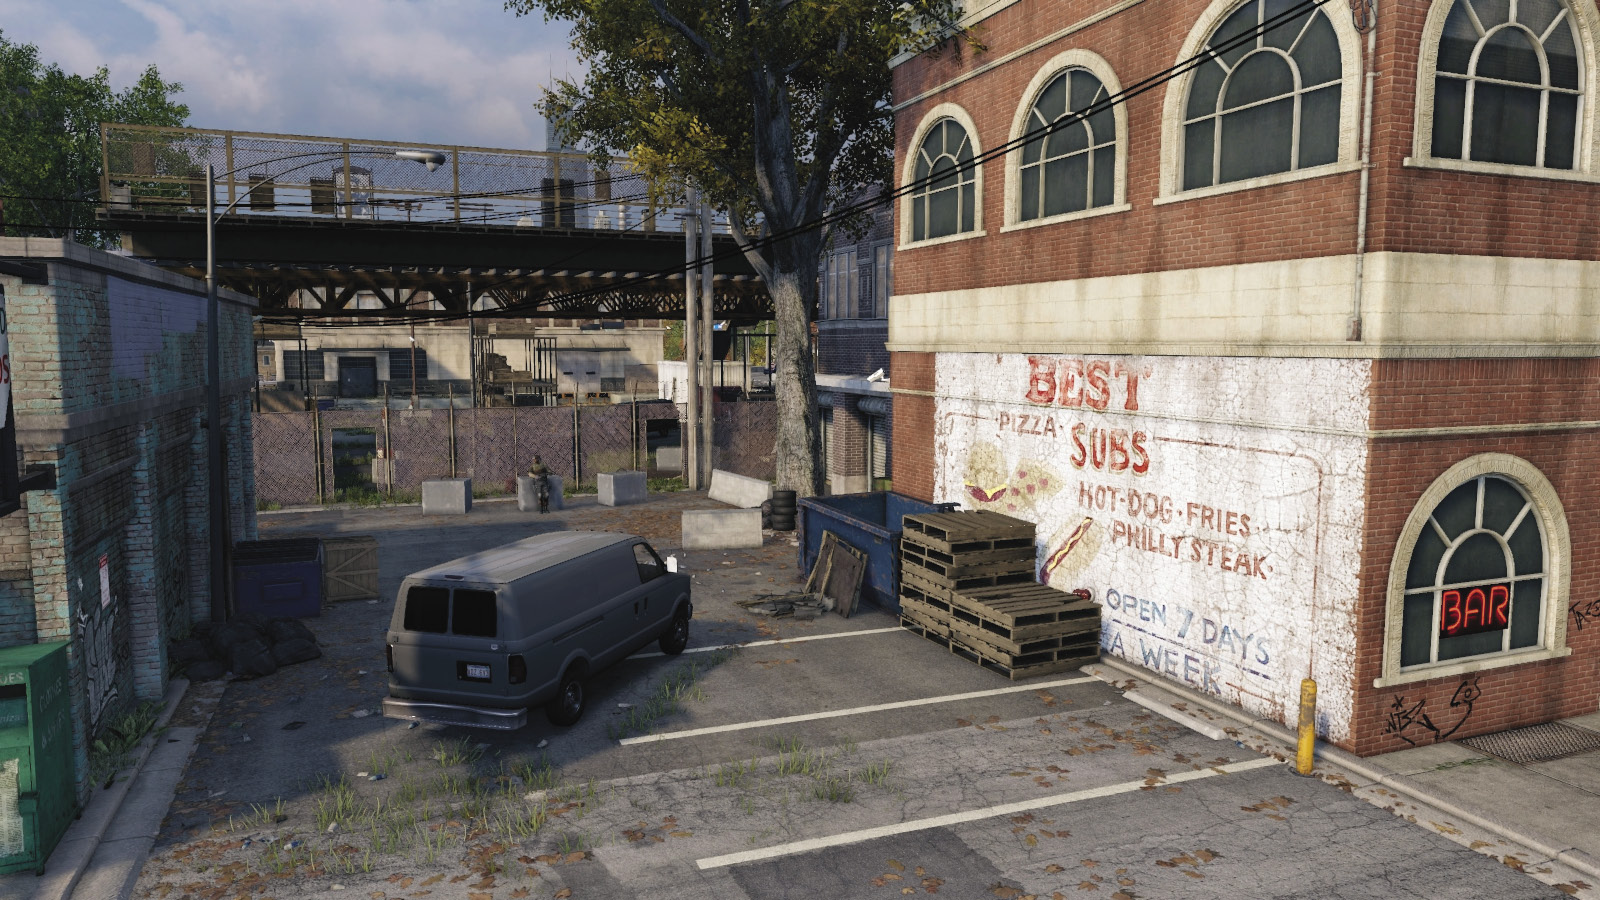
The L-shaped alley here leads to the perimeter of the restricted area and the mesh fence. Though more than one foe watches the fence, you can maneuver around here with relative impunity, as long as you’re aware of where the two foes are. A good insertion point if you’re not dropping in from above, but the farther into the yard you head, the more difficult it is to remain in hiding.
White Building Alley (West)
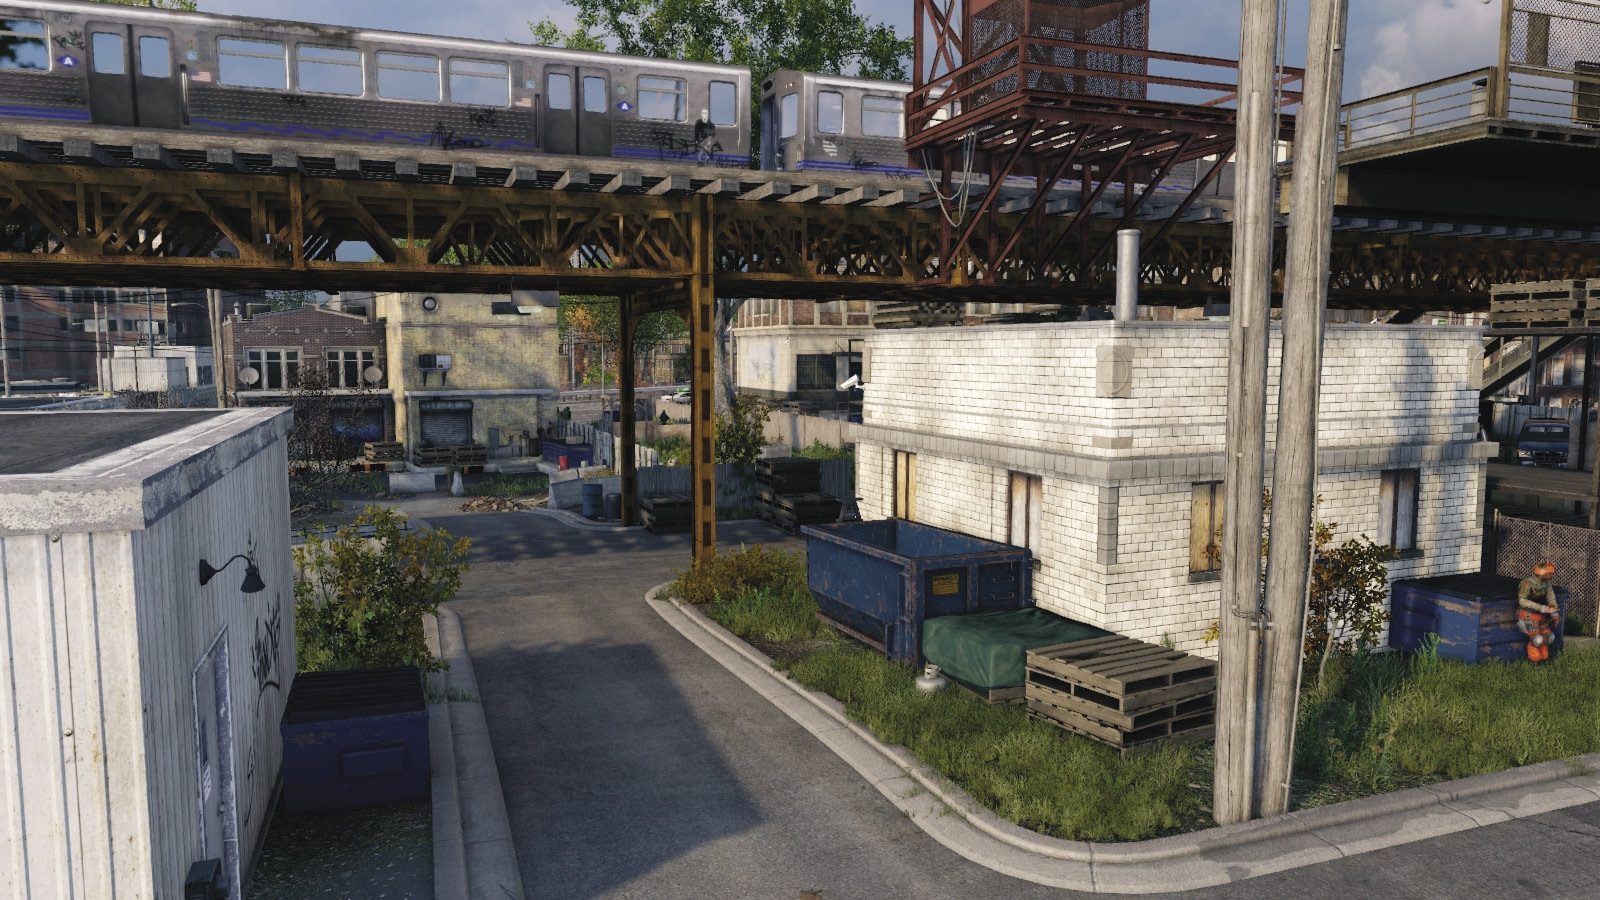
A couple of small outbuildings, scattered debris, and a fenced section of dirt ground under the L-train tracks that marks the western perimeter. It isn’t well defined, so you can actually creep along outside the perimeter in relative safety as you get an idea of how the area looks. This is the usual direction the target escapes to.
Old Warehouse (North)
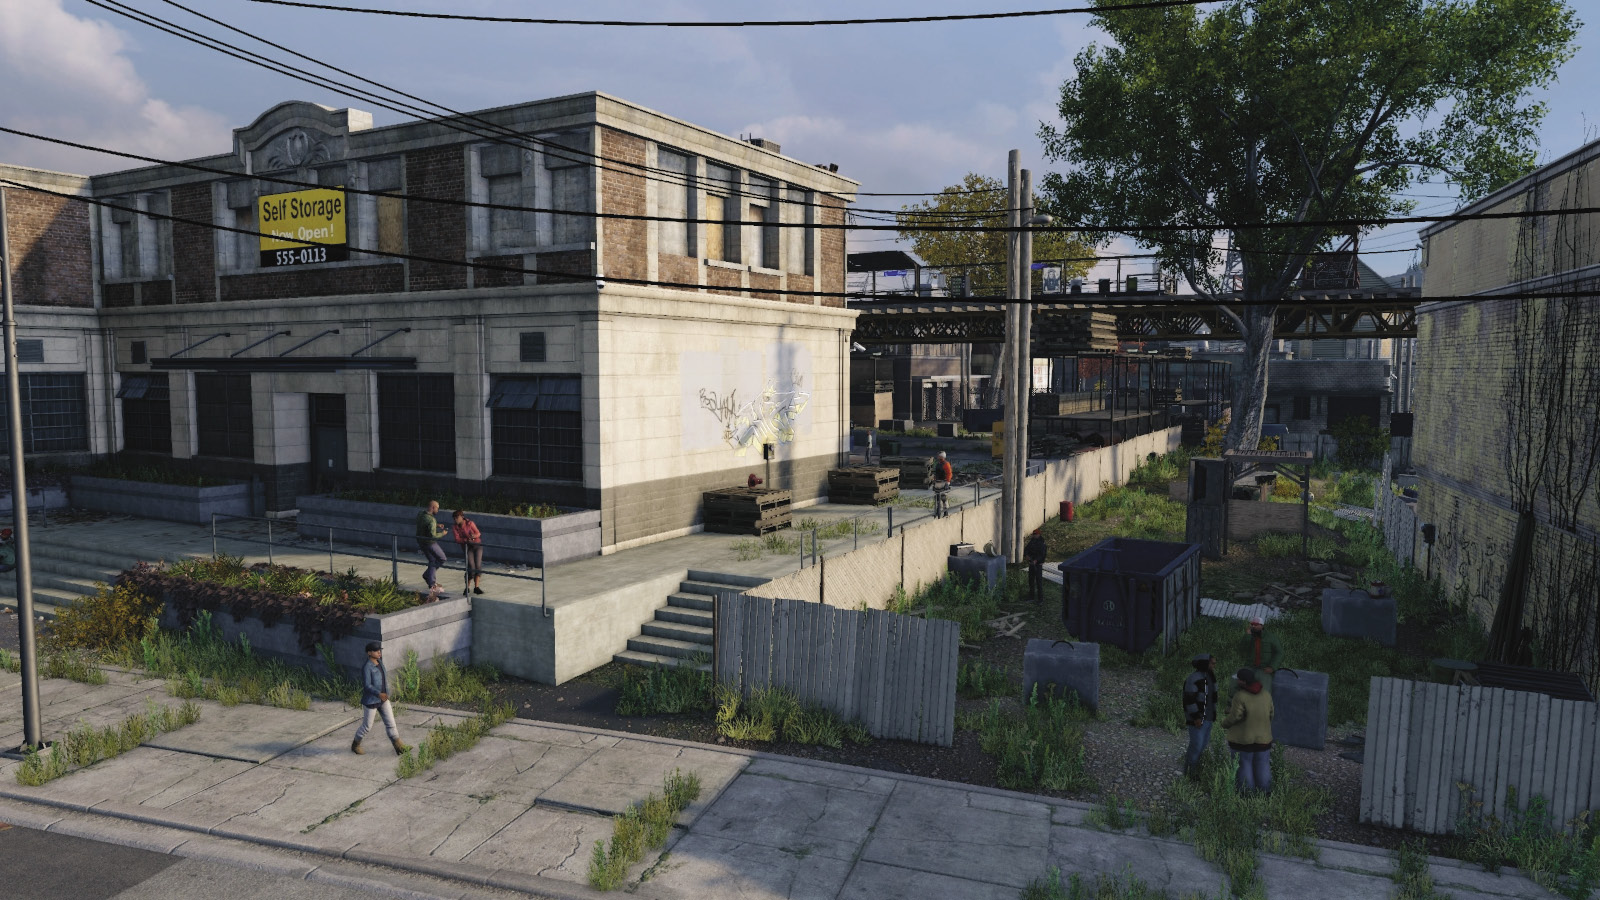
Facing the street is an abandoned warehouse front. To the side (northwest) is a walkway near the lower dirt yard and several enemies in close proximity to each other. You can coax them around here, especially as there’s a junction box to blow, but it’s difficult to reach the target without being seen. The relatively narrow area makes moving through it somewhat tricky if you want to remain undetected.
Yard Interior
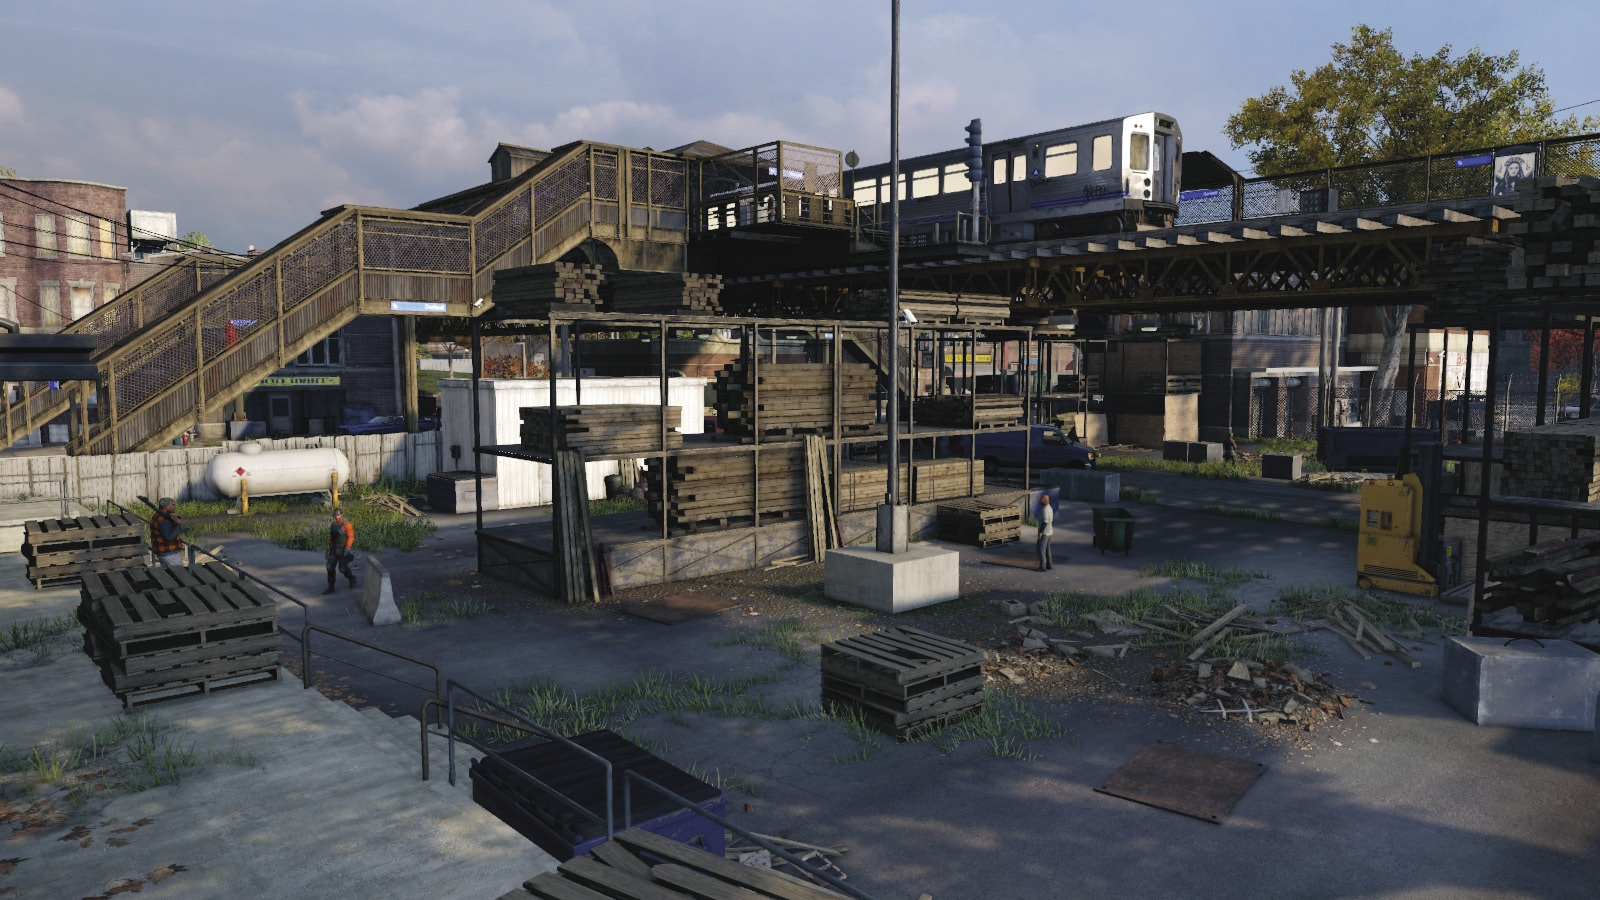
If you ignore the L-train station above, this yard is mostly a large open area of wood stacks piled on various metal shelves, flanked to the south by a mesh wall and the L-shaped alley, and the white brick structure and dirt ground to the west. The problem here is the number of foes, how open the area is, and the proximity everyone is to each other.
Progression Plans
You can make the target takedown very easy for yourself, or attempt to stealth-tackle everyone, which is next to impossible without being spotted or alerting the foes. With this in mind, there are two main plans:
 Aggressive // Stealth: Jumping Down from the Train
 Difficulty:
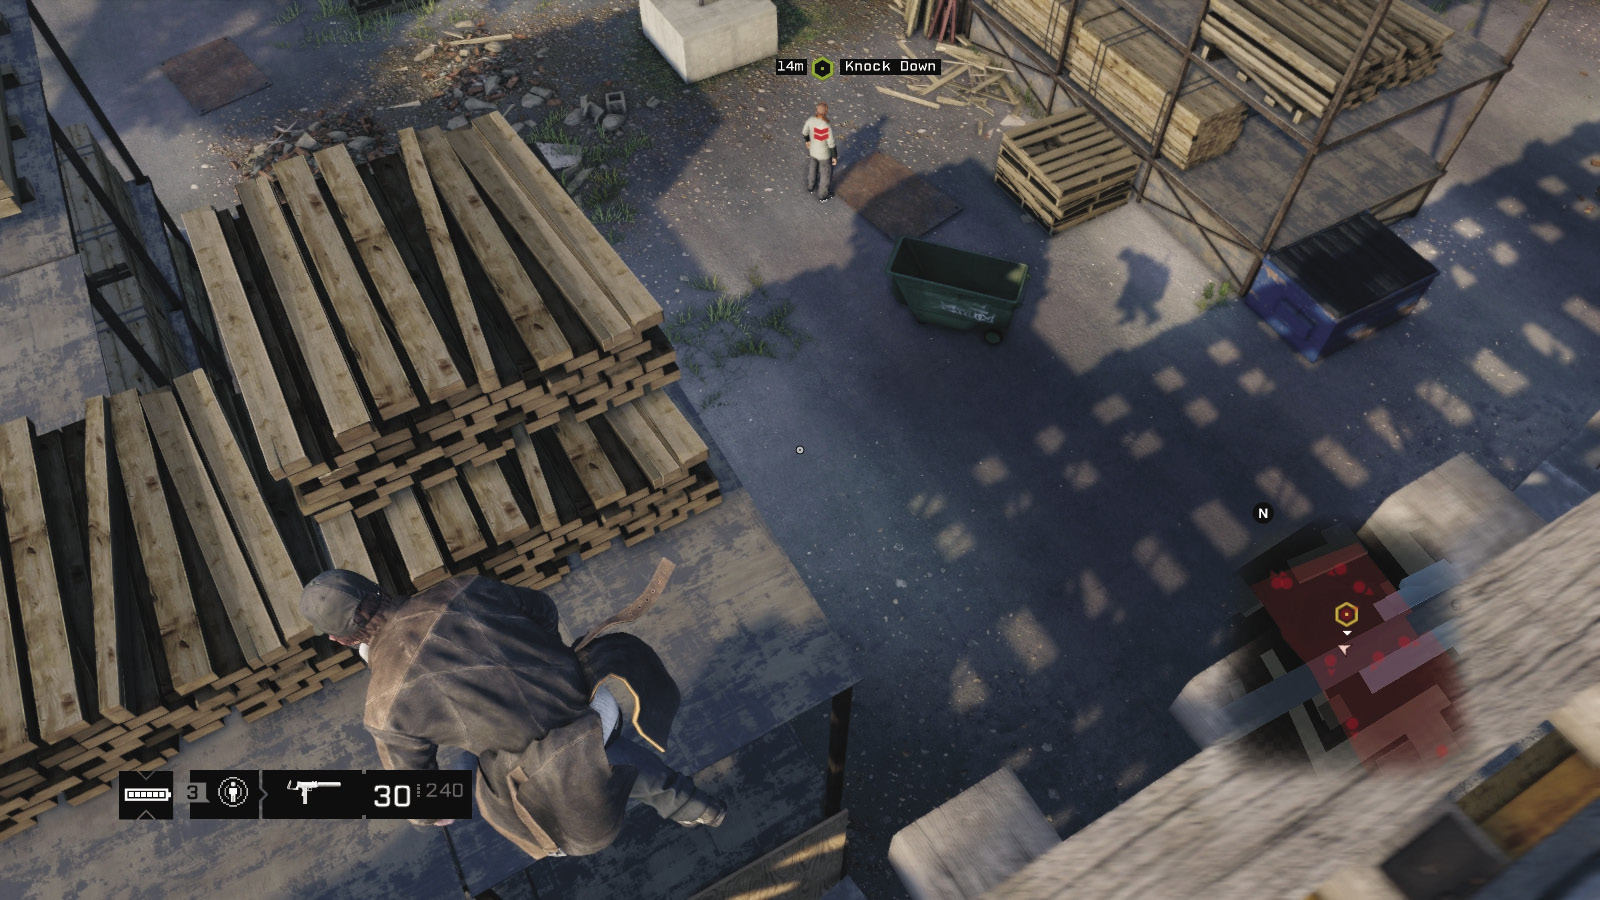
Head up to the L-train station platform, looking both ways before crossing the line. Move northwest until you’re directly above the metal shelves half filled with wood. Drop down to the top of the shelving. You should be profiling as you go, because the target in question is almost directly beneath you!
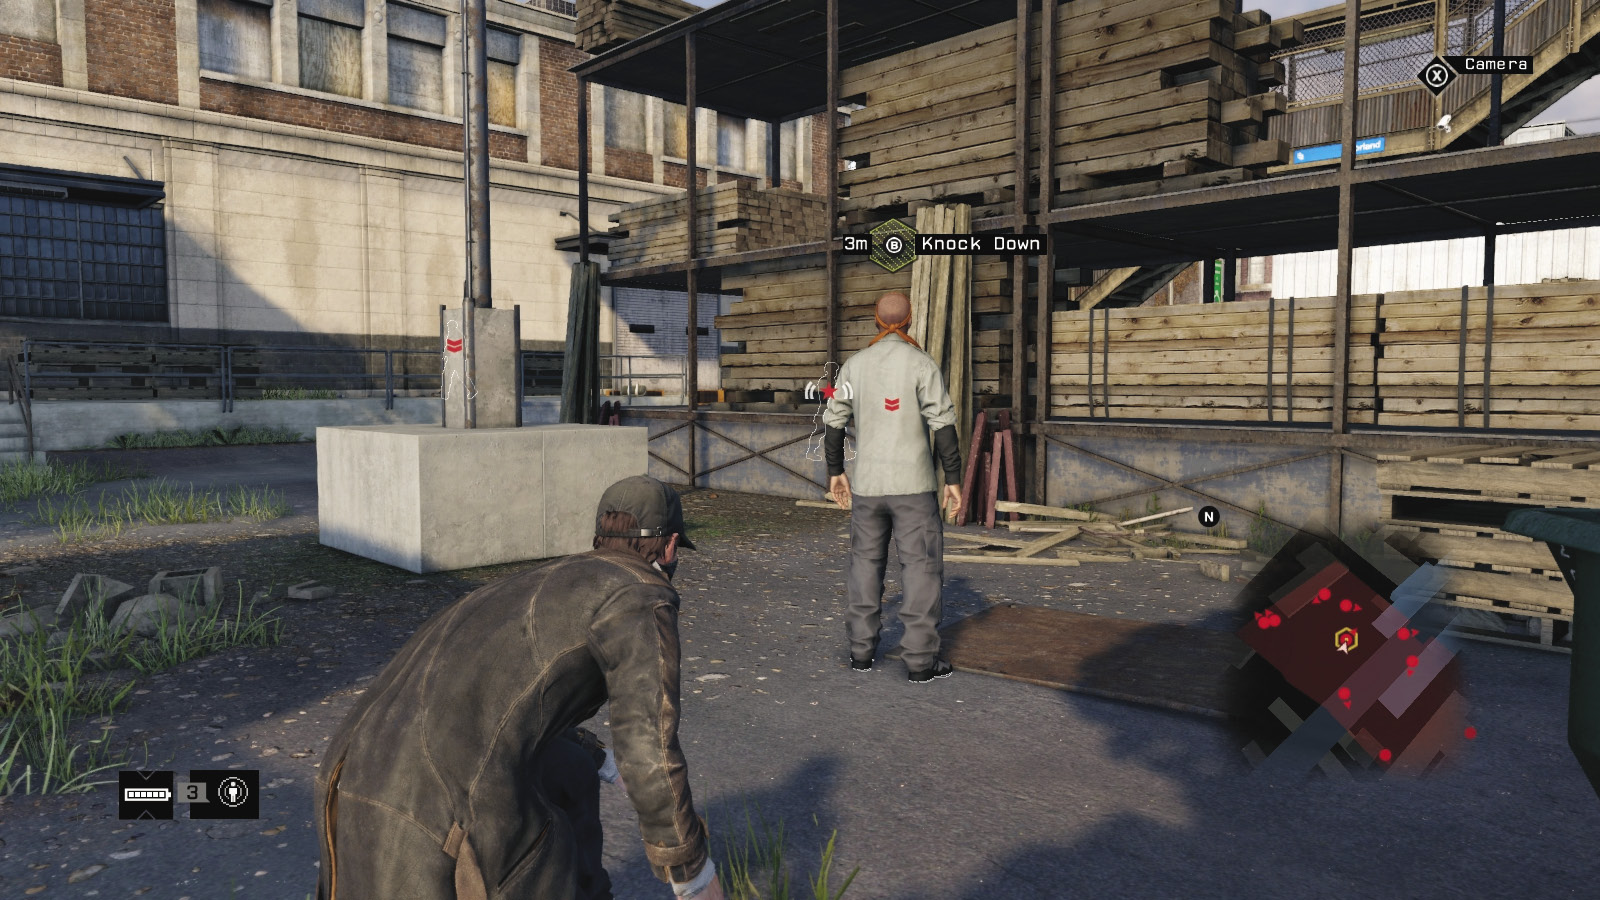
It’s now a relatively simple matter of dropping down behind the target, throttling him to complete the objective, and then figuring out whether you want to engage the (now alerted) other enemies in gunplay or whether you want to flee. You can use the forklift to coax the target over so you can land on him when you jump. Just watch out when he turns around, as he can see you if you aren’t in cover.
 Aggressive // Stealth: In and Out; a Cunning Feign
 Difficulty:
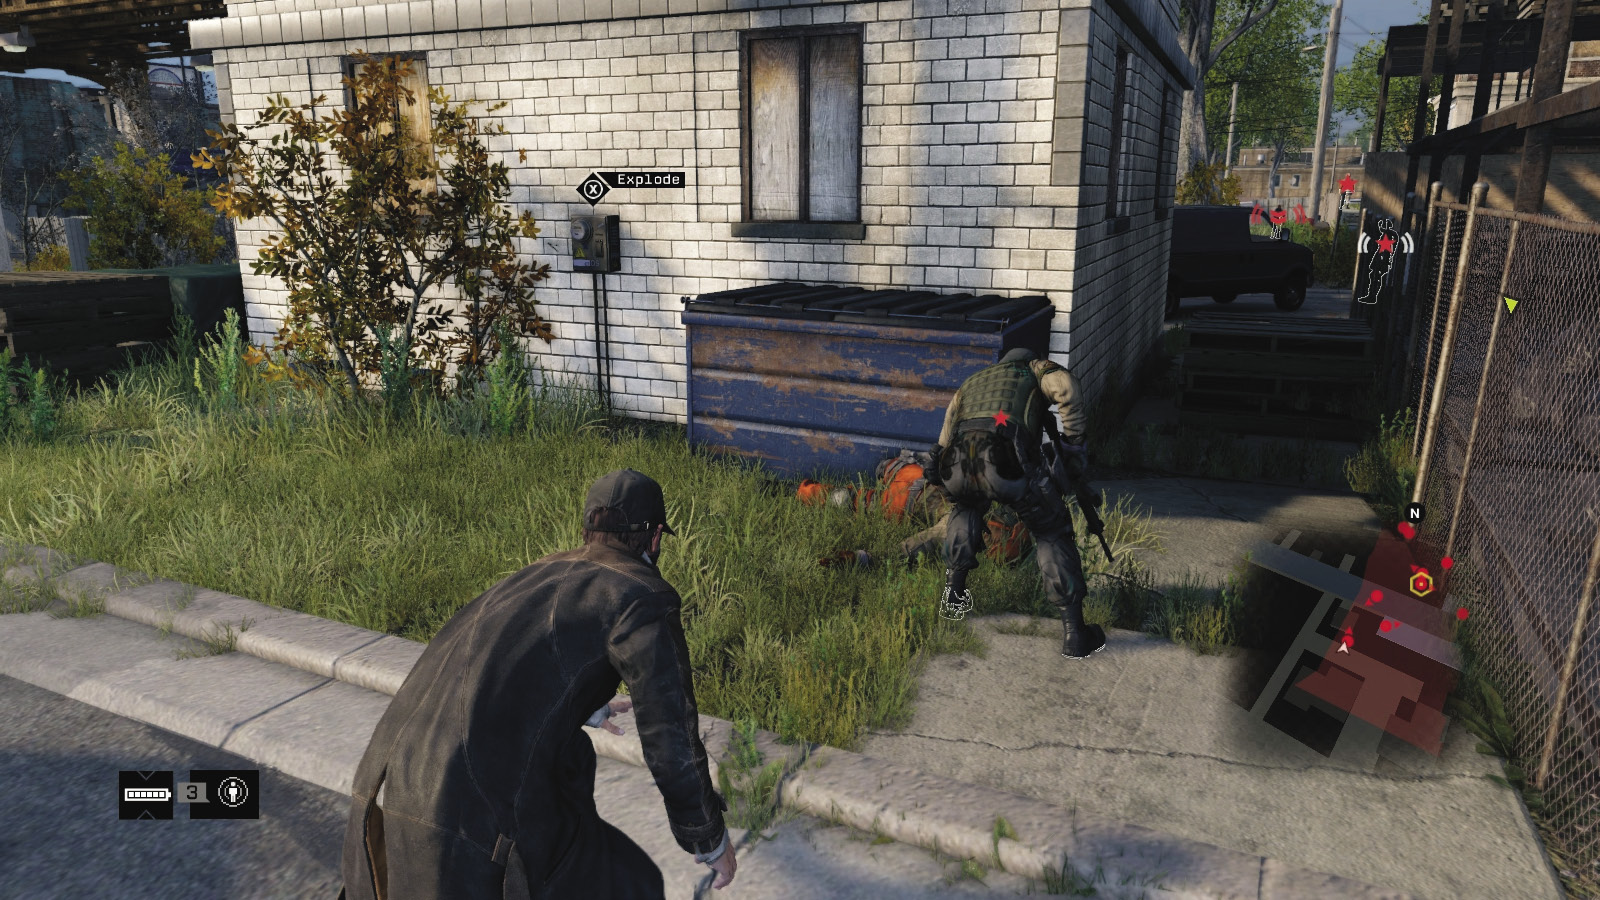
If can’t stop melee-striking everyone you encounter, prepare for an extremely difficult series of maneuvers; it’s next to impossible to drop foes using your baton and not have others spot the corpse and start sweeping the area or calling reinforcements. You usually have to resort to guns by the time half the foes have been dispatched via stealthy means. But if you must try stealth takedowns, attempt the following:
Enter the L-shaped alley (south). Bring down the foe guarding the alley and the one to the west, outside the house. Then head along the western edge of the restricted area and step behind the van. Take out the foe standing on the other side of it. Three foes are now downed.
Back out of the area, jog around to the main entrance (east), stepping in and dropping the foe at the entrance. Back out immediately.
Vault over the fence by the newsstand and catch a patrolling foe on the upper area, watching out that the target doesn’t see you. Then retreat.
Move around to the north side and enter the dirt yard. Drop the foe patrolling there. Back out, wait for a foe to investigate from the concrete walkway above, sneak up from the road, and bring him down.
This leaves two or three foes and the target; this is usually as far as you can get without the foes becoming fully alert.
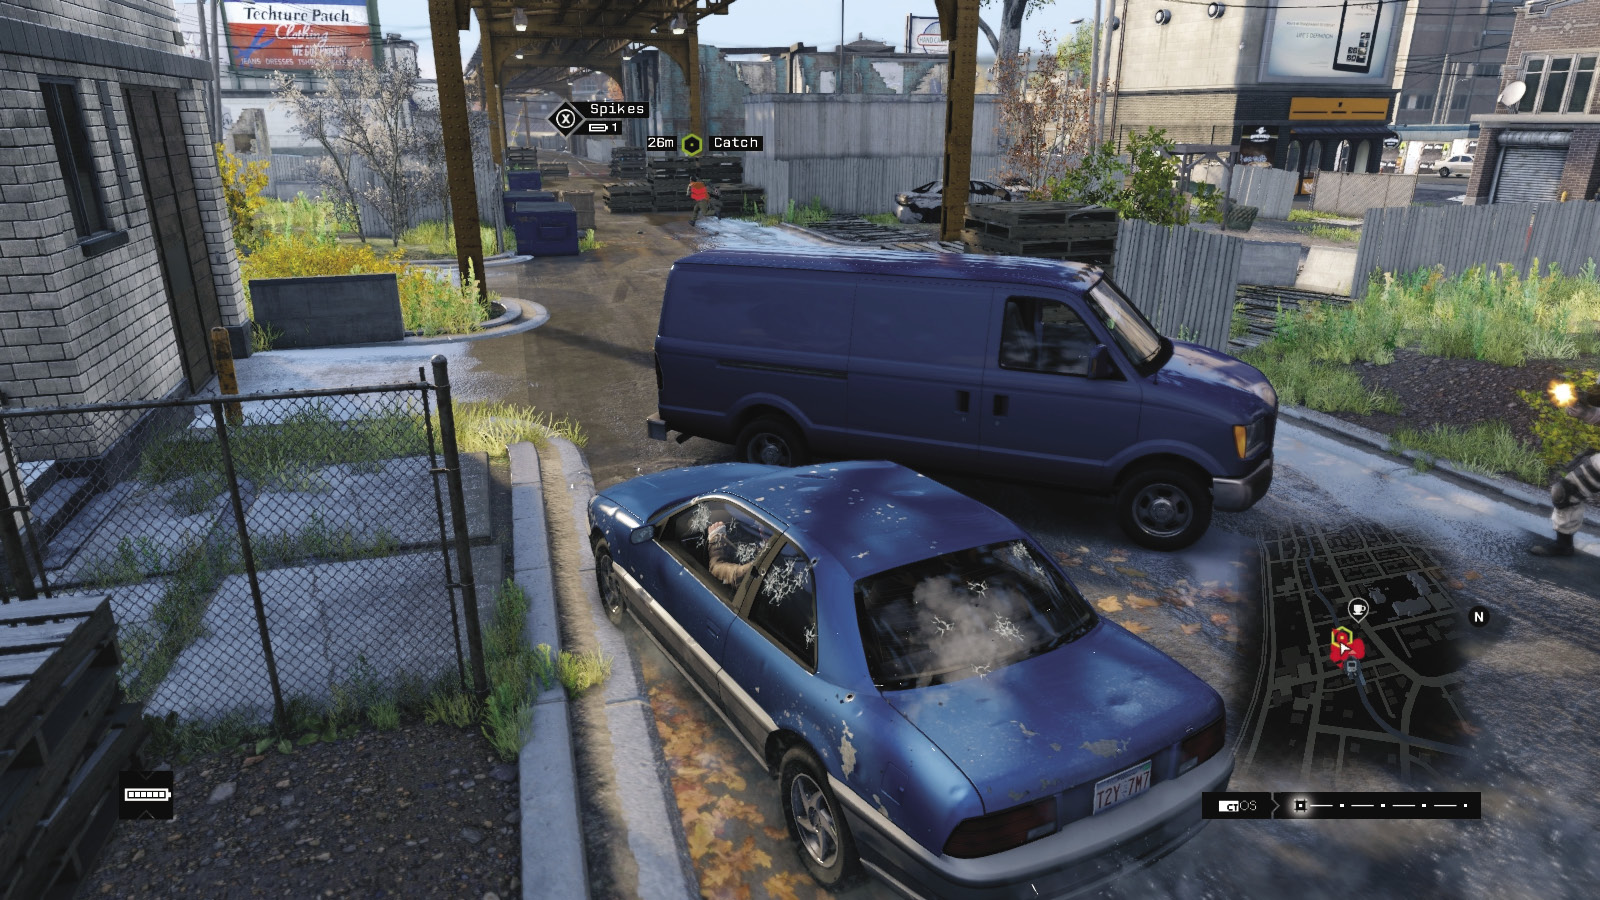
If the takedowns have degenerated into the enemies being alerted or firing at you, the target usually decides to escape. He heads southwest on foot; you can break off from the engagement, follow, and leap on him. No guns, please!
 Aggressive // Smart: A Technological Drain
Difficulty: 
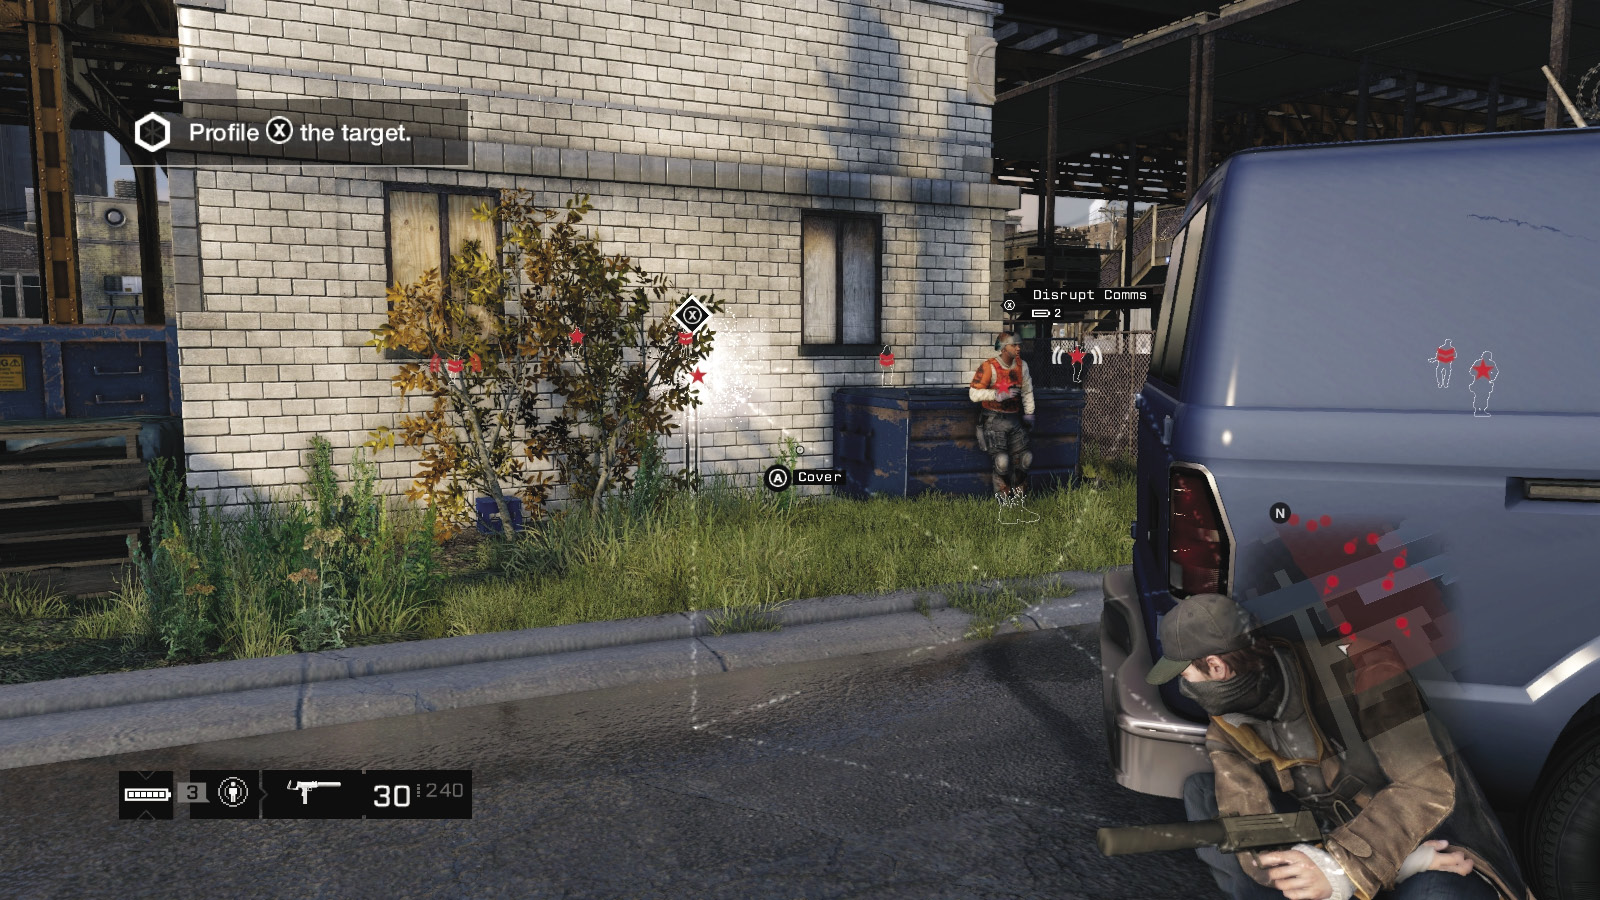
Alerting foes is a reasonable plan, as there are spikes on the east entrance to block reinforcements in vehicles, a ground vault to blow up close to the middle of the yard, the forklifts to attract foes, and a couple of junction boxes to detonate near a patrol route. None are vital in helping you, though.
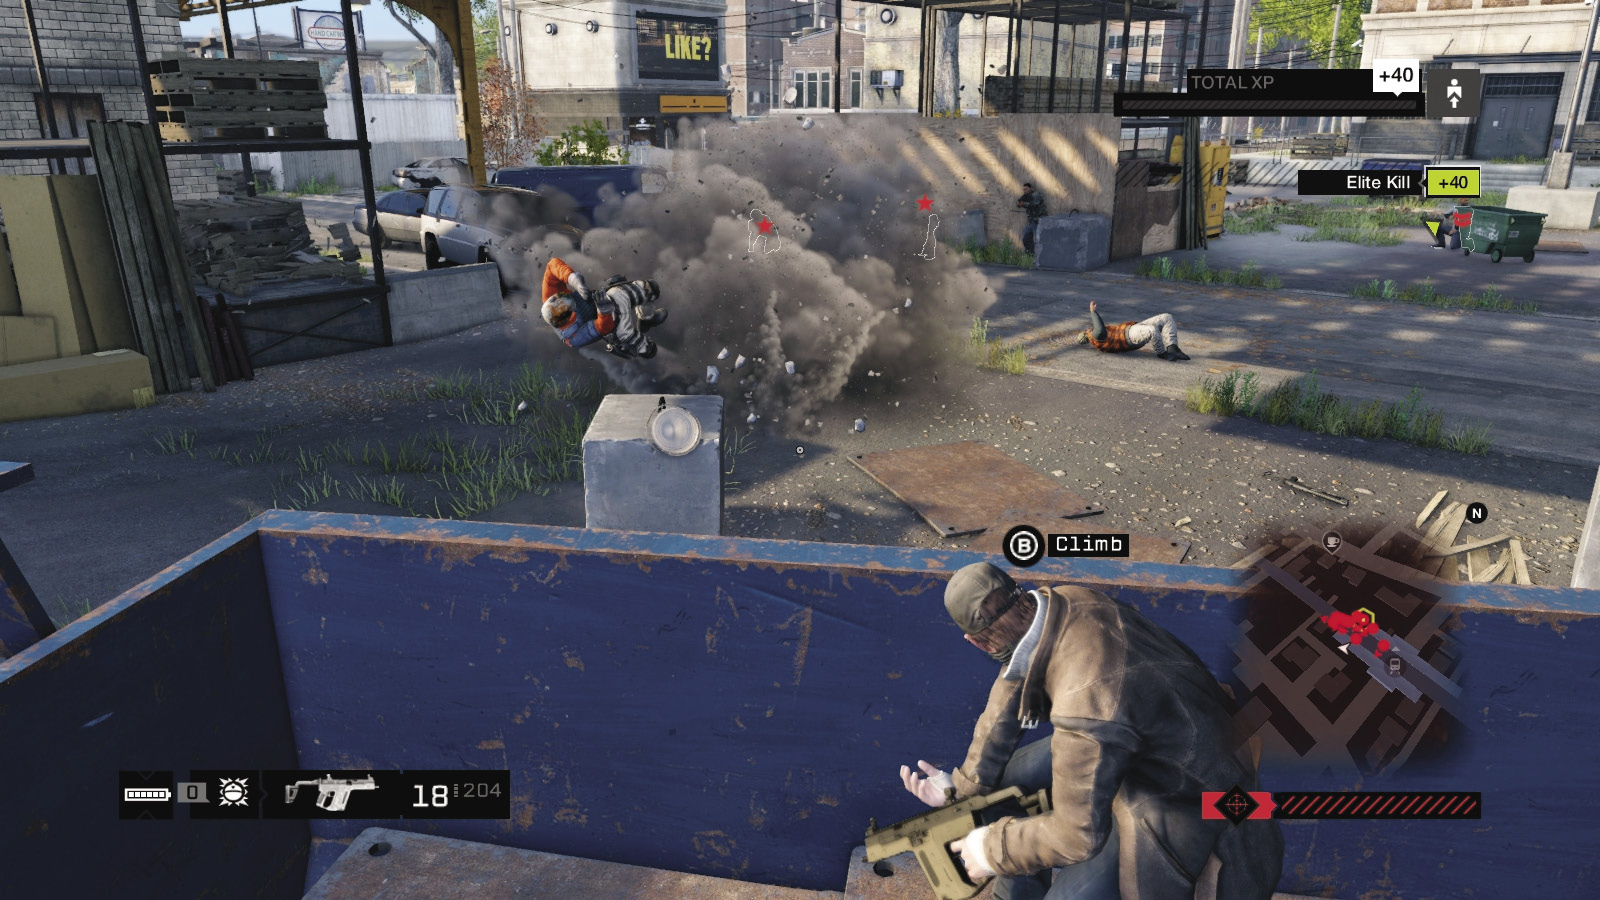
 Aggressive // Violence: Countless Viceroys You’ve Slain
Difficulty: 
It’s far better to tackle the target first, using the initial route mentioned (drop down from the station), than starting a firefight and hoping your target isn’t accidentally damaged. Attempt the following if you’re competent in your gunplay:
Lob lures to attract foes into the open before the gunfire erupts, which can help in stealthy takedowns.
Prowl the rooftop and metal shelvings using these areas as cover. With the height advantage, gun foes down (but watch for enemies climbing onto the shelving to thwart you).
There are many great sniping locations; pull a truck over to the garage south of the barbershop and climb onto the truck’s roof. You have views south to north into the yard. Fire away!
Just northeast of the demolished building to the west are two small corrugated white metal huts. Climb onto the roof of either and bring out your ranged weapons.
Pull a truck around to the lock-up garage to the northwest of the dirt alley, and use it to climb onto the garage overhang. Begin putting rounds into foes from here.
The train station steps and platform are great sniping locations.
There’s a white metal building on the yard’s northeast edge, next to the newsstand. Climb onto the roof of it from the road and begin firing at foes.
Park a truck near the L-train covered stairs to the southeast, then climb on the roof of the stairs and onto the roof of the station, or get onto the roof of the bar with a great view of the southern yard. Lob grenades and wreak havoc without much retaliation!