
Watch Dogs Guide INVESTIGATIONS /// EXCLUSIVE CONTRACTS
_SHUT DOWN
OBJECTIVES
|
 Reach the target location
 Eliminate all enemies
 Upload the virus to the laptop
 Defend the upload area
 Police are inbound. Escape them
LOCATION // MAP
Location / MAD MILE // NORTHWEST Plaza
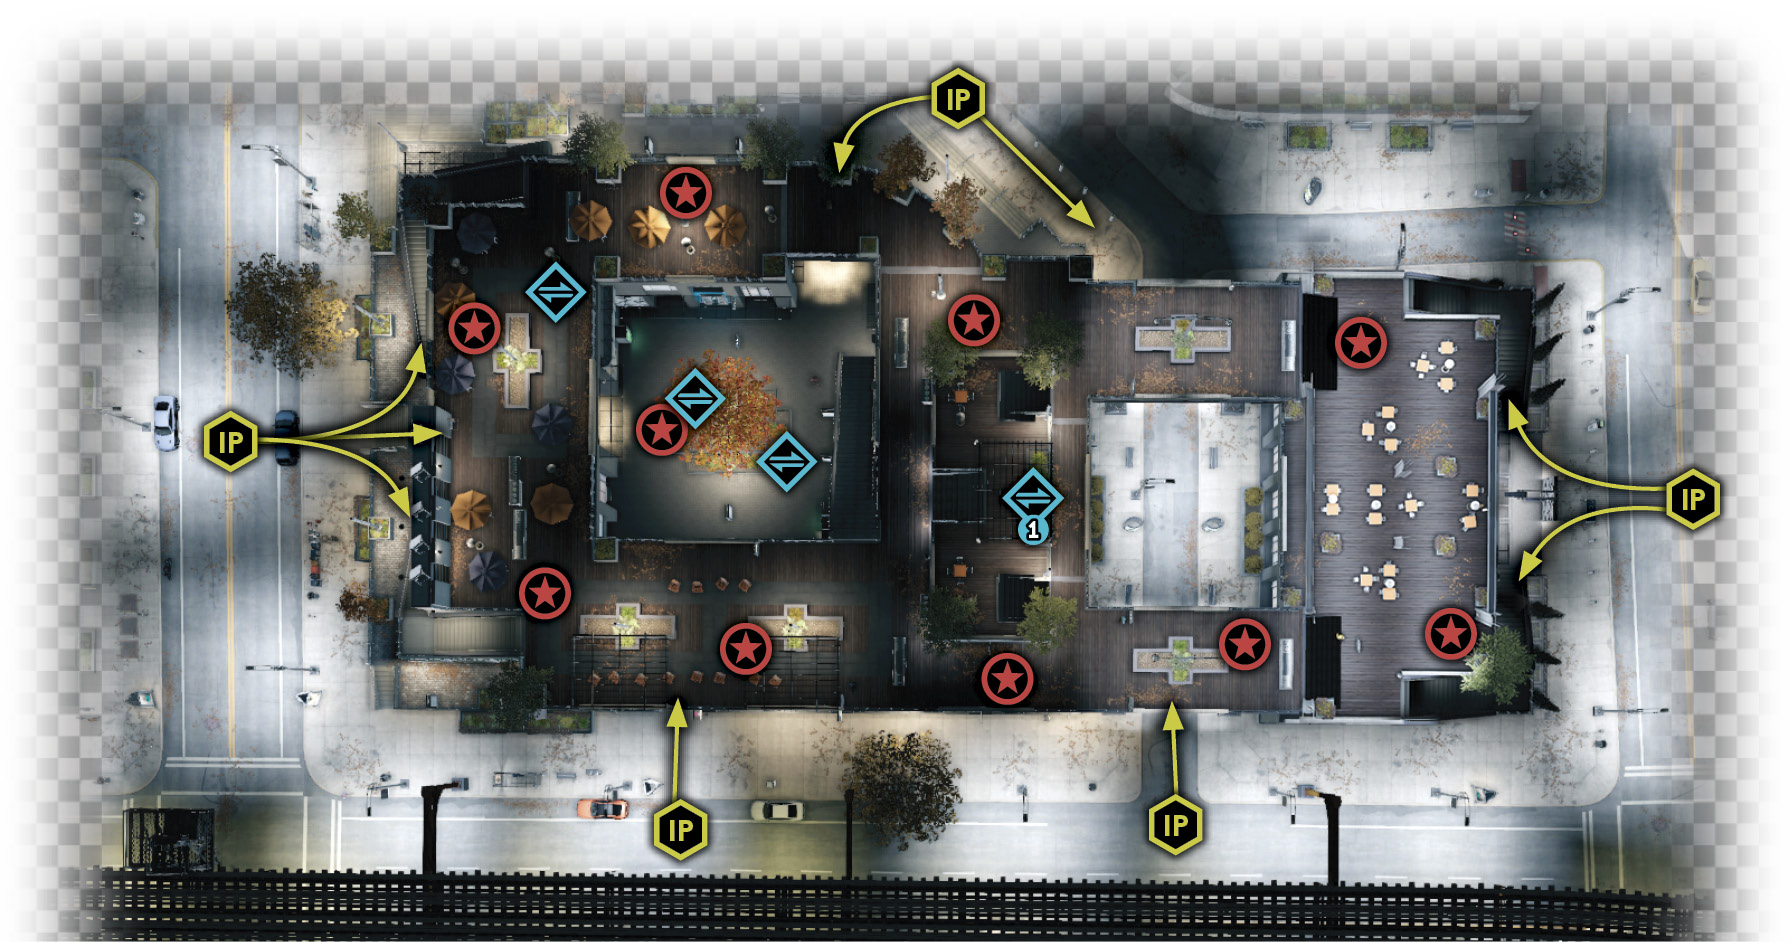
4.1 MEZZANINE MASSACRE
 Location / Mad Mile // Plaza, near Taylor Station (Northwest)
|
|
 Reach the target location
 Eliminate all enemies
 Infiltration
 Lethal Force Likely
 Melee Force Likely
Difficulty: 
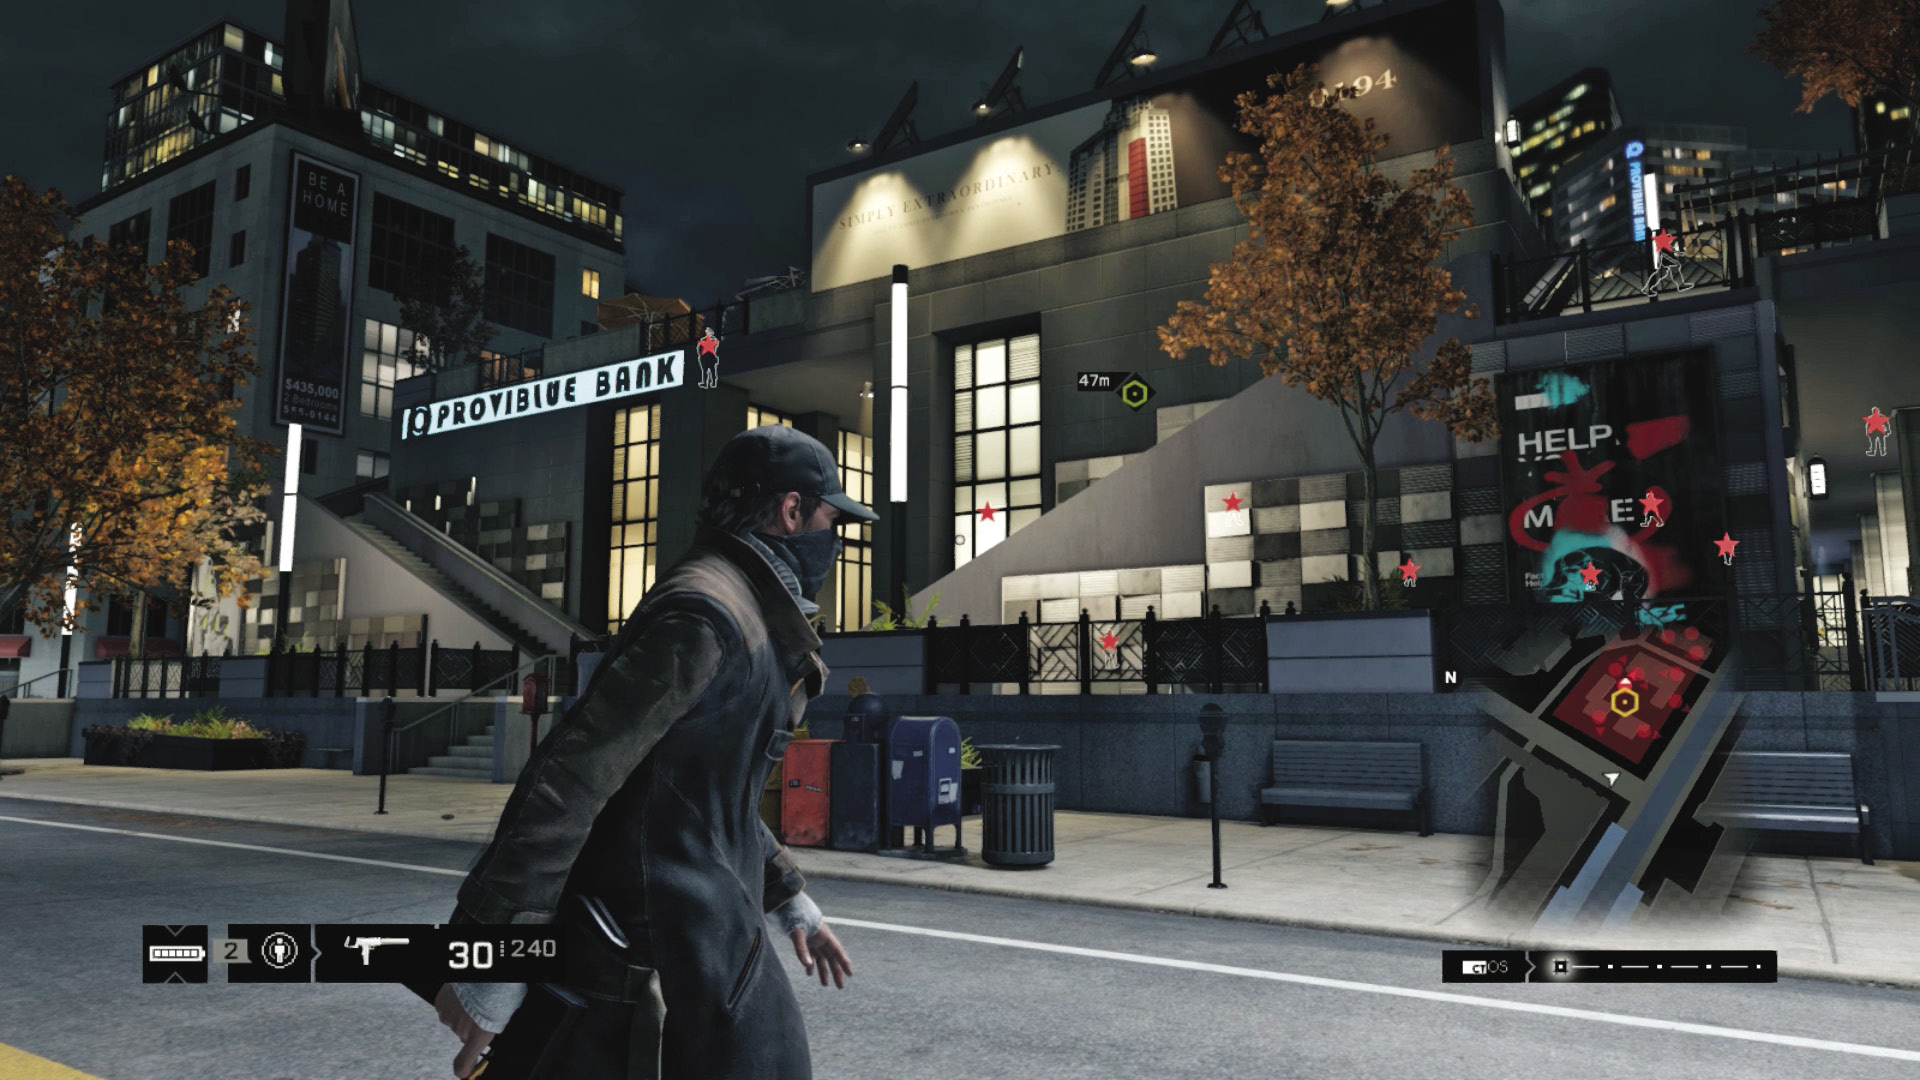
DedSec’s target—Umeni—thinks they can hide behind urban camouflage, but the hacker collective is on to them. Meanwhile you’re here to provide some muscle and stop the contractors while DedSec prepares an offering to show off their power. Begin by jogging across the road to the plaza and mezzanine to the north, where a group of Fixers are guarding a laptop.
Overview
Completion Points: Laptop computer, on the mezzanine area.
Dangers (First Wave): Nine Fixers (Veteran x9, Hidden Camera x1, no Shot-Callers).
Dangers (Second Wave): Four Fixers (Elite x2, Marksman x2, no Shot-Callers).
Dangers (Third Wave): Police vehicles (up to four) with 2 occupants in each (Gunmen and Veterans), plus police helicopter (Marksman) and up to 6 patrol officers (Gunmen and Veterans)
Insertion Points
A prolonged battle now takes place on the upper mezzanine of this plaza area. There are multiple points of entry, so it’s important to understand the structure and where you are in it:
Northwest and Southwest Steps to Upper West Mezzanine
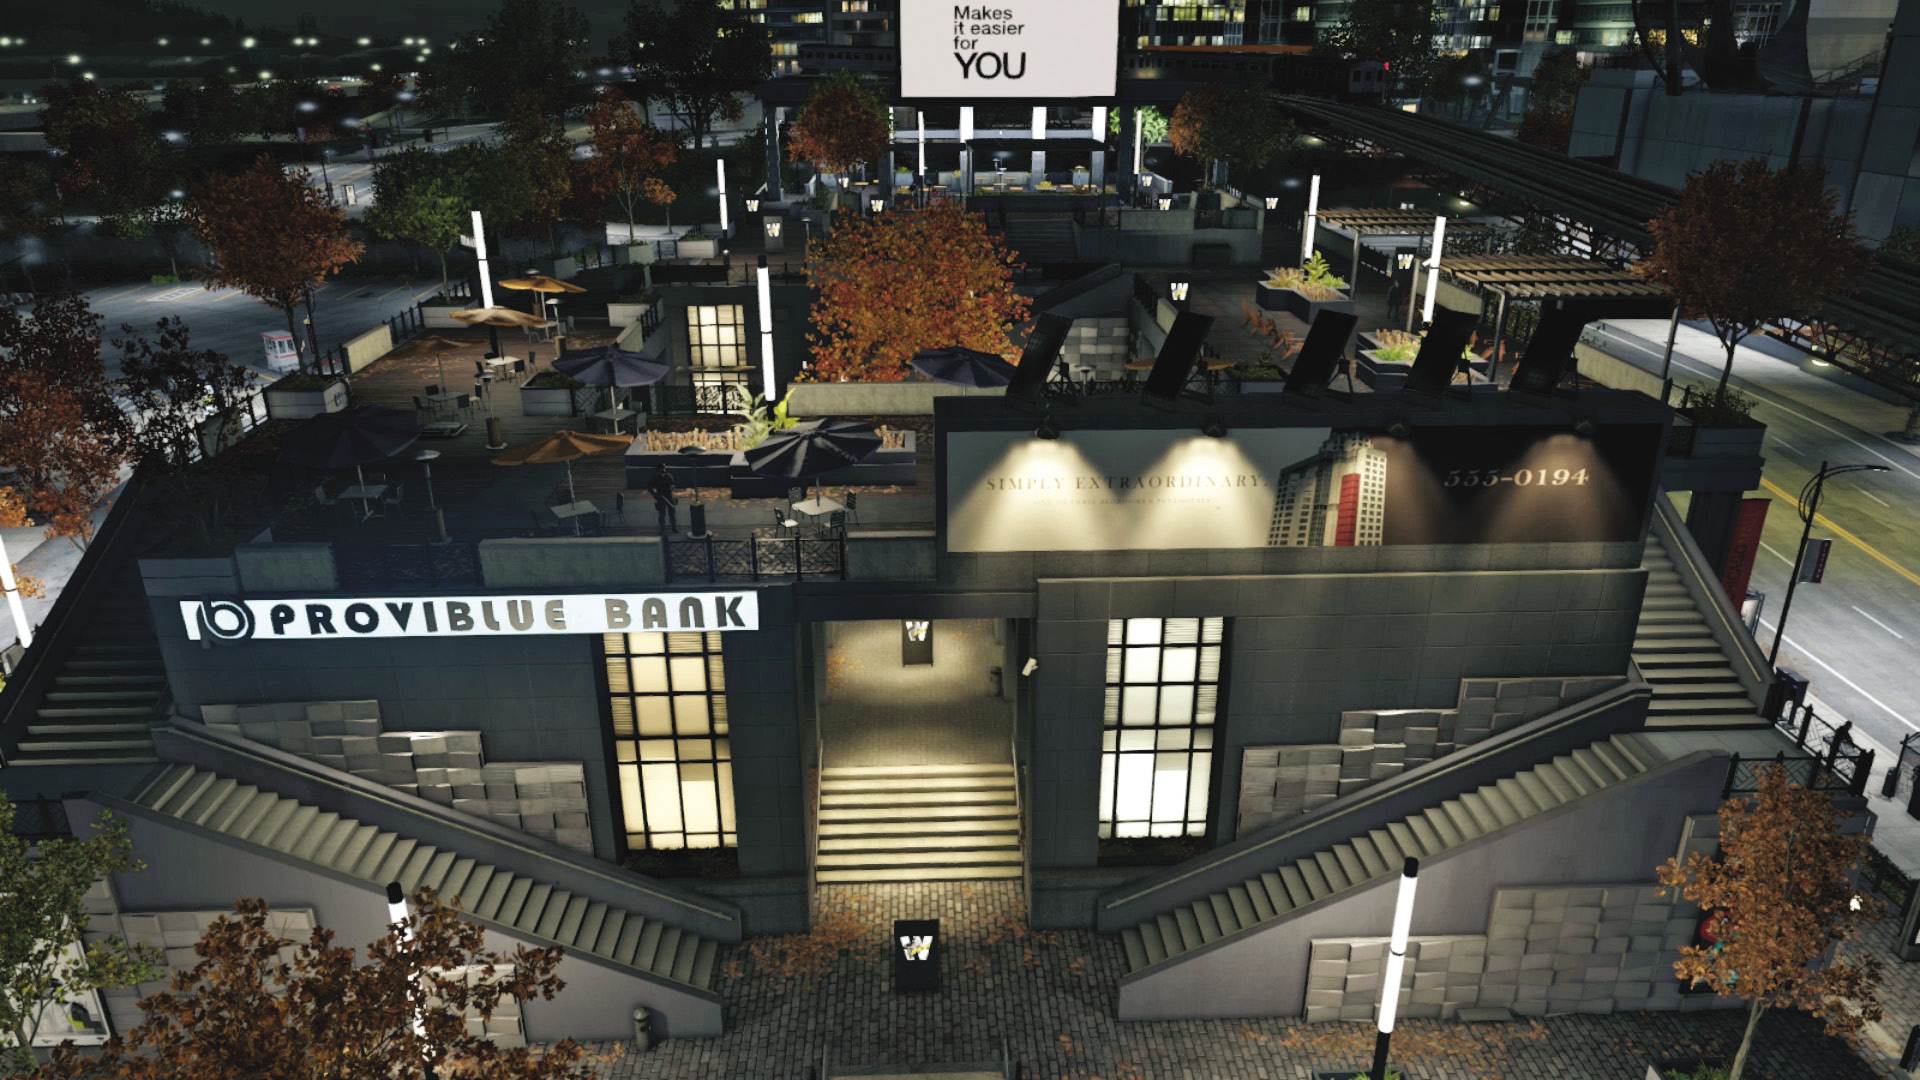
The northwest steps have a neon bank sign, and the southwest steps have a billboard above them. The steps are L-shaped and go around the corner of the structure. Use them as cover as you access cameras and learn the locations of all the Fixers in this area.
West Steps to Lower Courtyard
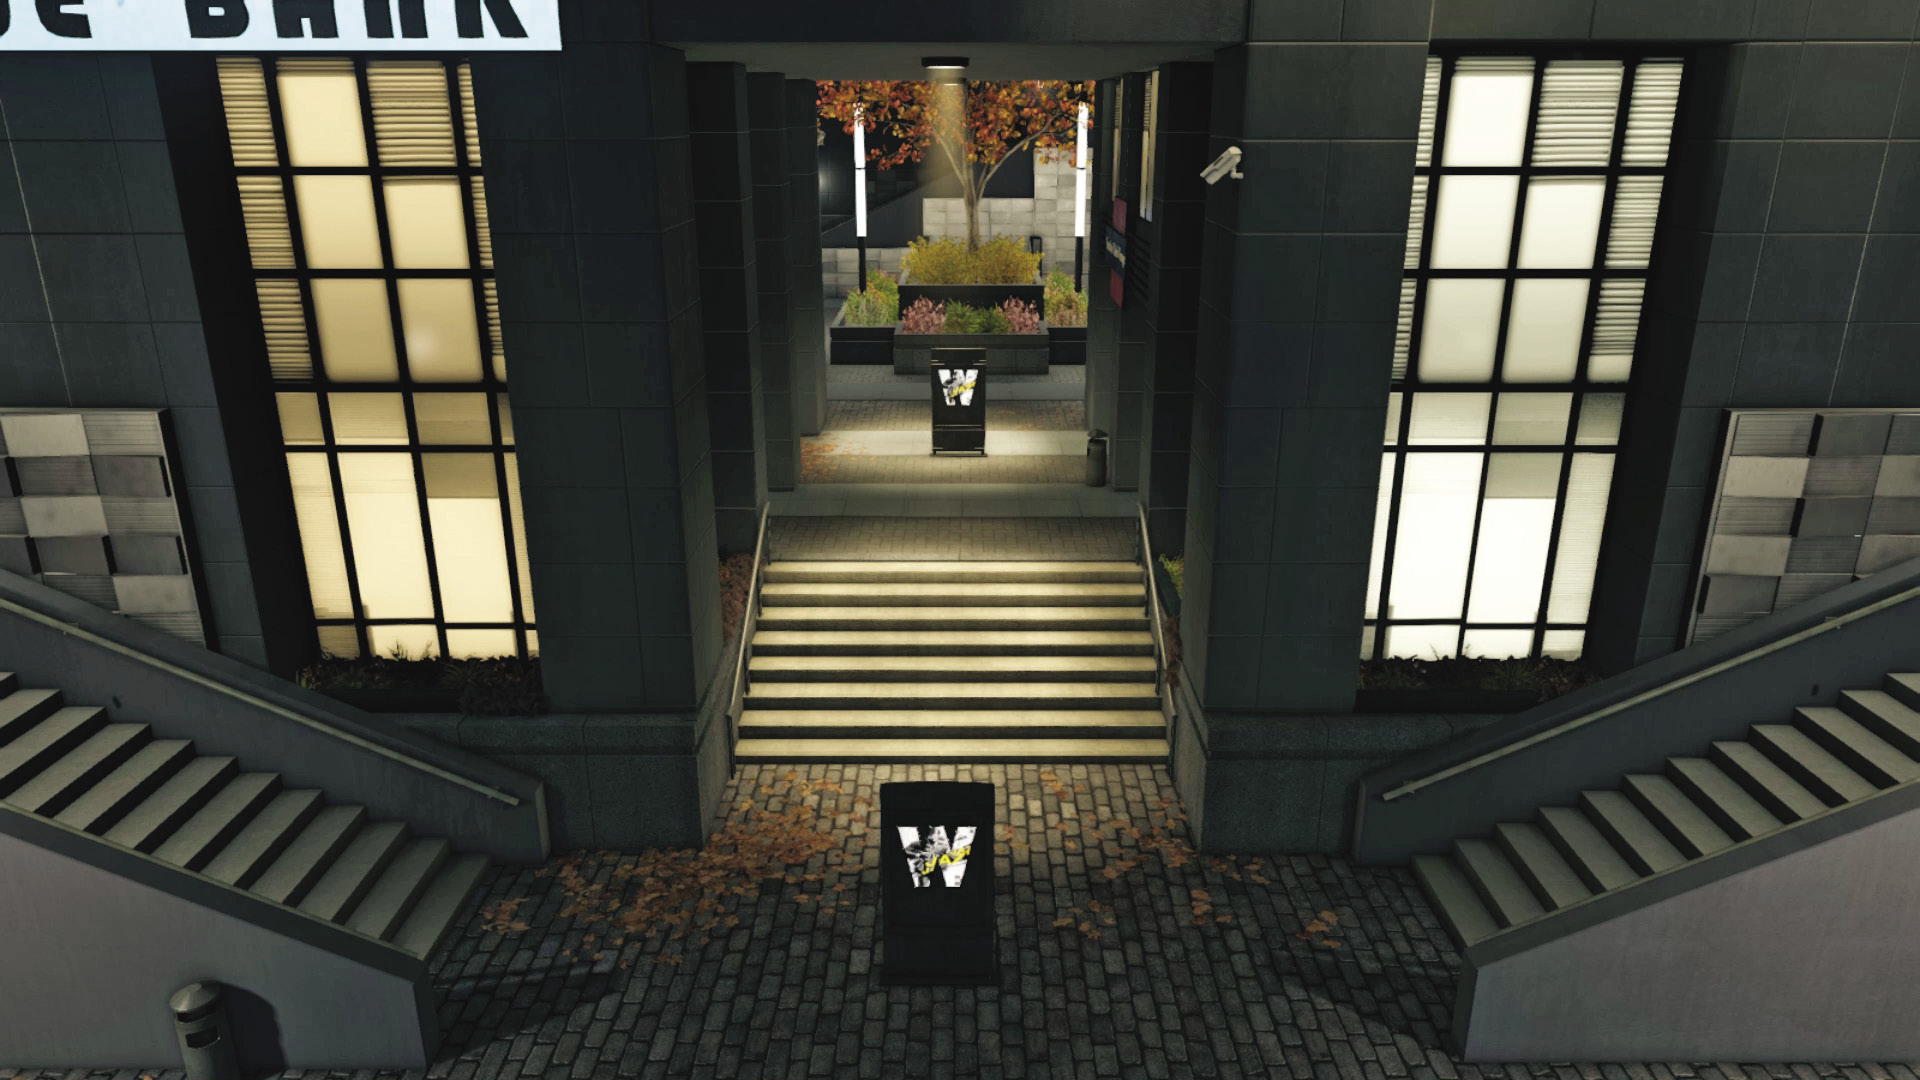
This ground entrance (after a small set of stairs) under the west mezzanine is at ground level and enables you to reach the central courtyard, where at least one foe is patrolling. Others tend to gravitate to here if a firefight begins. This is a good choice to stay, before you head up onto the mezzanine level, as you can use either set of stairs. Watch for foes outflanking you on the northwest and southwest steps, though.
South Lower Courtyard Access
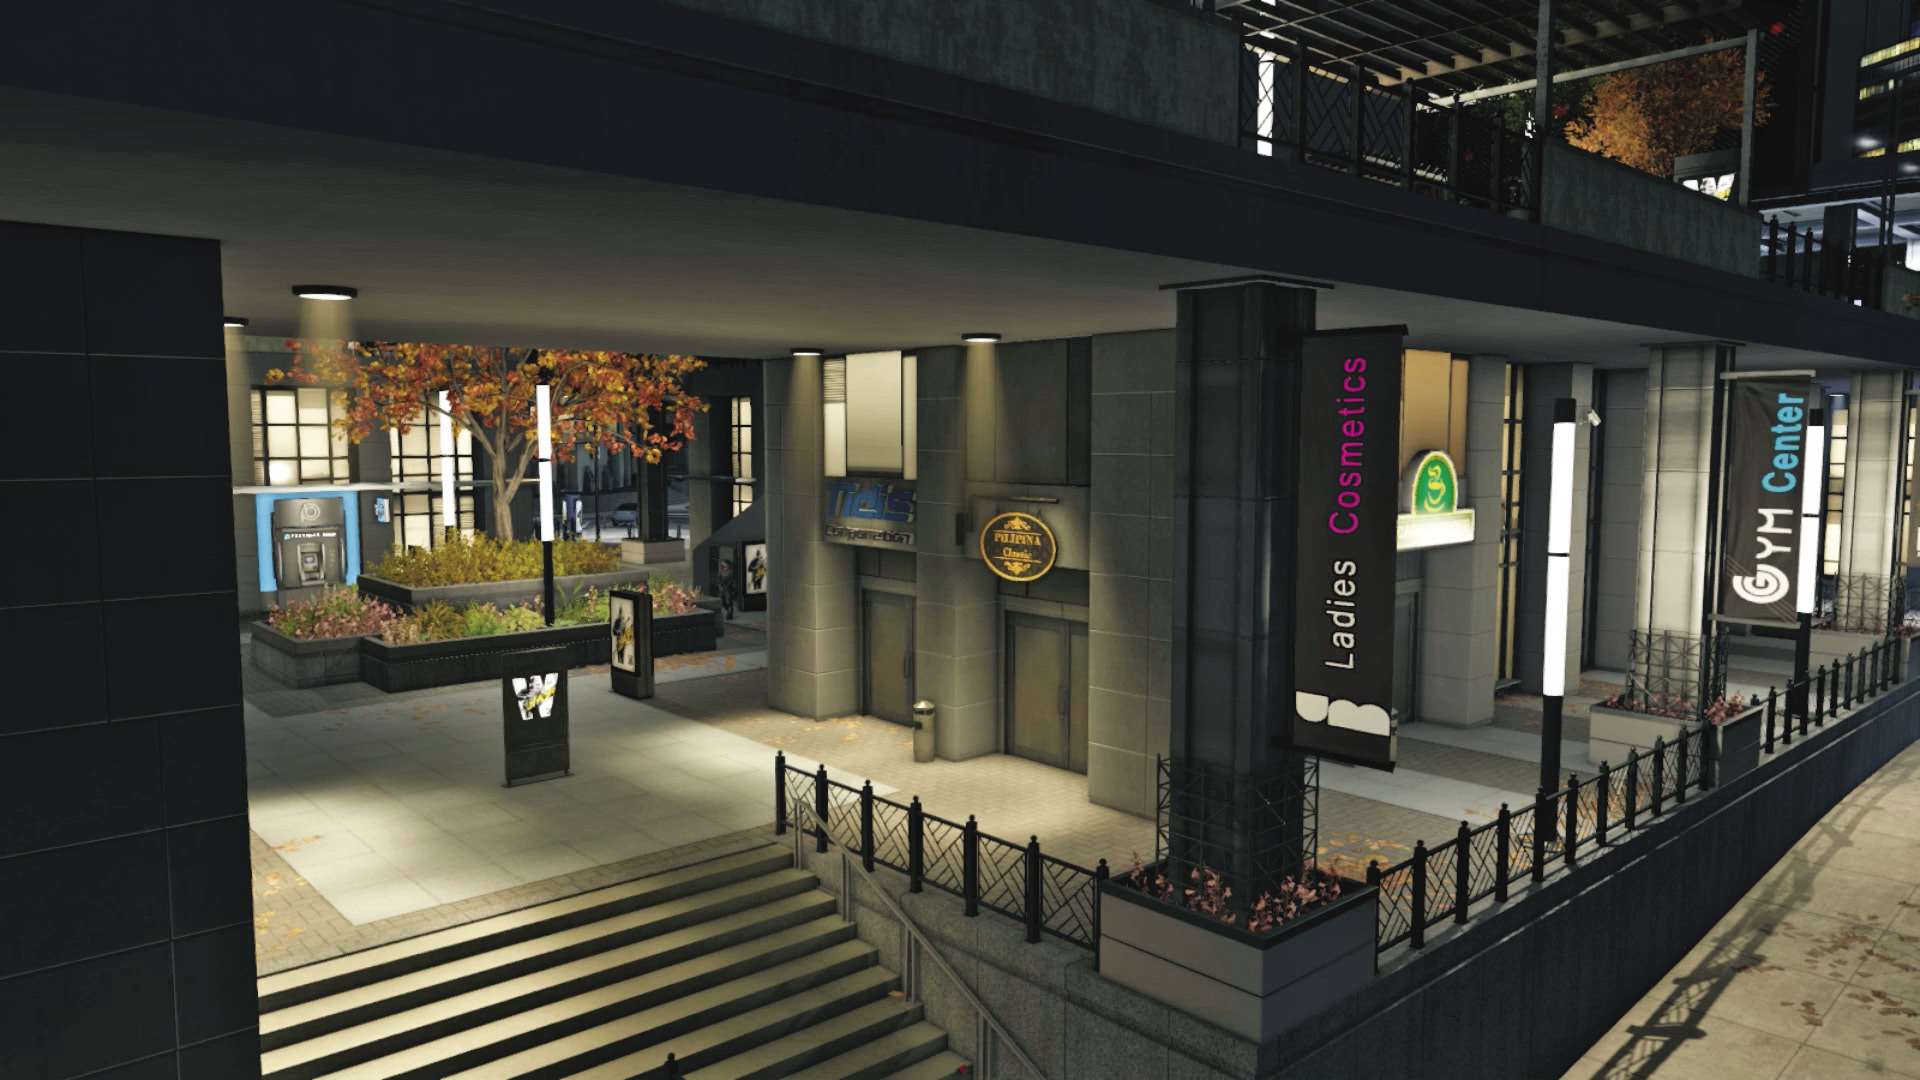
Of the two courtyard access areas, this is slightly more exposed, as you can’t see enemies using the stairs to the right (east) down from the mezzanine. Plus, the courtyard is completely surrounded by mezzanine balconies with foes on them, making this a tactical dead spot (literally).
North Lower Courtyard Access
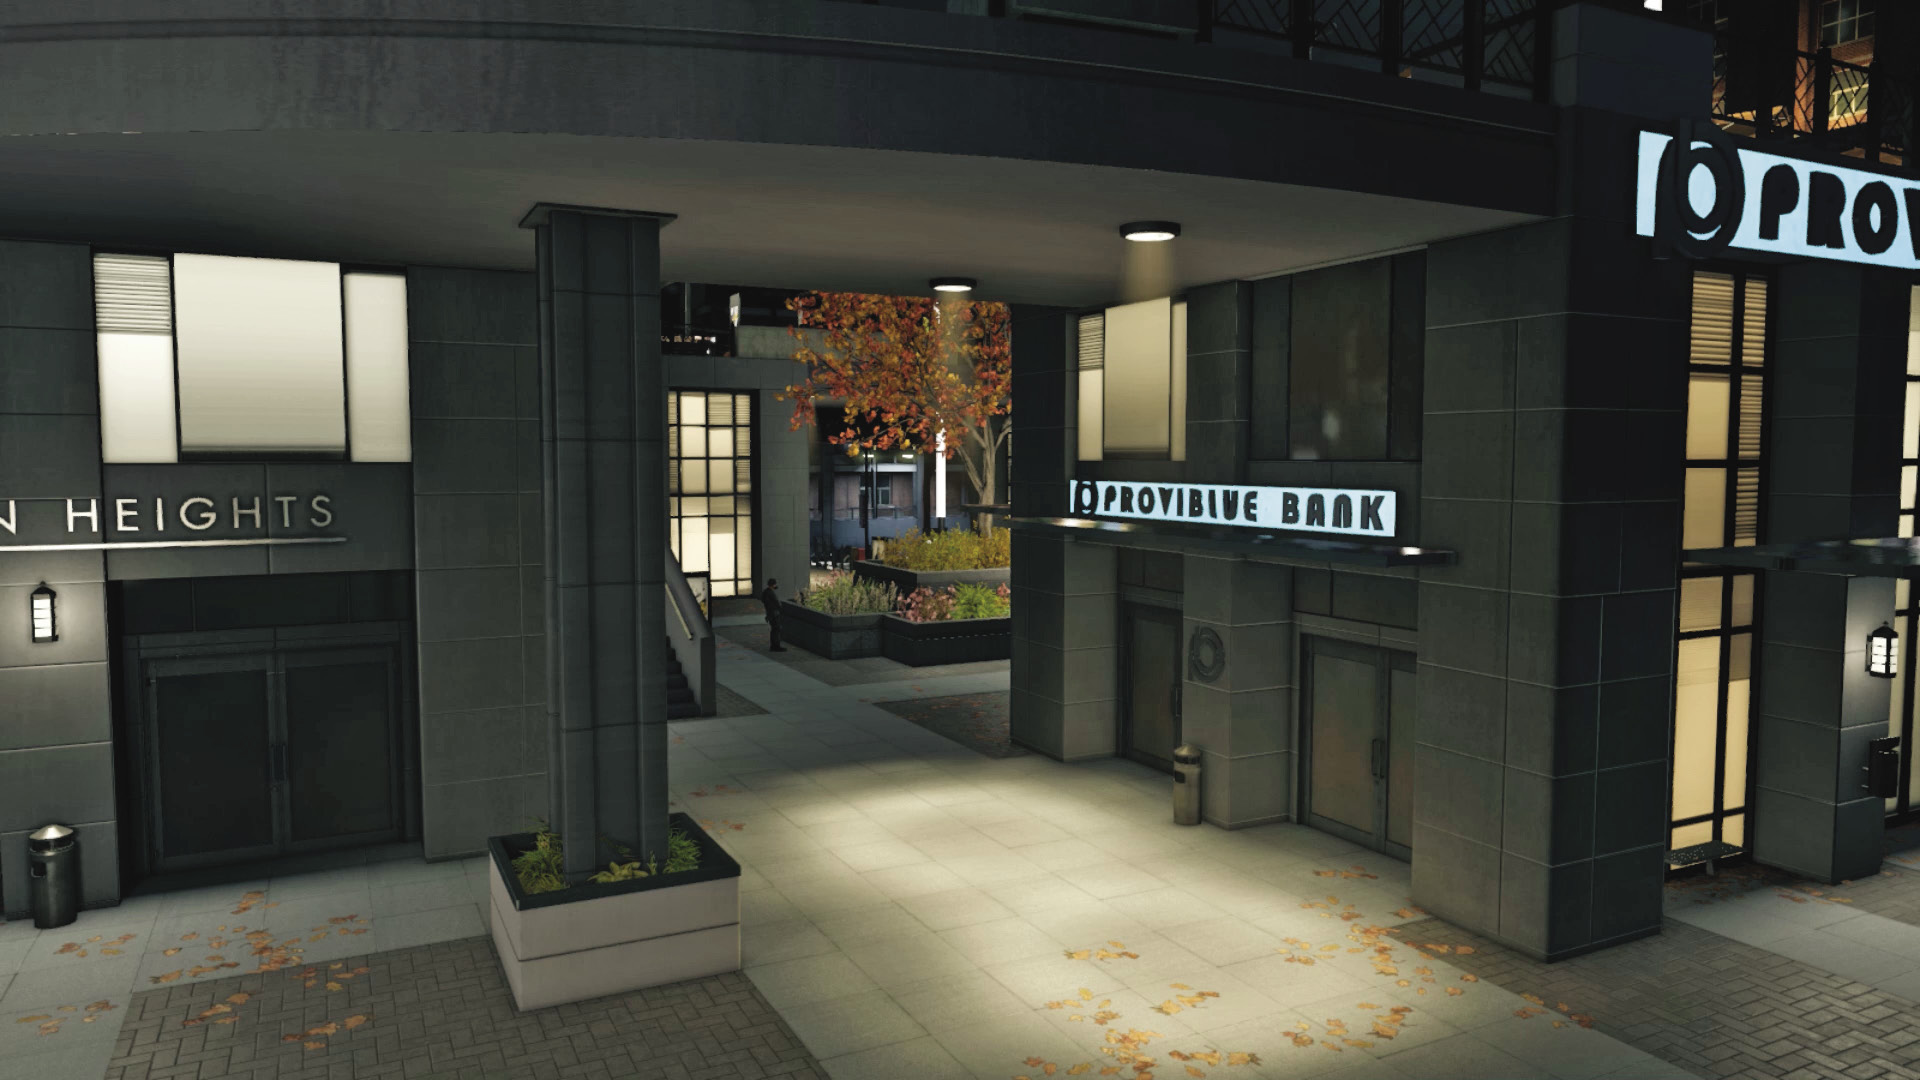
This provides good access to the courtyard and gives you a full view of enemies as they head down the central stairs from the upper balconies. You can prowl here and coax foes down; just watch for enemies using other stairwells and flanking you.
South and North Road Entrances
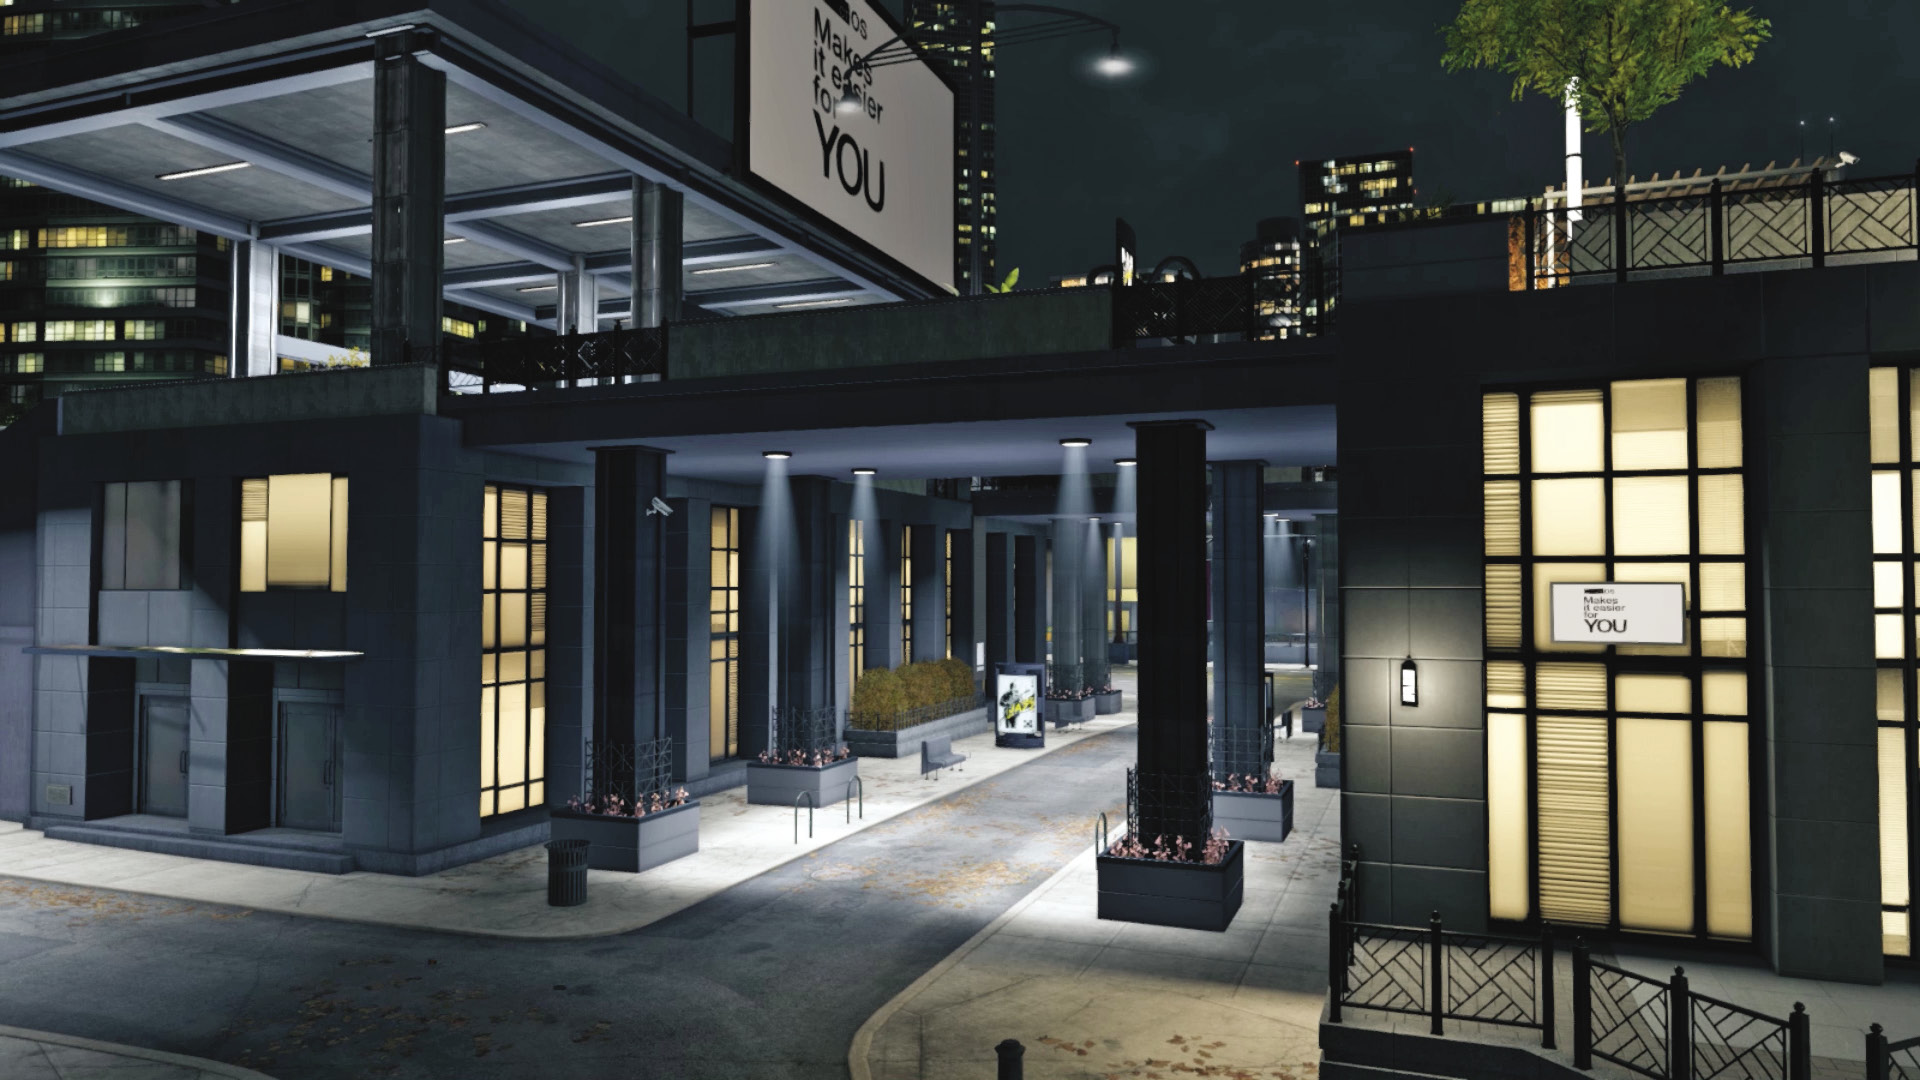
There’s no real reason to use this area, except to park a vehicle in a place you can easily reach; there’s no mezzanine access, and foes can fire down on you from above. There are blockers to the south, spikes at the parking lot to the north, and more blockers (one set at each end of the side road northeast and northwest); these can slow down cop cars during the later stages of the mission if you raise them early.
Northeast and Southeast Steps to Upper East Mezzanine
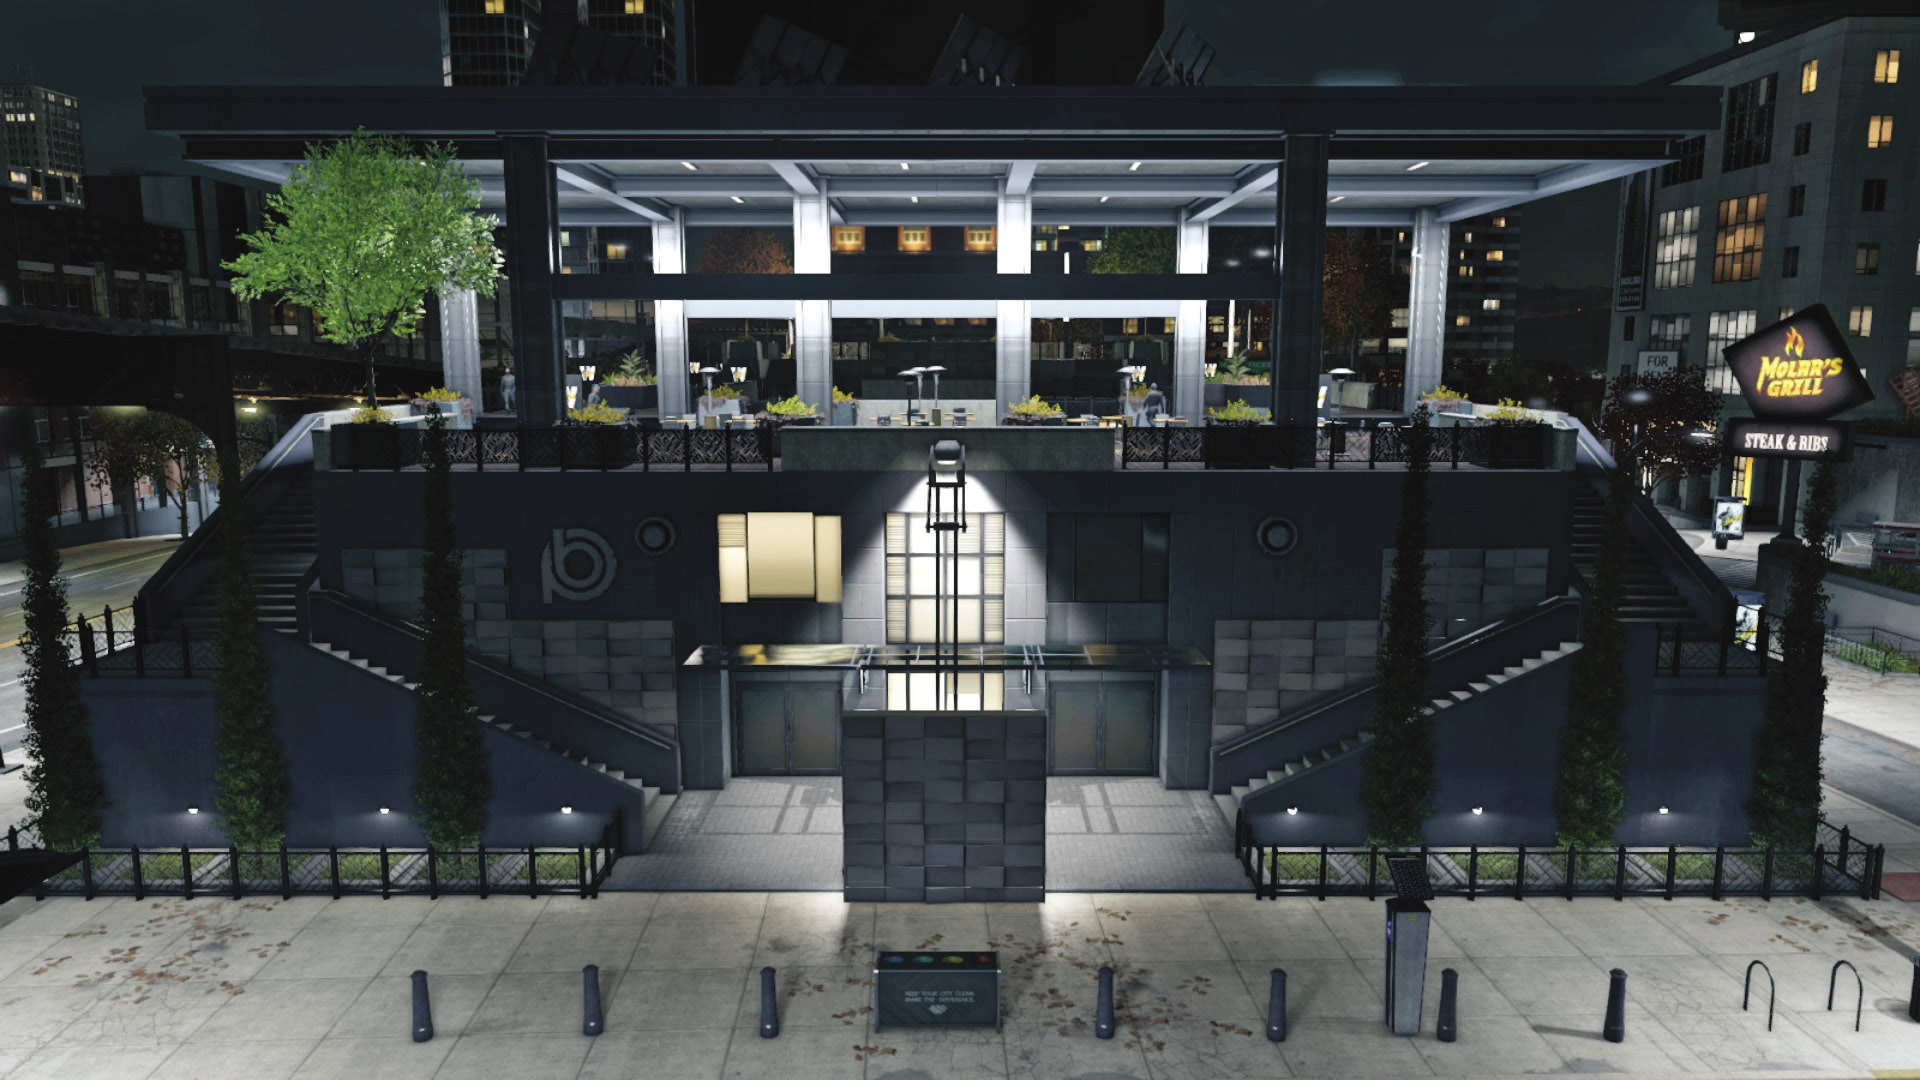
Just like the corner stairs at the plaza’s opposite end, this offers access to the mezzanine and is slightly closer to the central area with the computer you eventually hack. The northeast steps have a circular vent, and the southwest steps have a metal bank sign above them. The steps are L-shaped; use them as cover and possibly as an escape route (though cops congregate at the bottom).
Upper Mezzanine
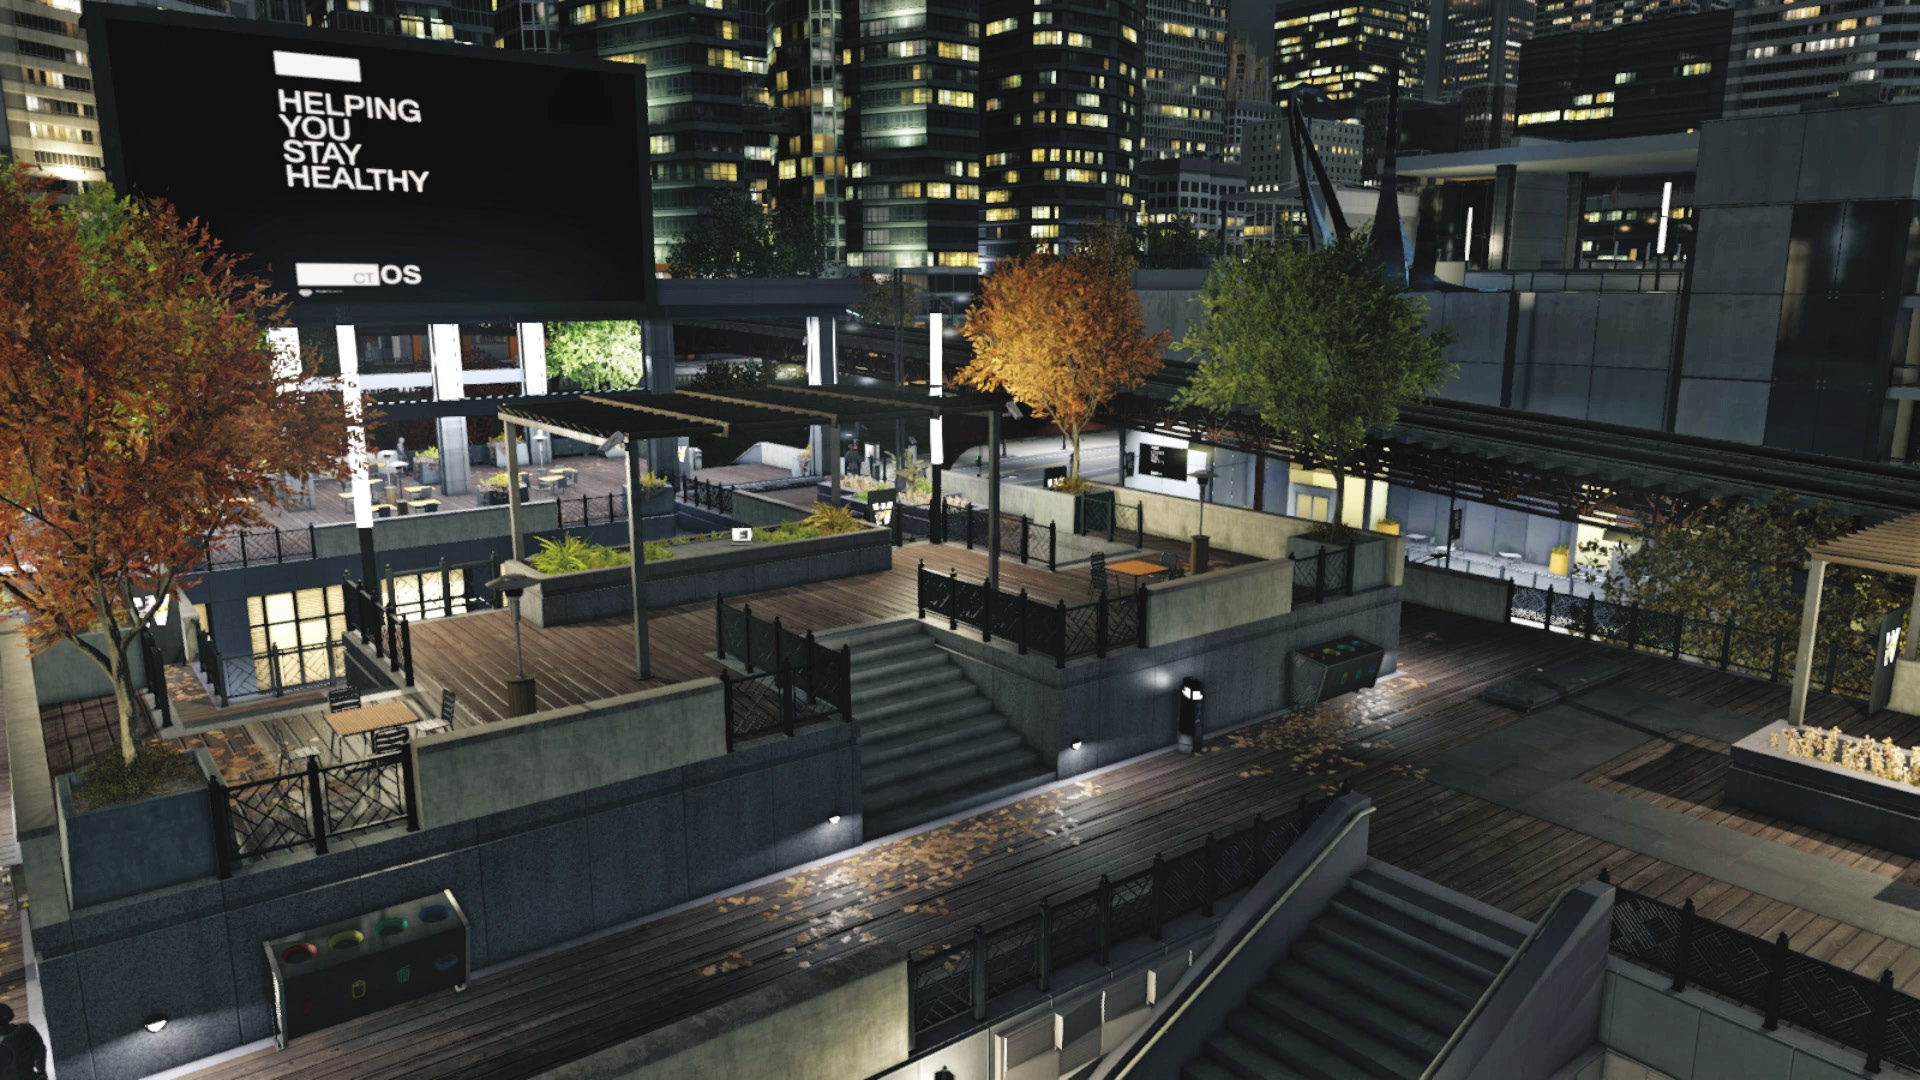
Think of the mezzanine as three separate areas running from east to west. The western deck has two protectors, numerous cameras, and balcony access around the courtyard below. The central deck is raised with the computer to hack and is connected to two balconies overlooking the north-south road. The eastern deck is covered and a little wider than the western one, with numerous pillars and a few planters to hide behind as well as two protectors to raise.
Progression Plans
There are three separate battles to wage in this open-air mezzanine; your first operation concerns the Fixers that are already guarding the mezzanine area you’re about to infiltrate. Remember your objective is to eliminate all enemies, so violence is mandatory. Dispatching your foes can involve stealth or slaughter:
 Aggressive // Stealth: Sneaking in for a Shutdown
 Difficulty:
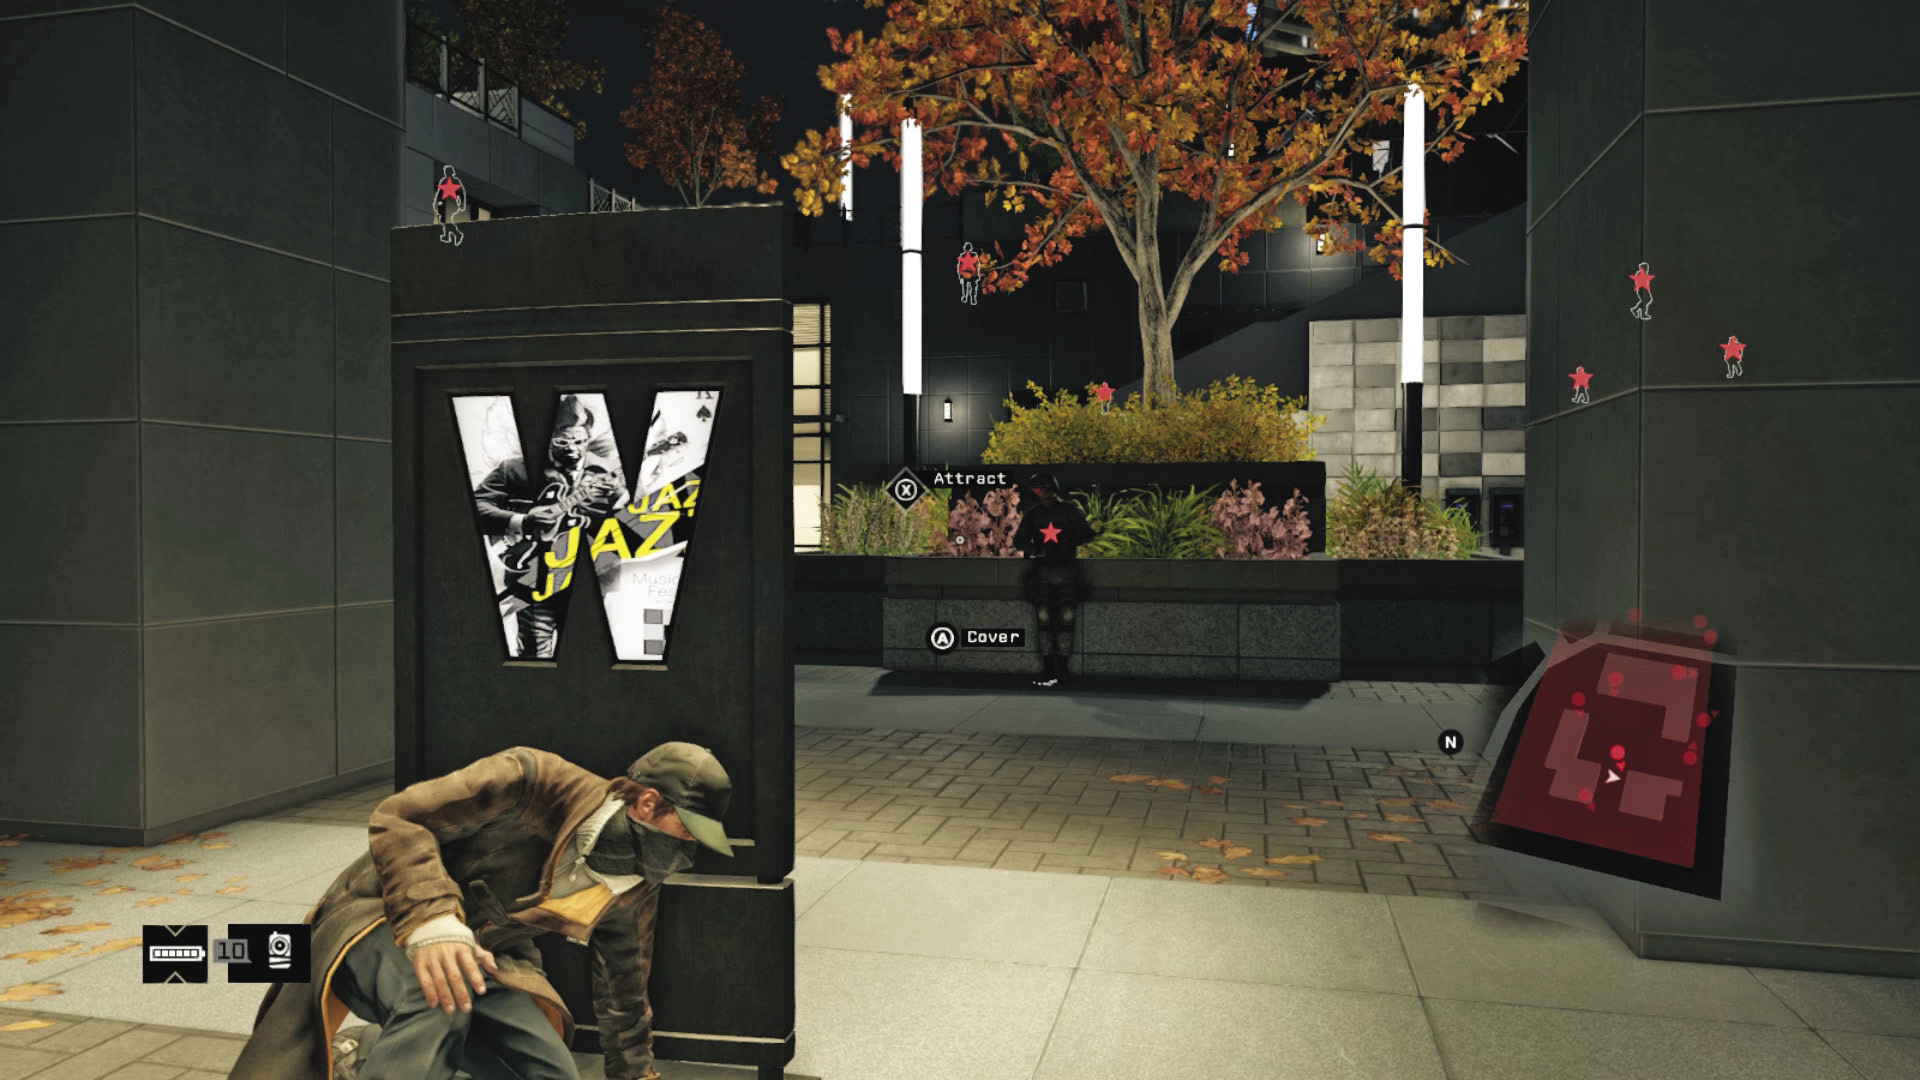
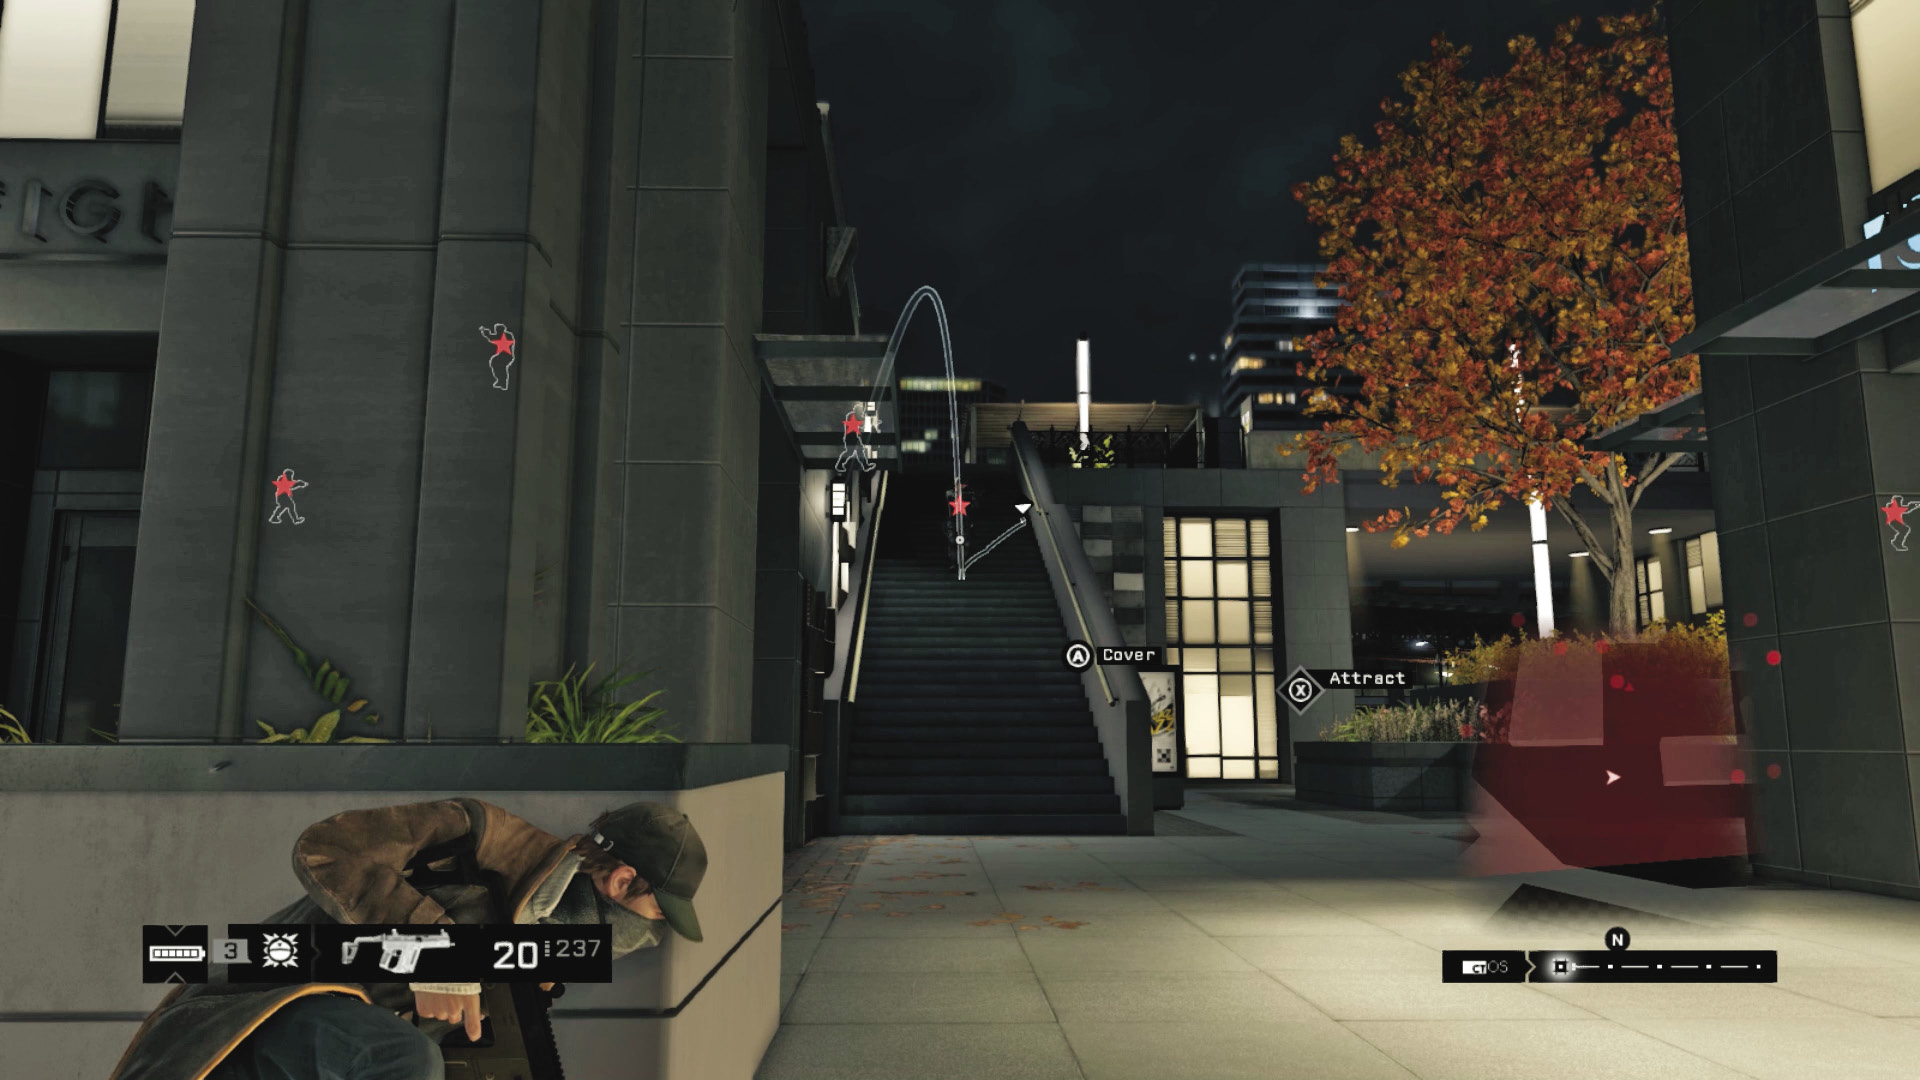
It’s best to attempt a stealthy takedown for as long as possible so that you don’t have all nine enemies outflanking you. Begin in the lower courtyard area; approach from one of the openings and optionally use the smartphone on the central planter to attract a foe over to it; sneak up and baton him. Then check to see if any foes have seen your antics. If they have, lurk here and grab them, or use lures to coax them outside where the patrolling foes up on the mezzanine can’t see you. Remove all ground threats first.
Bring out your smartphone and access the cameras, flitting to all the ones above the mezzanine so you can easily mark the eight remaining Fixers. At this point, it’s worth opening any protectors (there are usually two on the east and two on the west balconies) so you have more cover options, but you don’t need to raise protectors while you’re in danger. Then choose one of the corner stairs and climb to the top.
In this example, we used the northwest stairs, allowing us onto the covered balcony, where we easily neutralized the next Fixer as he walked by the top of the steps. If a foe is alerted by your takedowns but hasn’t started firing, or if you see a patrolling foe you can’t get behind, simply scurry back down the steps and up the ones opposite. This enables you to neutralize the two or three foes in the outer balcony.
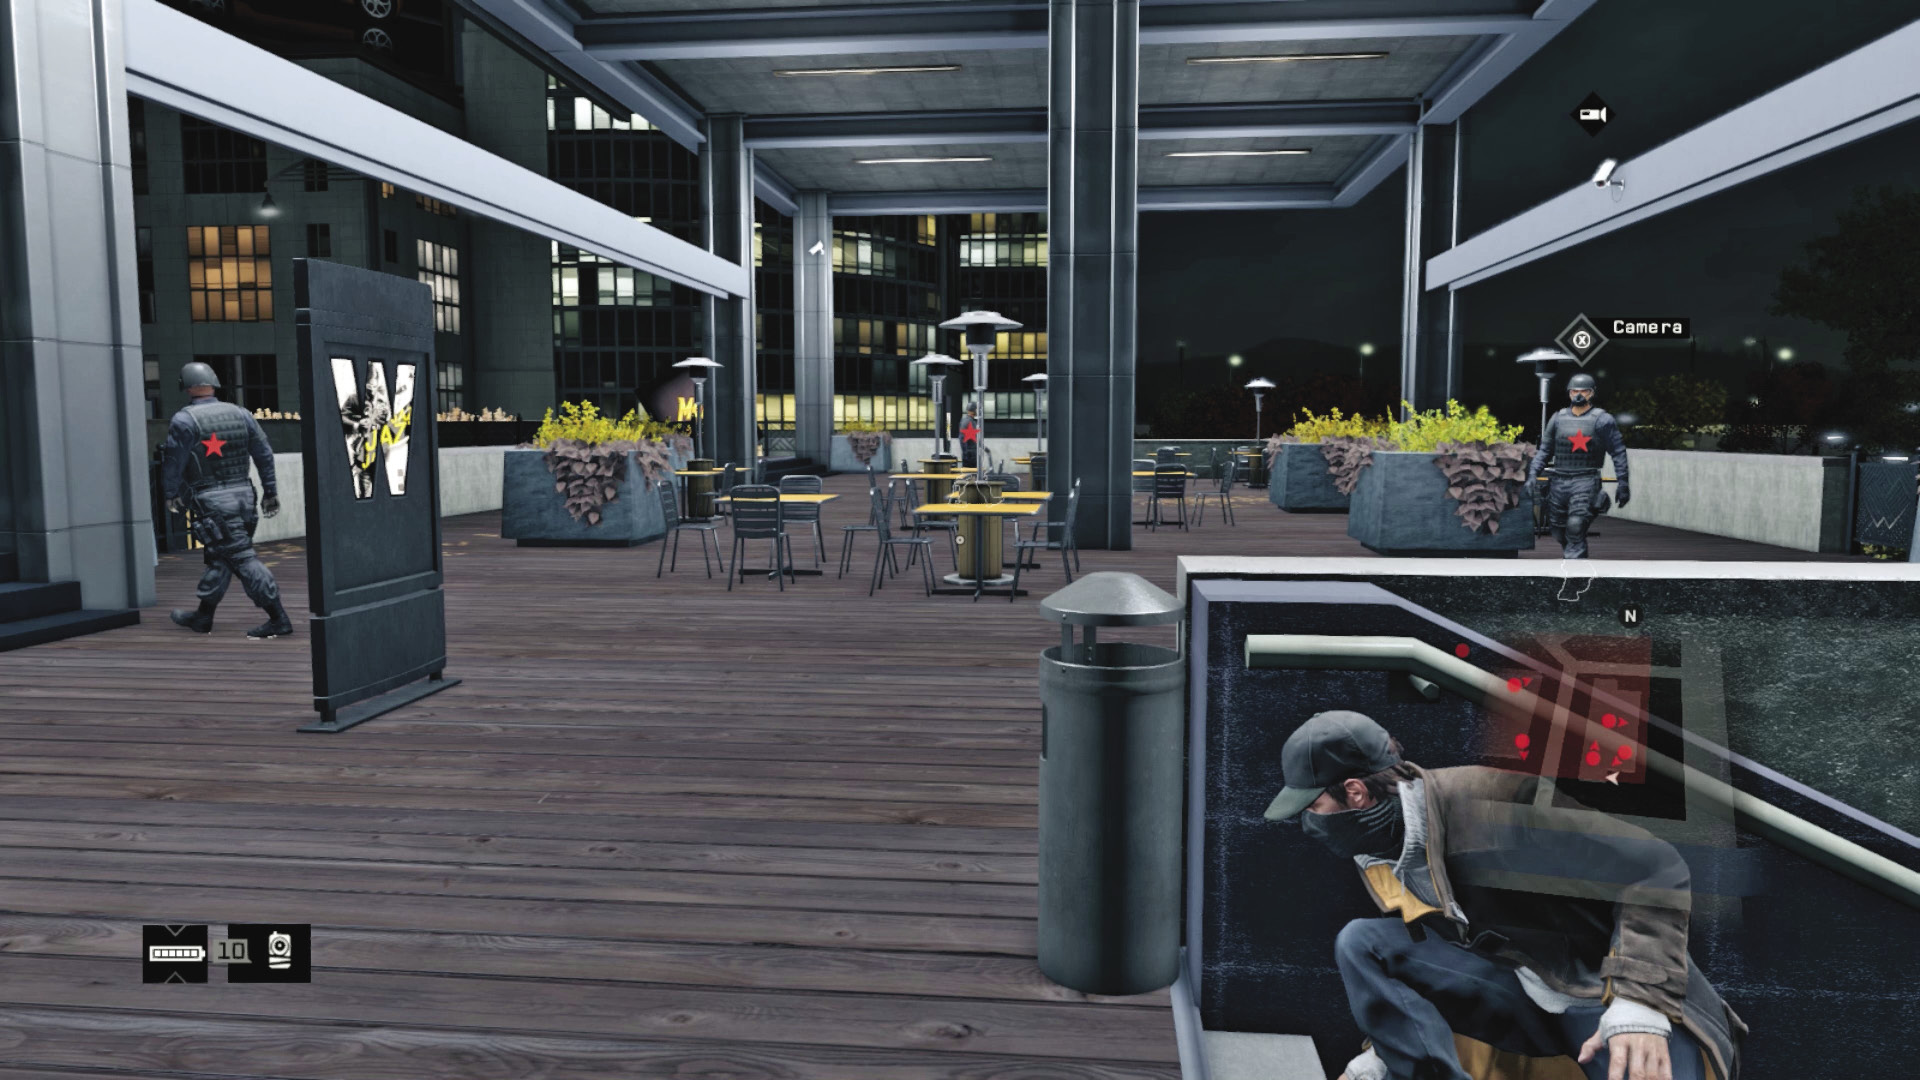
With two or three foes from the outer balcony at one end of the mezzanine dispatched, descend the steps and run around the perimeter to the opposite stairs (in this example, the ones to the east, near the starting point). Head up here, and pounce on the two or three foes walking around. Now you should have only two or three foes in the central part of the mezzanine left to worry about.
With only a few foes left milling about the middle, you can afford to bring out your weapons if you want. But otherwise, use the large number of planters as cover, step out, grab, and neutralize. Or you can blow up the junction box near the raised central area and take down foes that way. Don’t be afraid to run around to the opposite balcony to track and take down a foe instead of rushing straight for him; enemies that don’t see you won’t be prone to firing and alerting the others! When all foes have been neutralized, your objective updates.
 Aggressive // Smart: Utilizing What’s Around
 Difficulty:
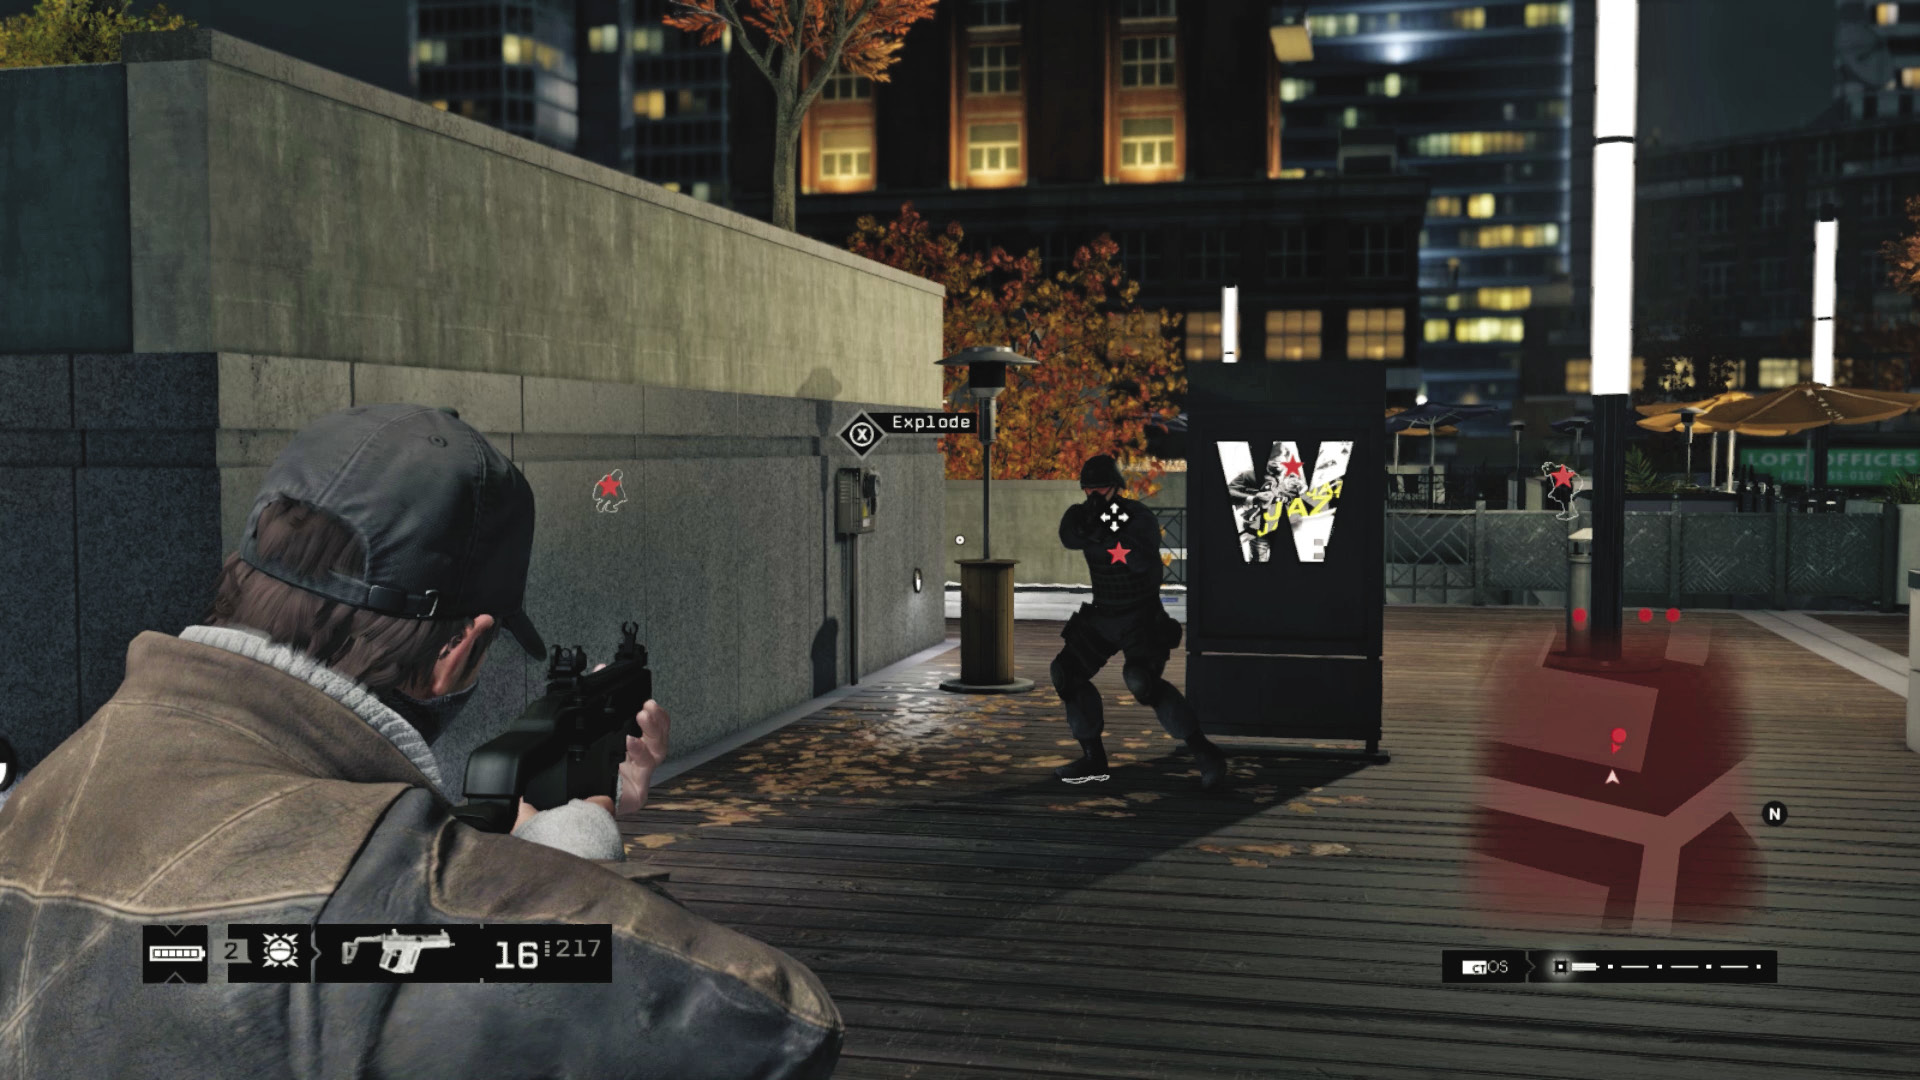
Aside from the cameras, the phones to attract foes to on the lower and upper planters, and a couple of junction boxes, only the protectors really help your cause, as you can use them as cover and to confuse a foe and cause them to inspect the area. They are also helpful during subsequent battles if you need extra protection, though lobbing grenades with them raised also means the enemies have protection too. If you’re using your smarts, you’ll tag a couple foes with an exploding junction box or make sure they are too busy inspecting a protector to notice you sneaking up on them.
 Aggressive // Violence: Going to Town
 Difficulty:
You might want to forgo all this sneaking around, but be warned that additional waves of foes (and a forthcoming blackout) mean you might want to keep the most helpful of your offensive equipment for the second wave. However, there are plenty of waves to take out the enemies using guns and grenades:
Even though it’s usually more dangerous, you can stay at ground level, close to the entrance to the central planter, and drop the foe there. Then wait and decapitate the enemies moving down the steps to reach you. Watch your sides, as foes use the stairs on either side of you. Let the Fixers come to you.
Shotguns are quite effective if you storm the mezzanine; this time you definitely do want to be working from one corner to the other, clearing foes so there are only enemies ahead of you. The minimap is helpful when pinpointing foes trying to flank you.
The heat lamps near the umbrellas make great impromptu explosive devices. Shoot the junction boxes, too, or lob grenades to chain an explosion if two enemies are close together.
Sniping is feasible here, especially if you head up from a corner stairwell, tagging foes that are far away and then changing position to another corner stairwell or the scissor lift. Sniper rifles are especially problematic when foes outflank you, so check your minimap as often as your aim.
You could move to the laptop immediately, but you can’t upload the virus until you remove all foes; the damage the fencing takes during your combat up here means you have less protection during the next wave.
4.2 A VIRUS AND VIOLENCE
 Location / Mad Mile // Plaza, near Taylor Station (Northwest)
|
|
 Upload the virus to the laptop
 Defend the upload area
 Police are inbound. Escape them
 Infiltration
 Data Hack
 Escape
 Lethal Force Likely
 Melee Force Likely
Difficulty: 
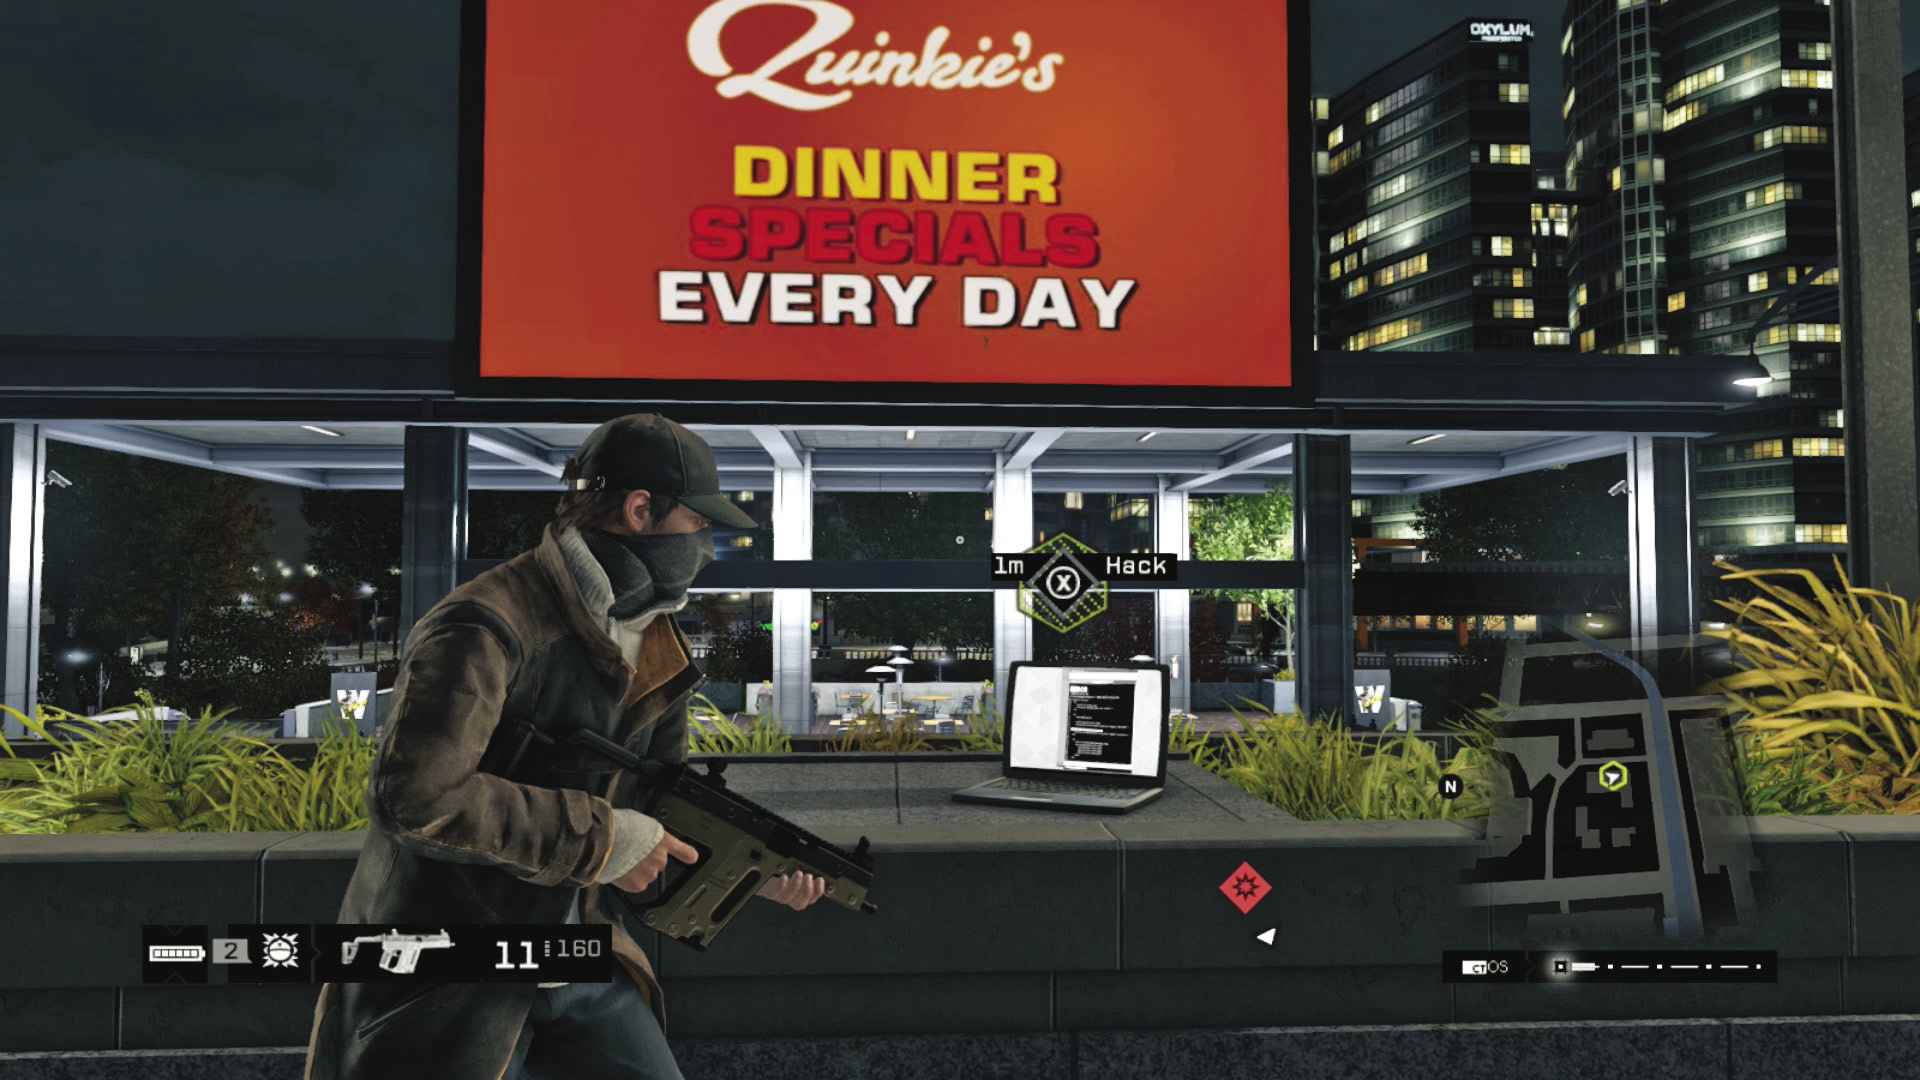
Your goal is to reach this laptop on the upper planter of the raised central deck and begin to upload a virus to it. However, as soon as this begins, the second wave of enemies arrives. Increase your survival chances by prepping for their arrival:
 Passive: Prepping for the Upload
 Difficulty:
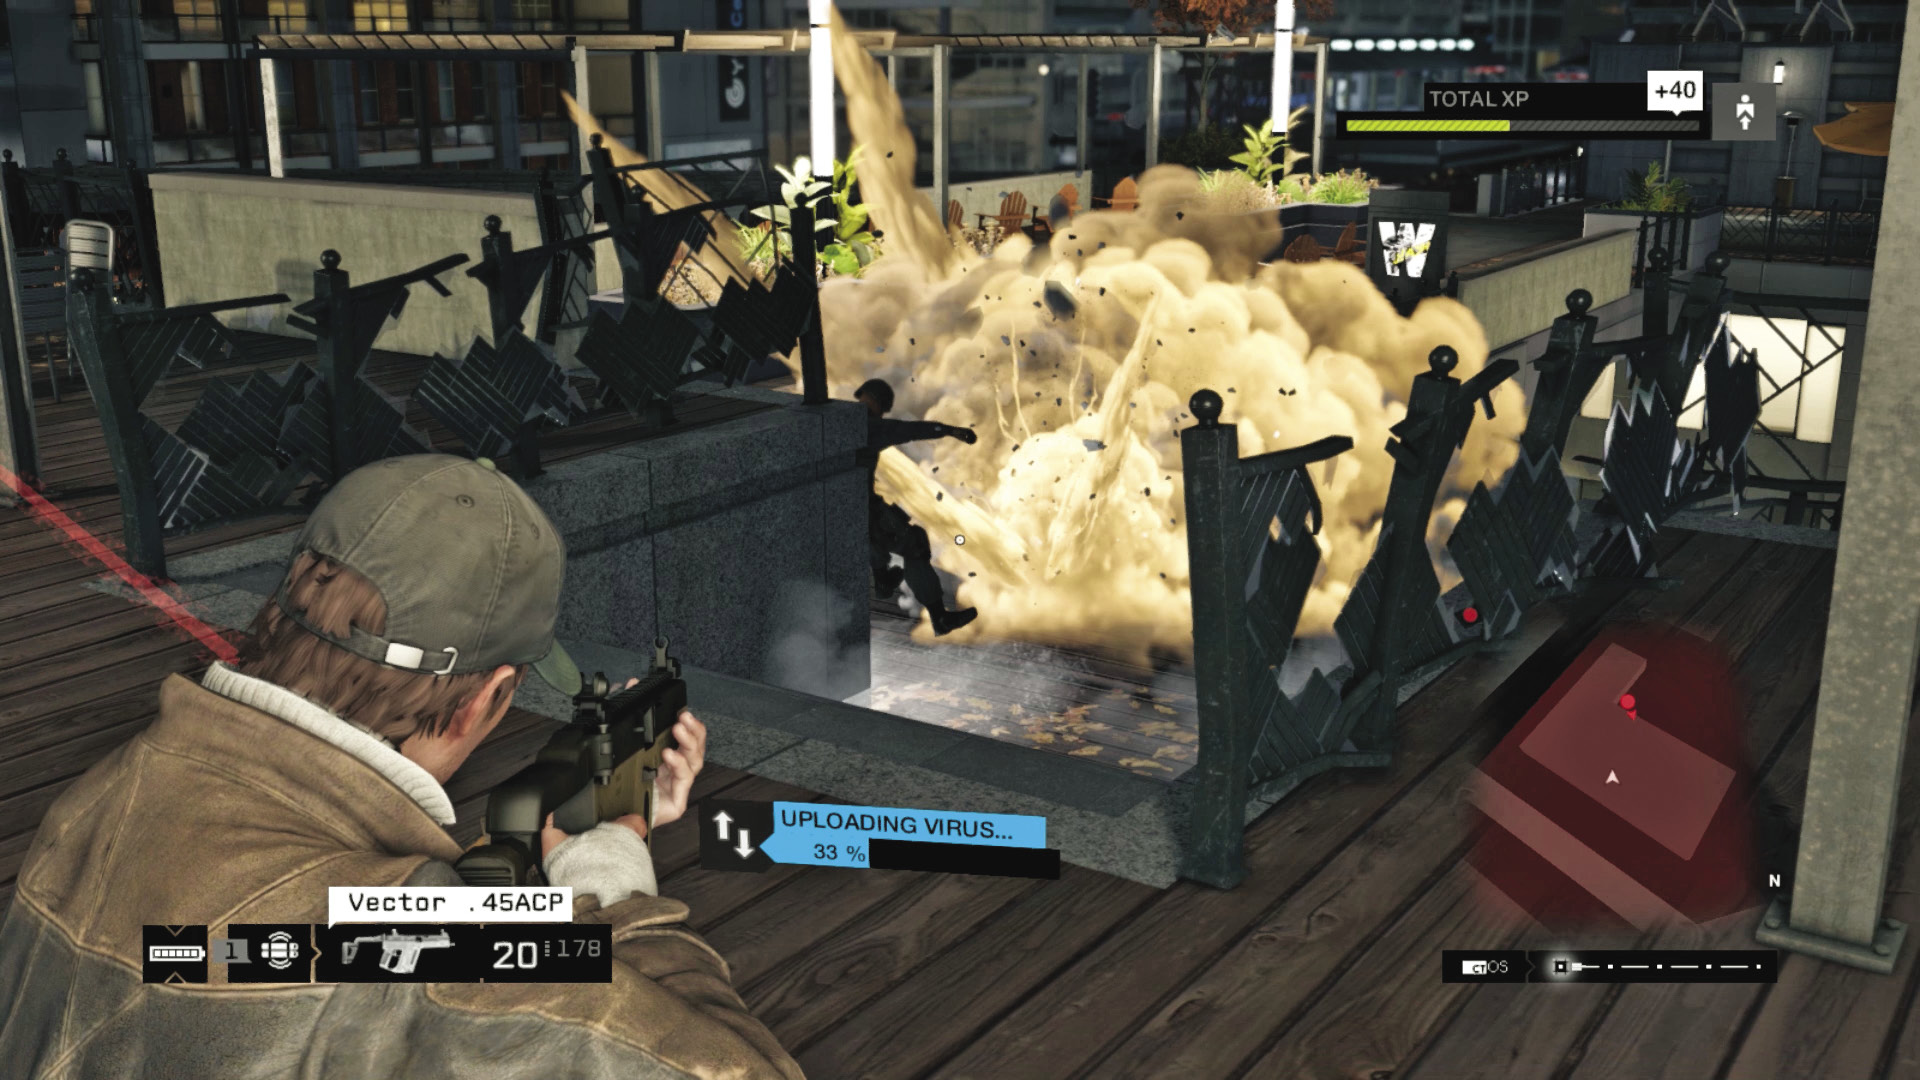
Just before the upload begins, break out the more esoteric equipment and start laying some nasty traps. First, check the raised central deck for choke points. There are three sets of steps: two on either side of the laptop planter (facing east) and one in front of the laptop (facing west). Place an IED at the base of each set of steps. Foes mostly come in from the west, heading east (so you’ll be facing the single middle set of steps most of the time), but if your proximity IED goes off behind you, you know a flanking attack is coming.
The enemies come up the steps from the lower courtyard, and they have to reach you by using the walkway at the top. Prime more IEDs or explosive lures at the tops of the stairs if you have enough ordnance. You’re planning on keeping as many foes from even reaching you as possible.
Lower any protectors en route from the outer stairs to the central deck, so the enemy can’t hide behind them. Remember, you need to stay within the raised central deck until the upload finishes, so make this as hard to reach as possible. Now prep your assault or sniper rifle, and watch the top-floor balcony of the apartment complex to the south, across the L-train tracks.
 Aggressive // Violence: Traps to Confuse and Goad
 Difficulty:
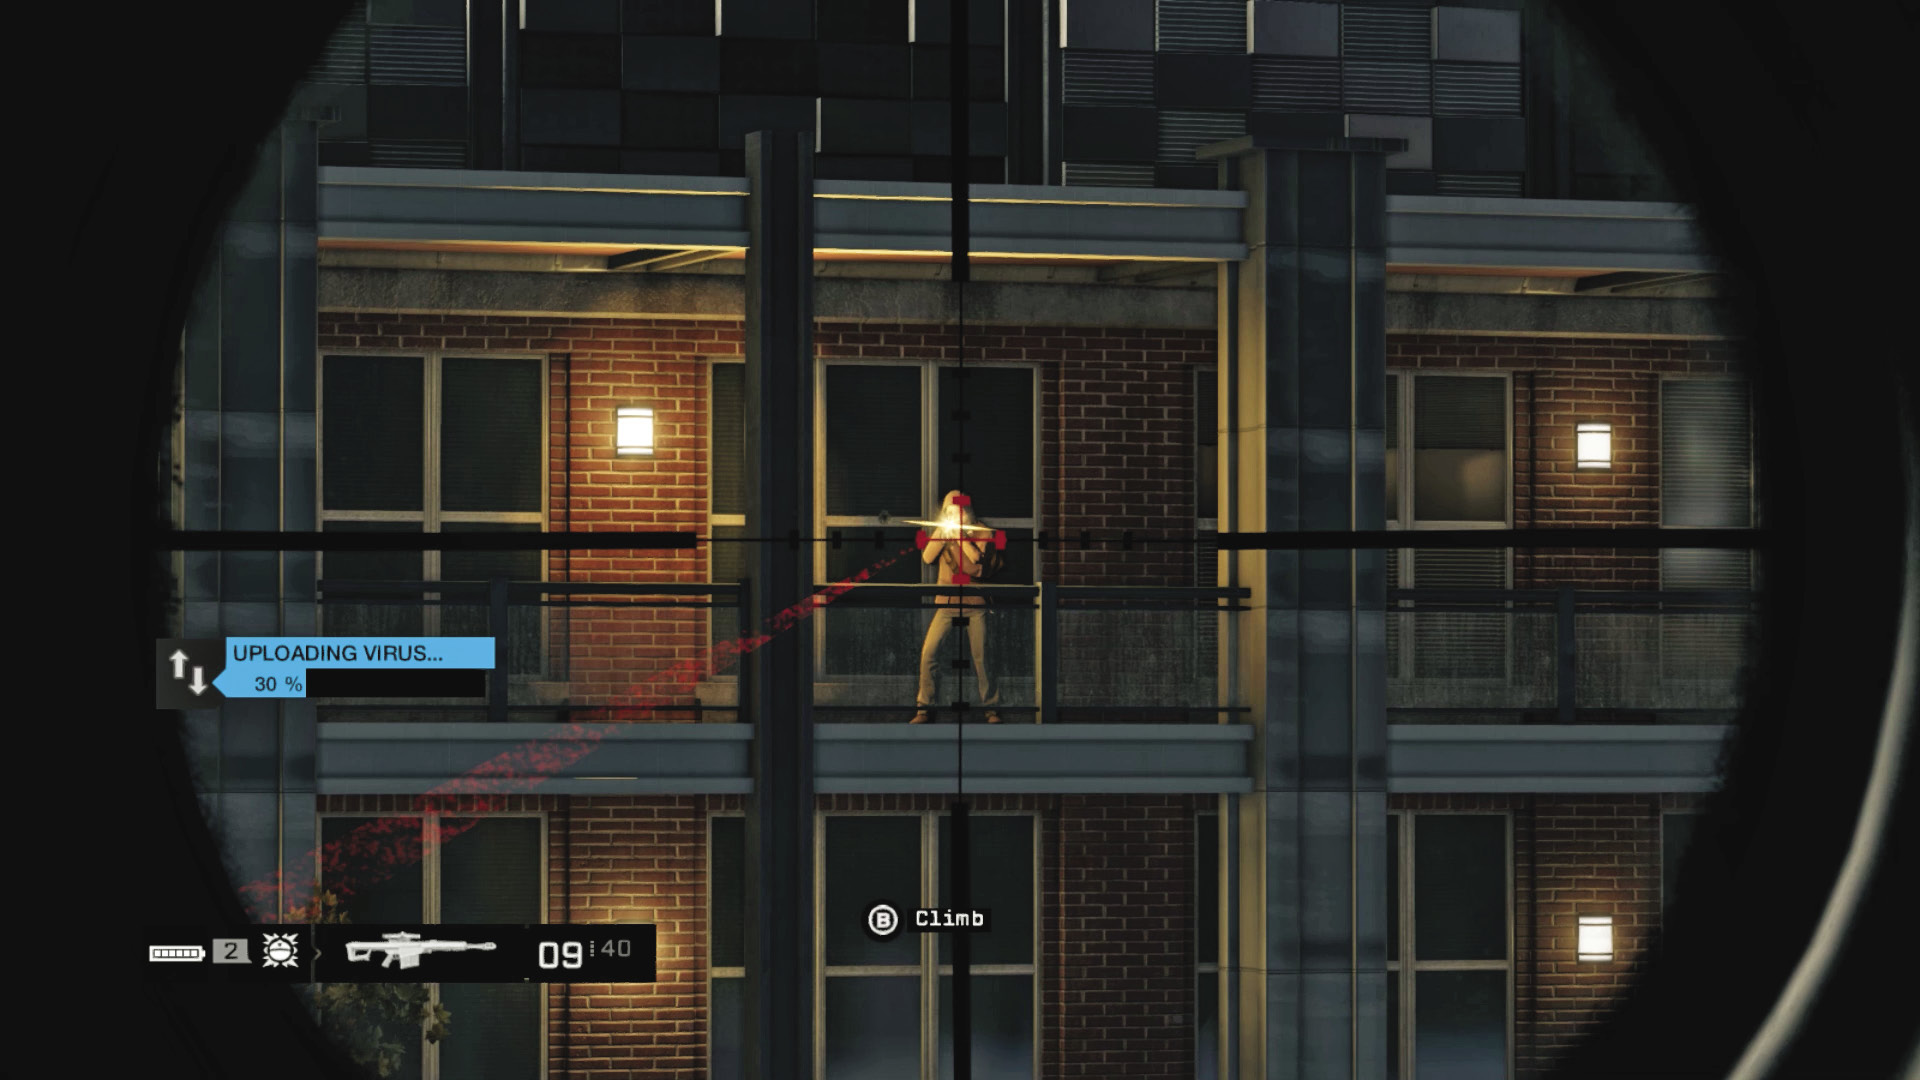
Upload that virus! As this occurs, there’s only one way to play this; drop to cover along the south wall and immediately target and drop the two snipers who appear on the apartment balcony. The subsequent action is easier if you don’t have two laser sights locking on and damaging you severely.
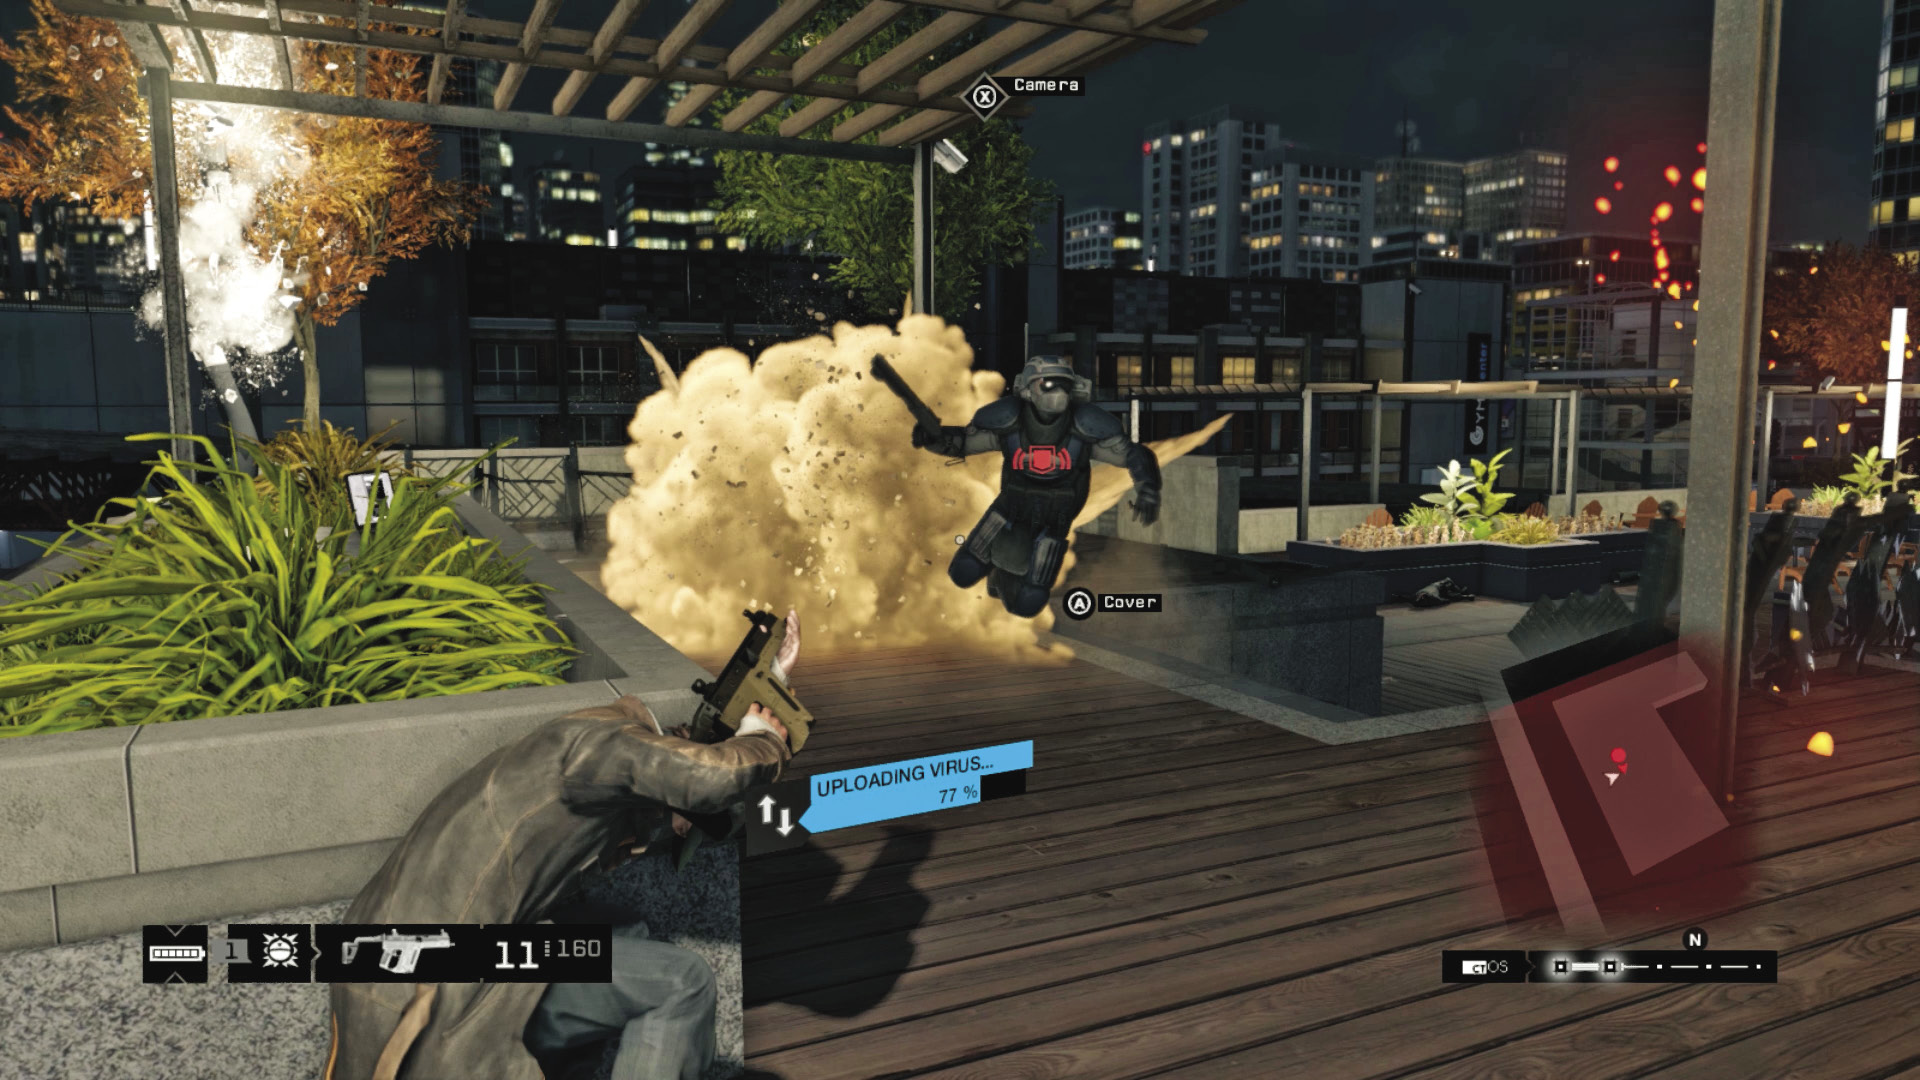
Now turn your attention to the two incoming armored enemies. Optionally mark your four foes using a ctOS scan. Then plan a counterstrike:
Punt or lob grenades as they reach the top of the stairs, along the side balconies, or the walkway close to your deck, damaging them severely.
Check your minimap or listen for detonations. Use the concrete walls as cover and not the wooden fencing, as that is destroyed by incoming fire and explosives.
Stay to the outer corners of your raised deck or close to the laptop, watching foes coming in (profiling and marking them automatically if you wish) and hitting them with concentrated assault rifle bursts and grenades.
Don’t venture off this raised area. Even if the fight turns tricky, use cover (including the walkway behind the planter with the laptop on it), but aim to remove both the heavily armed Fixers before the upload completes.
When the objective uploads and DedSec kills the lights, you can’t use any Smart tactics. In addition, a police helicopter arrives, as do around six officers with more squad cars heading your way. You can:
Fight them, which is pointless, as this becomes excessively dangerous and you’re exposed to the police marksman on the chopper.
Flee, which is dangerous if you use the corner stairs, as enemies are already congregating there. Check your minimap for signs of police activity, and maneuver away from it. This is the opportunity to use the stairs down to the central planter and locate the vehicle you should have parked in the side street. Then outrun the police, using all your previously discovered tactics.
After DedSec crows about their victory, and once you’ve escaped the cops, the mission concludes.
MISSION REWARDSGained XP +800 |