
Watch Dogs Guide MAIN MISSIONS MAIN MISSIONS /// Act II
_UNINVITED
MINOR SPOILER
OBJECTIVES
|
 Destroy the truck with IEDs
 Reach the Sienna Brick Factory
 Find security video to plan your attack
 Prepare an ambush for the Viceroy meeting
 Viceroys incoming. Find a good vantage point
 Eliminate all of Iraq’s crew
 Hack cell phone to intercept the call
 Hack Bedbug’s call
 Take down the fleeing Viceroy
 Reach Bedbug’s location
 Follow Bedbug undetected
 Call Bedbug
 Hack the sculpture to display blackmail
LOCATIONS // MAP
Location / Brandon Docks // Sienna Brick Factory
9.1 ROUNDING UP THE BOYS
 Location / Brandon Docks // Ice Cream Alley
|
|
 Destroy the truck with IEDs
 Investigation
 Lethal Force Likely
Difficulty: 
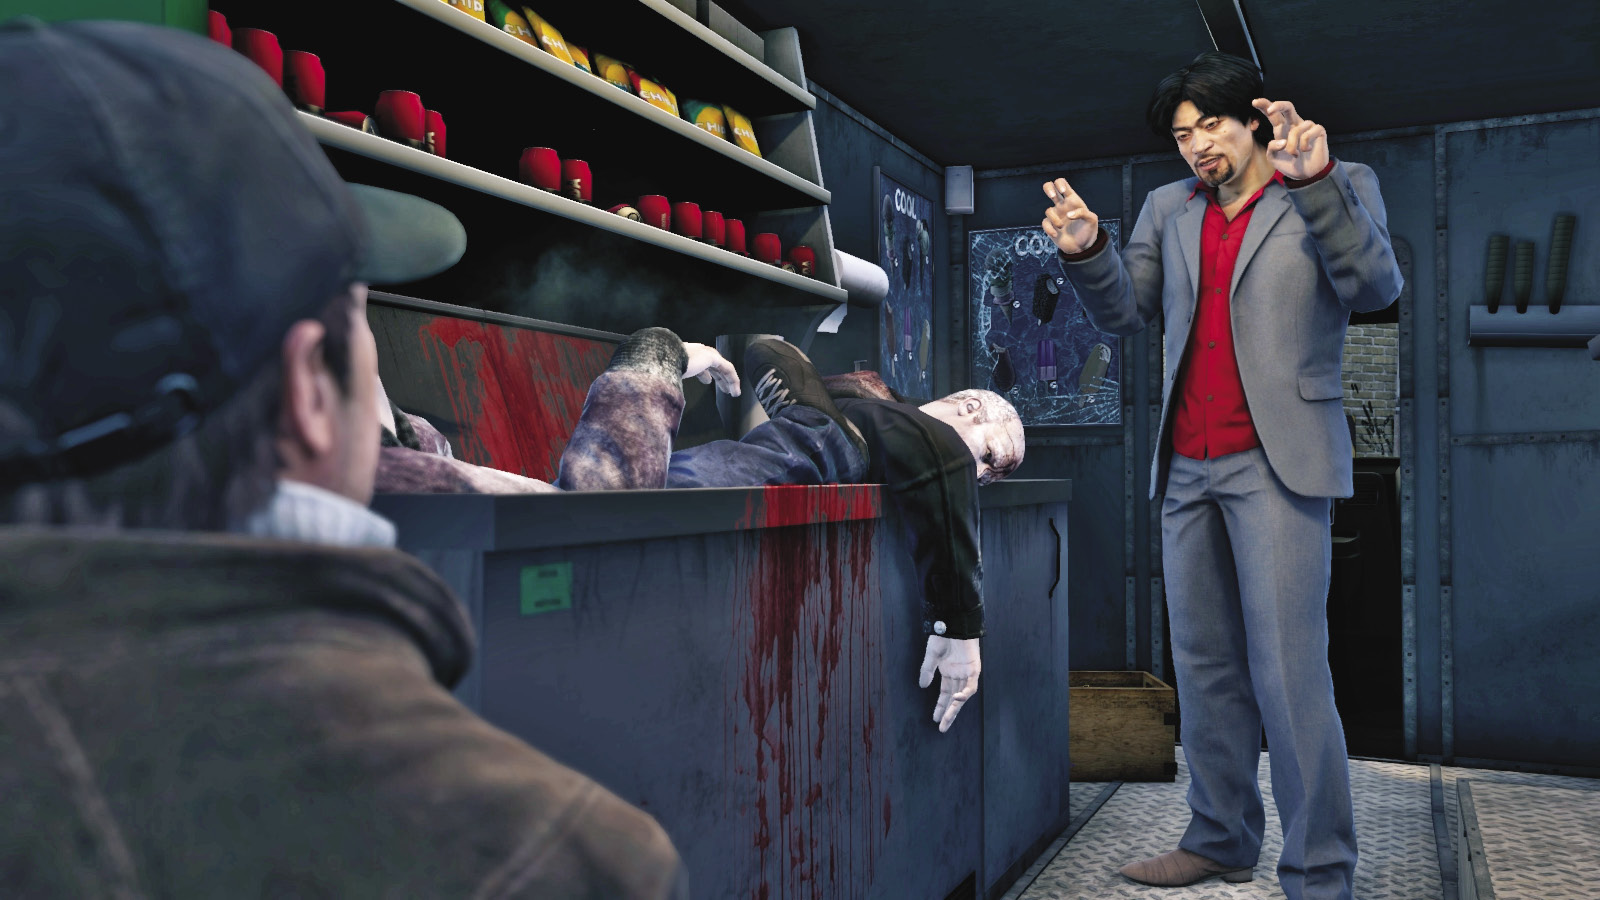
You receive a call from Jordi; he’s gathered some impressive new ordnance for you to try out, which is handy since you’re heading to Brandon Docks to try stopping the Viceroys from mutinying. Head to the rear of an abandoned brick building, and approach the green ice cream truck.
Jordi opens up the back, introduces his boys, and after you refuse to help him take care of his small problem (which offends him more than you’ll know), he offers up something sticky from his van. It’s an improvised explosive device (IED), and it’s extremely dangerous.
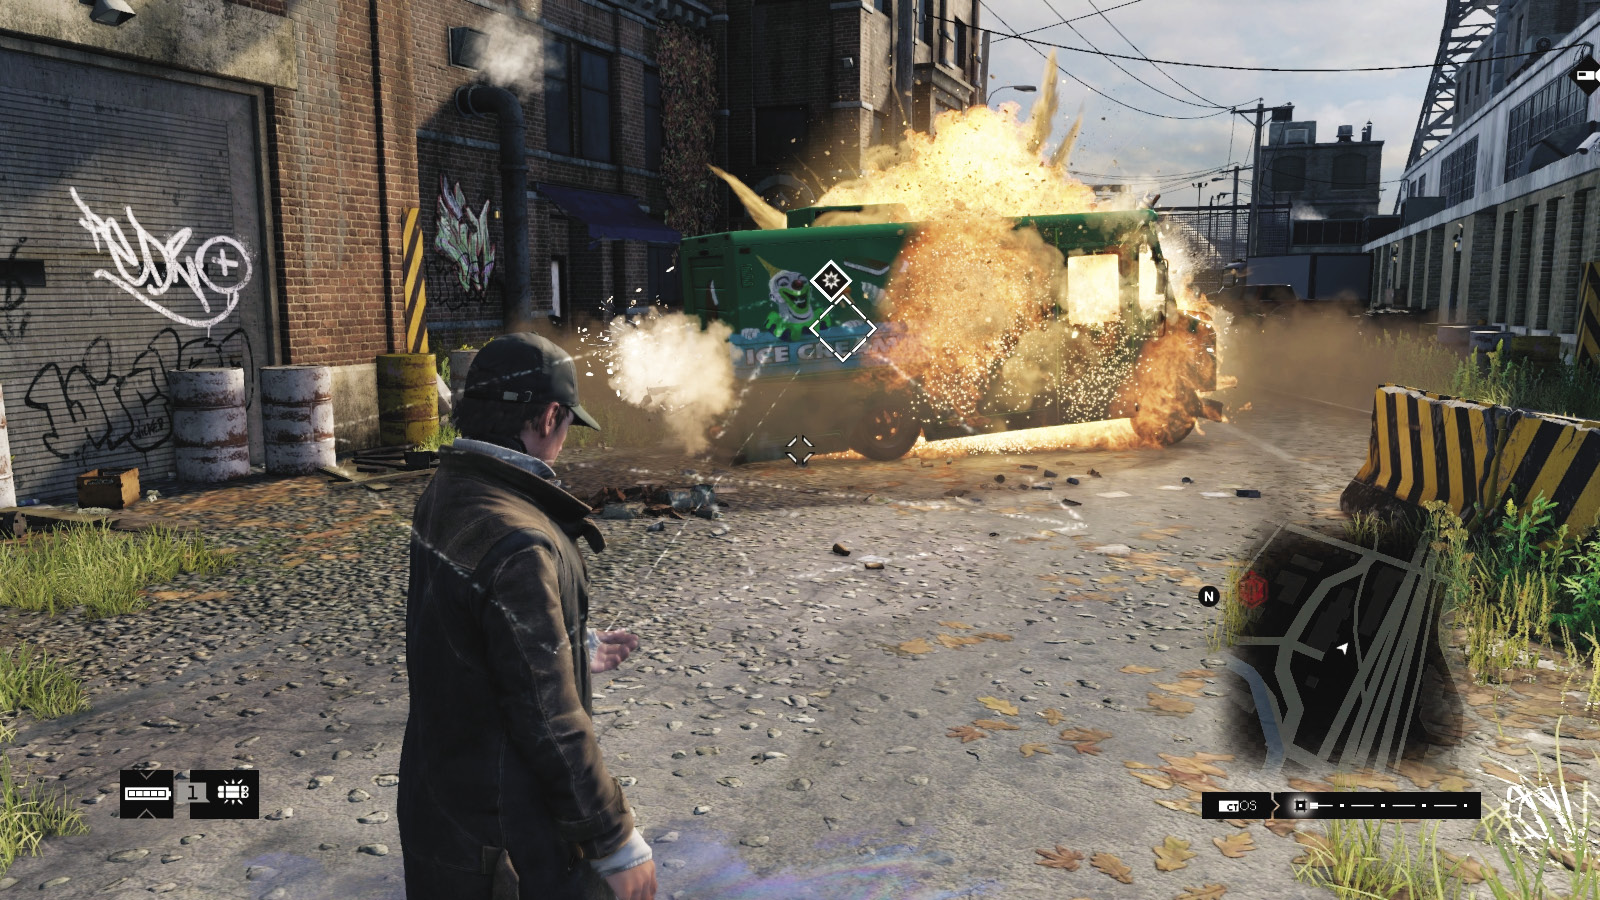
Access your Weapon Wheel and select the IED, then throw it anywhere on or close to the truck. Step well back and detonate it, and the truck explodes with significant force. Check the immediate area for a resupply (so you have three IEDs), and then set off for the Viceroy meeting spot.
9.2 THE SWEET SPOT
 Location / Brandon Docks // Brick Factory
|
|
 Reach the Sienna Brick Factory
 Find security video to plan your attack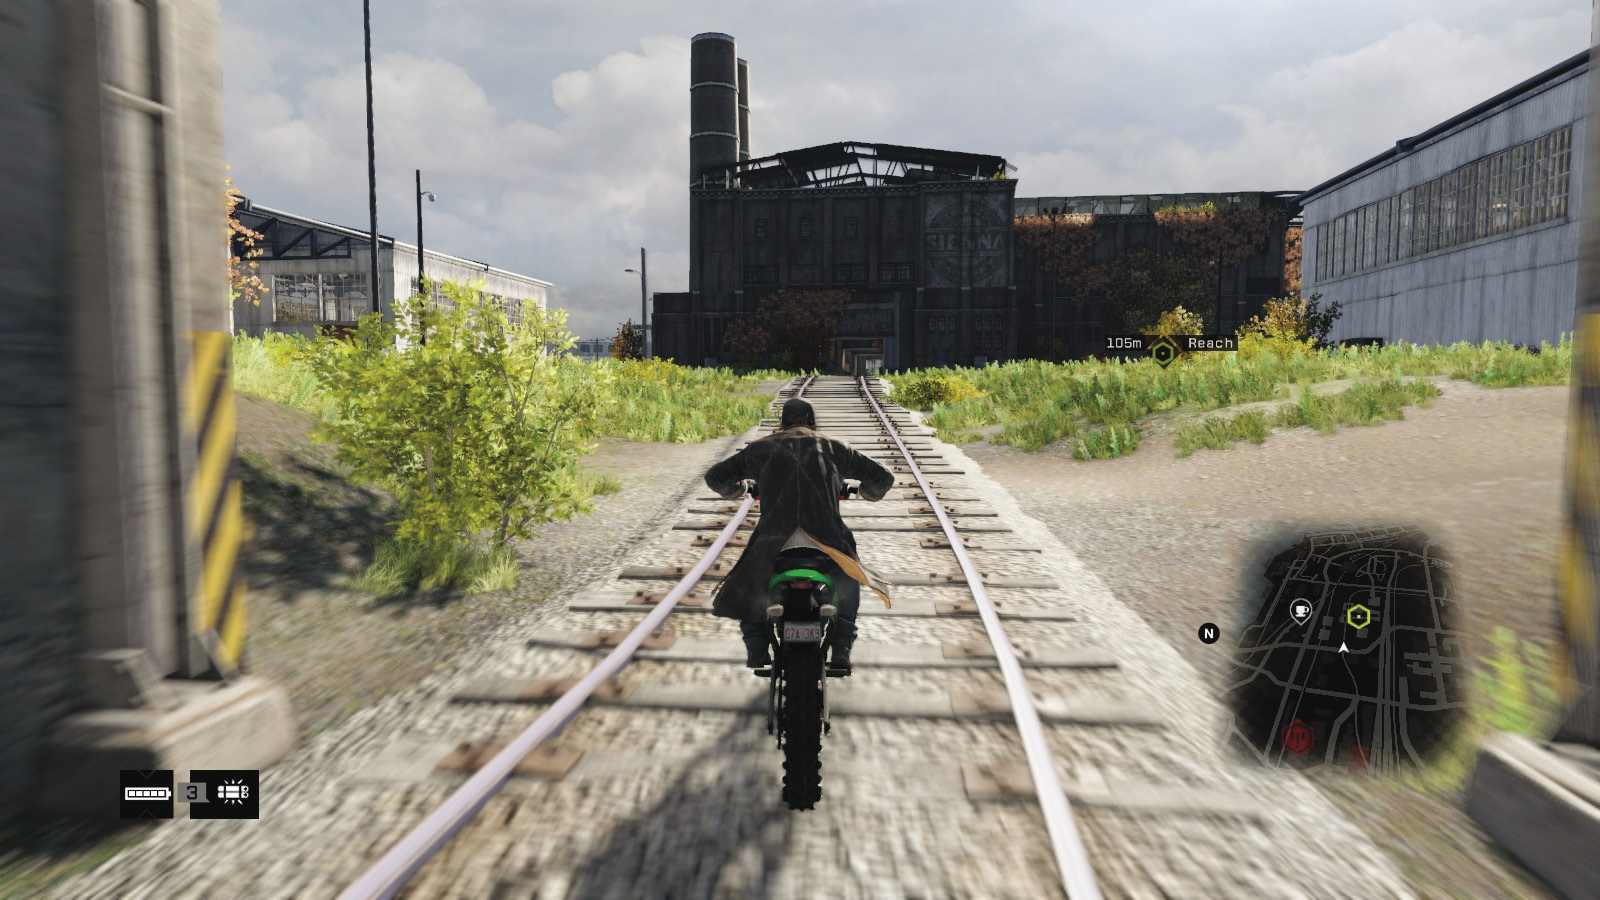
 Investigation
 Data Hack
Difficulty: 
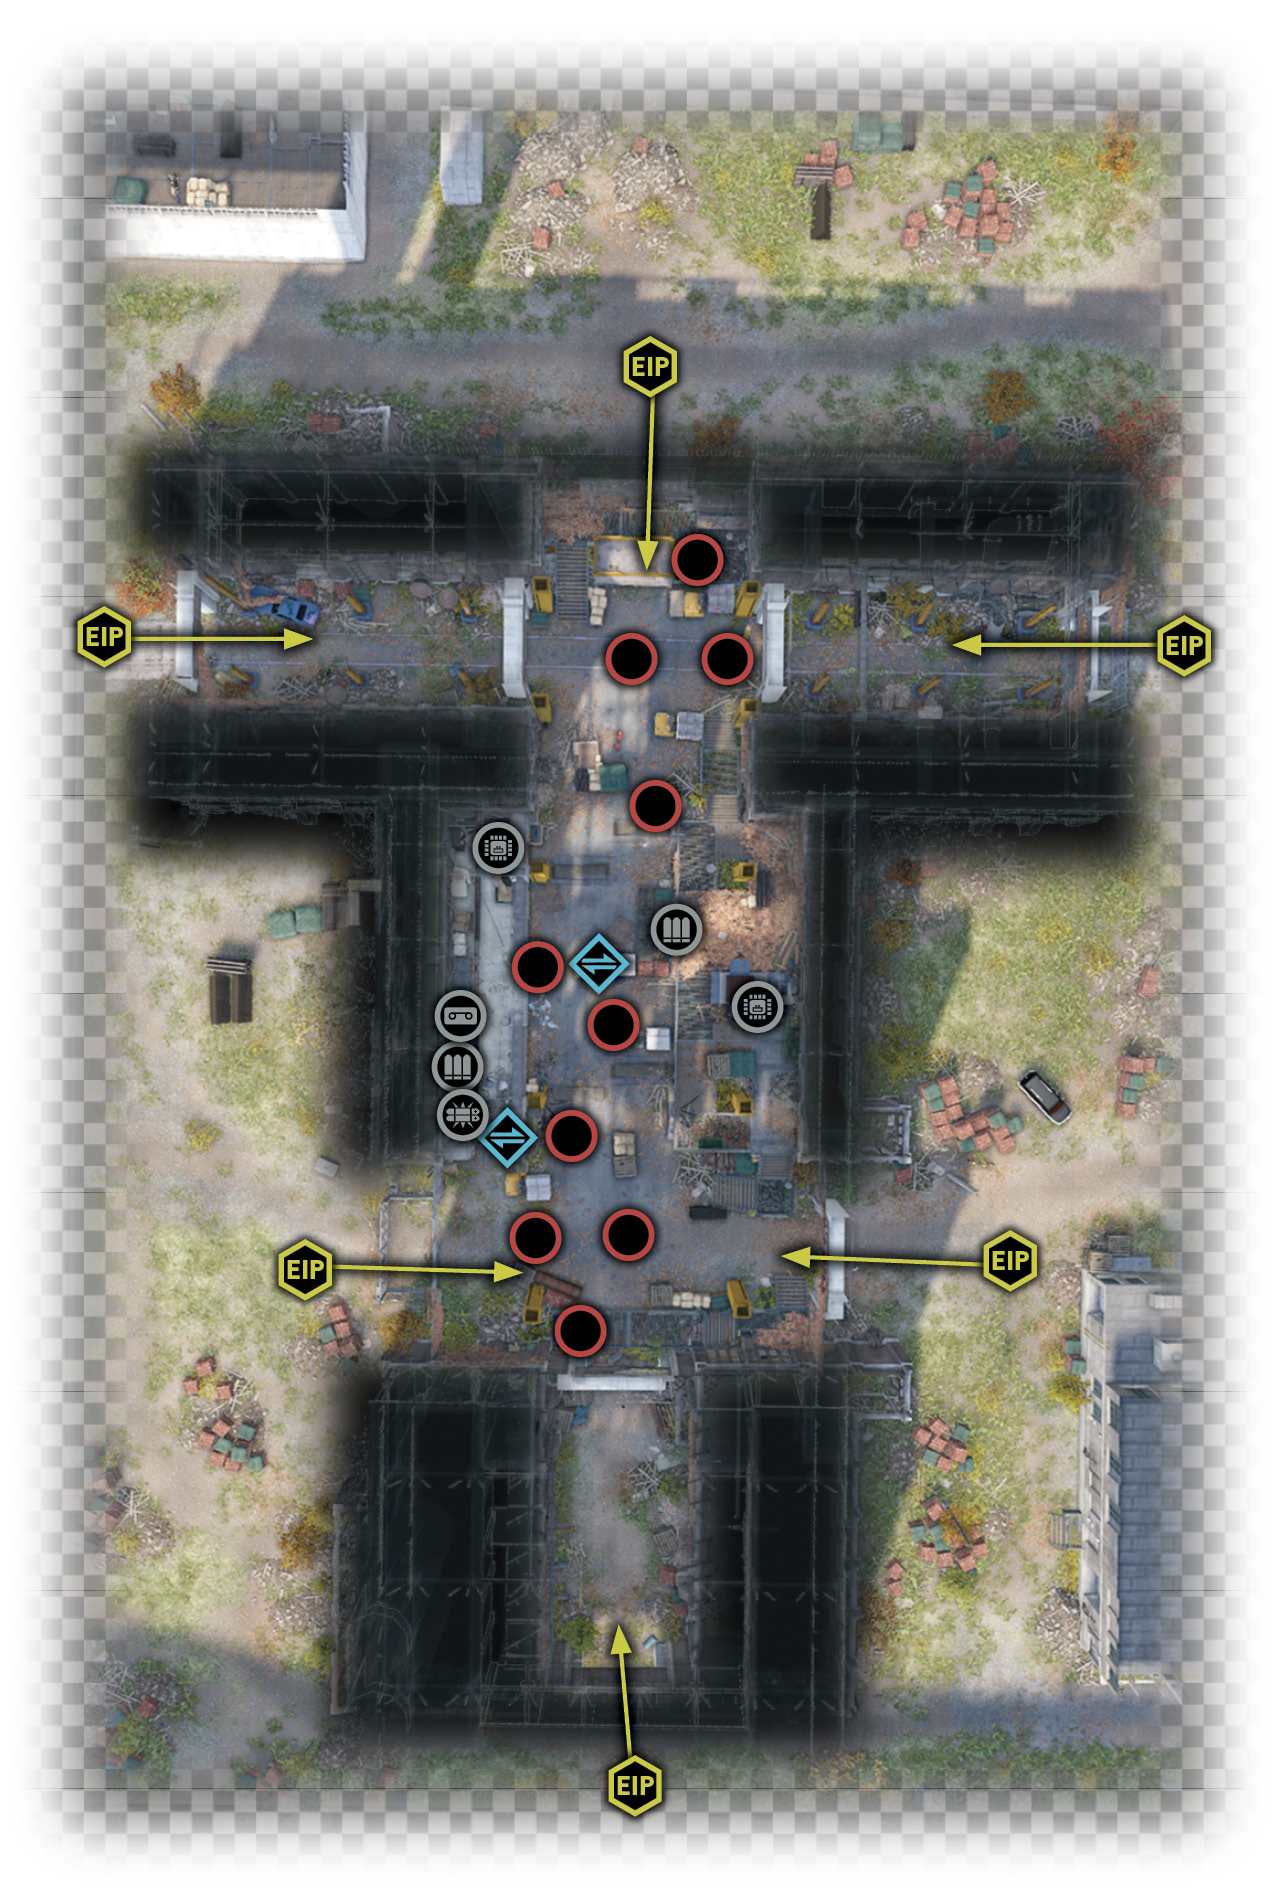
Head east, across the road, and open the gate. Go down the rail track around the silo, to a large abandoned brick factory. This is the spot for the meeting, but don’t enter yet; instead, ride around the perimeter, checking the six entrances and learning more about the vicinity. Then park up in the south part of the interior.
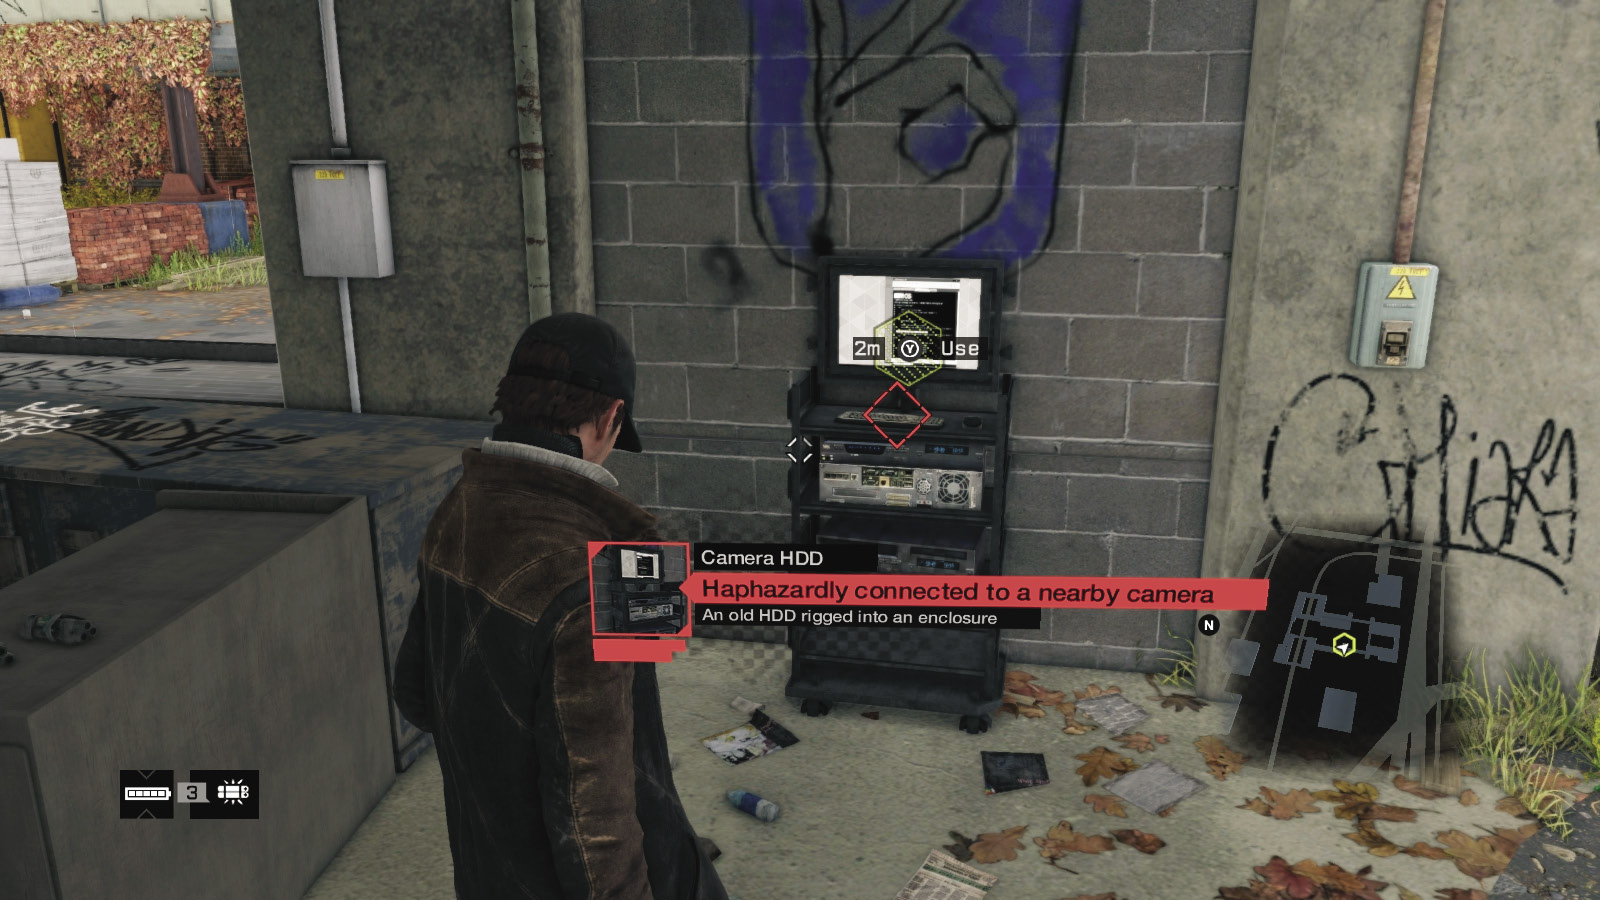
Enter the shuttered conveyor belt and storage area to the east, and locate the computer with the camera HDD. Interact with it and view evidence of past meetings. The footage is of interest, as it shows where the Viceroys park, where they stand, and where the meeting takes place. Use this knowledge and the tactics detailed below to bring pain when the Viceroys arrive en masse in two minutes!
9.3 IMPROVISED EXPLOSIVE DEATH
 Location / Brandon Docks // Brick Factory
|
|
 Prepare an ambush for the Viceroy meeting
 Viceroys incoming. Find a good vantage point
 Eliminate all of Iraq’s crew
 Infiltration
 Lethal Force Likely
 Melee Force Likely
Difficulty: 
Overview
Completion Point: Brick factory, once you defeat all foes
Dangers (First Wave): Two Viceroy vehicles (Gunmen x2, Veteran x1, Enforcer x1 total), occupants armed with pistols, shotguns, and machine guns. One Shot-Caller per vehicle (total 2).
Dangers (Second Wave): Seven Viceroys on foot (Gunmen x4, Veteran x3), armed with pistols, shotguns, and machine guns. Three Shot-Callers.
Dangers (Third Wave): Seven Viceroys on foot (Gunmen x4, Veteran x2, Enforcer x1), armed with pistols, shotguns, and machine guns. Three Shot-Callers.
Enemy Insertion Points
You have two minutes to adequately explore this dilapidated warehouse, prep the interactive parts of it to aid you in your forthcoming fracas, and lay up to three IEDs in the spots where they’ll cause the most damage; lay more if you’re carrying proximity IEDs or if you’ve unlocked skills to increase your carrying capacity. Before you act, learn the enemy insertion points for this location.
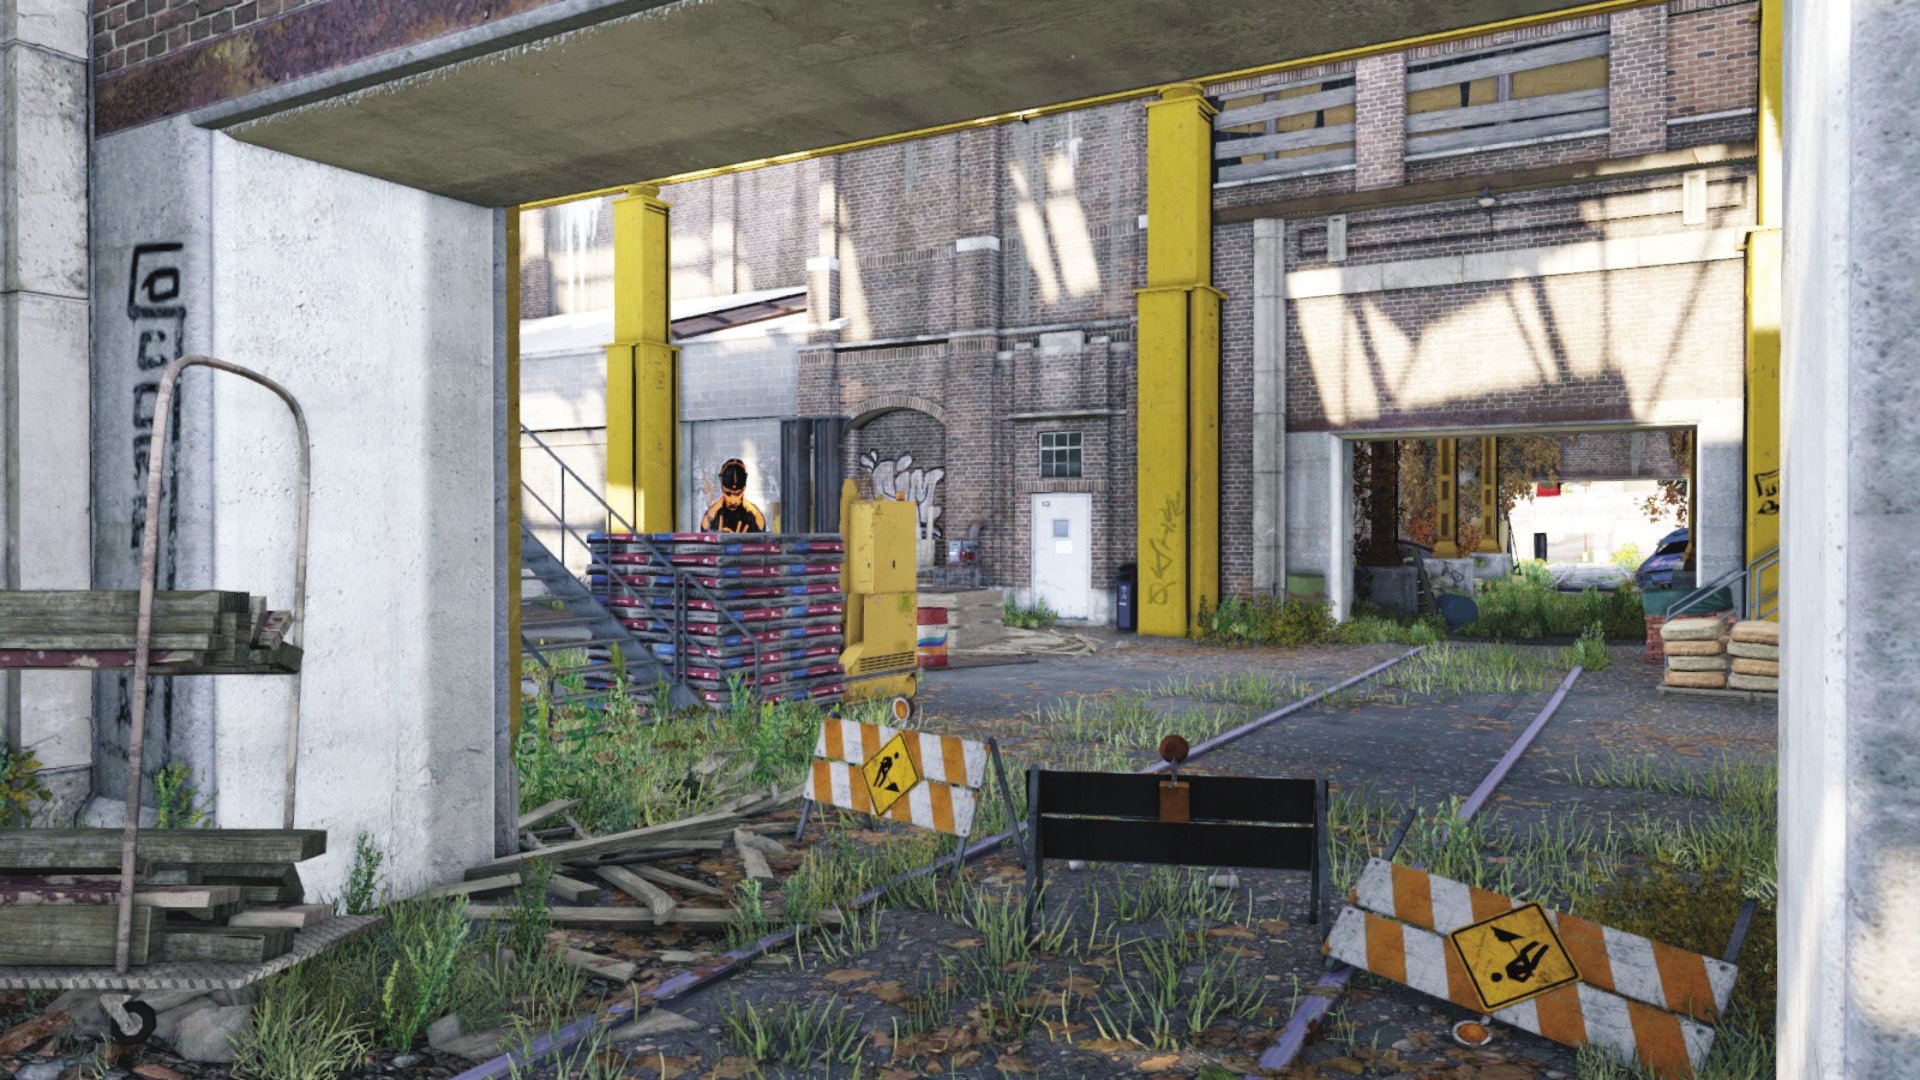
North Entrances
Accessibility Level: 
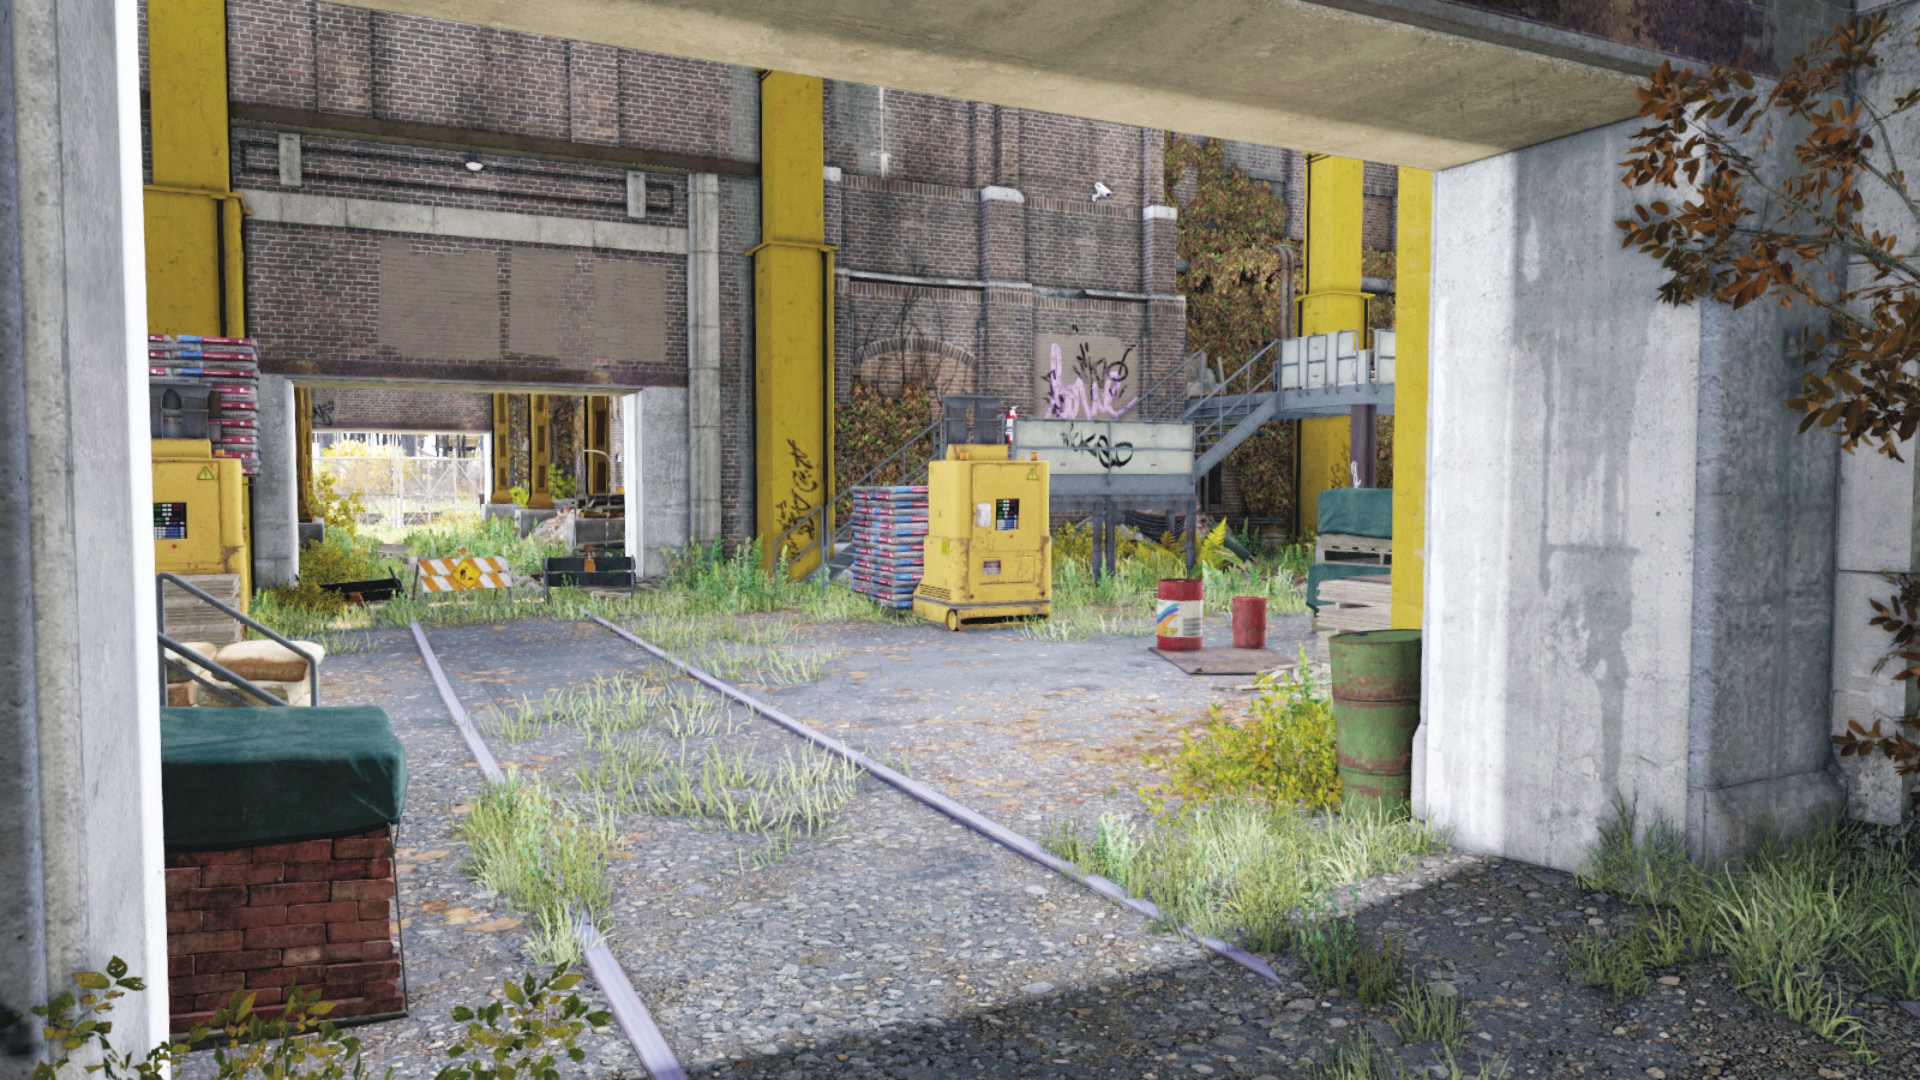
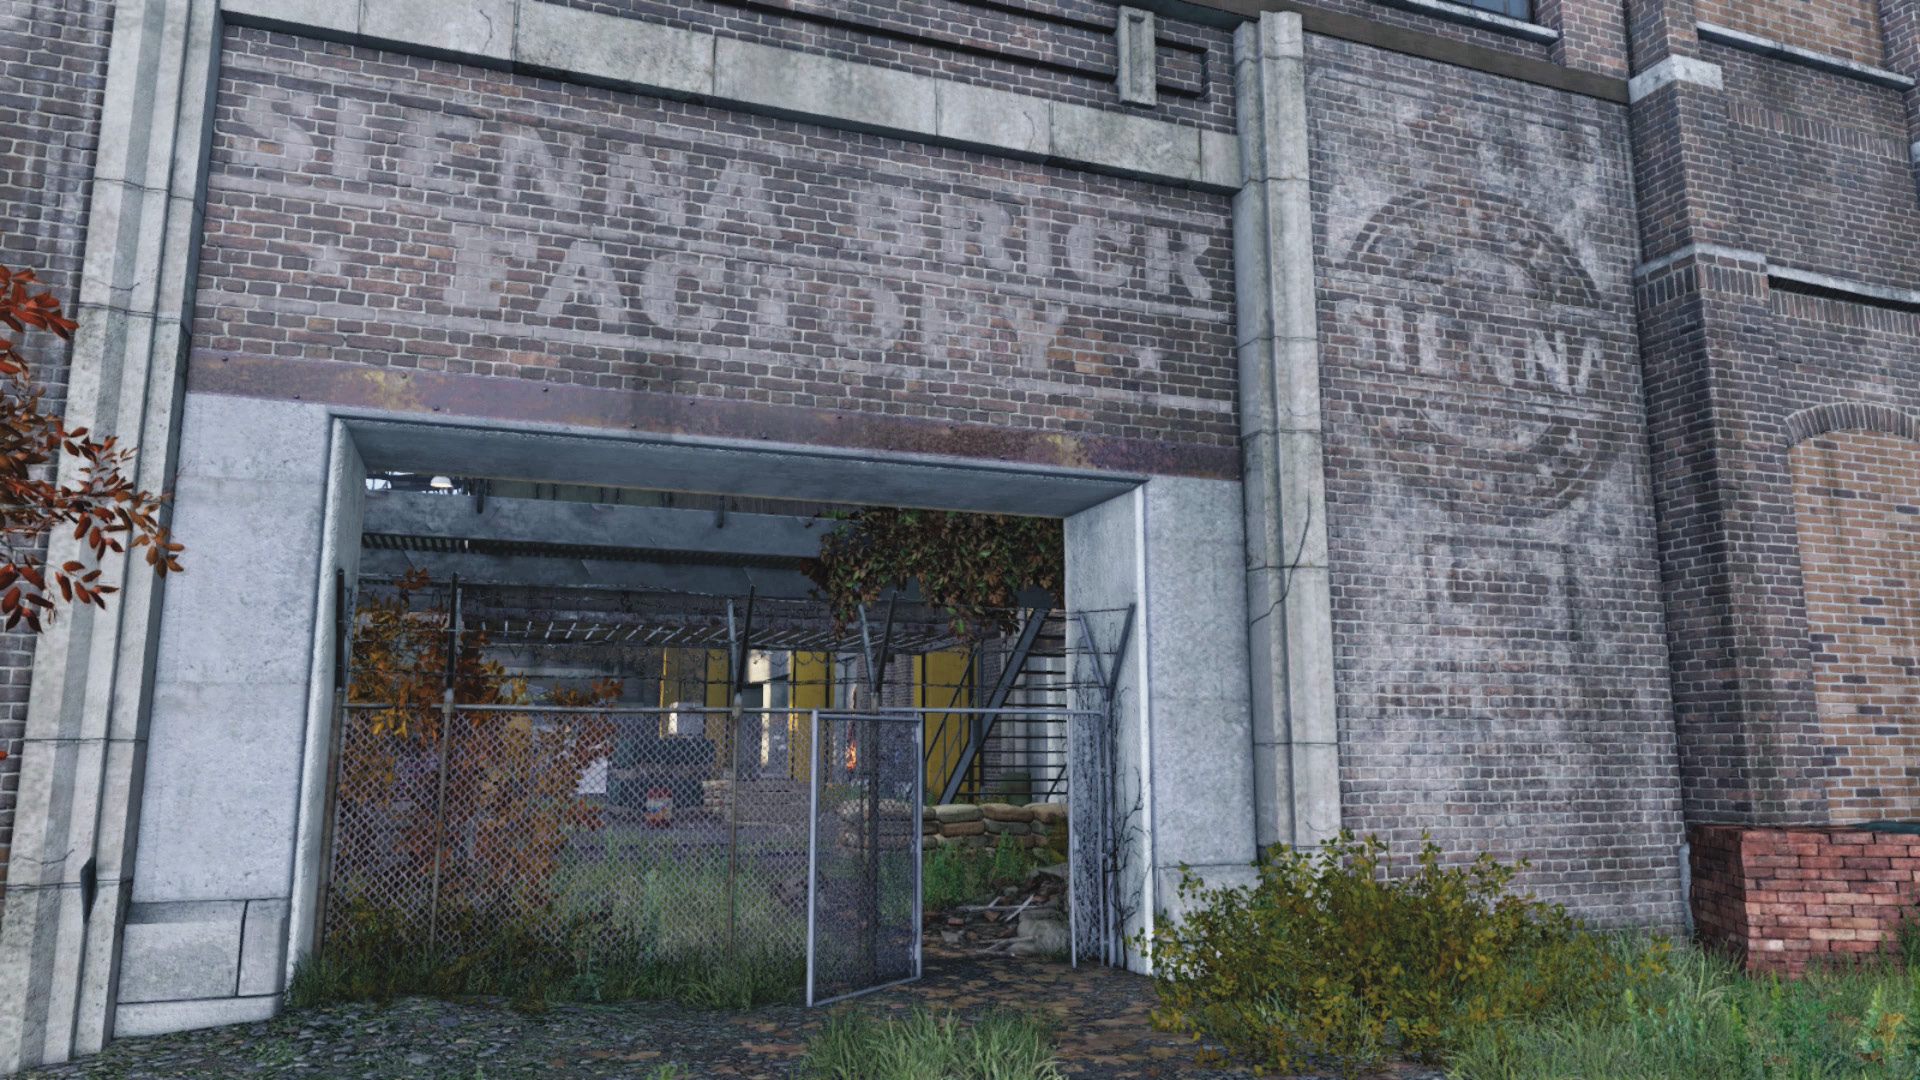
There is a train track to the northeast; the first Viceroy vehicle approaches from here. Reinforcements arrive from a mesh fence with an open door to the north. The train track continues to the northwest, where a gate is located. Viceroys appear from here if the gate is open. The warehouse’s north end is rectangular and much wider than the southern area. It’s a little easier to survive if you flee down the tracks, should the situation become unmanageable.
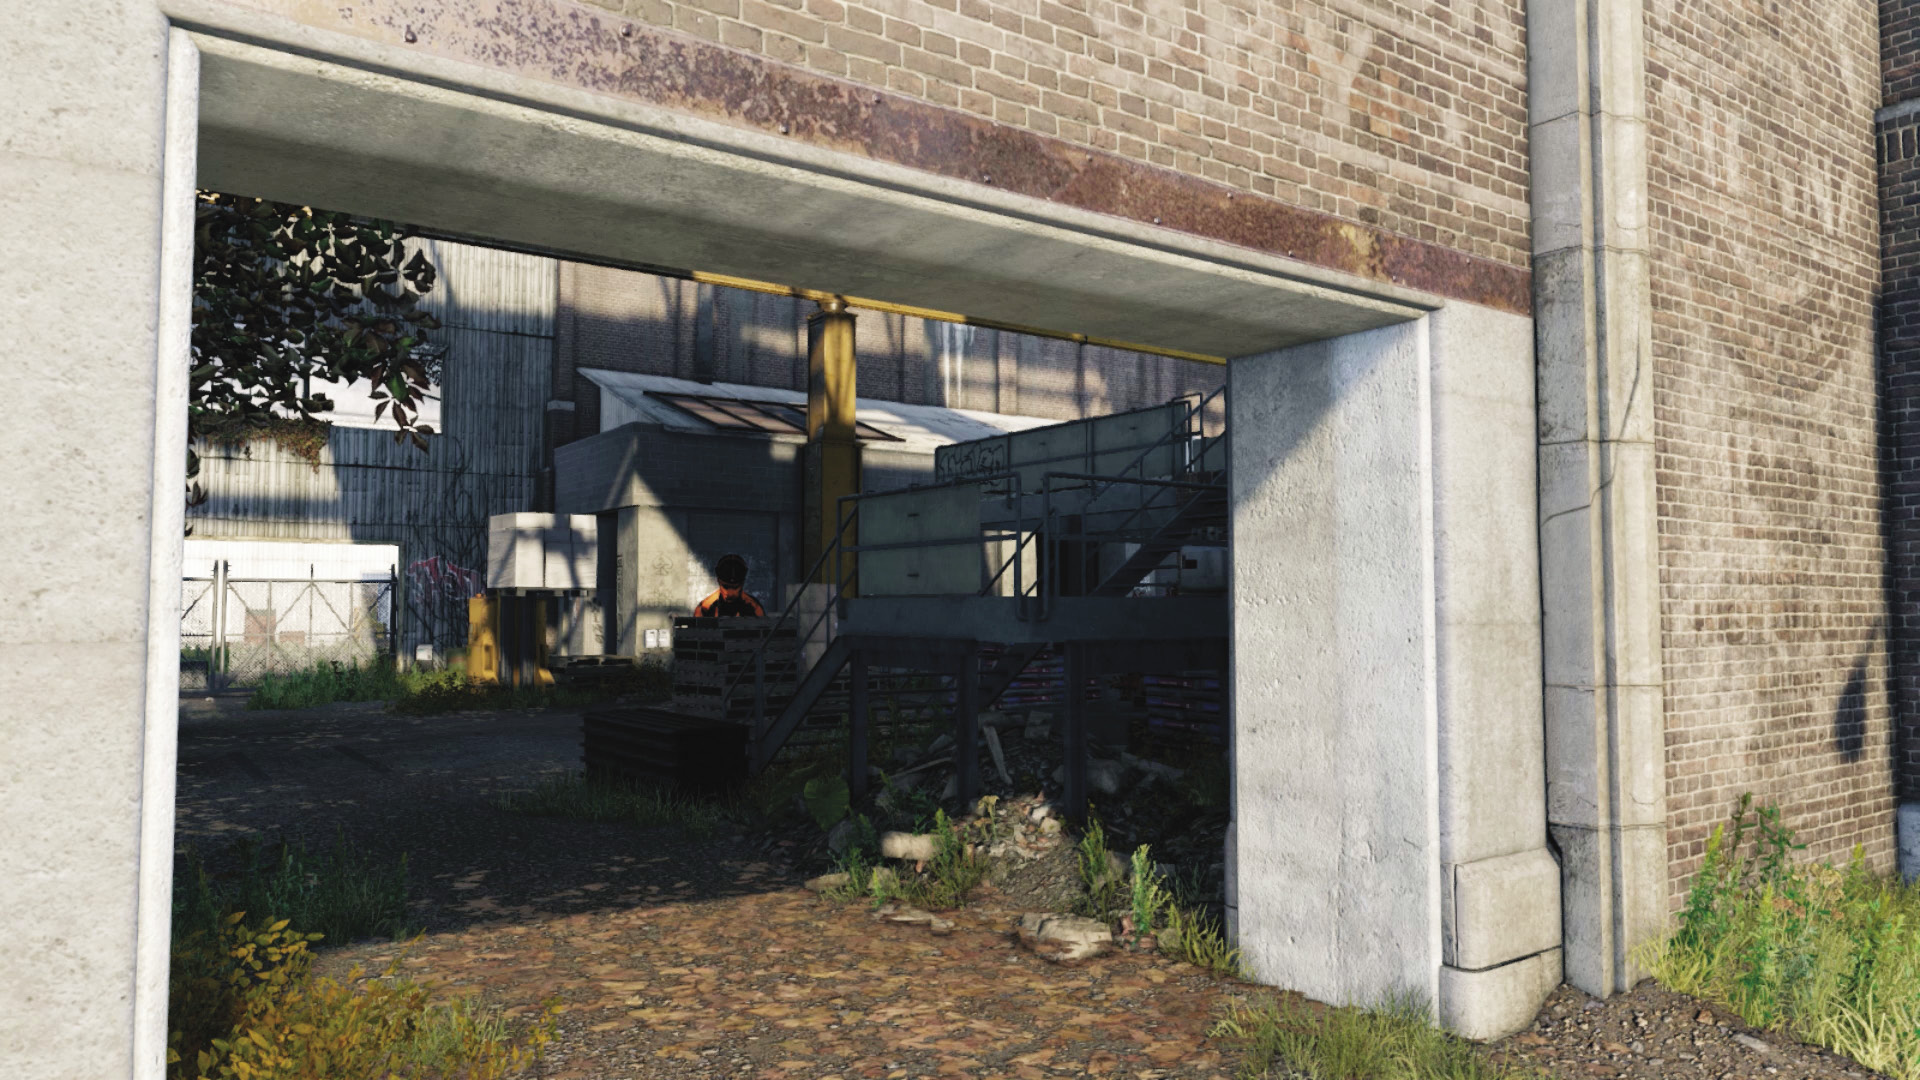
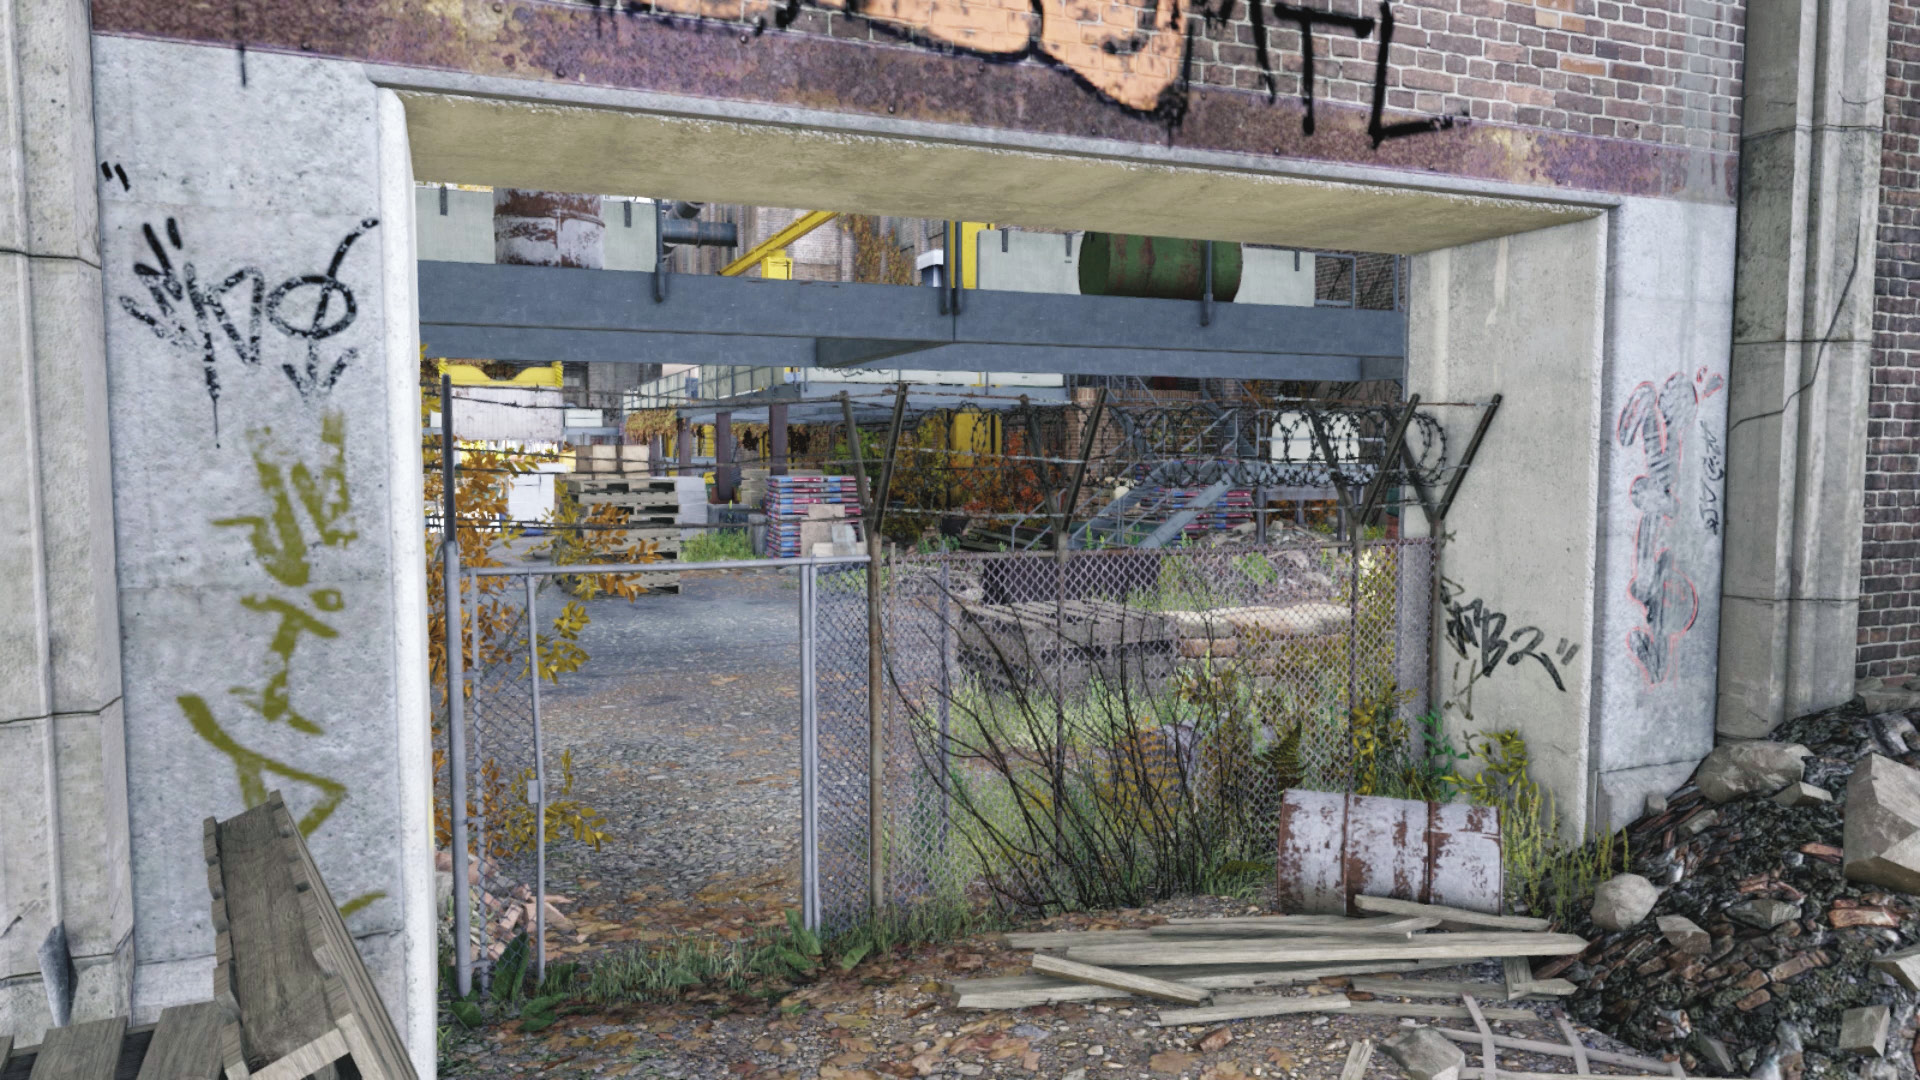
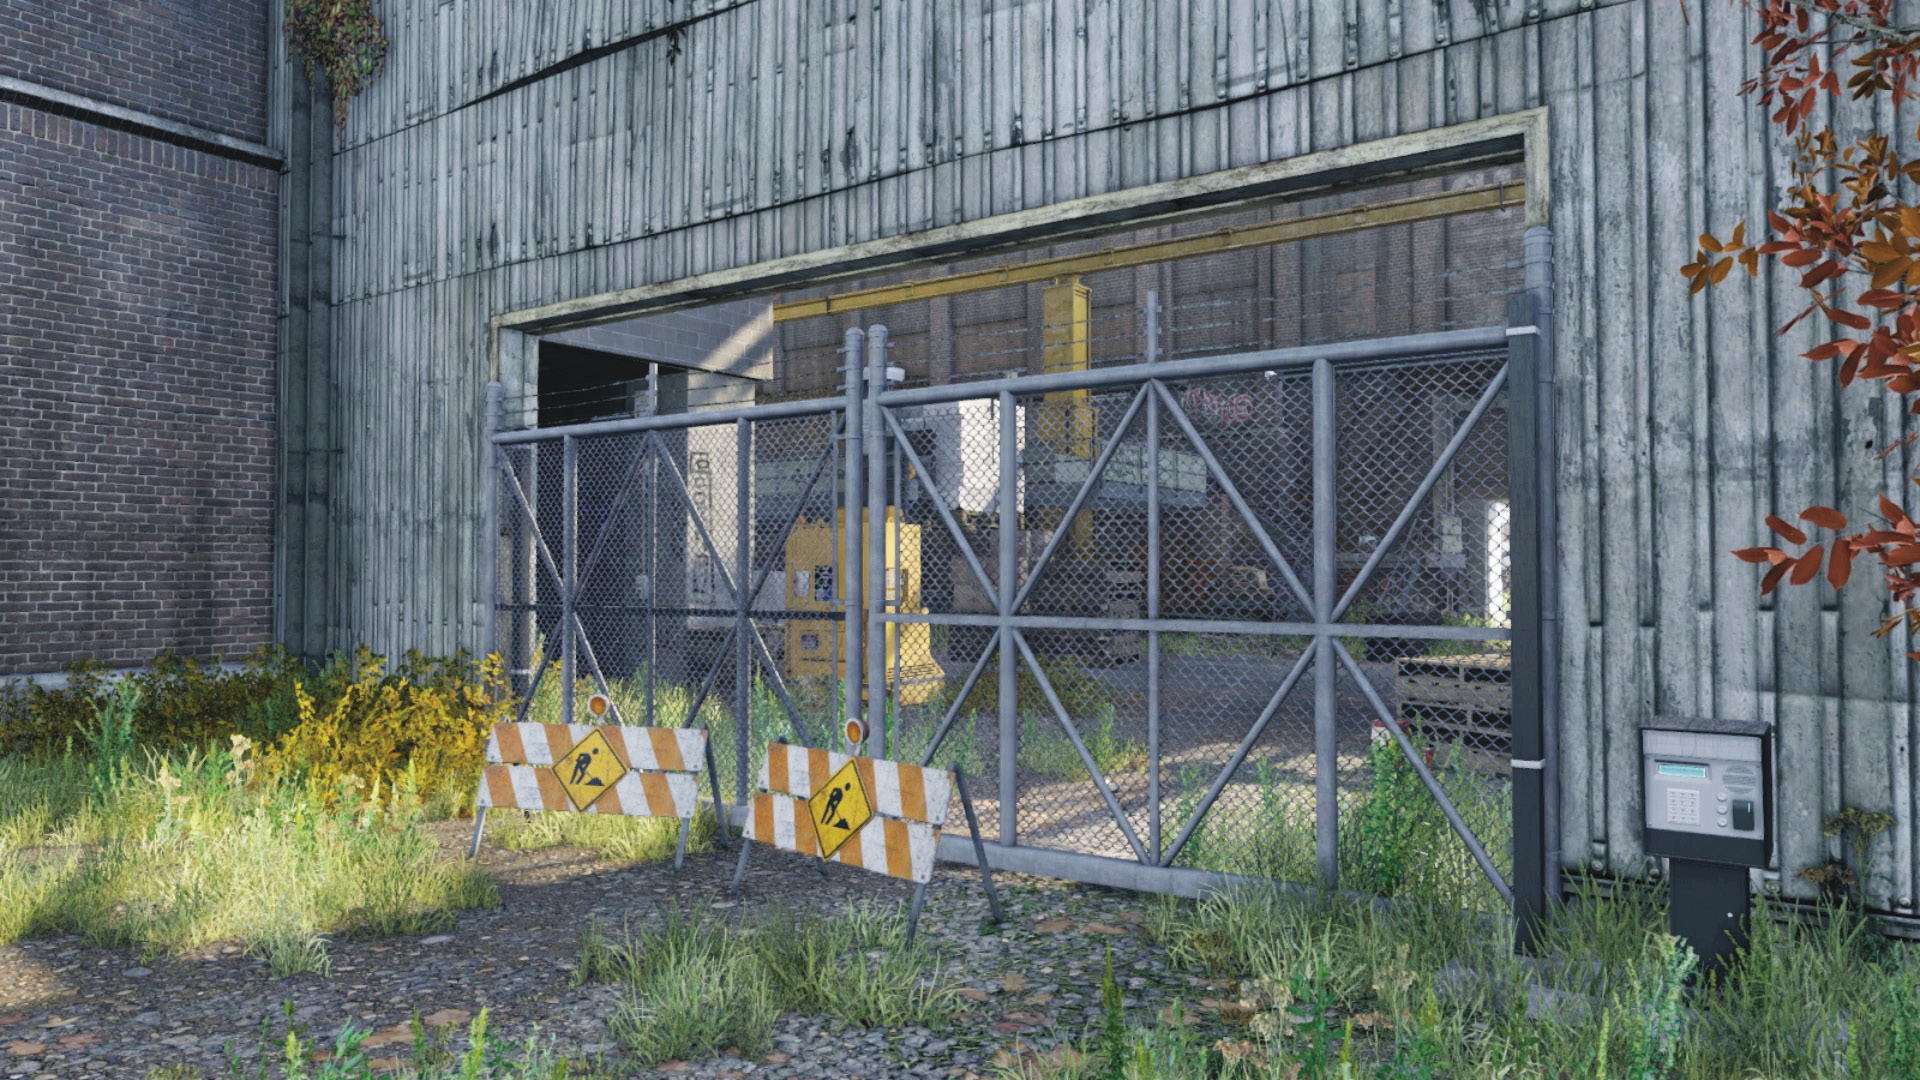
South Entrances
Accessibility Level: 
The entrances to the southeast and southwest are on the warehouse perimeter and are closer together than the north entrances, meaning there’s less room to maneuver but more room to lob area-effect weapons when enemies are around. Remember the gate at the southwest entrance; close it to prevent foes from entering from this direction. To the south is a long, relatively narrow exit, where reinforcements arrive from. Race to this spot if the warehouse becomes compromised.
Progression Plans
It takes additional care and attention to truly master the removal of multiple Viceroy threats, so take additional time to study the following interactive elements and ambush points.
General PreplanningTool Up: You need to have an excellent supply of weaponry for this. Close-combat guns such as shotguns or machine guns usually work well, compared to sniper rifles. Grenade launchers are also lethal. Sandwiched: Enemies appear from the warehouse’s north and south ends, so you’re almost always going to be switching directions; keep an eye on the minimap for attackers sneaking up on you. Styling and Profiling: Keep that phone out so you can mark nearby foes. You usually don’t get the chance to use the cameras for long periods of time. Enemies are constantly appearing, too, so a ctOS scan isn’t quite as useful here. |
Interactive Elements
Now that you know where the enemies are heading in from, it’s time to figure out every smartphone-controlled piece of this warehouse and how it can benefit you. Learn how to use any or all of them.
 Aggressive // Smart: Cameras
 Usefulness:
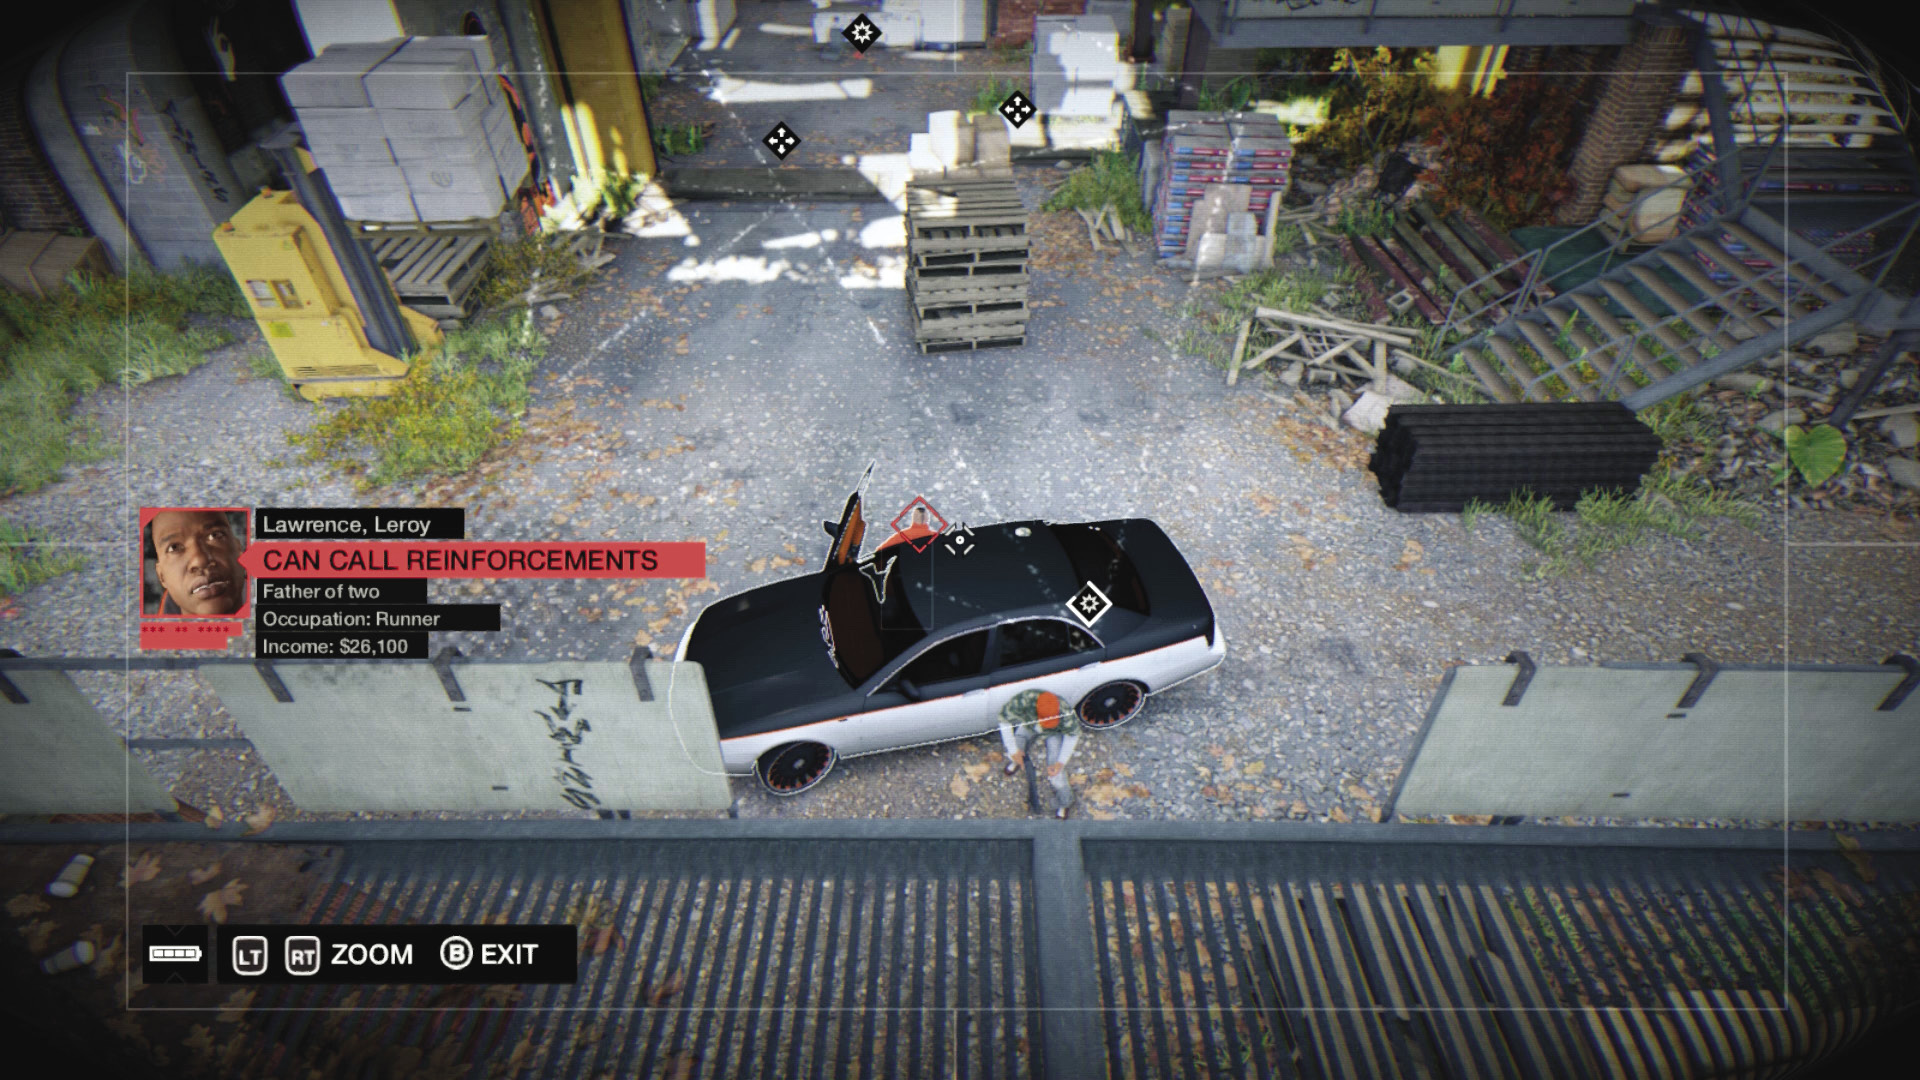
There are five cameras dotted around the warehouse interior. As the action heats up, these become less useful in pinpointing enemy movements, but your remote eyes are most helpful before the action turns chaotic. Use the cameras to see where your foes are wandering, and freak them out by moving forklifts or shutters up and down. You can more easily see when a foe is close to an IED too.
 Aggressive // Smart: Gates
 Usefulness:
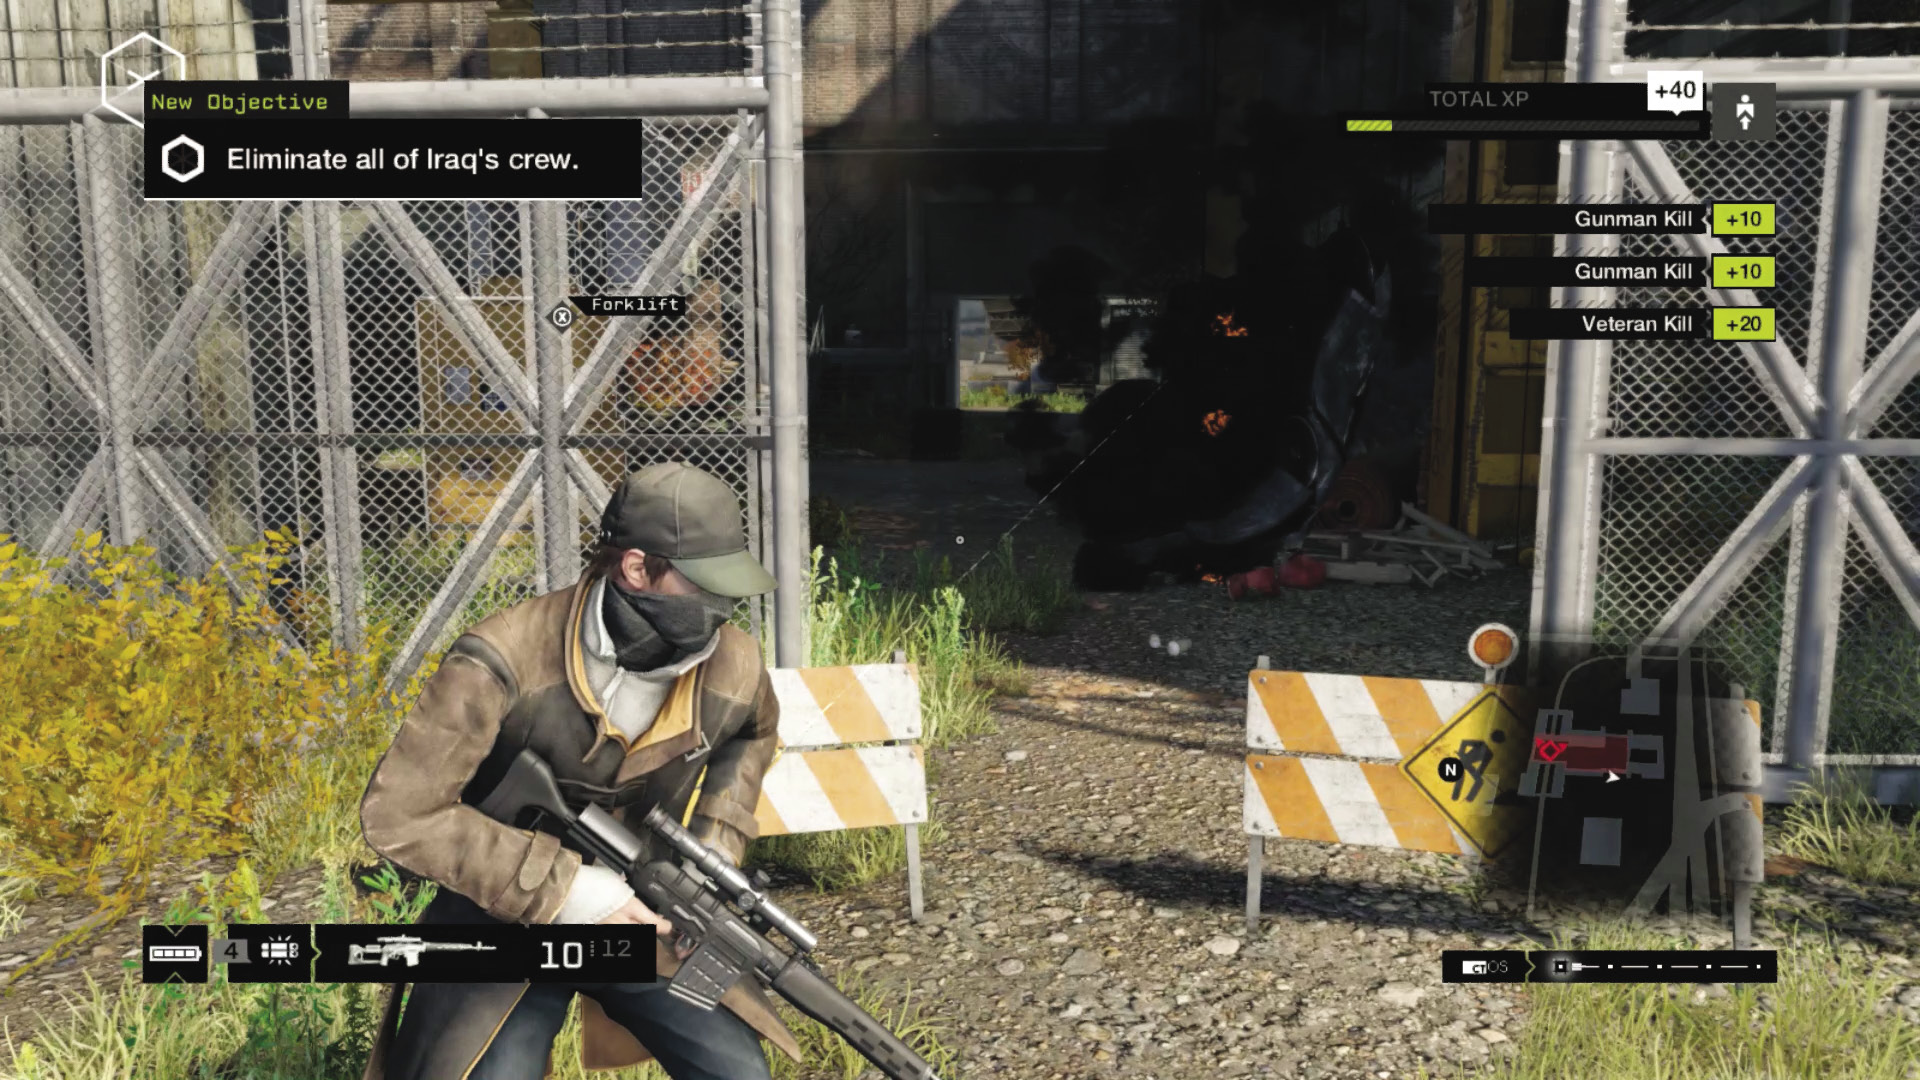
There are two gates (northeast and southwest entrances), and the enemies take the opposite route in by vehicle when they first arrive. Keep the gates closed to prevent additional reinforcements from streaming in, effectively limiting them to four locations (which you can oversee if you’re hiding and employing cameras or if you have your head on a swivel).
 Aggressive // Smart: Overhead Crane
 Usefulness:
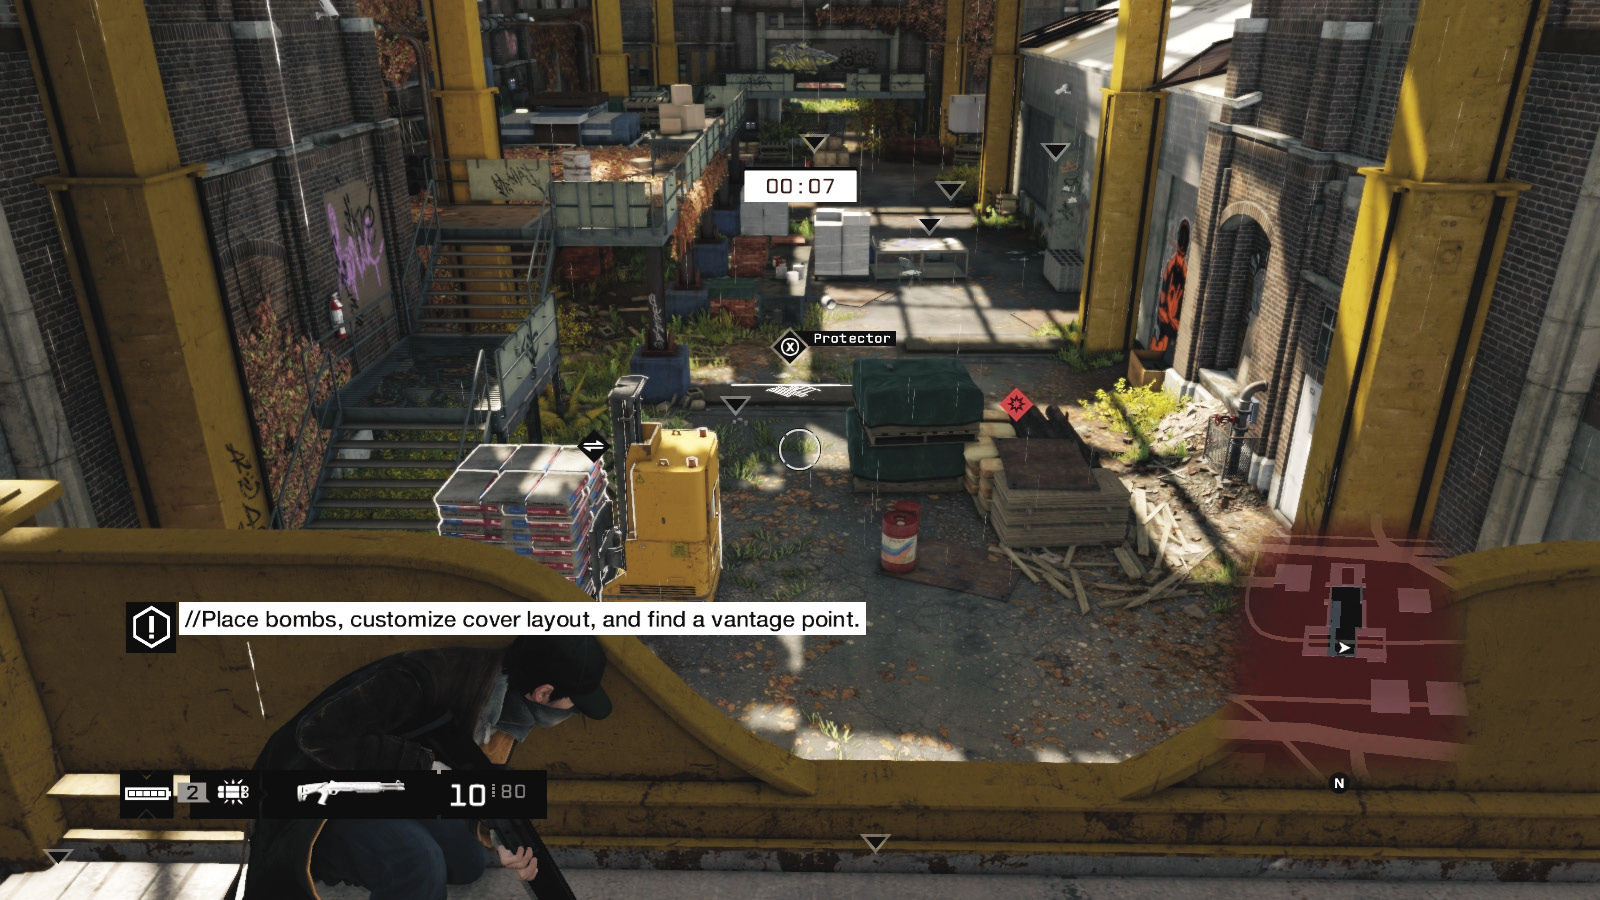
Don’t overlook this container suspended by a crane. This allows you to climb aboard and move it across the entire combat area from north to south, allowing access to either metal walkway. When you do this, the enemy has an extremely difficult time shooting at you, while you can crouch by the metal siding, lob grenades, or shoot down. More importantly, you can access most of the interactive elements and all your IED drops. Thoroughly recommended!
 Aggressive // Smart: Forklifts
 Usefulness:
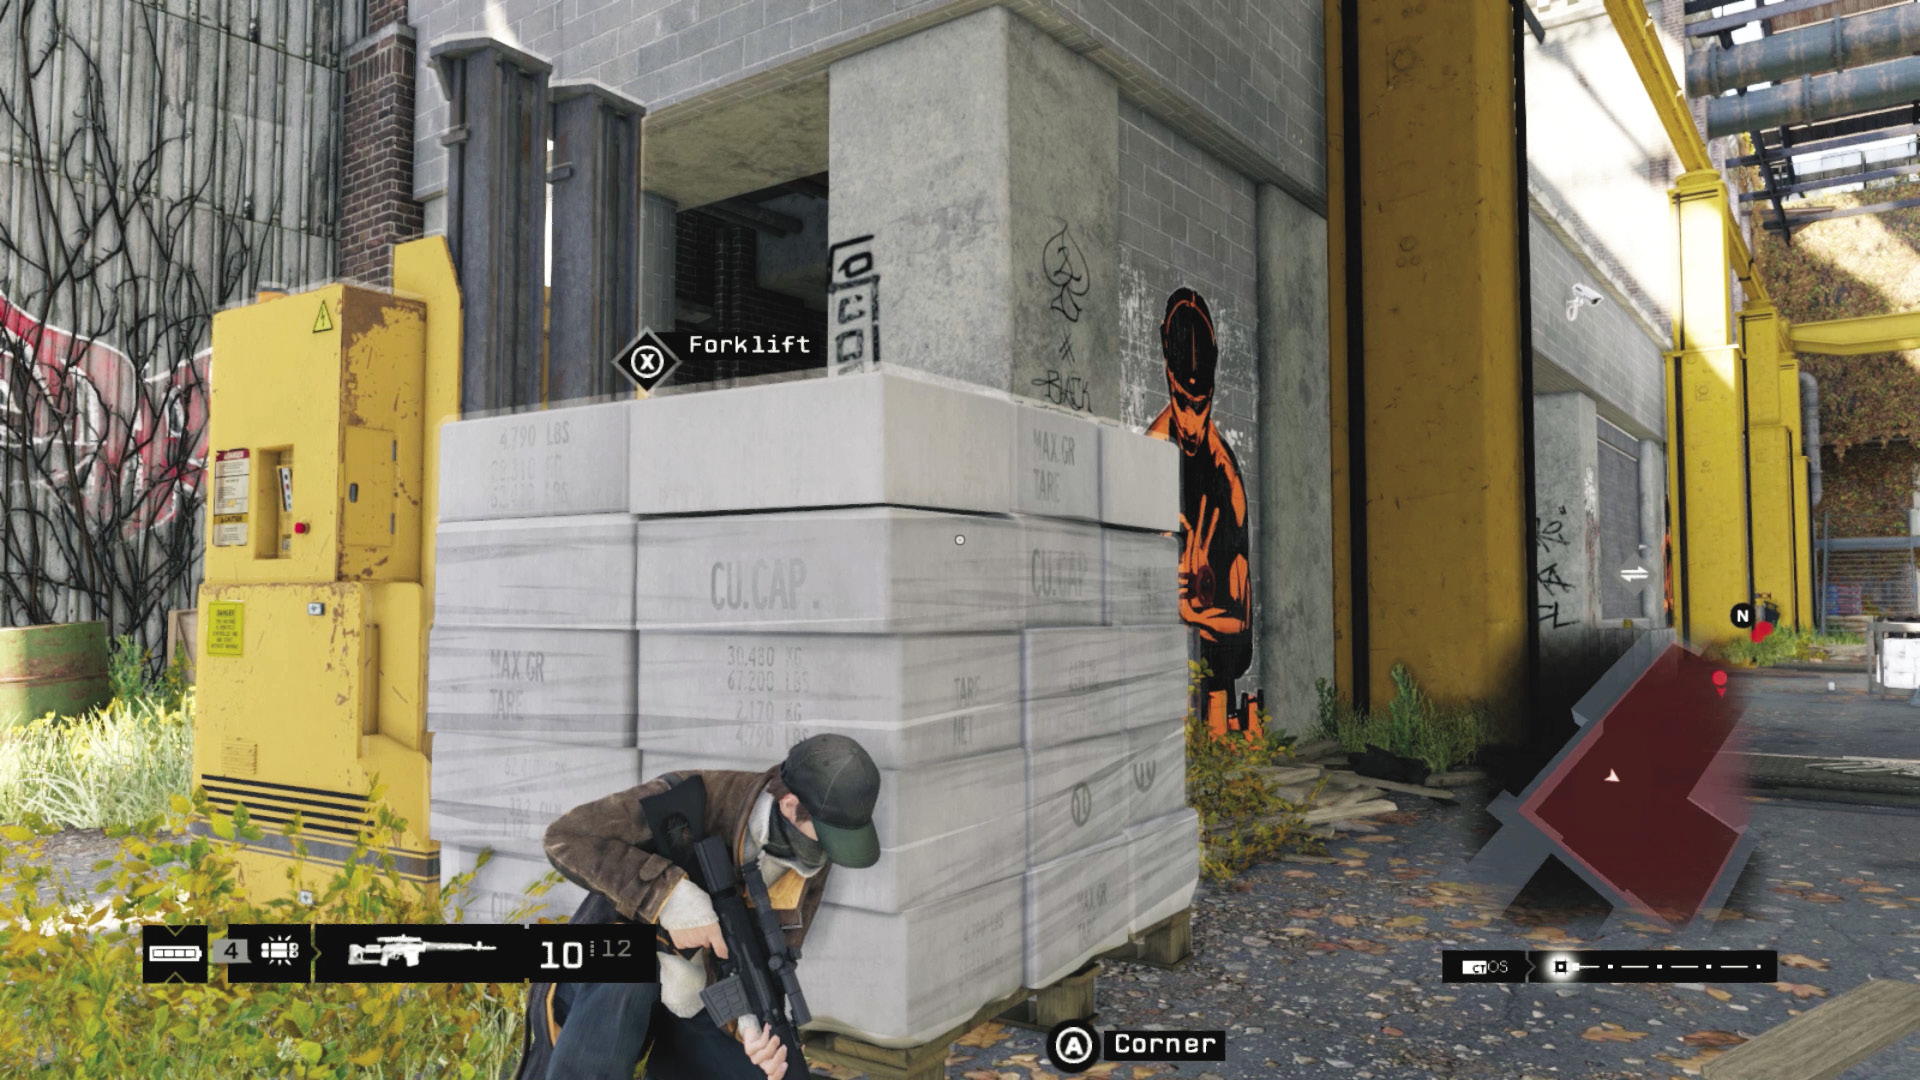
There are a few forklifts parked around this area. They have three basic strategic functions:
Move them so you can stand on or climb on the pallet, and then reach a higher area, such as the west balcony or the roof of the shuttered area, which is a great vantage point!
Move them so you have somewhere to hide behind, or move the pallet up to prevent or expose an enemy trying to hide.
Move them up and down a number of times to attract enemies, perhaps with an IED as a present when they get too close.
 Aggressive // Smart: Shutters
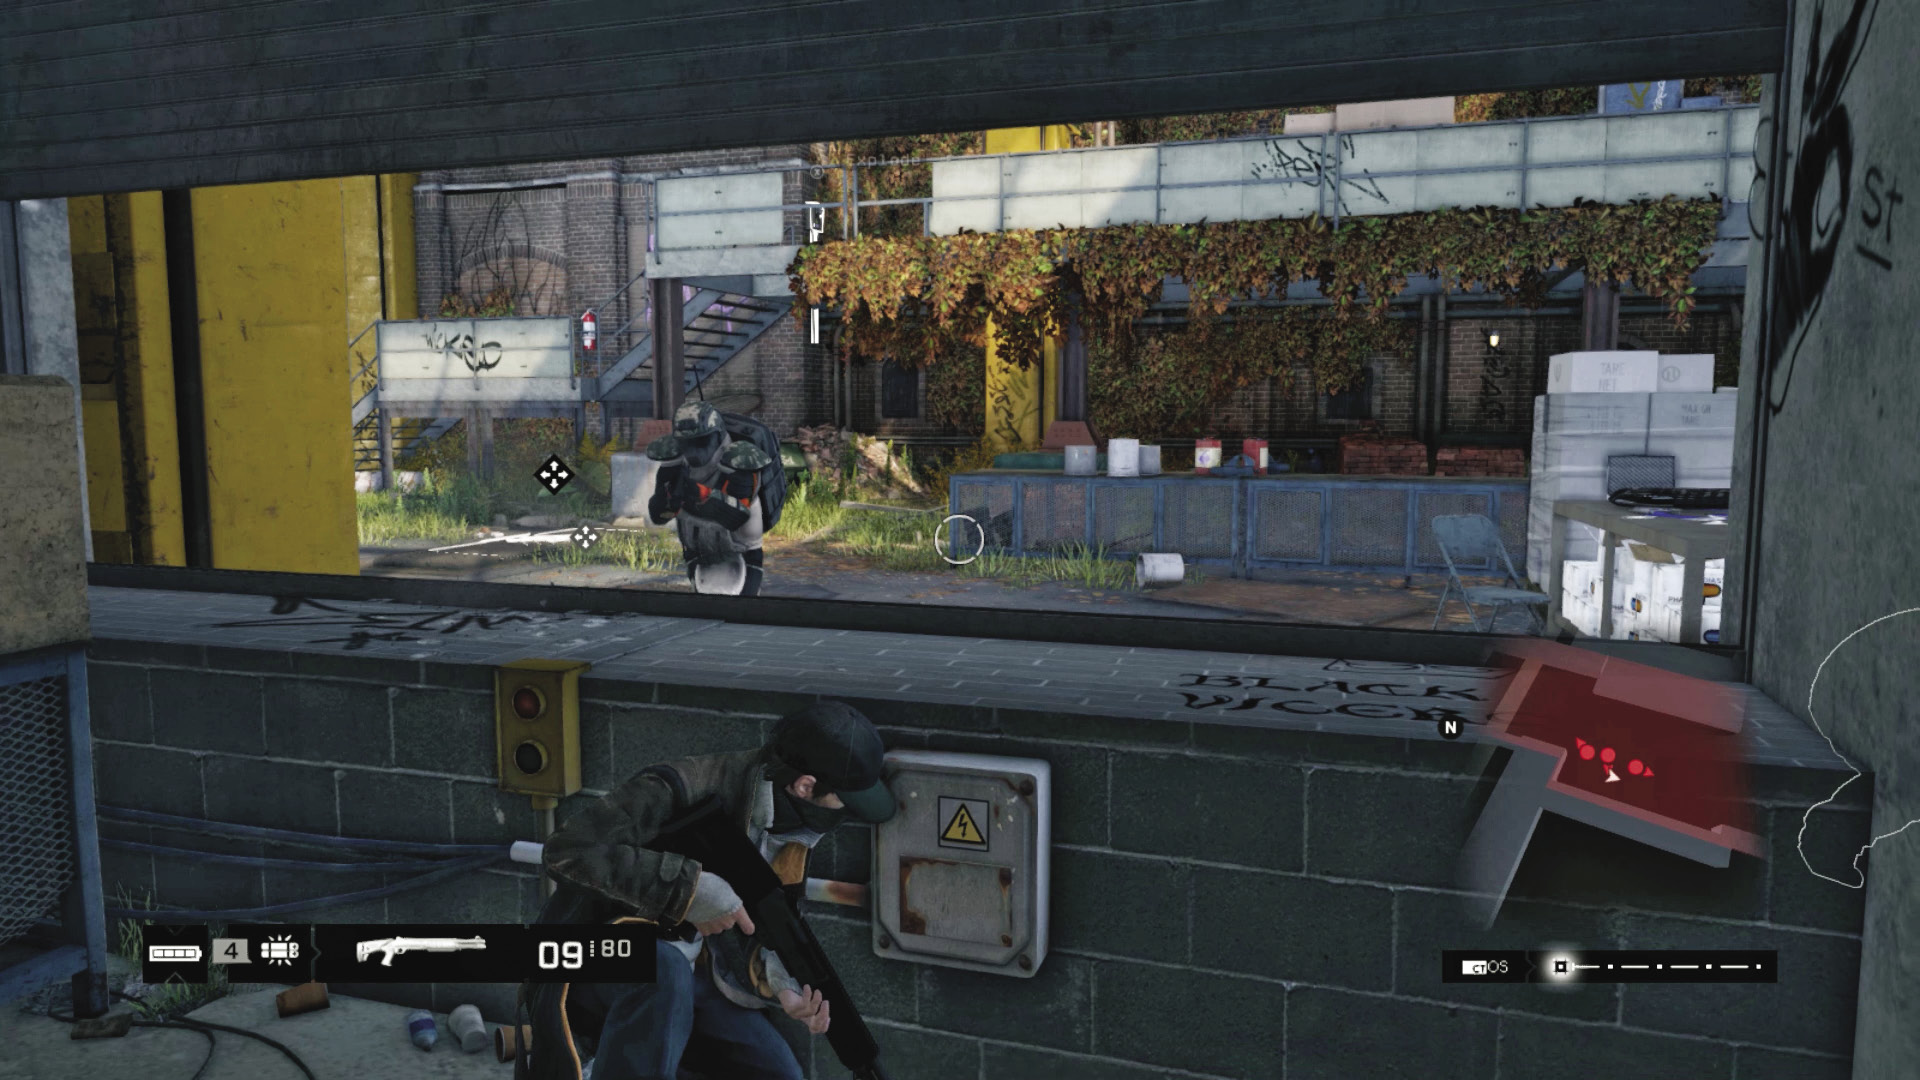
 Usefulness:
The shutters on the eastern storage area serve a couple of functions, so don’t overlook them:
Move them to an open position, which enables you to flush enemies out, removing the extra cover they afford. This is particularly helpful if you’re up on the west balcony, firing down at foes.
Or run into the rear of the shuttered storage area, down the shutters, and wait for enemies to approach before cutting them down with gunfire or exploding IEDs placed at the storage area entrances. Before combat begins, you might want to search the work surfaces here; there’s a phone containing an Audio Log on it.

 Aggressive // Smart: Protectors
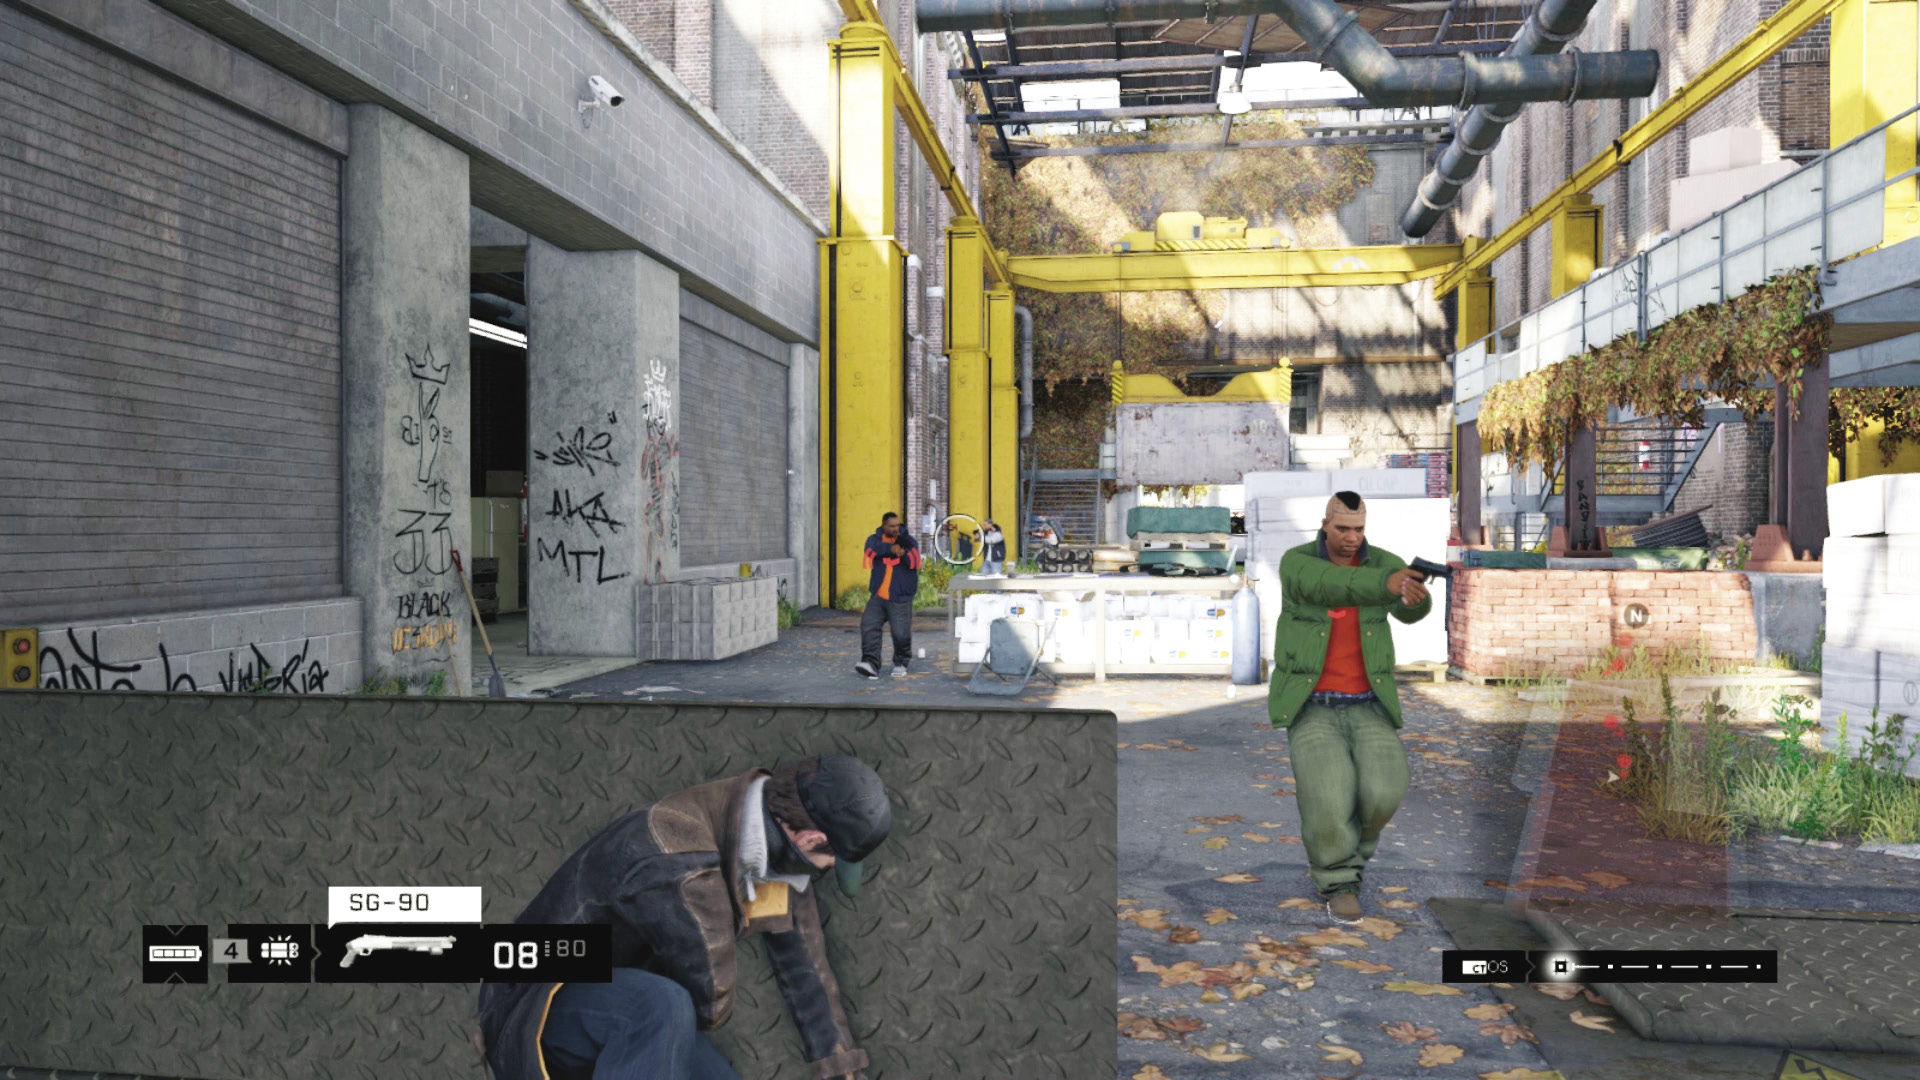
Usefulness: 
These Protectors aren’t particularly helpful, as they can be used just as easily by the enemy as by you. Place them in an upright position so a foe takes advantage of the cover, then remove the cover and remove the enemy threat more easily. Otherwise, these are reasonably versatile if you get caught on the ground and have foes approaching from the north and south (you can run to either side of the Protector as cover).
 Aggressive // Smart: Regulators
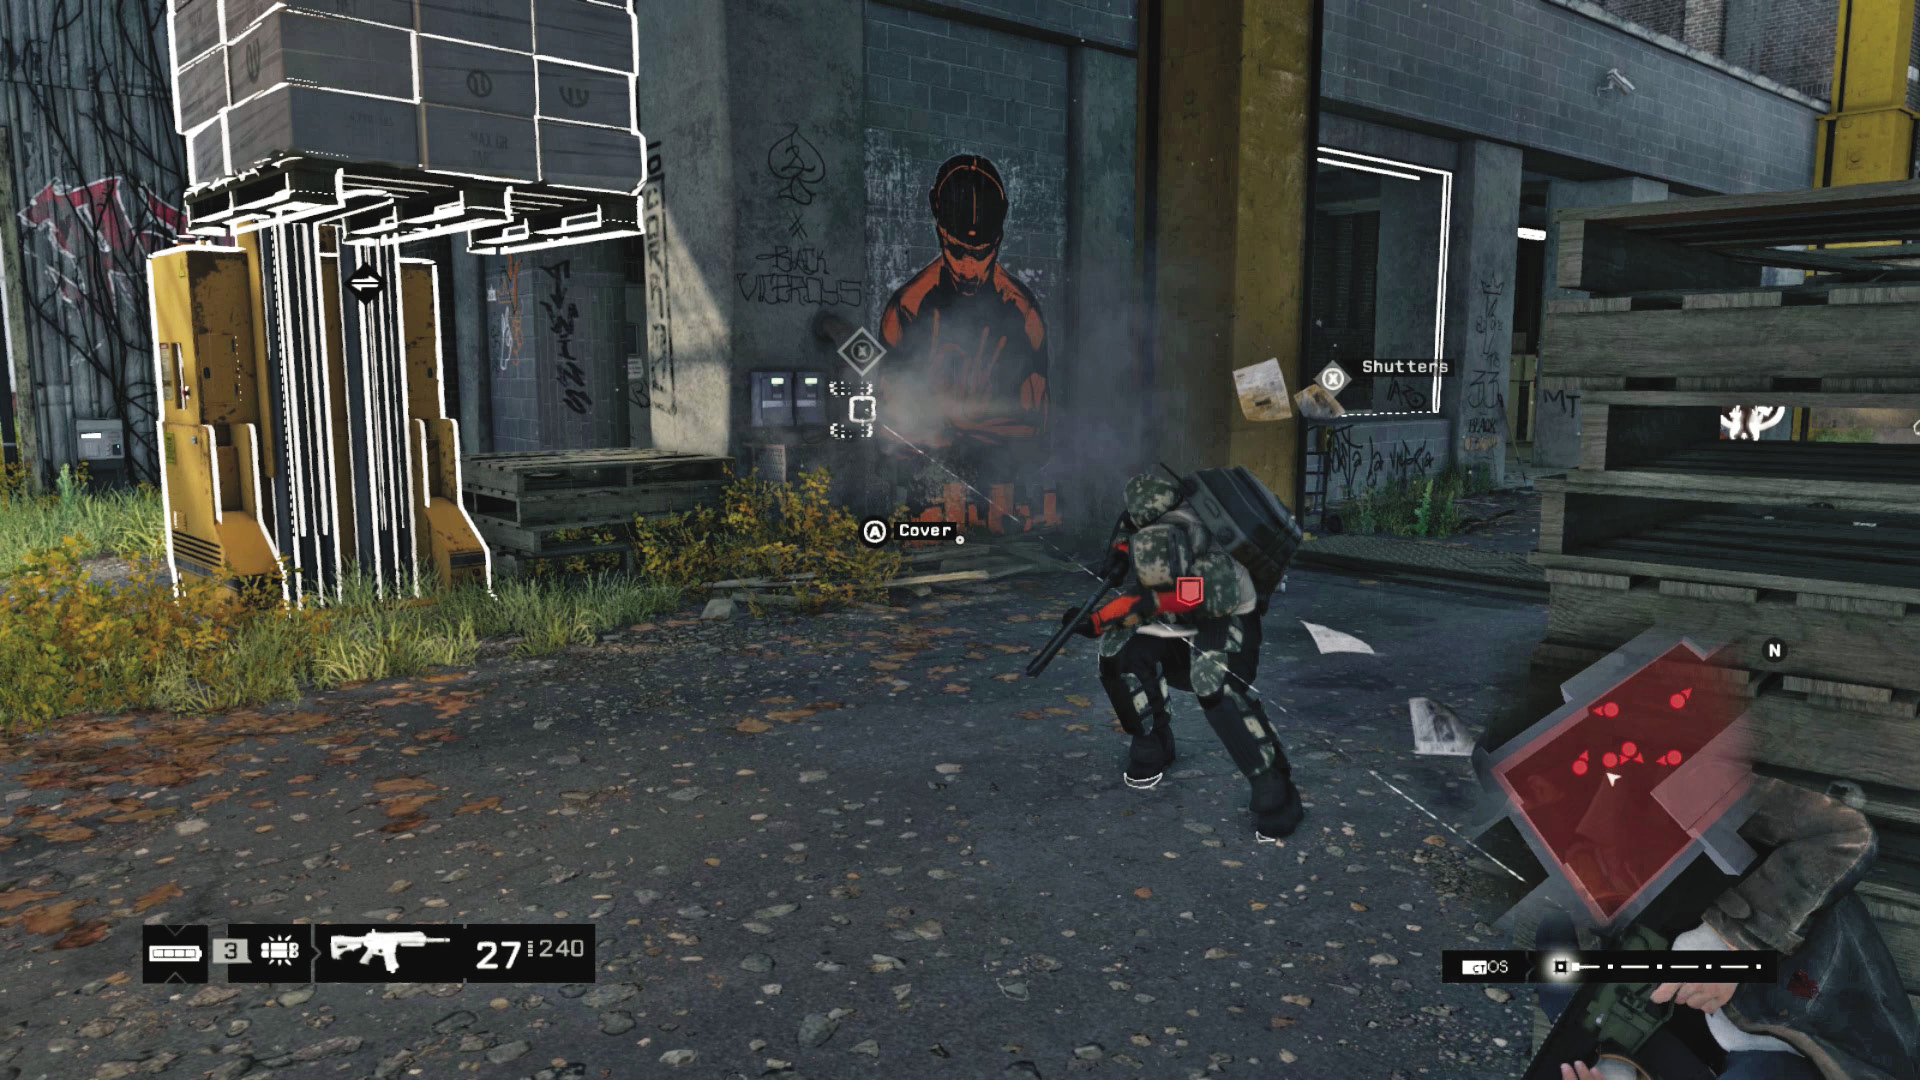
Usefulness: 
There are three of these throughout the warehouse. They are useful to start a chain reaction with other offensive equipment, such as blowing up a collection of canisters or as part of an IED explosion. As the escaping steam doesn’t usually kill a foe, they are mostly useful for slowing enemies rather than stopping them.
 Aggressive // Violence: Explosive Canisters
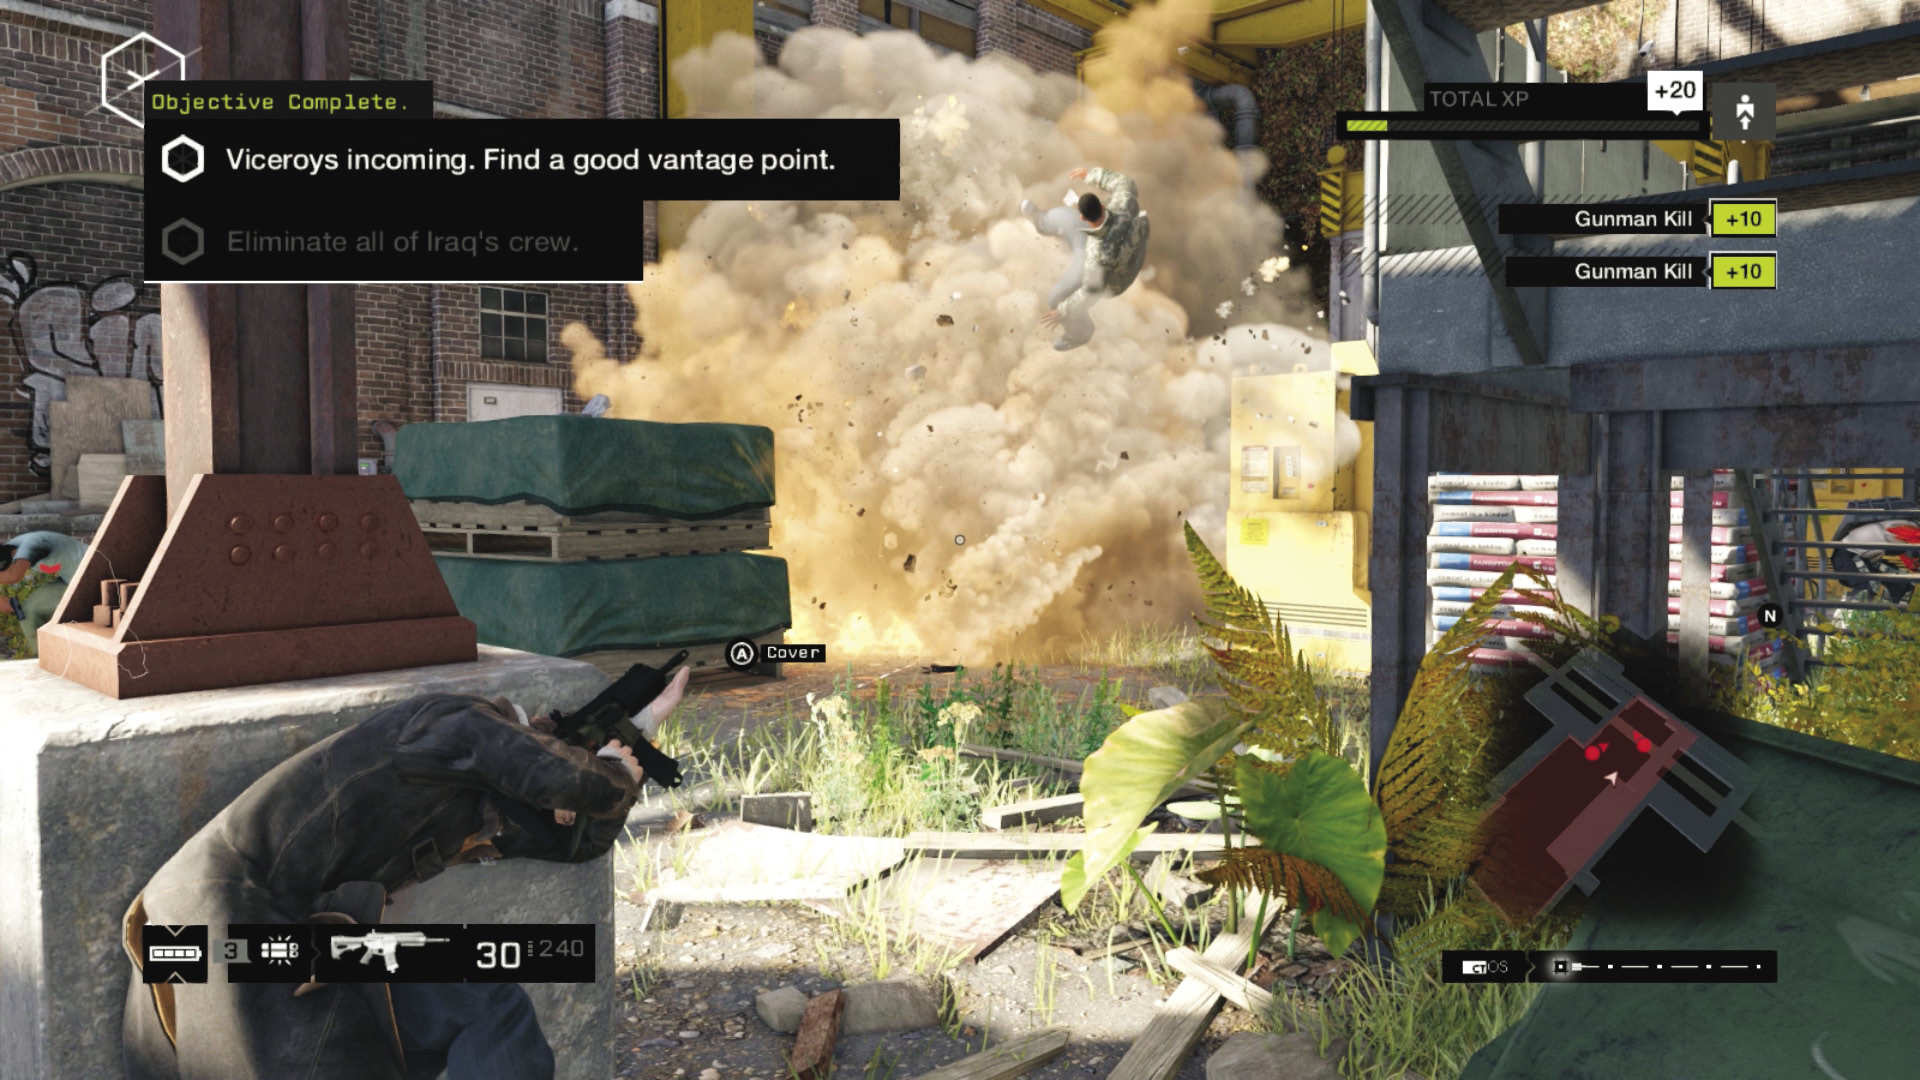
 Usefulness:
There are barrels on the ground area to the north, clusters of canisters on the north and west balconies, turpentine cans on the ground tables, and other canisters scattered about. Though you can kick them about imprecisely, setting up a more formidable explosion with an IED is a great plan. Otherwise, fire at these to hinder enemies heading toward you. Or shoot them to create a disturbance.
Preparation for the Ambush
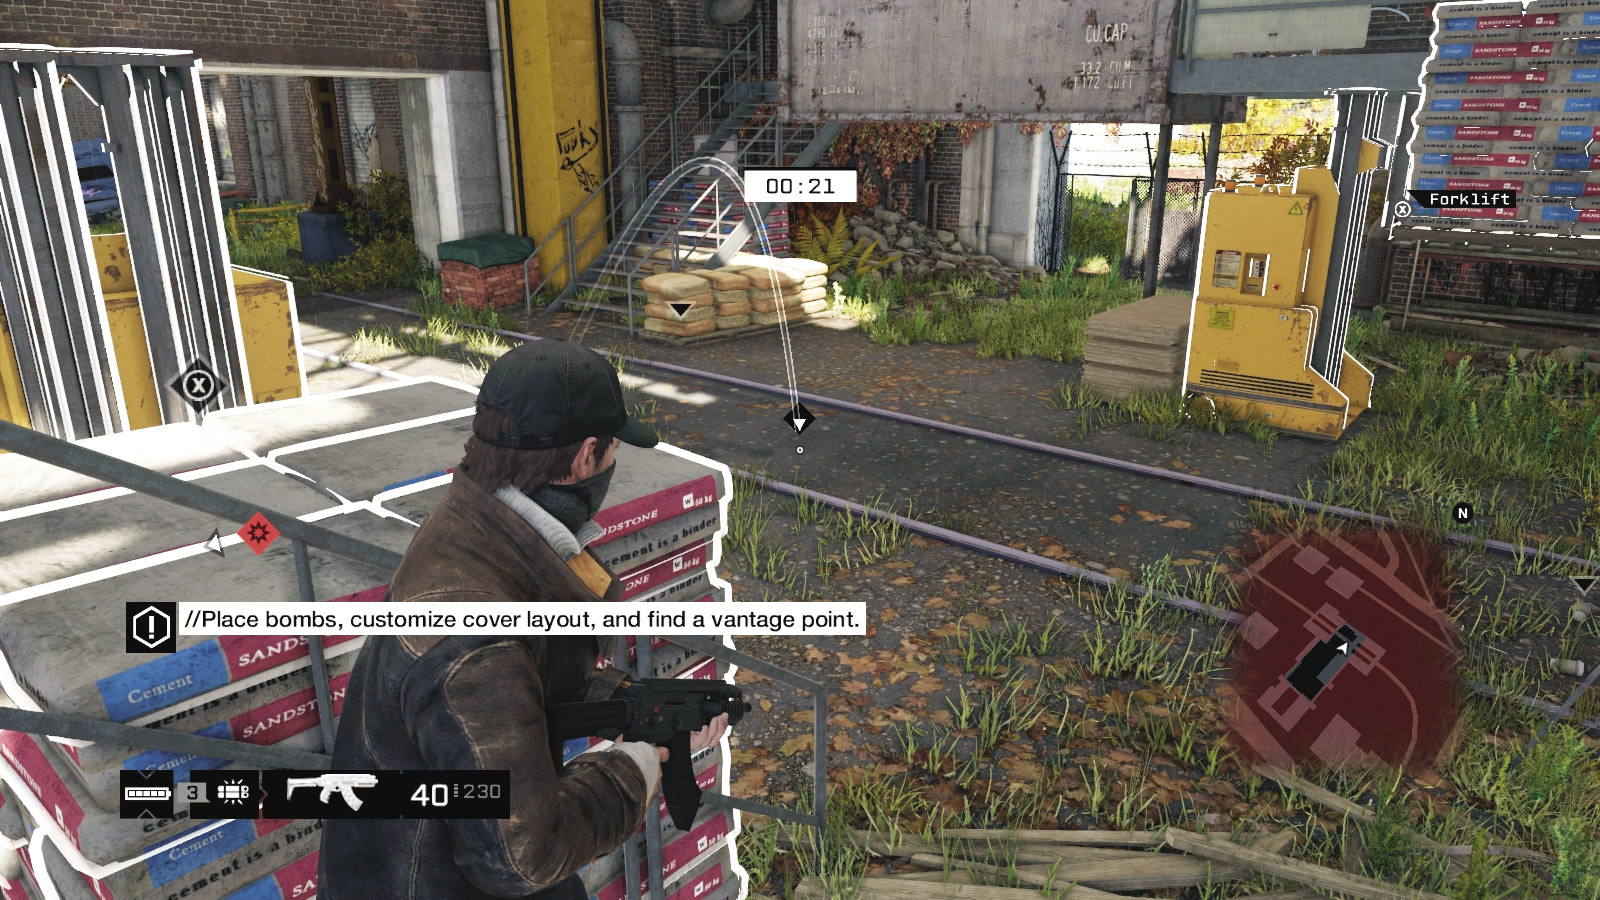
When the two-minute timer starts to tick down, you are encouraged to fiddle with the interactive elements (tactical knowledge was imparted previously), but you also need to prep your IEDs for the combat to come. Known guard locations appear throughout this area, though the following places are preferred for IED placement (especially as you have only three):
Under vehicles: Drop one between the tire marks at the north and south ends. If you have a proximity IED, drop one there, then run to the opposite end and drop a normal IED. That way you can detonate both vehicles around the same time.
Central ground table: This has the most chance of hitting foes approaching from either direction.
Western balcony: Foes usually head up here (especially if you’re waiting there), so drop down and detonate.
Entrances: The Viceroys must enter from one of the six entrances, but don’t detonate immediately; flee outside or to a dead end where foes are lured toward you, and then detonate.
IEDs take out a single foe if you place them on the ground. But consider sticking them to a vehicle you’ve driven into the middle of the warehouse, or close to a cluster of explosive canisters. That’s a bigger explosion, and better use of your resources!
All the other flagged locations are an option, too, but you usually take out only one foe with a detonation, and a headshot is much easier and quicker.
Ambush Locations
With a better sense of this area’s layout and the interactive elements you can rely on, you should now think about where to begin your assault from, despite being outmanned:
 Aggressive // Violence: Northwest Gate
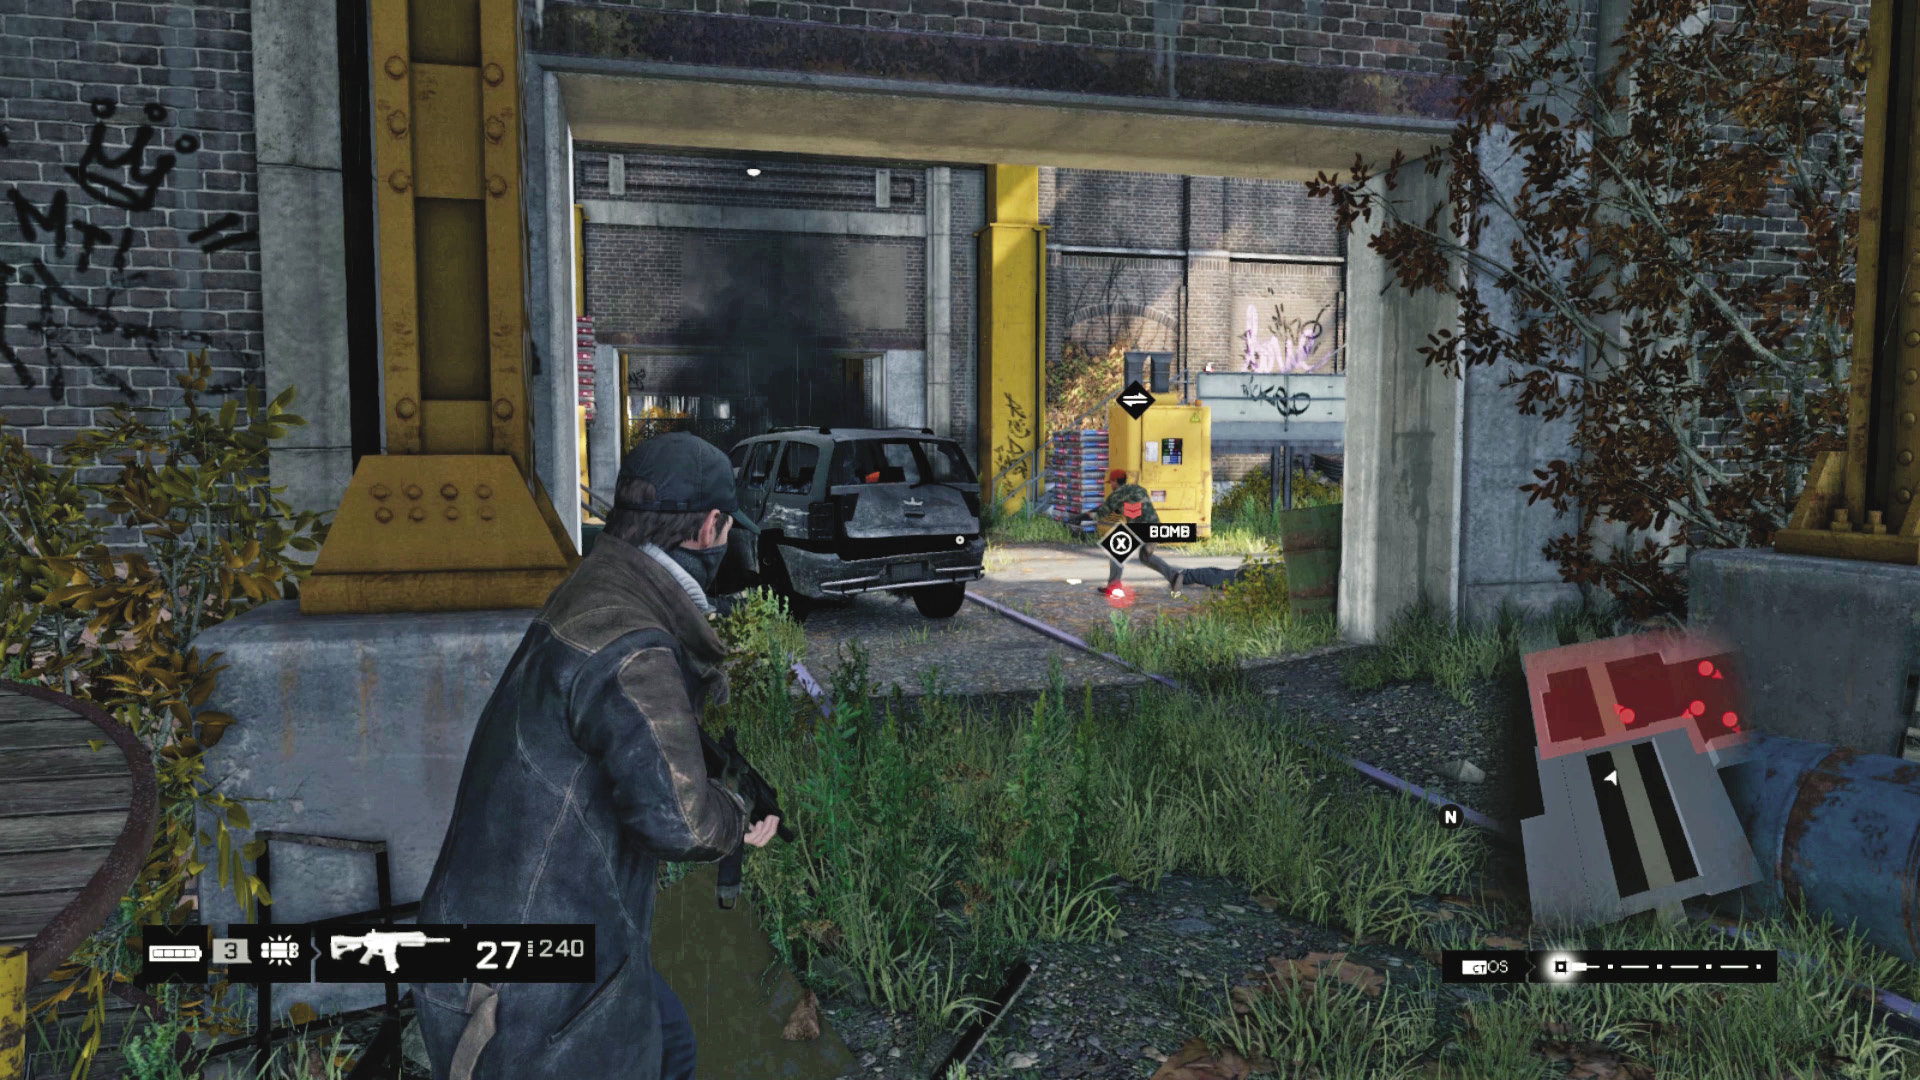
Difficulty: 
This is a reasonably safe area, as the southern Viceroys can’t immediately access you, and you have numerous cover options in the clutter, as well as a gate to prevent foes from ambushing you (though you still need to check periodically for them firing through the gate). Simply play the waiting game, clustering your IEDs around this area, making short work of the SUV and any foes that approach. Venture out to kill any stragglers.
 Aggressive // Violence: North Balcony
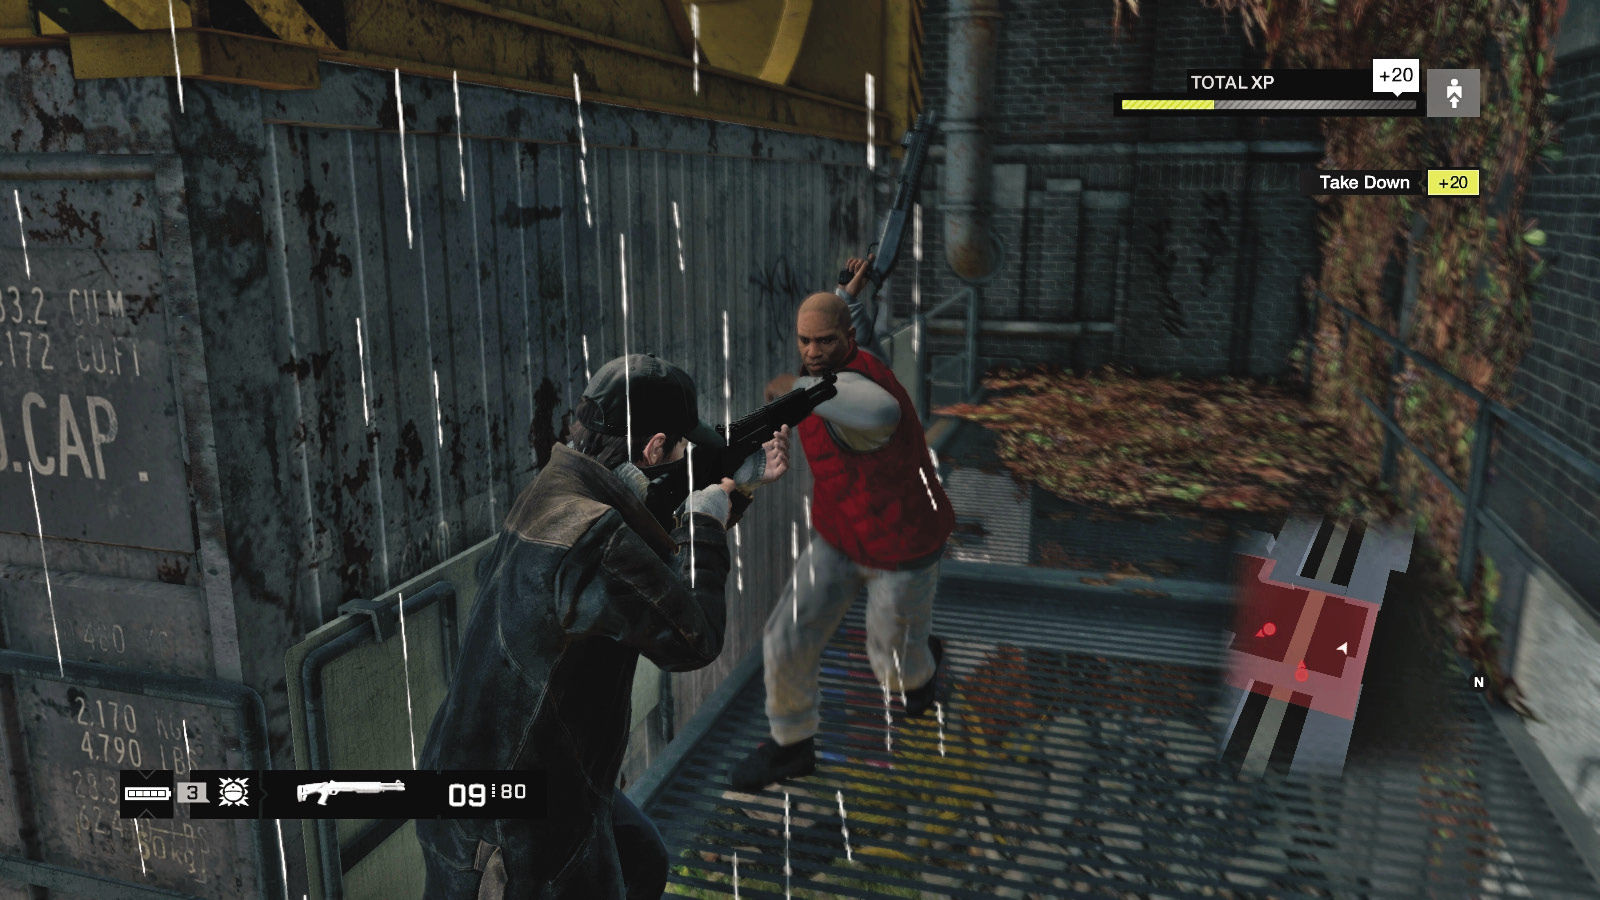
Difficulty: 
This is a short walkway with an exit on each side. It is completely open aside from the container crane. Use this area only to reach the crane; it isn’t a particularly safe place to stay. Though you can bring gunfire down on foes below, you’re easily trapped and surrounded.
 Aggressive // Violence: Overhead Crane
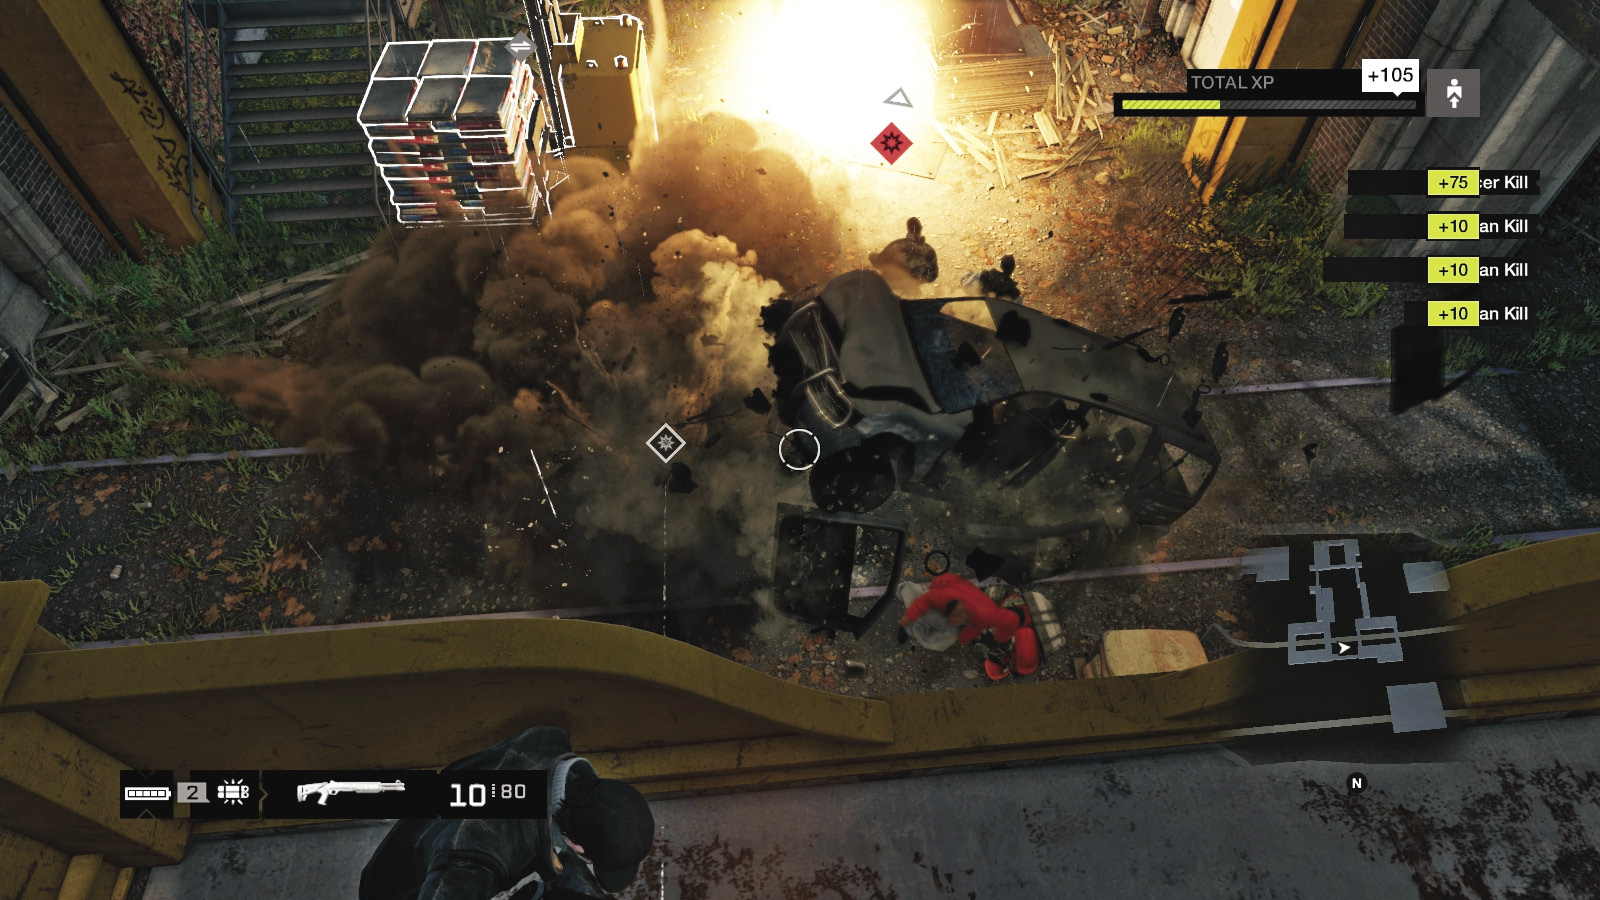
 Difficulty:
As previously discussed, this is an excellent ambush point and most entertaining, as you can remain hidden up here until all your IEDs go off, then target any foes you see. If the foes concentrate their fire on you, start the crane and move back and forth along the warehouse, firing down and lobbing grenades. You can target enemies anywhere, from the west balcony to the shuttered storage area. The only dangers are being the focus of attention and the fall if you try to drop before reaching either balcony.
 Aggressive // Violence: Western Balcony
 Difficulty:
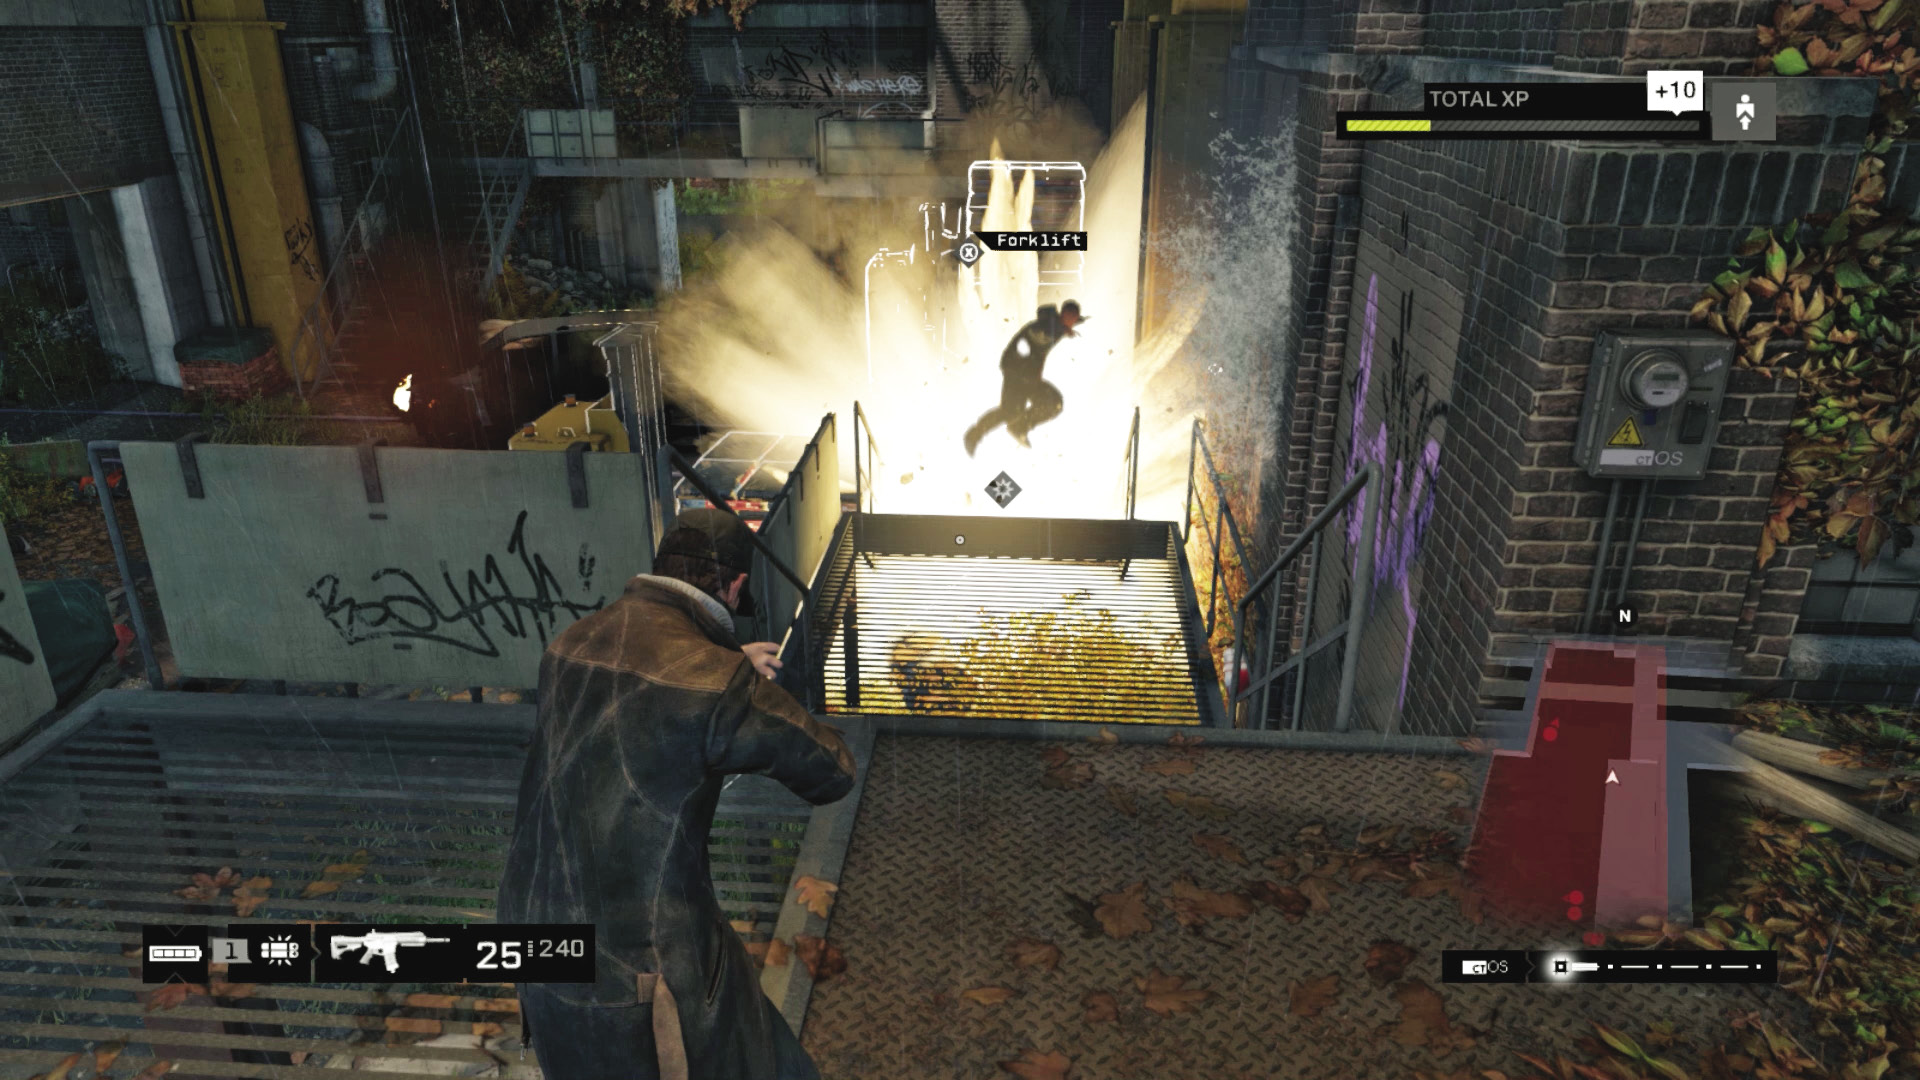
Most enemies usually head here, as this offers reasonable protection and stairs with good cover options before foes reach the middle of the balcony. You can escape via the forklift or either stairwell, and although you’re attacked from both directions, there’s usually time to react before you’re surrounded. There’s also canisters on either set of steps to blow up, and you can see IEDs and foes on the ground below.
You can also lie in wait underneath the balcony, firing up and killing foes from below (which is difficult) and using the forklift to climb onto the balcony if you want to escape. There are fewer advantages if you’re under the balcony, as you’re more easily swarmed and don’t have the height advantage.
 Aggressive // Violence: Eastern Storage
 Difficulty:
Another overlooked area but one that you might think about holding up as a “last stand,” with both shutters closed to stop incoming enemy fire and to funnel the enemies through either of the entrances. Retreat to the end of the storage area, and before the enemies reach you, peek out from cover and drop foes and explode ordnance you’ve used as traps. In a pinch, you can raise a shutter and escape.
 Aggressive // Violence: South Balcony
Difficulty: 
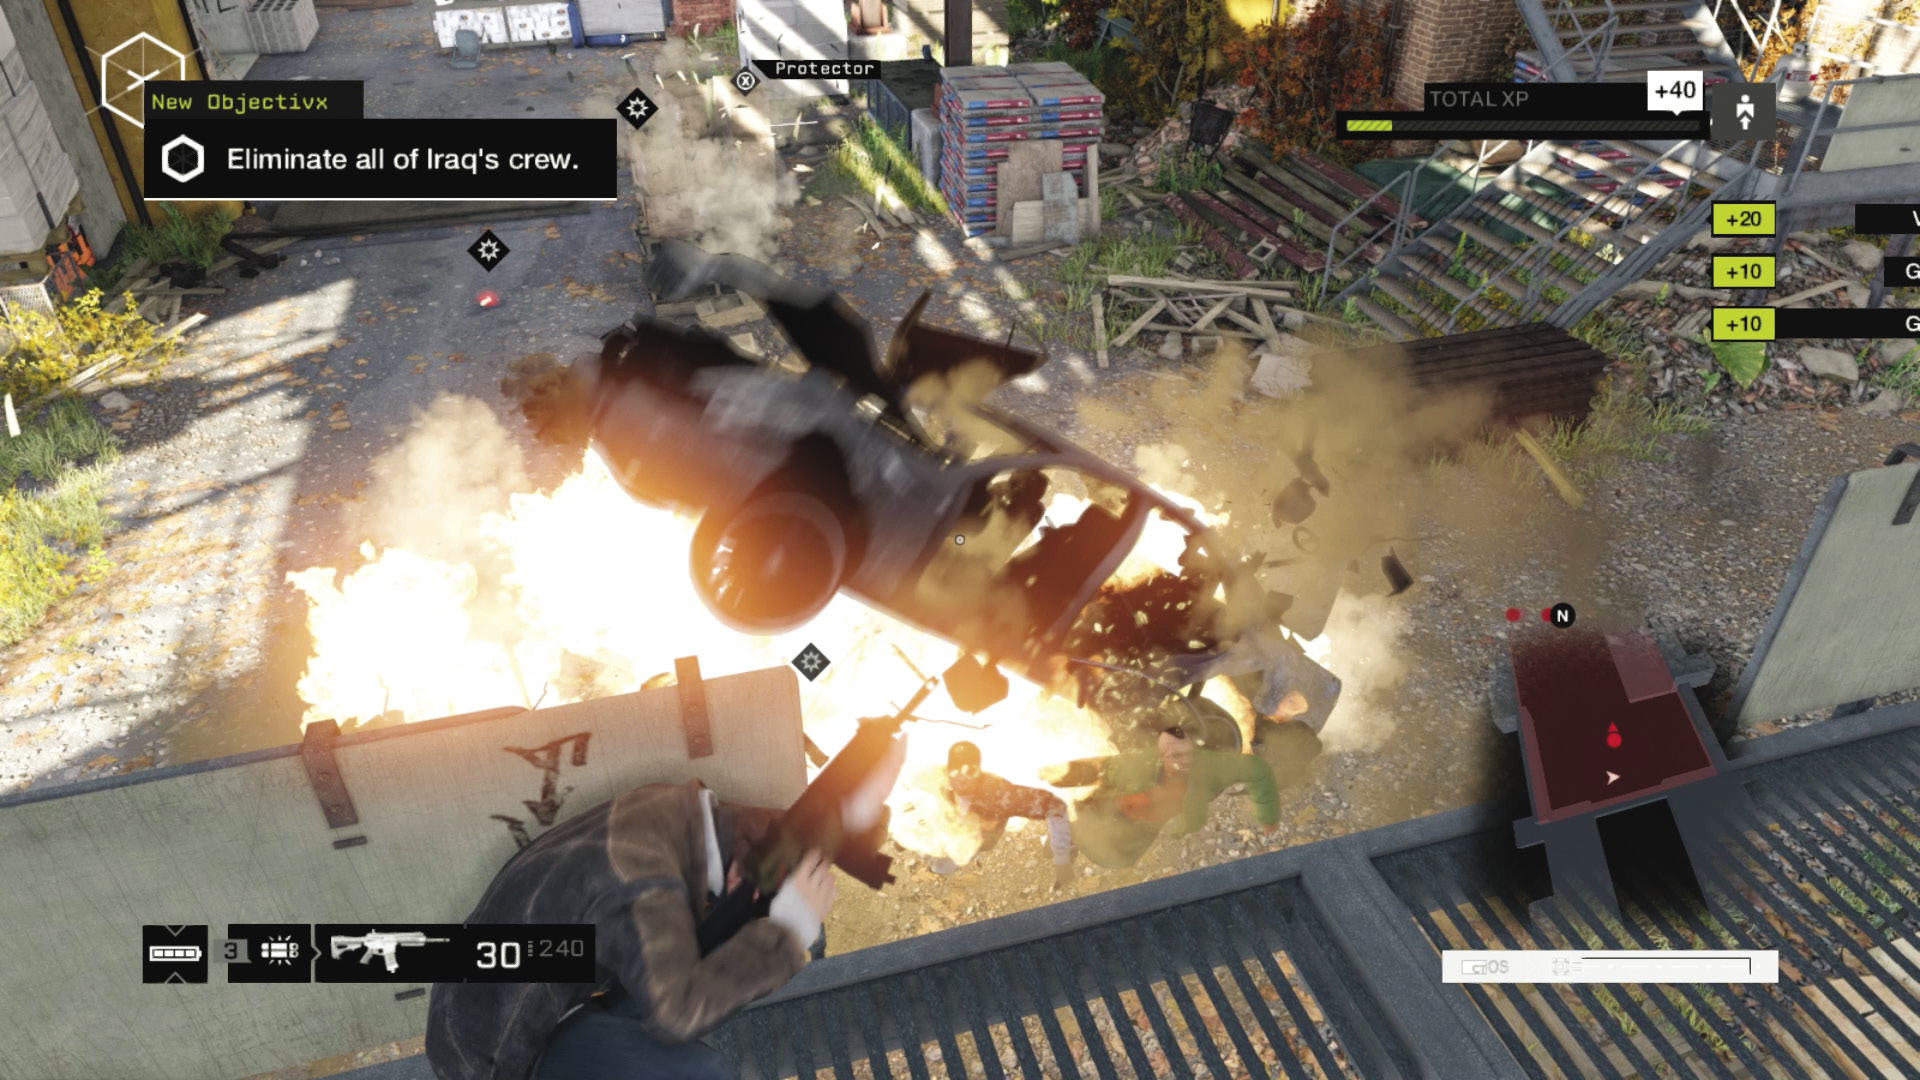
Much like the northern balcony, you have fewer options in terms of cover, and the tighter entrance structure of the warehouse’s southern part means this is even more dangerous. Climb on a summoned overhead crane from here, but otherwise, you may wish to steer clear, unless you’ve trapped both sets of stairs and are sniping like a madman, as there are great lines of sight. However, it’s better to stay on the ground and retreat down the southern exit if you prefer long-range attacks; just watch behind you for incoming foes.
Ambush Plans
Need further encouragement? Then think outside the box, or in this case, the warehouse. Here are a few more options for the sideways thinker:
 Aggressive // Violence: Outside the Box
 Difficulty:
If you’re planning to sit inside the warehouse, the variety of lures are extremely helpful in moving foes toward your line of sight. If you’re setting up a defensive position in a dead end and foes aren’t coaxed toward you, lob a lure to help you out.
Think a sniper rifle isn’t the best course of action? Think again! Flee out of the warehouse to the large gray storage building to the east or the open warehouse to the west. Set up a camping spot with views through the entrances.
Or, stay outside the warehouse. Although there’s a mission perimeter, it is large enough for you to sit behind the brick pallets and wait for the enemy to come to you; then remove them as threats.
Park a vehicle at one of the open entrances prior to starting this objective. Stick an IED on it, drive it into the fray, flee from the vehicle, and detonate it! You can also use a vehicle as moveable cover if necessary.
Cordon off the south or north part of the building entirely by driving three large vehicles and blocking the entrances. Or go nuts and drive six vehicles to block every entrance: This slows down the reinforcements a great deal, allowing you extra time to return to the vehicle, shoot foes clambering over or around it, or use an IED to detonate it.
9.4 GOT A RUNNER
 Location / Brandon Docks // Brick Factory
|
|
 Hack cell phone to intercept the call
 Take down the fleeing Viceroy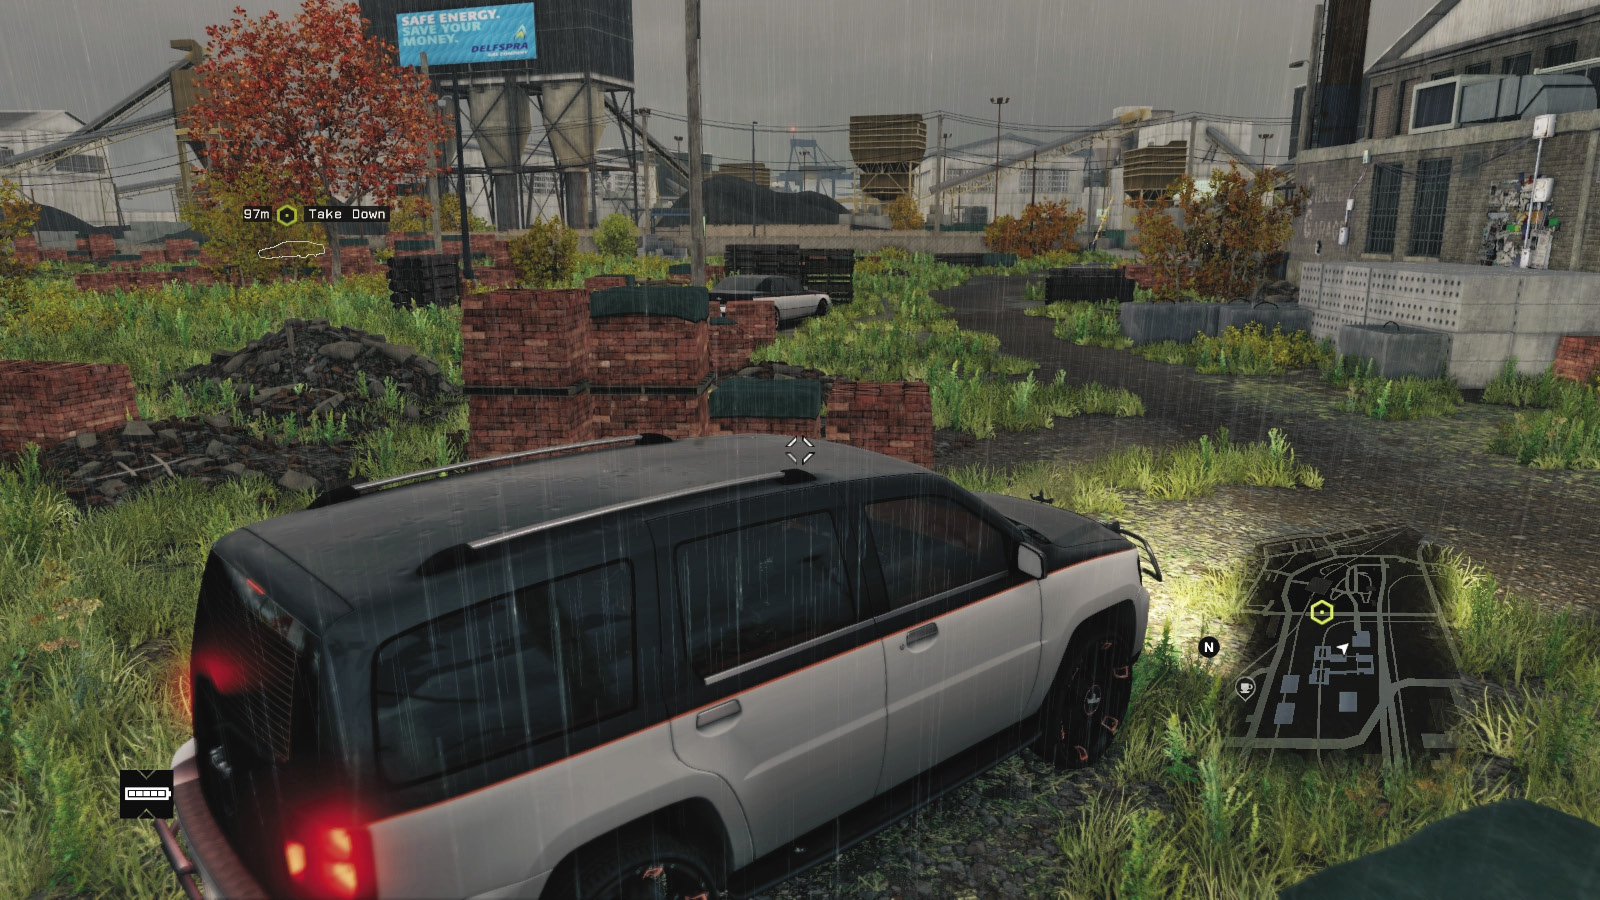
 Data Hack
 Vehicle Chase
 Lethal Force Likely
Difficulty: 
There’s a phone ringing on the central table of the half-destroyed brick warehouse, which is strewn with Viceroy bodies. It’s an incoming call from Bedbug. Answer it, letting him know you’ve somewhat depleted Iraq’s forces. As the call ends, a straggler in the waste ground to the brick factory’s southeast realizes what’s happened and decides to flee. Time to tie up this loose end!
 Driving // Offensive: Viceroy Round-Up
Difficulty: 
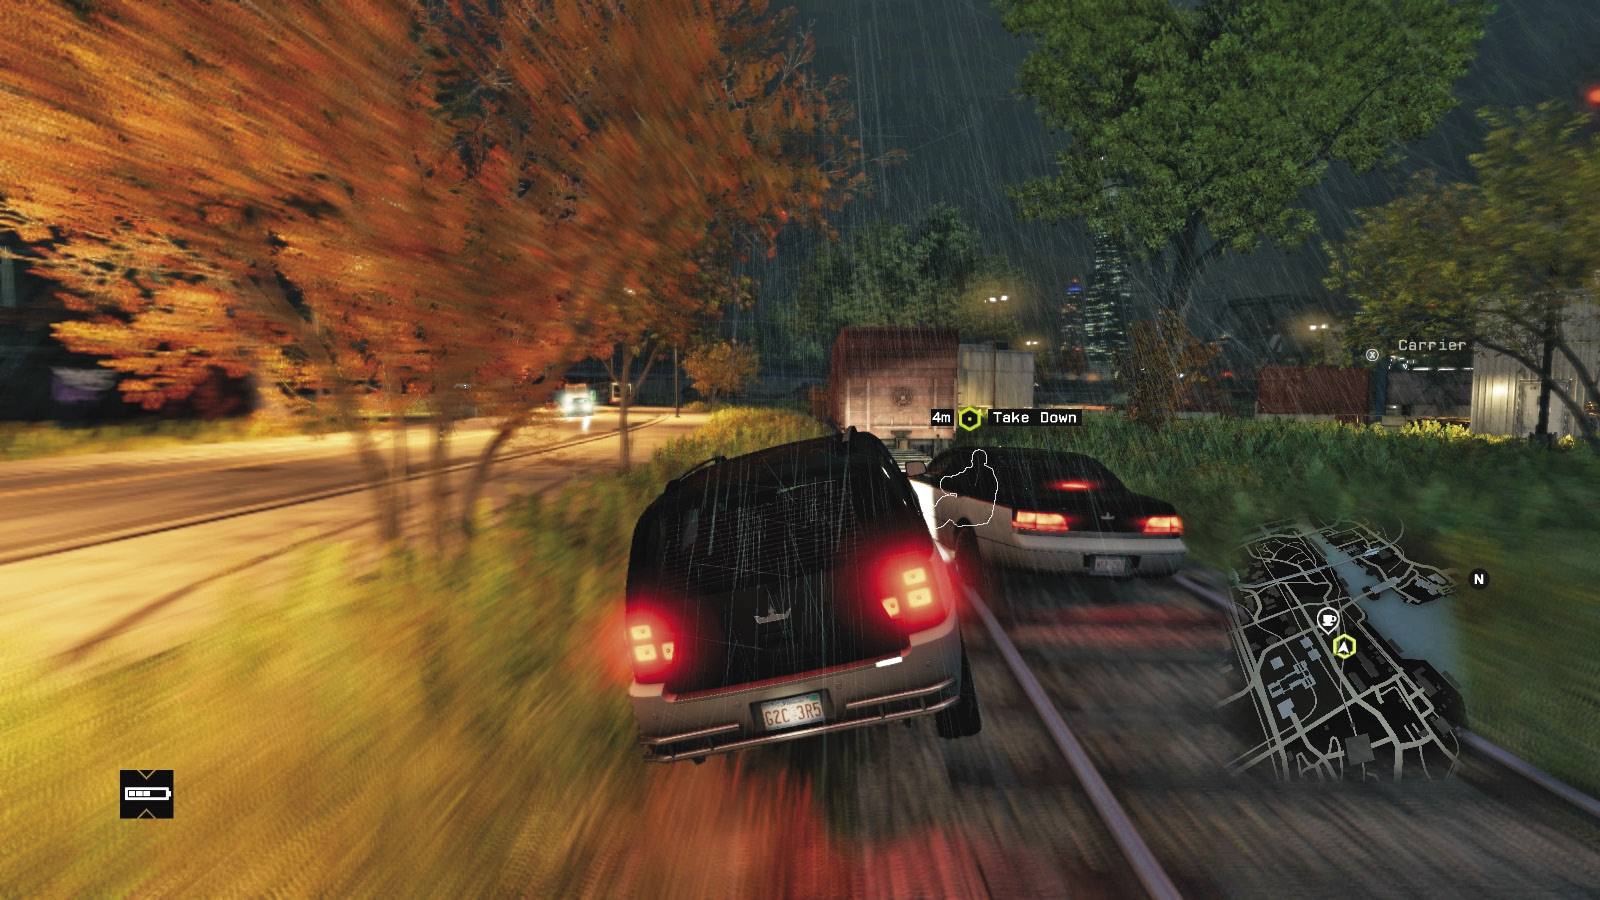
At this point, a familiar style of vehicle chase begins. Assuming you didn’t bring a vehicle with you, there’s a Viceroy sedan (the Vessel), a Viceroy SUV (the Polar), or a parked bike. The bike is excellent for weaving around obstacles if you plan to use hacking (not ramming!) to take down the fleeing suspect. The SUV actually steers and is more solid than the sedan, which is the least advisable of the vehicles. Utilize one and start the chase.
The foe always takes the same route. This is helpful, as you can try evasive maneuvers you’ve previously learned. Or you can rely on the ctOS hacks or cut corners to reach the road ahead and block the Viceroy:
He speeds left out of the brick factory yard (spikes).
He then heads left at the traffic lights and moves onto the railroad tracks. Shunting him near the parked rail container truck is a great way to finish this chase early.
He heads up an embankment and makes a long loop around the smelting coal yard, passing traffic lights.
Then he goes over a bridge and skids right at the next traffic light. He turns right at the next light.
After a left curve, he turns right at the next traffic light. Next he heads down the road, swings left and then right and through another set of traffic lights under an L-train bridge.
After one more set of lights, he attempts to enter the freeway. If you haven’t caught him by this point, you may want to rethink your driving skills!
9.5 EYES AND EARS INSIDE ROSSI-FREMONT
 Location / The Loop and Mad Mile
 Location / The Loop // Face Fountain
|
|
 Reach Bedbug’s location
 Follow Bedbug undetected
 Call Bedbug
 Hack the sculpture to display blackmail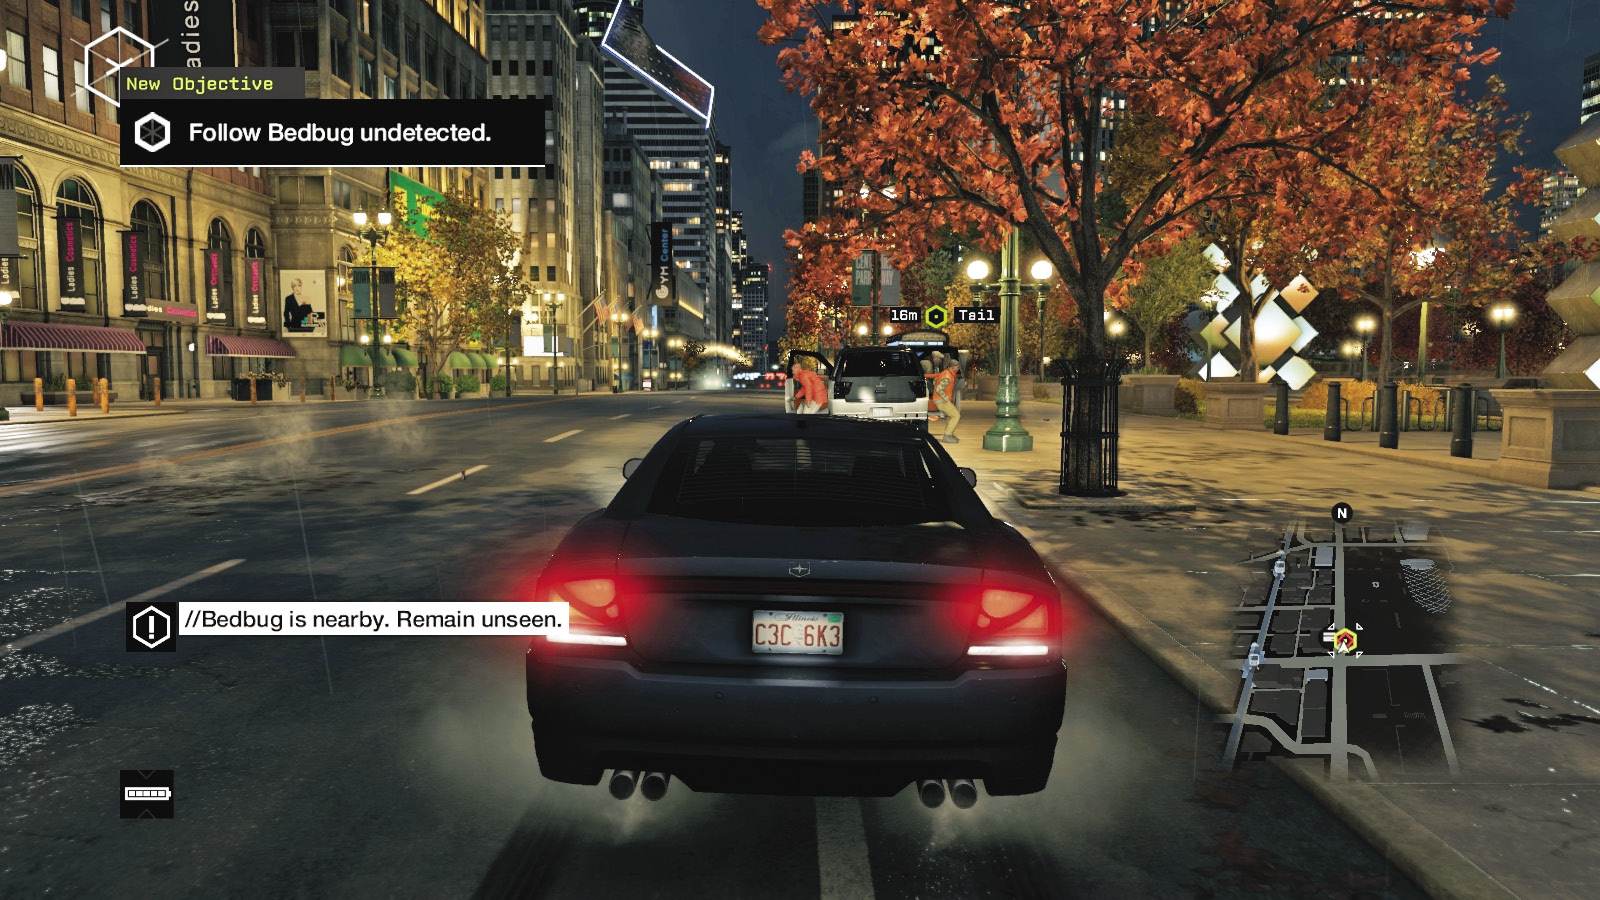
 Driving Investigation
 Investigation
 Data Hack
Difficulty: 
You must now attempt to drive into the city. Quickly head north, over the water, and drive to the area of the park where your hacking leads you. Bedbug is in his SUV and is moving north along the main road. Don’t head straight for the vehicle, as this alerts him and fails the mission. Be as subtle in your clandestine surveillance as you can.
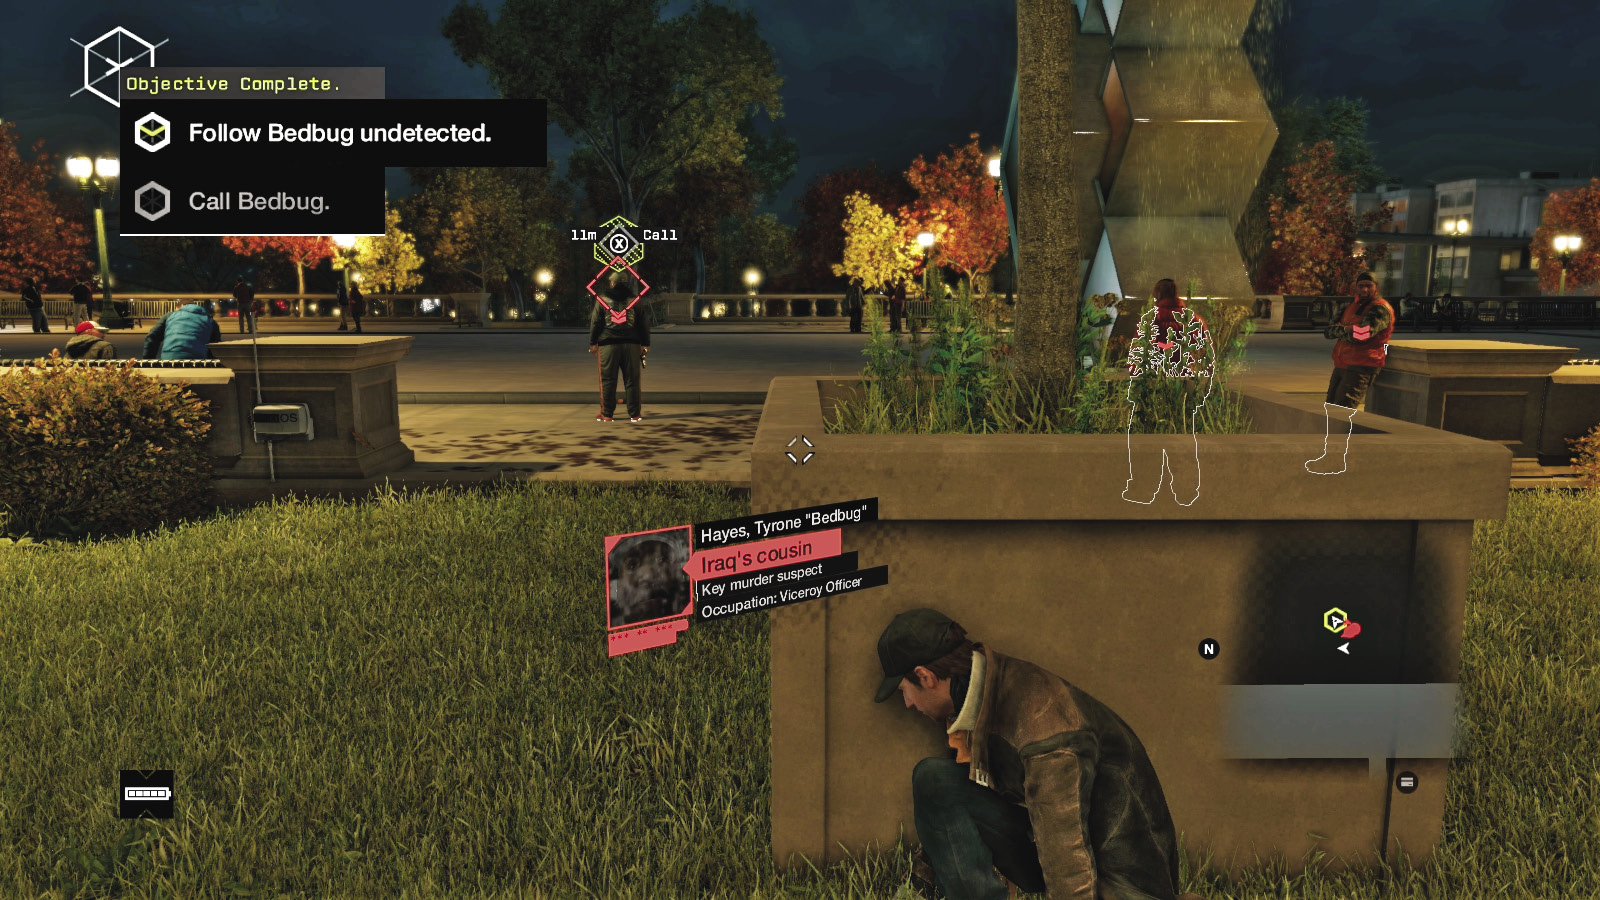
Bedbug and his two-man crew disembark and head into the sculptural pool area. Exit your vehicle and drop down behind the low wall or concrete planter to watch the proceedings. When prompted, call up Bedbug; tell him you have a job for him, which freaks him out. Remain in cover. Bedbug’s crew desert him, leaving him ready to receive an offer he can’t refuse.
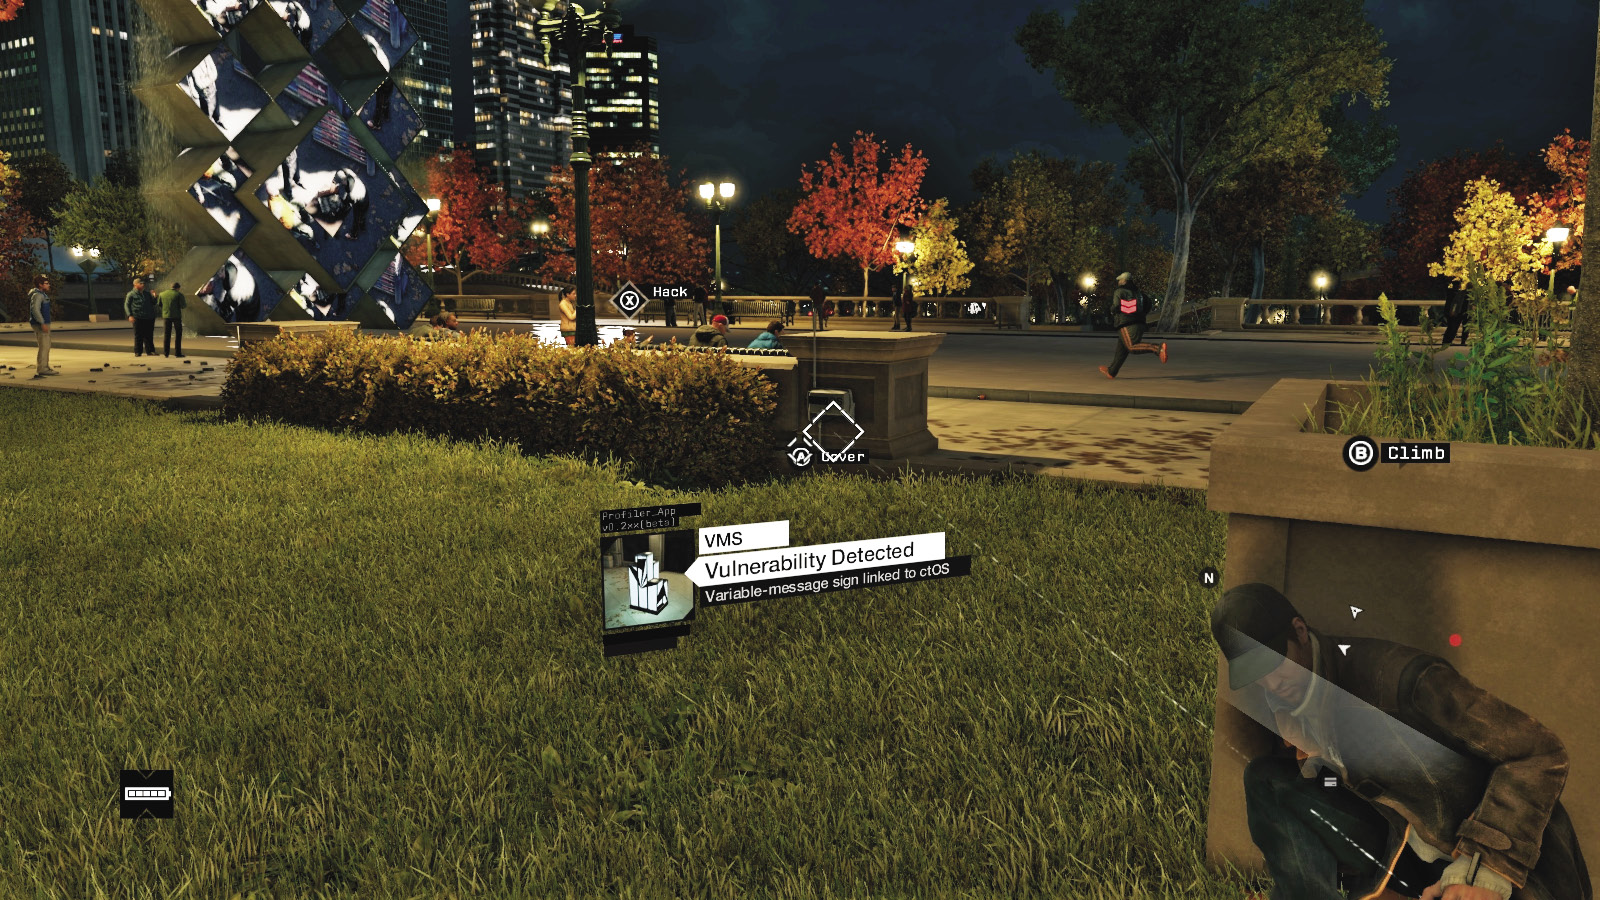
Creep over to the cube-shaped planter and hack the ctOS junction switch. Upload the blackmail video, which starts to play on the bank of diamond-shaped LED screens on each side of the shallow reflecting pool. Bedbug is terrified of the images showing his disloyalty and is obviously susceptible to your blackmail plan. He’ll be your eyes and ears inside Rossi-Fremont now. This mission concludes.
MISSION REWARDSGained XP +1,000 SongSNEAK: C.R.E.A.M. By: Wu-Tang Clan |