
Watch Dogs Guide ONLINE MISSIONS
_DECRYPTION ZONES // BRANDON DOCKS
_DATA RACE
Location / TIDIS CORPORATION YARDS
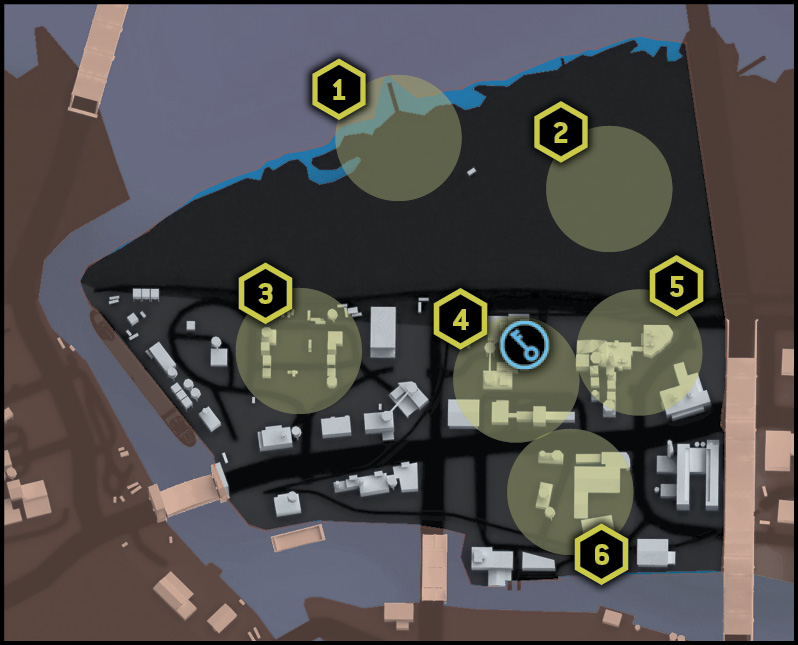
Points of Interest
01 // North Paths to Jetty (North)
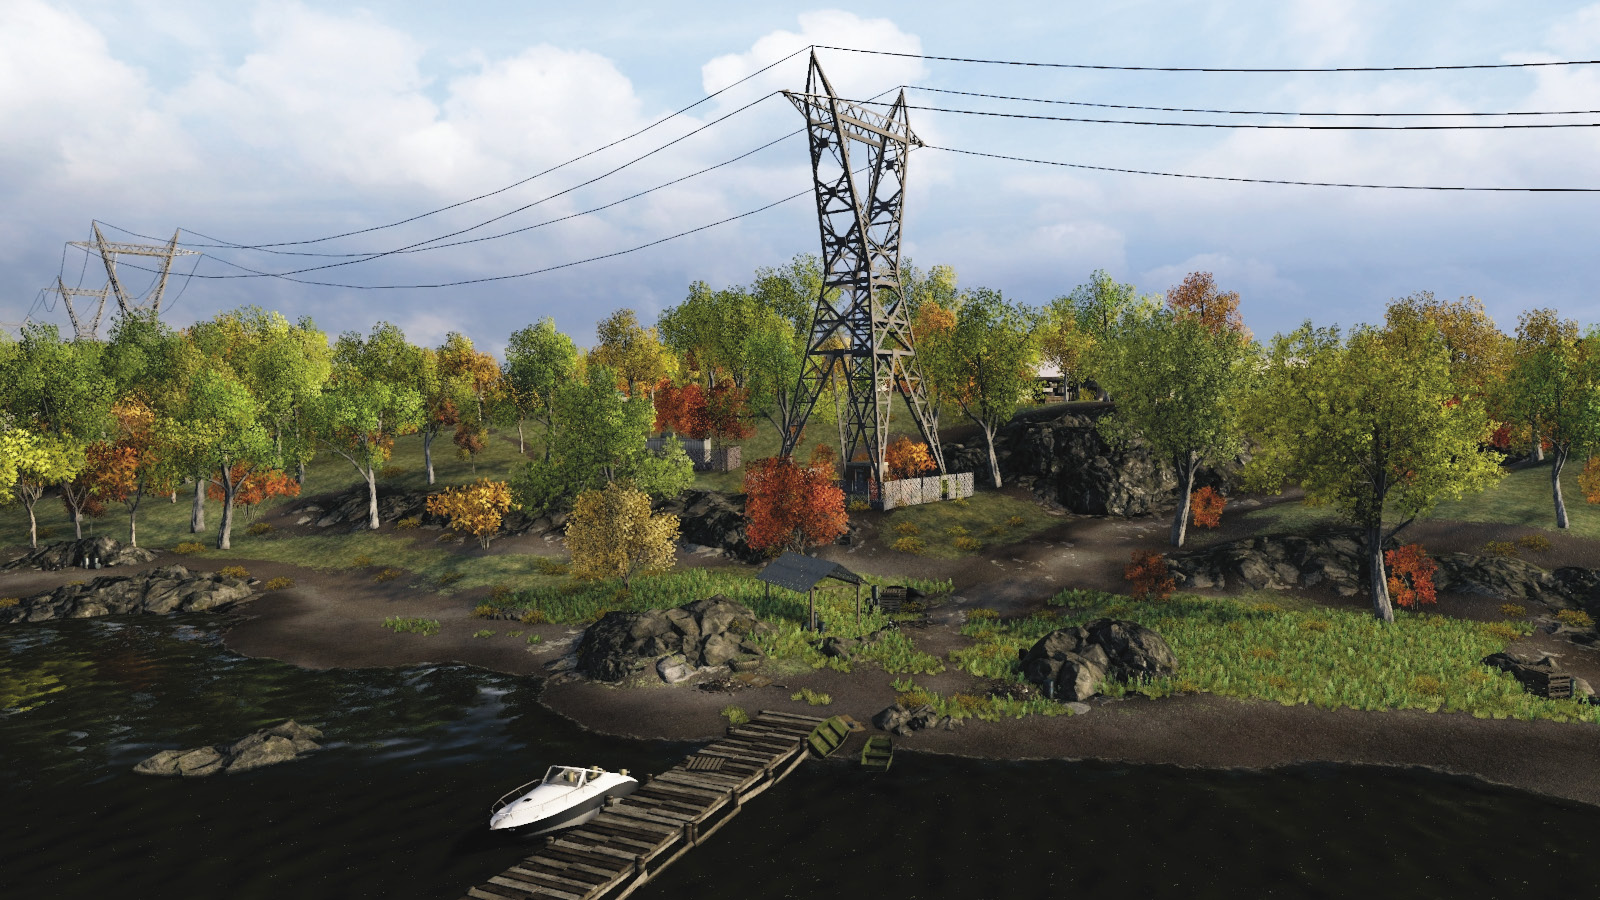
This area is great for dirt bikes. It consists of rocky outcrops, grass, and trees, making it cumbersome for larger vehicles. Stay on the higher ground and don’t worry about foes approaching from the water, though you can use a speedboat from the jetty (despite your area of movement being mainly out of bounds).
02 // Wilderness Pathway (Northeast)
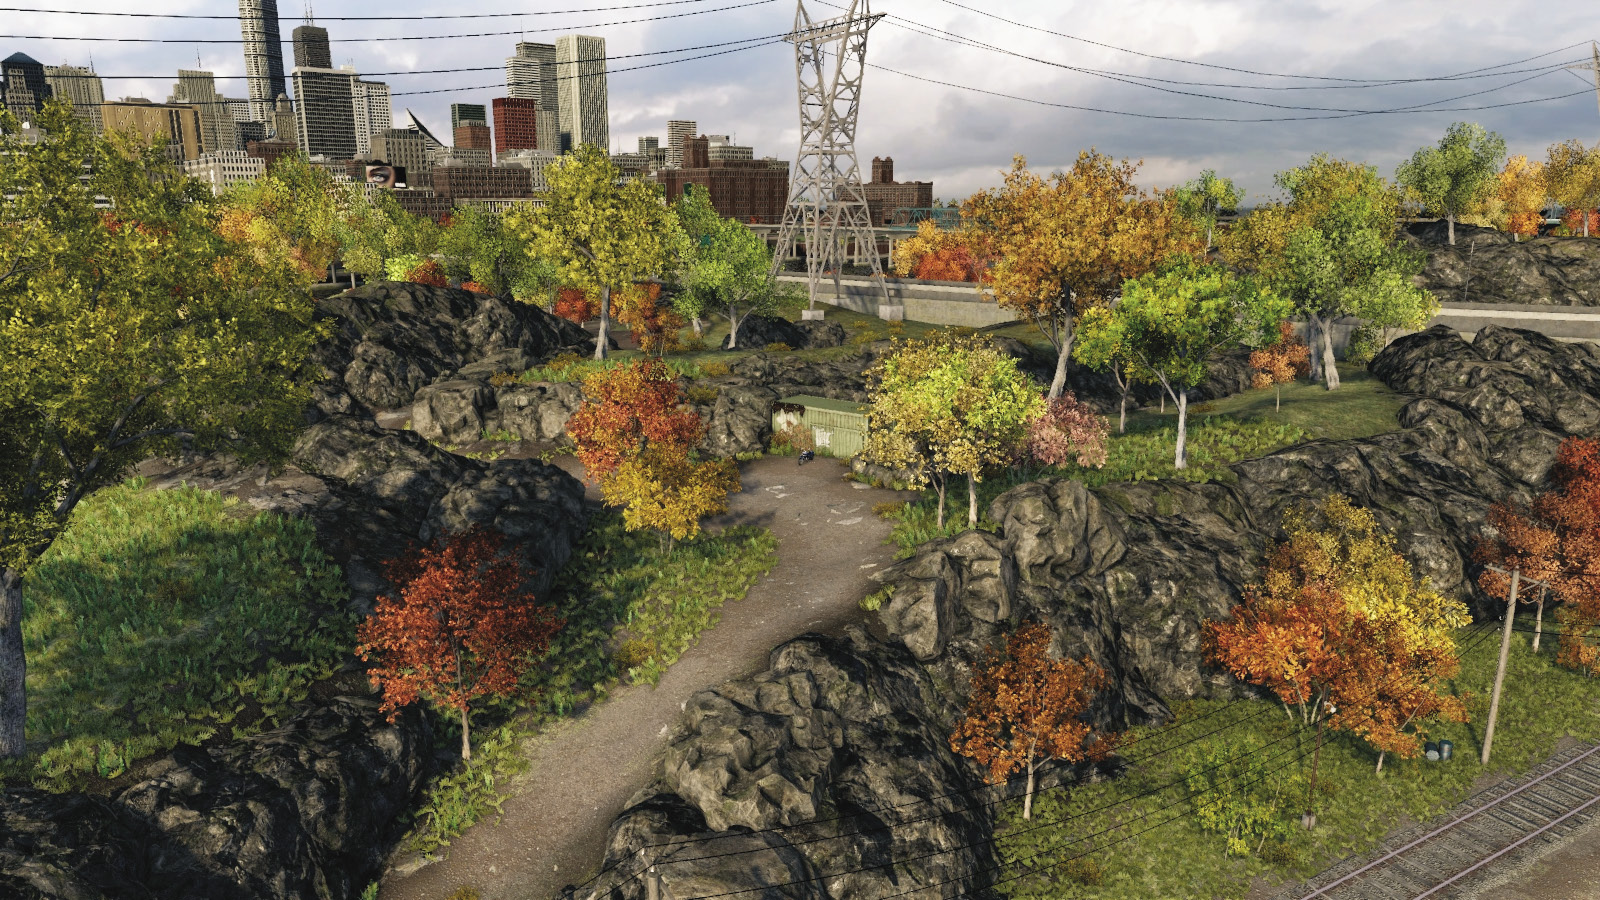
This is the preferred area of wilderness to secure. You’re worrying only about controlling the pathway up to the top of the hill, so race to secure this area and use the Blume hideout container, rock outcrops, and trees as cover. Try to position yourselves to attack intruders from multiple directions, and watch for sneaky players heading out of bounds to attack from or under the freeway.
03 // Tidis Corporation Warehouse (West)
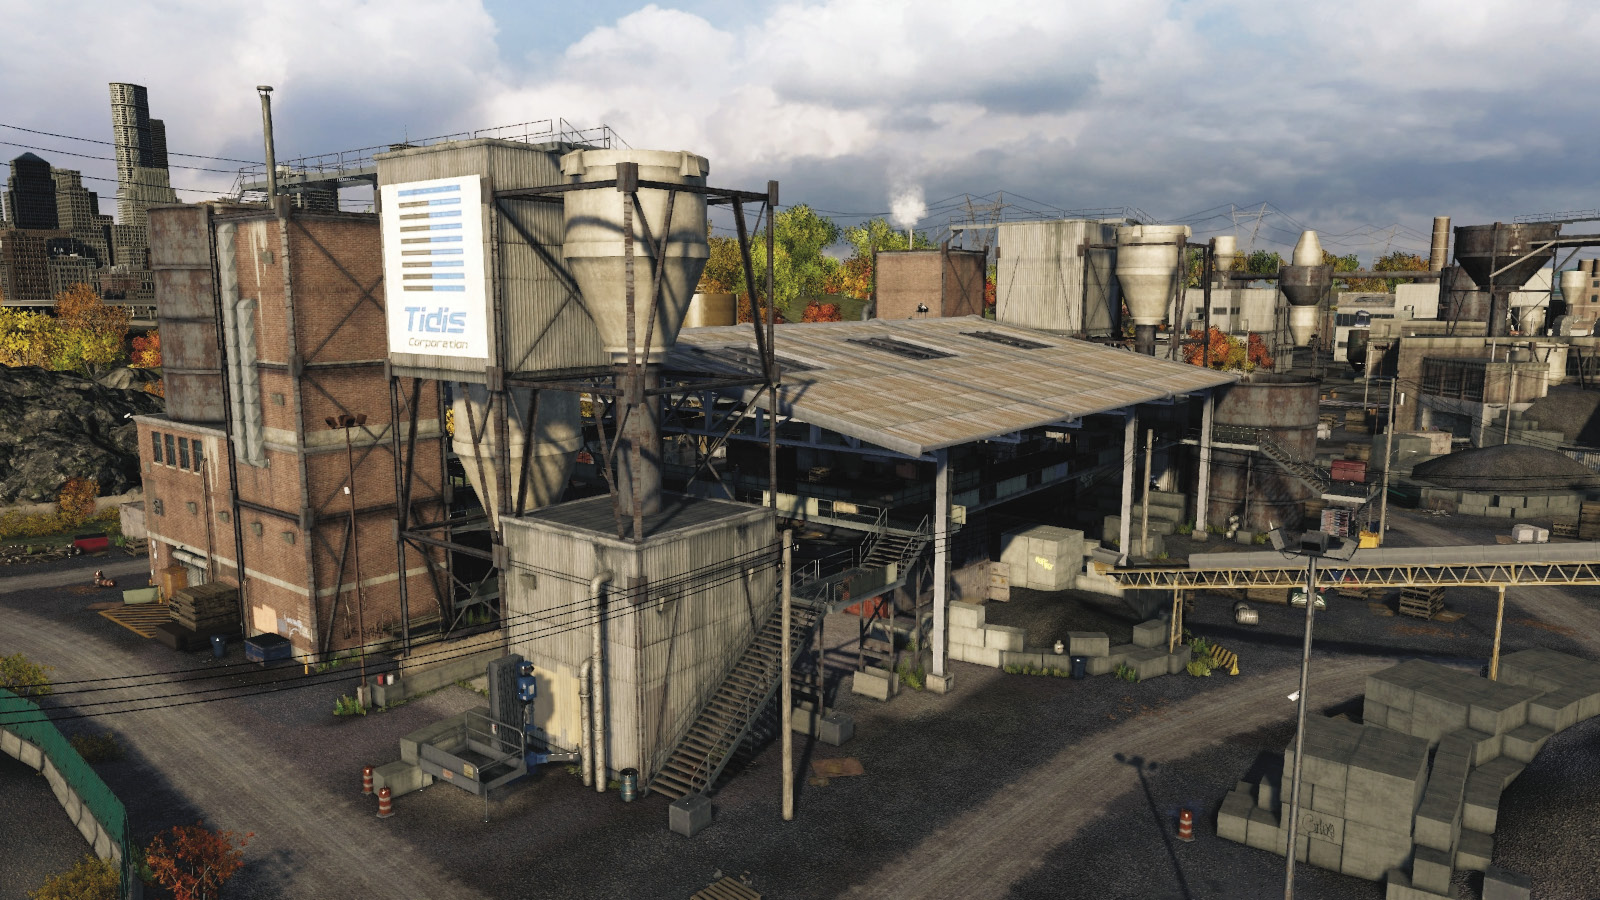
This is a massive playground of warehouses, gantries, and interiors to hold up in and was the setting for the Weapons Trade investigation. Gain height by racing up the rock piles or metal stairwells. Prime the road entrances with IEDs. Use the upper floor of the east warehouse. Scale to the top roof of the main warehouse. There’s even a construction lift to hide on, once extended.
04 // Tidis Boat Storage (Central)
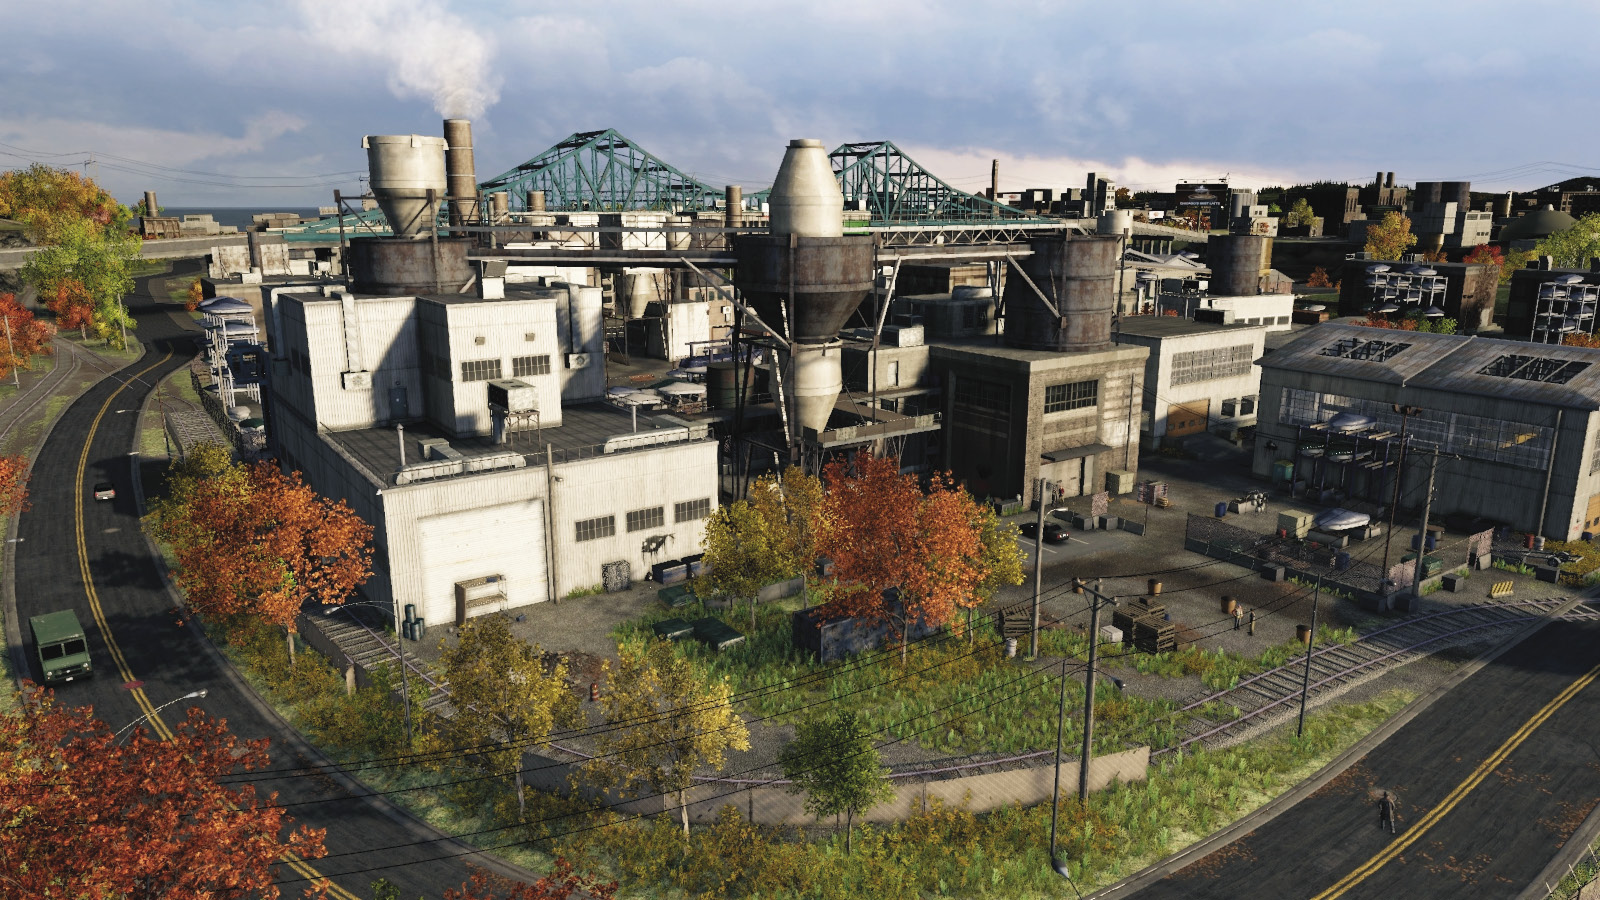
This is another area of excellent hiding opportunities, including the two white warehouse structures to the southwest, each with an upper gantry floor to rain fire down on. The smaller of the warehouses is good for prepping an escape vehicle, as foes can’t drive into it aside from the garage. There are carriers and scissor lifts in the yard to use as cover too.
05 // Factory and Boat Racks (East)
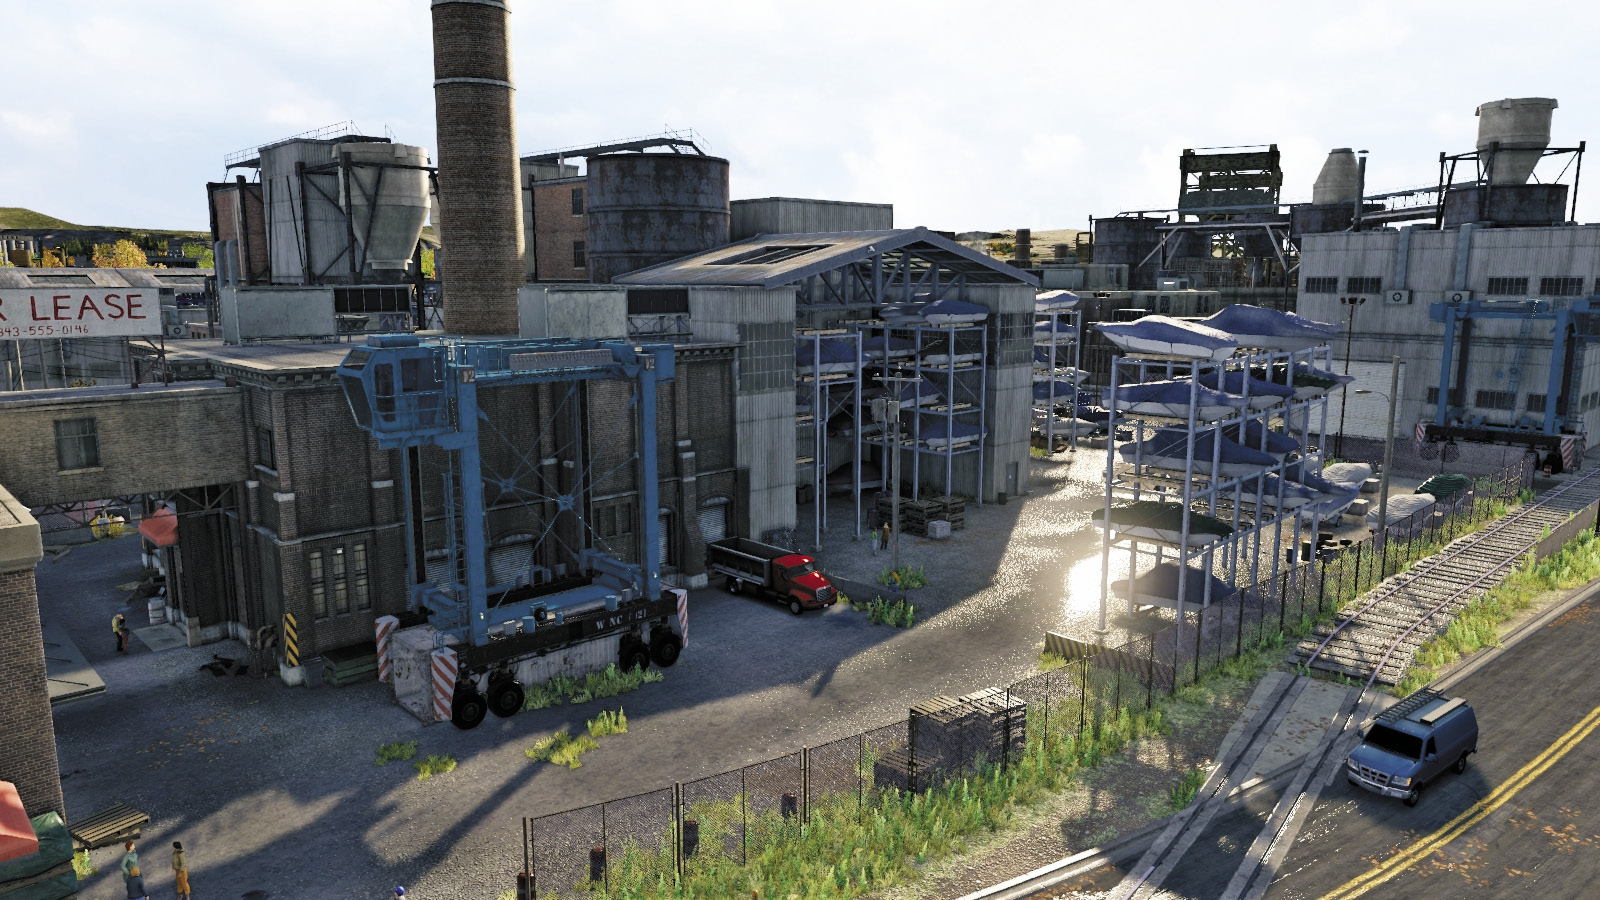
Although there’s less going on in this set of industrial buildings, there’s a great carrier you can climb atop, activate, and ascend to a sniping height where you can see the hills to the north and the main east-west road. There’s also usually a parked truck you can employ when wreaking havoc, creating distractions, or employing a more armored and moving defense.
06 // Riverside Boat Storage (Southeast)
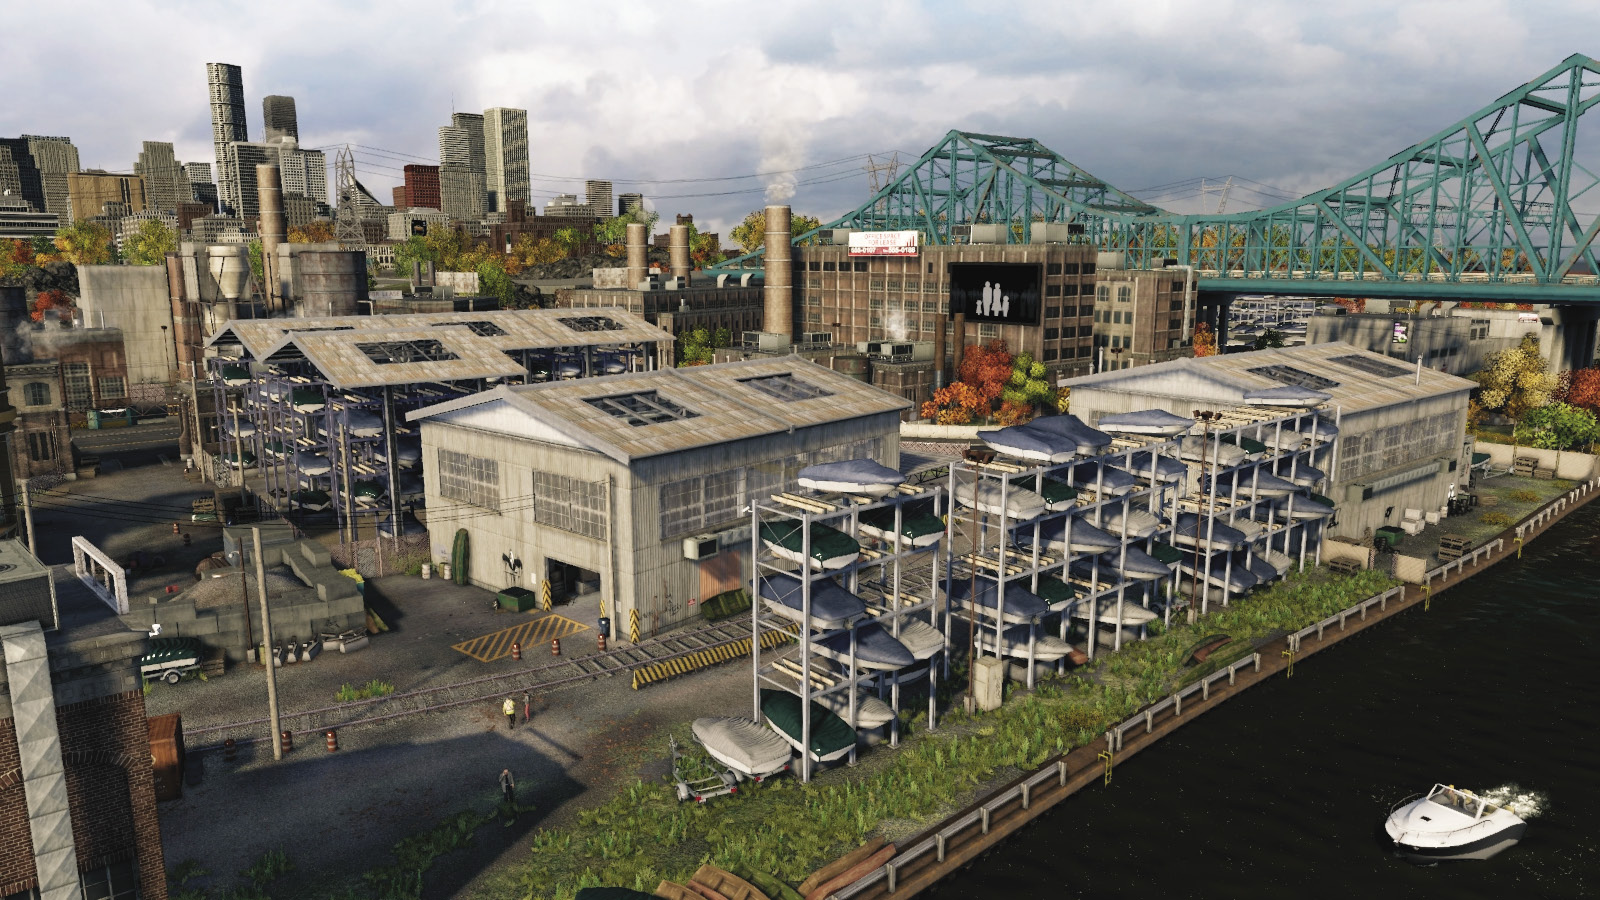
Among the stacked boats, concrete blocks, pallets, and other yard debris, this area is dominated by two large white warehouses, each of which has an excellent and easily defensible upper floor. Prep IEDs and pull in heavy vehicles at one garage entrance, drop more IEDs on the stairs, and then wait for the enemy to turn up before demolishing them from above!
_TECH TACTICS
Location / SIENNA BRICK FACTORY AND SURROUNDINGS
Points of Interest
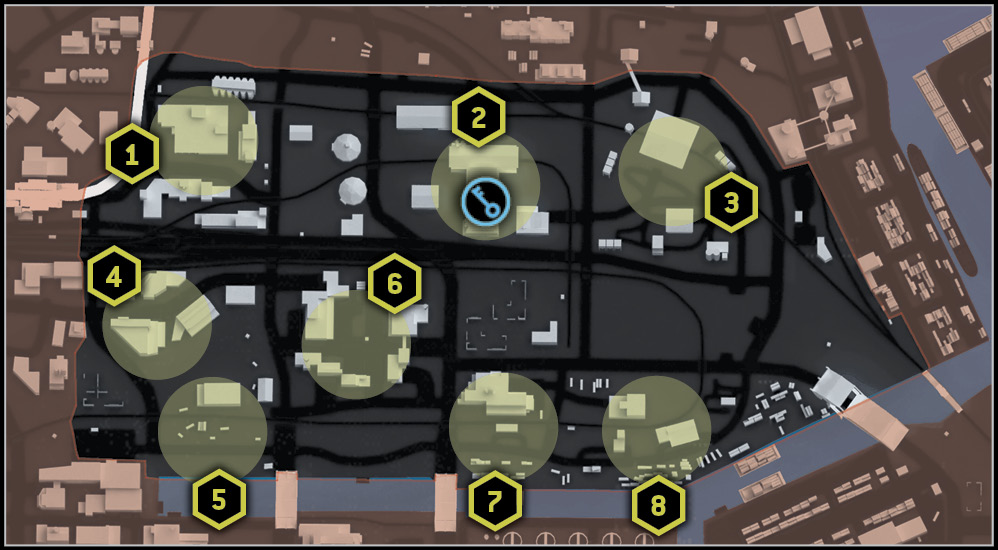
01 // Railyard ctOS Tower (Northwest)
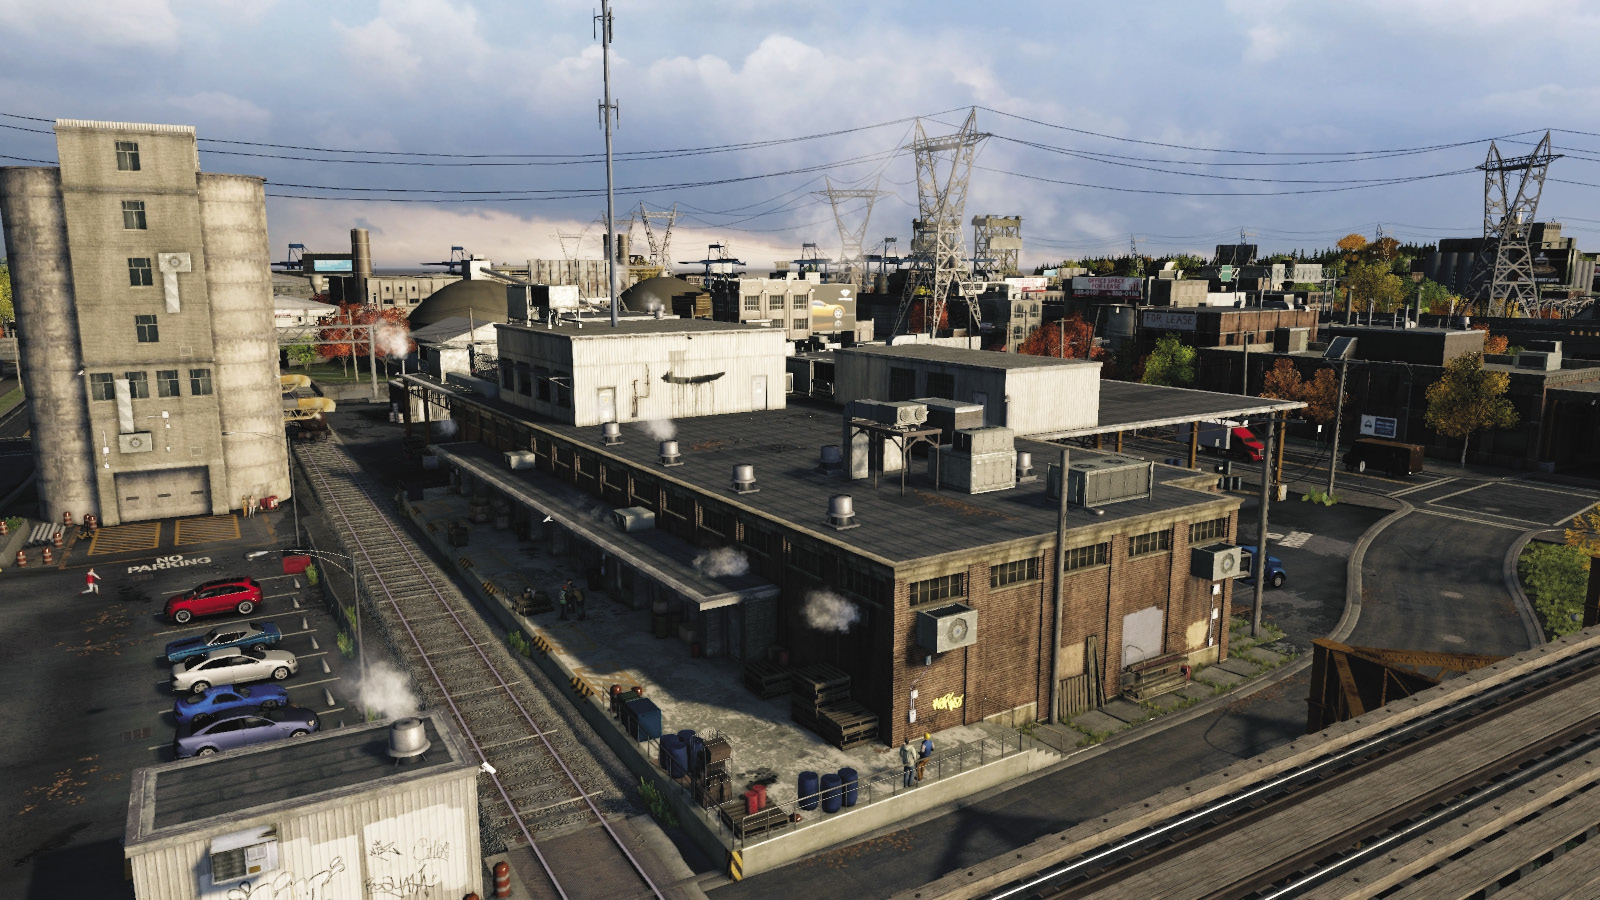
Head here to secure the roof all around the ctOS tower, using the techniques you learned while unlocking this tower. Or, climb up from the rail yard overhang. There’s a huge amount of roof to explore and excellent defensive positioning; hide the hacker inside the tower building, with teammates prowling the roof.
02 // Sienna Brick Factory (North)
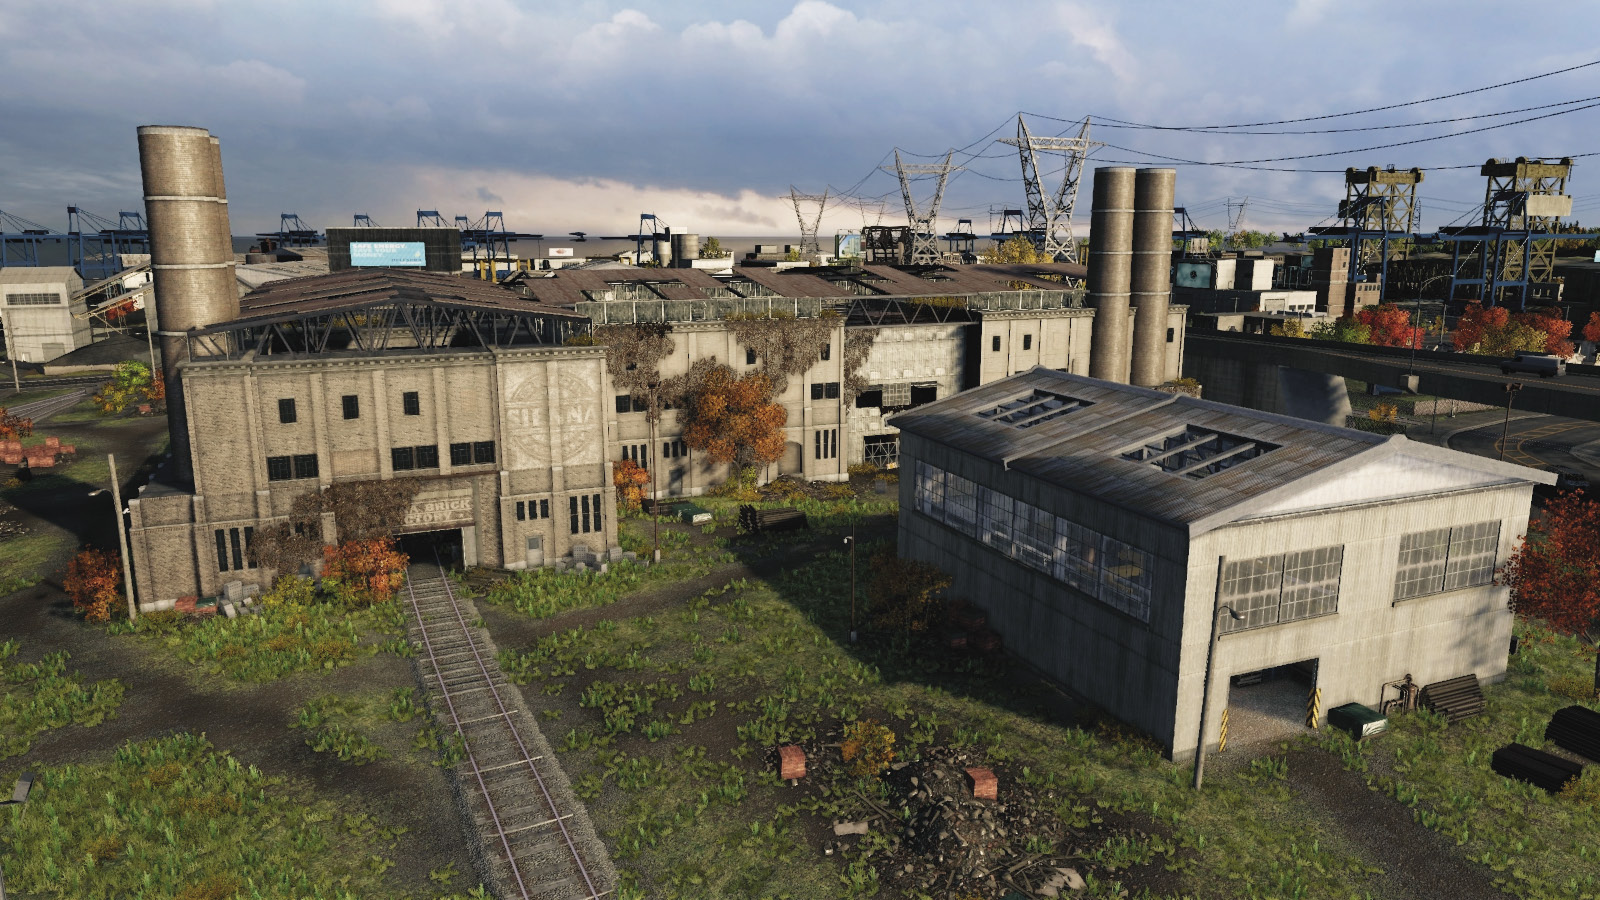
This is a huge area of hiding opportunities and escape routes. Check the garage to the south of the two circular vats. Then explore the brick factory; there are dozens of hiding places, low roofs, and three huge warehouses with an upper floor in each.
03 // Silo Yard (Northeast)
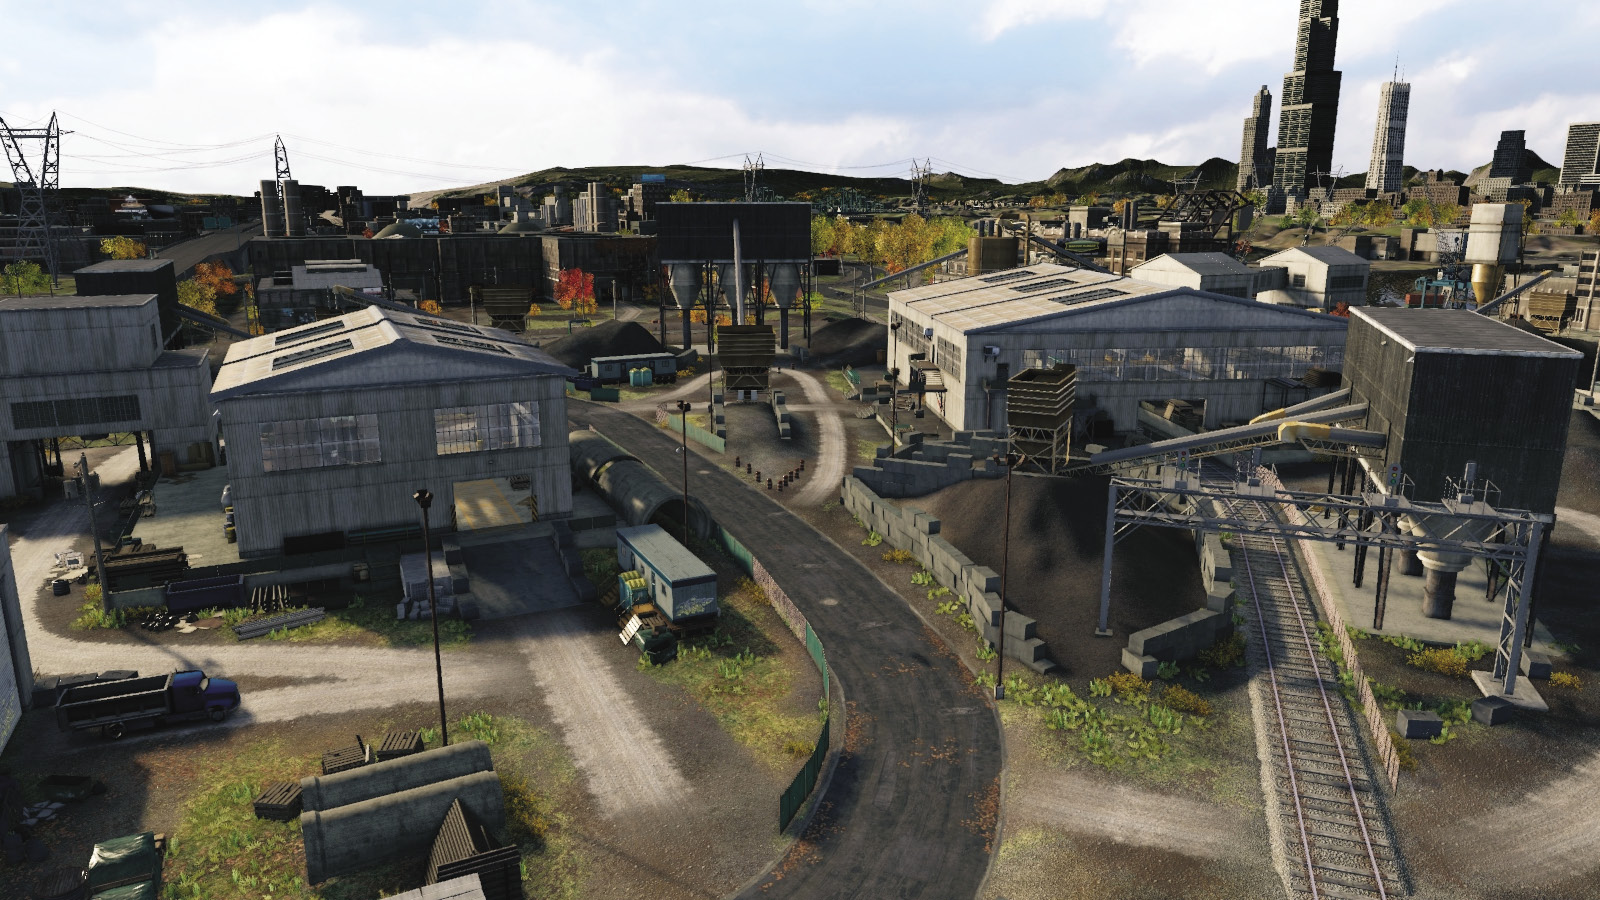
This area is dominated by two warehouses, the north one being exceptionally huge, with stairs outside and in, making it more difficult to defend but easy to hide in. The smaller warehouse has fewer intrusion points, and placing vehicles or IEDs at either garage entrance hinders your adversaries. The yard has ramps, tarmac, and train tracks to escape on.
04 // Self-Storage Rooftops (West)
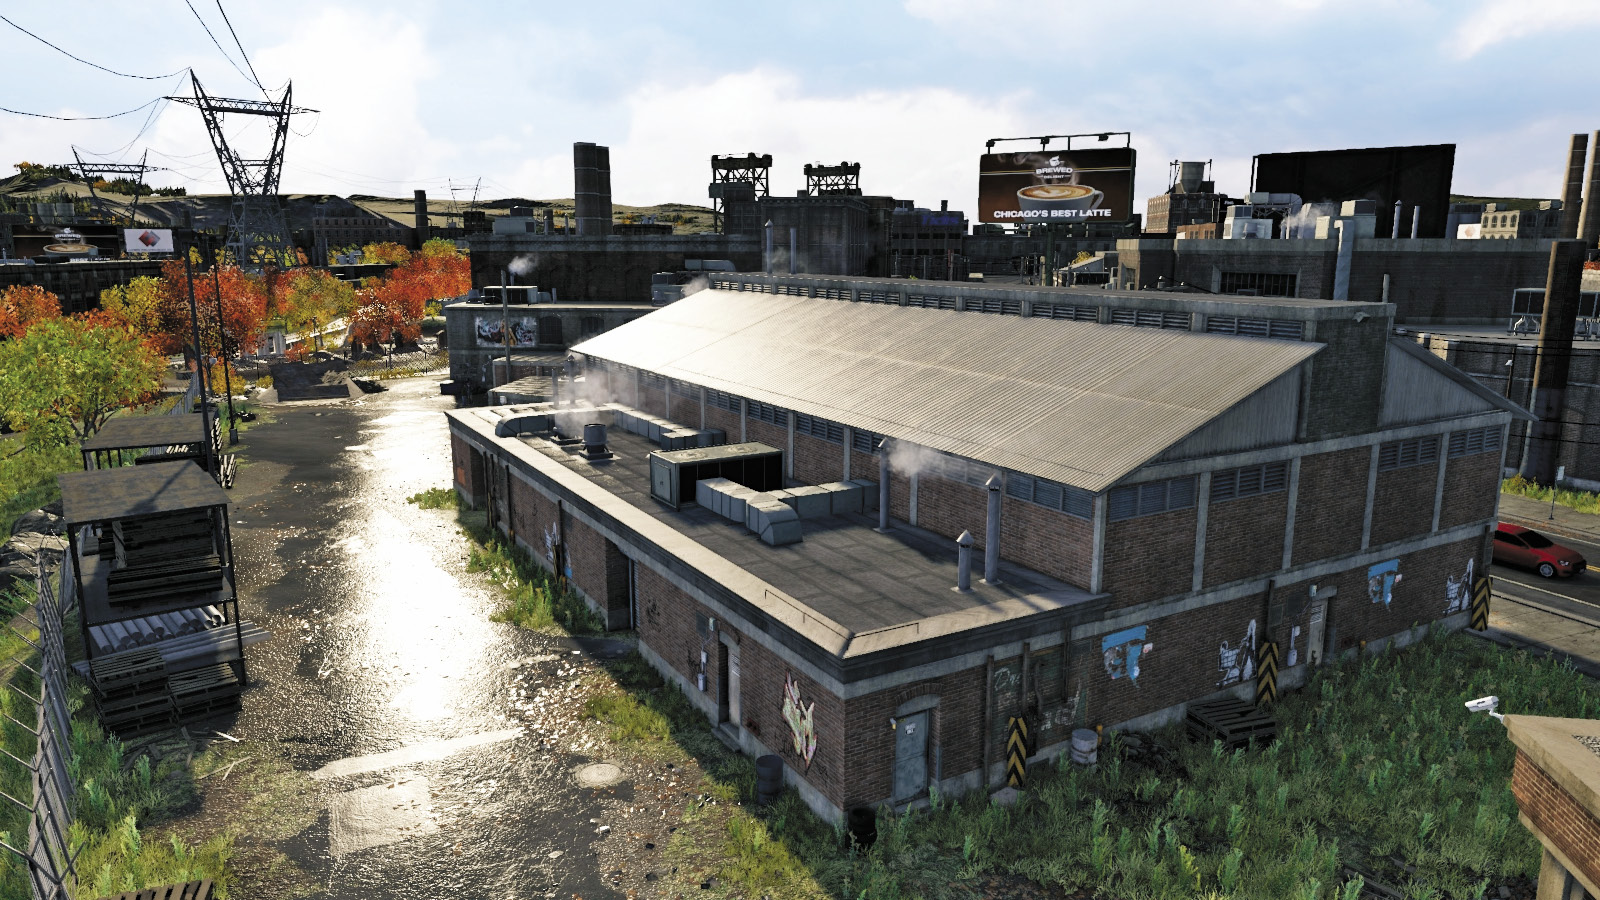
Just south of the freeway (which also has a train track running through it, which is useful when planning escape routes) is a set of brick buildings. Investigate the lower-roofed extensions to these structures for numerous rooftop and AC unit hiding spots (stand on vehicles to reach the higher roofs). Climb on the wood stack shelving to the south too.
05 // Warehouse and Container Yard (Southwest)
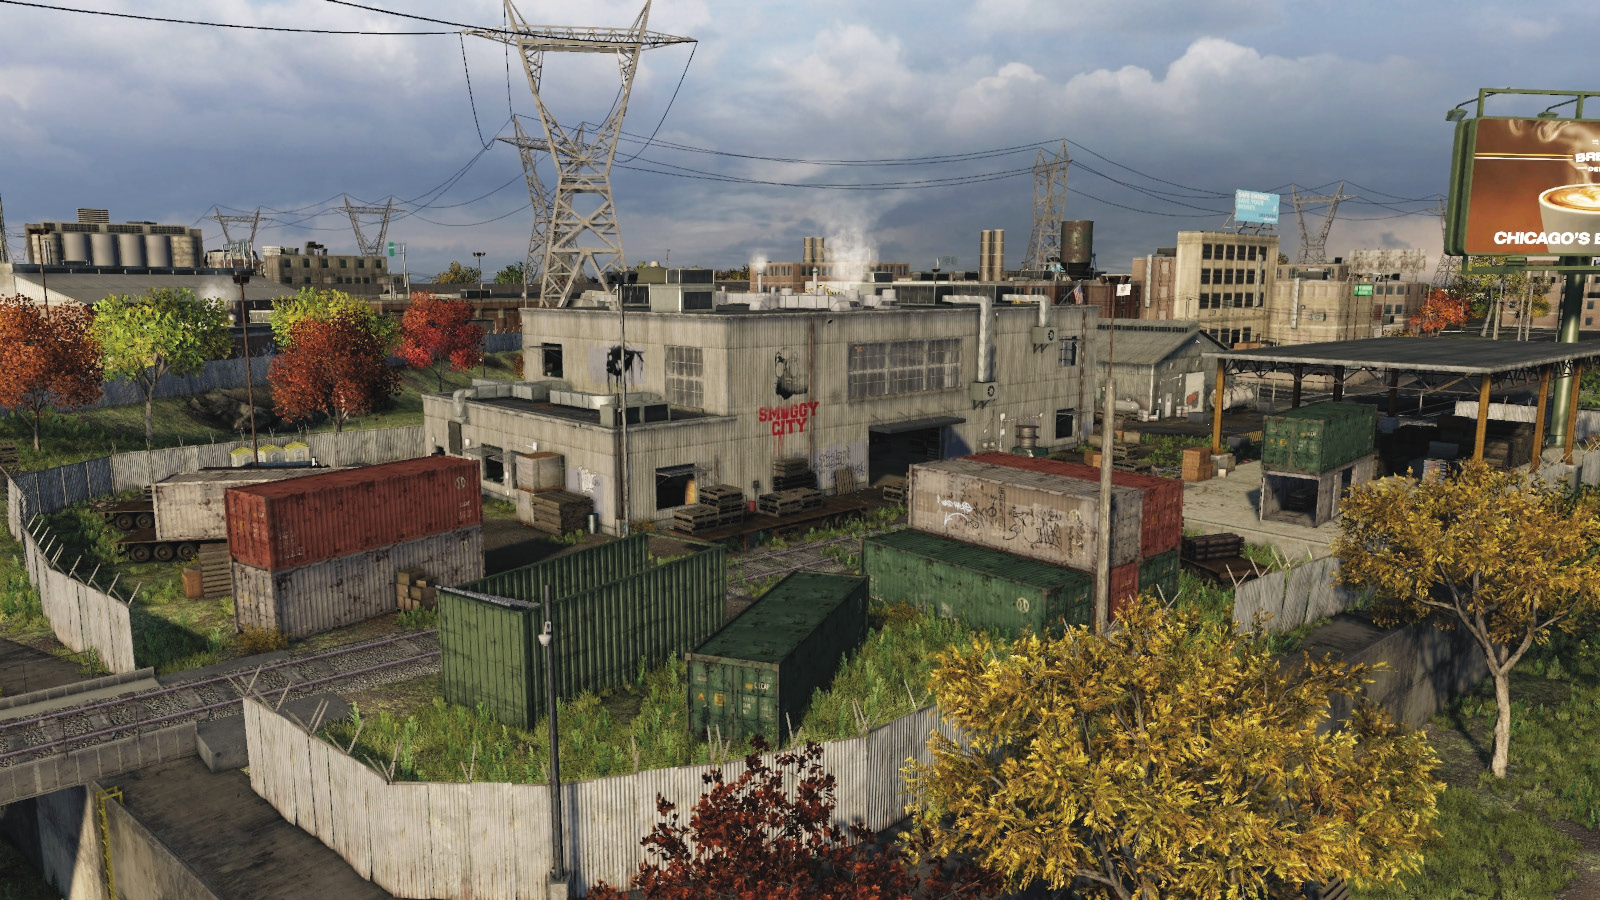
This extremely defensible location is a known gang hideout and features numerous containers to hide behind or atop. There is also a main warehouse with some excellent places to hide or repel intruders from. Climb on the open window above the forklift to reach the warehouse roof, which is exceptional to guard from.
06 // Zaferi Electronics Yard (Central)
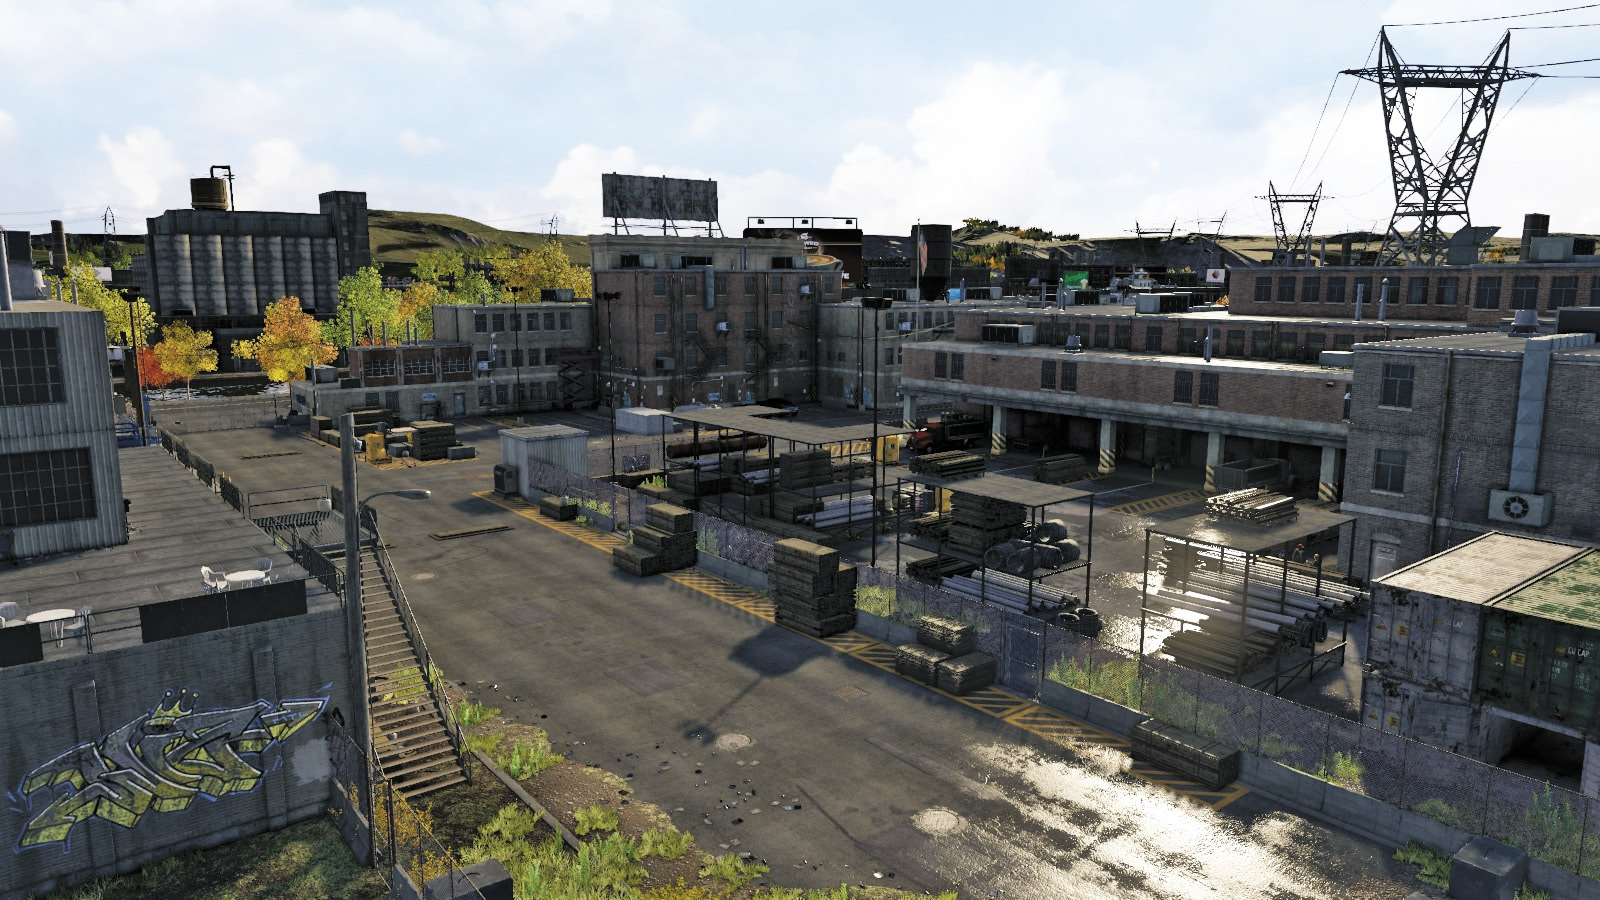
There are gates and a wide expanse of buildings to use as cover, but the main action usually takes place in the unloading yard. There’s tubing and wood stack shelving to climb atop, large vehicles to appropriate, and the northeast building has steps and a scissor lift to the roof (one of two roofs you can reach without vehicles in this area).
07 // Container Yard (South)
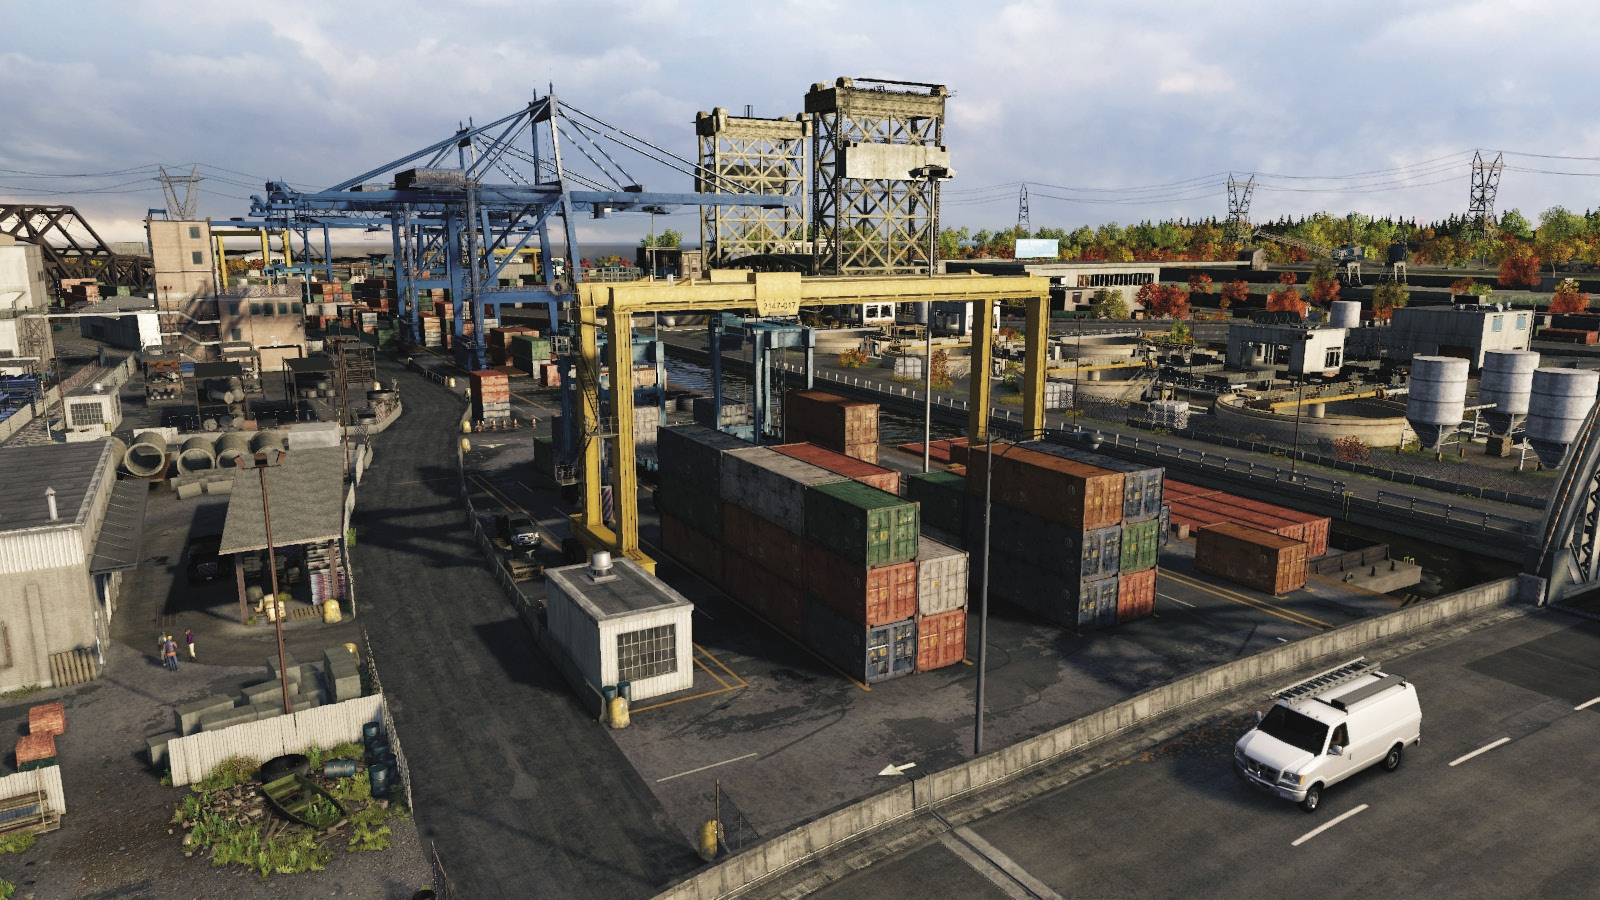
Whether you’re darting under the elevated road to the west for an escape or hiding spot, or using the yard or rail lines as a thoroughfare during a vehicle chase, don’t overlook the cluster of giant containers here. There are two carriers and a crane to operate; they all allow you to reach difficult-to-attack upper containers, which are great for hiding or defending from.
08 // Porta-Potty Palace (Southeast)
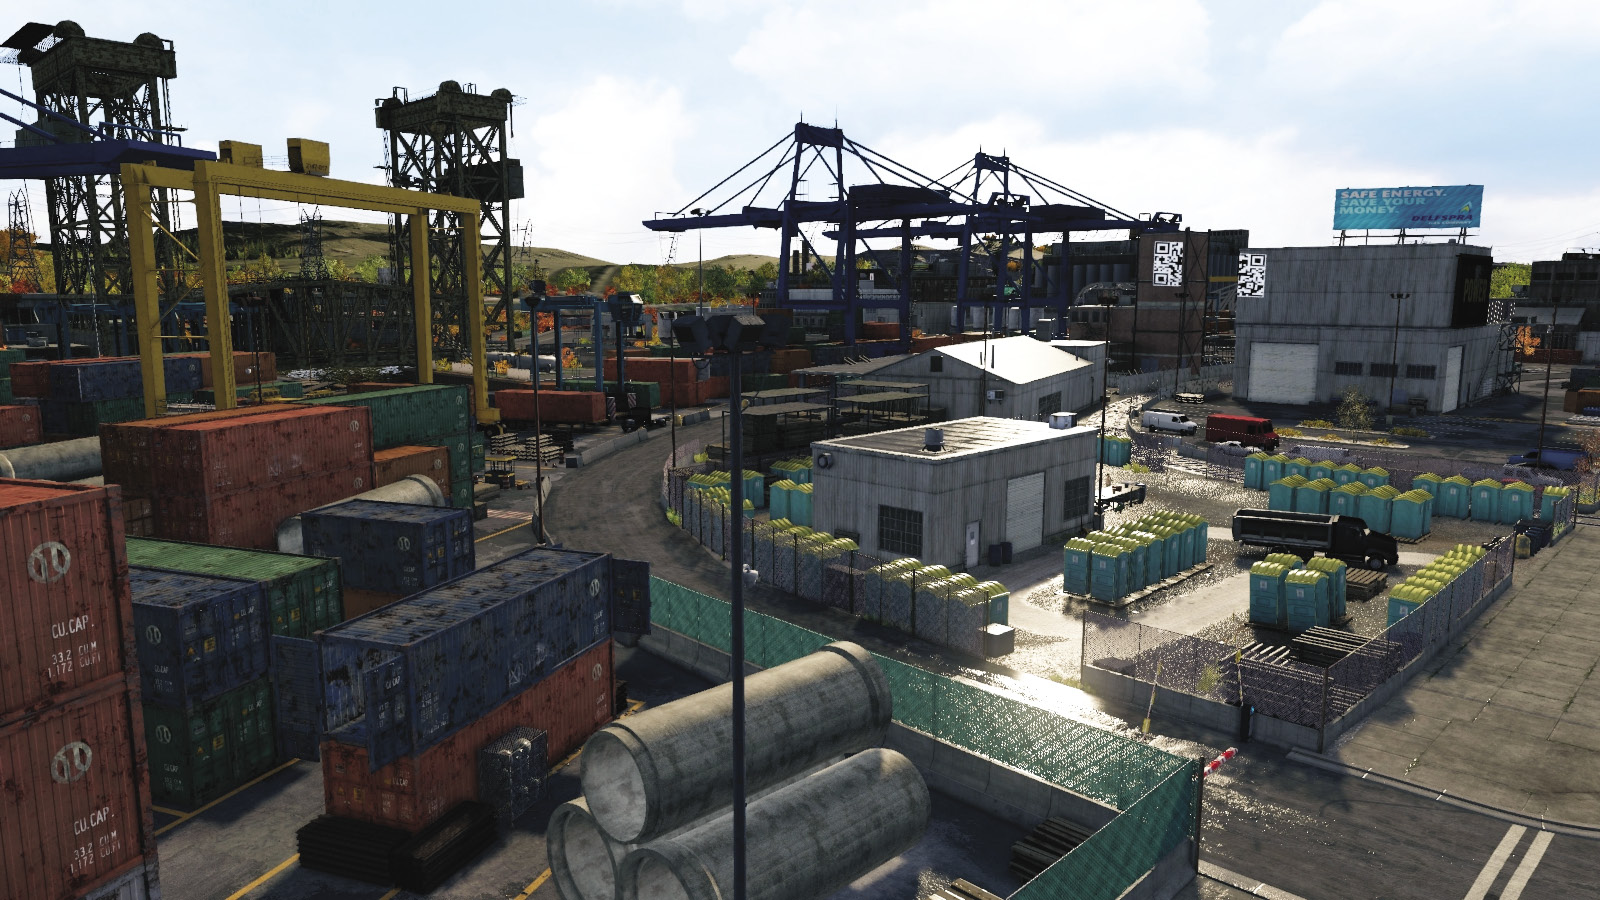
The giant container yard continues, with masses of large containers (and open ones) to hide in, under the giant blue crane to the east. The QR code building has a gantry connecting the brick and white metal structures; head up here to hide. There’s wood stack shelves to use, too, just southwest of the Porta-Potty dumping yard.